Blog
The Ultimate RetroPie Setup Guide (2022)

There are a lot of cool Raspberry Pi projects out there, and you can hardly go wrong in pursuing any of them. But if there’s one Raspberry Pi project that is nearest to the hearts of casual D. I. Pi-ers, it’s the RetroPie. For the price of a Raspberry Pi, power supply, Micro SD card, and video game controller, hobbyists can get an unbeatable retro gaming experience: Your RetroPie setup will allow you to play virtually unlimited games on a device the size of a credit card.
No, really: You can play a TON of games on a RetroPie. RetroPie uses the OpenEMU emulation software, which includes emulators for more than 50 video game systems and platforms, from the expected classic platforms (NES, Super Nintendo, Sega Genesis) to more modern (PlayStation 2, PSP) and esoteric (Oric, Dragon 32, Wonderswan) ones. Just grab some ROMs (more on that later), load them on your RetroPie, and you’re good to go.
And it has never been easier to get your RetroPie set up. You can install RetroPie using a pre-made disk image, and you can even install it on top of an existing operating systems — operating systems that include Raspbian, the most popular OS for the Raspberry Pi. In this tutorial, we’ll be guiding you through the first option we listed: Installing Raspberry Pi from scratch using a disk image.
Parts List for this Project
First off, here’s what you’ll have to get your hands on before you can get your RetroPie set up properly:
| QTY | Part /Link | ||
|---|---|---|---|
| 1X | [icon name=”raspberry-pi” prefix=”fab”] | Raspberry Pi – RetroPie works with these models of Raspberry Pi: A, A+, B, B+, Zero, 2, and 3. As of this writing, RetroPie’s official site does not list the Raspberry Pi 4 as a supported device. That will probably change soon, as the Raspberry Pi 4 is still very new. For now, RetroPie recommends the Raspberry Pi 3 as the best model for this project. For this RetroPie tutorial, we dug up an old Raspberry Pi 3 Model B to use instead of our shiny new Raspberry Pi 4. | [icon name=”cart-plus” prefix=”fas”] |
| 1X | [icon name=”power-off” prefix=”fas”] | A power supply – Make sure that it’s compatible with your model of Pi! | [icon name=”cart-plus” prefix=”fas”] |
| 1X | [icon name=”sd-card” prefix=”fas”] | A micro SD card – RetroPie demands a minimum of 8 GB, but you may want more if you’re planning to add loads of games. Most retro game ROMs aren’t too big, though, so you don’t need to go crazy — 16 GB, for instance, will get you far. | [icon name=”cart-plus” prefix=”fas”] |
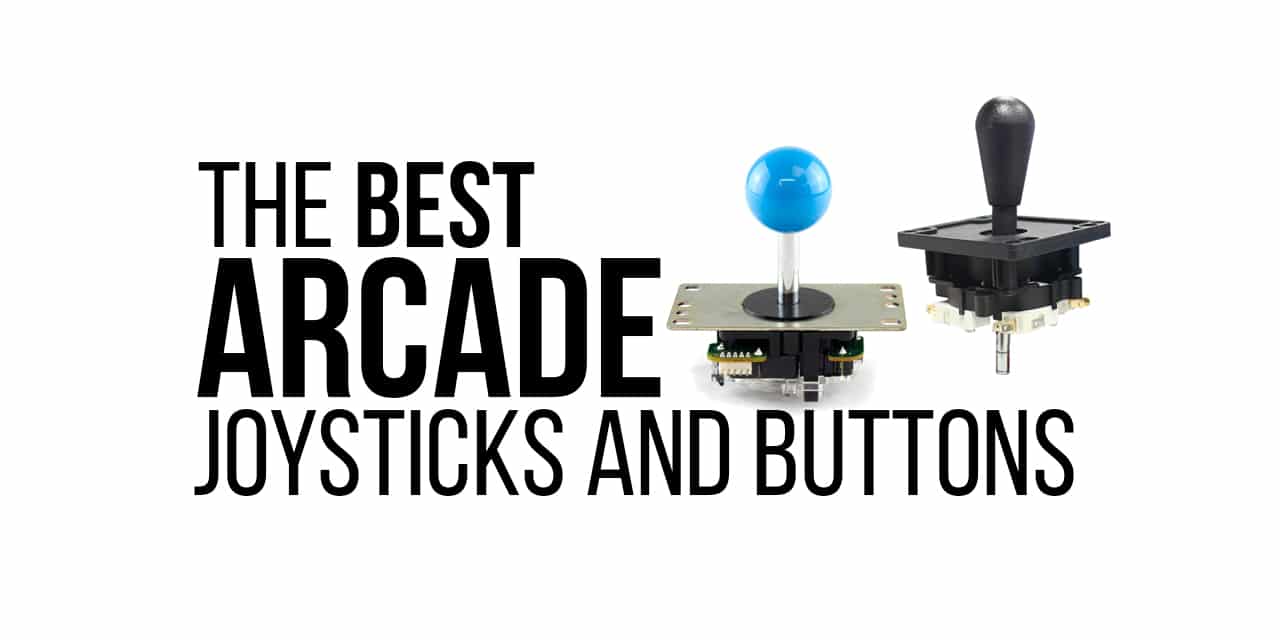
| 1X | [icon name=”gamepad” prefix=”fas”] | Something to control your games with – You can use a USB keyboard, but it’s more fun to grab yourself a USB controller. There are some great ones out there — and some really, really affordable ones, too. We also have a complete line of Arcade Joystick and Button kits. | [icon name=”cart-plus” prefix=”fas”] |
| 1X | [icon name=”ruler-combined” prefix=”fas”] | Arcade Plans – If you’re looking to build an an arcade then you need some arcade plans to start with. | [icon name=”cart-plus” prefix=”fas”] |
The Ultimate Retropie Setup and Install Guide Video
We recommend you start by watching our awesome Retropie setup and Install guide video!
RetroPie installation overview
Got all of your gear? Great! Detailed step-by-step instructions for installing RetroPie are below. For the impatient and the curious, here are the broad strokes of what we’re going to be doing to get our new RetroPie set up and ready to go: We’ll download a disk image for RetroPie, put it on an SD card, and confirm two basic settings (the game controller inputs and the available storage space). Then, in the next big section, we’ll explore the process of adding games to your RetroPie setup, which involves downloading ROMs and then moving them to your RetroPie via one of two equally valid methods: SSH File Transfer Protocol (SFTP) or a little back-and-forth routine involving a USB storage device (no, it’s not quite as simple as loading up ROMs and dropping them into RetroPie’s file system — but it’s not hard, either, as you’ll soon see).
Let’s get into the nitty-gritty.
Step 1: Download the RetroPie disk image
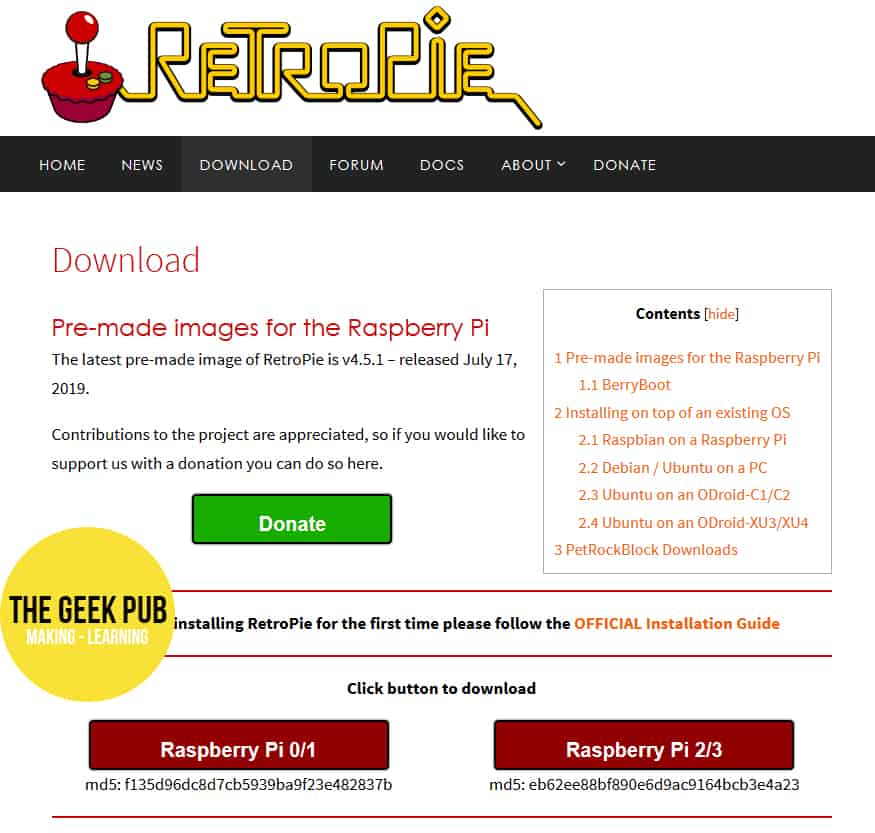
Our whole RetroPie setup is going to live on a micro SD card. Before we add games, we’re going to grab a disk image, slap it on a micro SD card, and boot up our Pi with it. So, first things first: Let’s get that disk image! You can find it on RetroPie’s website, here. Download that bad boy to your desktop or laptop computer.
Step 2: Format your micro SD card
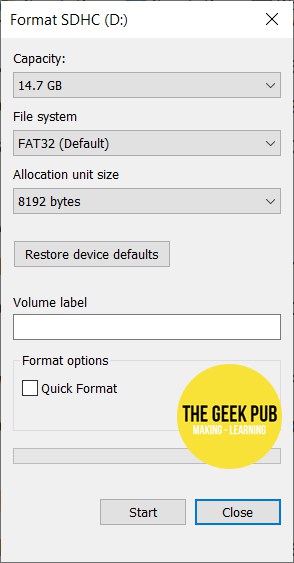
You’ll need a blank micro SD card in the proper format to go any further in the RetroPie setup process, so let’s make that happen. Stick your micro SD card into the proper port on your desktop or laptop computer, then open up your computer’s disk utility and format the micro SD card as FAT — unless you’ve got a real big one of 64GB or larger, in which case you should go with exFAT.
Mac users, you’ll use the aptly named Disk Utility to do this. Windows people, you’re going right-click your SD card in Explorer and find the Format option on the drop-down menu. Your computer may make things even easier on you by prompting you to format your micro SD card the moment that you pop it in.
Step 3: Write the RetroPie disk image to your micro SD card
Now you’ve got a nice blank SD card in the proper format and a RetroPie disk image. Let’s put the two together and create a nice RetroPie setup.
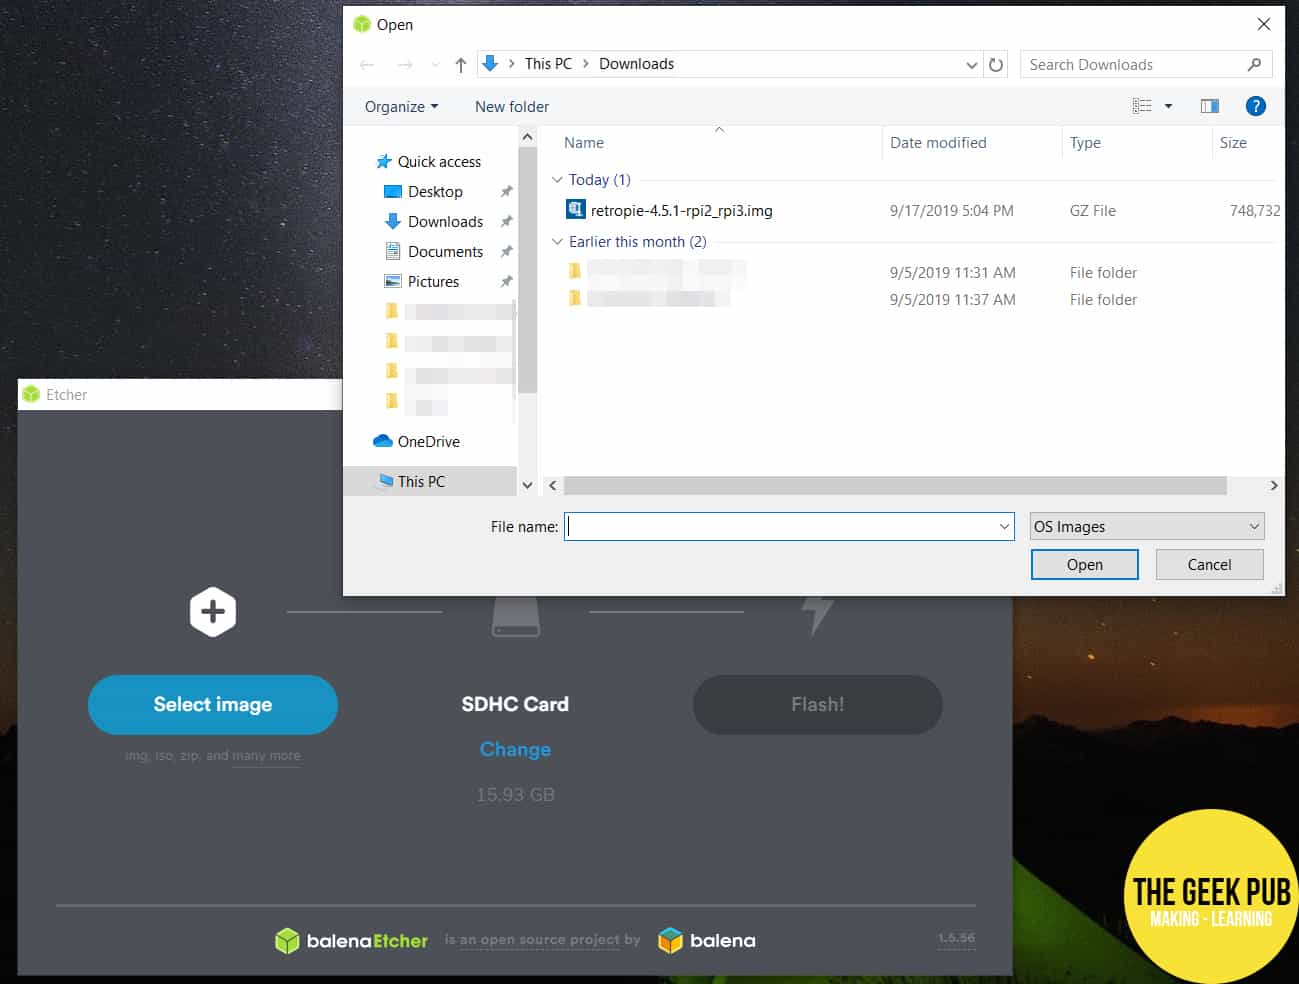
There are a bunch of different programs that are capable of doing this. We used balenaEtcher, an open-source program that seems to be in vogue these days and which works on Macs as well as PCs. But you could just as easily use Win32 Disk Imager or one of the many others out there. Just make sure that it works with your computer’s operating system.
Your screen may look different if you’re using a different disk imager, but this is pretty straightforward stuff: You just want the disk image to end up on the micro SD card. The RetroPie disk image should be easy to identify thanks to its filename. Double-check to make sure that you’re writing to the correct disk!
Step 4: Fire up your RetroPie
When your computer is finished writing the disk image to your micro SD card, eject that little guy properly and then stick him in your Raspberry Pi. Plug in all your peripherals — your USB controller, your HDMI cable and screen, and whatever else you want to use — and then turn on your Raspberry Pi. You’re almost done, but we have a few more tips on perfecting your RetroPie setup.
Step 5: Set up your USB controller
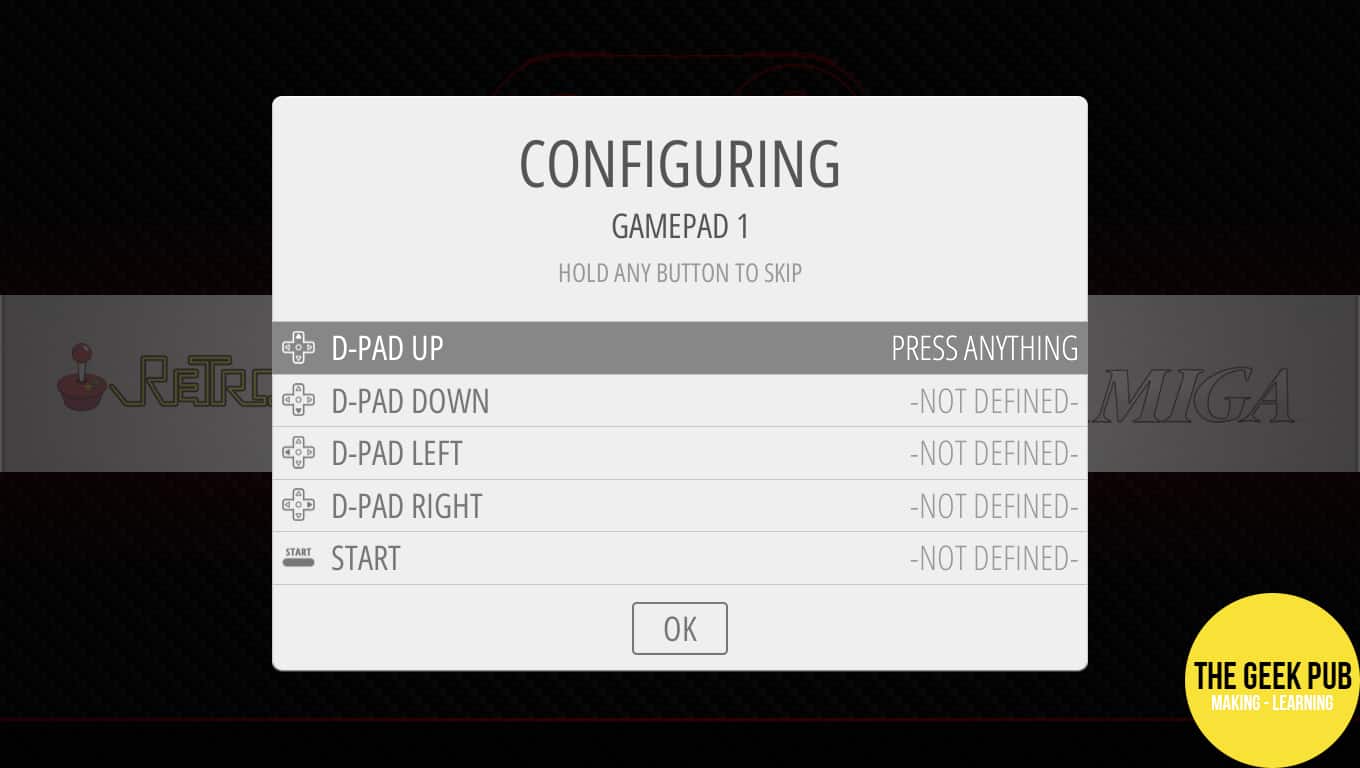
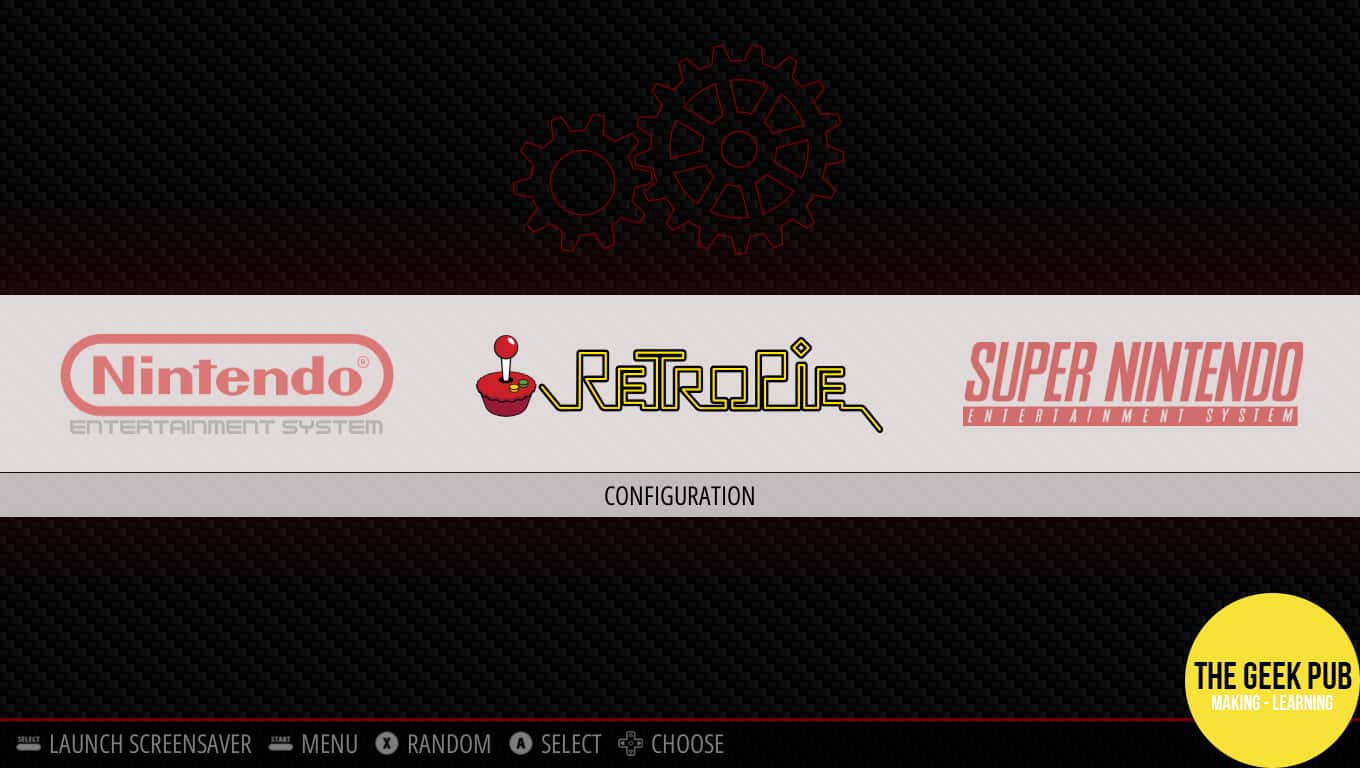
When you first boot up your Pi, you should be greeted by an invitation to configure your controller. When prompted, hit the button your USB controller that you want to correspond to the button listed on the screen.
If you messed up or skipped this bit, don’t worry — you can still access this feature at any time by hitting the start button.
Step 6: Give your RetroPie setup some more space
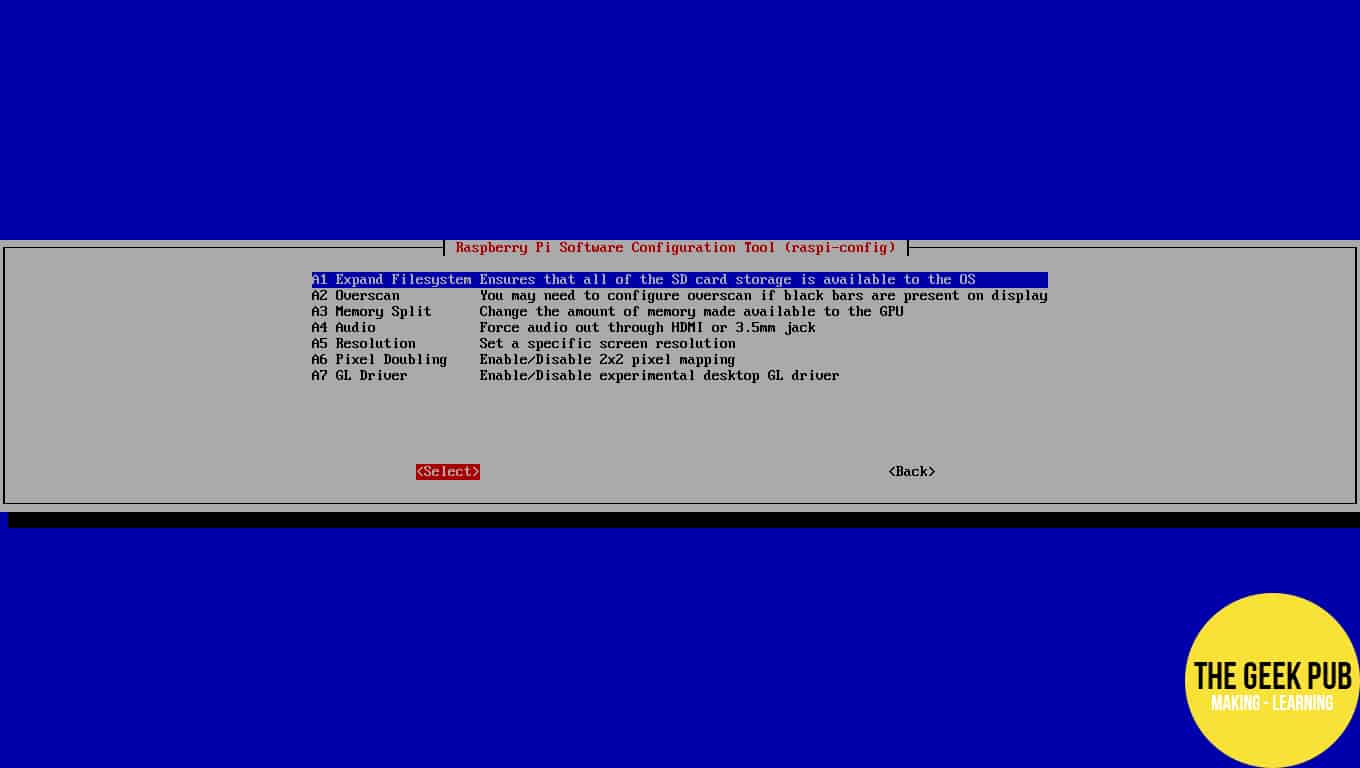
Though technically optional, this step is something that virtually every RetroPie user is going to want to take care of. If your SD card is larger than 4 GB (and it should be, since we and RetroPie both told you to go with at least 8 GB), then your RetroPie will not necessarily make full use of the storage space by default. To make sure you’re maximizing your space for games, head to the RetroPie menu, select raspi-config, and choose option 1, Expand Filesystem. As the description in the menu says, this “ensures that all of the SD card storage is available to the OS.” That’s what we want!
And with that, we have a perfectly functional RetroPie. There is just one problem, as you have no doubt noticed: We have no games! Let’s rectify that.
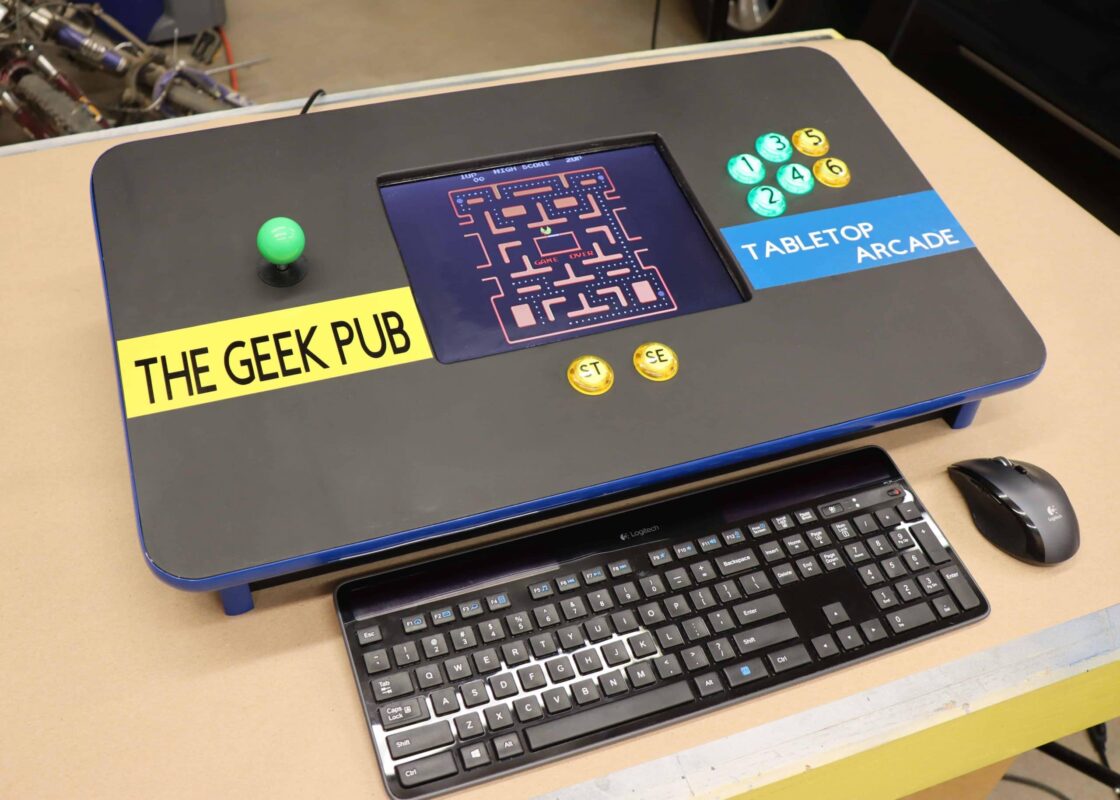
RELATED: Build a Retropie Bartop Arcade or Tabletop Arcade
How to add games to your RetroPie setup
If you followed the instructions above, your RetroPie should be all set and ready to go. It is capable of playing all kinds of ROMs, from Commodore 64 games to Super Nintendo ones. But it still needs you to supply those ROMs.
Acquiring ROMs
We should probably say something about ethics here. ROMs are copies of games that run on emulators, and the games they preserve were the result of the work of developers and the investments of companies.
RELATED: How to Download Retropie ROMs
In the early days of ROMs, however, companies like Nintendo treated the ROM community with something like benign neglect. Back then, nobody knew that things like the Super Nintendo Classic and Nintendo Switch Online would come into being and make old video games worth money again. Besides, old game cartridges with save states didn’t have hard drives, and they relied on batteries to keep their RAM from resetting; lots of people looking for ROMs just wanted to be able the play the same games that they’d purchased without fearing that their saves would evaporate. That was fair enough, right? (The batteries, by the way, have long since outlasted Nintendo’s predictions — but you can still be sure that, someday in the future, your Zelda file will be kaput.) On top of all of this, the ROM and emulation community is vital to the preservation of old and rare video games.
But the rise of successful retro-gaming products from major companies has changed things. With systems like the Super Nintendo Classic selling like hotcakes at a price higher than what you’d pay for a RetroPie with virtually unlimited games, it’s easy to see why video game companies would have a change of heart. And they have: Nintendo, in particular, is now cracking down on ROMs.
All this begs the question of whether or not you should really download ROMs. Some people choose to download ROMs only for games that they have already purchased, which is an admirable choice. Others see downloading ROMs of games like Nintendo and Sega as a form of stealing (and, to be honest, it’s hard to argue they’re wrong). We’ll tell you this much: There are a ton of ROMs available for download on certain well-known sites that are easy to Google. What you choose to do with that information is between you, your God, and your RetroPie.
Putting ROMs on your RetroPie
Let’s say that you’ve got yourself some ROMs on your desktop or laptop computer. That’s all well and good, but we’re interested in getting those ROMs to your Raspberry Pi, so that you can actually, you know, play them.
There are two main ways to do this. First, you could transfer your ROMs using a USB flash drive. Second, you could SSH into your RetroPie and transfer the files over your home network. Let’s take those one at a time.
Transferring ROMs using a USB stick
Using a USB stick makes this process slightly slower if you’re dealing with huge numbers of games. But it’s also stupid simple to do, and that’s nice.
To transfer games using a USB storage device, start by sticking your USB device into your computer. Make sure it’s formatted to FAT, then create a folder called RetroPie with nothing in it. You shouldn’t add any ROMs to the USB device just yet. Safely eject the drive.
Now, stick the USB device into your RetroPie Raspberry Pi. A light on your Raspberry Pi should blink. Wait for that to stop, then pull the USB device back out.
Now you can plug your USB drive into the computer again. You’ll find that the RetroPie folder has been populated with subfolders. Drop all your ROMs in their appropriate folders under RetroPie/roms, then safely eject the USB device and stick it back in your Raspberry Pi. You’ll see some more blinking; when it stops, your games will all be in your RetroPie’s file system. You can yank your USB stick out again, now, and repeat these steps as necessary if you couldn’t get all your ROMs over in one go.
Transferring ROMs using SFTP
SSH File Transfer Protocol (SFTP) is a secure way to transfer files on your network. And, as it happens, it is quite easy to use your desktop or laptop computer to SSH into your RetroPie setup and drop a whole load of ROMs in there.
You’ll need your RetroPie setup connected to your network to do this, of course. You can set up a connected by selecting Wi-Fi on your RetroPie’s main menu. (This will be a much more pleasant experience if you use a USB keyboard, by the way.)
Next, you’ll need to enable SSH on your RetroPie by navigating to raspi-config > Interfacing Options > SSH. Hit Yes, then Ok, then Finish.
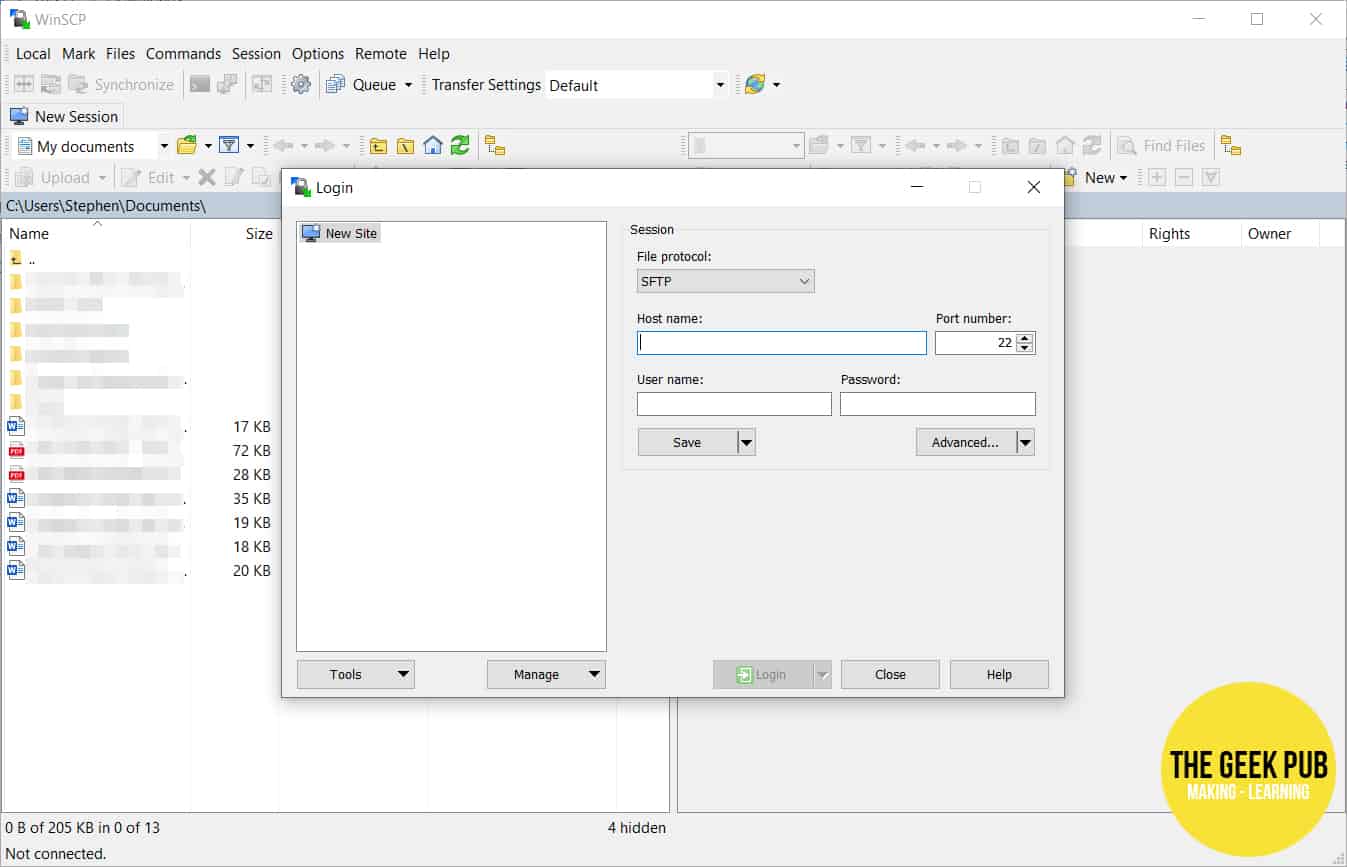
Then grab a reliable SFTP program for your computer. Cyberduck is a great choice for Mac users. We used WinSCP for Windows.
You’ll have to confirm some settings before you can SSH into your Pi. The protocol should be SFTP, and the IP address should be the address of your RetroPie device, which you can find by selecting Show IP address in the main menu on your RetroPie. By default, the username and password for your RetroPie will be pi and raspberry, respectively.
Once you’re in, find home/pi/RetroPie/roms/ in your RetroPie’s file system and dive into the proper folder for your ROMs: Super Nintendo ROMS go in home/pi /RetroPie/roms/snes, for instance, and NES ones go in home/pi /RetroPie/roms/nes.
If you are at all familiar with STFP, you’ll probably find this method to be quicker and easier. But both of the methods we’ve described here are pretty foolproof! Just make sure that you’re adding the ROMs to the right folders.
Dressing up your RetroPie setup
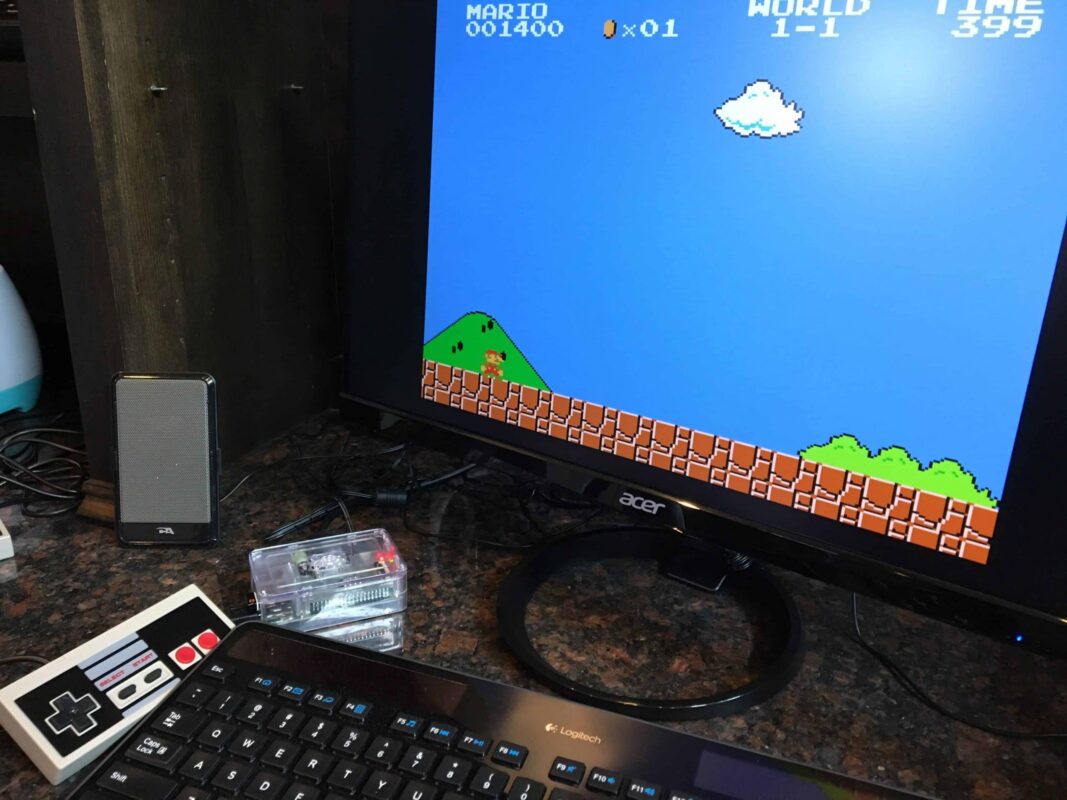
Put everything together using the instructions above, and you’ll get a tiny machine that offers big-time retro gaming fun. All you’ll have to do to start playing is plug in a power supply, HDMI cable, and USB controller. Stick the other end of the HDMI cable into a TV, and you’ll be off and running!
But you don’t have to limit yourself to that basic setup. There are lots of cool ways to turn your RetroPie setup into something more interesting, portable, or aesthetically pleasing.
Let’s start with the basics. Grabbing a case for your Raspberry Pi is a bright move, because it will keep dust and dirt away from your Pi’s more delicate parts and will make your RetroPie setup look a bit more professional. A power supply or case with a built in on/off switch would be a nice touch, too. And you could go wireless by grabbing a wireless game controller with a USB dongle or using Bluetooth to connect a DualShock PlayStation 4 controller, Xbox One controller, or even a WiiMote to your RetroPie.
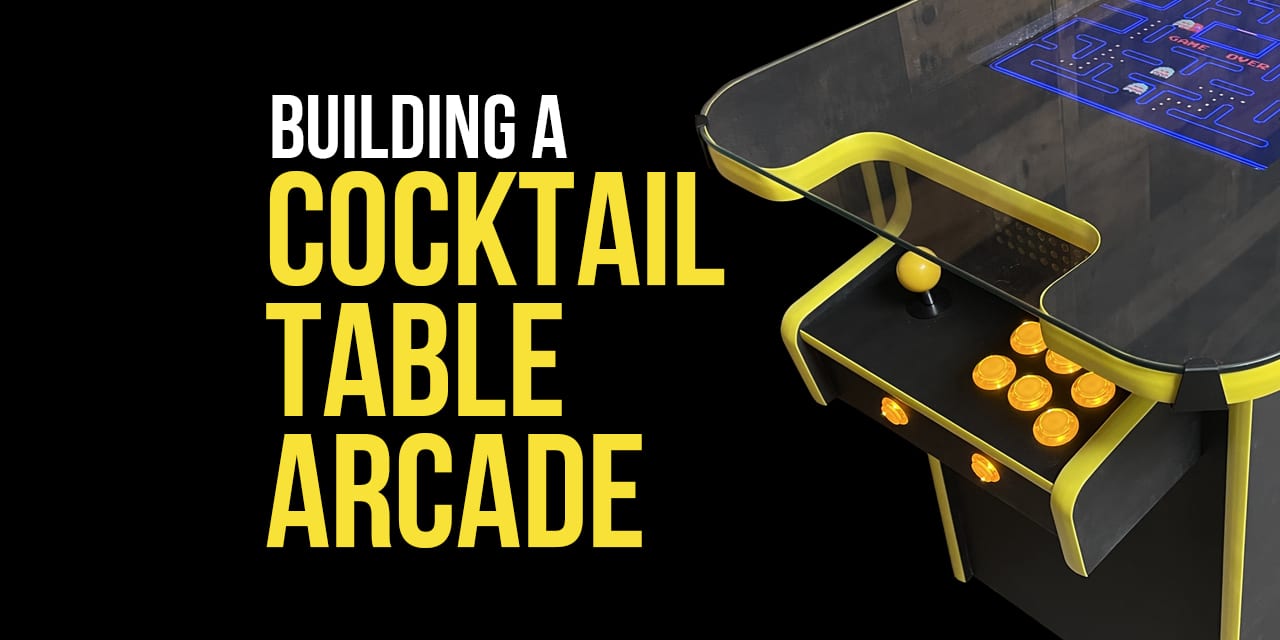
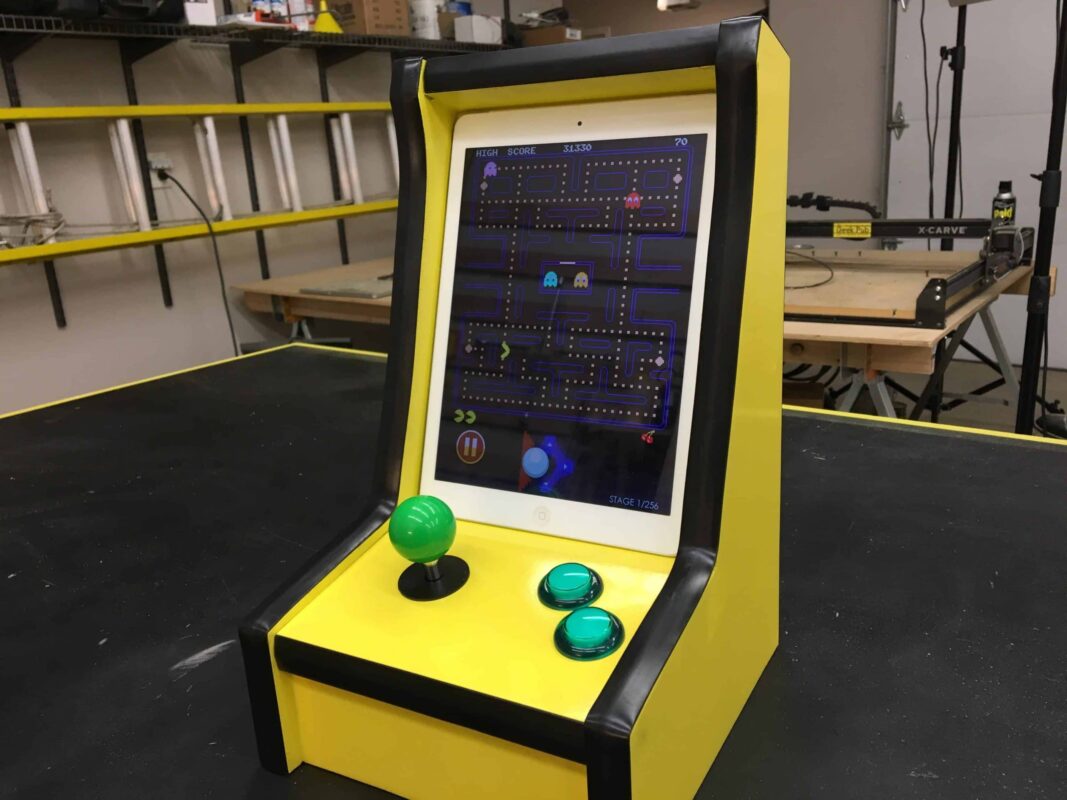
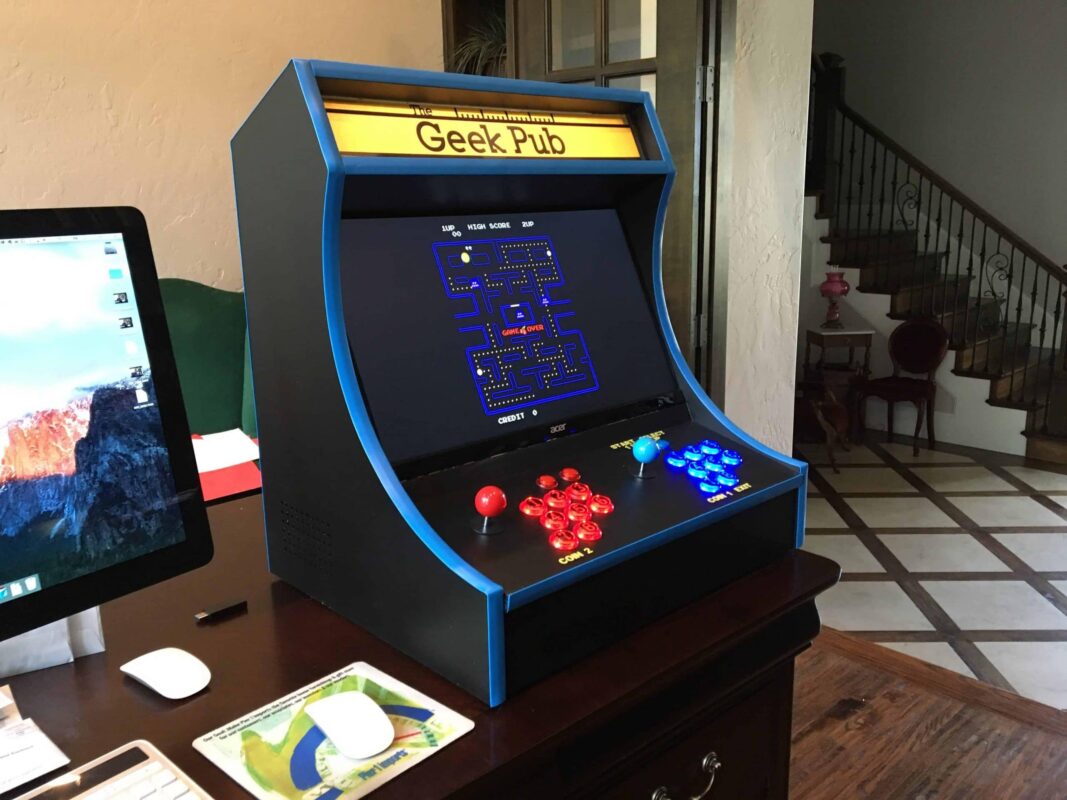
There are lots of LCD screens available that work with Raspberry Pi devices, and that opens up possibilities a lot of cool DIY projects. For instance, these tabletop arcade plans will help you build a RetroPie into a mini-arcade that you can play on your kitchen table or coffee table. If that idea doesn’t appeal to the interior decorator in you, or if your spouse says that the kitchen or living room is off limits, never fear: Just call ’em bartop arcade plans and keep your new toy down in your basement barroom. Just be forewarned that timing Mario’s jumps gets a little tougher after a couple of cold ones.
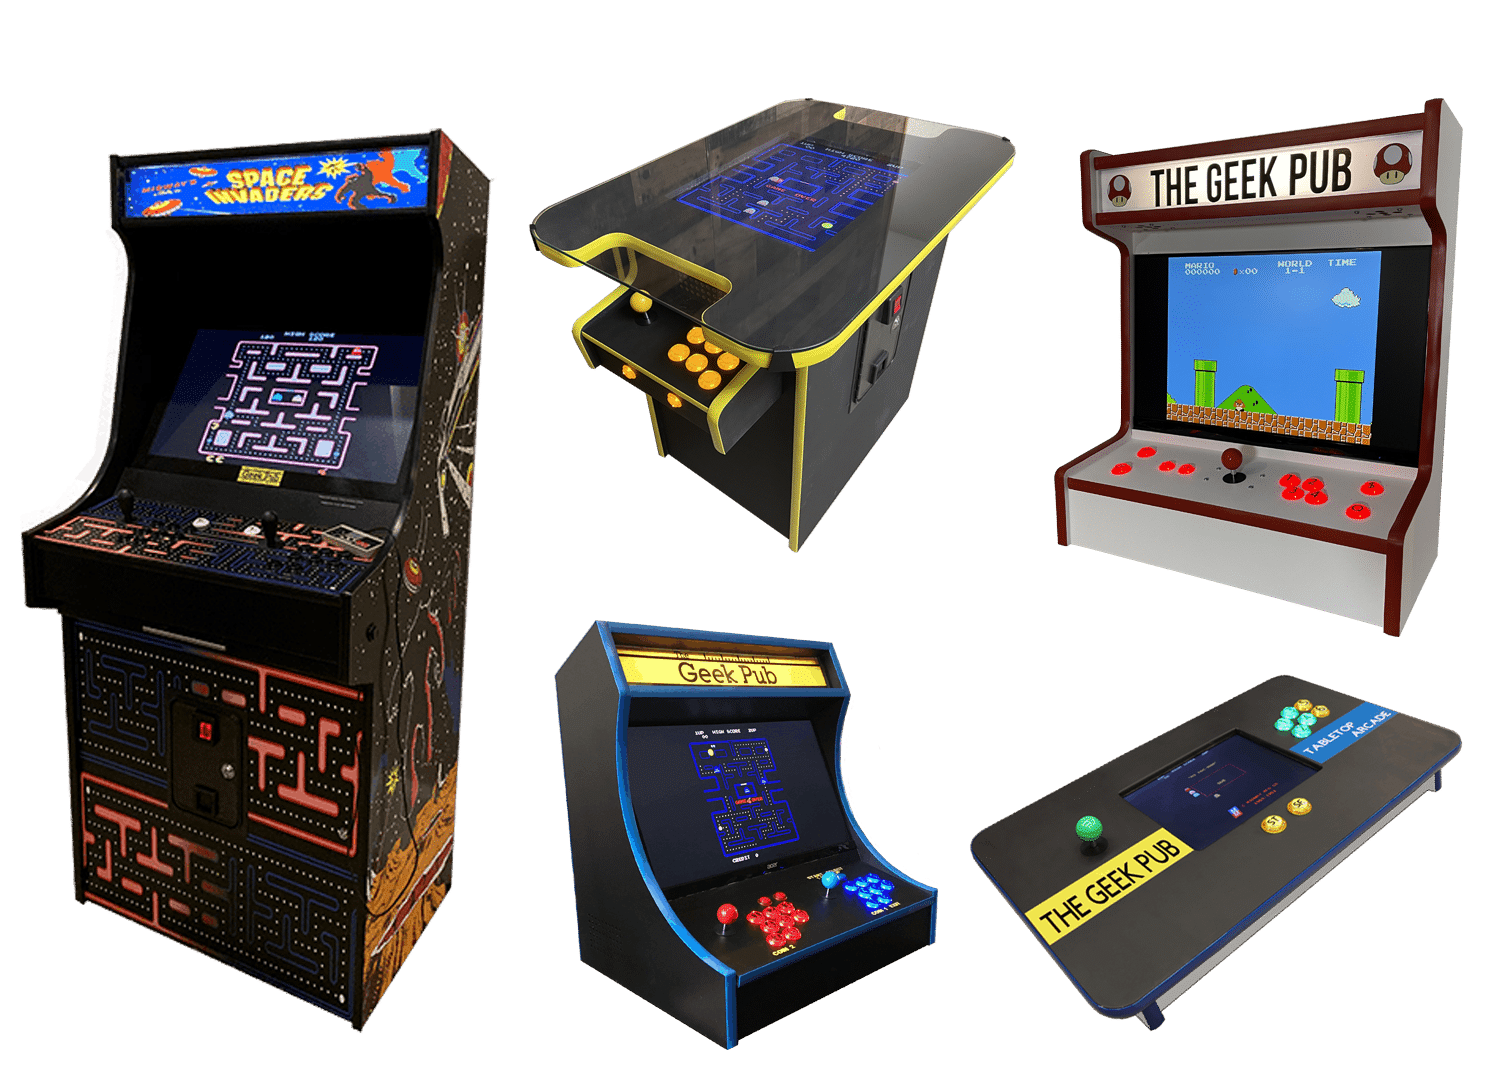
Freestanding and portable RetroPie setups make for awesome projects. These arcade cabinet plans will guide you through the process of housing your whole RetroPie setup inside of an appropriately boxy retro arcade cabinet. If you’re feeling daring, you can even set up your RetroPie to work inside of a real, full-sized vintage cabinet. Grabbing a non-functional arcade cabinet on the cheap and bringing it back to life with a RetroPie is a whole lot cheaper than buying a functional arcade cabinet — and will let you play a zillion (just a rough estimate) times more games.


5
Fantastic guide! Been looking forward to this one!
Can you use a PS4 controller with this?
Mike,
Nice guide!! Only correction I’d offer is that Step 2 is completely unnecessary. Step 2 creates a partition table on the SD card which is immediately overwritten by Etcher in Step 3 — yup, Etcher lays down it’s own partition table. Once you boot Retropie, it compares the Etcher-written partition table to the full size of the SD card (Step 6) and adjusts to fill it.
I enjoy reading your guides!!
Sort of. The point of this guide is to make sure it works for everyone. And some SD-Cards are finicky, and have trouble being formatted with Etcher. This prevents that and 500 comments saying their card won’t format.
4.5
What am I oing wrong.
I have twice pet the image on to uSD card and booted my Pi 3B+ after pressing F4 as I dont have a ciontroller yet it then goes to Command line .
I put my usb stck in and it made the files for different gane systems ,.
If that is correct how do I launch the application,???
Brian
Wrt the ethics of downloading ROMs, it is certainly illegal, but the law isn’t just or moral in the case of copyright law, because the law has been tainted by the greed of corporations who have lobbied for decades for anti-comppetitive changes in copyright law. From a moral standpoint, one could argue that these companies created arcade games in the 70’s and 80’s and now, 35 years later, they have made as much profit as they are going to make from those IP. Making profit ad infinitum was not the original intention of copyright law. The only people now really interested are those who grew up with those games and have an interest in the retro scene. I see no moral problem with downloading ROMs for games from the 80’s, but that’s just my opinion.