Blog
Space Invaders Arcade Repair
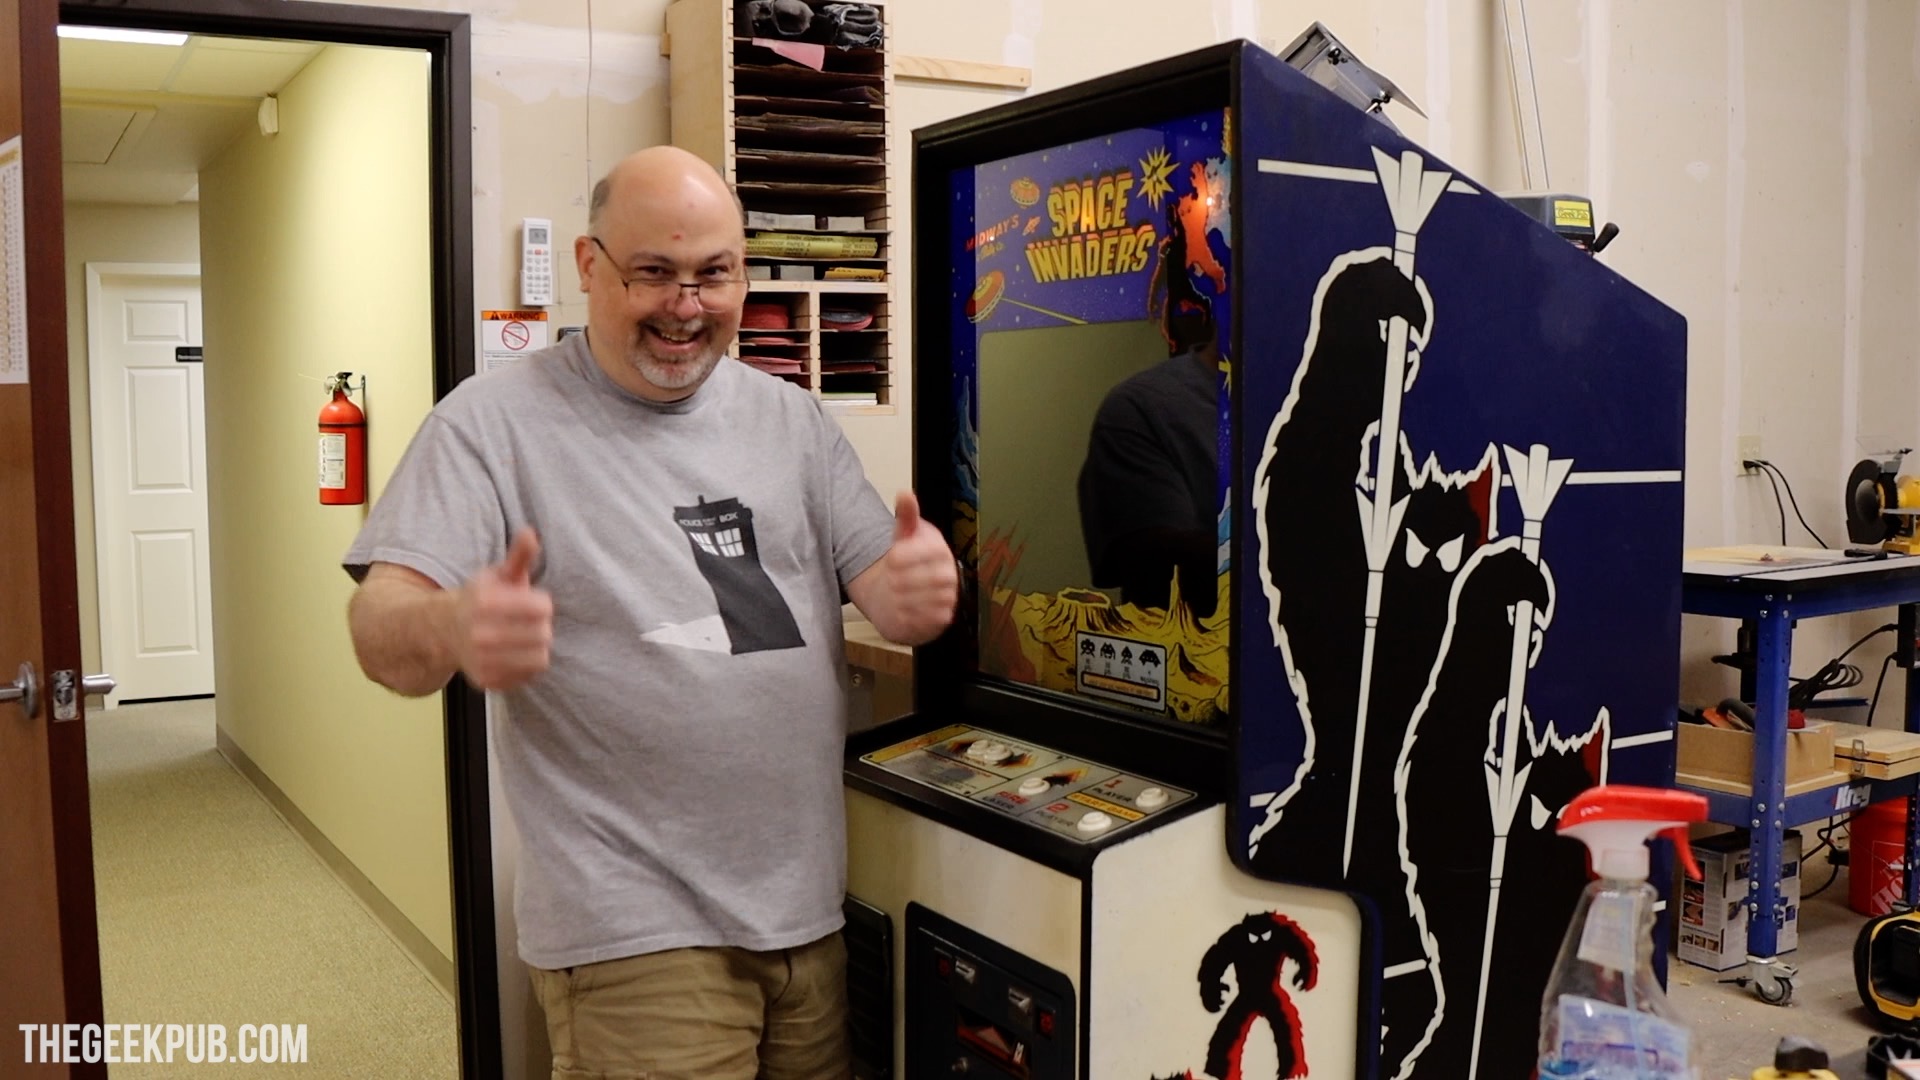
I recently bought a really cool vintage Space Invaders arcade cabinet. It looks great. It’s in amazing shape for being 43 years old. However, the electronics side of it left a little to be desired. In this post we’re going to do a Space Invaders arcade repair and bring this cabinet back to life!
Space Invaders Arcade Repair Video
Watch the Space Invaders arcade repair video for more info!
Space Invaders Arcade Repair: I bought a broken one!
As you can see the cabinet is a little dusty, but otherwise in almost perfect shape!

However, the electronics and wiring (as you can see) are a giant mess! Someone has added all of these jumper wires bypassing the card edge connector completely. So bizarre!

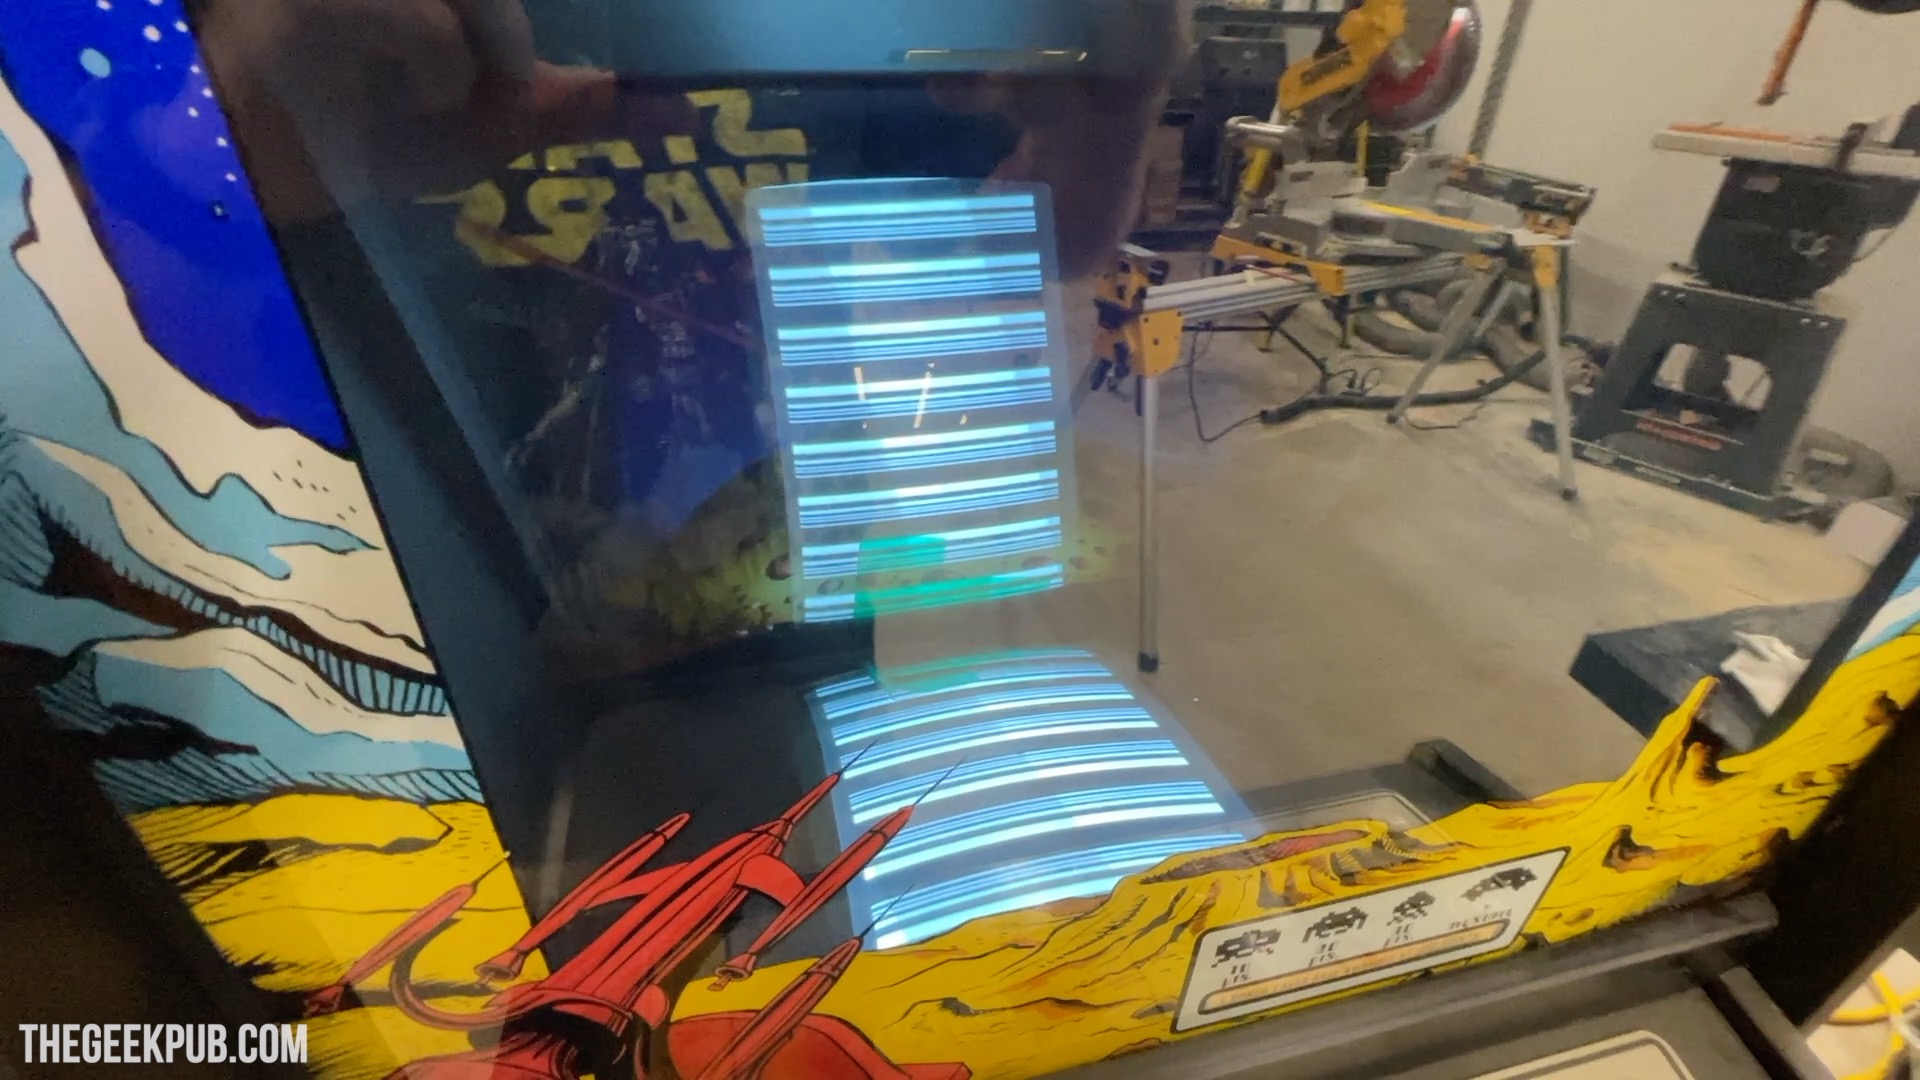
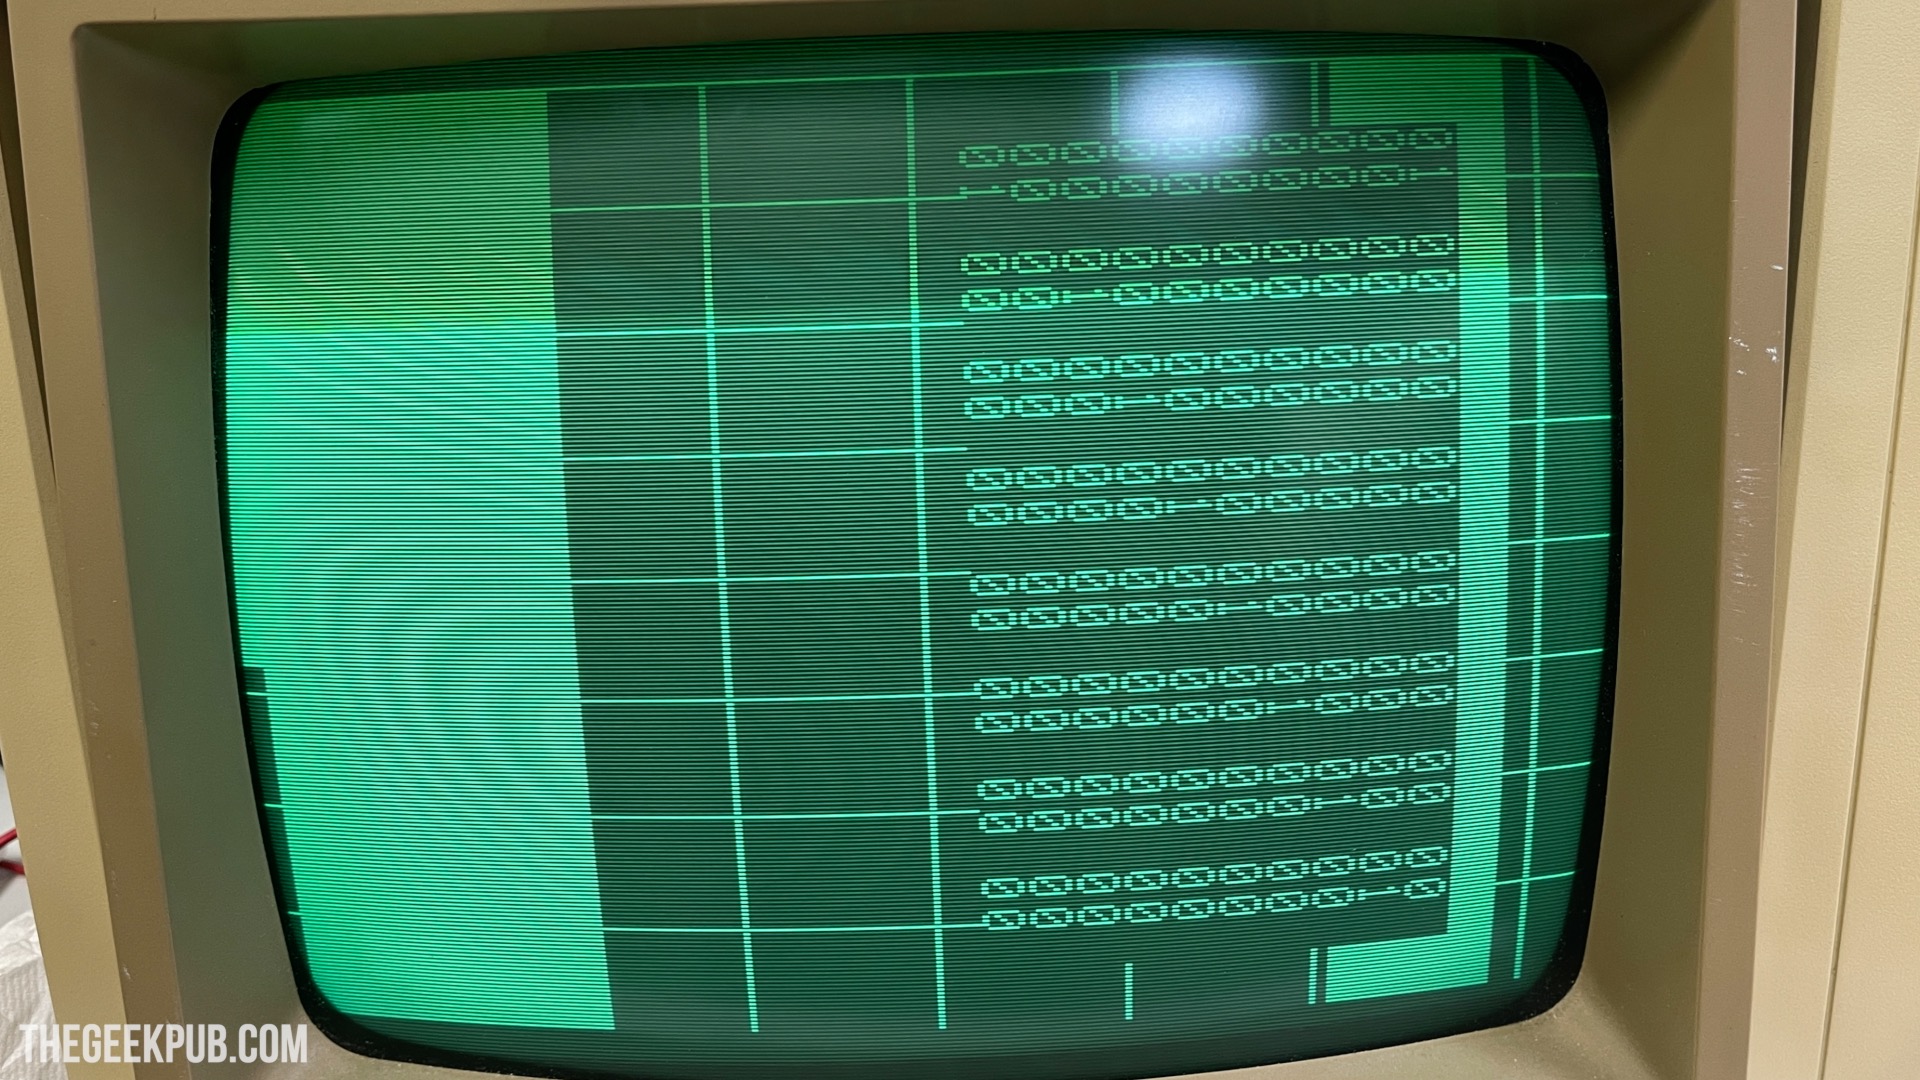
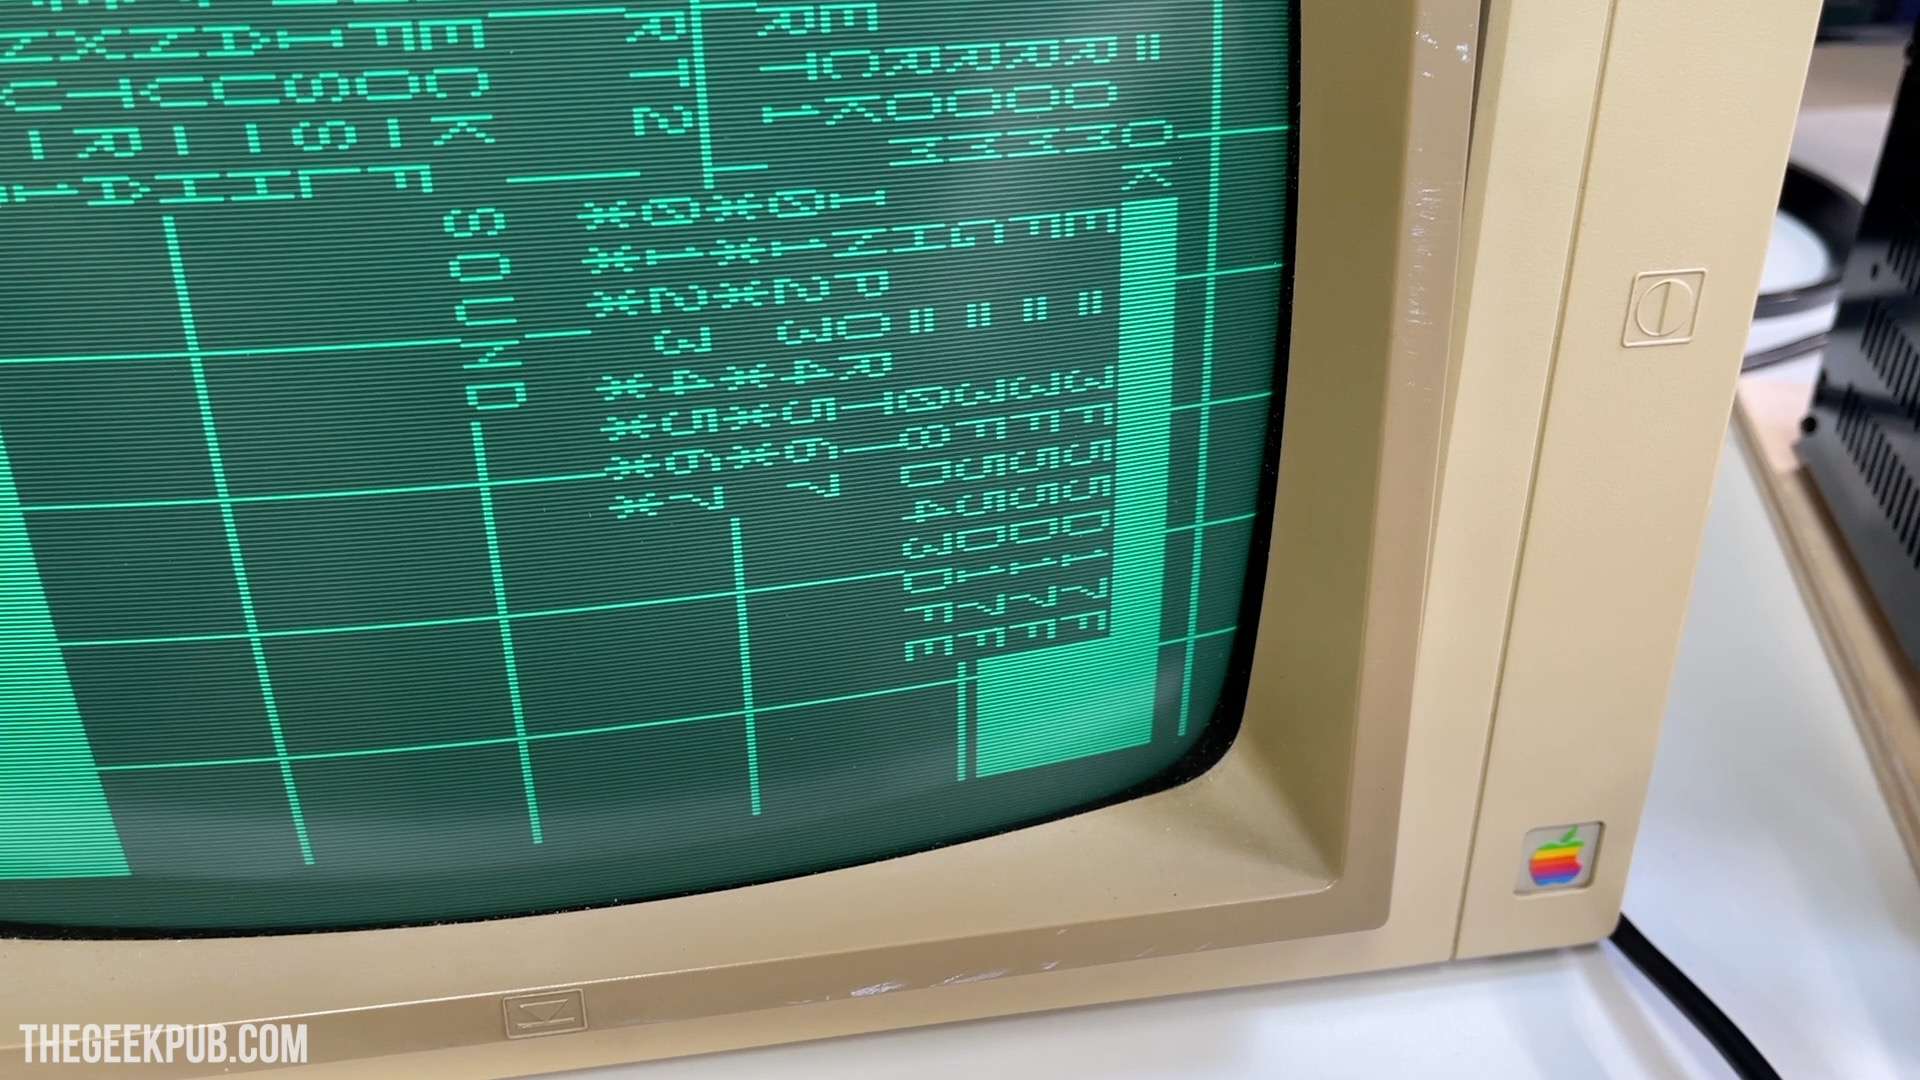
The other problem is that it’s simply showing these bars on the screen rather than loading the game. I initially thought this was the wiring, but as you’ll see shortly there’ more to this issue.
Tools I Used to Repair this Arcade
For all those who wonder which tools I use and where to get them, here’s a handy list to go along with this video and article:
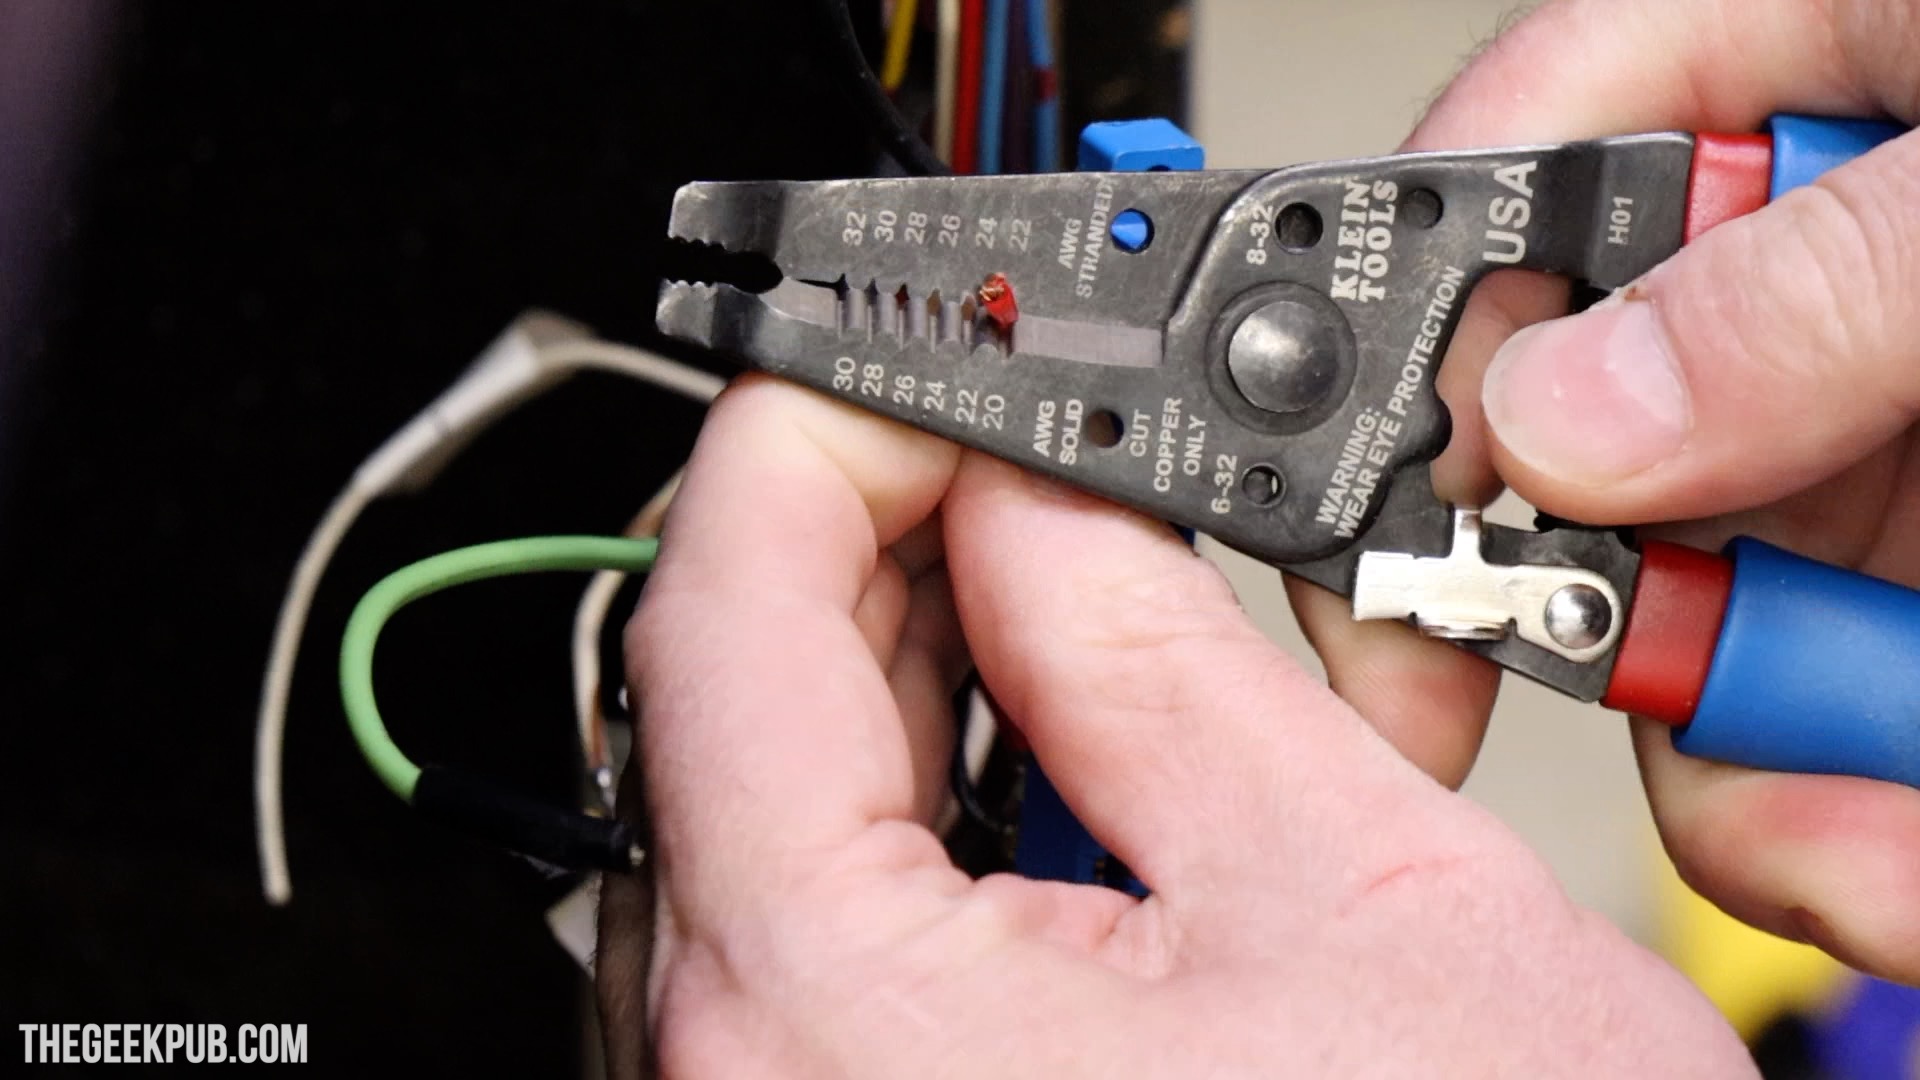
- Wire Cutters
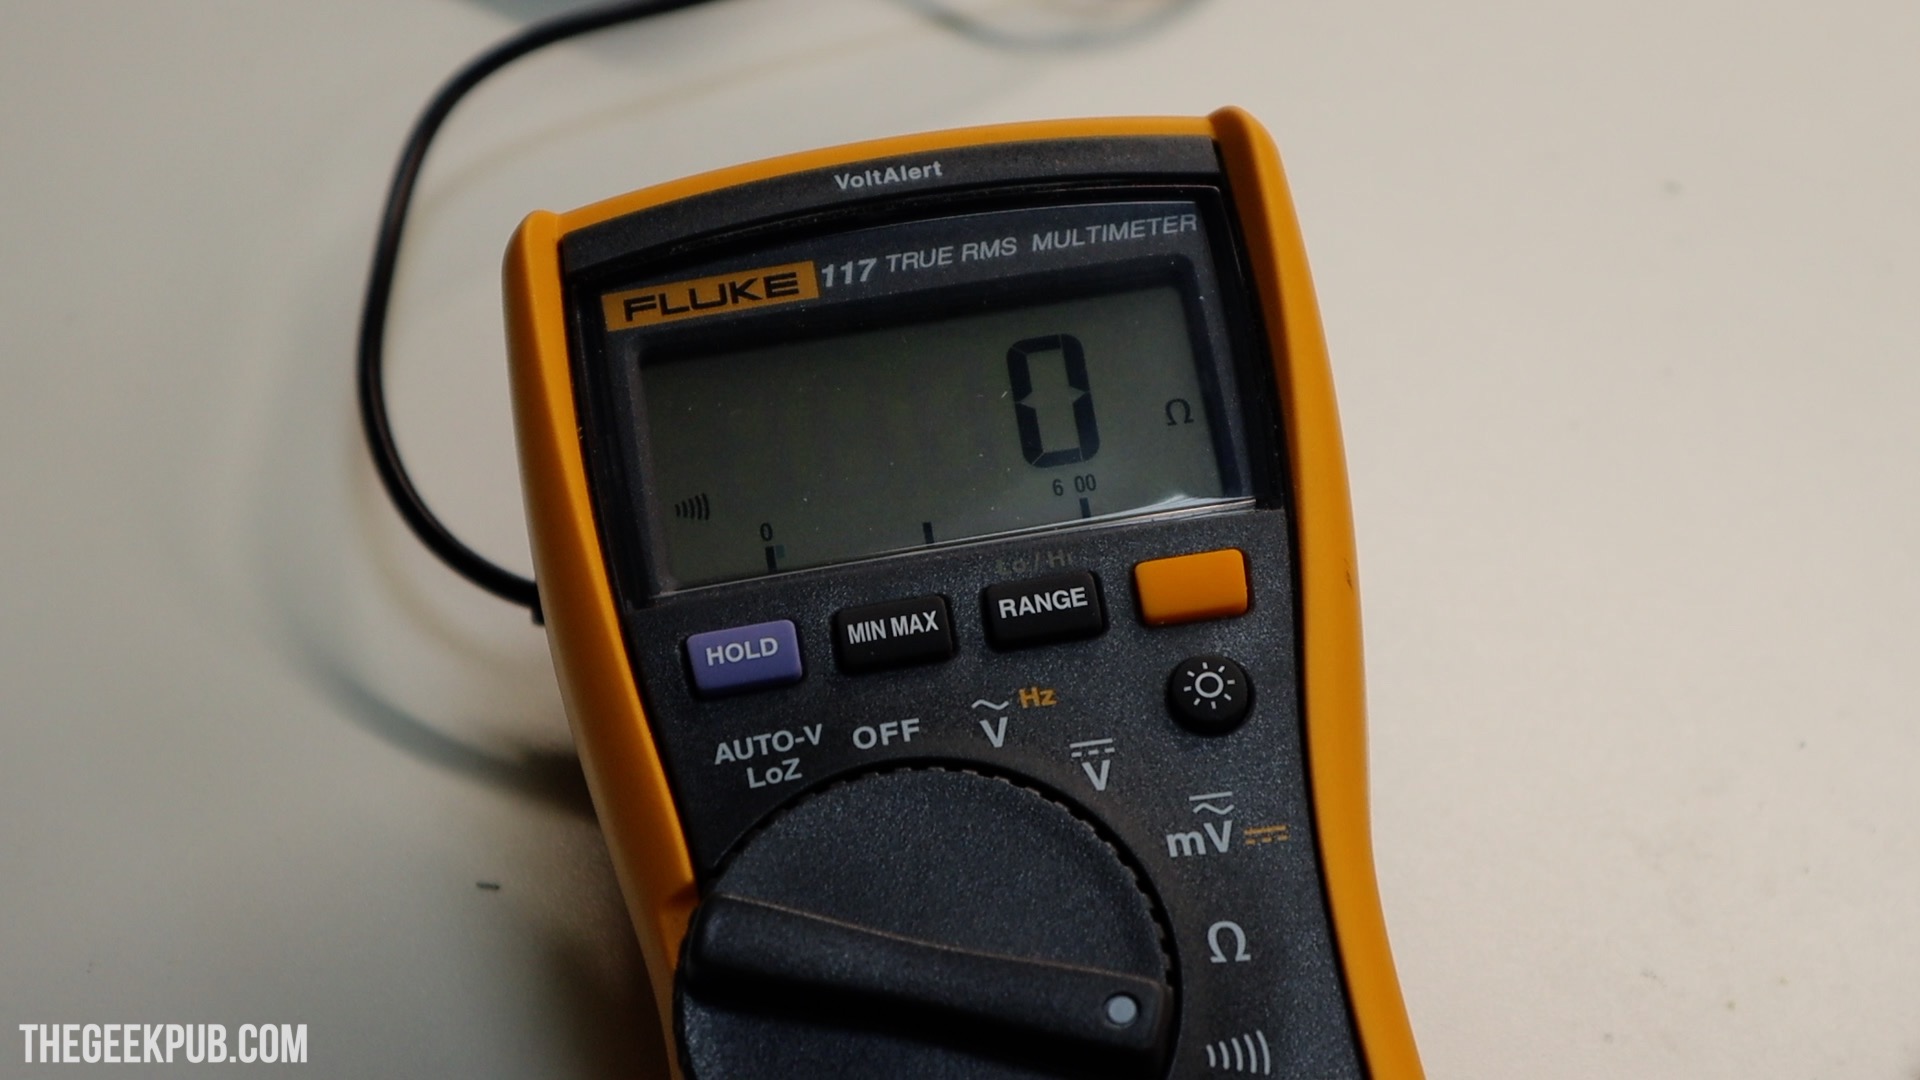
- Fluke 117 Digital Meter
- Weller Soldering Station
- Hakko De-Soldering Gun
- Quad Hands Helping Hands
- 22 AWG Bodge Wire
- EPROM Programmer
- IC Puller
Space Invaders Arcade Repair
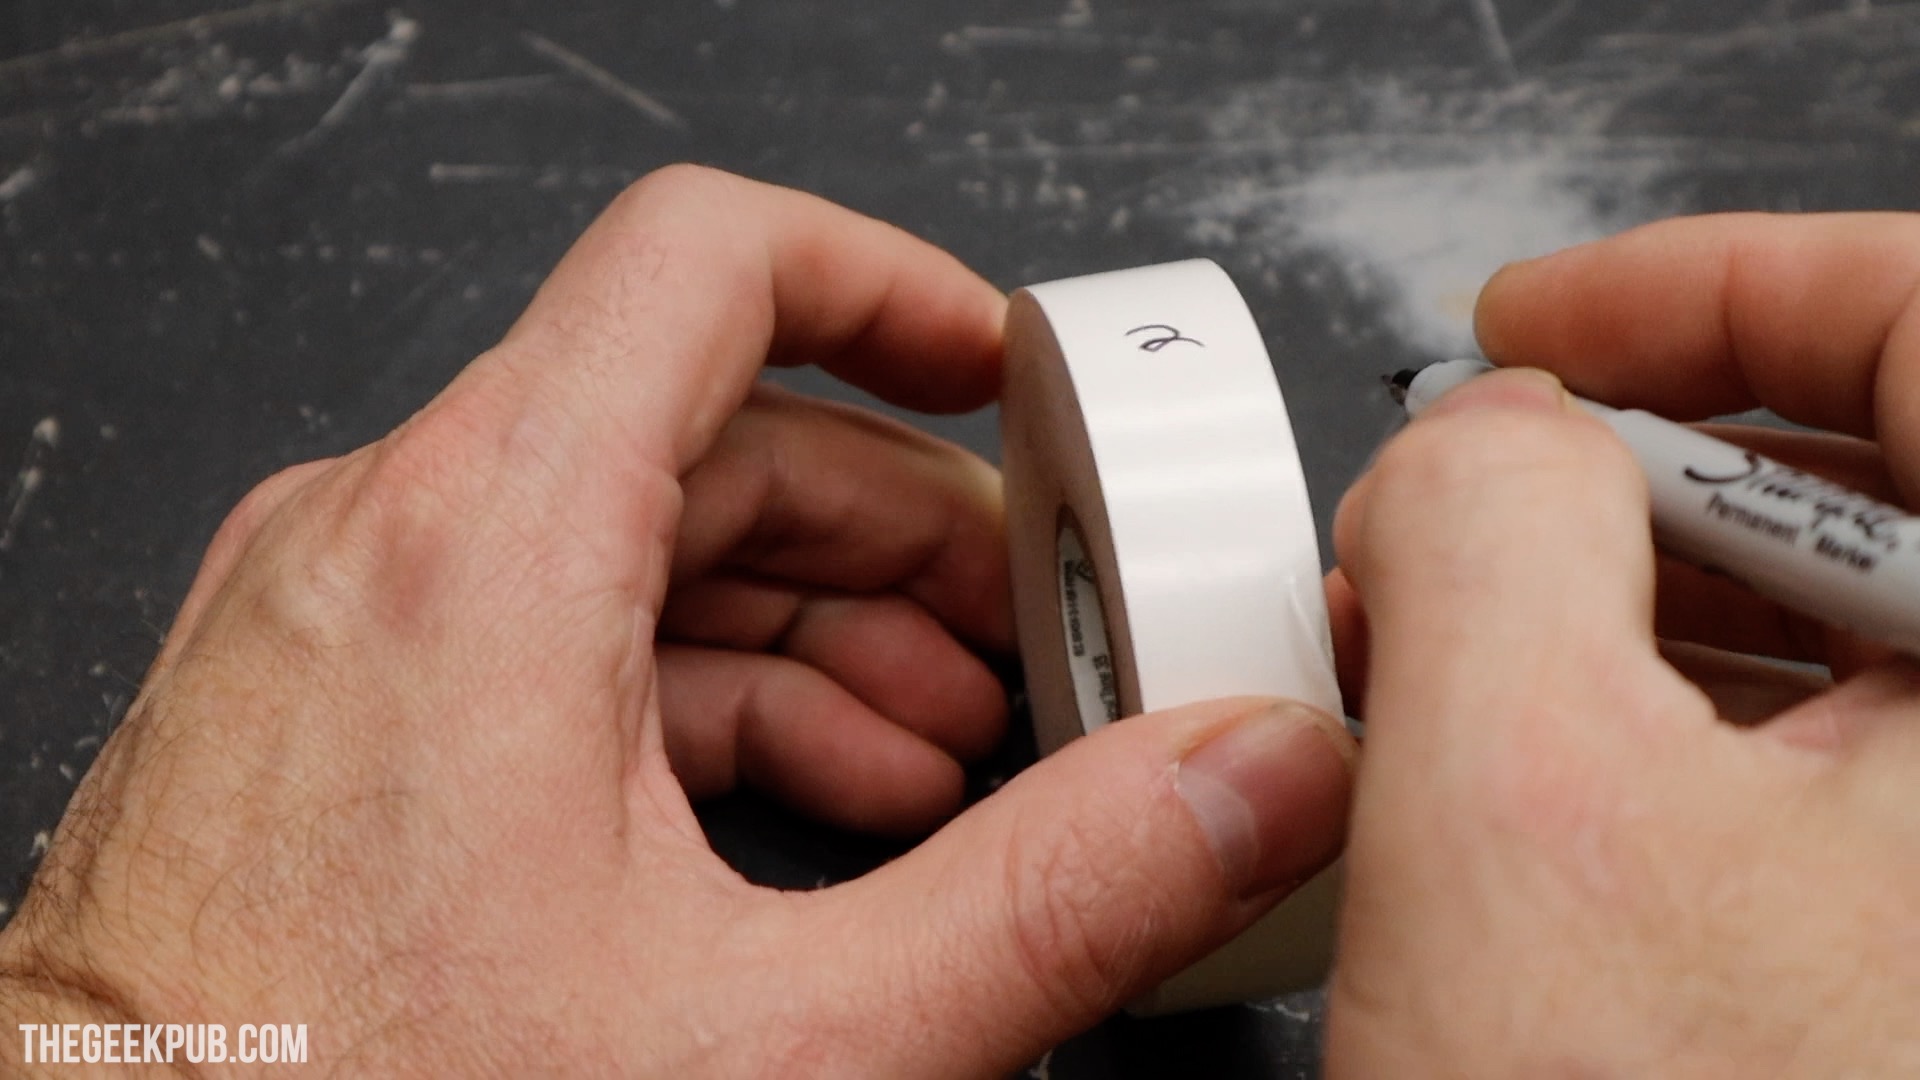
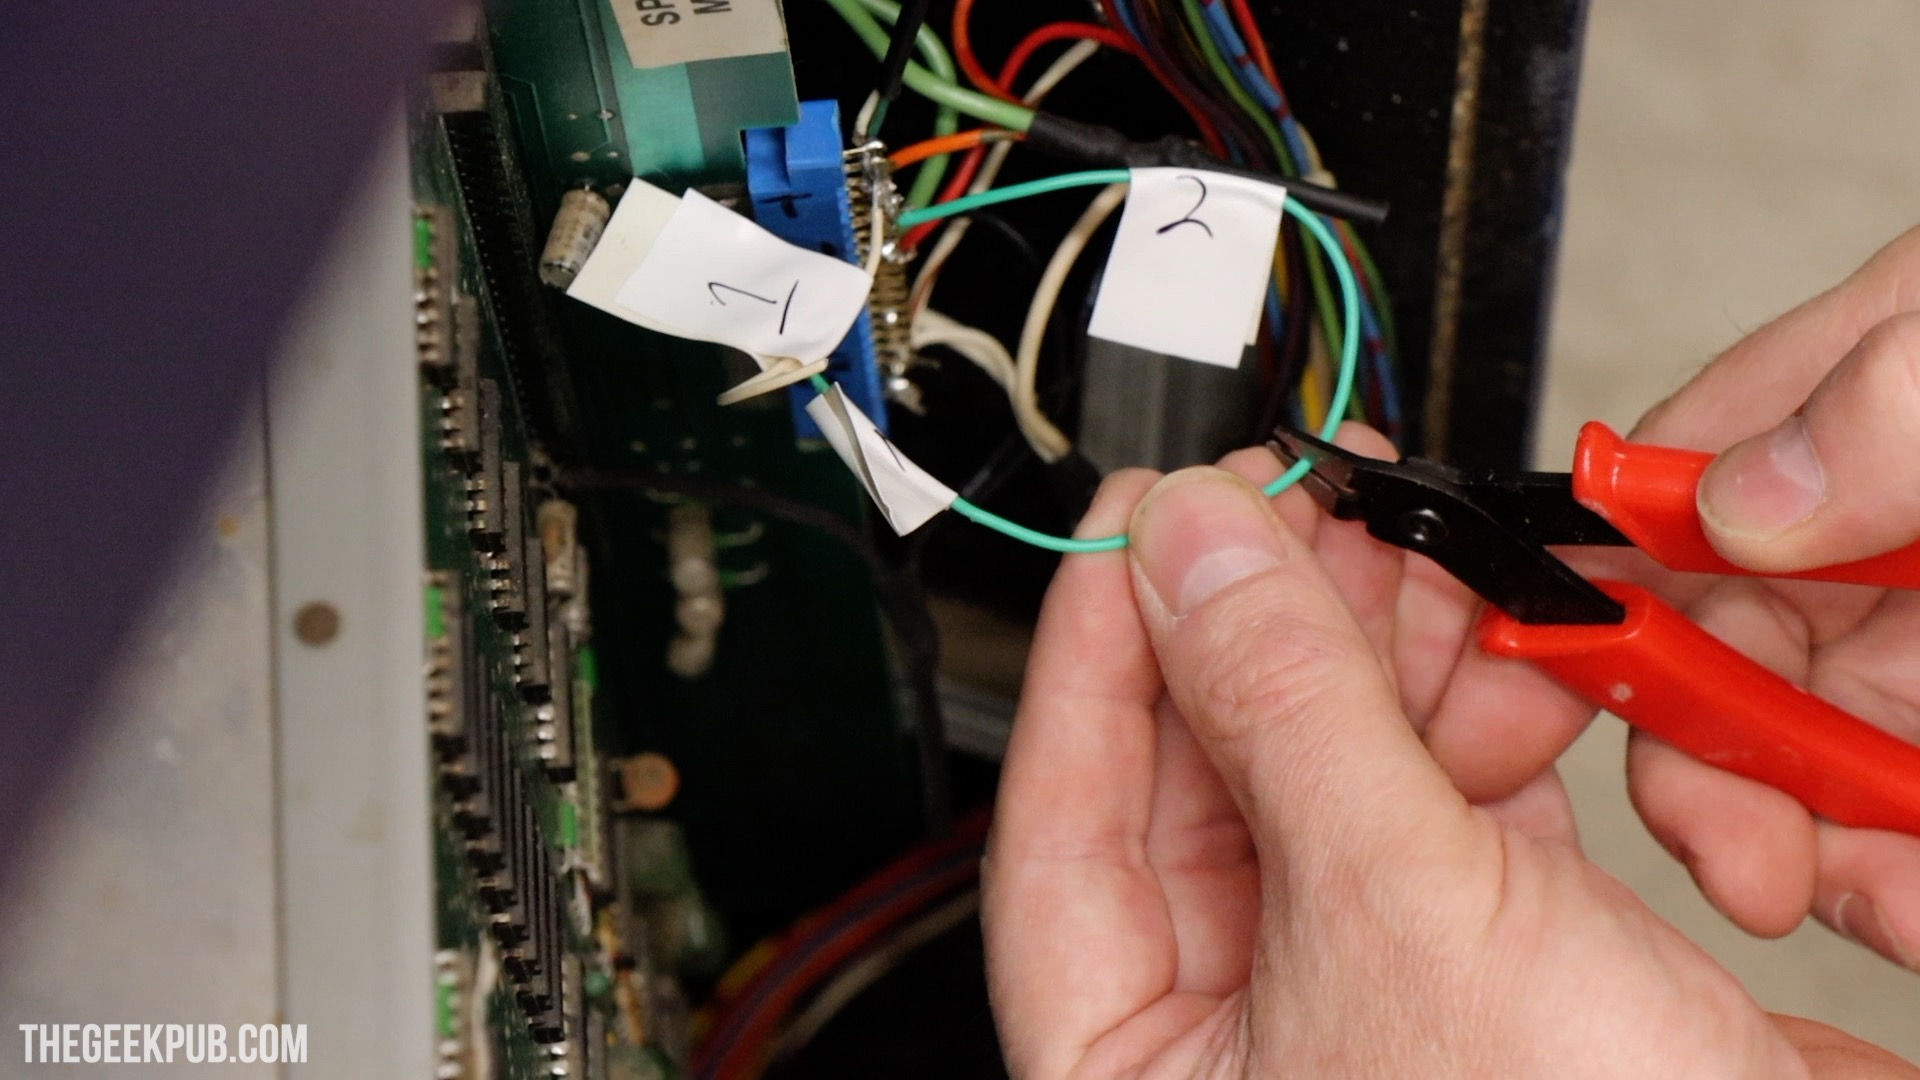
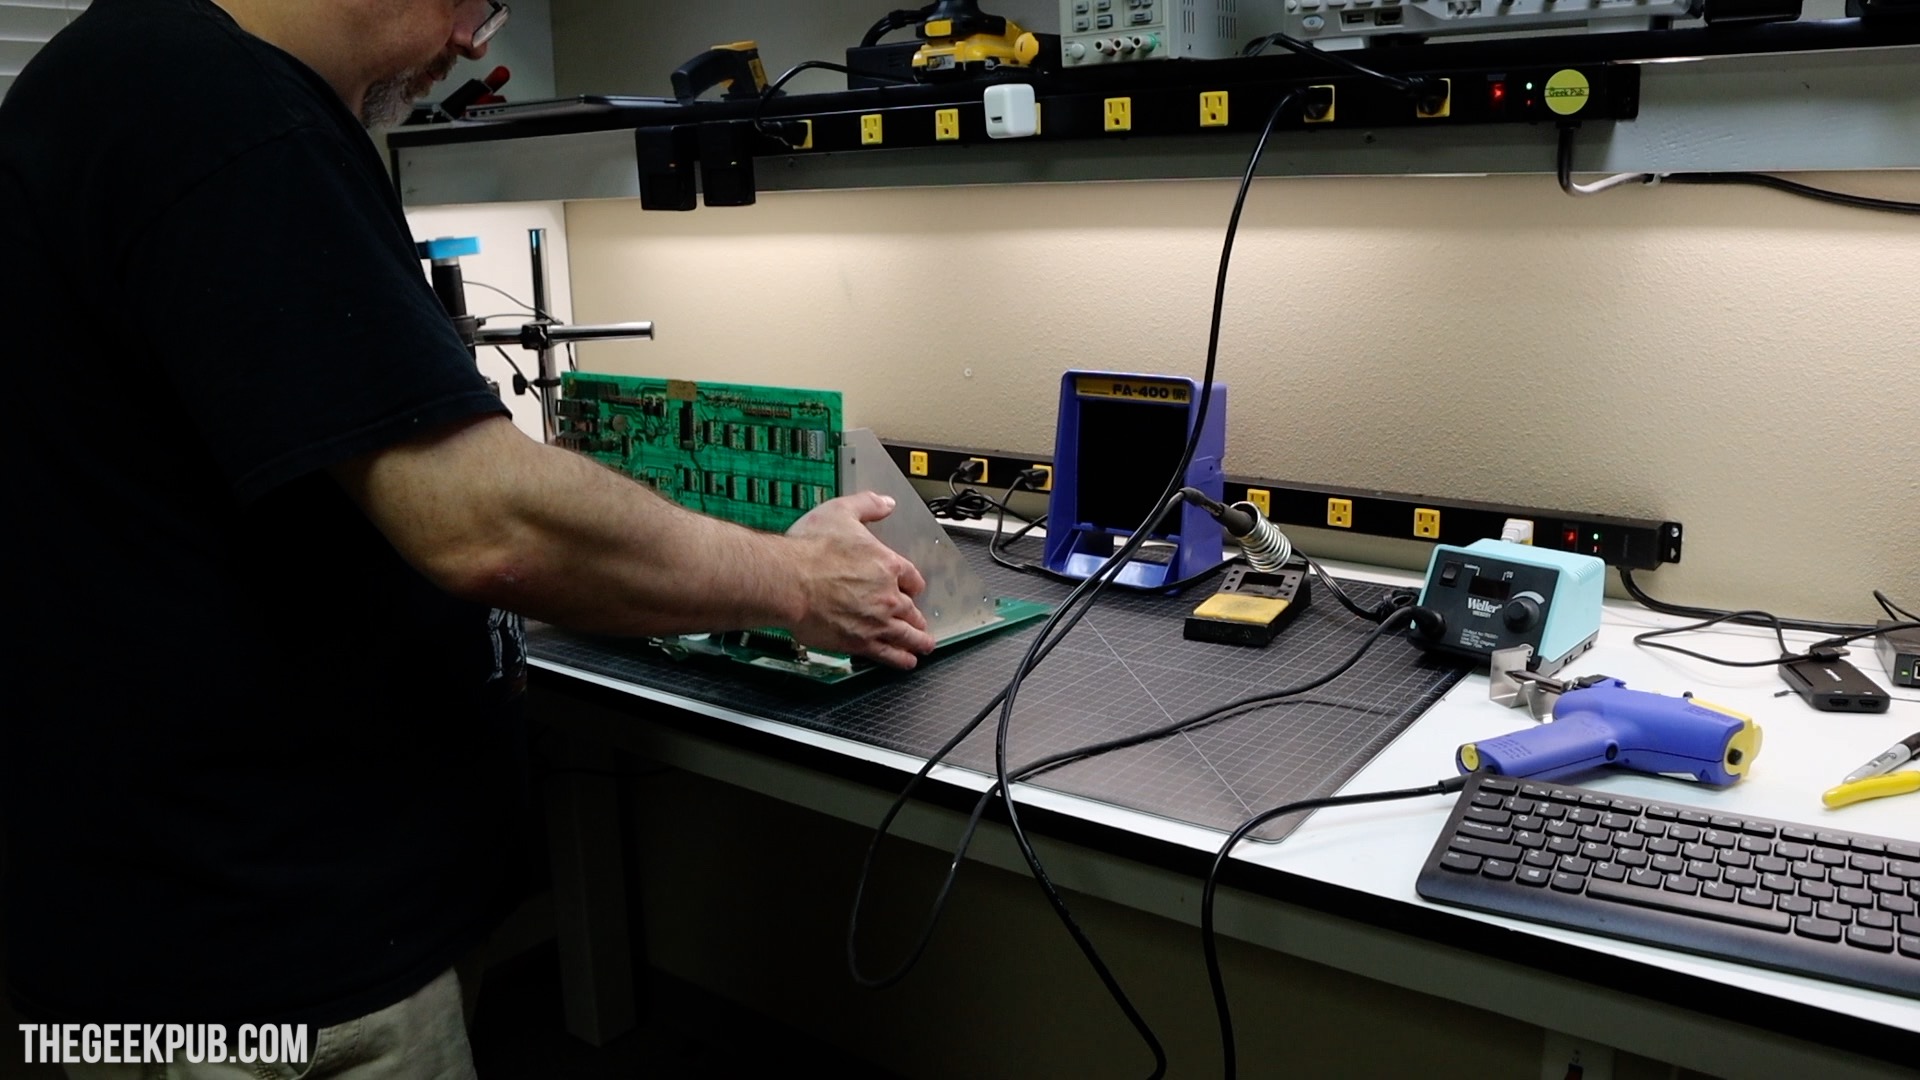
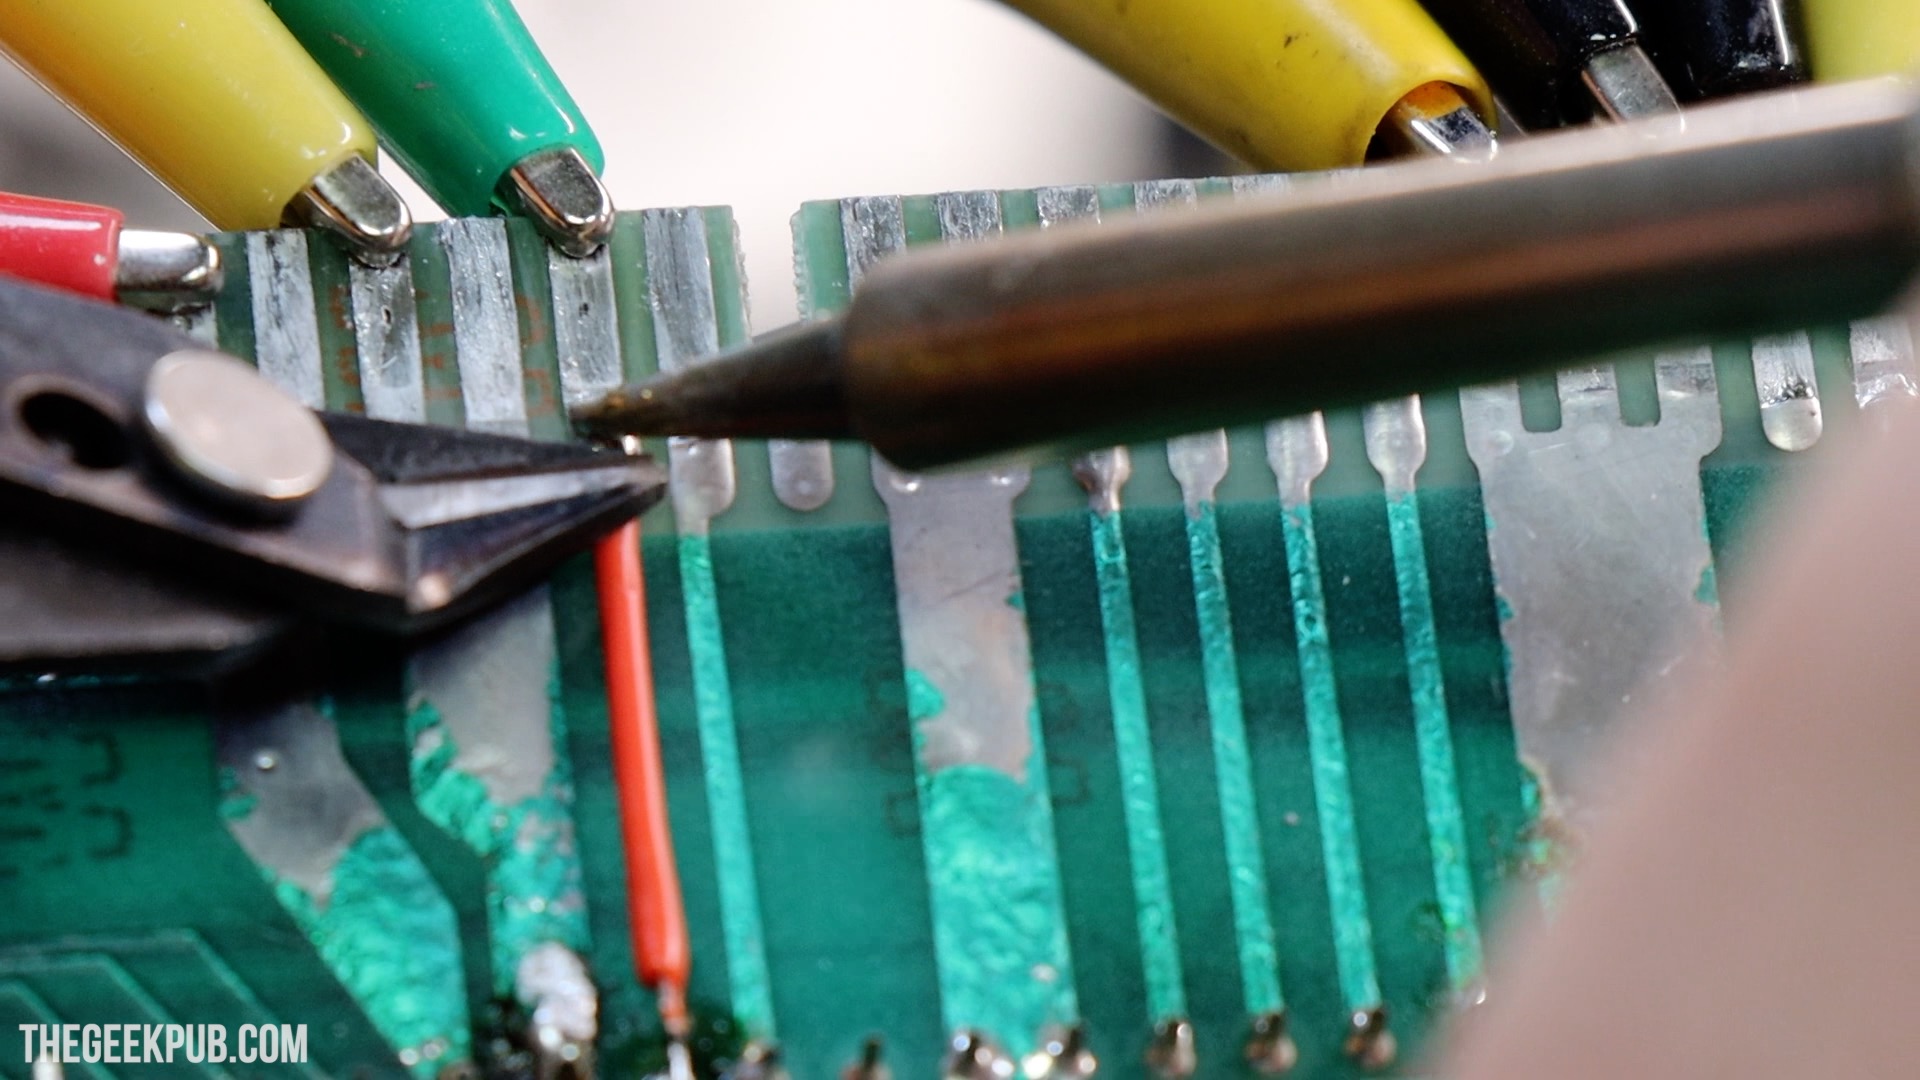
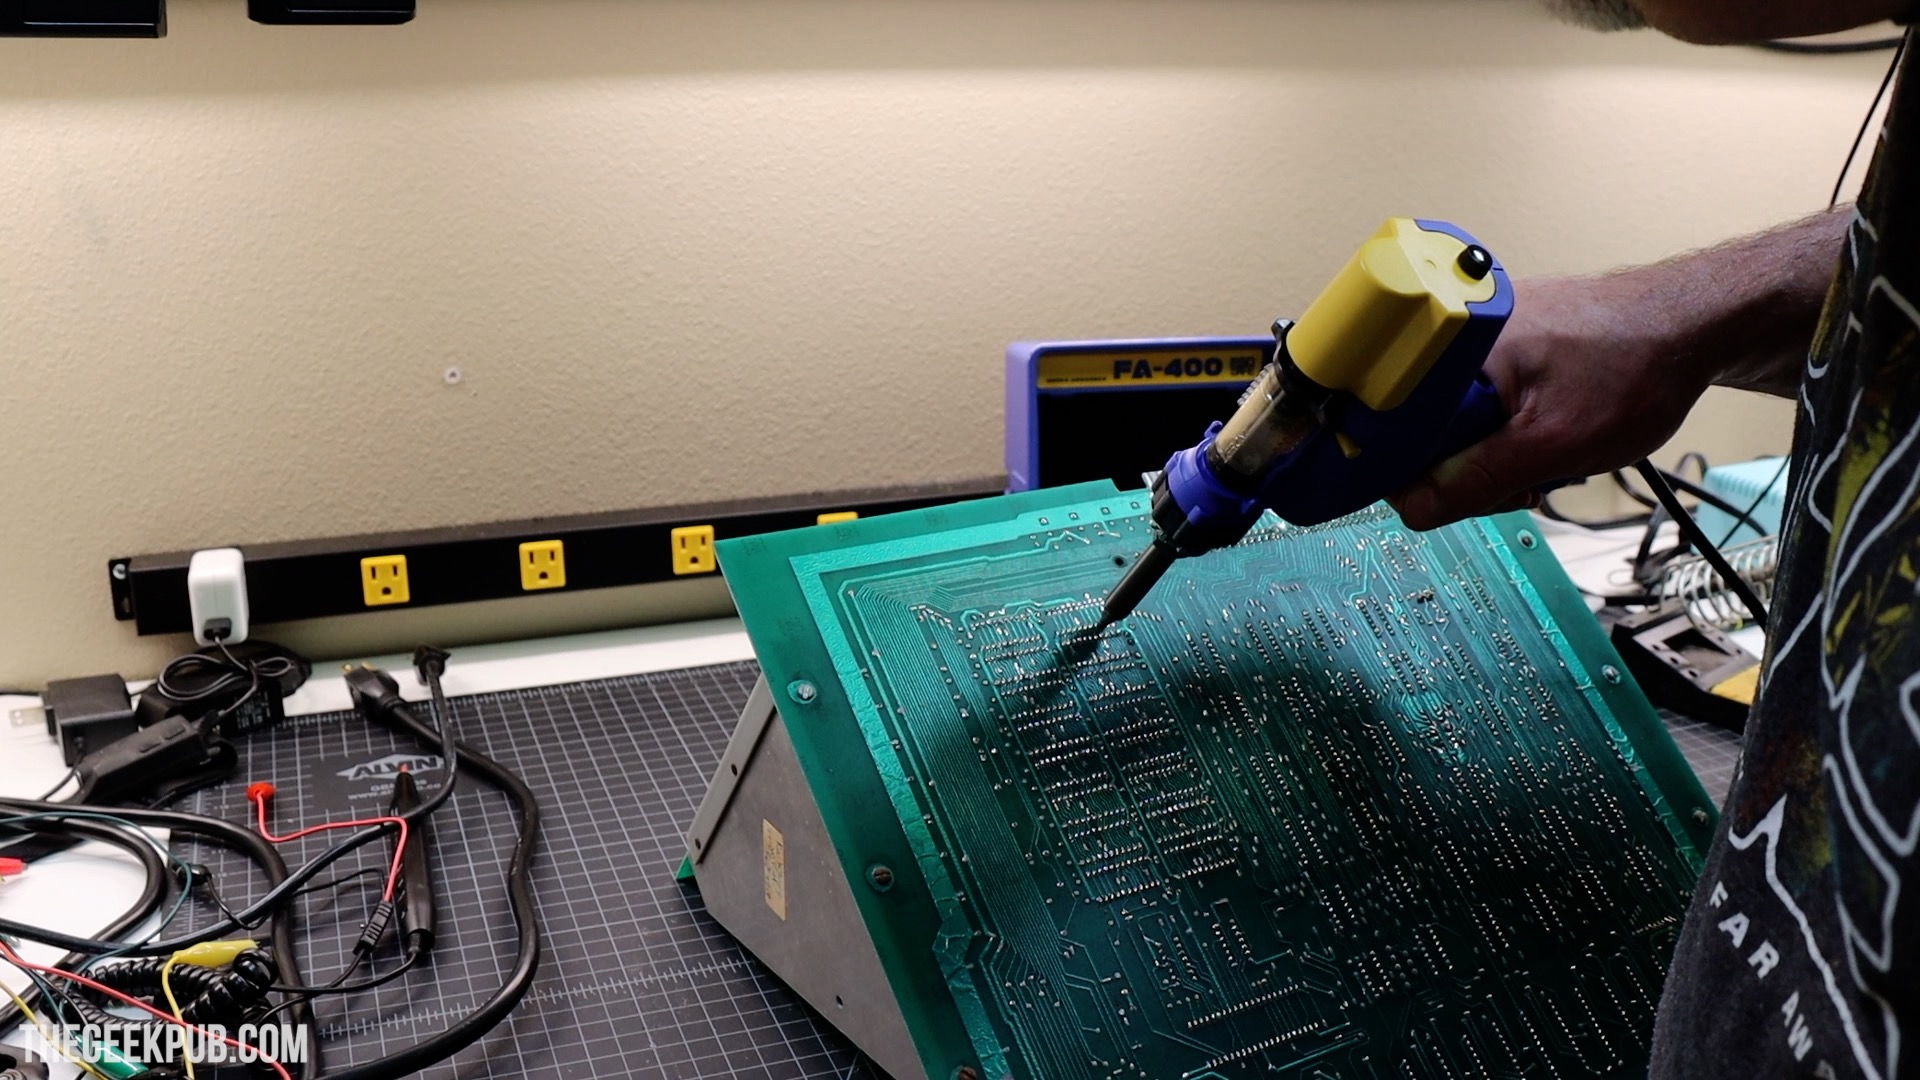
So it’s time to get this thing disassembled and figure out what is wrong with it. Since I don’t know what’s wrong or even why these wires are here, I decided to label them so I would have a back out plan (should I need one). Anytime I am working on something new I always try to make it as easy as possible to backup a step.
After labelling all of the jumper wires, I cut them in half. This allowed me to finally remove the board from the arcade and put it on my electronics workbench.
RELATED: Building an Electronics Workbench
Diagnosing the Space Invaders Board
With the board on my test bench, I can now begin the Space Invaders arcade repair by diagnosing the board and trying to figure out why all of these jumper wires were put in place.
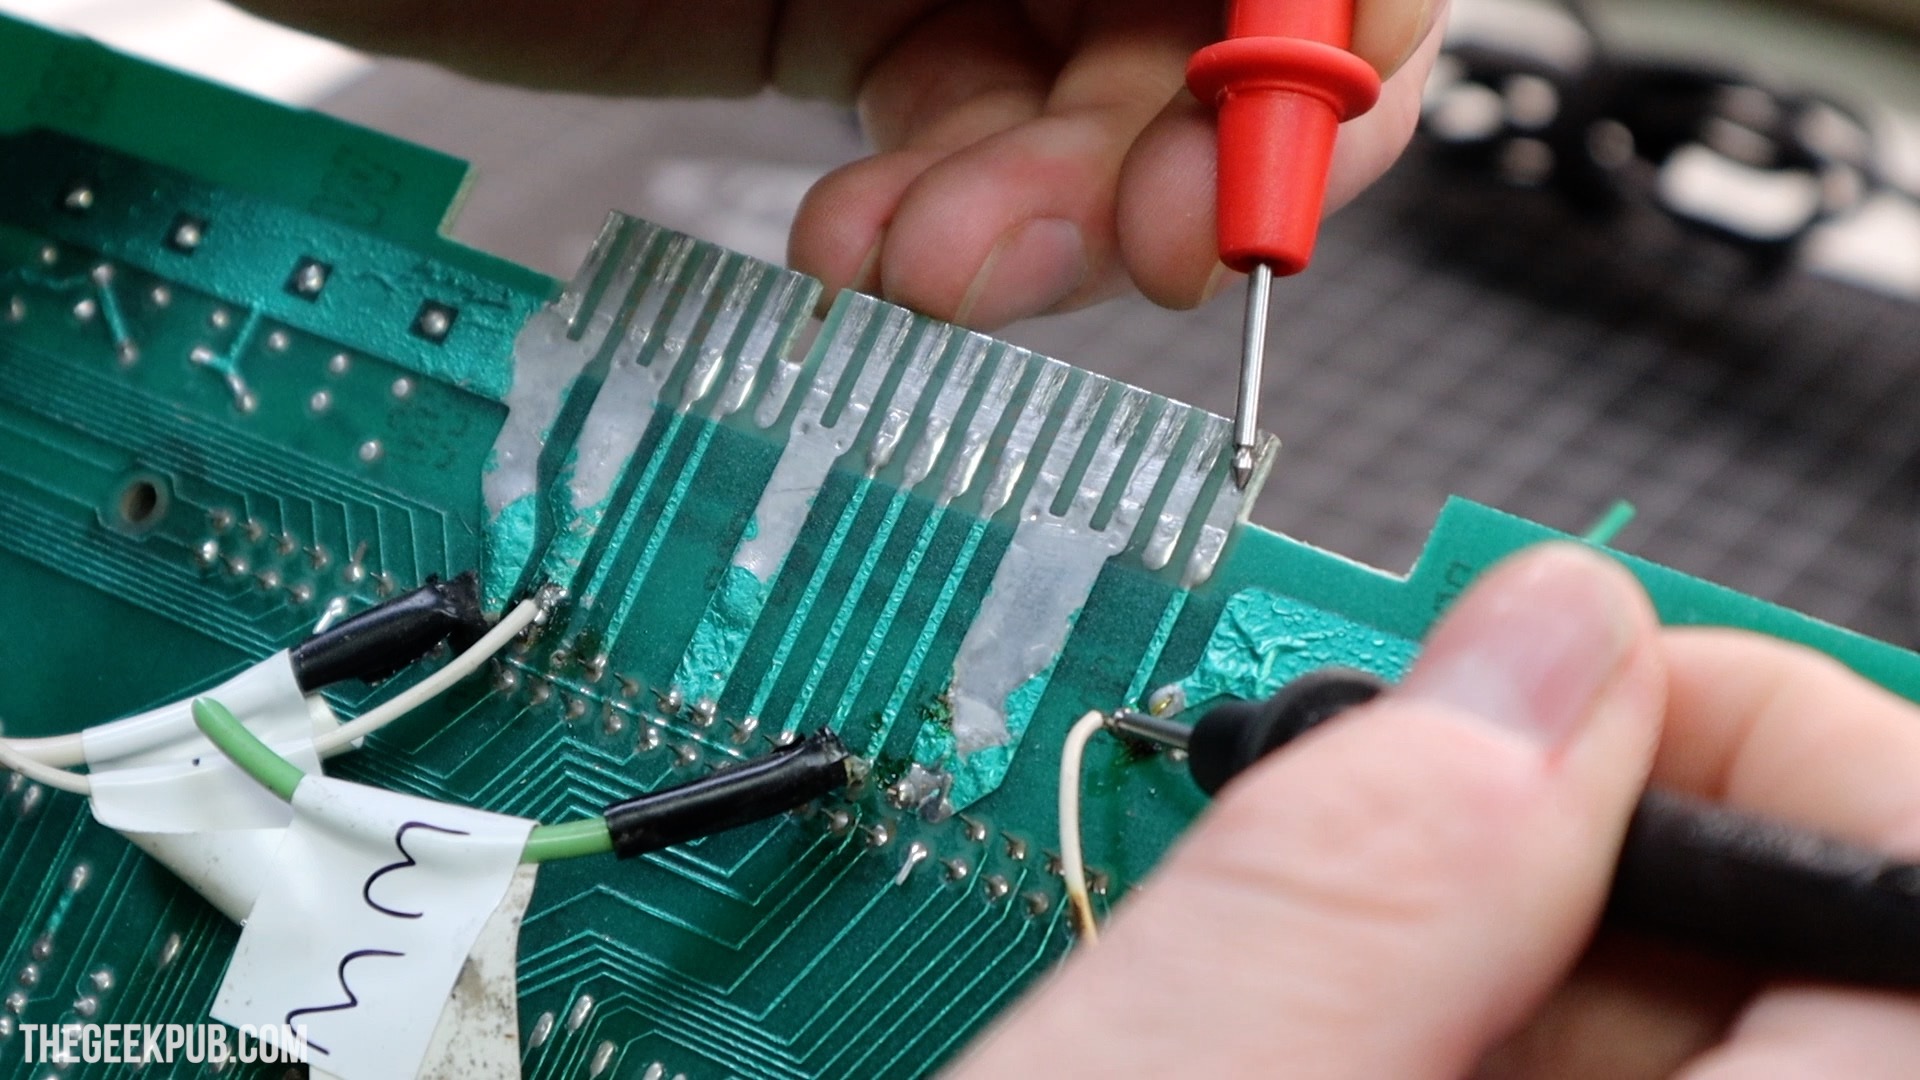
I started by using my multimeter and testing all of the card edges. Although they are very worn, they seemed to all have continuity to the main board and daughterboard (or so I thought, read on).
I couldn’t figure out why all of these jumpers were on there in the first place. This Space Invaders arcade repair was a little confusing! Why had they done this?
Well, I decided to take a closer look at the card edge connector on the cabinet’s wiring harness. I almost immediately realized what was going on. It seems that whoever replaced the original card edge connector didn’t realize that space invaders need a bridged connector. Meaning that both sides of the card edge need to be bonded! So they added these jumpers because there was no signal getting to the board! Insanity!
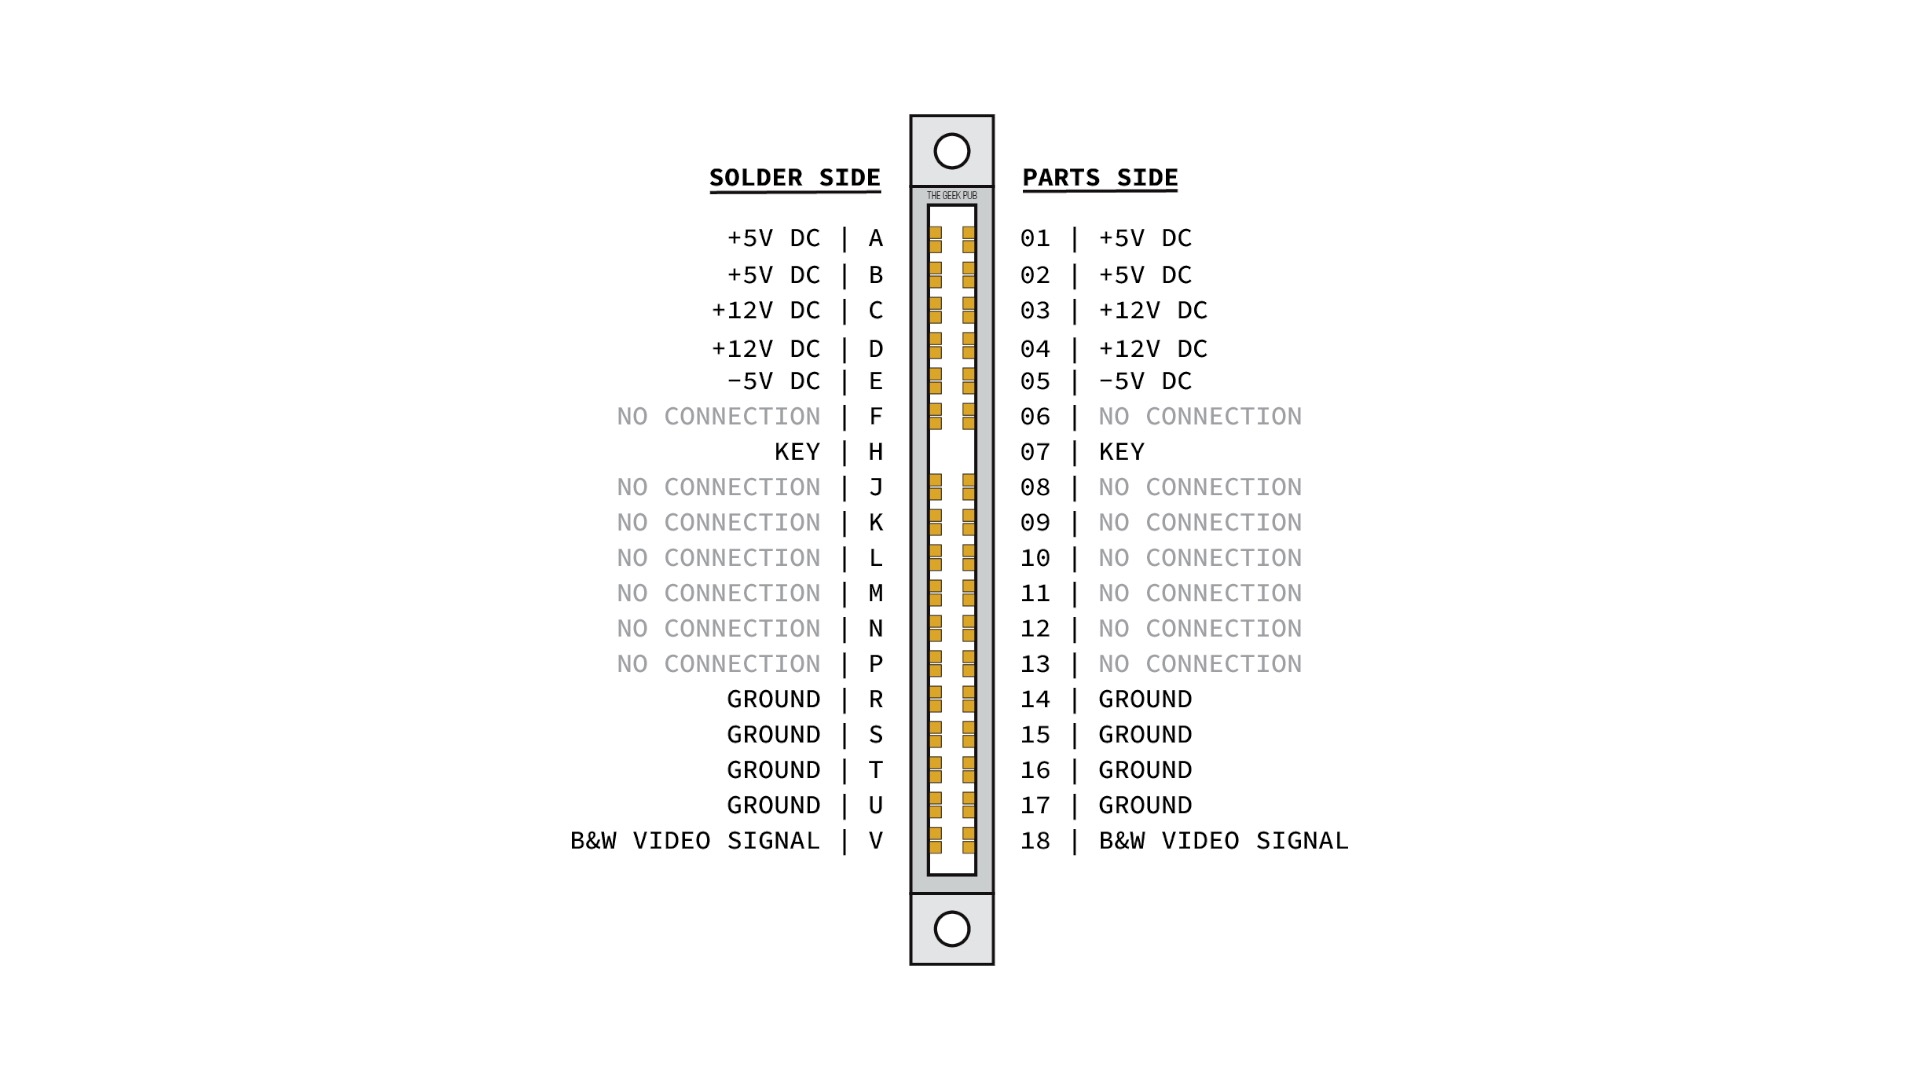
You can see on this diagram and on our Space Invaders pinout post how the wiring is supposed to work on a the cabinet’s card edge. As you can see pin A on the solder side and pin 1 on the parts side are supposed to both be +5V. If you just apply +5V on one side of the card edge, then parts of the board may never get the +5V signal it needs to work.
Removing the Jumper Wires
So with that discovery I felt pretty comfortable removing the jumper wires from the board and wiring harness. We can just add the missing bridges.
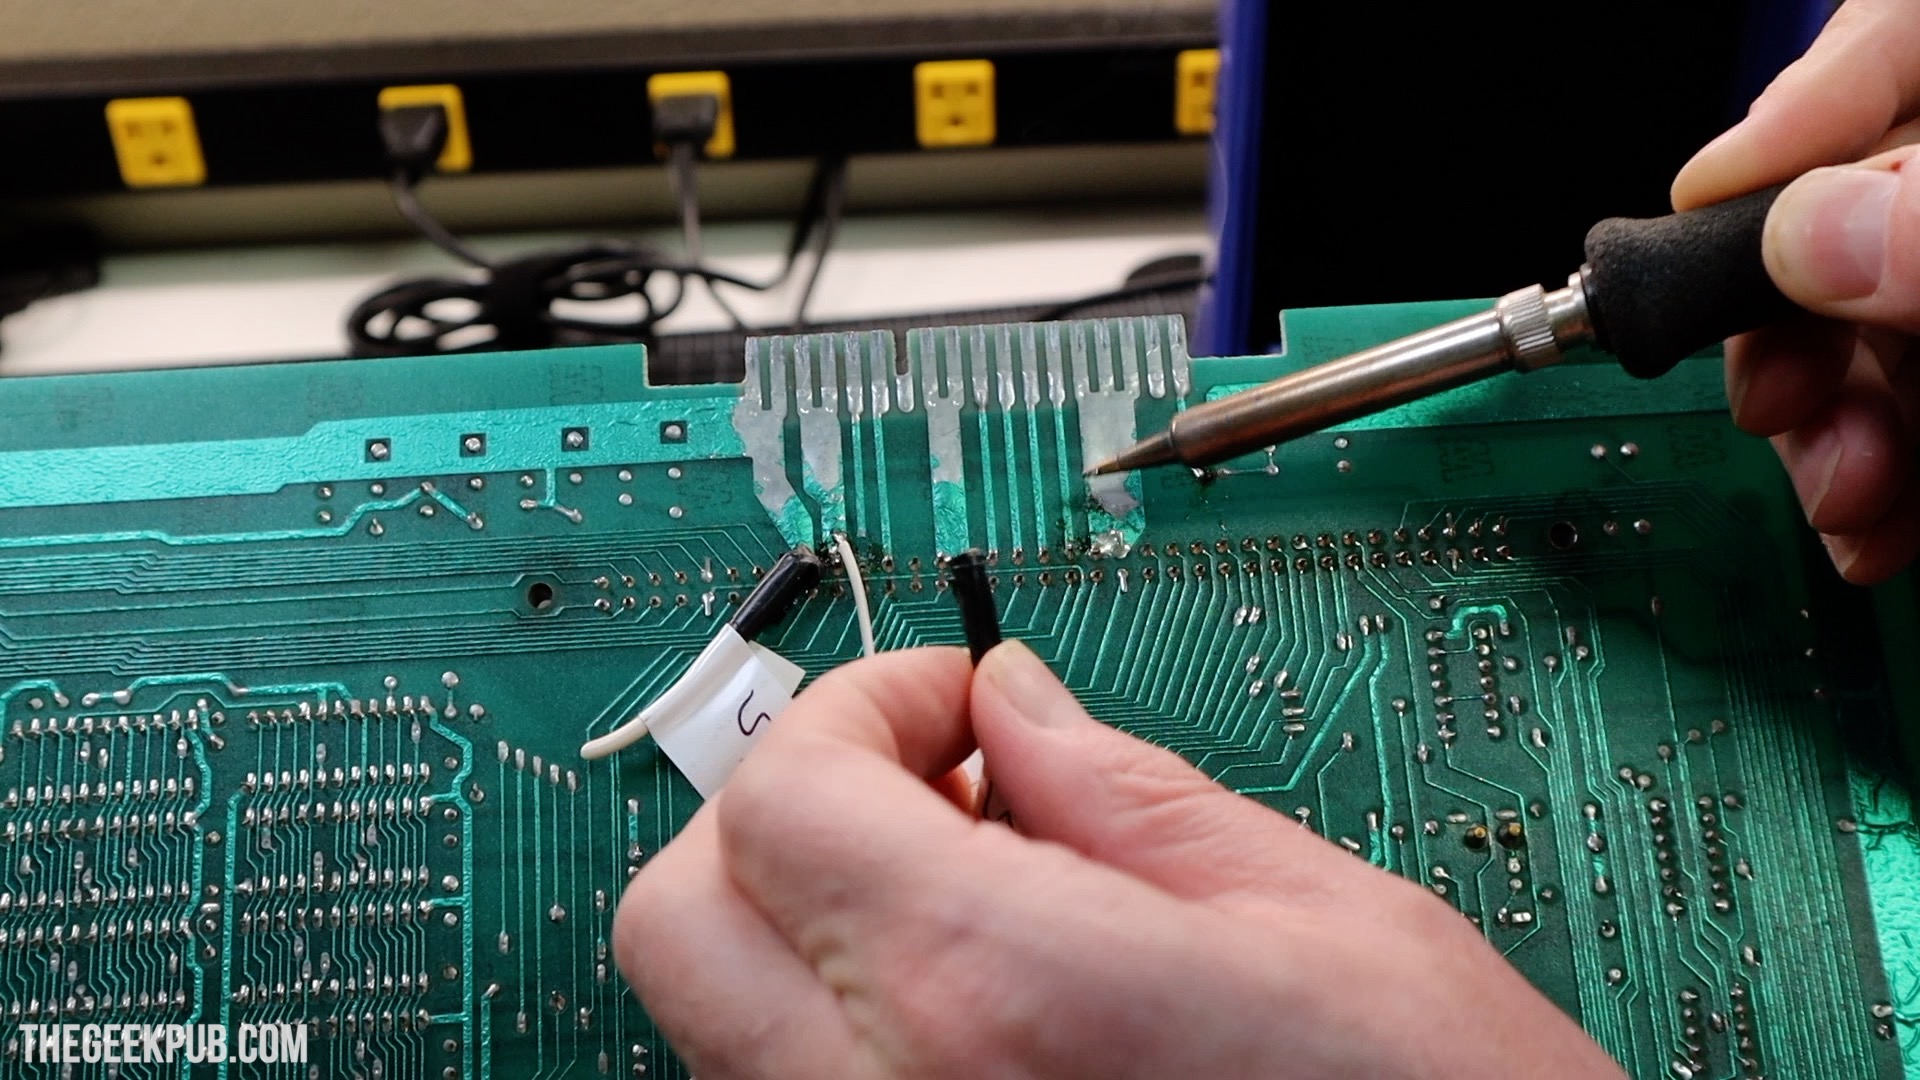
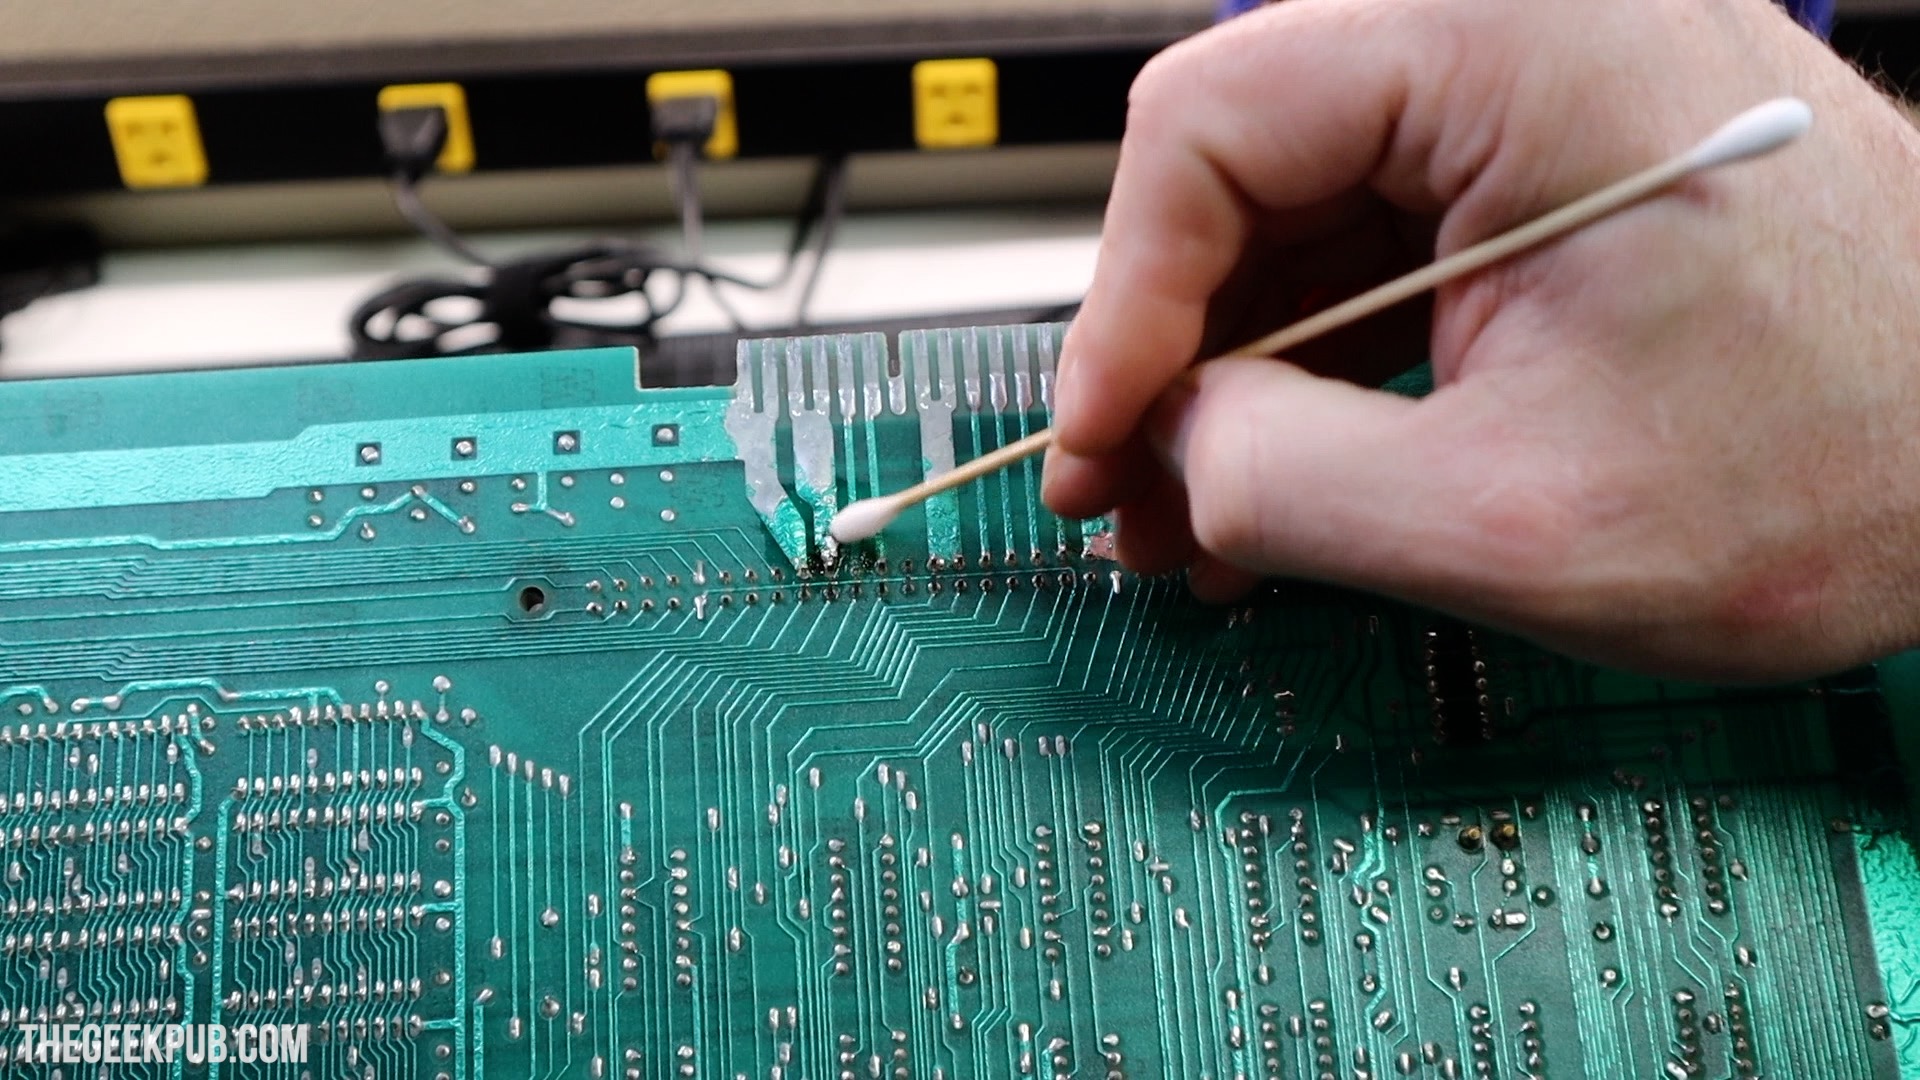
Using my soldering iron and Hakko de-soldering gun I removed all the jumper wires from the board. I then used a swab and some alcohol to remove the flux residue.
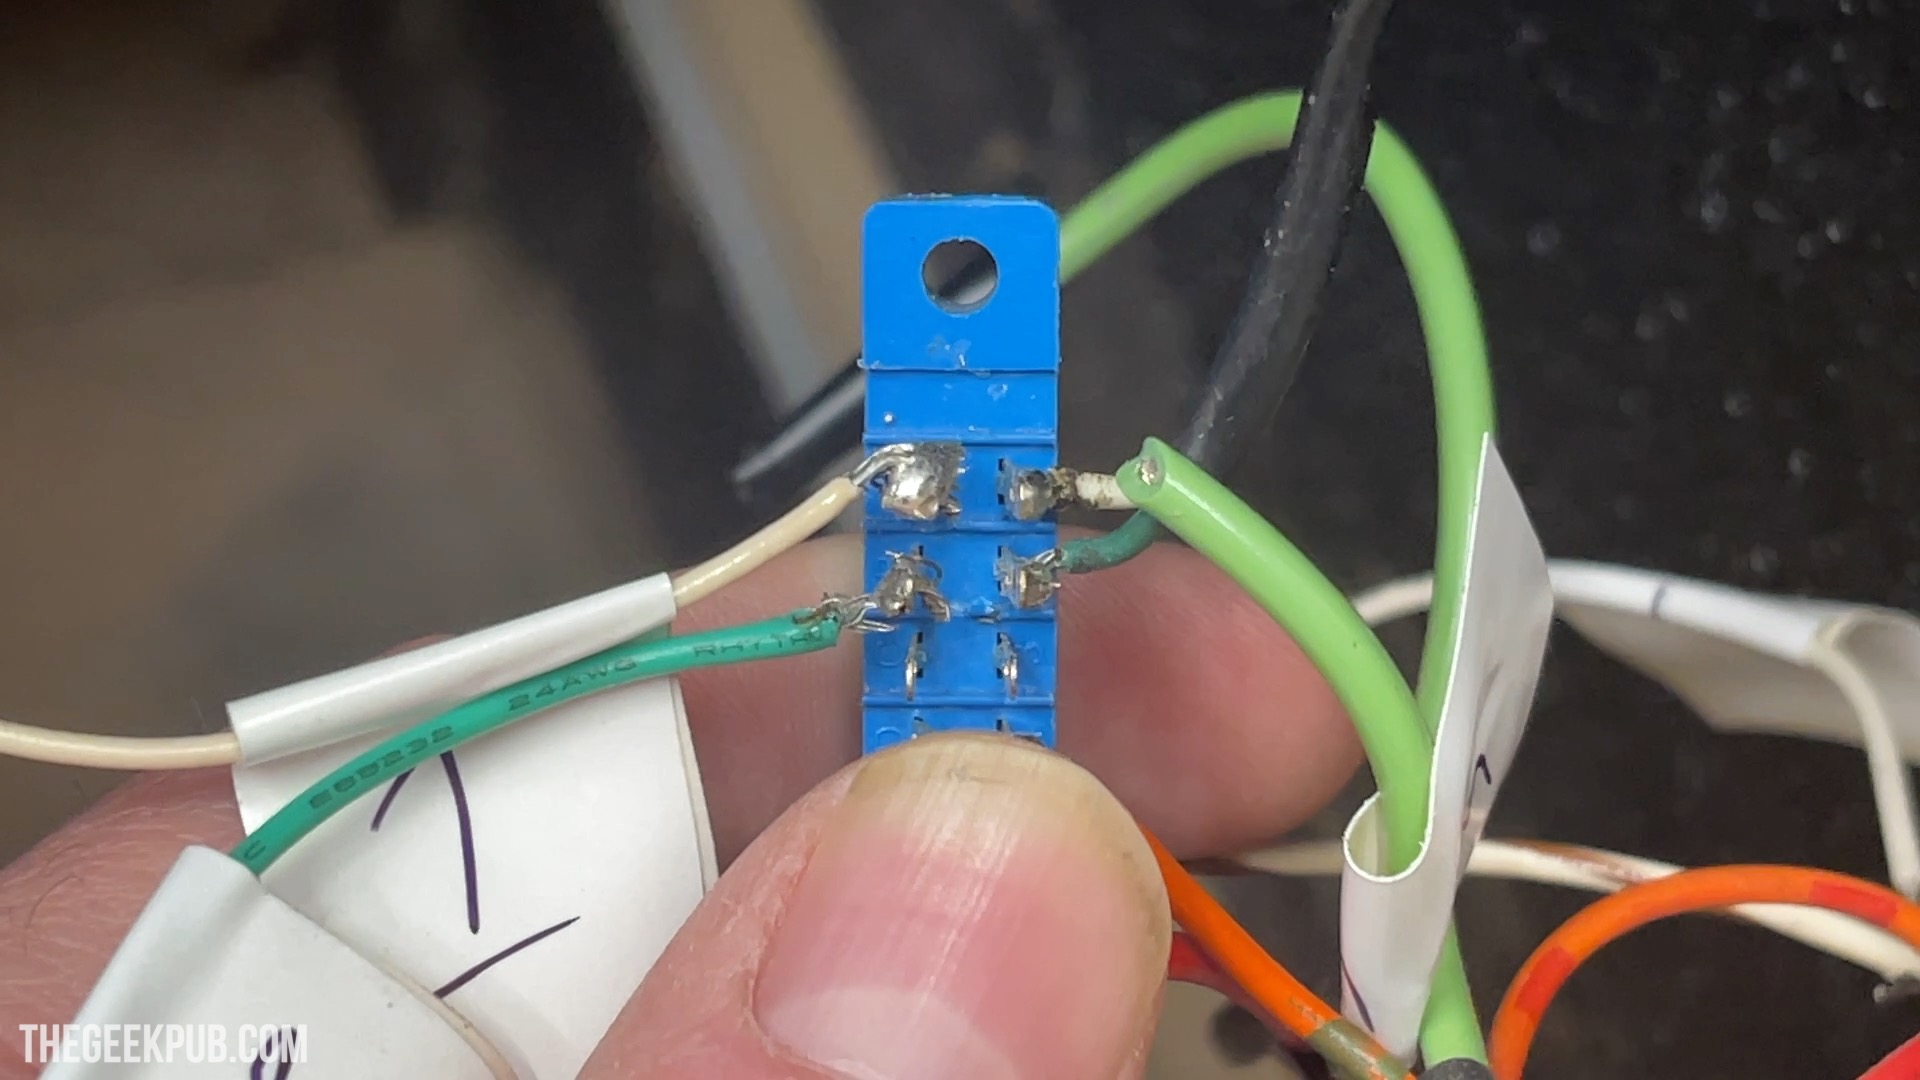
On the wiring harness, I removed all of the jumpers, soldered the wires back together and applied heat shrink tubing.
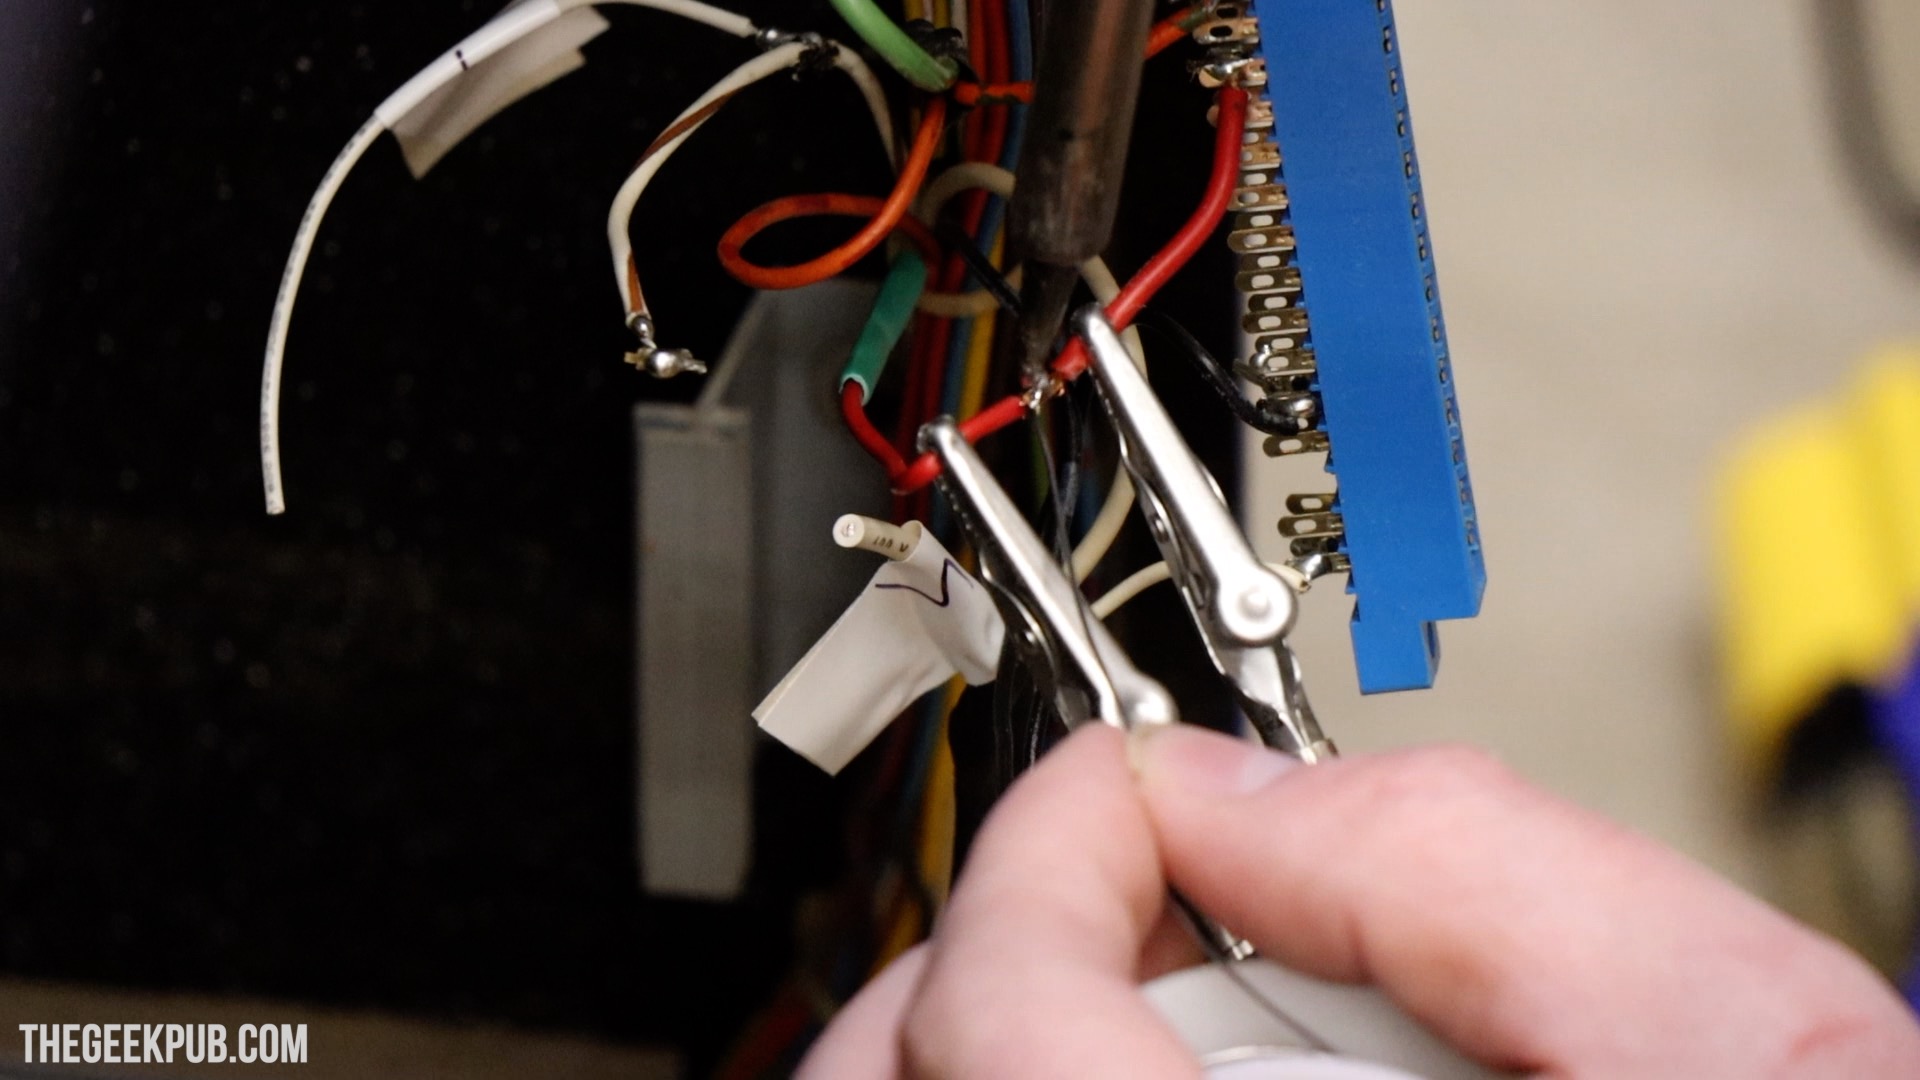

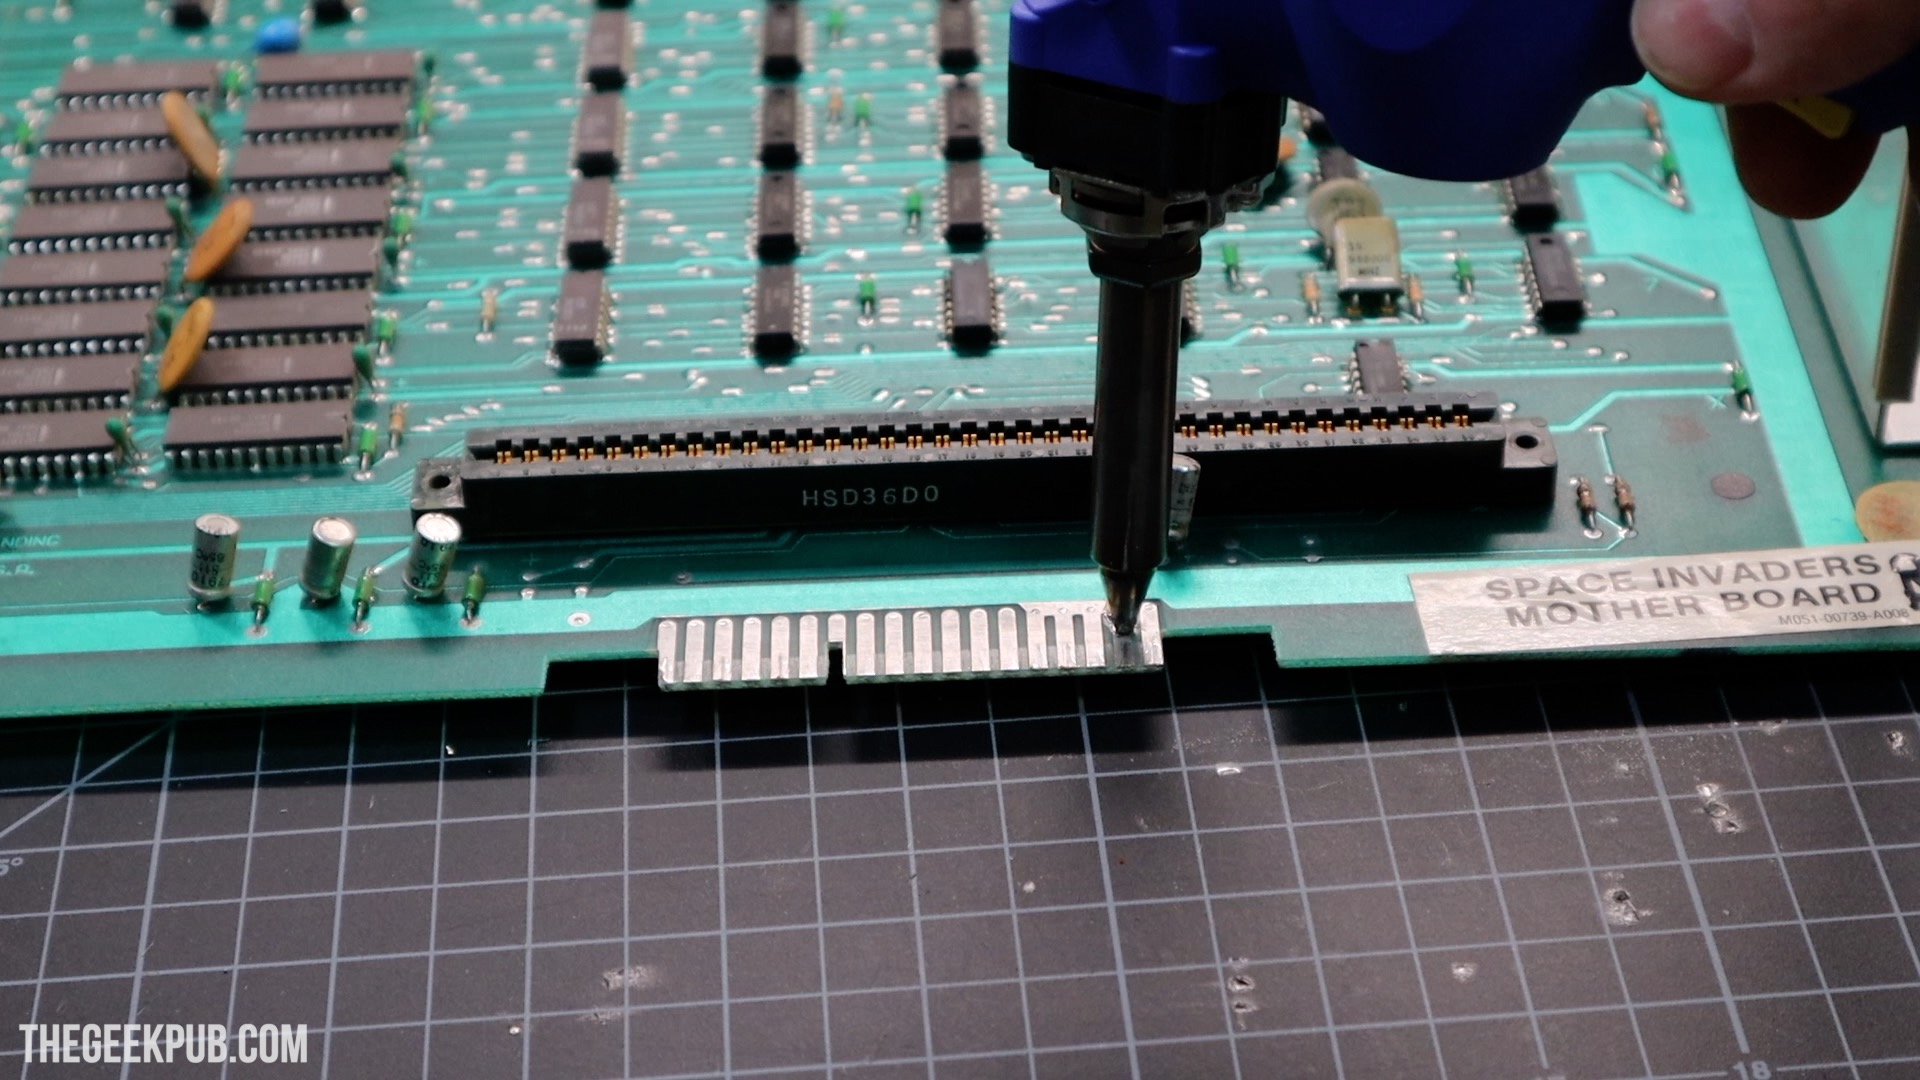
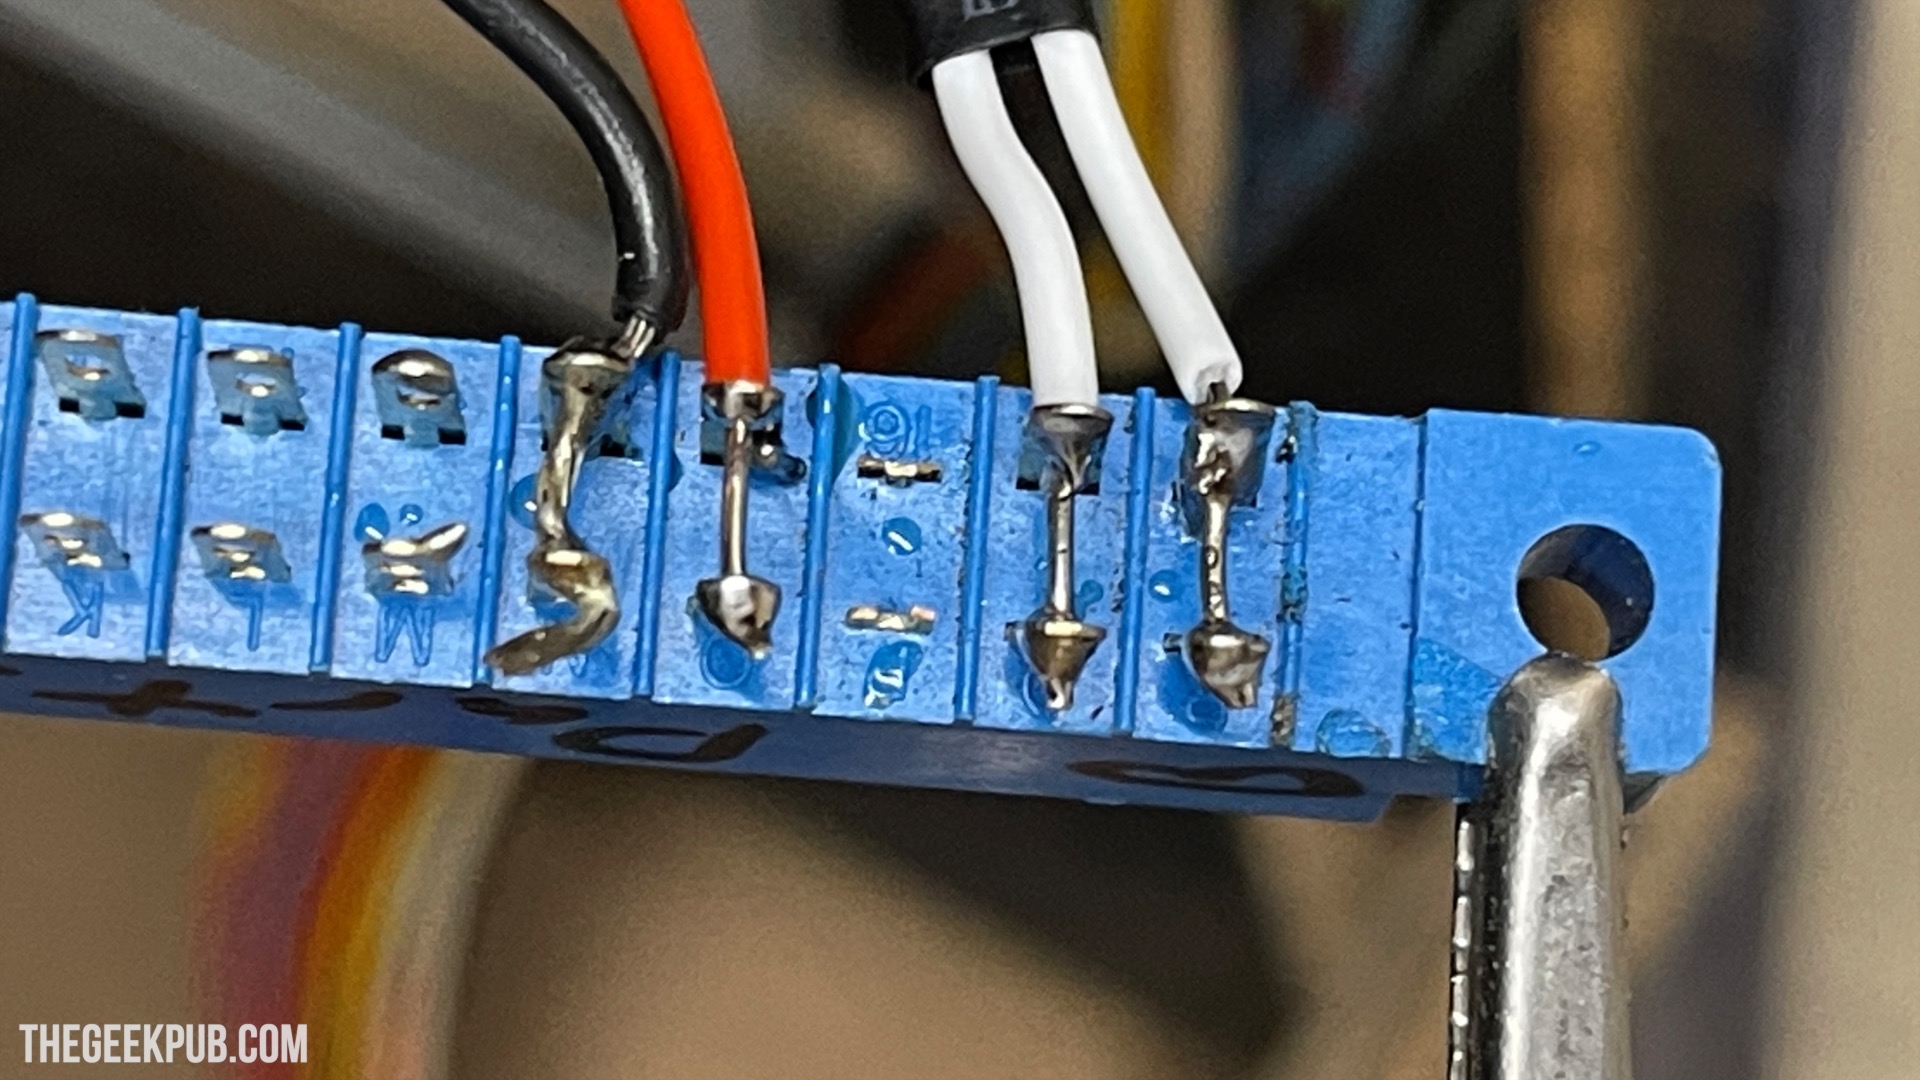
Finally, I bridged the connector pins to transfer the signal to both sides of the board.
Repairing the -5V Line (Broken Trace)
Of course, I didn’t expect this part of the Space Invaders arcade repair to fix the game, and I didn’t. Nothing changed with the operation, but at least we can get the board in and out now!
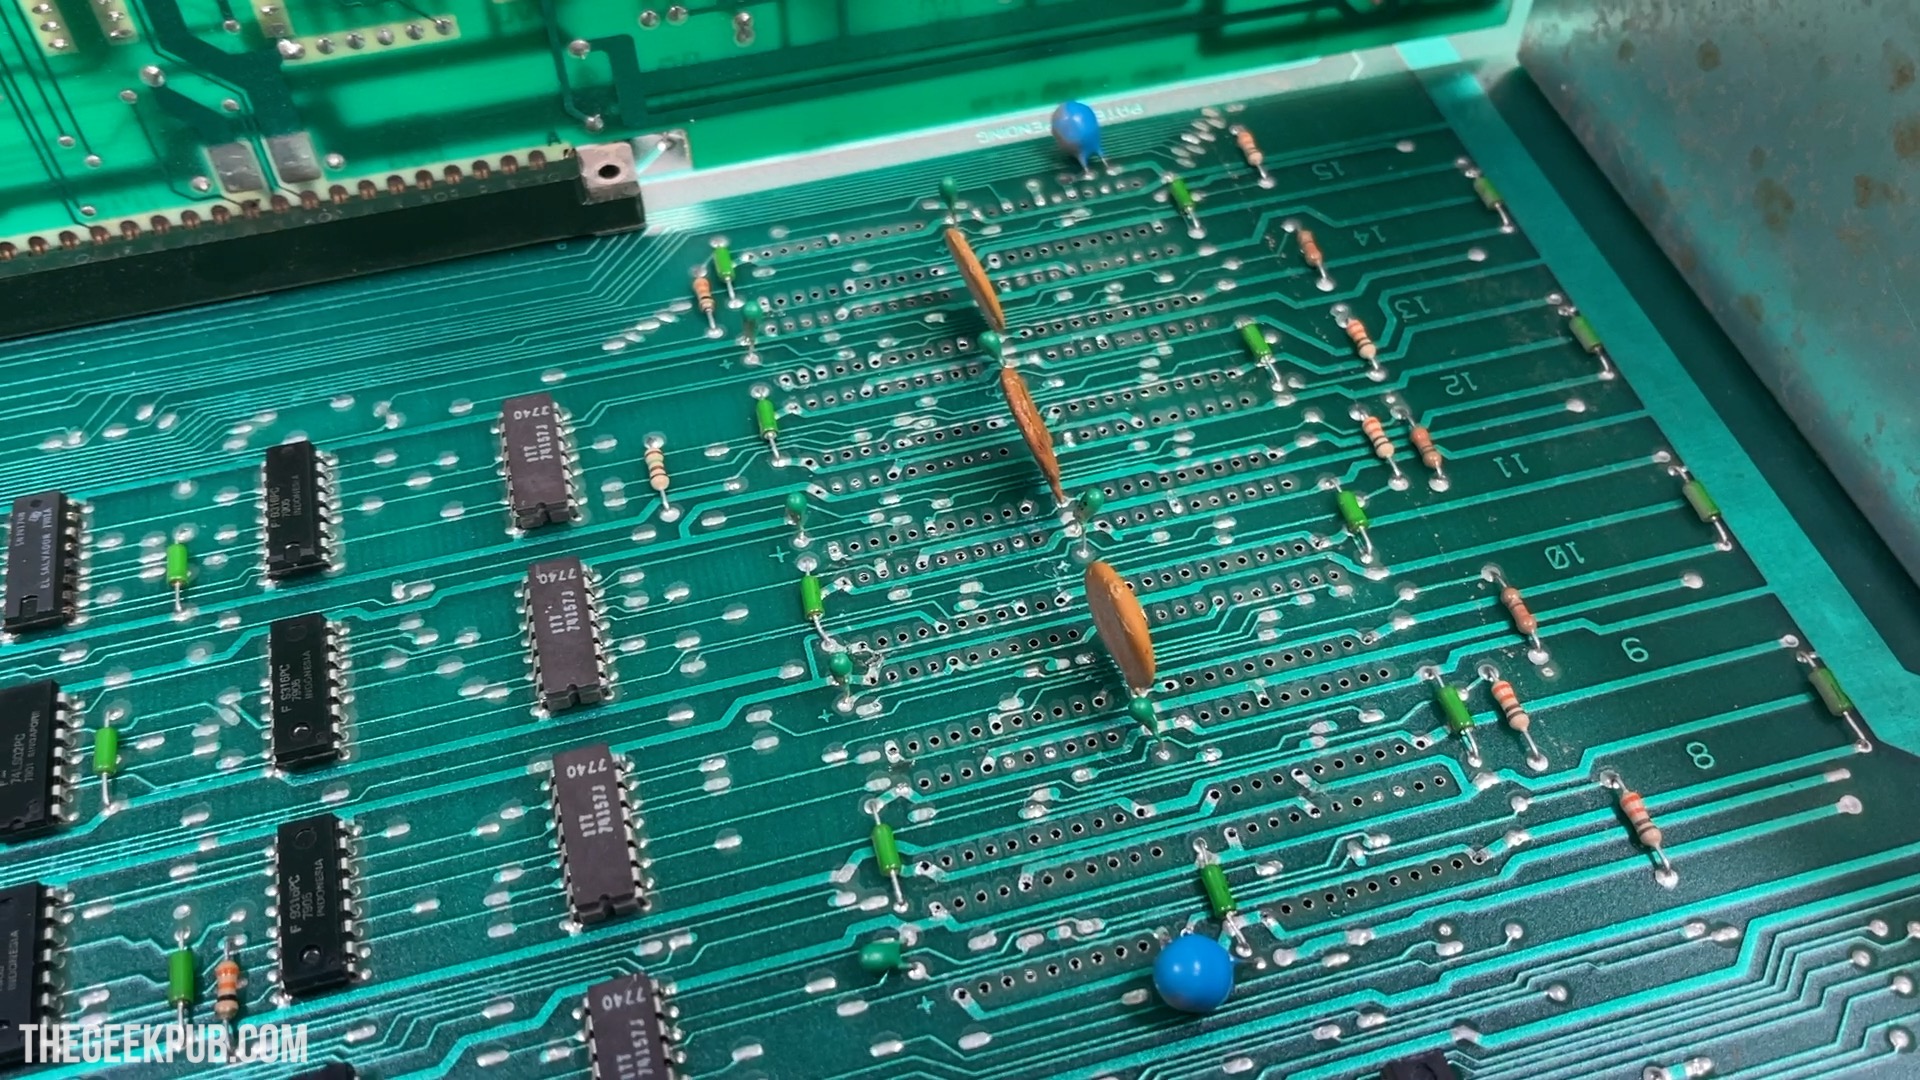
The next thing I did was start checking that we have the proper ground, +5V, -5V, and +12V everywhere on the board we expect it to be. Missing power is a common occurrence on these old boards, and indeed I found that the -5V line seemed to be missing at the processor!
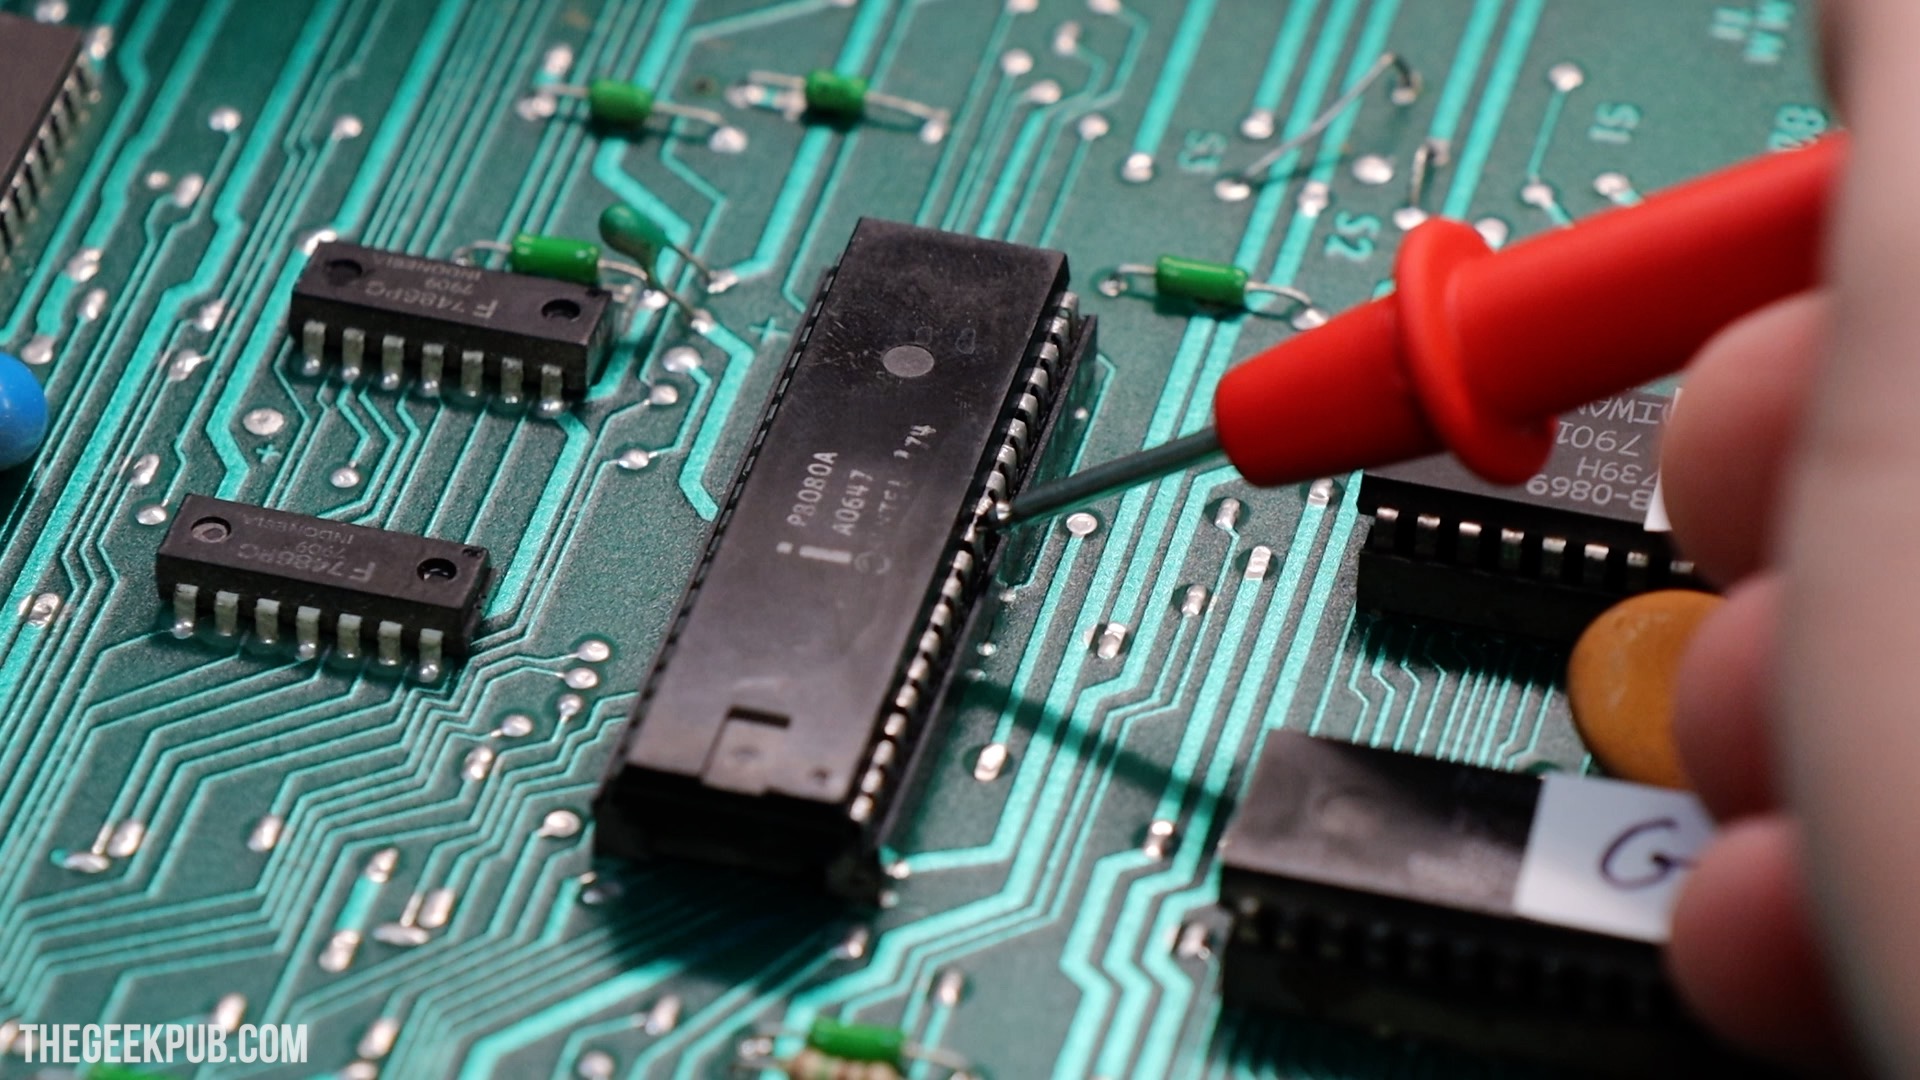
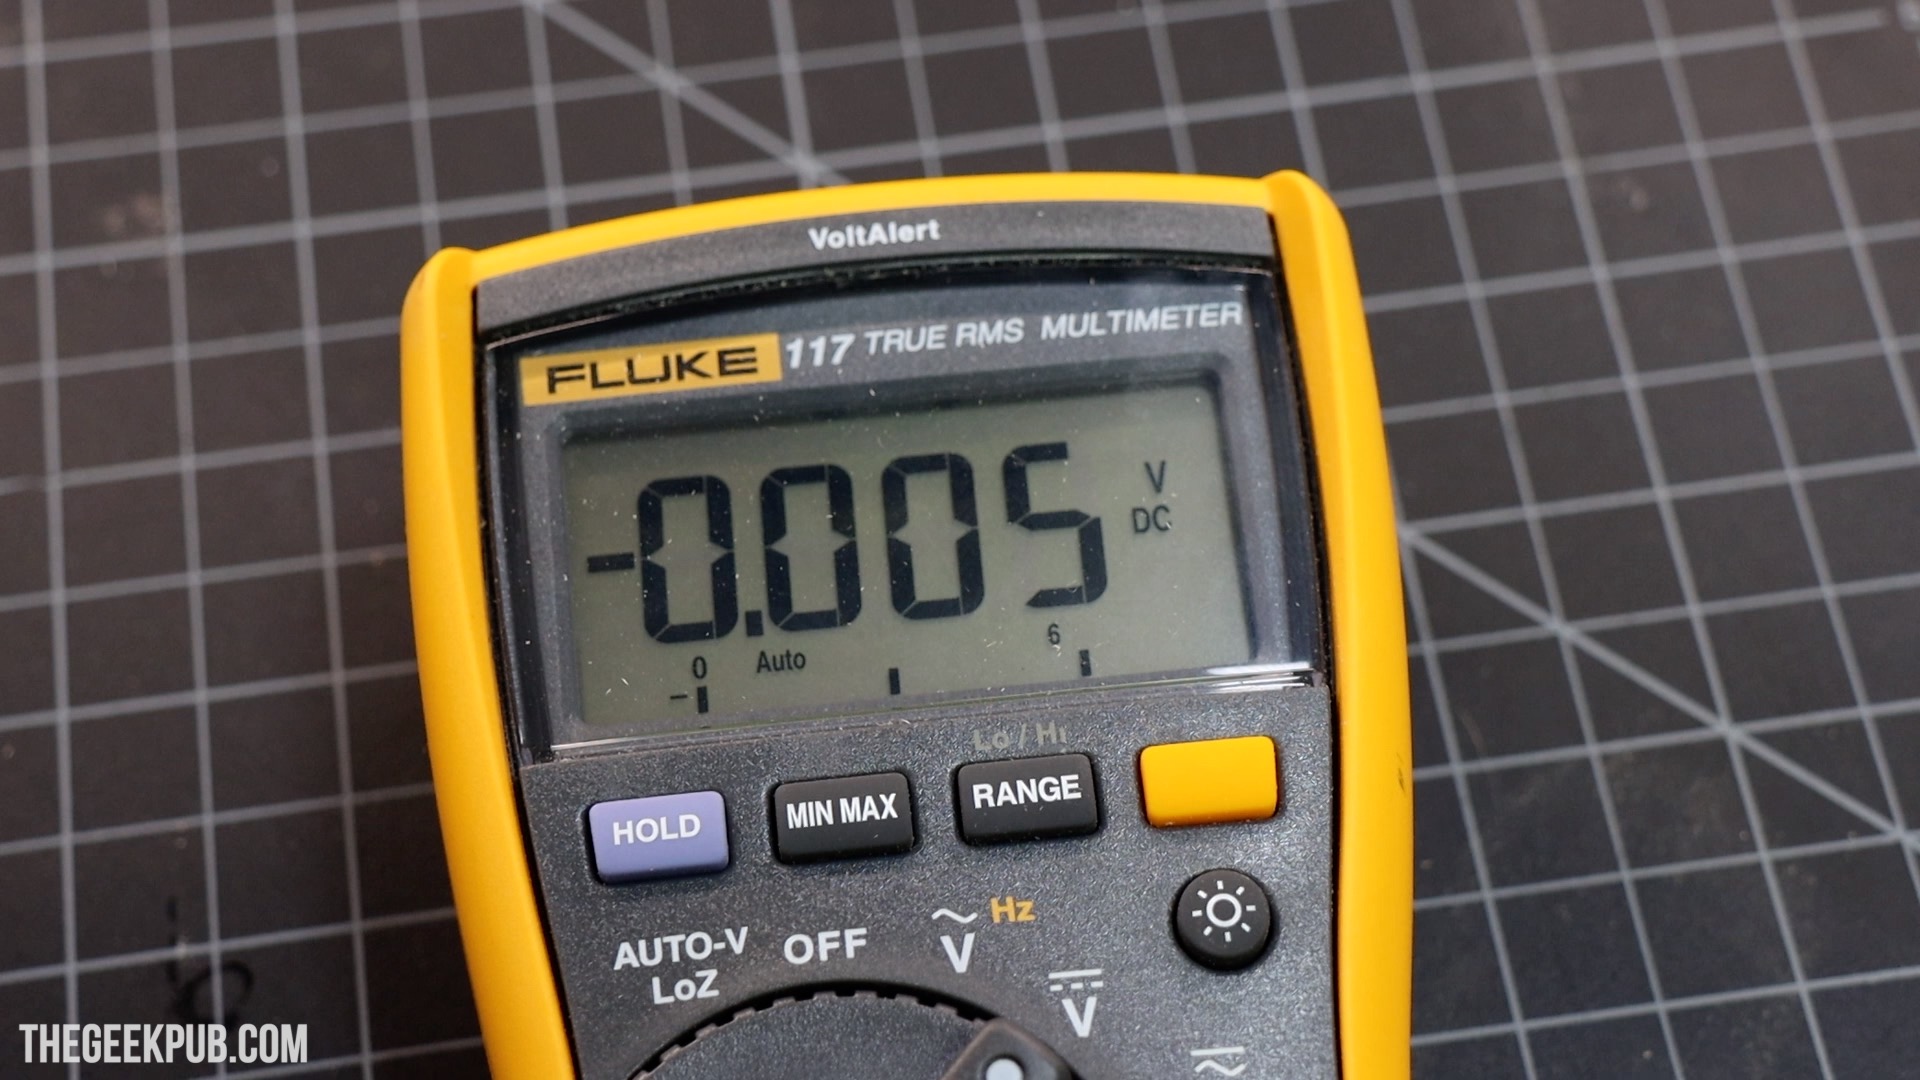
After a little poking around with the multimeter I figured out that the card edge had a broken trace that I had missed!
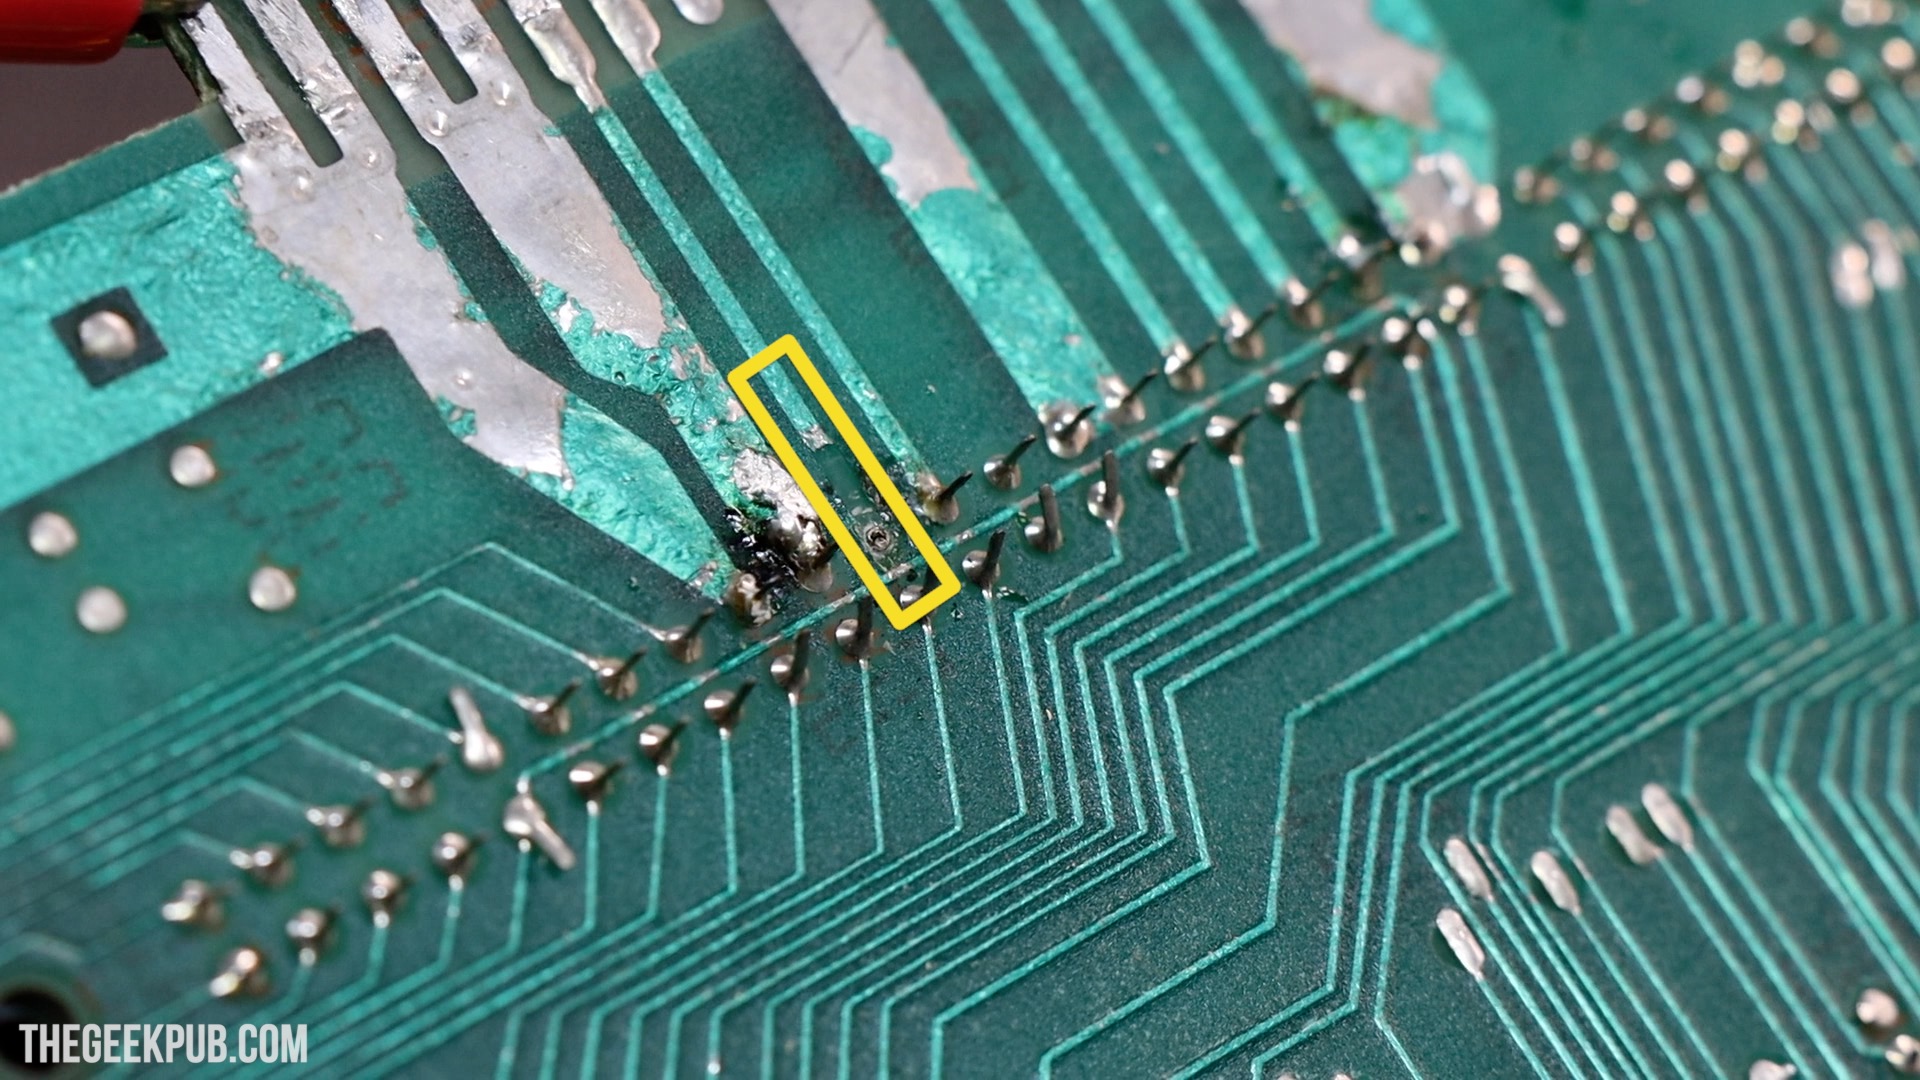
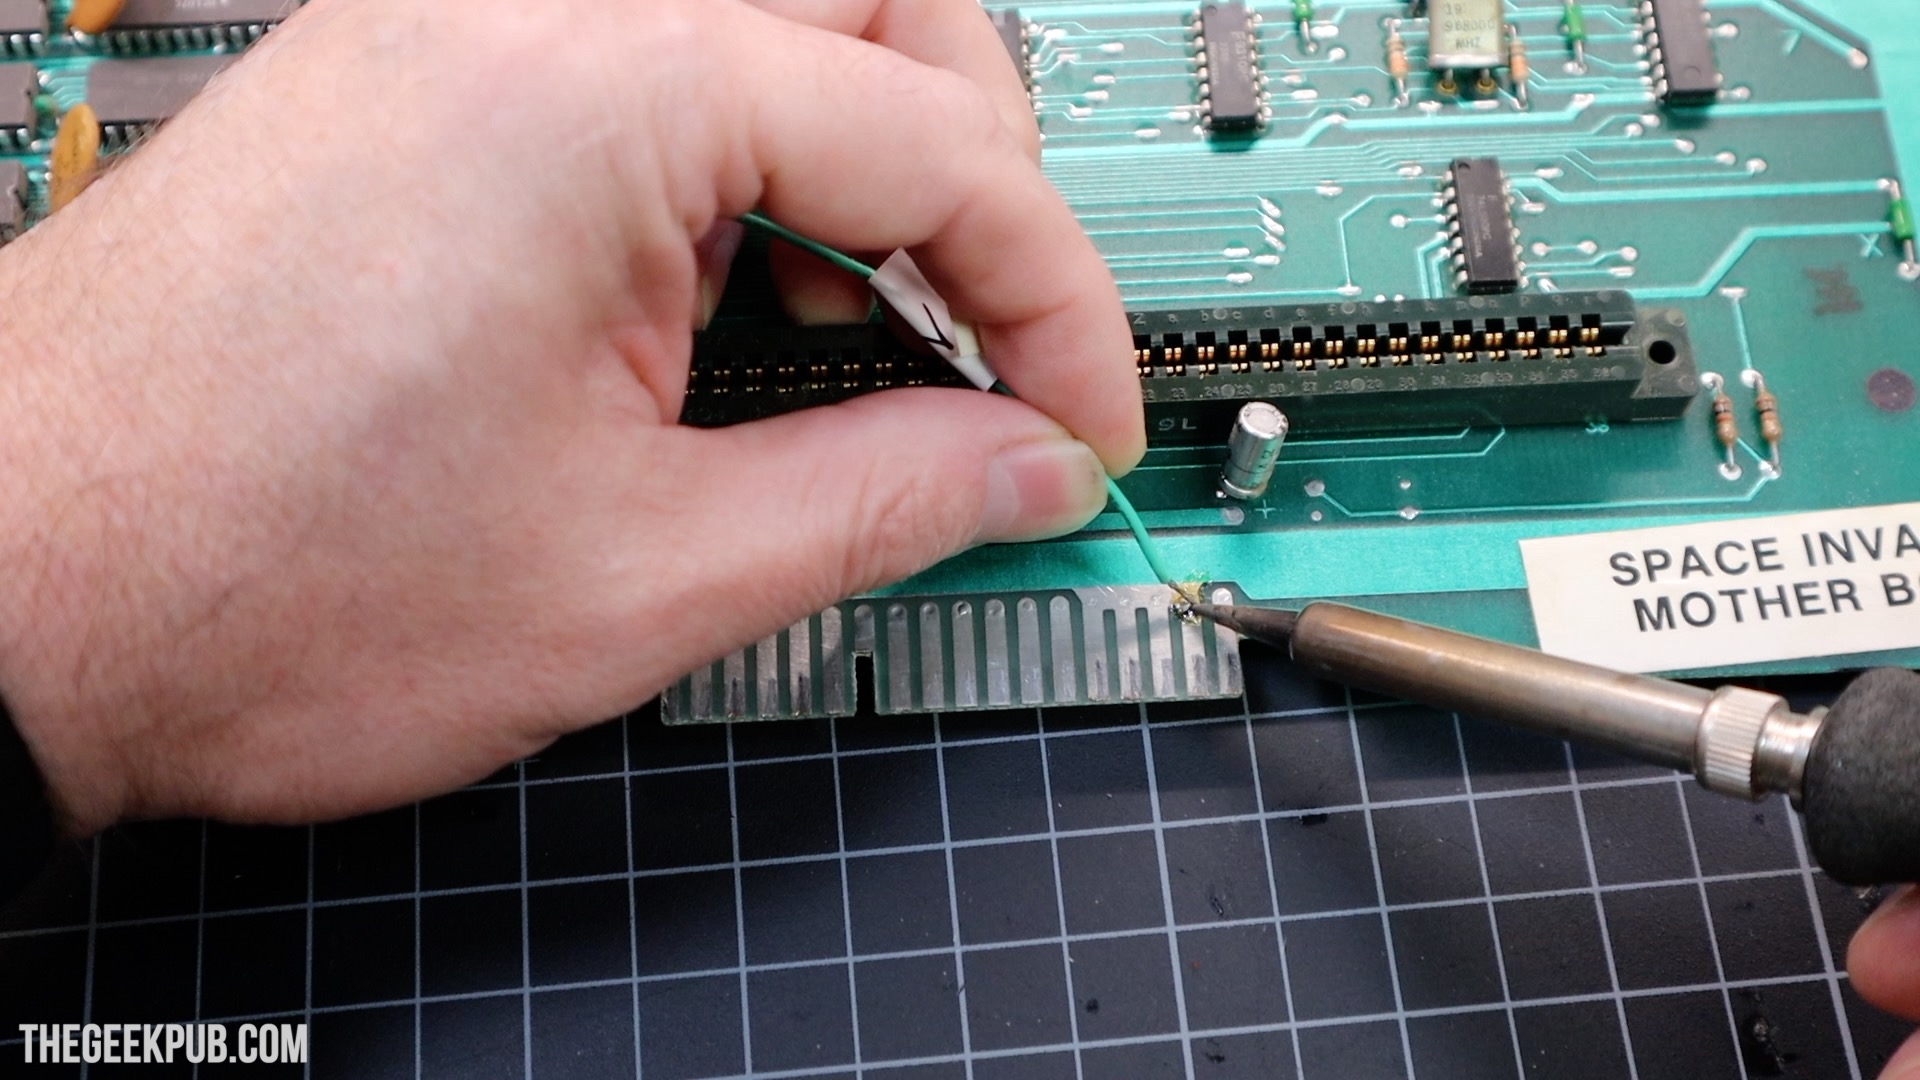
In order to fix this broken trace I added a bodge wire to the board.
This fixed that problem and returned -5V to the processor. However, the board still behaved exactly the same.
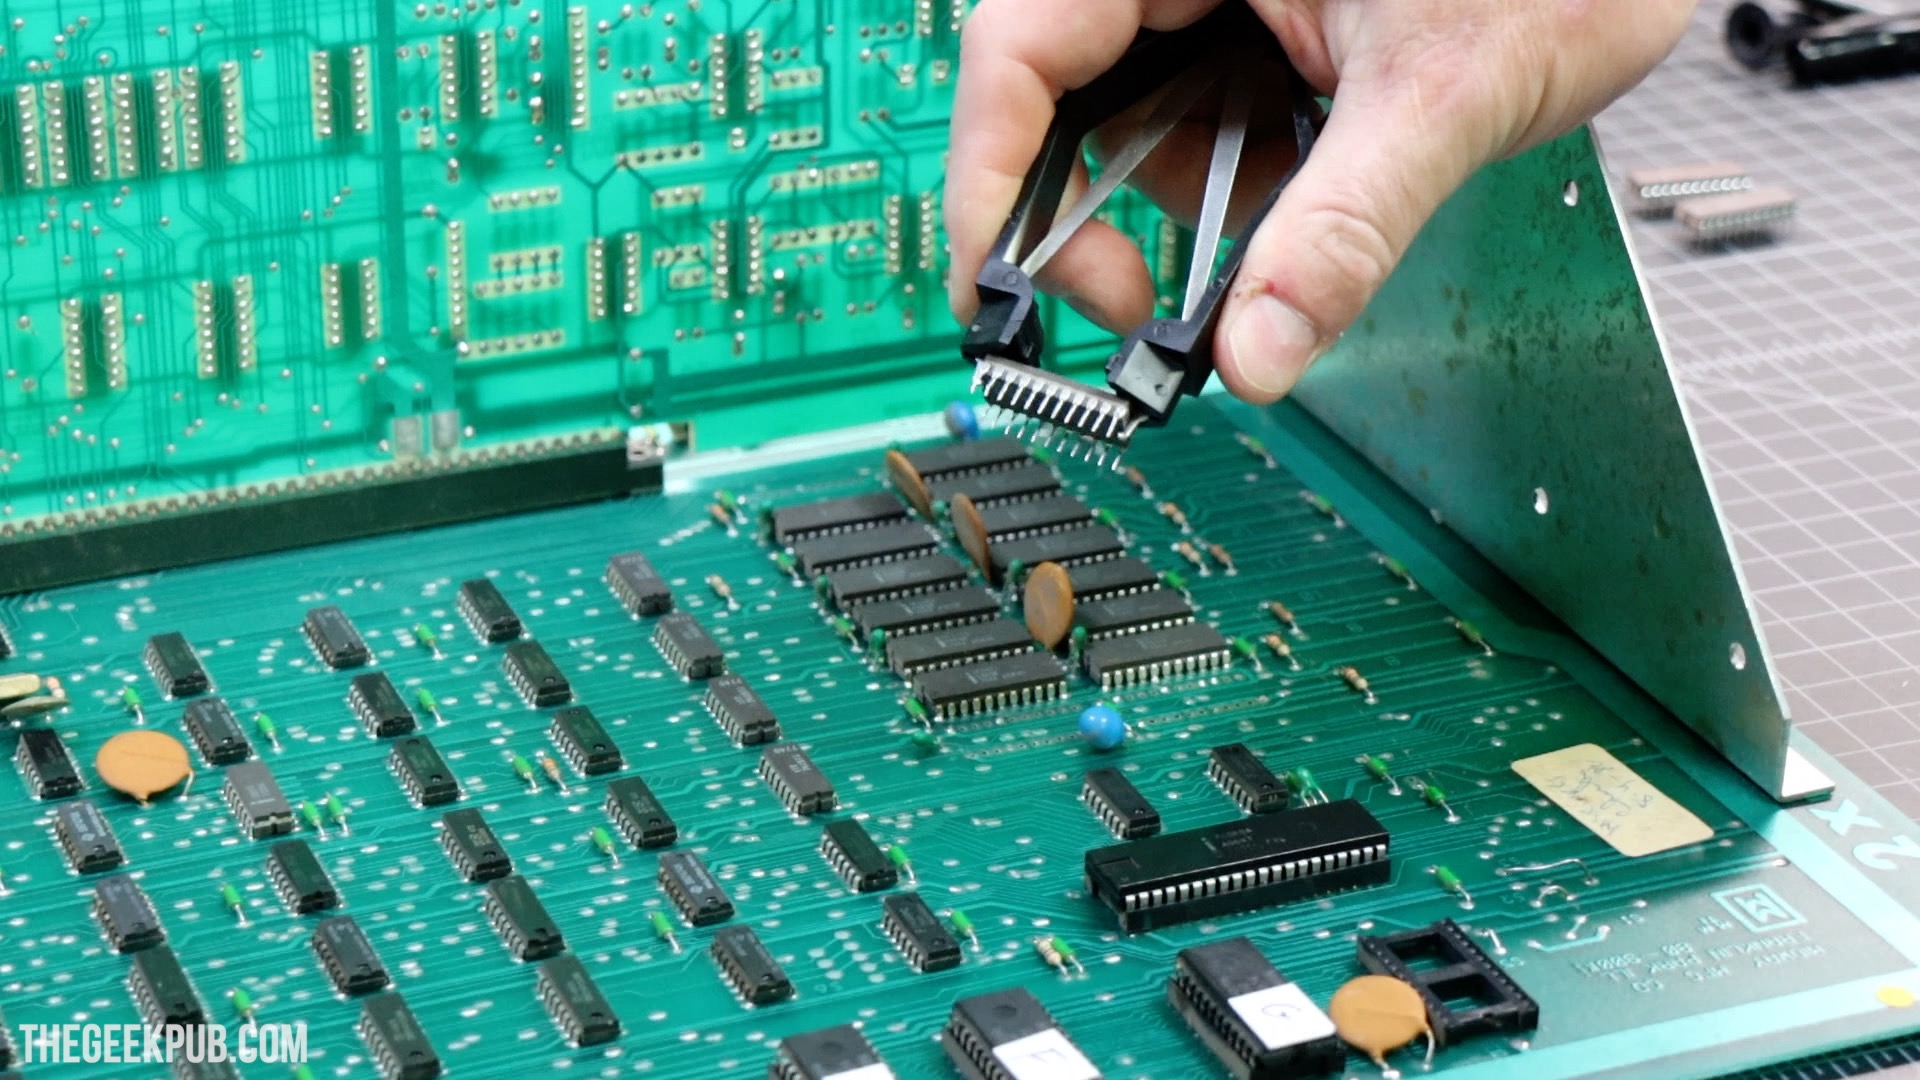
Space Invaders Arcade Repair – Removing the RAM Chips
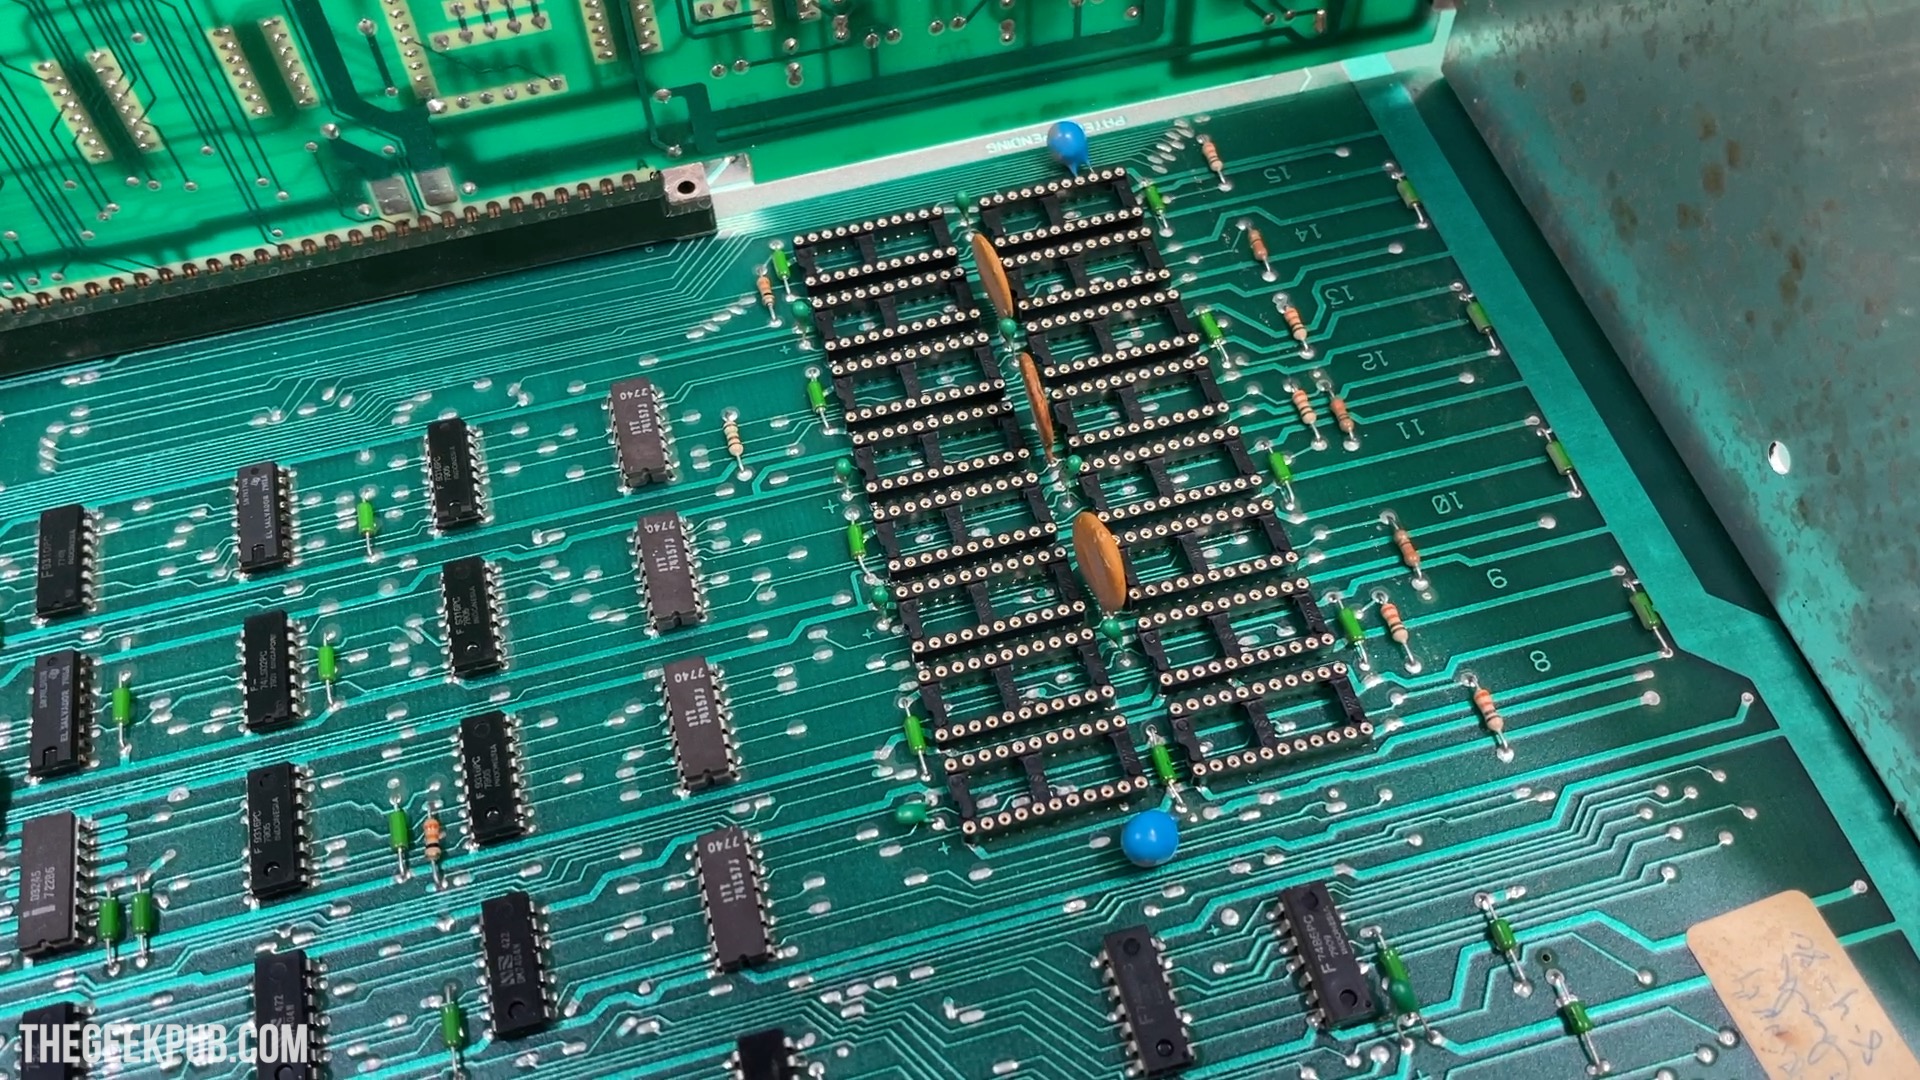
The next thing I started looking at was the RAM chips. Three of the chips seemed to be misbehaving when testing with my logic probe. The I/O lines seemed to either be stuck or have static on them.
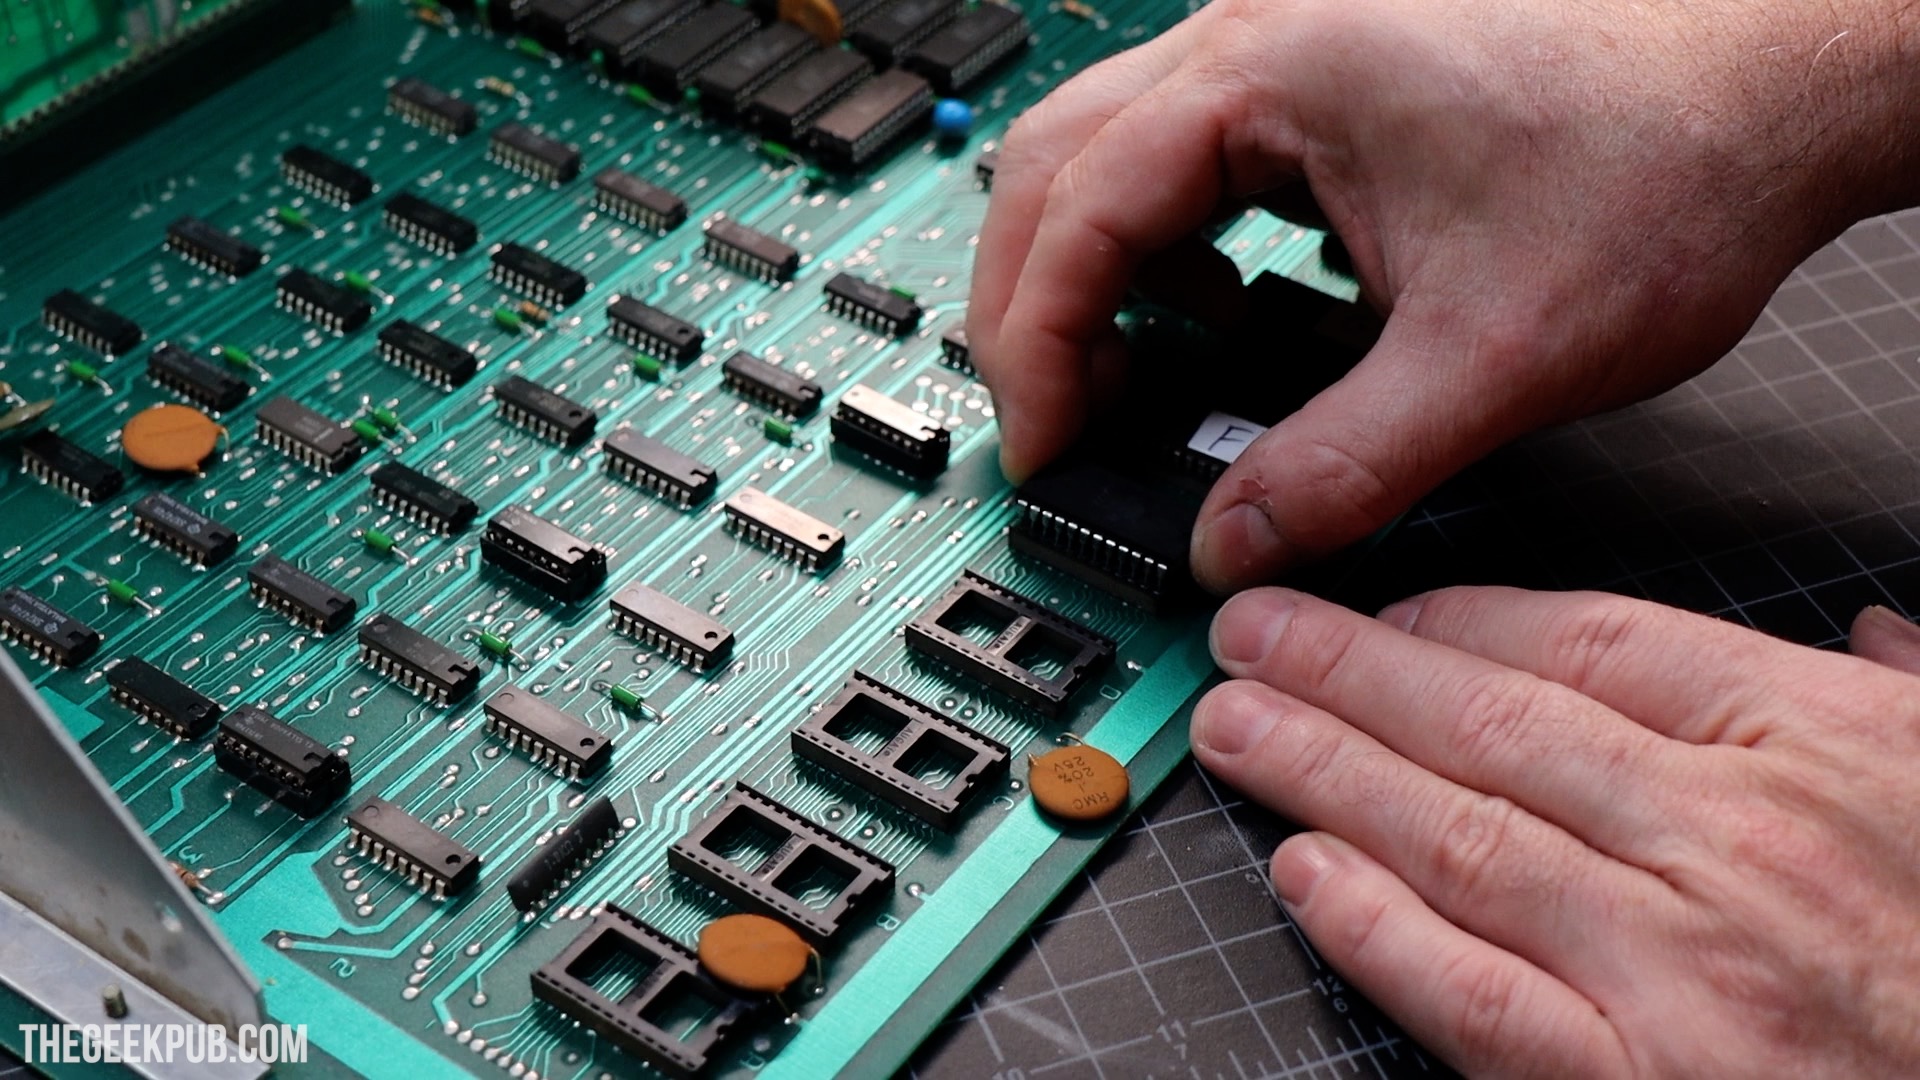
I’ve been told that due to the poor design of these boards that eventually all of the RAM chips will go bad. With that in mind I decided to simply de-solder every RAM chip and put in sockets.
Adding Sockets for the RAM
I really think any good Space Invaders arcade repair should include socketing the RAM. This is just going to make all future maintenance and repairs easier.
After soldering in new sockets, I tested all of the old RAM and found two of the chips were indeed bad. So I added two replacements that I got from an eBay auction.

Replacing the Bad 75153 Shifter
After replacing the RAM, our issue was unchanged. Or so I thought. The game would still show the bars, with the game ROMs installed. But I found when I installed the Space Invaders Test ROM it now worked!
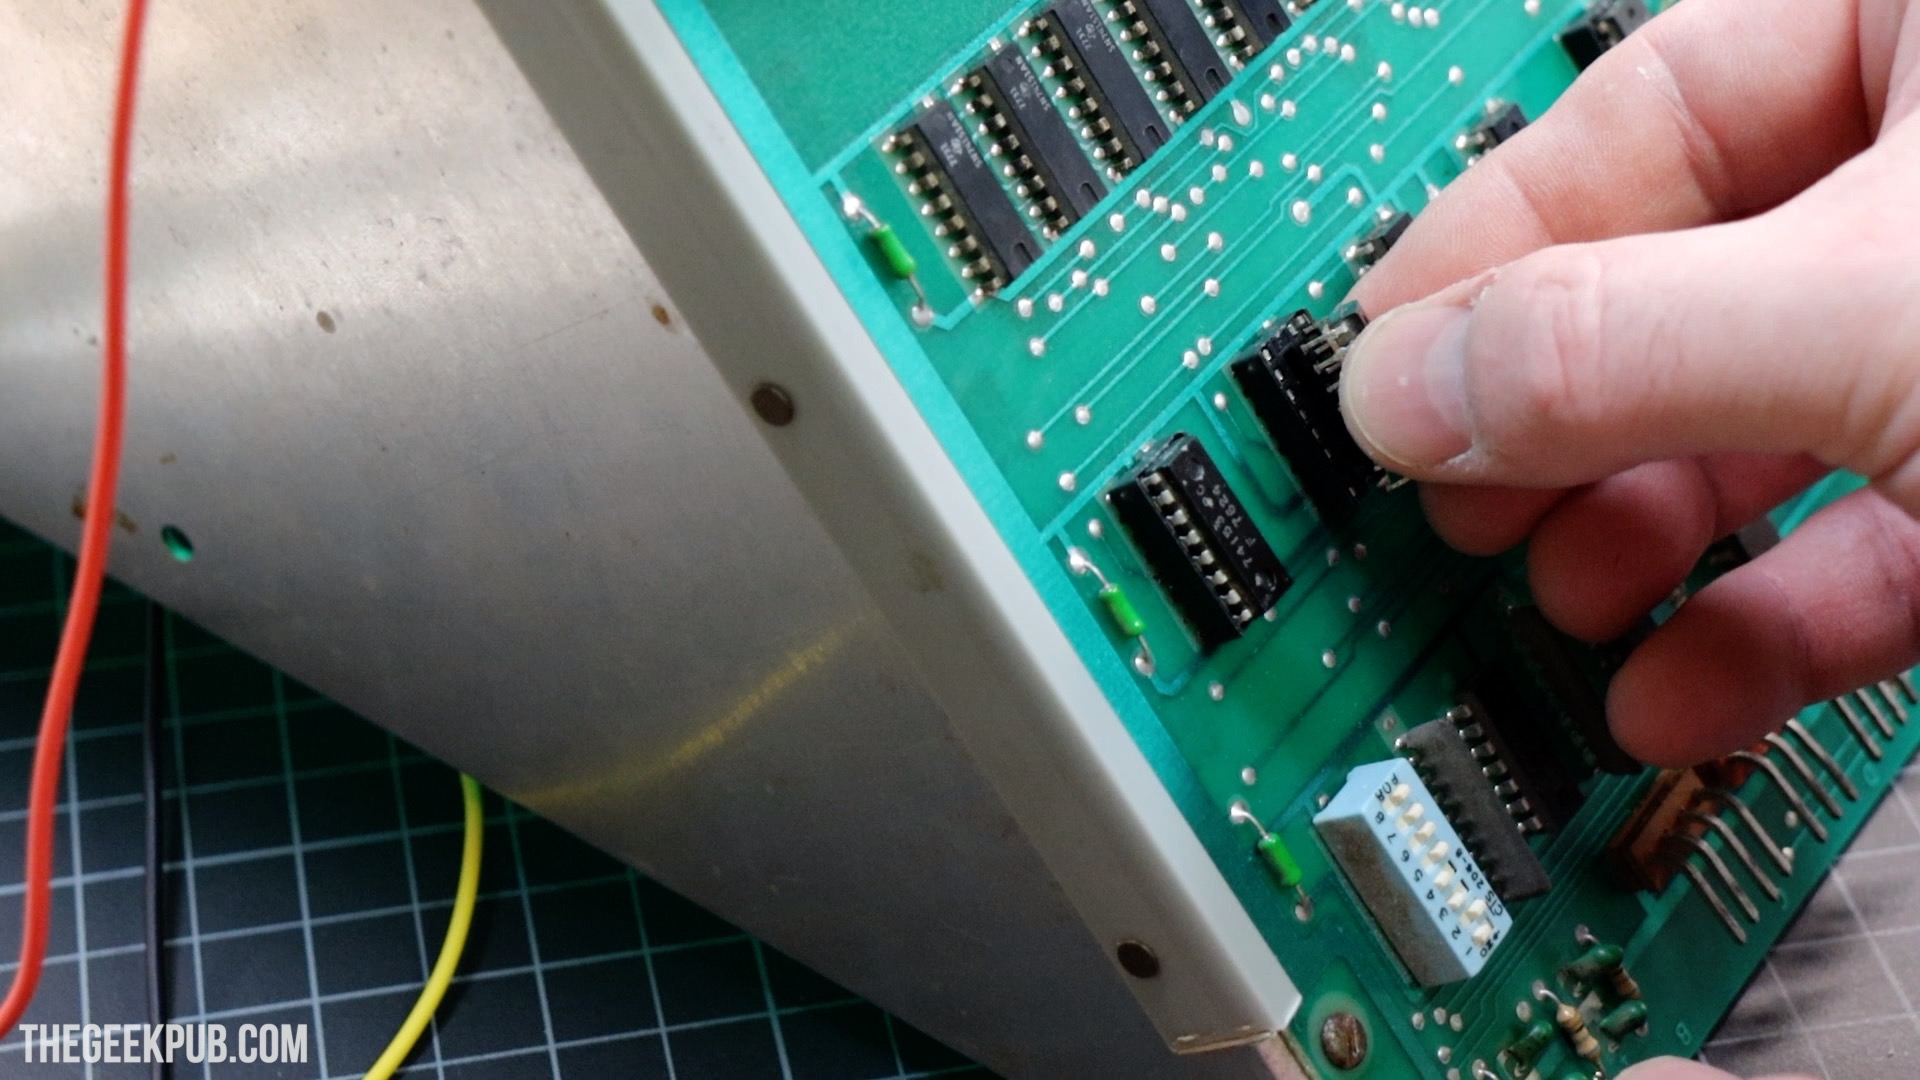
In fact, not only did it work, it immediately identified that one of the 75153 mux’s on the daughterboard was not functioning correctly.
So I grabbed another 75153 from my parts bin and replaced both of the first two on the daughterboard (since I was not sure which one had failed).
After running the Test ROM again, I get the message shifters OK and all other tests had passed! Could this be it? Will my board work now?
Unfortunately…. No.
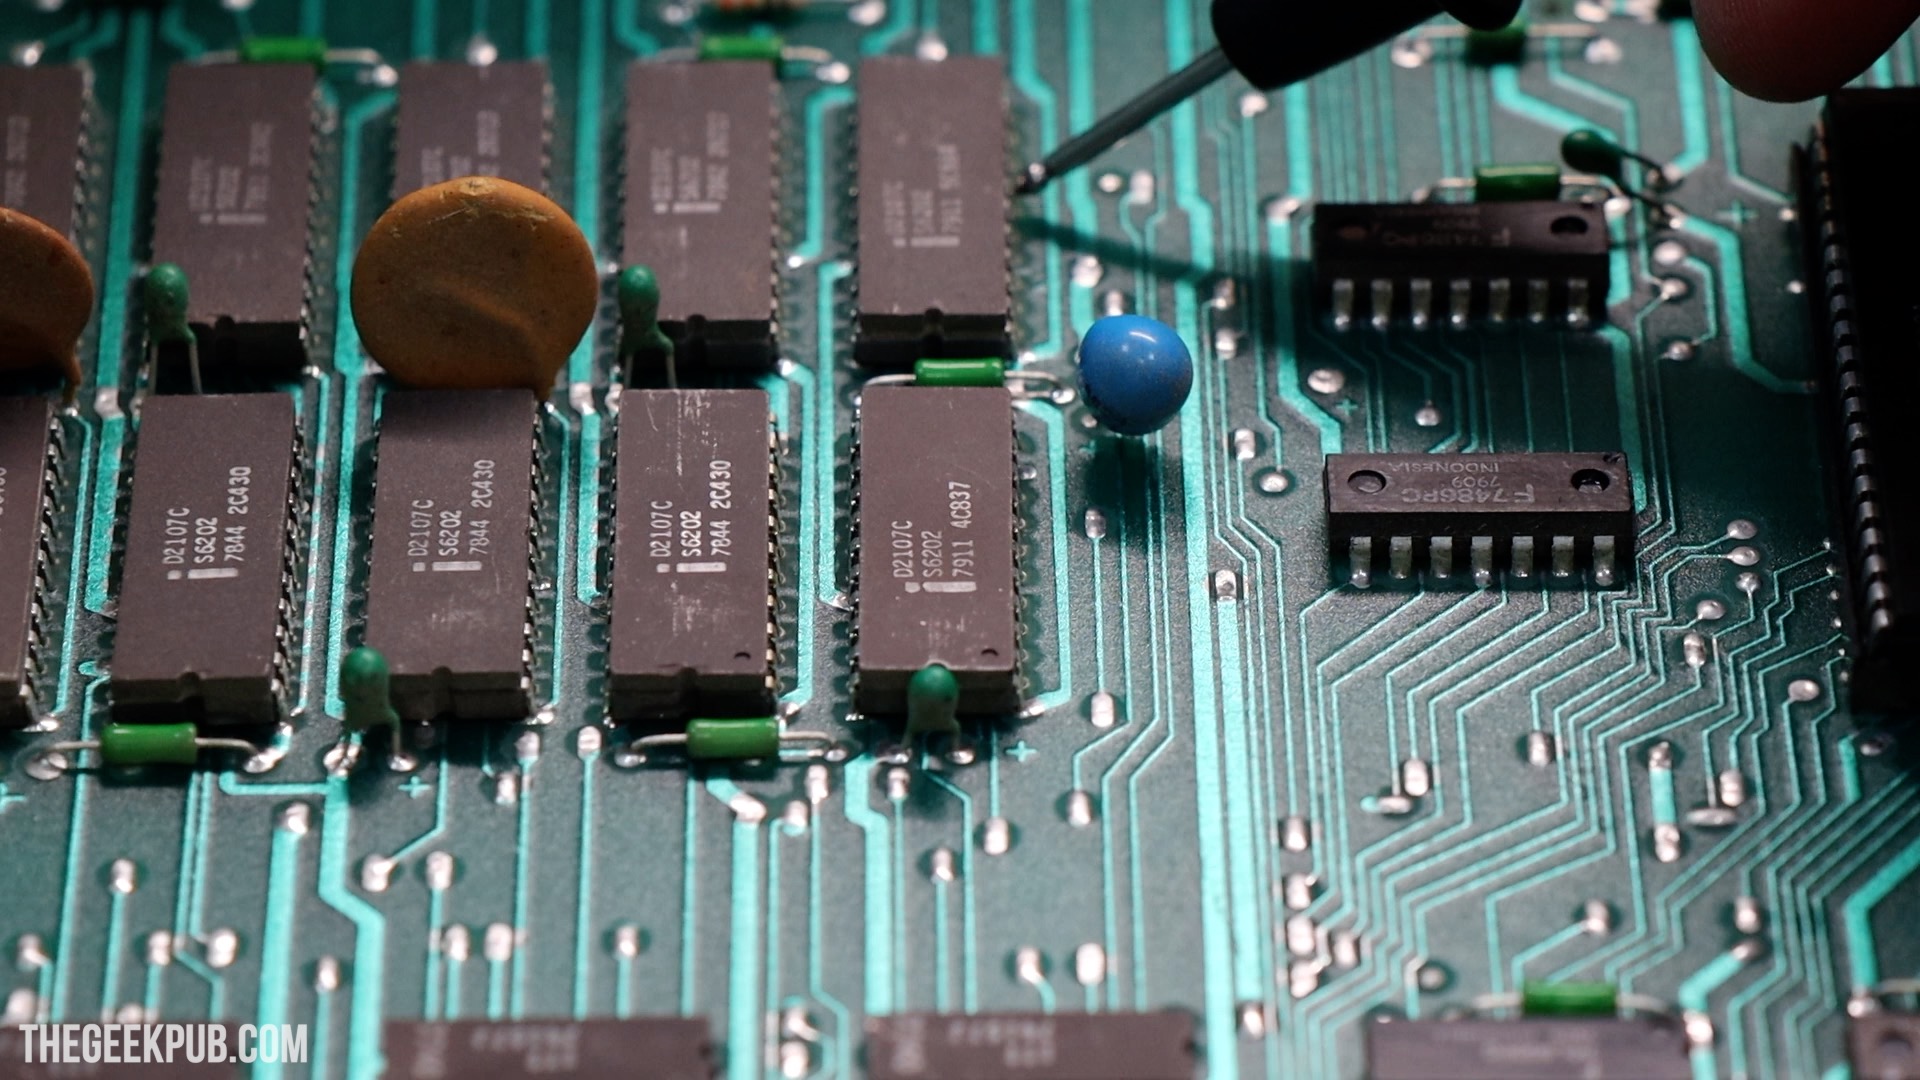
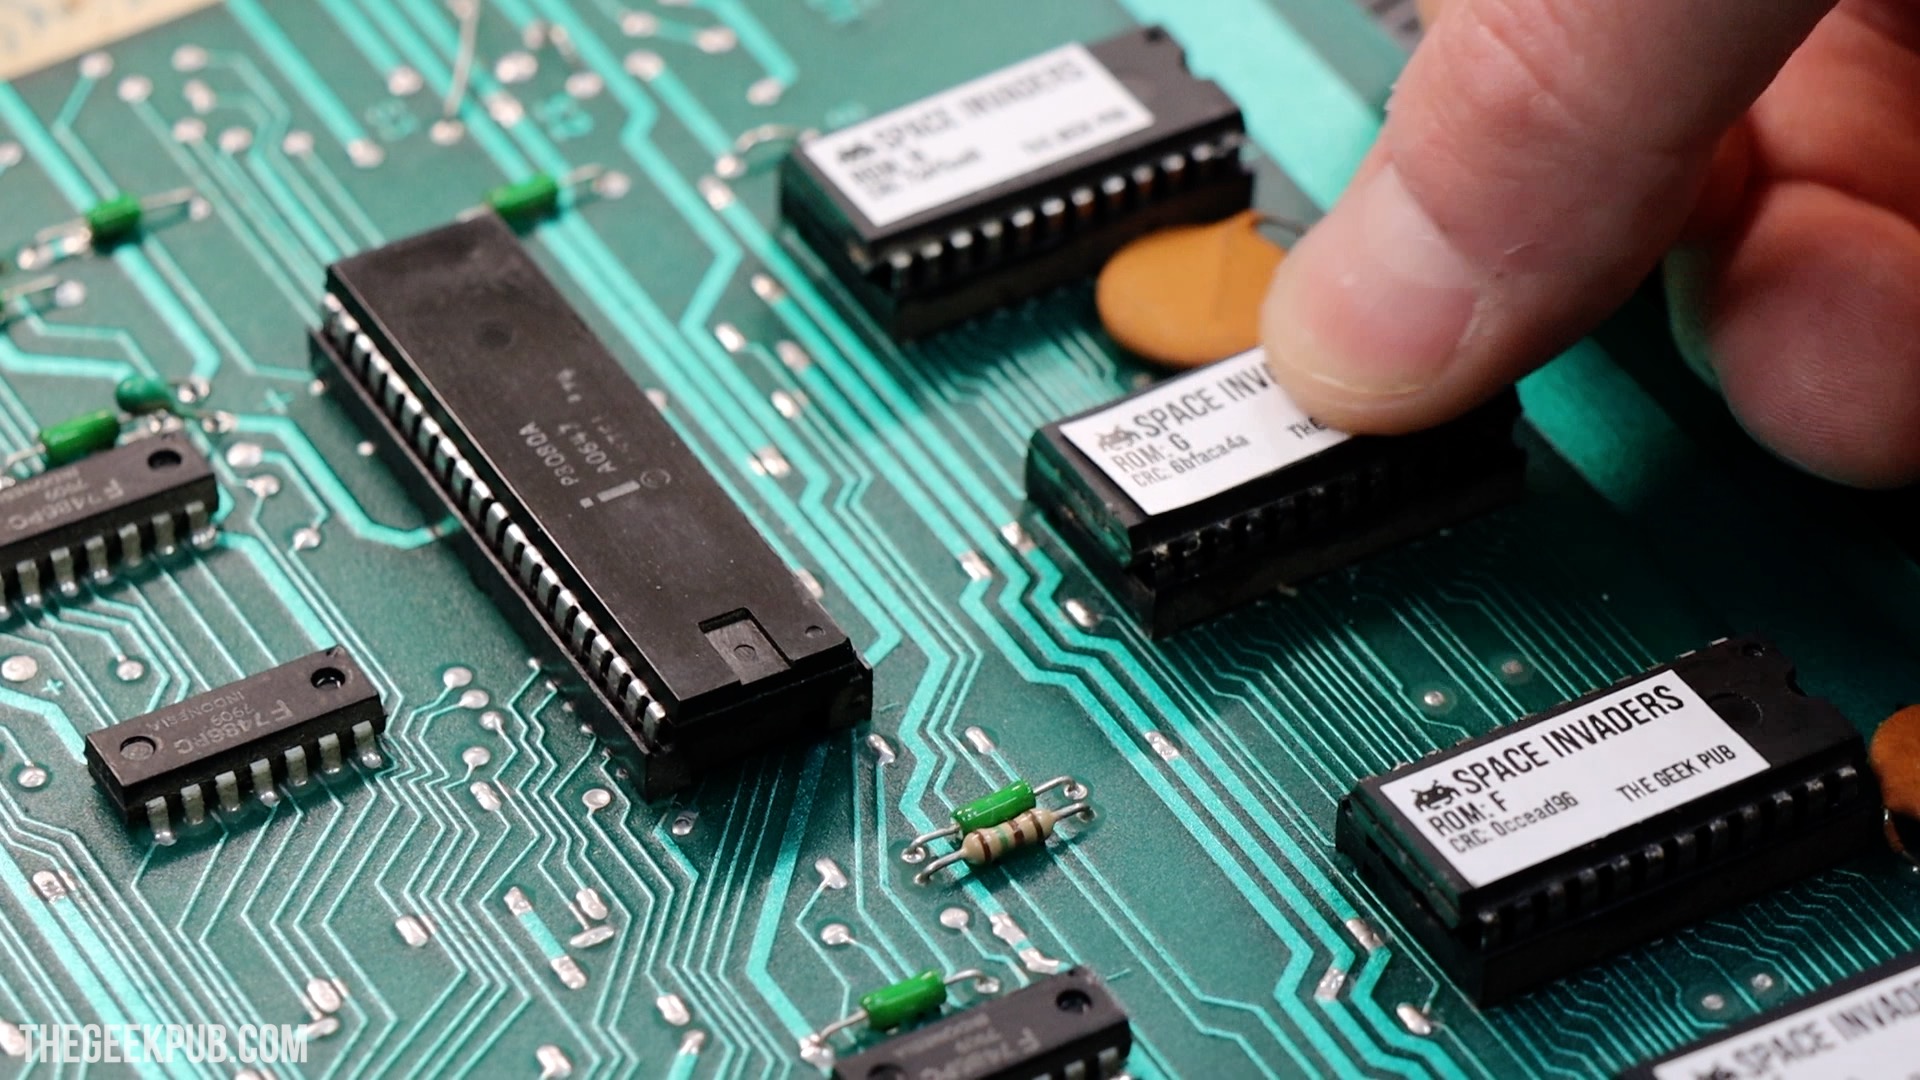
Replacing Failed Space Invaders ROM
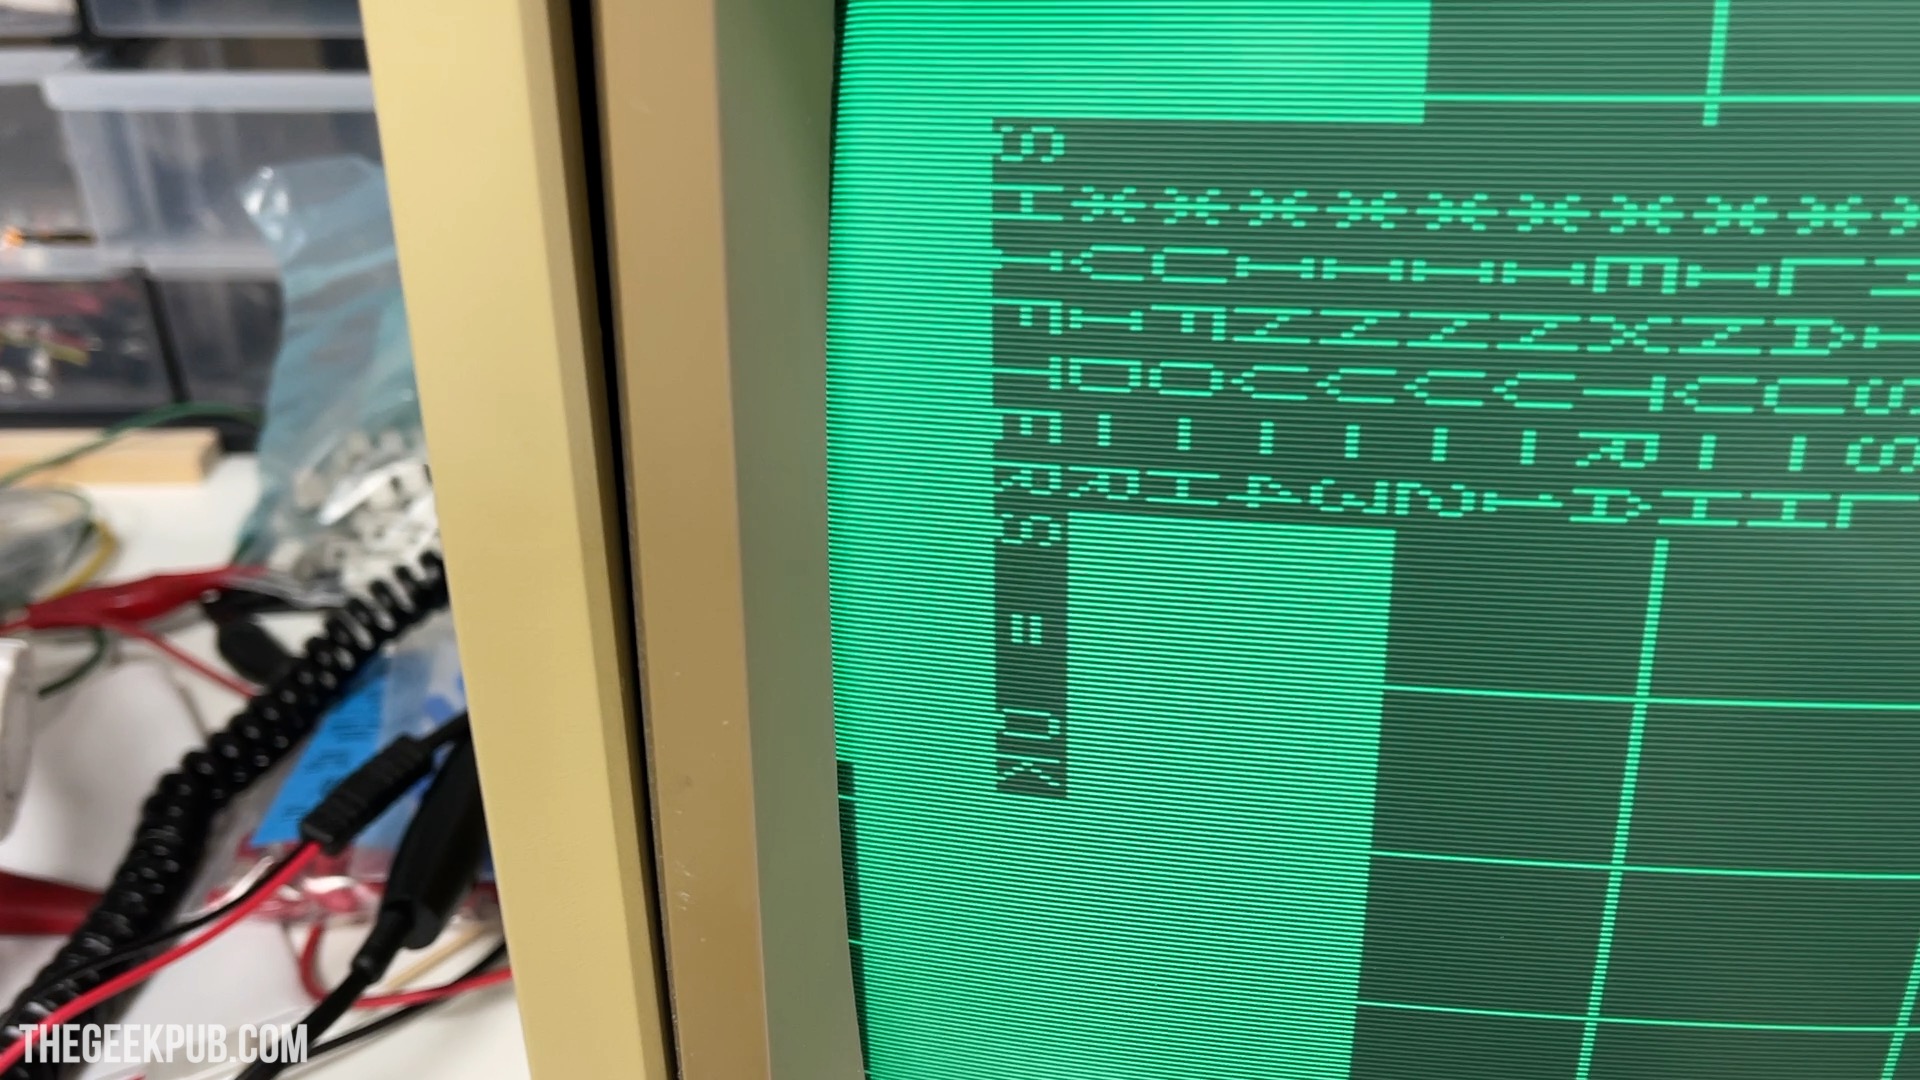
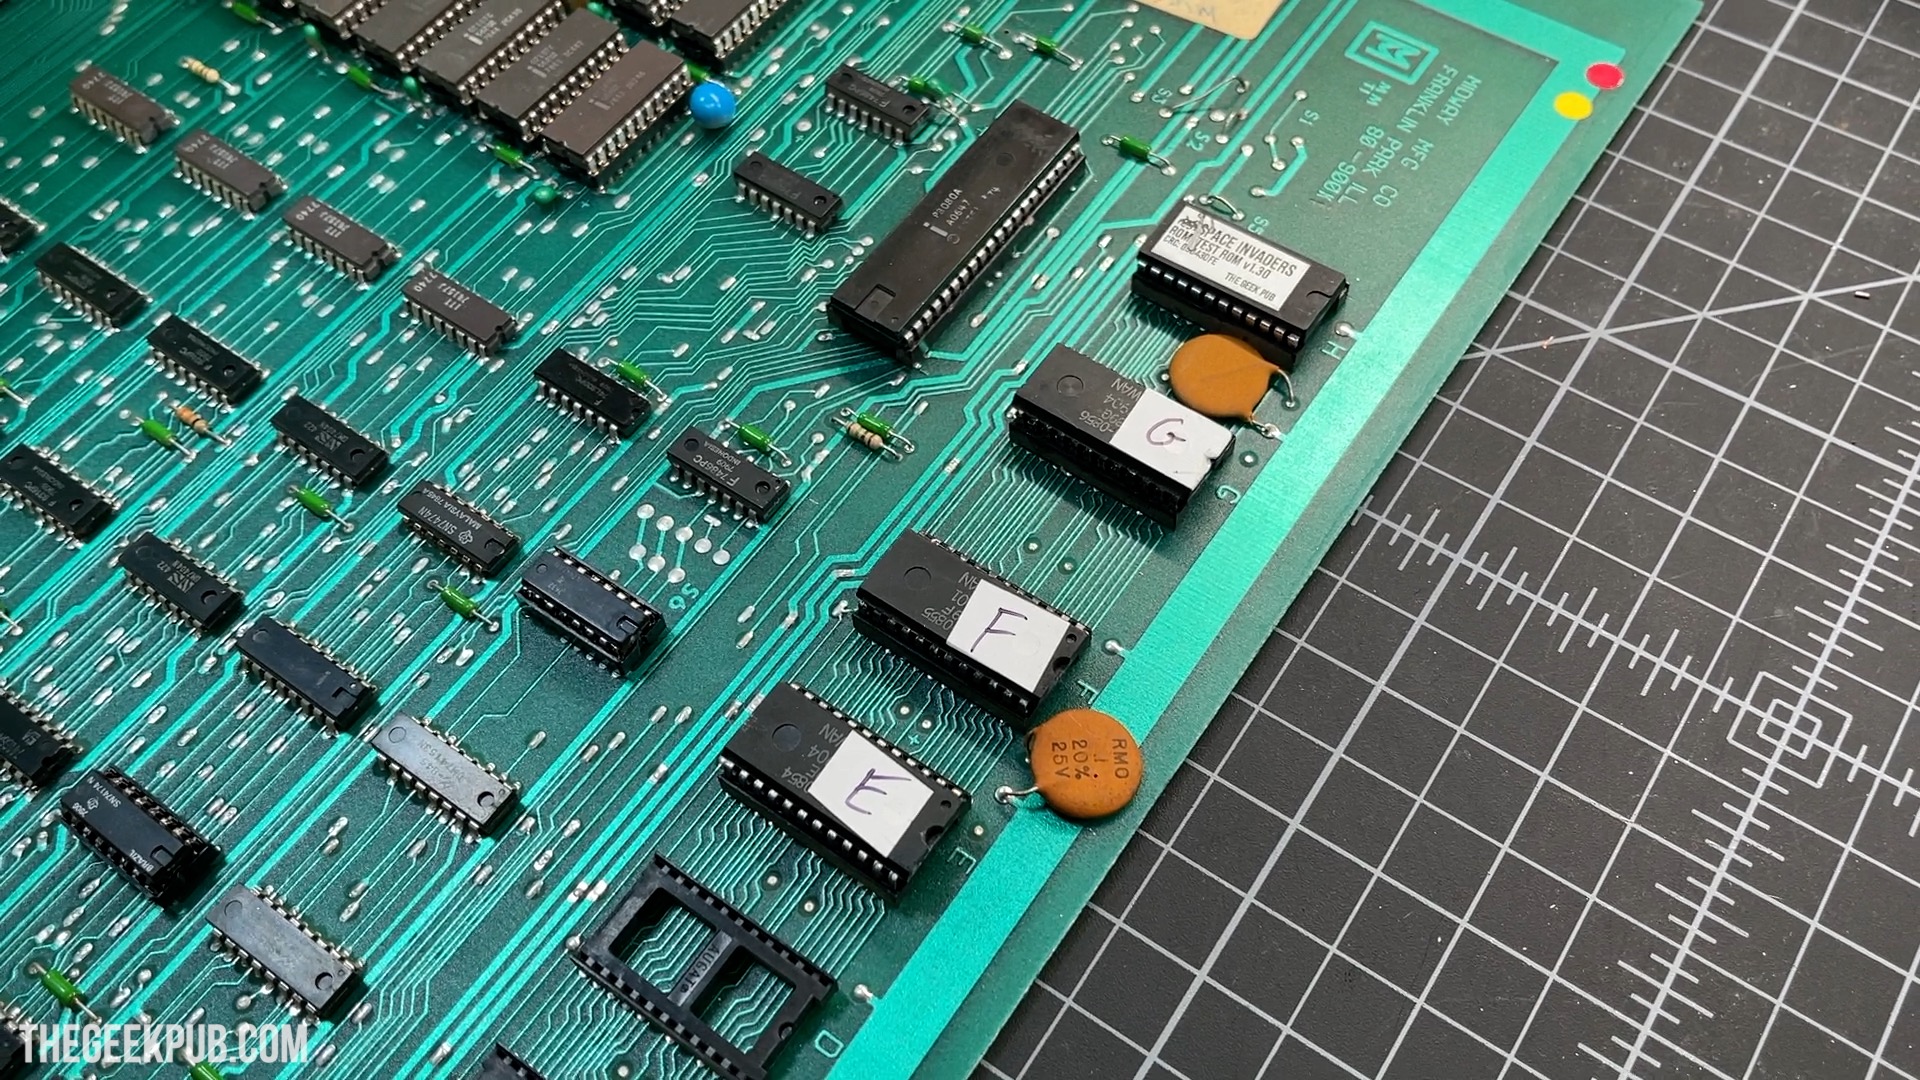
I noticed on the Test ROM’s main screen that it was showing a CRC of 3F55D17E for ROMs E, F, and G. This is bizarre, since that’s the CRC of a blank ROM and as you can see in the picture, they are clearly installed and I know they are not blank!
This let me to get out the logic probe again and start testing all of the pins on the ROM chips. I noticed pretty quickly that the chip enable (CE) line on ROM E seemed to be stuck. This means it was hanging the CE line for the other chips.
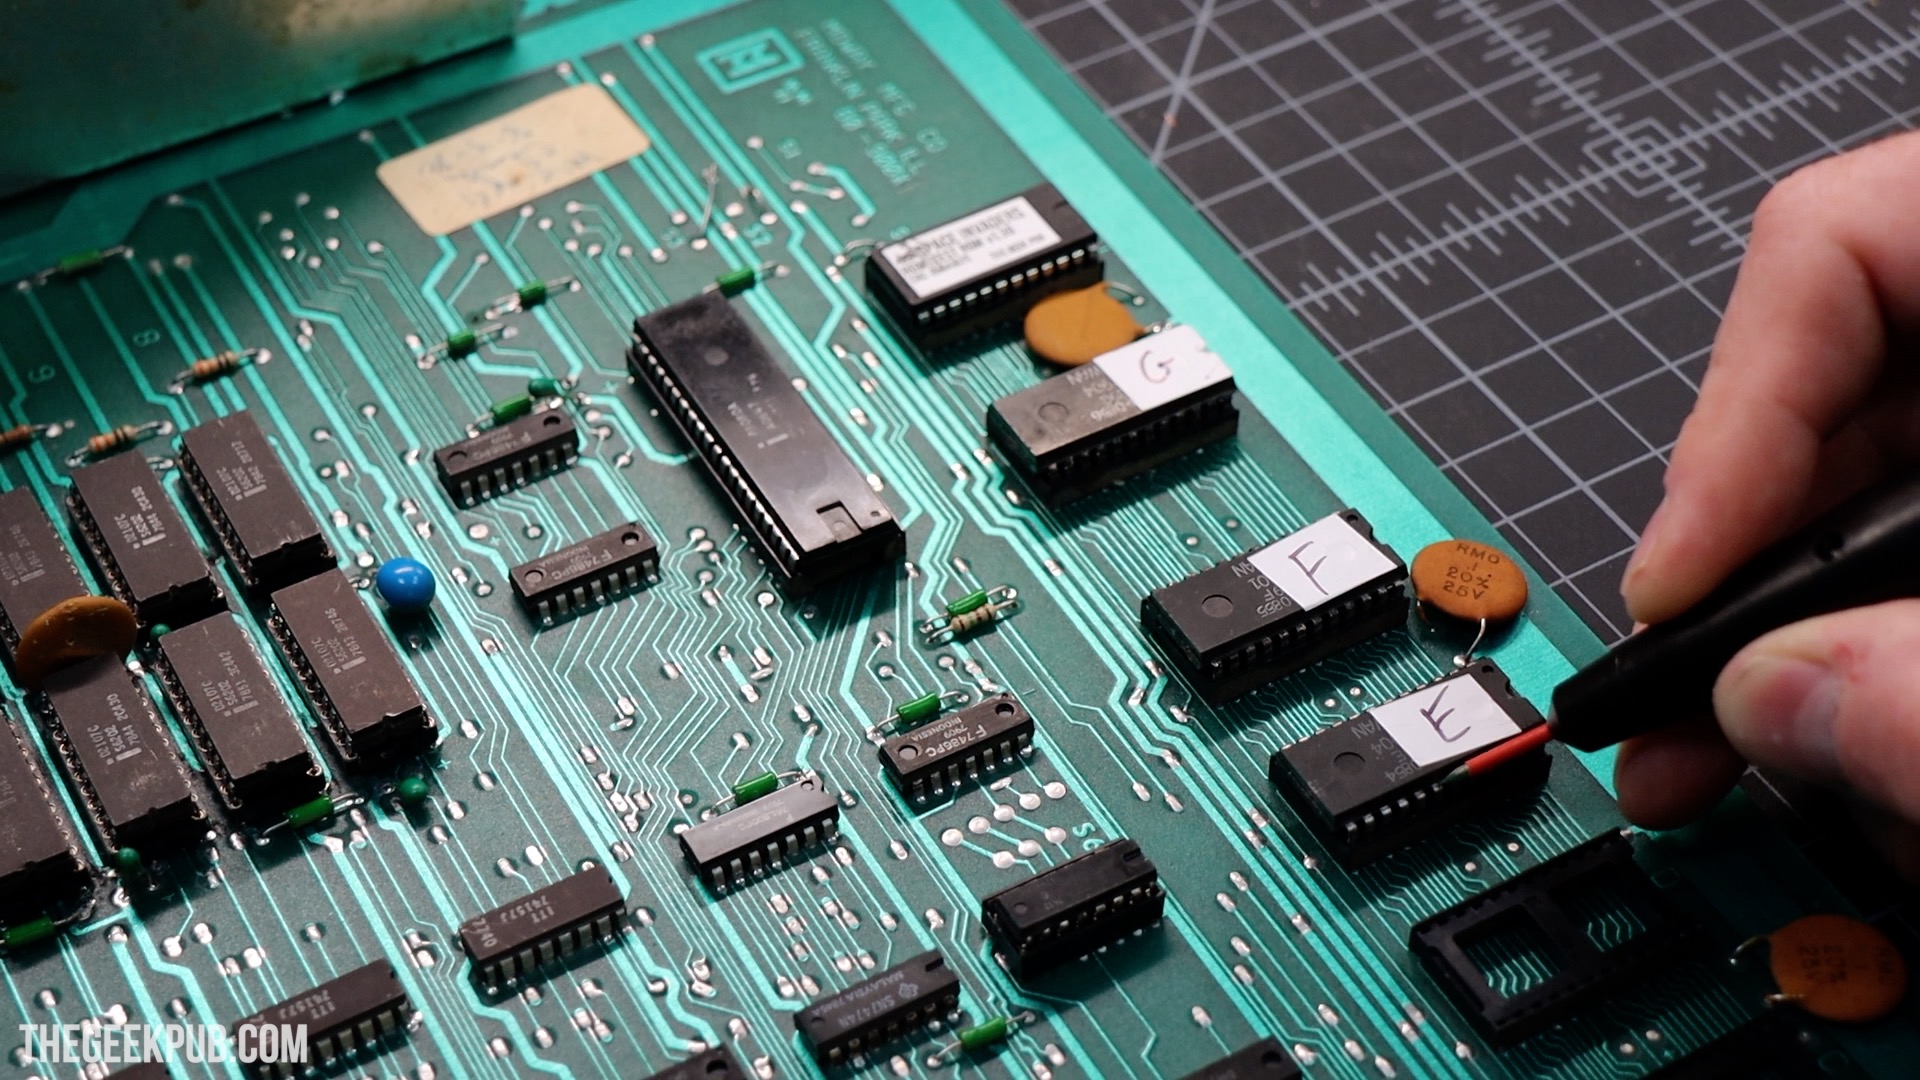
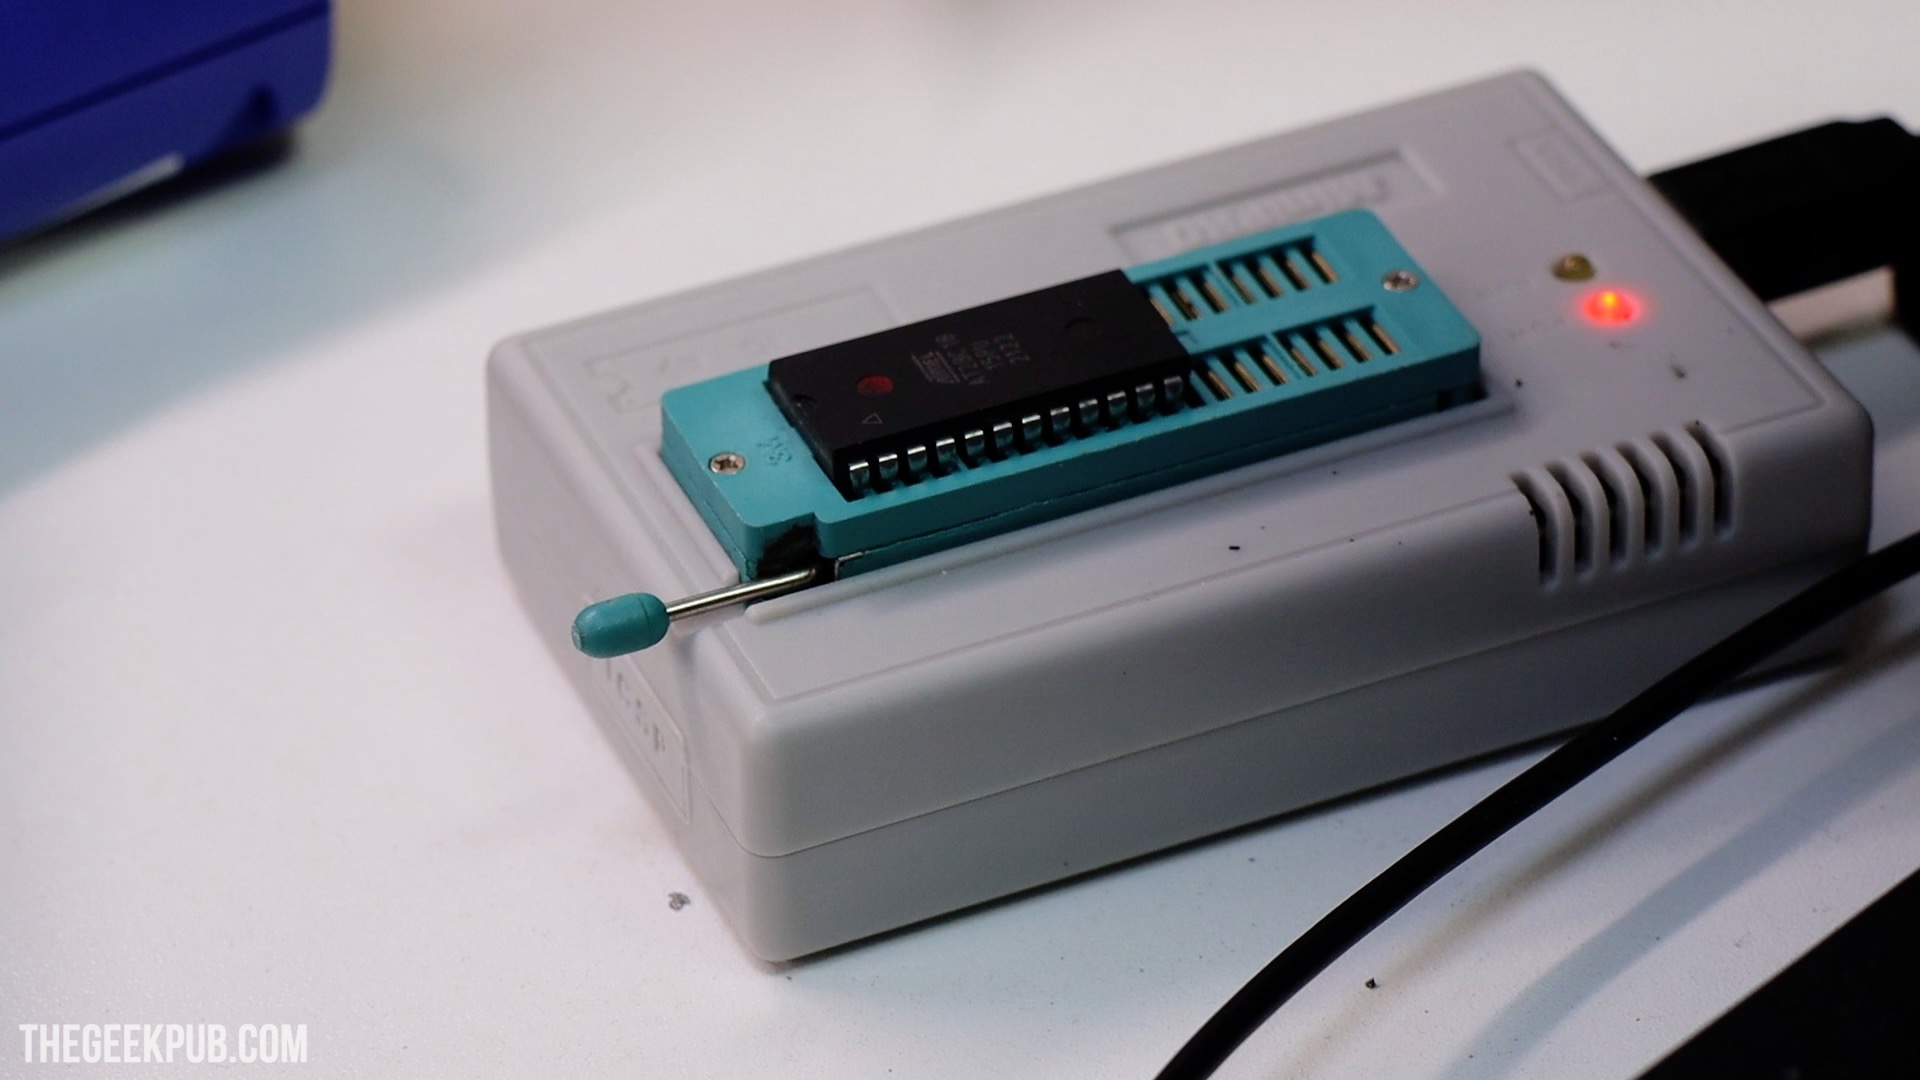
I grabbed my EPROM programmer and burned a new copy of ROM E and placed it in the slot.

Working Space Invaders
And it would seem my Space Invaders arcade repair journey has come to an end in success! SPACE INVADERS WORKS!
So to recap we had to fix or replace the following items to get Space Invaders working again:
- Repair the jumper wires and properly wire the harness
- Repair the broken -5V line trace on the motherboard
- Replace the failed 75153 mux IC
- Replace the failed ROM E with a stuck CE line
I’m a huge fan of making future repairs easier. So in addition to socketing every chip I replaced, I also try to label things so future troubleshooting is easier. In this case I labeled the ROMs with their position and correct CRC.
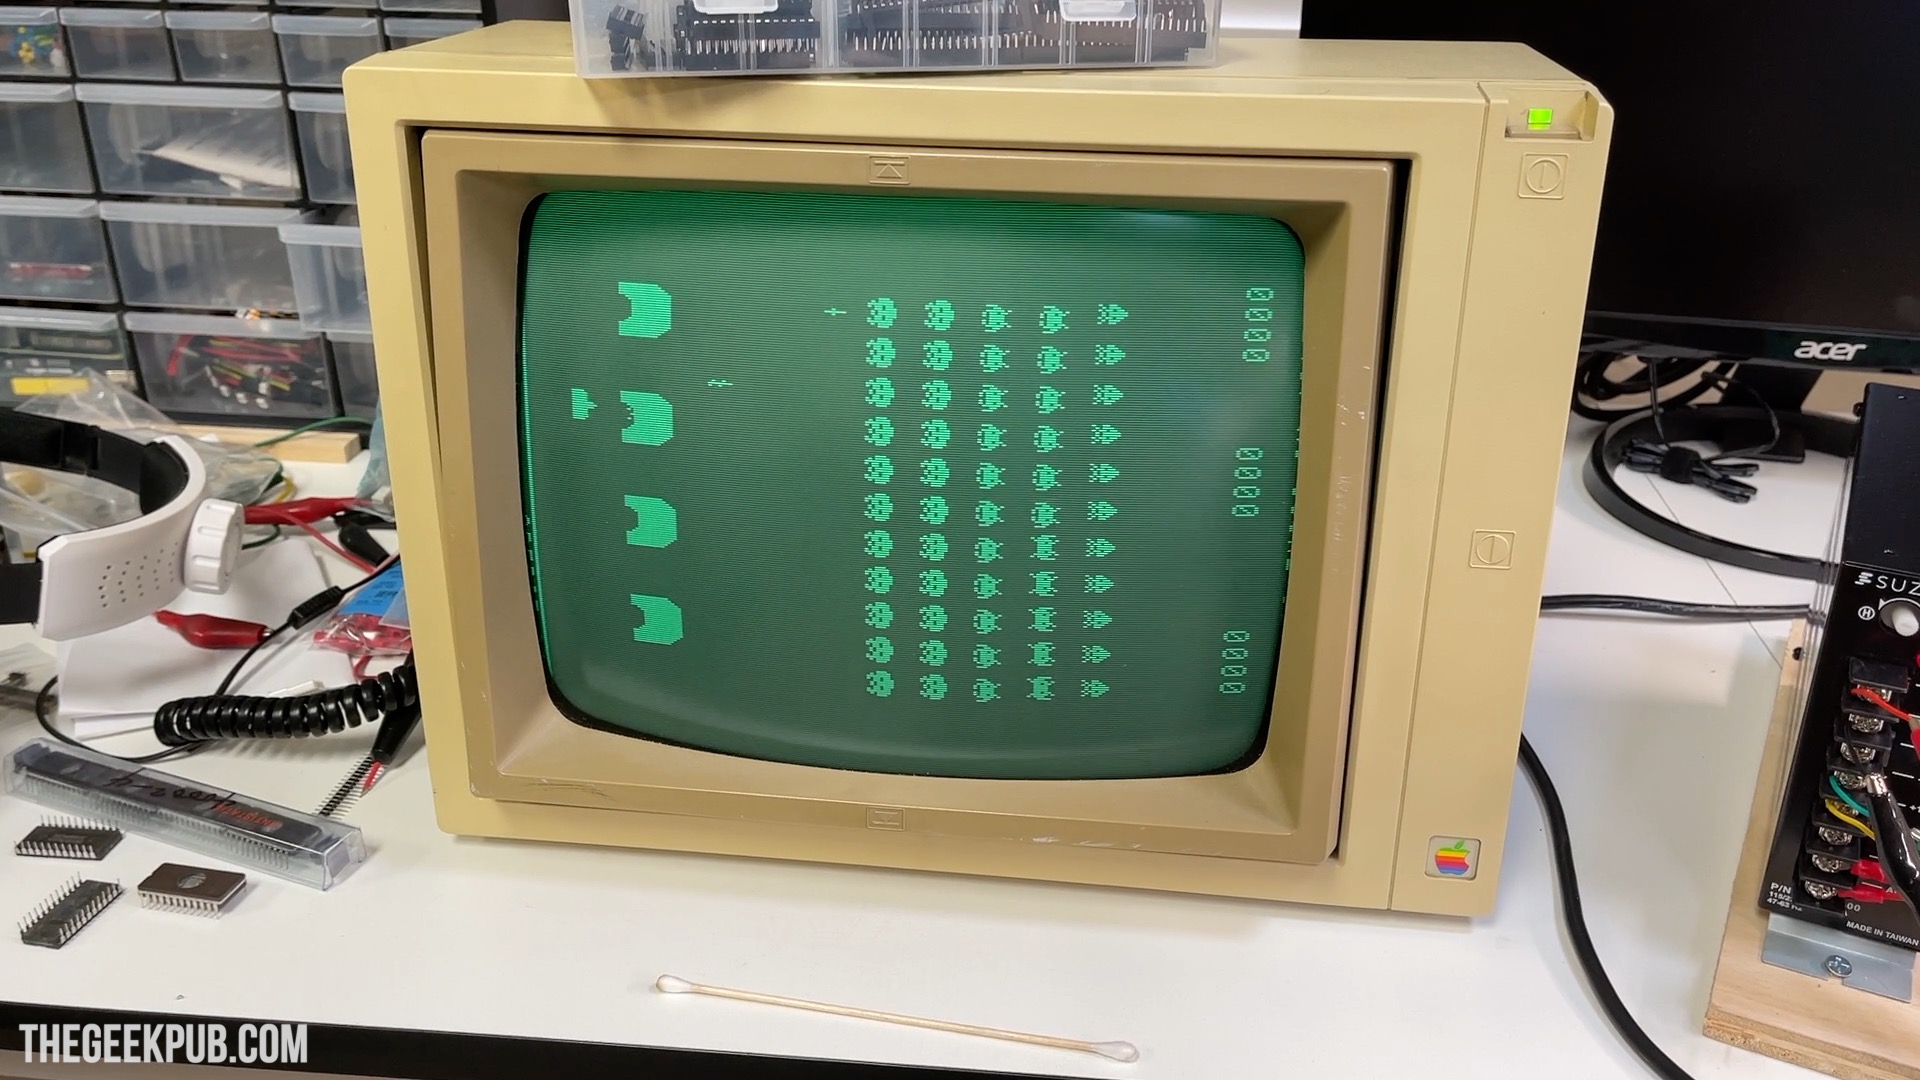
Space Invaders Arcade Repair: Playing Space Invaders!
Of course, we can’t leave it there! We have to put this board back in the cabinet and play some Space Invaders. No Space Invaders arcade repair would ever be complete without playing a few games to test it out!
And damn is she a beauty! Look at those little Space Invaders moving around the screen shooting their little weapons at me! But they’re no match for me! Just kidding, they kicked my butt good.
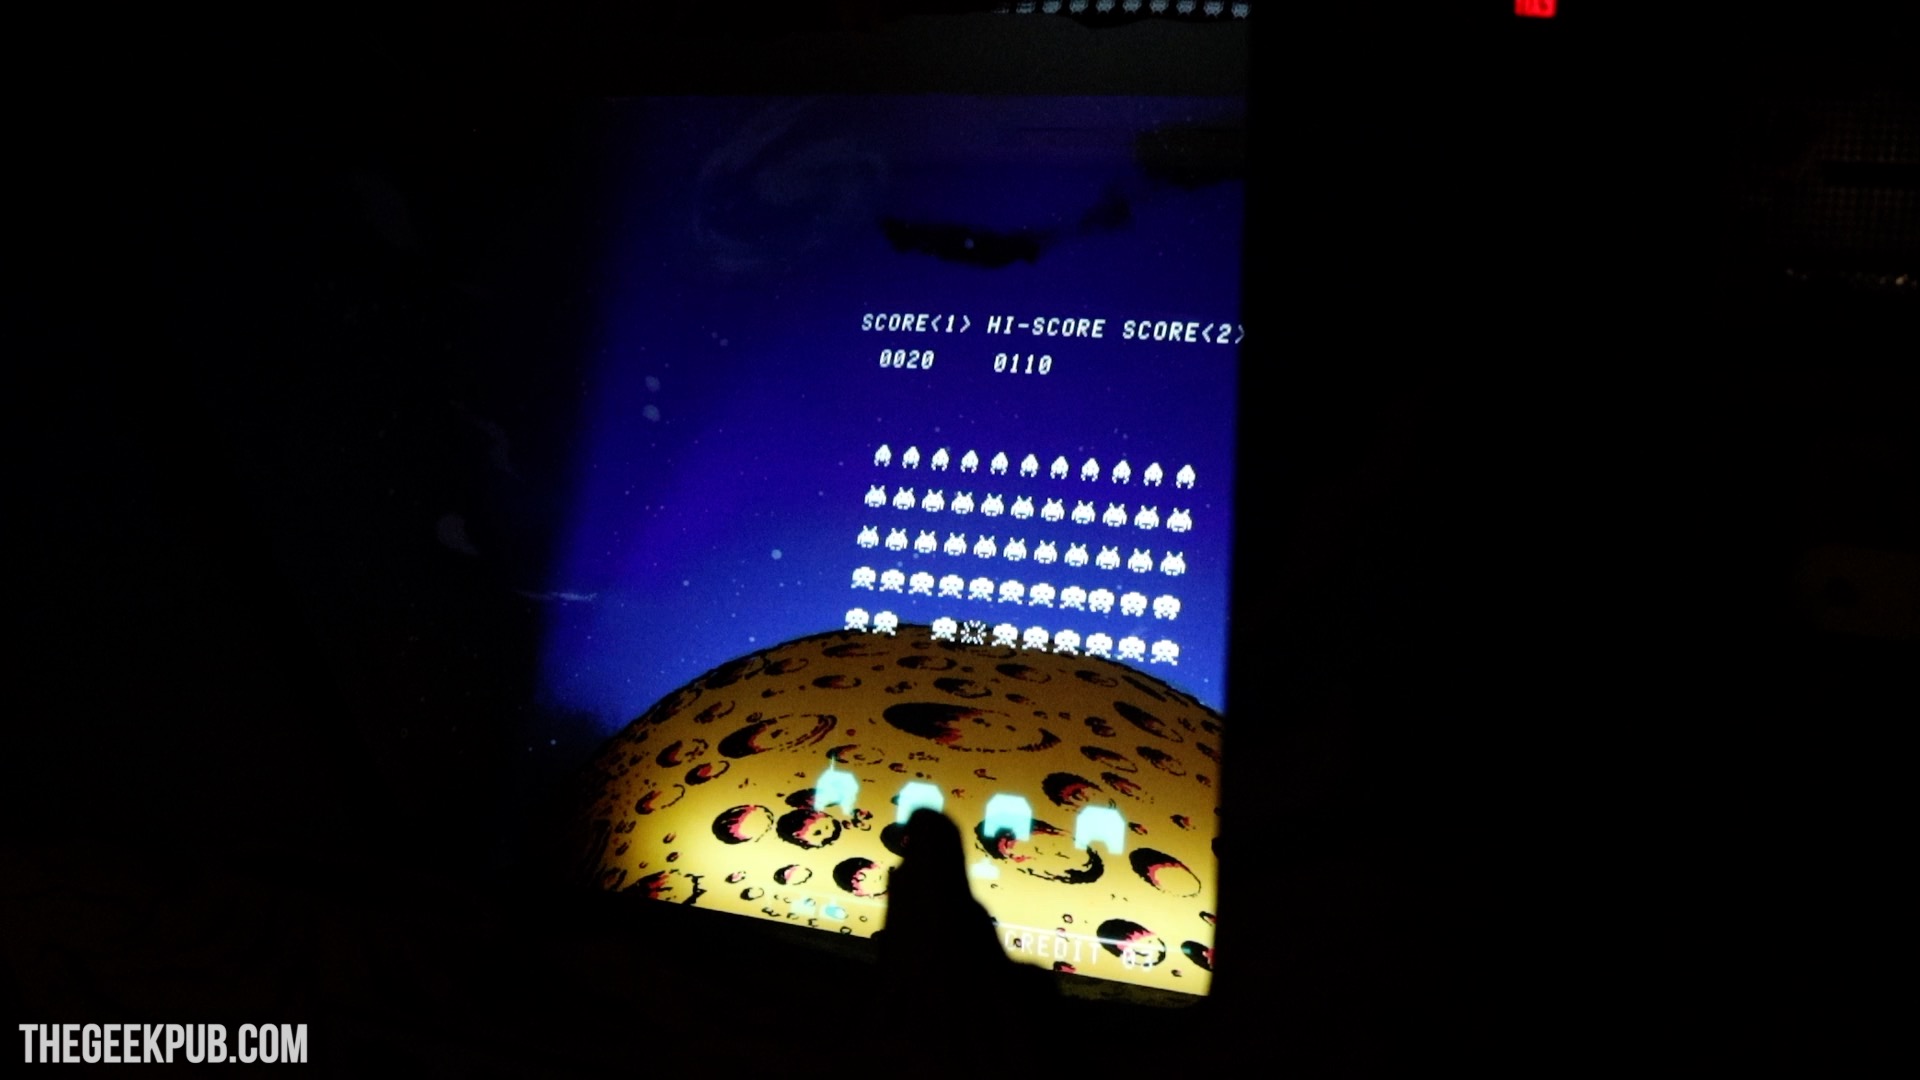

Well thanks for following along with this Space Invaders arcade repair. It was a blast! Nothing gives me goosebumps like taking something so cool that obviously neglected and sad and turning it back into a diamond. What an amazing game and wonderful piece of history all back and working!


Well done, bro! Nice to see some of these machines are getting a second life!
How about a cabinet reproduction, been looking for a cabinet have other games based on this cabinet, been scouring the net for dimensions or cabinet designs close to it
Hey was just watching your video that was amazing troubleshooting. Im just curious where did you get the image for the Faulty Rom E to burn onto the stcuk ROM?