Blog
An Introduction to the Arduino
In this tutorial, we’re going to do an introduction to the Arduino! I think a lot of people confuse them with the Raspberry Pi line of single board computers, and they are very different products that do similar but different things. I’m sure if you’re even the slightest bit geeky or at all into DIY you’ve heard someone mention using an Arduino in one of their projects. So what is an Arduino and how does one work? Let’s find out!
Let’s Talk Arduino Video
We’ve created a video all about the Arduino and micro-controllers that covers everything in this article in addition to some real world examples, such as Mike’s full-size R2-D2 replica build using Arduinos!
Many people assume the Arduino is some kind of single-board computer, but its actually based on a micro-controller, so let’s first understand the difference between a micro-controller and a general purpose computer.A computer has a microprocessor (or CPU) that is designed for a wide range of uses. This can be anything from playing a game to word-processing to controlling a robot. A computer is a jack of all trades, and master of none. A computer also generally runs an operating systems such as Linux, Windows, or MacOS.
A micro-controller is a system on a chip that is designed to be very good for very specialized purposes. They don’t run an operating system but instead run a custom firmware. Without the full operating system of a computer they are very fast and efficient, and require so little power they can even operate on limited battery power.
Micro-controllers are found in everything from your microwave, to your automobile. They’re even the heart of multi-million dollar satellites orbiting the Earth!
Introduction to the Arduino
What Arduino did is fundamentally very simple, but incredibly powerful and launched a whole industry around micro-controllers. Micro-controllers were around long before the Arduino, but they were difficult to program and hard for beginners to learn. Arduino created an open-source electronics platform for a specific set of micro-controllers.
The Arduino boards contain a micro-controller at the center, and all of the additional hardware to interface with it including analog and digital I/O, voltage regulation, and even USB serial I/O for uploading your code. There many different types of Arduino boards such as the Uno and the Mega.
Arduino also created an Integrated Development Environment (or IDE) that makes it simple to create custom programs called Sketches for the on-board micro-controller using the Arduino programming language (which is based on a simplified version of the C++ language). The IDE compiles these sketches into machine code that the micro-controller can understand. This opens the platform up to beginners by dramatically lowering the barrier of entry while also making the platform even more robust for advanced users. This IDE is available on Windows, MacOS, and even Linux.
It makes the process of getting code from your computer to the micro-controller as simple as plugging in a USB cable and clicking the upload button. This was a game changer when it was introduced. Next up in our introduction to the Arduino, let’s talk about Shields.
Arduino then built on this platform by introducing something called a Shield. Arduino Shields are circuit boards that are designed to sit on top of the Arduino and add additional functionality. There are networking Shields for adding Ethernet and Wifi. Or robotics Shields for adding stepper motor and servo controllers. There are even Shields that allow you to create an MP3 player out of an Arduino board!
RELATED: List of Arduino Sensors
Being that Arduino has open-sourced its designs, any manufacturer that wants can make the boards. Now they can’t call them an Arduino, but they can say they are Arduino compatible. You end up with products like the LAVFIN Uno which is an exact clone of the official Arduino Uno. These clones are everywhere and they are generally somewhat cheaper than official boards.
Tour of the Arduino Uno
Now that we know what an Arduino is, let’s continue our introduction to the Arduino let’s with a tour of one.
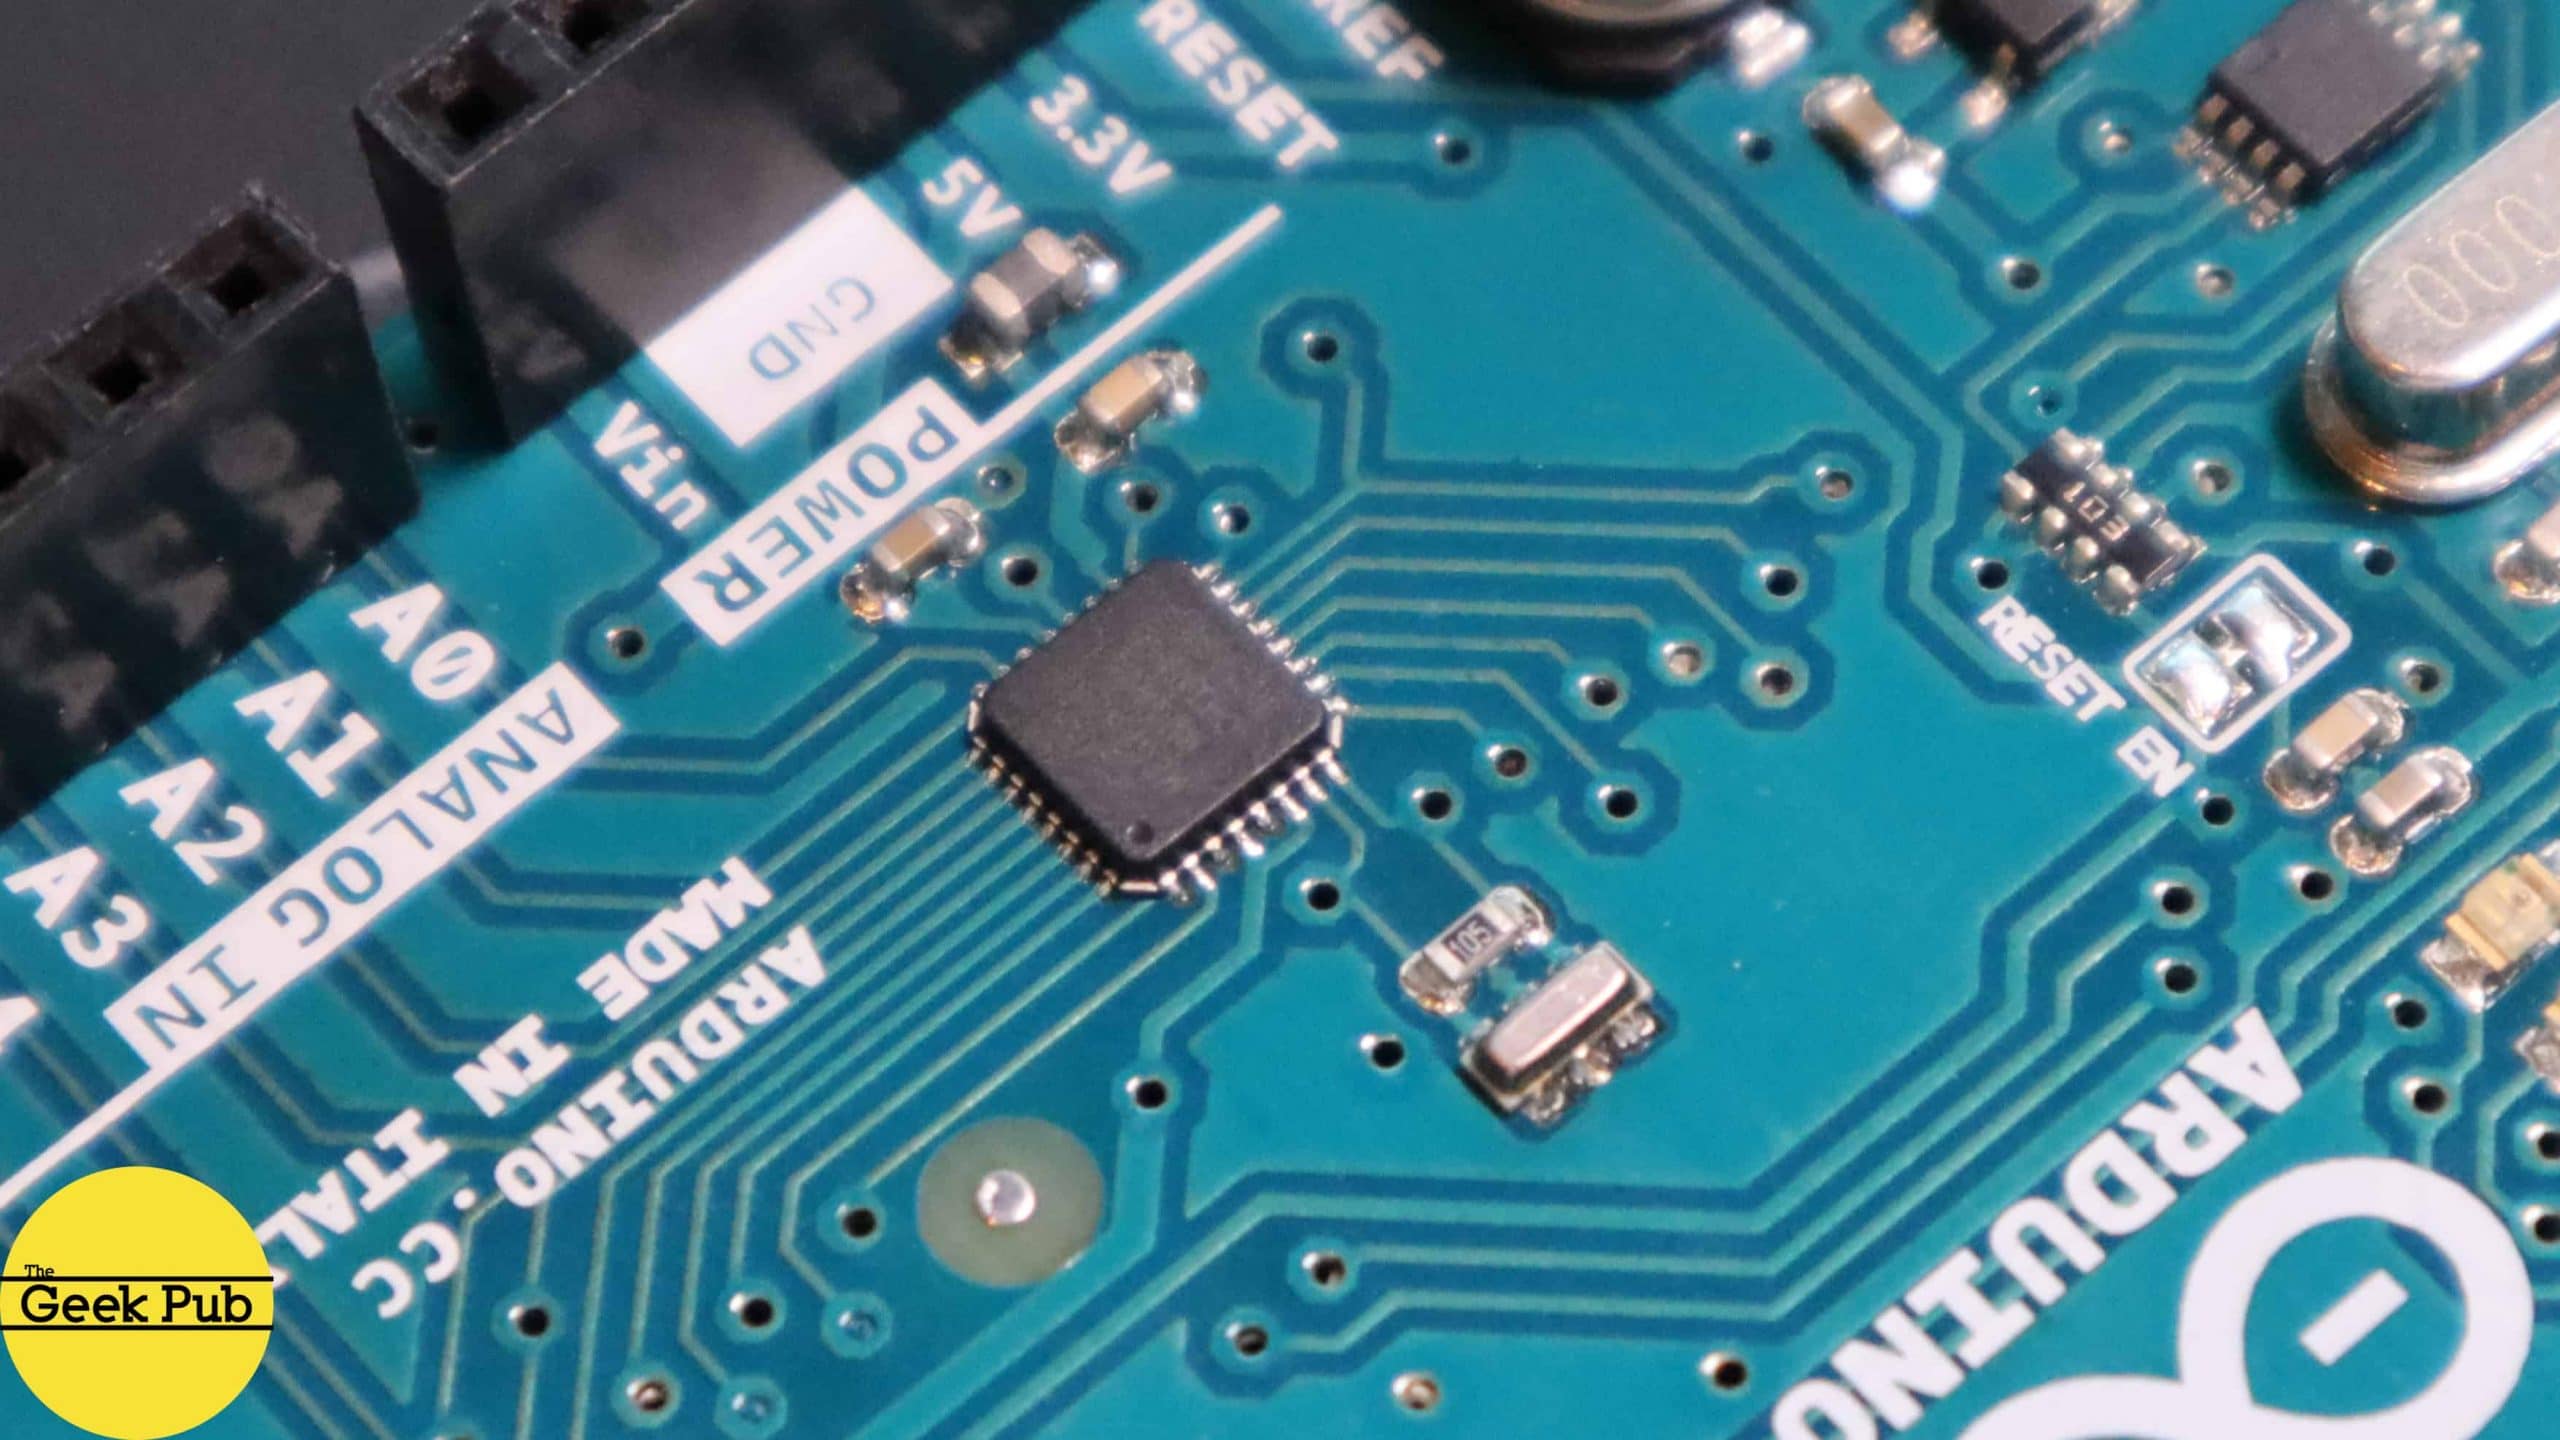
The Arduino Micro-controller
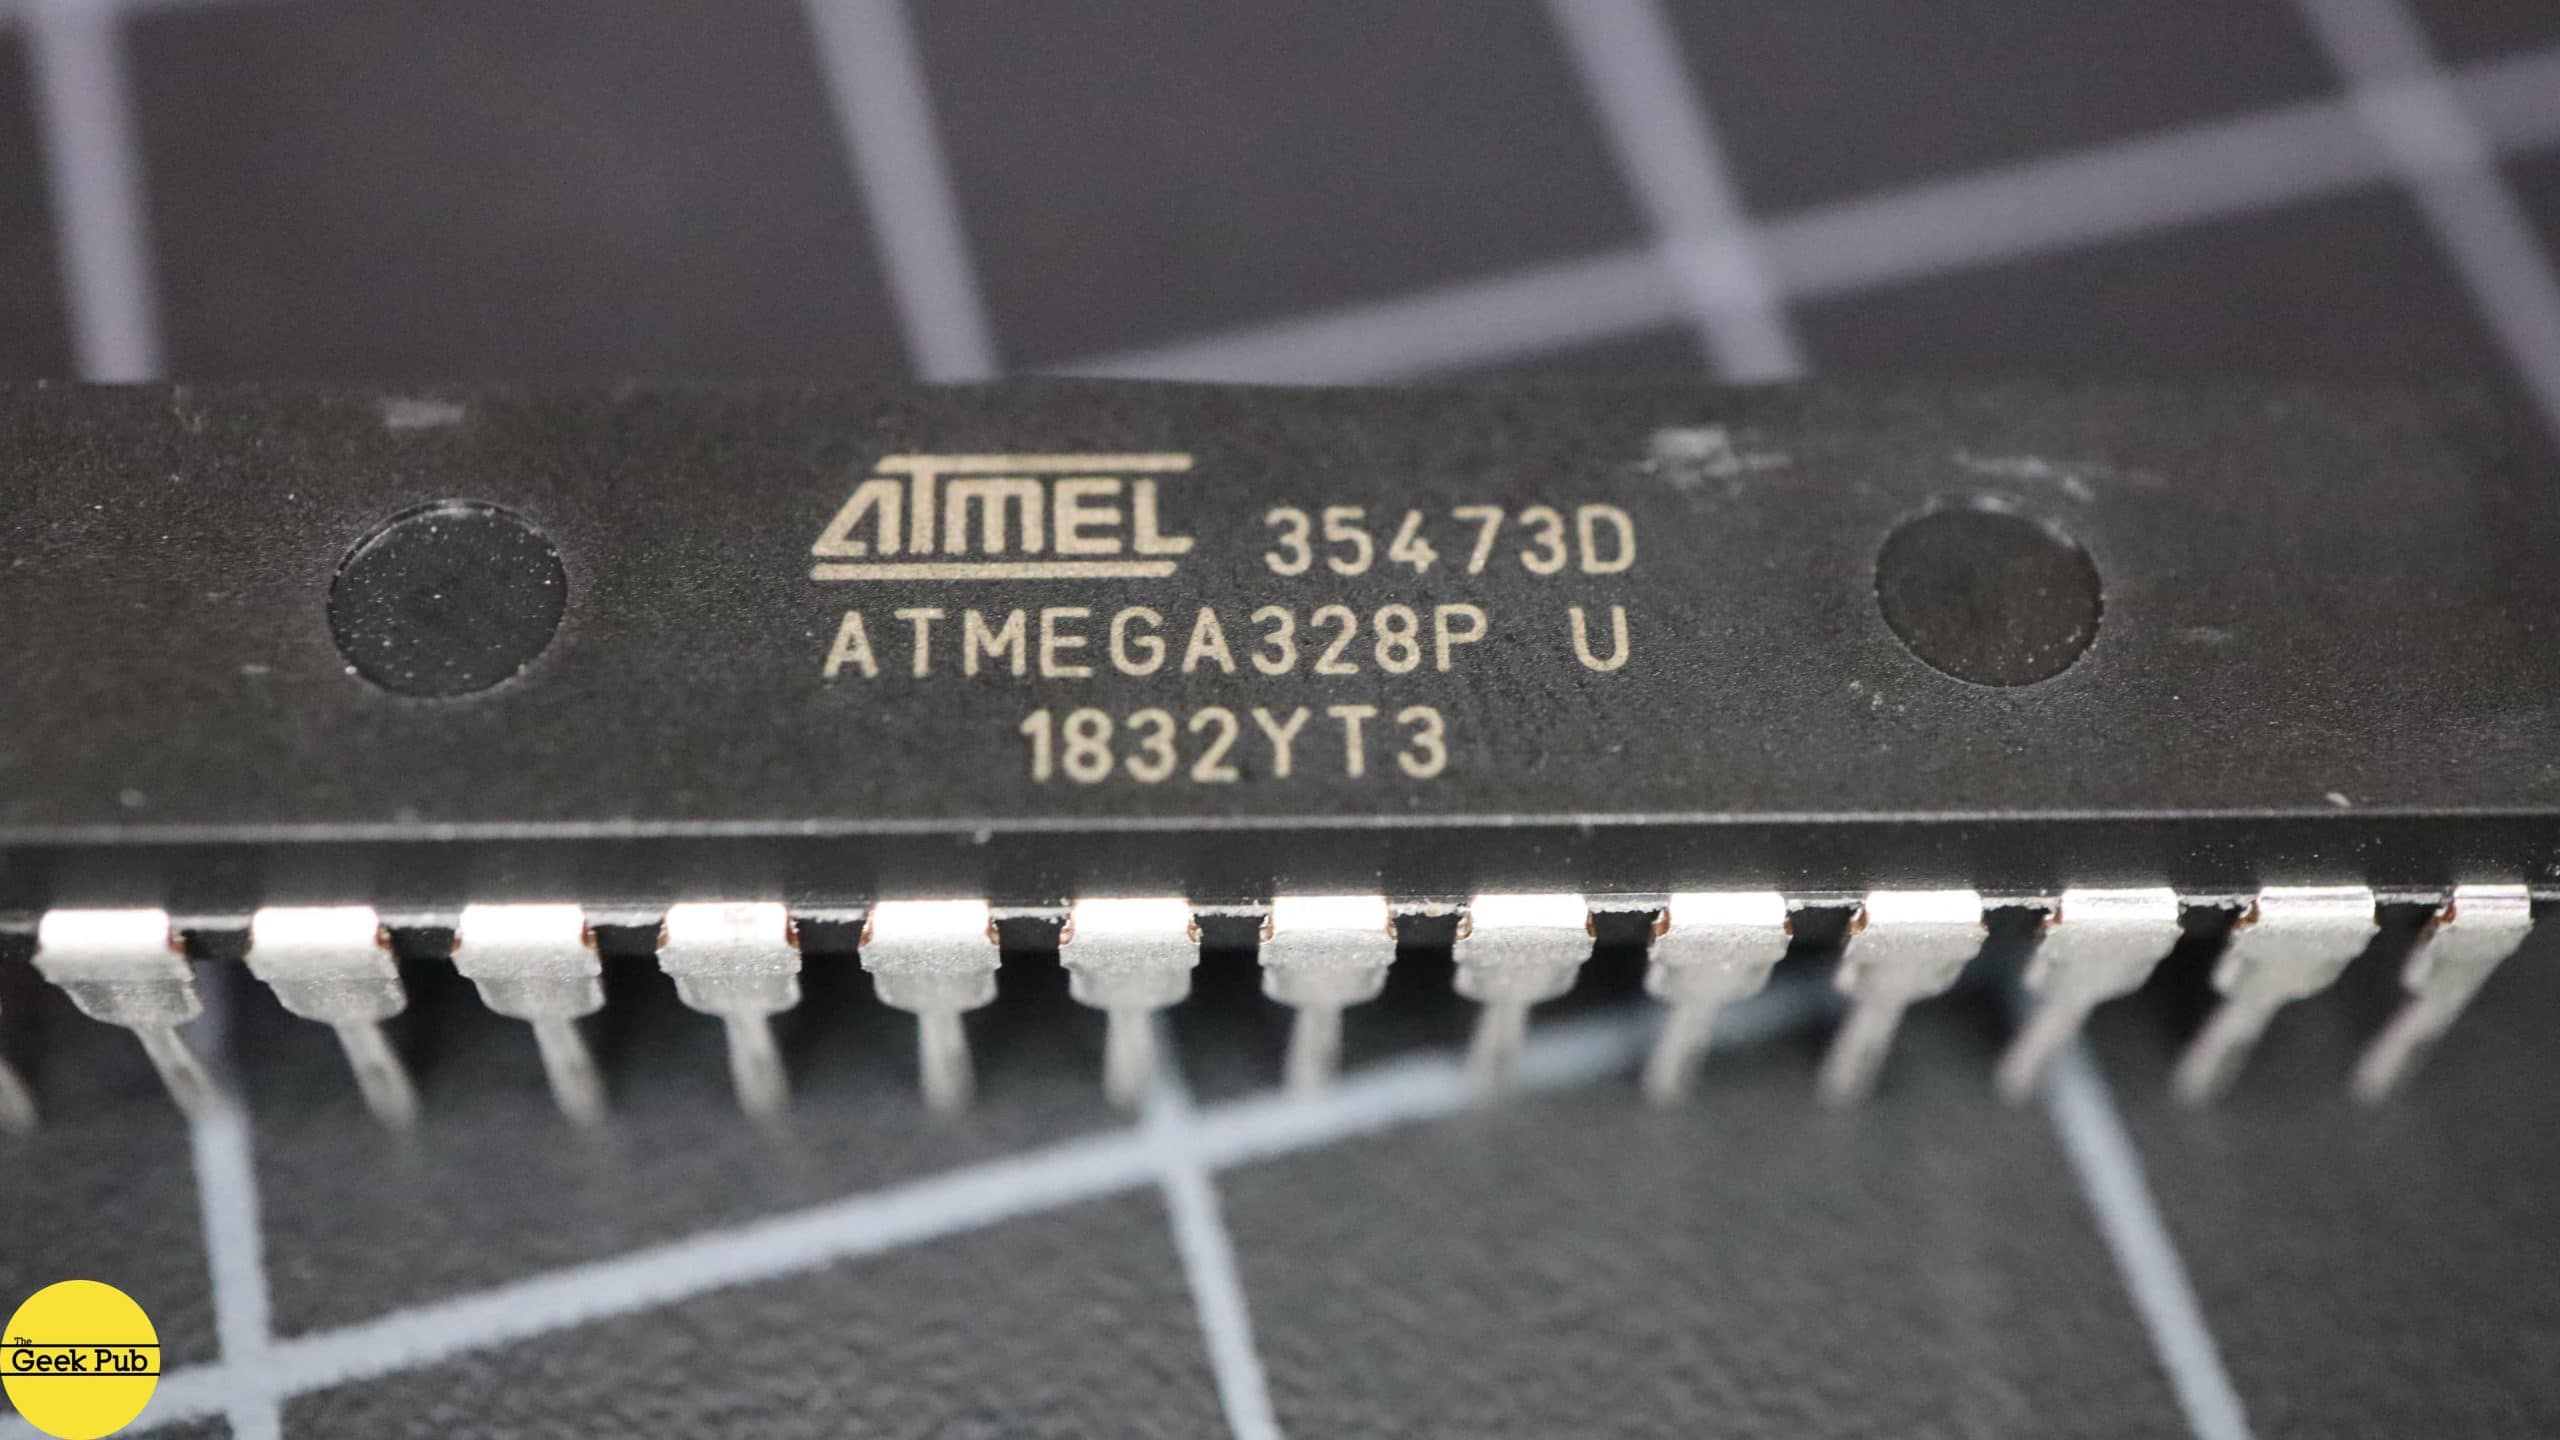
We’ll first look at the Arduino Uno, as I believe it is the most common Arduino you’ll find. At the heart of the Arduino Uno is the micro-controller. This particular Uno has a surface mount Atmega328P, but many Uno’s will have a through hole style micro-controller like this one for example.
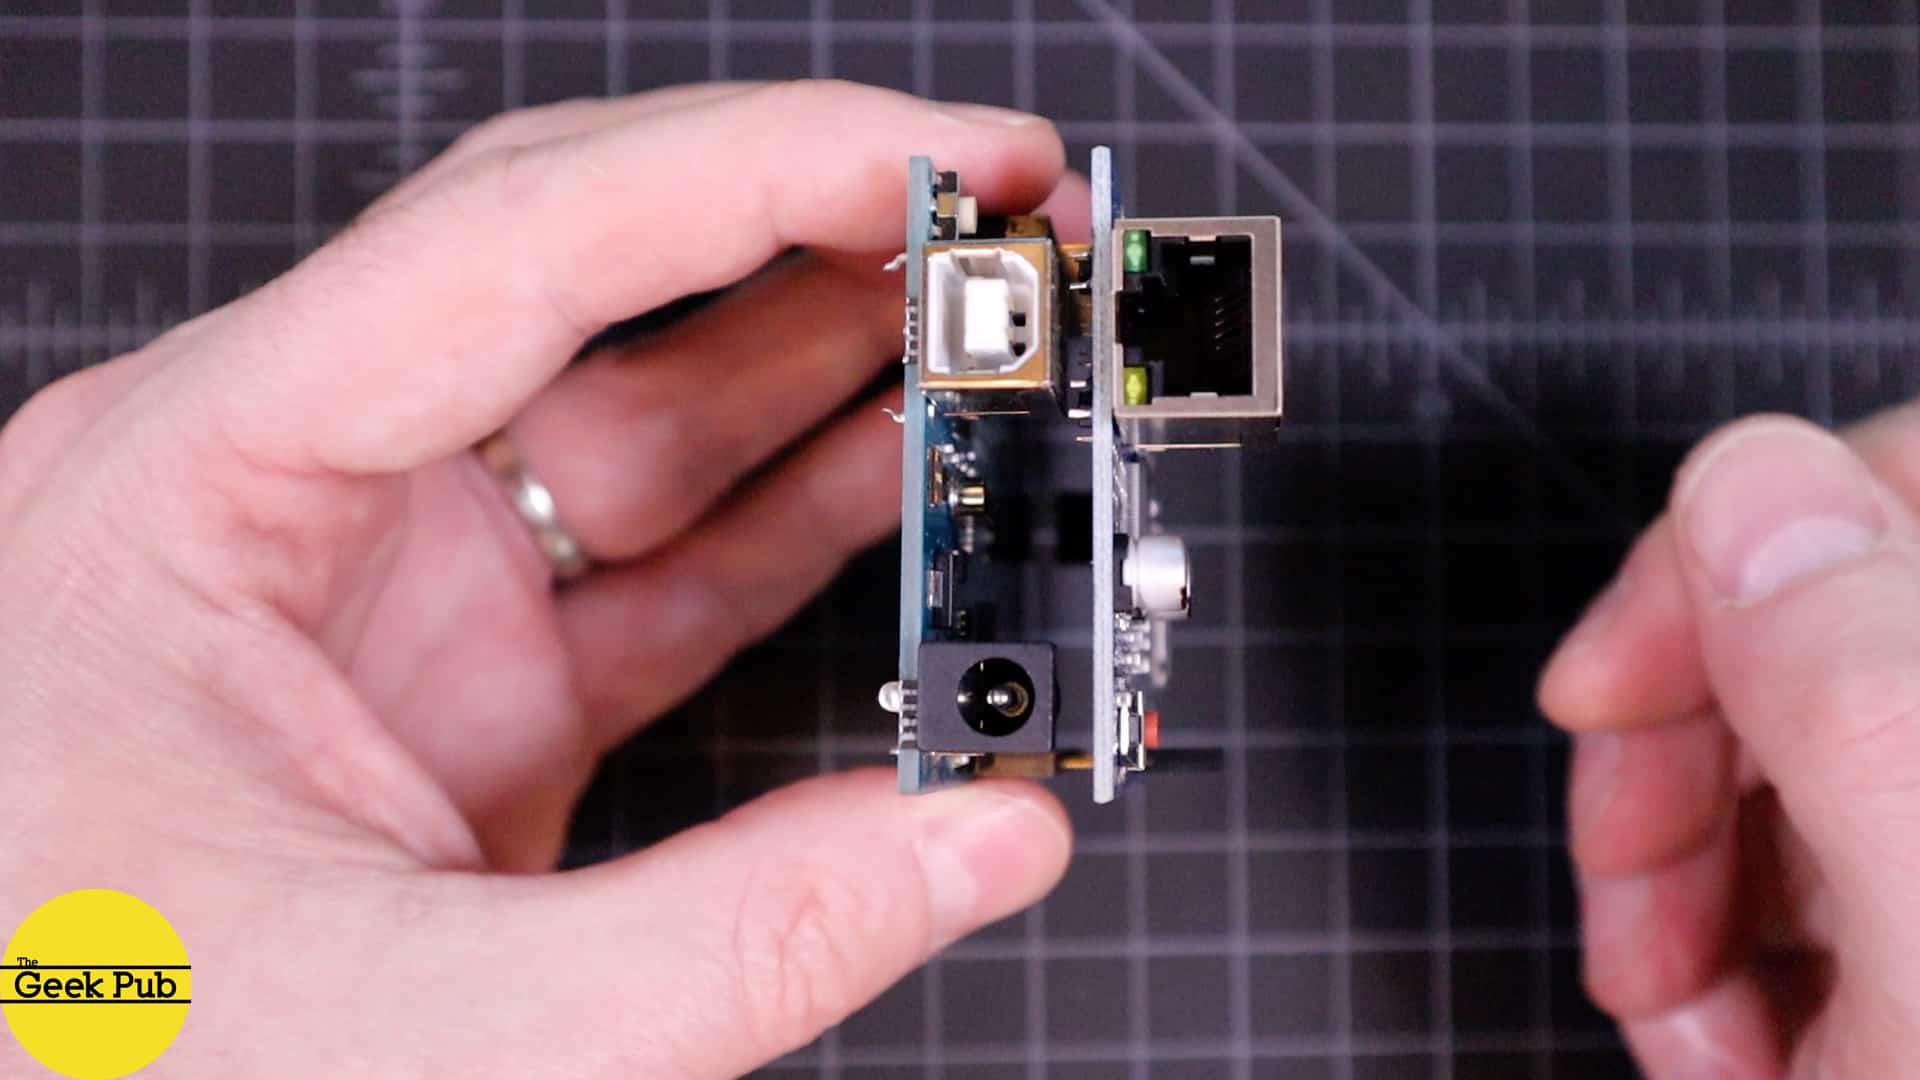
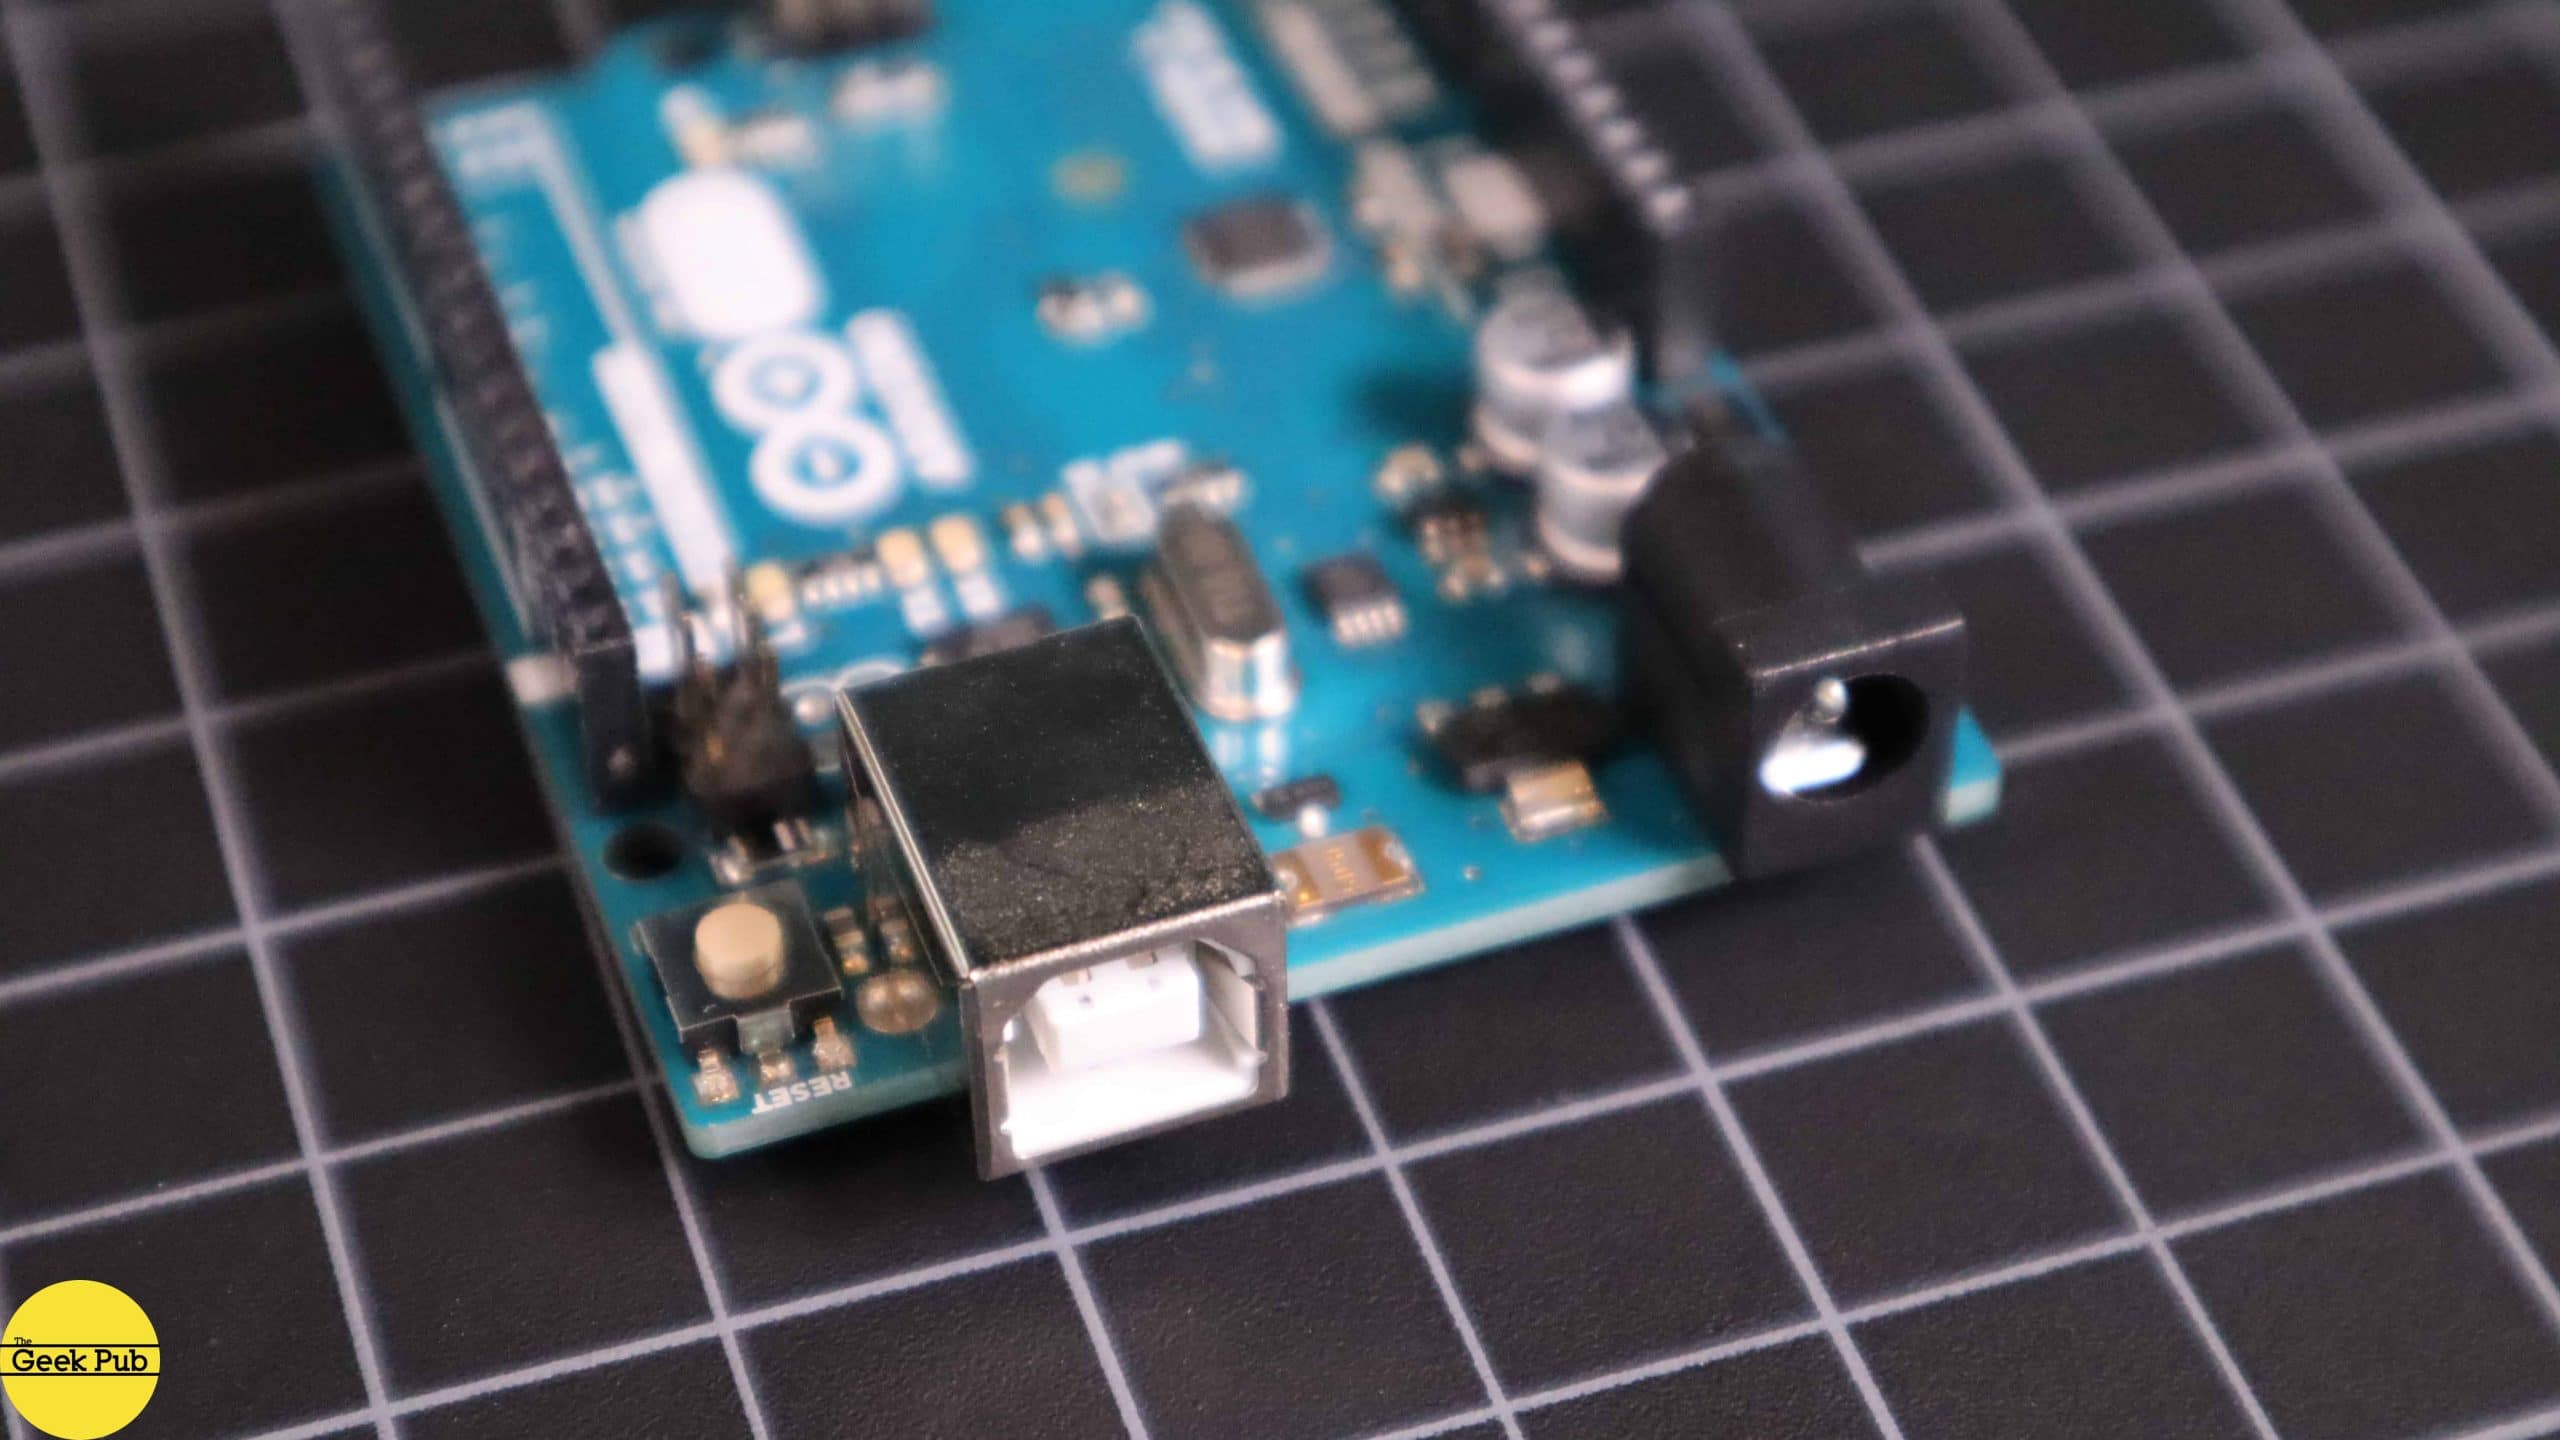
Powering the Arduino
Powering the Arduino can be done from the USB port, or from the DC barrel jack. In fact, the Arduino will automatically and seamlessly switch between the two. This is great for battery operated projects. It allows you to swap the battery without rebooting the Arduino. One word of caution here, although the Arduino will operate from a 5V USB power source, the barrel jack should be between 7V to 12V as there is a voltage regulator behind it that requires a minimum of 6.2V to output a stable 5 volts.
USB Connectivity
Net up in our introduction the Arduino, let’s talk about USB, there’s actually two micro-controllers on the Arduino. This smaller second micro-controller is running firmware designed specifically for connecting to your PC’s USB port and uploading code. It’s part of the magic of what Arduino created. After your firmware is uploaded and running, this is the same chip that writes data to the serial console in your Arduino sketches.
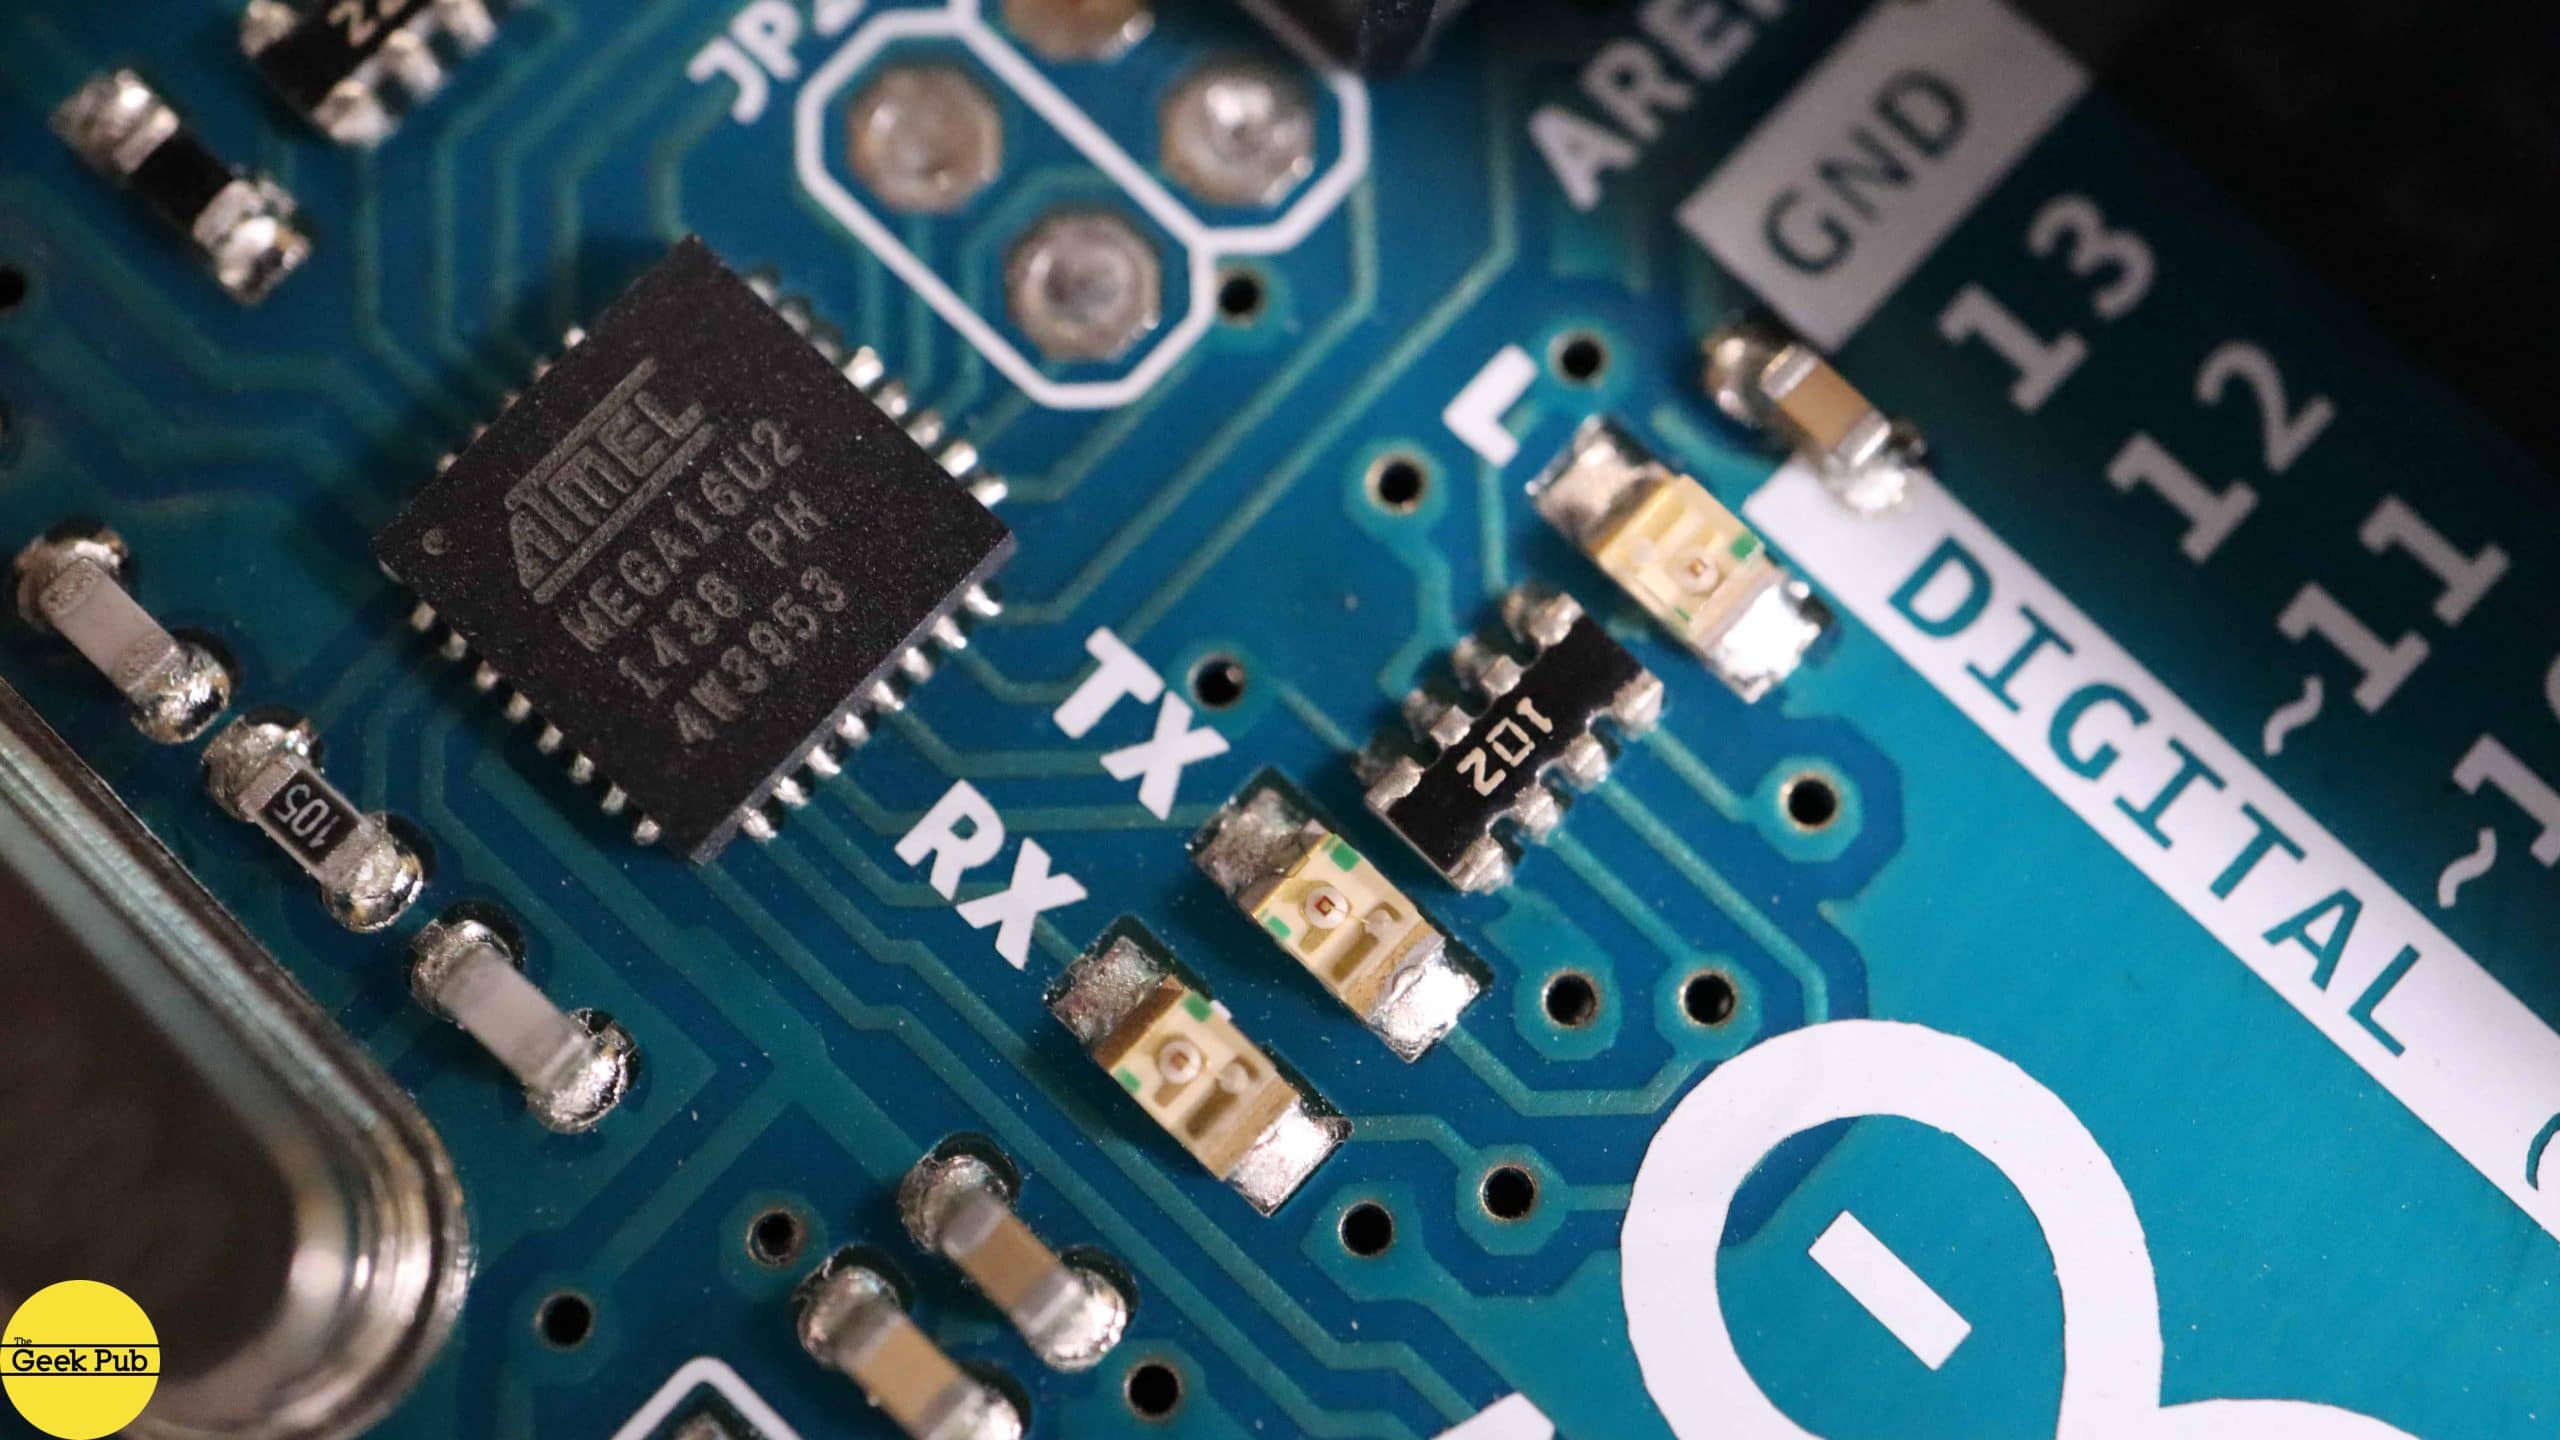
Arduino Status LEDs
Over here are three LEDs that are very handy! TX and RX let you know when serial data is moving back and forth. It’s a great troubleshooting indicator when things aren’t working like you planned. The other one is attached to digital pin 13. I use this LED a lot when I want to light a status indicator for troubleshooting without the need to wire an LED on my breadboard. Just define pin 13 as an output and set it high or low!
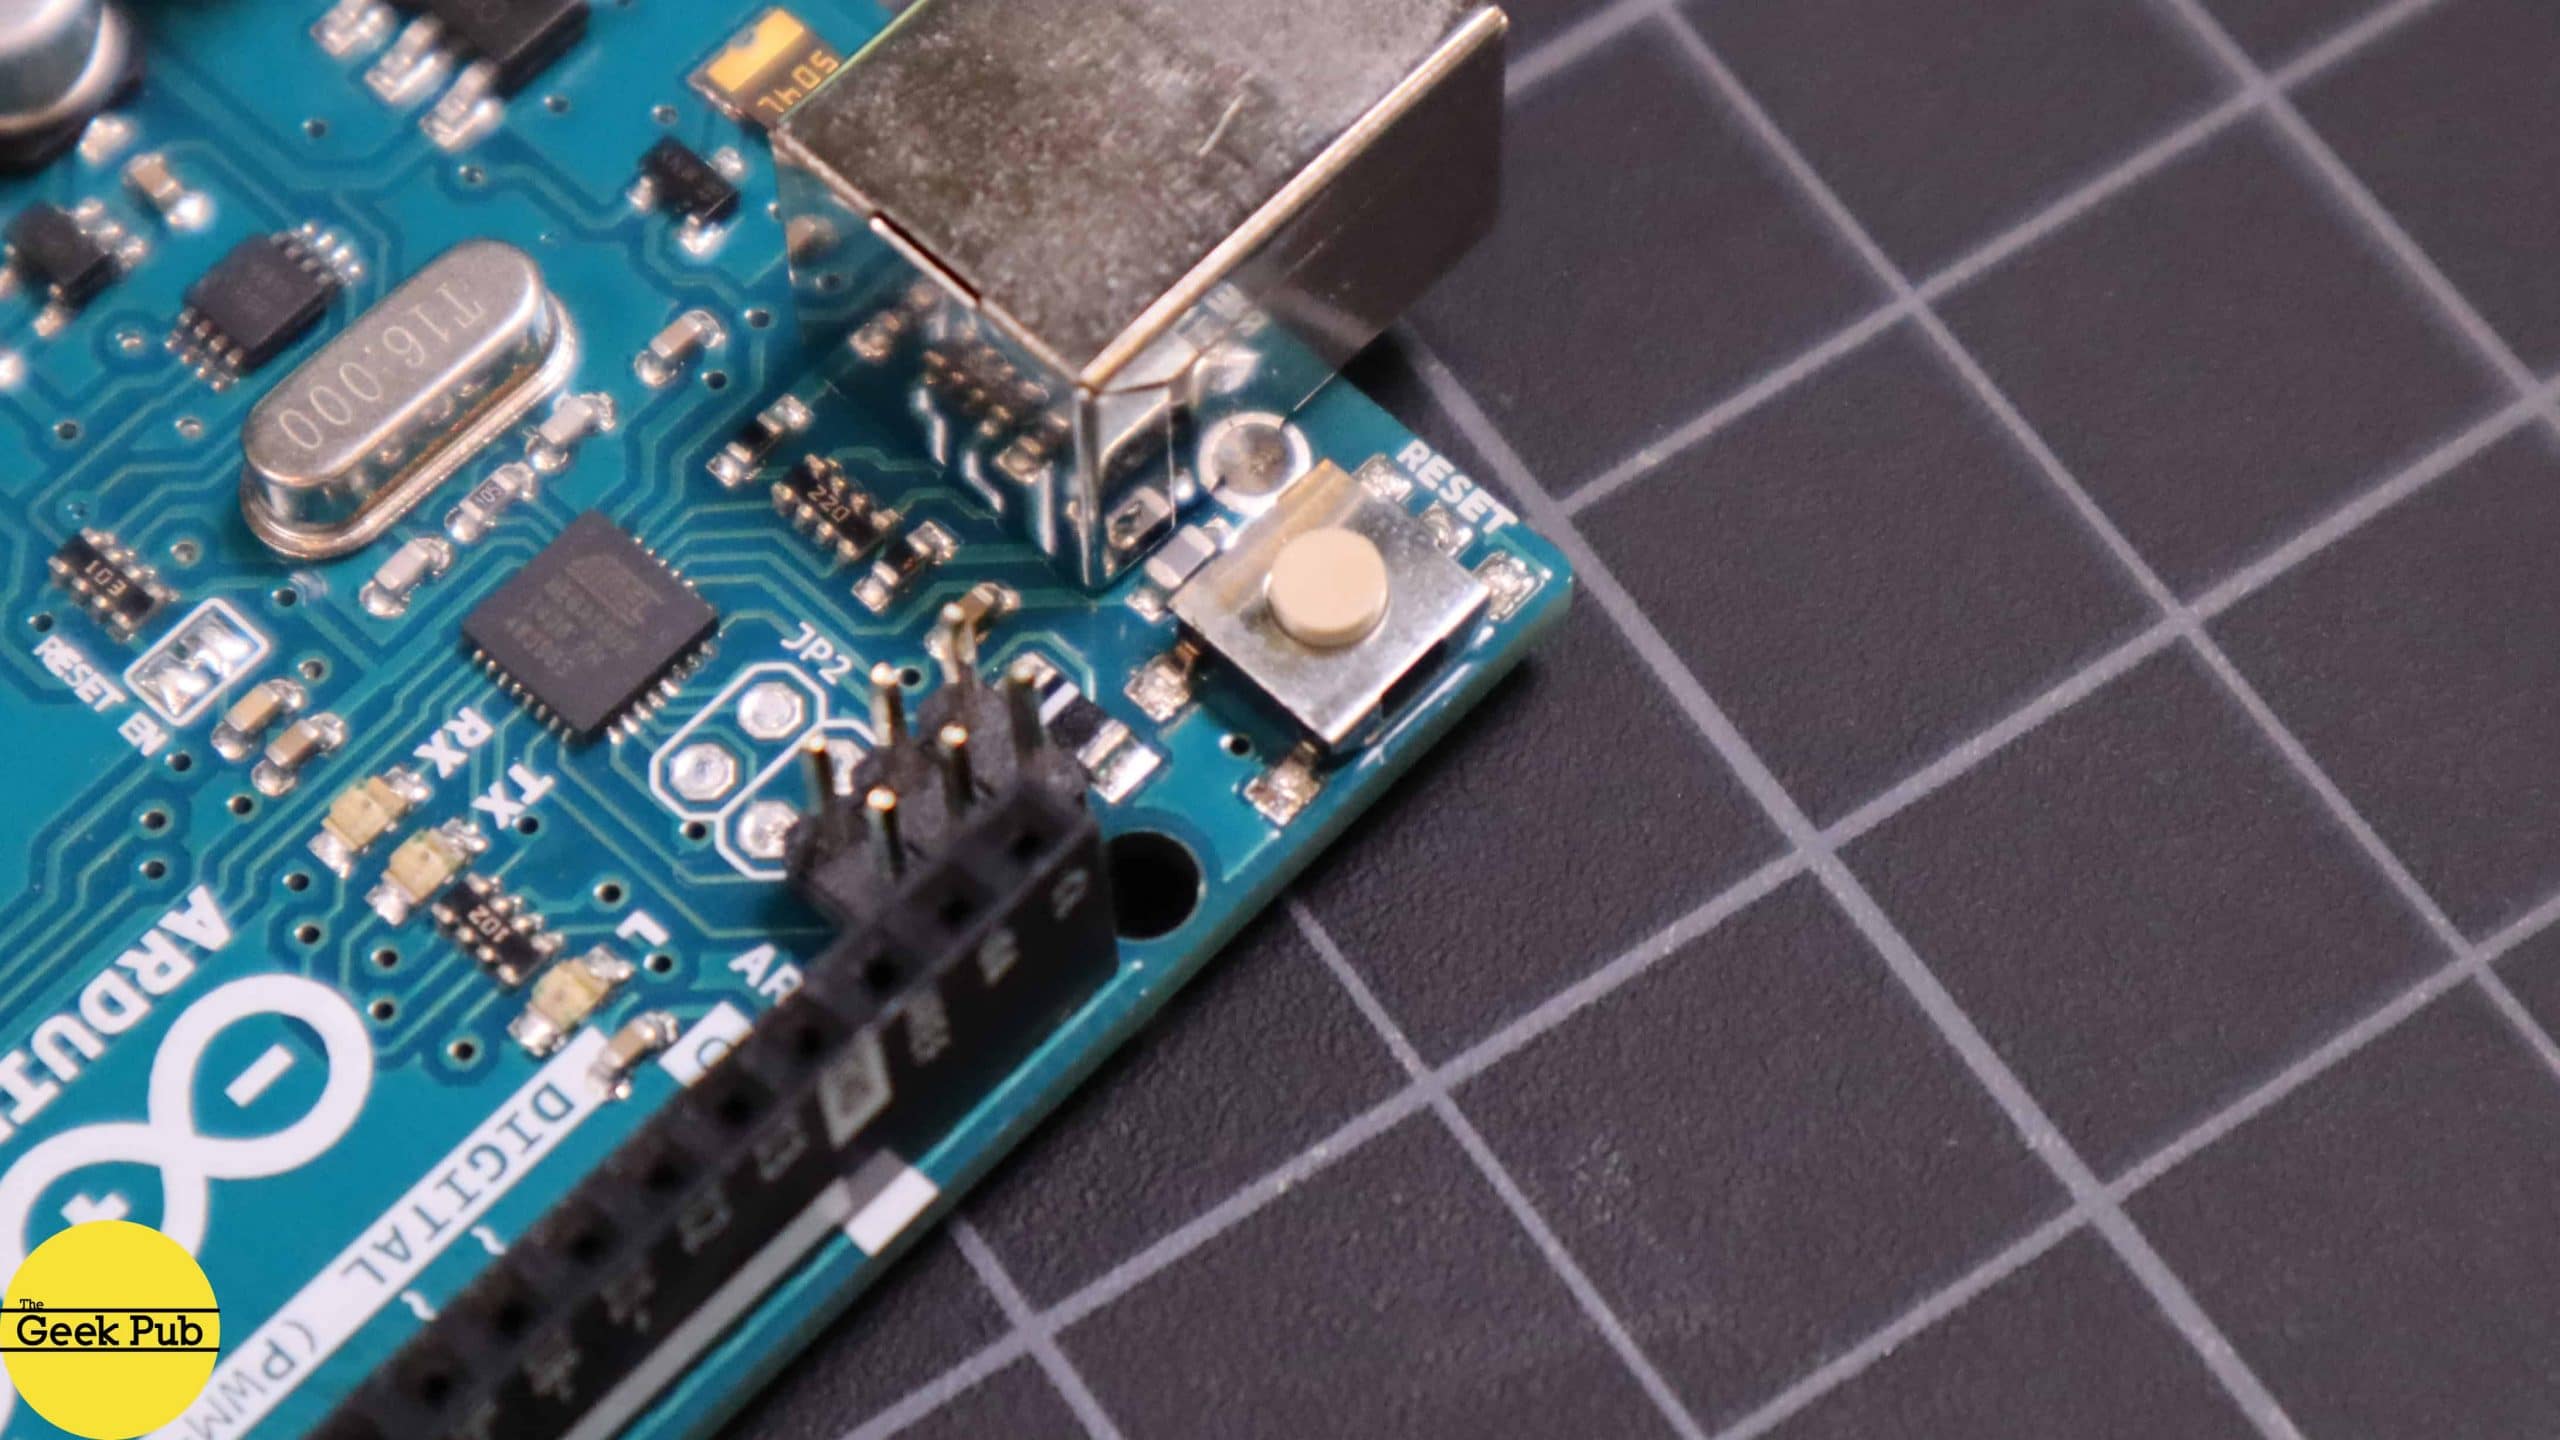
Resetting the Arduino
Next up is the reset switch. Every Arduino has one. This is just like the reset button your PC. It forces the Arduino to power cycle and restart execution from the beginning.
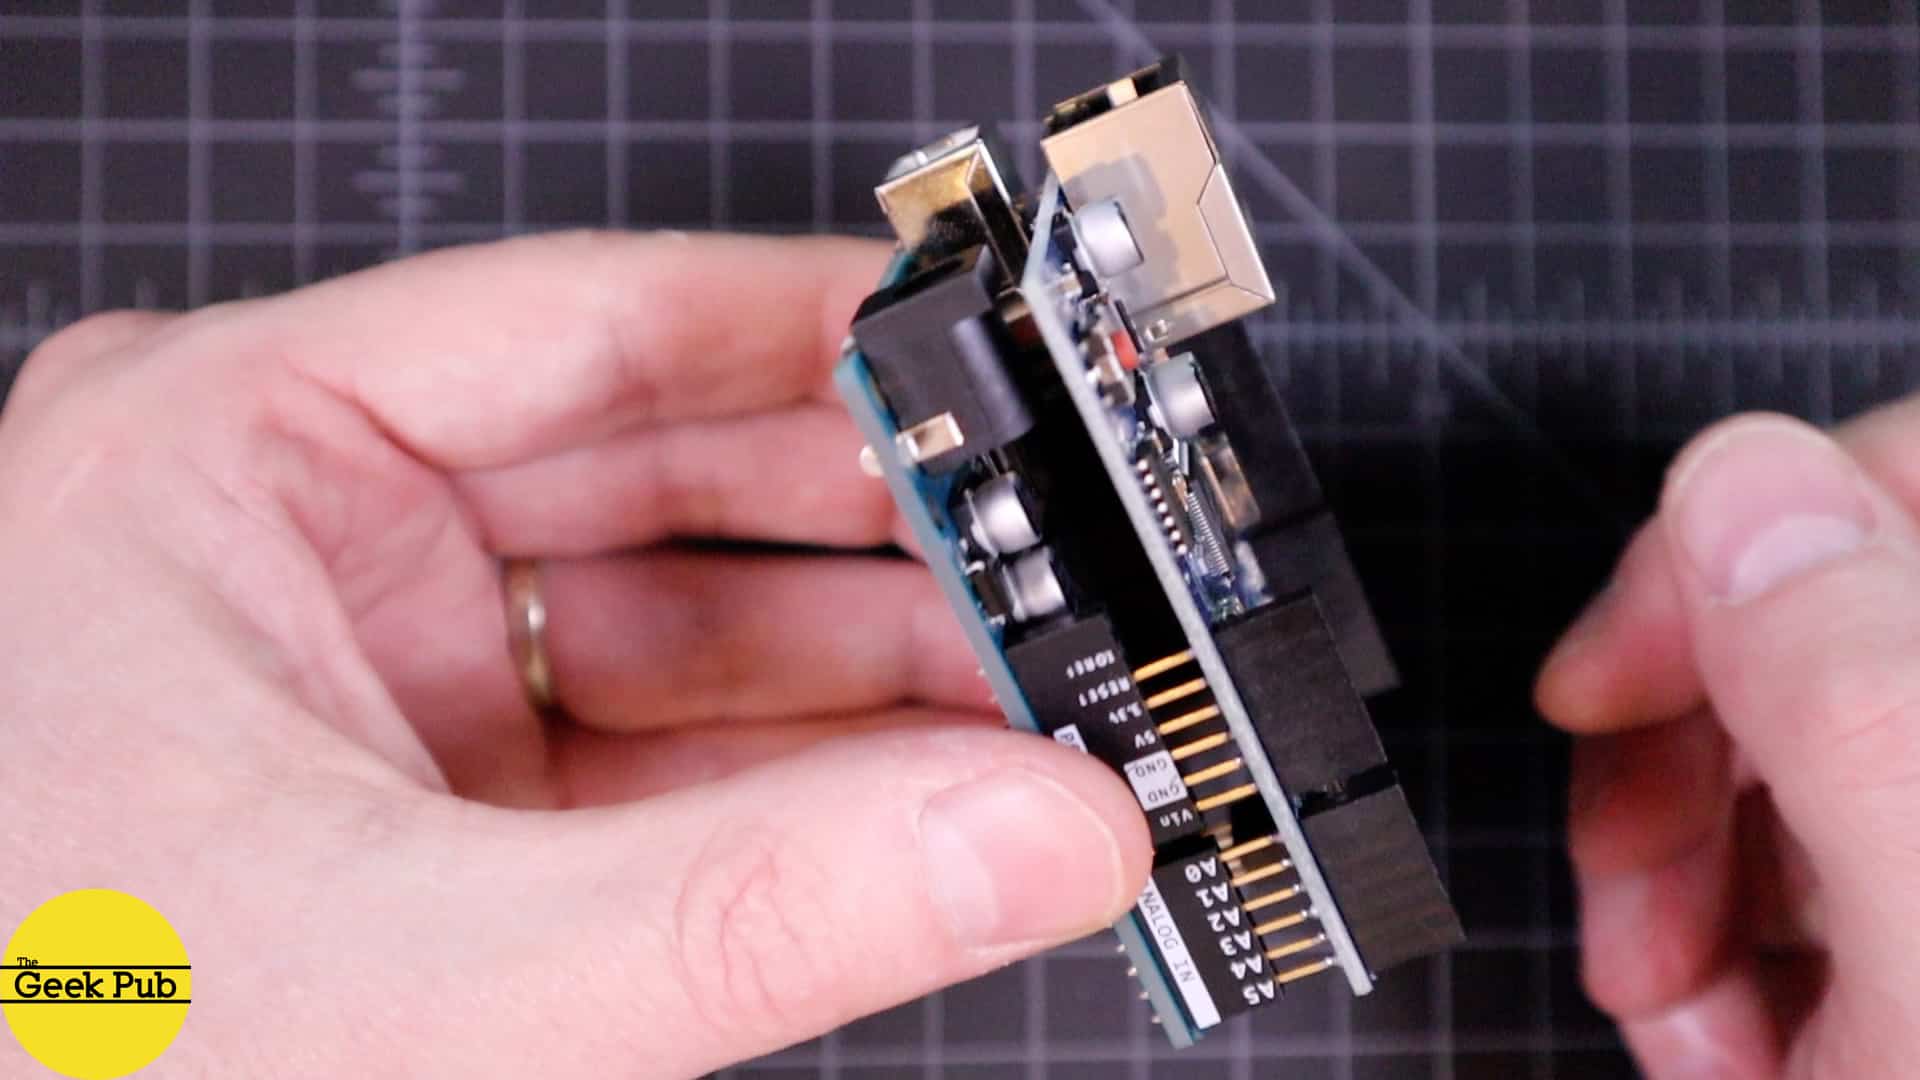
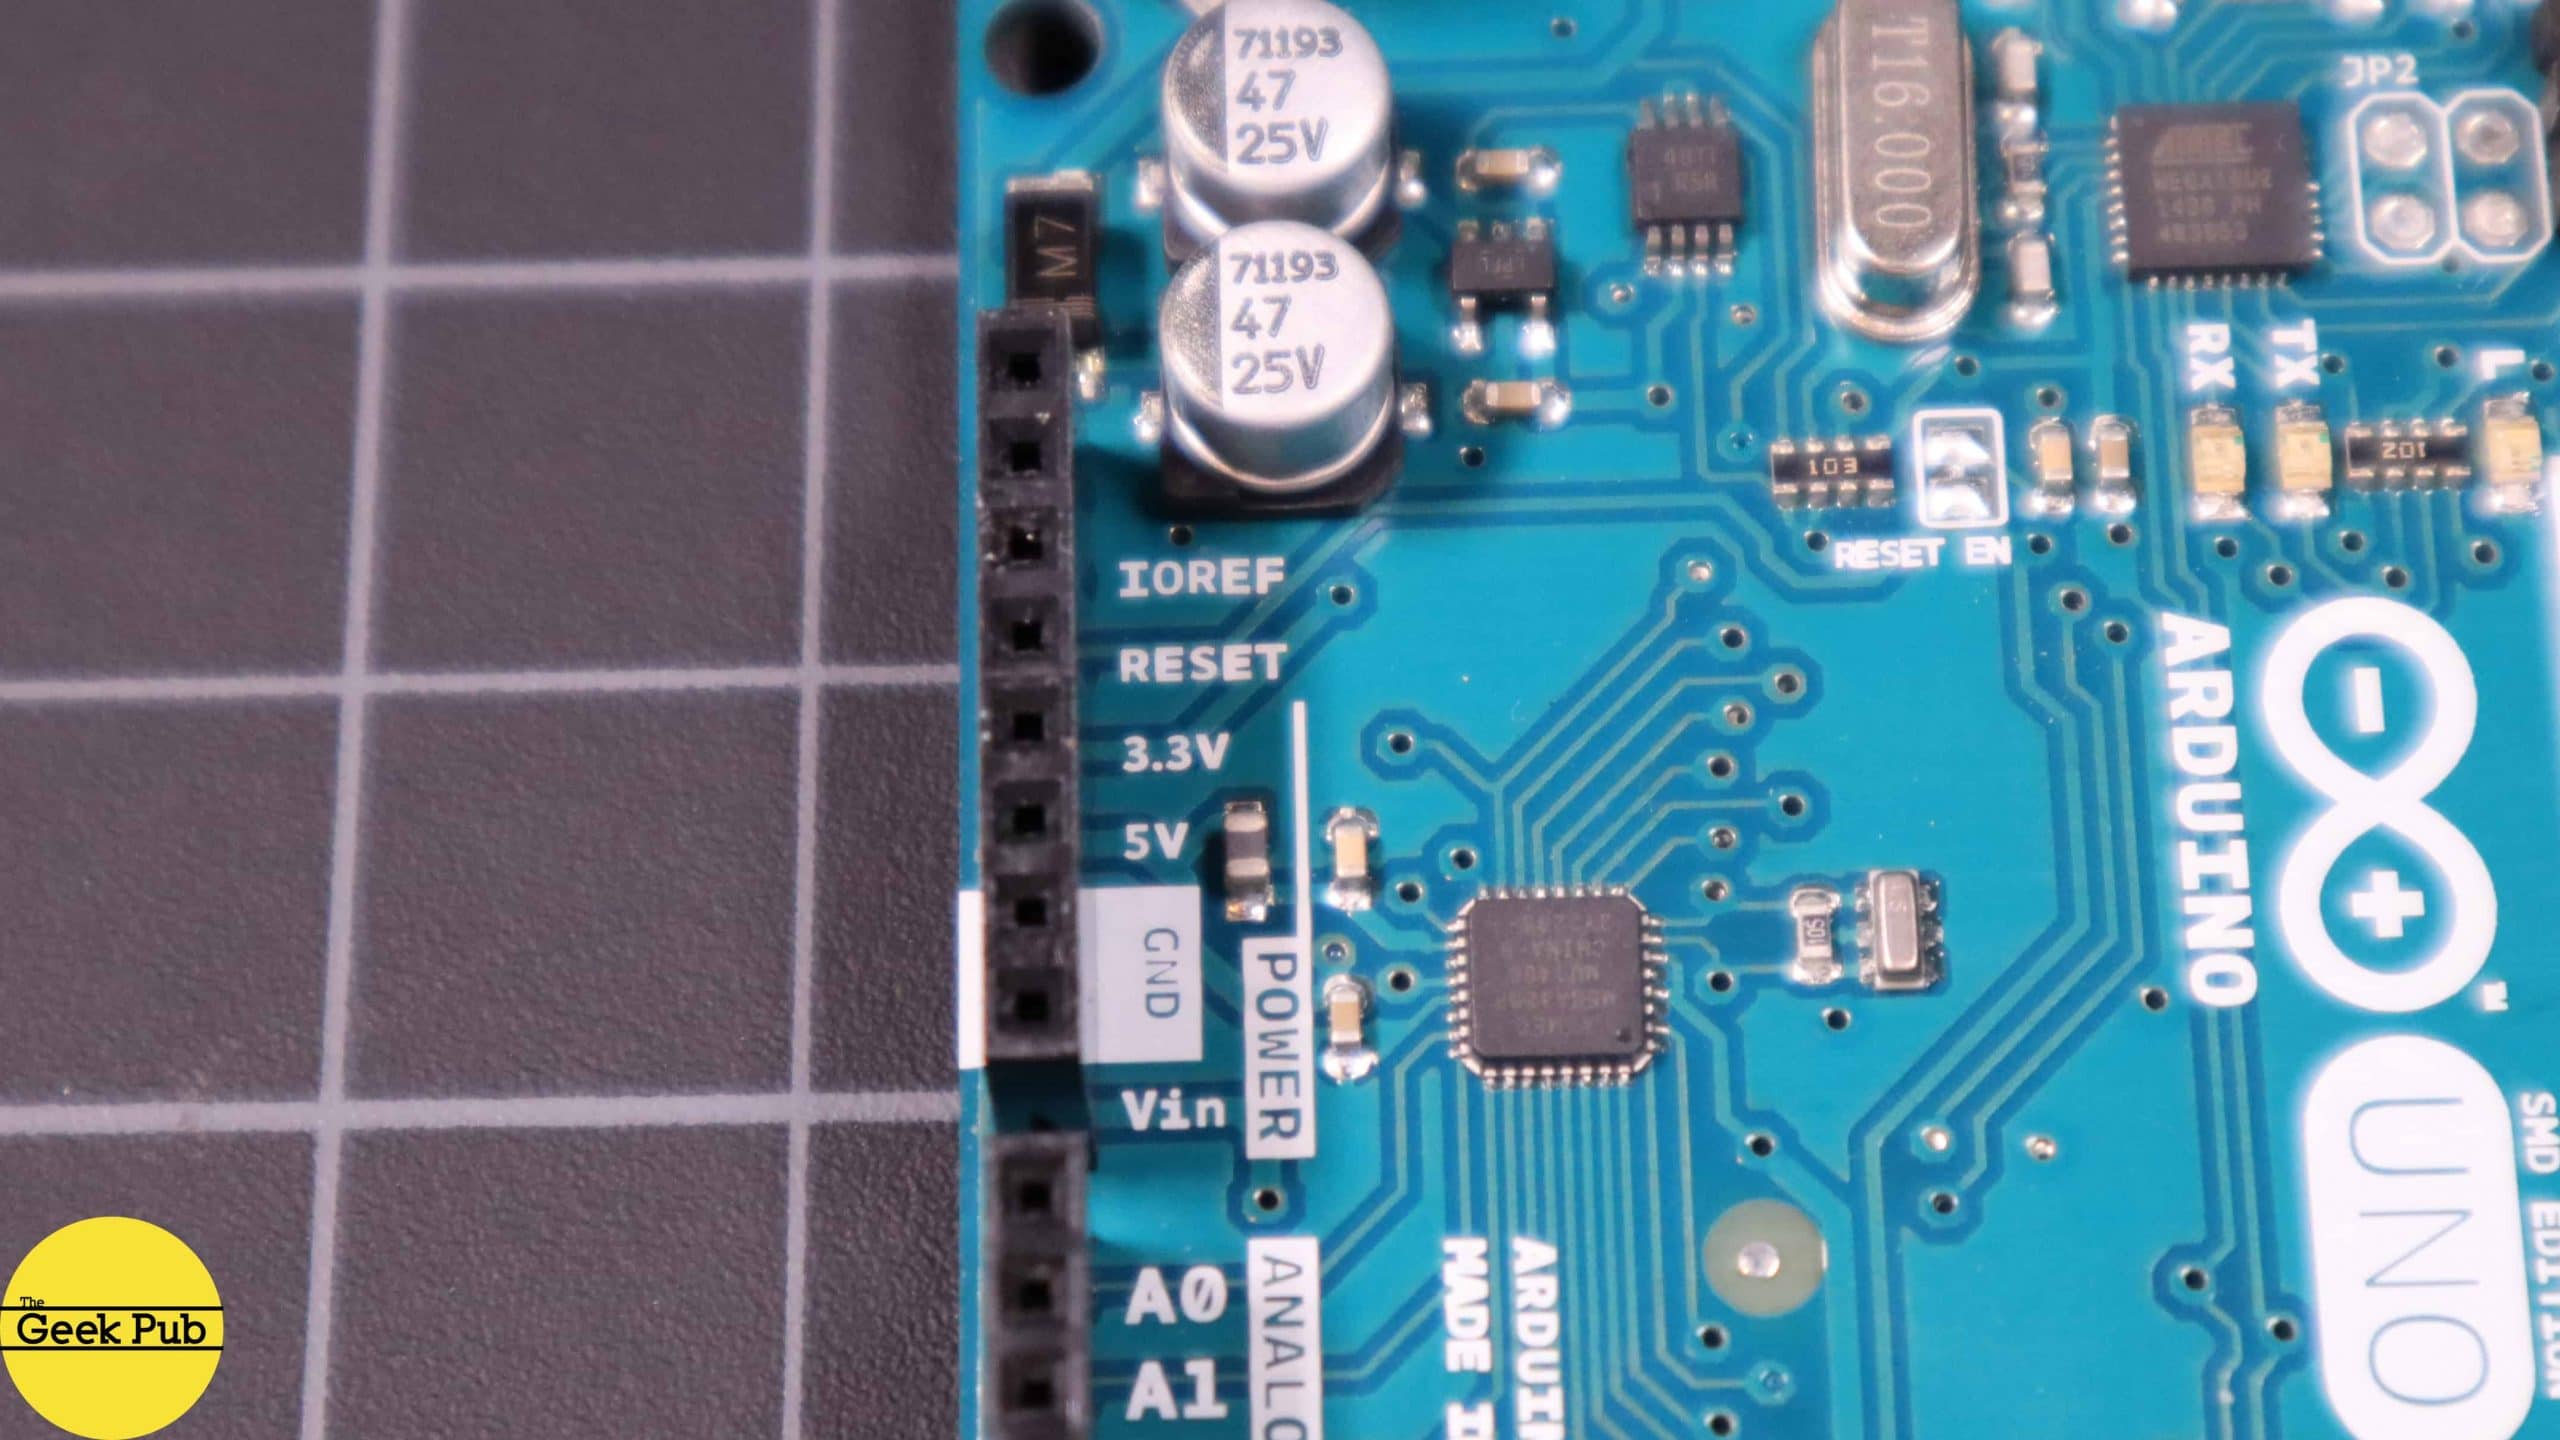
The Power Pins
As we move through our introduction to the Arduino, let’s shift over to the pins. The Arduino Uno is loaded with connectivity, and if you move up to Arduino’s like the Mega 2560 you can get even more connections for even more devices!
These pins are the power rail. On the power rail you have access to grounds, 3.3V, and 5V pins. In addition there is a reset pin and a voltage in that can also be used to power your Arduino that is connected to the same voltage regulator as the barrel jack.
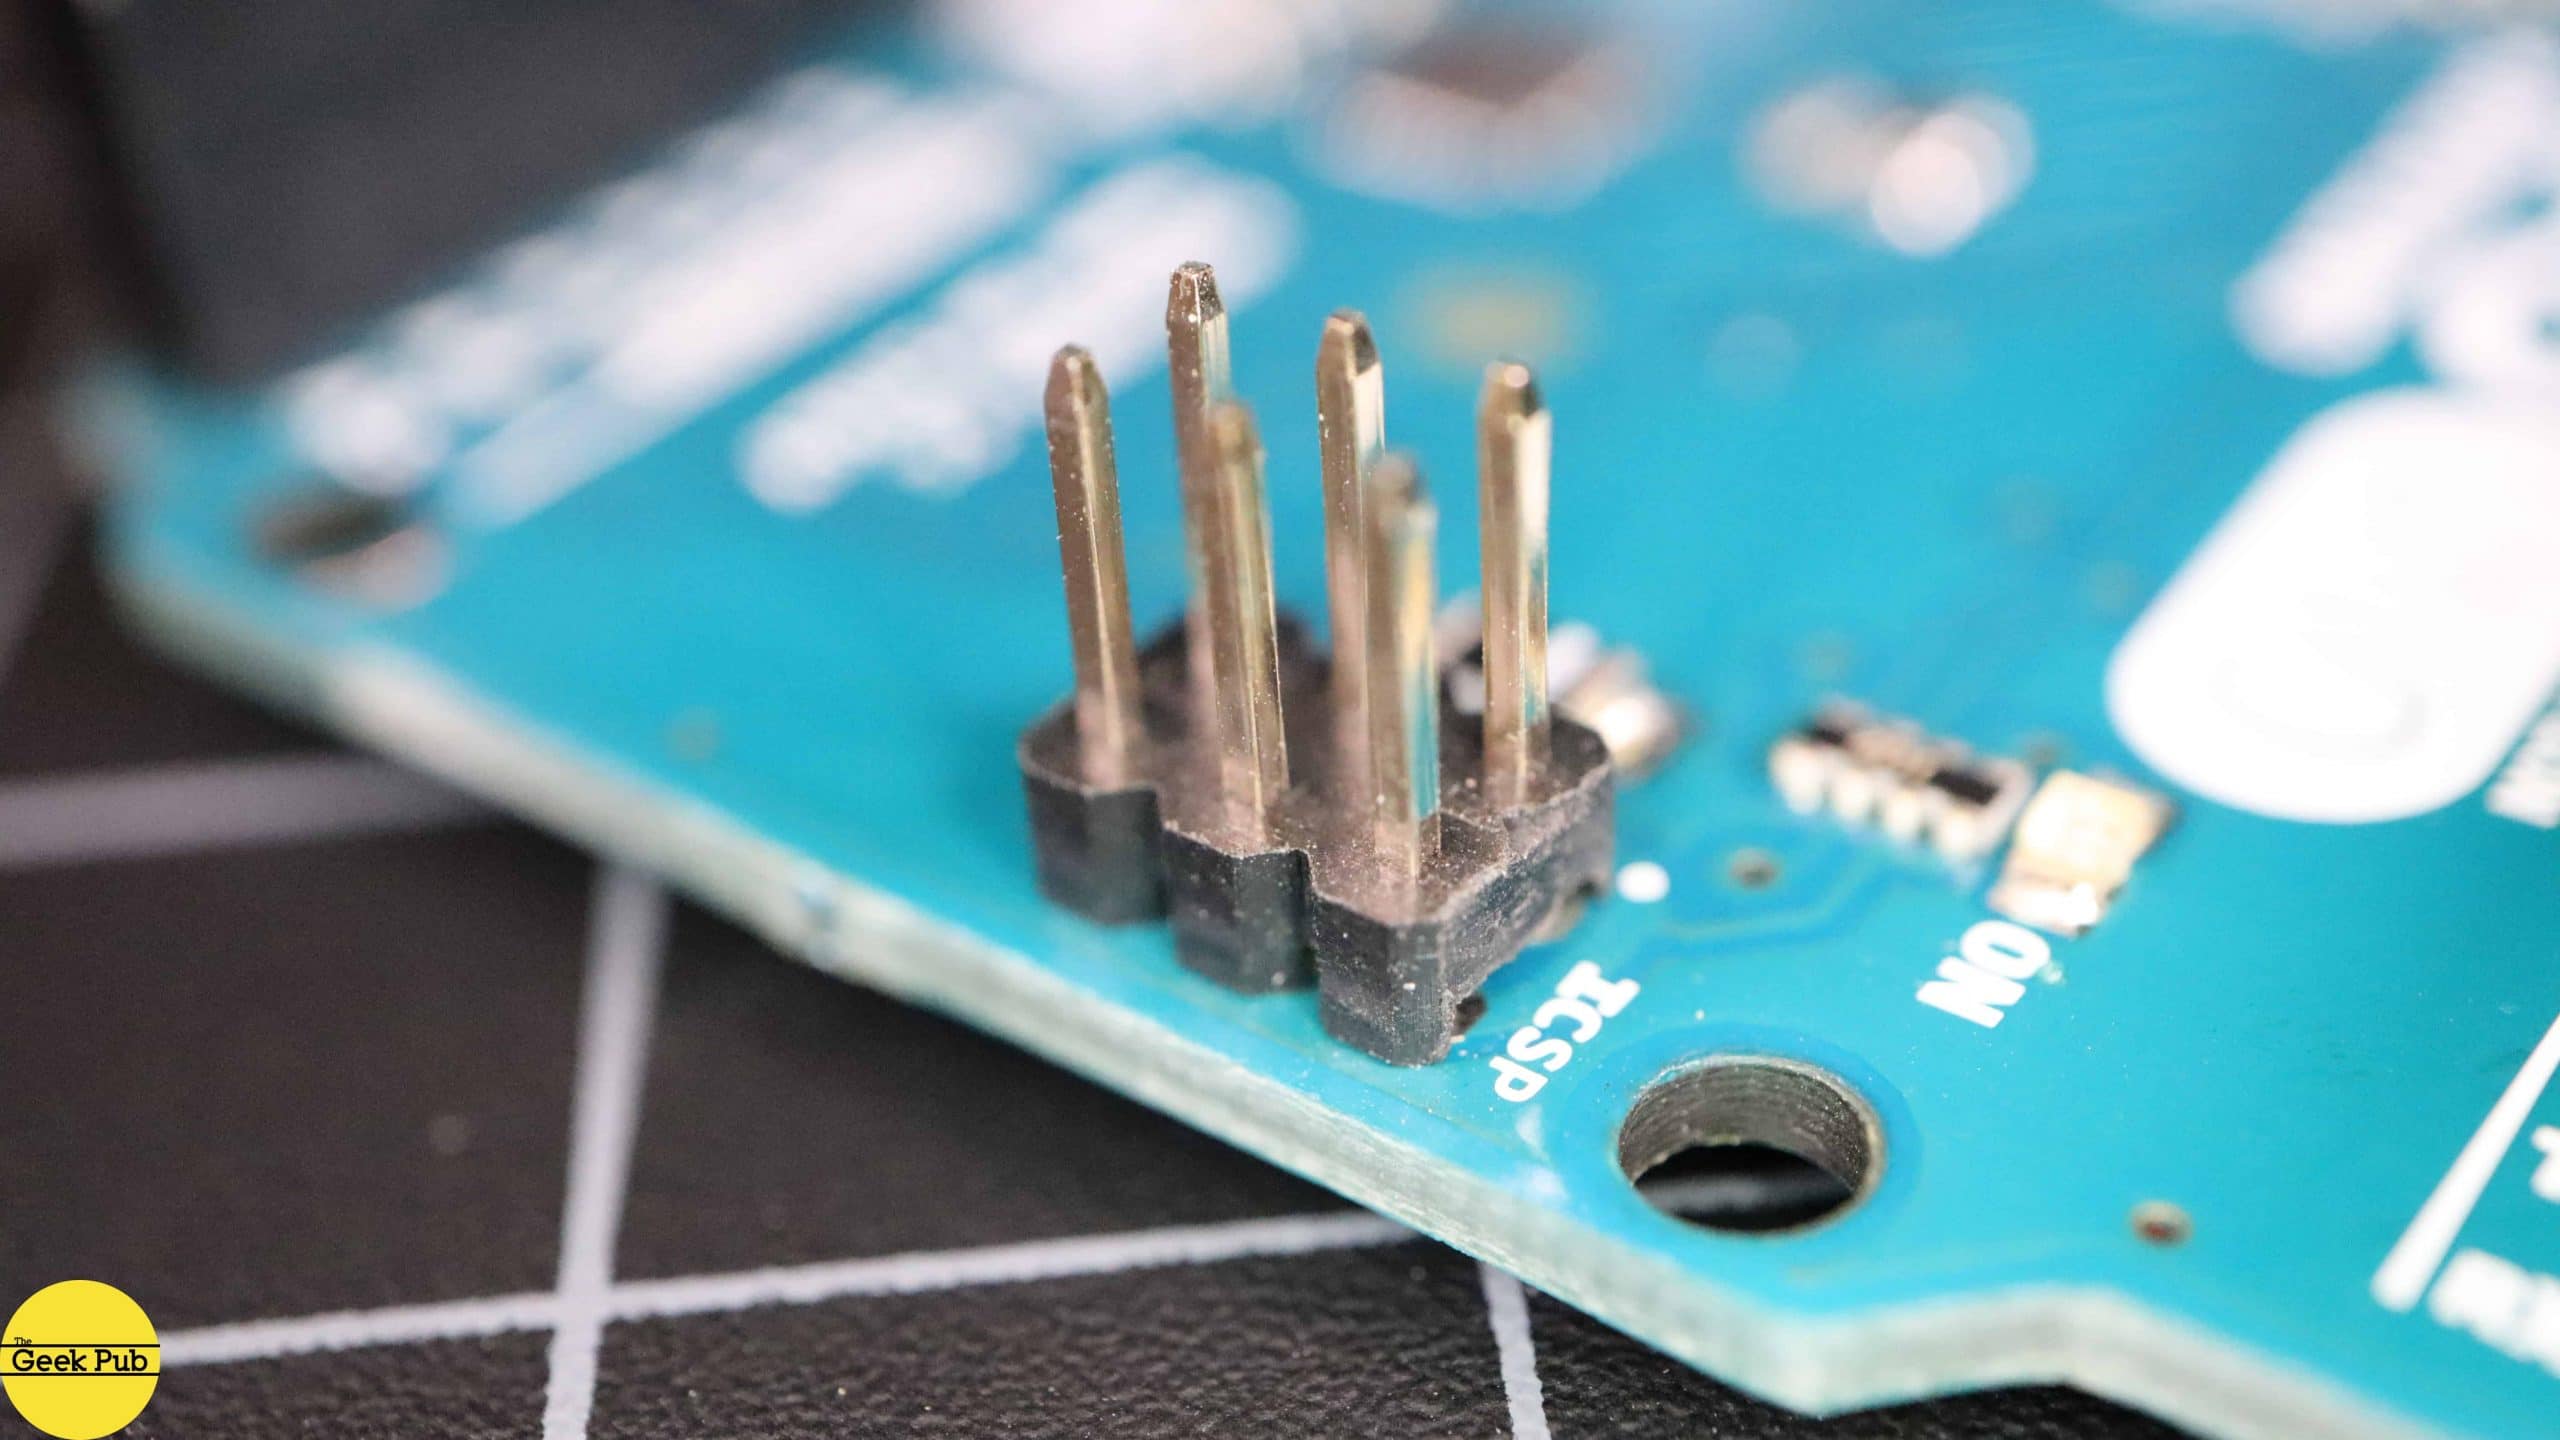
The ICSP Connector
Next up is the ICSP connector or in-circuit serial programmer. This set of pins allows you to bypass all of the bootloaders and features of the IDE and program the ATMega micro-controller directly. This is handy for reprogramming a corrupted Arduino or for bulk programming on production assembly lines.
The Digital I/O and Serial Pins
Moving along, pins 0 and 1 are for sending and receiving serial data. These can be used to transfer serial data between an Arduino and another device. Some Shields, like the Bluetooth Shield use these pins for their primary means of interfacing. Pins 2 through 13 are the digital I/O pins. These pins can be used to control other devices via digital input and output. That means +5V epresents a one, and zero volts represents a zero in binary form. Additionally, these can be switched to input pins in your software to allow the Arduino to detect the press of a button or receive input from another device that applies 5V to the pin. You’ll also notice some of these pins have a tilde next to them. This means that pin is capable of handling hardware based pulse width modulation (or PWM). With PWM we can out put continuous pulses of 5V called square waves. This feature allows us to control devices like servos and addressable LEDs.
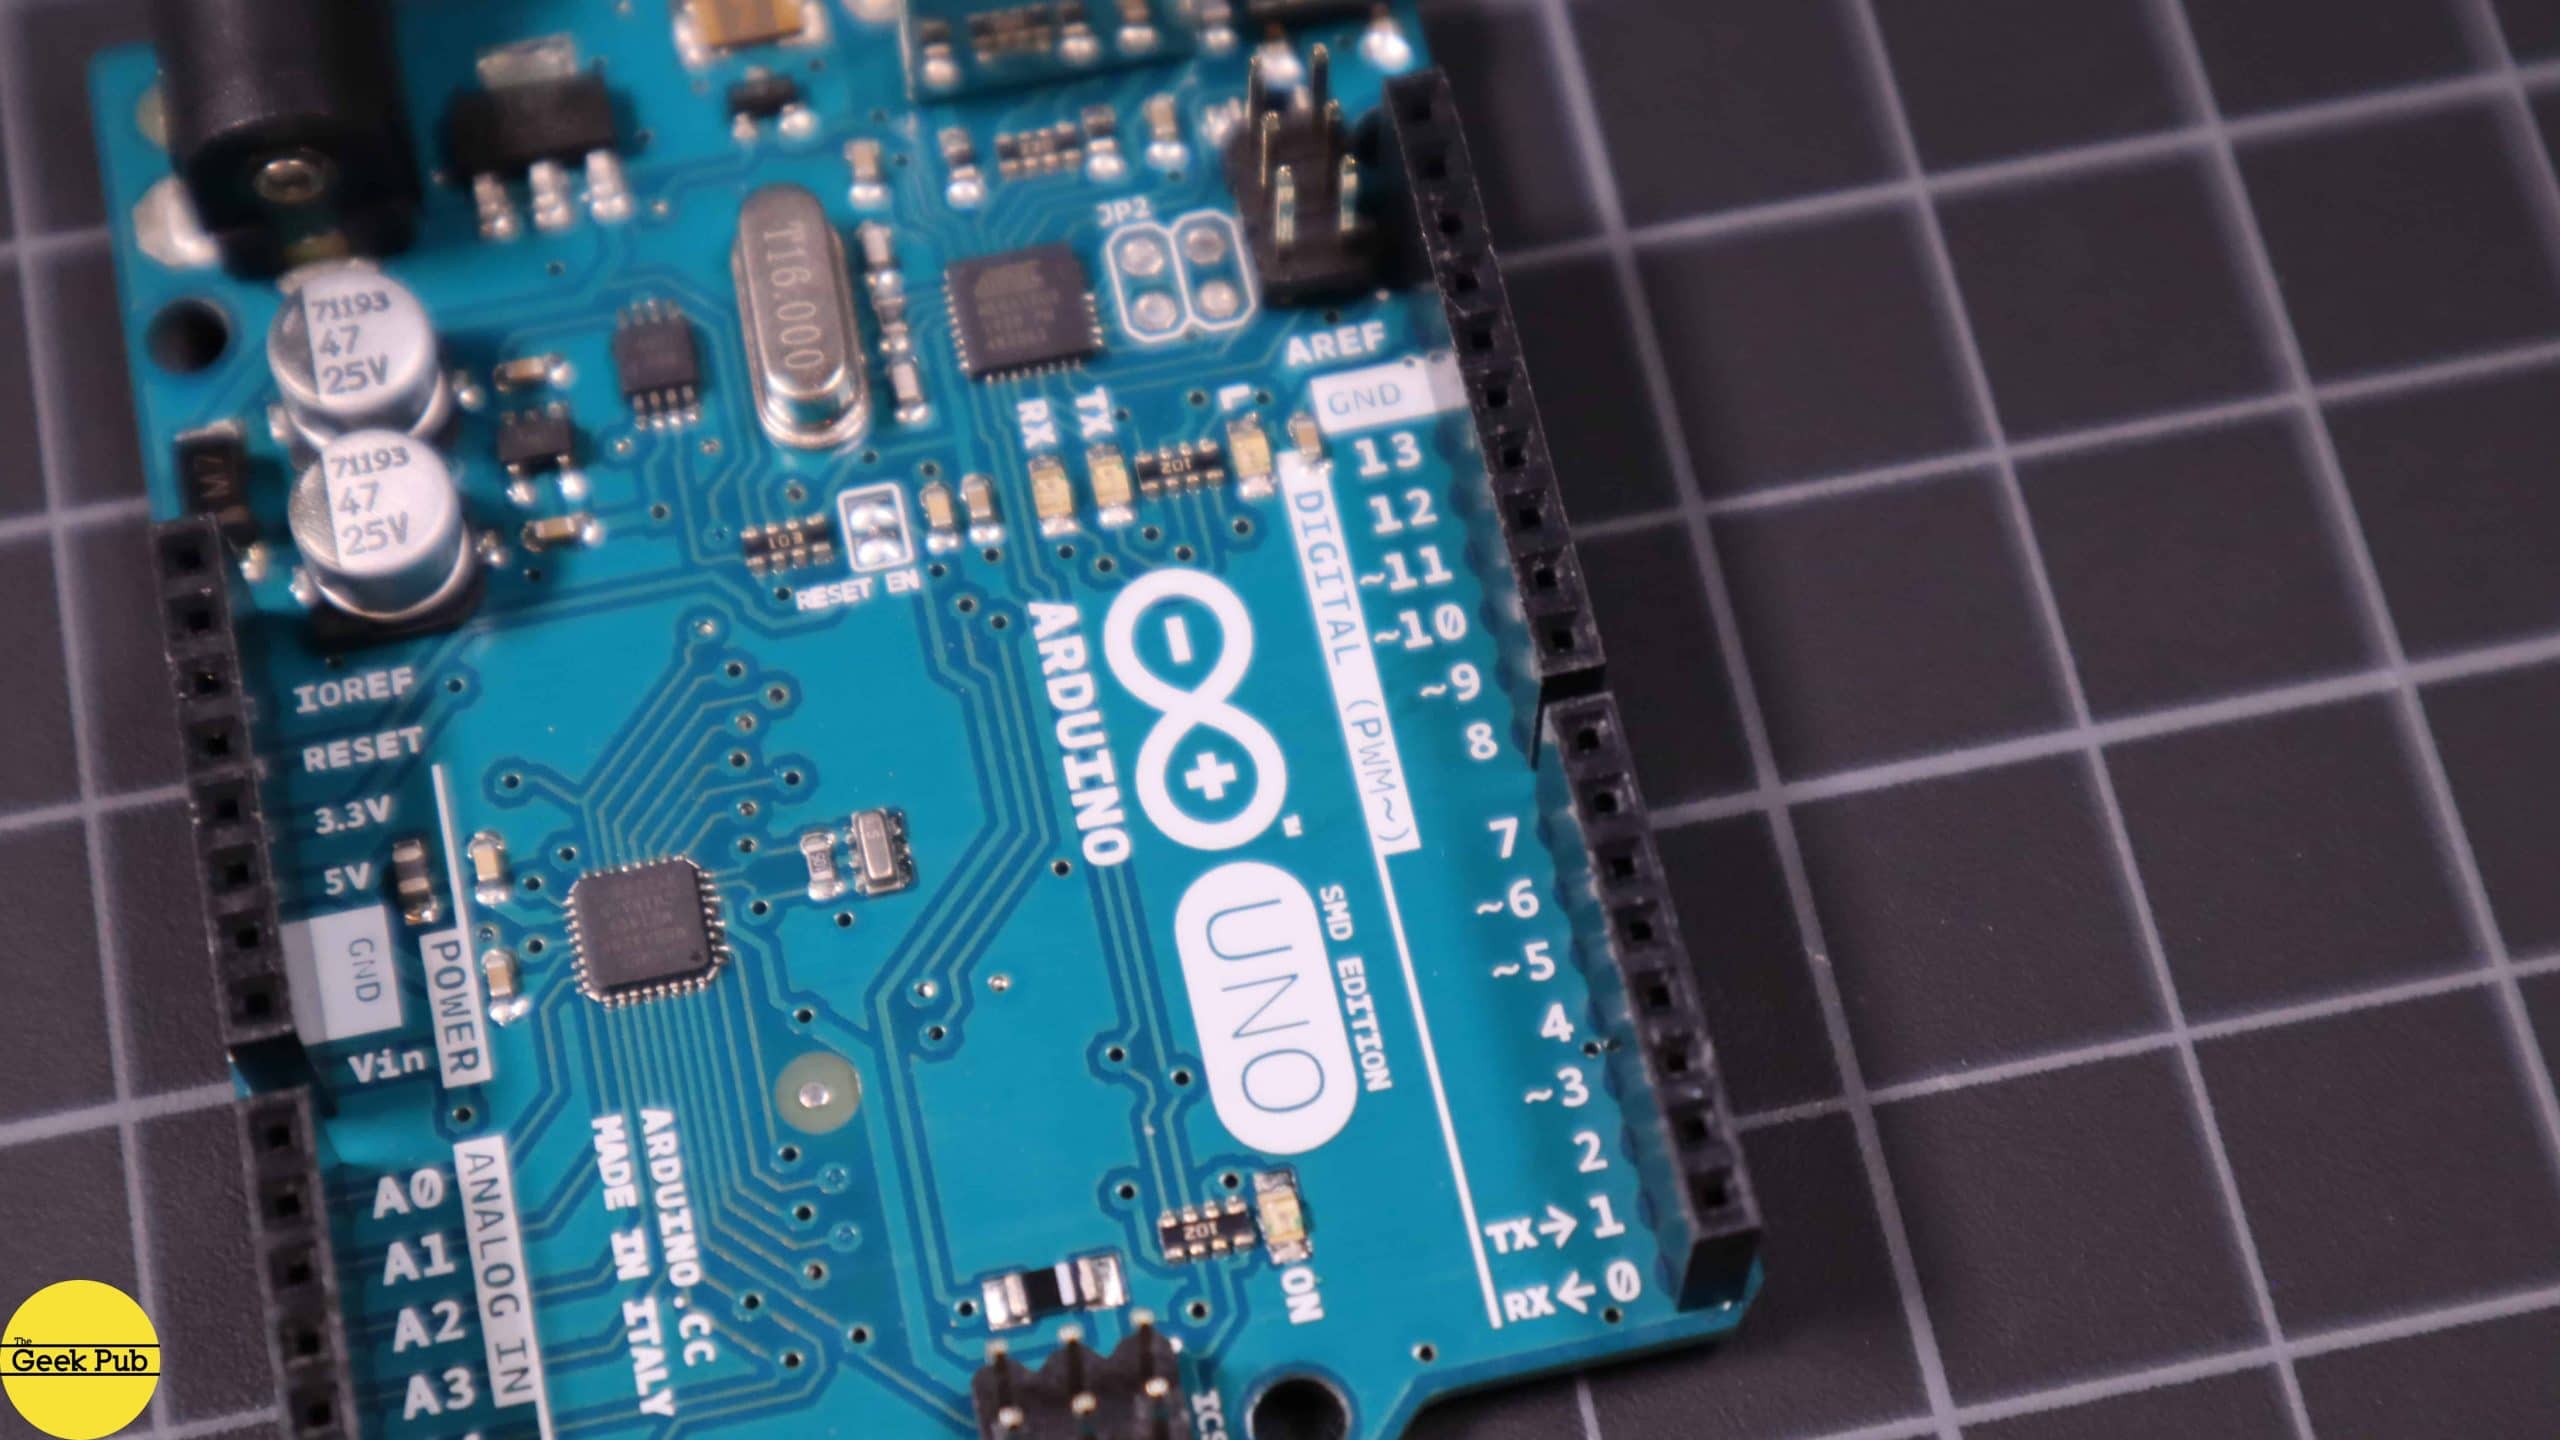
The Analog I/O Pins
Next up are the analog pins A0 through A5. The analog pins operate exactly like the digital pins with one major benefit. When operating as input pins they can read a voltage anywhere between 0V and 5V. The ADC has a 10 bit resolution and returns integers between 0 and 1023. Perfect for reading the input of analog joysticks! If you don’t need analog inputs you can use them just like any of the digital pins.
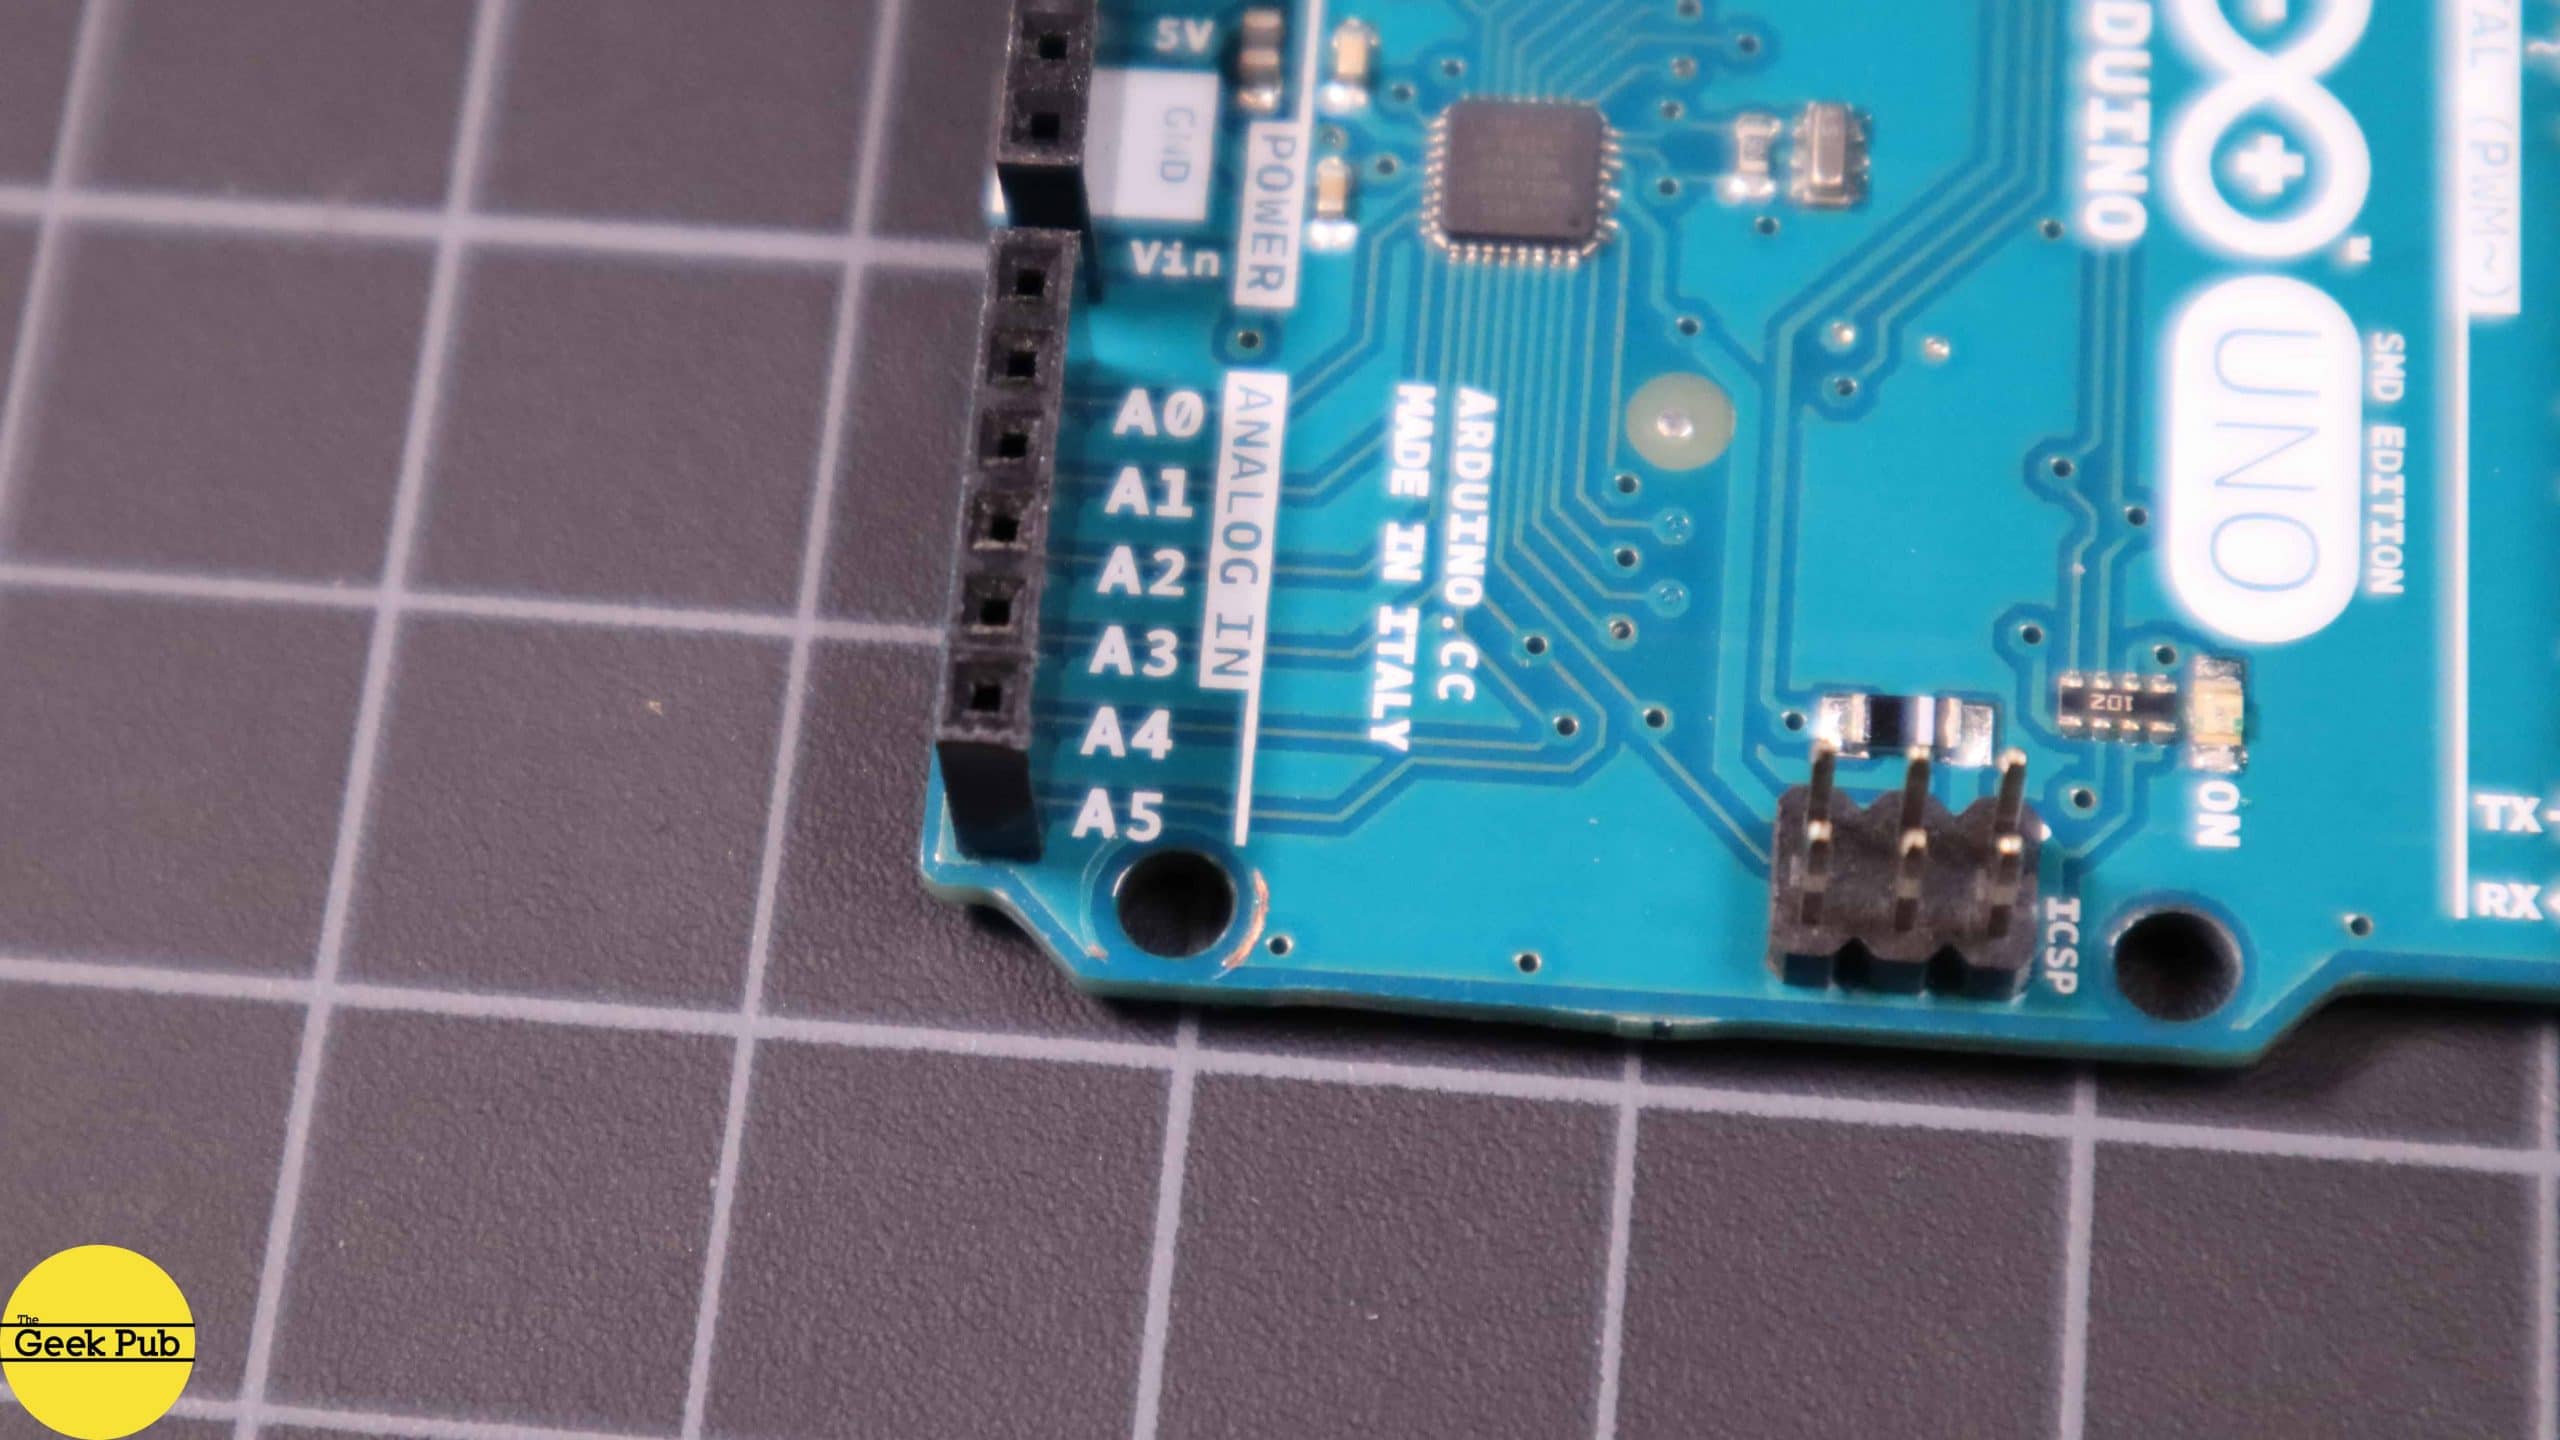
Some Pins are Dual Purpose
One last thing to point out. Some of these pins support dual purposes. For example, A4 and A5 are also the two-wire serial pins for the I2C protocol and pins 10 through 13 also double as the four wires for the Serial Peripheral Interface or SPI. More on those in a future video.
Using an Arduino in Your Projects
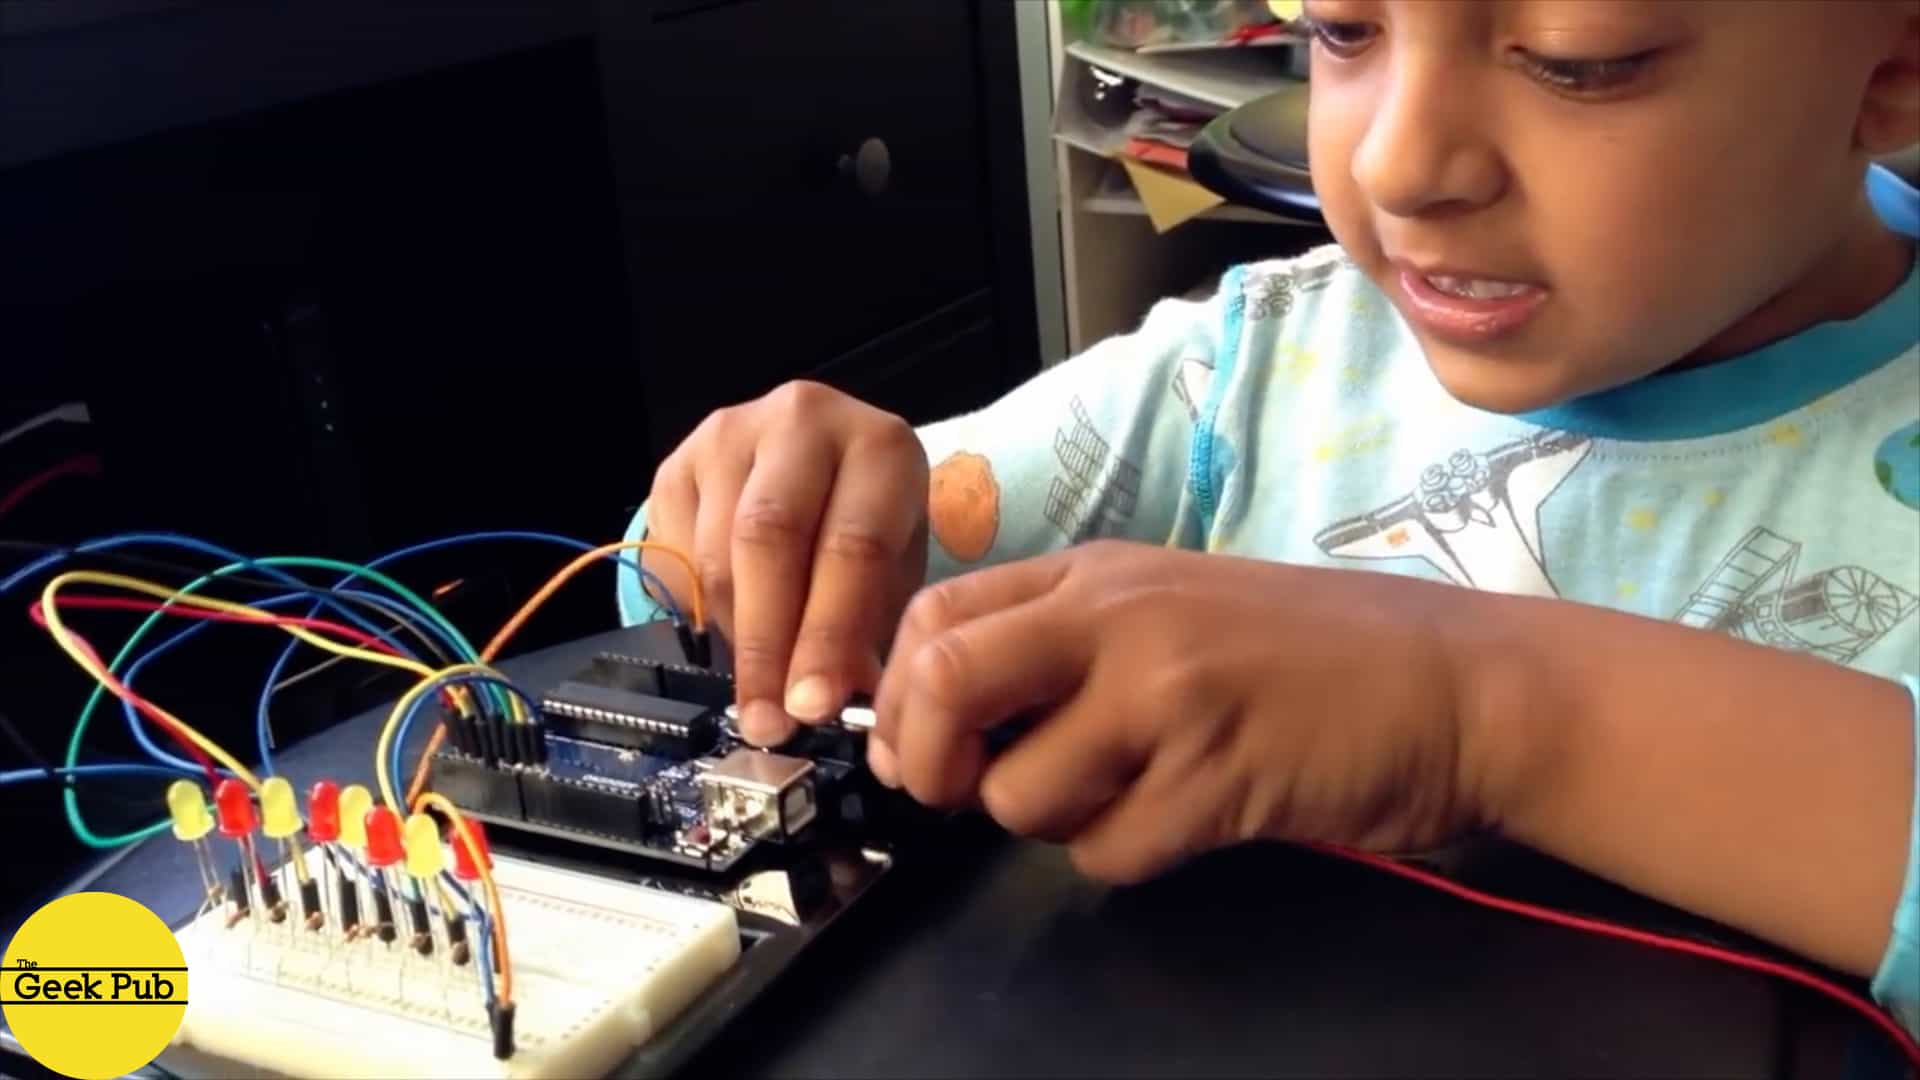
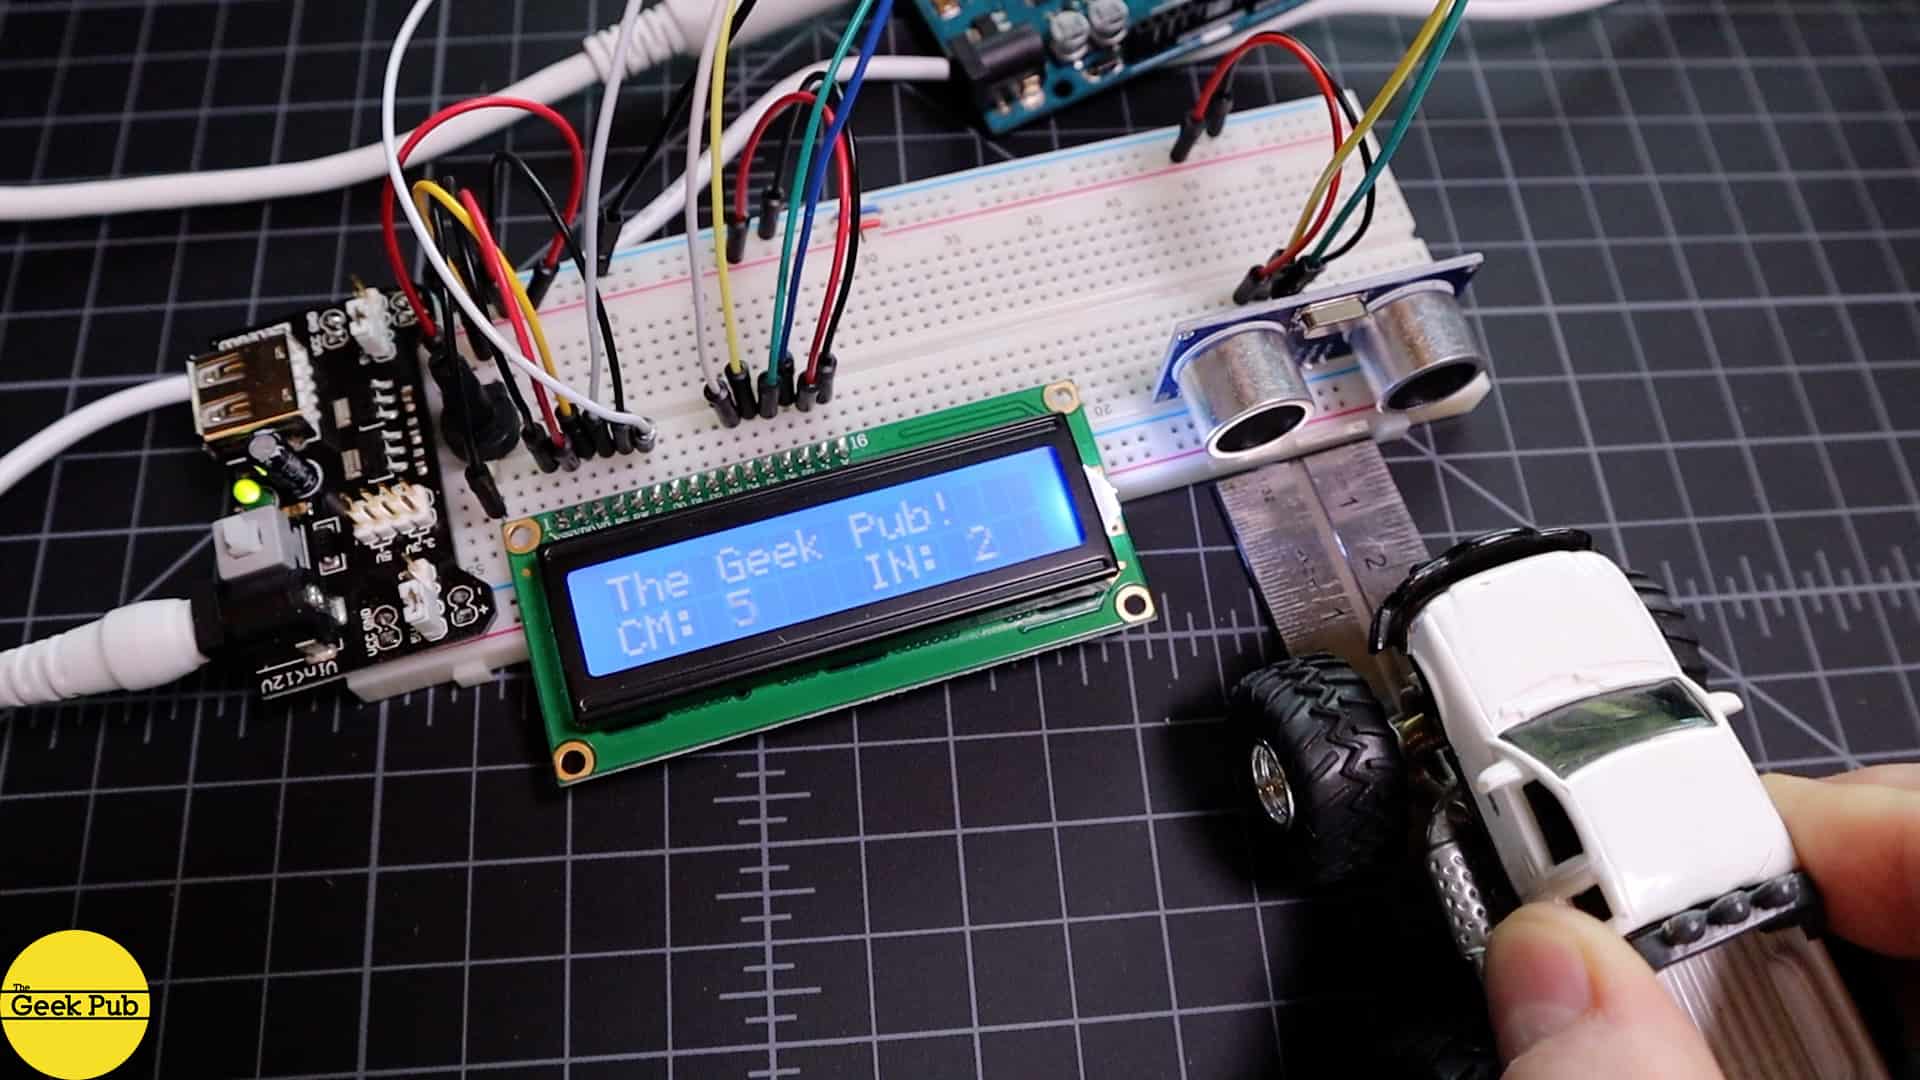
So now that you’re familiar with the Arduino lets look at some of the many ways an Arduino can be used in our projects. I’m not going to go into a lot of the details here, but there are many dedicated tutorials and projects on the TheGeekPub.com for the Arduino you should check out. This is a demo of using an Arduino and ultrasonic sensor to accurately measure the distance between the sensor and another object. This can be used in robots projects to help your robot navigate.
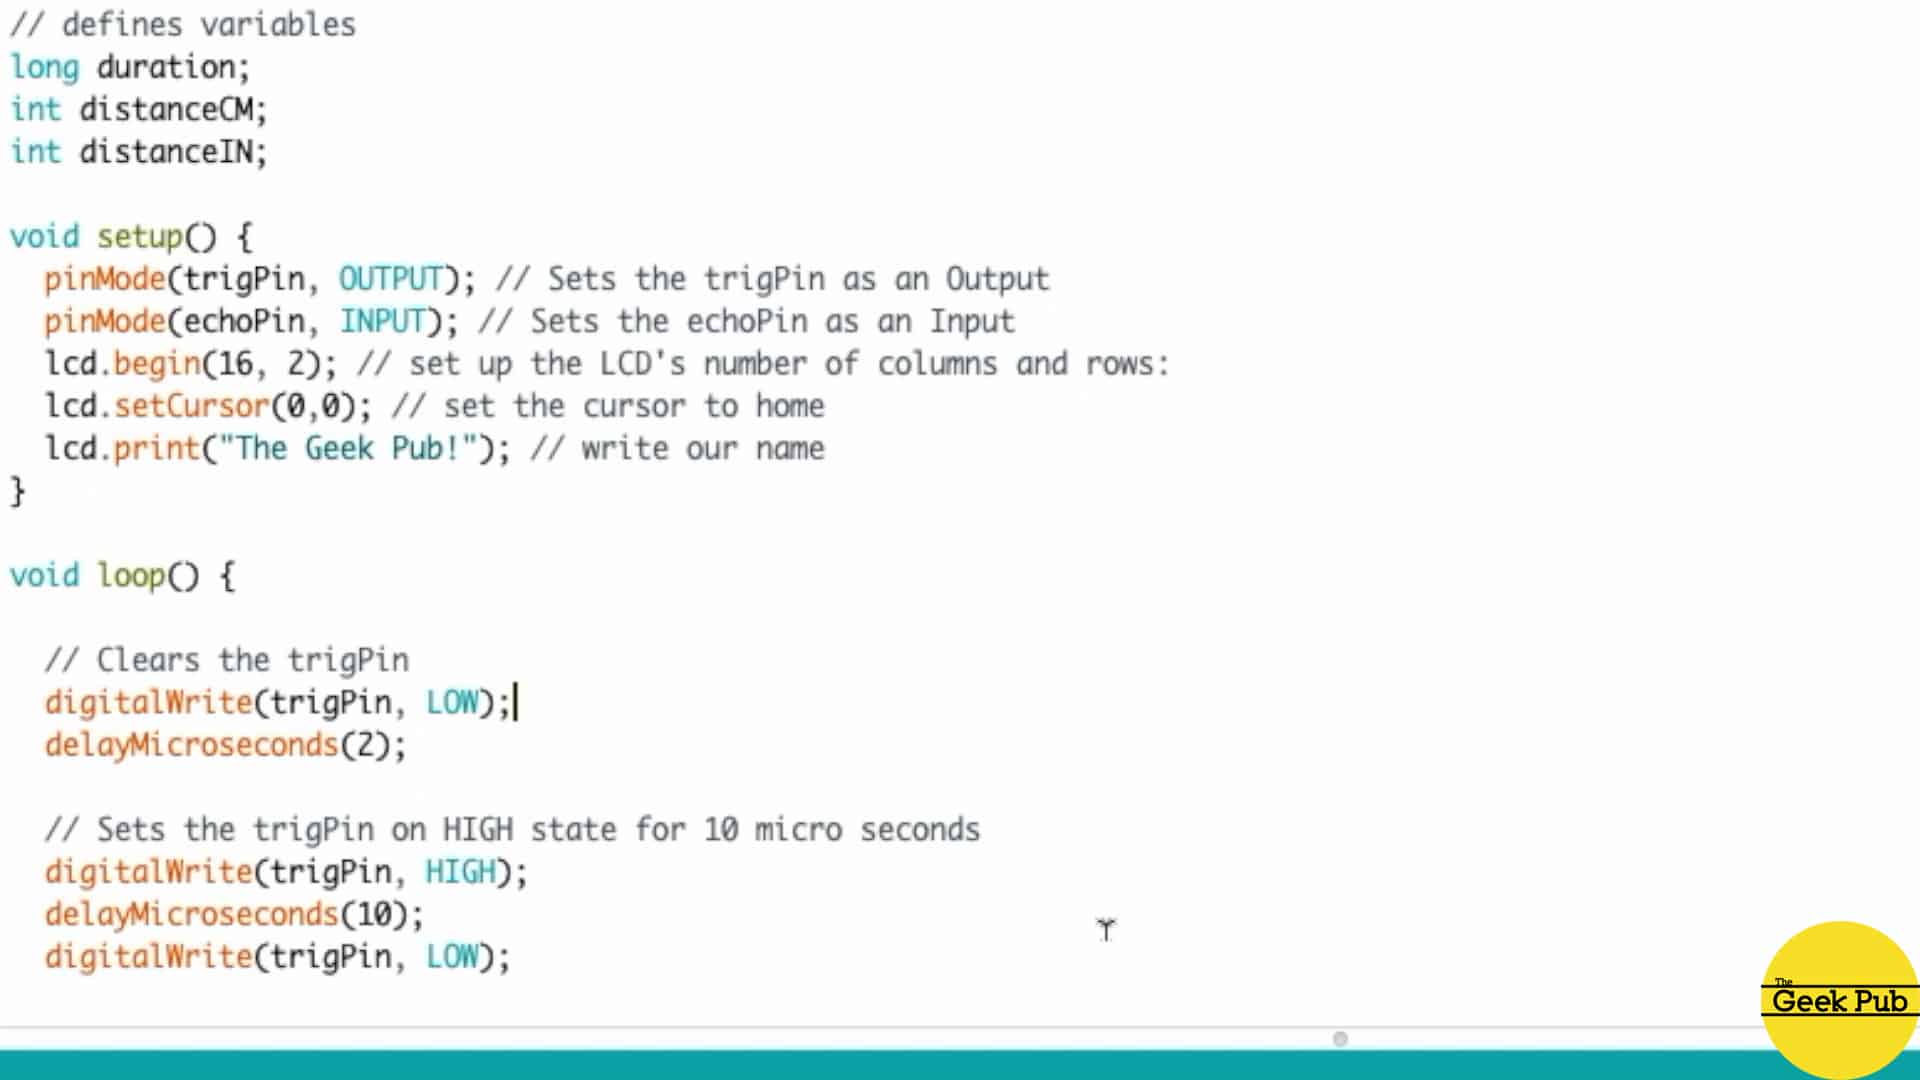
Ultrasonic Sensor
In this ultrasonic sensor tutorial for the Arduino, we discover how to accurately measure distances using an HC-SR04 ultrasonic sensor. The ultrasonic sensor measures the time that sound travels and bounces back between its emitter/receiver combo. From this we can calculate distance based on the speed of sound. In this project we use an LCD character display to show the results in both inches and centimeters.
Arduino Railroad Crossing
In this project we used Popsicle sticks, a set of servos, and an Arduino to make a realistic train crossing for kids. It’s a fantastic example of how real world systems (such as crossings, railroads, traffic control systems, and more) use micro-controllers at the heart of their systems.
We hope you enjoyed this introduction to the Arduino platform! Leave a comment below if you have any questions and we’ll try to answer them for you!
Be sure to checkout the video above to see footage of Arduinos being used to my R2-D2!
Next Steps
If you’re interested in taking the next steps and learning how to start using the Arduino, click next step!


5
1. Arduinos are awesome.
2. Your R2-D2 is turning out flipping awesome.
Why do I always get so excited when I see posts about the Arduino! !!!!
4.5
Great looking R2 Mike! My daughter enjoyed learning about Arduinos and said you did a very good job and made it easy to understand…she eight. Great video explaining the basics.
Tell her she just made my week!