Blog
Make the Pacade (Bartop Retropie Arcade Cabinet)

About a year ago, I introduced my Bartop Arcade Cabinet Build. It was a big hit and I got so much great feedback from you guys! You guys really are the best audience ever. Well, today I’ve taken almost a years worth of feedback and used that to design and release an all new version of my bartop arcade based on all of the requests you guys have sent me! I am calling this version the Pacade, mostly because it is themed after a 1980’s bartop arcade cabinet that played only Pac-Man and Galaga (and since I can’t legally call it a Pac-Man bartop arcade). This new RetroPie Bartop Arcade has some new features. The stand-outs are 1) front facing USB ports for add-on controllers, 2) a fan option, 3) no lighted marquee, 4) and a VESA mount option for the monitor. So with that said, let’s get starting building the Pacade!
Watch the Pacade RetroPie Bartop Arcade Cabinet Video
Constructing the RetroPie Bartop Arcade Cabinet
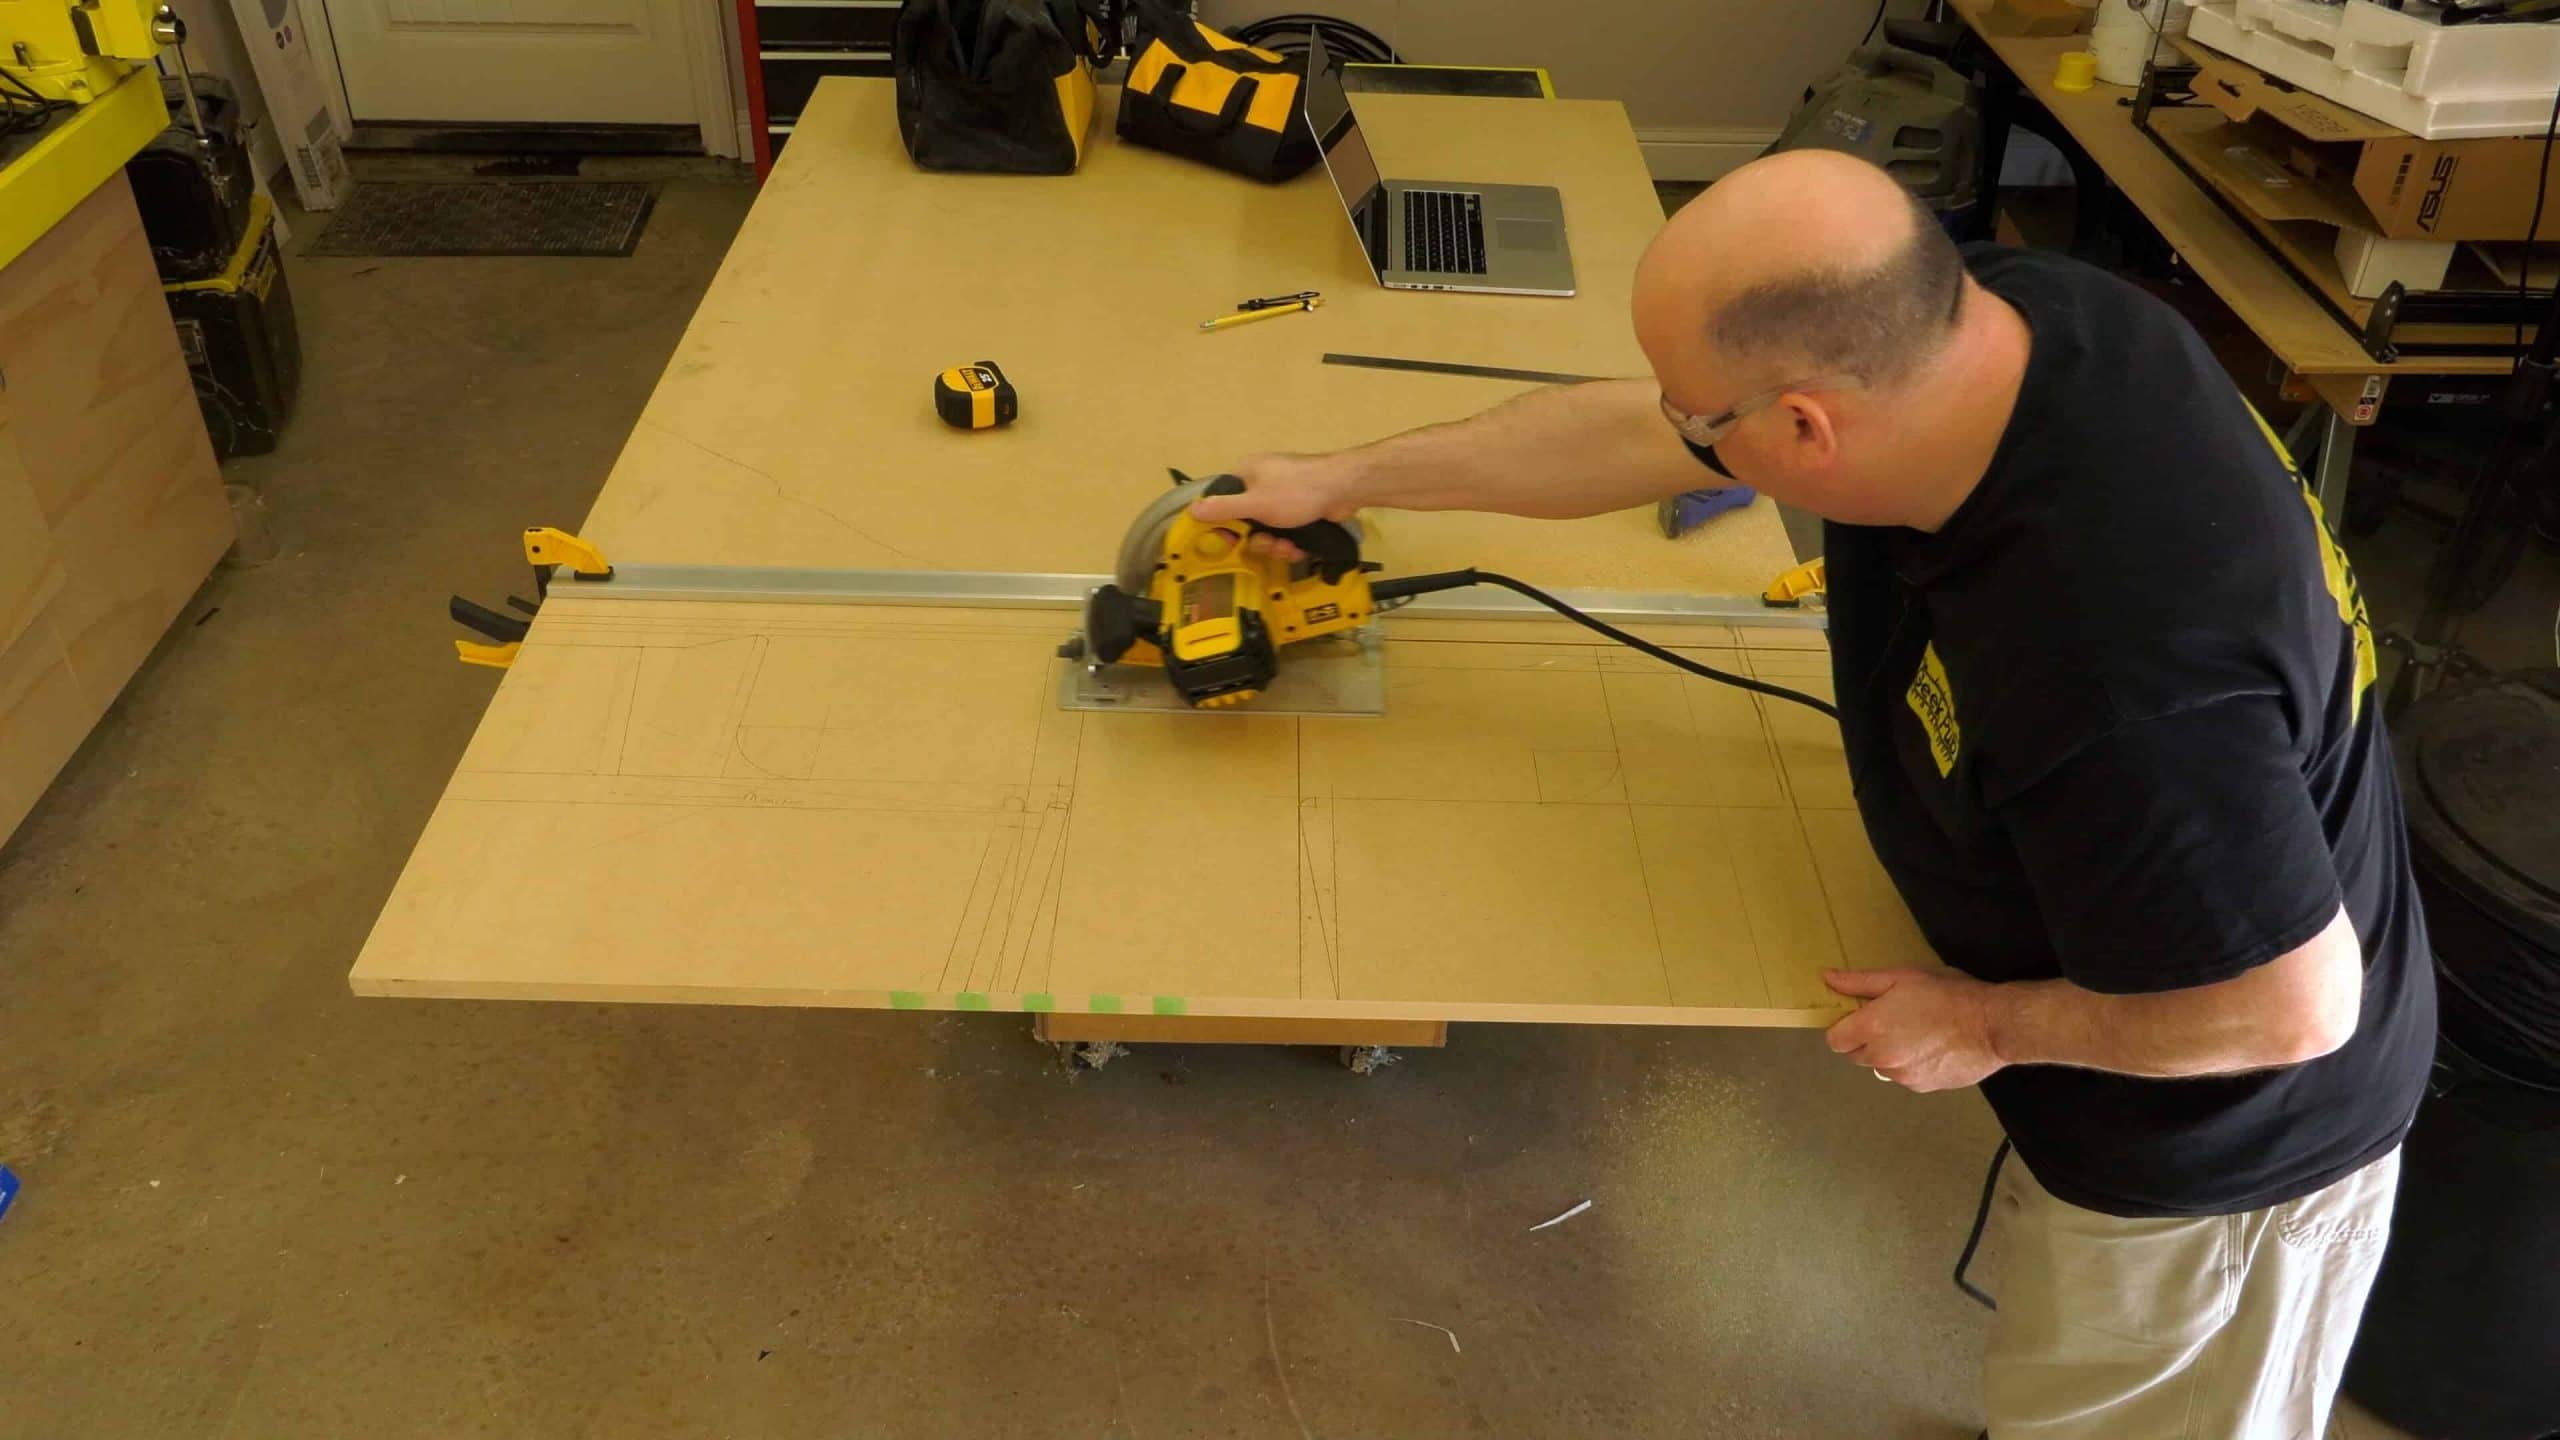
Step 1: Layout the Side Panels
Using the plans, layout the components of the arcade on sheet of MDF (or plywood if you prefer). MDF is generally easier to finish because it doesn’t have wood grain.
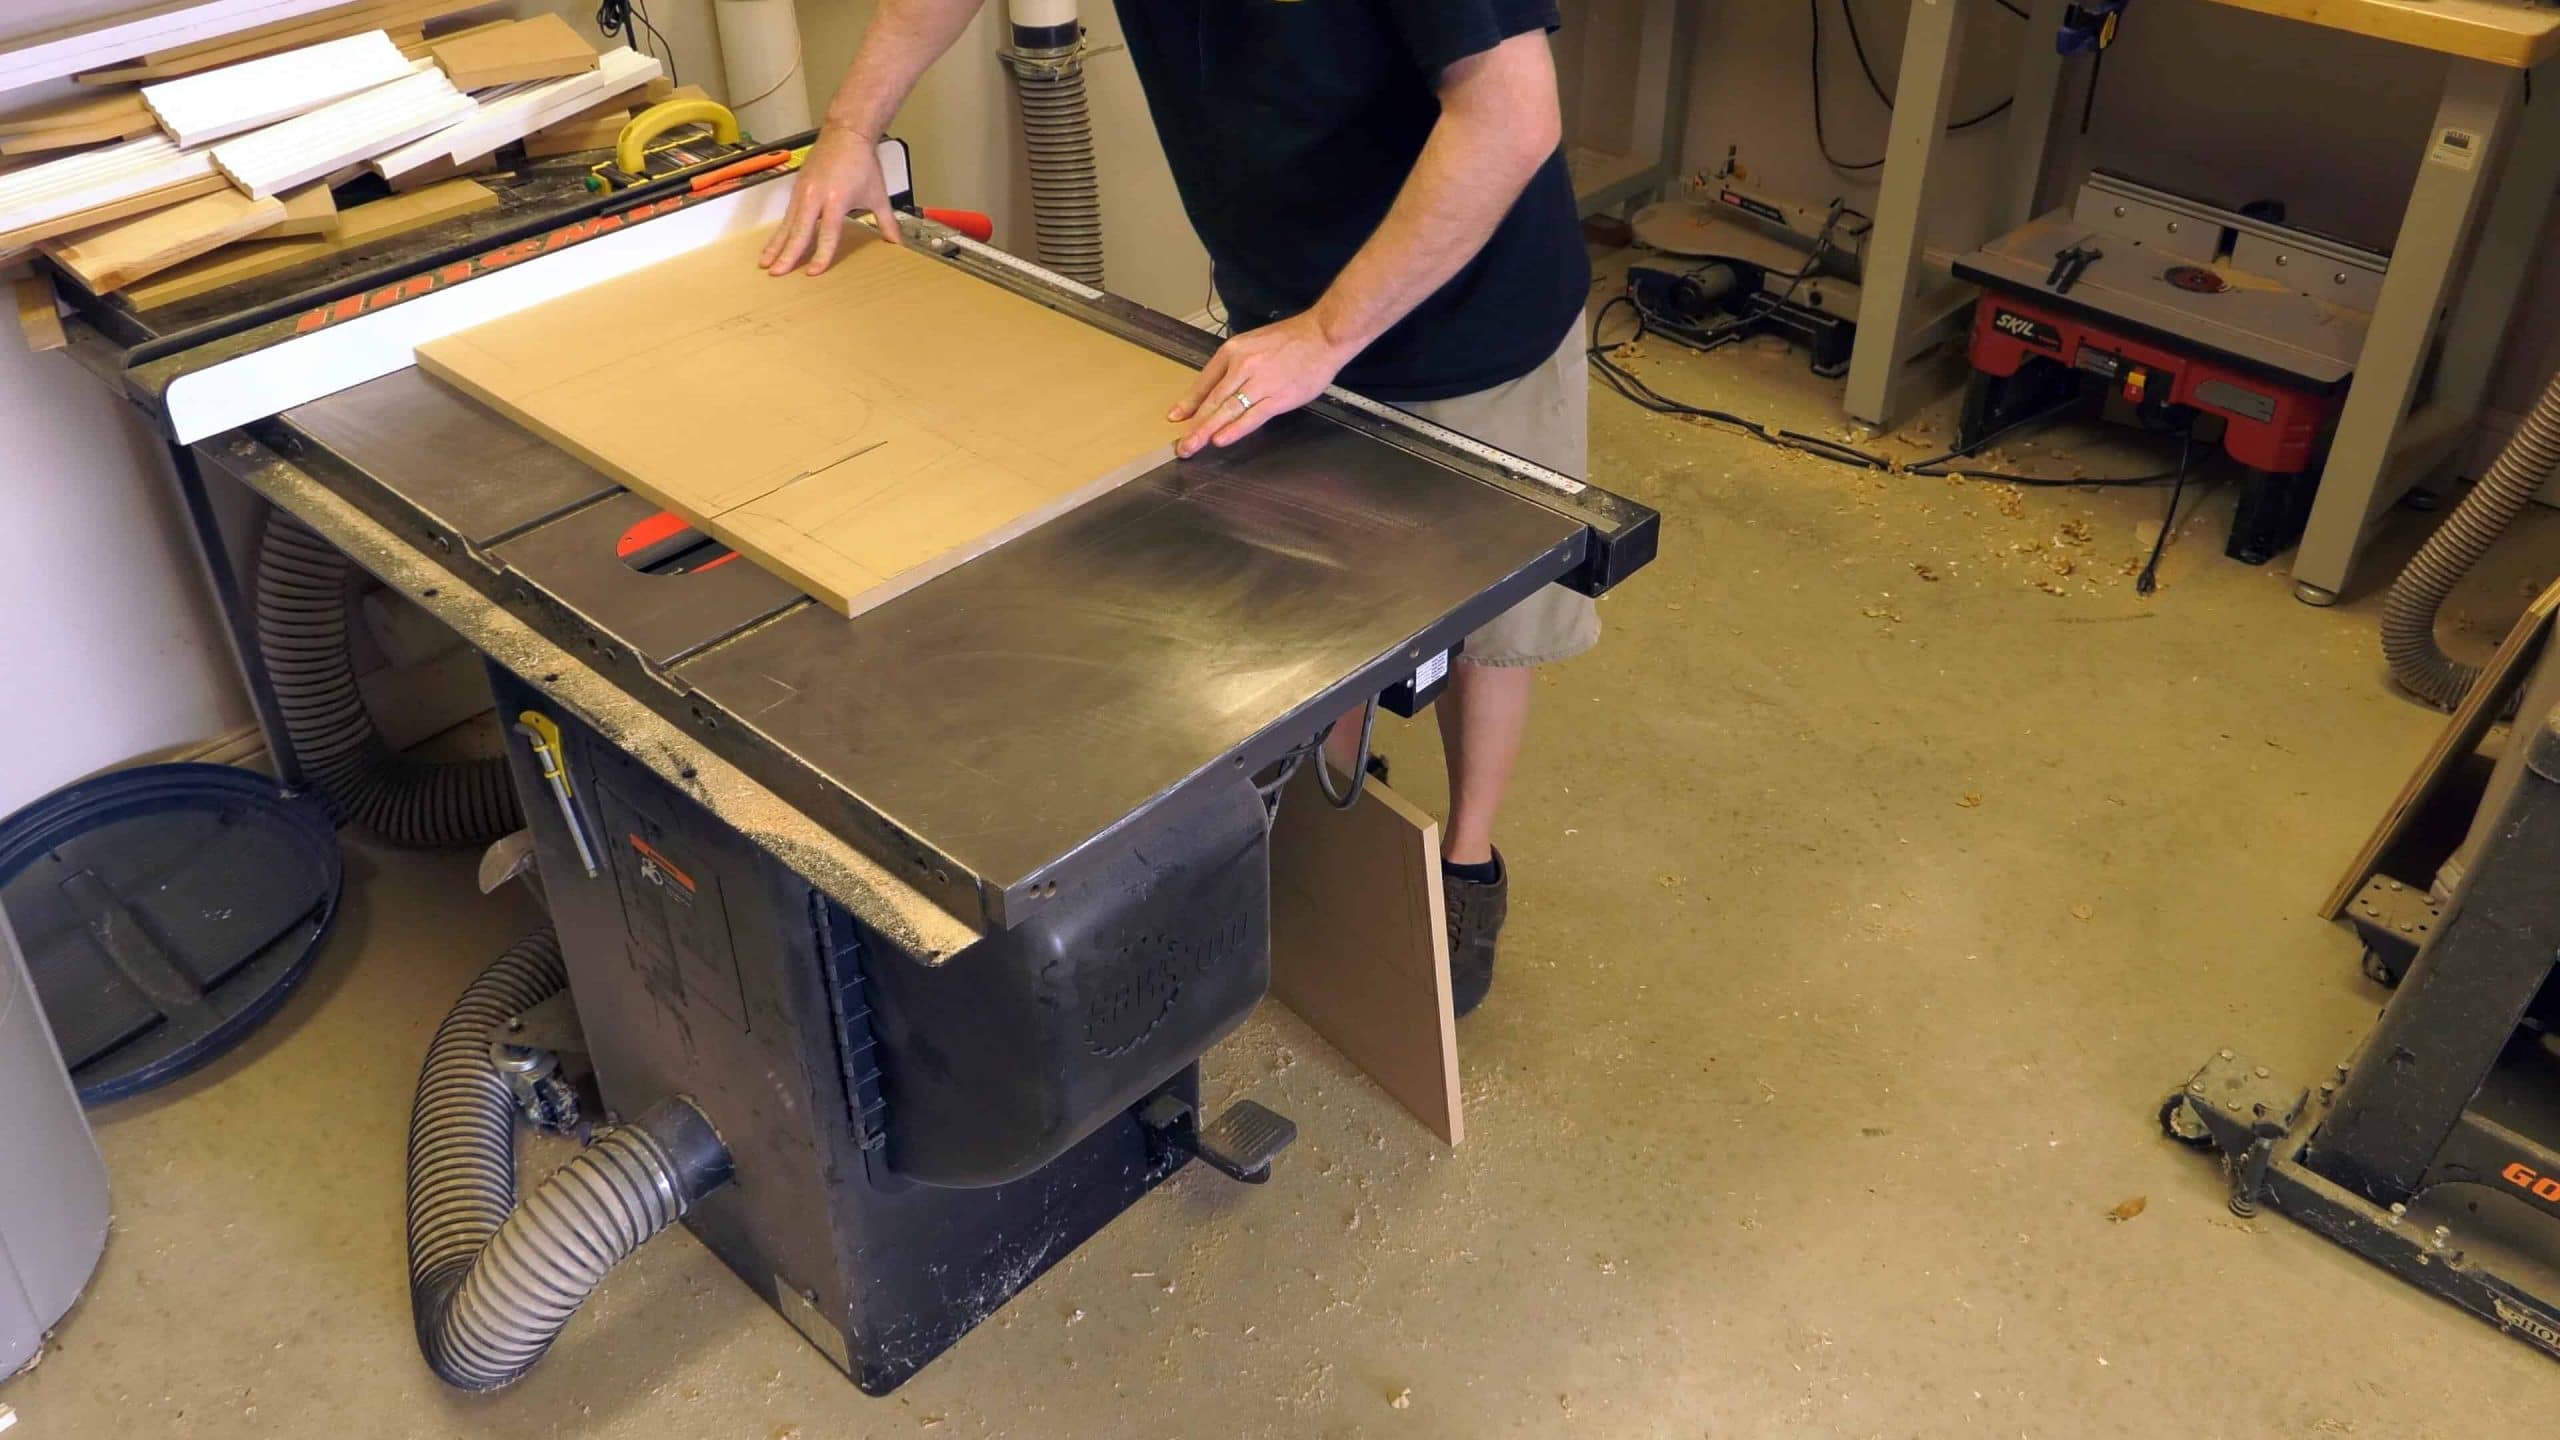
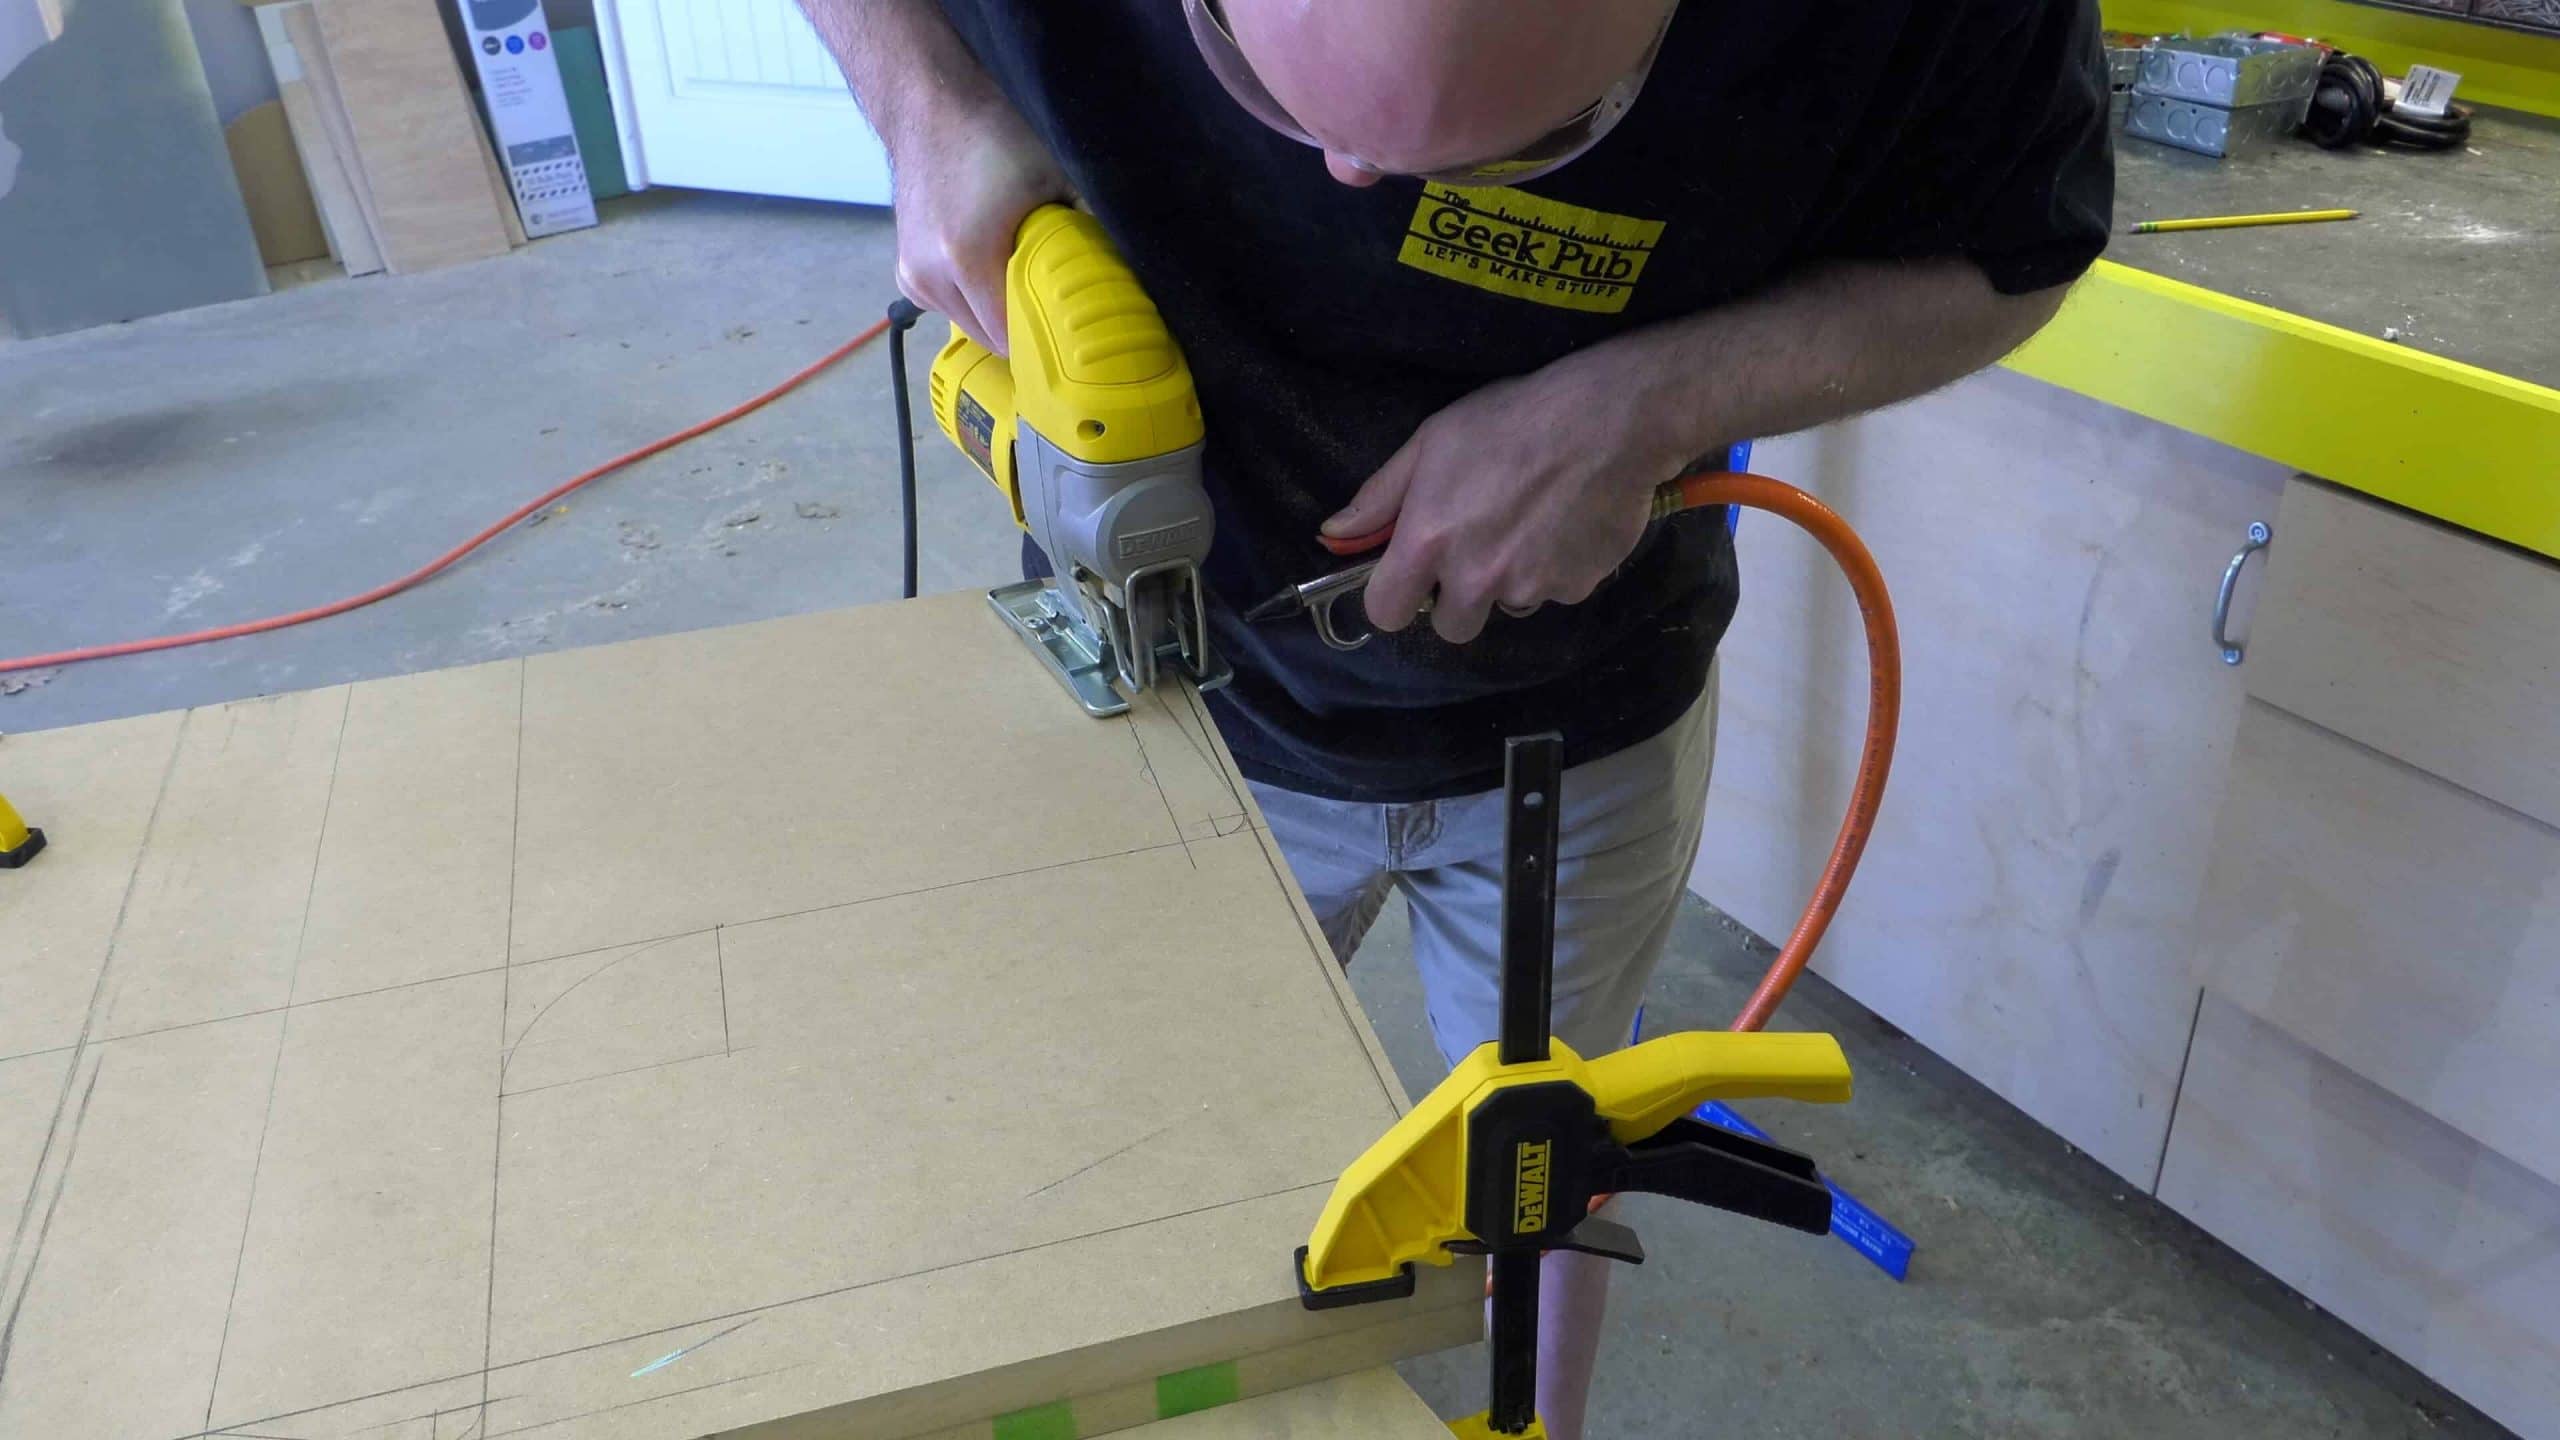
Step 2: Cut All of the Components Out
While it’s certainly best to cut everything out with a tablesaw, the only tool you really have to have to make this bartop arcade cabinet is a jigsaw.
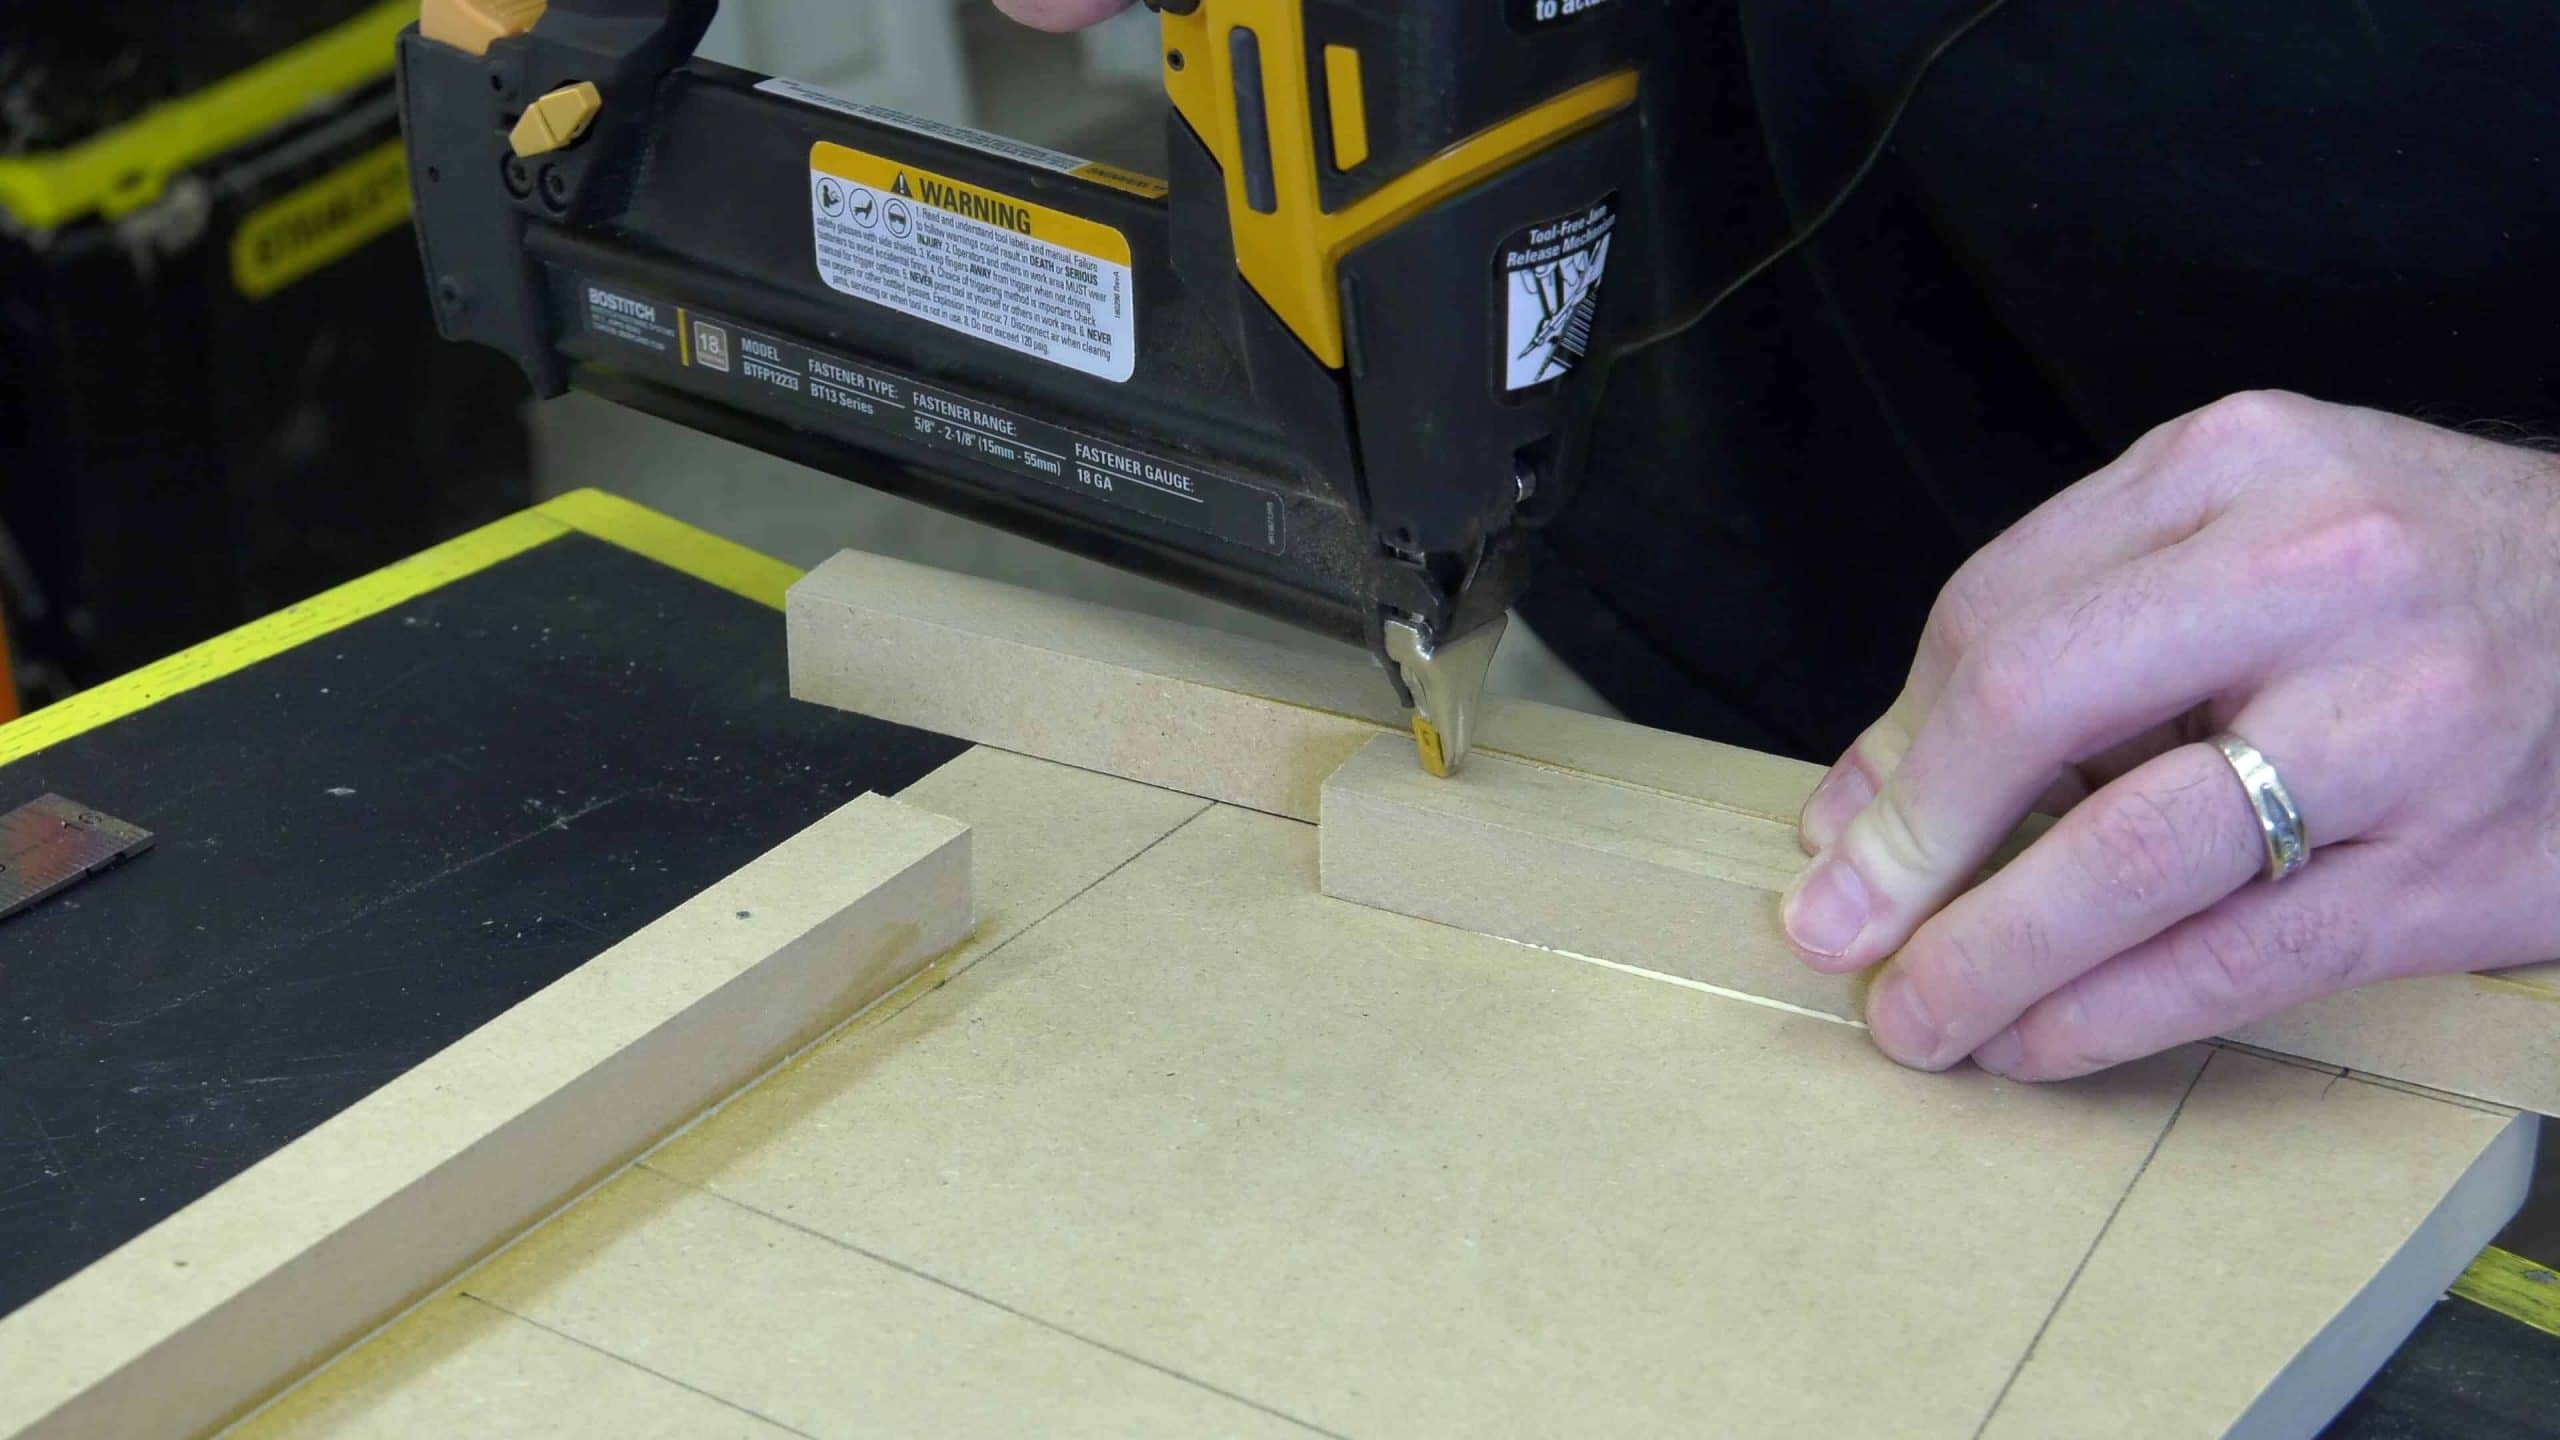
Step 3: Add the Backer Blocks
Using backer blocks will make your cabinet much easier to assemble, but are purely optional. If you’re just going to screw the cabinet together, you can can skip this step.

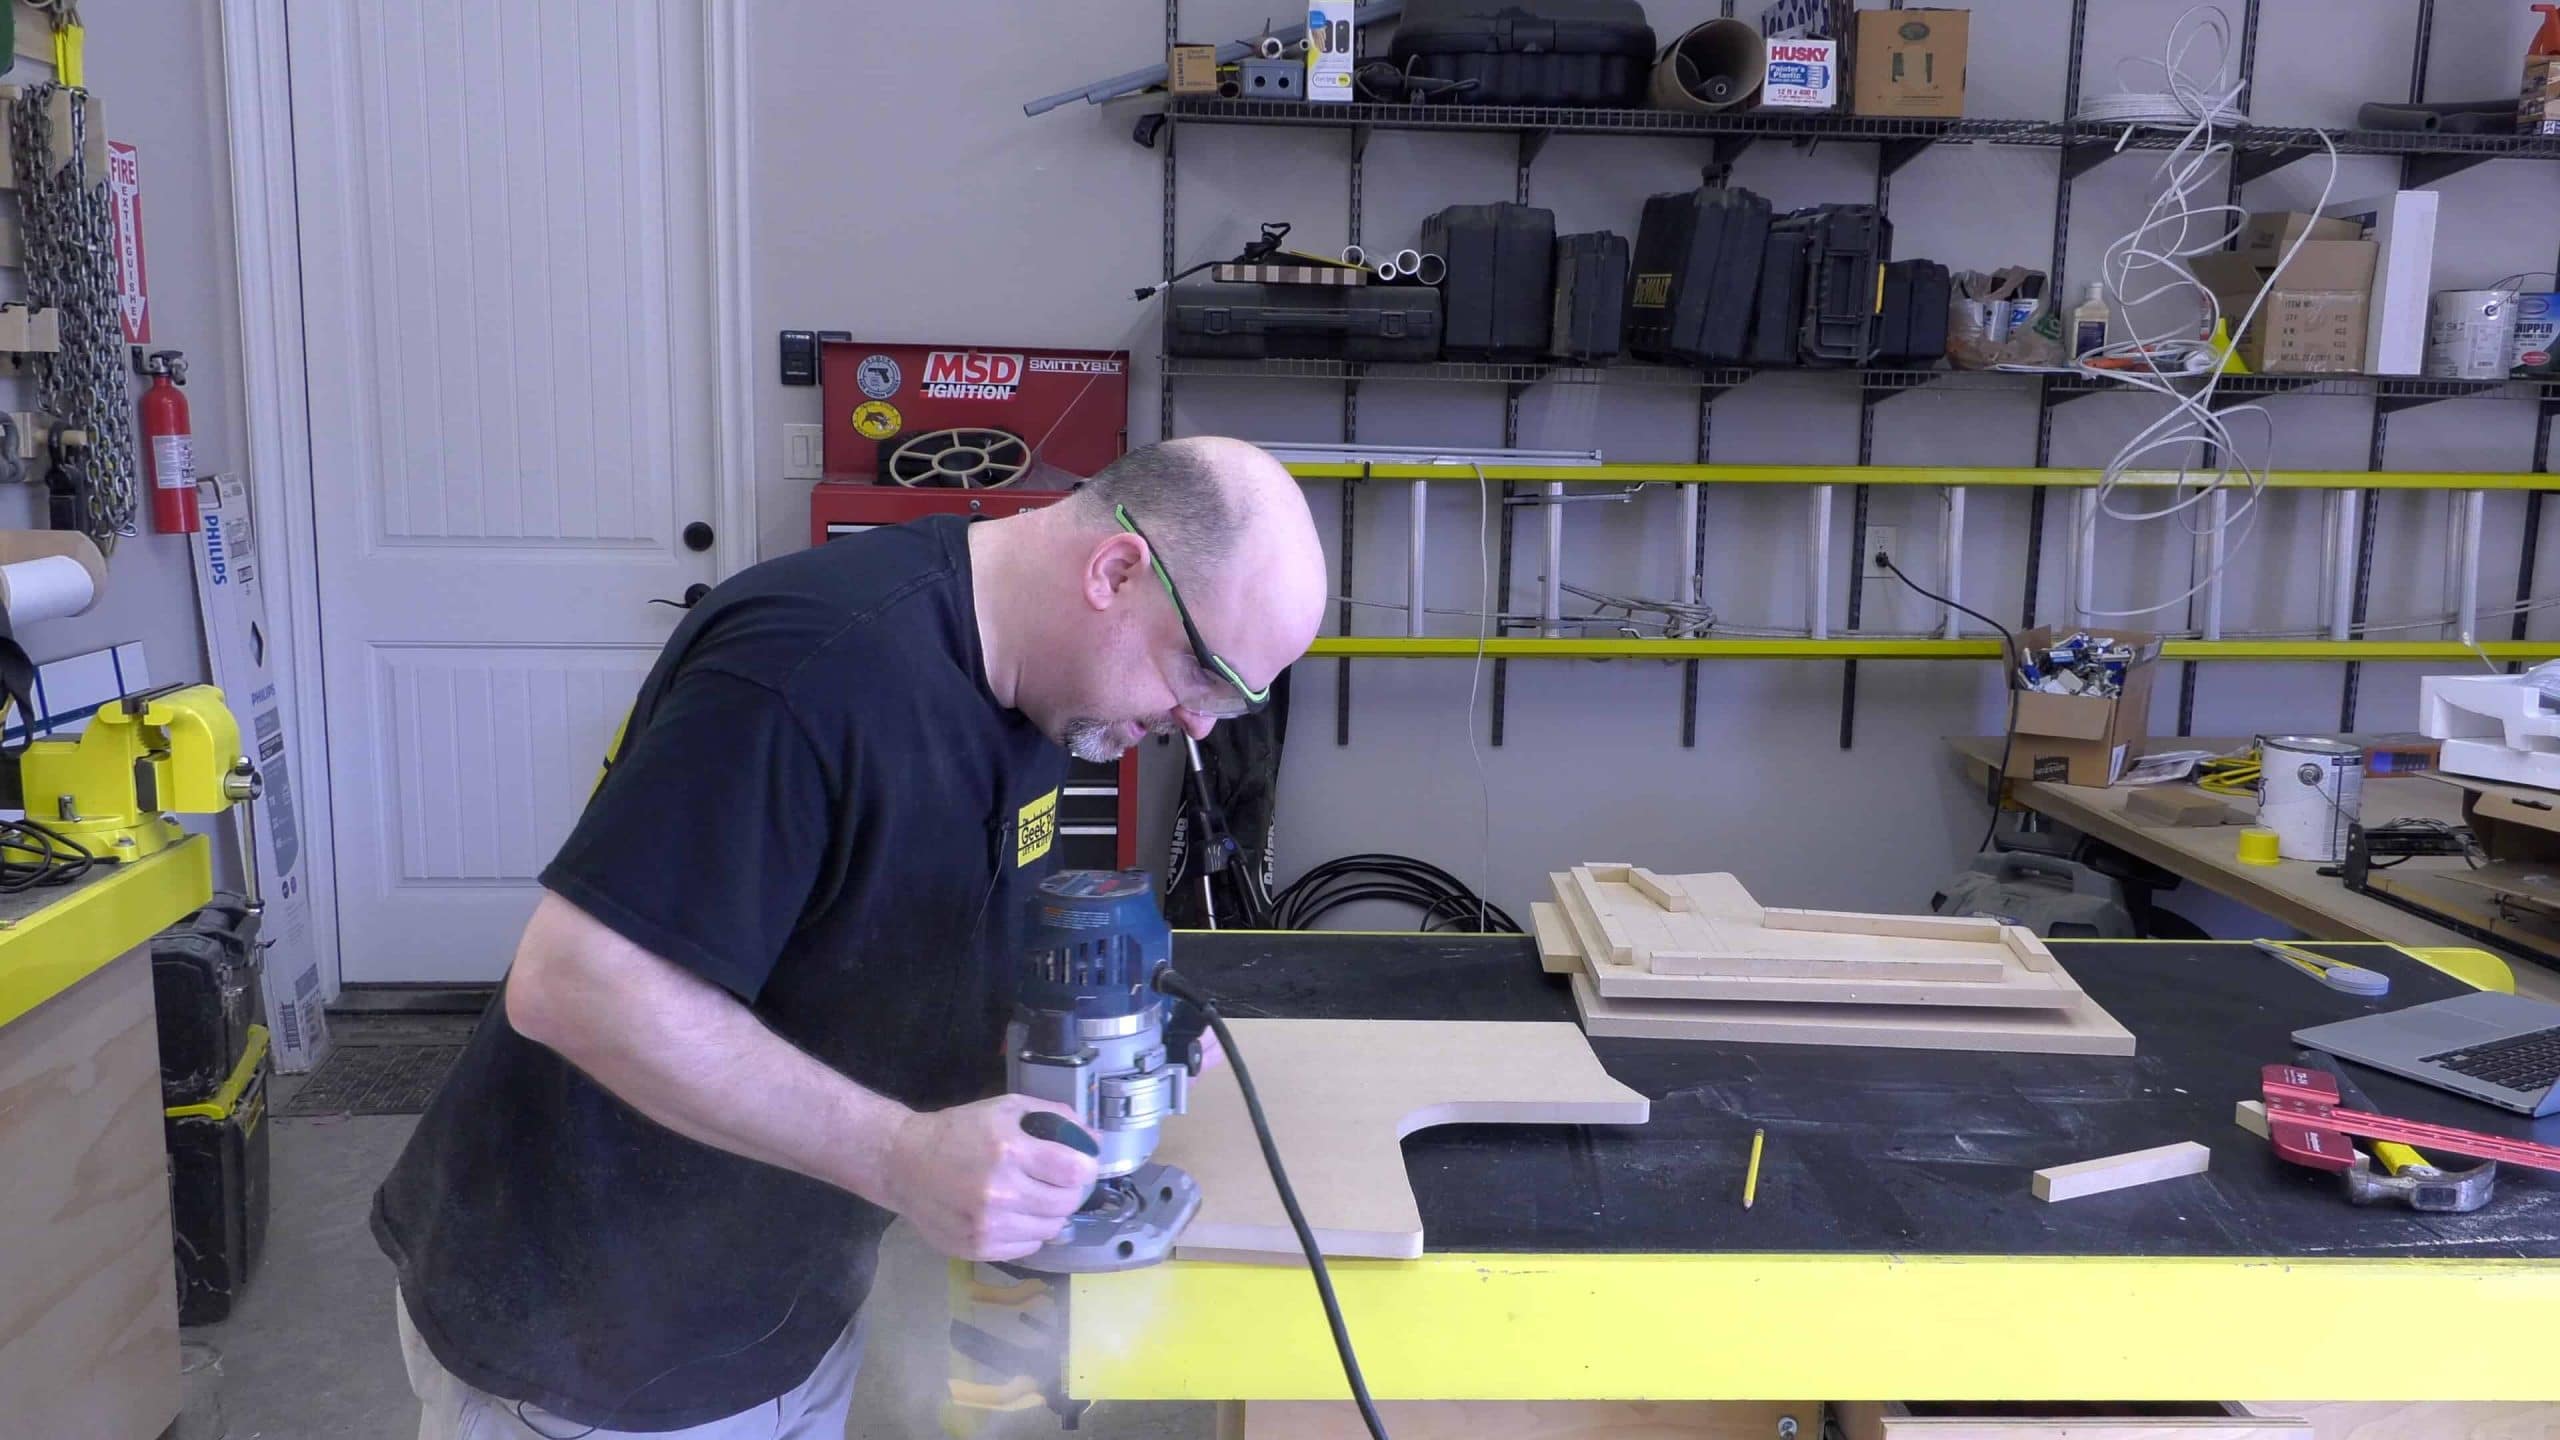
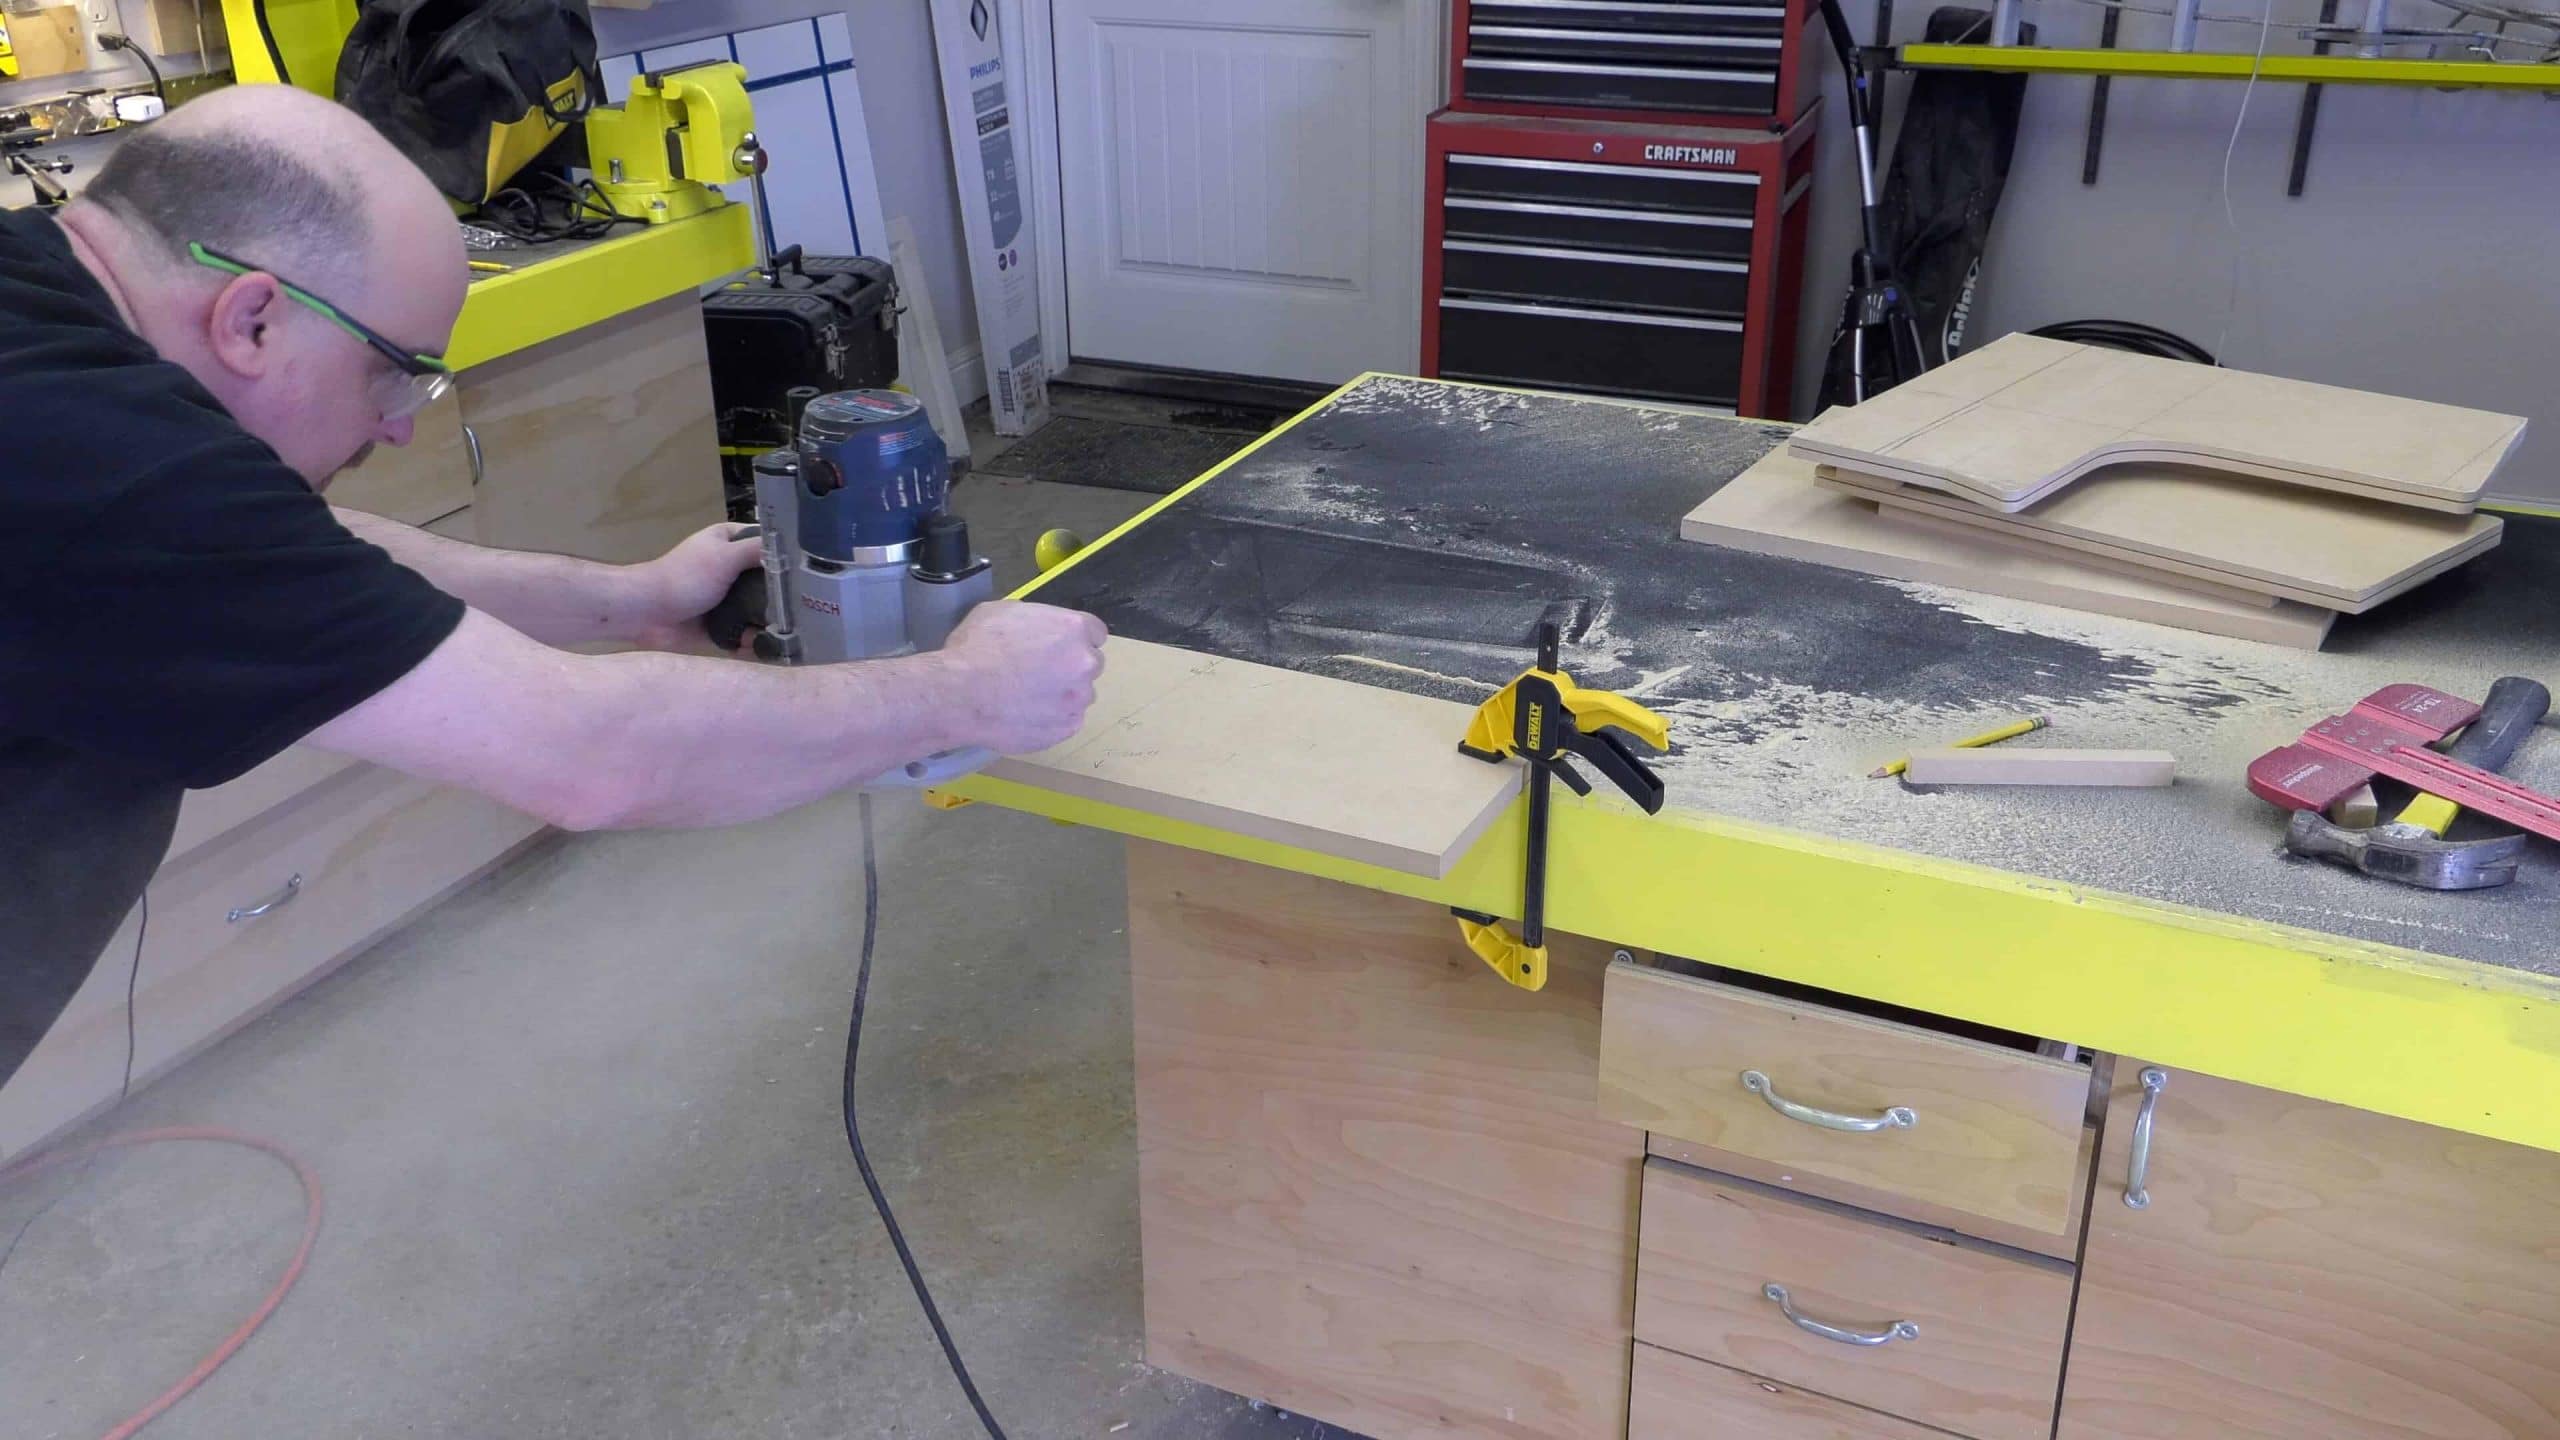
Step 4: Rout out for the T-Molding
Every old school arcade cabinet looks awesome with T-Molding. That’s why I use T-Molding on all of my builds.

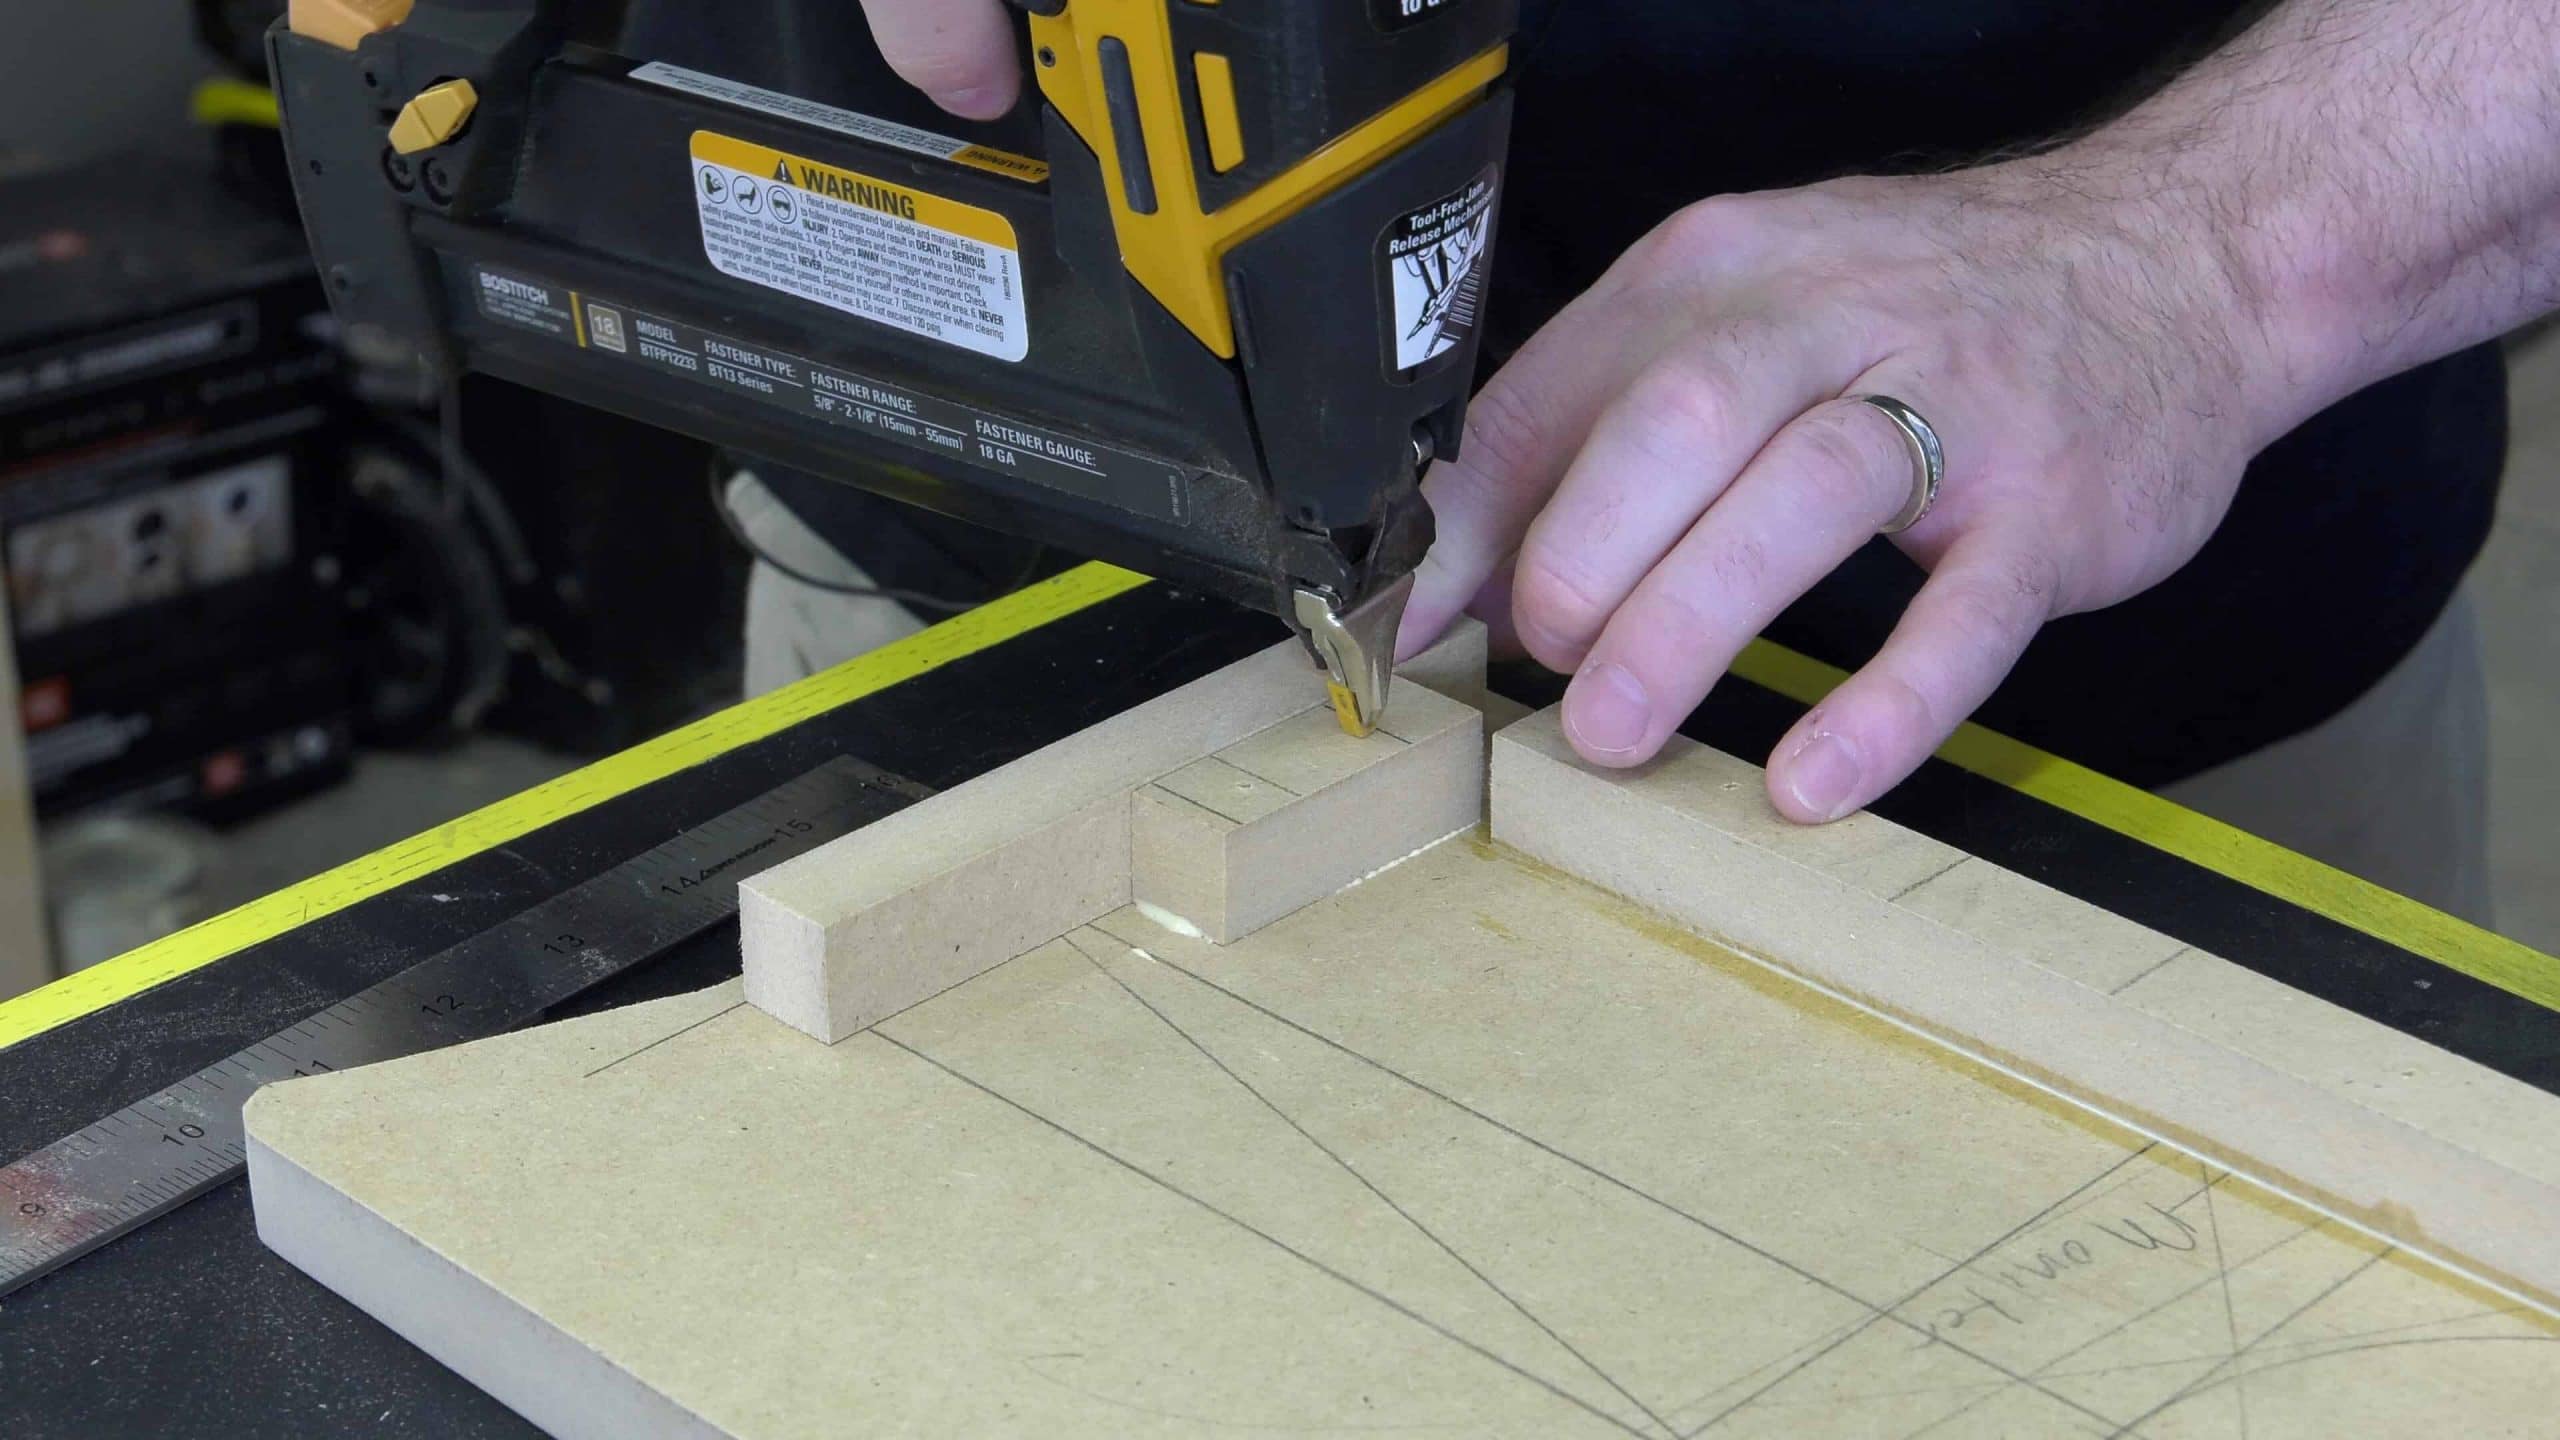
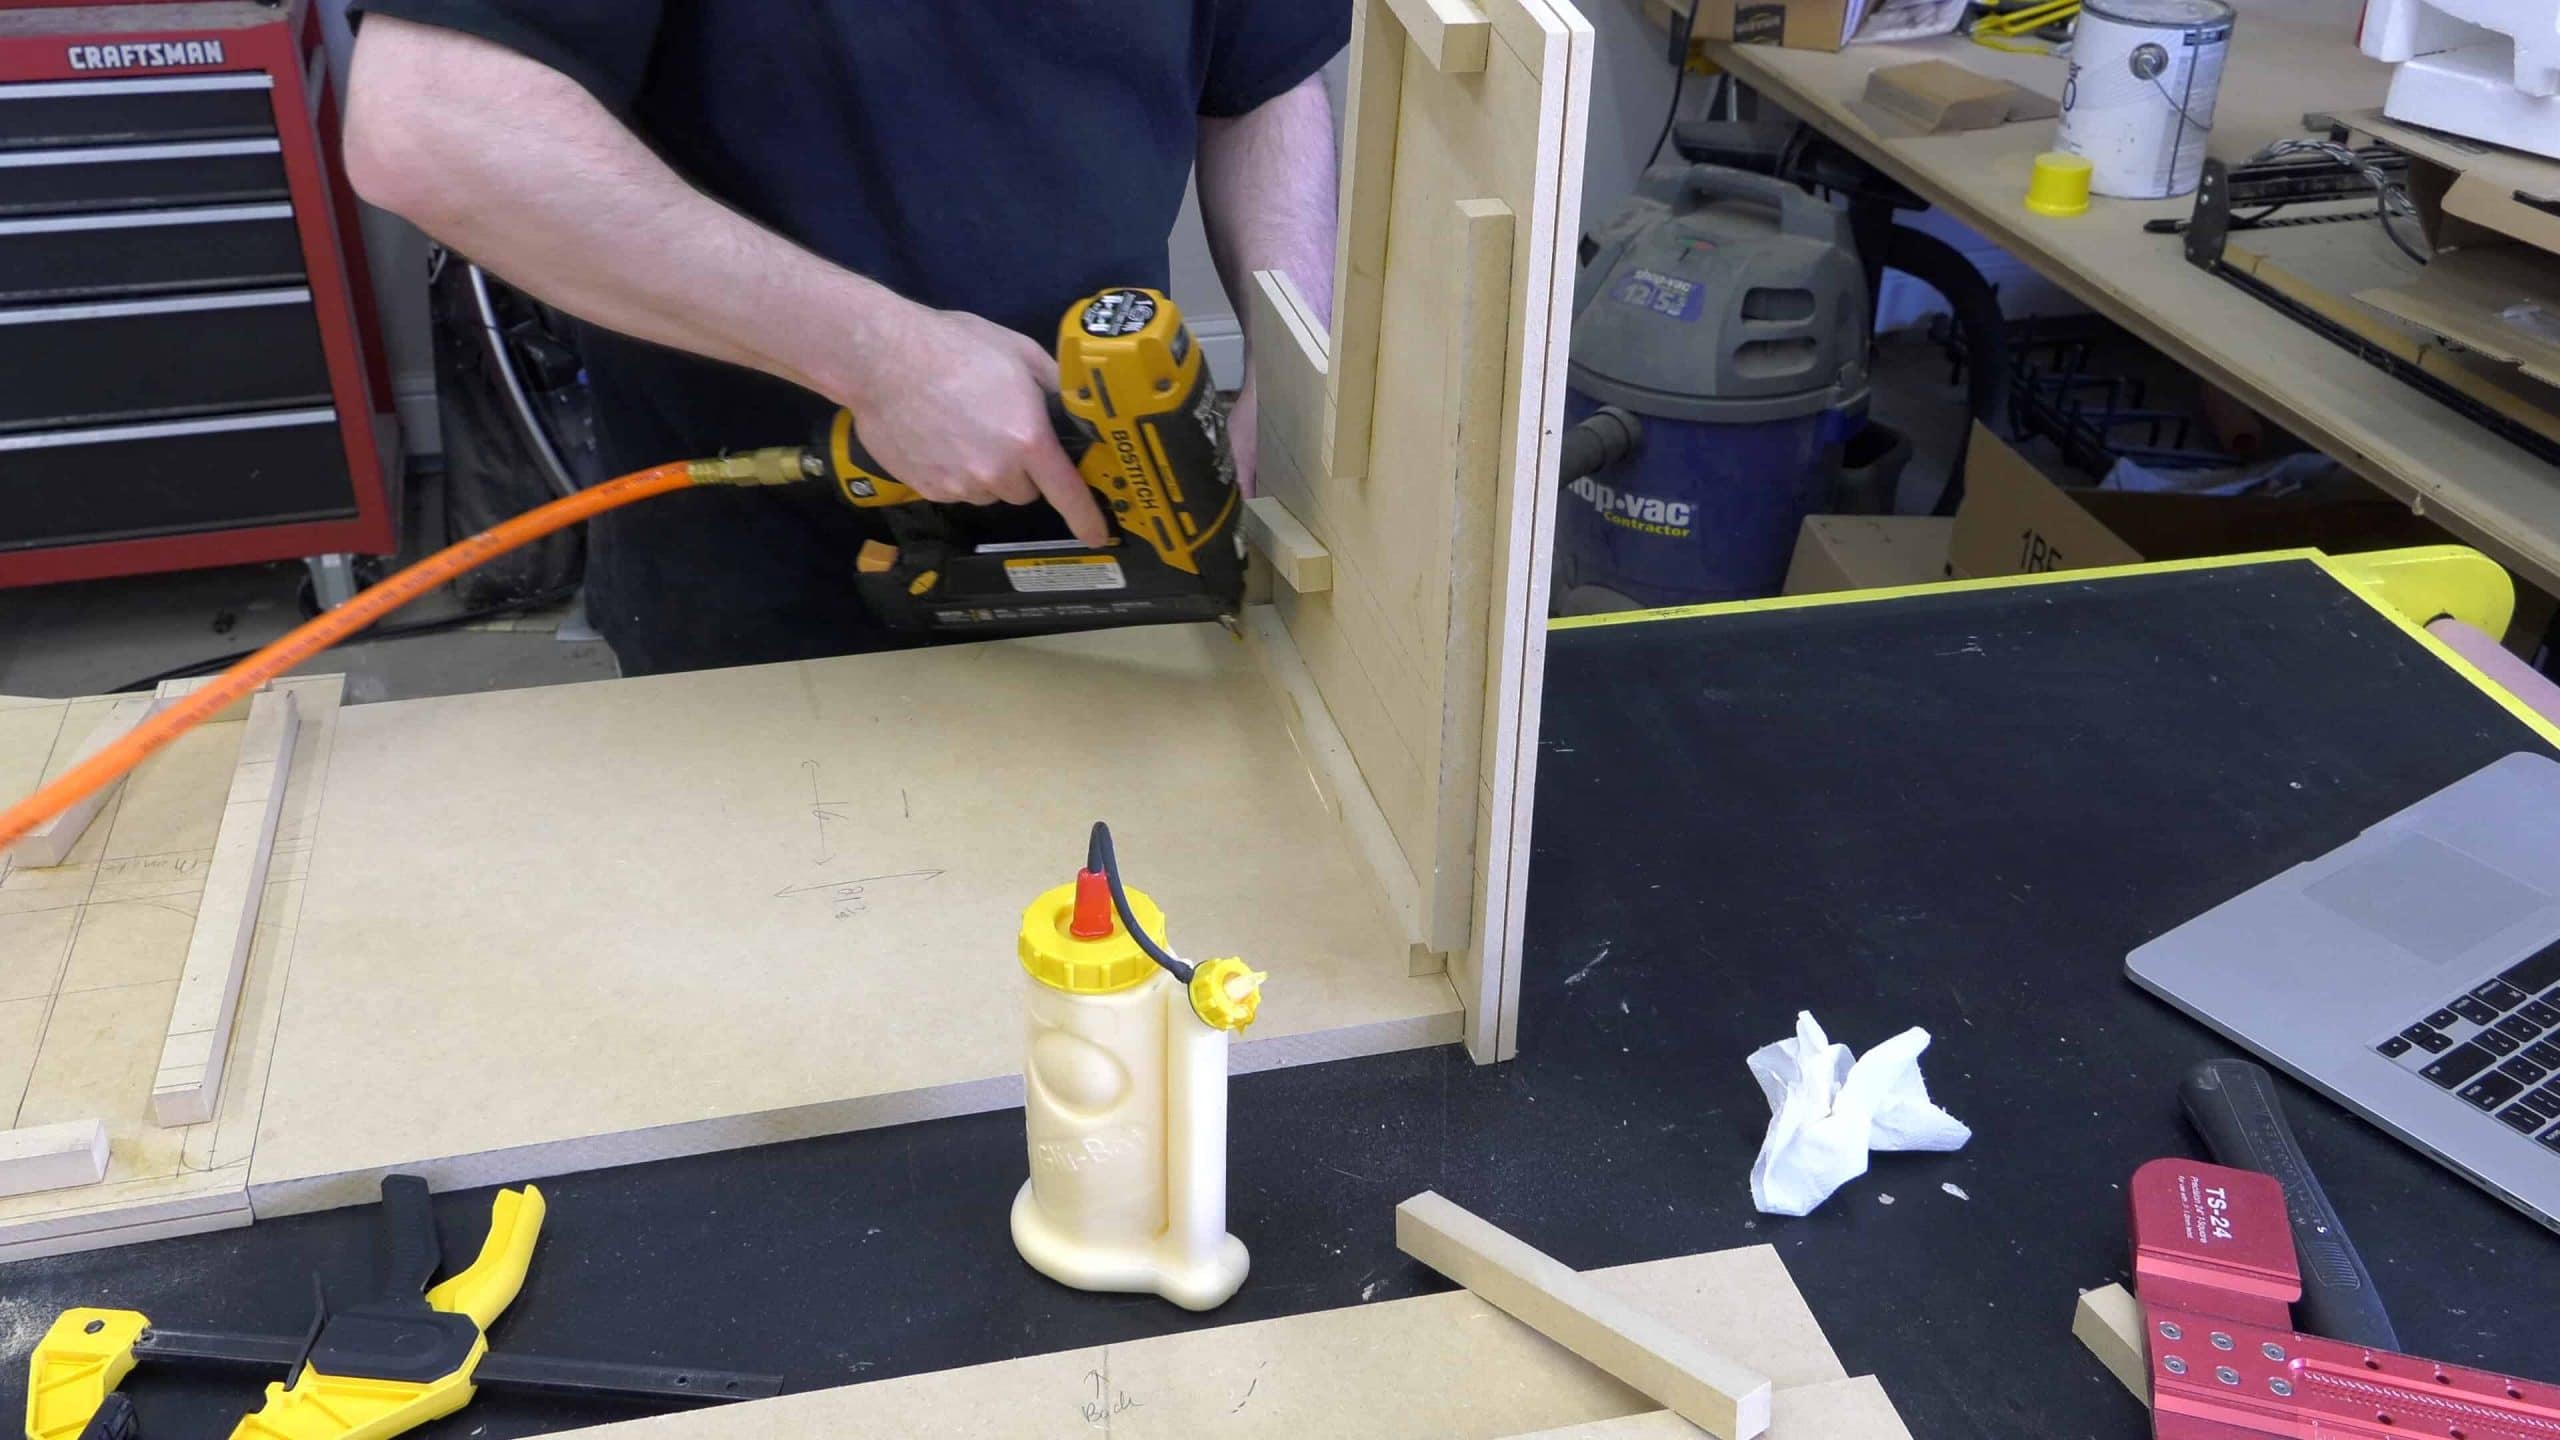
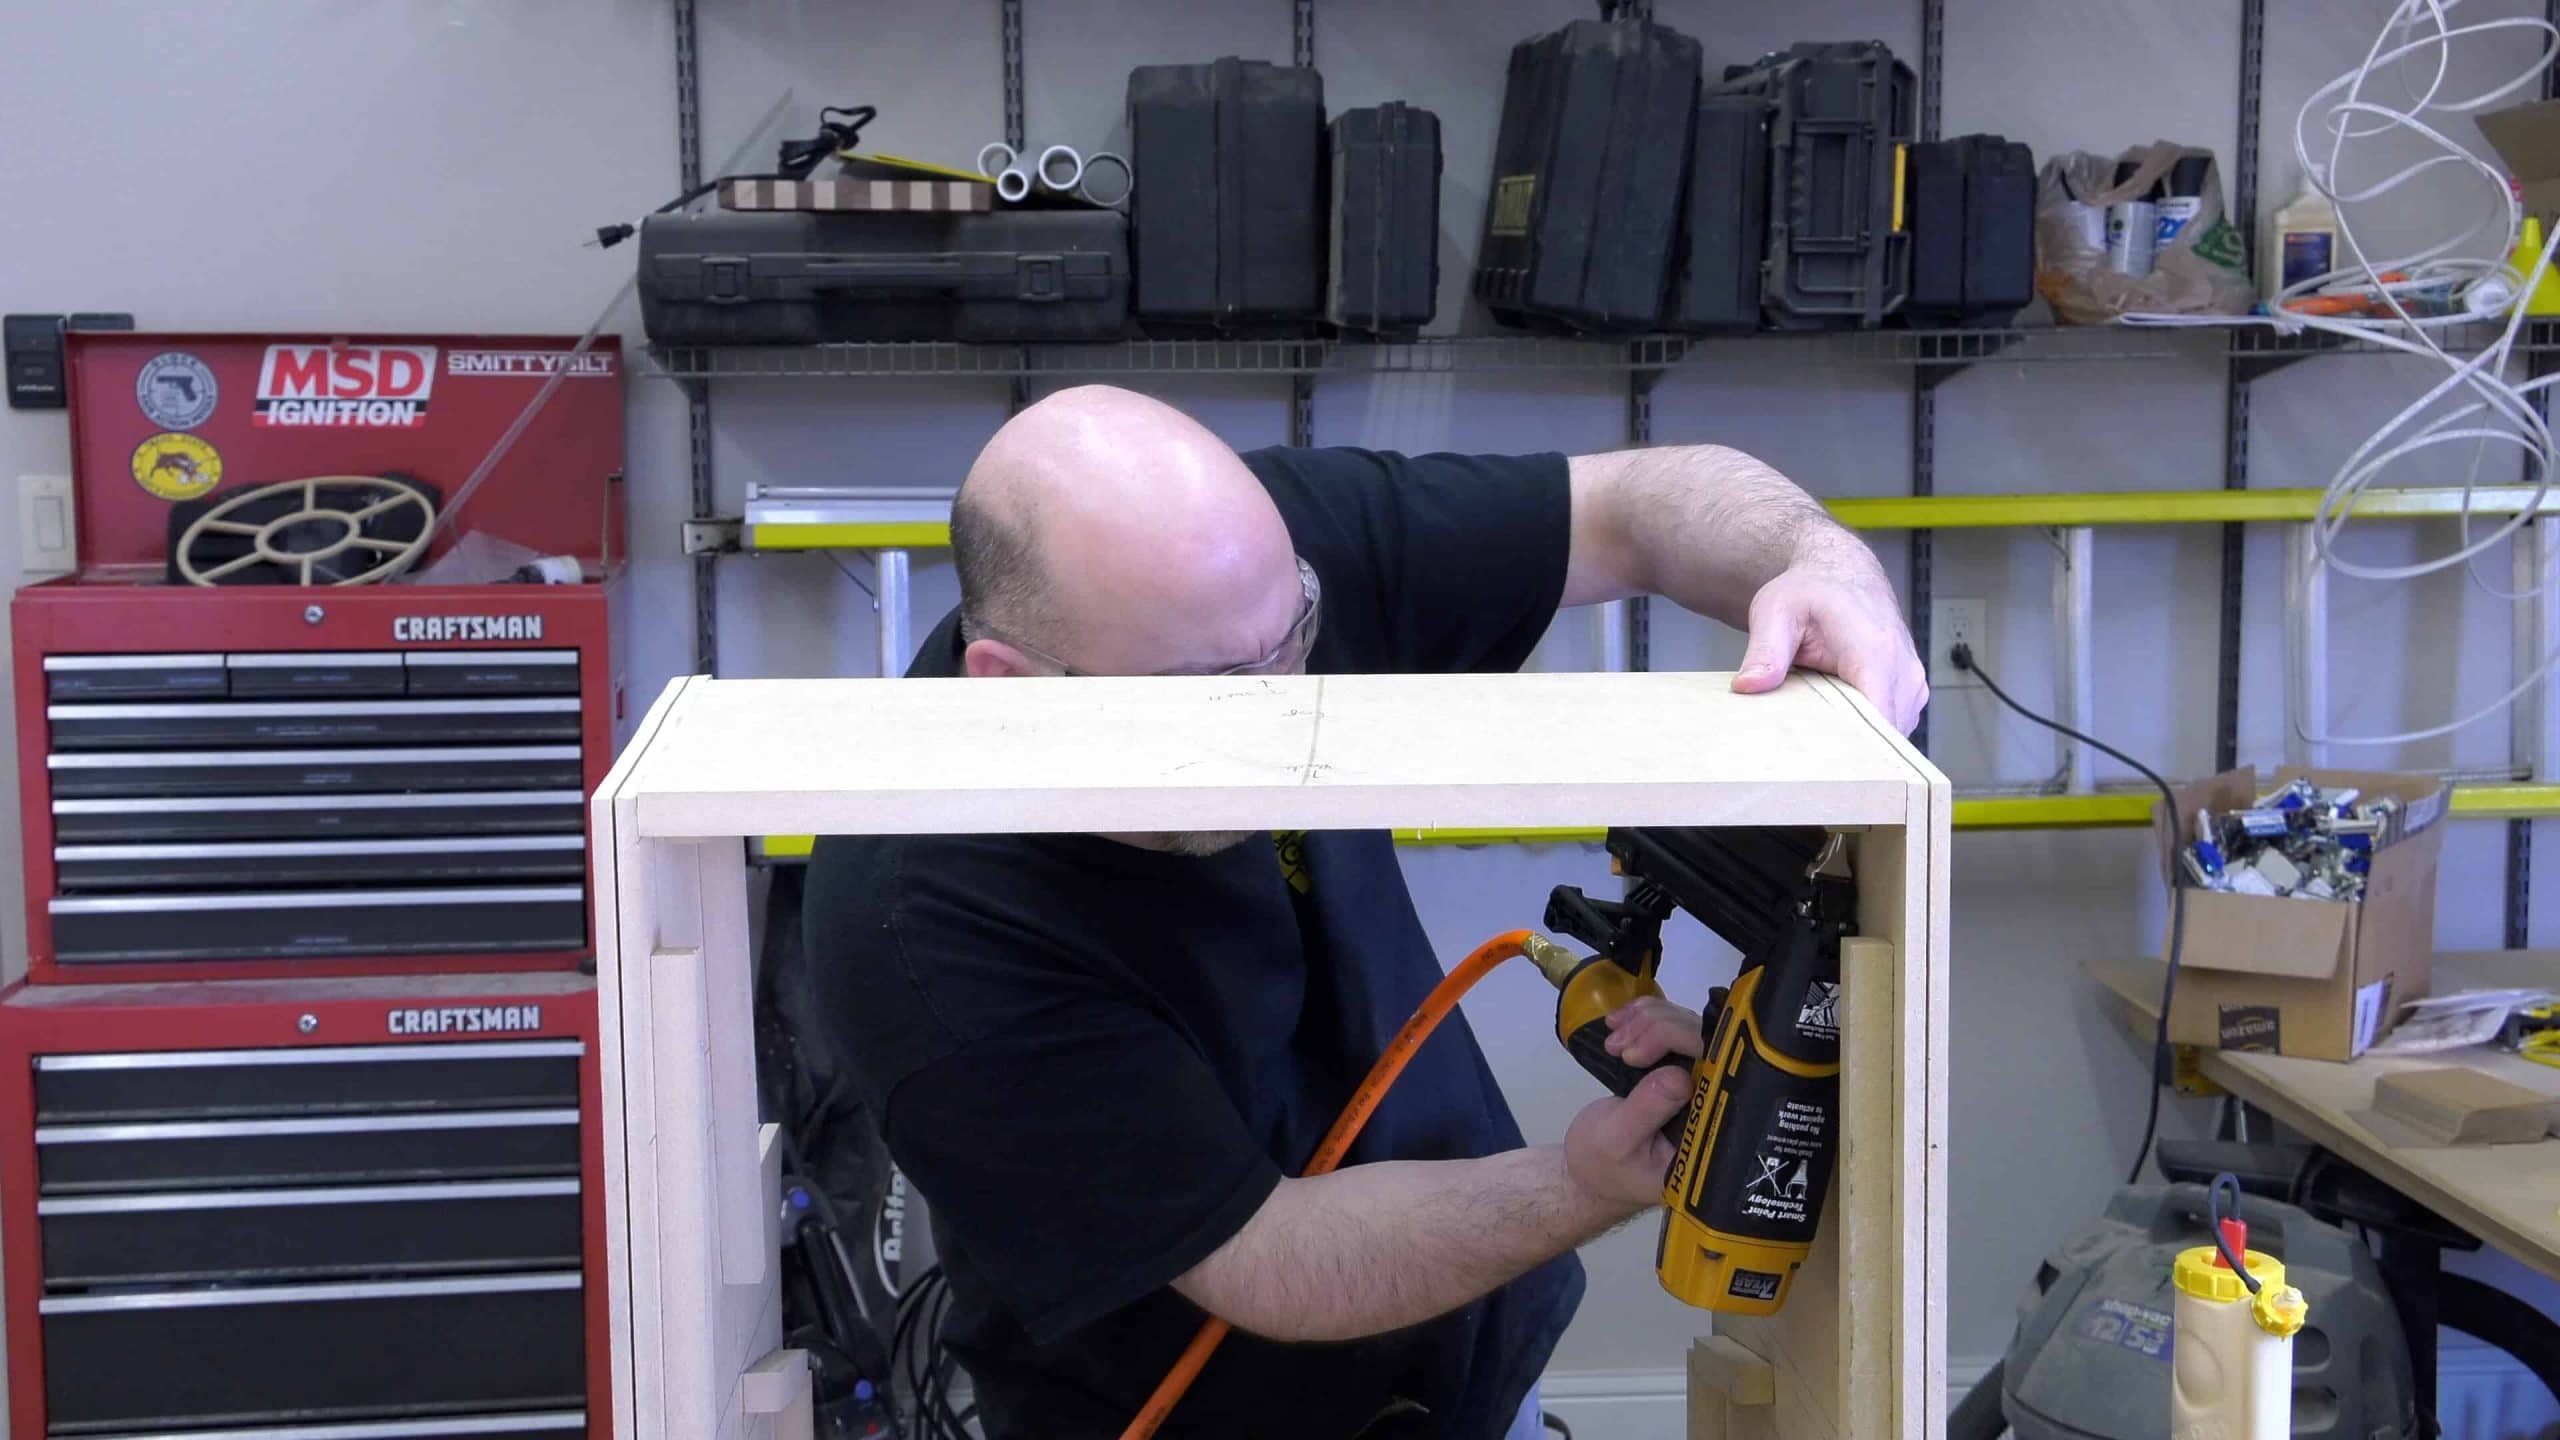
Step 5: Assemble all of the Components
The cabinet can be held together with numerous methods. Screws, glue, brad nails, etc. I prefer to use wood glue and brad nails. The brad nails are only there to hold things together while the glue dries.

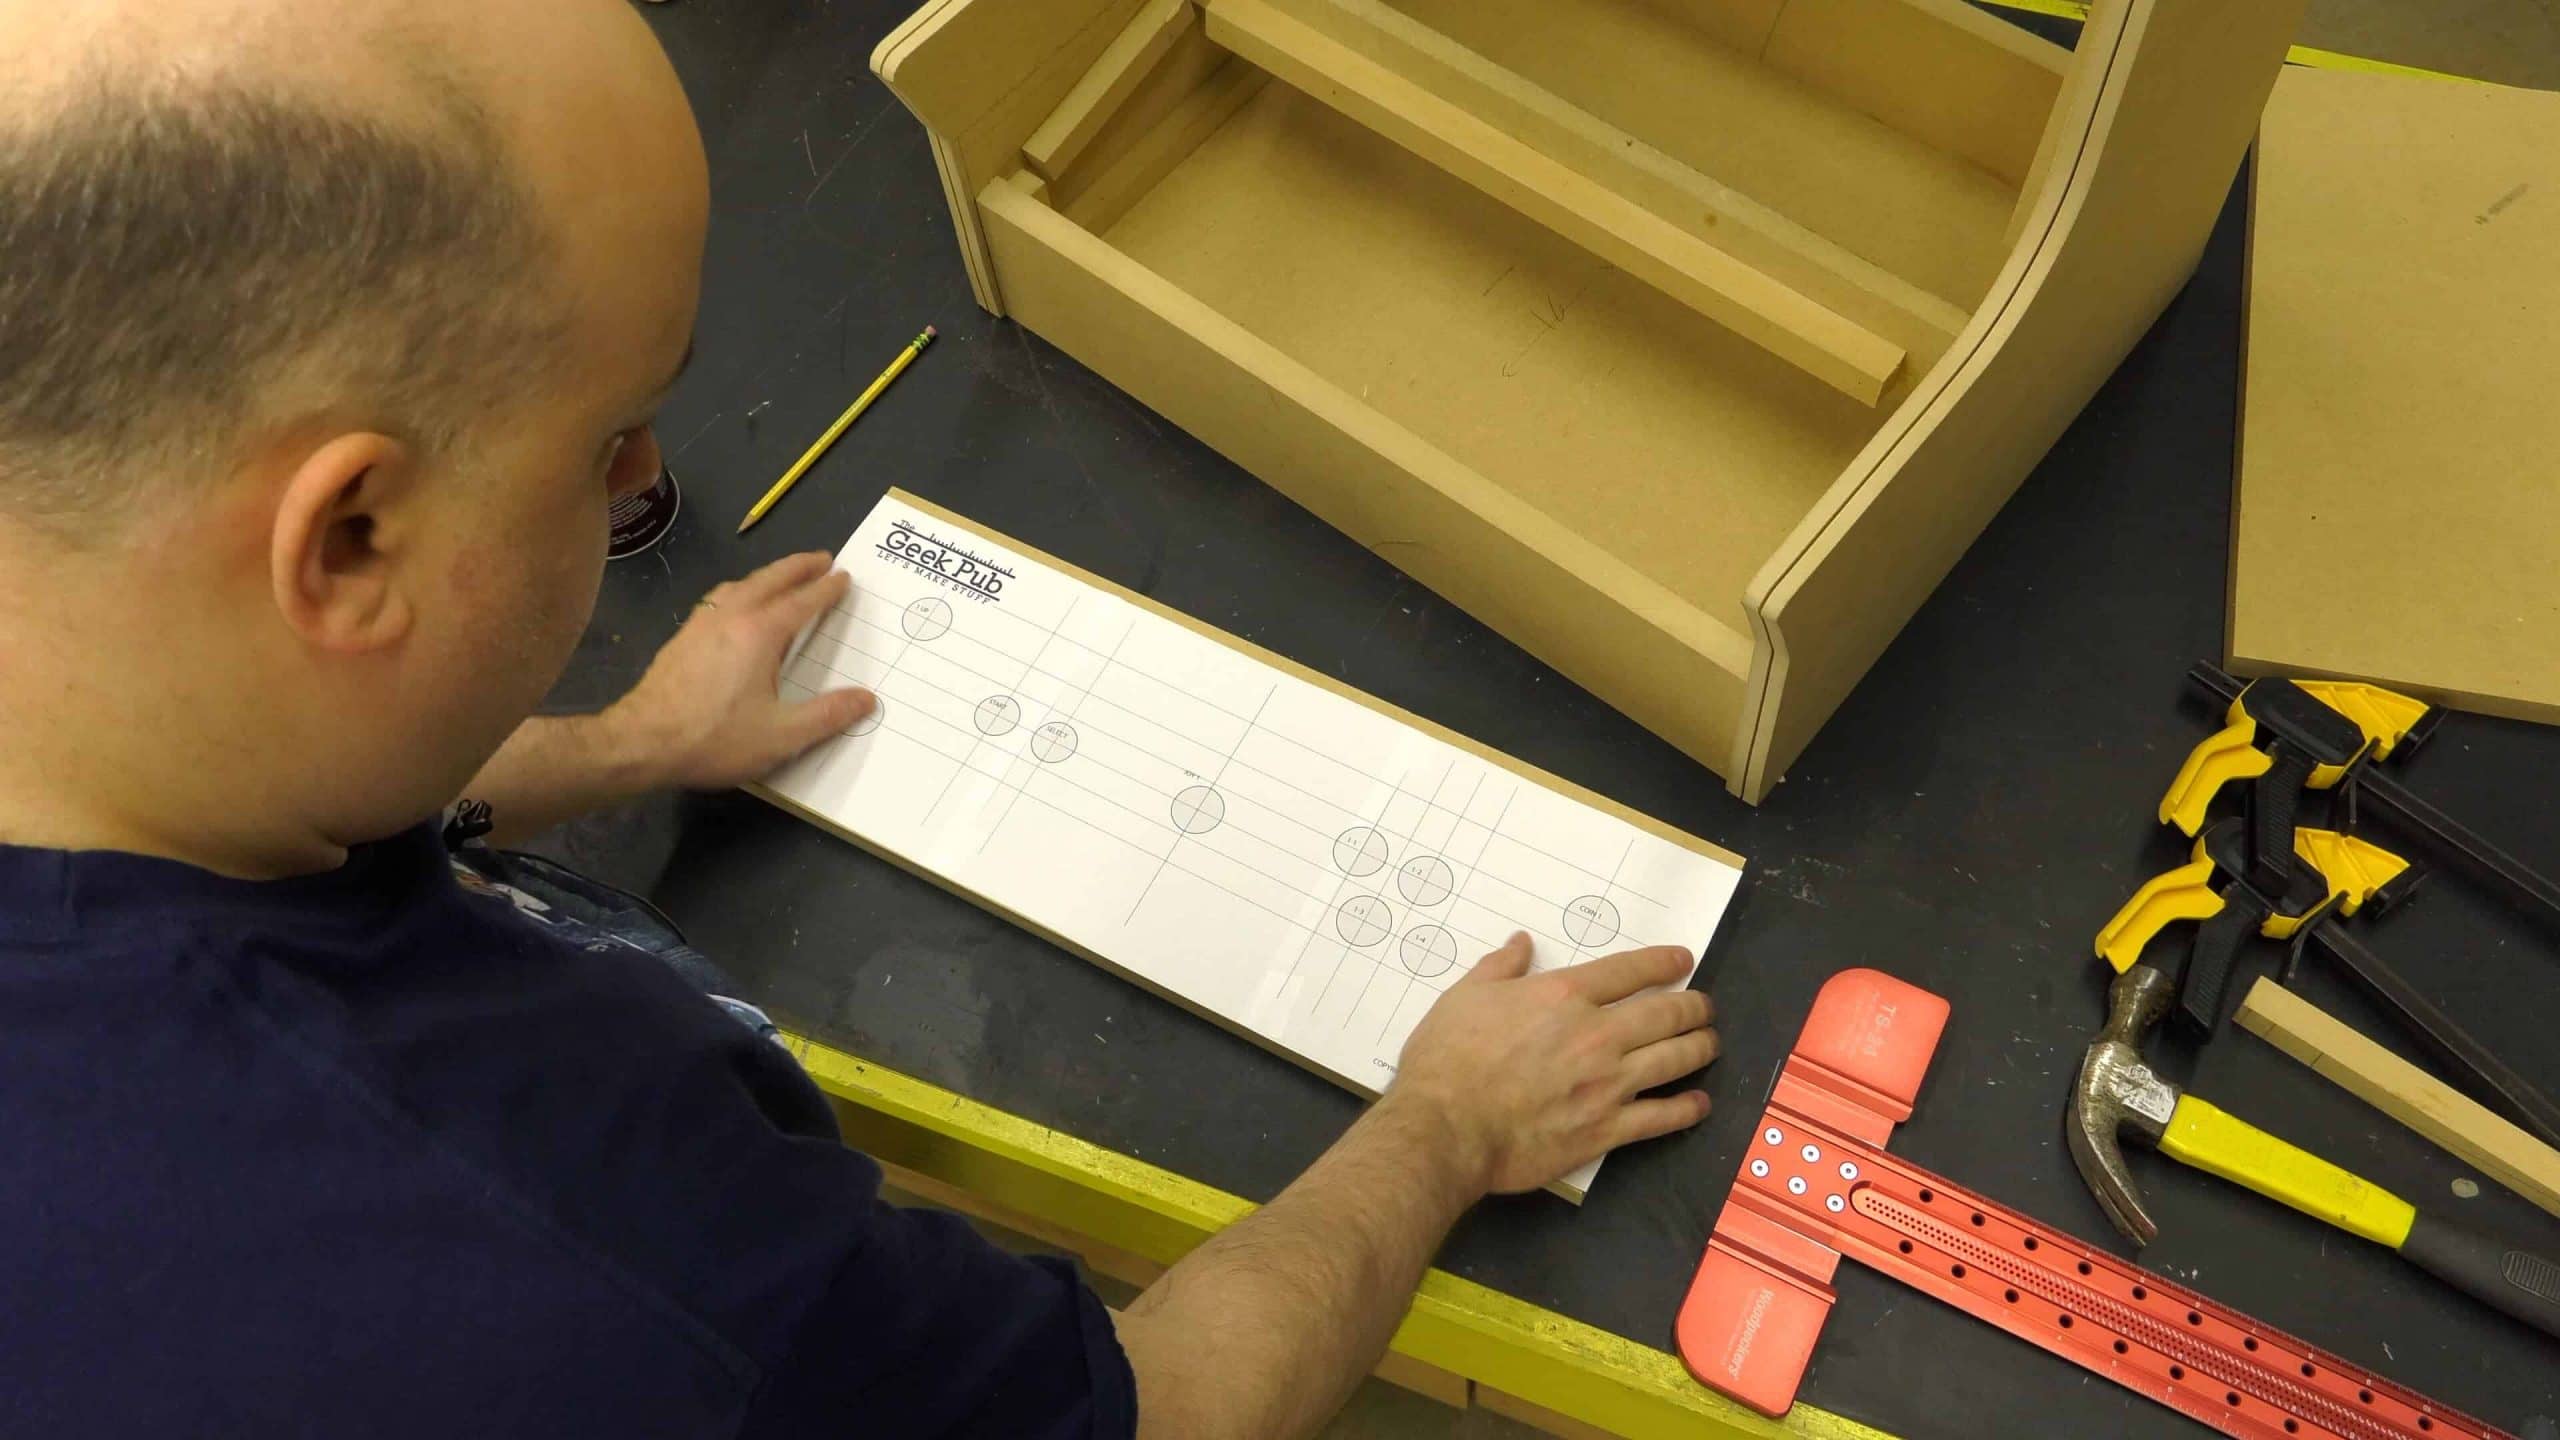
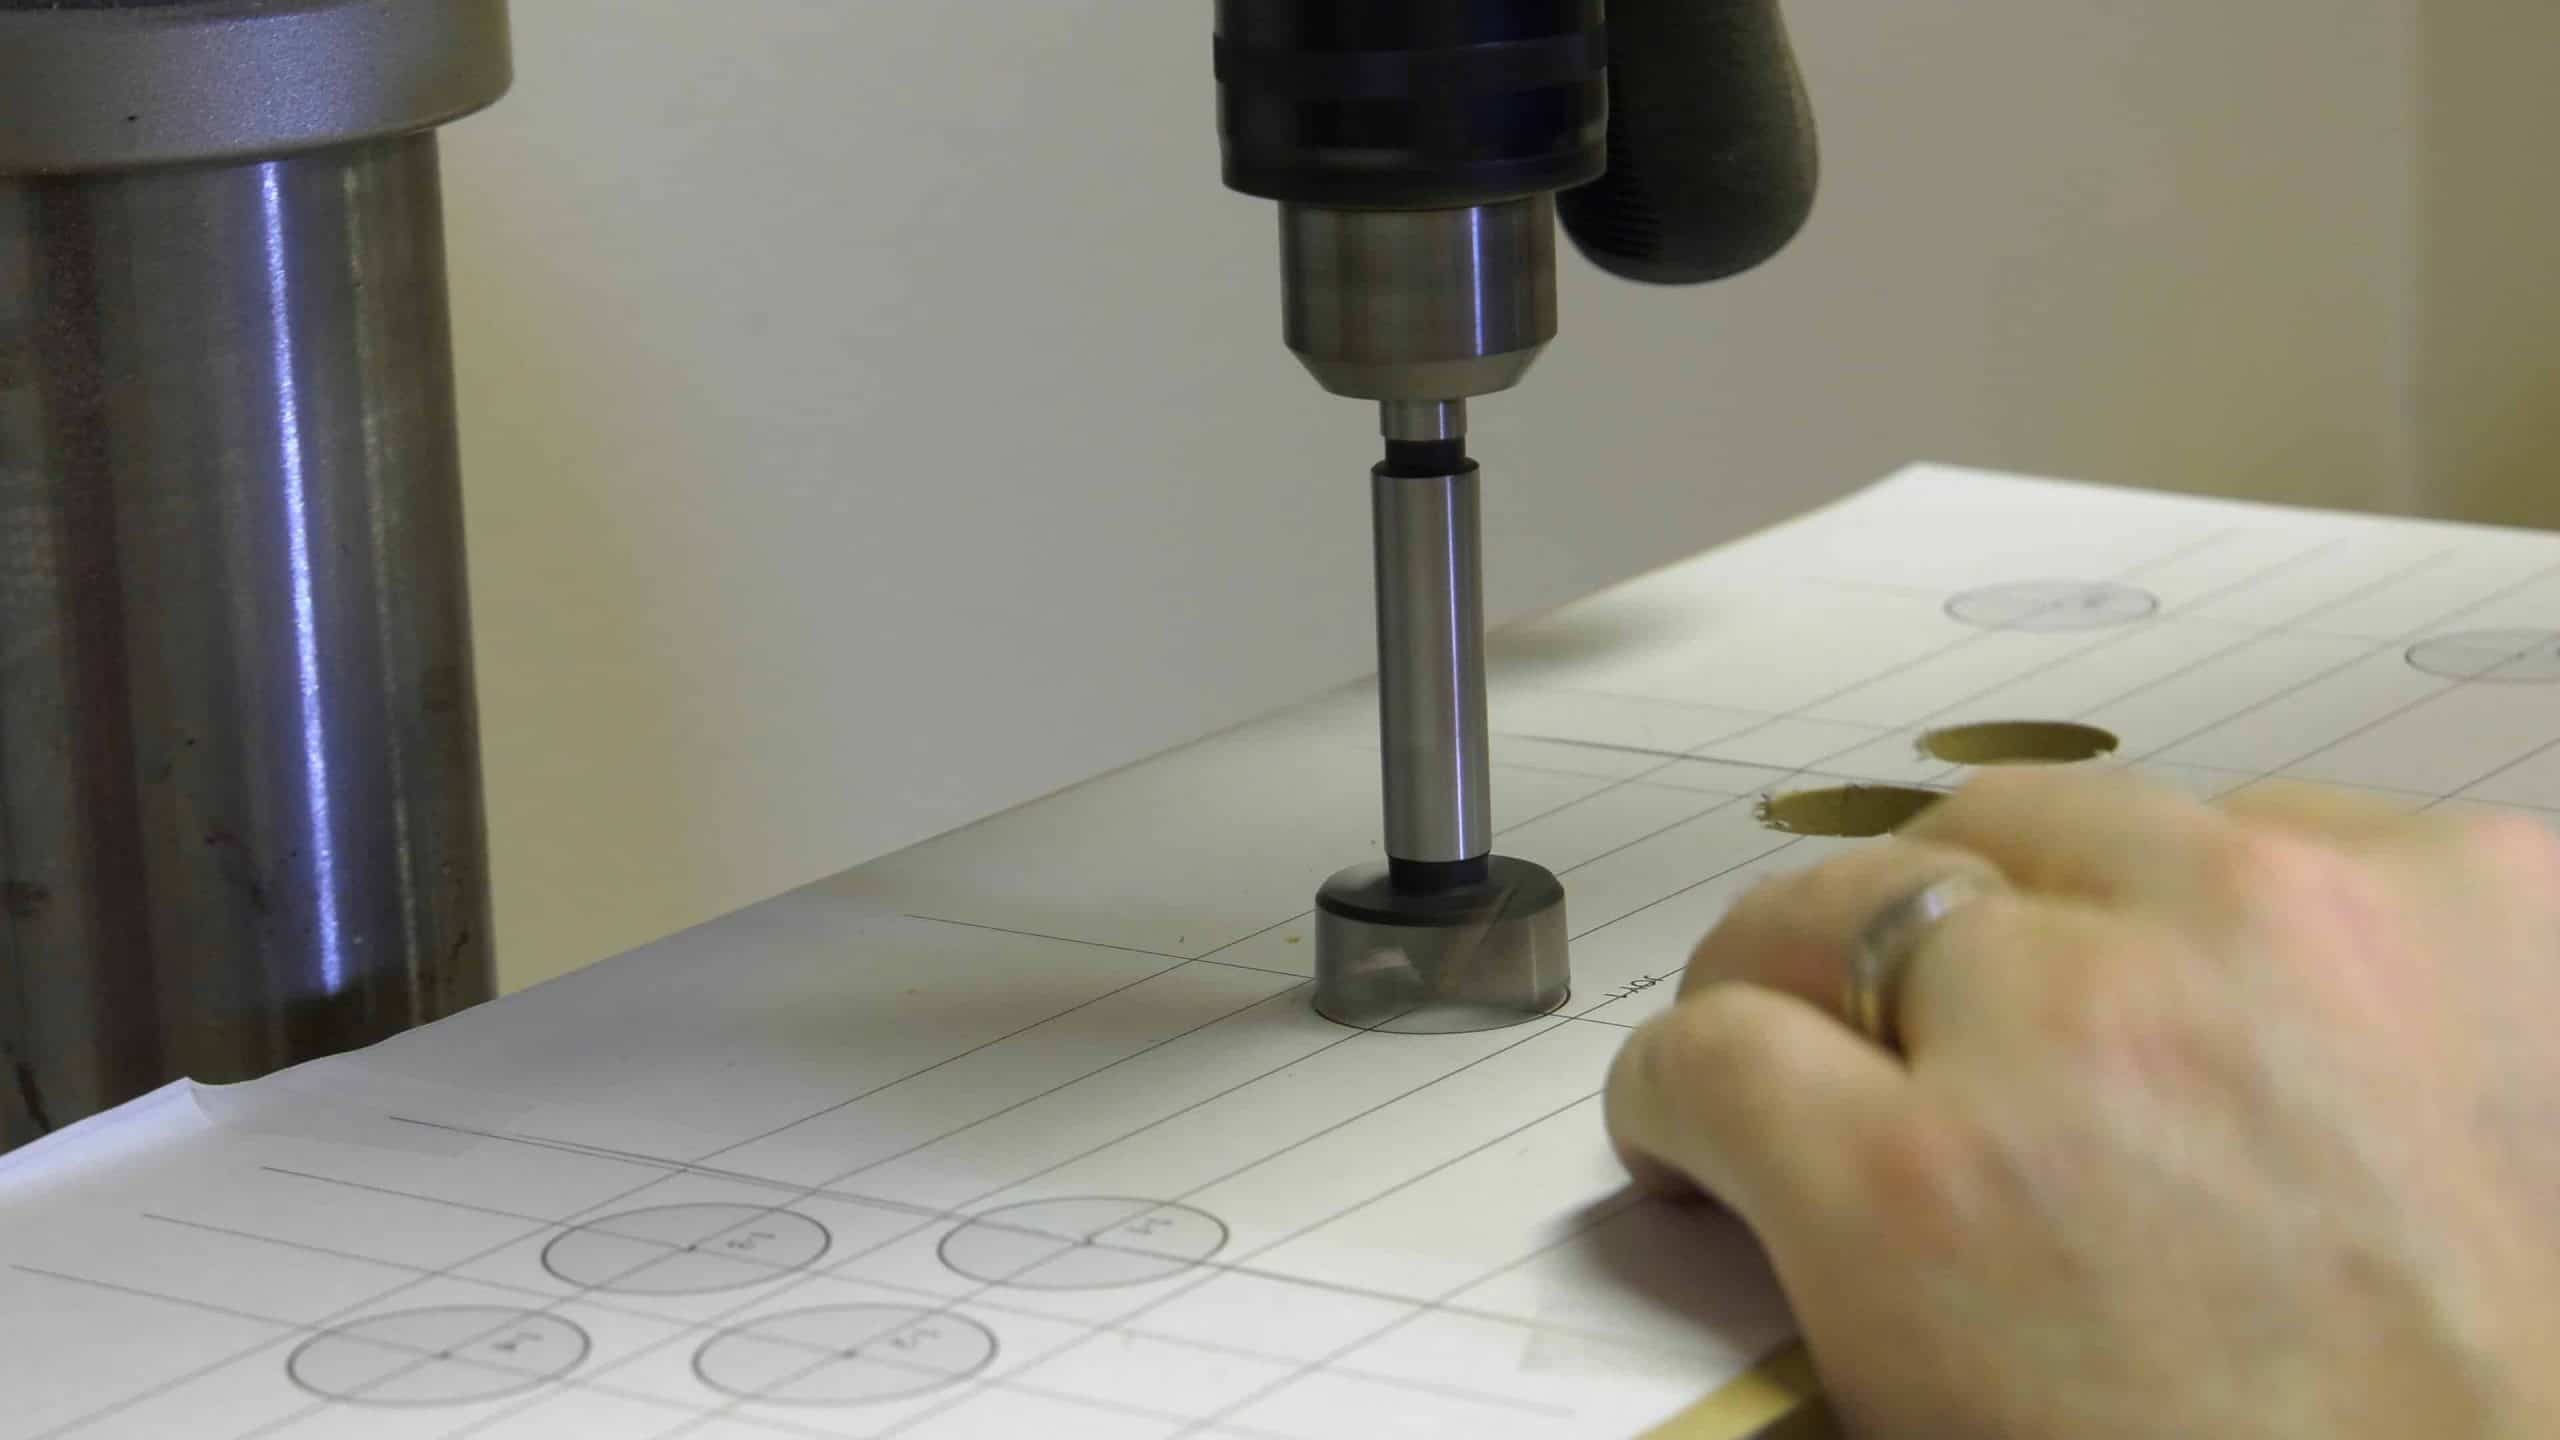
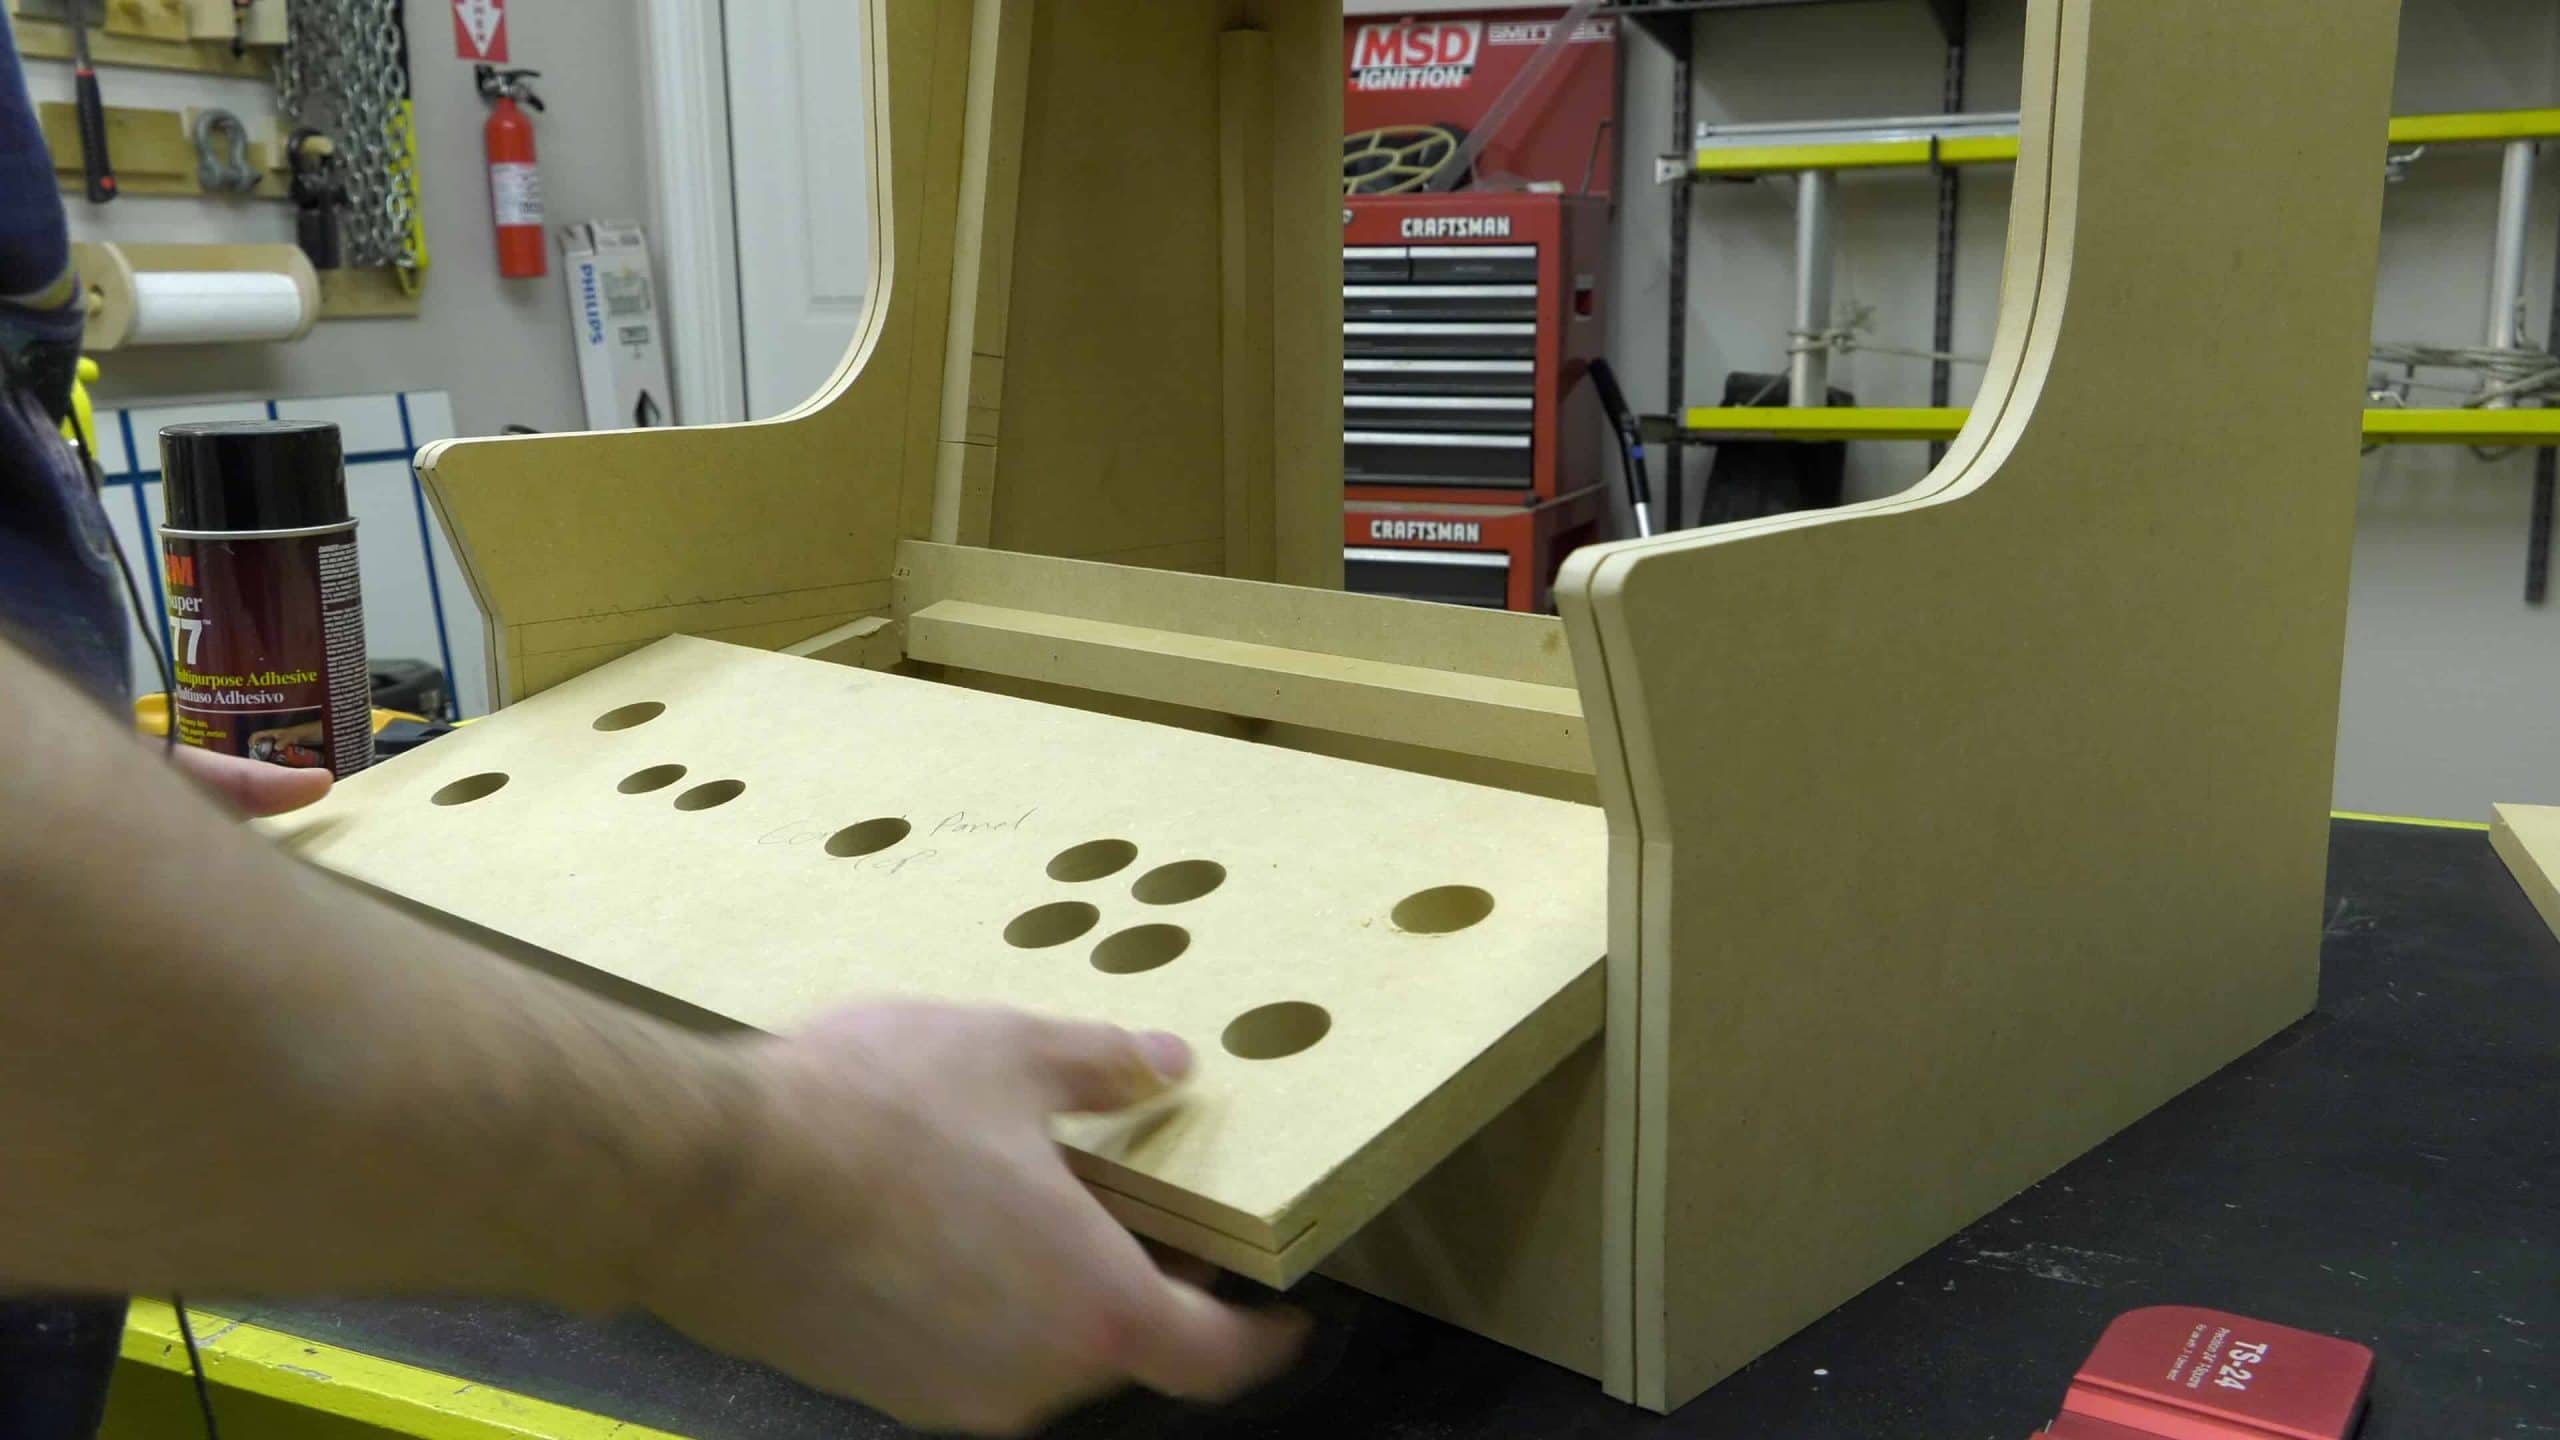
Step 6: Drill the Control Panel
Using the provided drilling template, drill all of the holes for the buttons and mount the control panel.
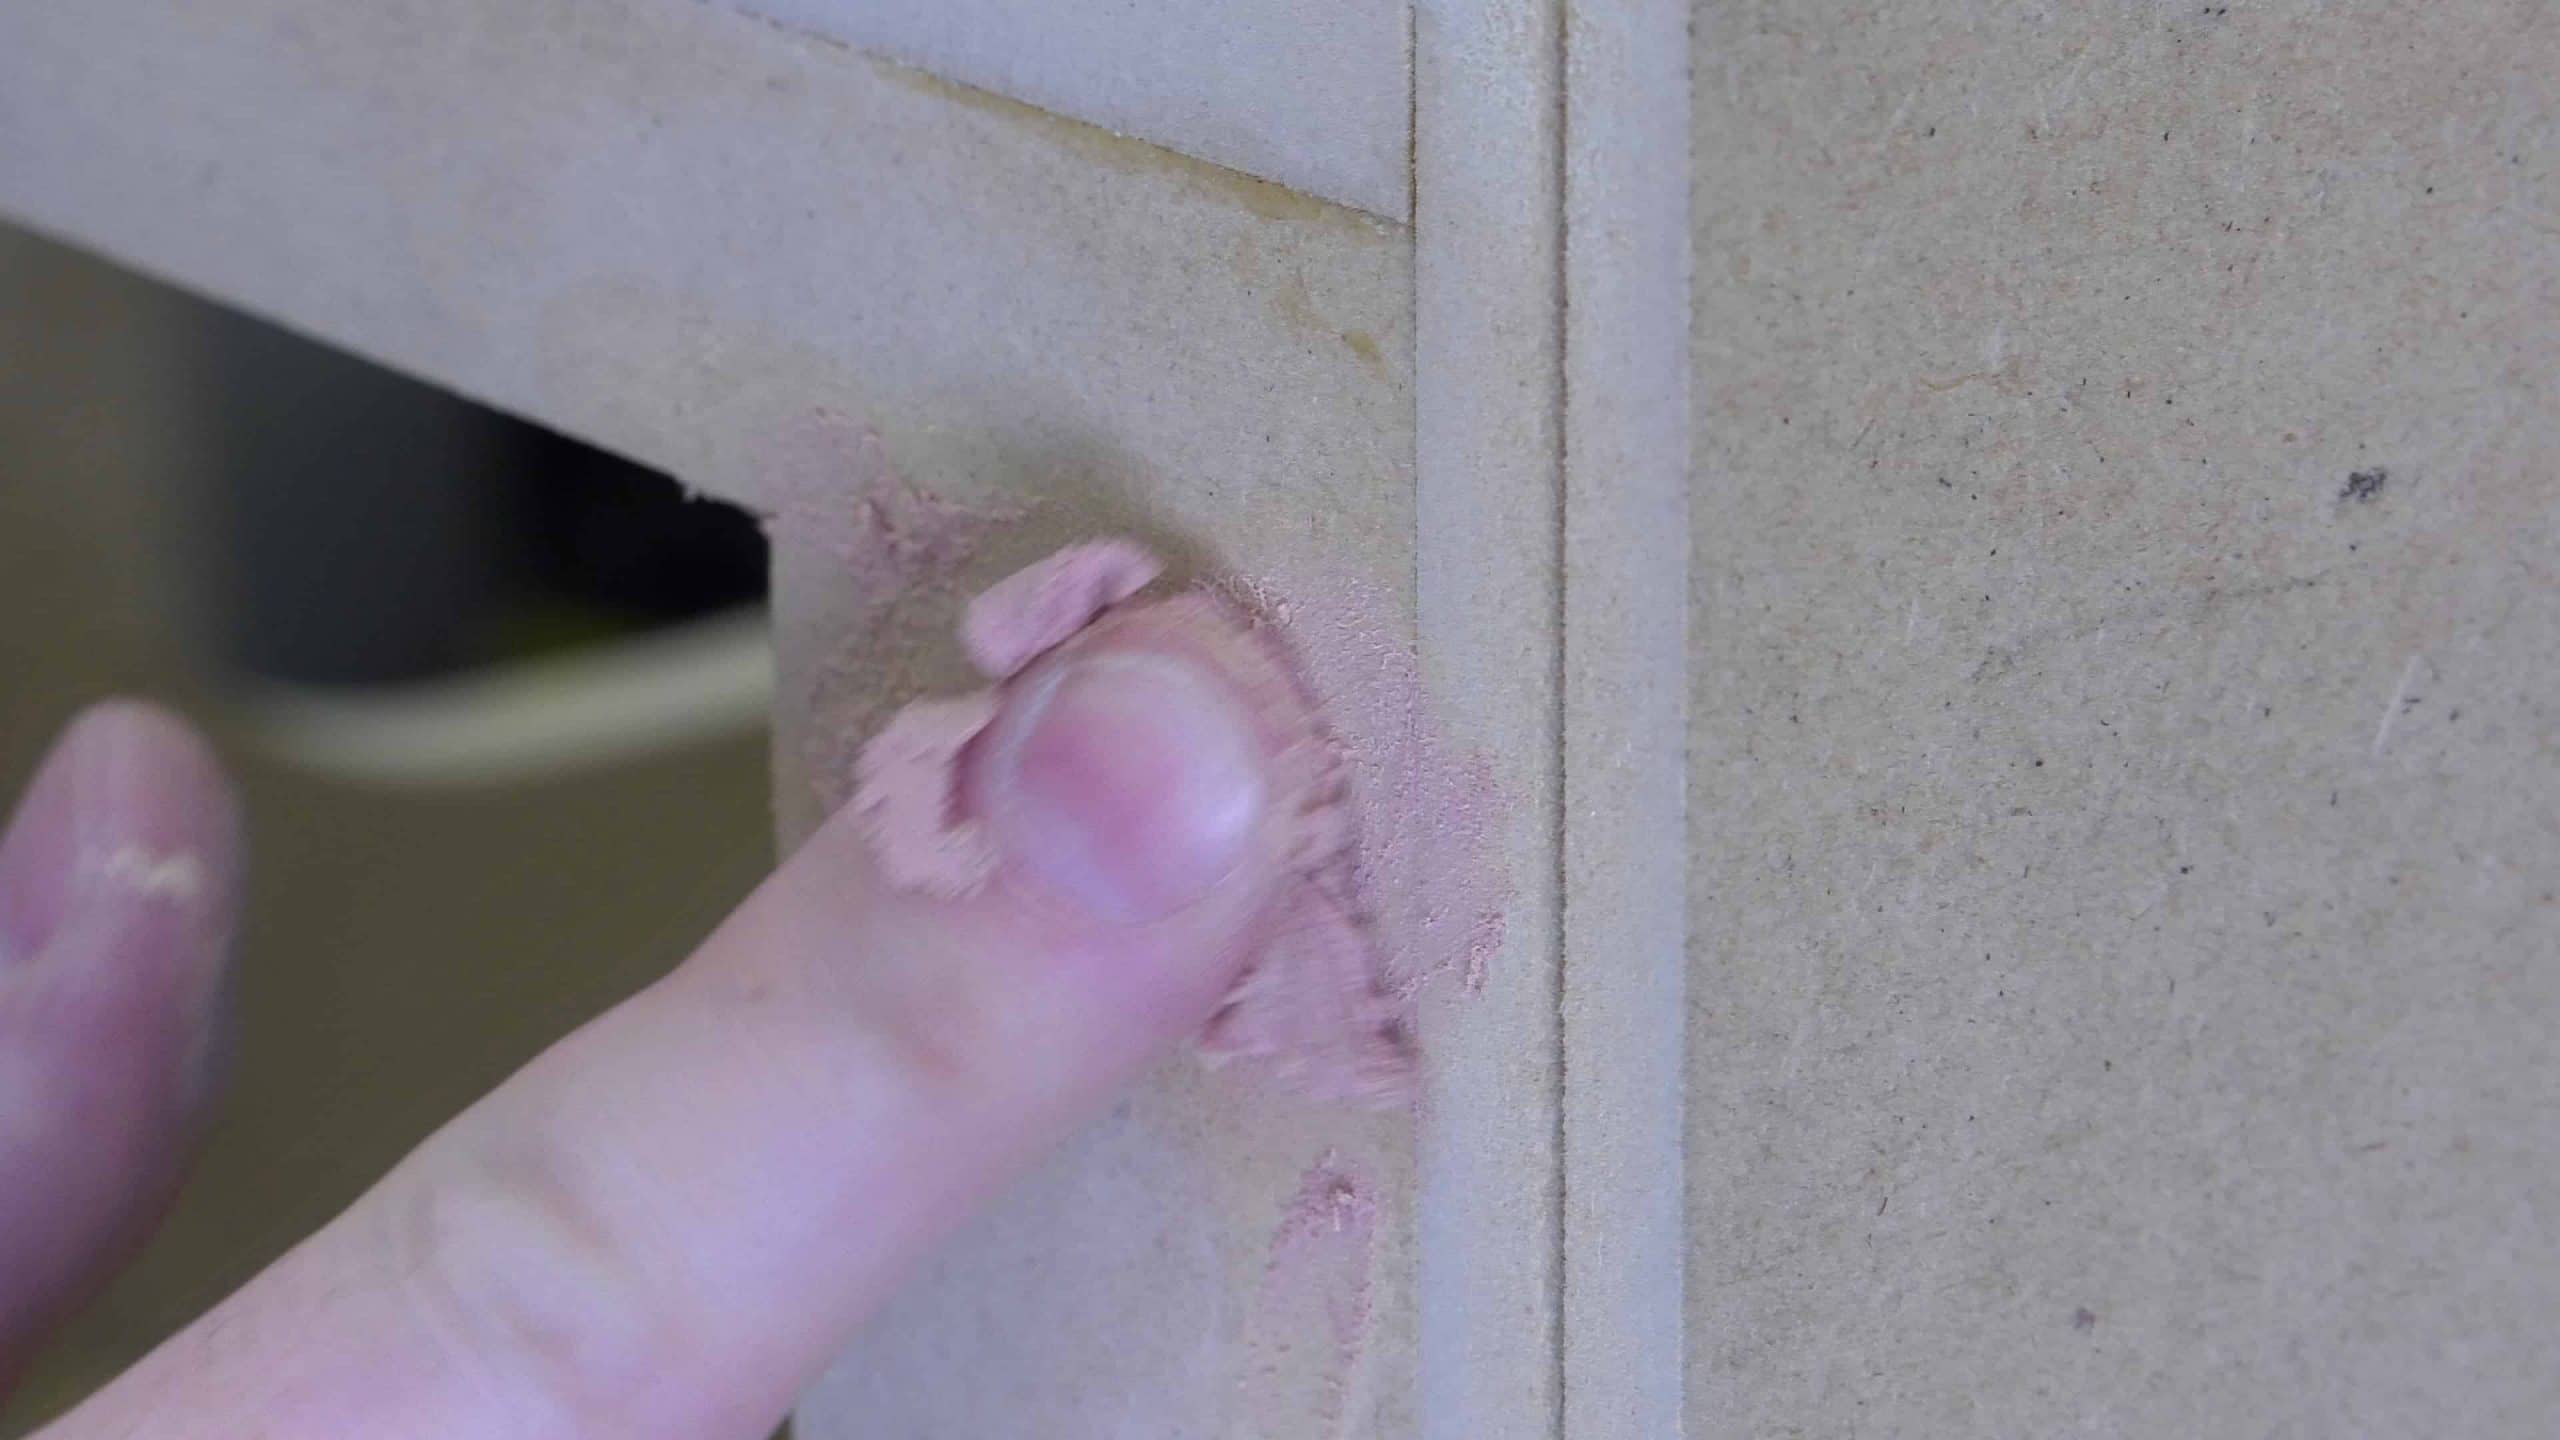
Step 7: Prepare for Paint
To prepare for painting the arcade cabinet, you’re going to want to fill all of the holes with wood putty and then lightly sand the cabinet with 220 grit paper.
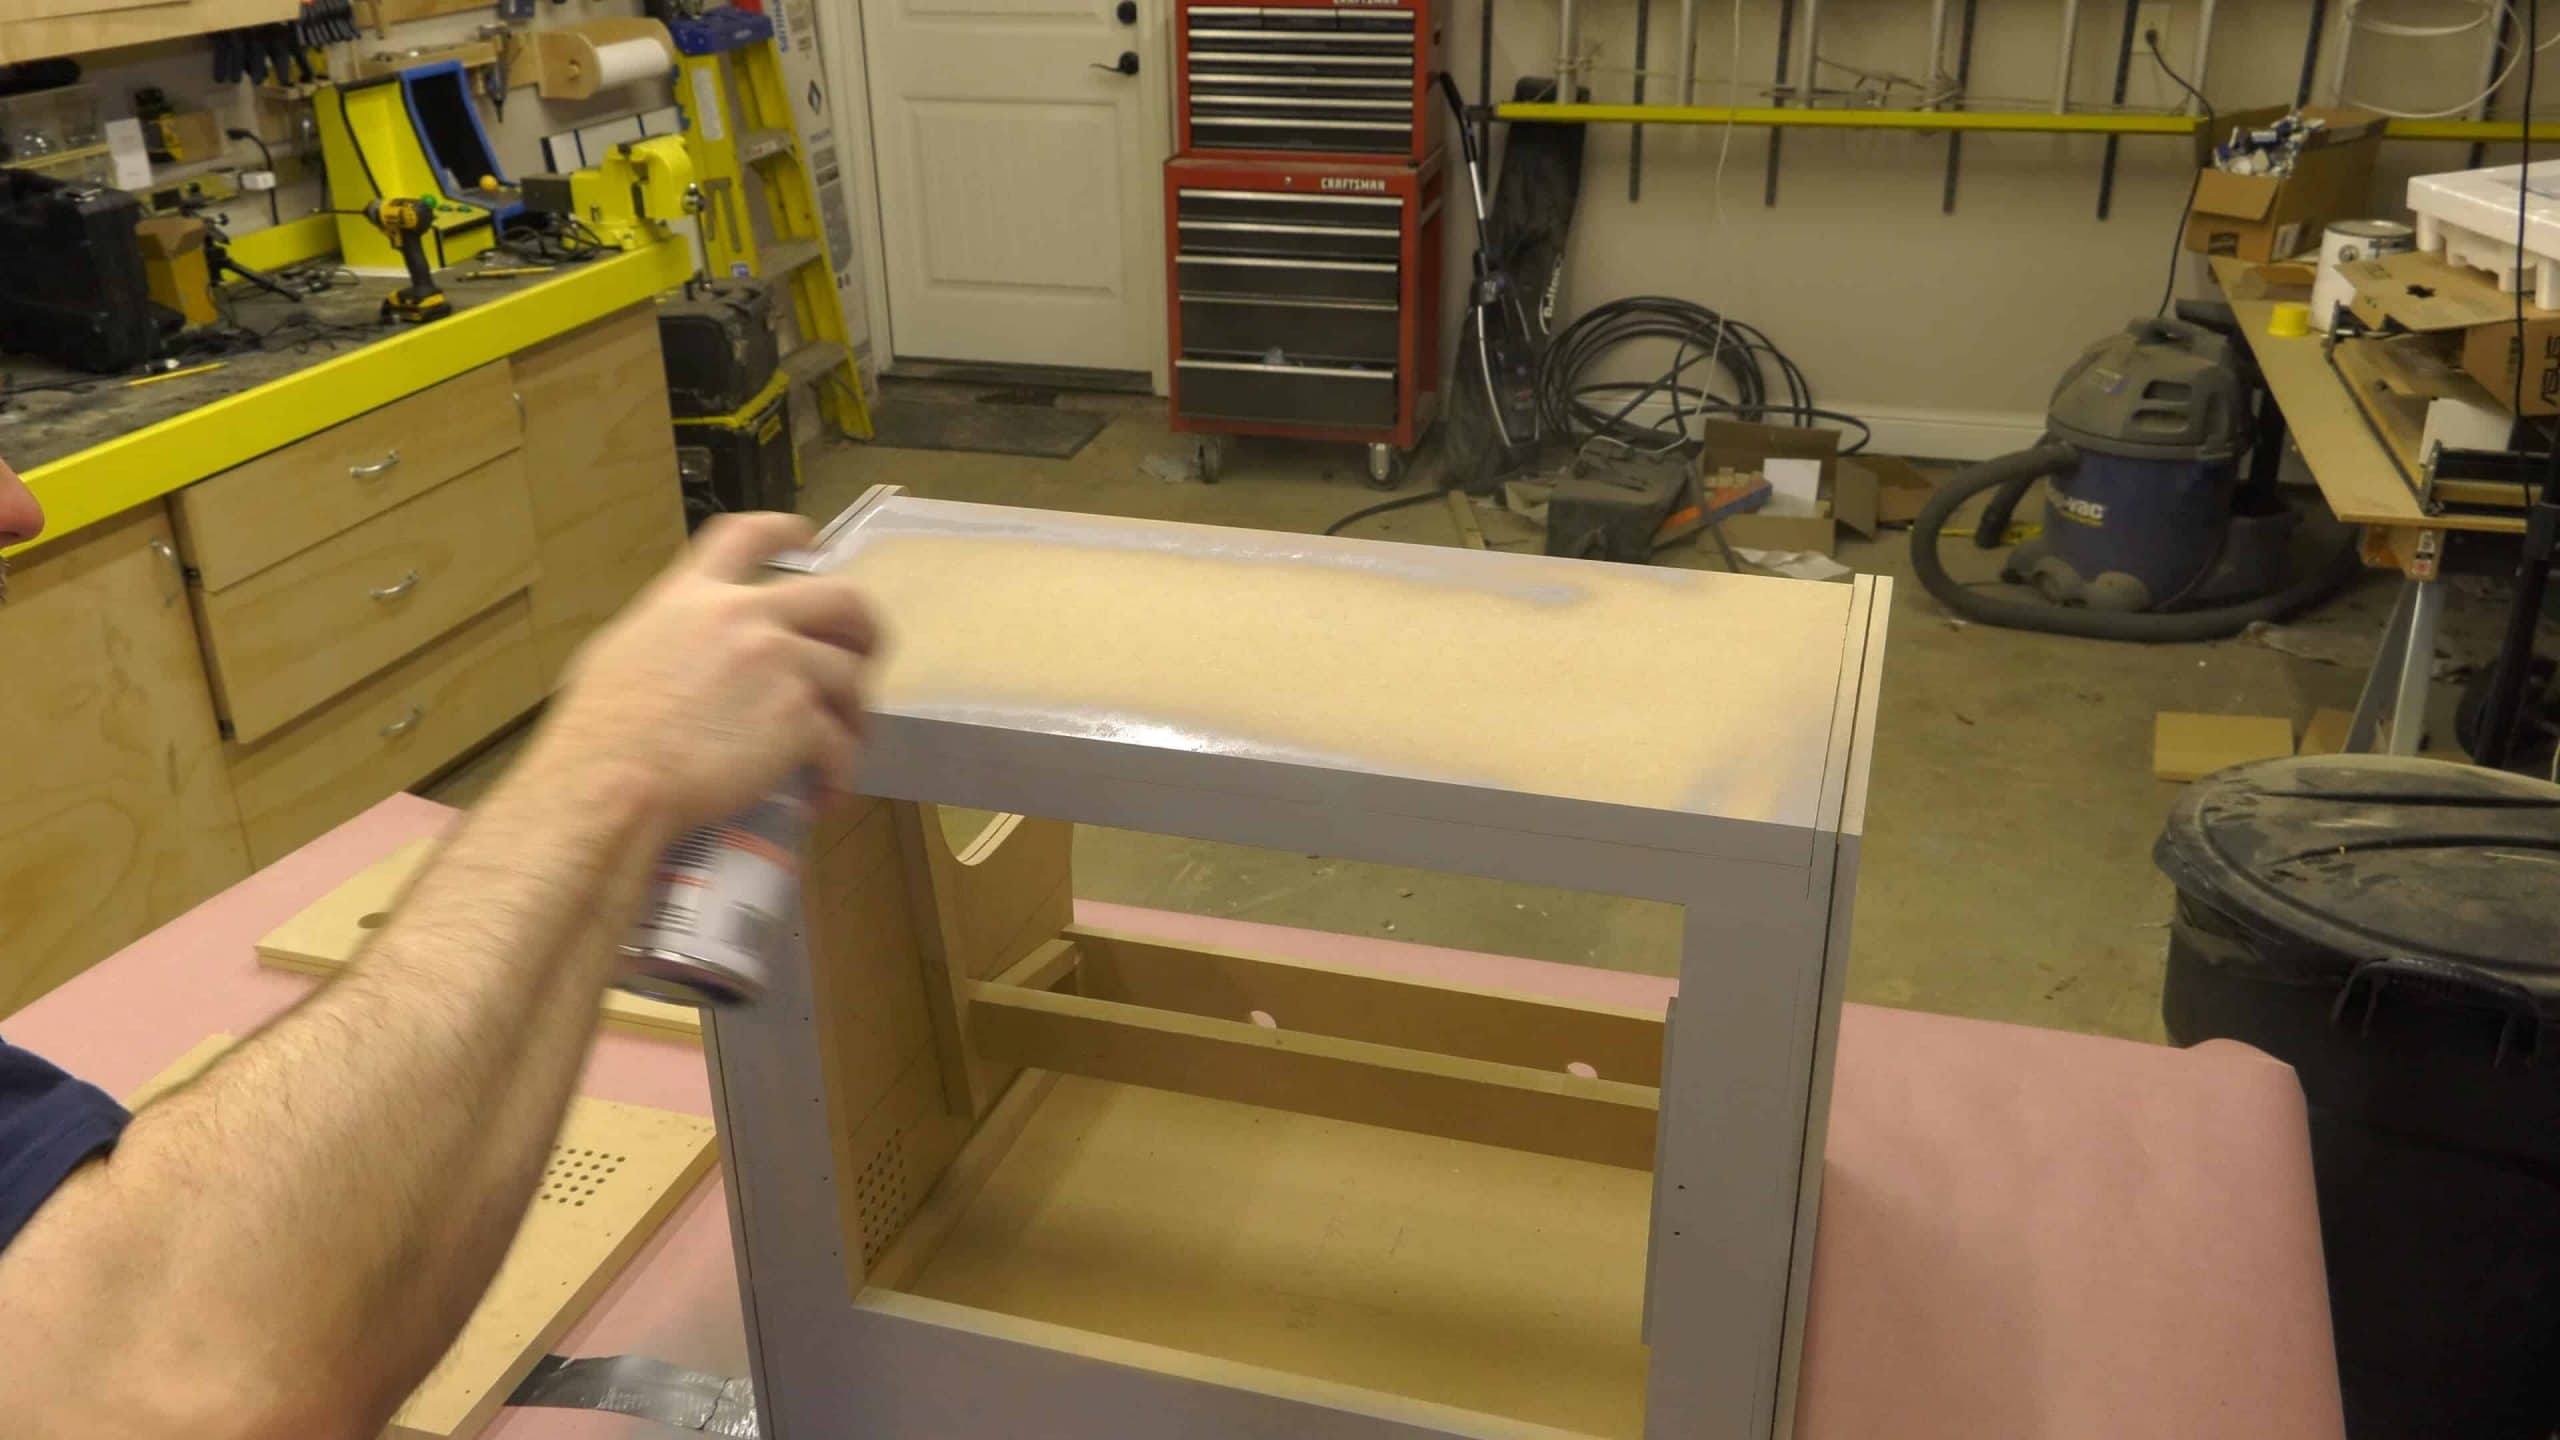
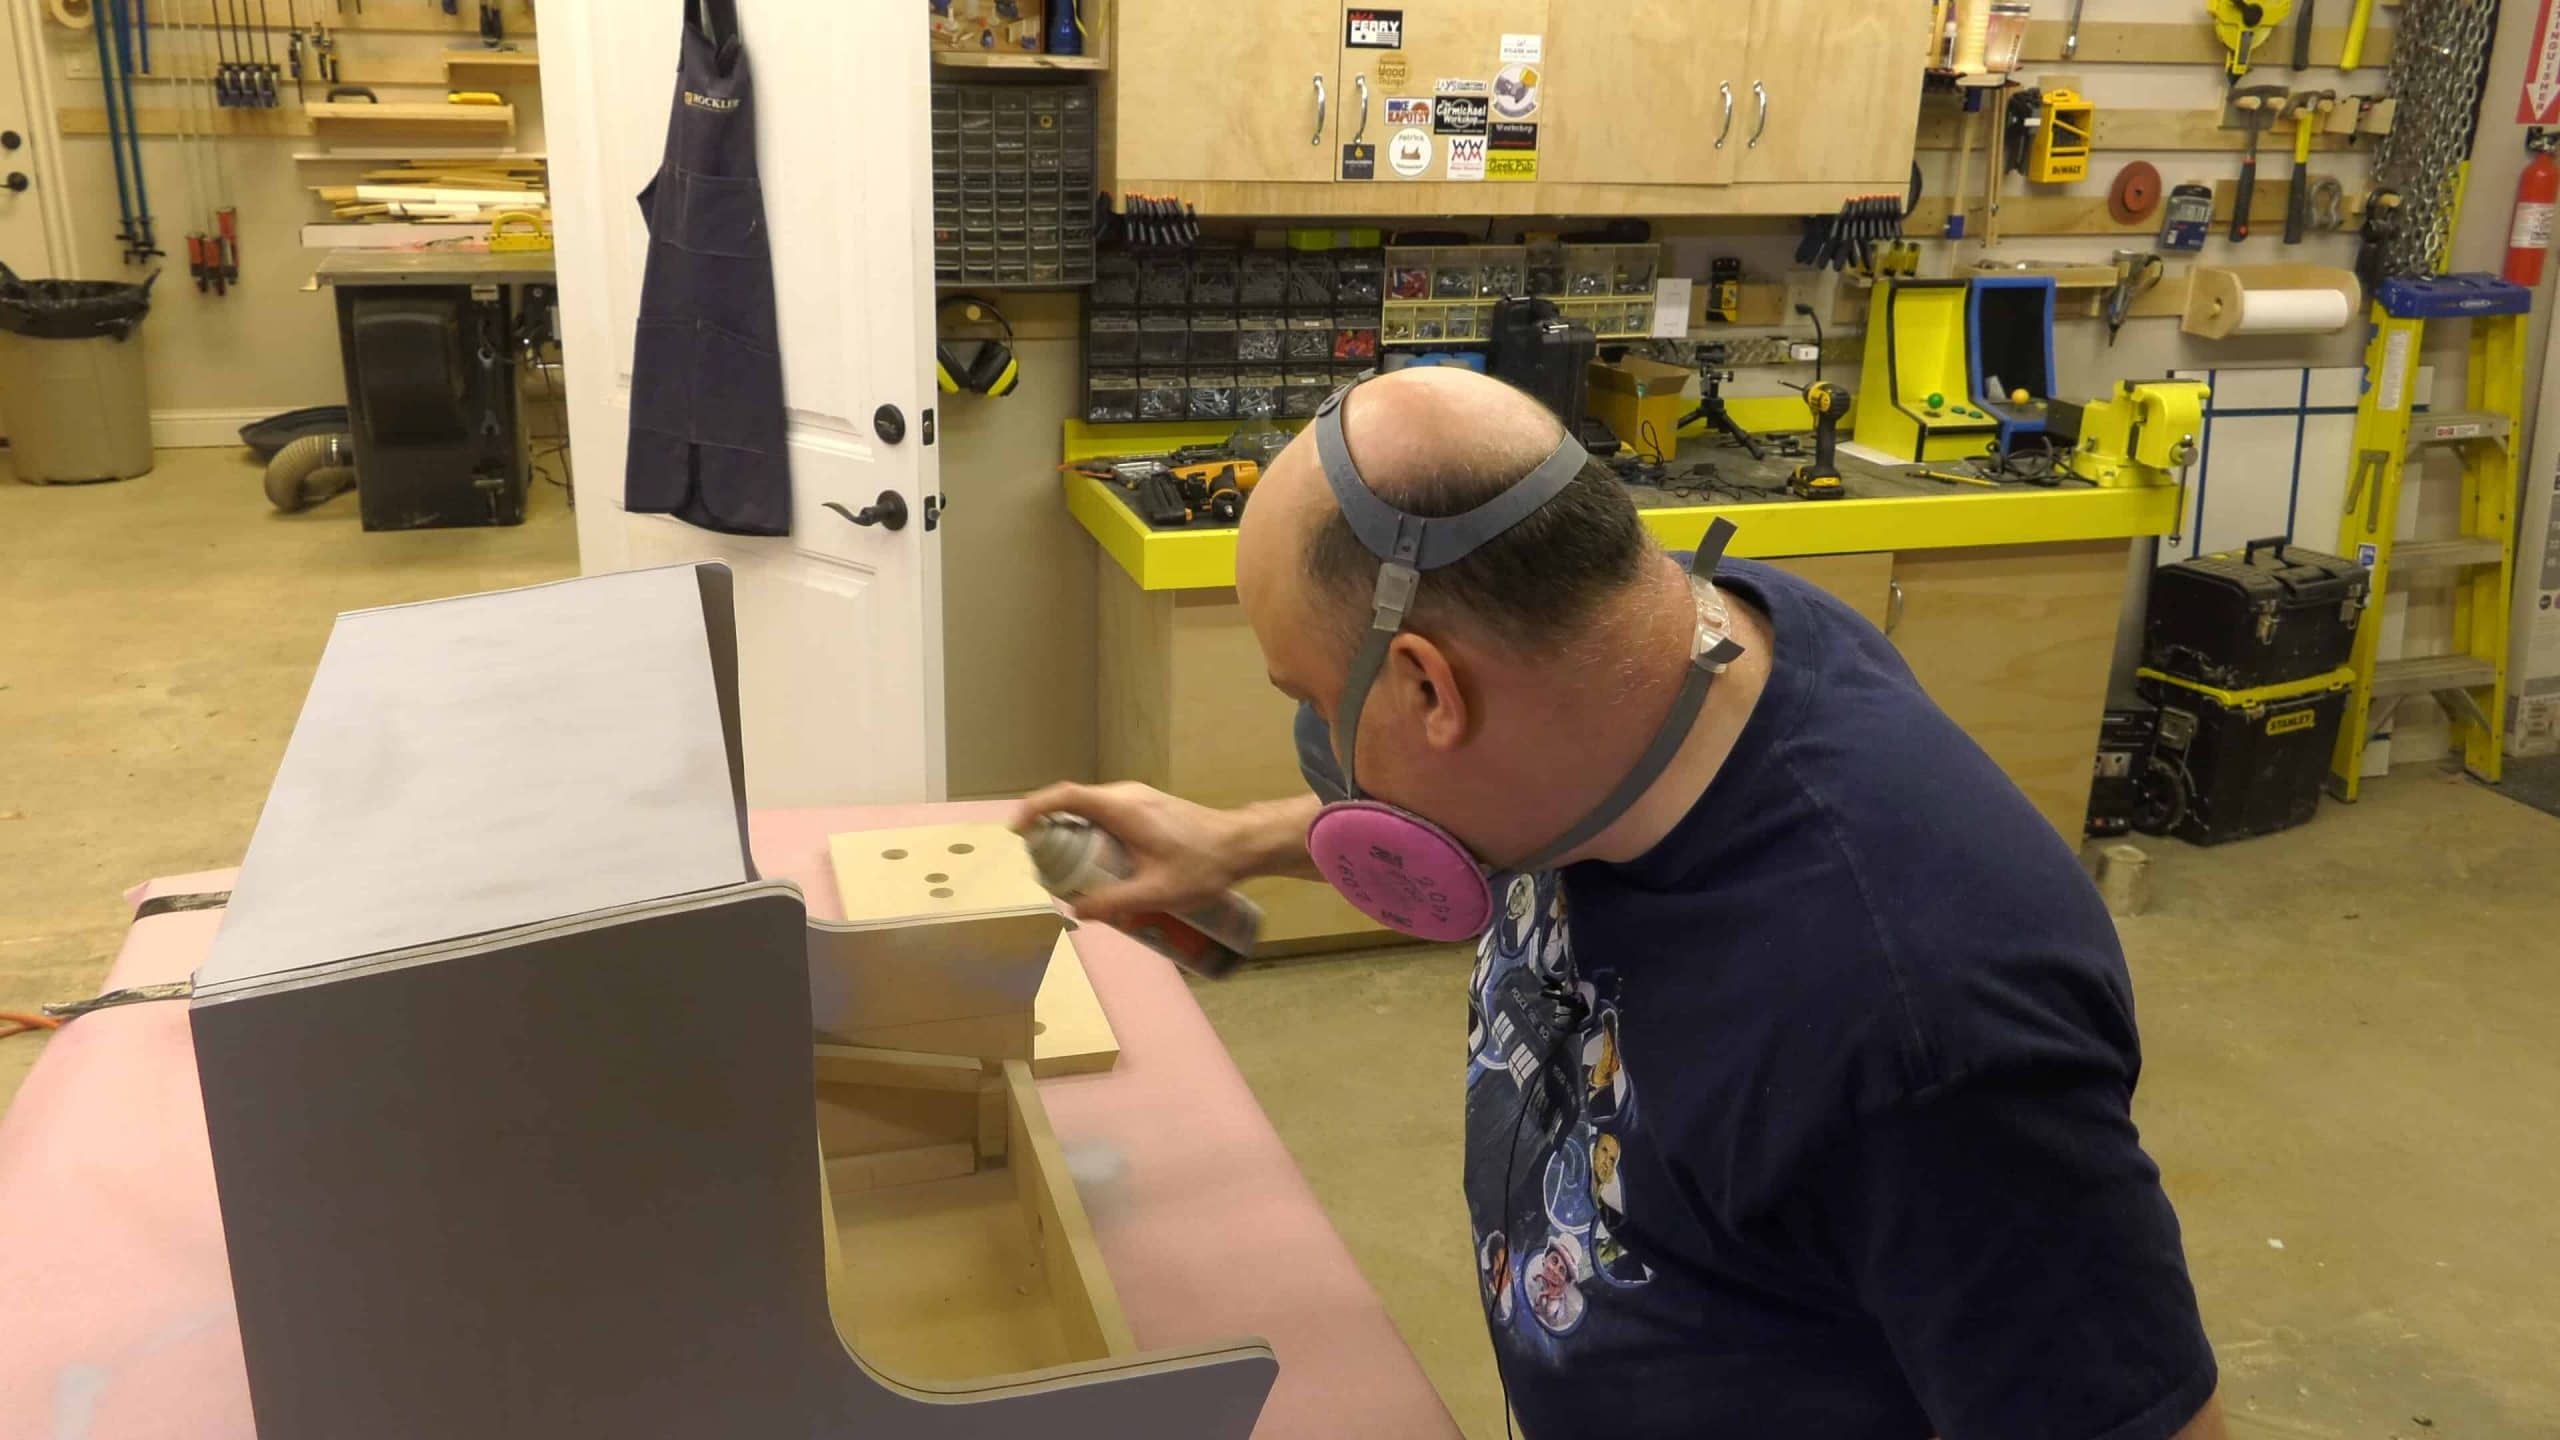
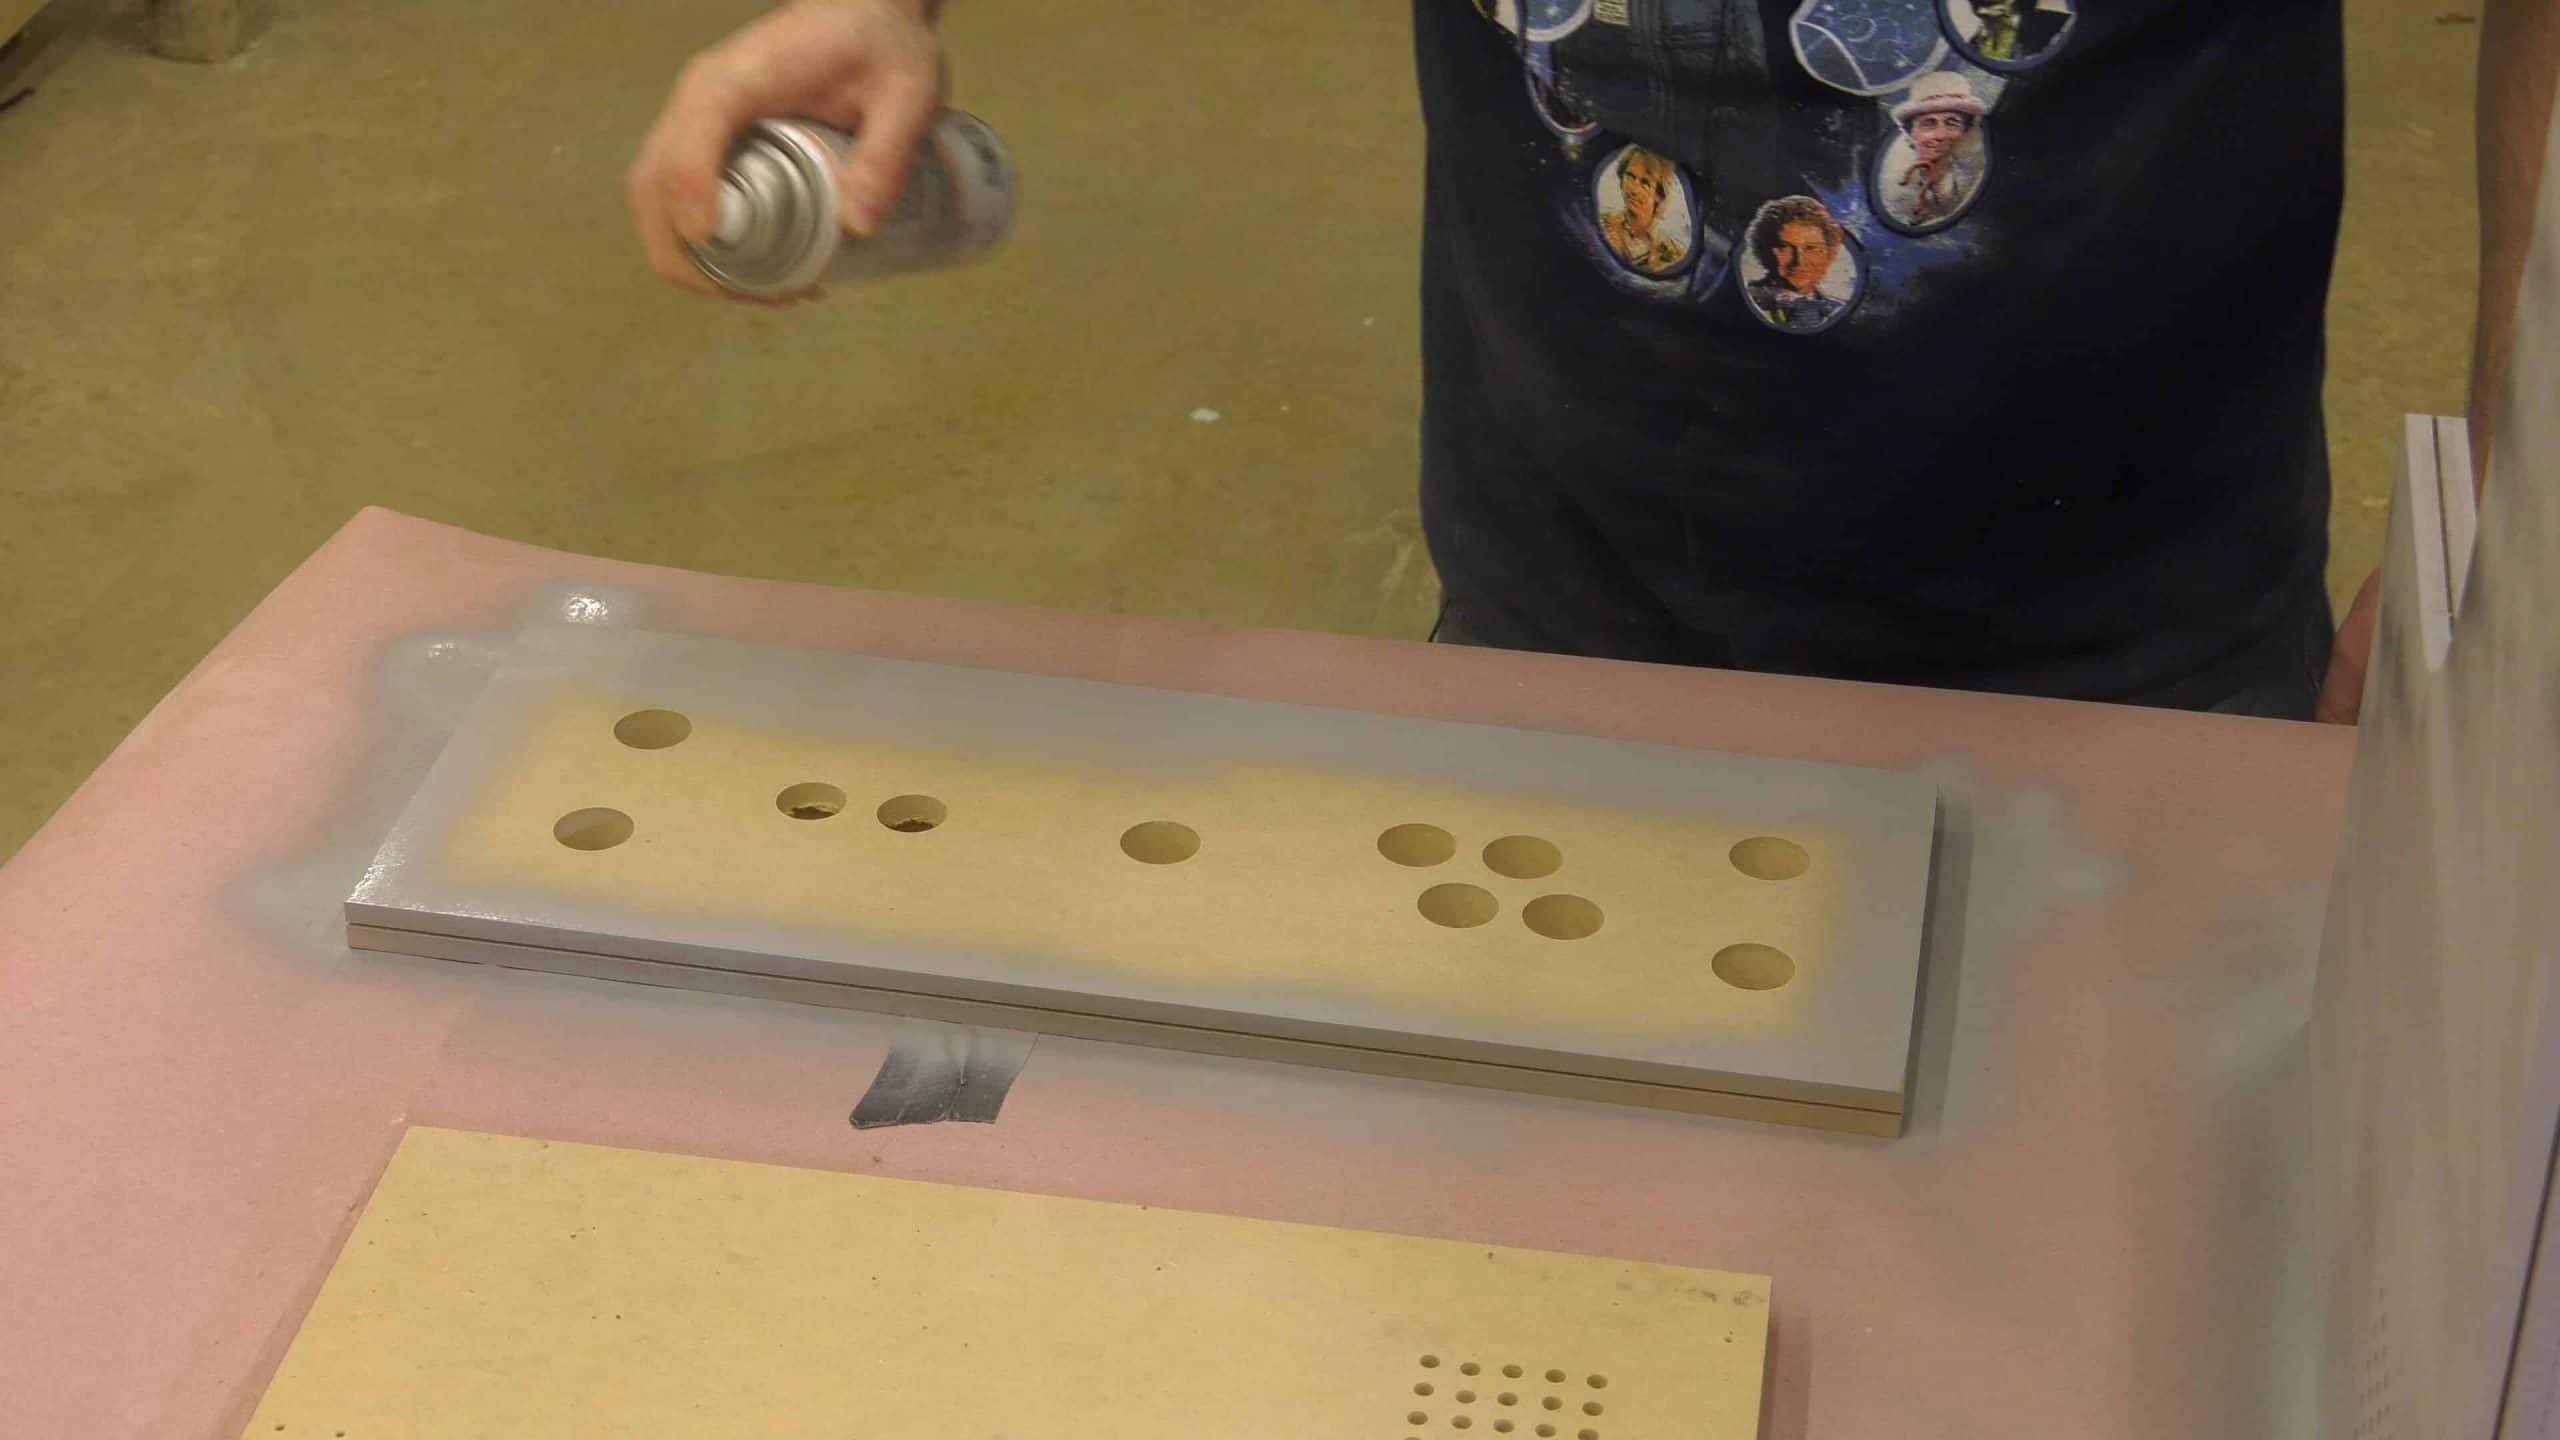
Step 8: Prime the Arcade Cabinet
Prime the cabinet with Filler Primer. This is a step you don’t want to skip. Primer will make then end product look night and day better. After priming, lightly sand the primer with 220 grit paper. It is best to wait 24-48 hours before sanding.
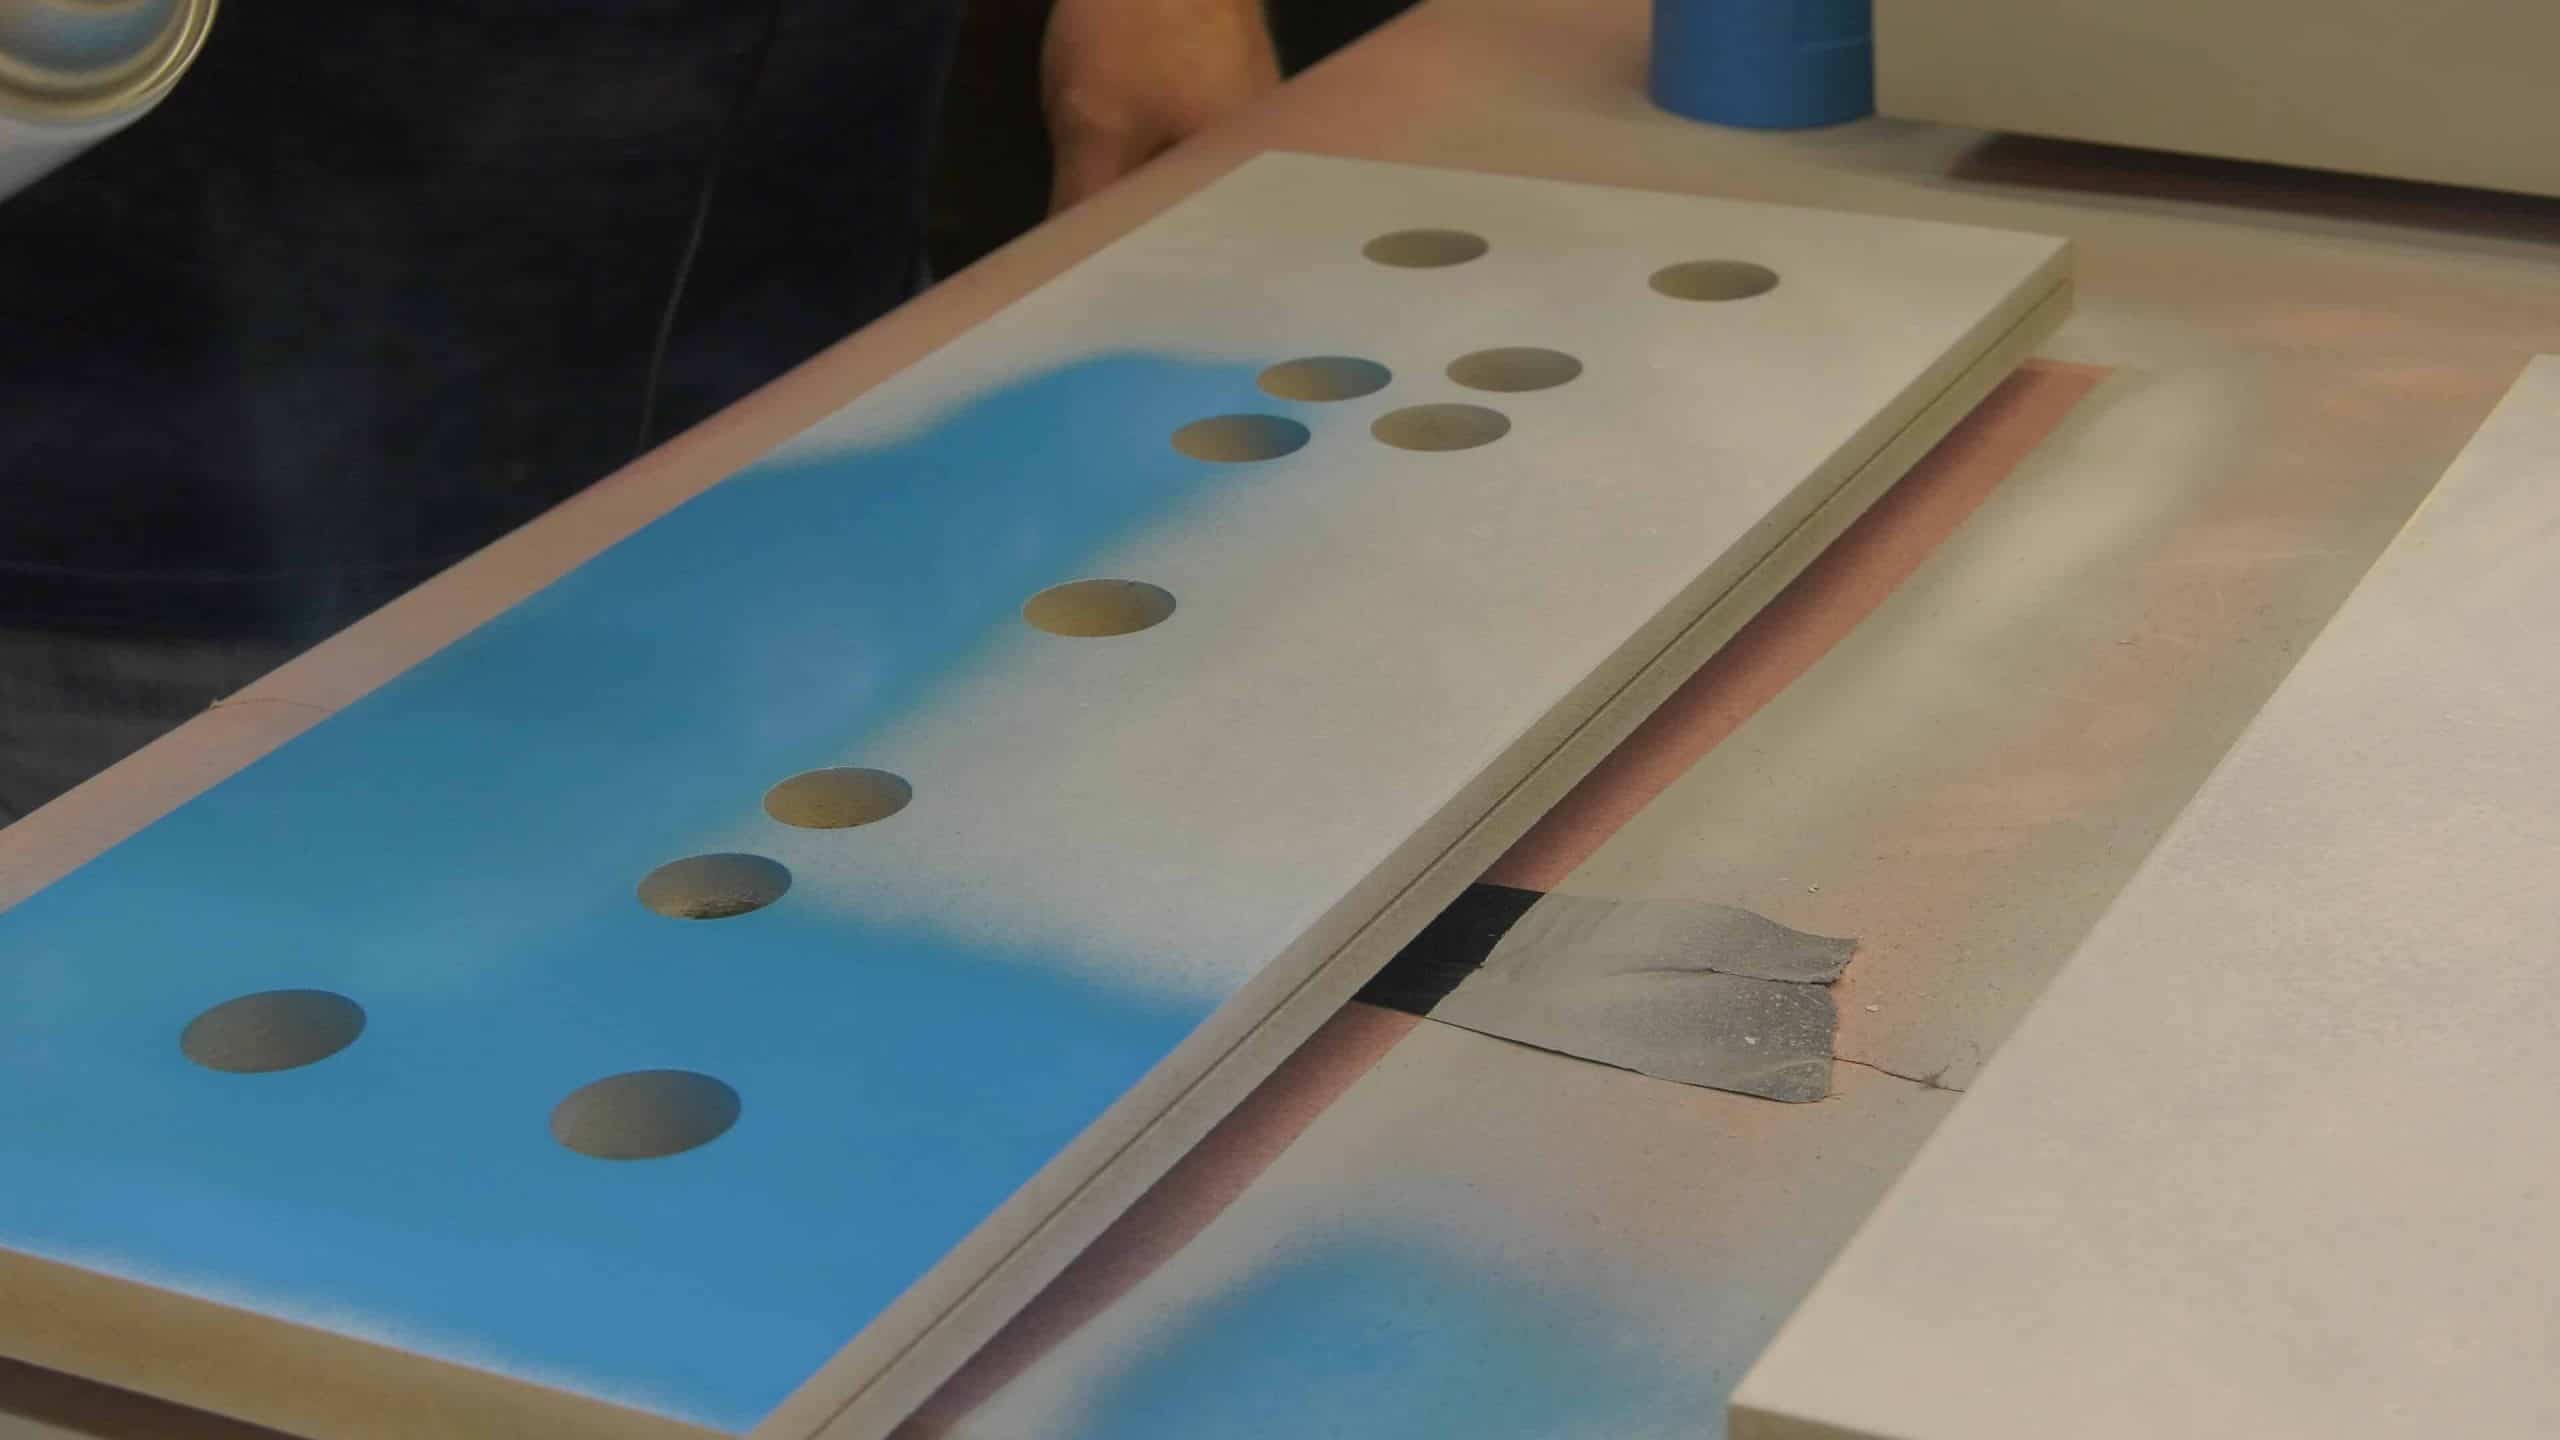
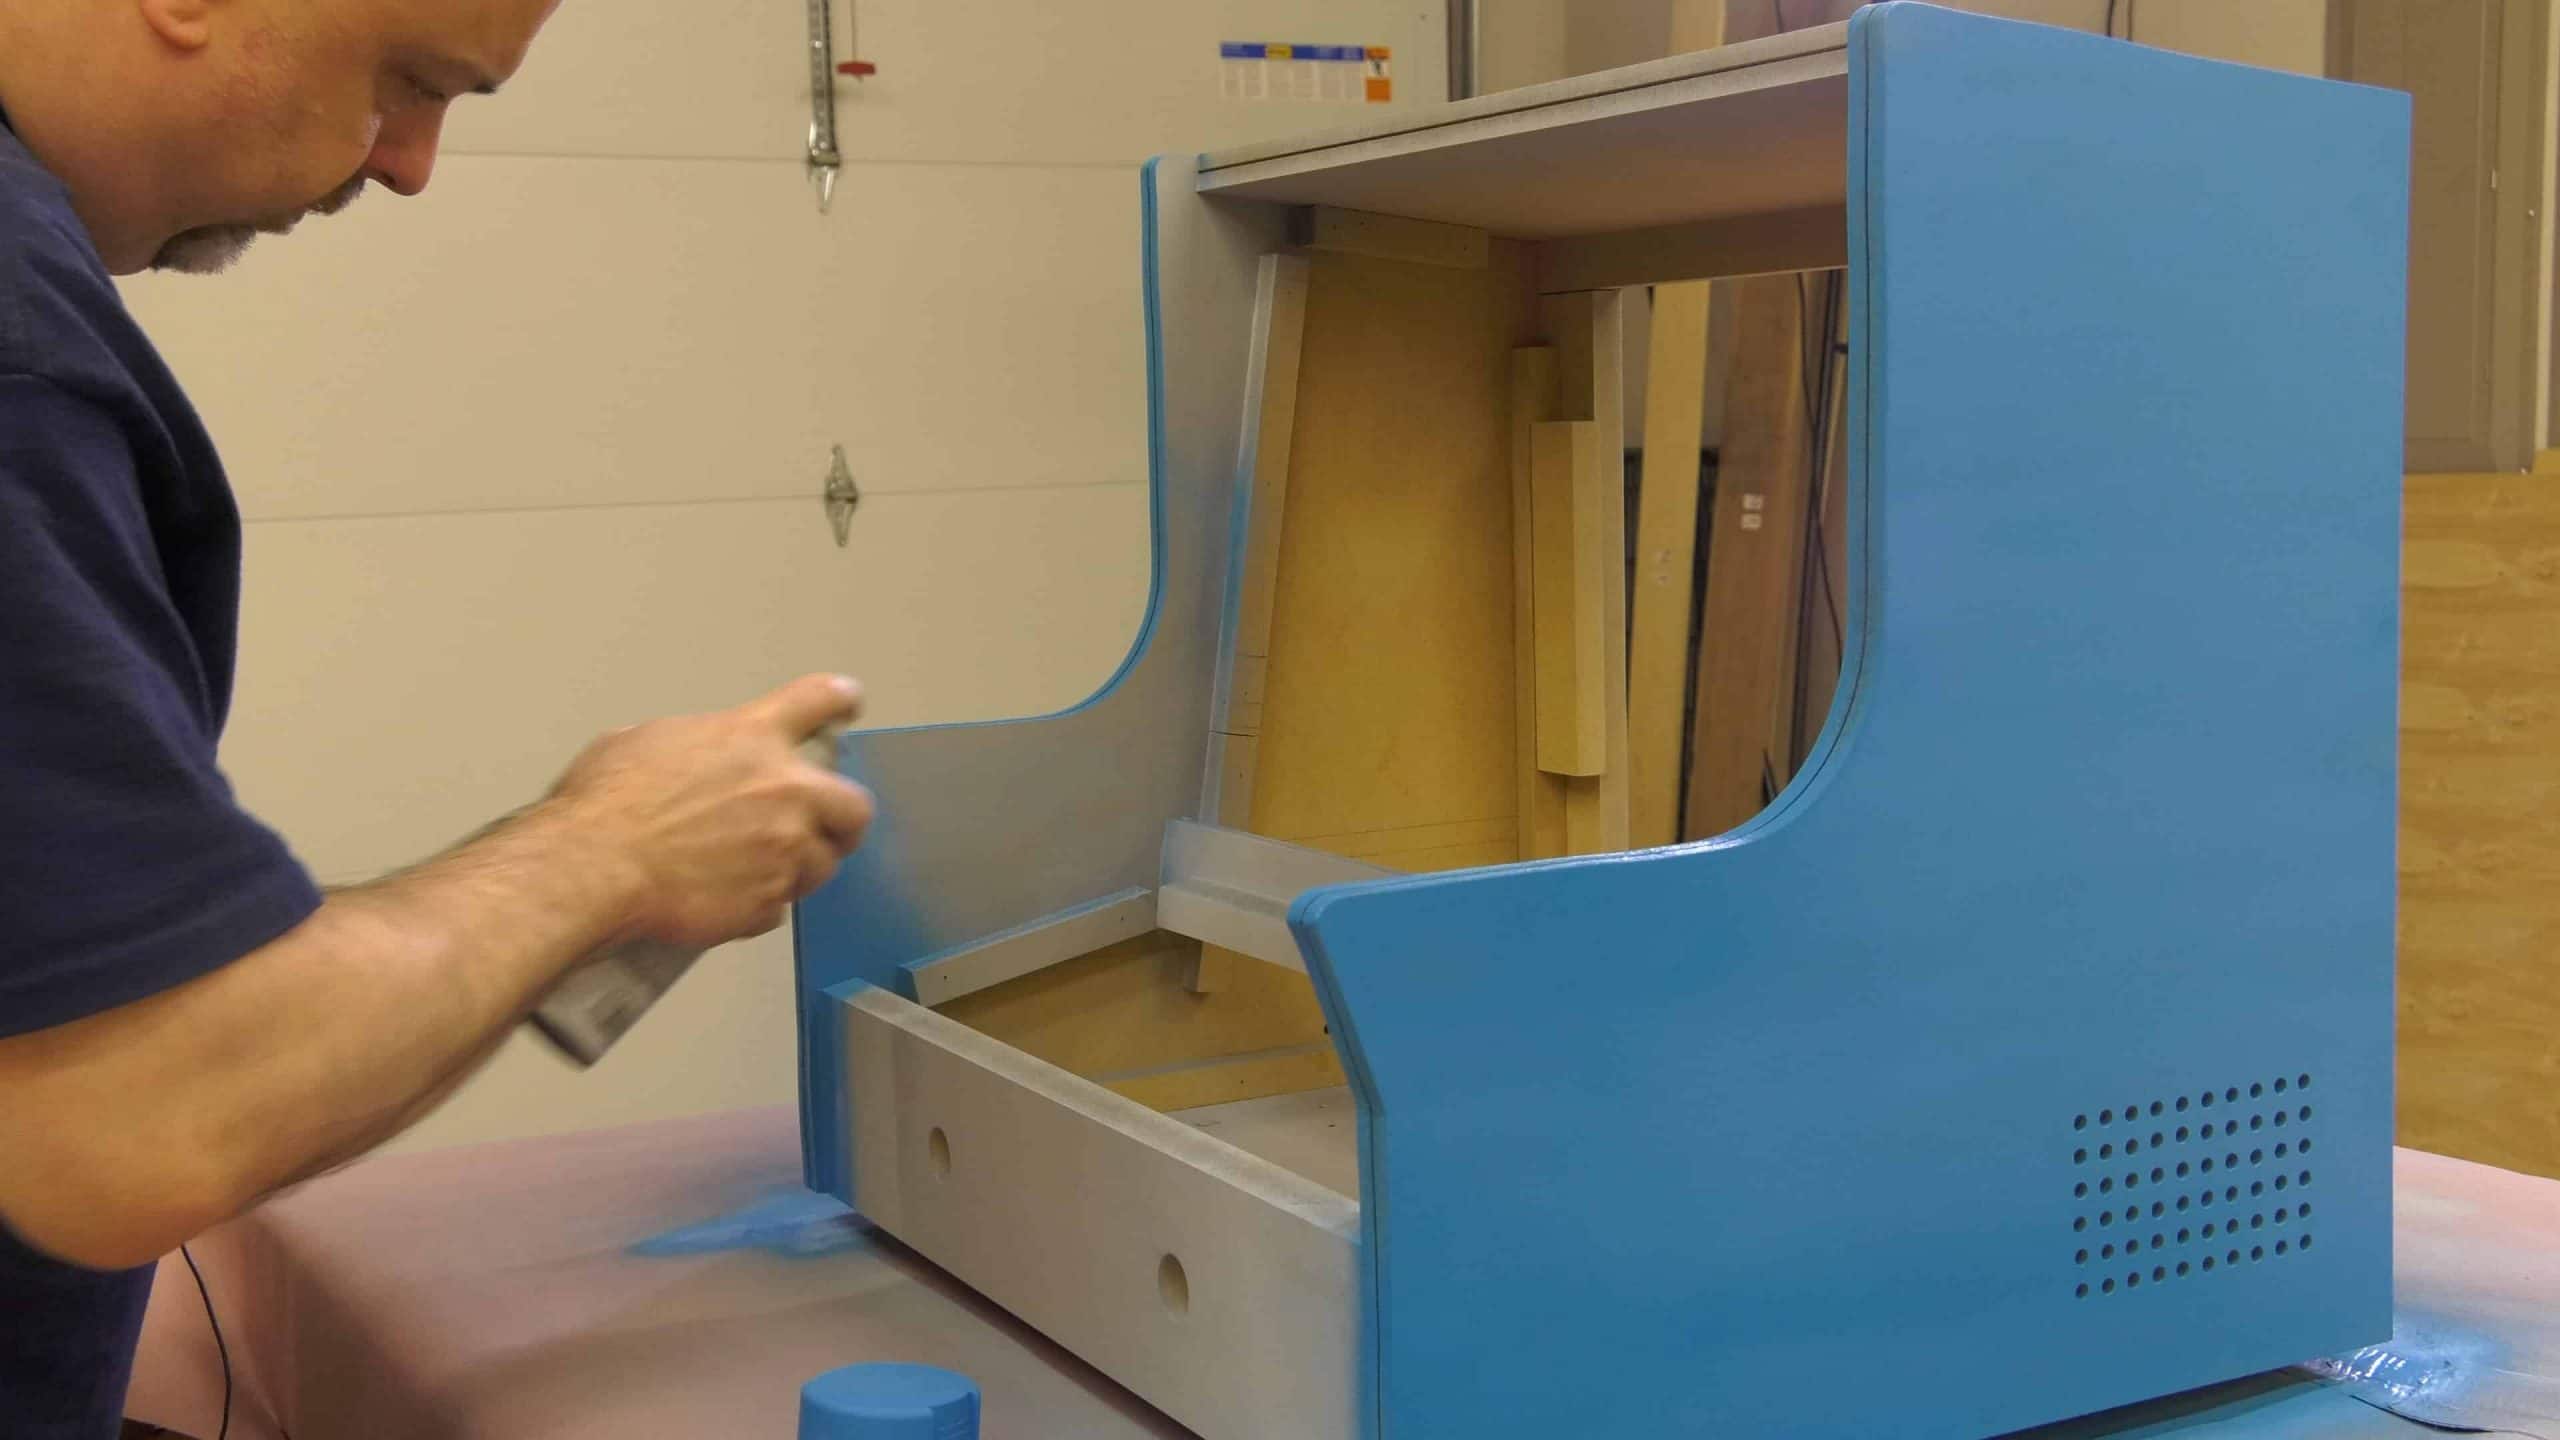
Step 9: Paint the Bartop Arcade Cabinet
It is best to let the primer cure for 24 hours before painting the cabinet. If you paint it sooner, you run the risk of getting a crackling effect in your paint.
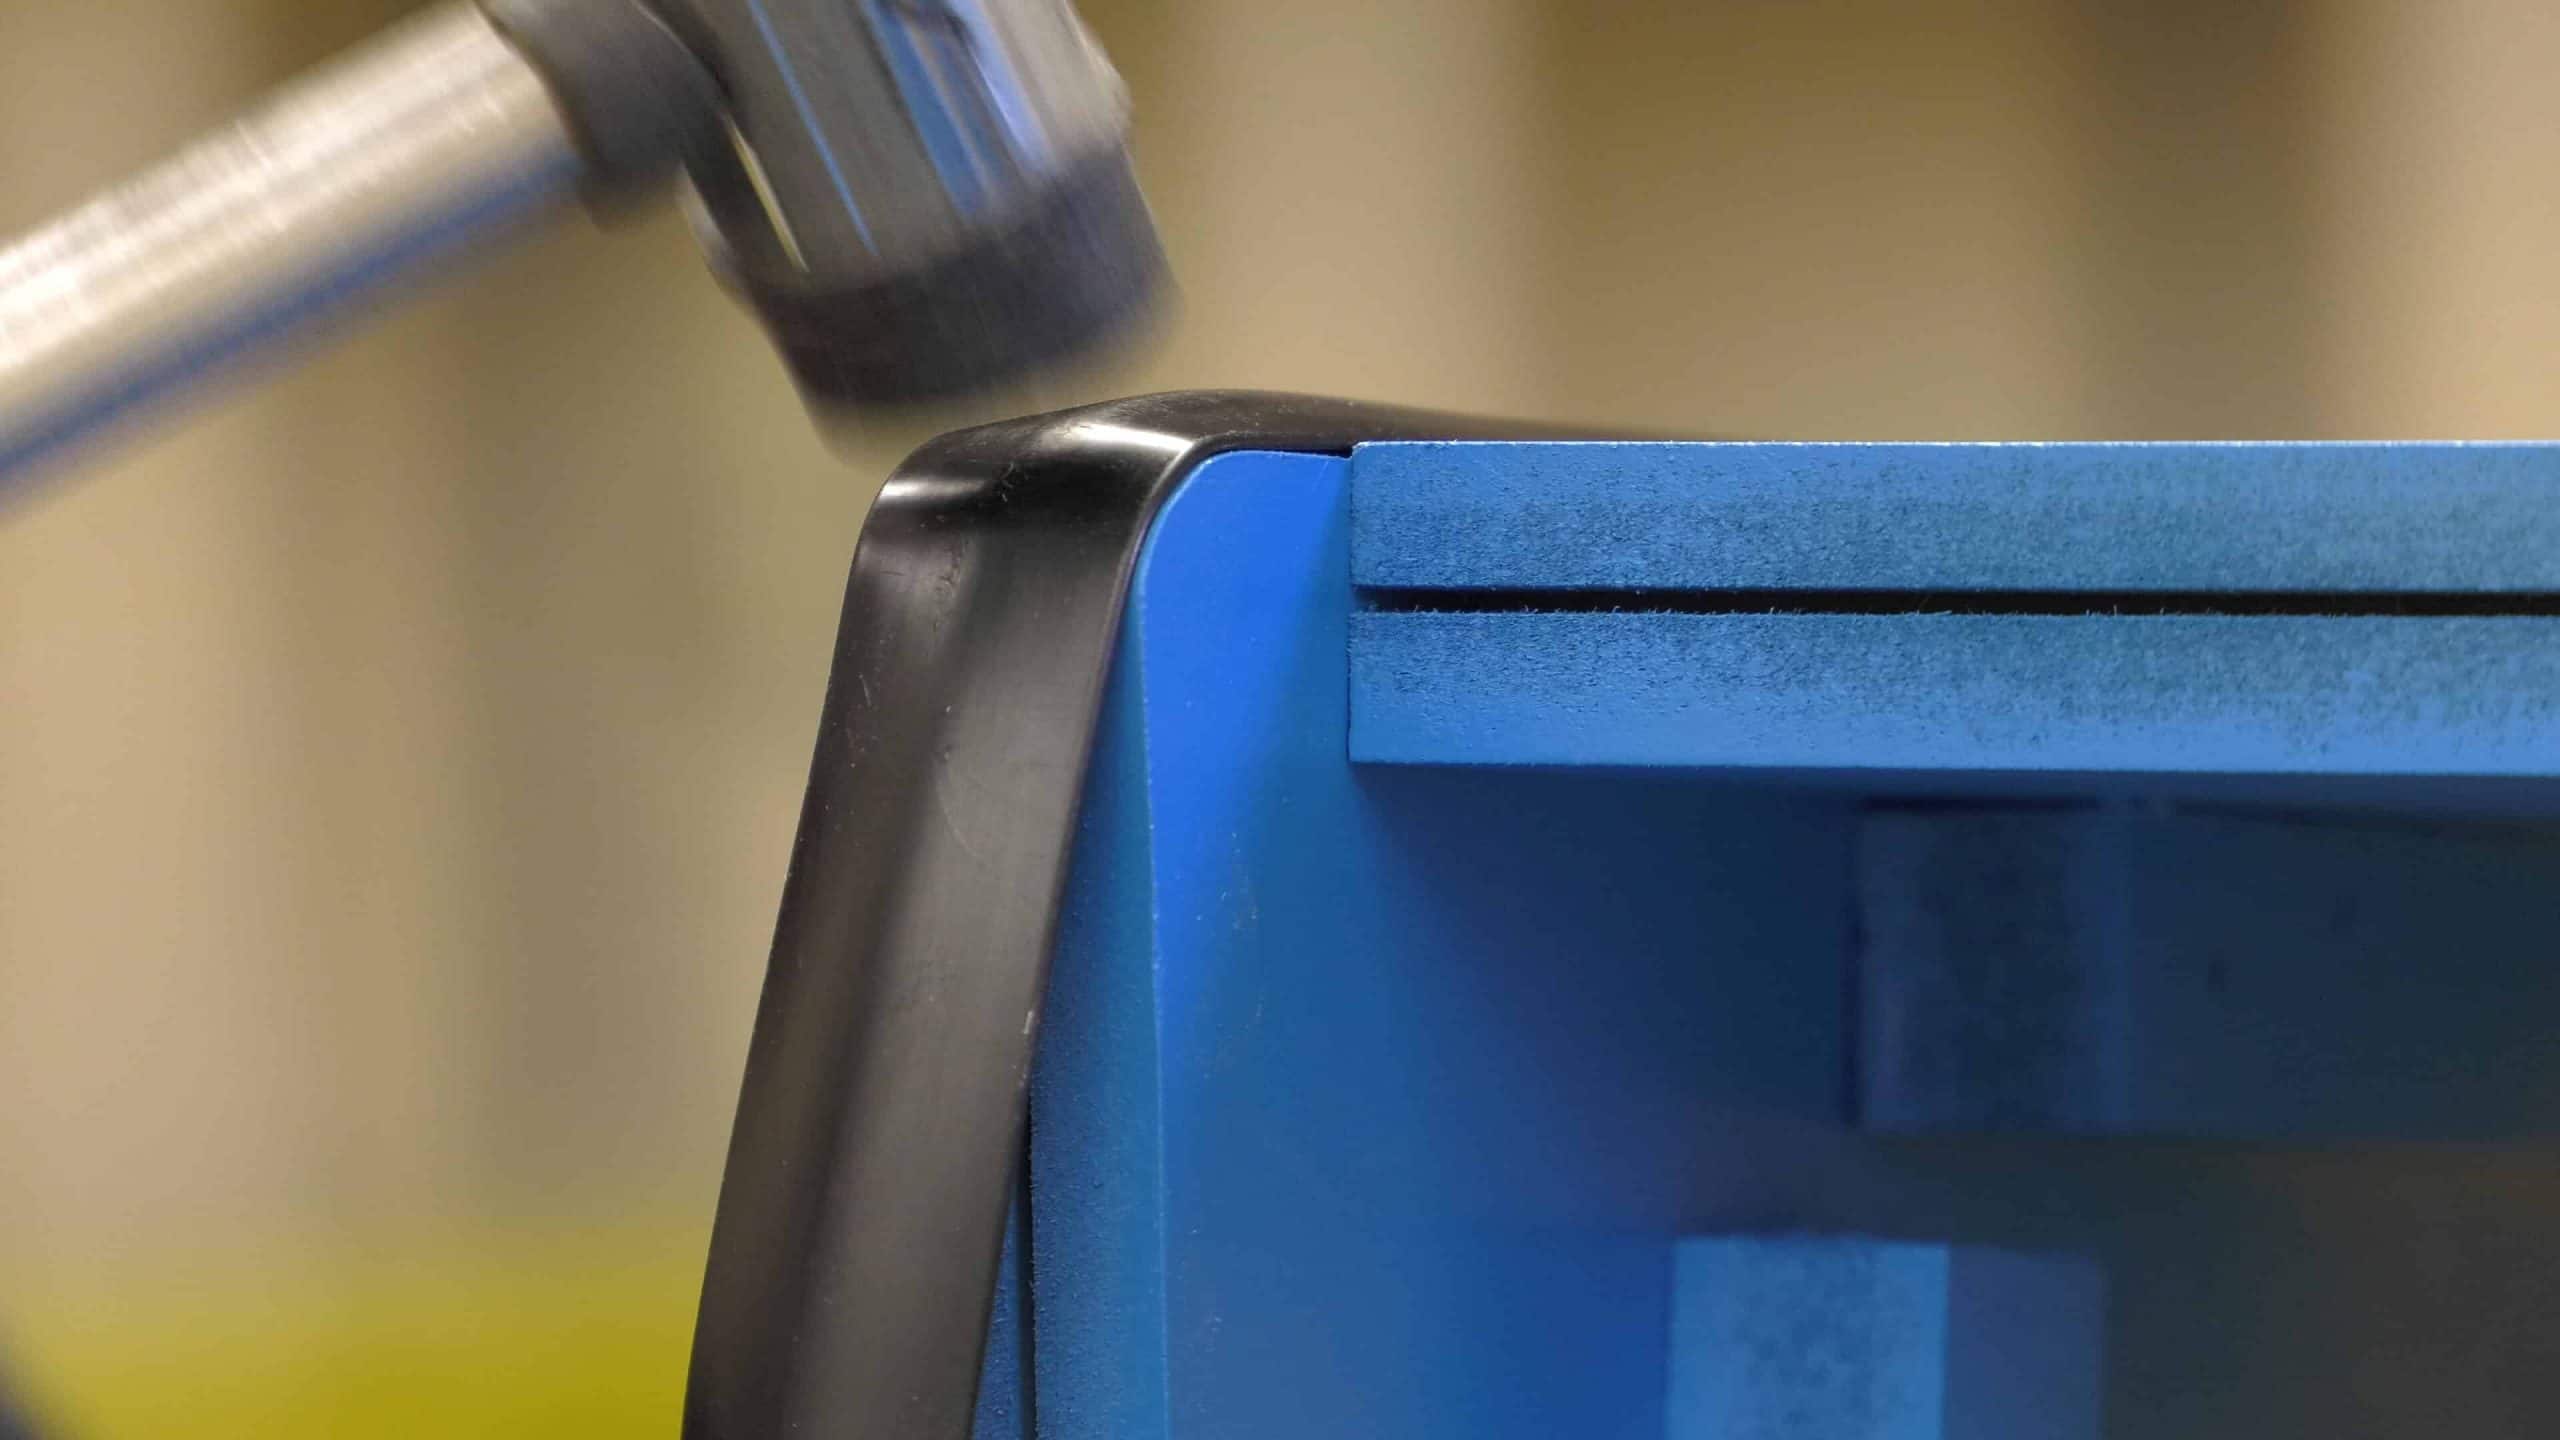
Step 10: Install the T-Molding
No arcade would be awesome without T-Molding. Well, that’s my opinion. 😉 If you need more help with T-Molding, visit my T-Molding Tips and Tricks page.
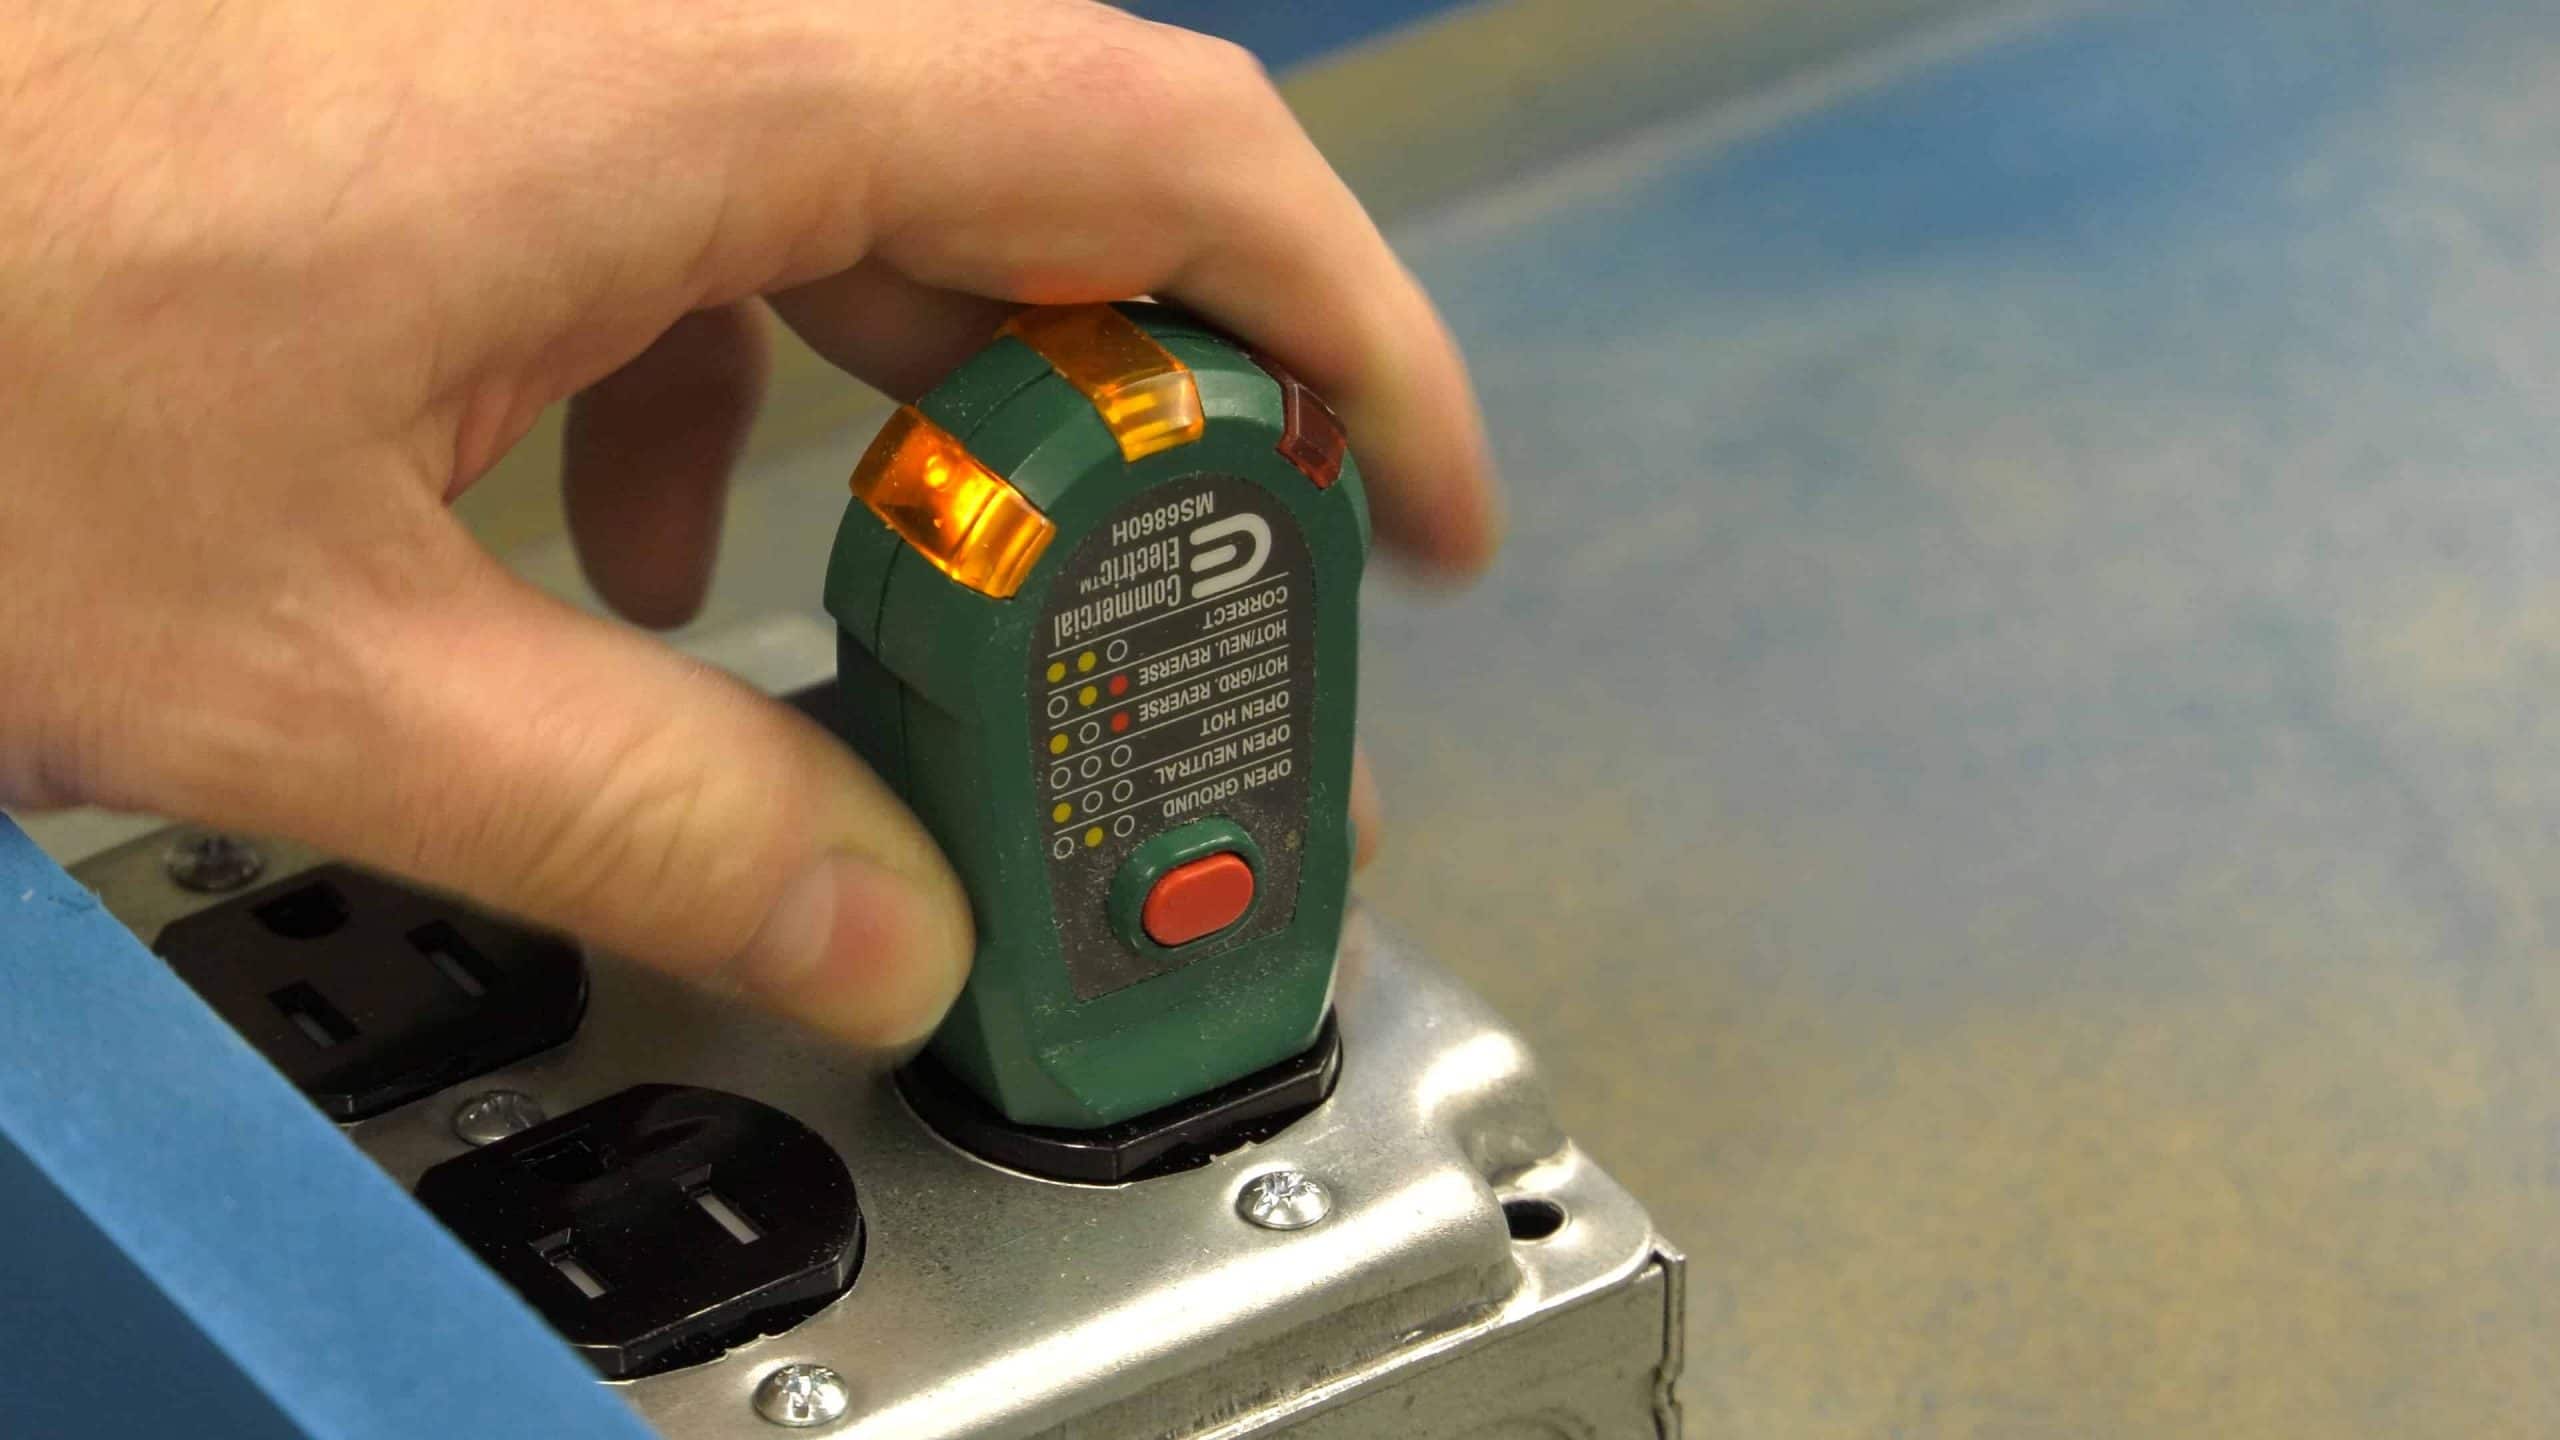
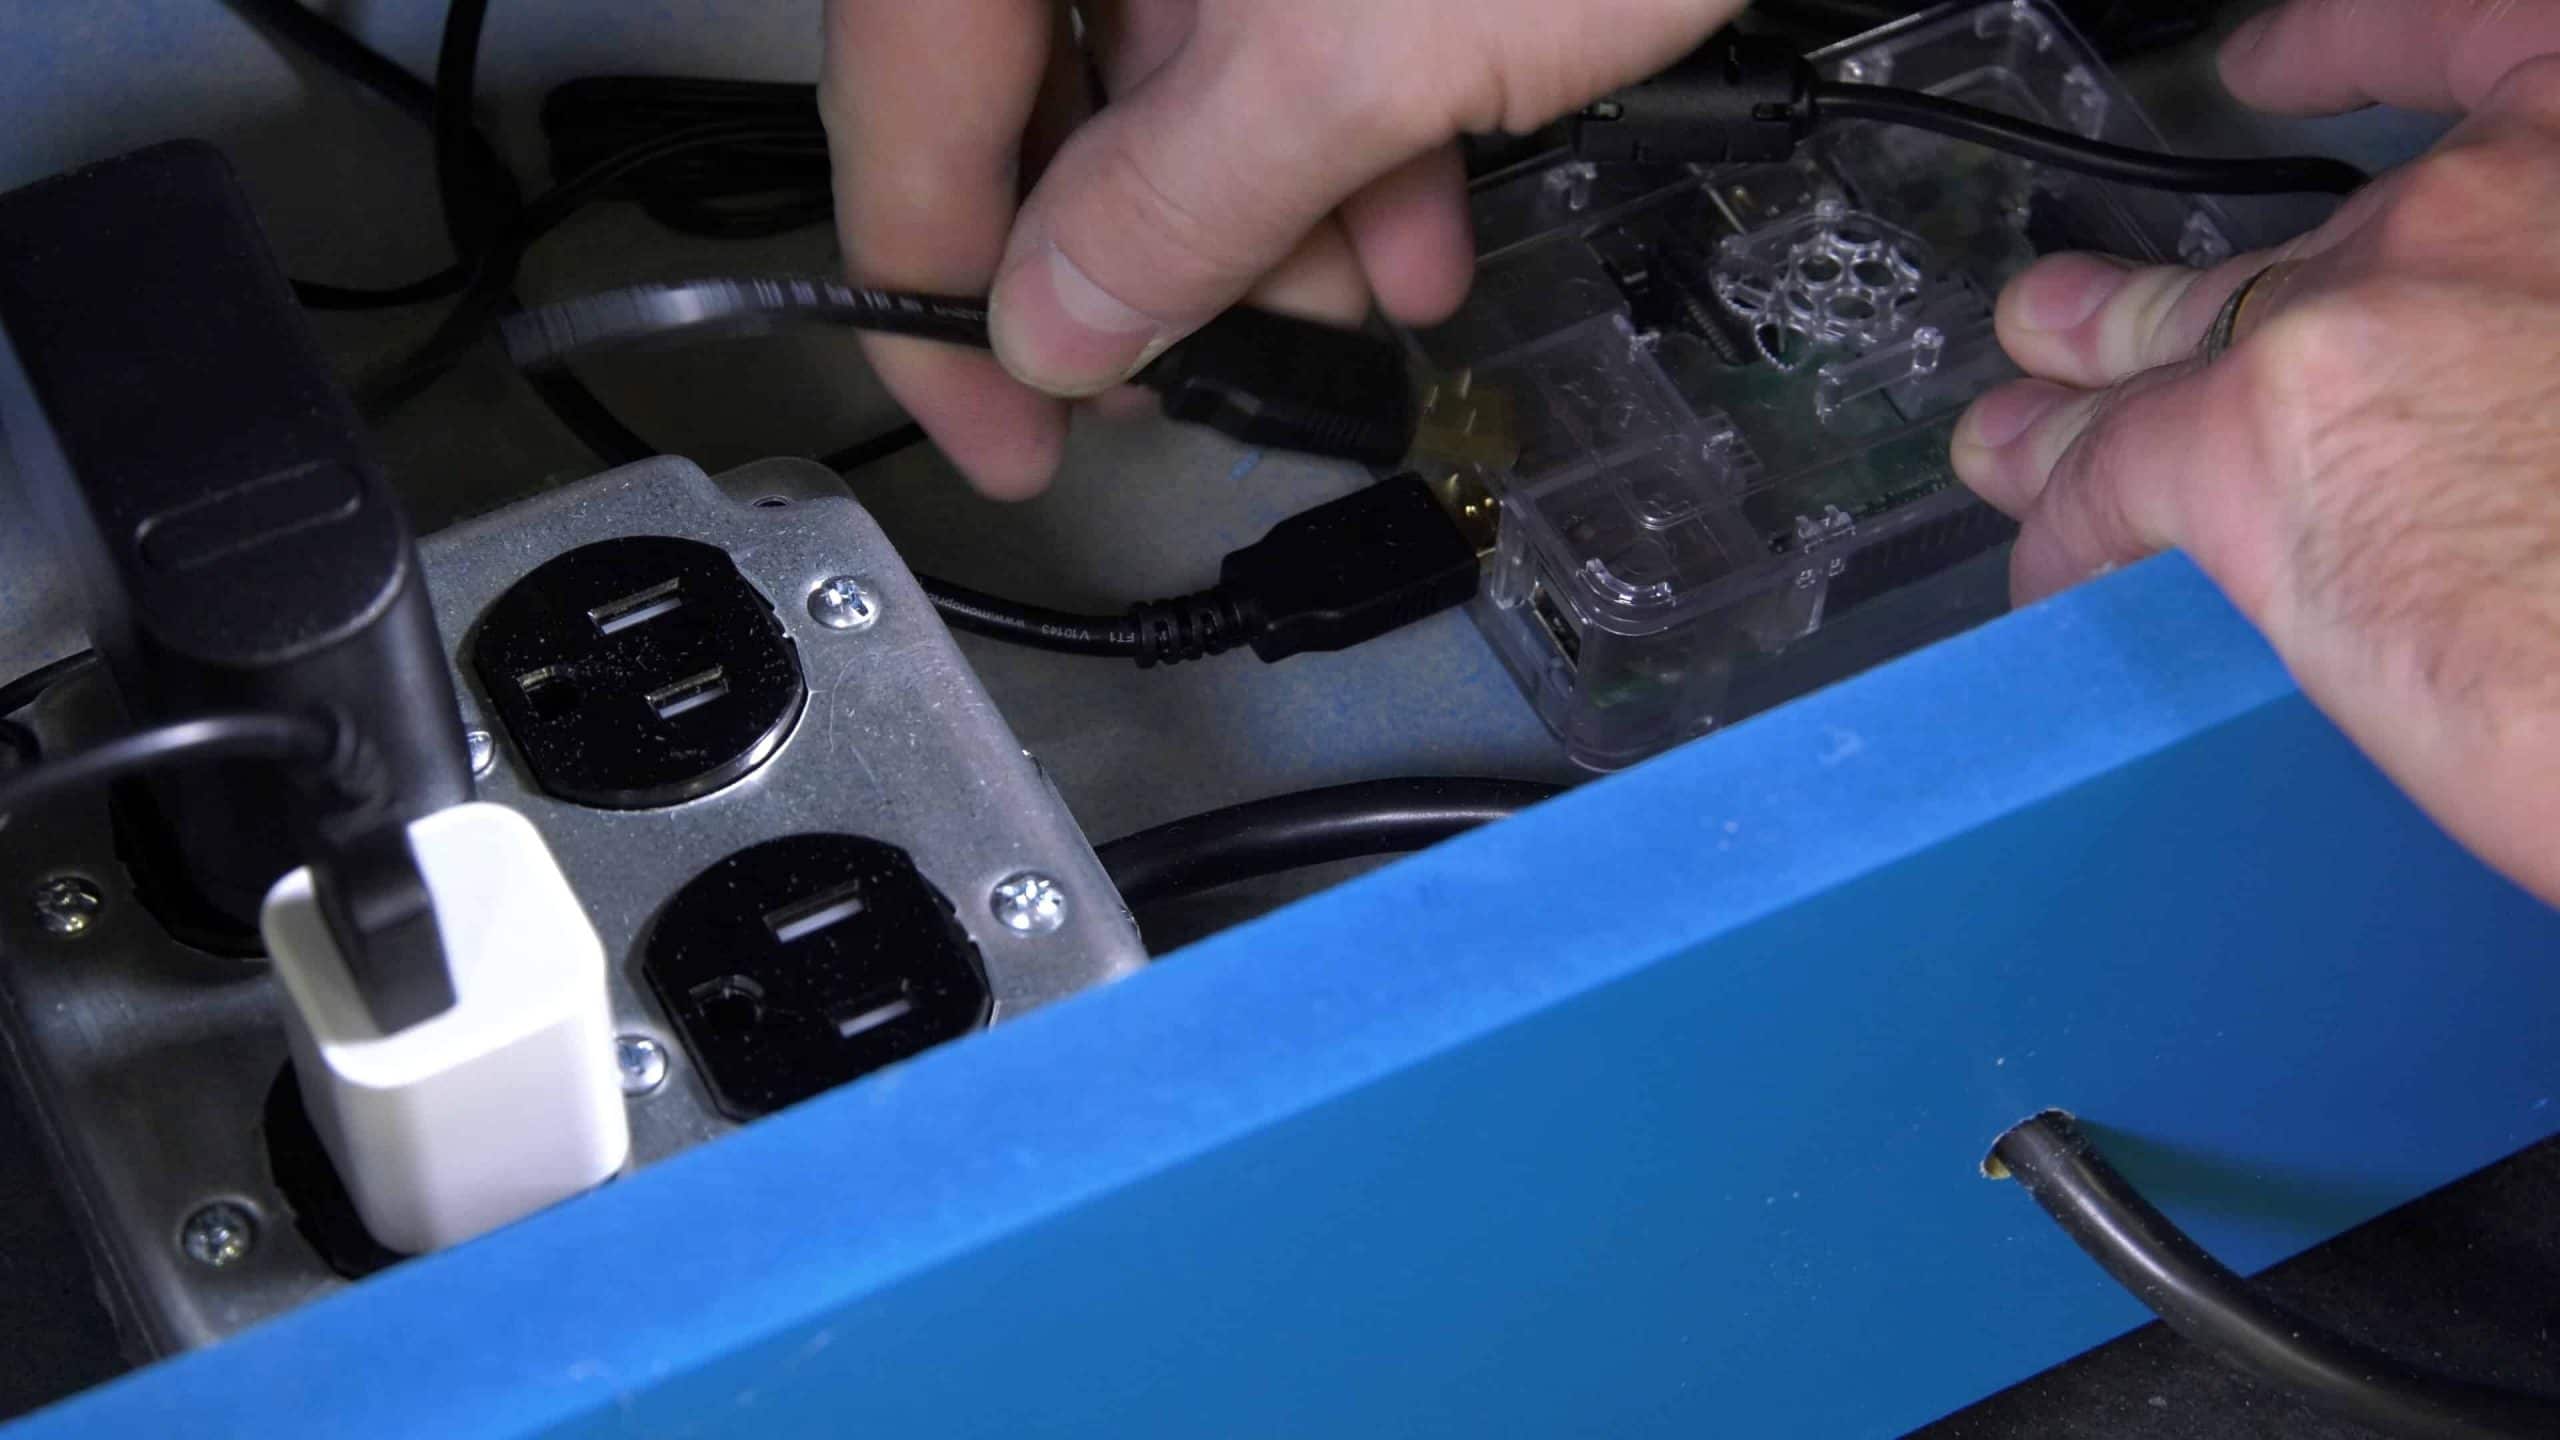
Step 11: Install the Electrical
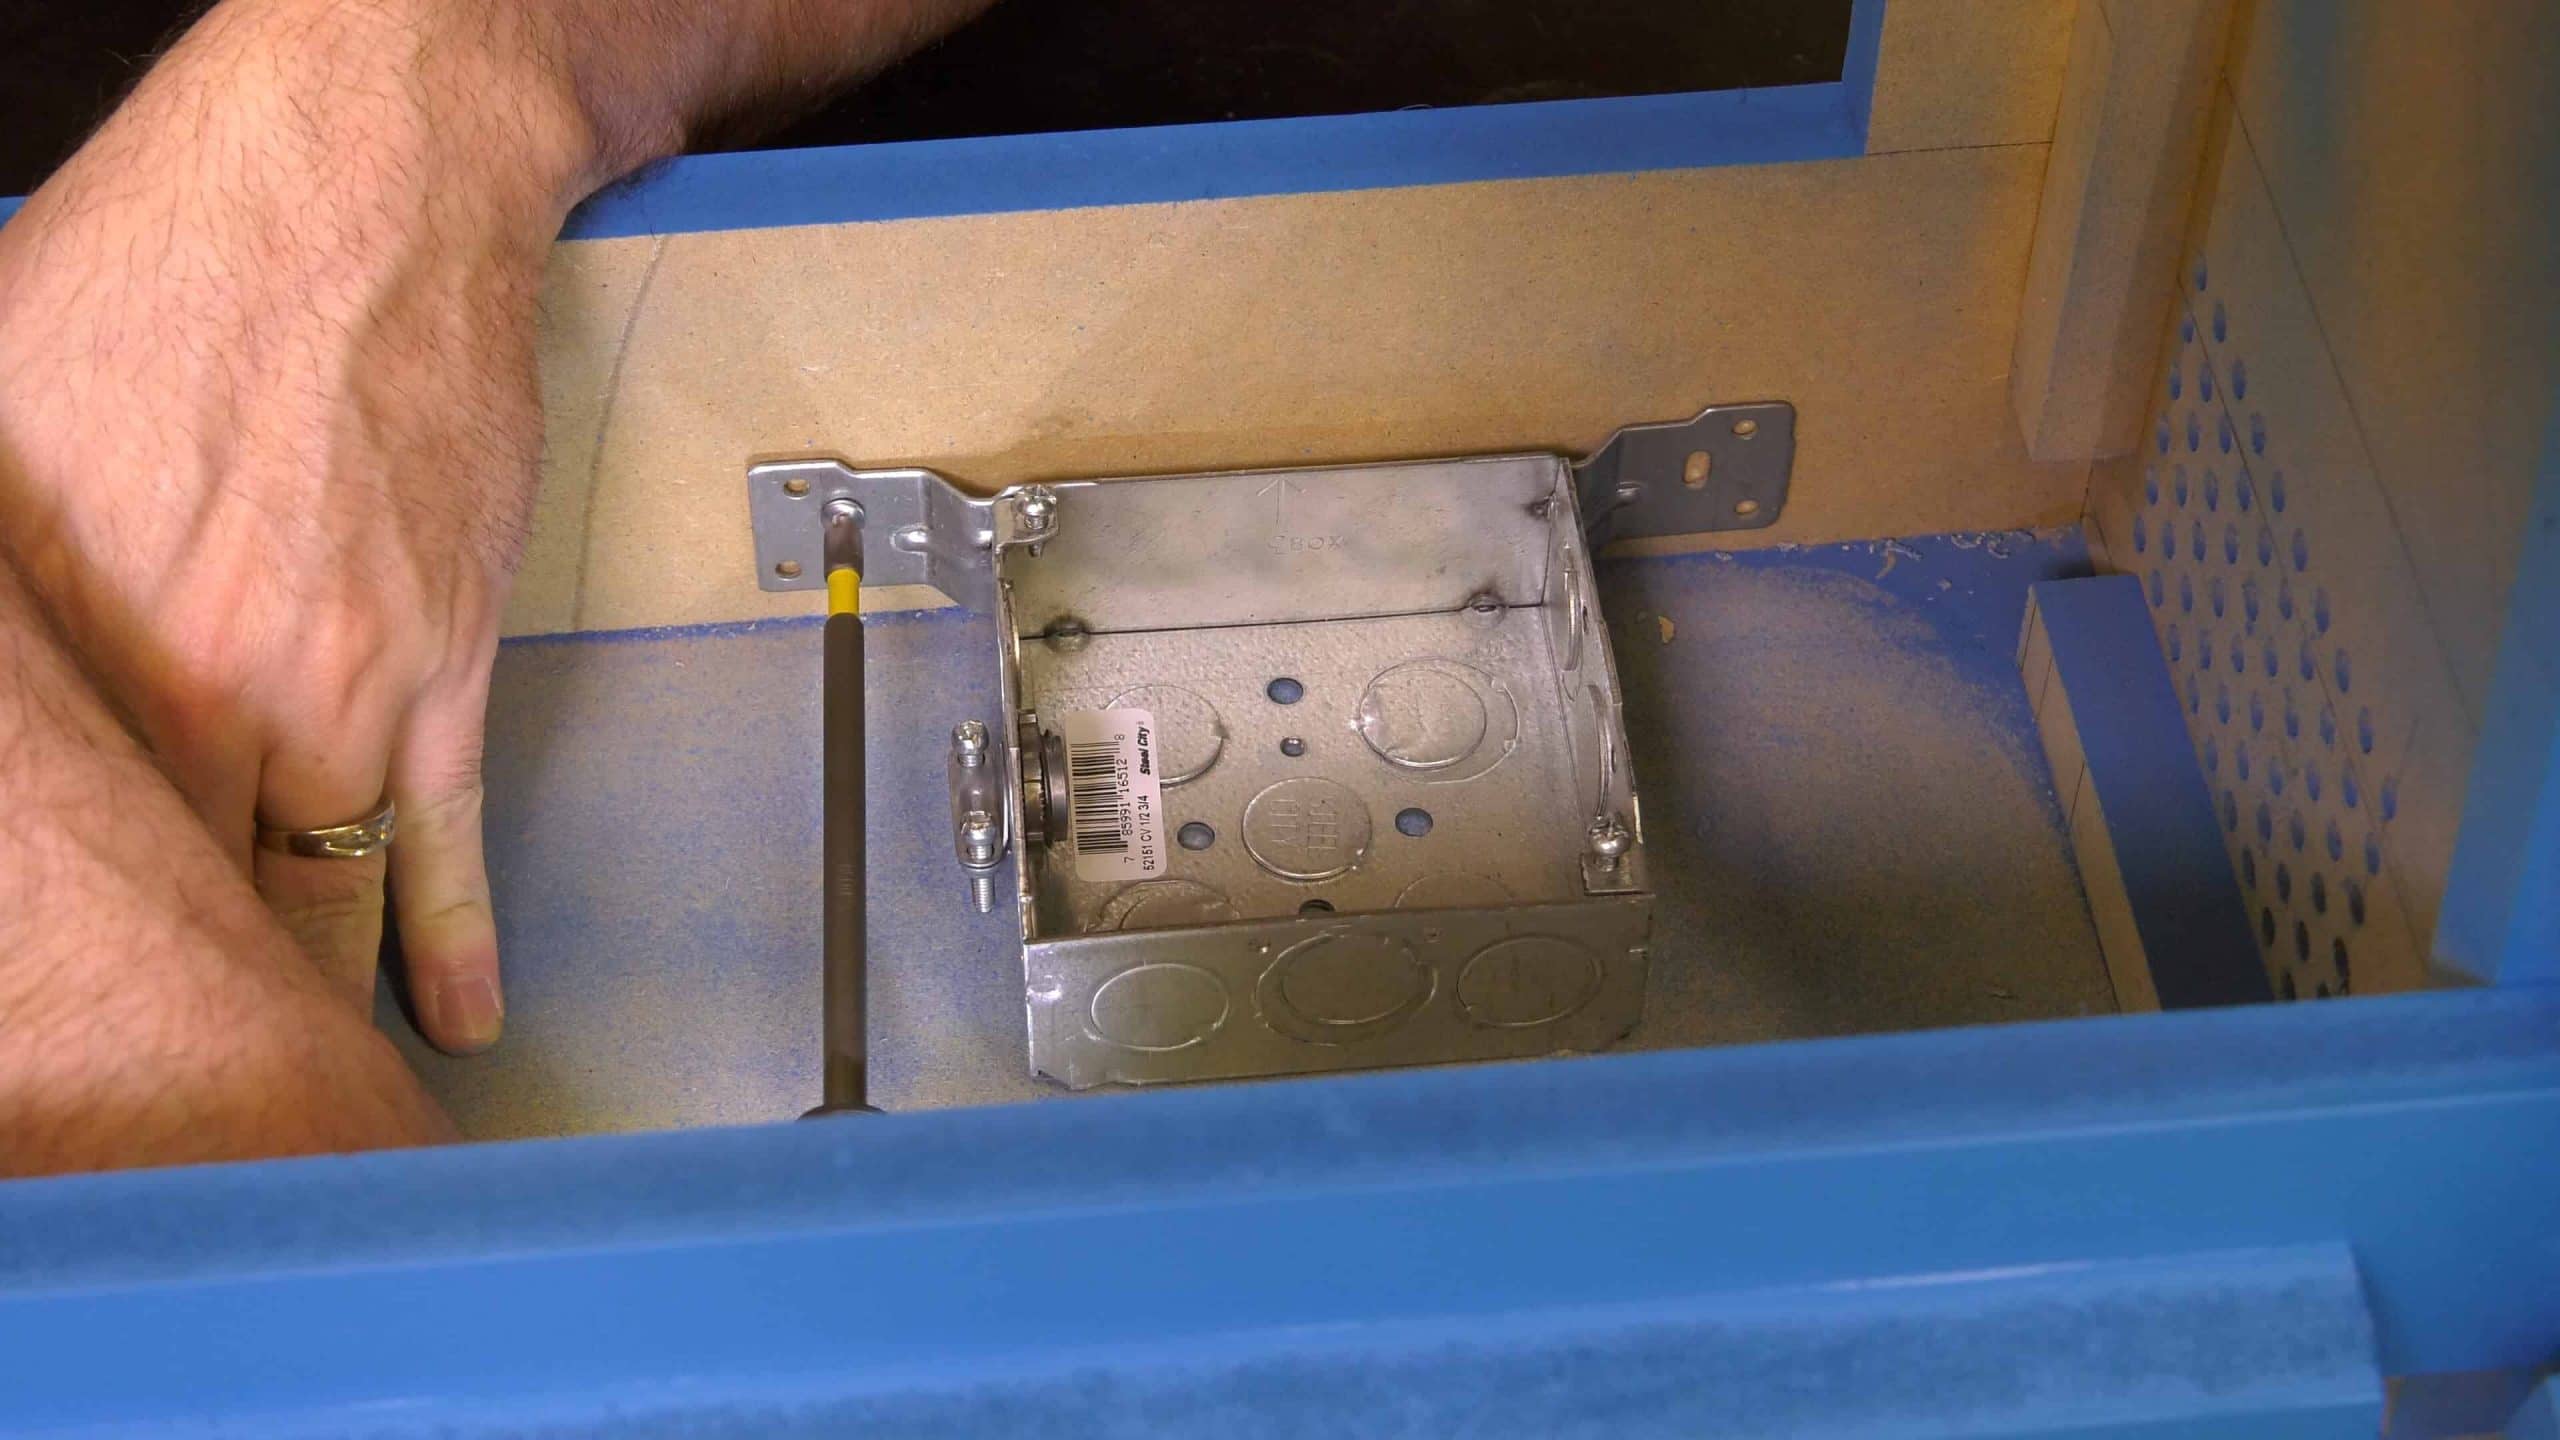
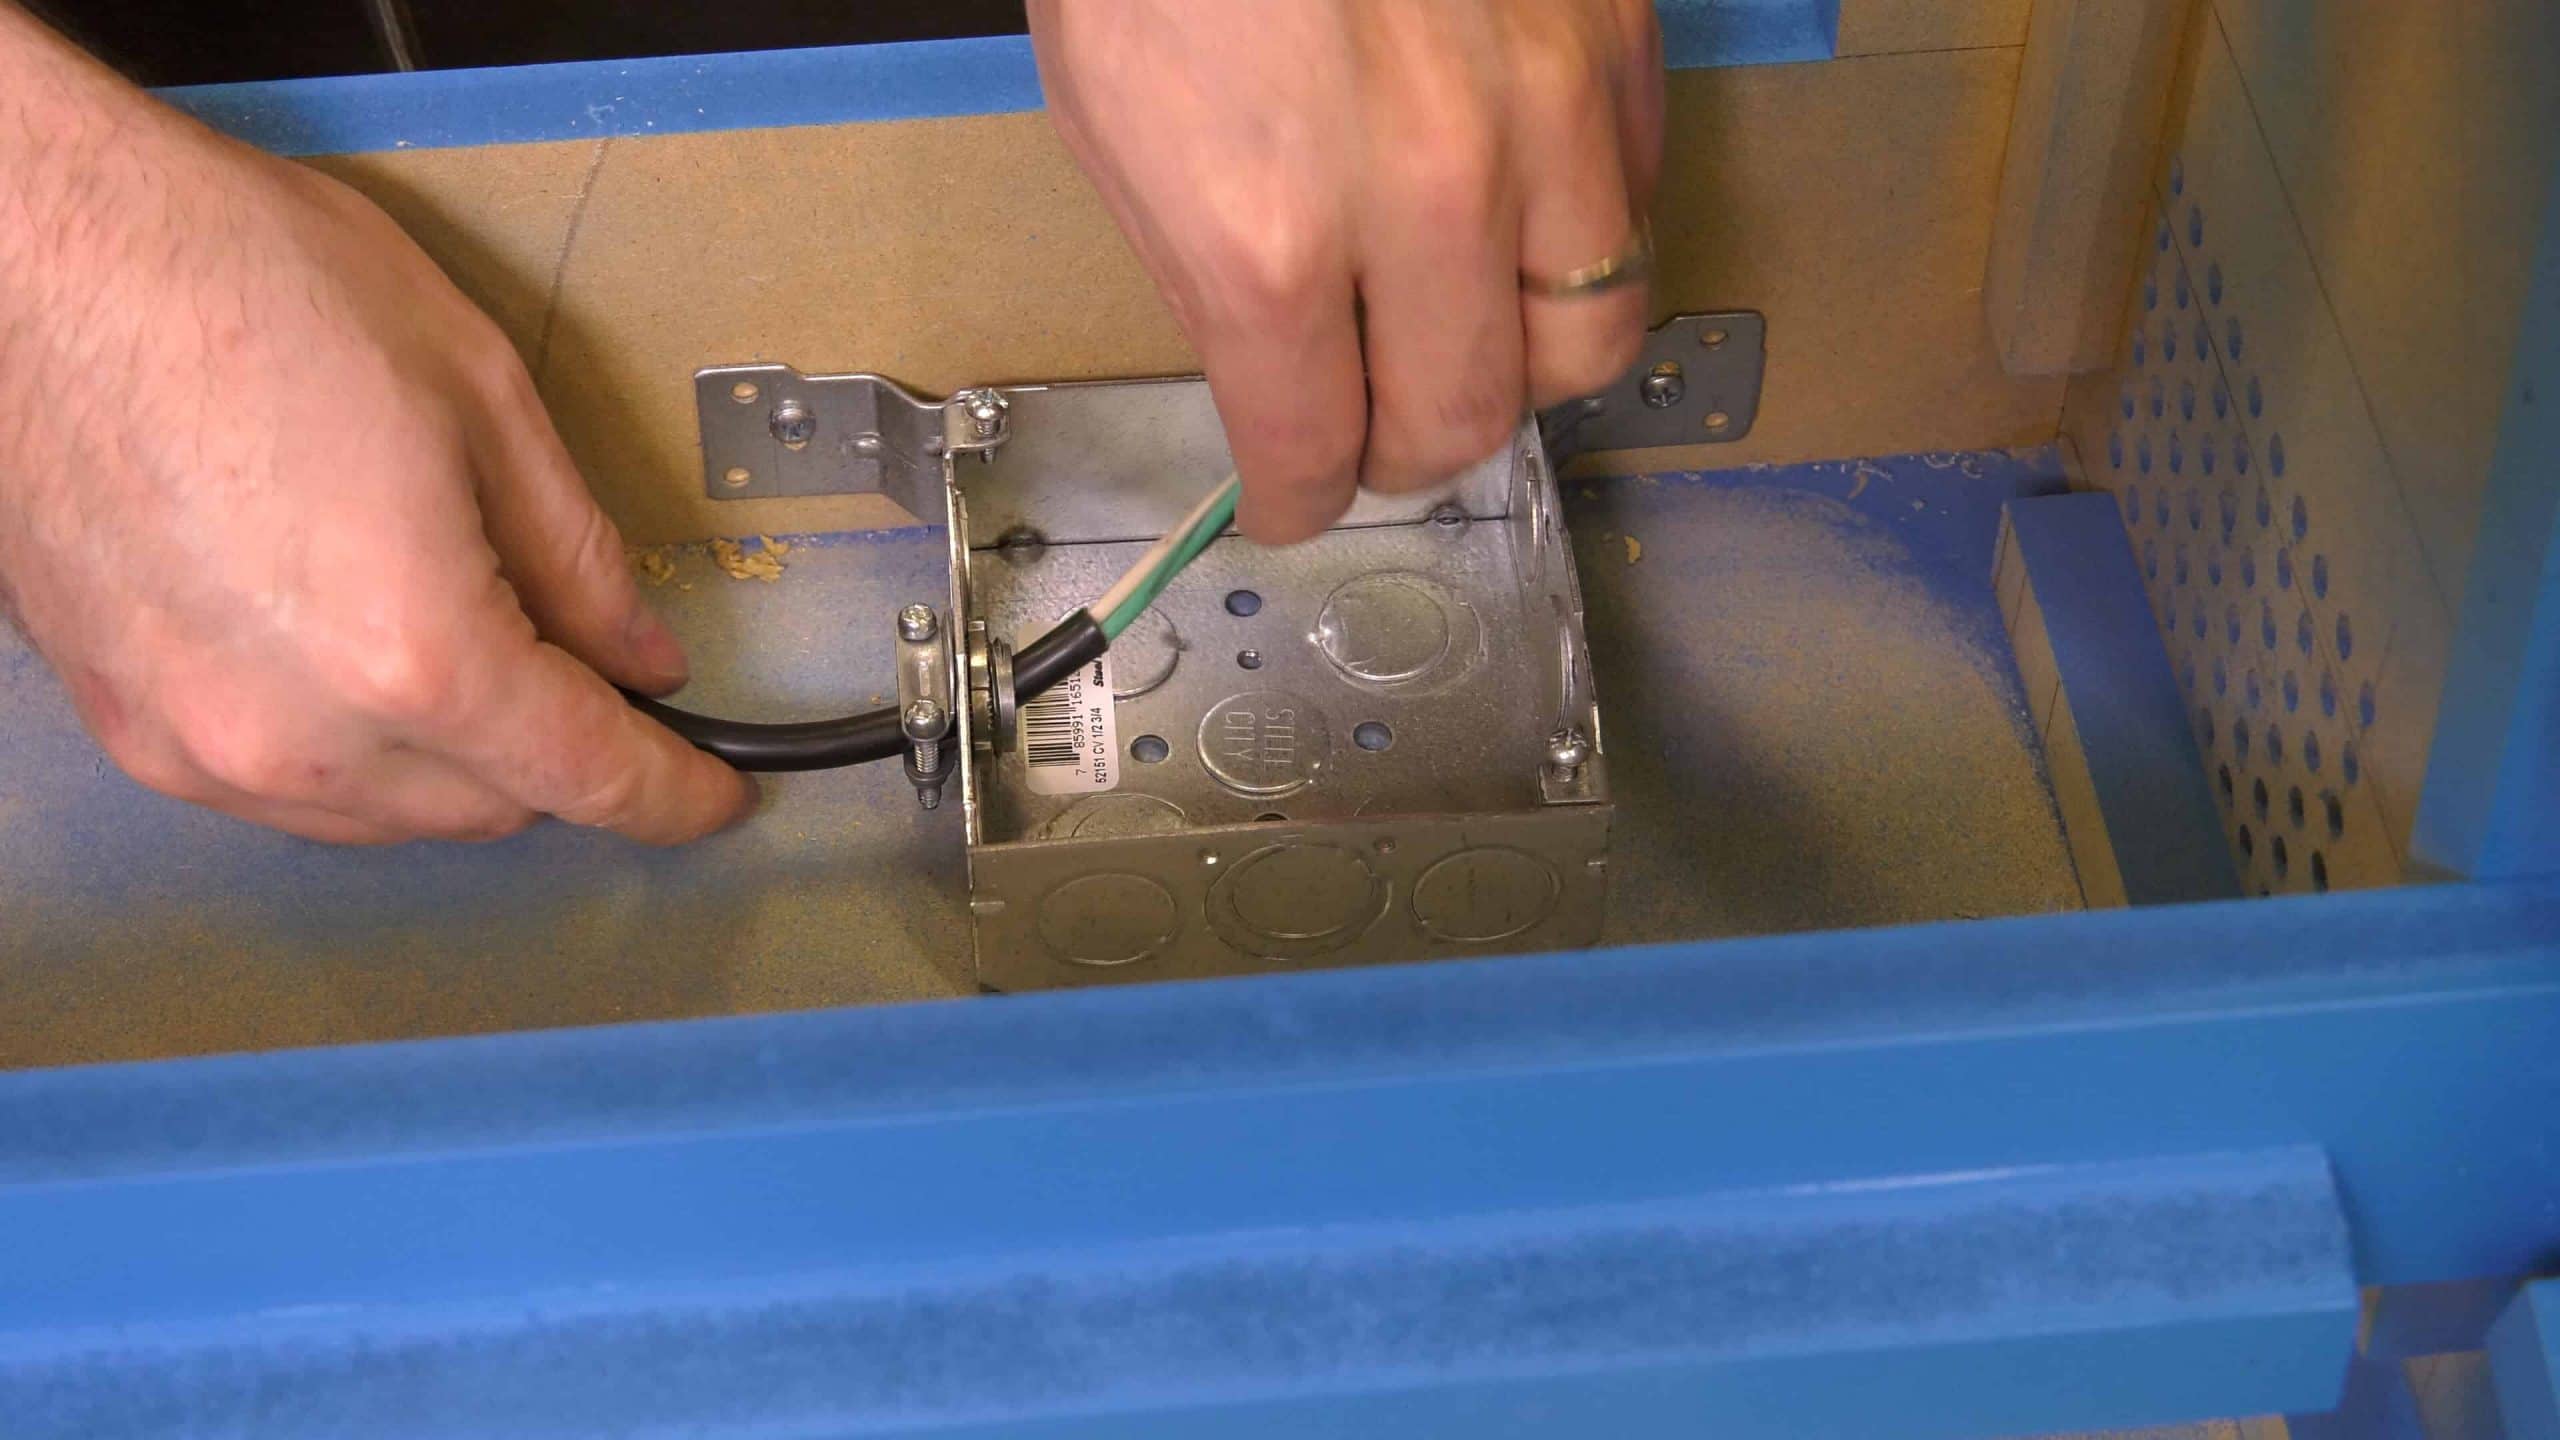
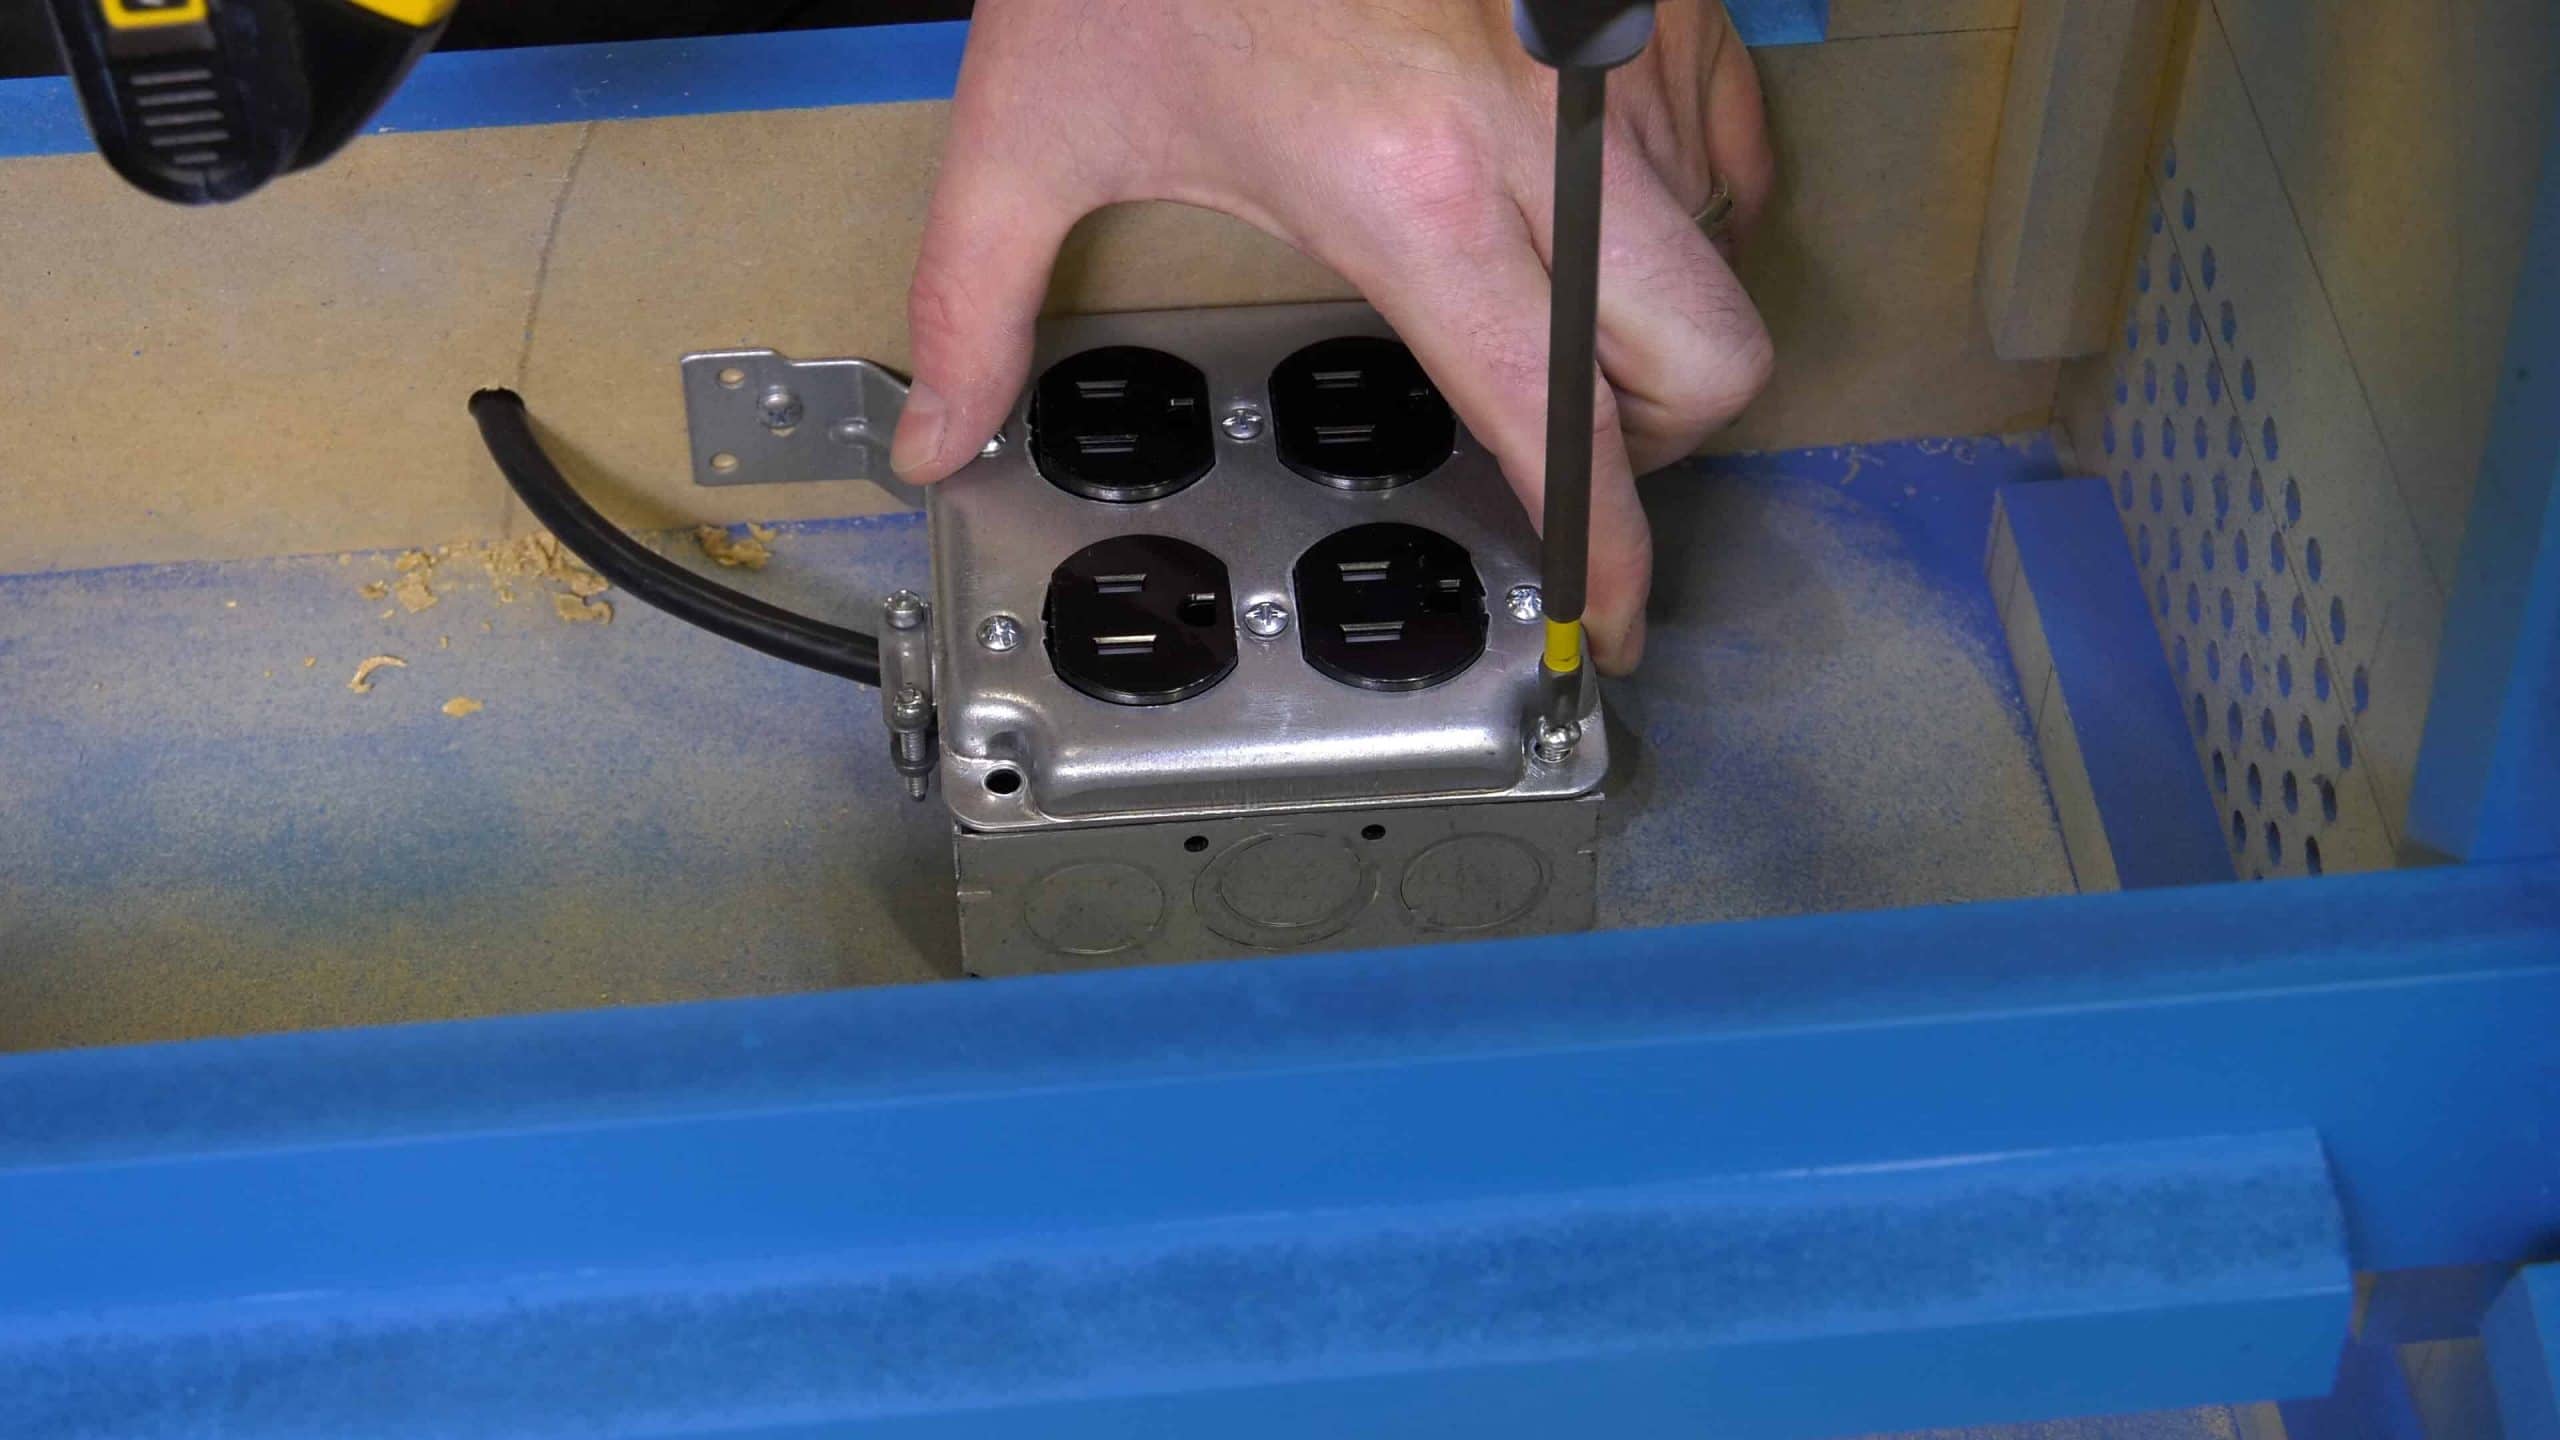
I always install a quad outlet box in the back of my cabinet. If you’re not familiar with electric, just use any old power strip from the local home improvement center. Always test the power with a plug tester before using it the first time, to make sure you wired it correctly.
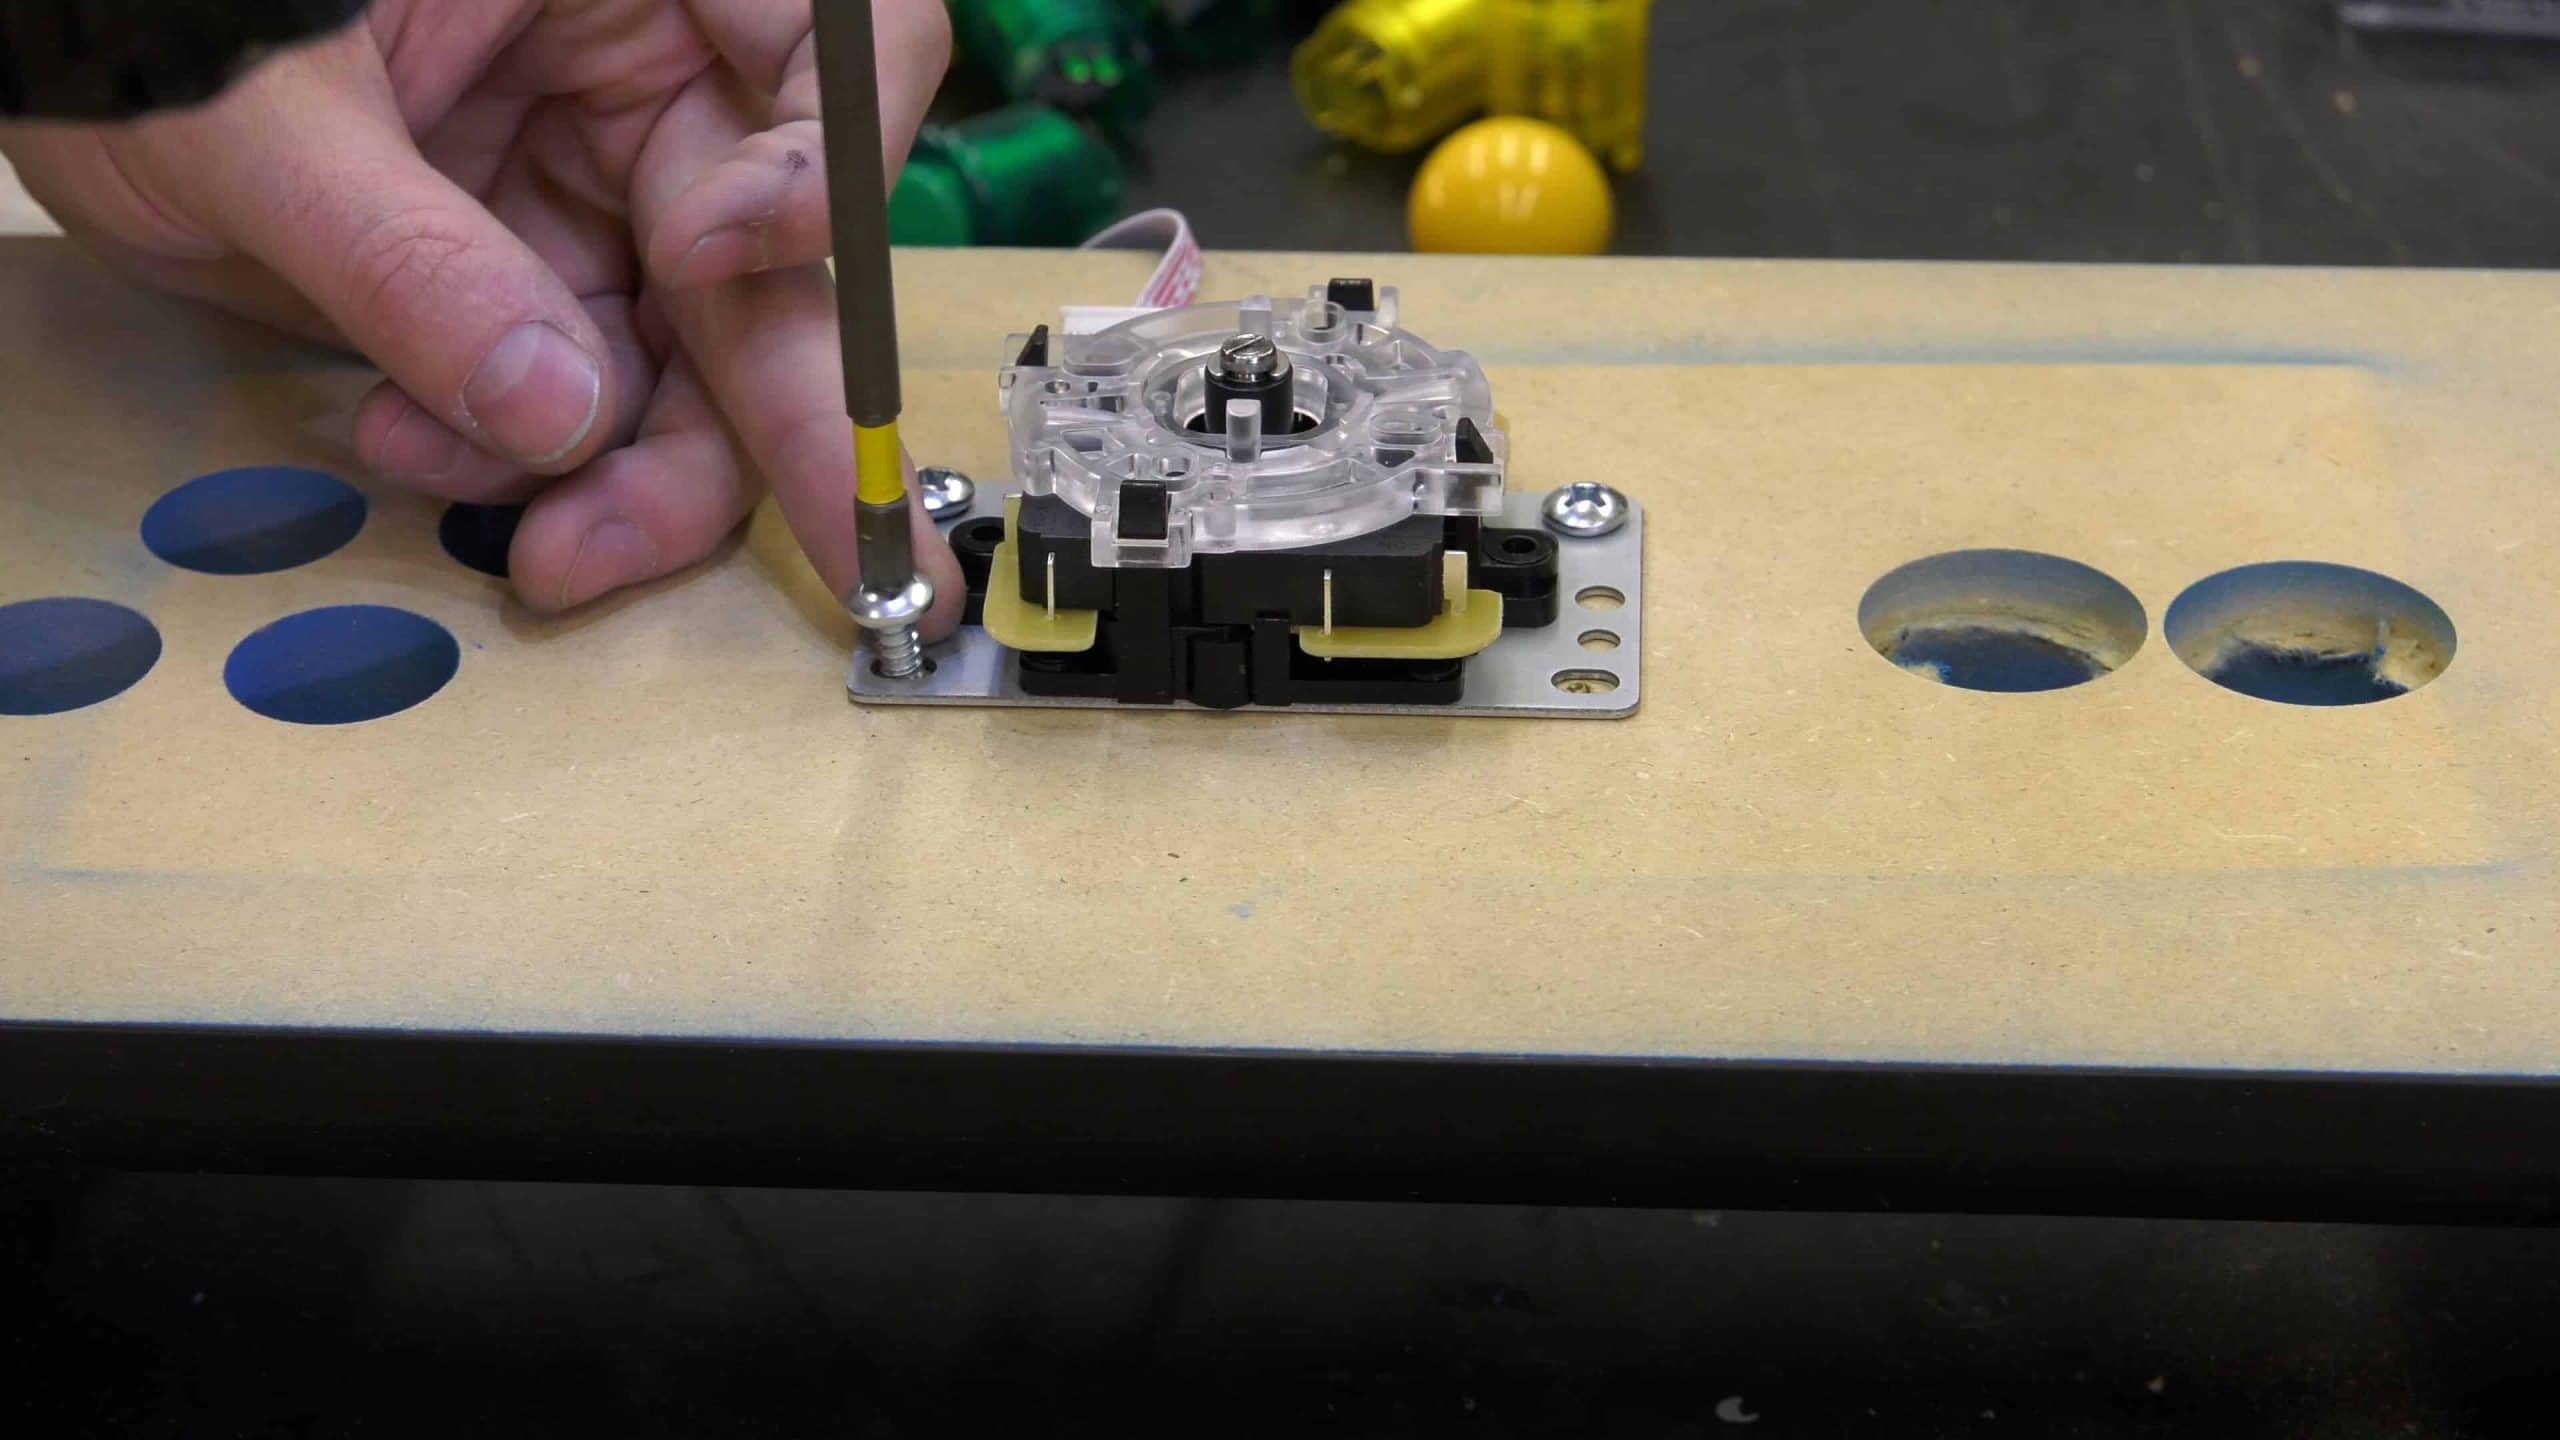
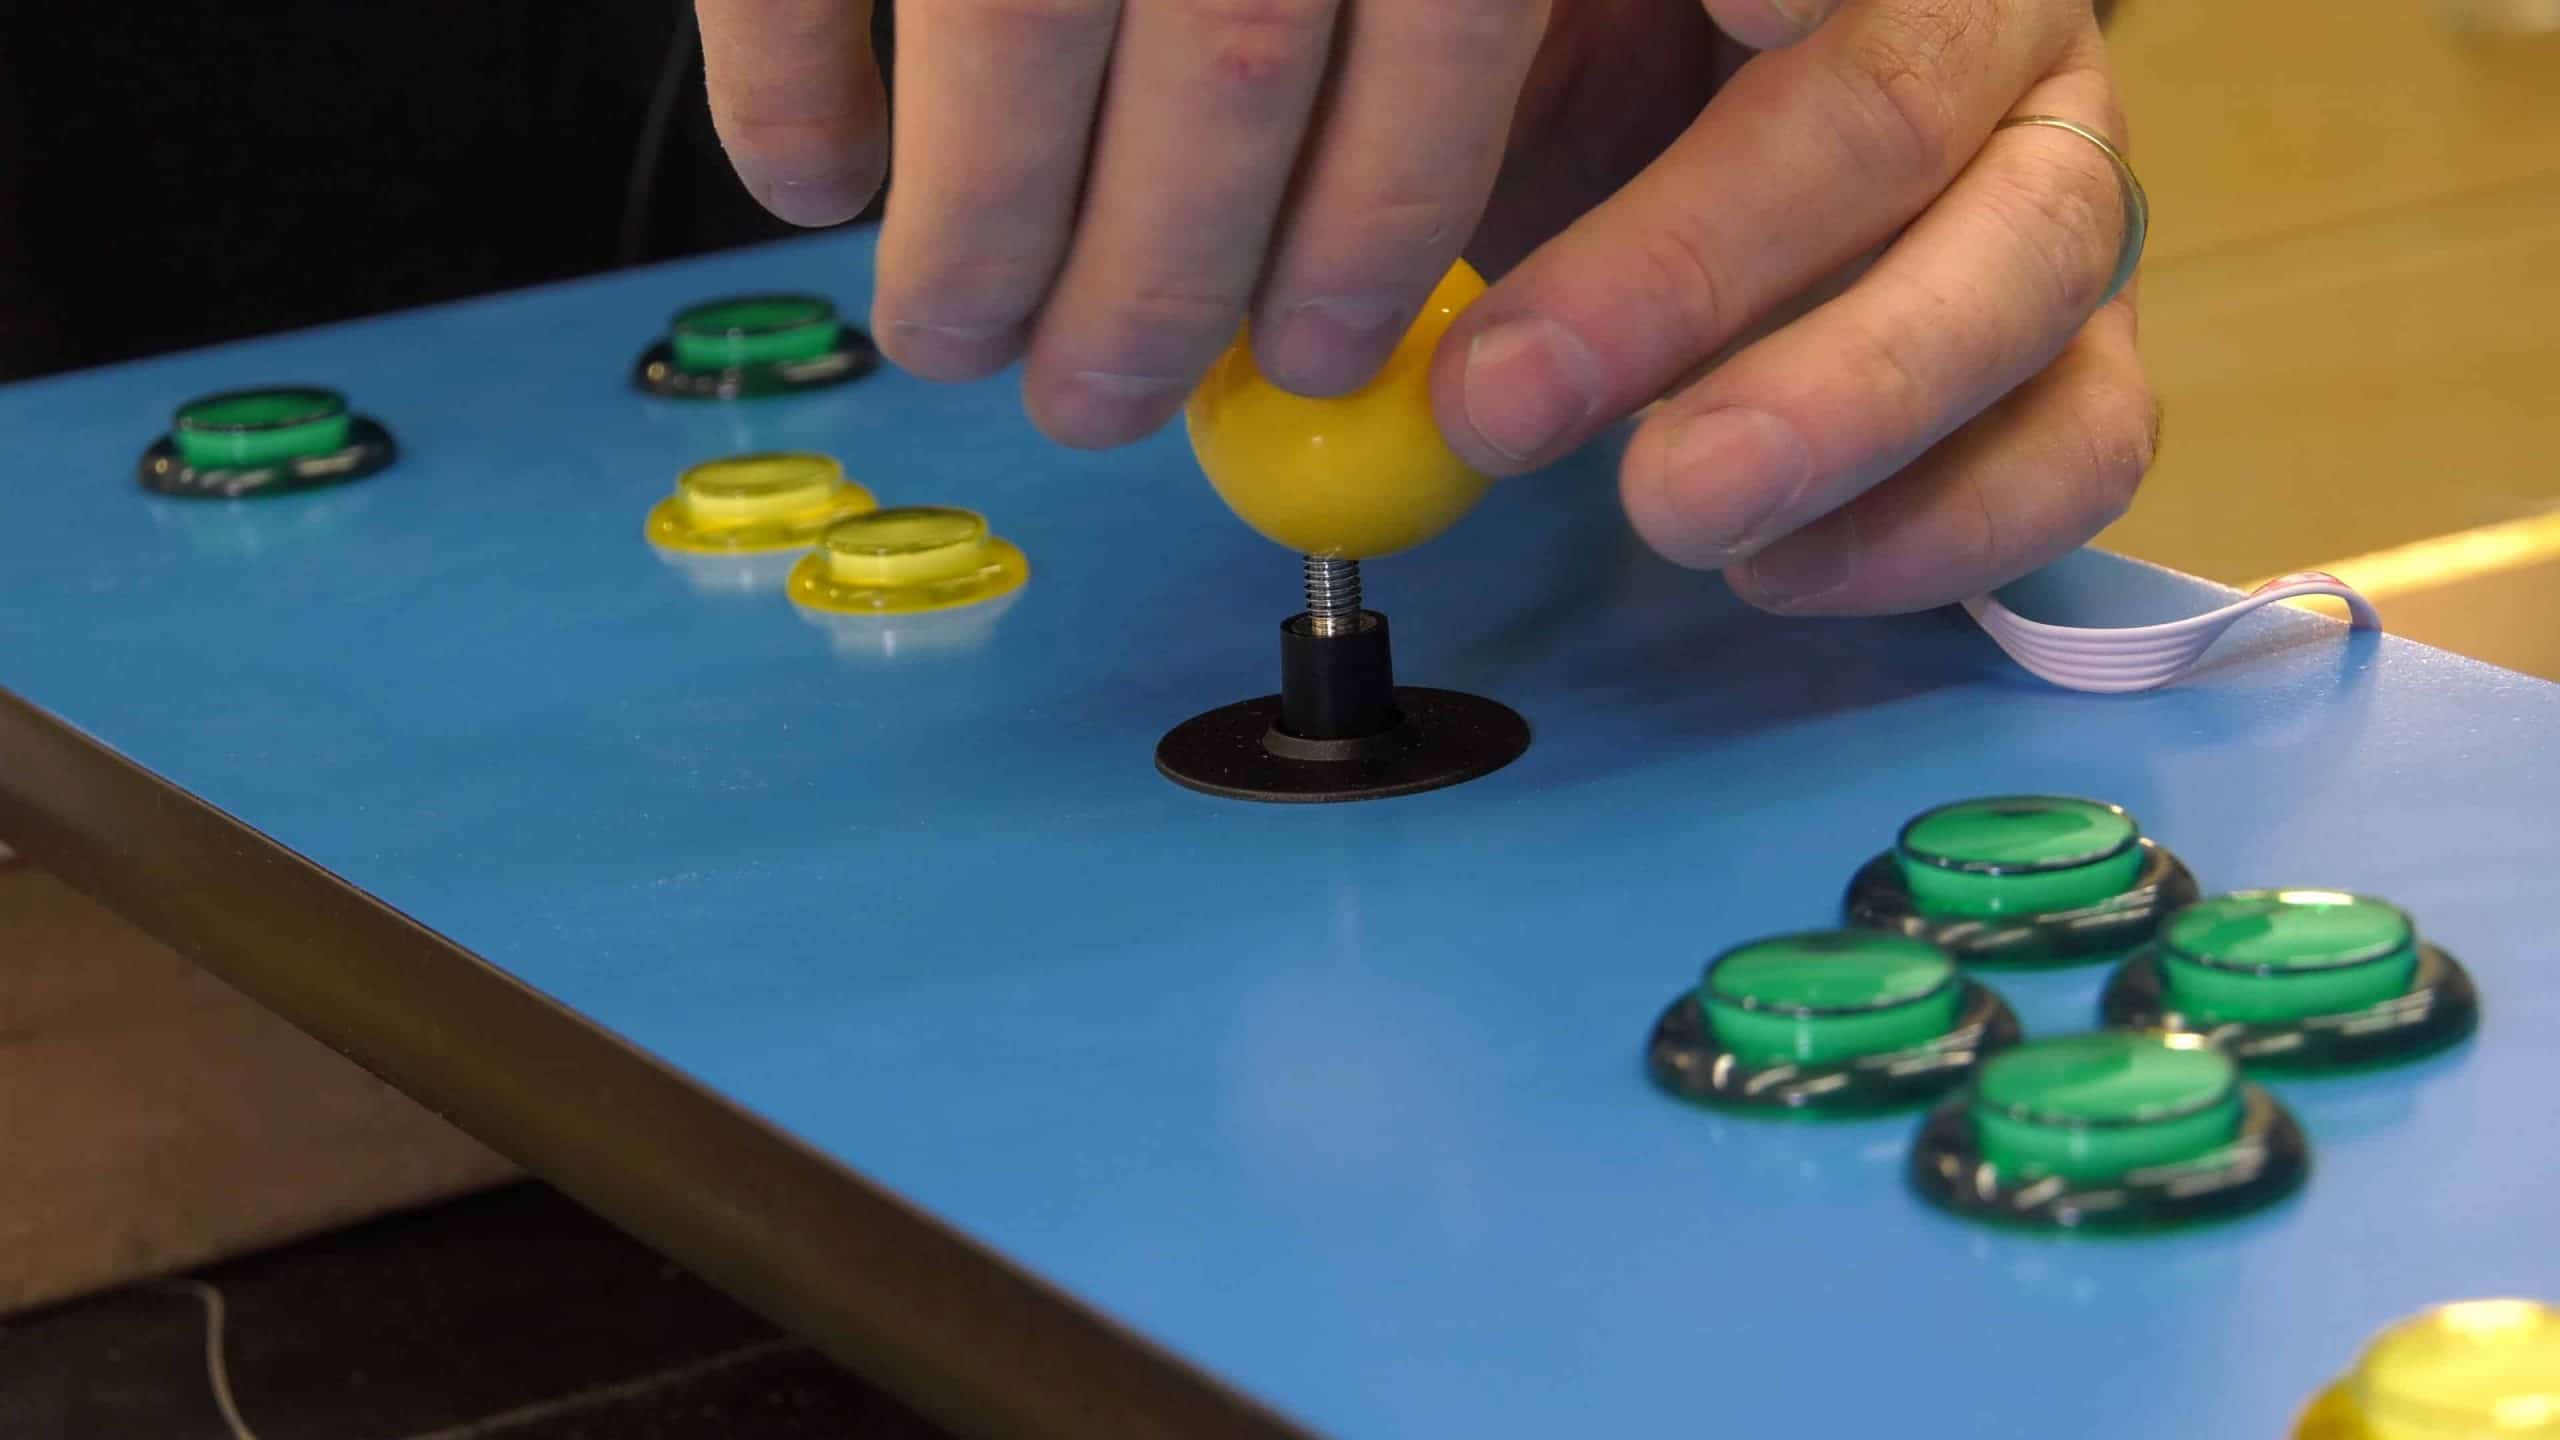
Step 12: Install the Control Panel Components (Joysticks and Buttons)
Install the joysticks and buttons and wire them to the manufacturer’s specification sheet (should be included with the buttons).
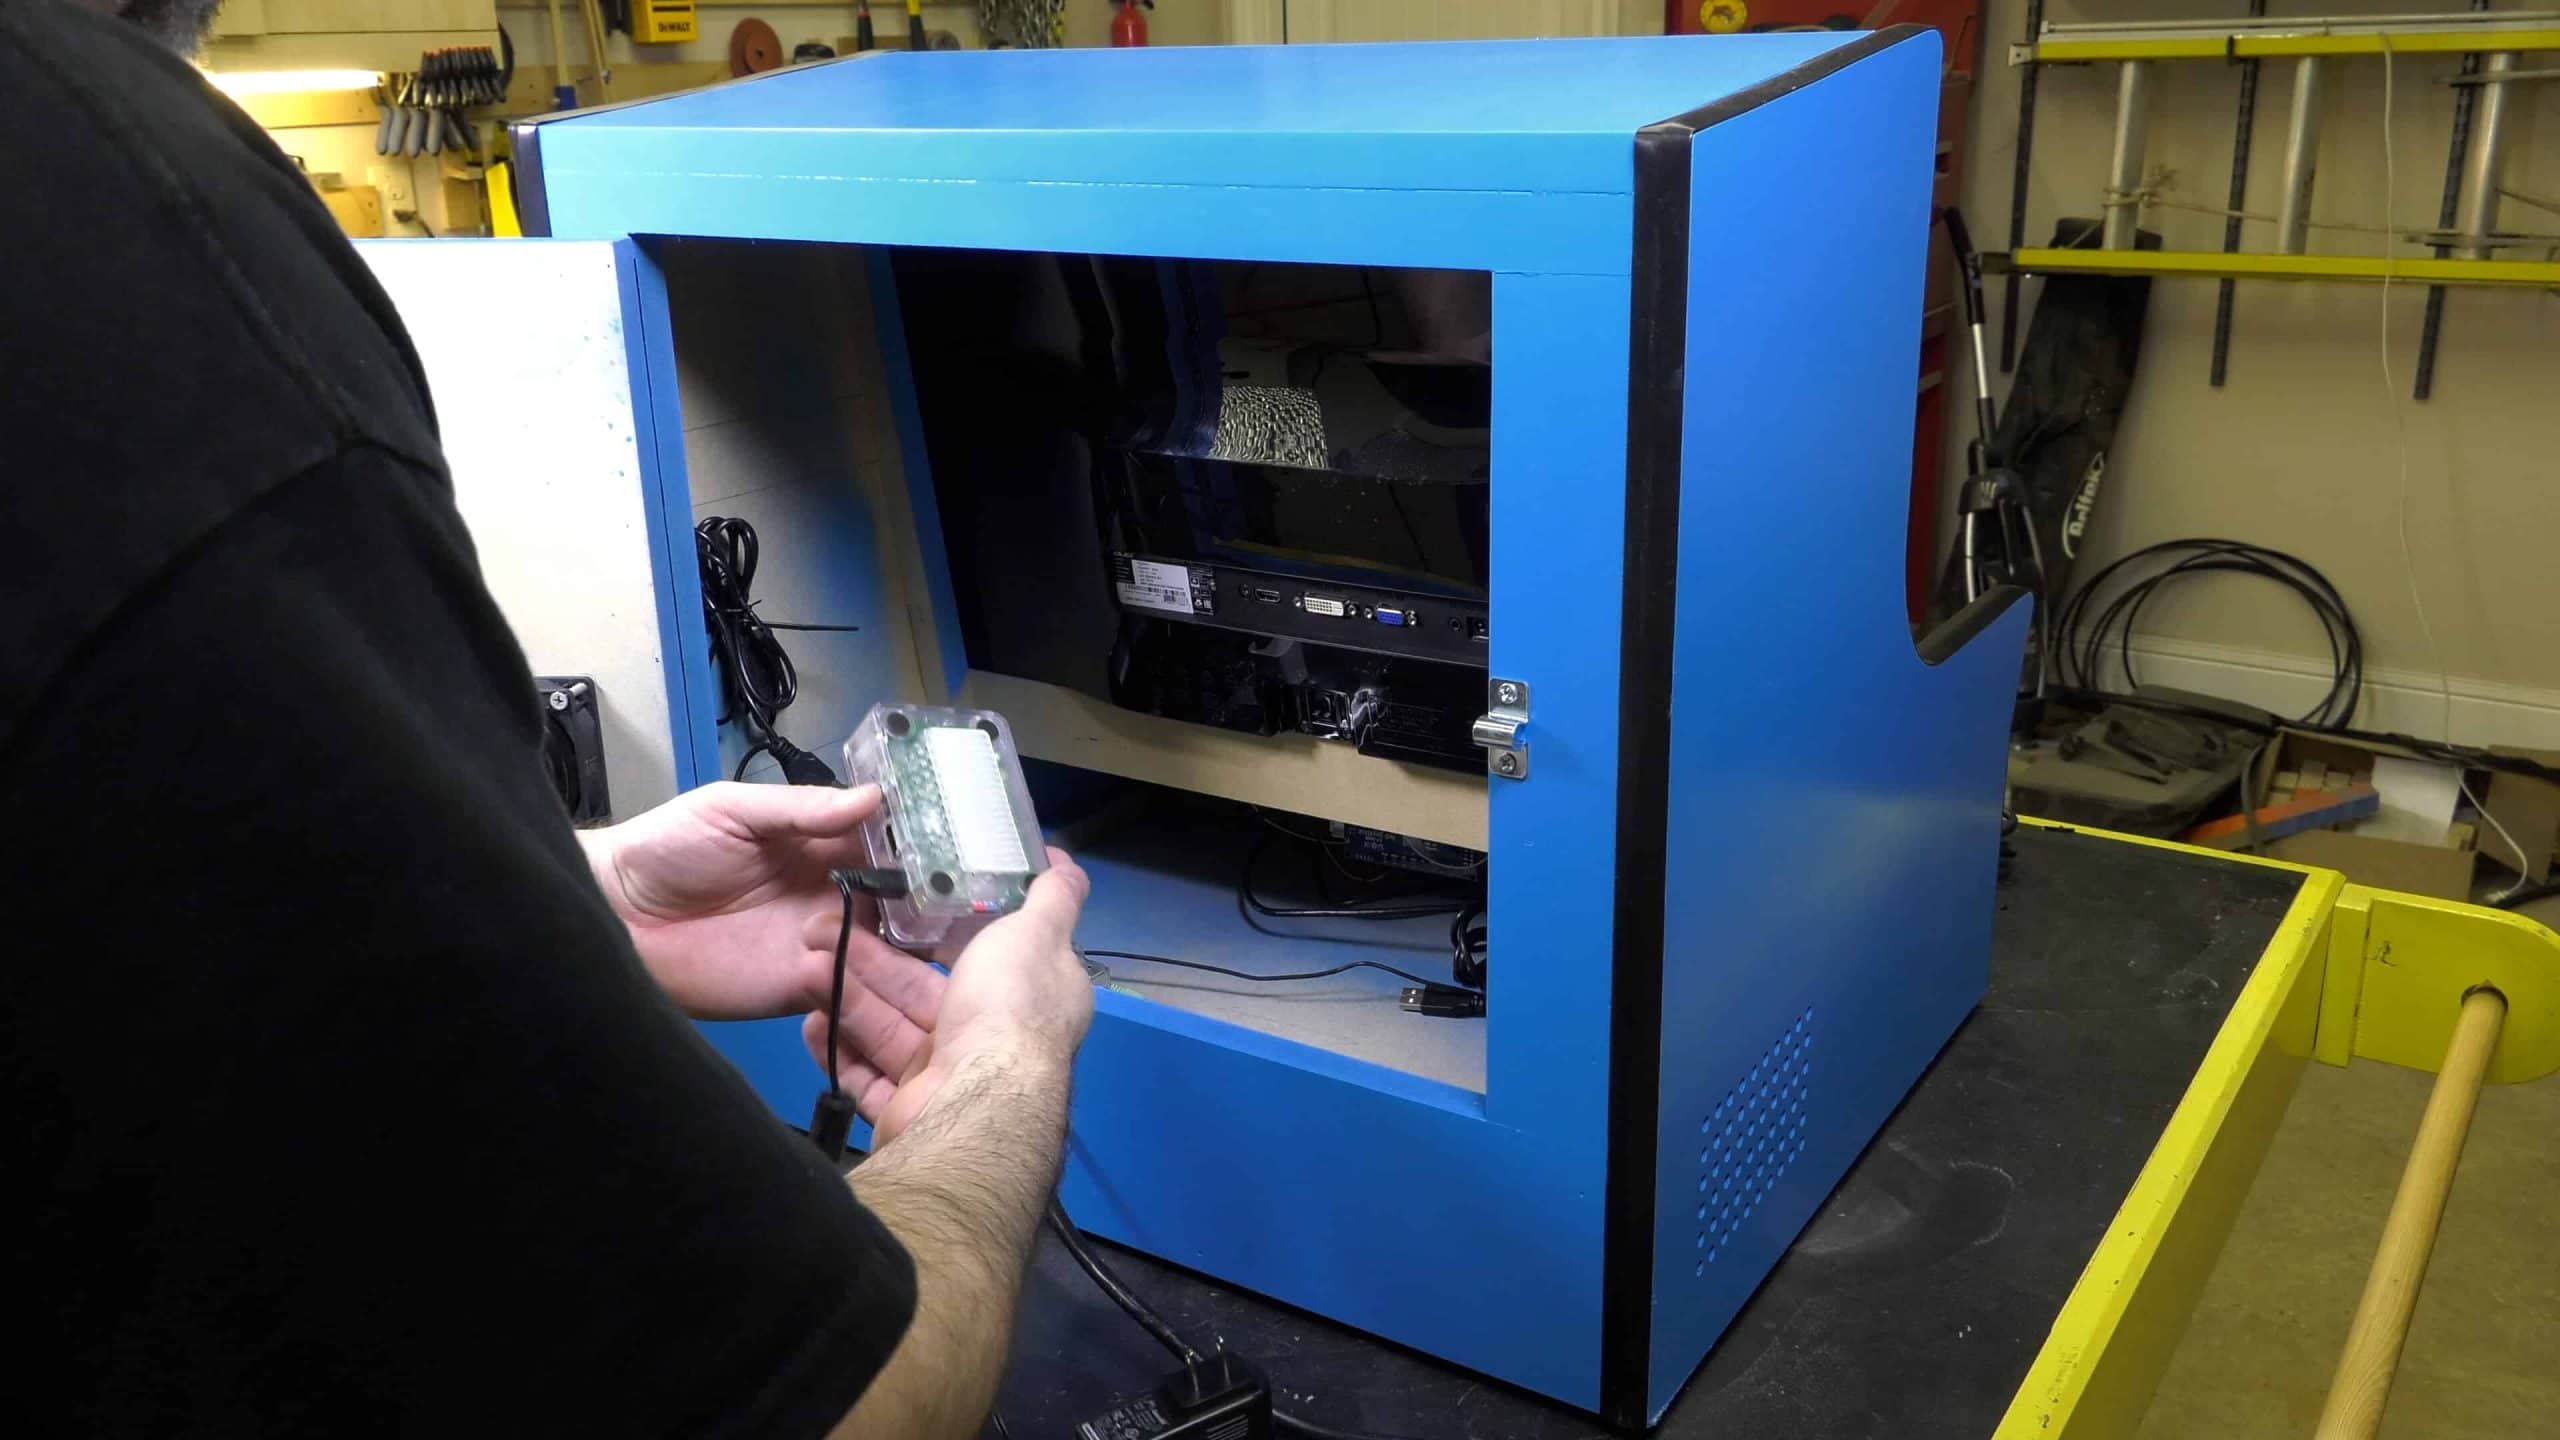
Step 13: Install the Monitor and wire the Raspberry Pi
Install the Monitor in the case, and then plug the HDMI, speakers, and USB ports into the Raspberry Pi. Attach the Pi to the arcade cabinet using velcro or double sided tap.
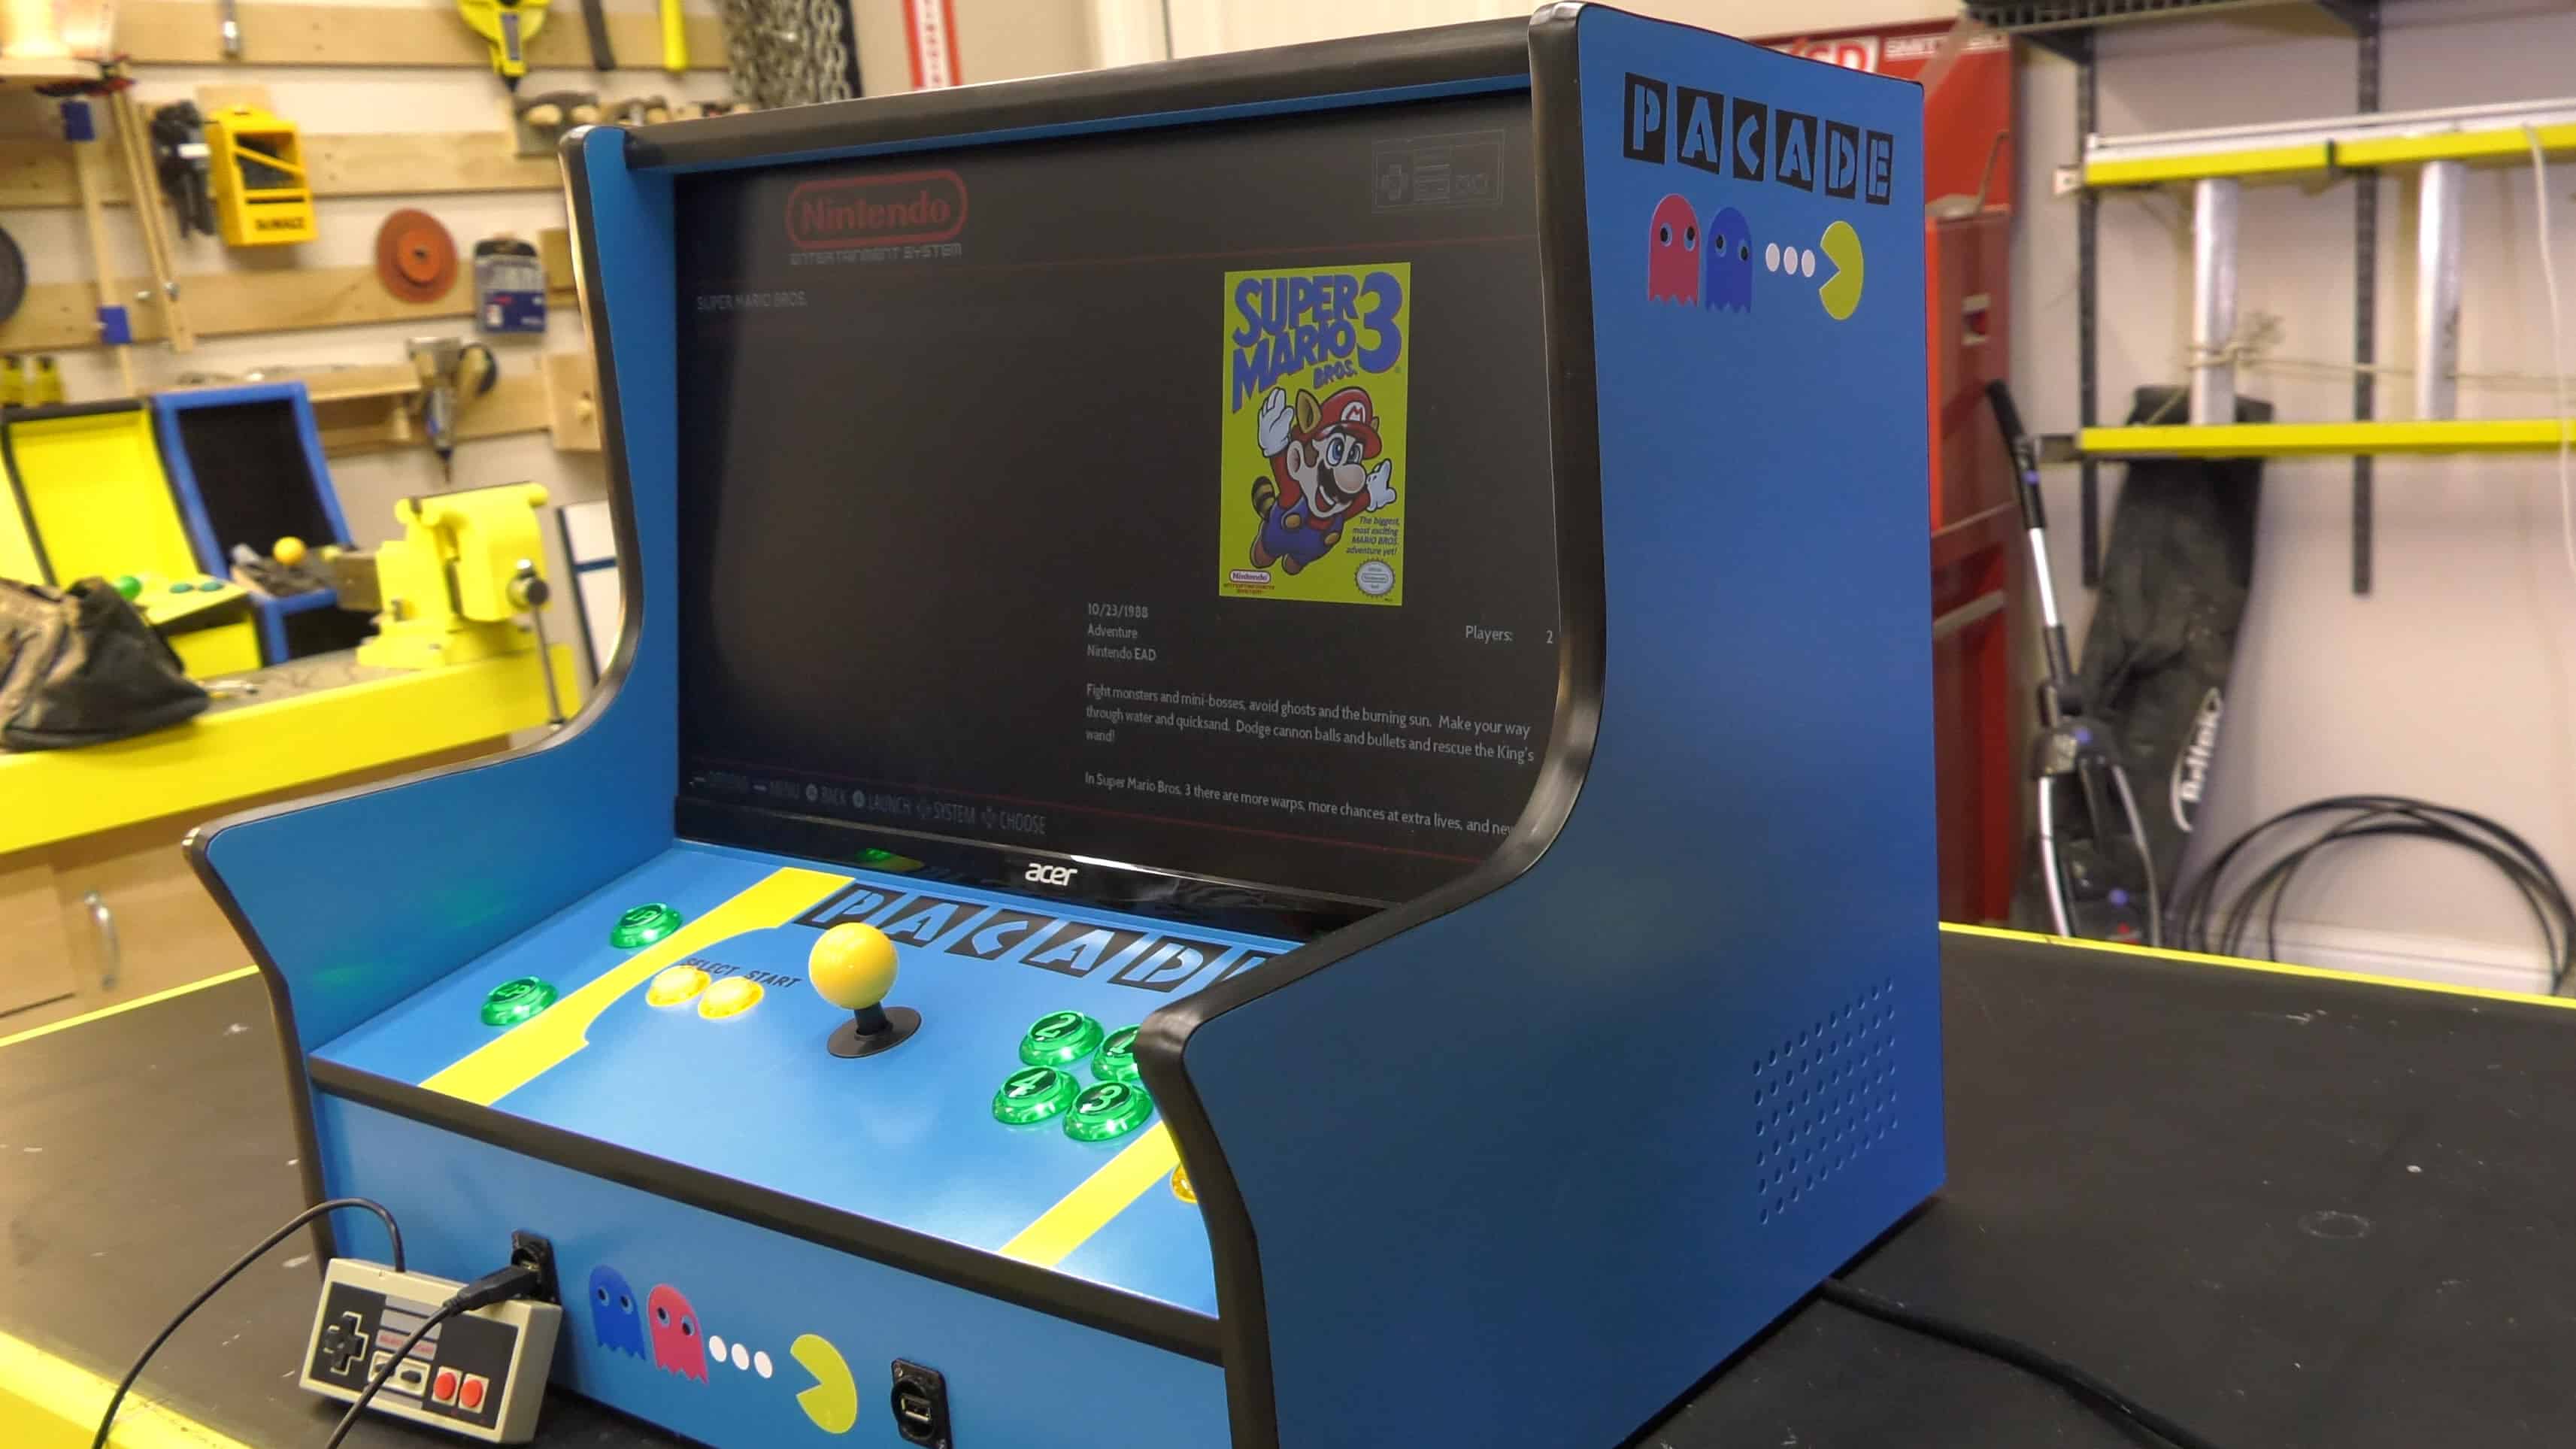
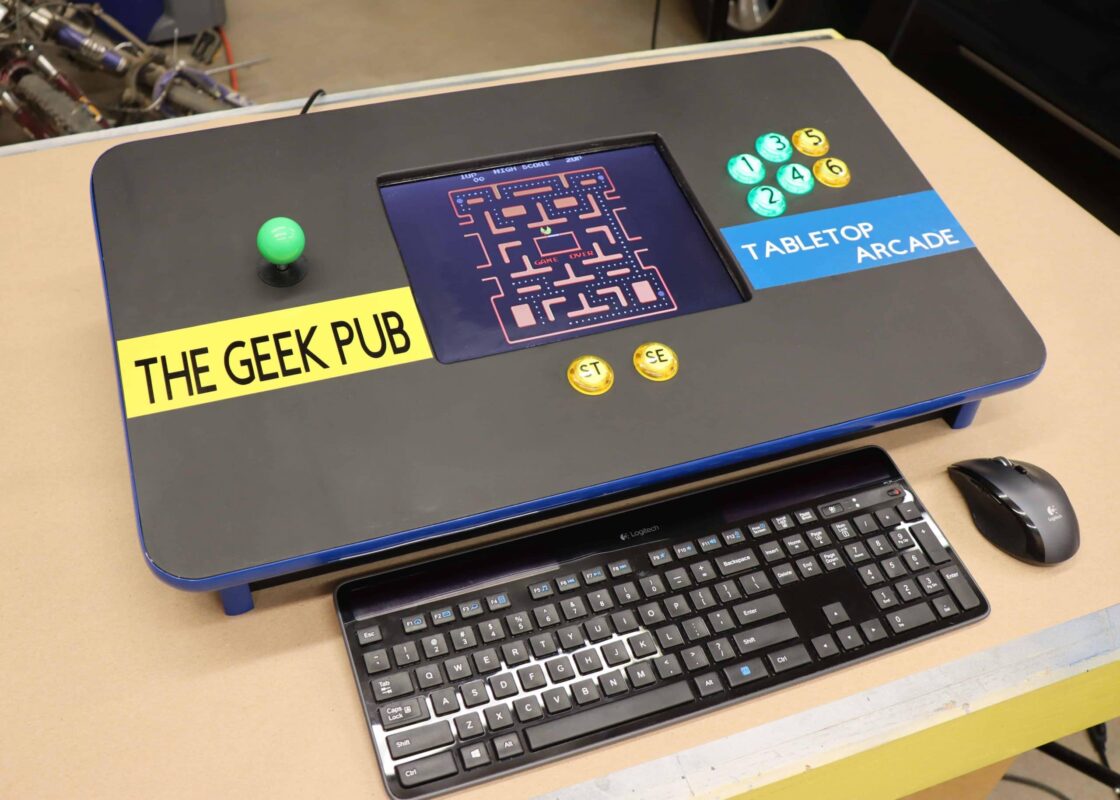
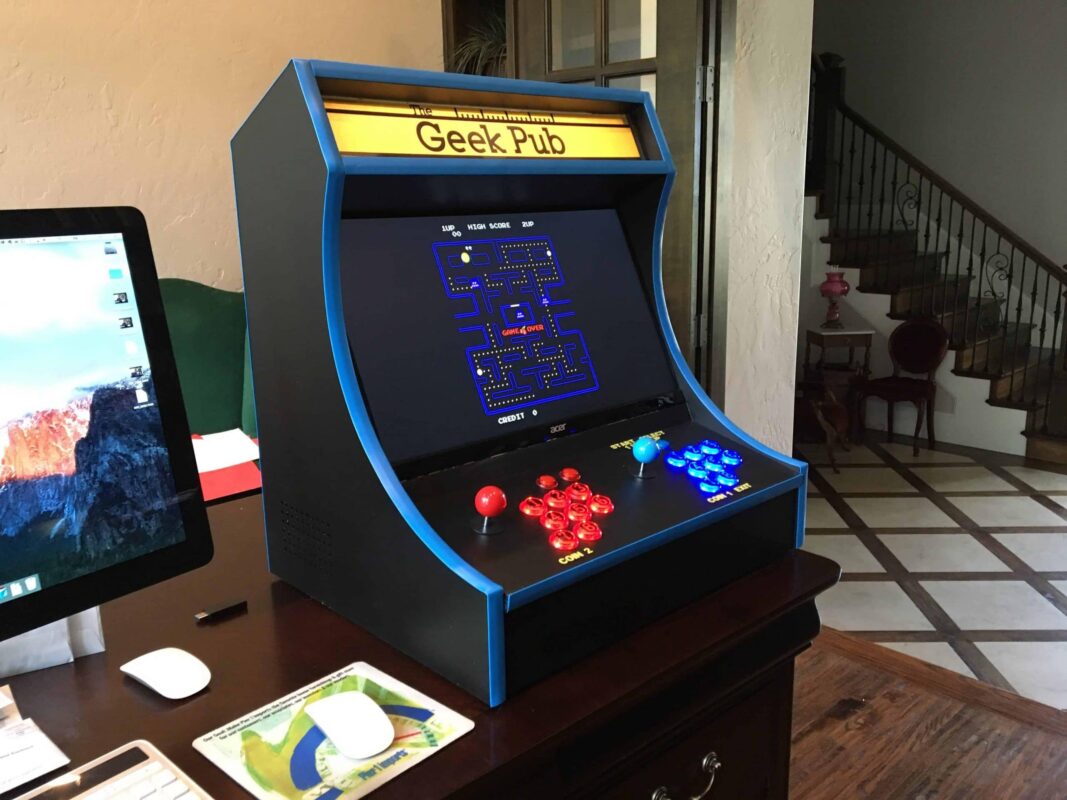
The Finished Pacade Bartop Arcade Cabinet
The Pacade turned out freaking awesome. There are few things to note about this cabinet. First, I decided to ditch the lighted marquee at the top. Second, I added USB ports in the front, a fan option in the rear, and a VESA mount for the monitor, of you choose to use one You may also want to take a look at this RetroPie Setup Guide to get you started.
Video Transcript
Hey Guys! It’s Mike from The Geek Pub. And on this episode, we’re going to build the Pacade!
Guys, I can not tell you how excited I am that so many of you have built my arcade cabinets, both my bartop arcade cabinet and my fullsize arcade cabinet. Now one of the questions I get most often is “Will you customize a cabinet for me?” and unfortunately I am not able to do that. But I am about to make a lot of you very happy. One of the requests I have gotten over and over and over was.. “There’s this 80’s model bartop arcade cabinet that only plays Pac-Man and Galaga” and it had a really unique design that none of the other bartop arcade cabinets had. We’ll we’re going to make a version of that cabinet today that works with Retropie and a standard 24 inch off the shelf monitor that way anybody can build it. And it addition to that we’re going to make some updates to both this new arcade cabinet and retroactively to the plans for my old bartop and full-size arcade cabinet. And that’s going to be, we’re going to add USB ports to the front so that you can attach like Nintendo controllers, Atari 2600, XBOX, all of that through USB. And then the second thing that we’re going to add is a hugely requested feature for all of my arcades is a VESA mount back plate for all of them, because some people are just simply afraid that the cabinet is going to get tipped over and the monitor is going to fall out. So we’re going to add that. I’ll add that to all of the plans, and then if you’ve bought those plans, you can simple re-download them for free. That’s one of the great things about my plans is that anytime I make an update you can have the revision for free if you purchased them in the past or if you are member of the guild. So let’s get started.
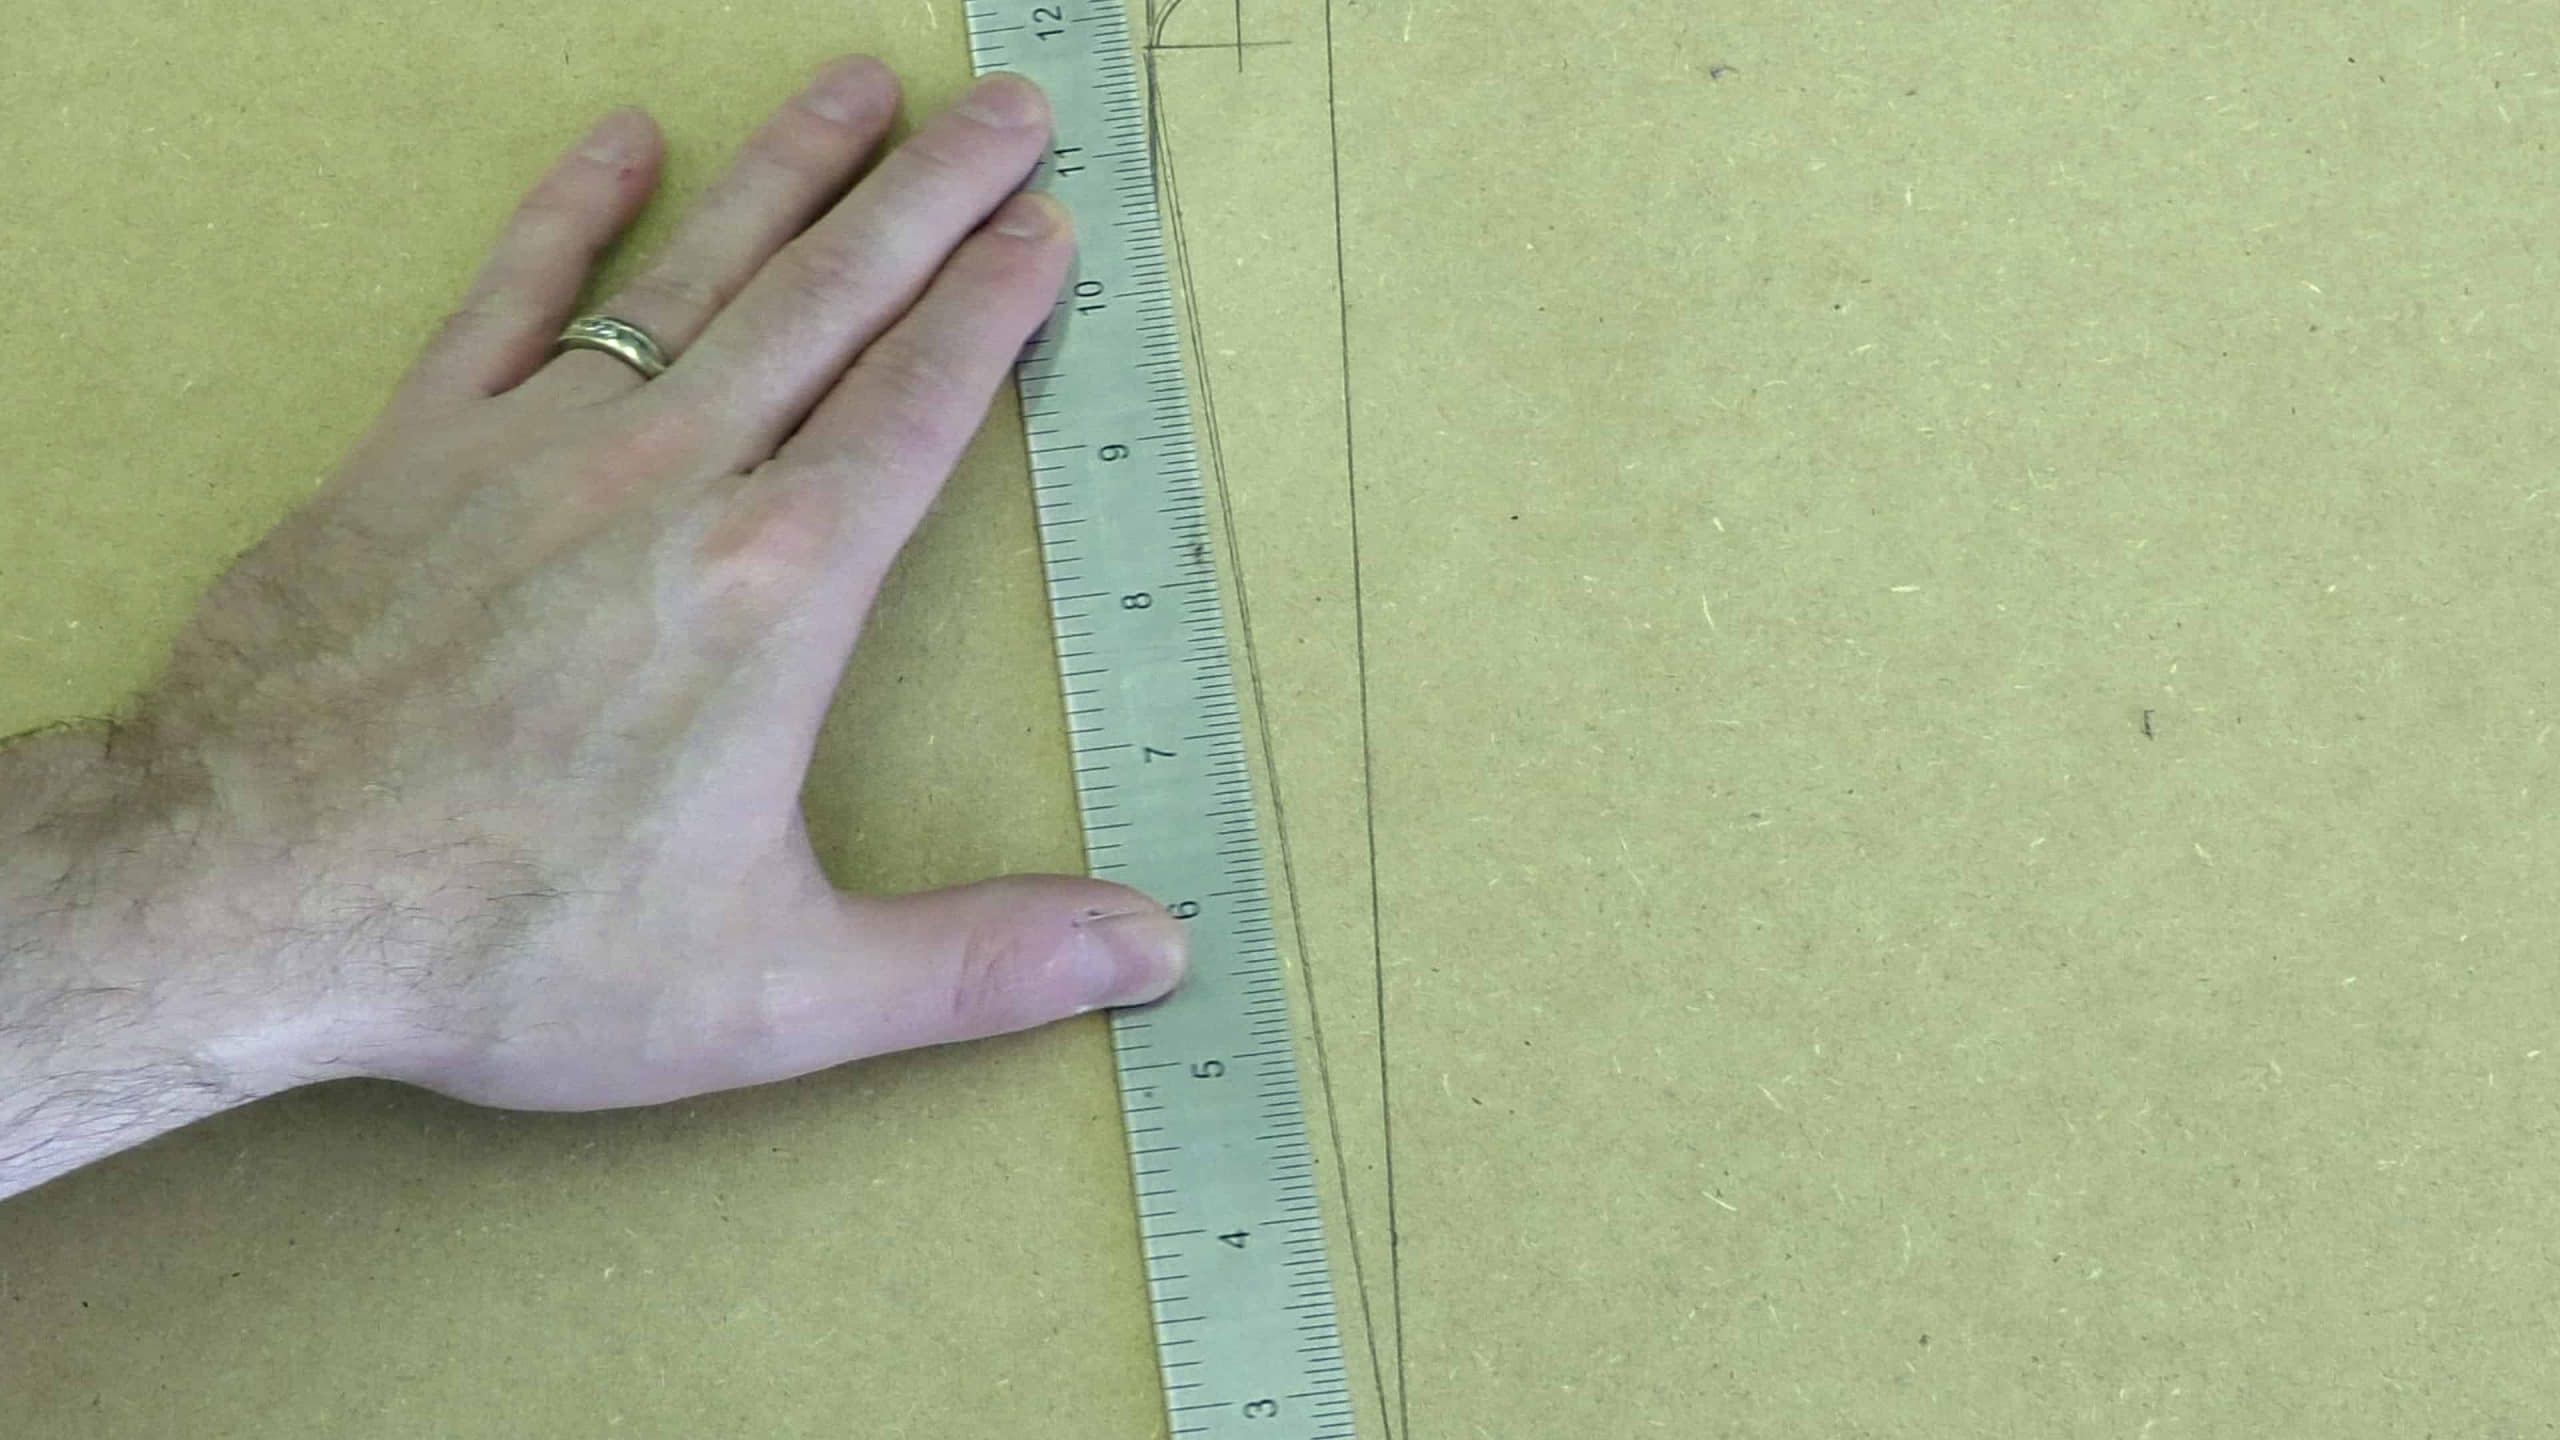
OK. So what I have done is I’ve drew out my design here on this section of MDF. A lot of people like to start with Sketchup, Me personally, I just like to draw it on the actual board that I am going to work with, or on a big sheet of paper. And then once I get it the way I like it I will copy it, or create a version of that in Sketchup and then make some adjustments. For whatever reason that’s just easier for me. But now that I’ve got the arcade cabinet built in Sketchup I am going to just discard this and I am going to start with a brand new blank slate over here and draw it out because this is just a big mess. And then I am going to show you some tips along the way as we go.
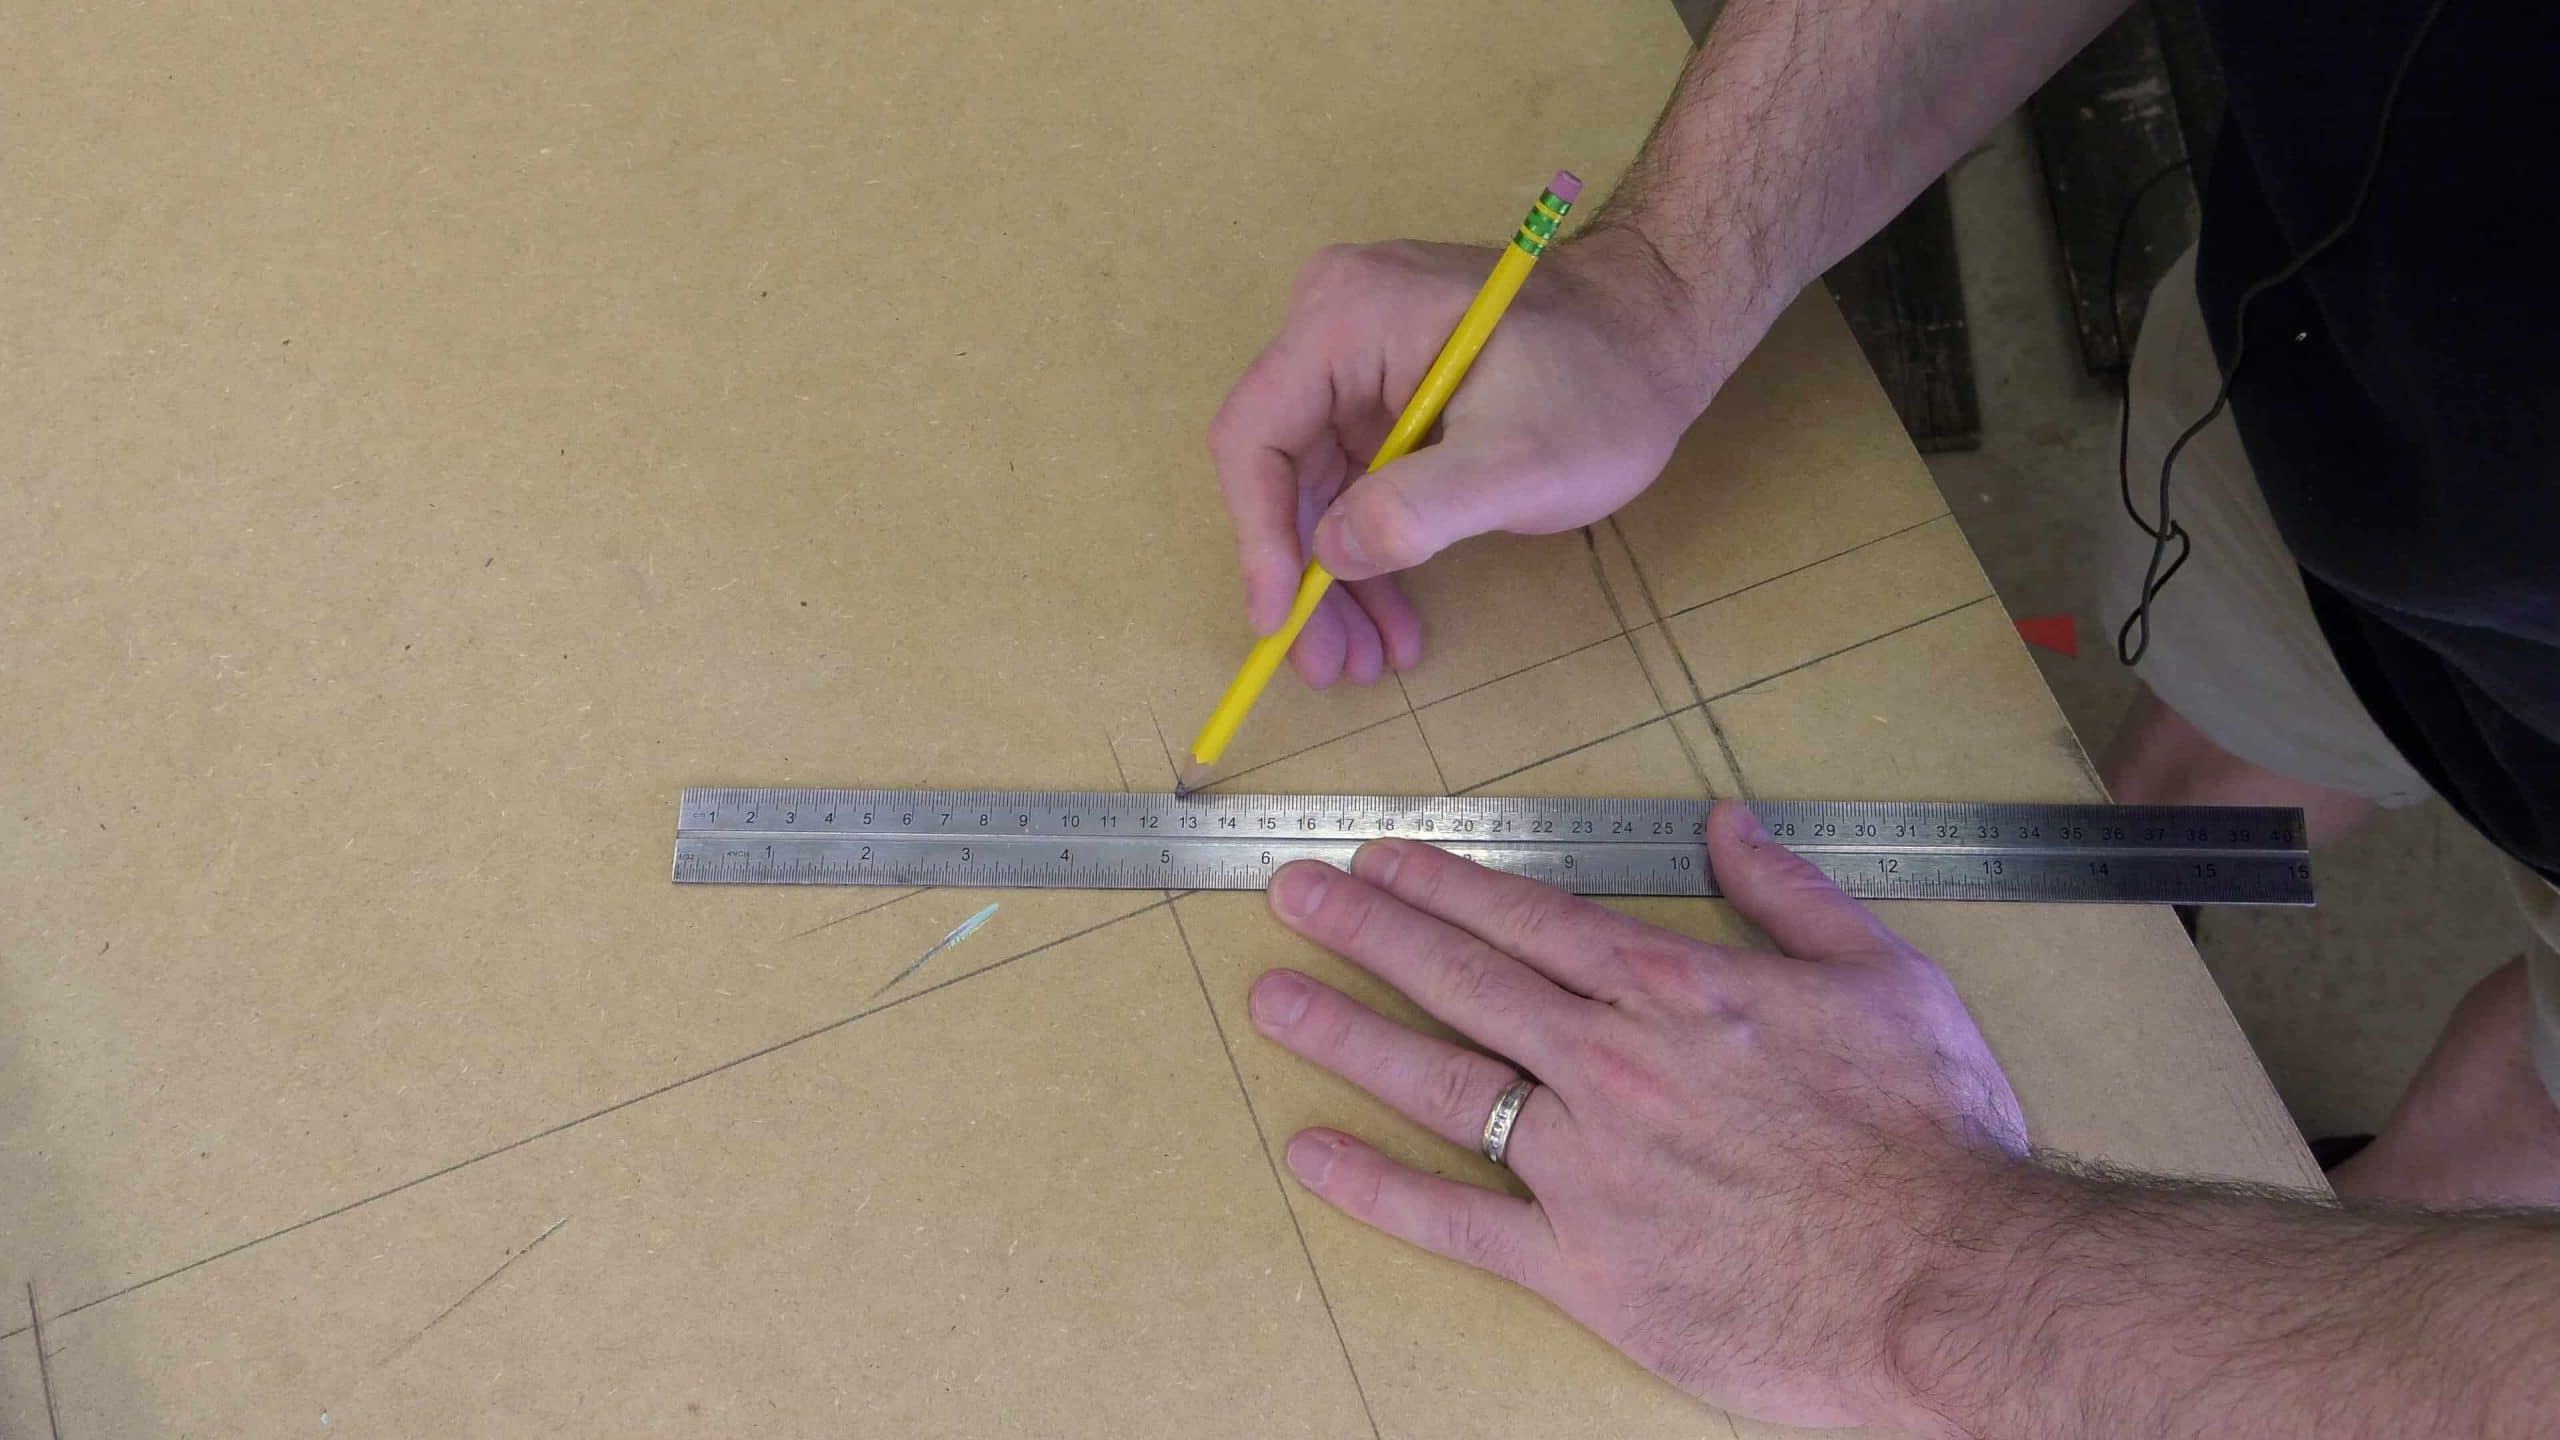
OK. So one of the questions that come up over and over and over and its answered in my videos, its answered in the FAQs on my website, its answered in the plans, but it still keeps coming up, so I keep bringing it over and over again. and the question is “What is the angle you used on such and such piece of such and such arcade?” and I could give you the angle and you could sit here with an angle gauge and try to figure it out and all of that, but the truth of the matter is there is a far better way to do it. And that is. For example on the top of this arcade, the front of the arcade is exactly one inch taller than the back of the arcade. So all you do is you measure over one inch, draw your line, and then use another straight edge to connect those two dots.There you go, you don’t need the angle.
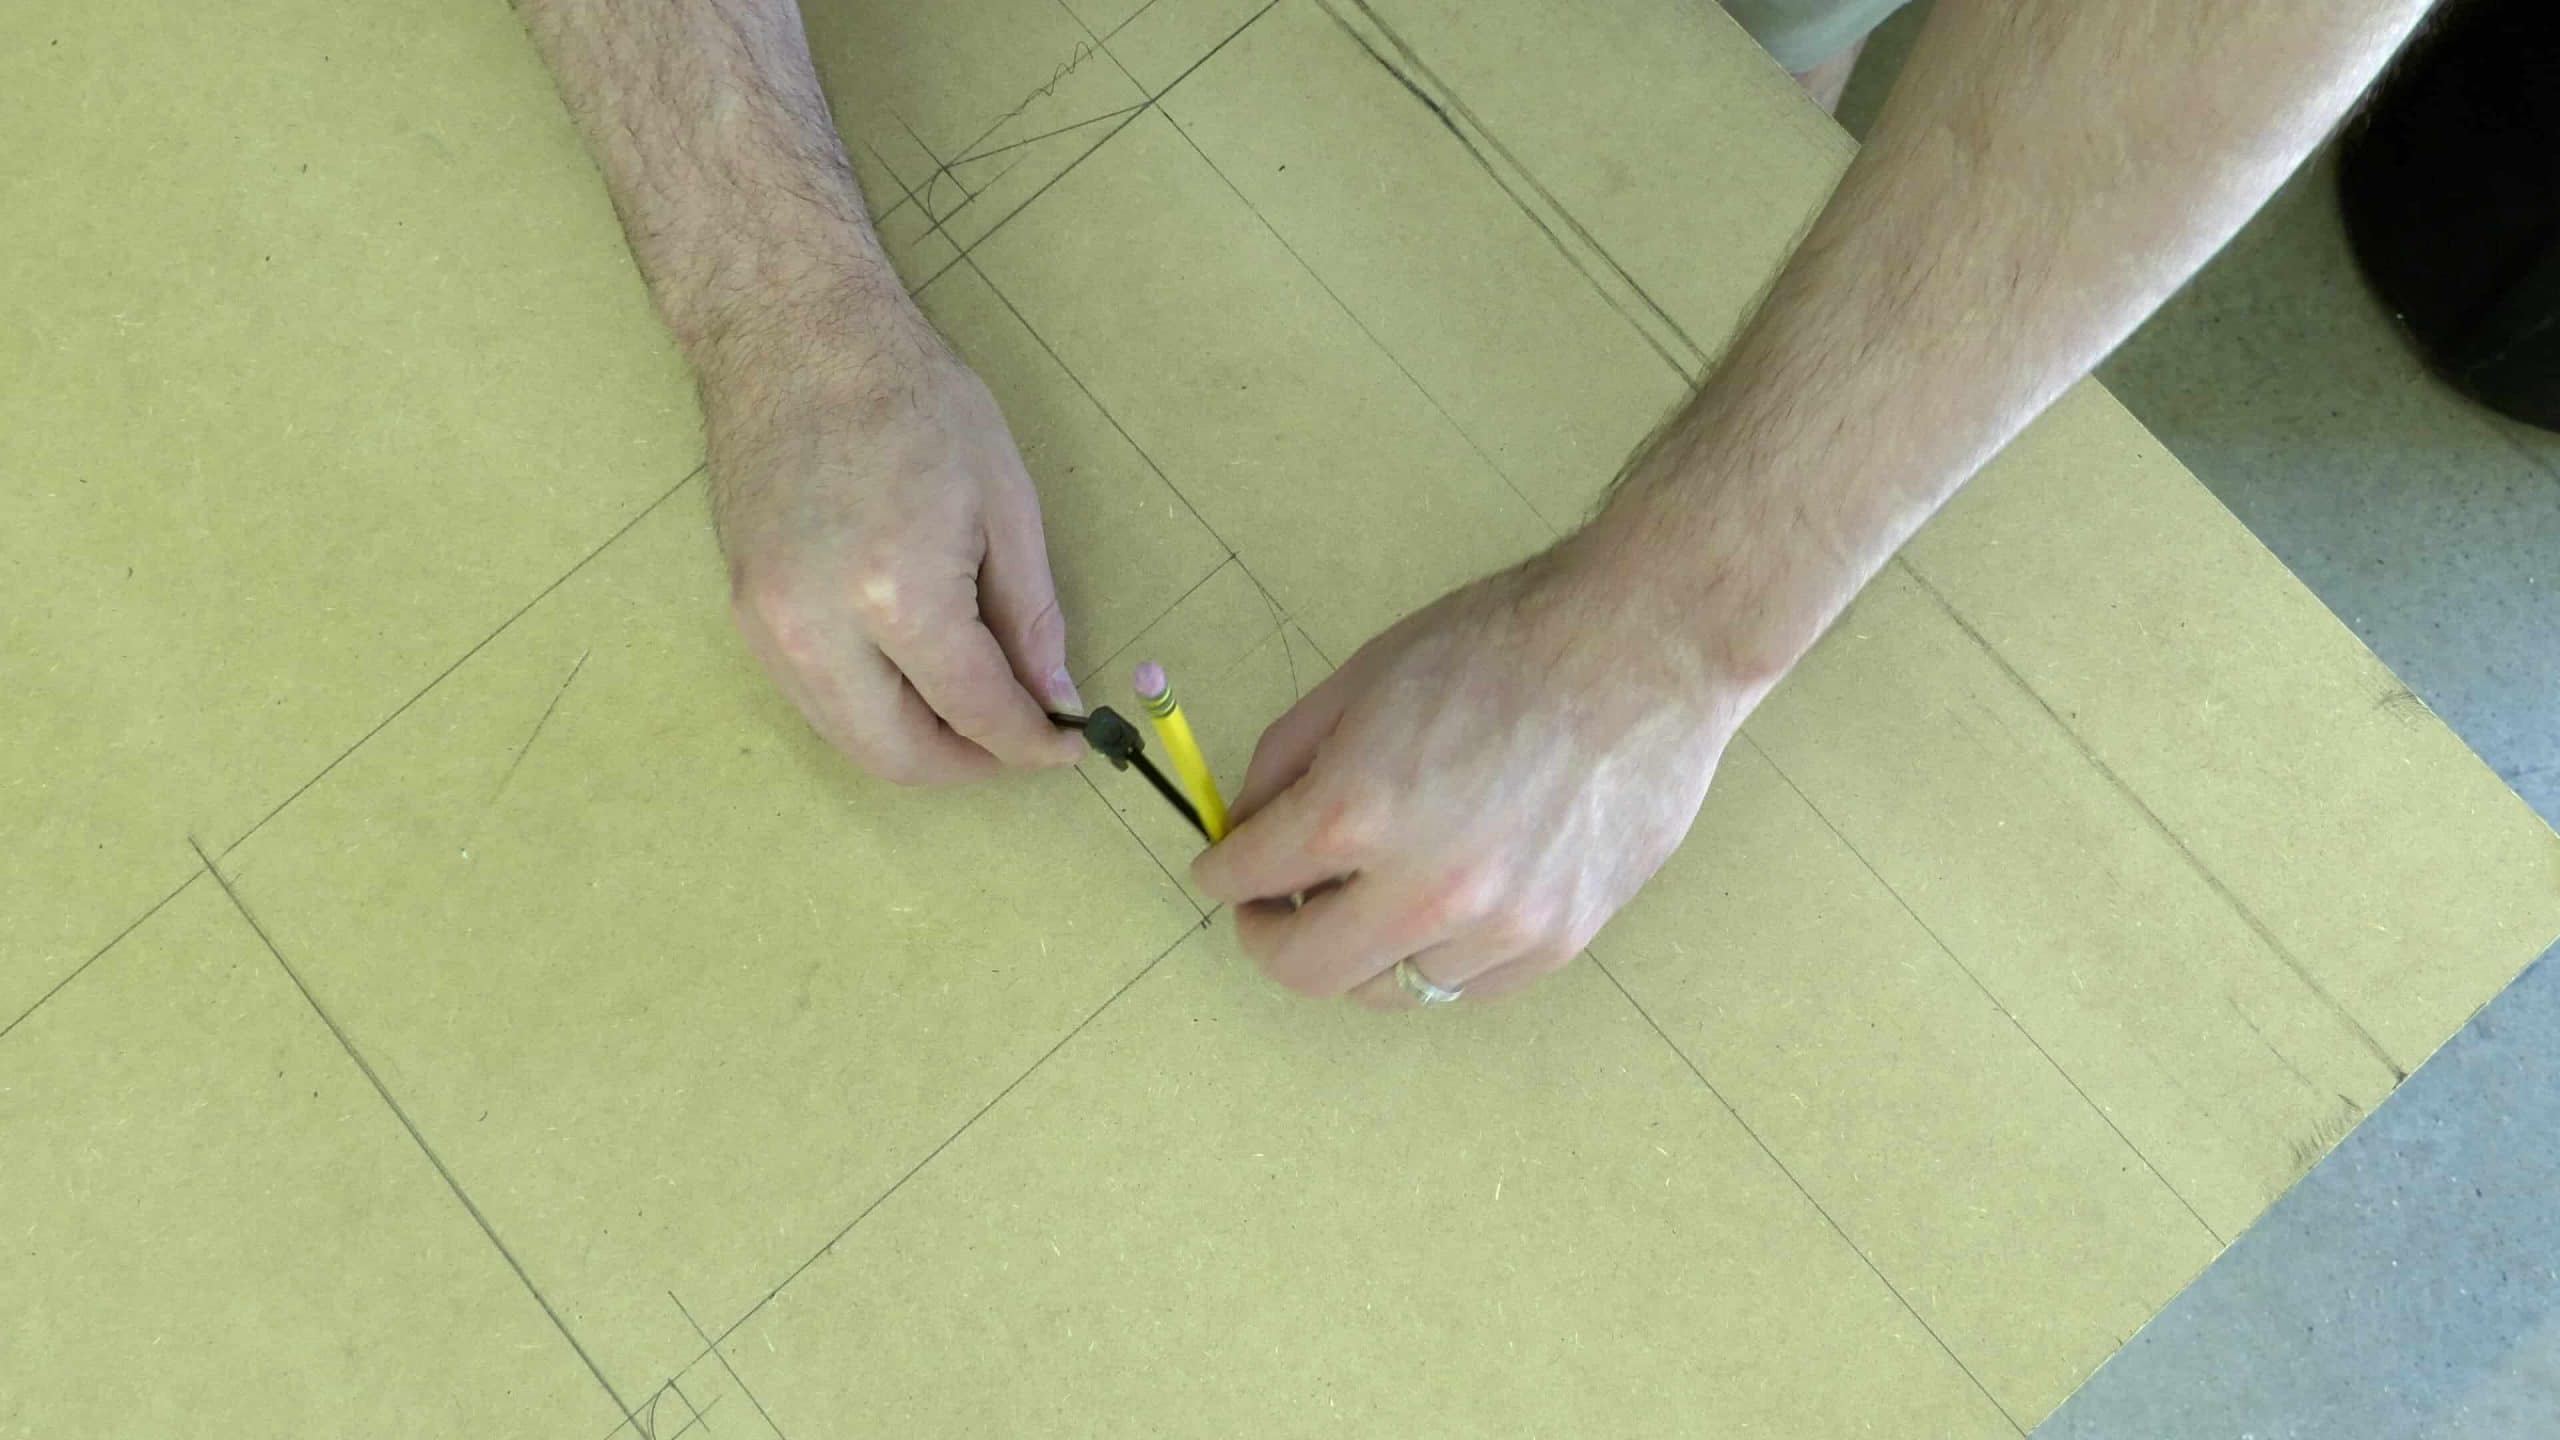
OK. So here’s another pro tip when it comes to circles and curves. So on the plans you’ll see that the curve starts three inches over and it starts three inches up on this particular plan (on this particular arcade), so you don’t really need to be concerned with what the size or diameter of the circle is. All you need to is make a mark three inches up and three inches over and then draw tick marks. Wherever those intersect is really the only piece of information that you need to know. And then you just use that to draw your curve.
So a lot you guys that have watched my other videos know that I like to use these little backer blocks or some people call them connector strips. But regardless of what you call them, they are just material that is cut to the exact same thickness as whatever the material is that you are building your arcade out of. And so in this case they are three quarter by three quarter because my material is three quarter inch thick. And what these do is that you simply brad nail and glue them down to the side panels of your arcade and then once the glue dries and you get ready to assemble your cabinet it makes it very easy for the other panels to just slip into place and they fit exactly. So there’s no struggling. You don’t have to worry about clamping or any of that. And then a little bit of glue and couple of brad nails and you’re good to go and you can move on to the next piece. It makes assembly very fast. So I highly recommend that. It is completely optional. You can just use glue and screws or no glue at all if you feel like you want to take it apart at some point in the future, and these are completely optional if you do that. But it really makes it easy for me, so I use them pretty much every time.
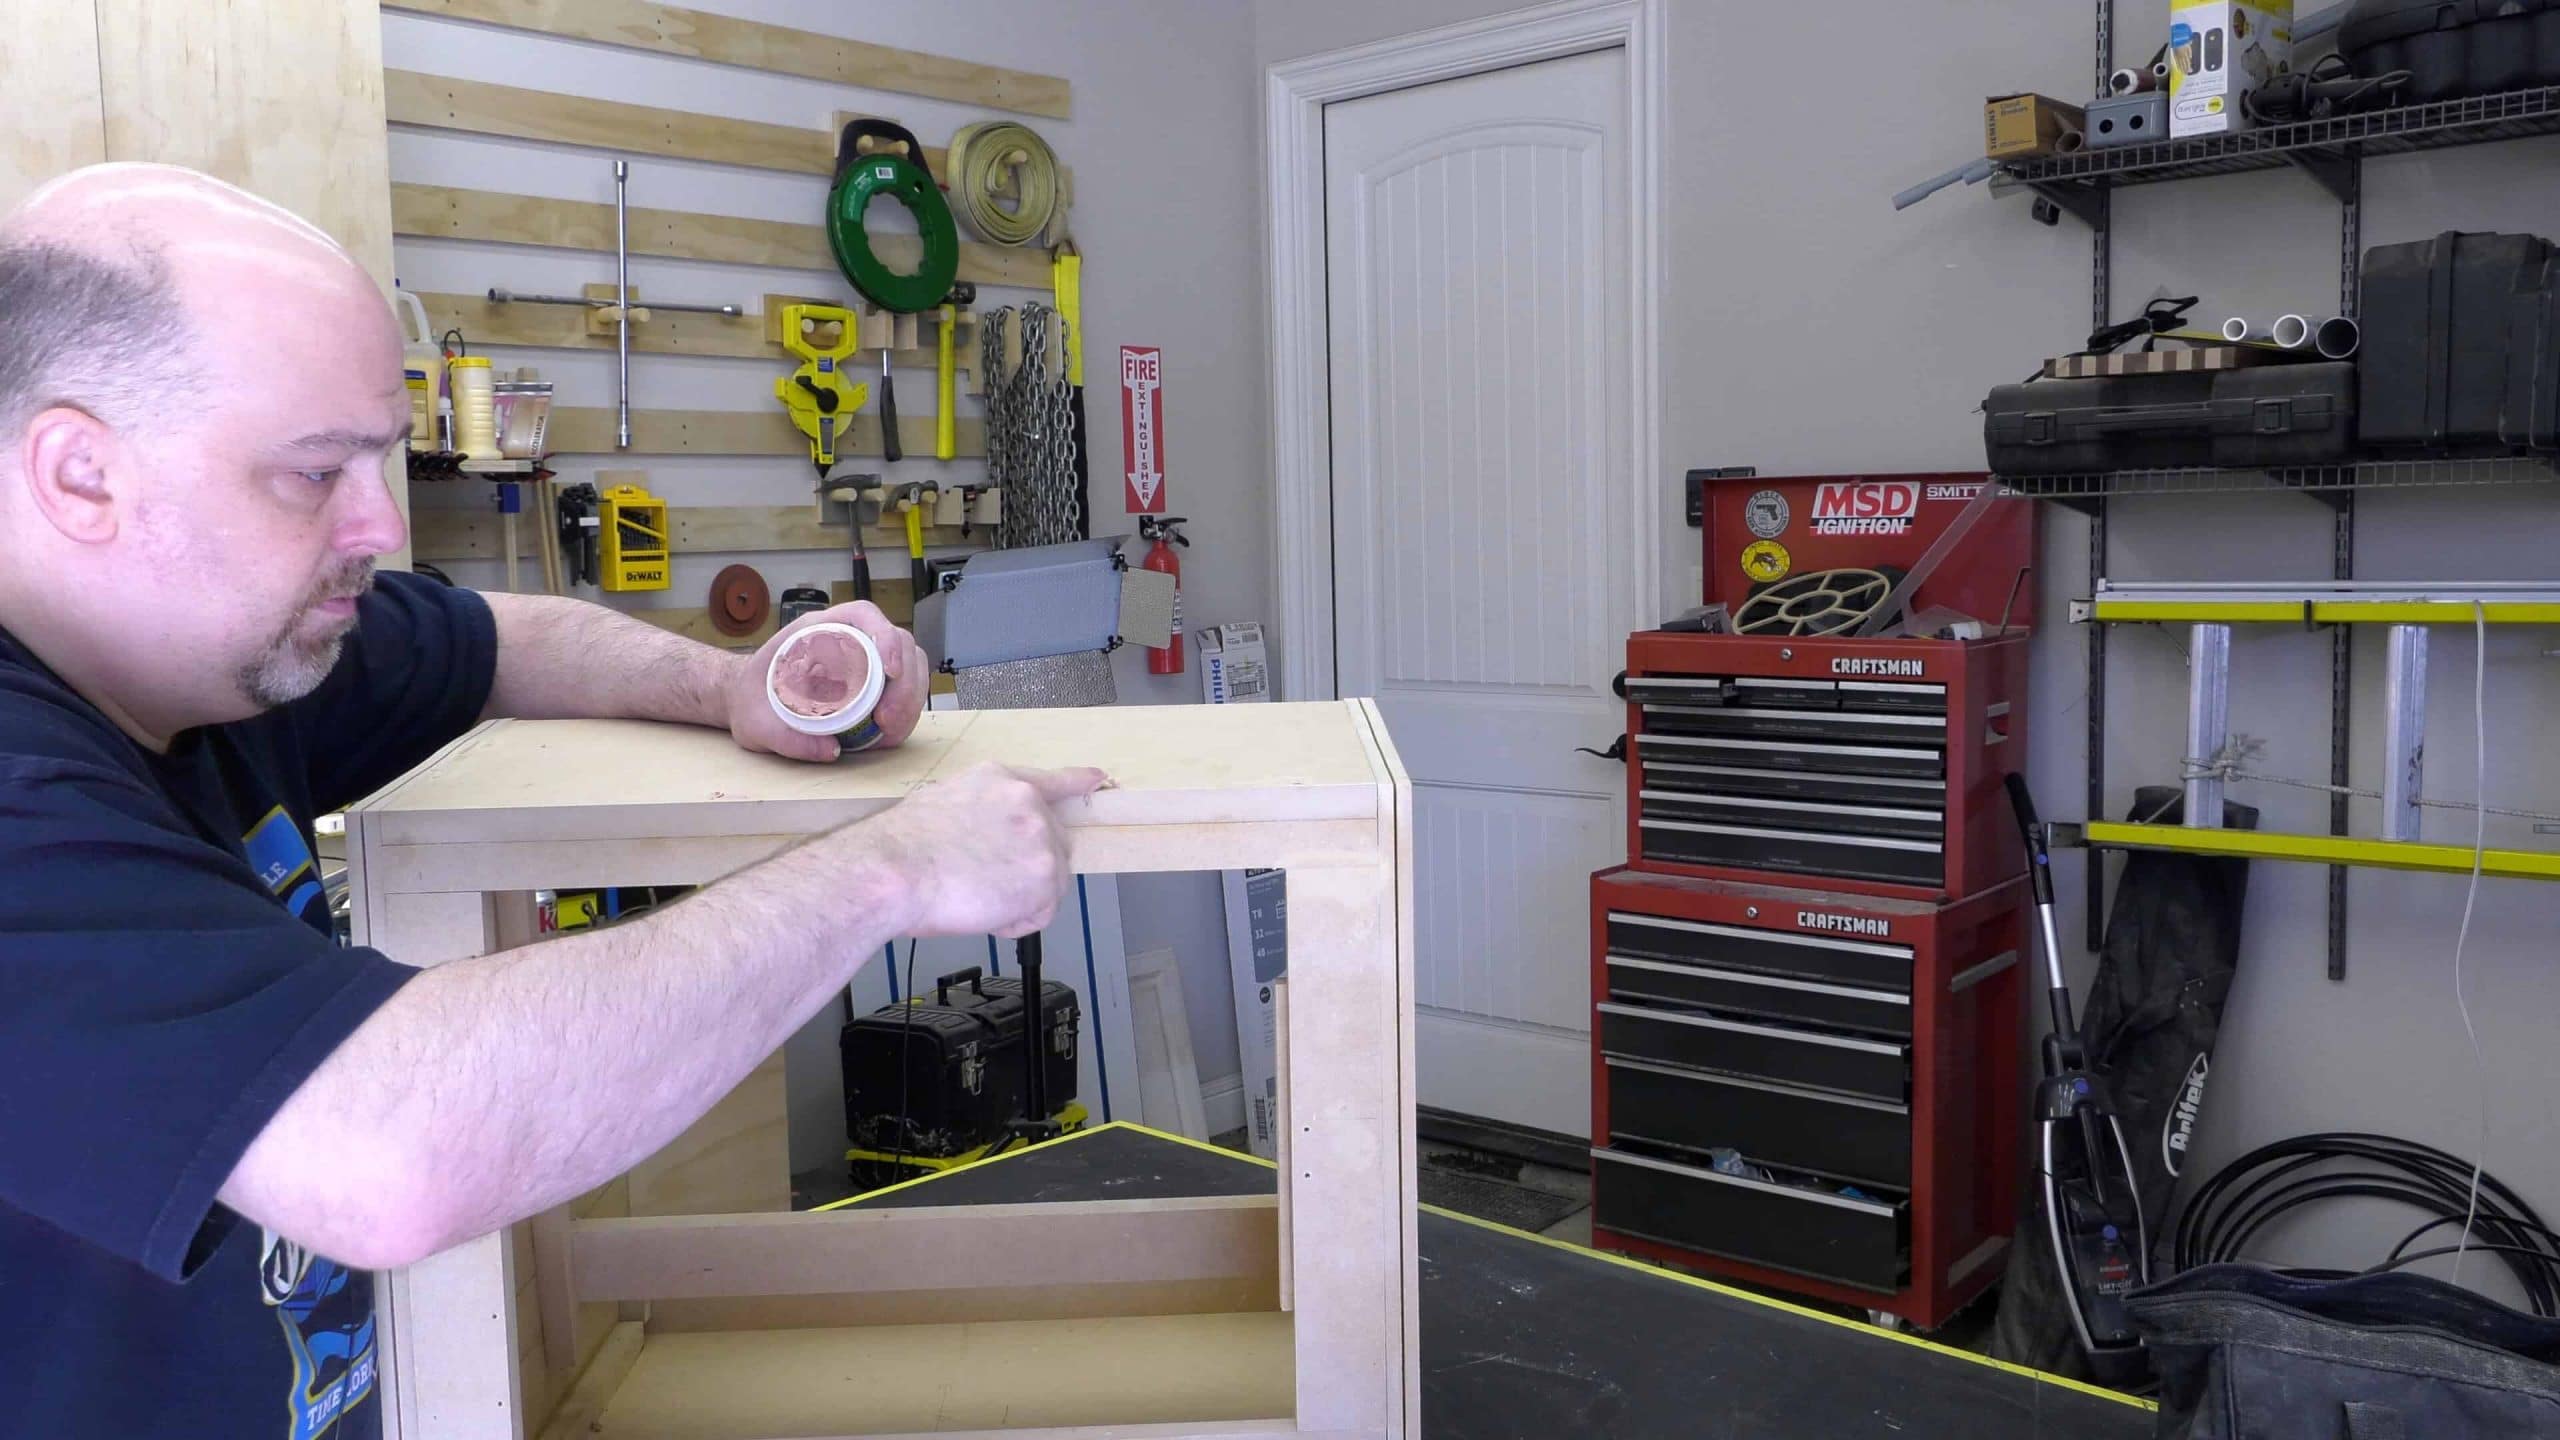
So what I like to do is since you know your backplate is going to be exactly three quarter inch. So here’s an example. We know this is going to be exactly three quarters of an inch thick, so all I do is I use one of these three quarter inch strips agains the back of the arcade or wherever it is we’re going to use this and then with the other one just add some glue, spread it out, and put it on there. Where you put it is really not all that critical as long as long is it doesn’t overlap any other parts and as long as it is exactly the distance of the material that you are using to the back of the arcade. And see look at that I just moved it. Line that up again. There we go. And there we go!
OK. And this one will be one of the supports for the monitor. And there will be one on each side. And then again we’re going to do a VESA mount on this arcade as well. But this just happens to be exactly the same thickness as the monitor so we’ll just put it right there on that line, that’s where the monitor is going to sit. So this backer block will just go right behind that. And that will be the right side support for the back of the monitor. And finally this will be what the keyboard rests on and I don’t really need a spacer for this because I just drew a line where it goes.
Well you guys know how much I love T-Molding, but if you don’t its OK. Just substitute the T-Slot bit for a round-over bit and a little sanding and paint and it will look good too. But, I am a T-Molding guy.
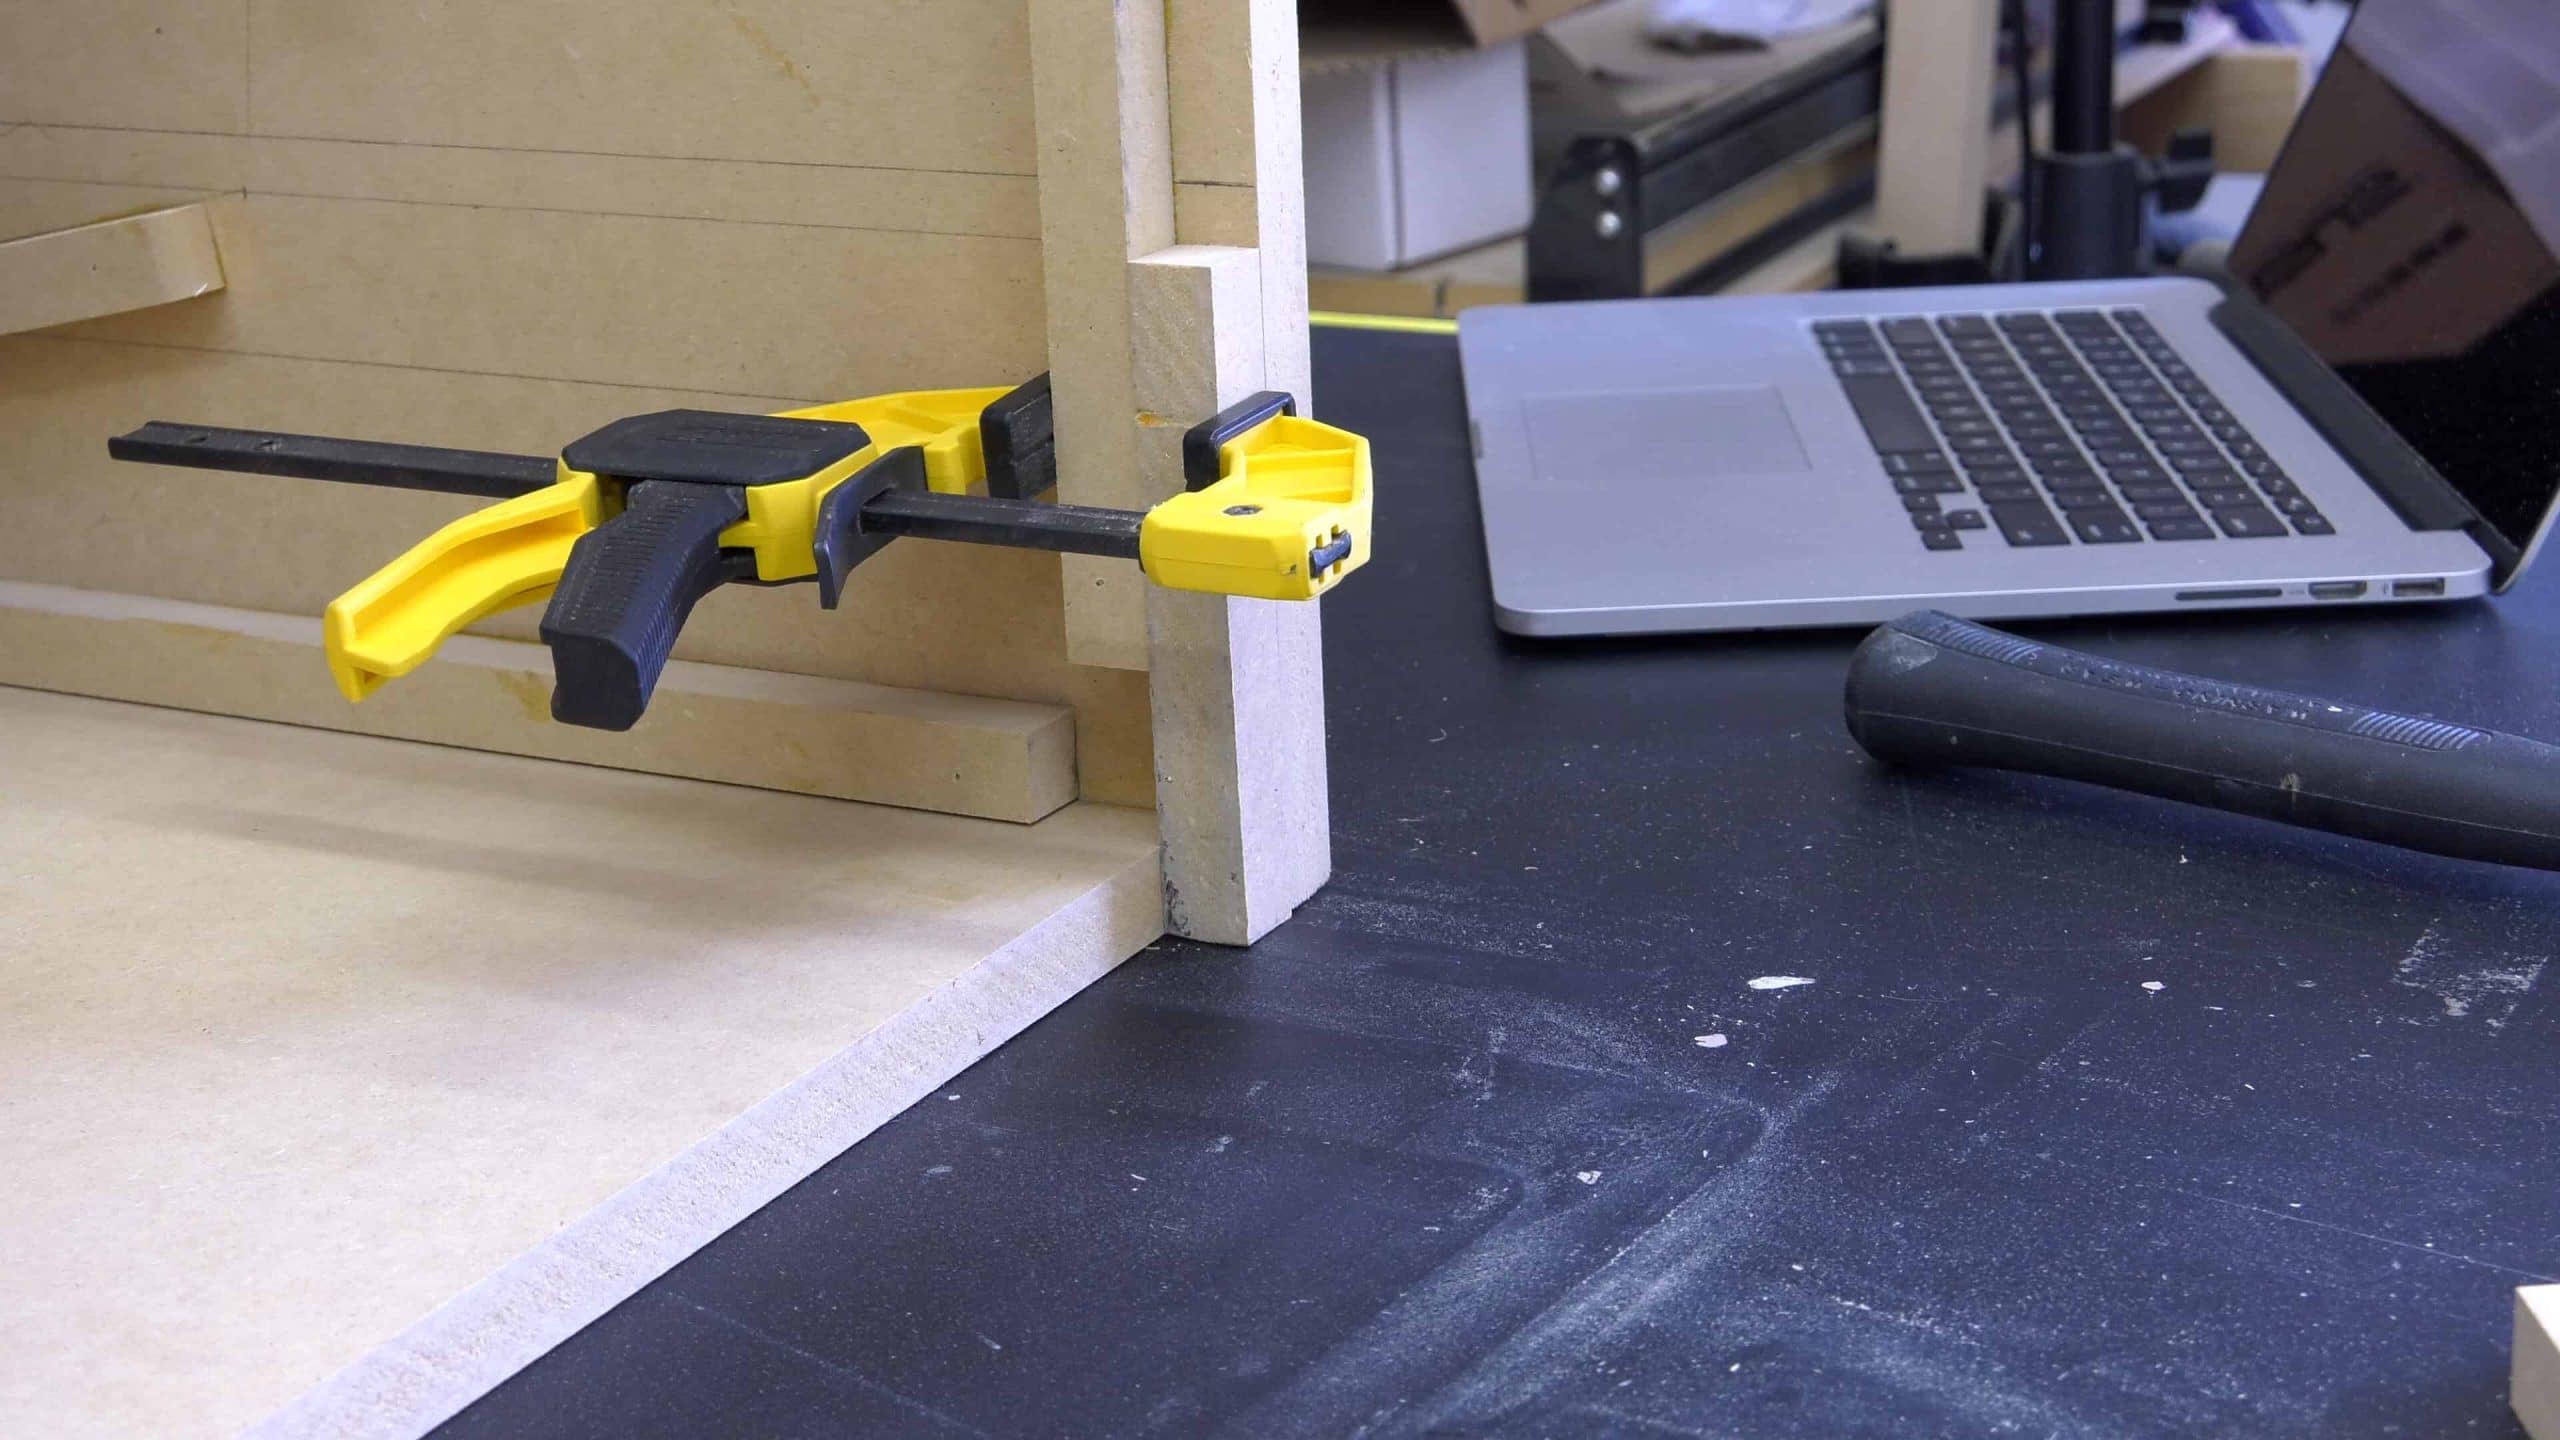
OK. Here’s another little pro-tip for you. When you’re trying to put these panels together, and you want to make sure everything lines up perfectly… The easiest way to do that is to take a piece of scrap material that is the same size as the material that you are working with, and just use a clamp (a small clamp) and clamp it on. Once you’ve done that it is as simple as pushing it on and pushing it back until it stops. Then you know you are perfectly lined up.
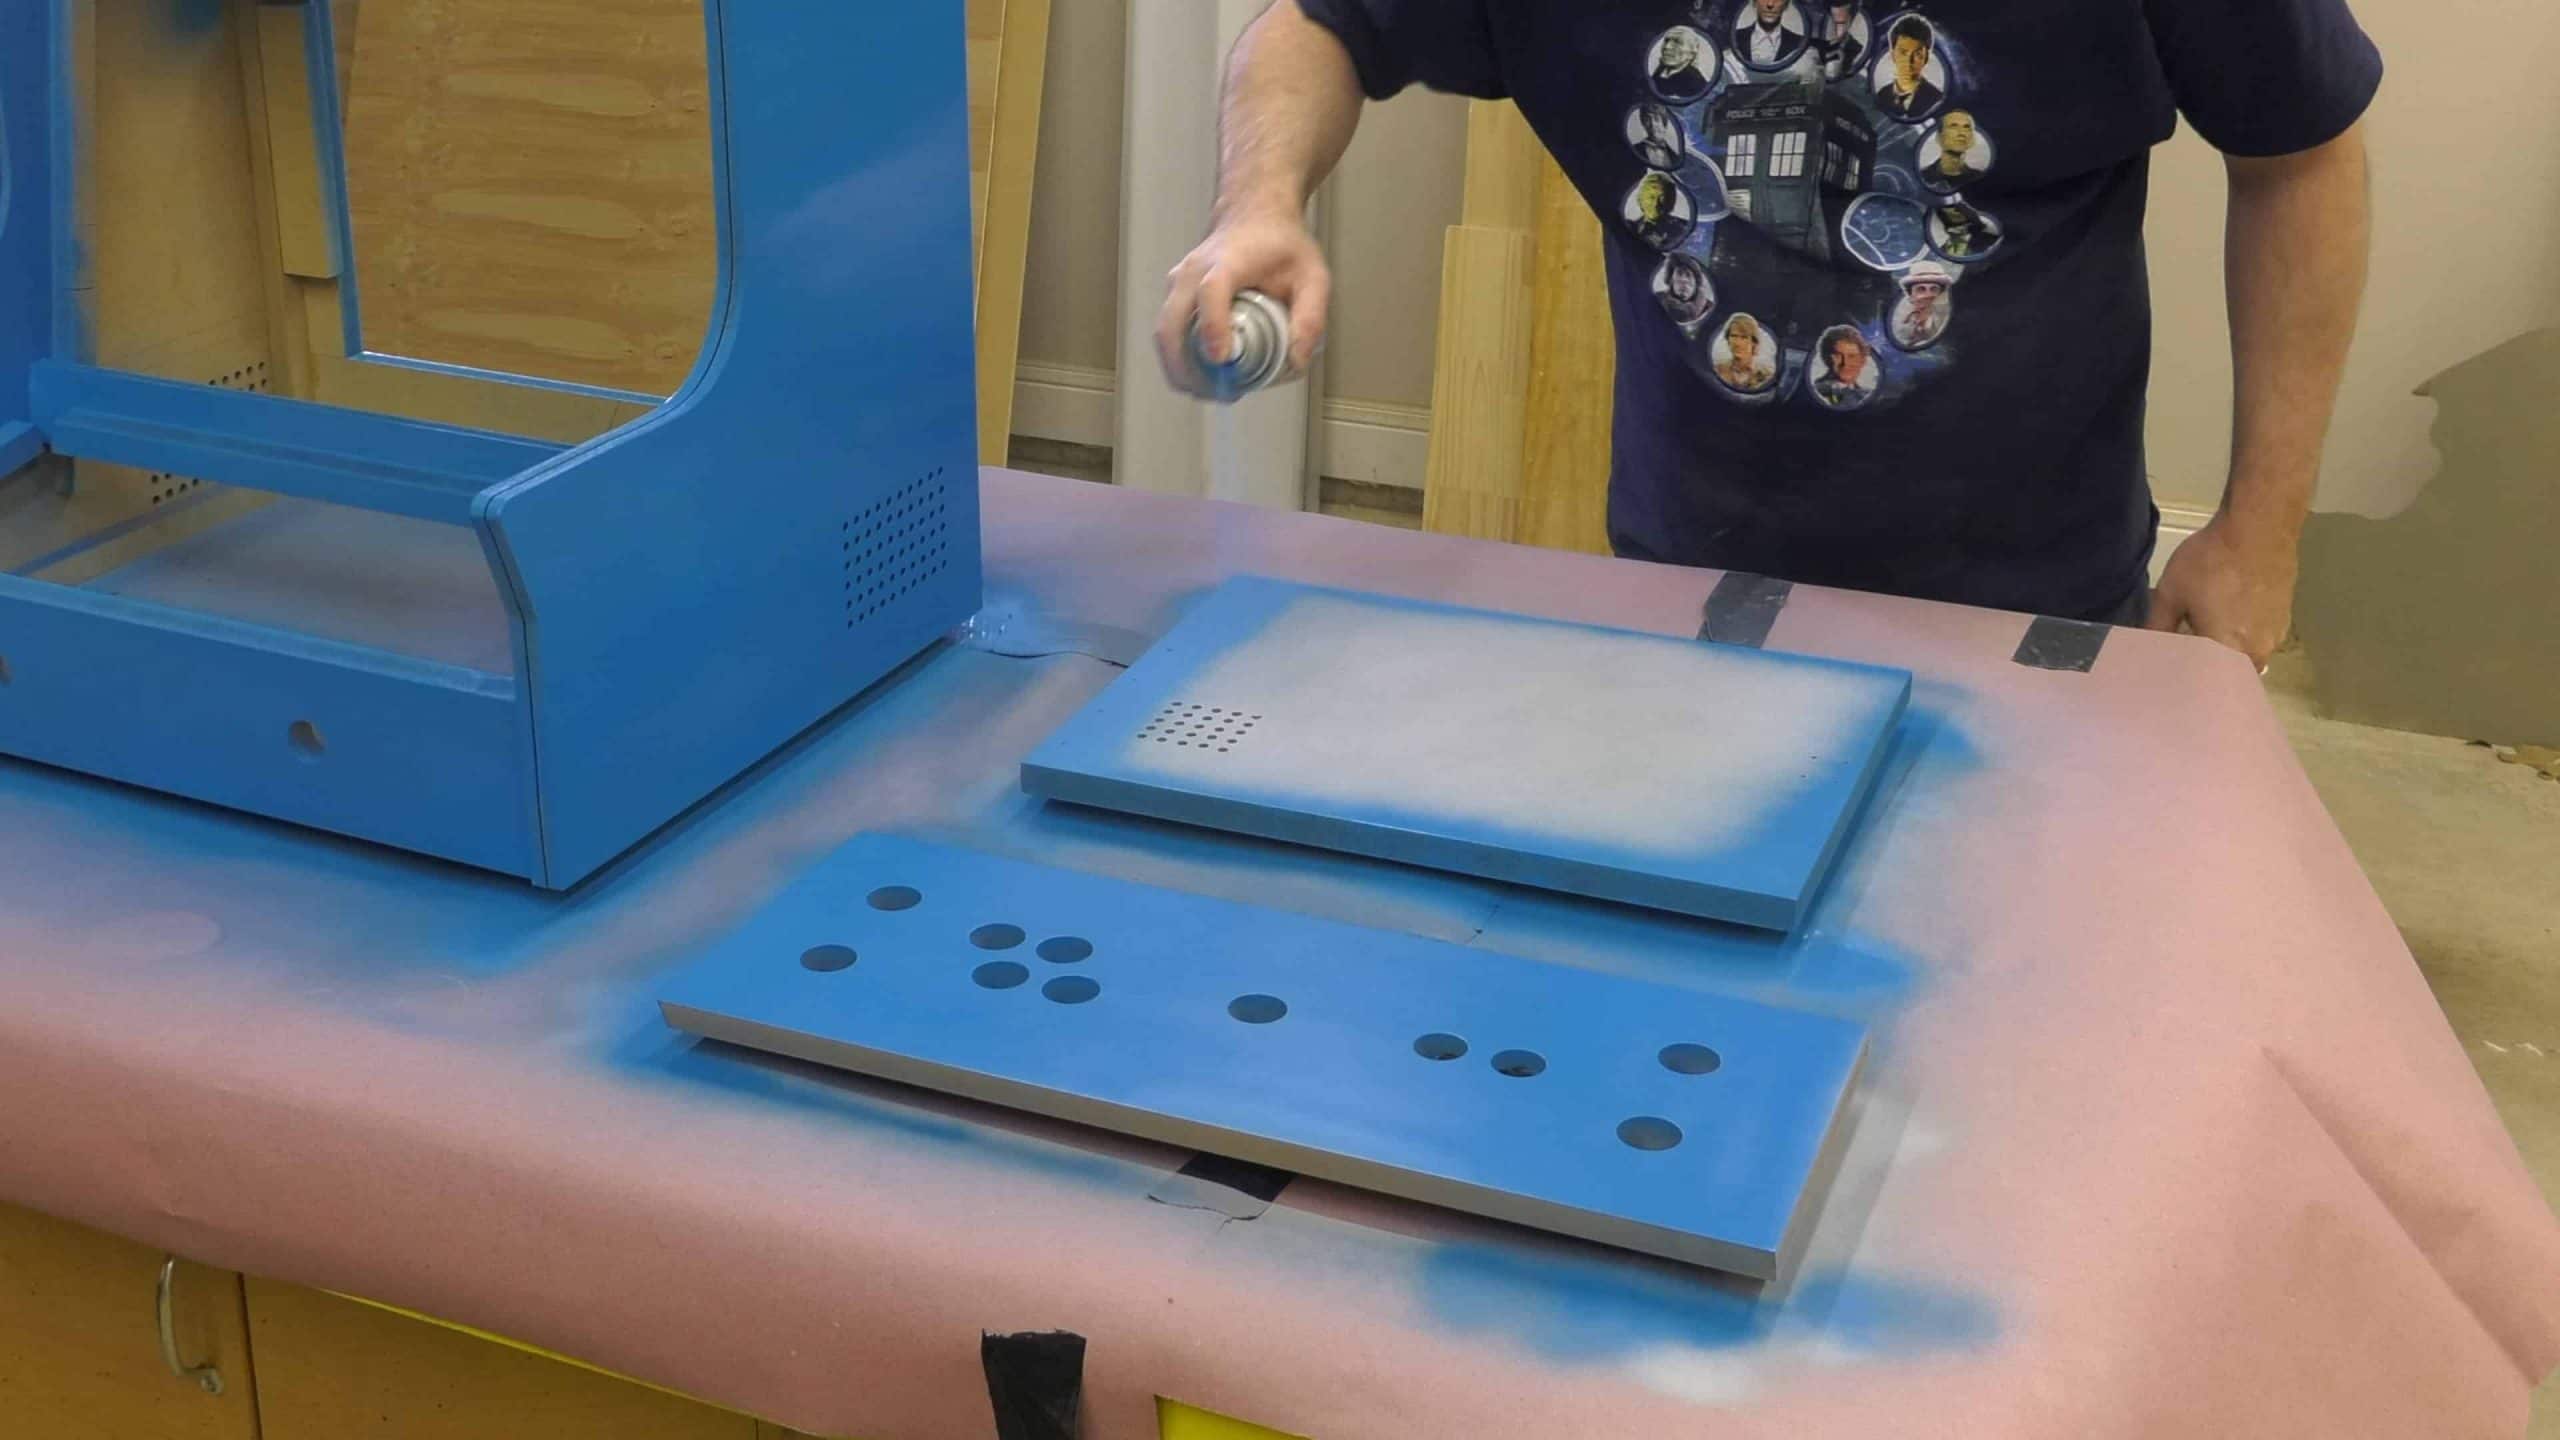
One piece of feedback I get a lot on the comments section, and in my feedback on my website is “if I could include additional templates for the control panel?”. And a lot of times it is simply that they want less buttons. So instead of having eight buttons per play they only want to have four. The simplest solution for that is when you are building the arcade, just drill the buttons that you actually want. So if you only want four of these buttons don’t drill all eight and you will accomplish the same thing. That being said I am going to start including, and I will retroactively add this to all of the other plans that I already make is a single player option. This single player layout will just have one joystick right in the center with one button players. Sorry with one button “hahaha” with one player buttons with a couple of different buttons for coins and things like that. So that will be included retroactively in the existing plans. And this is what we are going to use in today’s arcade build is this single player layout.
All of my plans include spray on templates for the speaker holes. And so all you have to do just like the keyboard is spray on a little glue, wave it around just a second to get it tacky (or get it to stick together) and then stick it on the side of the arcade.
On all of my arcades I put a back door on the back of the cabinet, or a maintenance hatch if you will. And that allows you, because you know at some point you’re going to want to make a change to something that is in the cabinet. That allows you to get inside and make those changes. The back door is actually cut one eighth inch smaller both directions than the hole that it goes in. This is to leave it plenty of room to open and close without rubbing. And so what I find is that I have these little little sixteenth of an inch printed circuit boards, but you can use anything… paper, cardboard, whatever and just lay those on the bottom of the cabinet before you put the door in and that way you know there will always be a sixteenth of an inch all the way around and we’ll do that before we install our hinges.
And here’s another little pro-tip for you. When you are mounting the hinge, go ahead and close it to a forty-five degree angle the backwards direction and this will allow you to space it perfectly on the cabinet. So just put it up against the cabinet and drill your holes.
OK, so contrary to popular belief, you actually do need to sand and finish MDF. It is actually a lot easier to finish MDF than it is plywood because MDF doesn’t have a wood grain to it. But there are places like right here where there is just a little bit of a gap and we want to fill that in. And anywhere that we shot a brad nail we also want to fill that in. And so I like to use just this plastic wood, its from DAP but you can use anything you want really. You can also use spackling, it works just fine on MDF. So we’ll just use this and we’ll fill in all of those gaps and holes.
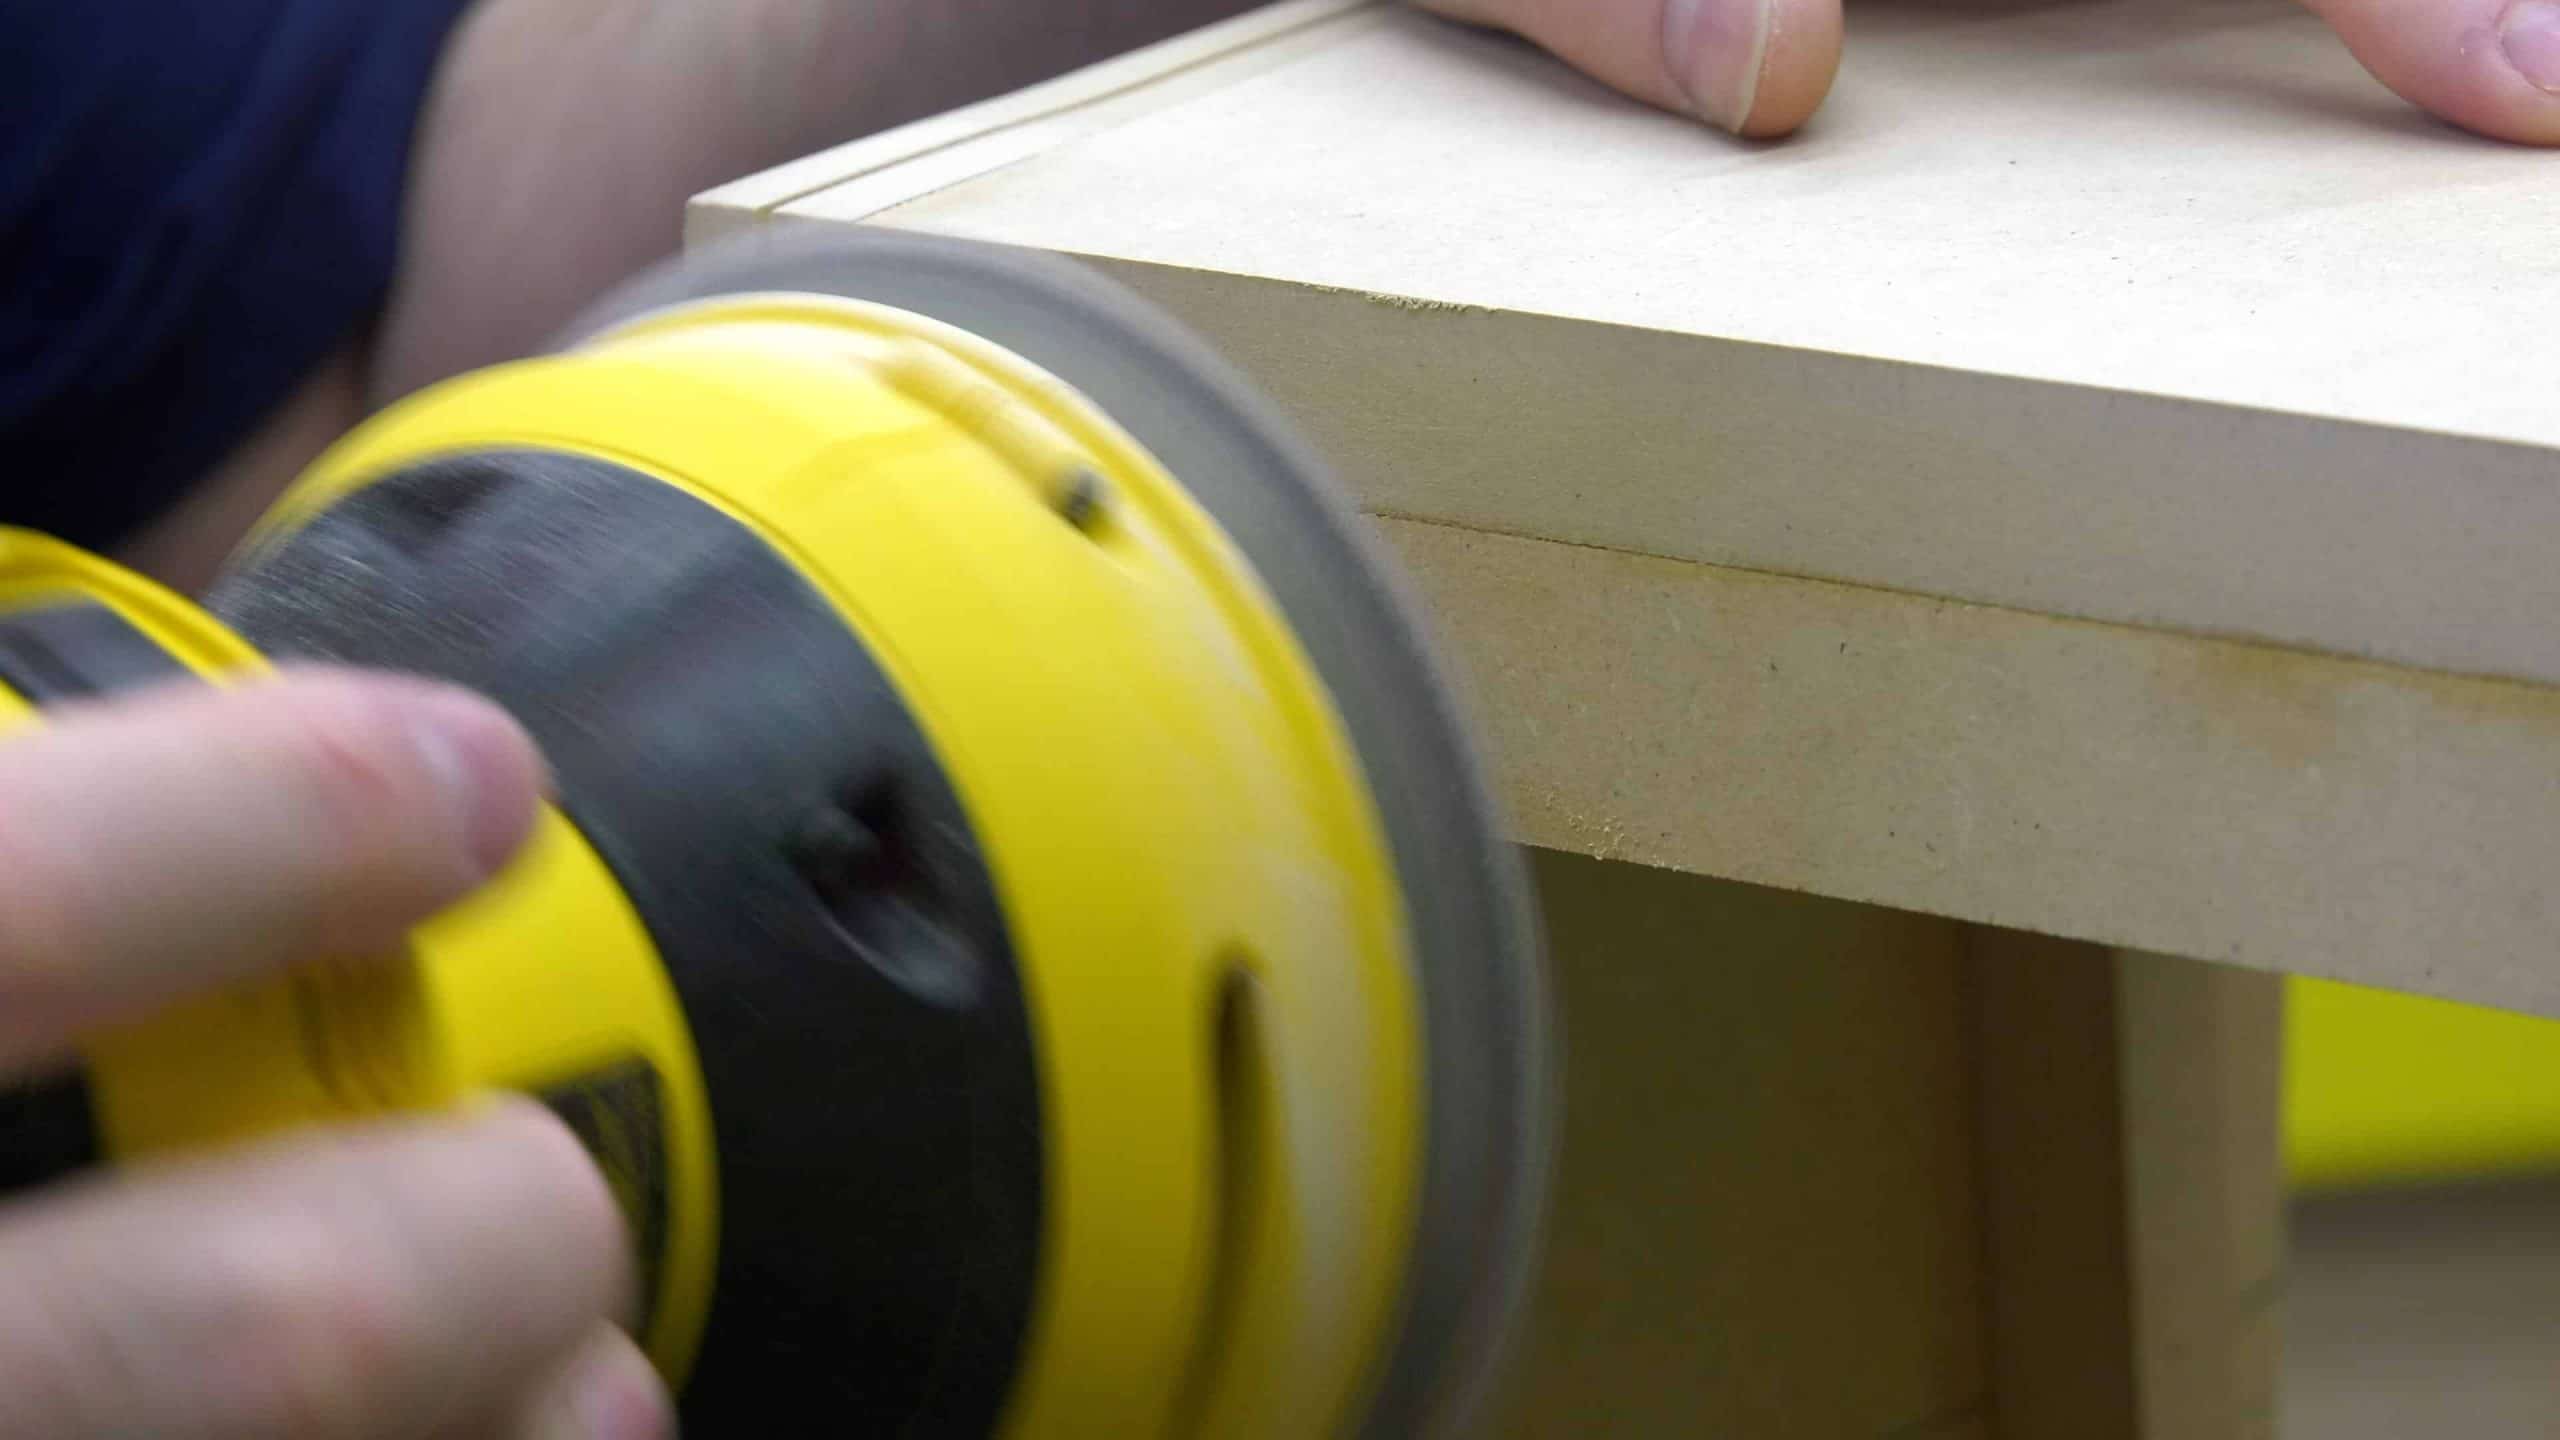
After the wood filler dries, which takes about four or five hours, then I like to use 220 grit on the random orbital sander just to smooth everything out. And the last thing we want to do before we prime it is just to put caulk anywhere there are seems that are going to be visible. And on this particular cabinet there are only two places, right here and right here. So we’ll just put a little caulk on there and then we will prime it.
So I have a whole video on why I like to use filler primer on MDF and if you want to know more, check that one out.
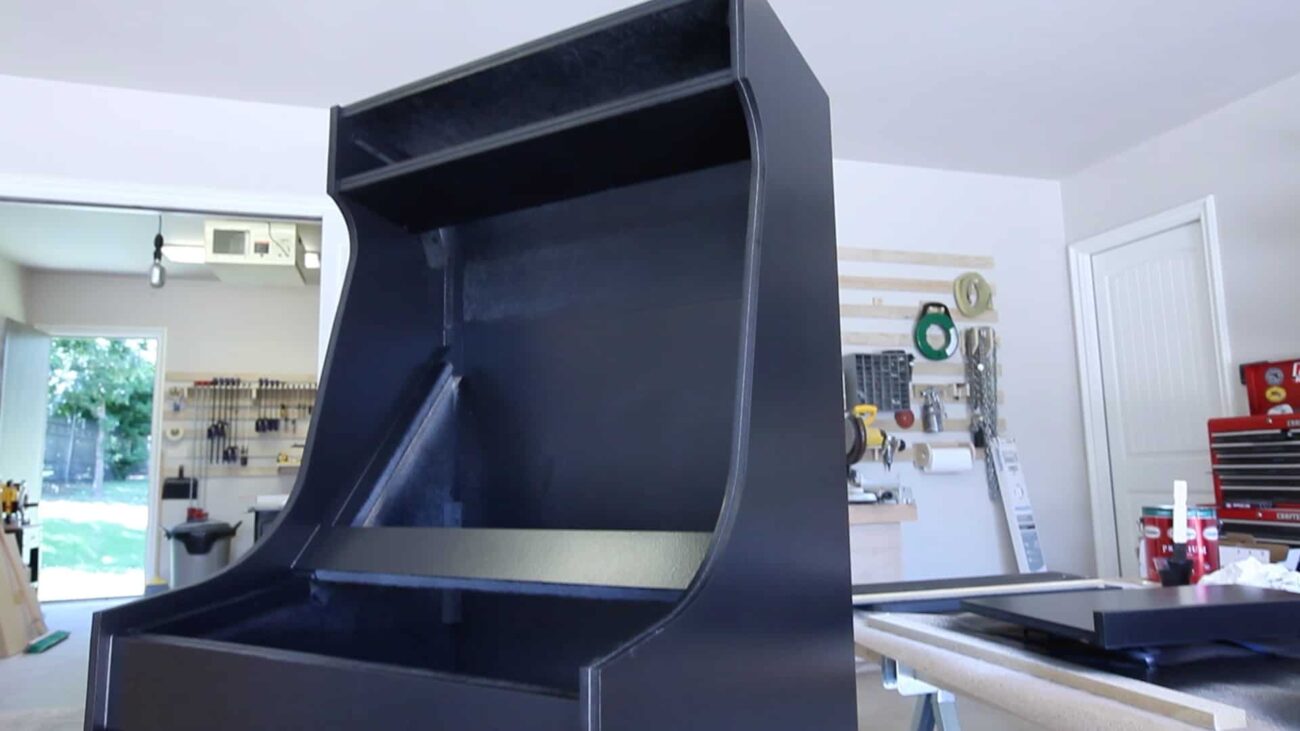
OK. Well for the paint on this cabinet, I am going to go with this Rust-o-lem rattle can from Home Depot. It’s called Oasis Blue and I think it will look really good with the black T-Molding that I am going to use. And this particular paint is a satin.
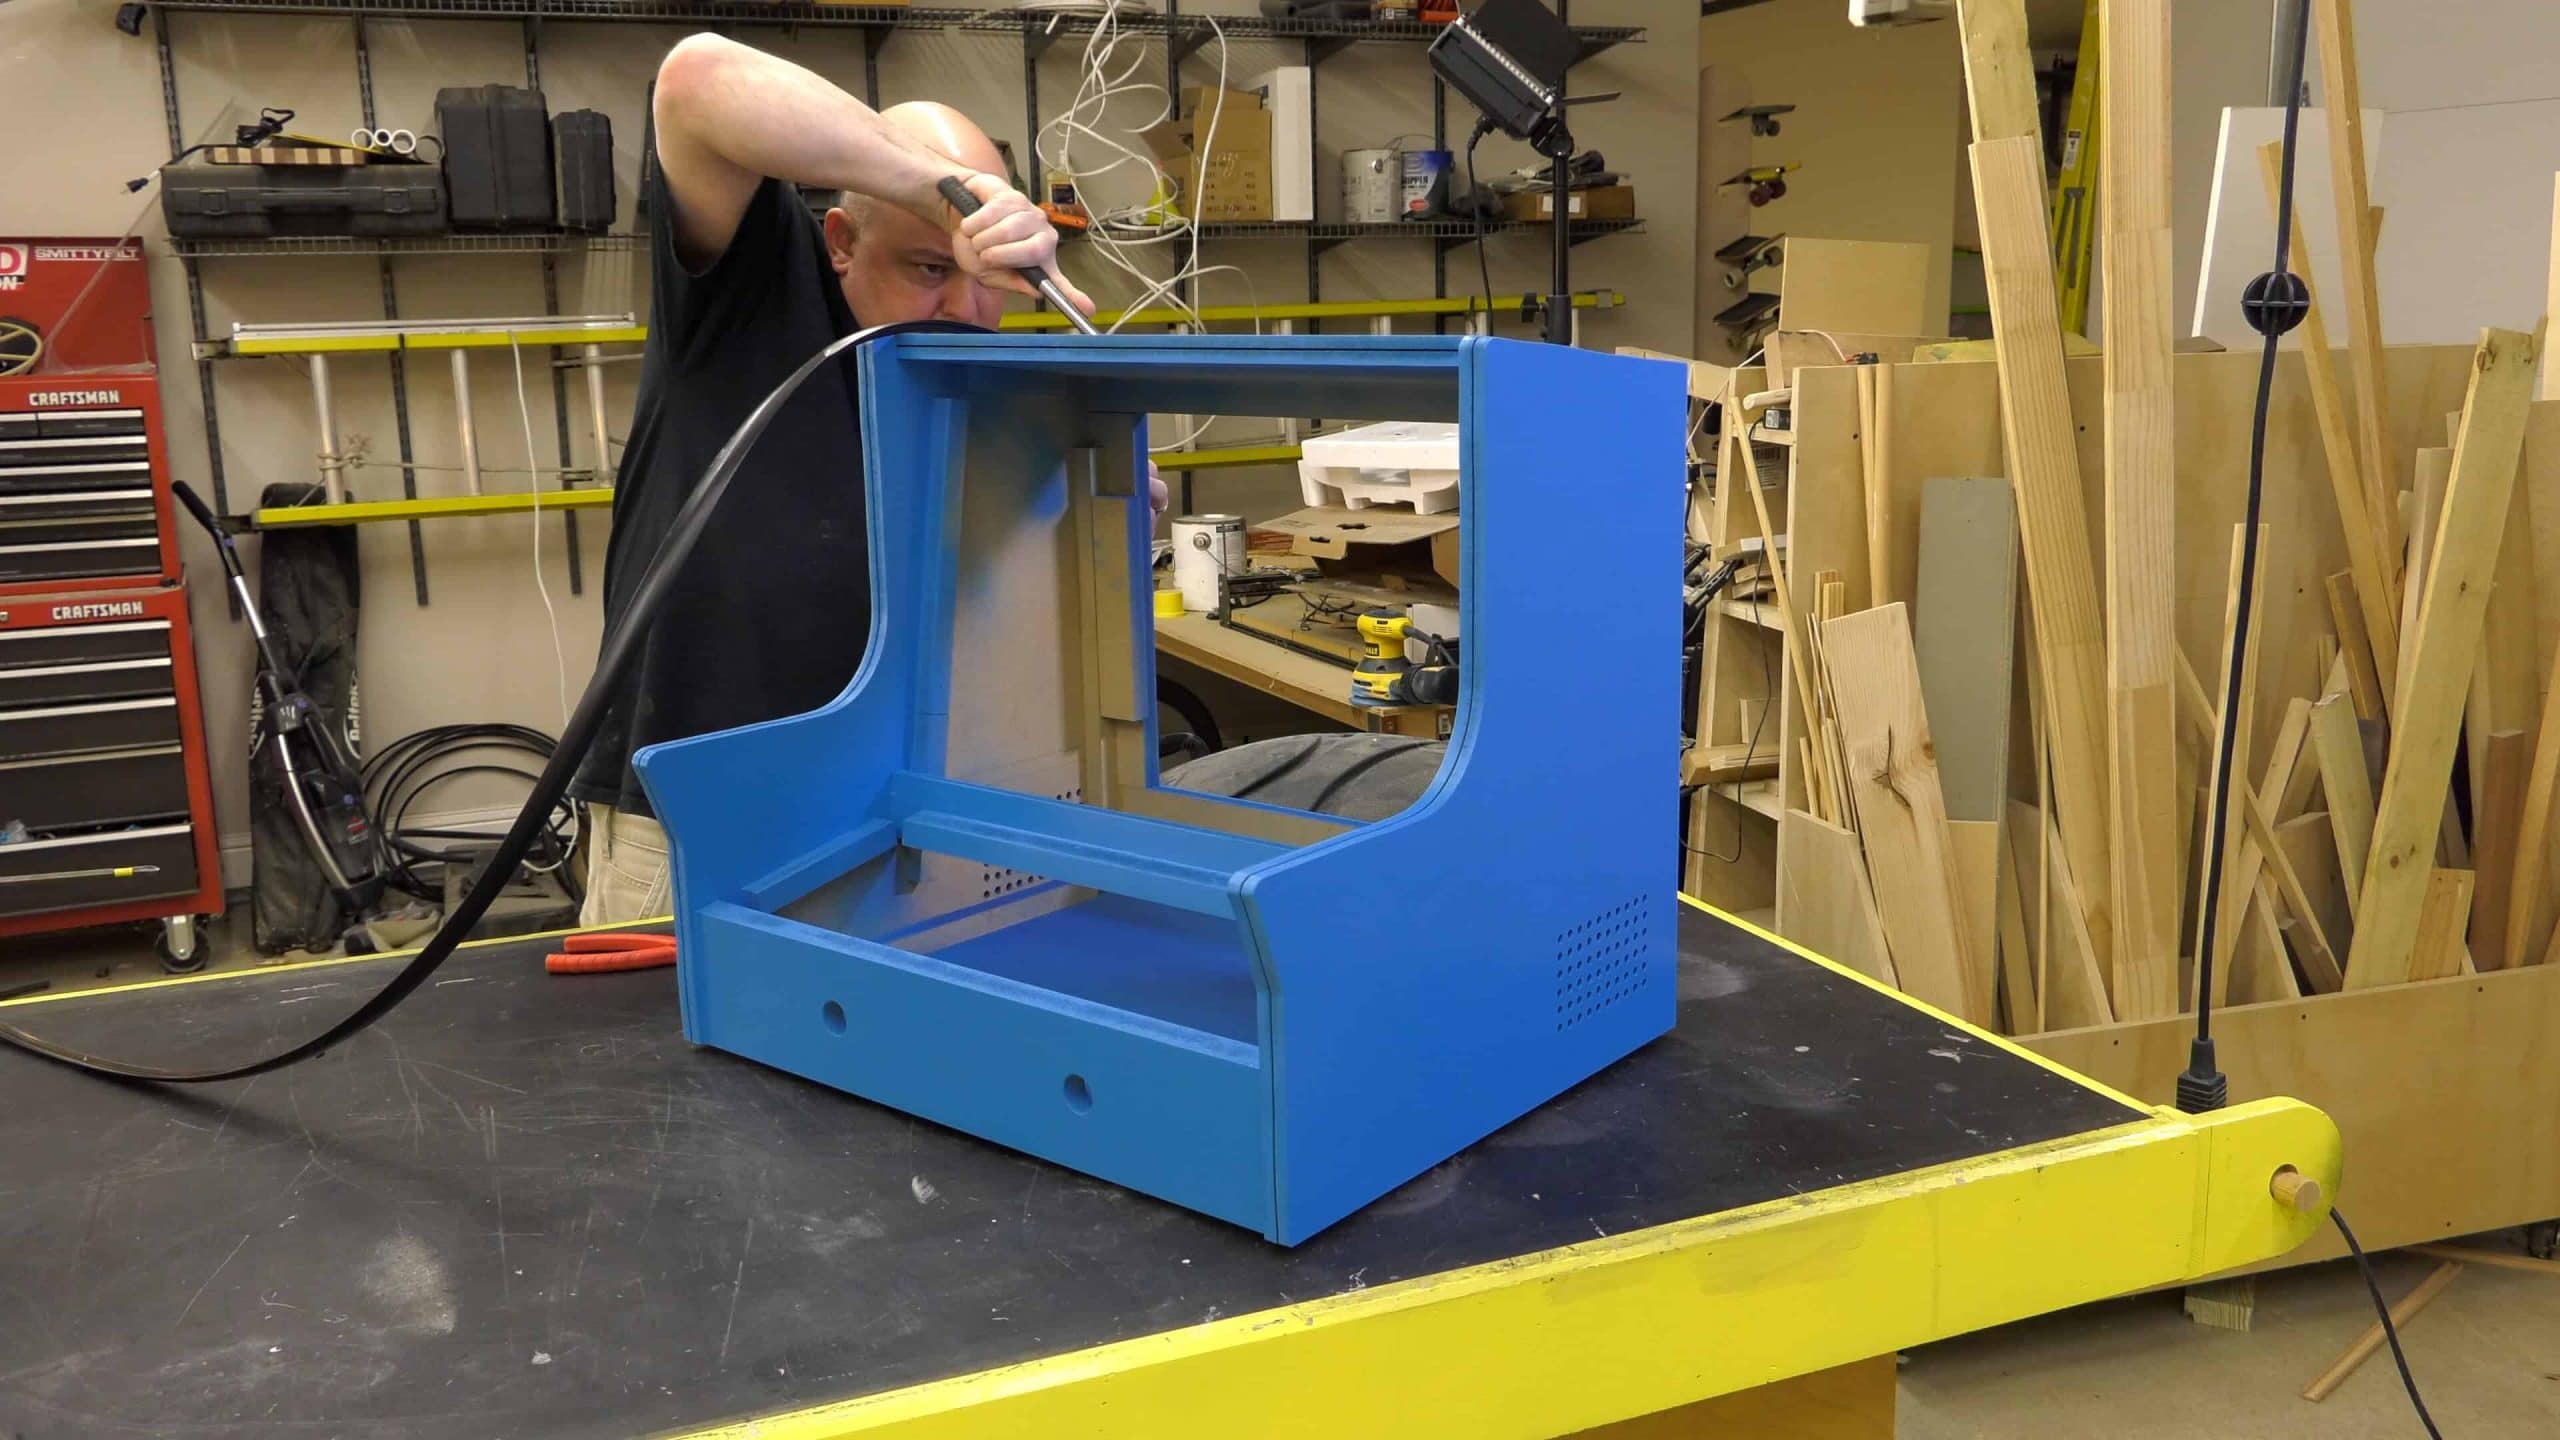
OK. So I went ahead and installed the T-Molding really quickly and if you need help installing your T-Molding
I have several videos. Just check one of my other arcade cabinet videos. In addition I have a whole tips and tricks video in the guild that you might want to check out. In the same vein, I have installed electrical in almost all of my cabinet builds so if you need some detail on that just check one of those other videos, but I’m going to go ahead and just quickly for this video install the electrical.
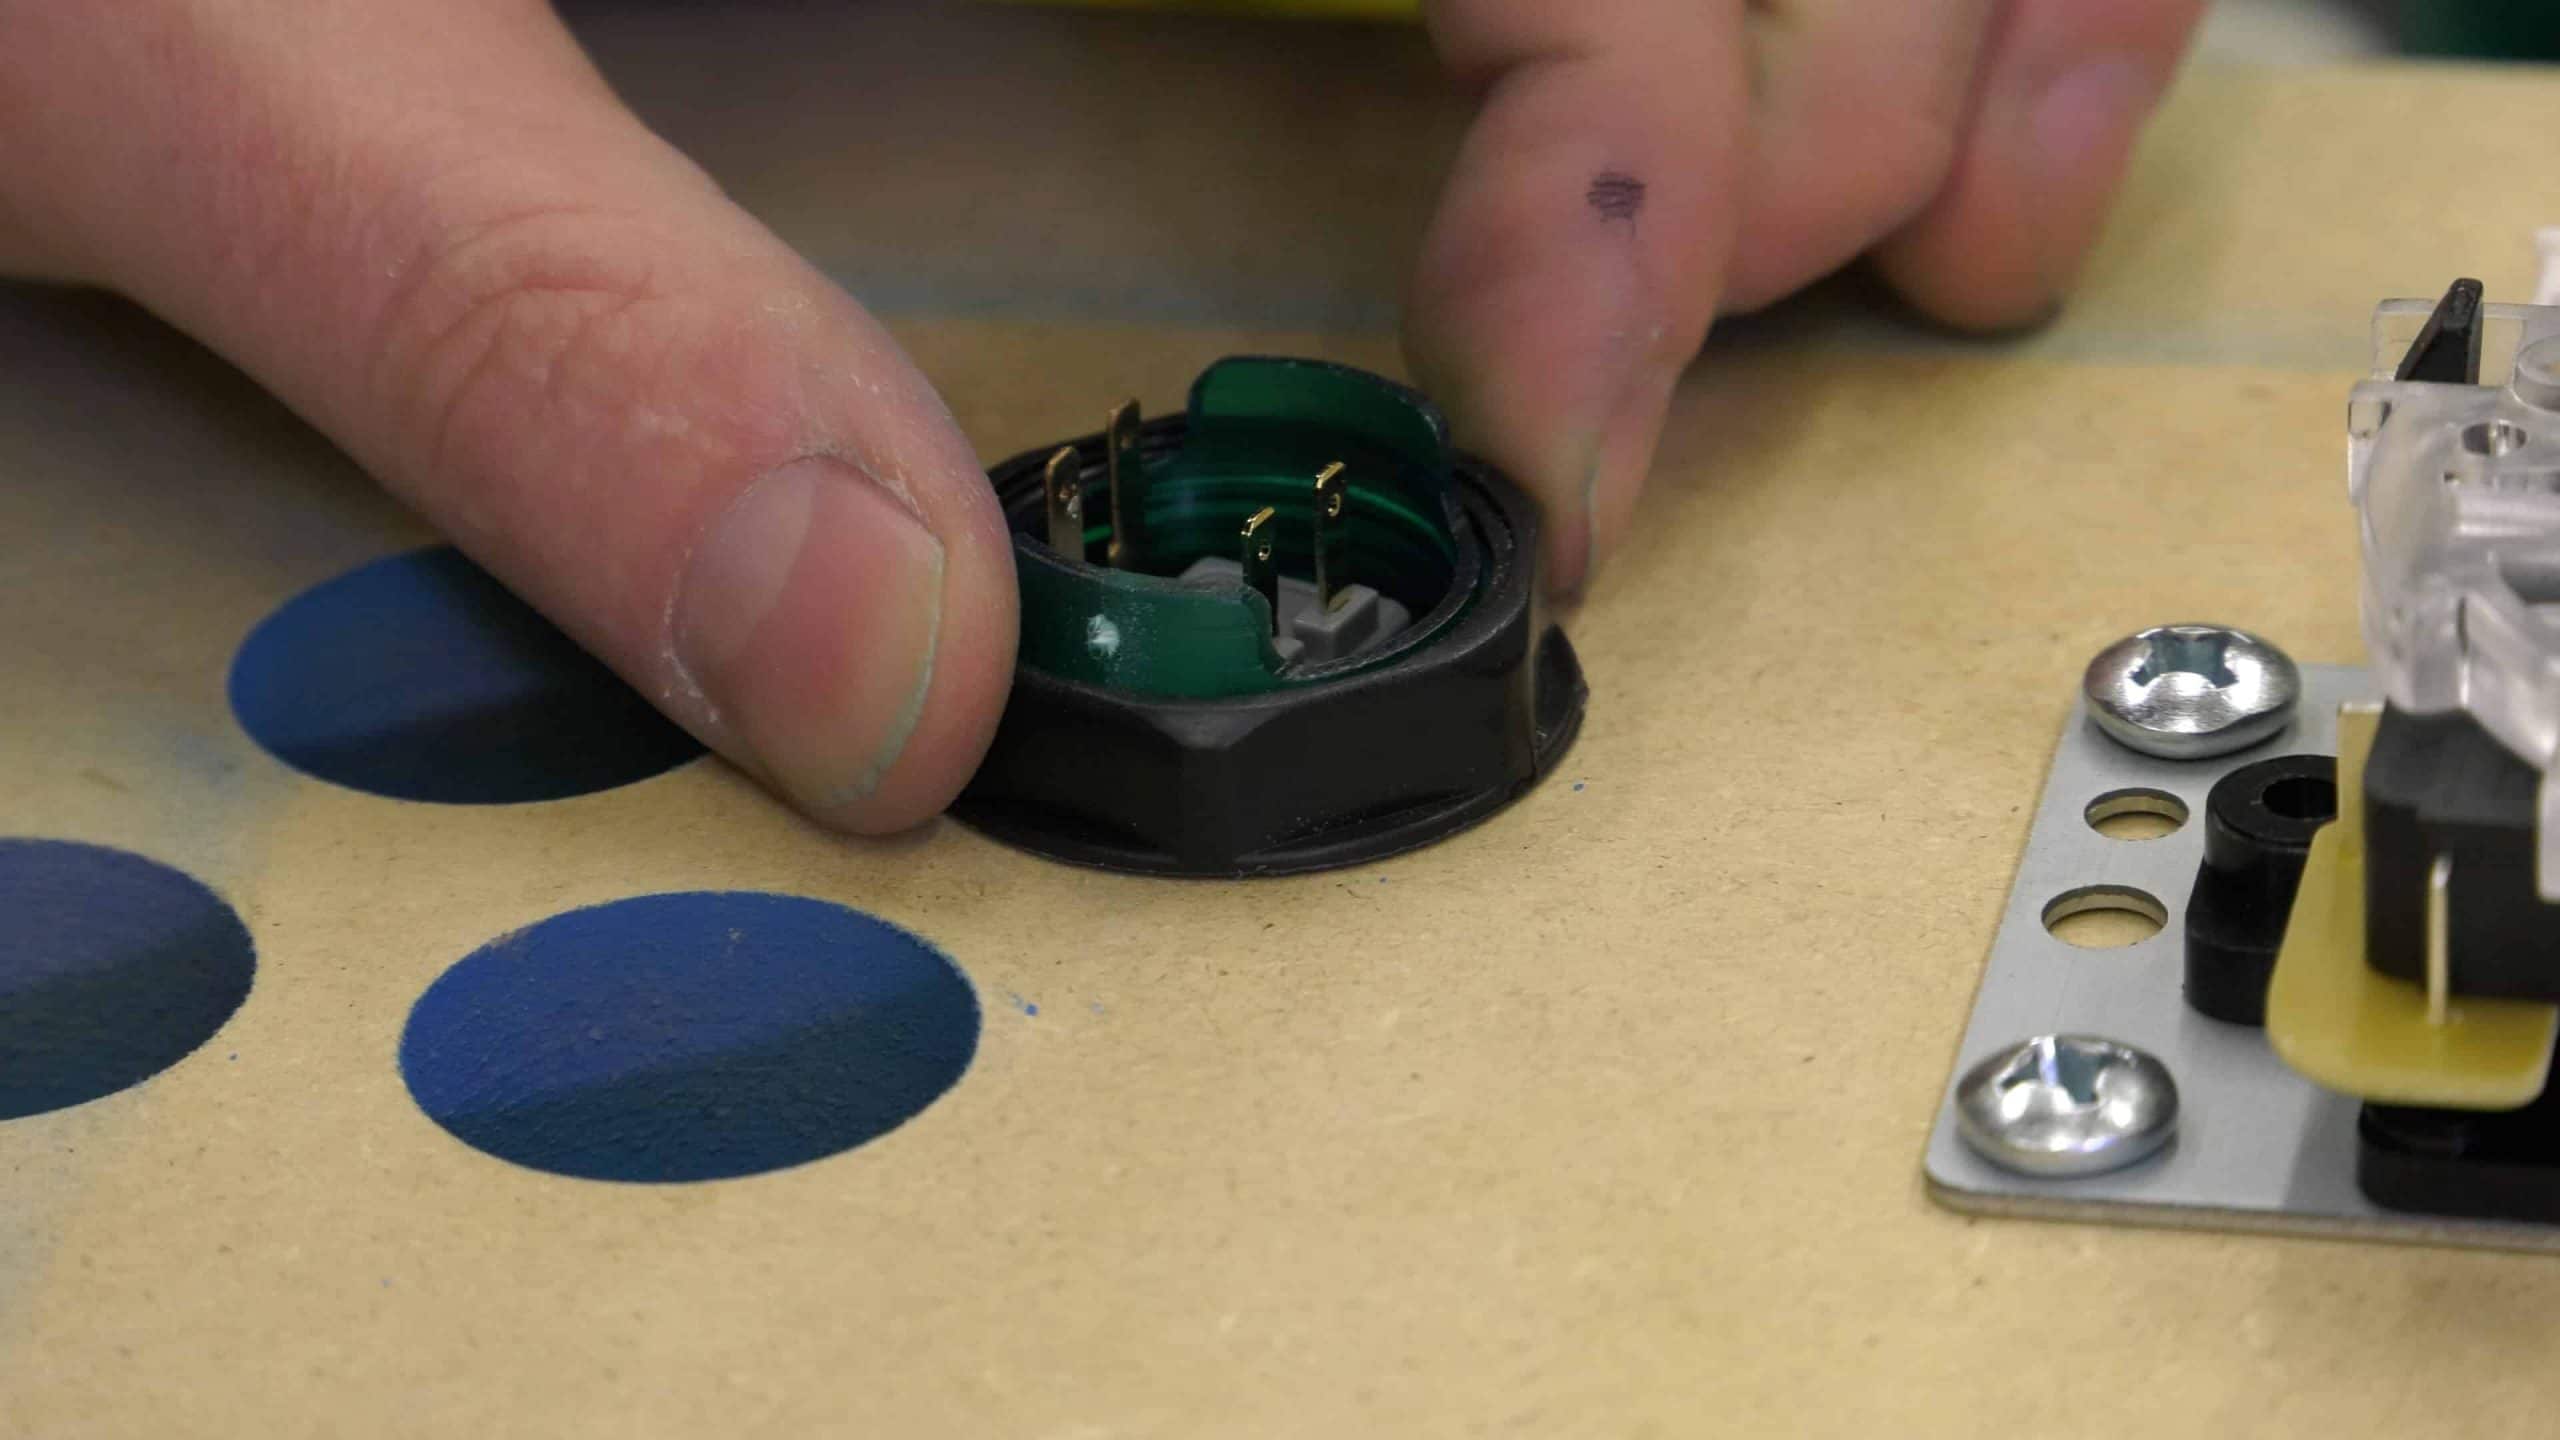
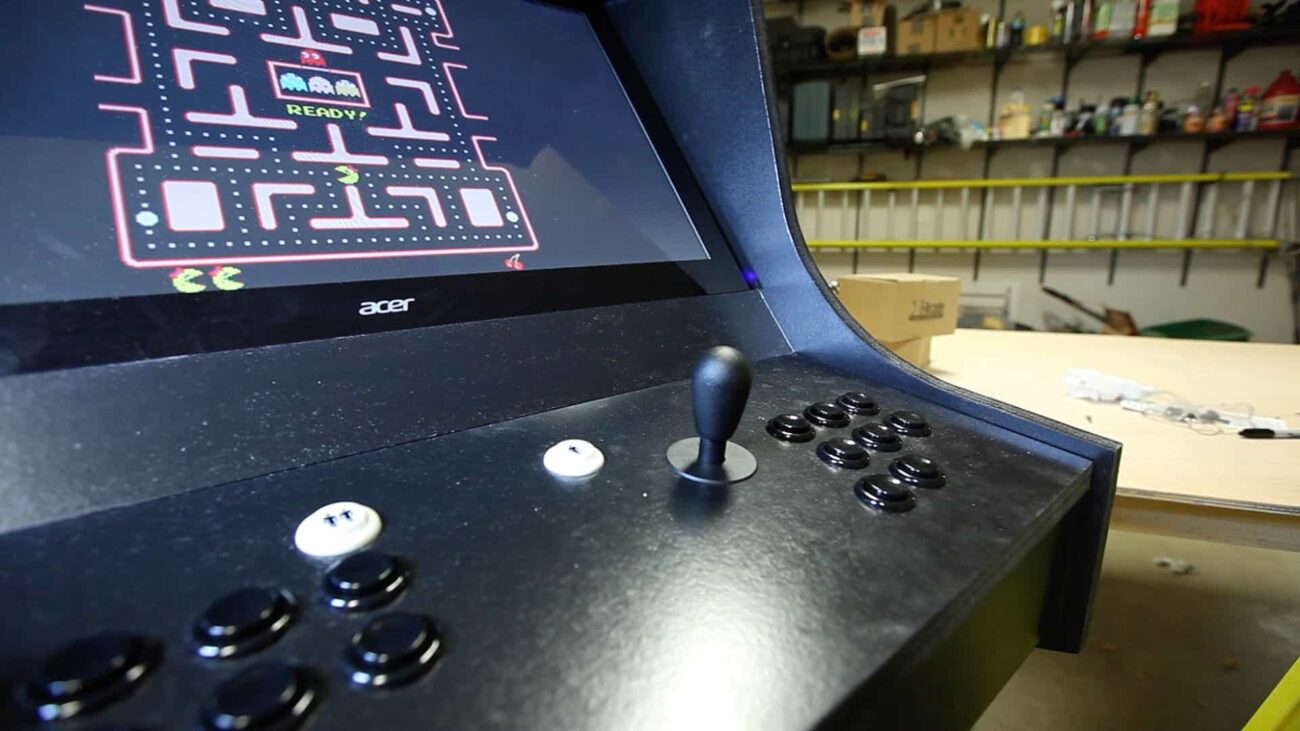
Alright! It is time to put the control panel together. Now, I am not going to go into a lot of detail in this video, because I have plenty of other videos that talk about how to wire up the control panel, but one thing I do want to point out and let you know is that when you are using these smaller buttons and I really like to use these for the start and select buttons or the one up two up buttons on my cabinets. But I get some feedback on the website sometime that they are not deep enough. That when you put them in the material, especially when you are using three quarter inch material there is not enough room on the back to install the nut. There is a solution for that. I have a whole guild video on how to back-bore these so that you can put the nut on and the nut will actually countersink. So check that out if you are having problems with that.
So those of you who have watched my other arcade videos know that I really like to use these little USB speakers. They sound really good and they are kind of perfect for the form factor of the arcade. But some of you have asked why I hot glue them in. And the answer is really simple, hot glue is really strong. Some people don’t think it is, but it is really strong. Especially if you apply it right. And I really like to use hot glue because it will last forever and if I ever want to take it out its certainly possible to do so with a little heat from a hair dryer or a heat gun you can just remove it just a couple of seconds. So it allows me the option to change these at any point in the future that I want to and provides for a really simple mounting method.
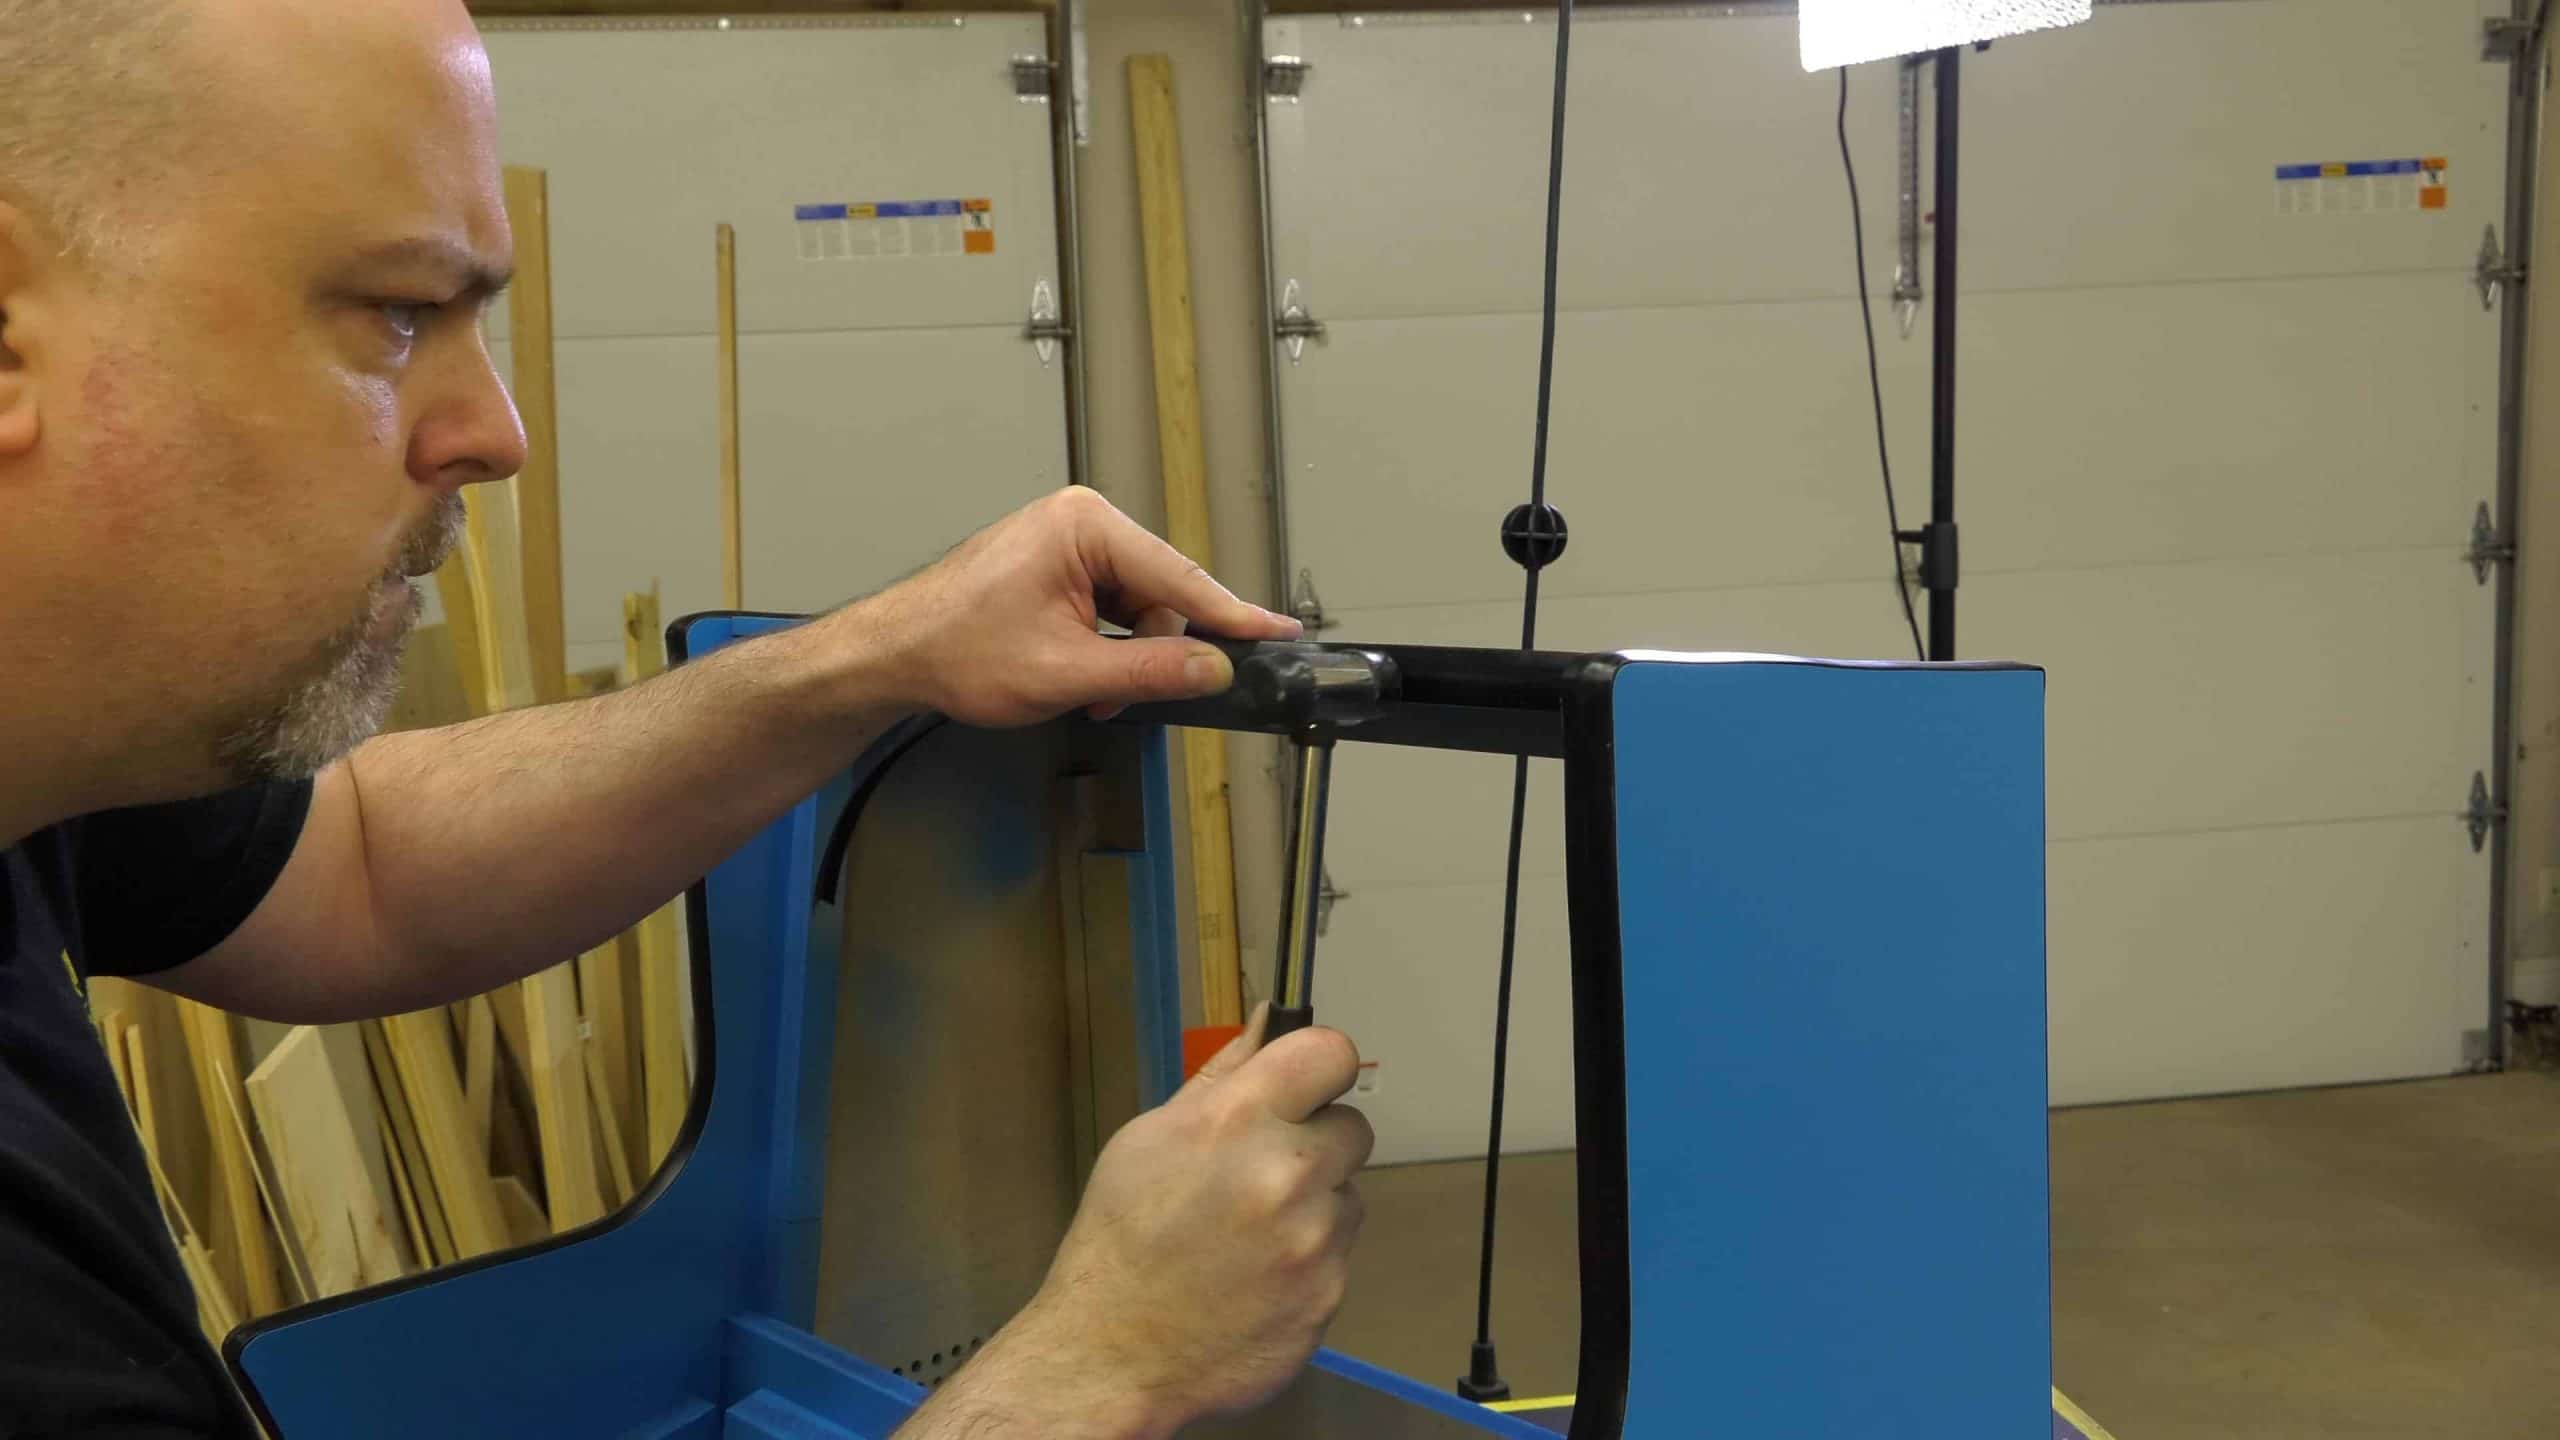
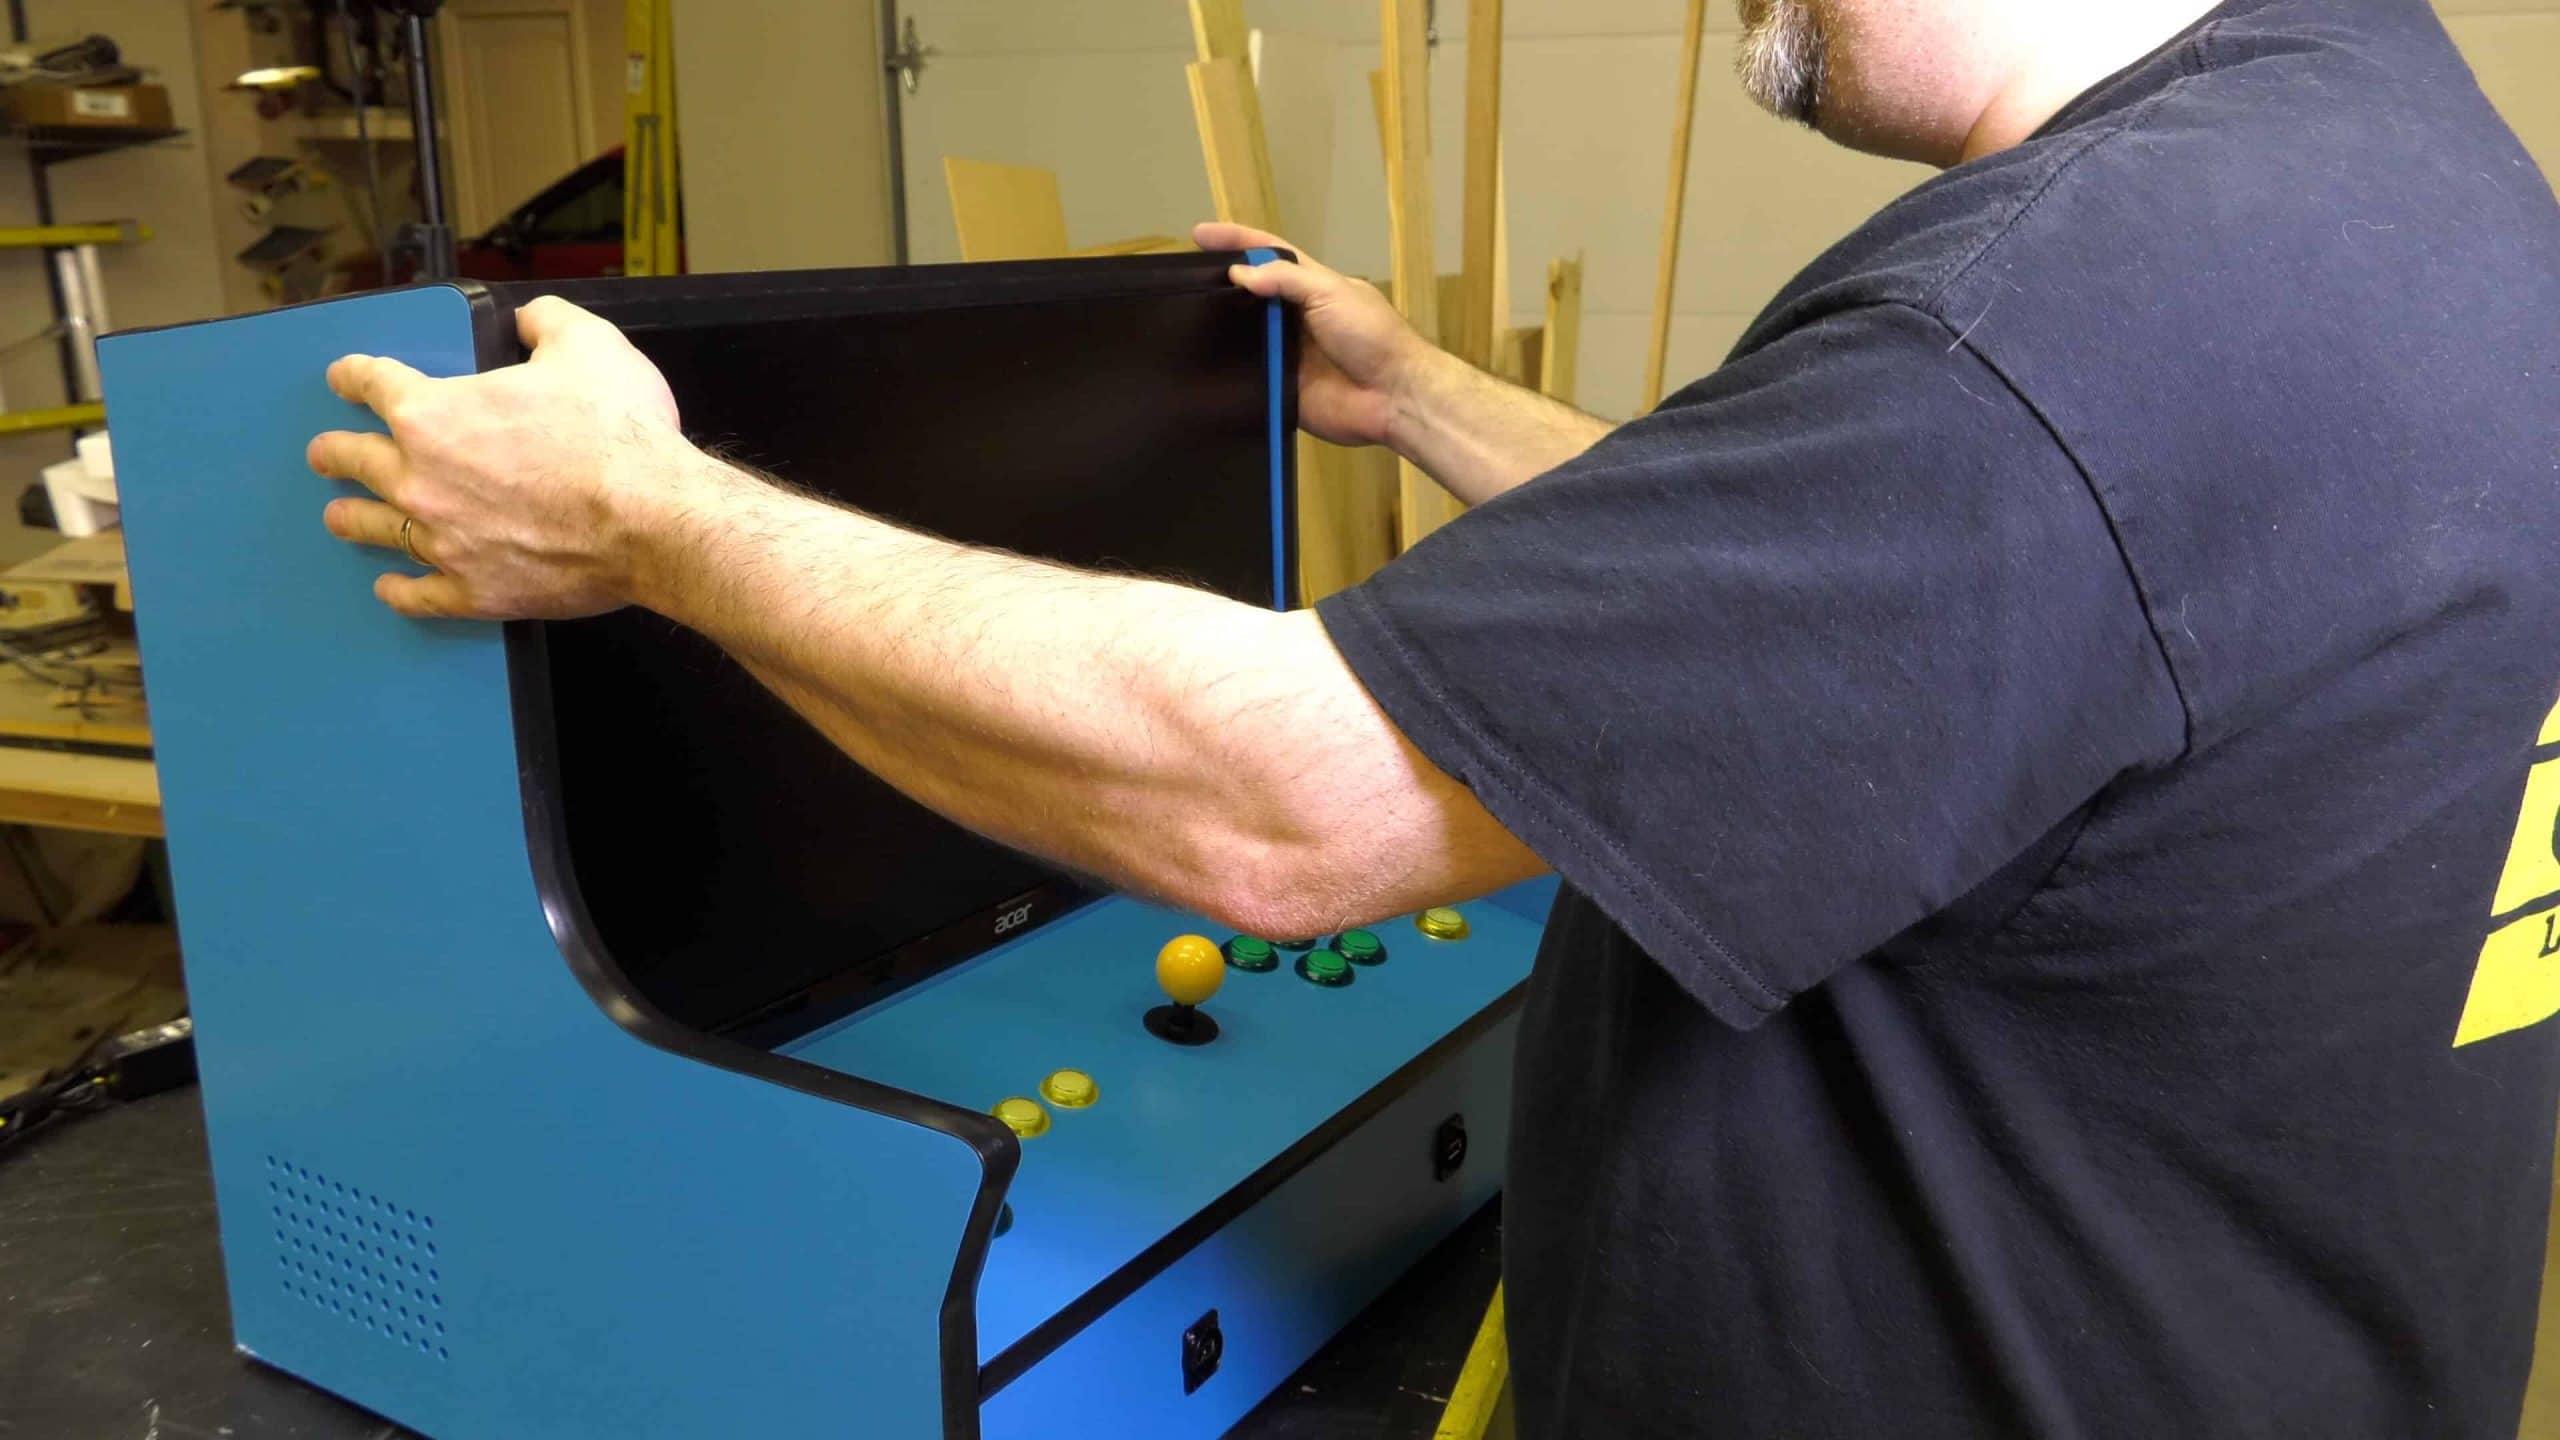
Alright! So now we’re going to install the monitor. And there is a couple of reasons that I select this monitor and I use it on almost all of my builds. The first reason is, that is is bezel-less. So except for across the bottom and there is a little Acer logo that you can put a sticker over or paint it black or whatever you want to do, but it is a bezel-less display for the most part. So when it sits in the cabinet there is no big bezel it just looks like a solid piece of glass. The second item, and it is really important when you are building an arcade is that this monitor remembers it power state. So when you turn this monitor off by unplugging it, and plugging it back in, it remembers whether it was on or off when it lost power. And that is perfect for an arcade where we’re not going to be able to get to these buttons because they are behind a piece of wood. So in the case of a power failure when the arcade gets power the monitor will just turn right back on because it remembers that it was on when it lost power. So let’s go ahead and install this.
So mounting the display is really simple. You just set it on the base and then just tilt it back. It is going to be a little bit tight and that is by design. It makes it a nice pressure fit. You can also put a VESA mount behind it if you want it to be really resilient.
OK! So the new Bartop Arcade is complete, and I am calling this one the Pacade! And some of those of you who are watching are saying “Hey! We didn’t see you put the graphics on!” and this is true, I didn’t show it in the video, because this video is already just too long. So I am going to have another video where I show how to do that. But I did just use a vinyl cutter called a Cricut. You can get them at pretty much any craft store or you can get it online at Amazon. You can make all kinds of cool graphics and lettering. That’s how I made the iconography for the buttons. And they are just little vinyl cutouts that you stick underneath the button. We’ll have a whole other video on that process at some point. I want to talk about a couple of things that make this arcade different from the other one that I made previously. And most of the things that I have done to this one will be able to be retrofitted to that cabinet and I have updated the plans so that you can add some of these features. The first one is the front USB ports. I have a whole video on the Guild about adding USB ports to your computer, or to your arcade and so check that out if you want more details, but these are just USB ports that I bought off of Amazon. One thing that I got a lot of feedback on, I didn’t show it in the video and I promised that I would, unfortunately, that camera did not turn on when I thought it was on, but there is a VESA mount available for this. It is also in the plans, so if you want to make the monitor be held on firmly from behind rather just a press fit like I generally do, you can add that. The next thing. I got a lot of feedback from people that said they didn’t really want a lighted marquee because they felt like it would waste a lot of energy and so the Pacade does not have a lighted marquee. Normally there would be about another three inch, four inch section on top with banner with an LED behind it and we didn’t do that on this particular arcade. Although it wouldn’t be that hard to modify the plans and add that if you really wanted it. Anyway, the next thing that I think is really awesome is that I have two templates now, one for single player, and one for two player. A lot of people say the bartop arcades are too small and I will never play two player on them. And quite honestly I just think it kind of looks cool to just have the joystick right in the center and some buttons on the side. So I used the one player option on this build, but you can certainly use the two player option. The templates are included for either one.
The other thing that I added to the back of the cabinet is a fan option. So a lot of you feel like that it needs some more cooling. So I don’t really think that a fan is necessary for a Raspberry Pi build, but I did include a fan option and there is also a drilling template for making holes for the fan and installing it if you decide to put a fan in your cabinet. So that’s it for the Pacade! Thank you so much for watching. Hit that like button and I will see you in the next video!


5
NICE!
Mike. I love all your videos. Especially the DIY arcade tutorial videos. The only complaint I have is that you make it look too easy! Hahaha! I guess that’s what separates a seasoned maker from a newbie. I actually got started on woodworking after watching your full sized arcade cab build videos (I bought your plan). Ironically, I’ve been building other things for the house and still have yet to build the arcade cab. Anyway, thanks for making great contents! Looking forward to more.
0.5