Blog
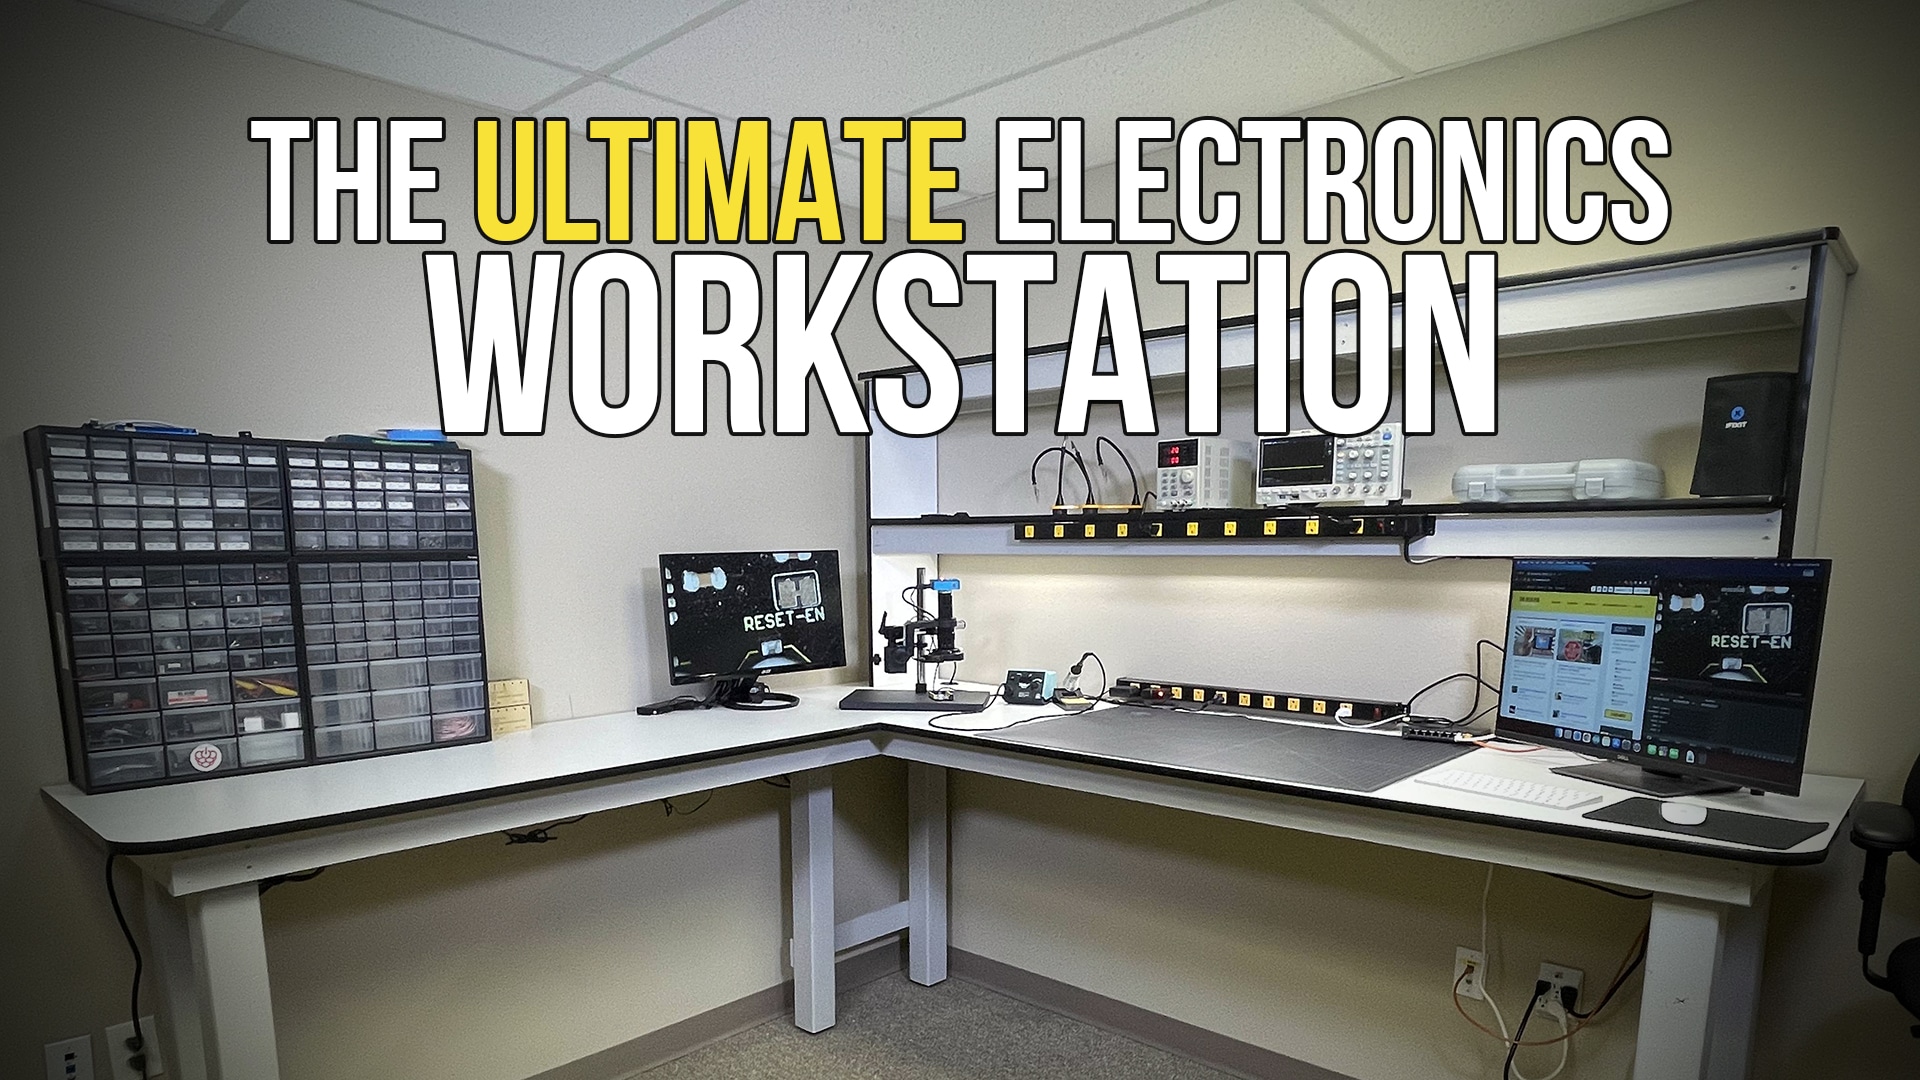
Build the Ultimate Electronics Workbench
After searching online through countless catalogs and online stores, I was unable to find an electronics workbench that really fit my needs. I’d wanted a workbench that had plenty of room not only for multiple small projects, but also to work on the occasional big project, such as a PC restoration. In fact, this needs to be the ultimate electronics station, not just a workbench!
My ultimate electronics stations finally came down to these basic requirements:
- It needs to have multiple levels for test equipment, such as power supplies, meters, and oscilloscopes, as well as somewhere to store items that are waiting on replacement parts to arrive.
- It needs a side a side table for parts bins and for small projects that are not yet complete
- It must be counter height so that I can stand or sit on a stool
- The top must be made of out of something durable (like Melamine)
- Many outlets for plugging in equipment and projects
- Excellent lighting
- A place to attach some kind of glass magnifier or a place to put a digital microscope
Beyond price, I also encountered another hurdle: Price! These benches range from $375 to $4000+. And for what? Some MDF and a few stamped metal pieces? I could build my own for less than $200 and that’s at todays ridiculous lumber prices! And to top that off, most of these electronics workbenches were really small. Meaning I’d need to purchase two of them to get enough space.
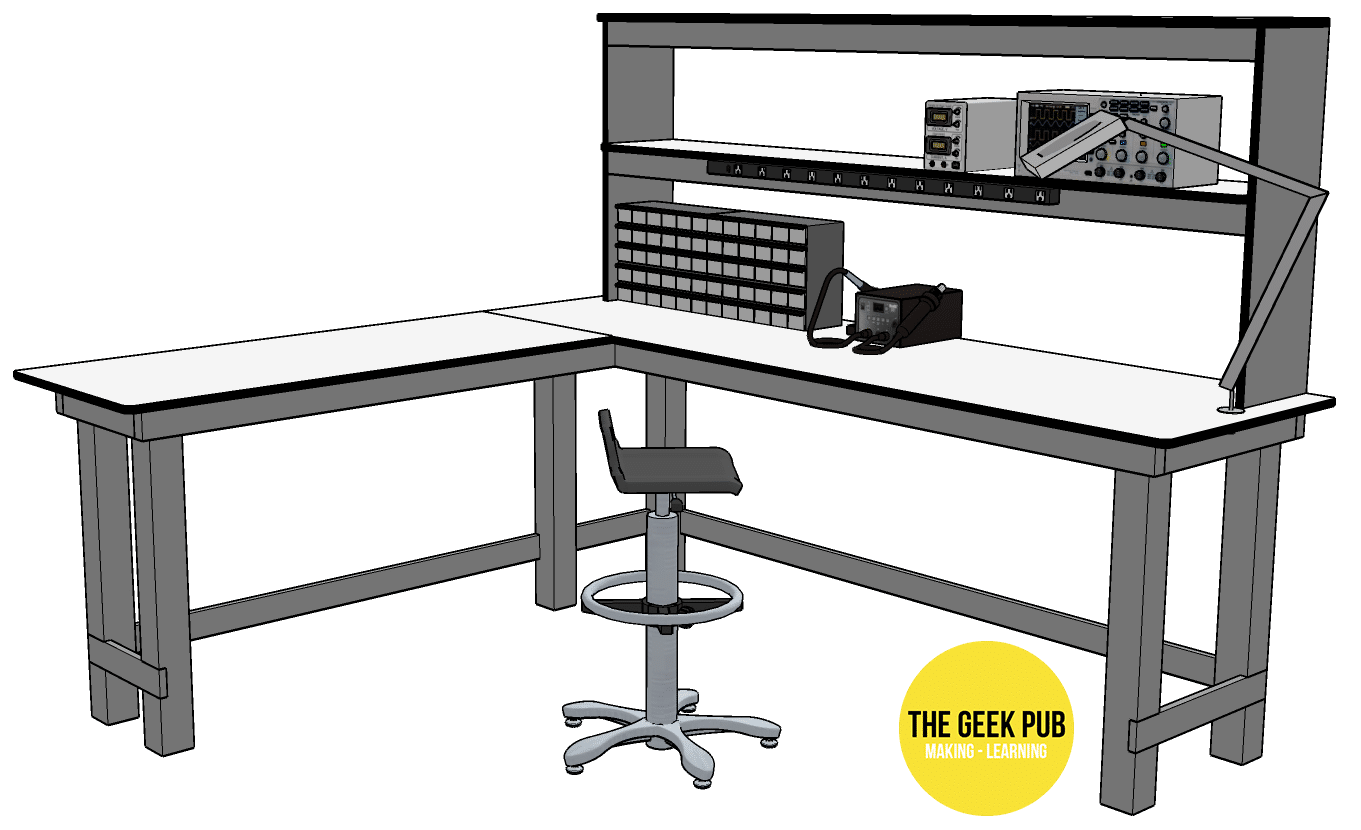
With that in mind, I set out in Sketchup to design my very own electronics workbench!
Watch the Ultimate Electronics Station Video
Designing the Ultimate Electronics Workbench
Sketchup is usually my go to tool for designing projects made from wood. It’s super simple to use and I can rapidly iterate design ideas. So I took a quick look at all of my requirements and then began the design process.
During the layout I began to think about the materials I wanted to use to build this station. I could build it from cheap wood, such as pine boards, or I could build it from more expensive hardwoods such as Oak. Or I could build the frame from metal which would be very durable but also very expensive and weigh a ton.
I eventually wrapped my head around the fact that this is not “fine furniture”. It is a workbench and needs to serve that purpose. It does not need to be beautiful or elegant. It needs to be functional. With that in mind I decided to simply build the ultimate electronics station base from pine boards and the table tops from melamine.
After several iterations the design I came up with looked like this.
Material Choices
Using construction grade lumber for my electronics station means some tradeoffs. It’s going to be super cheap to build; less than $200 in lumber. While at the same time, that lumber can be frustrating to work with.
 Construction grade lumber (which is almost always pine), tends to be crooked and just overall wonky. It’s next to impossible to find perfectly straight boards. This is something I will need to deal with during the building process. 2 by X material also has rounded over corners, and rough sides. All things we need to address during the build.
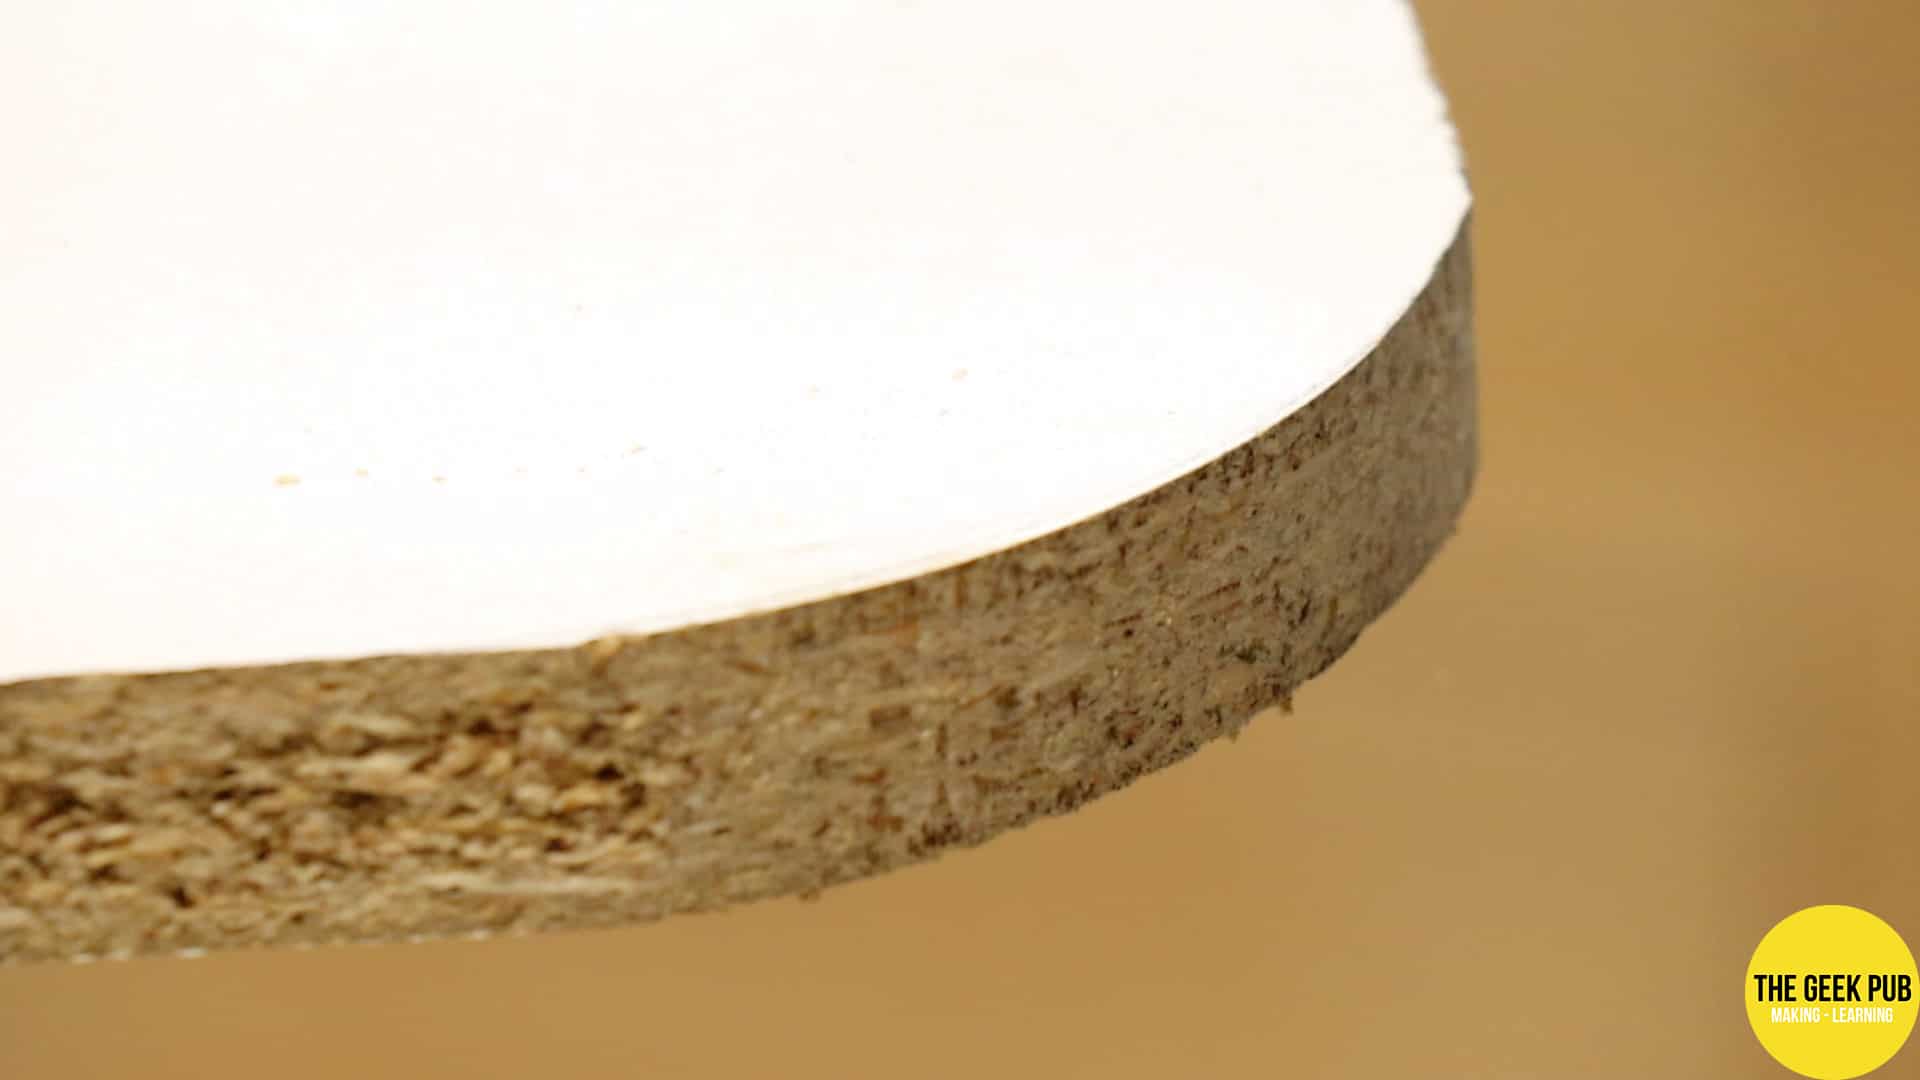
The other choice I made was to use melamine coated particle board as the table tops. This is basically the same material any store bought electronics workbench would have used. The problem with melamine board is that it is only finished on the top an and bottom. All of the edges are bare particle board and must be dealt with.
The simplest way to clean up the edge is to use melamine edge banding. But I have to be honest, I don’t like that choice. I just feel like it never looks quite right. Another option is to use some kind of wood strips (such as Walnut or Maple) to create a trim around the outside. This would look really nice, but its overkill for this project. Again not fine furniture.
So, what I do have laying all over the shop is: T-Molding. And I have it in just about every color you can imagine. I use T-Molding in just about every one of my arcade builds. I checked my stock and I had plenty of black T-Molding in stock. So that’s what we’re going to use. T-Molding is very durable and easy to replace if it does get damaged. Perfect for our workbench.
Parts List for this Project
Here’s a handy parts list for those who want to know exactly what we used in this video. Some of these links are Amazon links. It costs you nothing, but if you use them we get a small commission.
Materials, Plans, and Tools
- Ultimate Electronics Workbench Plans
- 2.5″ Torx-head Wood Screws
- T-Molding
- T-Molding Slot Cutter
- Screw-In Feet Levelers
- 2″ Desk Grommets
- Bench Dogs
- Bora 100″ Saw Guide
Bench Tools and Equipment
- 10 Outlet Power Strip
- Self Healing Project Mat
- Weller Solder Station
- Hakko De-Soldering Gun
- Siglent SDS 1104X-E Oscilloscope
- Korad KA6003P Benchtop Power Supply
- HAYEAR 34MP electronics microscope
- Lab Stool
Building the Ultimate Electronics Workbench
So let’s get started with the build process. You can grab the plans from the link above if you need additional guidance, specific dimensions, etc. (Premium Members already have access). The plans also contain options for putting the side table on the right side, or eliminating it completely.
Cutting out the Table Tops and Shelves
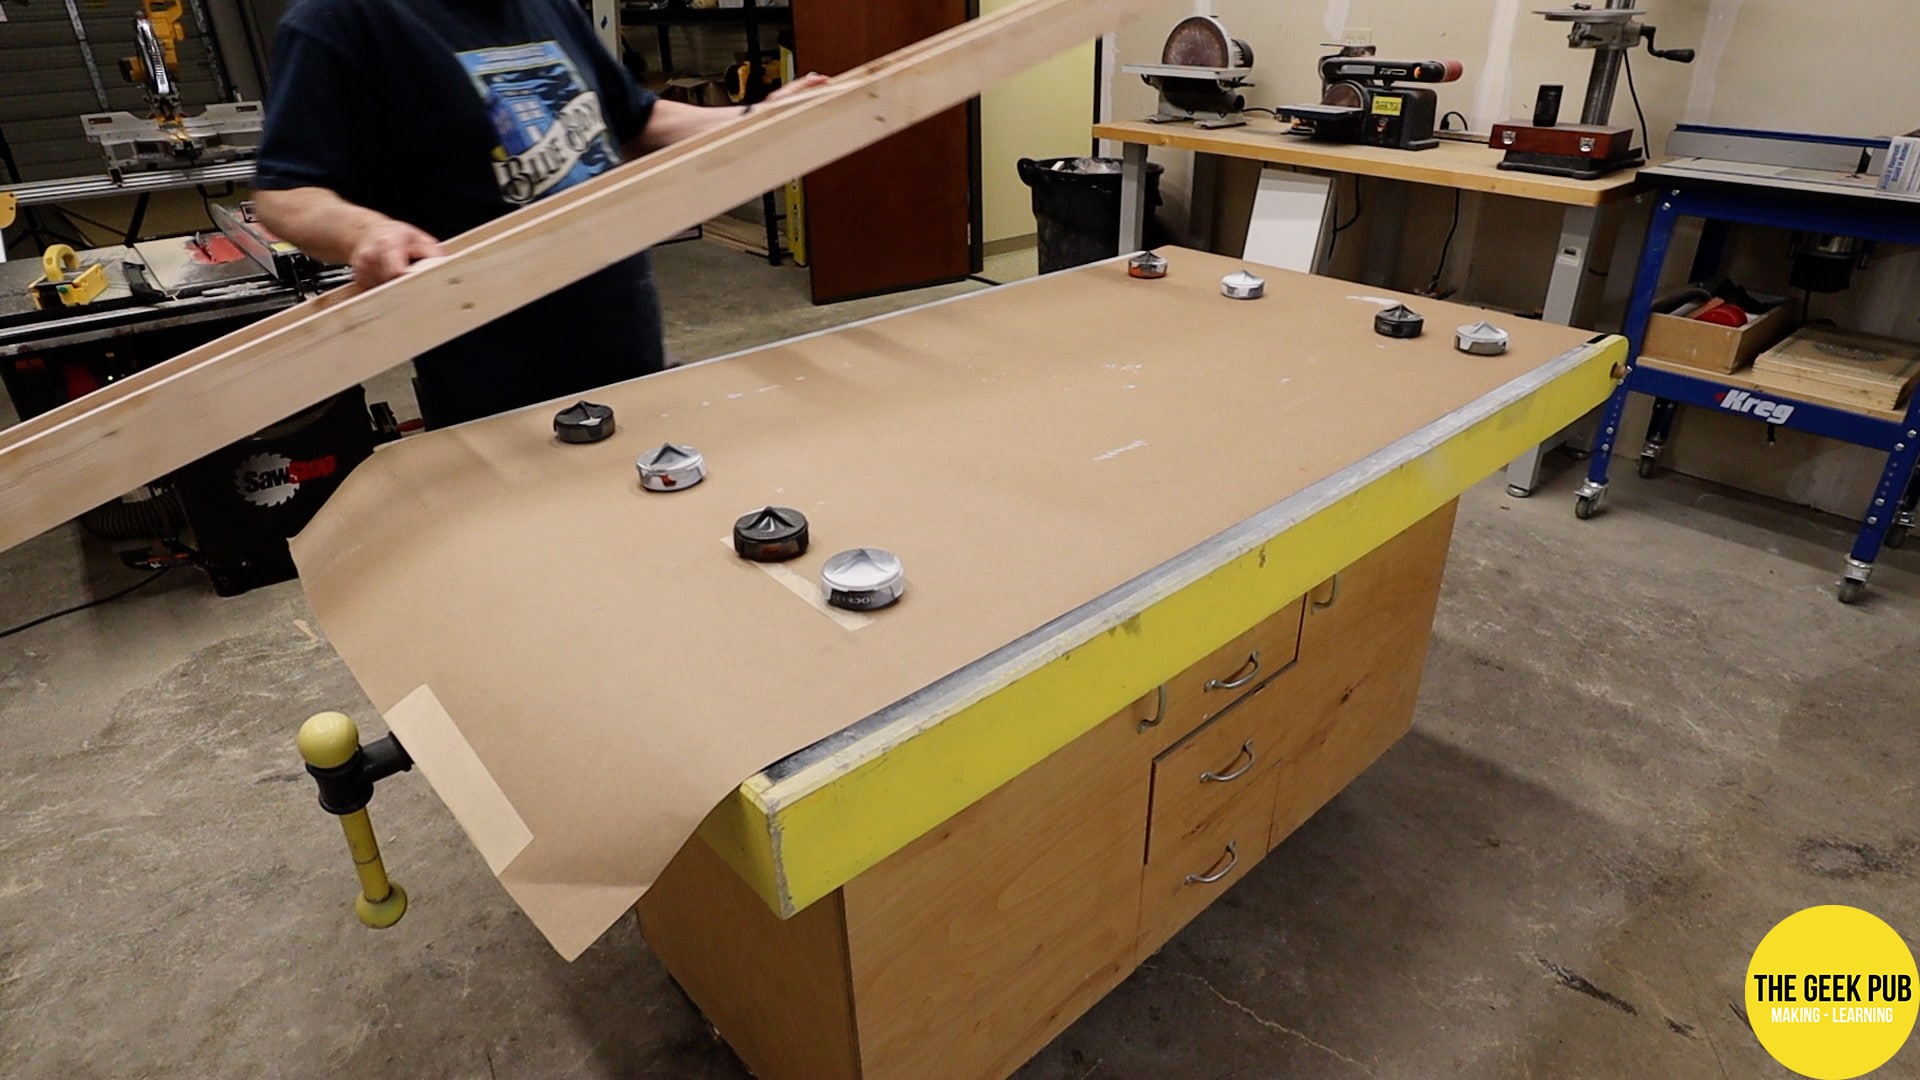
Step one was to cut out the table tops. I bought two 4ft X 8ft X 3/4in melamine sheets (1220mm X 2440mm X 19mm is the common size outside of North America). I’d always recommend getting the thicker 3/4″ (19mm) material when possible. The thinner stuff is just too thin and particle board gets very weak in the thinner sizes.

Because I was working alone on this project, I couldn’t lift these melamine sheets by myself. They are very heavy and I am getting far too old. What I decided to do was simply cut them down where they lay instead of moving them to the table saw. For some, this is the the proof that you don’t need (and I don’t even always use) fancy tools to build things. I simply placed 2 X 4 pine boards under the sheets and cut them using a hand-held circular saw and clamp on guide bar.
A pro-tip when cutting melamine with a circular saw is to cover the cutting line with a quality masking tape. This will prevent the melamine layer from chipping off during the cutting process.
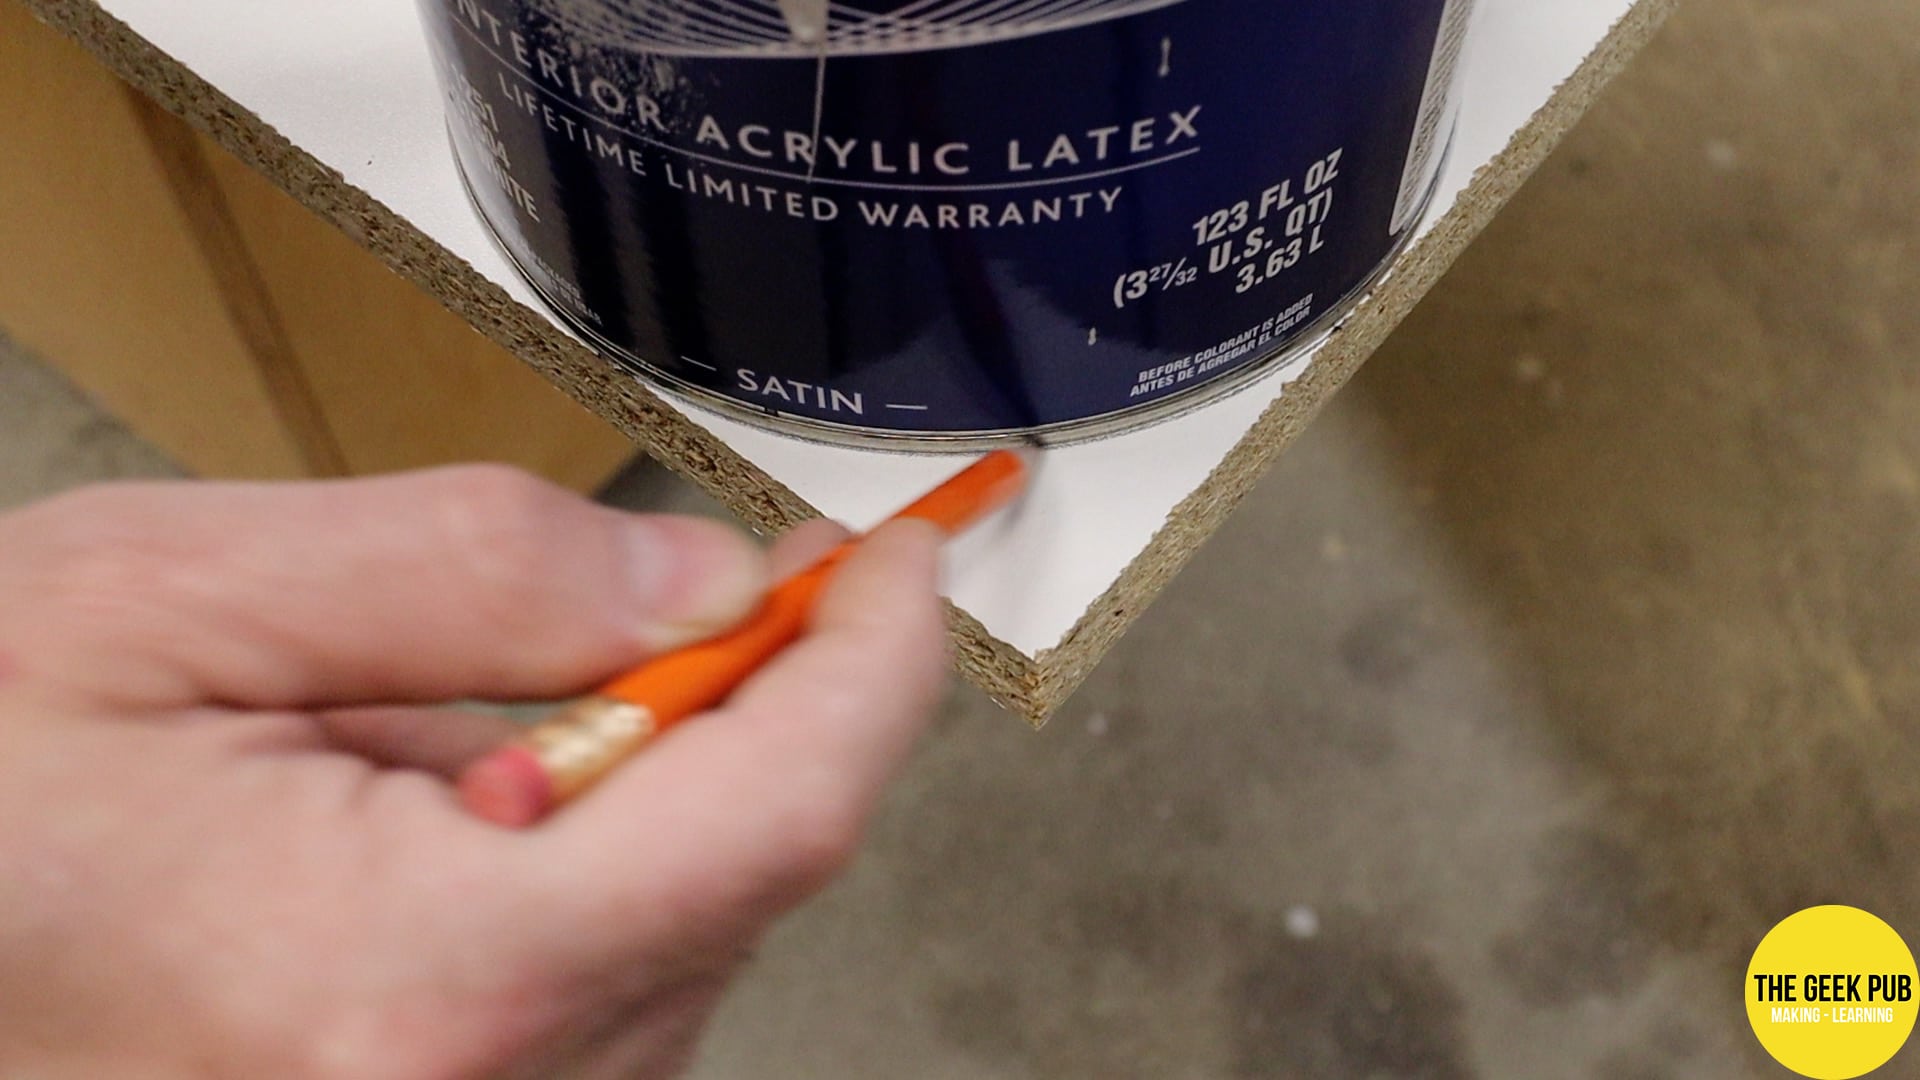
I wanted to round over the corner of the tabletop electronics workbench ends, first to make it easier to add T-Molding to it and second to make the impact of my hips into it far less painful.
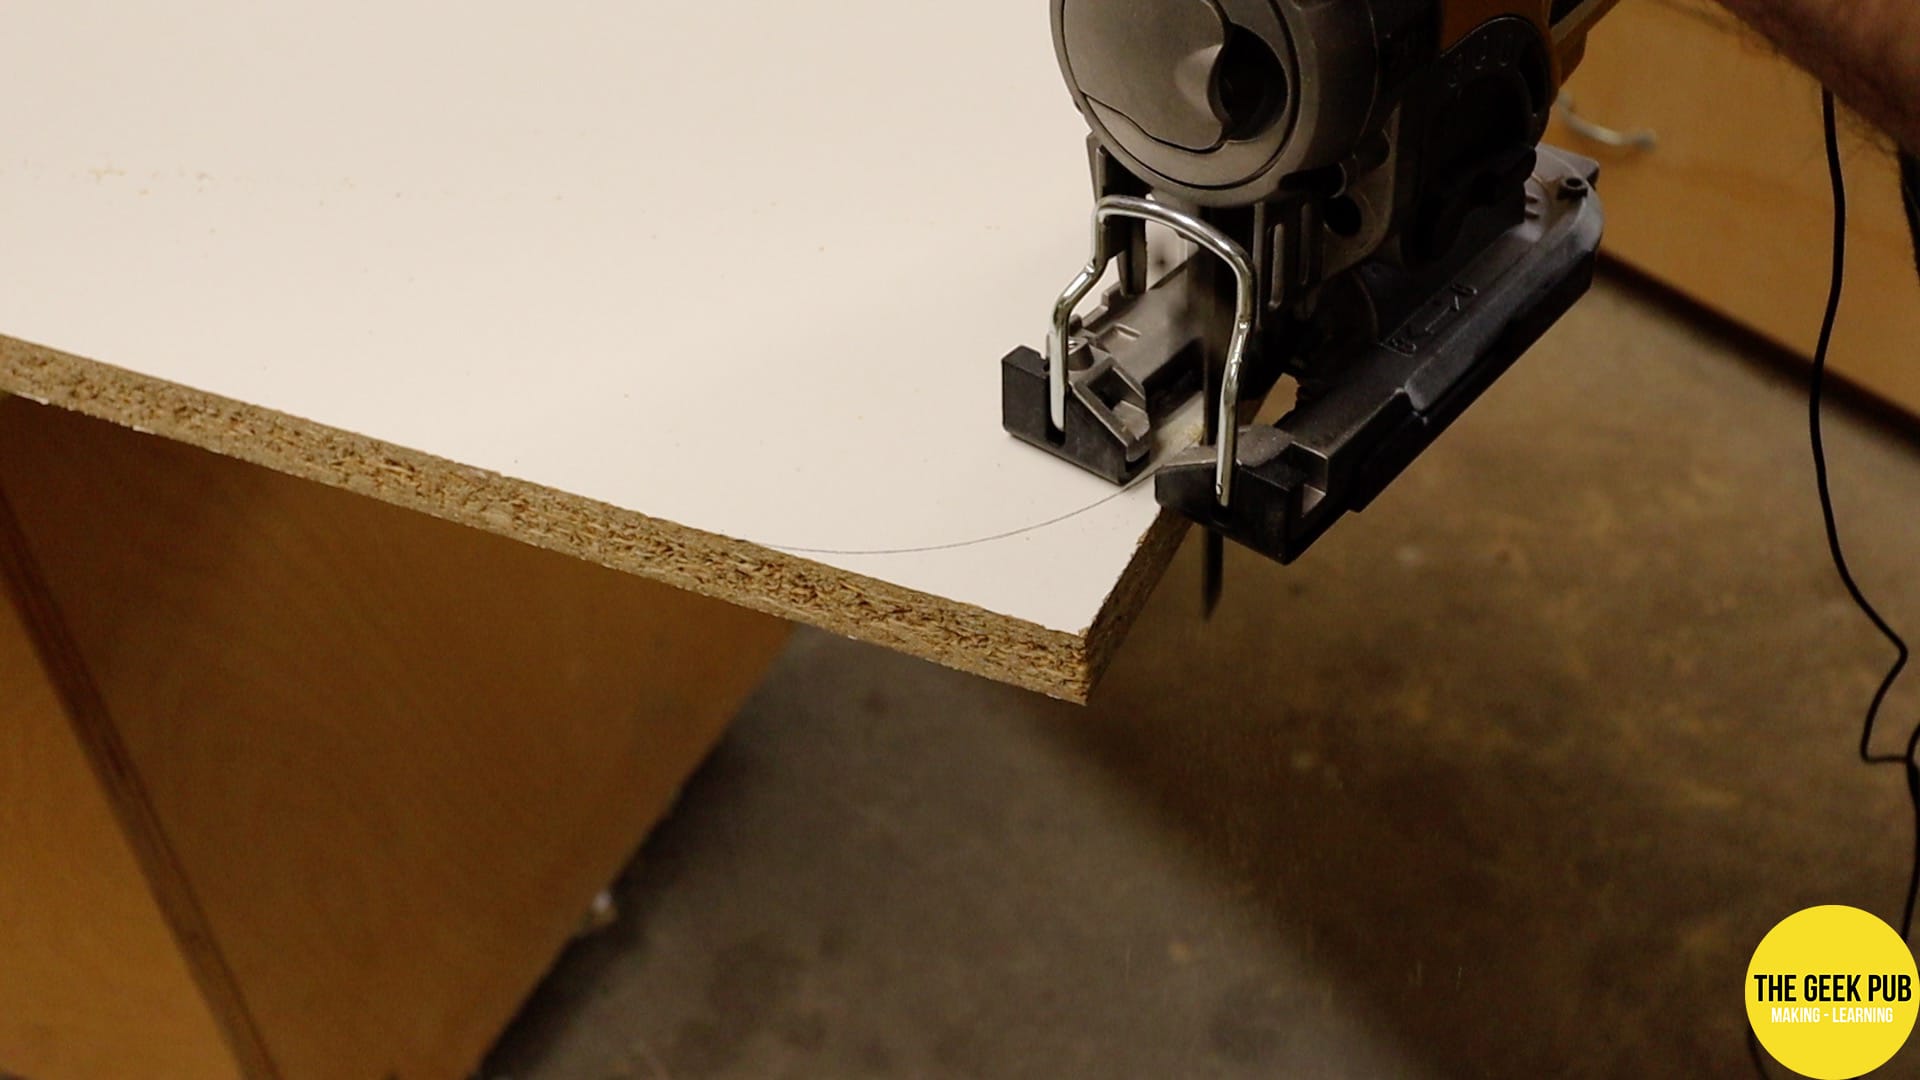
I just used a gallon paint and pencil can to mark the rounder over. No need for fancy tools. I did decide to use a jigsaw blade that cuts on the down stroke in order to prevent the melamine from chipping out during the cutting process.

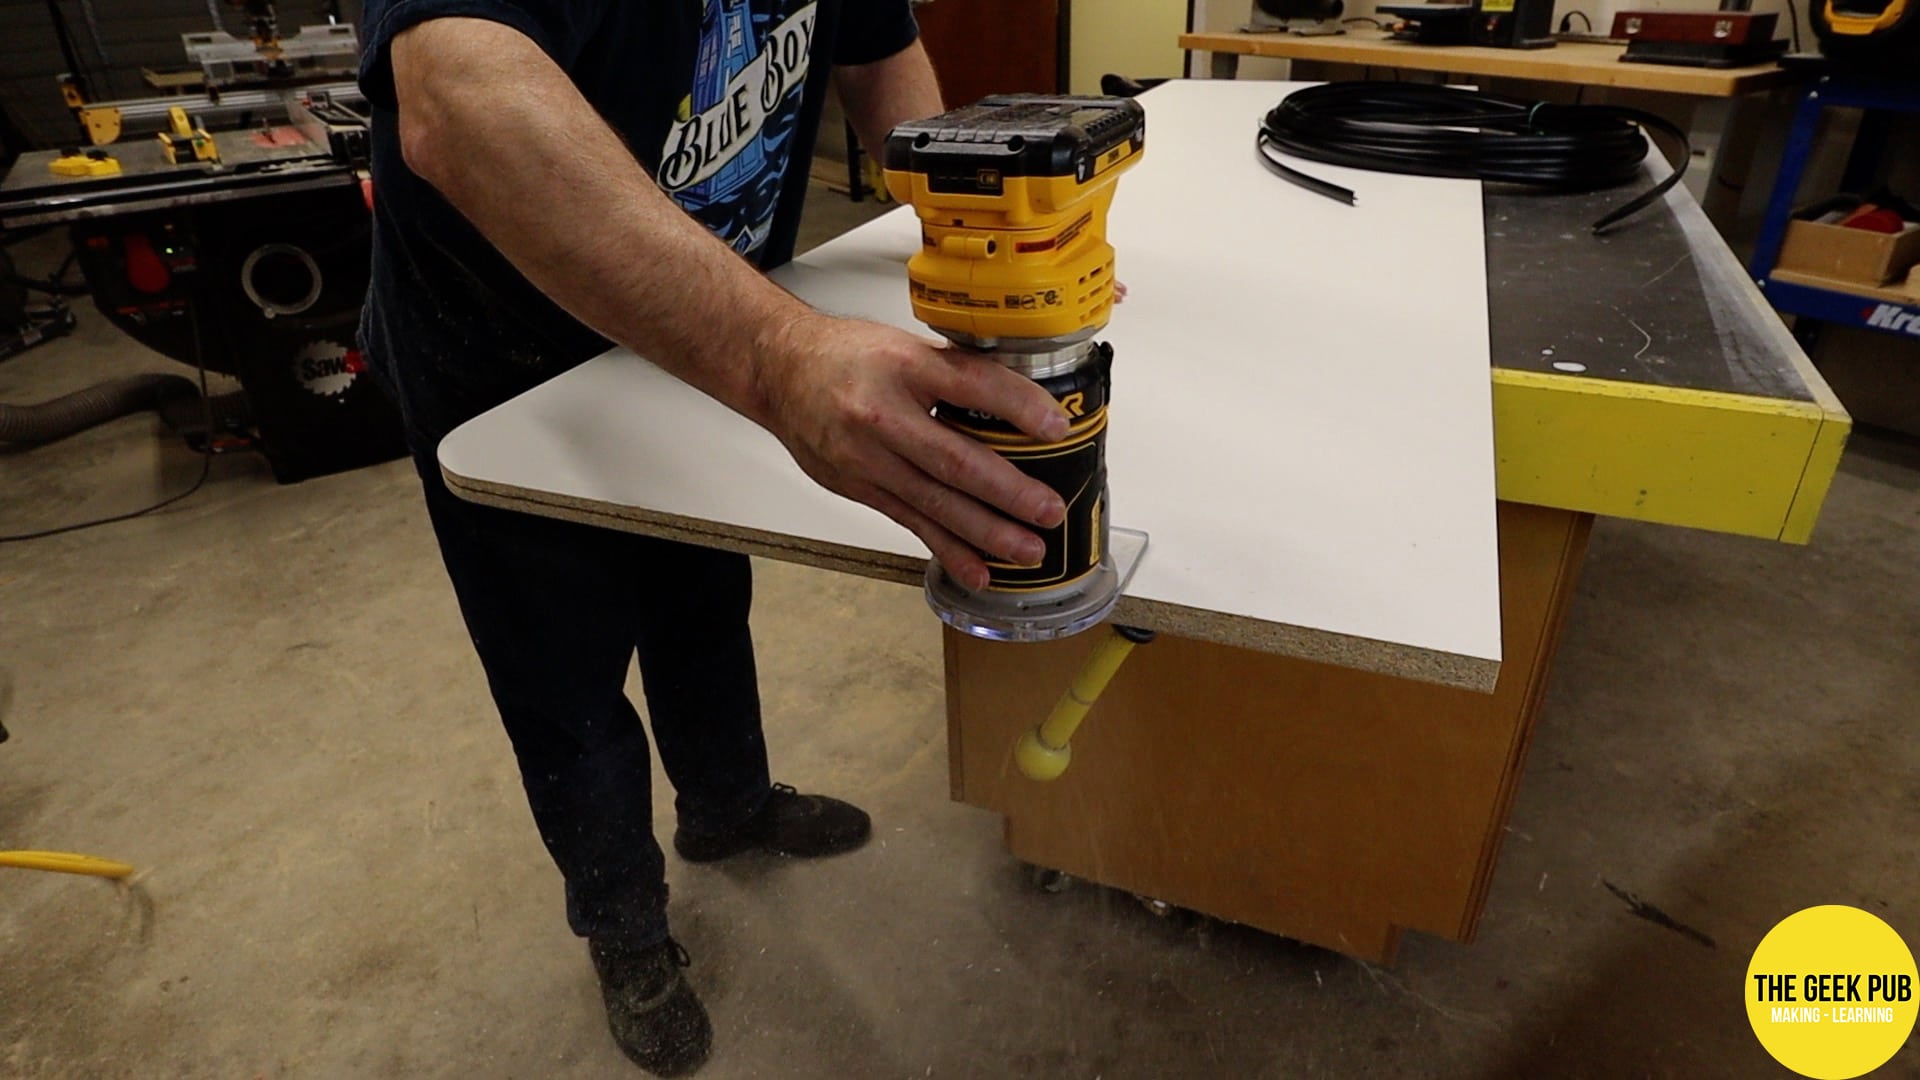
The final steps to finish the tops and shelves is to install the T-Molding. I used a trim router with a 1/16″ slot cutter installed and quickly routed the front edges of each of the melamine sheets. I did not slot the backsides because they will be against the wall and not visible.
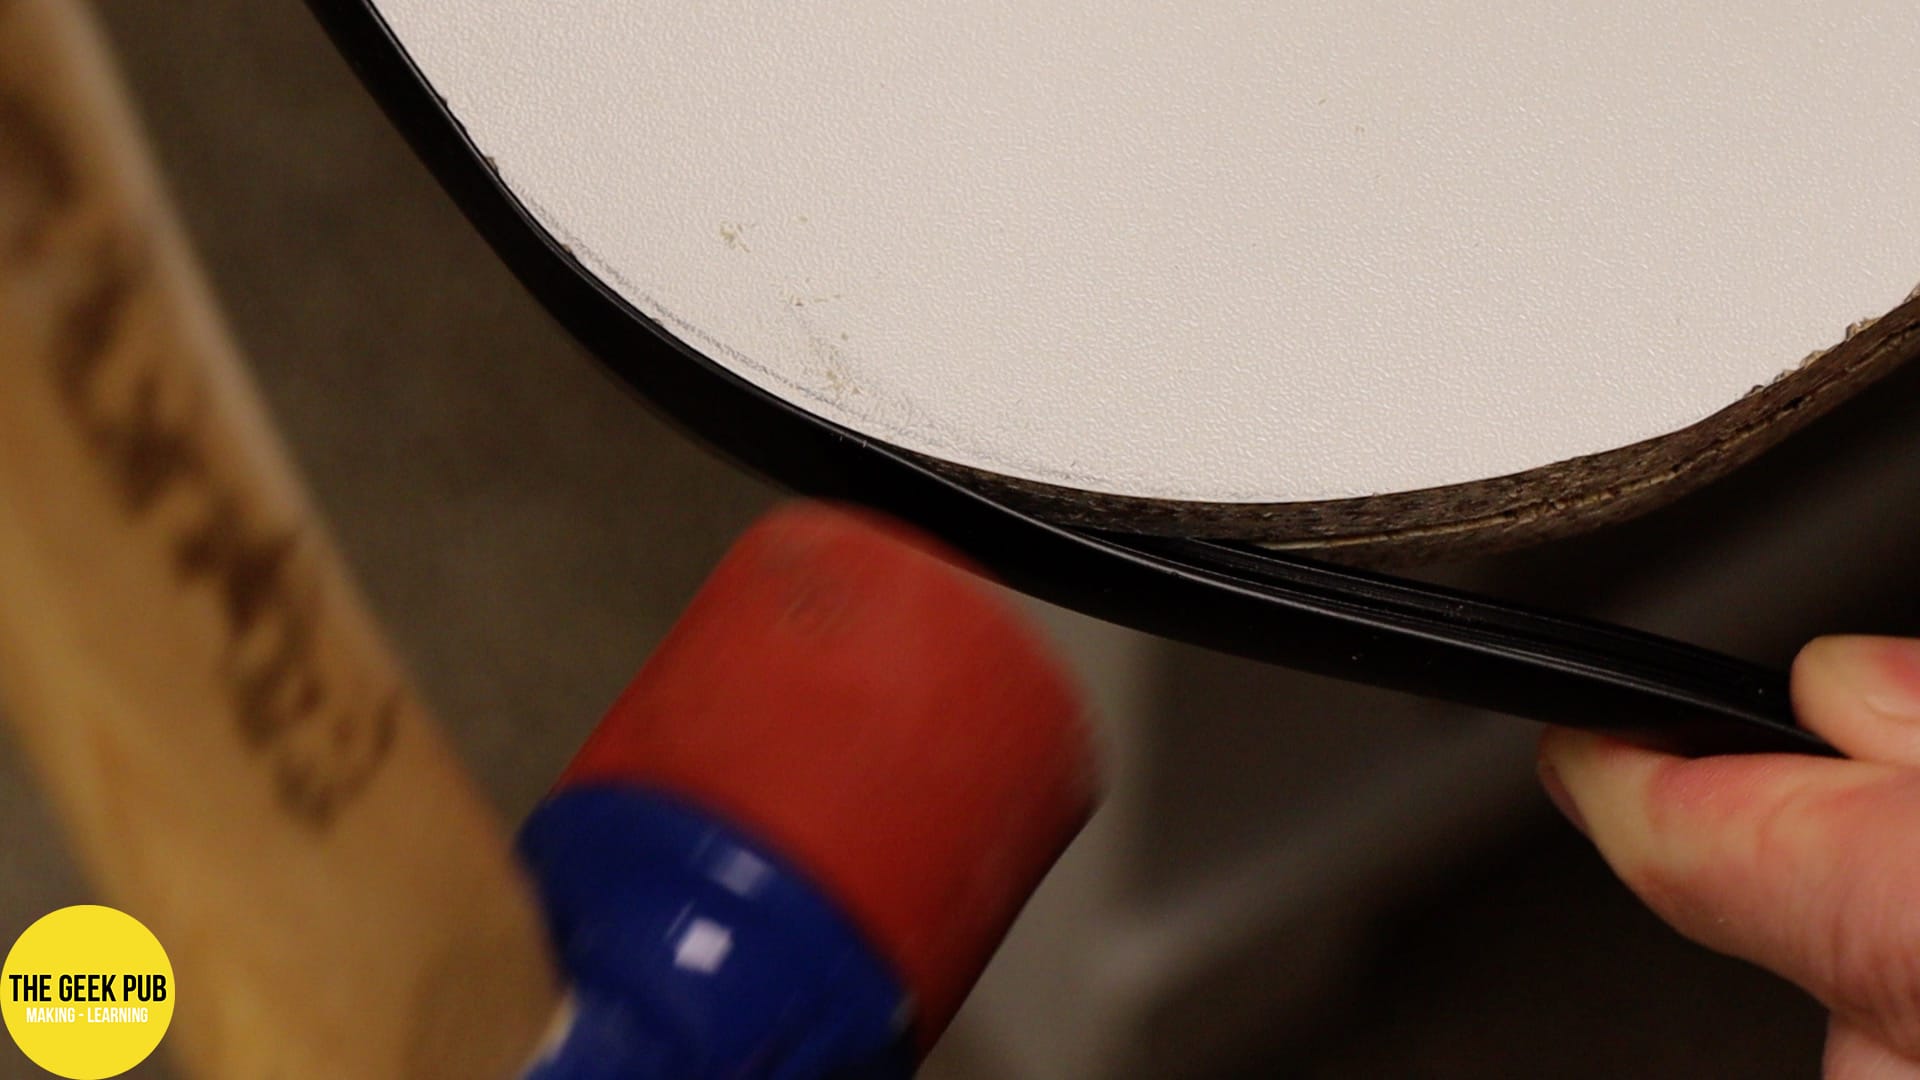
The edges if the melamine sheets are bare and need something to cover them. I decided on T-Molding since I had a bunch of it left over in my parts bins. Installing the T-Molding is as simple as popping the T-Molding into the slot using a soft rubber mallet. If you want to know more about installing T-Molding, you can check out our T-Molding Tips and Tricks page. The T-Molding I used from Amazon.
One thing I always like to do when making projects (especially if they are going to cross multiple days or weeks) is to label each part. For things that are unfinished, I just use pencil. For things that are finished and I don’t want to mess up, I just use masking tape and a sharpie to label them.

Building the the Main and Side Table Bases
Next up for our Electronics Station is to build the bases for the main and side table.
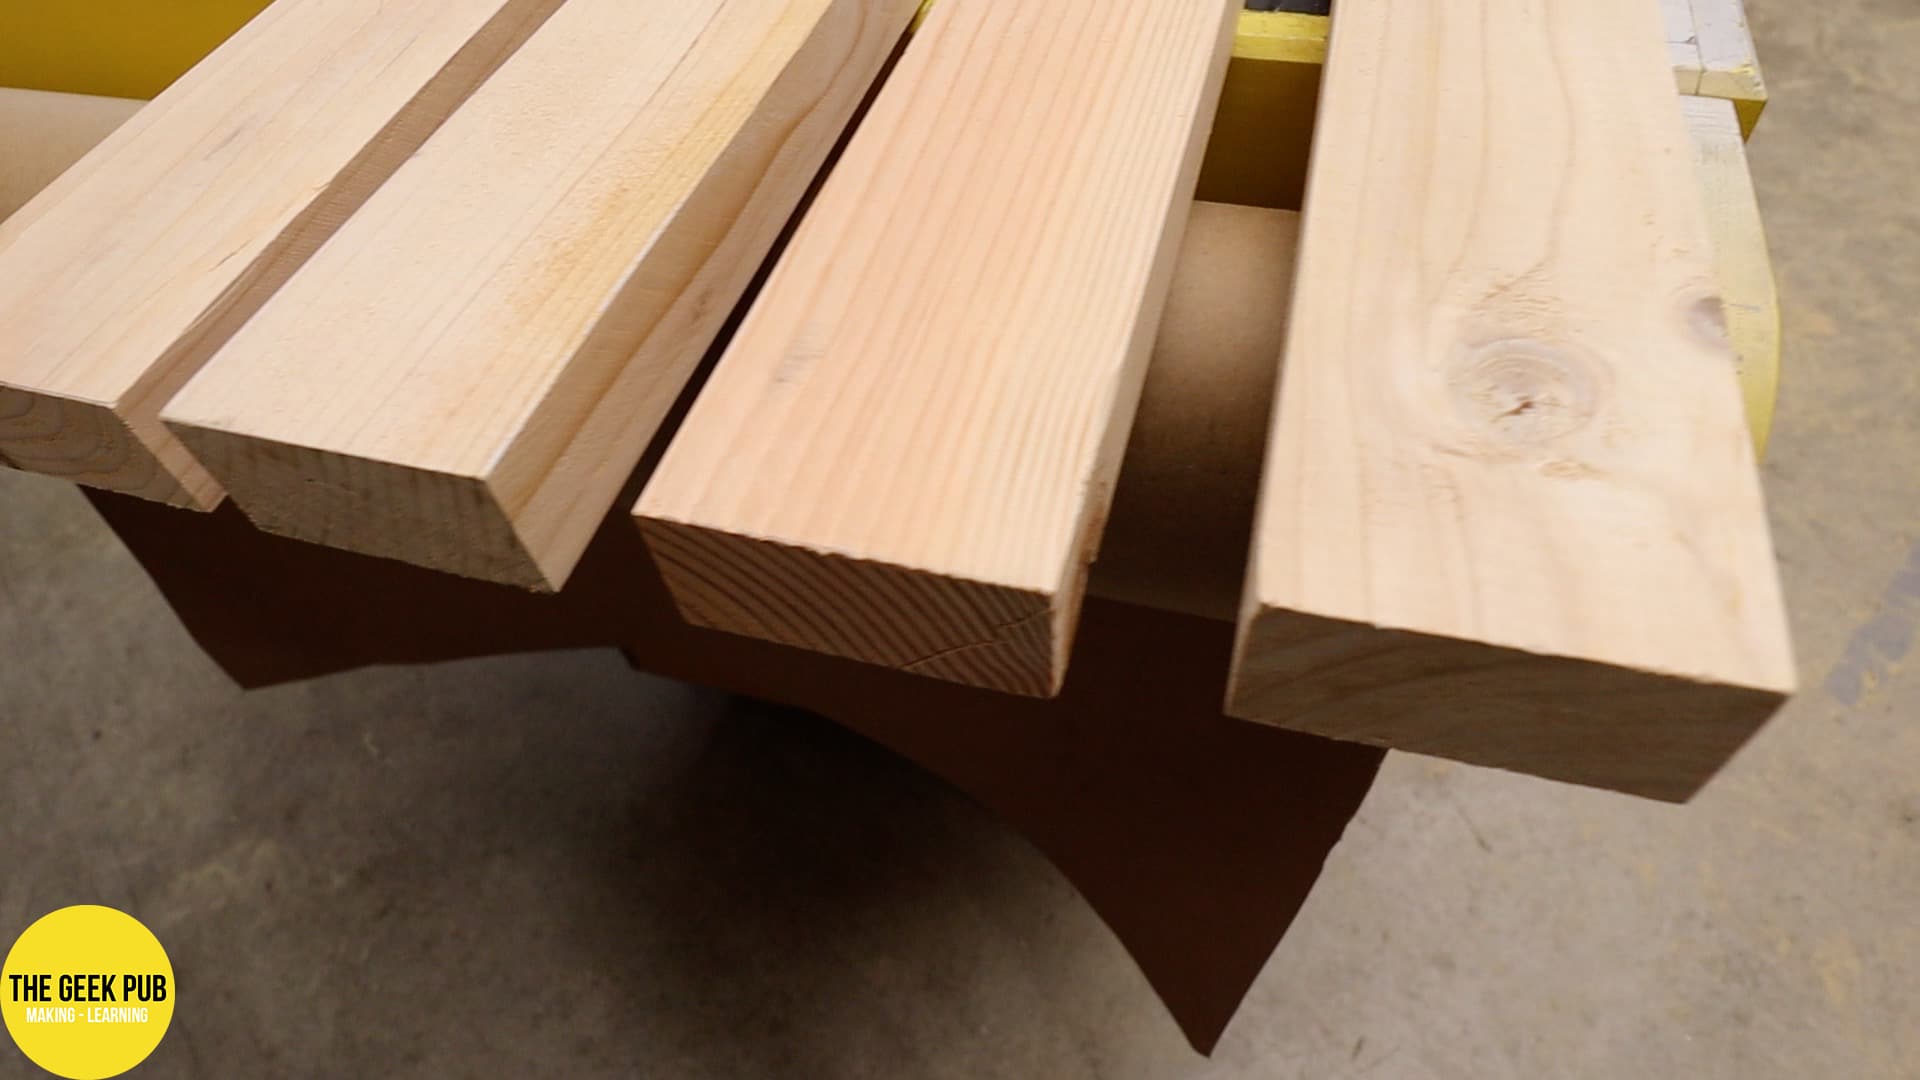
I went to Home Depot and bought the highest quality 4 X 4 posts and 2 X 4 boards that I could find. This was not an easy task! I did buy the higher grade lumber and that did help.
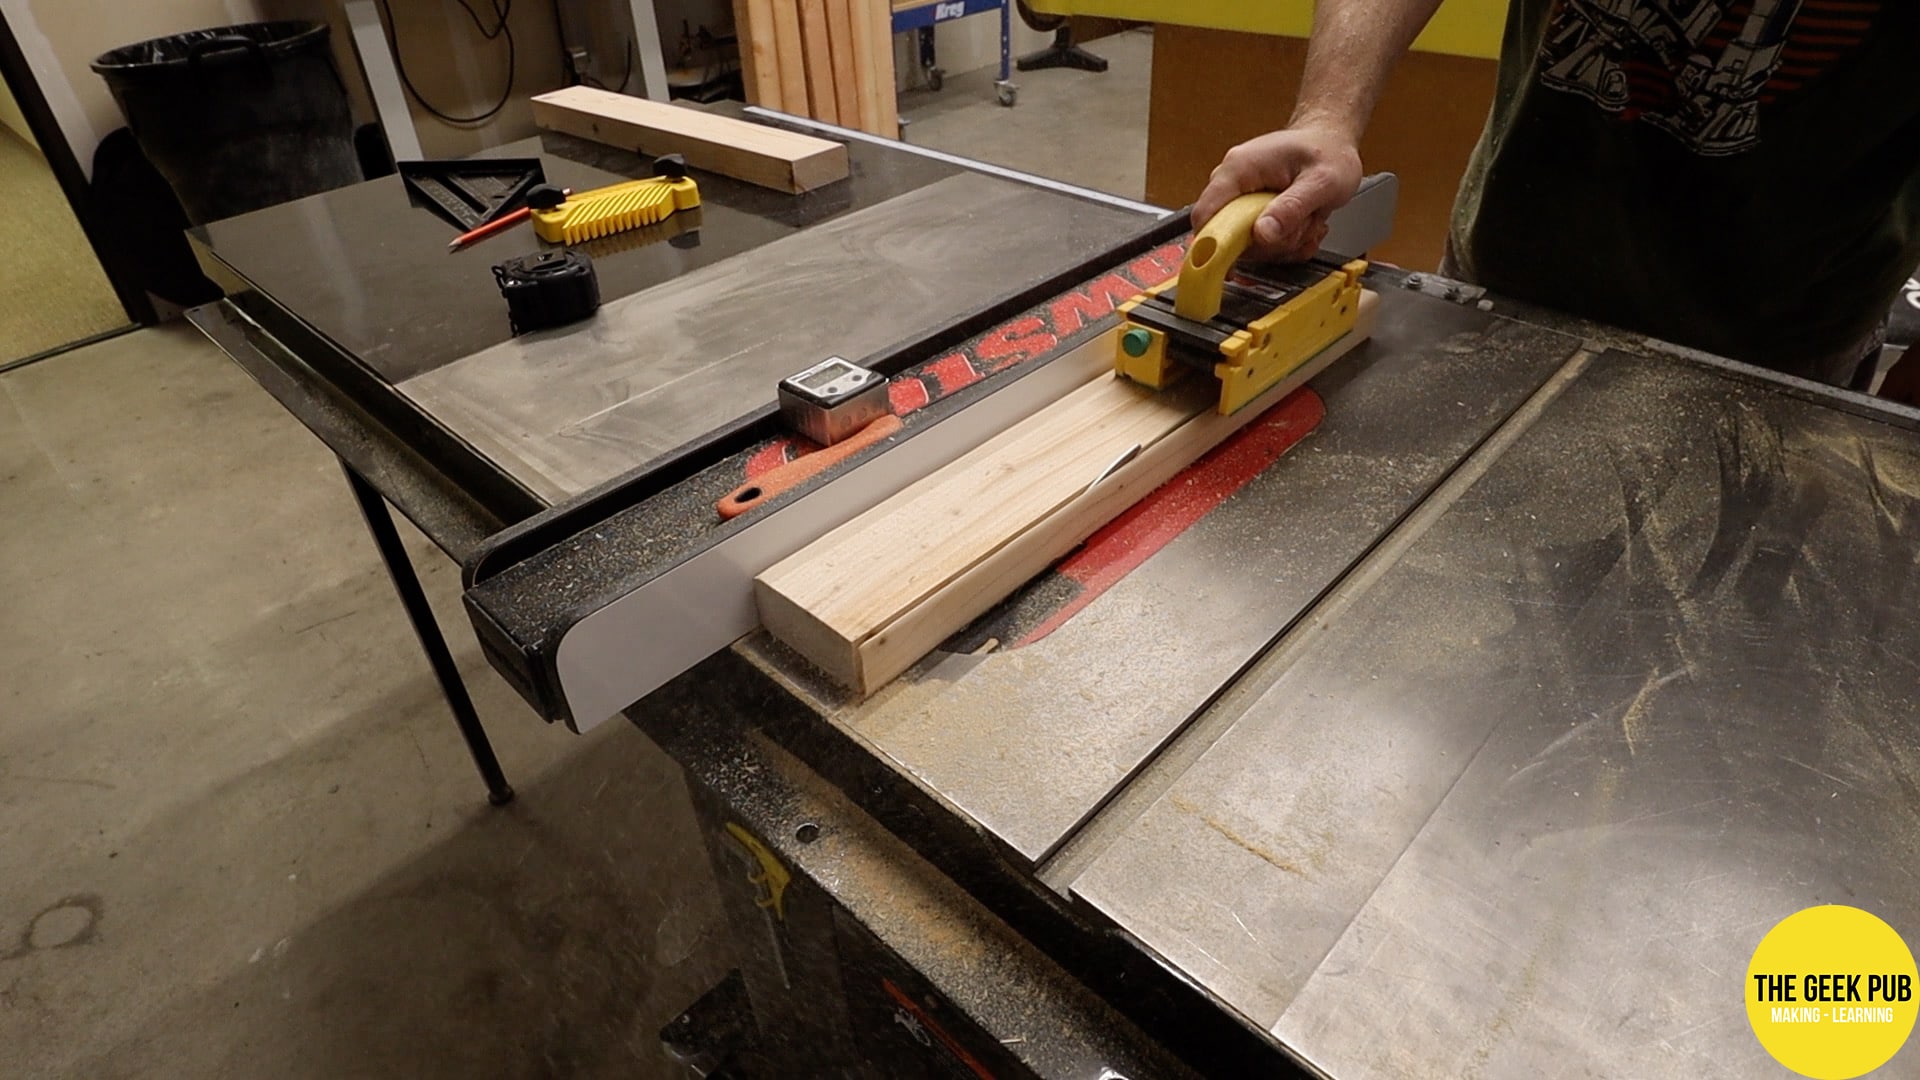
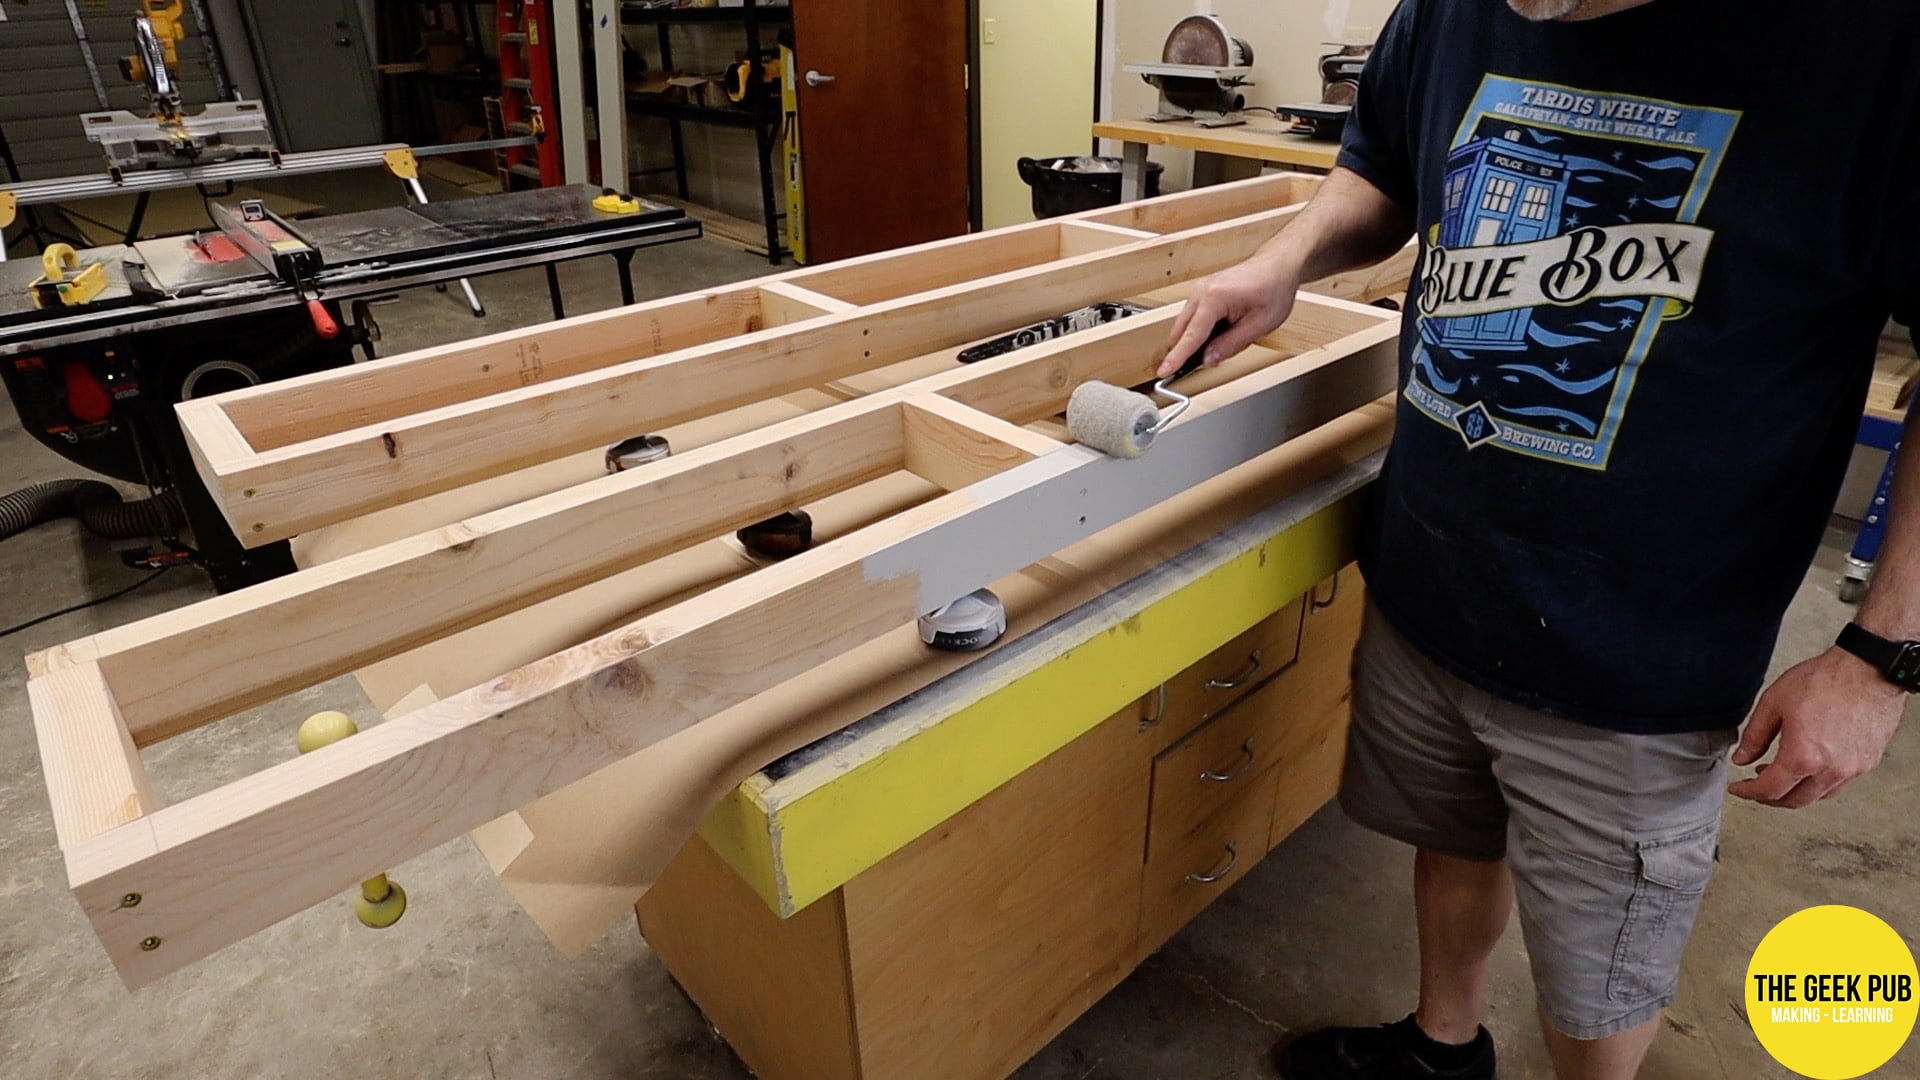
One of the major irritations of using pine studs for building things is that the edges are rounded over (fun fact, no one actually knows why this is the case, though there are some theories). These round-overs make it hard to line things up and make tight seams. So we’re going to remove them. On the table saw I removed 1/8″ of material from each side of the board. The exception being the table runners. I only removed the top side round-over, since I wanted to have s round-over where my legs might make contact with the bench.
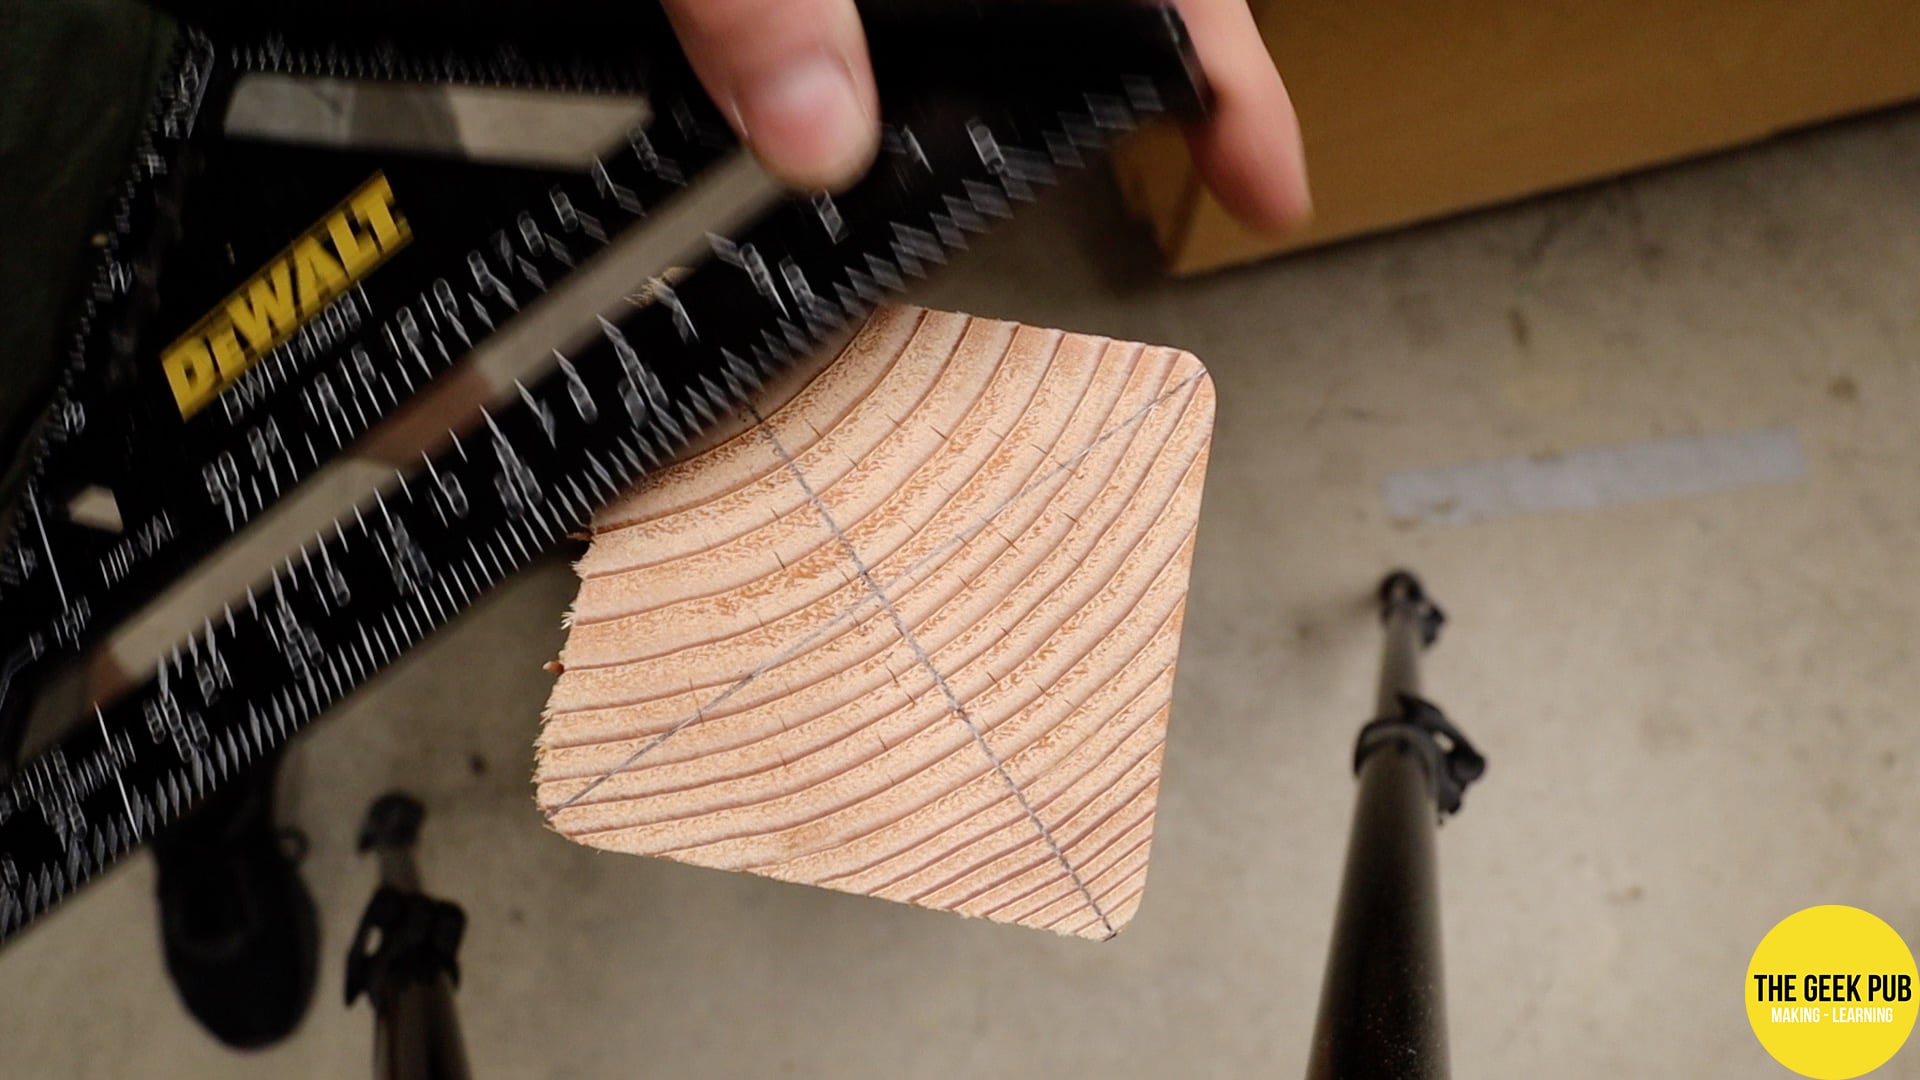
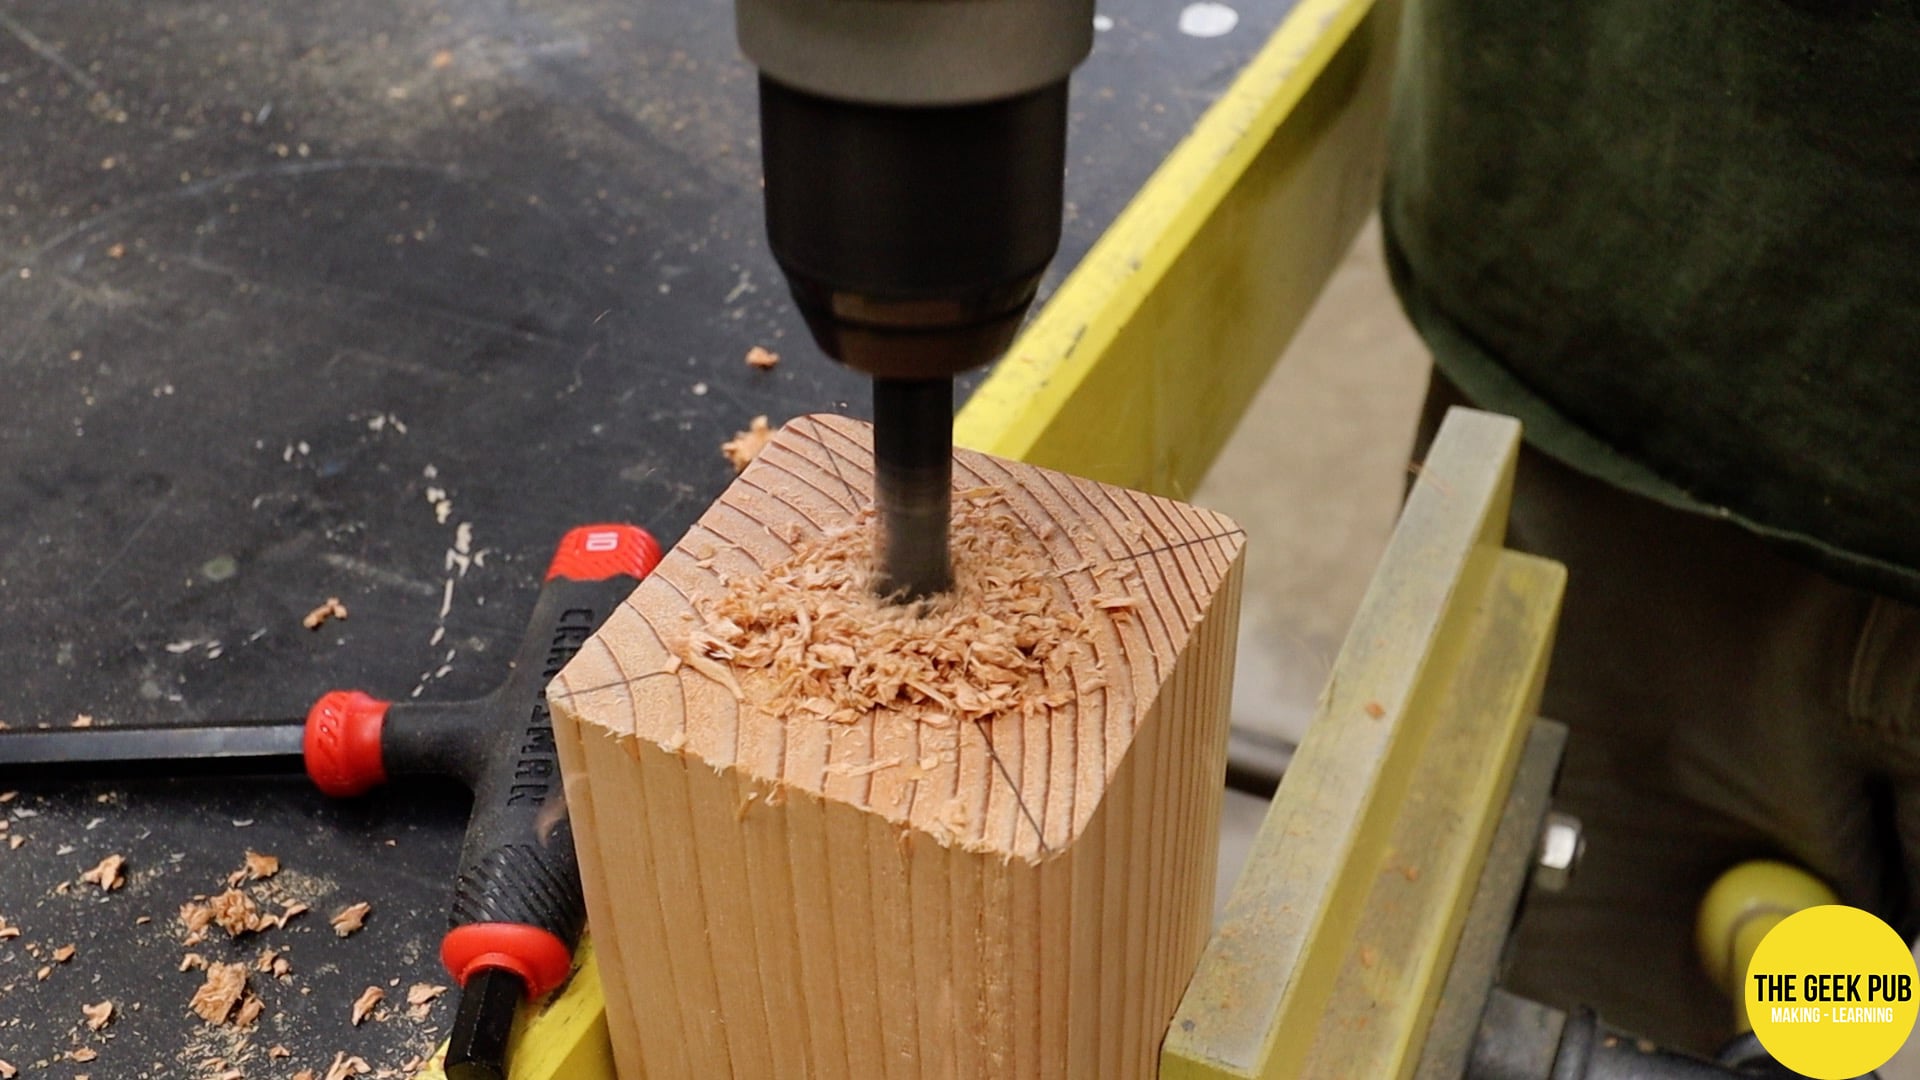
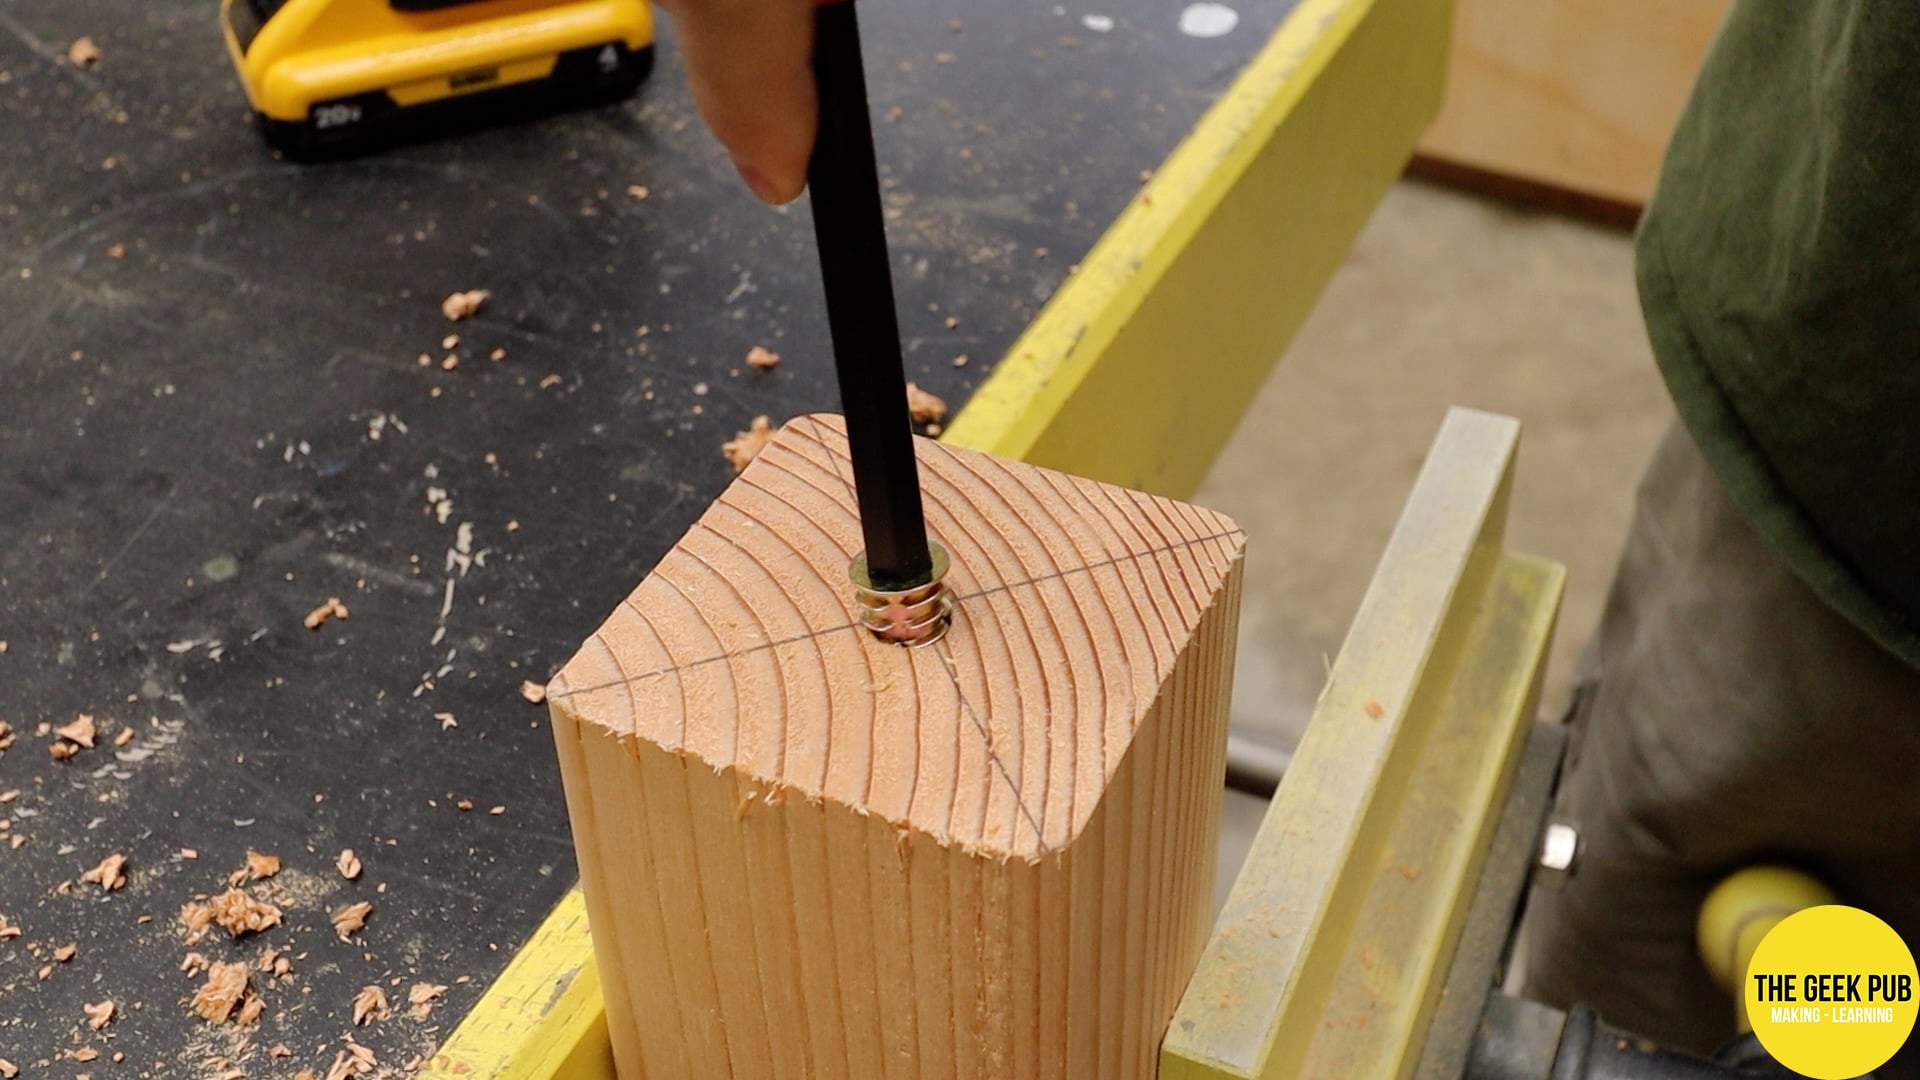
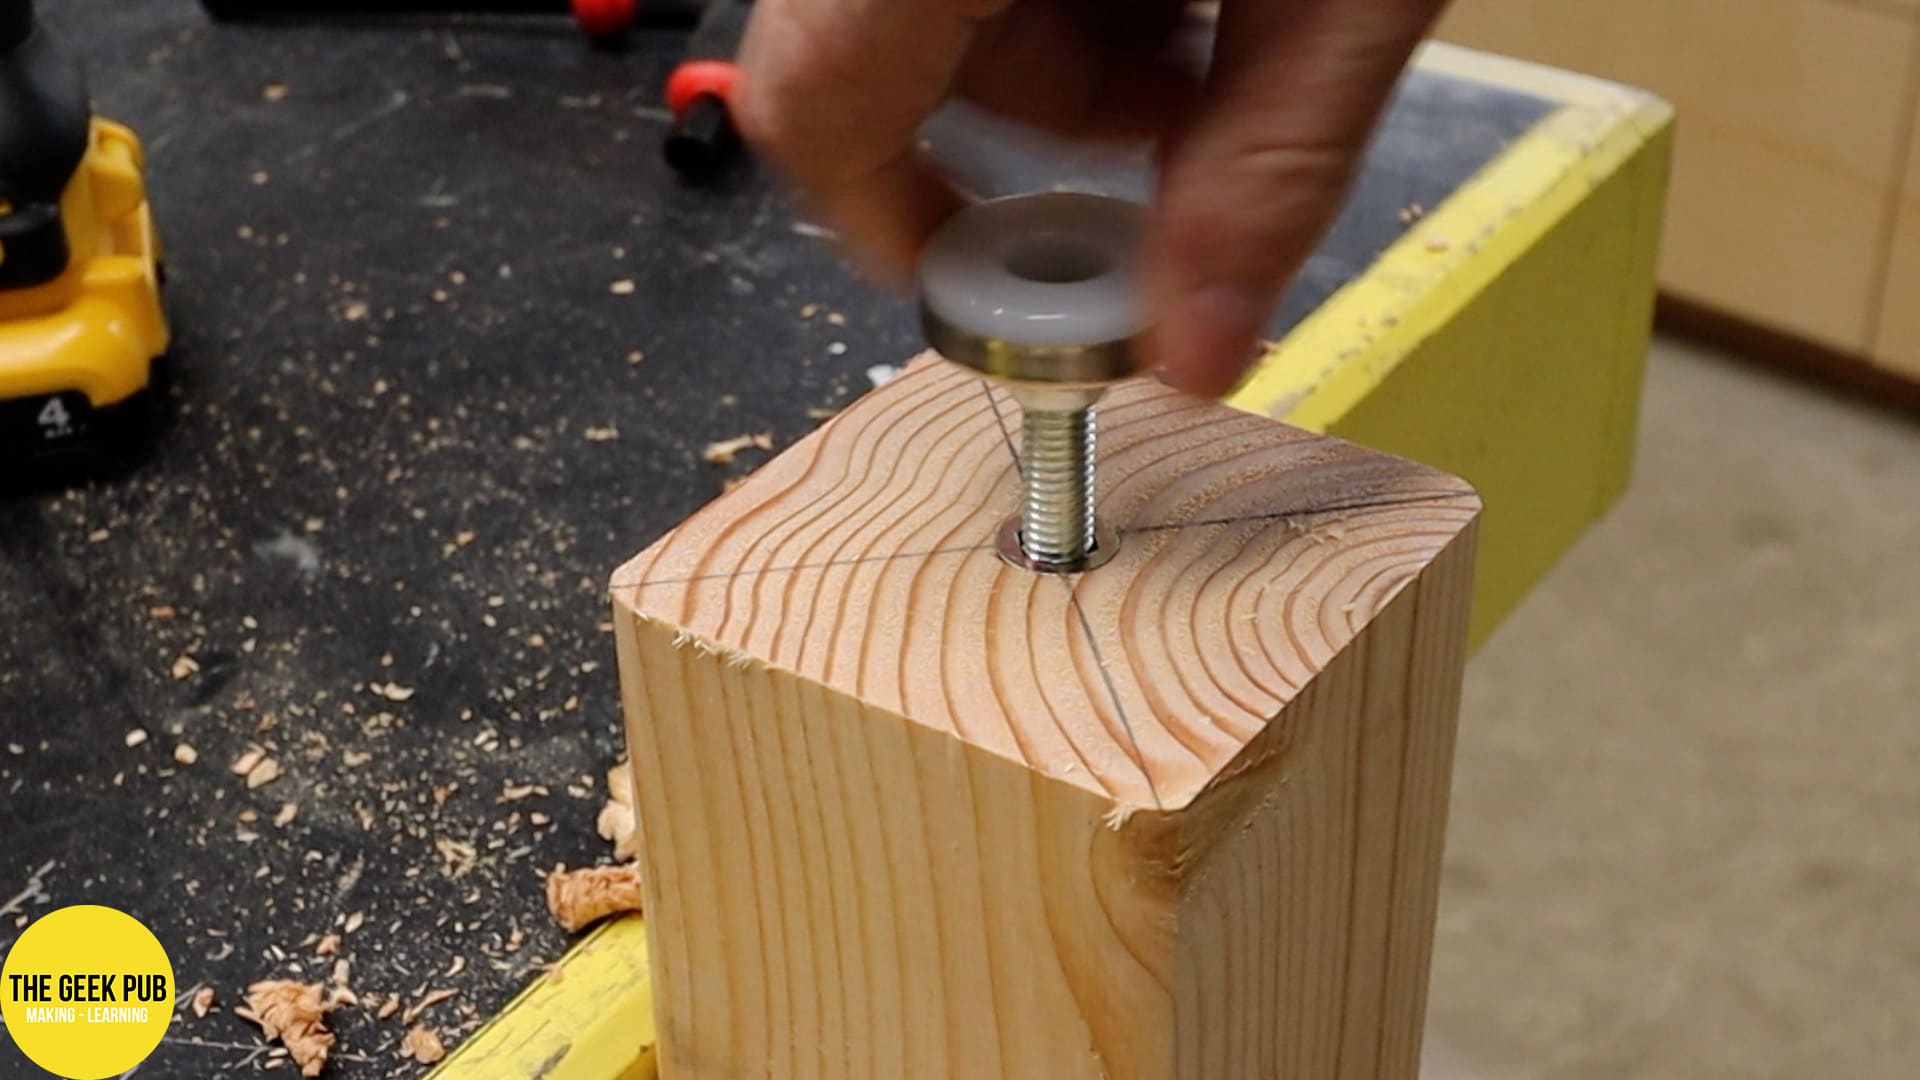
The posts I cut down on the miter saw. Using a speed square I found the center and then drilled a two inch hole in the bottom of each one. In the hole I installed threaded nuts. In these nuts I installed feet levelers. These will make it easy to level the bench when its in its final location in the project room.
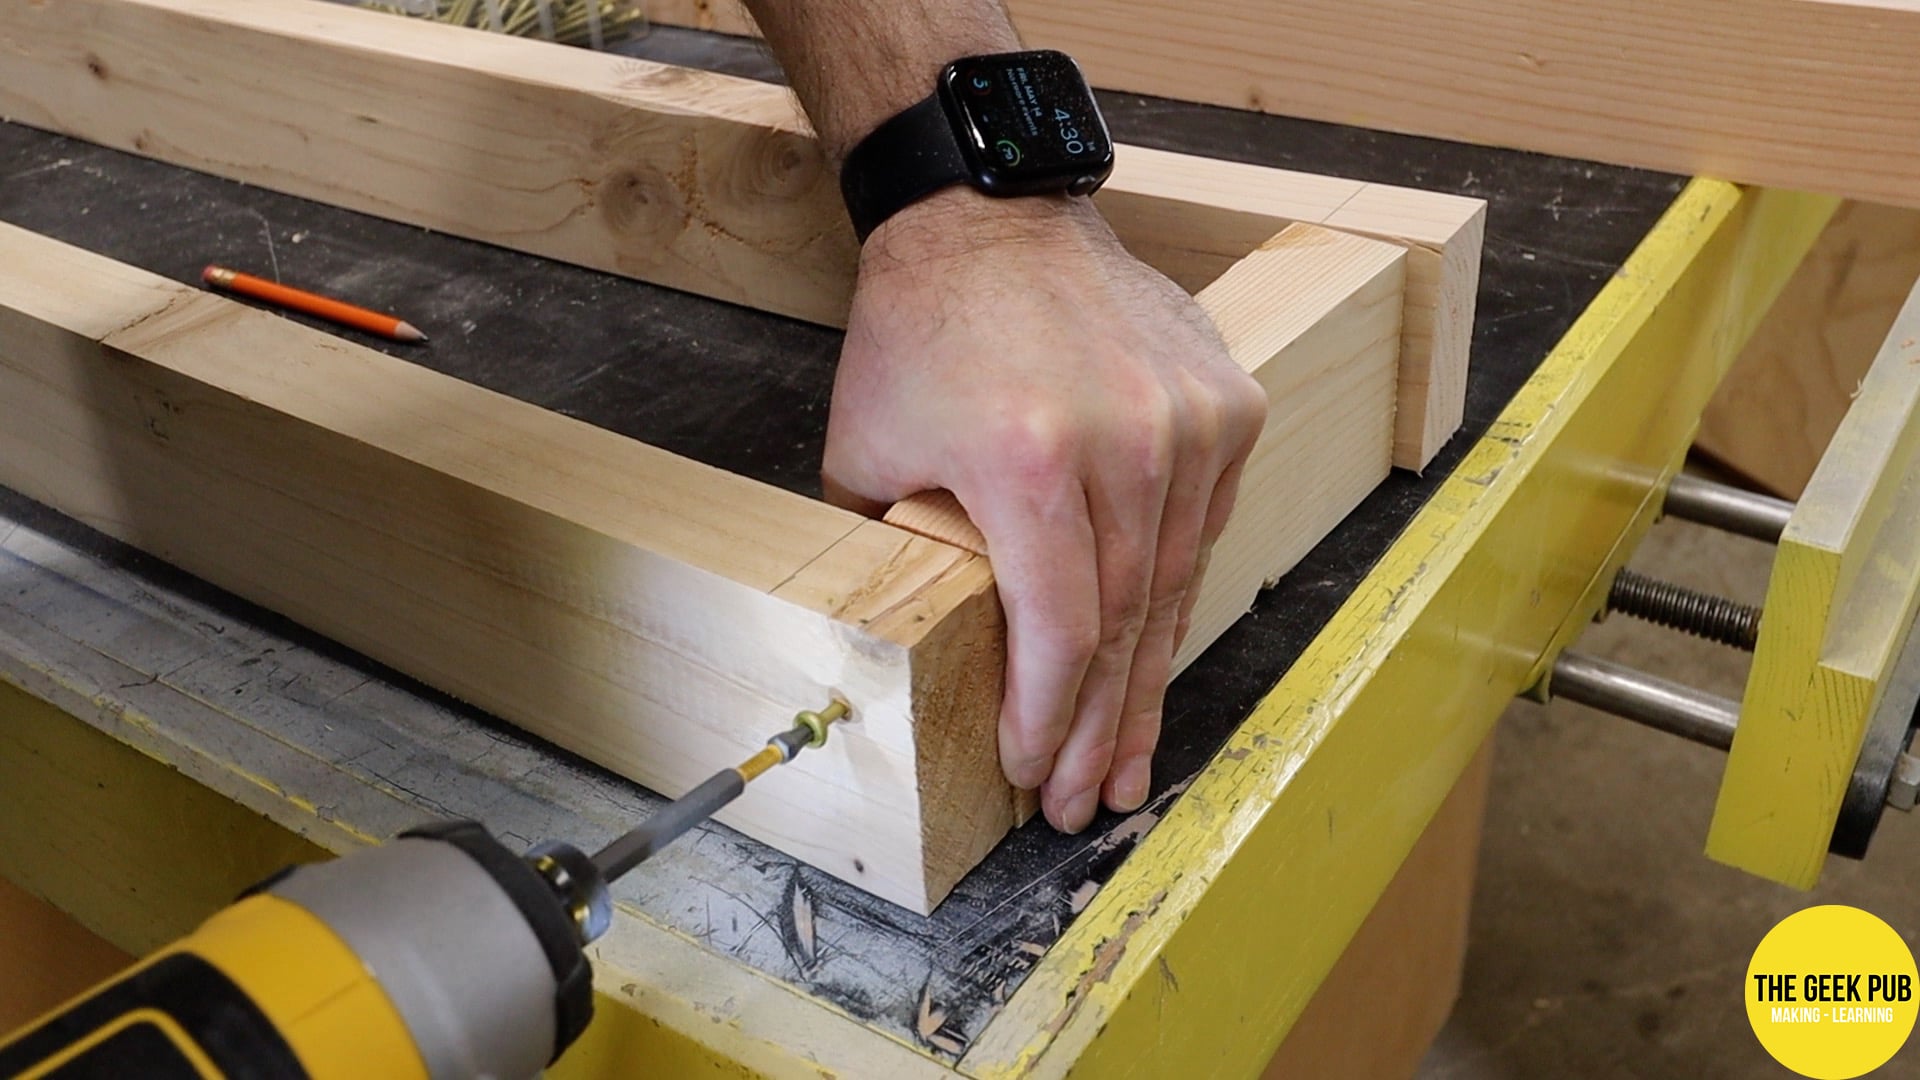
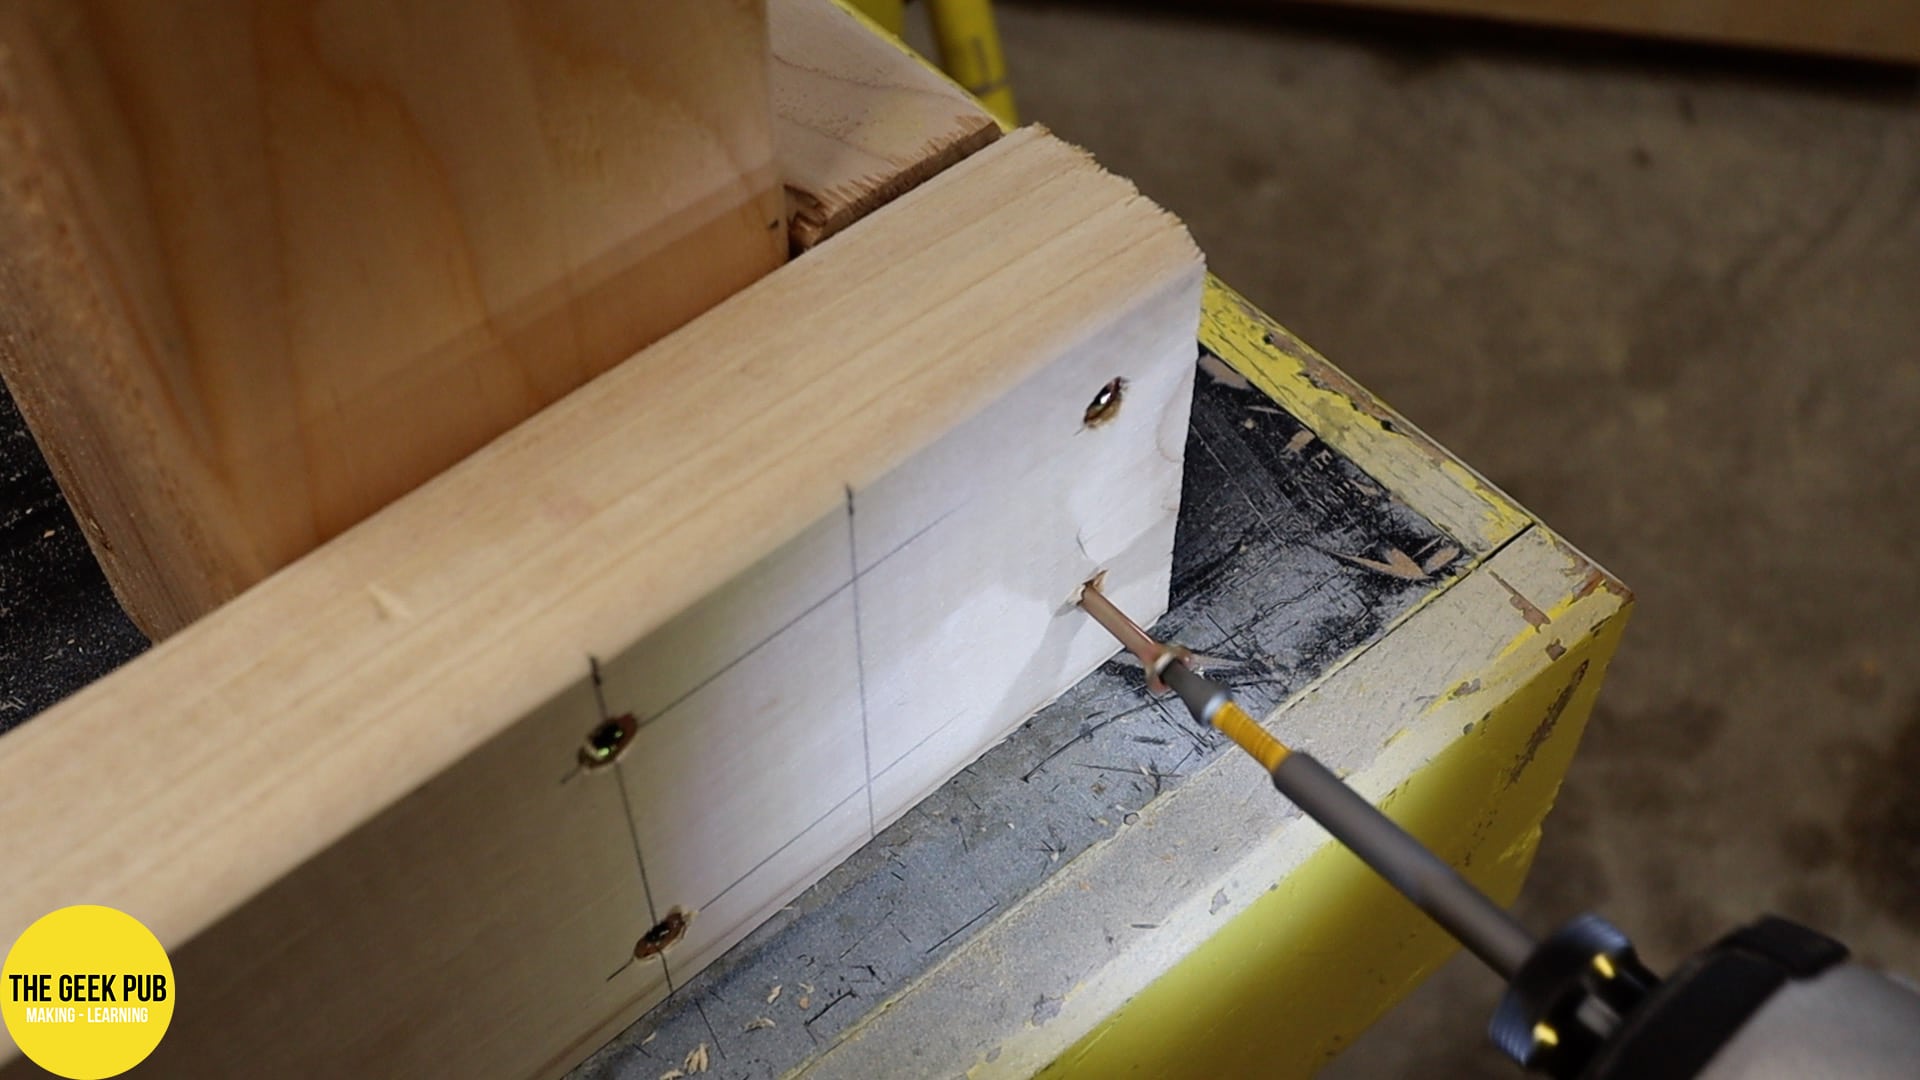
Everything is assembled using 2.5″ Torx-head wood screws. I much prefer these over slotted or Philips style screws. They are very unlikely to round out or slip.
Painting the Electronics Workbench
To paint the electronics workbench (everything except the melamine), I picked up a gallon of “Light French Grey” paint from the local paint store. I wanted something that would have some contrast from the white melamine and also the black T-molding. So light grey seemed like the way to go.

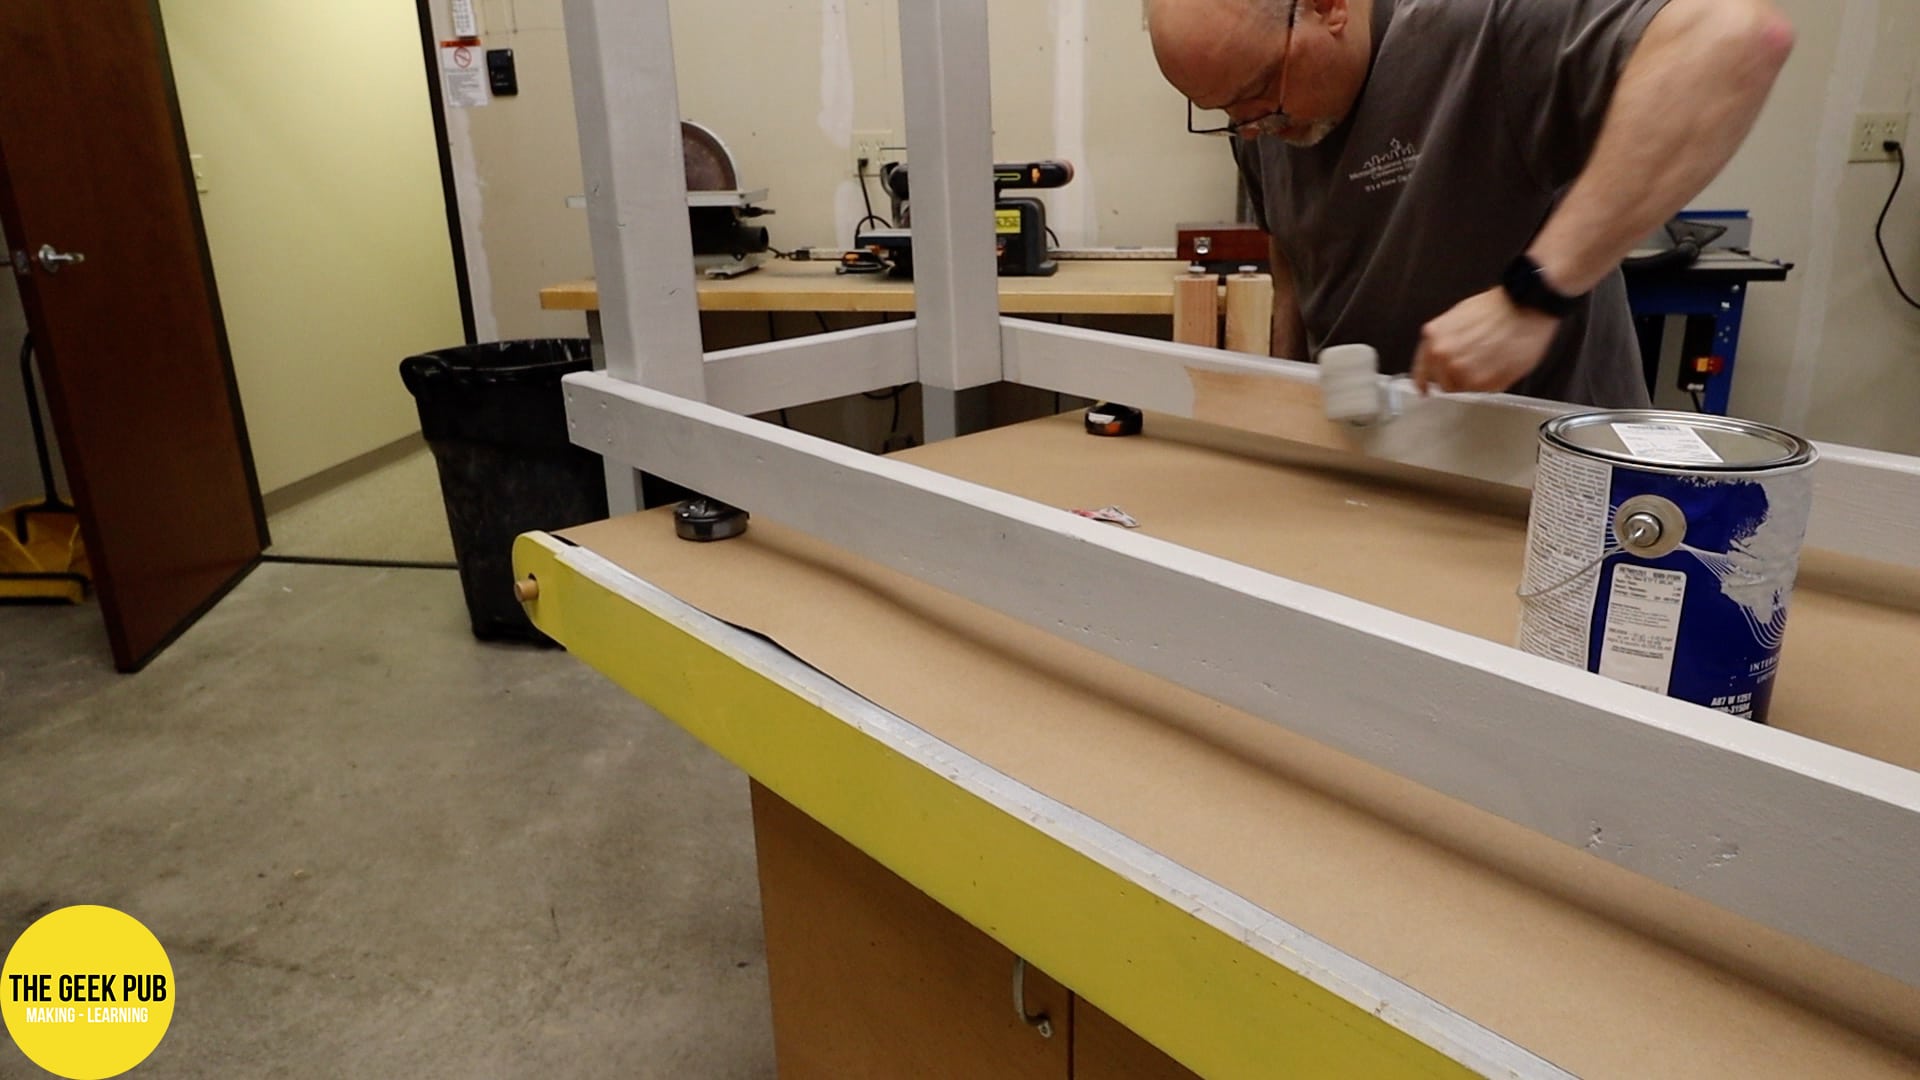
One thing I always get asked is “What are these little pucks you are using to hold it while you paint?”. Those little pucks are called Bench Dogs. They’re super handy and I cannot recommend them enough. #notsponsored.
Electrical Needs for the Workbench
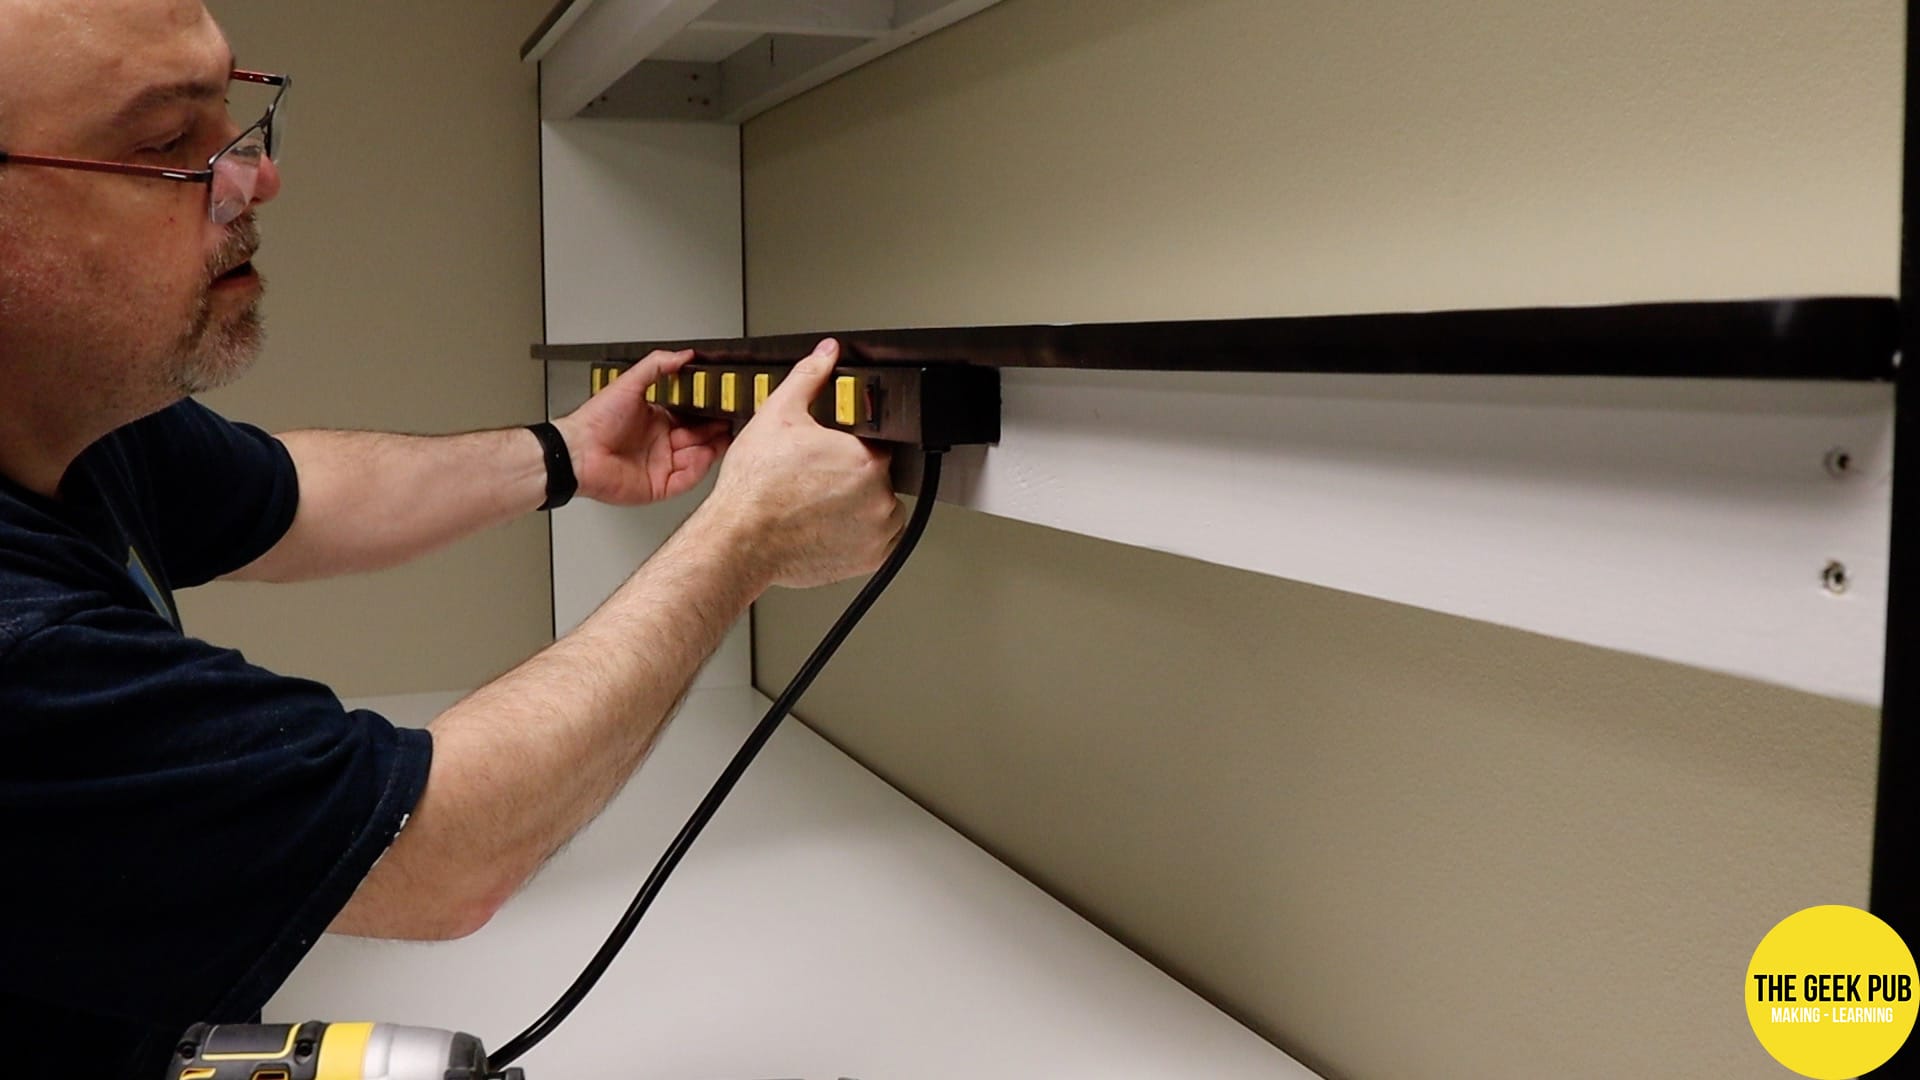
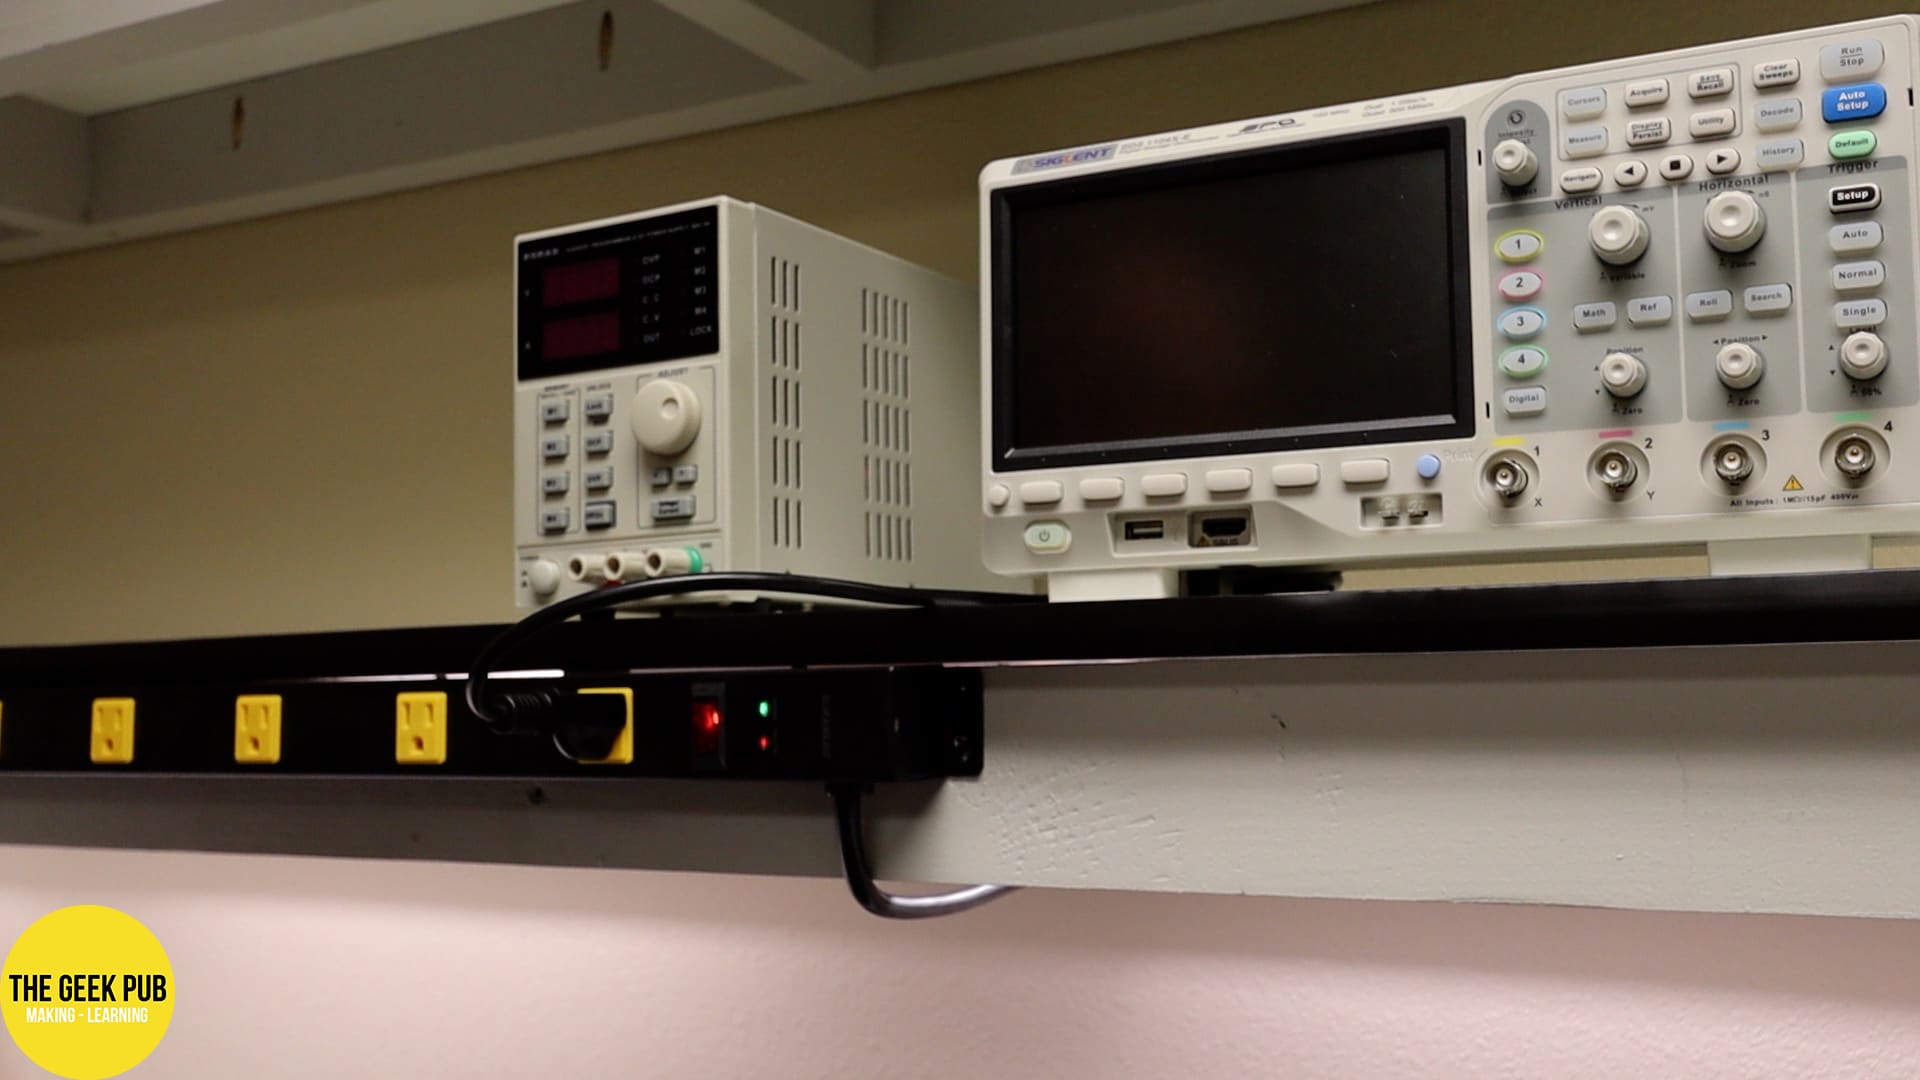
In order to make room for plenty of power on the workbench I installed a 10 outlet power strip that has the outlets spaced a decent bit apart. This will allow for the plugging of power bricks or other large things into the outlets without wasting the outlet next to it.
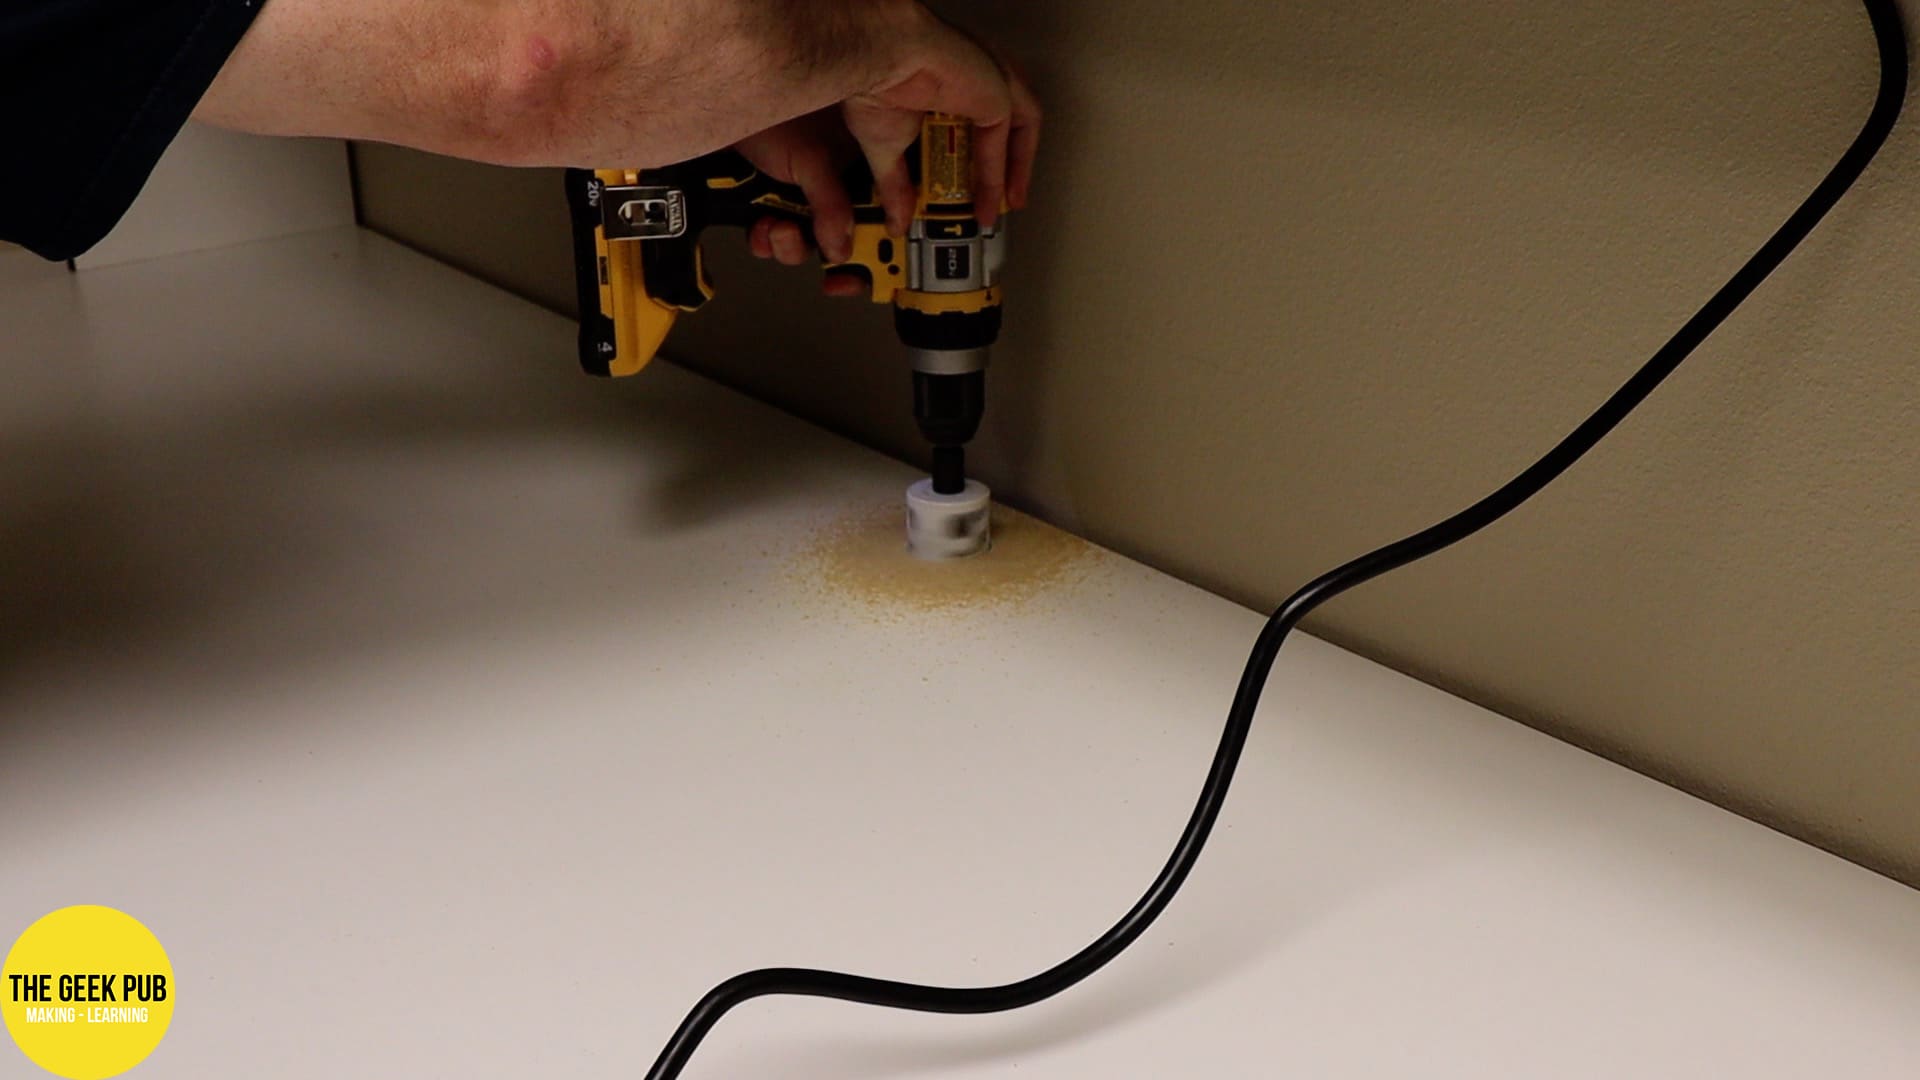
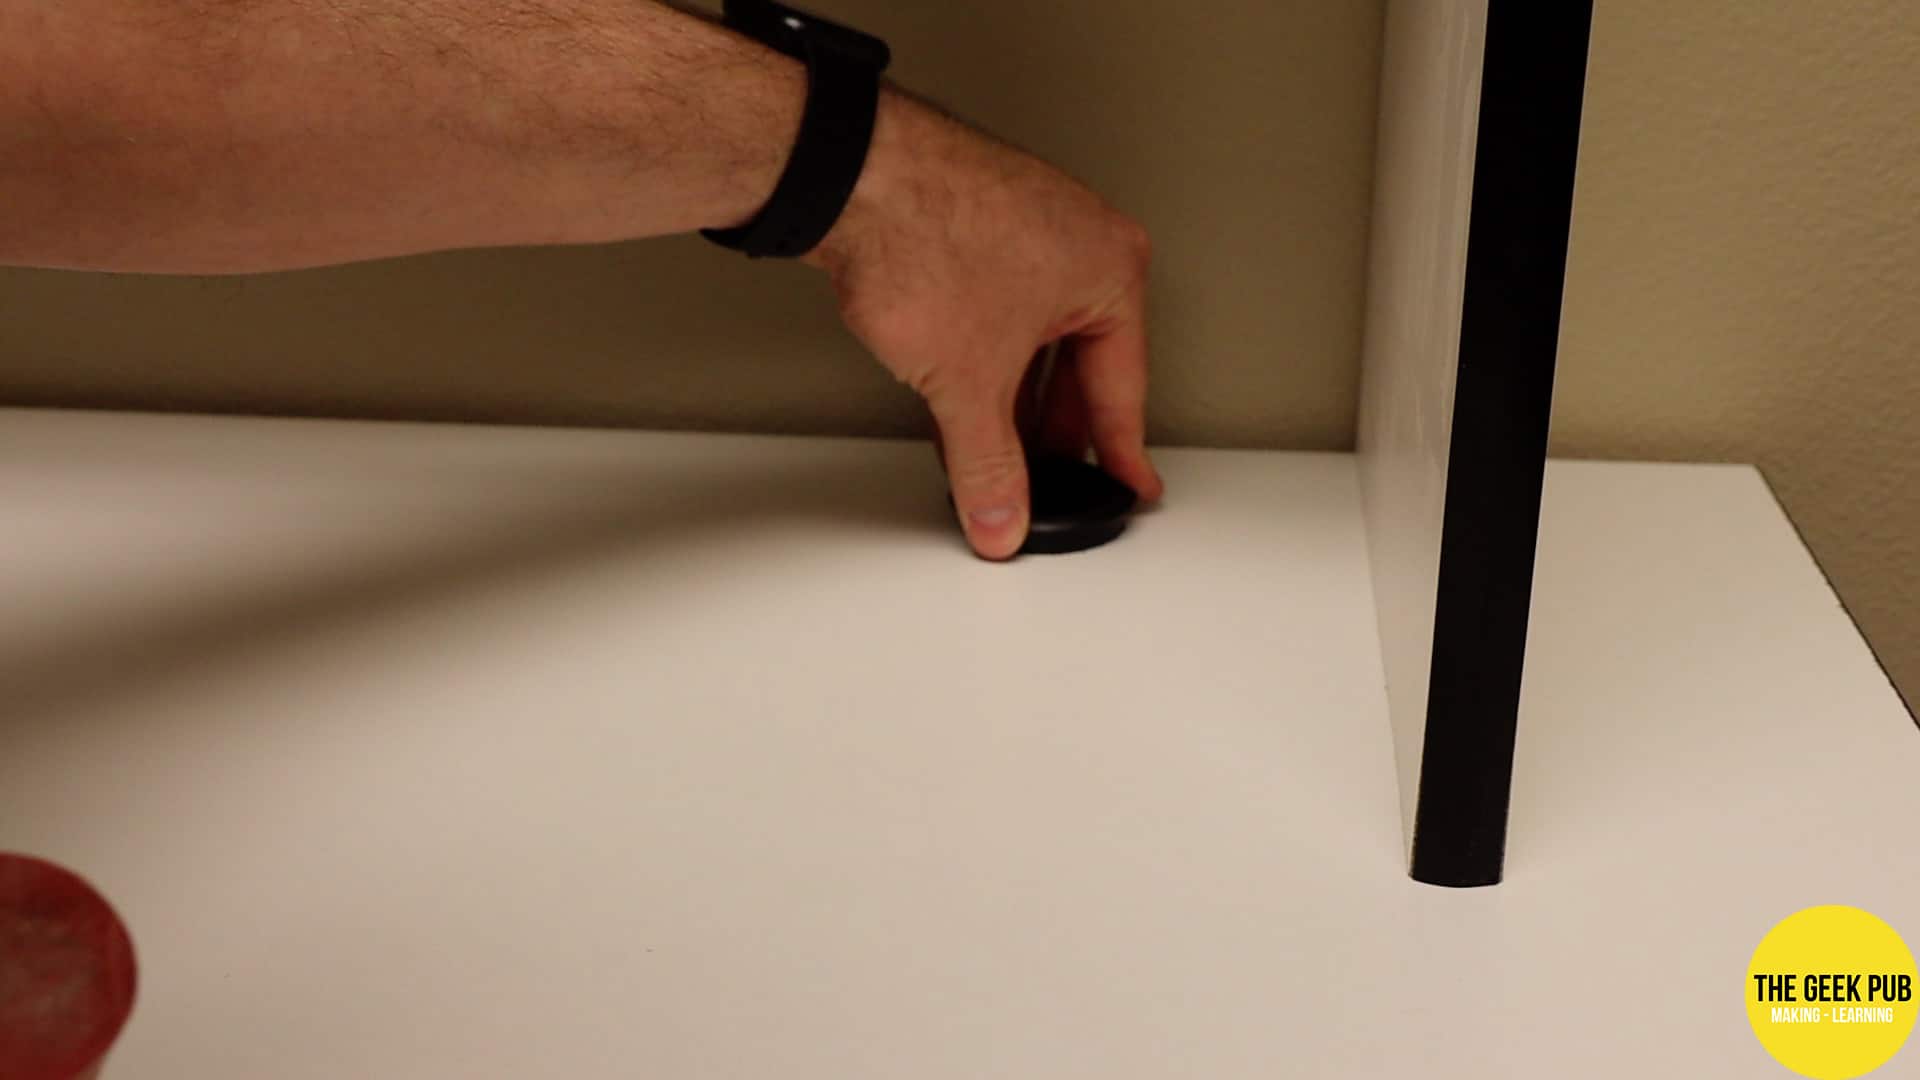
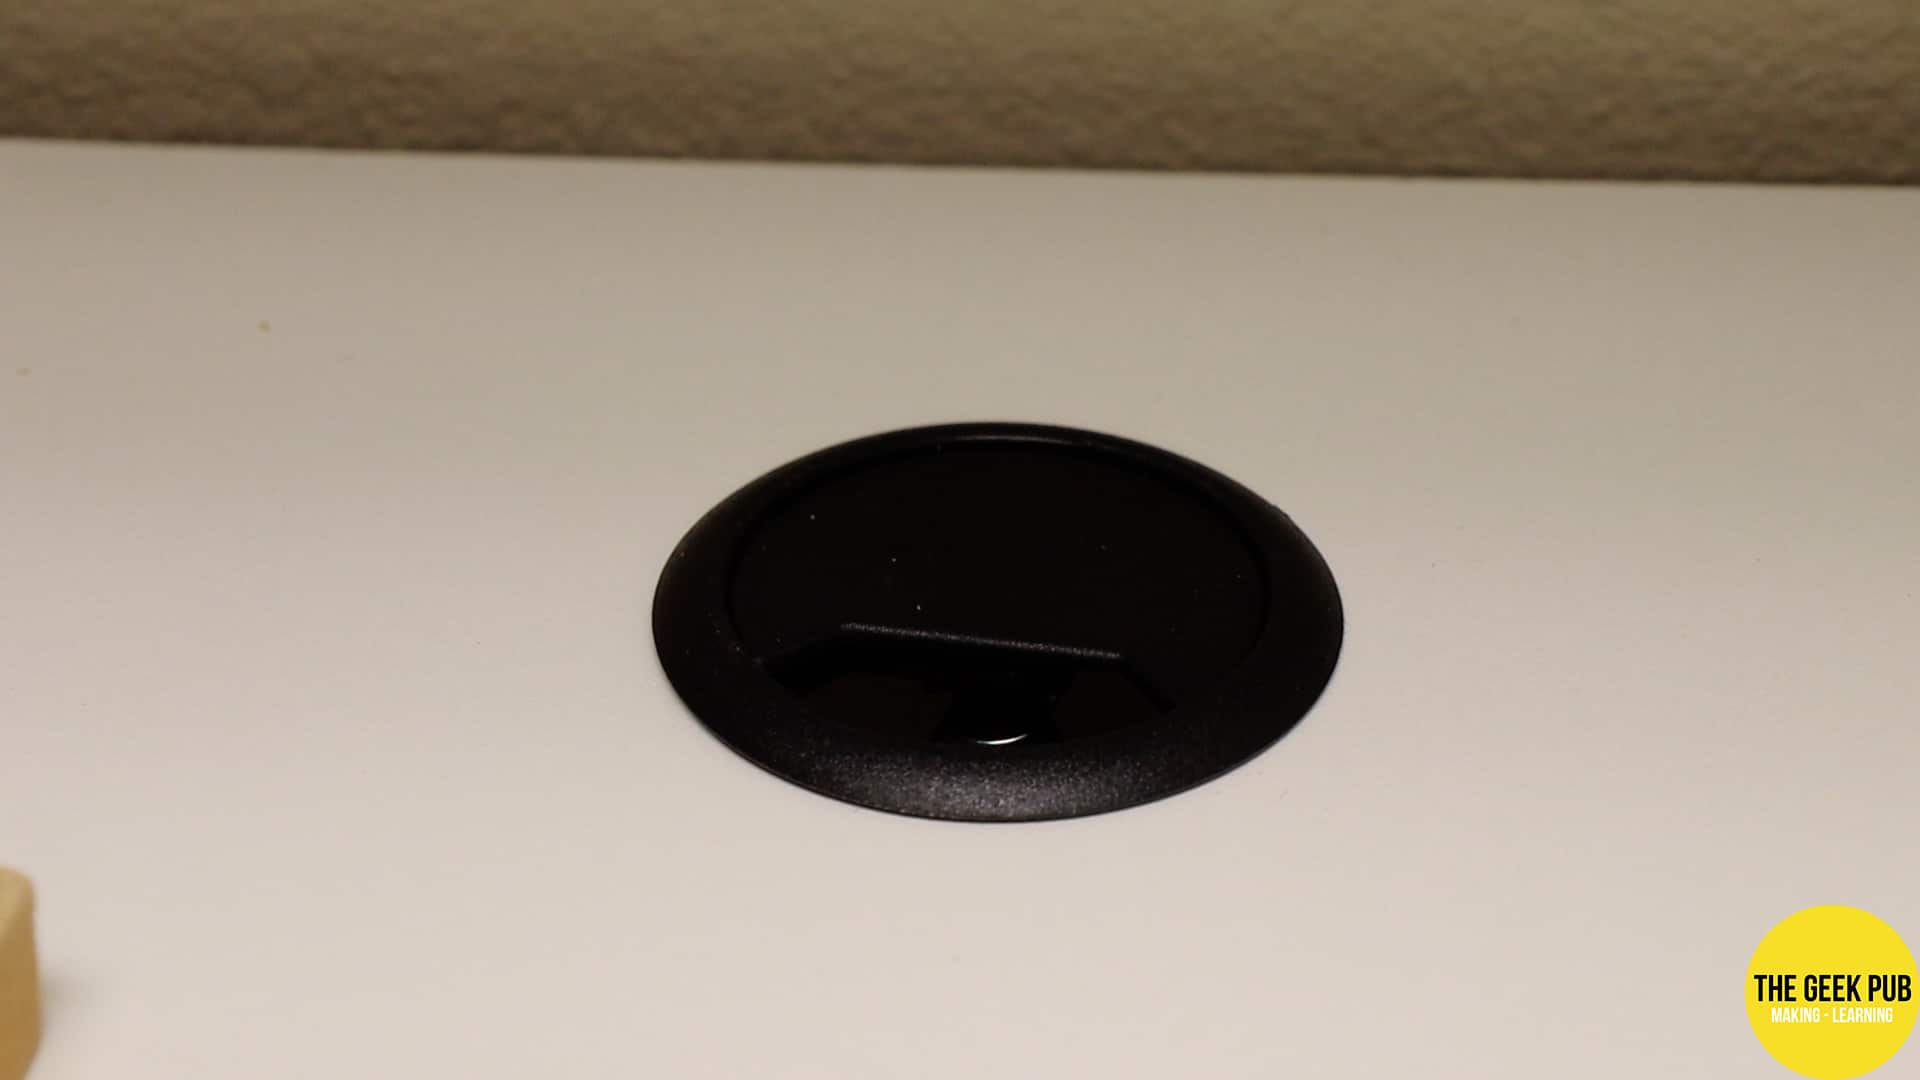
At various locations on the tabletop and shelves, I drilled 2″ pass through holes and added 2″ desk grommets for power, ethernet, and HDMI cables.
Equipment for the Workstation
Of course, part of what makes this electronics station ultimate is the equipment we put on it to work with. Here’s a list of everything I decided to use.
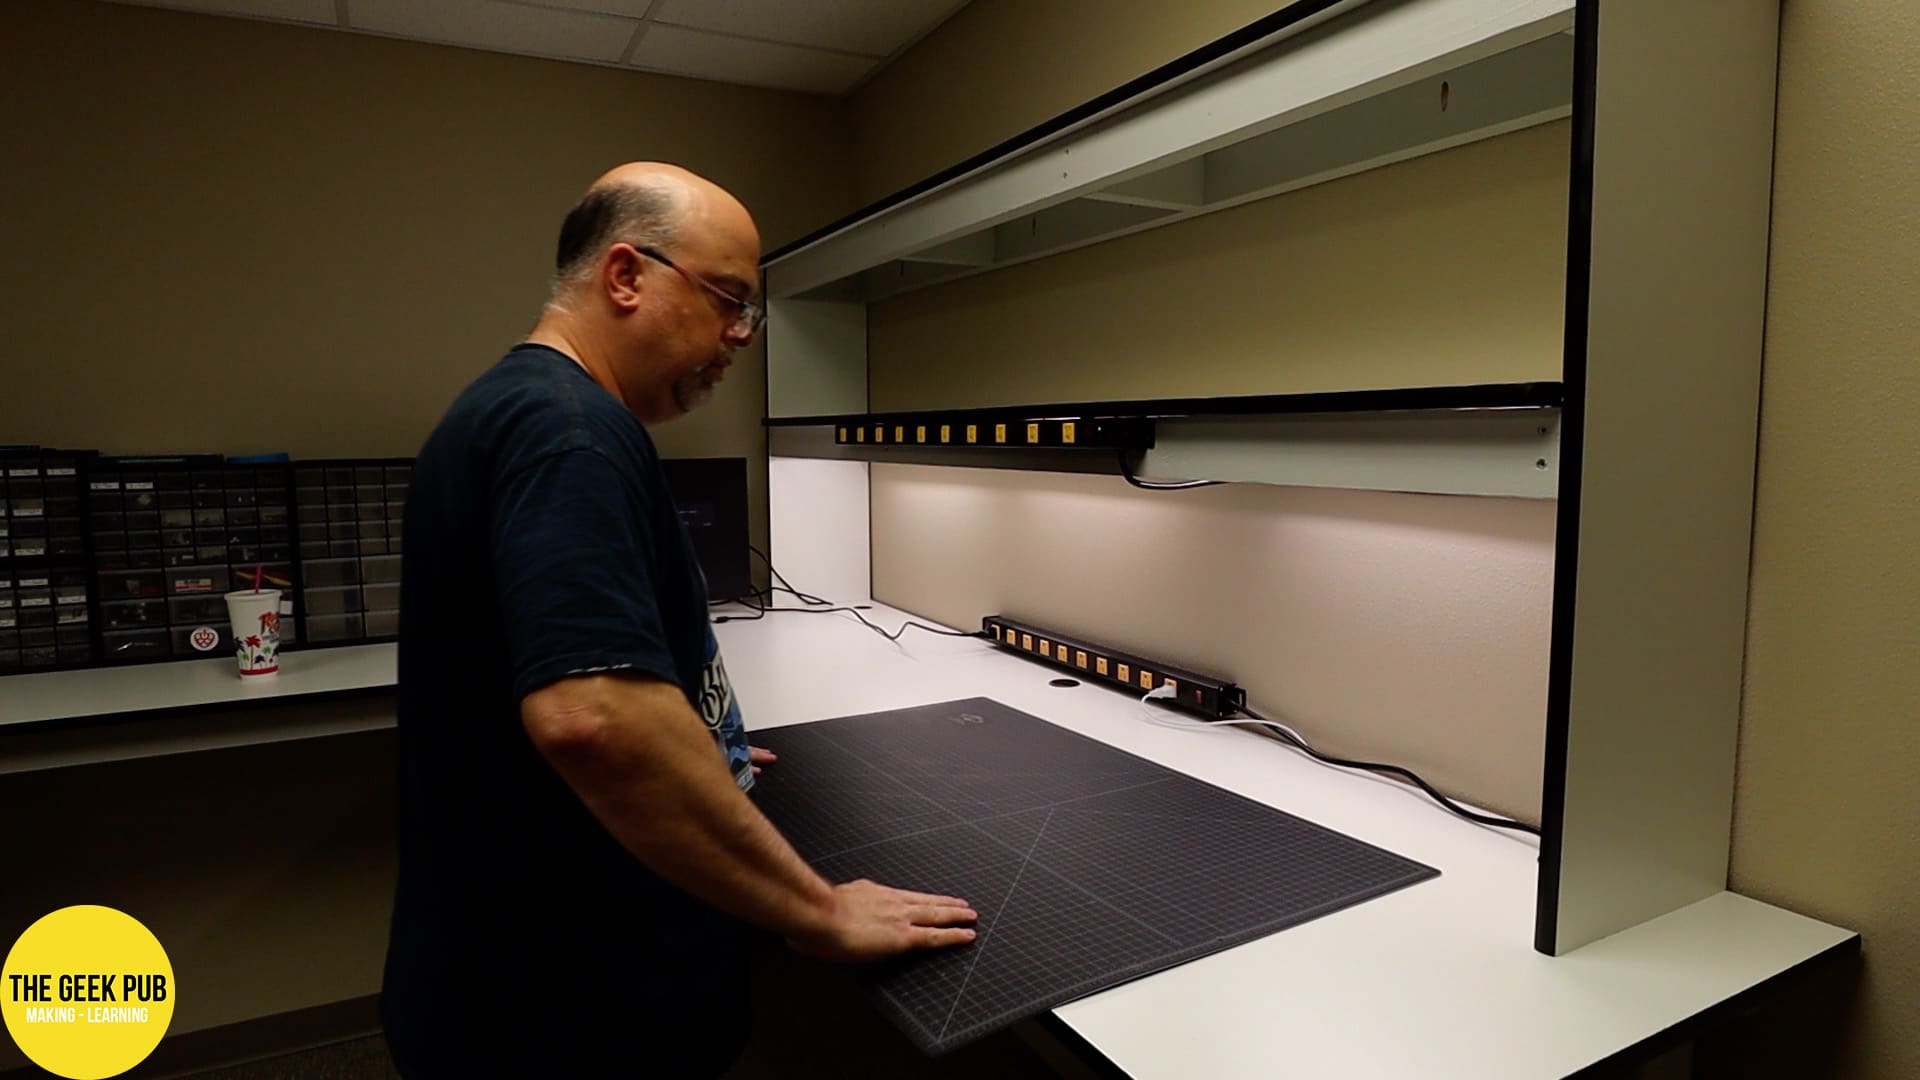
First up is a project mat. Every workbench needs one of these. It makes for a nice non-slip and non-conductive surface.
Next up is my Siglent SDS 1104X-E Oscilloscope. This is my favorite scope I’ve ever used. I also have an oscilloscope tutorial video on using it.
RELATED: The Best Oscilloscopes for Hobbyists

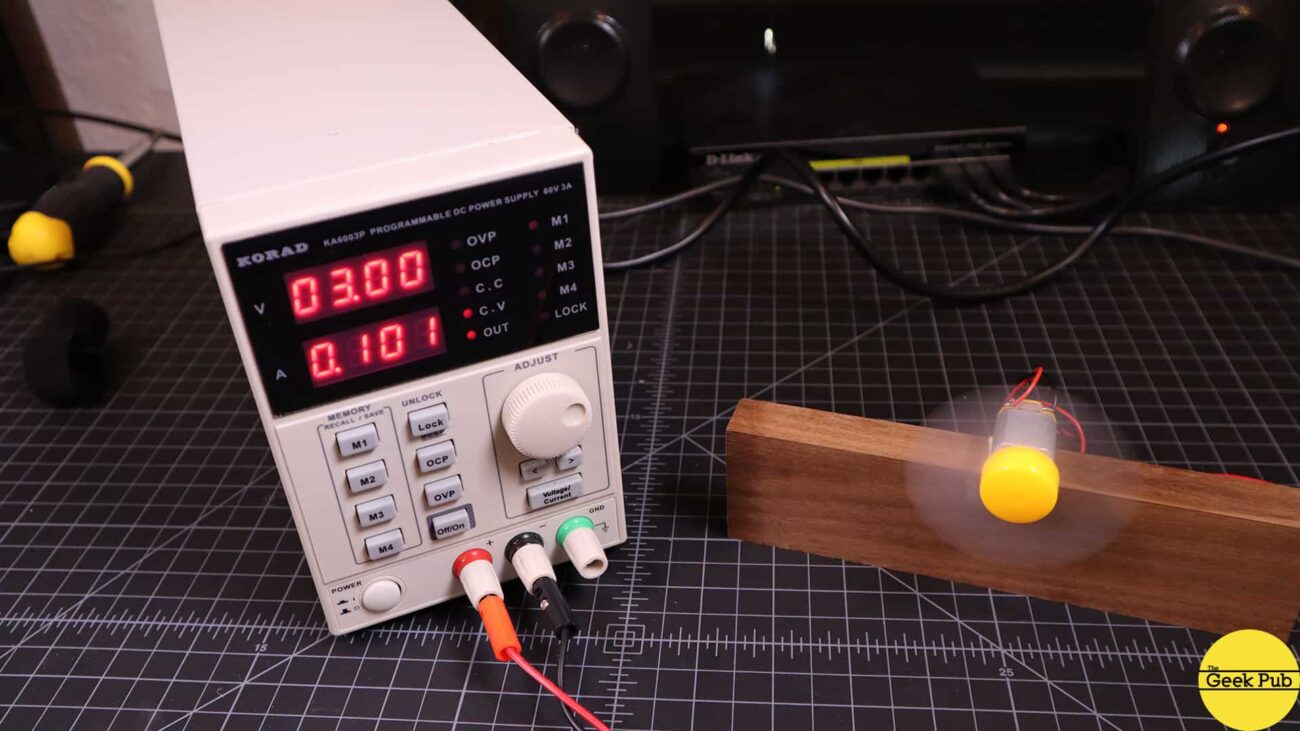
Next up is my Korad KA6003P Benchtop Power Supply.
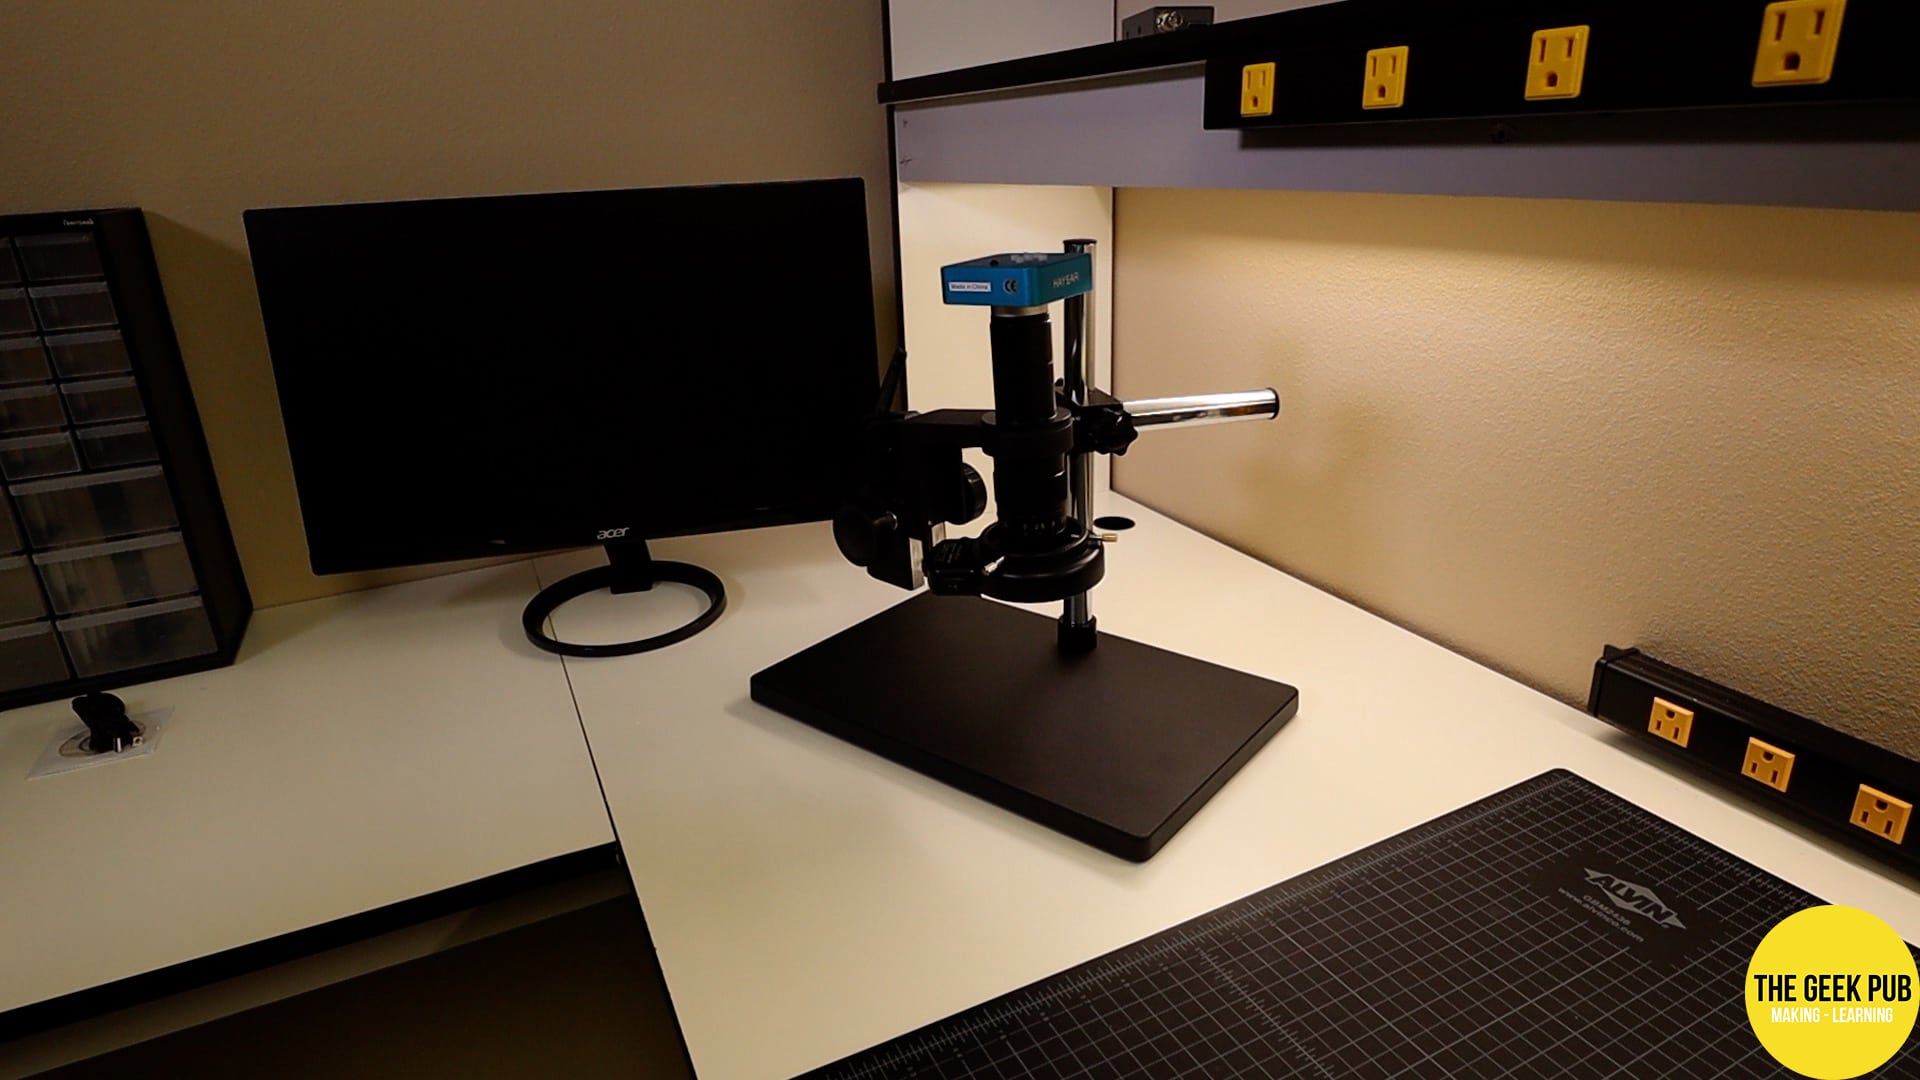
I recently bought a HAYEAR 34MP electronics microscope that has an HDMI output. Not sure how I lived without one of these before!
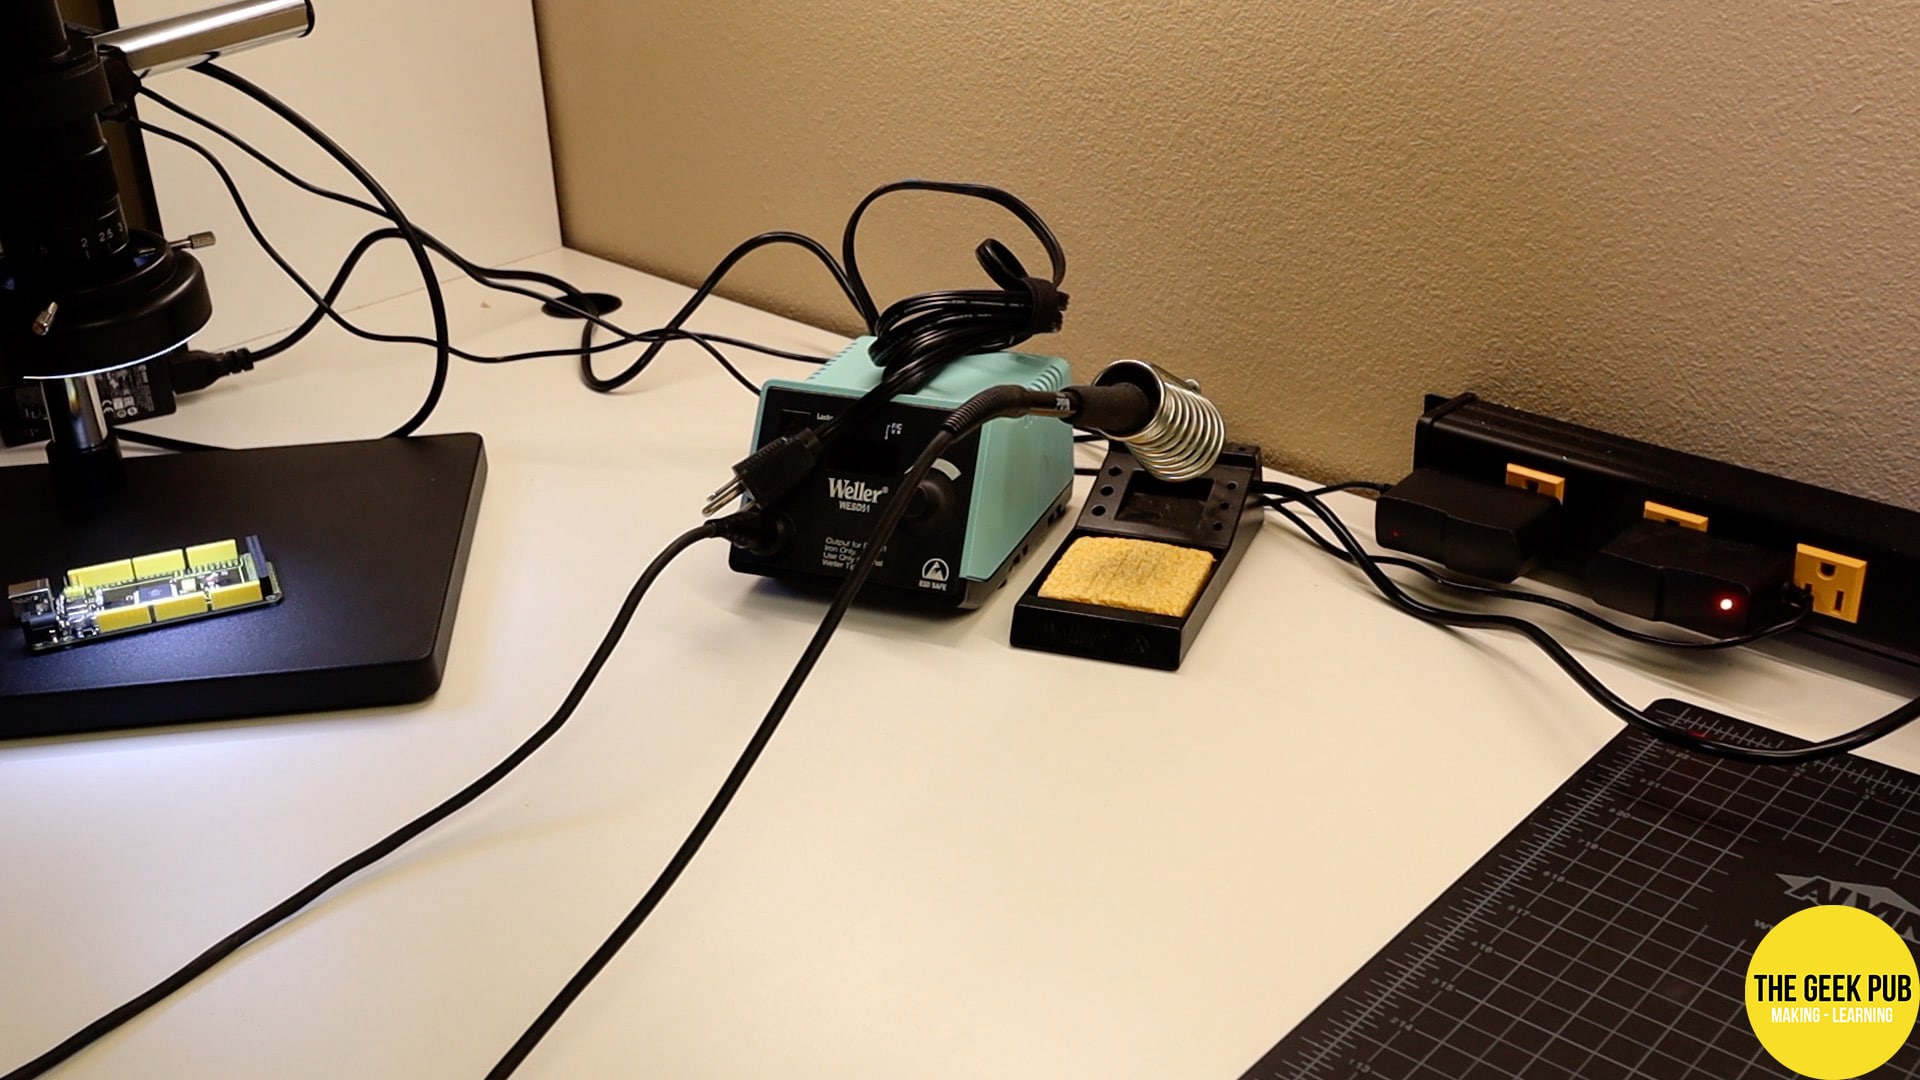
Of course, no electronics workbench is going to be complete without a soldering iron. I have a Weller Solder Station.
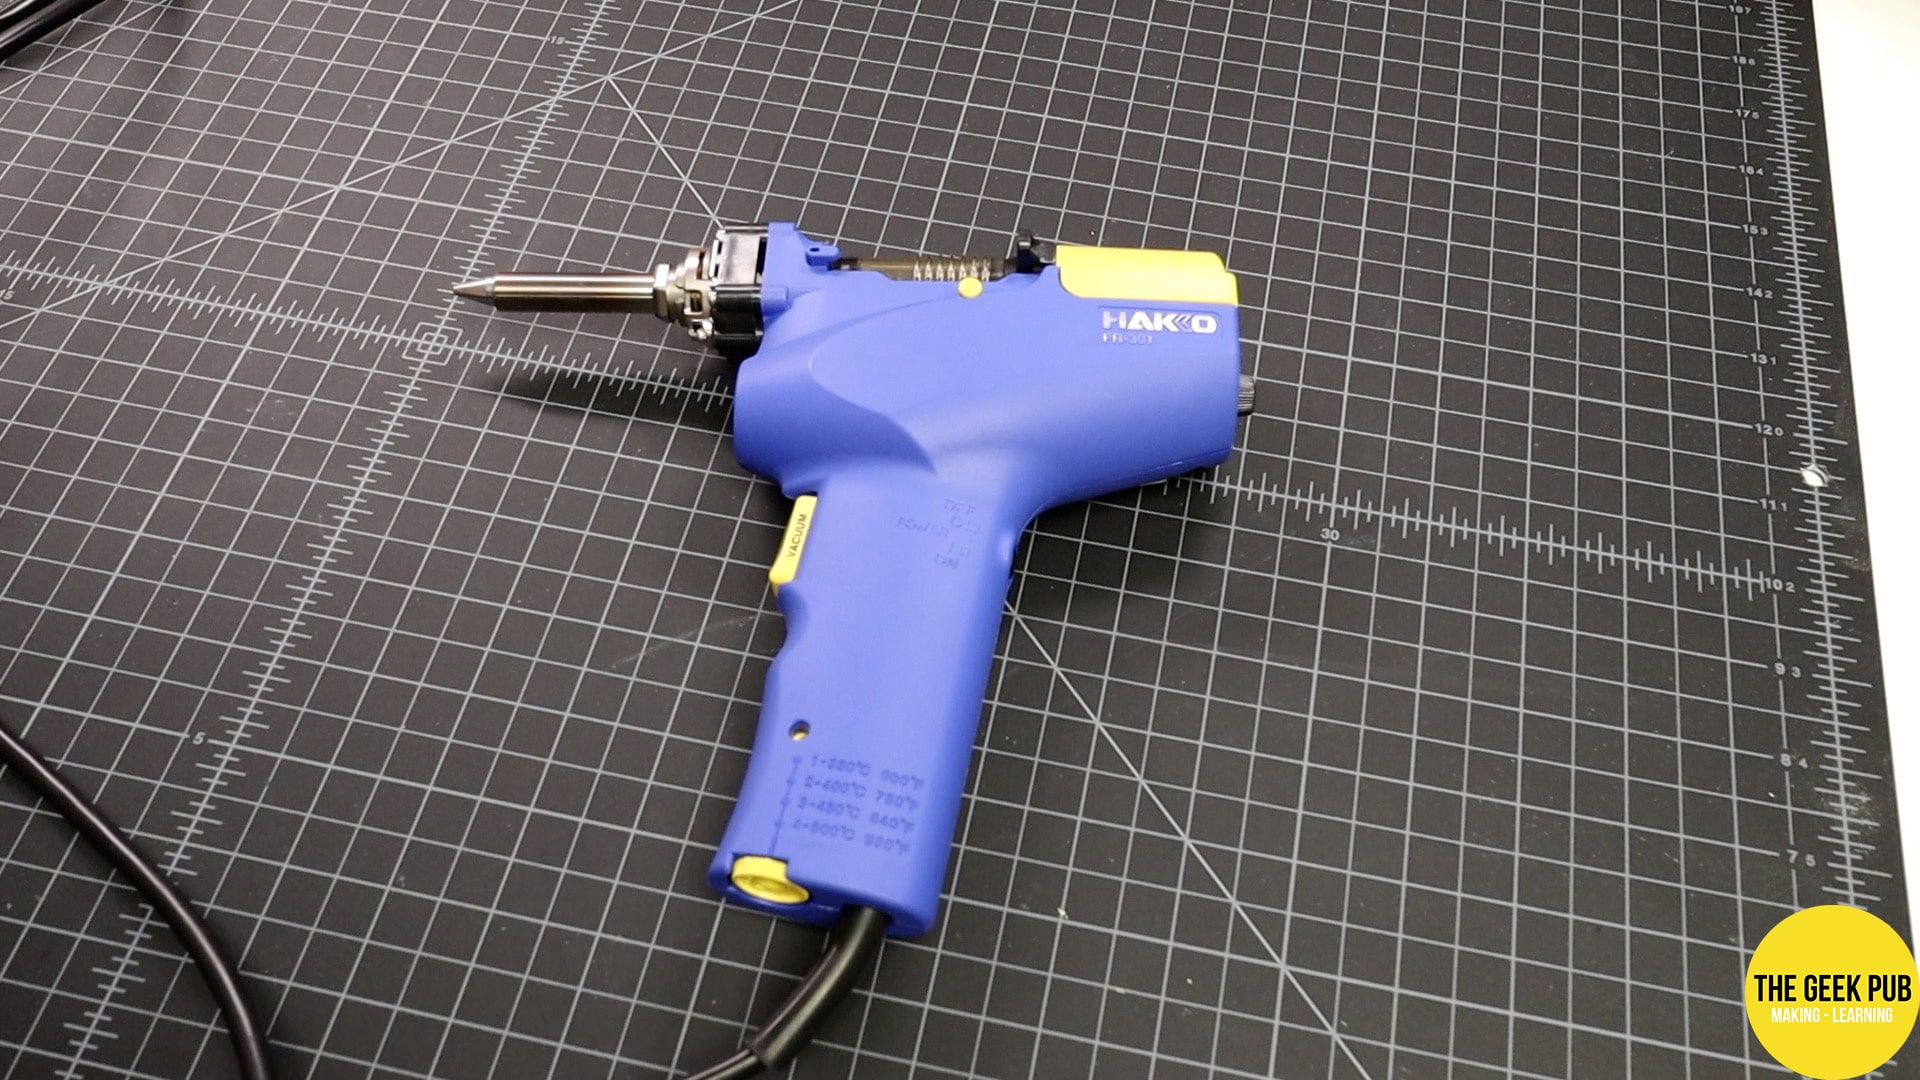
I also need to routinely de-solder items. For that I have a Hakko De-Soldering gun. This thing is an absolute dream to own. #notsponsored
And last, but definitely not least, everyone needs an awesome lab stool to sit at. This unit is inexpensive, and very comfy!
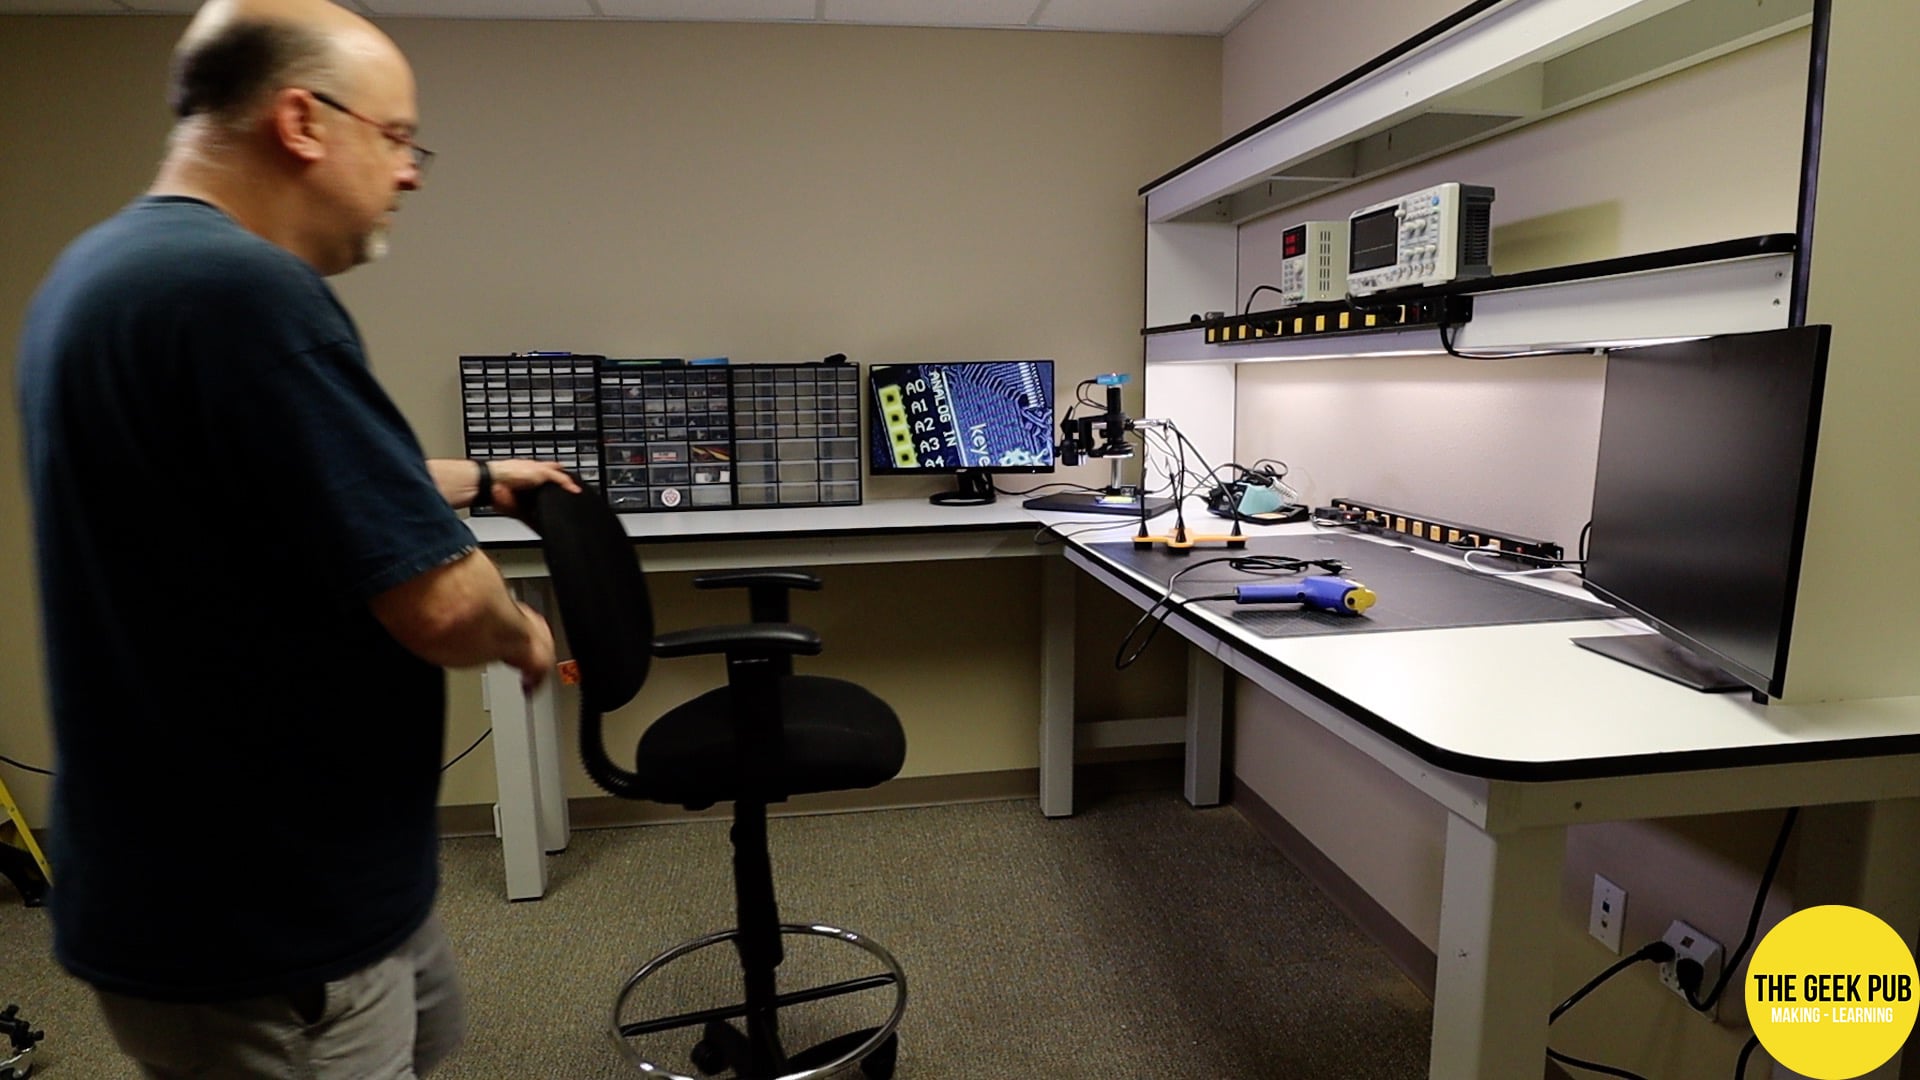
The Completed Ultimate Electronics Workbench
So here it is! The completed electronics workbench for The Geek Pub’s electronics room.

If you’d like to build this yourself, grab the plans and get started! The plans include a complete parts list, cut list, all dimensions, and some optional features you can add (or remove) from your design.


I know this is an old post, and you might not see this question. But do you use any grounding hardware, like a wrist strap or grounding connector for your mat?
Thank you for the video, you have won me over as a regular sub.
Hi . Regarding beauty it’s extremely nice looking .One can love working there . Regarding ergonomy i have some objections . I don’t enjoy having cables from scopes , multimeters ,power supply creating a curtain of cables in front of me while working . Fume extraction while soldering woudl be a nice addon . Static protection is another issue .As for computer screen you can’t debug solder,measure like this.The work though is very eye catching …!!!
I’d love to see what you do for tool storage. Looking for some ideas for storing a bunch of small screw drivers for computer work for several work stations.
Please could you let me know how I can get the plans? The ‘Get the Plans’ link above seems to be broken. Many thanks!