Blog
New Building Network
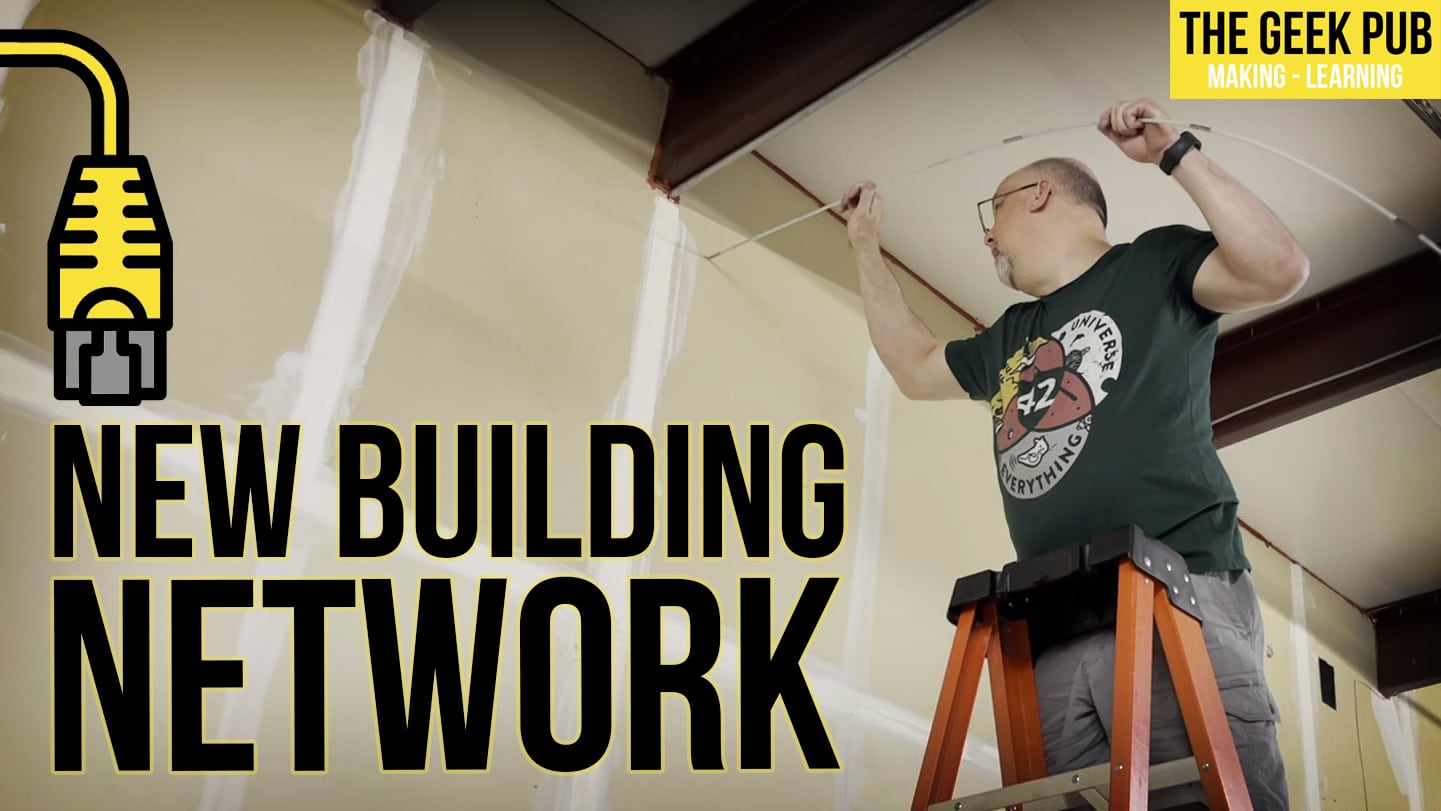
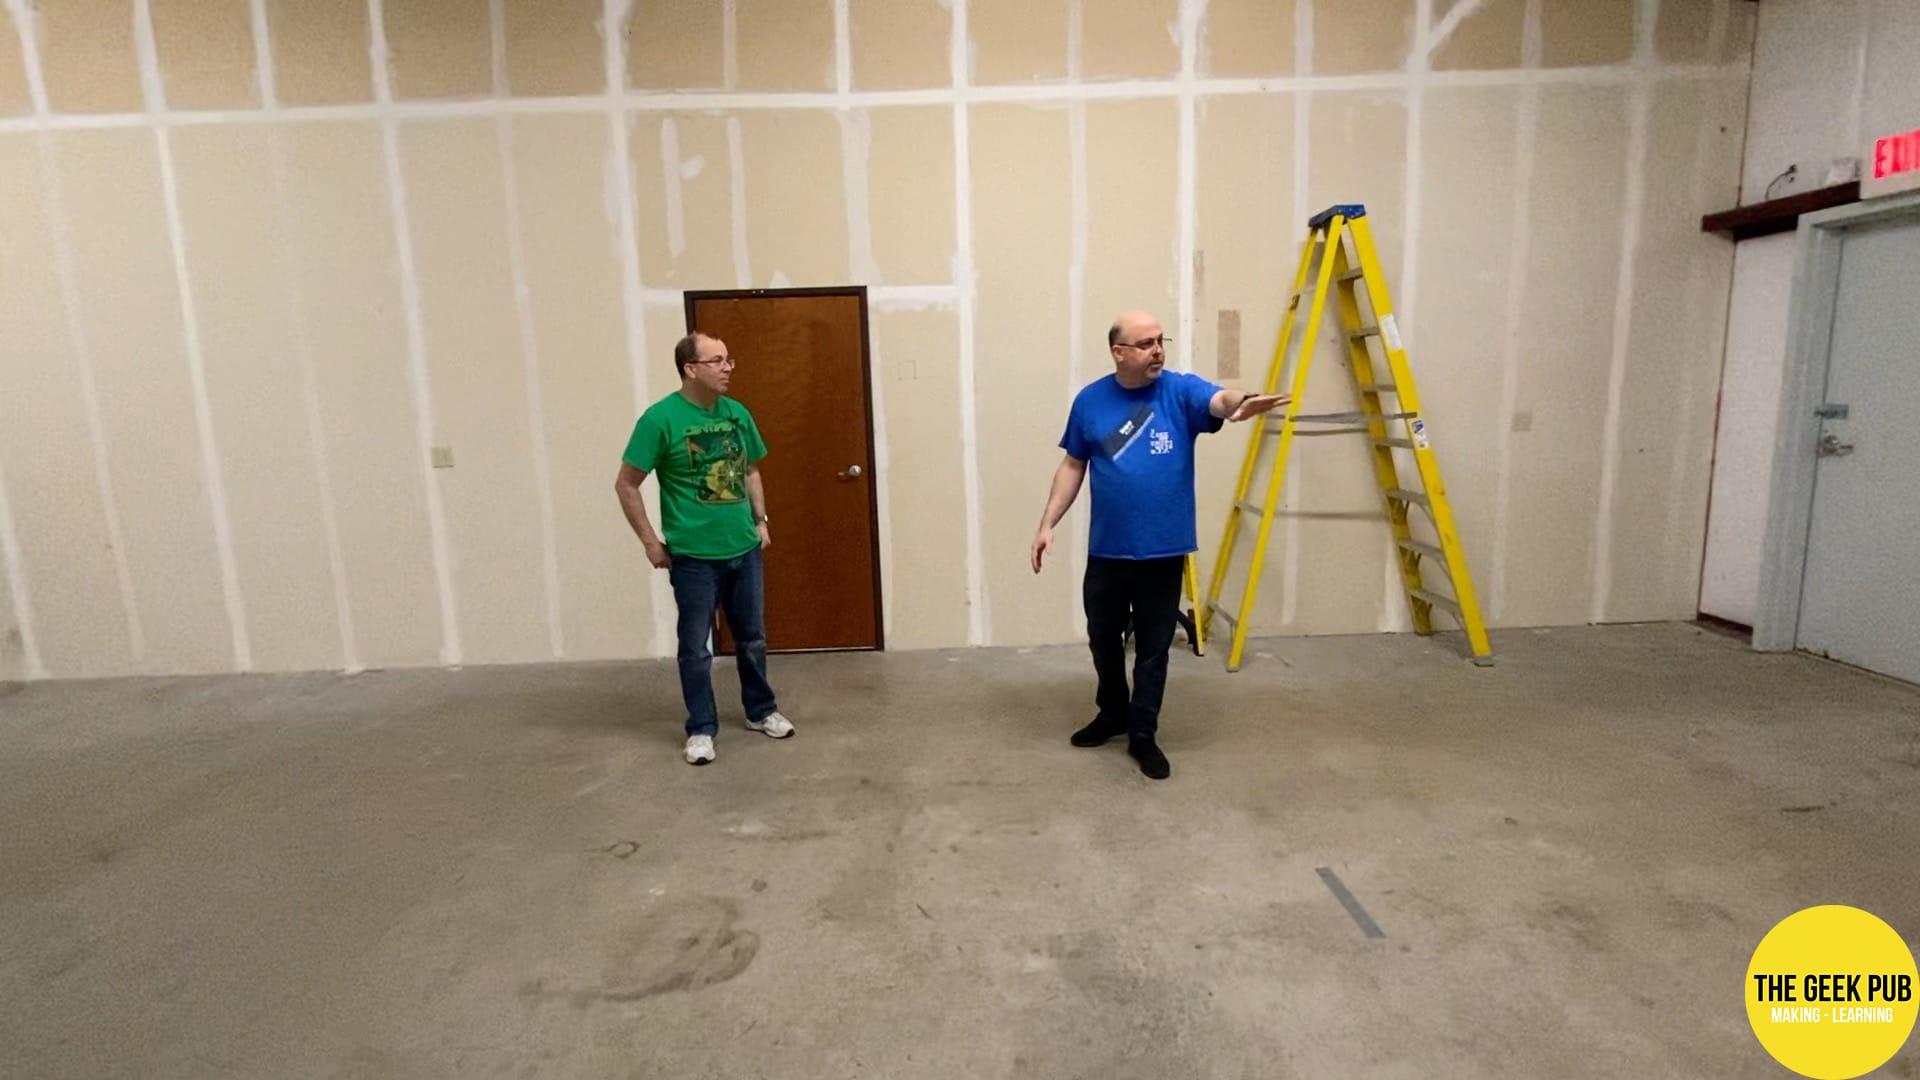
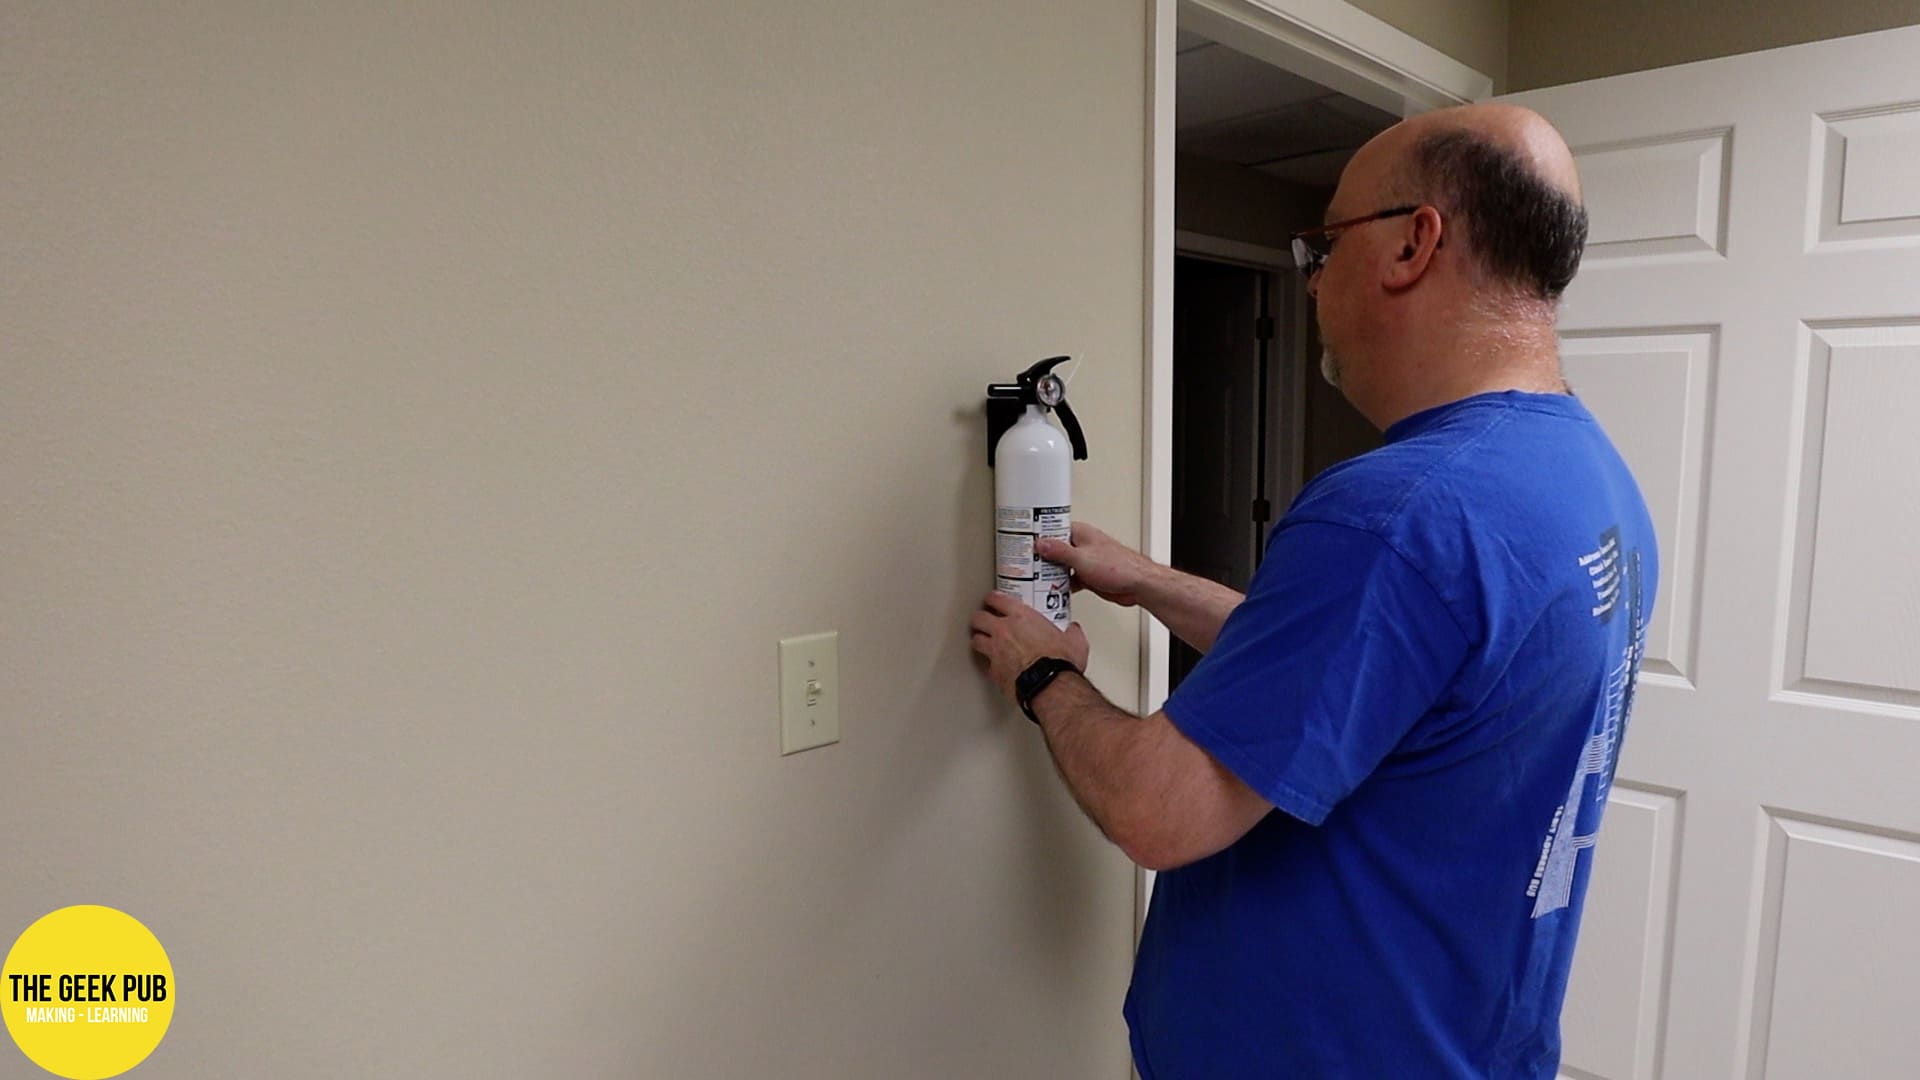
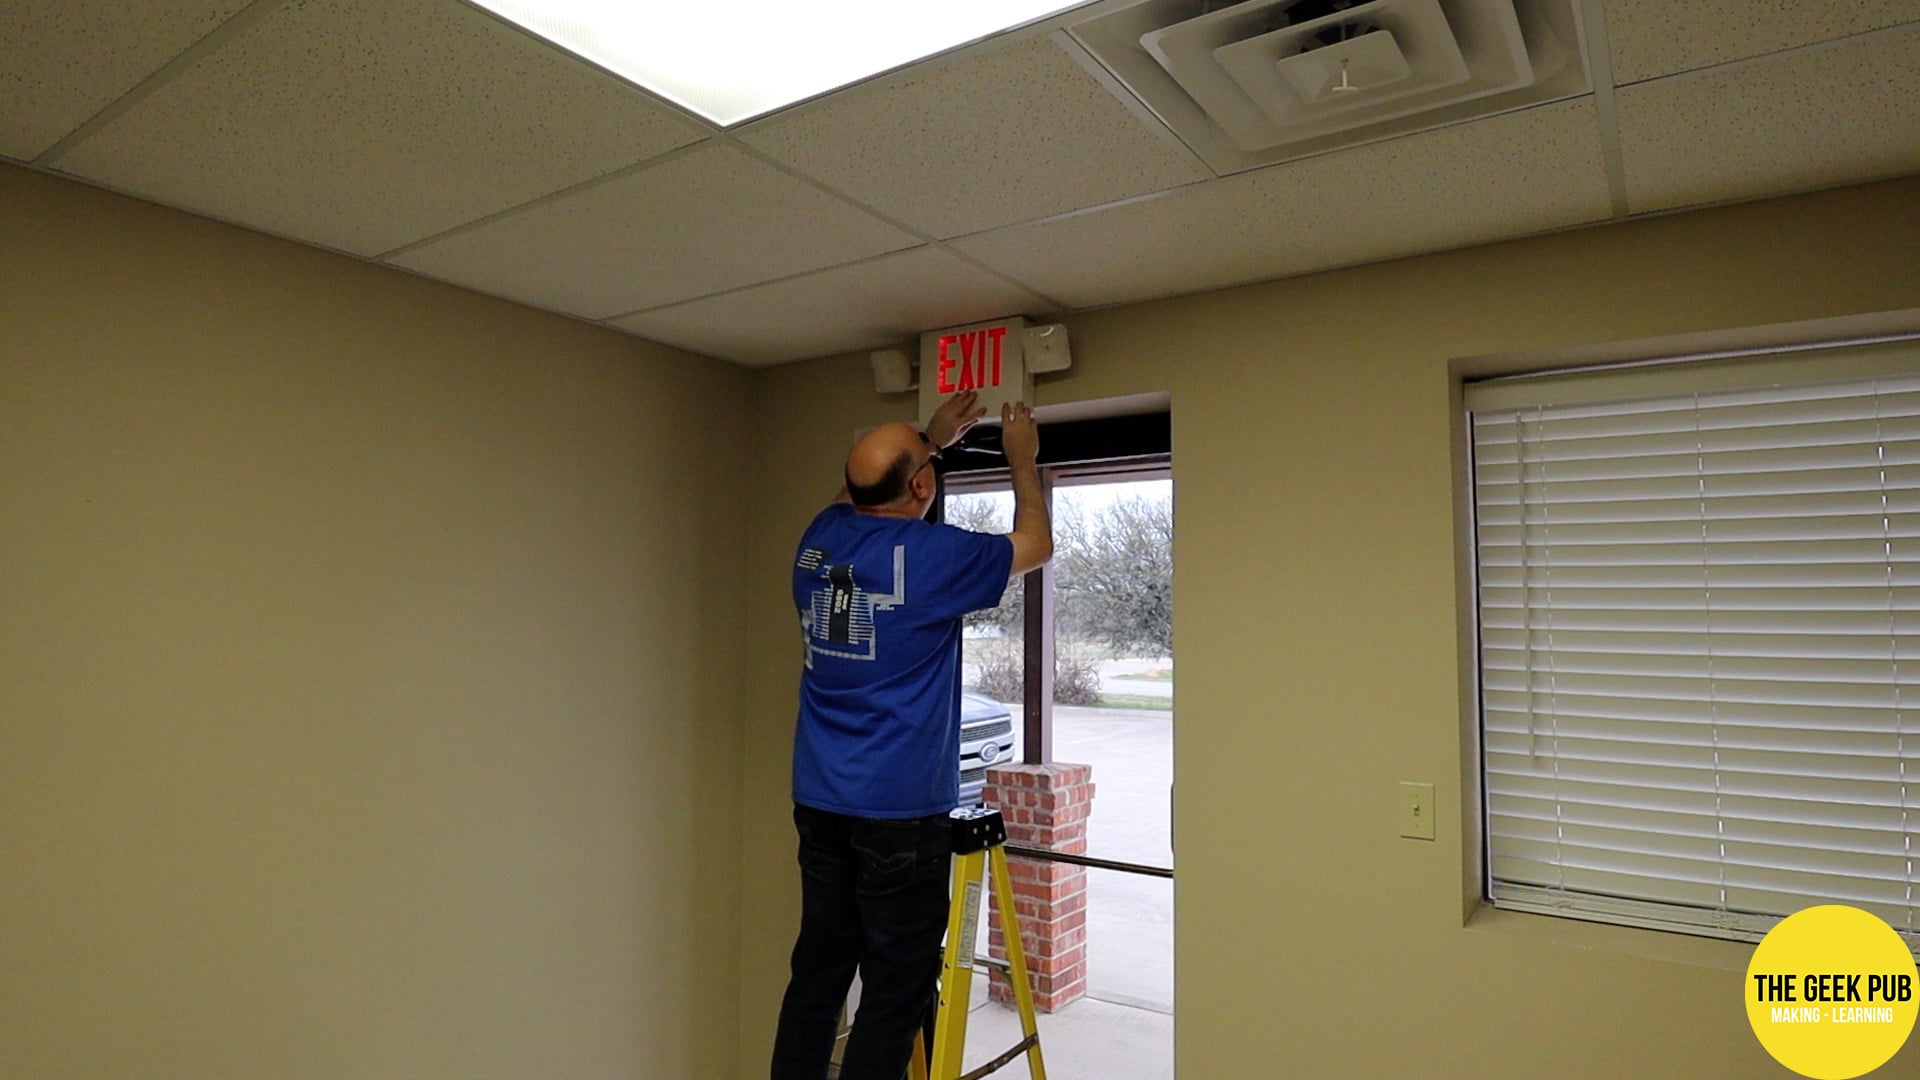
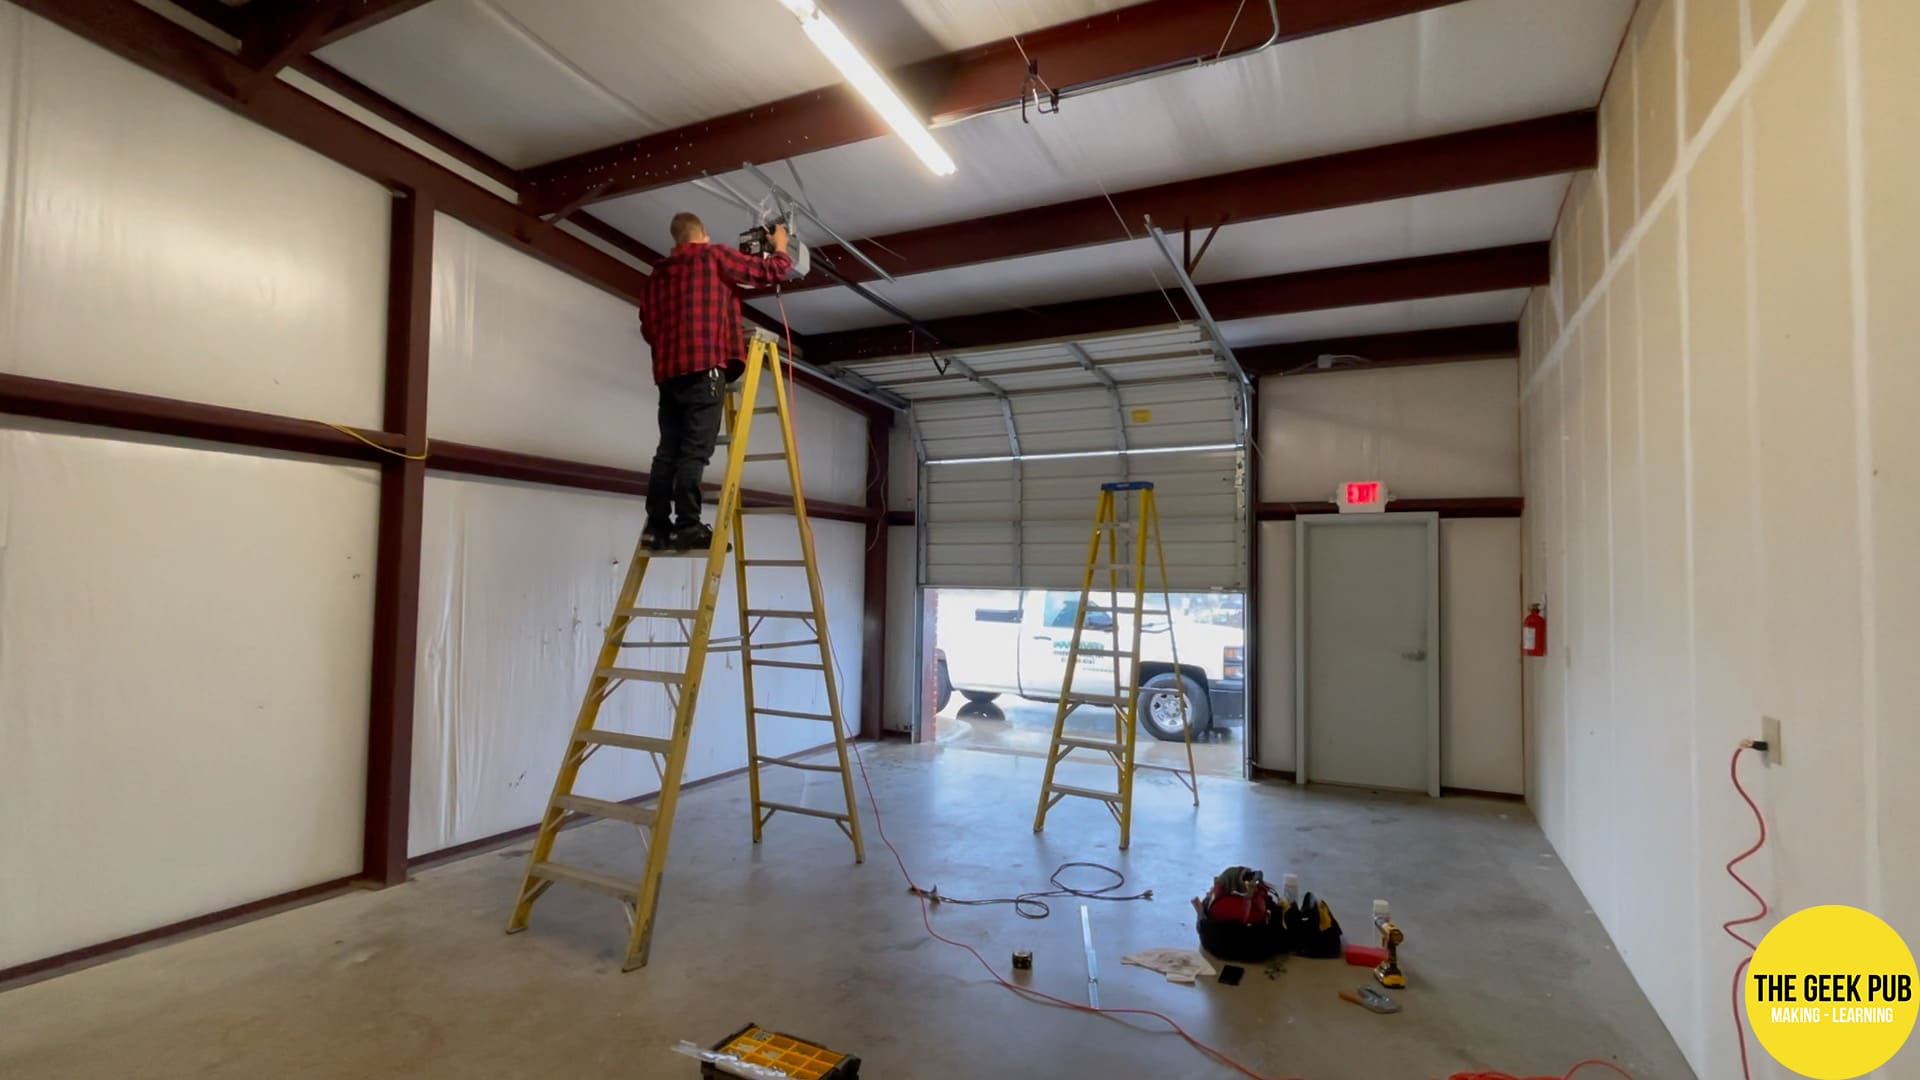
In our last update, we introduced the new home of The Geek Pub and took a tour of the building’s various rooms and talked about what we planned to do with them. Since then, we’ve been hard at work getting the building ready for a certificate of occupancy, which meant doing various things required by the city, such as installing new fire extinguishers, and replacing dead batteries in exit signs and emergency lighting. And a few other things like replacing that old thermostat.
We even had an overhead door opener installed in the shop area!
Watch the New Building Network Video
Items and Parts Used in this Video
Here’s a handy list for you if your interested in anything we used in this video. These links cost you nothing, but we earn a tiny commission if you use them. Thank you so much for your support!
- Tripp Lite Cabinet SR42UB
- DeWalt Handheld Bandsaw
- DeWalt Impact Driver
- Klein Tools Glow Rod
- Klein Through Hole Termination Tool
- Tripp Lite Hinged Patch Panel
- Synology RS3618xs
- Ubiquiti 48 Port PoE Pro
- Unifi AC Pro
- SuperMicro Firewall Appliance 5018D-FN8T
- CyberPower UPS
Setting up the New Building Network
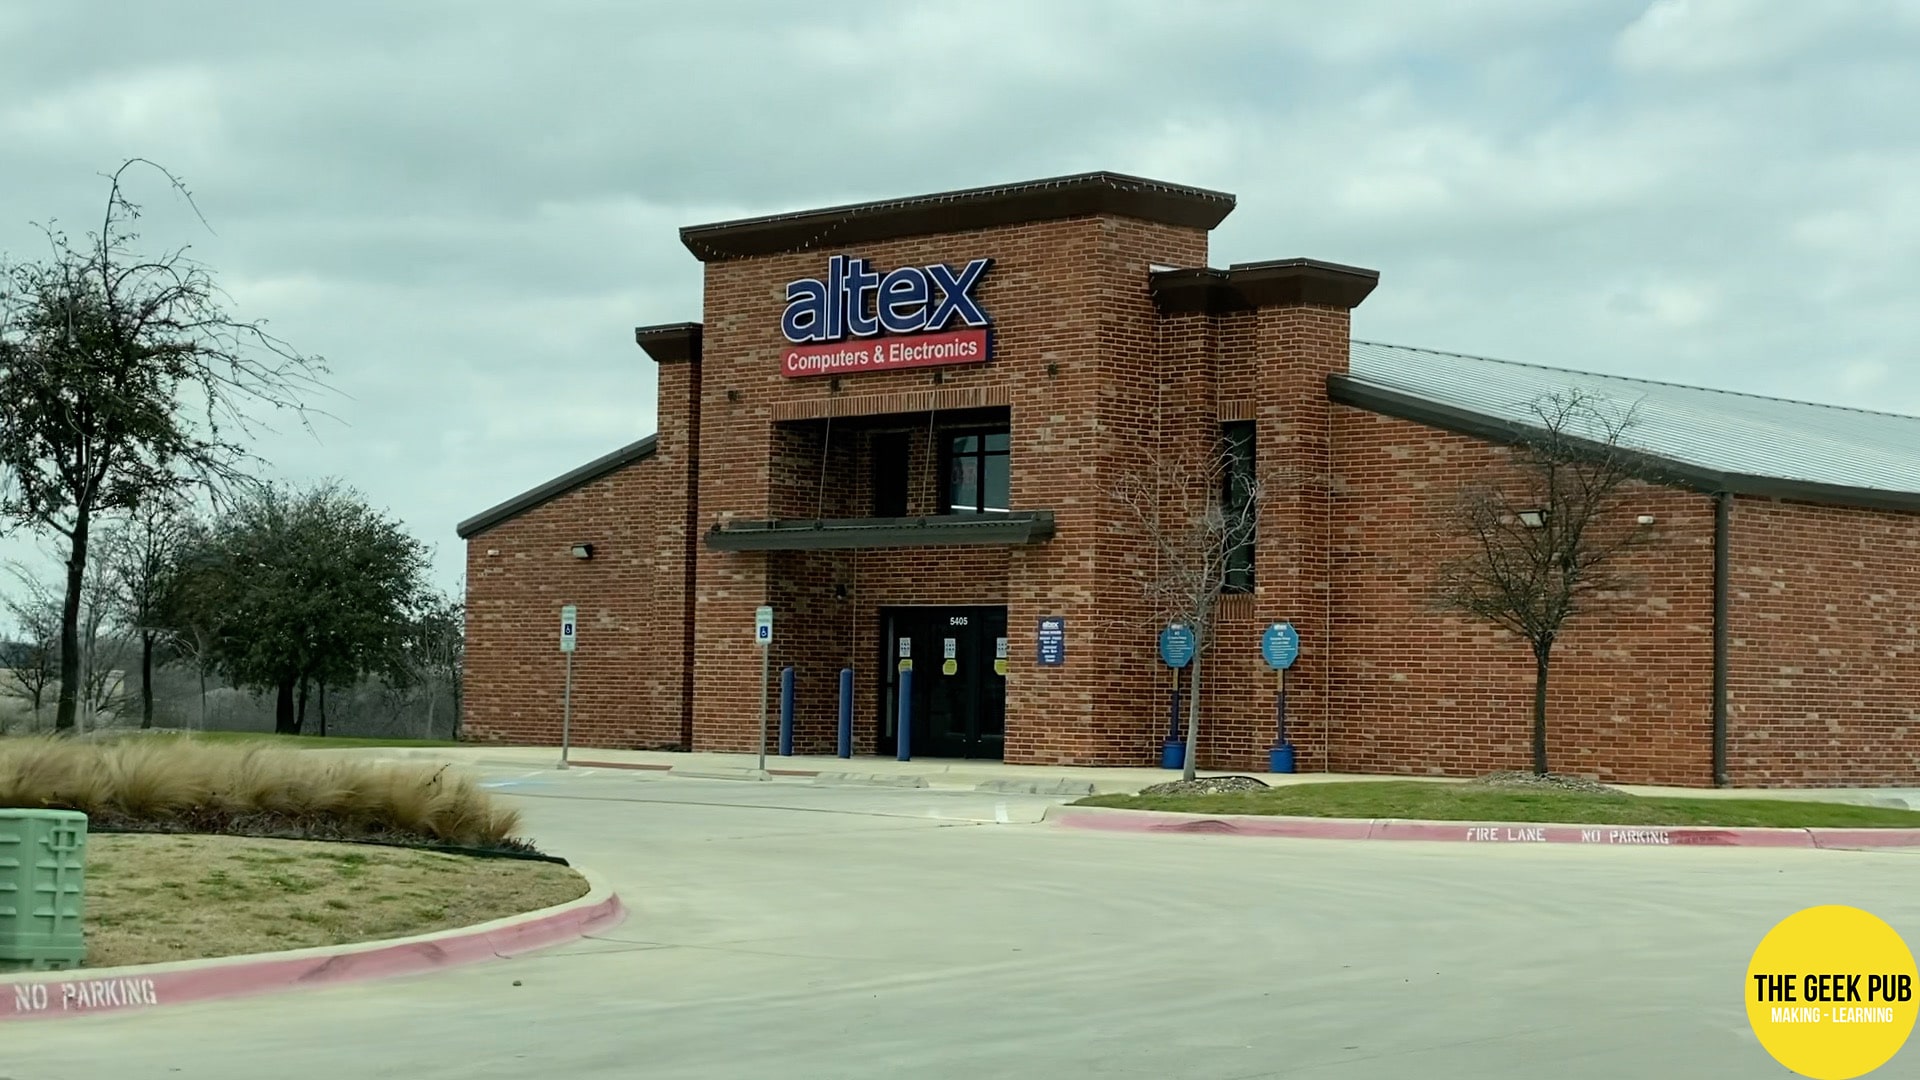
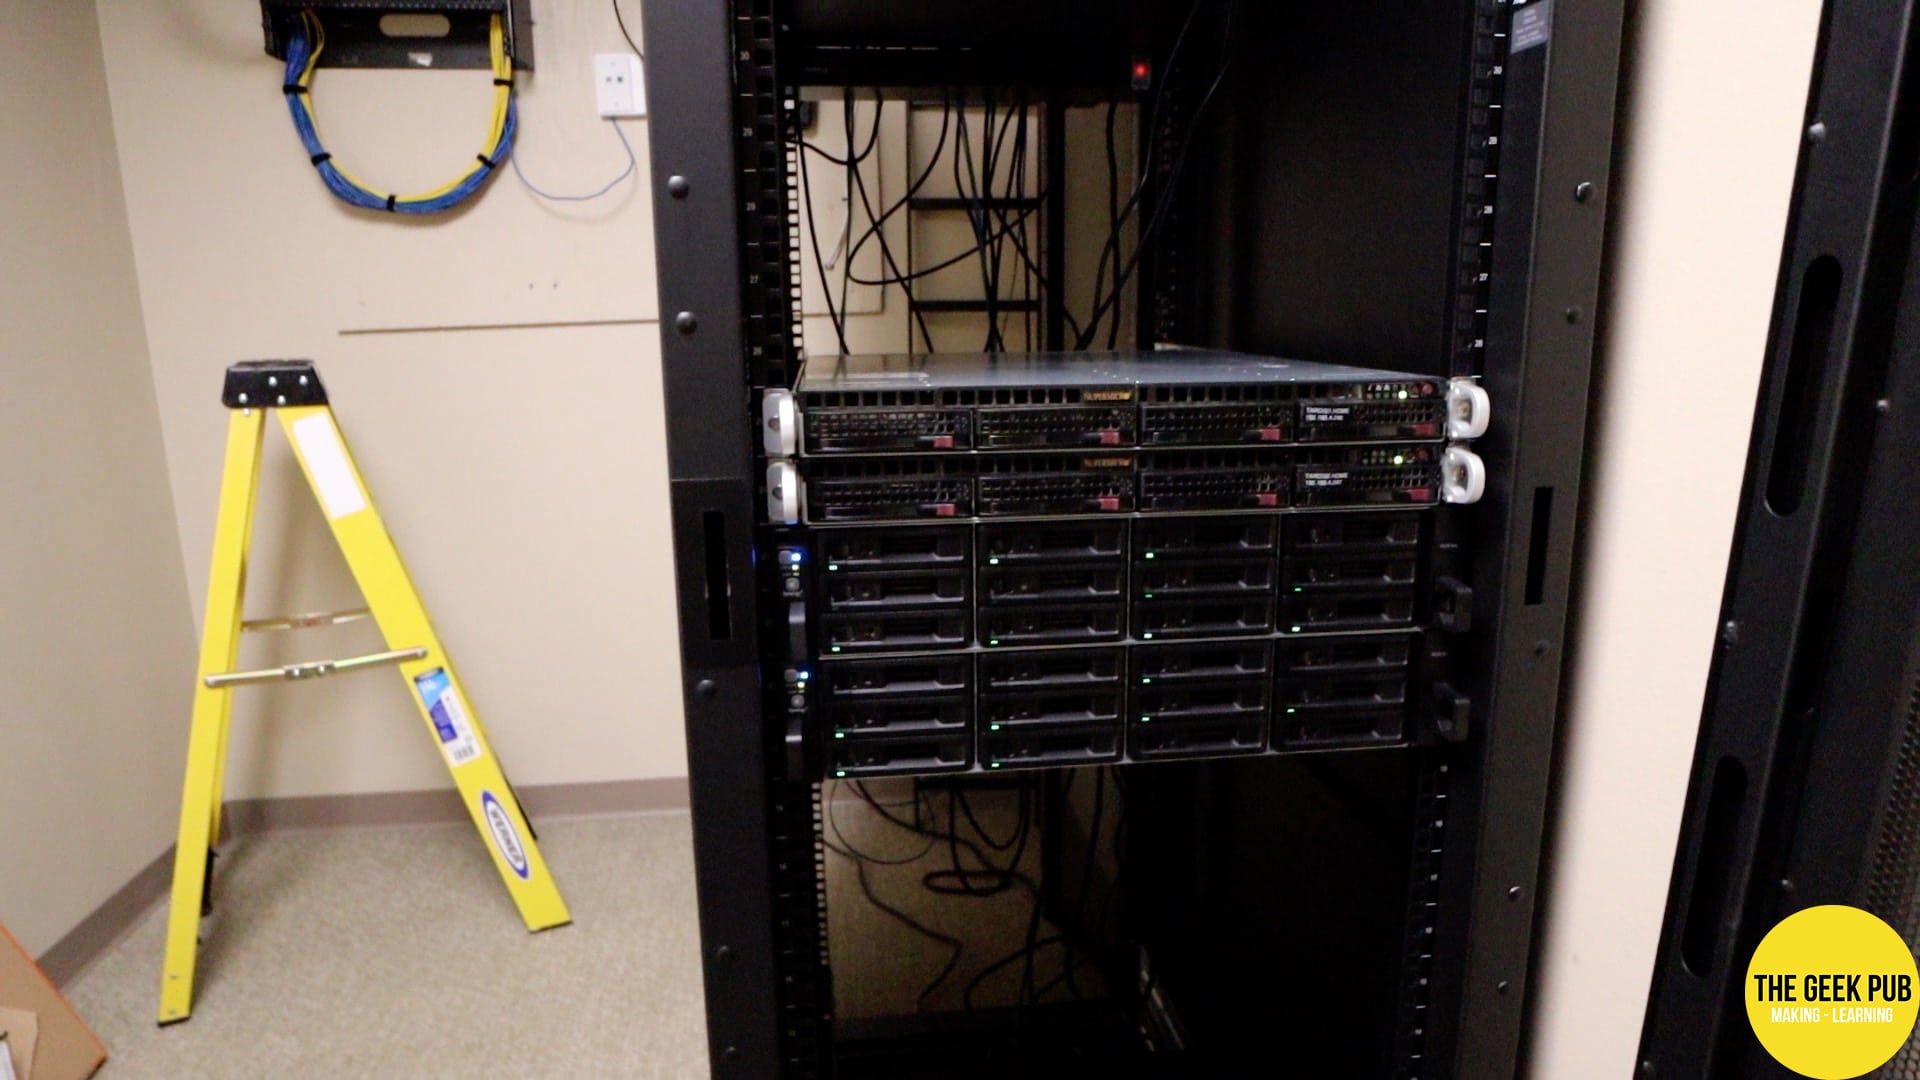
After getting our certificate of occupancy we headed off to Altex Electronics to get some fun toys for the server closet. Now, Altex is one of my very favorite places! I could spend all day here. But for this trip we just need a server cabinet and some ladder racking for the server closet.
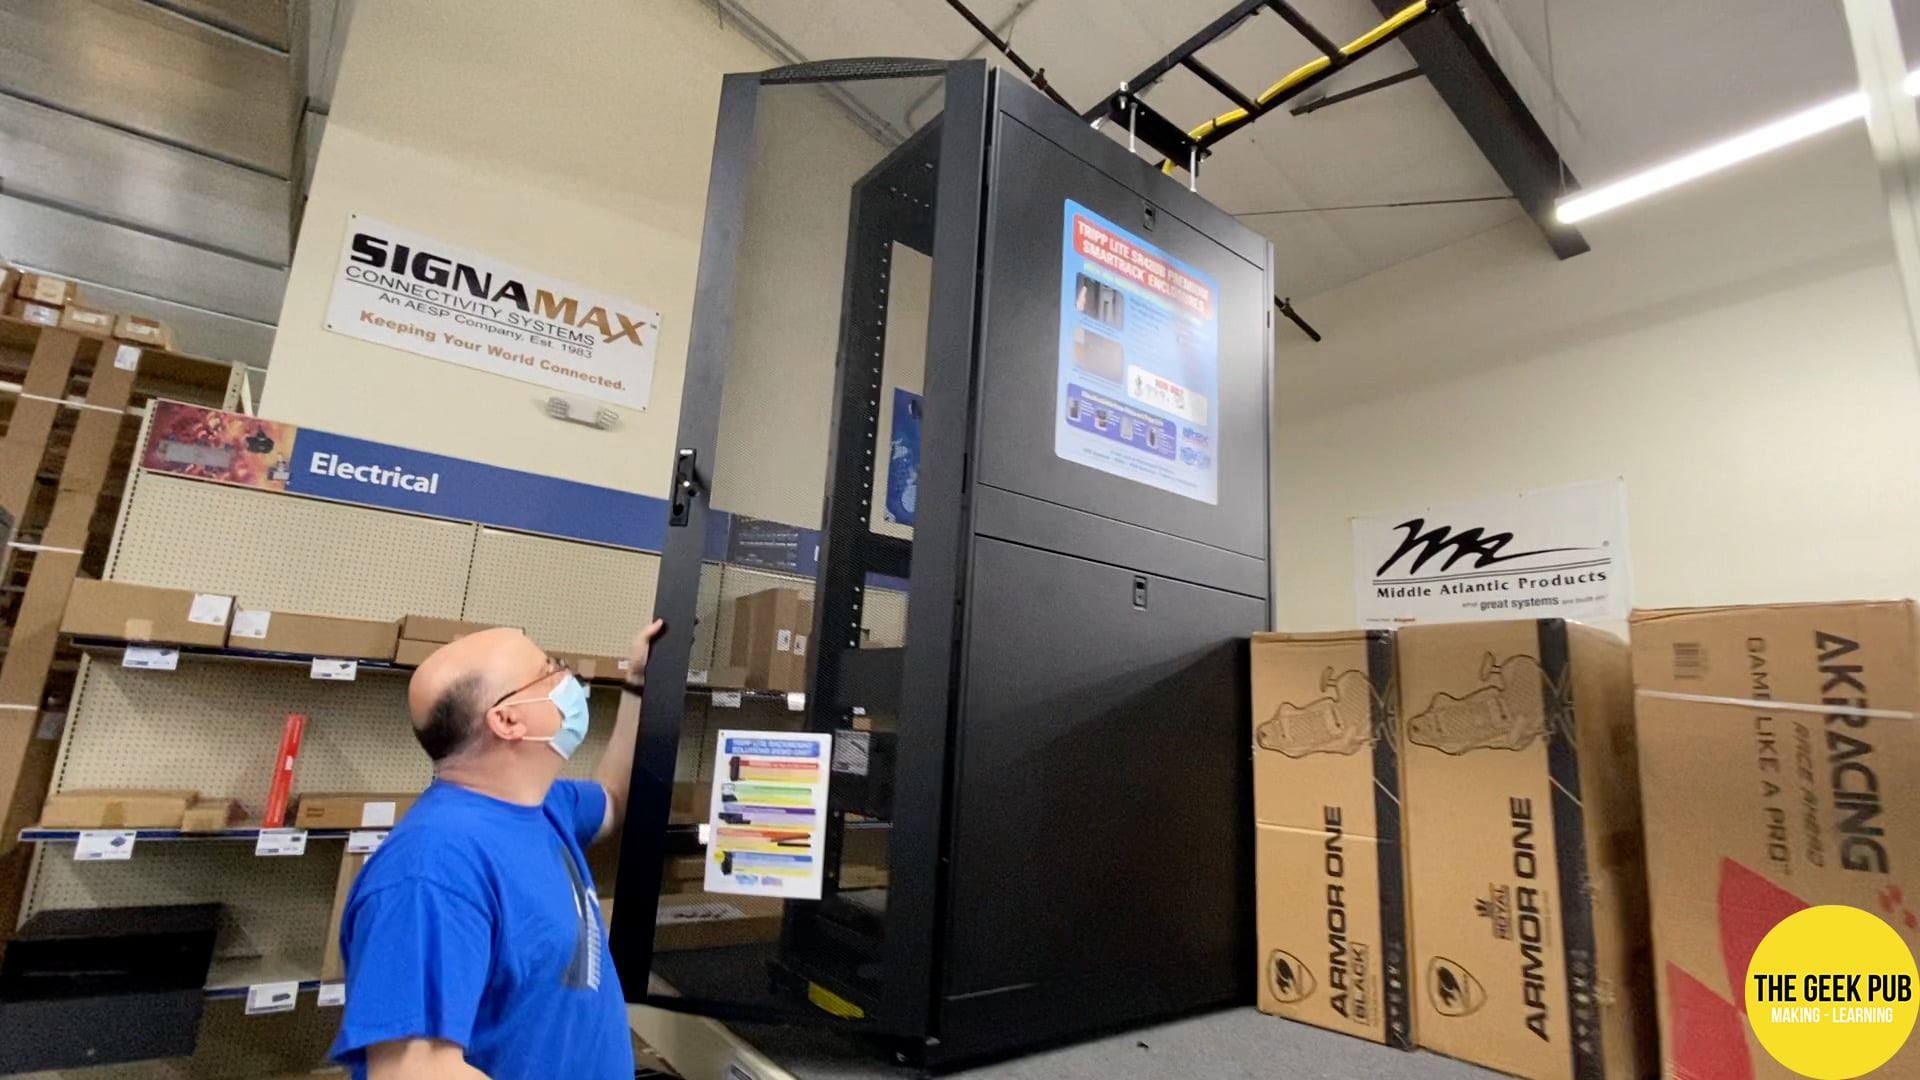
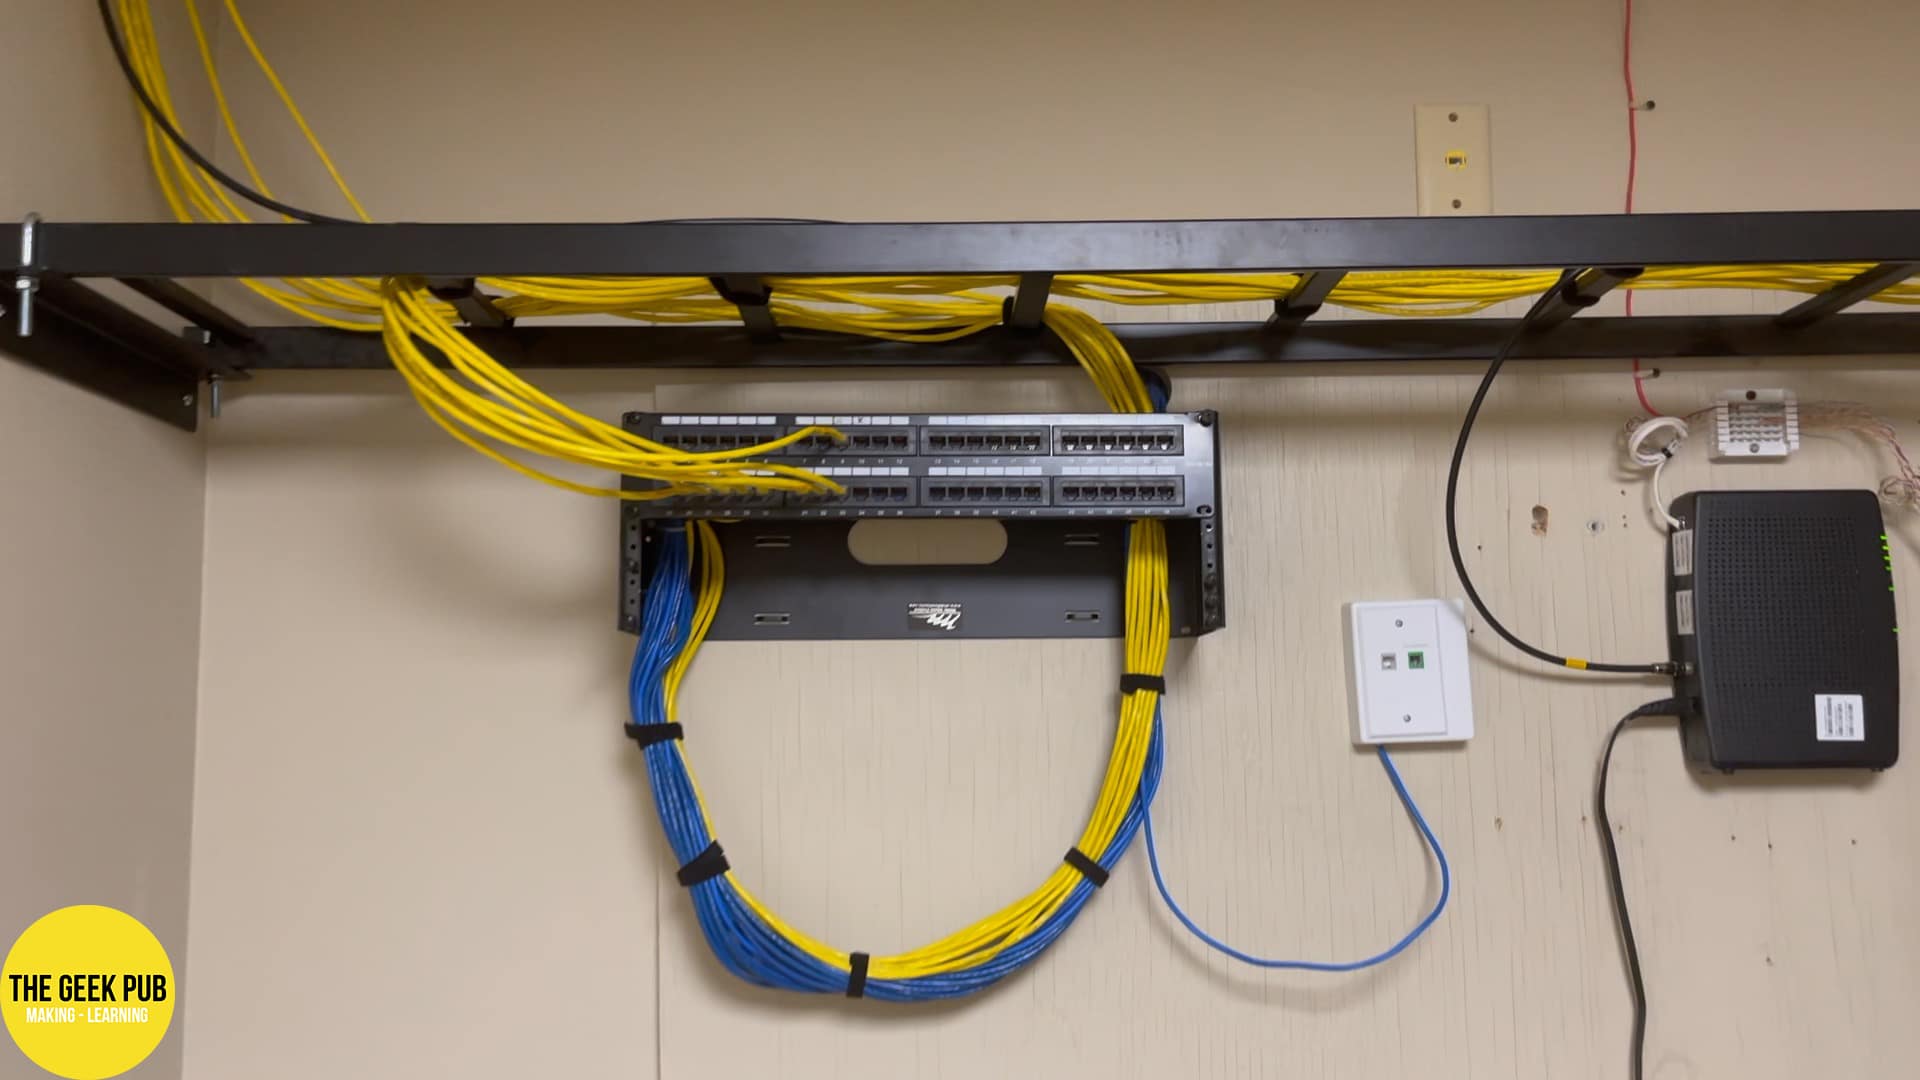
With the F150 all loaded up, we delivered the cabinet to the building and rolled it to the server room. With the server rack in position, it’s time to measure and install the ladder racking. Ladder acts as a bridge of sort that supports all of the cabling in a server room. Installing the ladder is super simple. Just some toggle bolts into the metal studs, making sure everything is level and square.

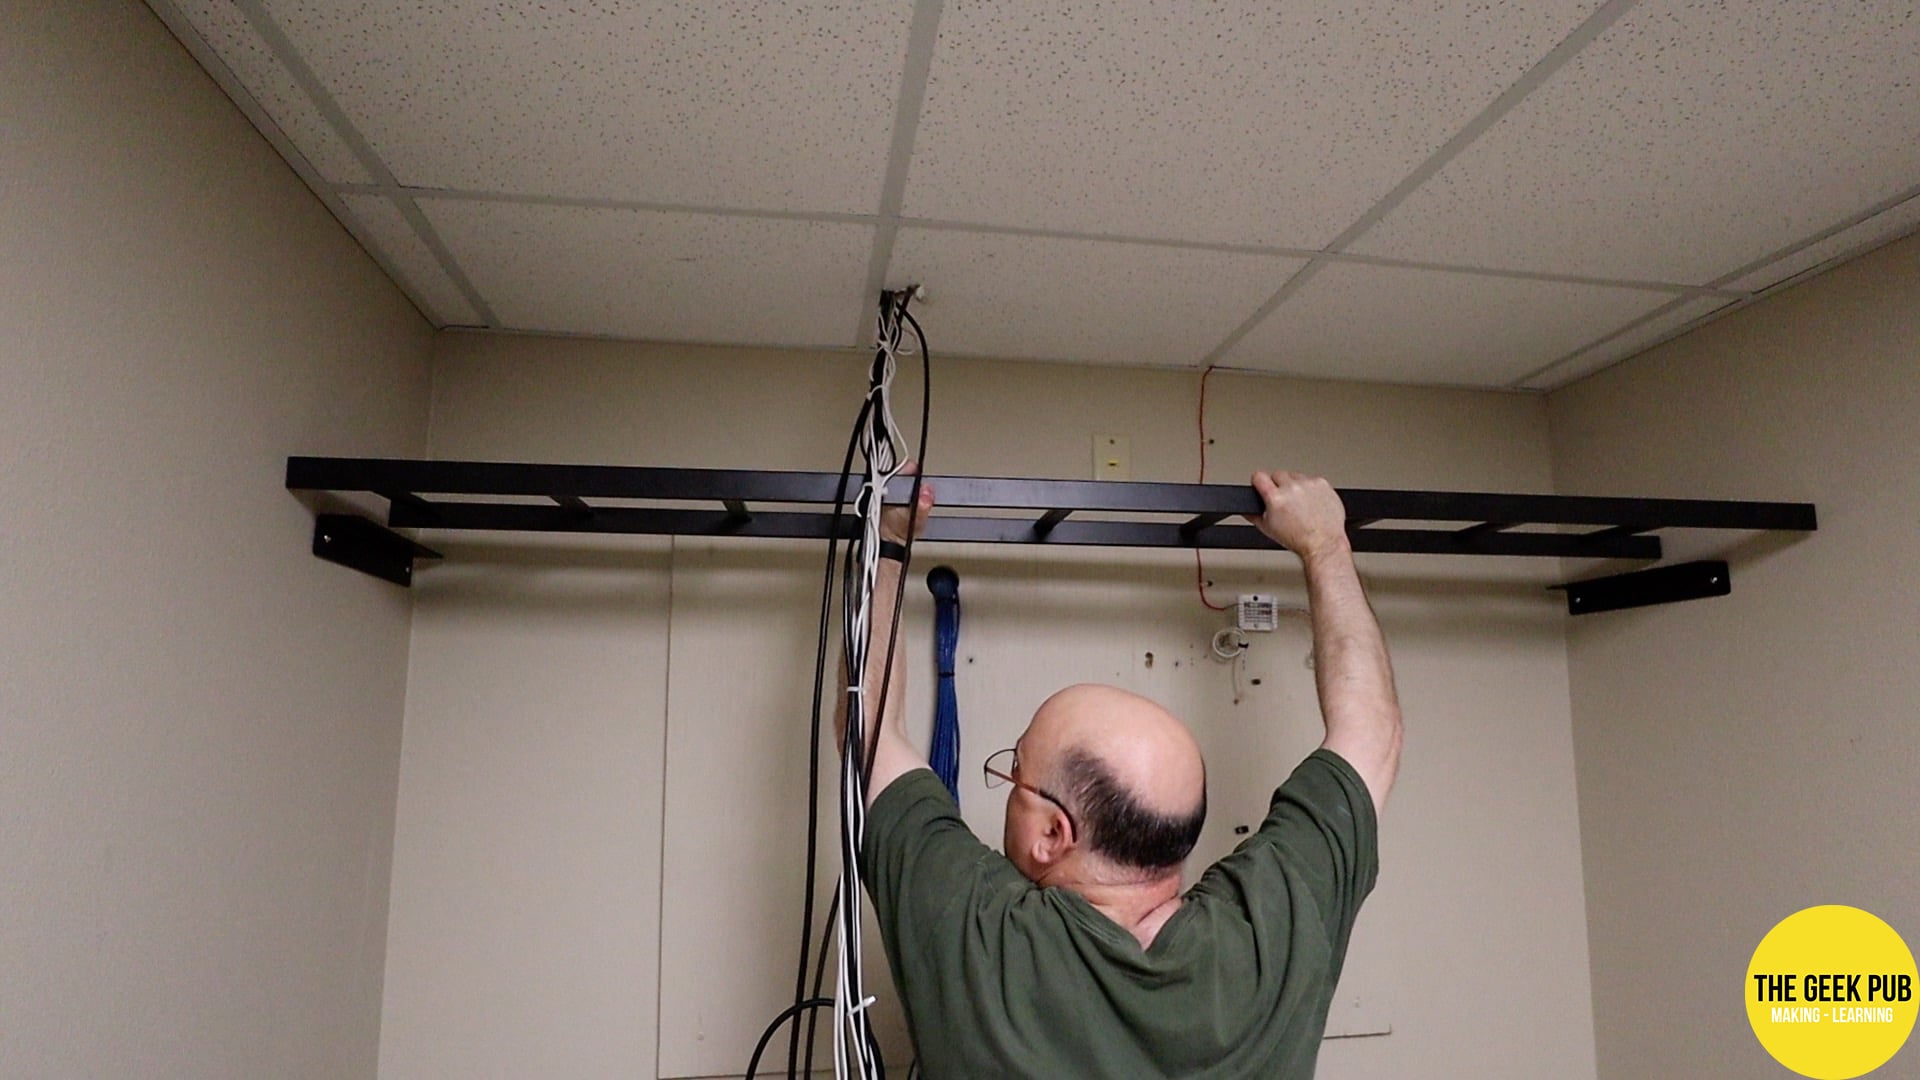

Since the shop isn’t yet setup, I just used the tailgate of my truck as a workbench to cut the ladder using a little DeWalt handheld bandsaw. Once the ladder is set atop the braces, you hold it in place permanently using J-Bolts. They act sorta like little clamps. So with a quick measurement and another visit to the bandsaw we have the piece we need. One end will be supported by the cabinet, while the other end is attached to the first ladder section using these T-splices. It’s also a clamp style design using a bolt to squeeze the two halves together making for a quite sturdy bond.
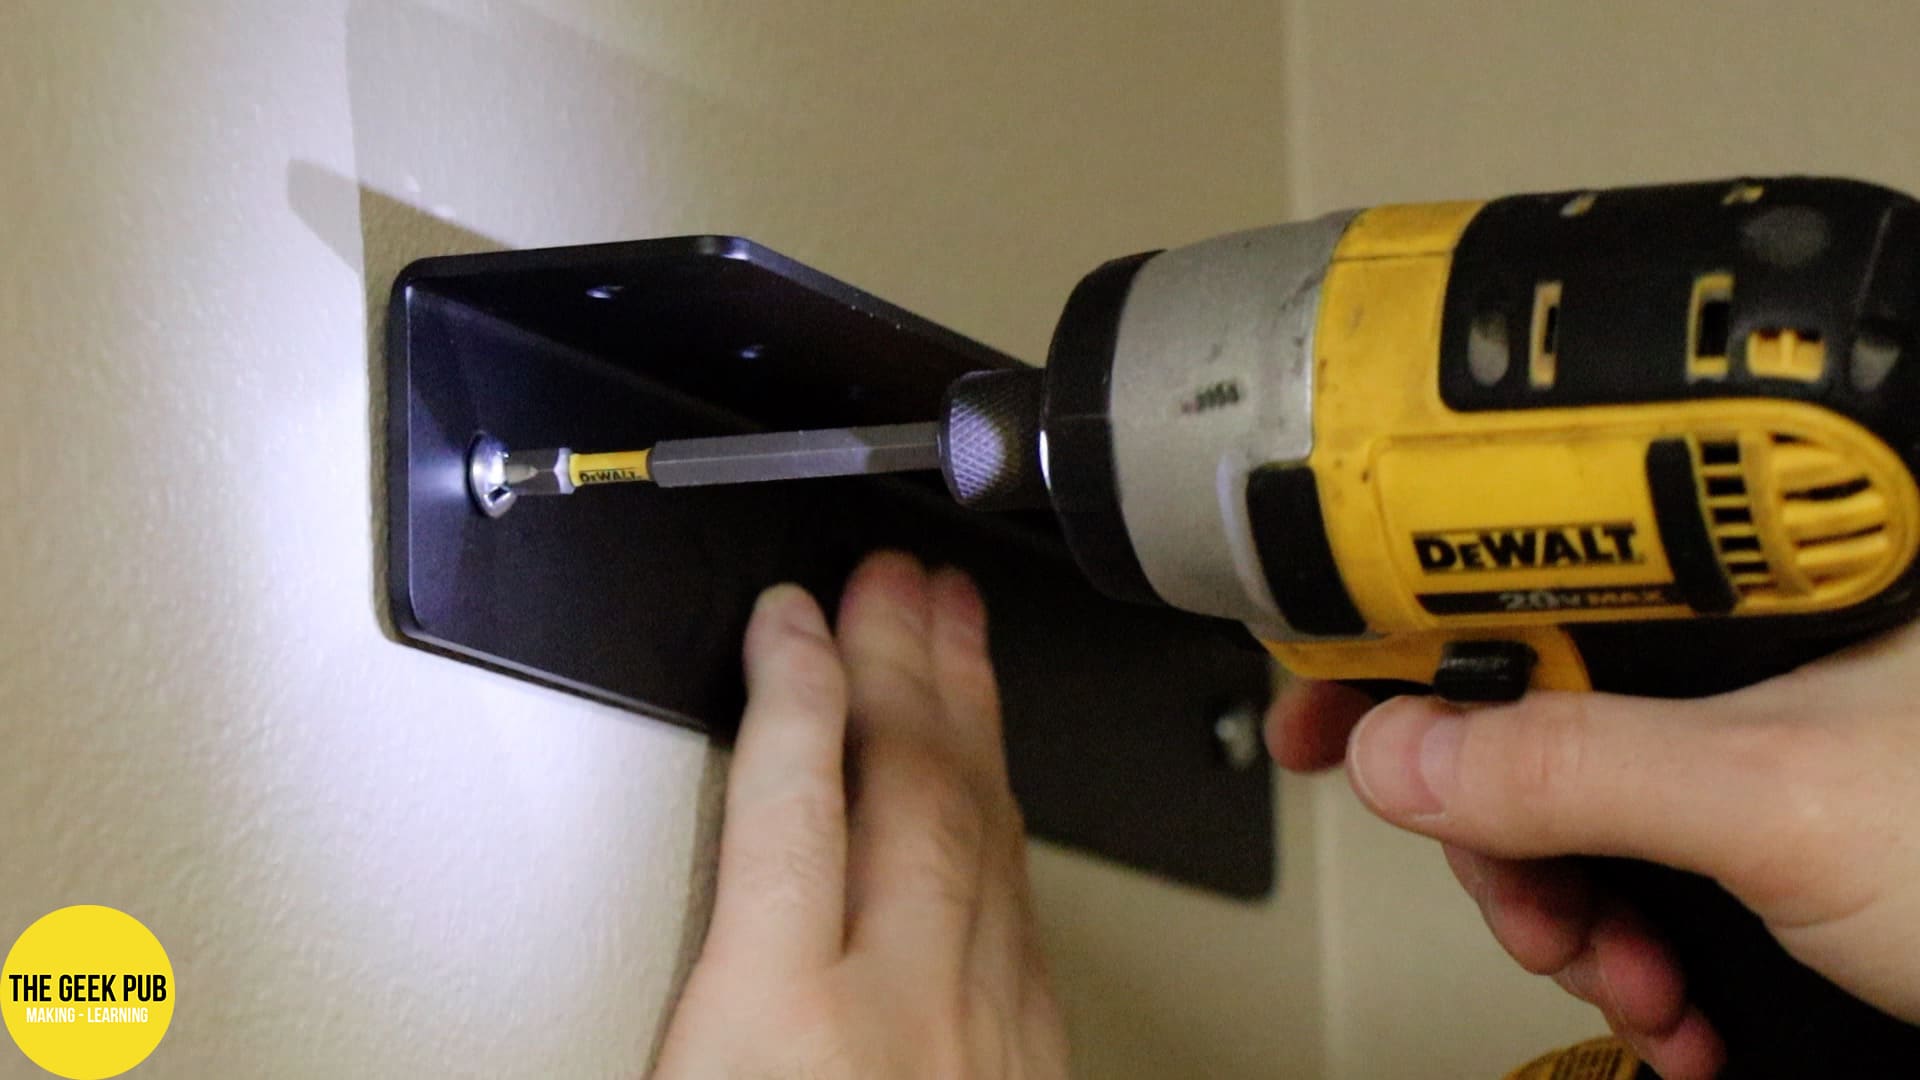
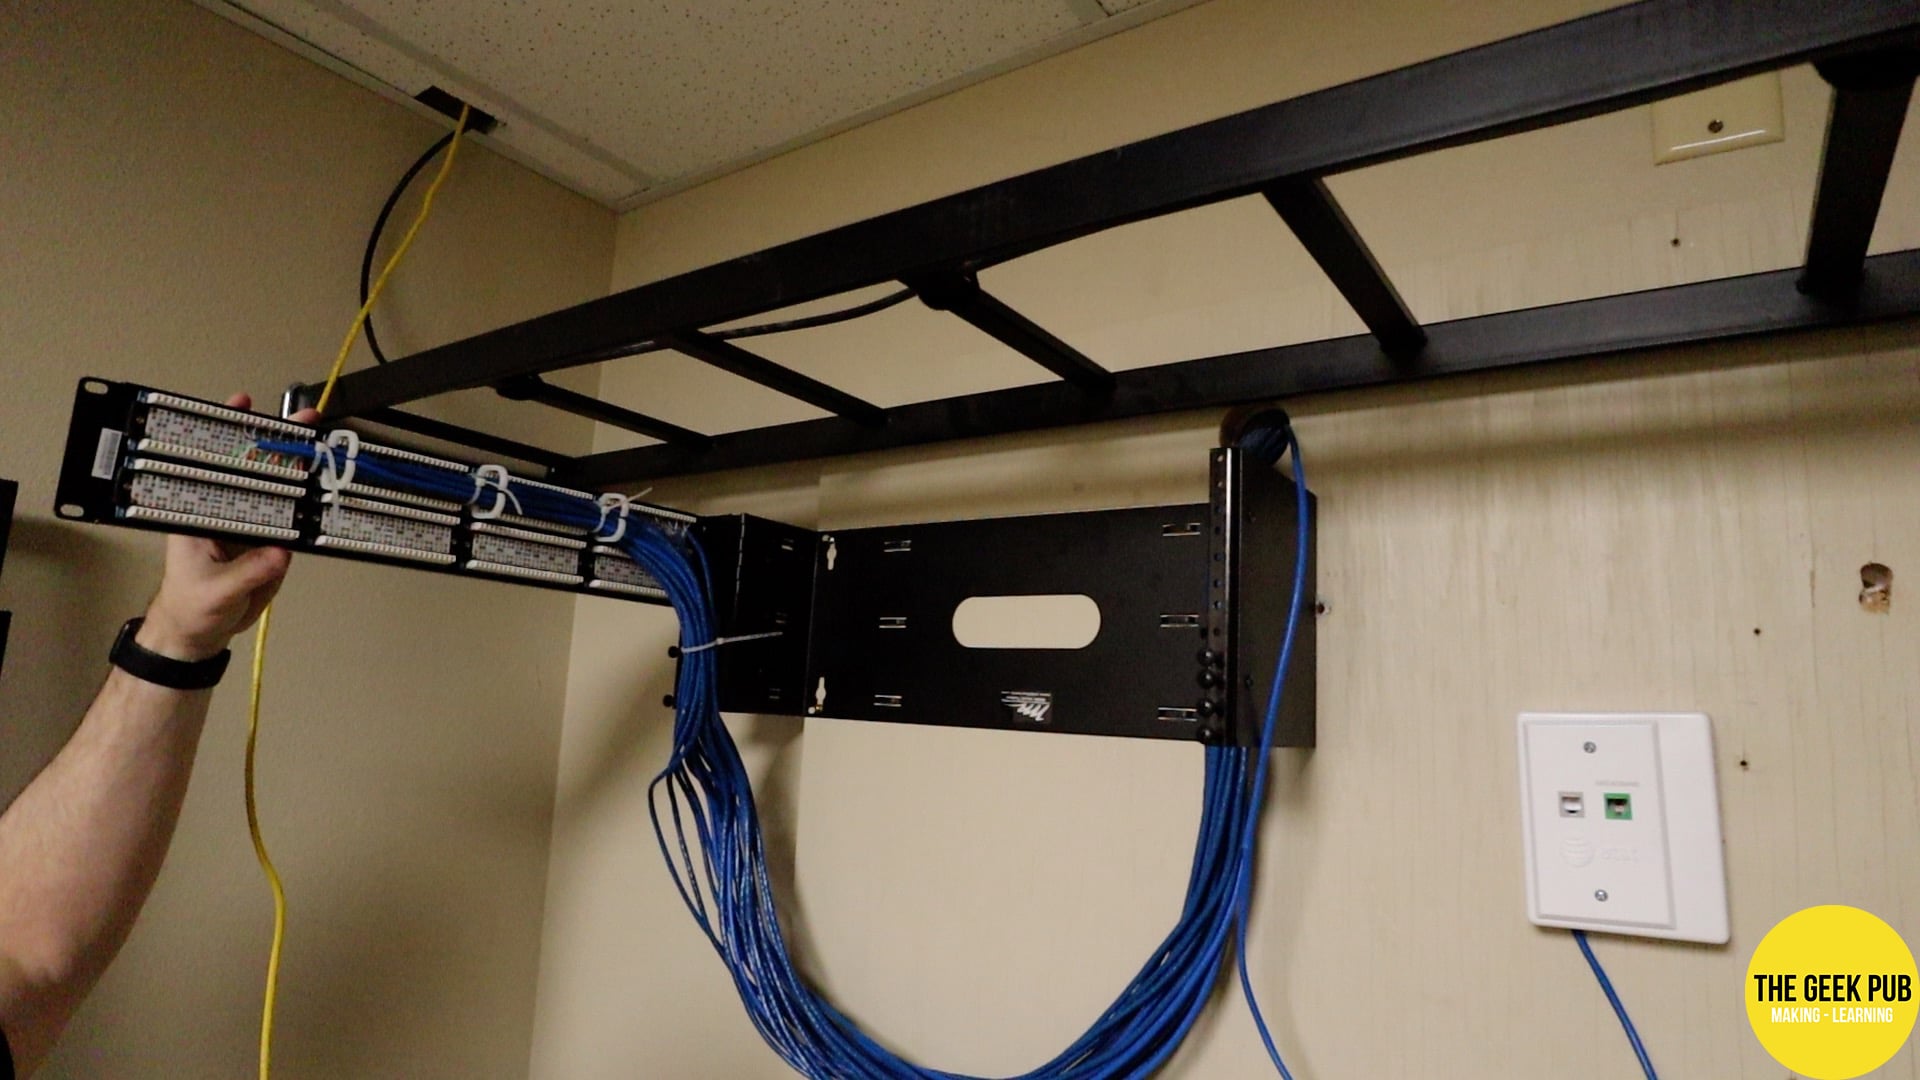
Since the old owners literally left the patch panel hanging from the wires and they were already fed inside the wall, I decided to put in a swing out patch panel mount and just leave it on the wall rather than relocating it to the server cabinet. The swing out panel will make it much easier to add cabling later, and we plan to add a lot of them for cameras and the security system!
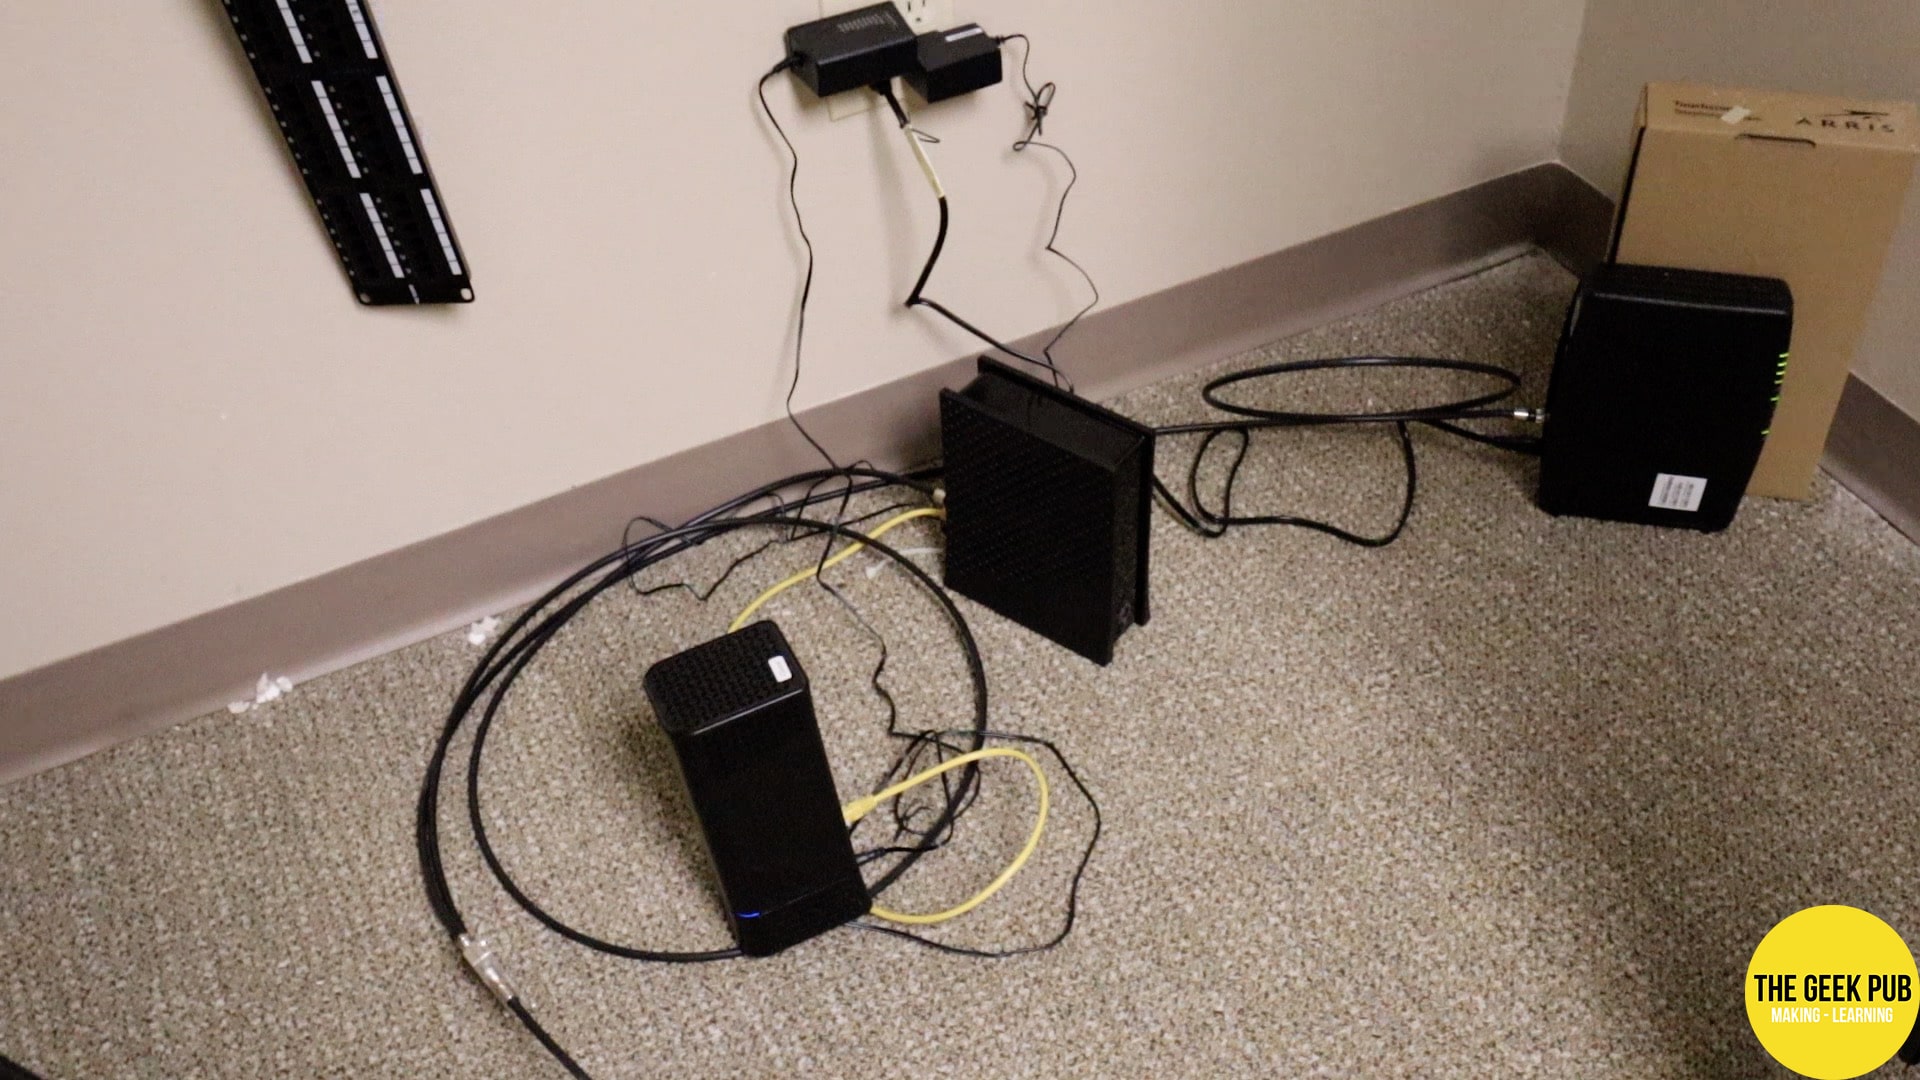
Spectrum literally just left me a pile of equipment on the floor. So I guess we should start by getting this all cleaned up. Since this stuff isn’t rackmount I started by putting a shelf in the cabinet to hold it all. Since I have static IP service, I am required to use their equipment. Gross.
Next, I laid the Spectrum coax cable into the ladder and tied it down. Unfortunately, Alltex was out of stock on the cable managers for this Tripp-Lite cabinet, so I am just velcroing it to the sides for now.
At the top of the rack, I put in a Ubiquity Pro 48 Port PoE switch. Below that, I put in a 10 Gigabit capable pfSense firewall. I have a write up on this unit at TheGeekPub.com.
Re
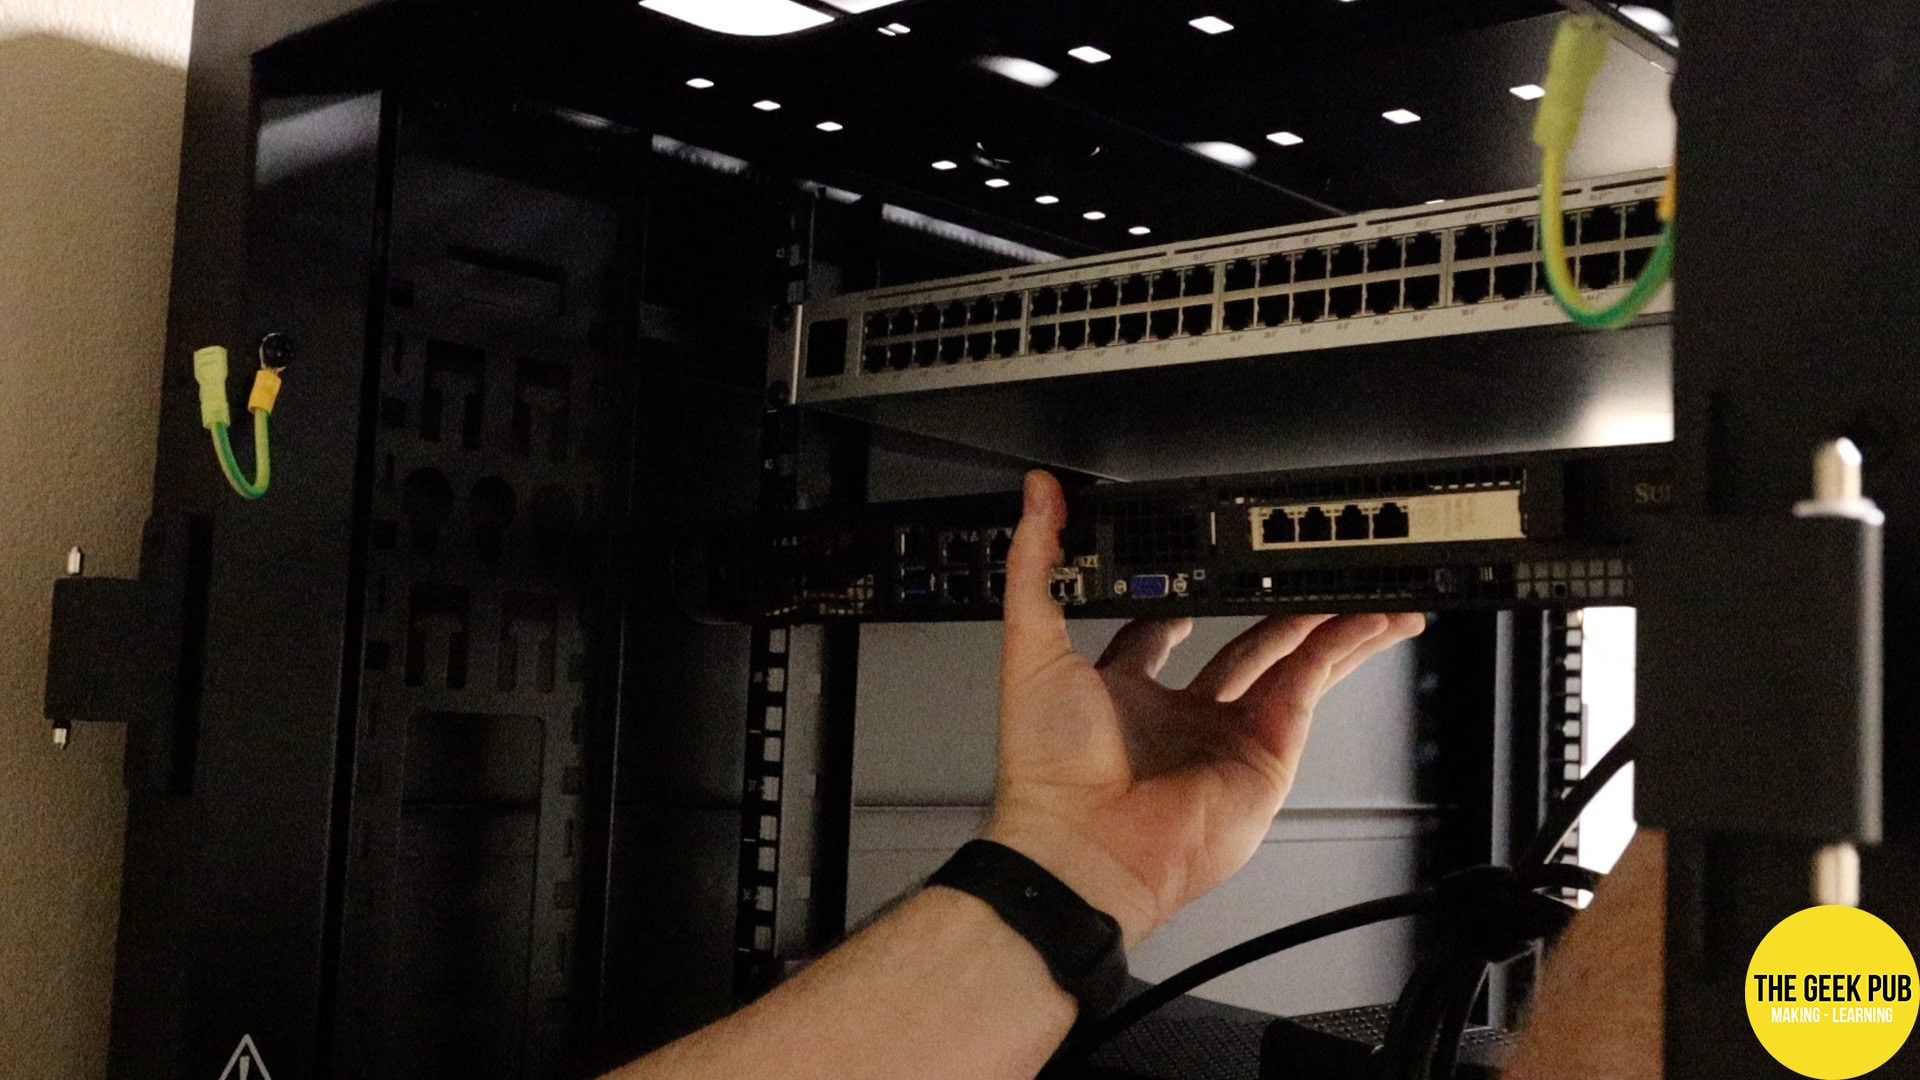
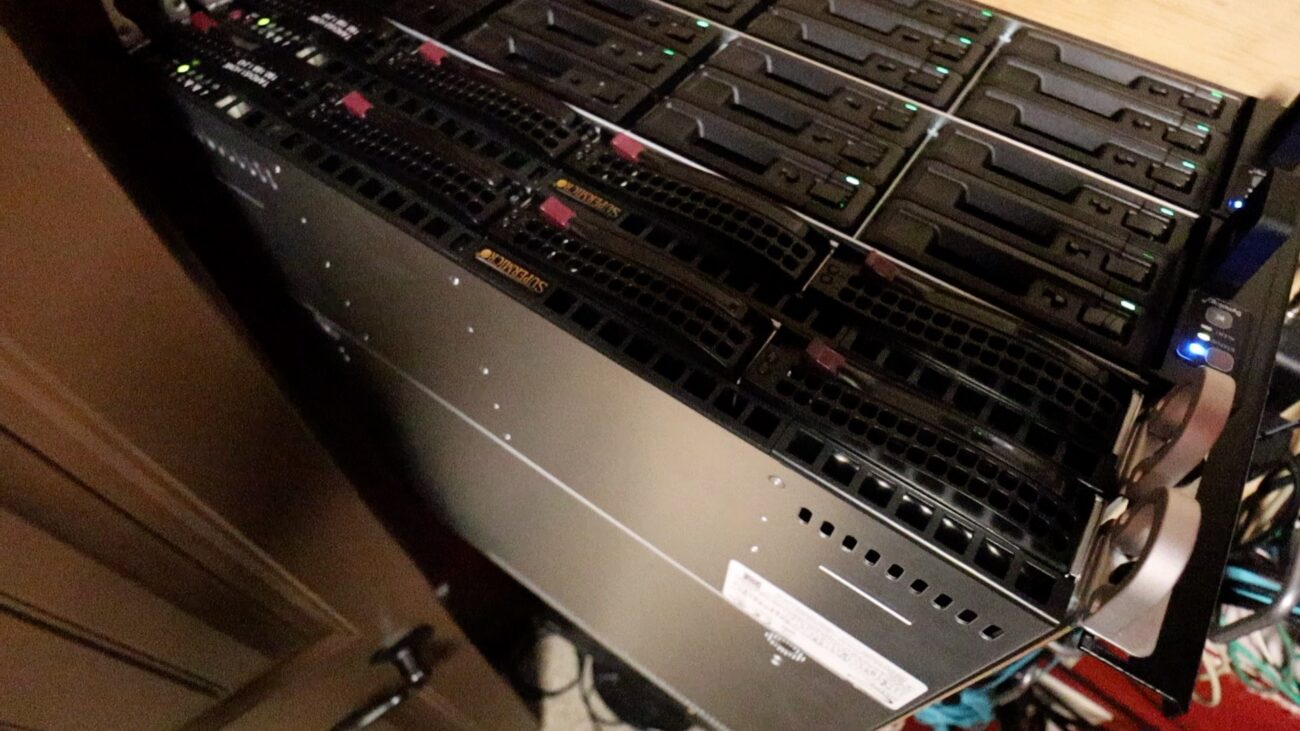
At the bottom of the cabinet, I started by putting in a battery pack, this will add much needed runtime to the UPS. On top of that goes the actual UPS. I sized everything to run the servers for about 4 hours. Next up is a 12 bay Synology. This guy acts as the NVR for recording all of the cameras. Then another more powerful 12 bay Synology that acts as the storage array for our VMWare cluster and storage appliance for video editing. Top that off with a couple of SuperMicros 1U servers packed with processor and RAM for the actual compute.
These new building network servers are actually transplants from my home network. You’ve seen them from a previous video. But for a refresher they run all kinds of Virtual Machines, including Windows, DNS, etc. They are also my primary storage location for video editing and the NVR for our camera. All data is replicated off-site as we demonstrated in this video.
And, we’re still waiting on the cable managers to arrive so its pretty messy behind.
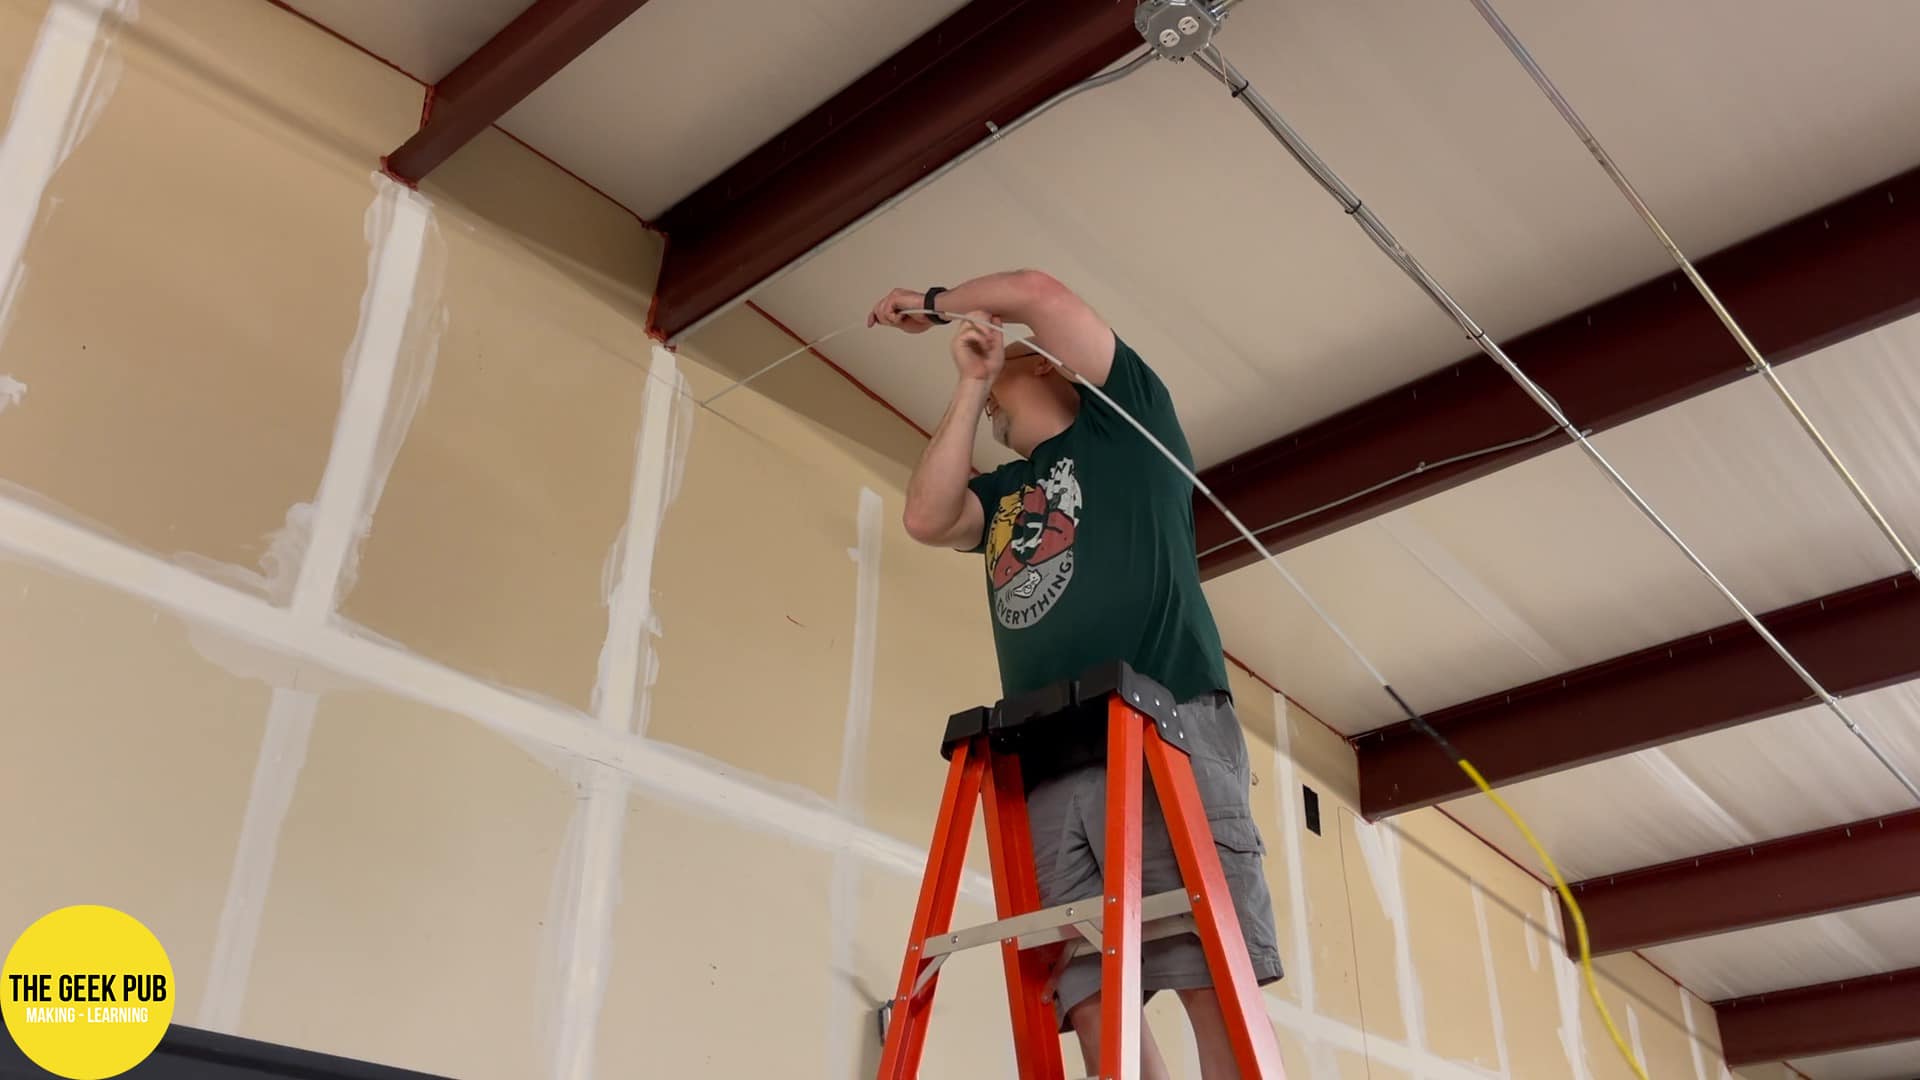
With the server room up and running, it was now time to focus on installing all of the wireless access points and AXIS cameras. And that meant running a ton of cables in the ceiling. I just laid the cable on top of the tiles but made sure to run a path where I can come back and add J-Hooks at a later point to suspend them from the red iron. Running cables and crimping on ends always takes me back in time to one of my first technology jobs.
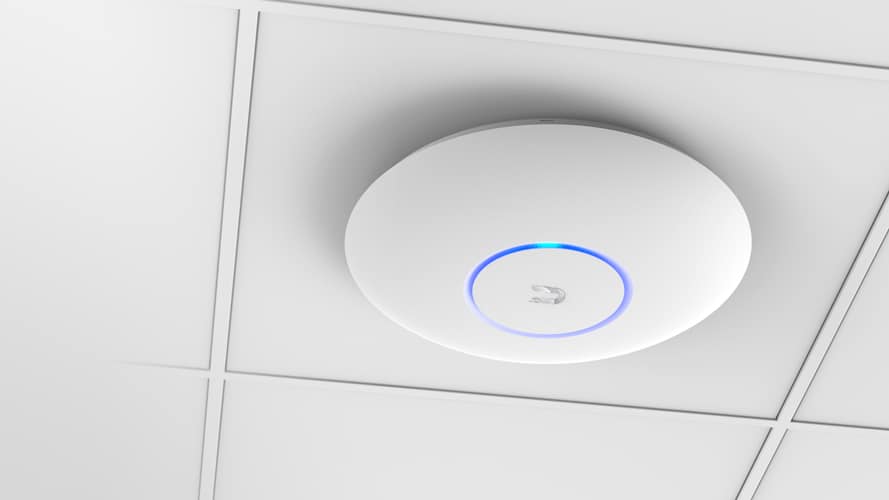
For the wireless access points, I of course chose Ubiquiti AC Pros. We’ll have several of these around the building, and of course we’ll also have a guest wireless network for our visitors to use. While I worked on the access points, David got to work pulling runs for the security cameras. And boy do we have ton of those!
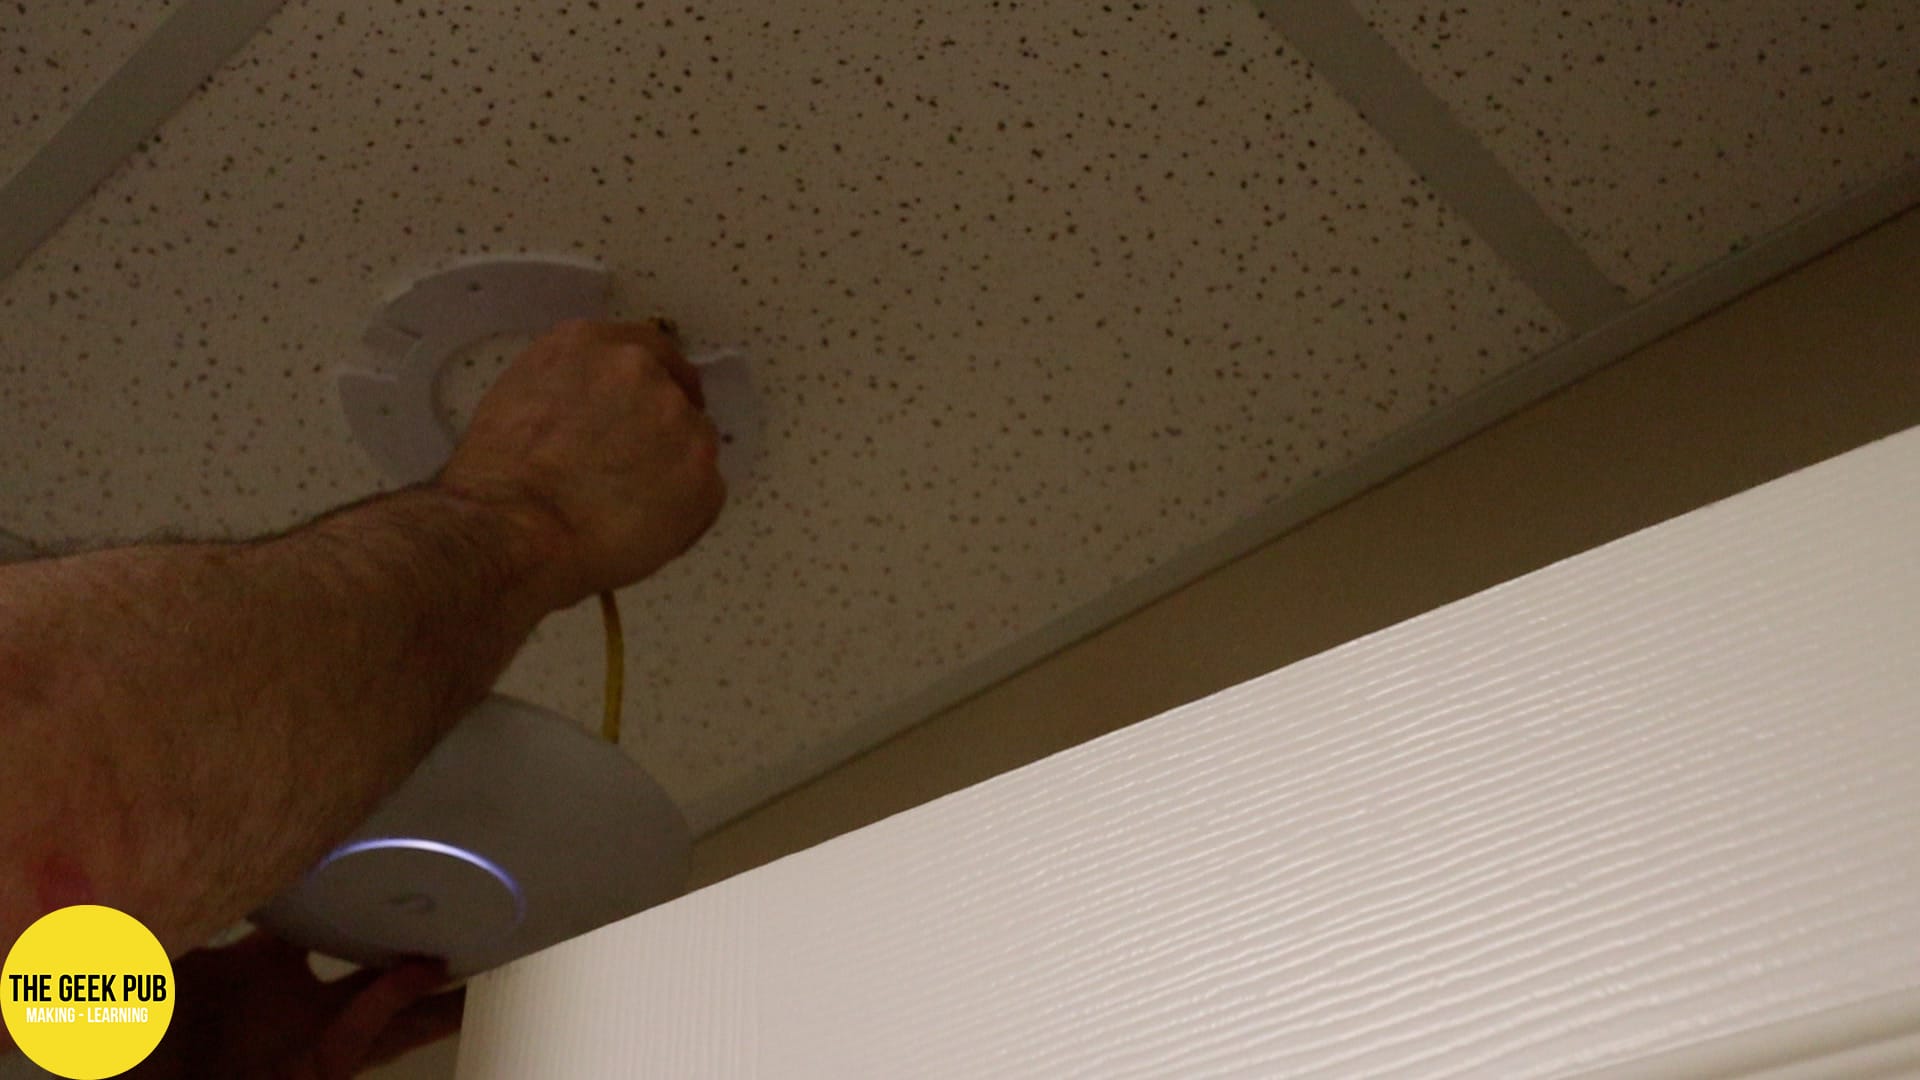
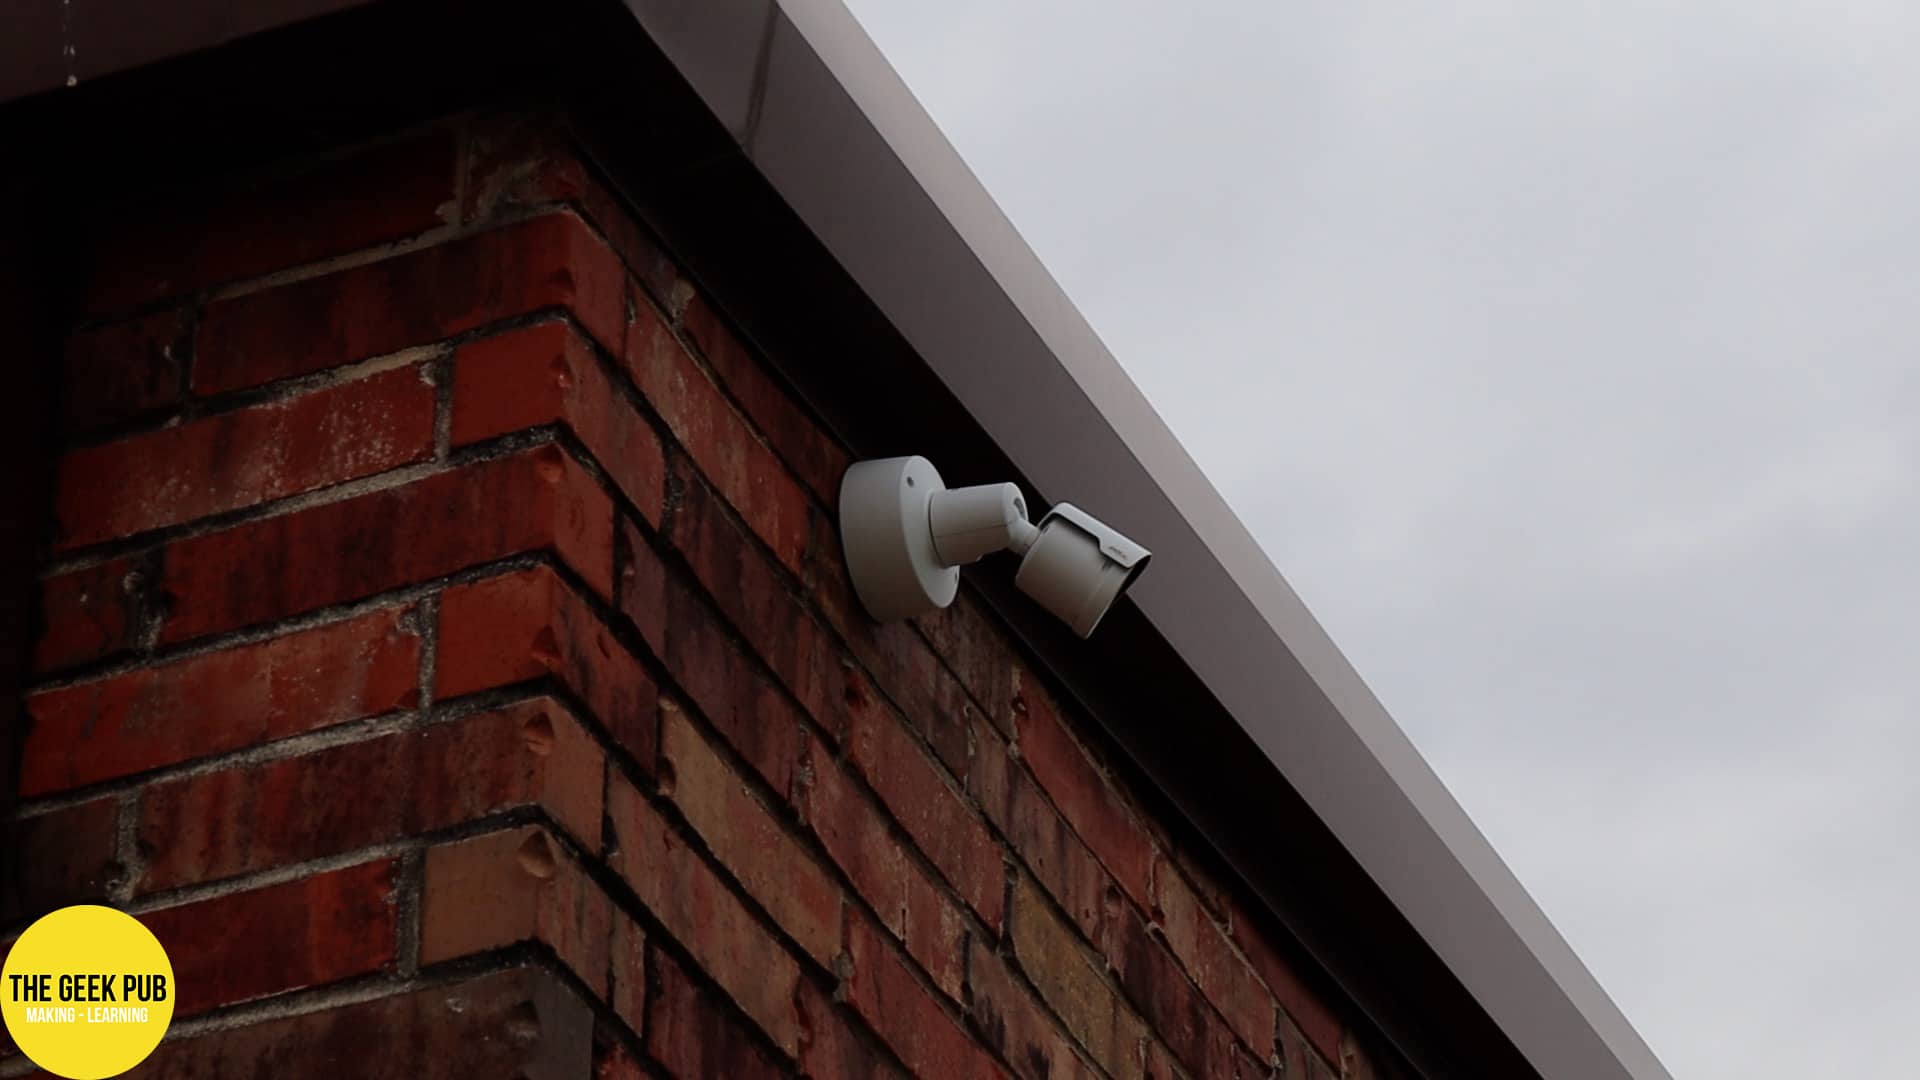
We put security in strategic locations. This includes each corner of the building, and various places around the interior. We even have a camera watching over the dumpster for those who dump illegally.
After finishing up, we just need to put all of the ceiling tiles back in place. And although we have a bit more to do and some cable cleanup left, the ladder rack is starting to look really nice!