Blog
Replicating a Synology to my Brother’s House

I back up a lot of my smaller items to an AWS S3 bucket. Unfortunately, AWS can be a super expensive proposition for large amounts of data. I have over 26 terabytes of media on my NAS, a combination of my PLEX library, family photos and videos, Geek Pub archival footage, and other random things. Putting all of this data on Amazon S3 would cost over $600 a month! That’s just not a good option. I could put it Amazon Glacier or Blackblaze for about one quarter of that, but that’s still pushing $2000 a year. So in talking to my brother, he offered to let me replicate a Synology to his house over our VPN (If you’ve not seen my video on VPN between friends and family you should check that out!)
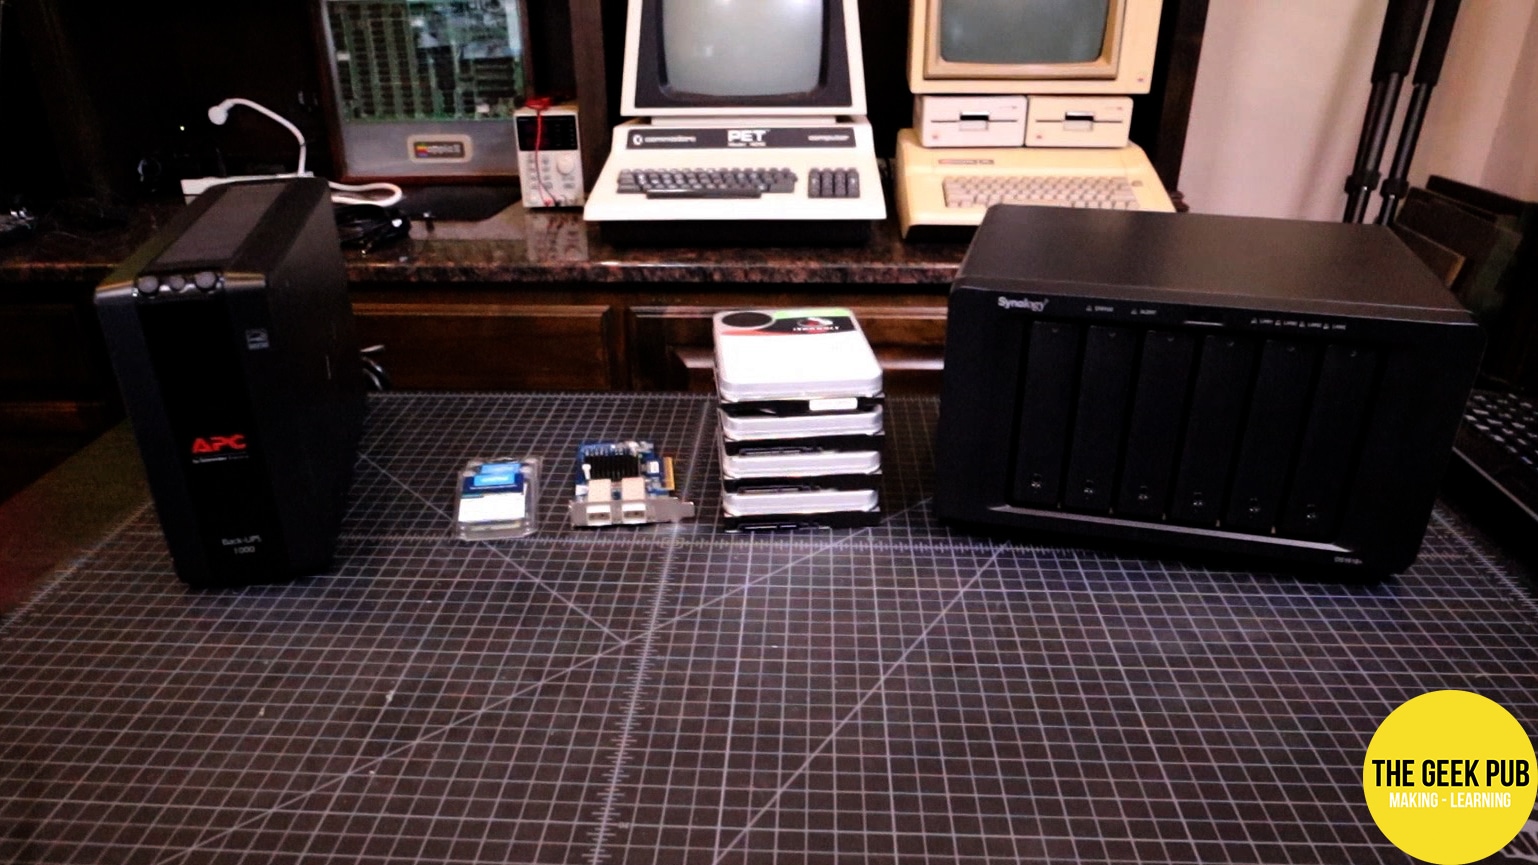
So on to Amazon I went and ordered a new Synology DS1618+ 6 bay NAS, four 14 terabyte Seagate IronWolf Pro drives, a 10 gigabit capable network card, two sticks of 8GB DDR4, and a dedicated UPS.
Here’s a quick parts list if your interested in replicating my system:
| QTY | PART / LINK | ||
|---|---|---|---|
| 1X | [icon name=”server” prefix=”fas”] | Synology DS1618+ NAS | [icon name=”cart-plus” prefix=”fas”] |
| 5X | [icon name=”hdd” prefix=”fas”] | Seagate 14TB Iron Wolf | [icon name=”cart-plus” prefix=”fas”] |
| 1X | [icon name=”memory” prefix=”fas”] | Crucial 8GB DDR4 (2x) RAM | [icon name=”cart-plus” prefix=”fas”] |
| 1X | [icon name=”network-wired” prefix=”fas”] | 10G Tek Dual SFP+ Network Card | [icon name=”cart-plus” prefix=”fas”] |
| 1X | [icon name=”car-battery” prefix=”fas”] | APC BX100M UPS | [icon name=”cart-plus” prefix=”fas”] |
Some of these may be affiliate links. They cost you nothing, but we get a small commission if you use them. That helps us keep making awesome content like this!
Watch the Synology Replication Video
Replicating a Synology Offsite
Ten Gigabit? But Why?
OK. So some of you are probably asking right about now… “Why the 10 gigabit network card when your are going to be syncing this over the internet?” Well, that’s because I plan to sync this NAS first at home over my 10 gig network. This way, when I take it to my brother’s house it will only have to sync changes from that day forward. This will take the initial replication time down from what could be weeks or months down to just a few hours or maybe a day. And it won’t piss off our ISPs (or invoke data caps). When replicating a Synology over the internet, this is this most efficient way to go about it.
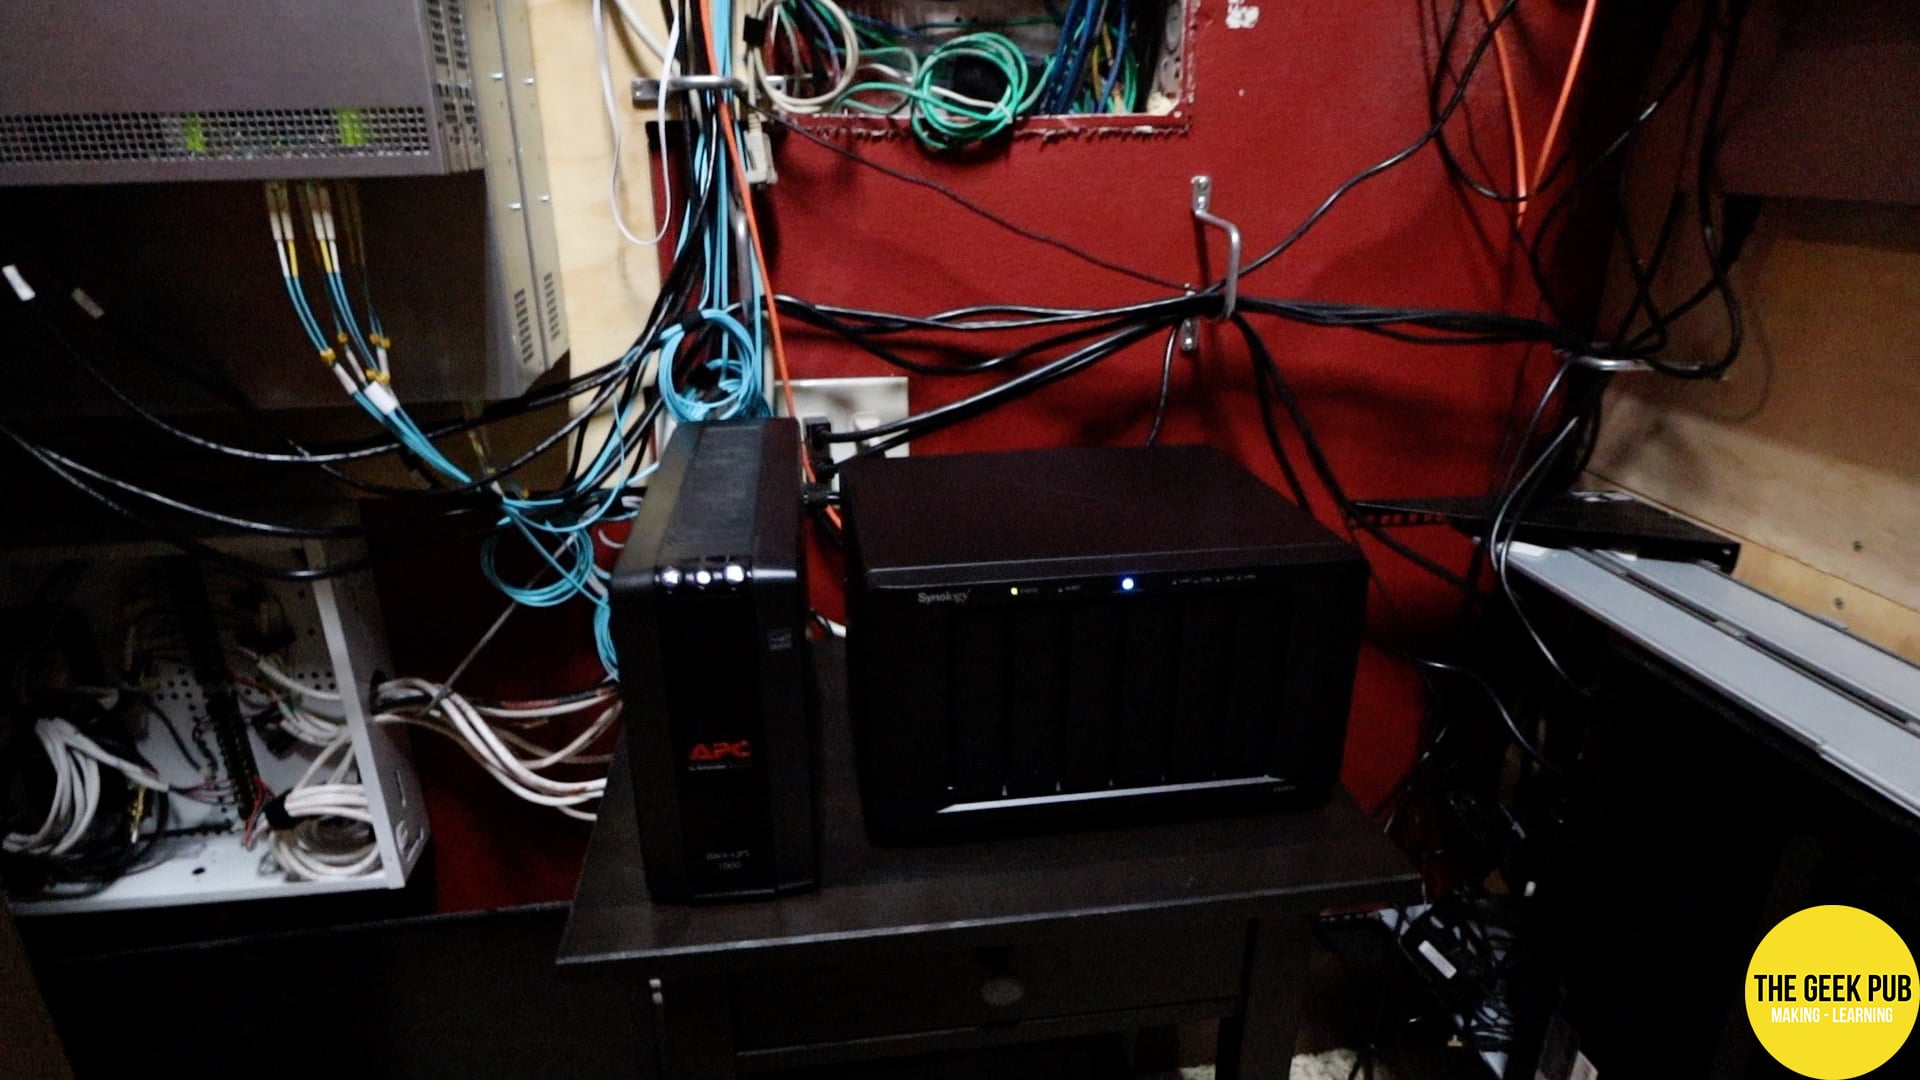
Setting up the Synology Hardware
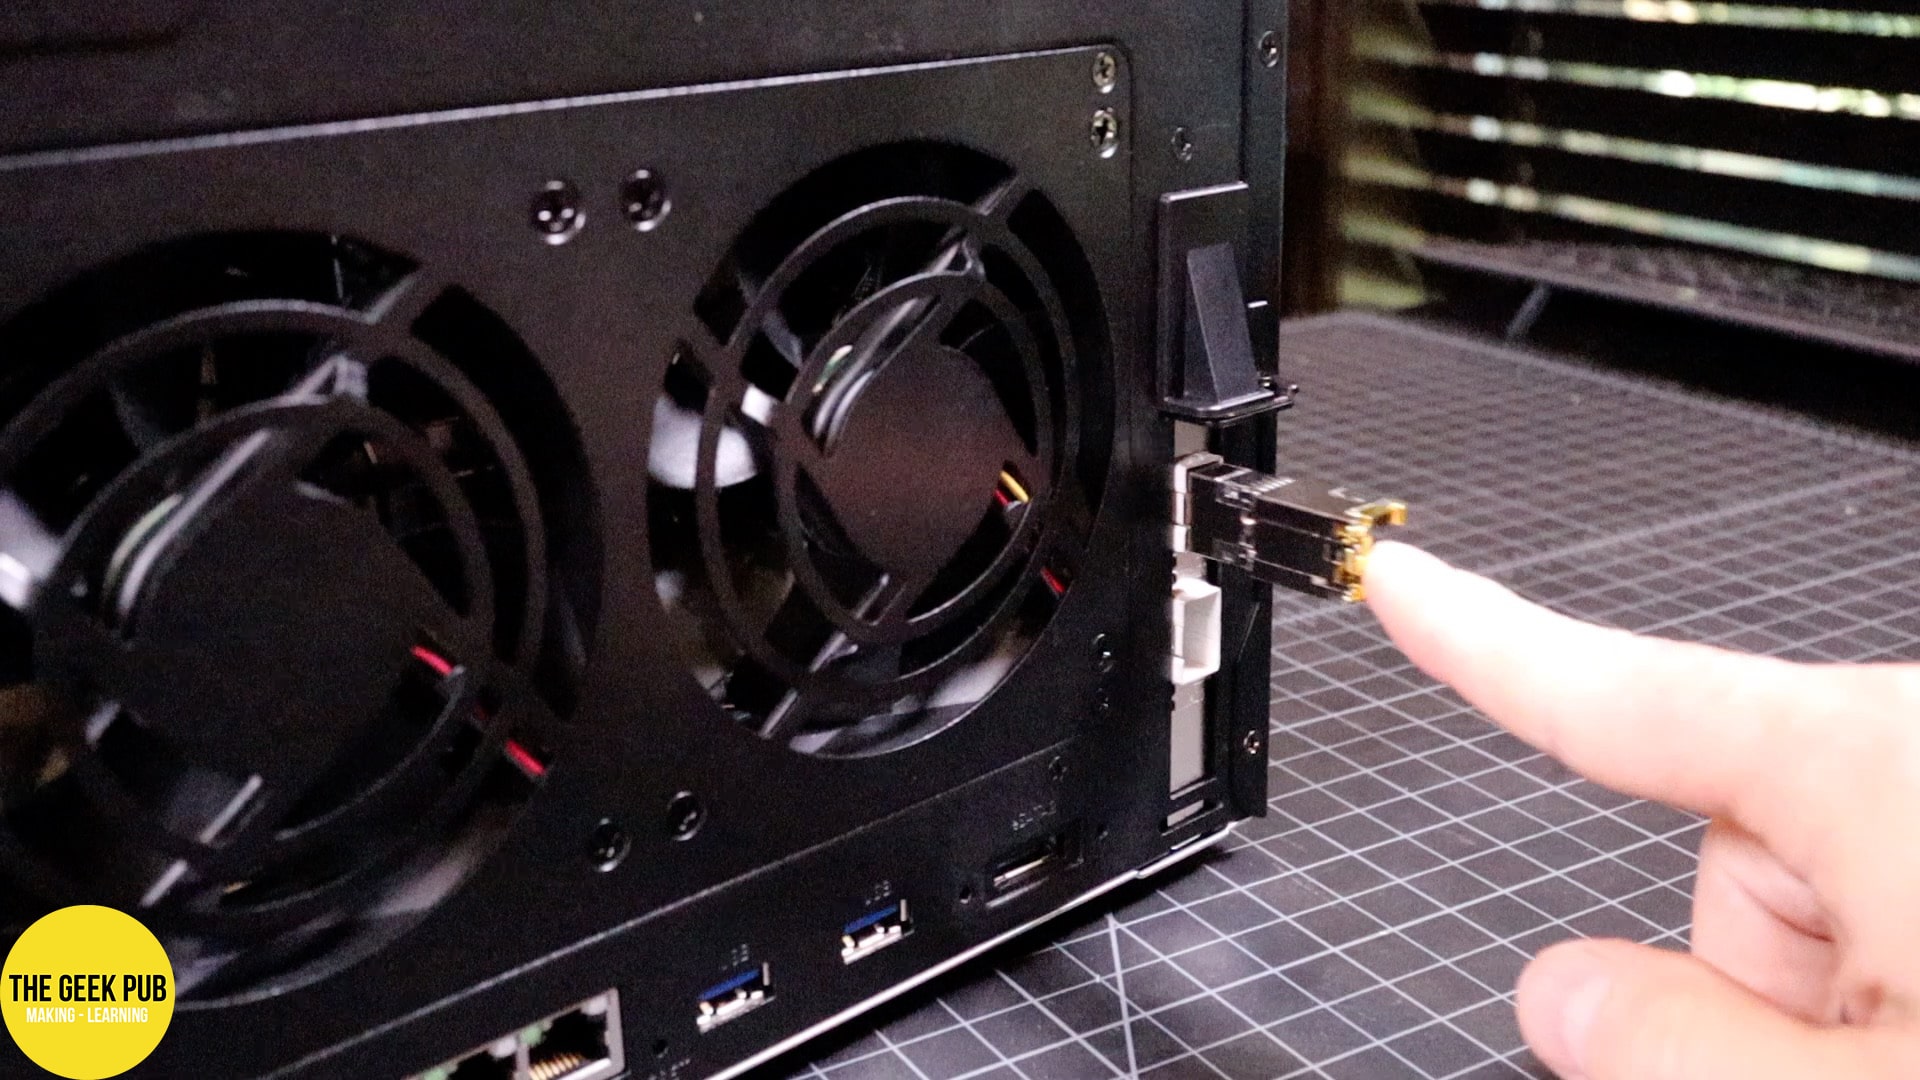
First I started by removing the six case screws and removing the cover. This exposes the PCIe slot. I then gently inserted the 10G Tek network card and secured it in place with the latch and screw.

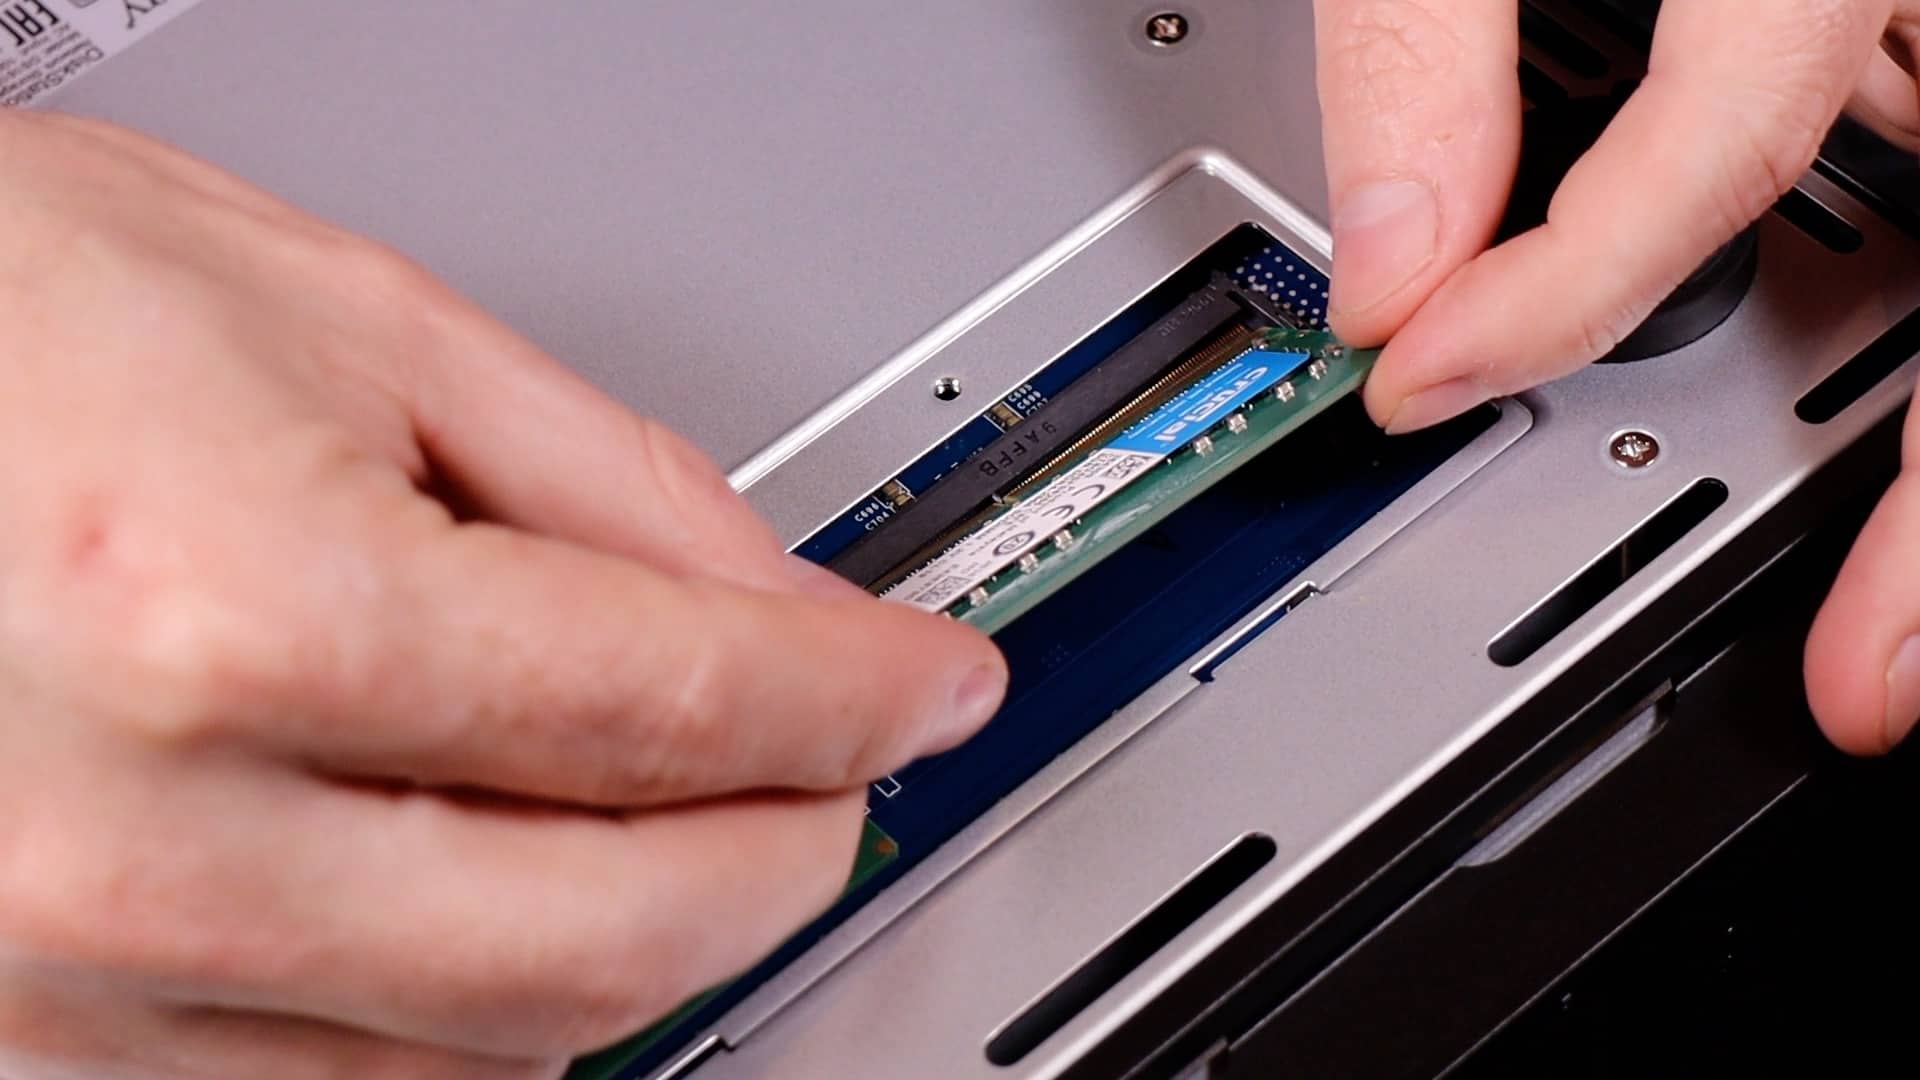
Flipping the Synology upside down exposes the memory access panel. Just remove two screws and the panel comes right off. I replaced the factory 4GB card with two 8GB cards. The Synology will complain on first boot that you’re not using official Synology RAM, but after clicking OK everything will function just fine and at half the price of Synology’s overpriced RAM.
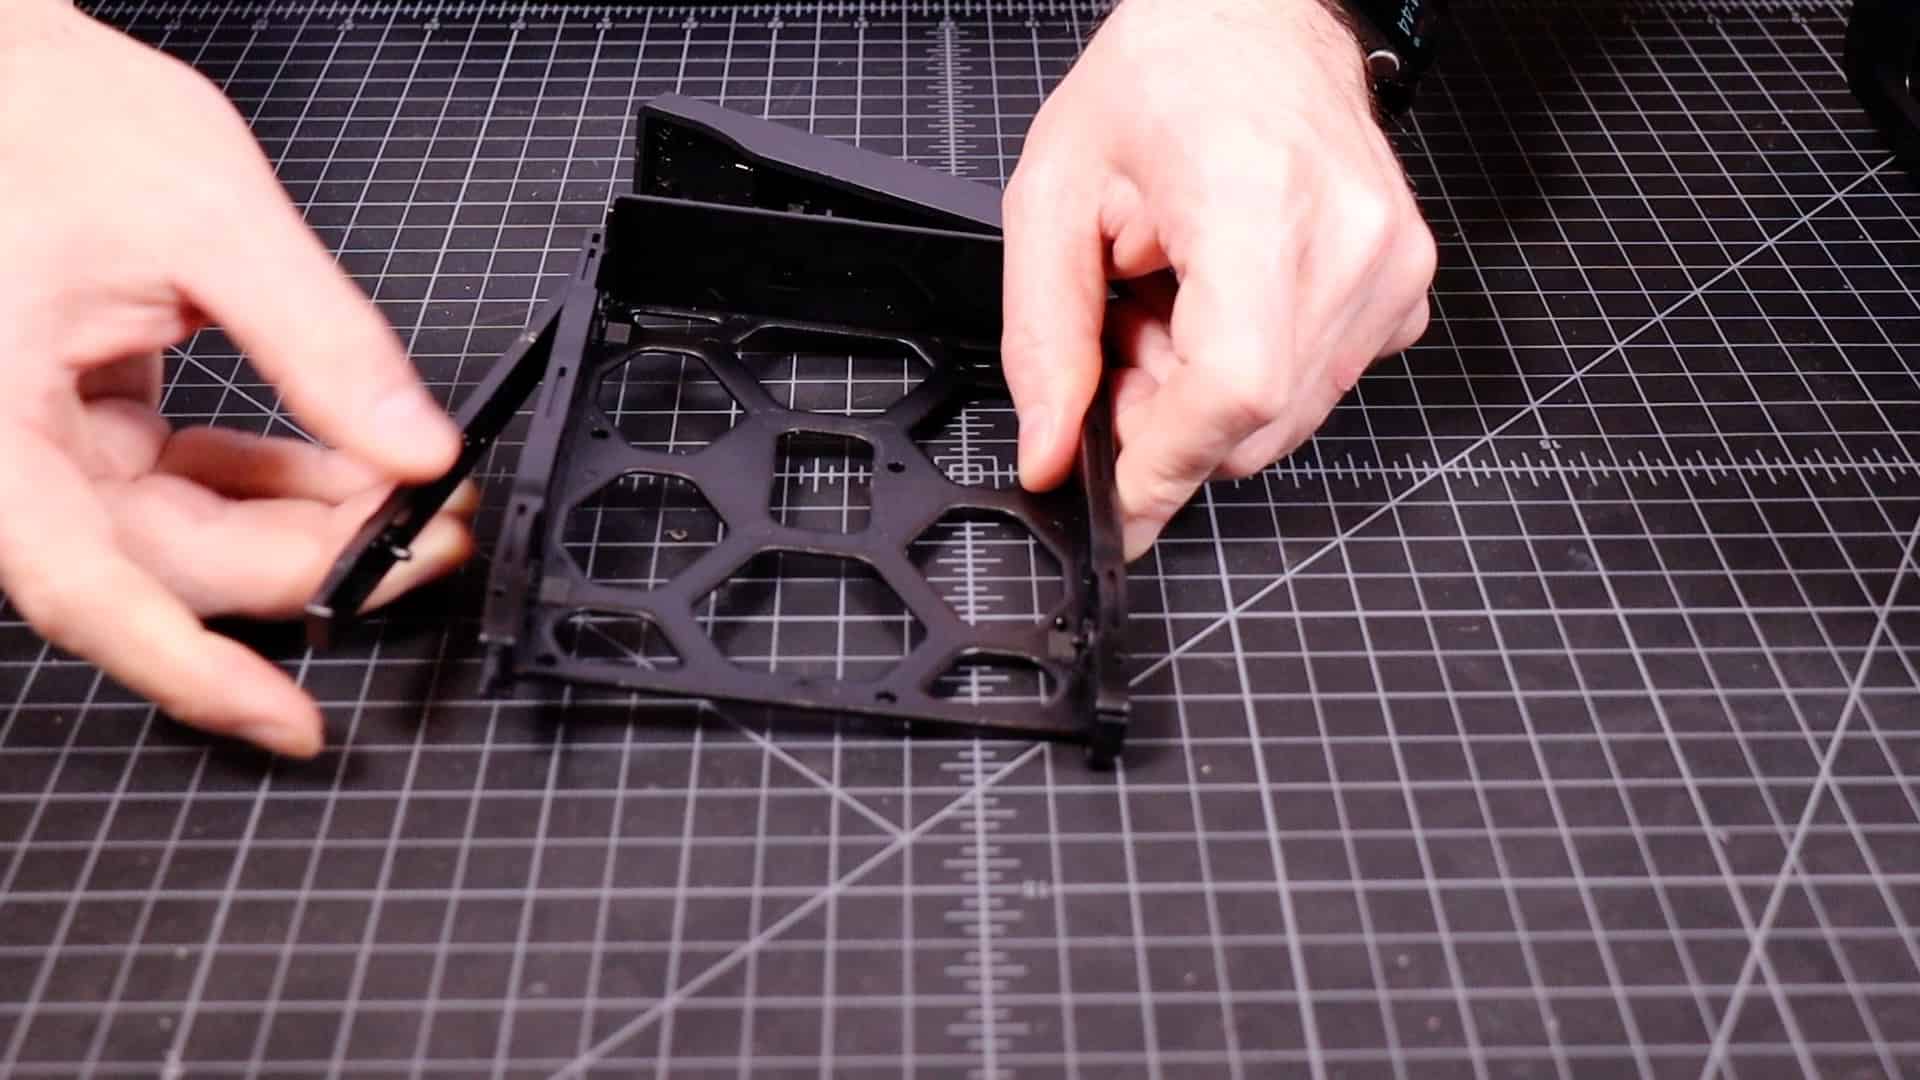
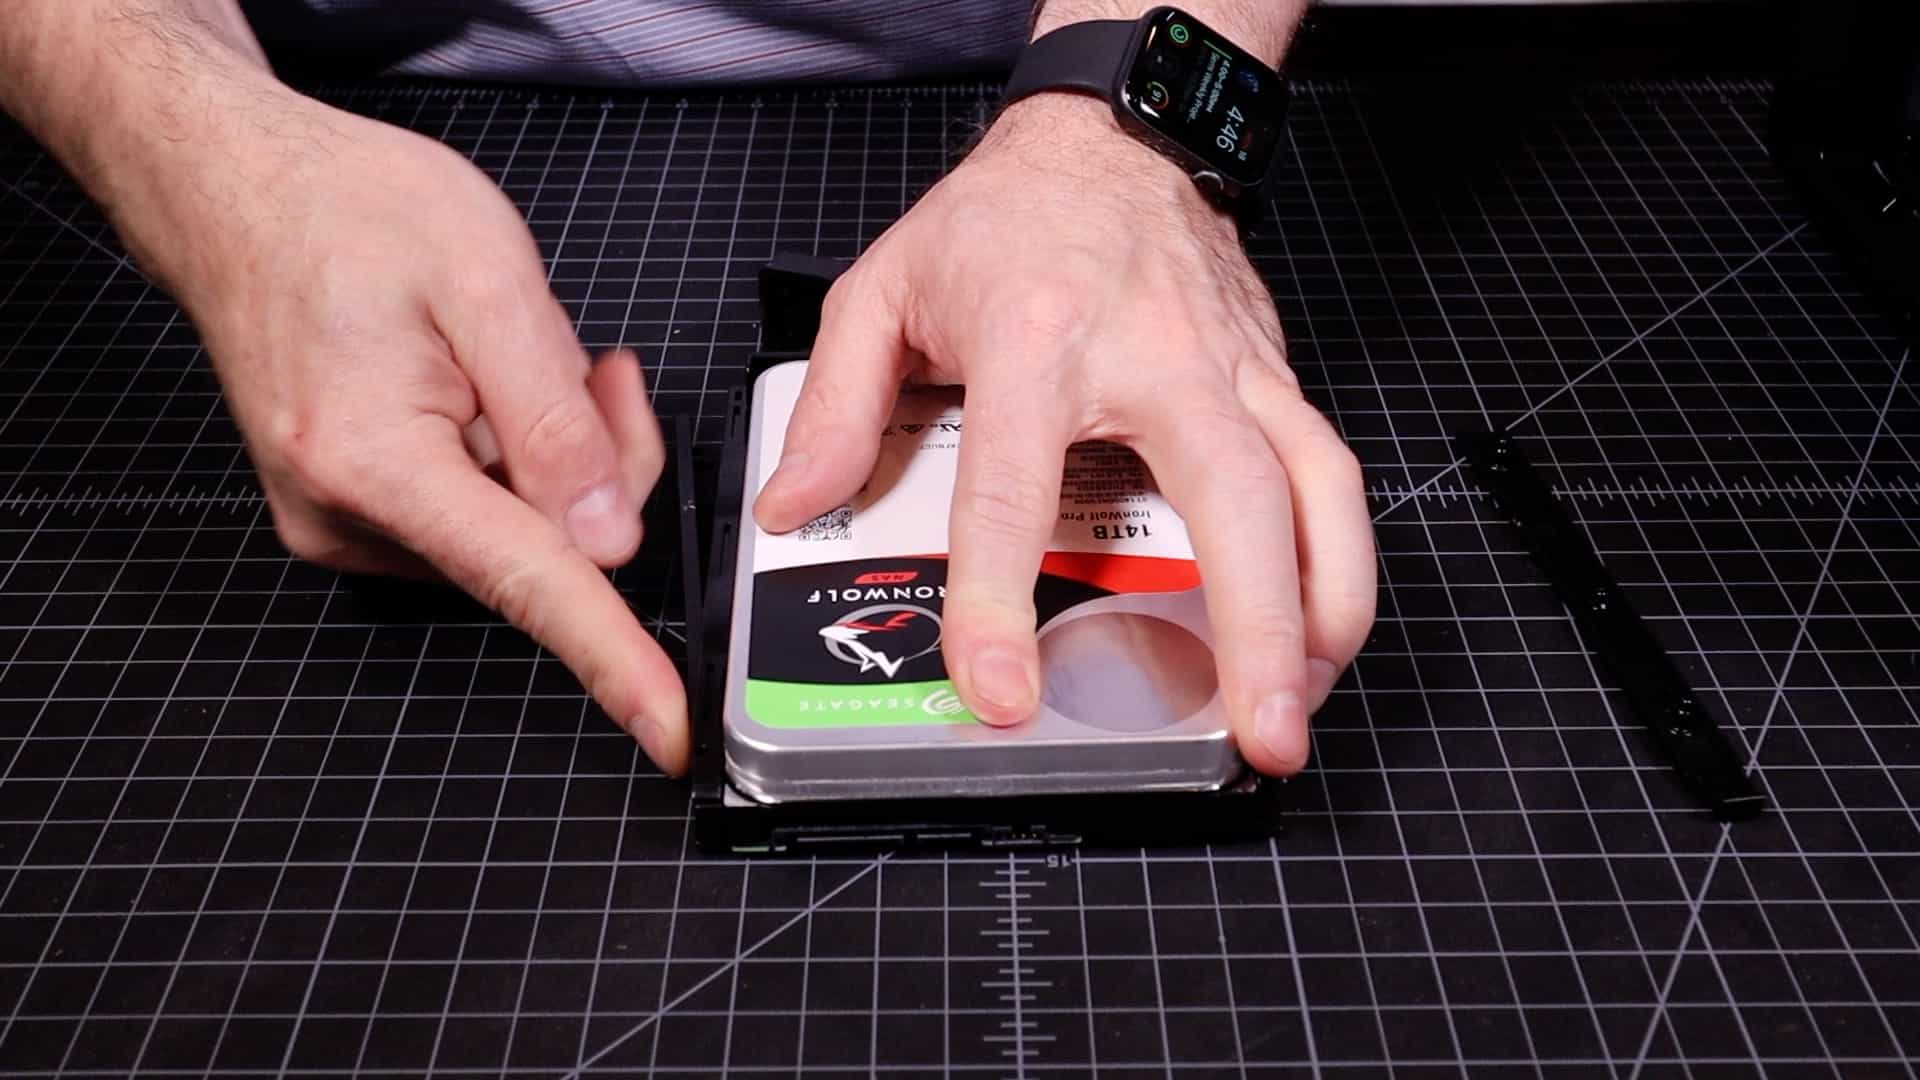
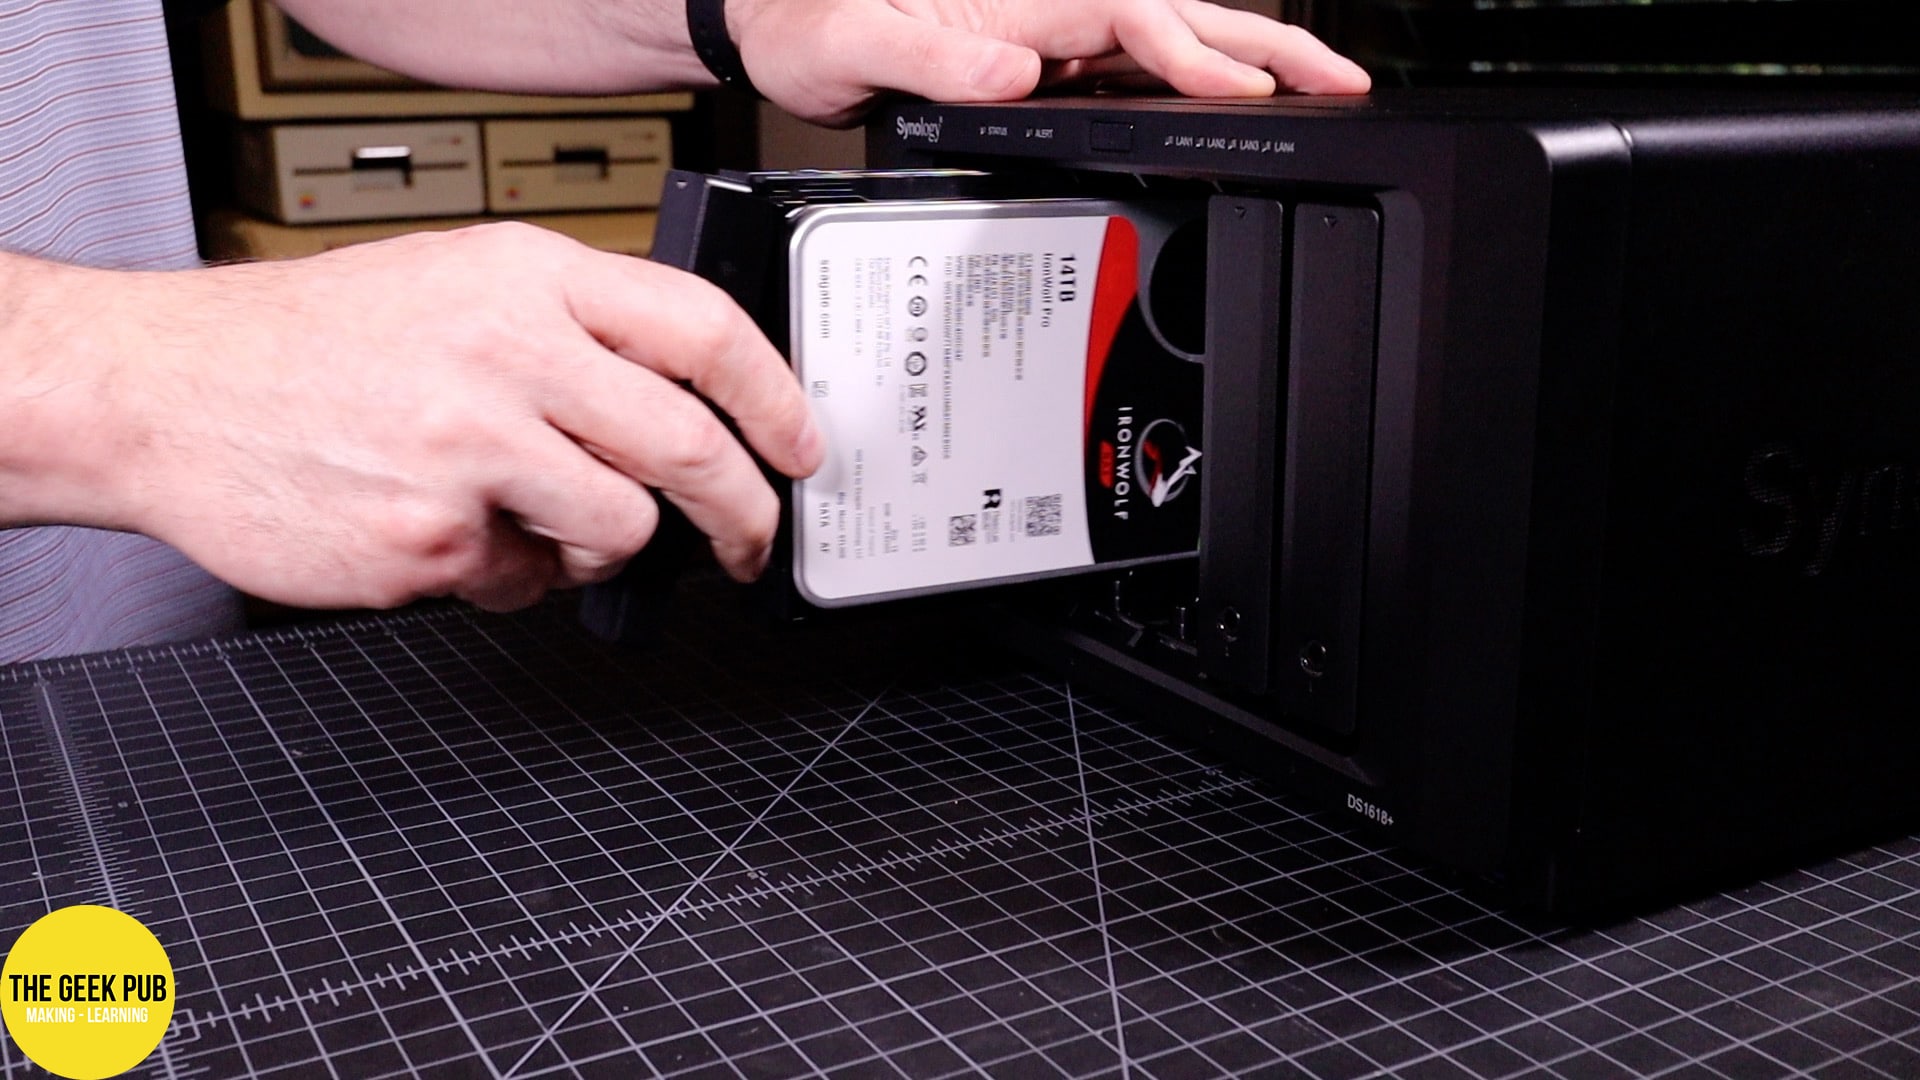
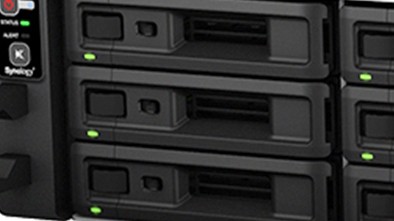
Synology uses screwless mounts so you just pop these little plastic rails off, insert the drive, and then pop the rails back into place. There are no screws to deal with and no tools required. And just like that I have four drives ready to go into the new NAS. Just slide them in one at a time and latch the locking lever. Synology really makes this a simple task. There’s even a key to lock the drives should you feel the need to do so.
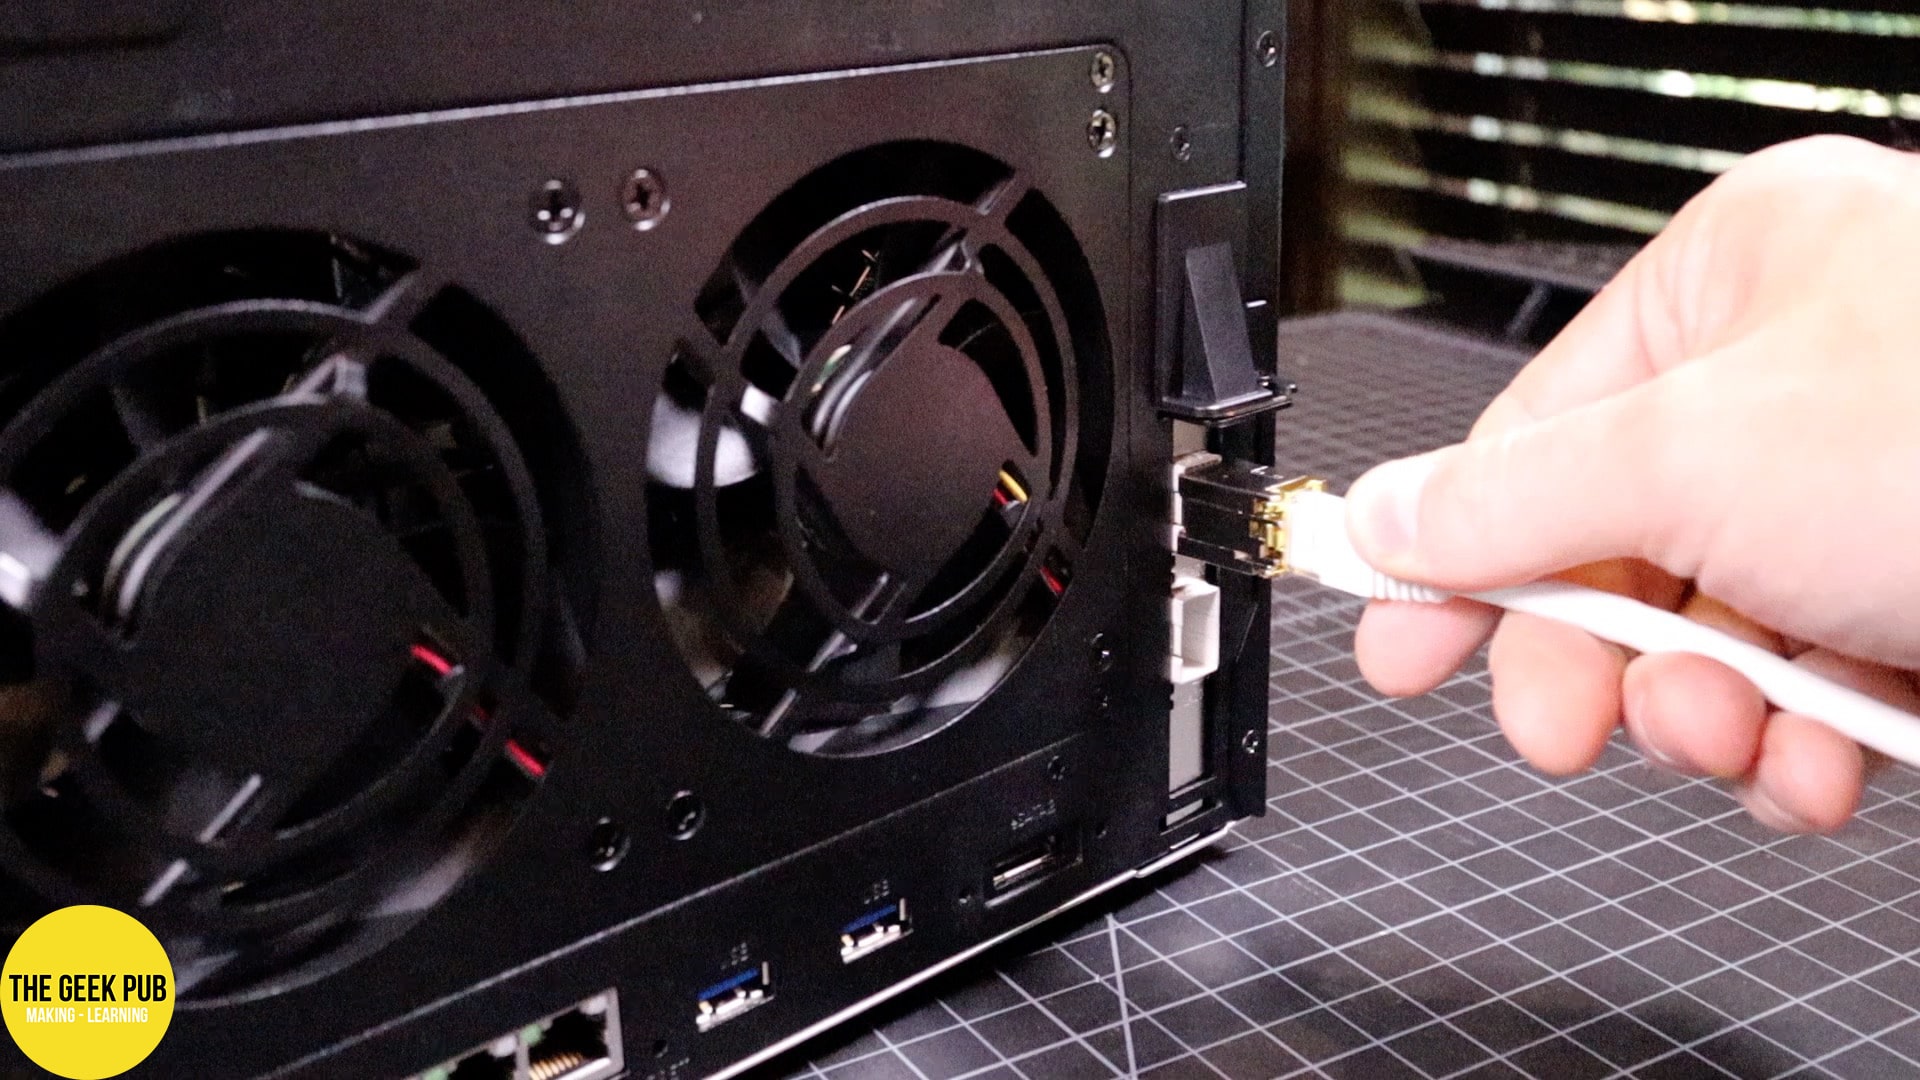
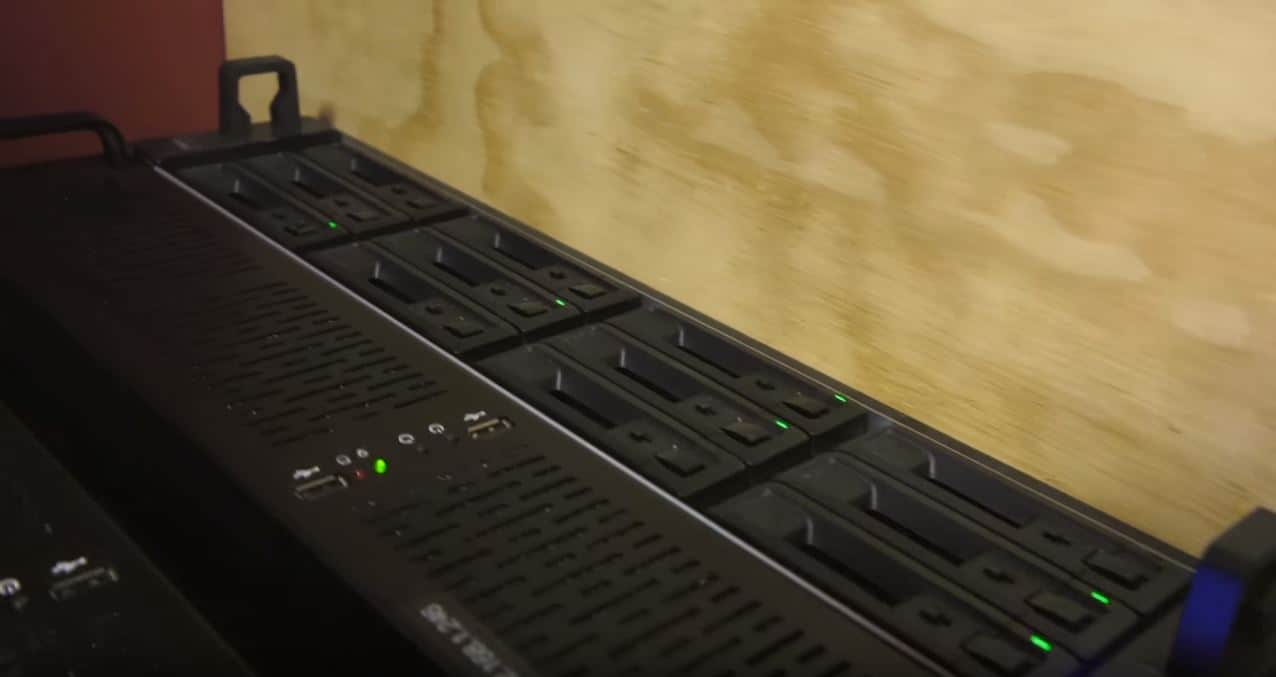
Since I didn’t have any fiber cables free I just used the Copper 10 GB SFP+ to connect it to my lab switch and after plugging in the power the Synology comes to life and is ready to be configured!
Configuring the Synology Storage Pool and Volume
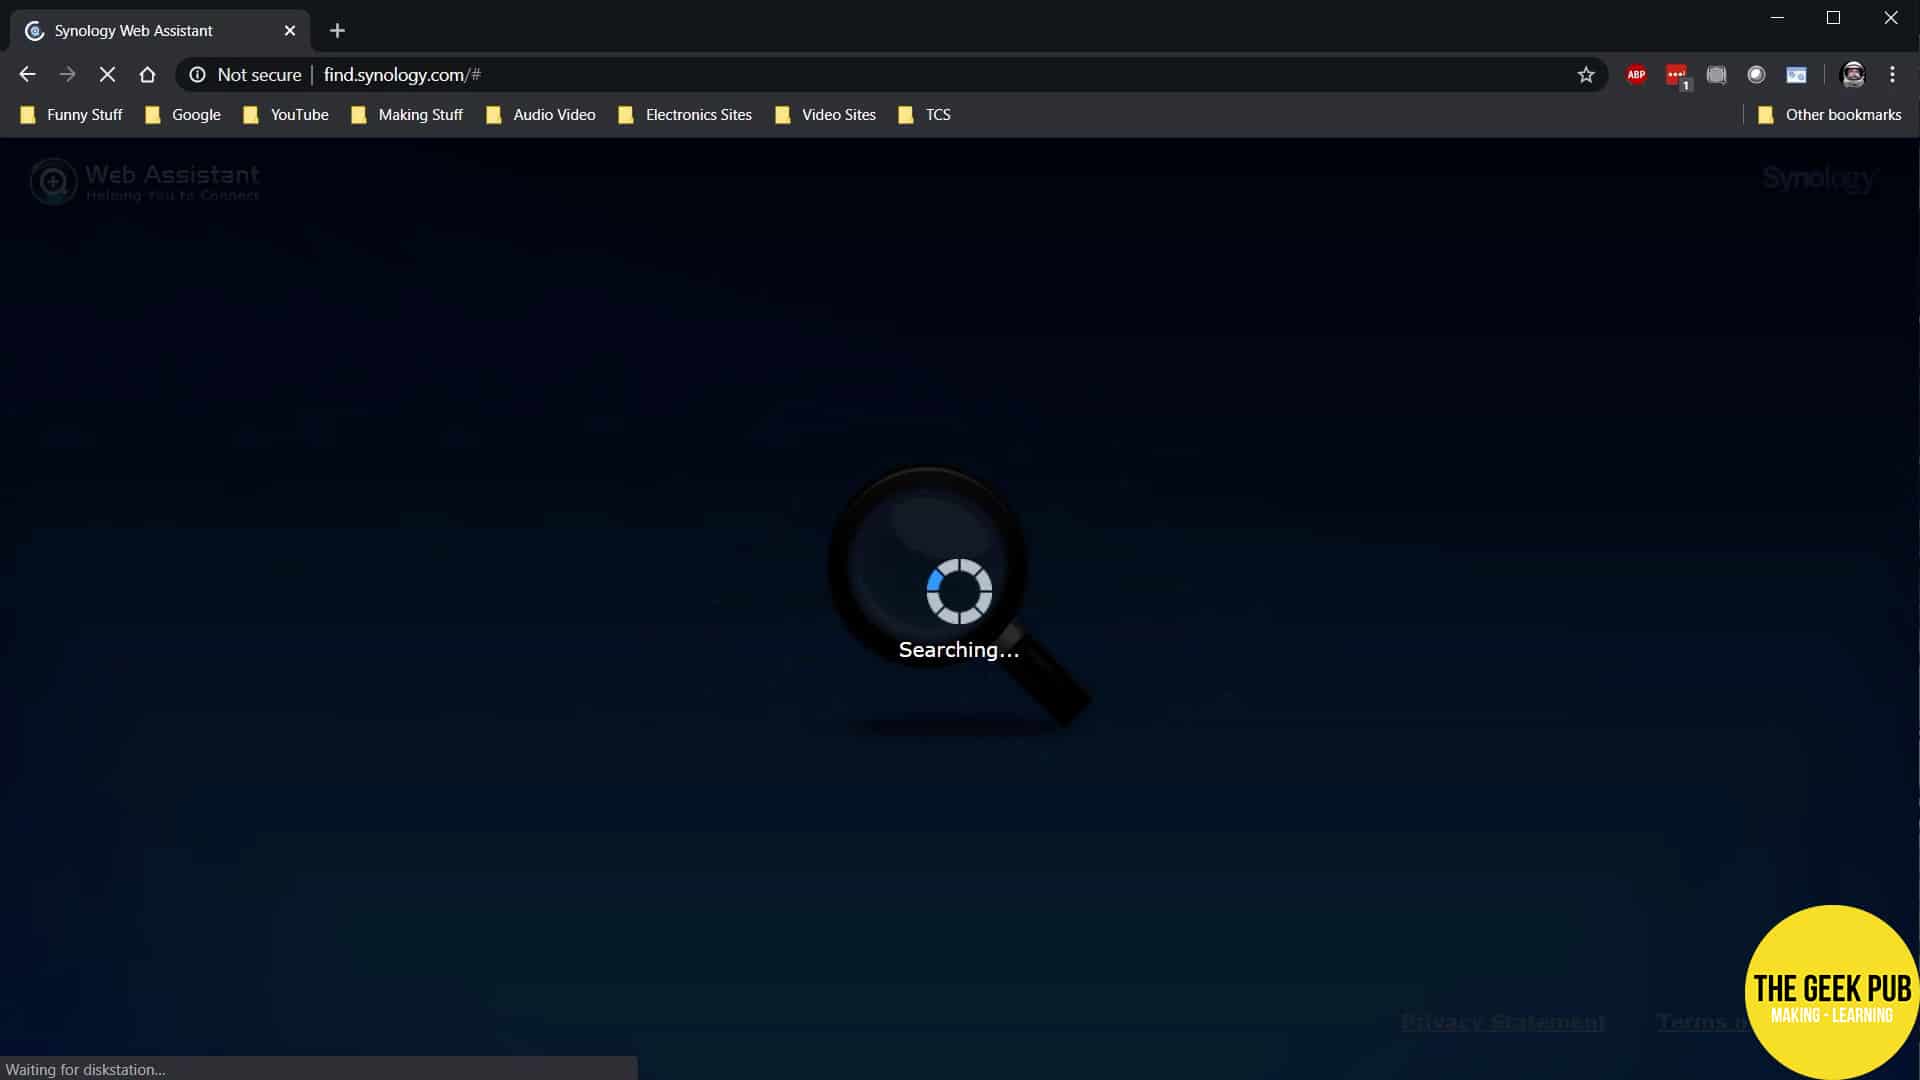
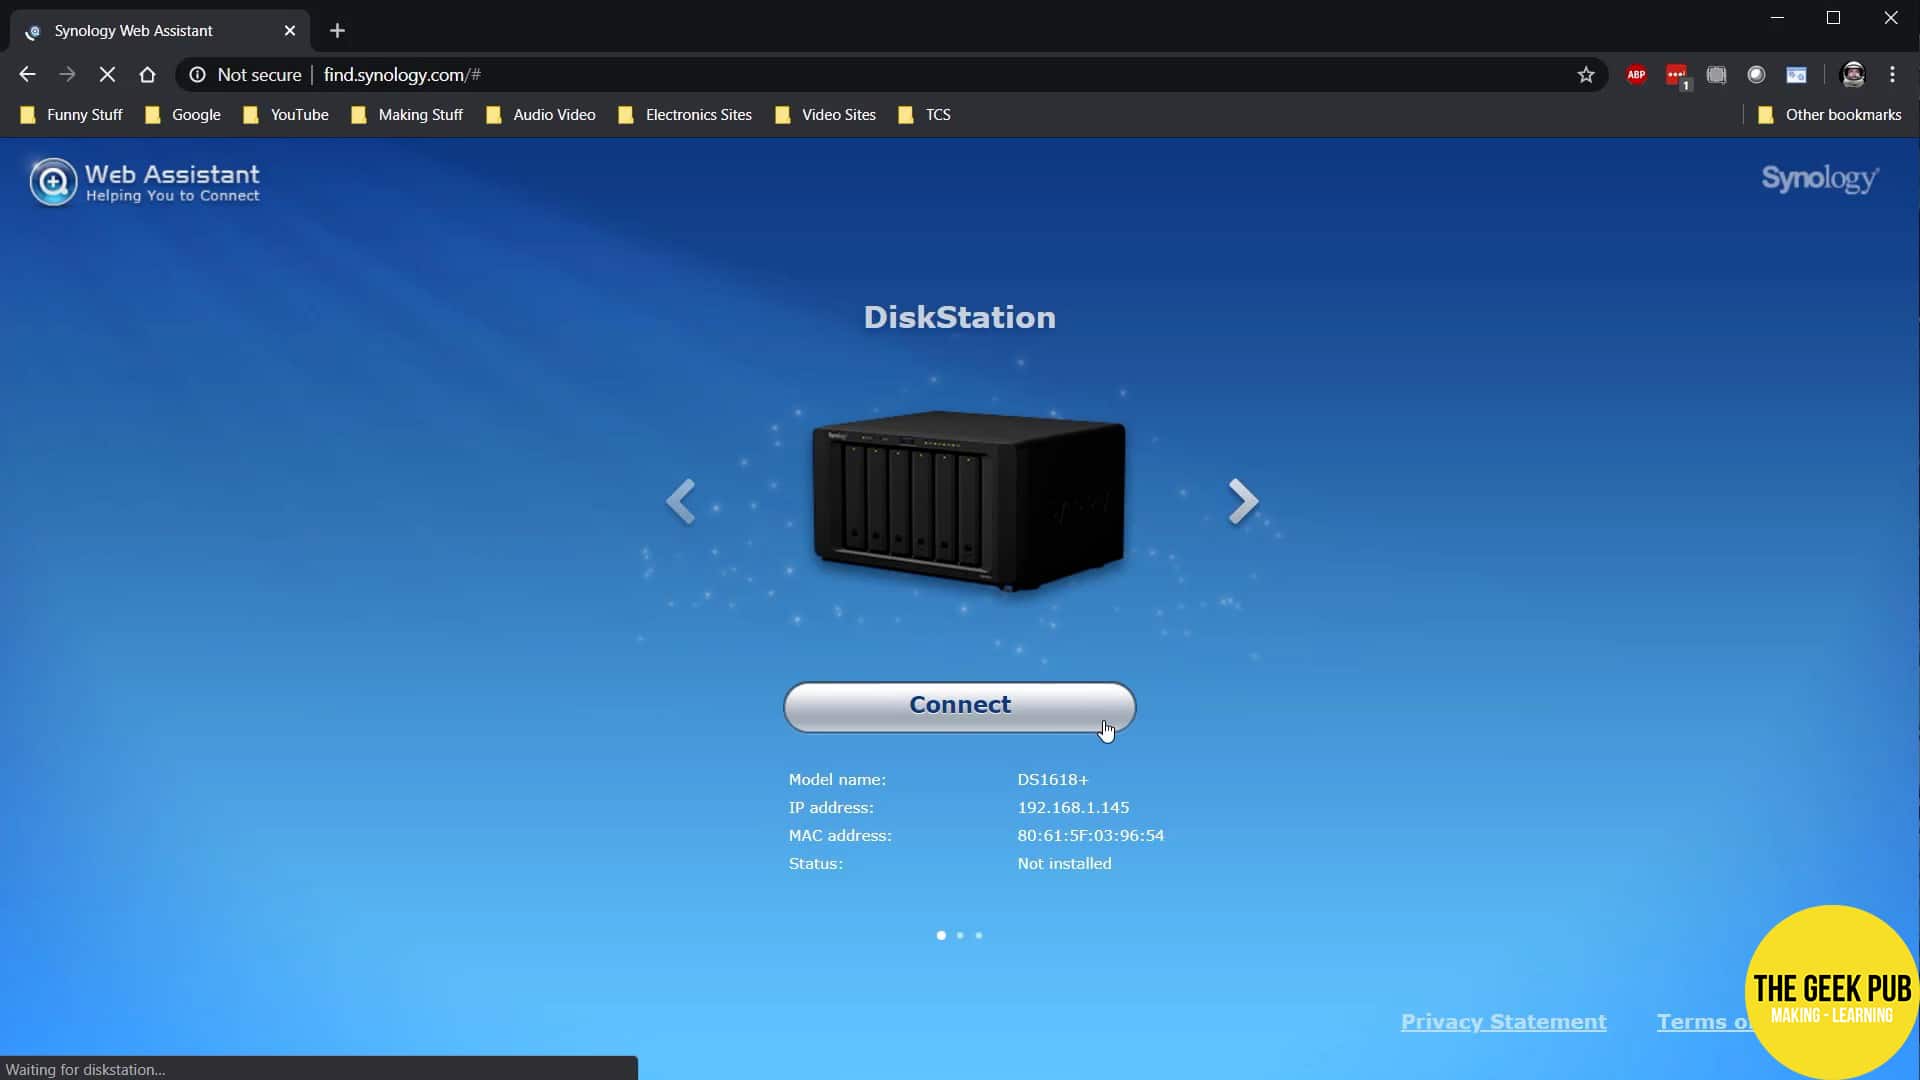
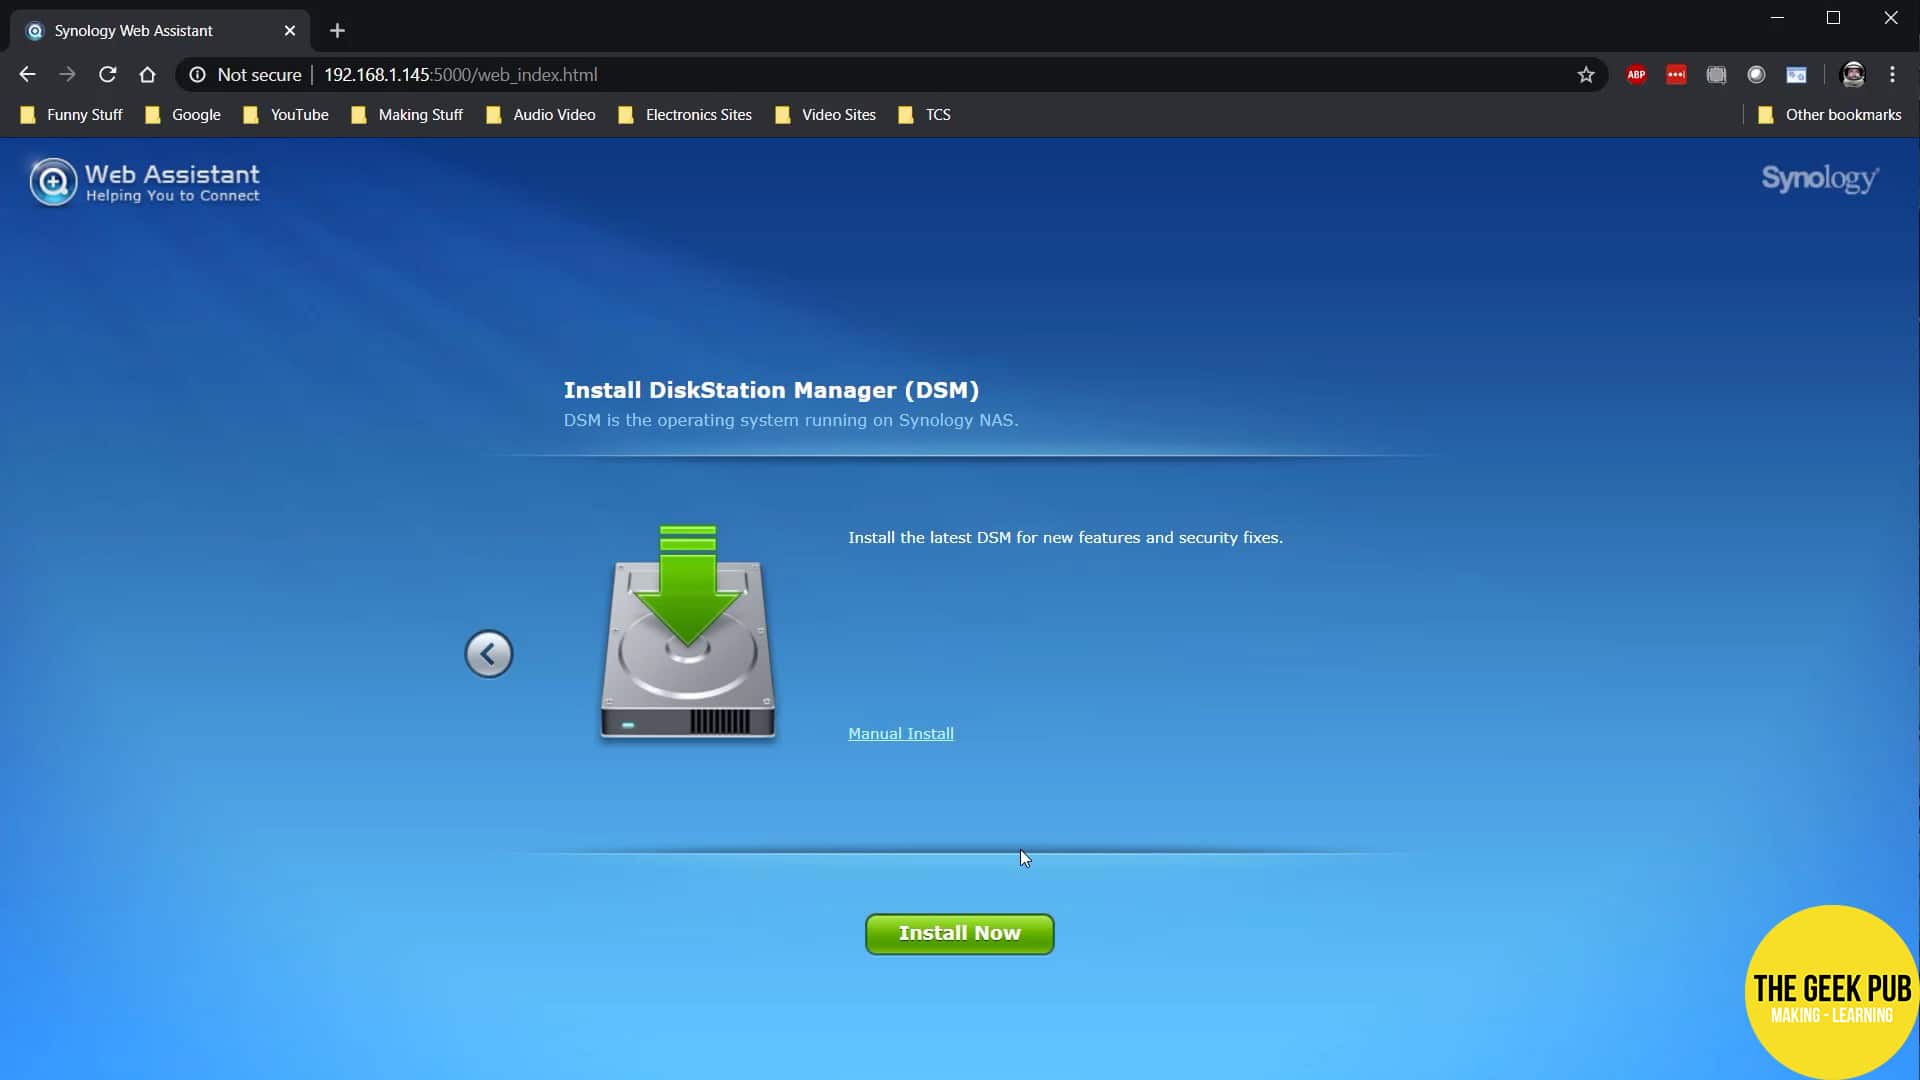
To configure the Synology just open a browser and go to “find.synology.com”. After a few seconds you’ll be presented with a link to connect to your new Synology. Click the connect button, agree to the legal garbage, and then click on the setup button to start the process. Once the installation of Disk Station Manager starts its a good time to go grab a beer. This will take a few minutes. I’ve sped up the video to save you some time.
After the Synology reboots, you’ll be prompted to enter a name for your Synology, along with choosing a username and password. You can pretty much click skip on every screen that follows until you land on the DSM desktop.
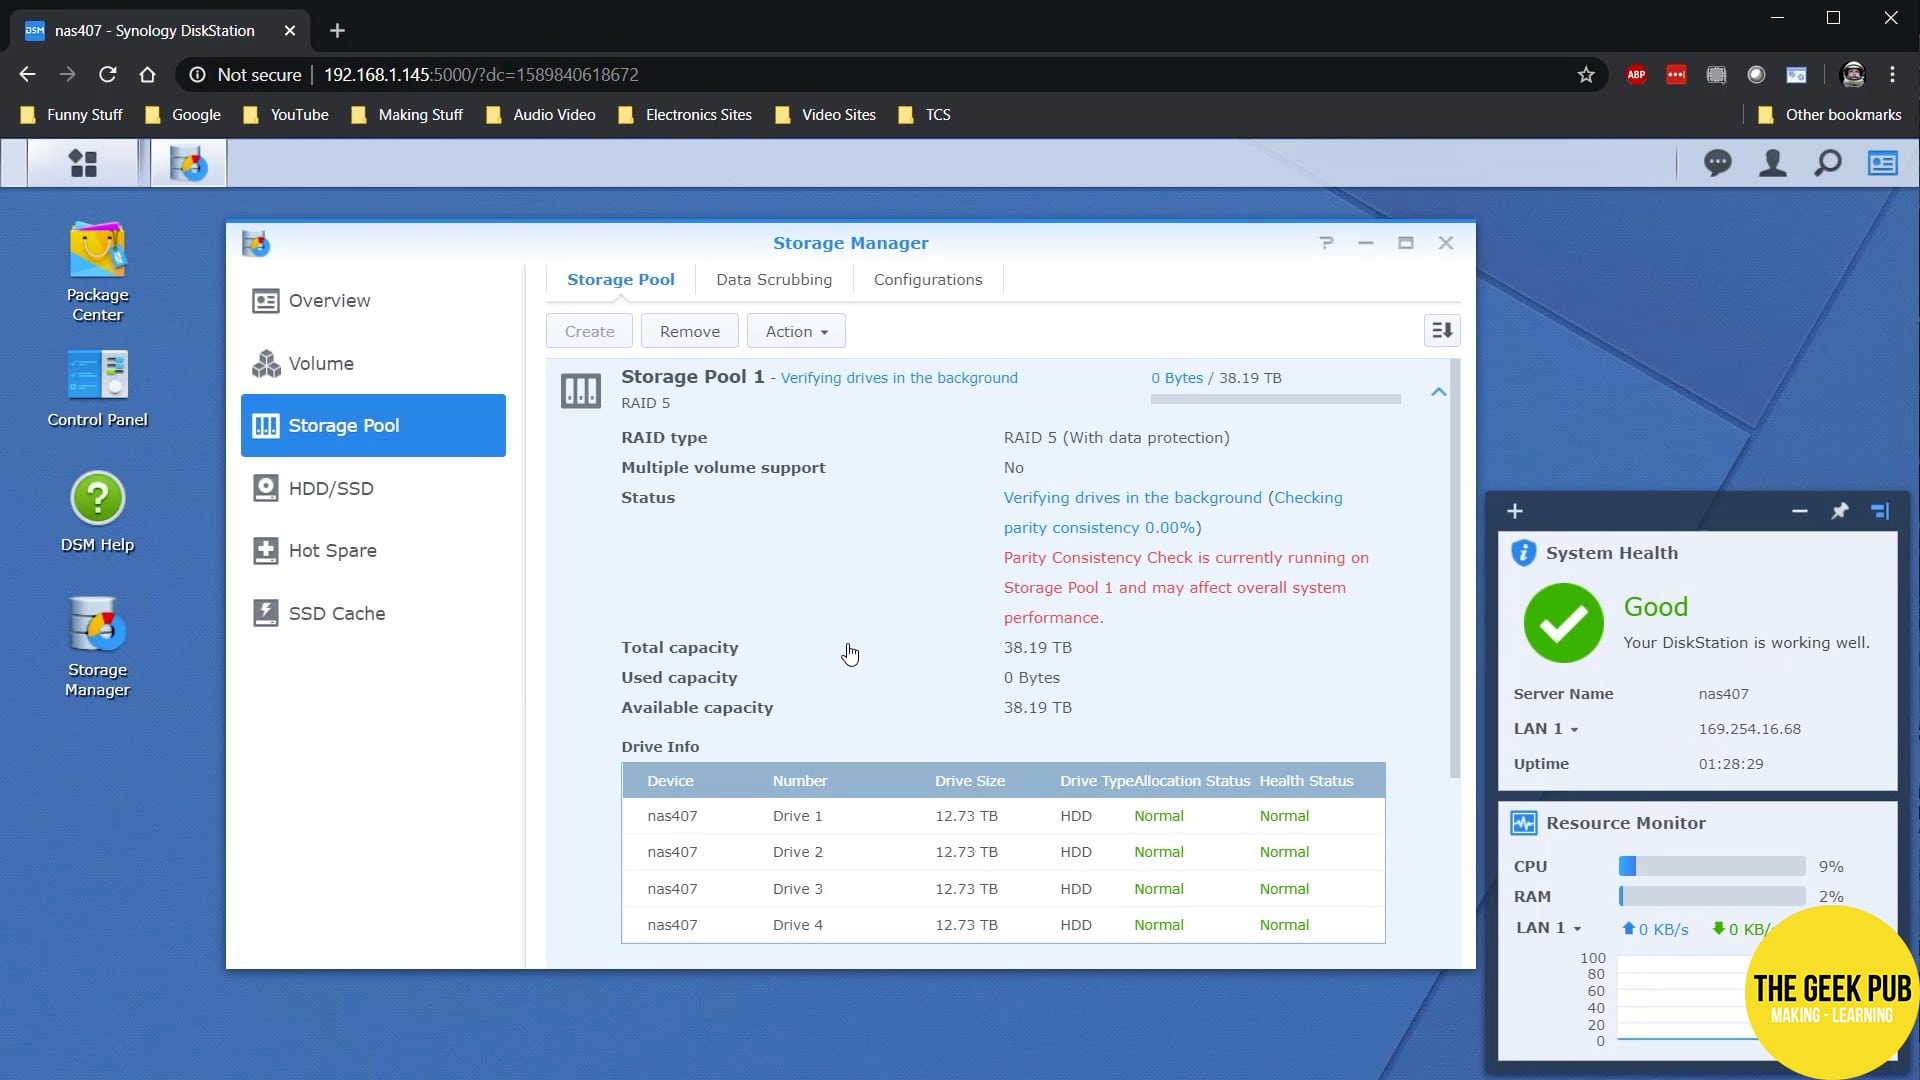
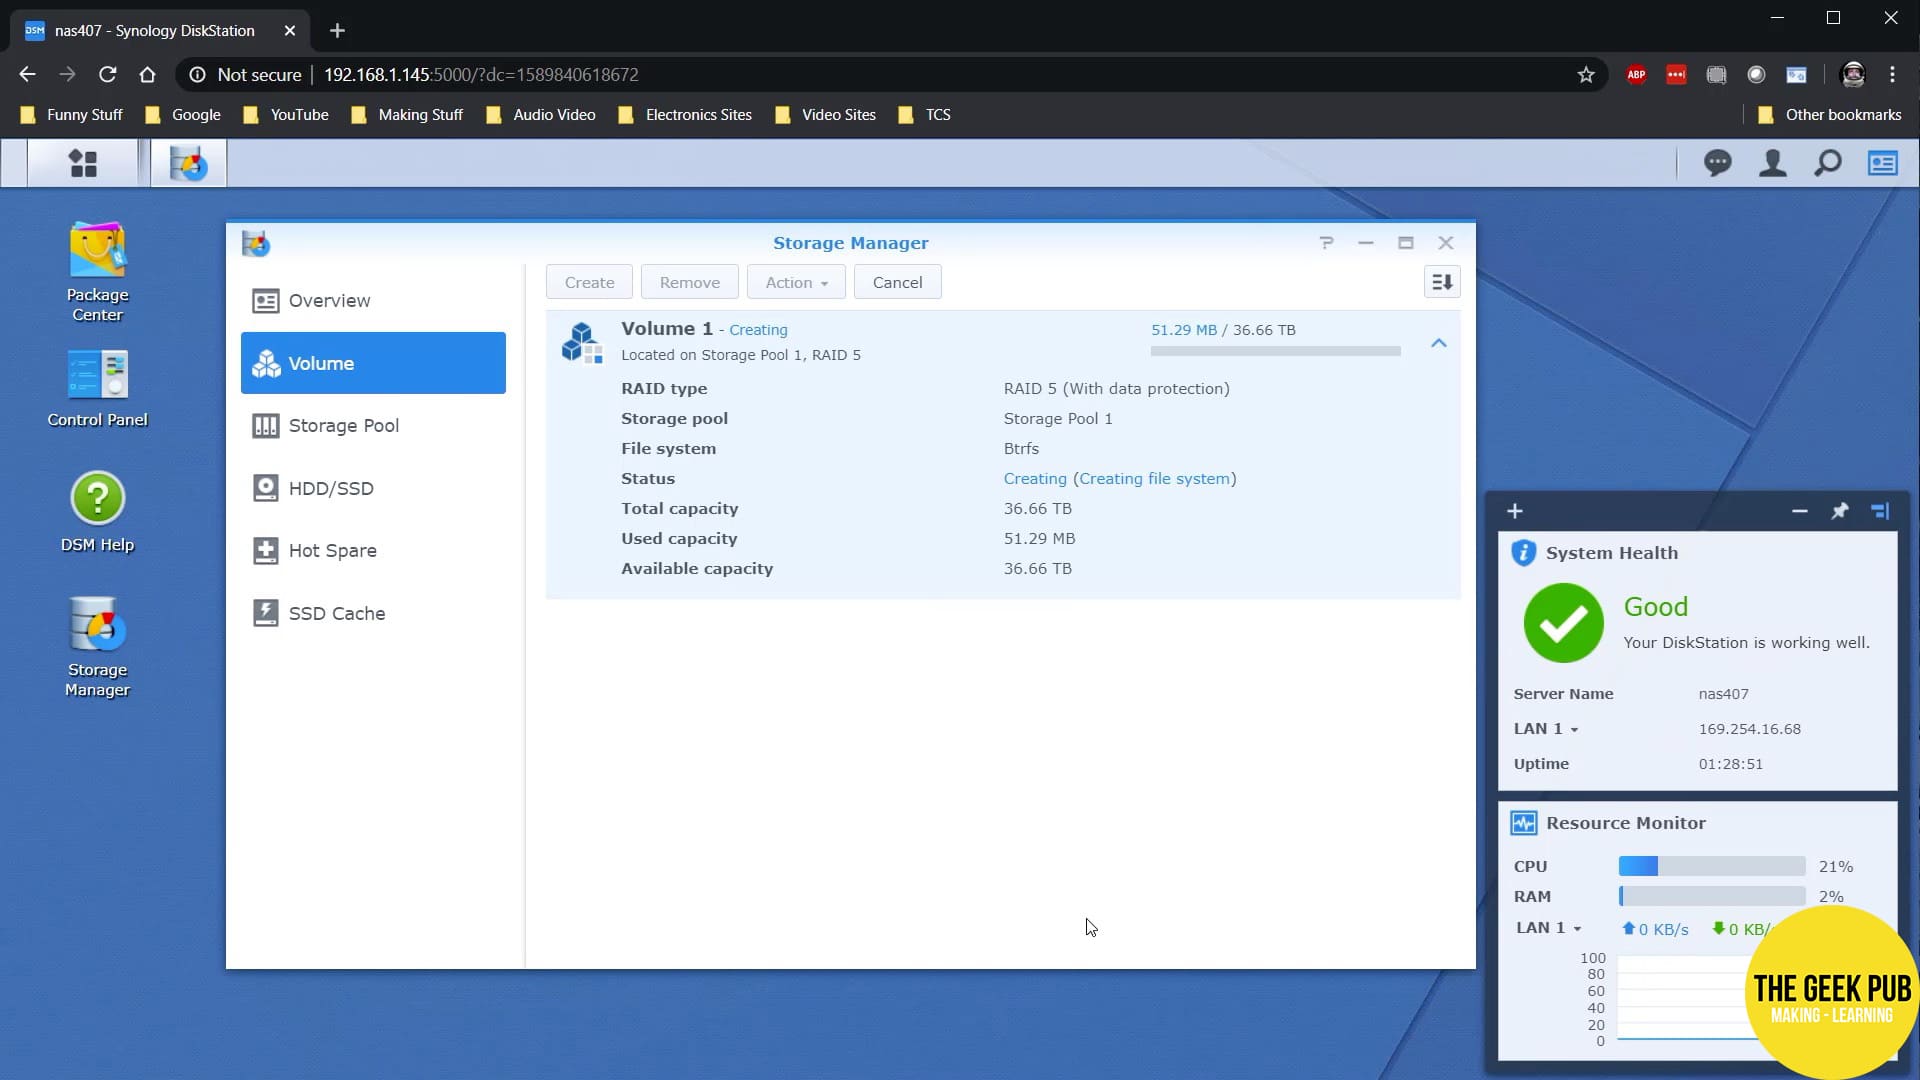
At this point its time to open Storage Manager. I just dragged it to the desktop for future quick access. First thing I need to do is create a new storage pool. I selected RAID 5, and all the defaults since I am using all of my drives for this pool. After creating the storage pool, I need to create a volume on the pool. Again selecting all of the defaults because I am using the entire storage pool for one volume. After that the Synology will go to work provisioning the disks!
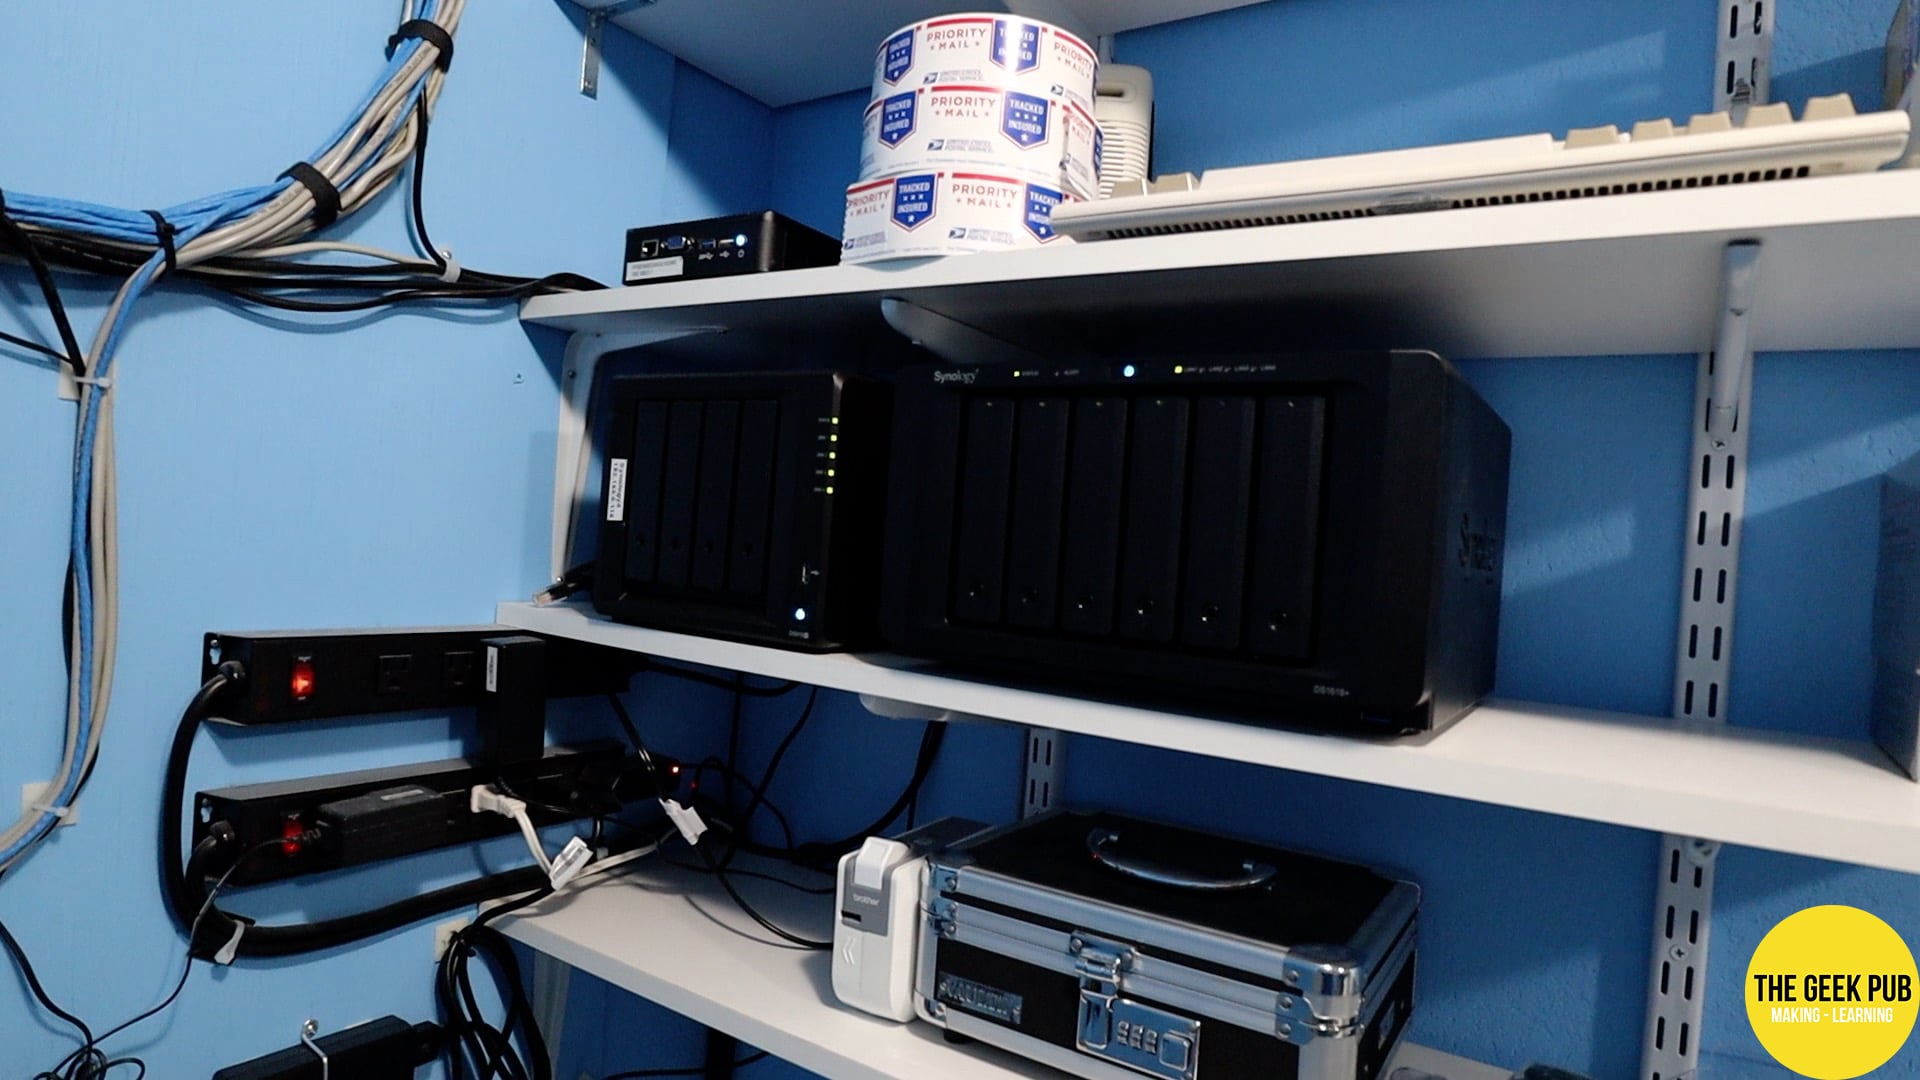
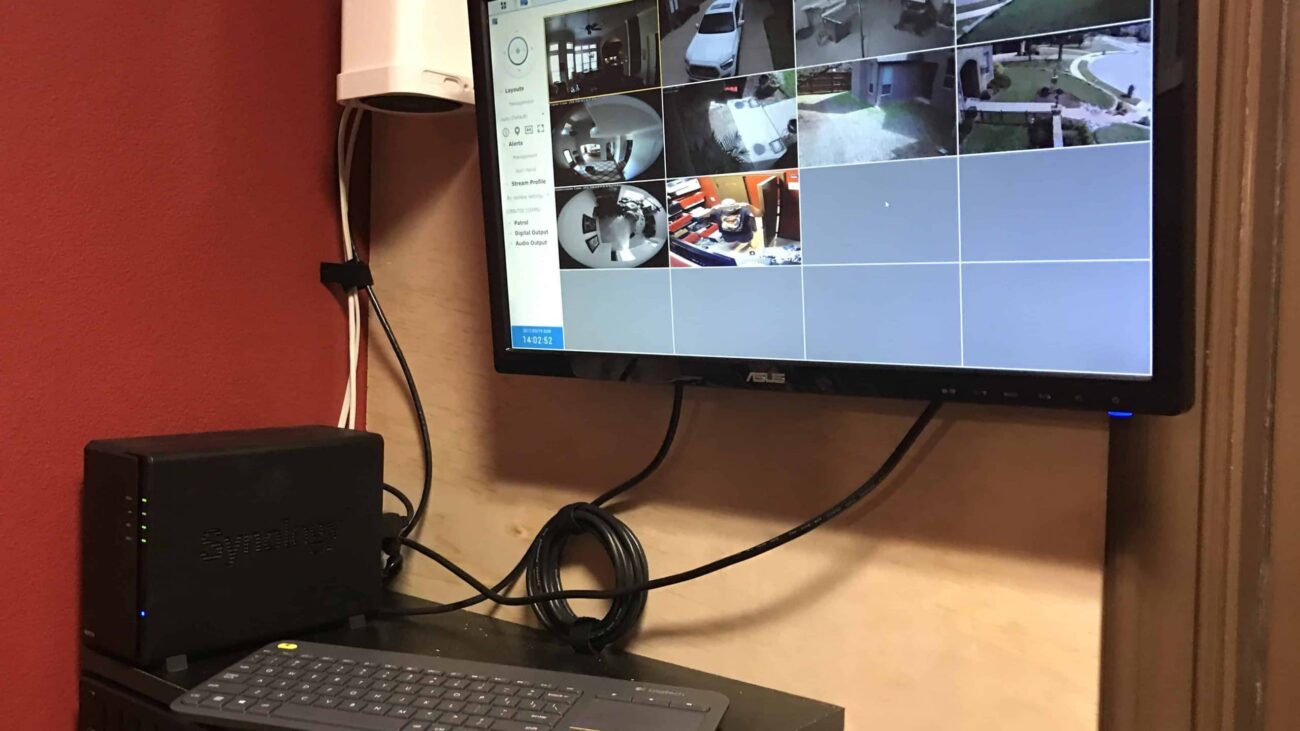
With that complete, I took the Synology upstairs along with the UPS, and sat it on a temporary table in my server closet. I plugged it in to a free 10 gig port on my Unifi XG-16, powered on the UPS and then powered on the Synology. And it’s all ready for the initial sync as soon as the RAID scrubbing finishes, which completed overnight.
Replicating a Synology (Initial Replication)
It took about 16 hours to complete data scrubbing on this set of disks. Of course, that number can vary wildly depending upon which drives you buy, how fast they are, which Synology you bought, and what processor it has. There’s also settings that you can tweak with in the Synology to make it consistency check faster or slower. I had those set to the absolute maximum because I wanted to get moving with this project and the array had no other tasks to fulfill. You wouldn’t want to do that on a production unit!
With that said a lot of you might be asking “Can’t you go ahead and start the synchronization process before that scrubbing finishes?” and the answer is absolutely you can! But I chose not to do that for a couple of reasons.
First, I wanted to make sure these drives were good! I didn’t want to get halfway through the replication process only to find out that I’ve got a bunch of bad sectors on one of these desks and I need to return it and get a new one.
Second, is that scrubbing process takes a lot of horsepower, even on the lowest settings it negatively impacts performance! I want it to run at full speed so I can figure out what the baseline is for this box and tell you guys!
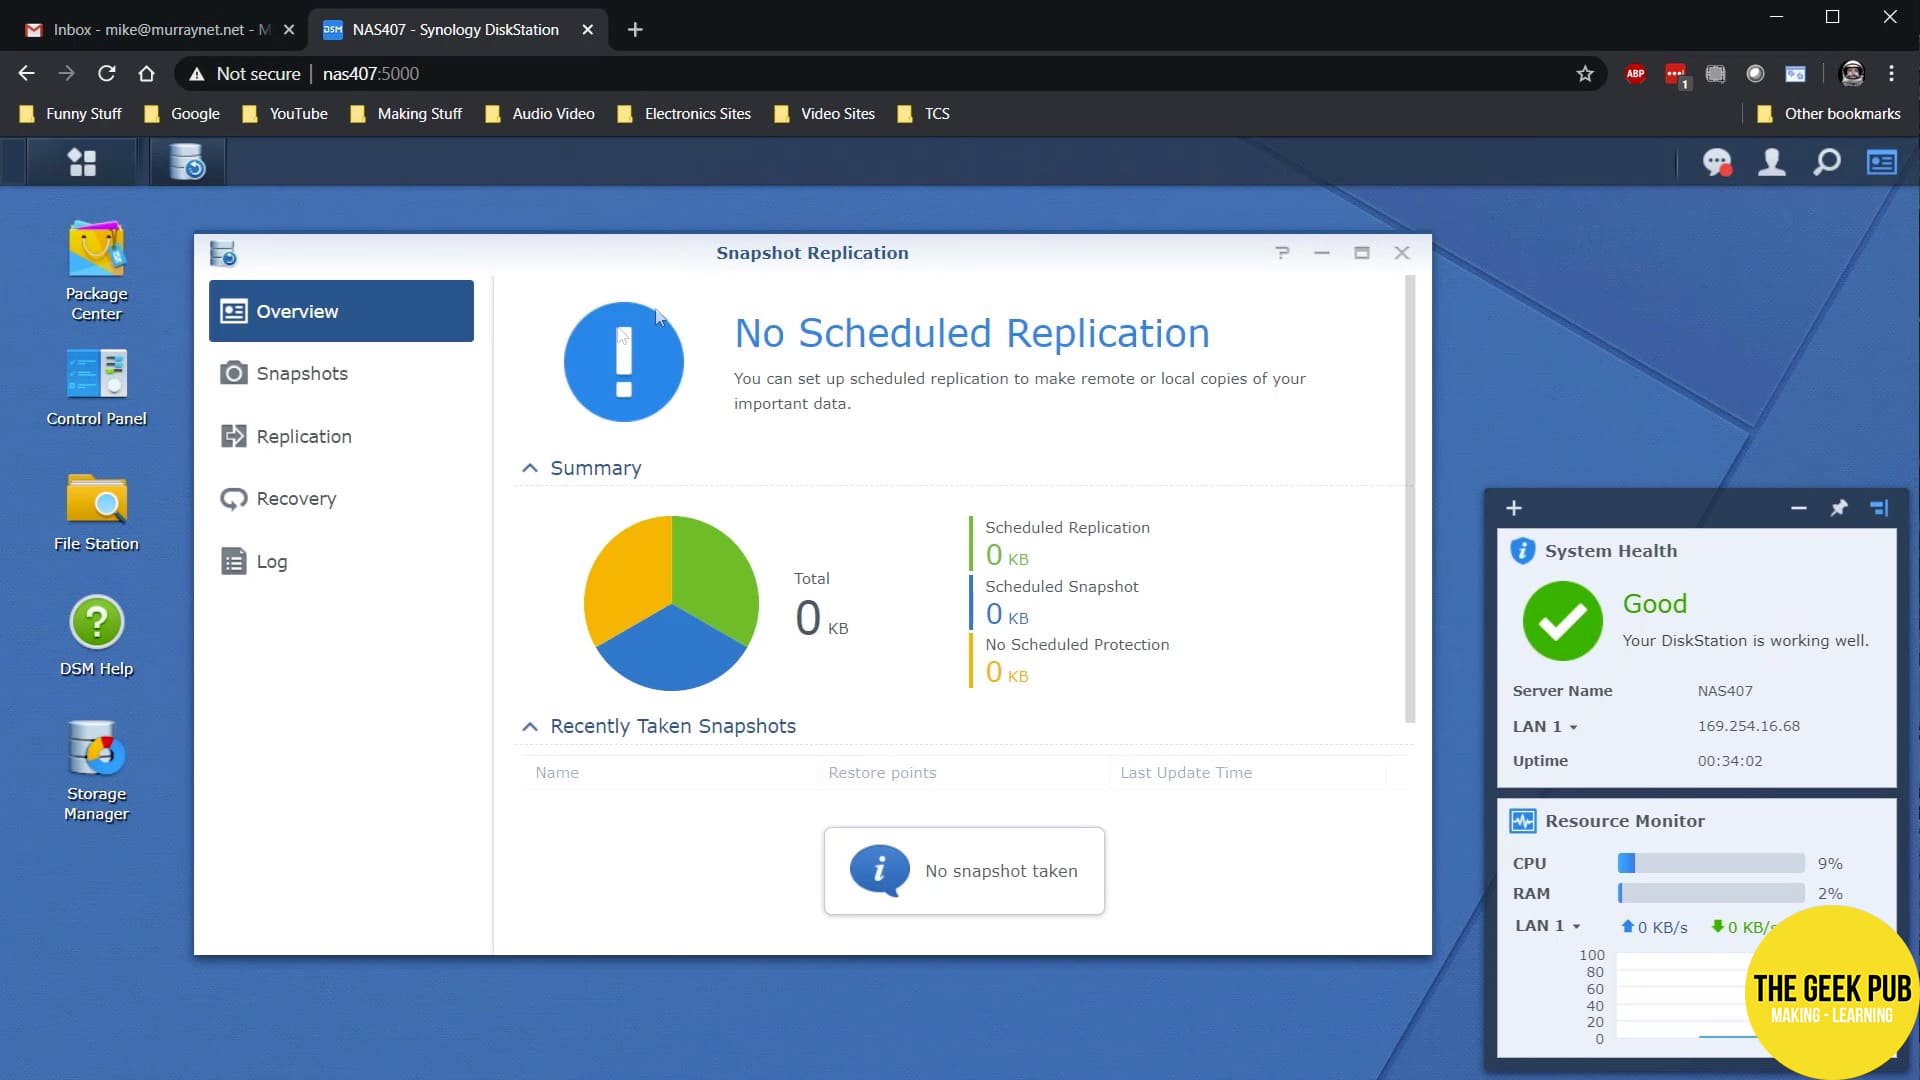
Installing Synology Snapshot Replication
To install replication and snapshot services just go to the package manager and install Snapshot Replication. This will install both the Snapshot Service and Replication Service all at once, saving a little time. It takes about a minute or so for the Synology to download, install, and start this service. This package should be installed on both the sending and receiving Synology.

I just opened the app on both of the Synologys just to make sure everything works and the services are actually running. On the sending Synology I opened the Snapshot Replication app and clicked the create button. On next screen I’ll select Remote and then click next again. Here, I’ll enter the DNS name of my new NAS, along with a username and password. I created a special service account for replication that only has access to run this job. Also in today’s world I highly recommend you select to enable encryption. Next, we’re asked which volume to snapshot too. We only created a single volume, so Volume 1 it is.

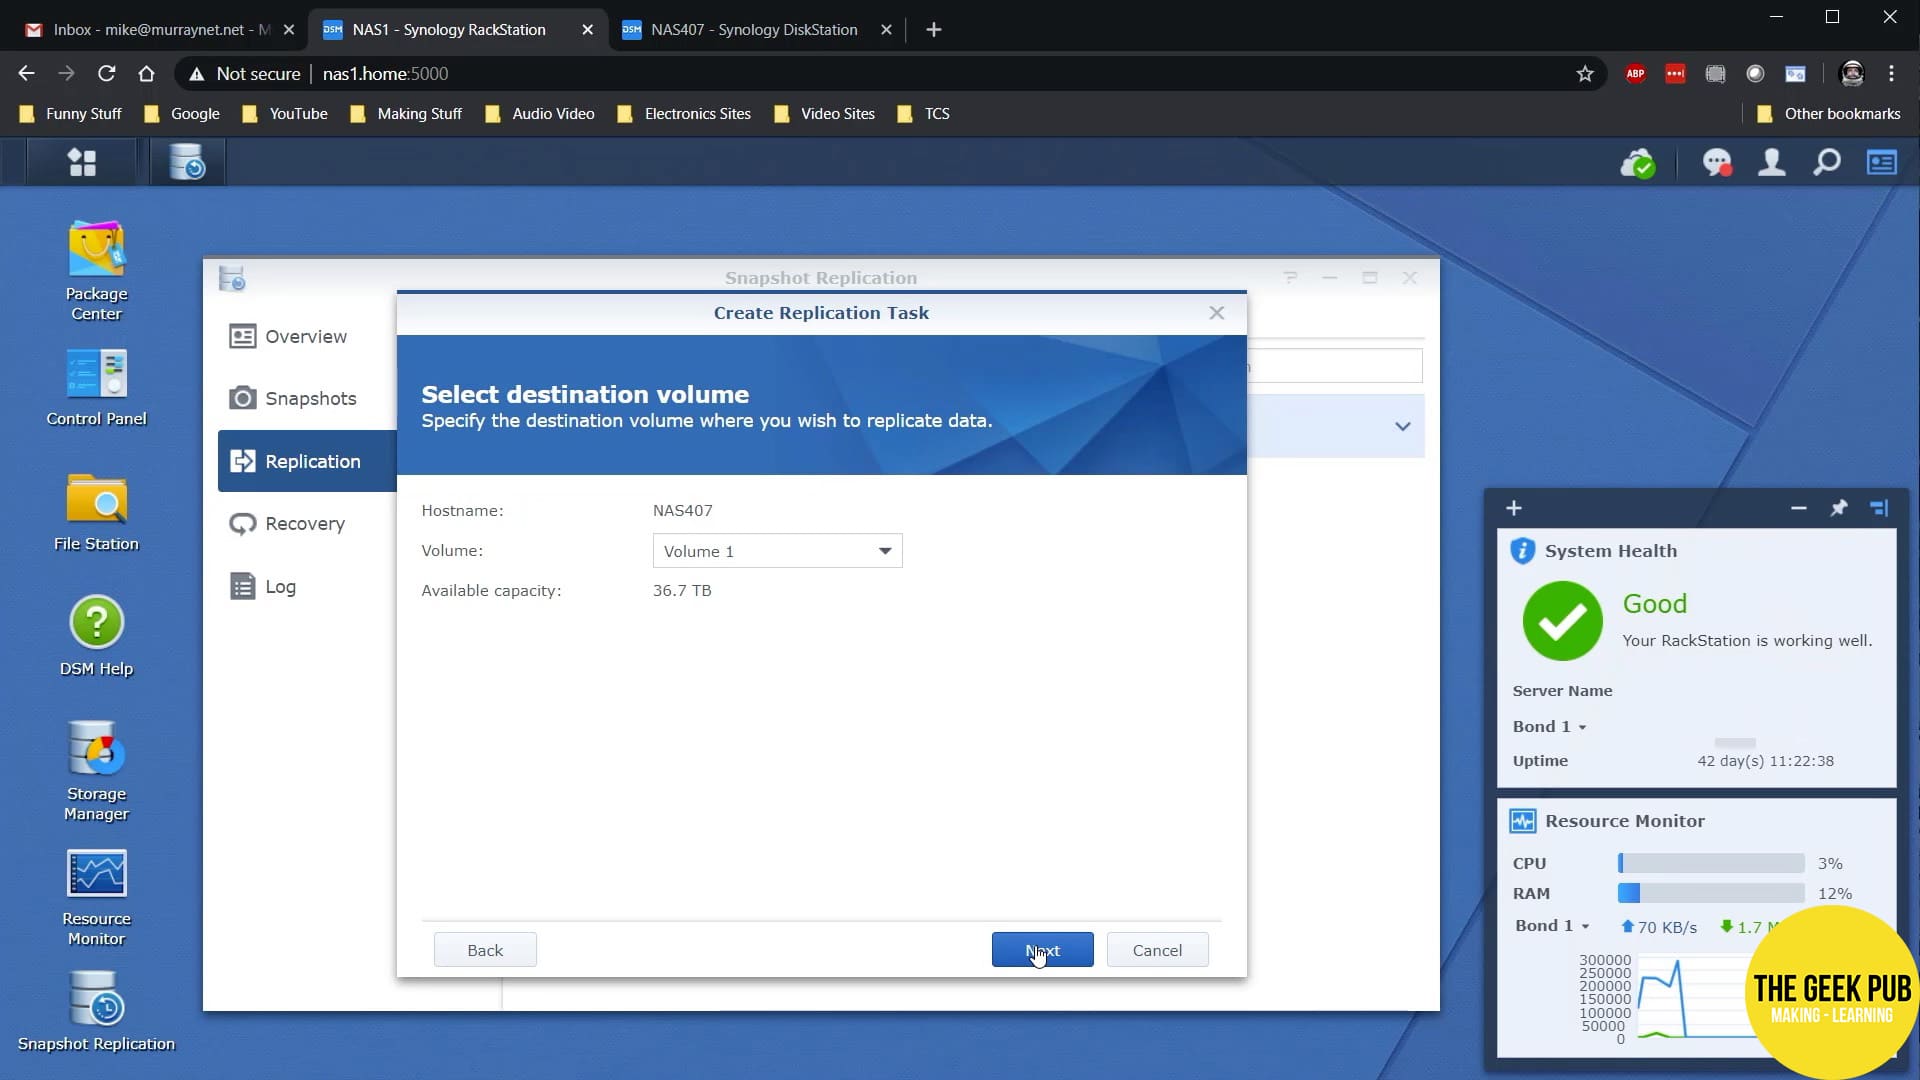
Then we’re asked which shares we want to replicate. I am going replicate three folders. My PLEX library, my Medial Hold where I do my video editing, and my general files share.

Next I need to tell the Synology that we’re going to send the initial replication over the network, rather than a USB drive (aka sneaker net). If you don’t have the ability to transport the NAS, using a USB drive can save a lot of time for the first replication rather than over slow links. Then here I select the replication to update on a schedule, once daily at 3AM (more on this choice later). And lastly I tell it what time to do the grooming process. I picked 10AM each morning.


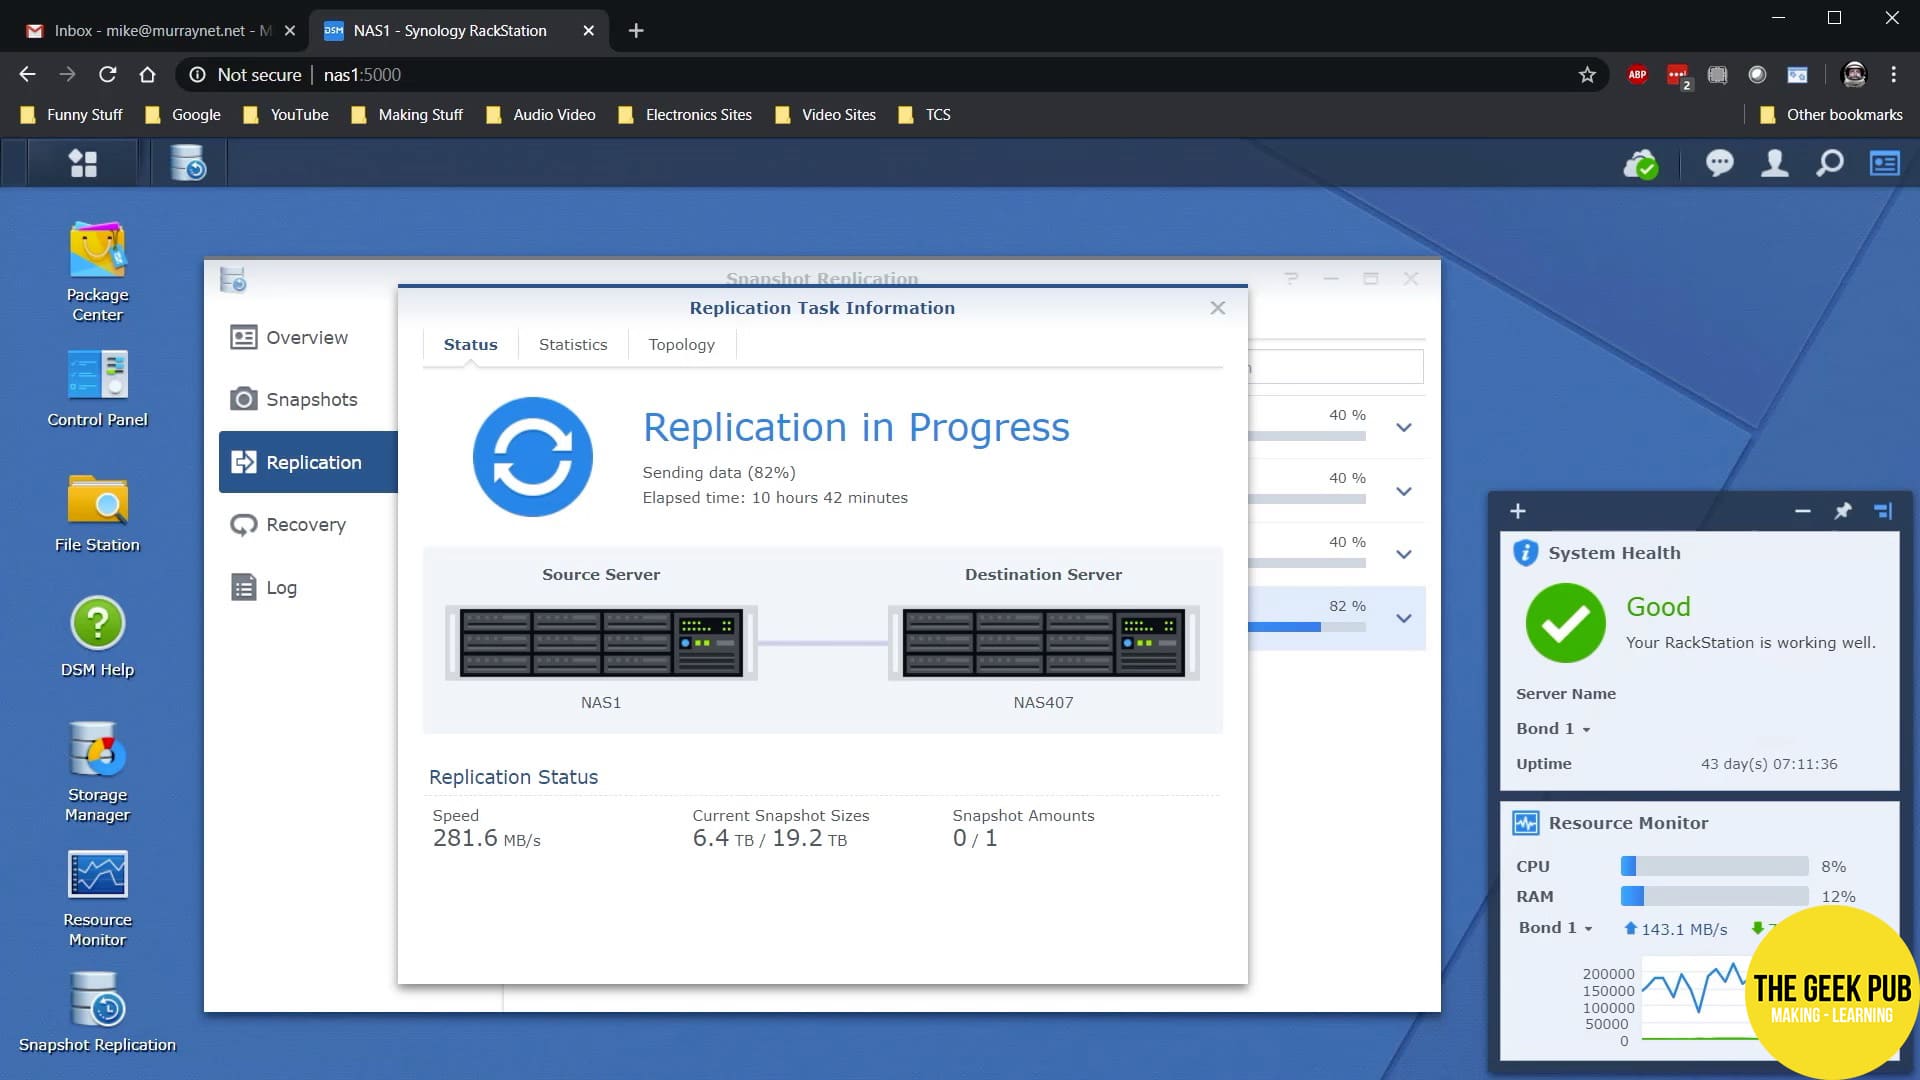
And after clicking Apply and waiting a minute, the initial replication kicks off. After a few seconds you’ll be able to see some basic information on the replication status, including the job percentage complete, the current transfer speed, and jobs in queue.
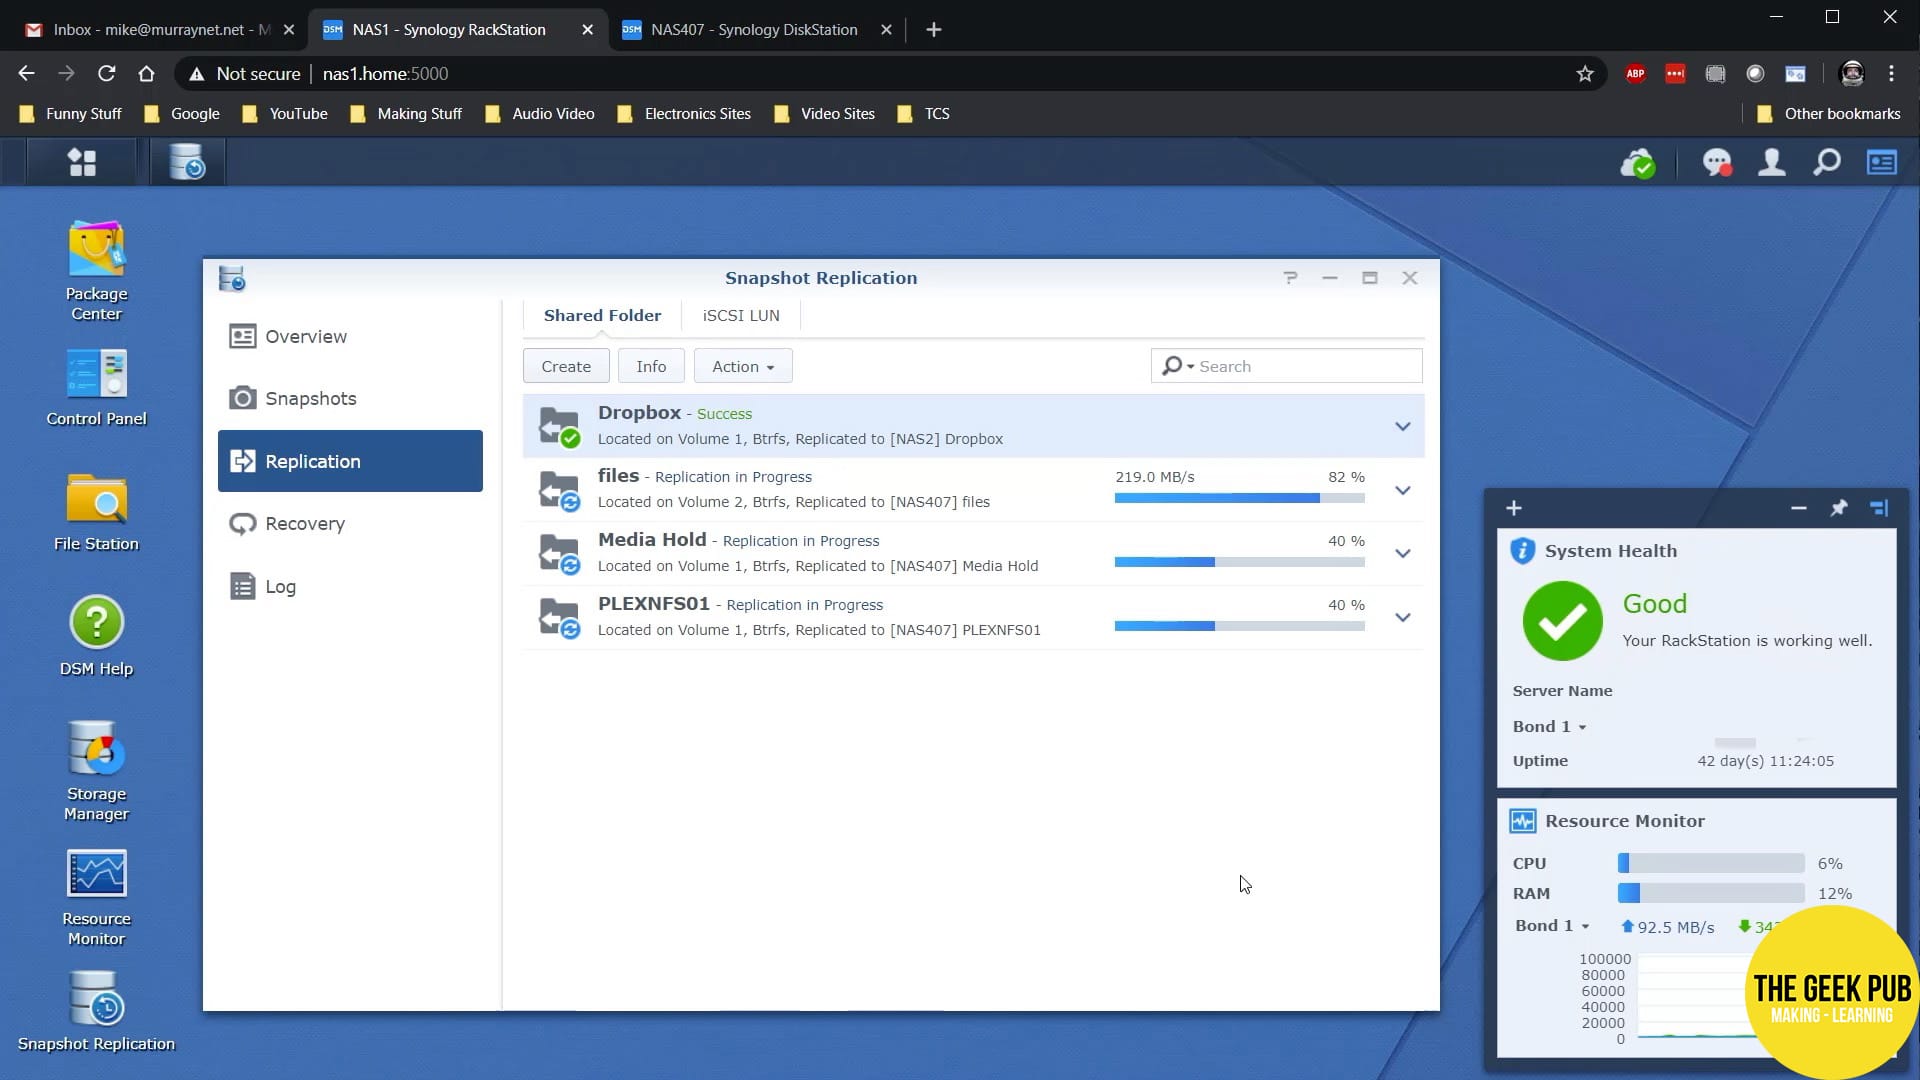
If we look at control panel on the receiving NAS you’ll see all three shares have been created automatically.

Back on the sending Synology if you click any job and then the info button you can see all the details of the replication progress. This is super handy.
The Initial Replication Process
I averaged between 200MB/s and 300MB/s for most of the copy, but it really slowed down when processing tons of smaller files. And after about 36 hours the initial replication completed, and you can see all the folders show success!
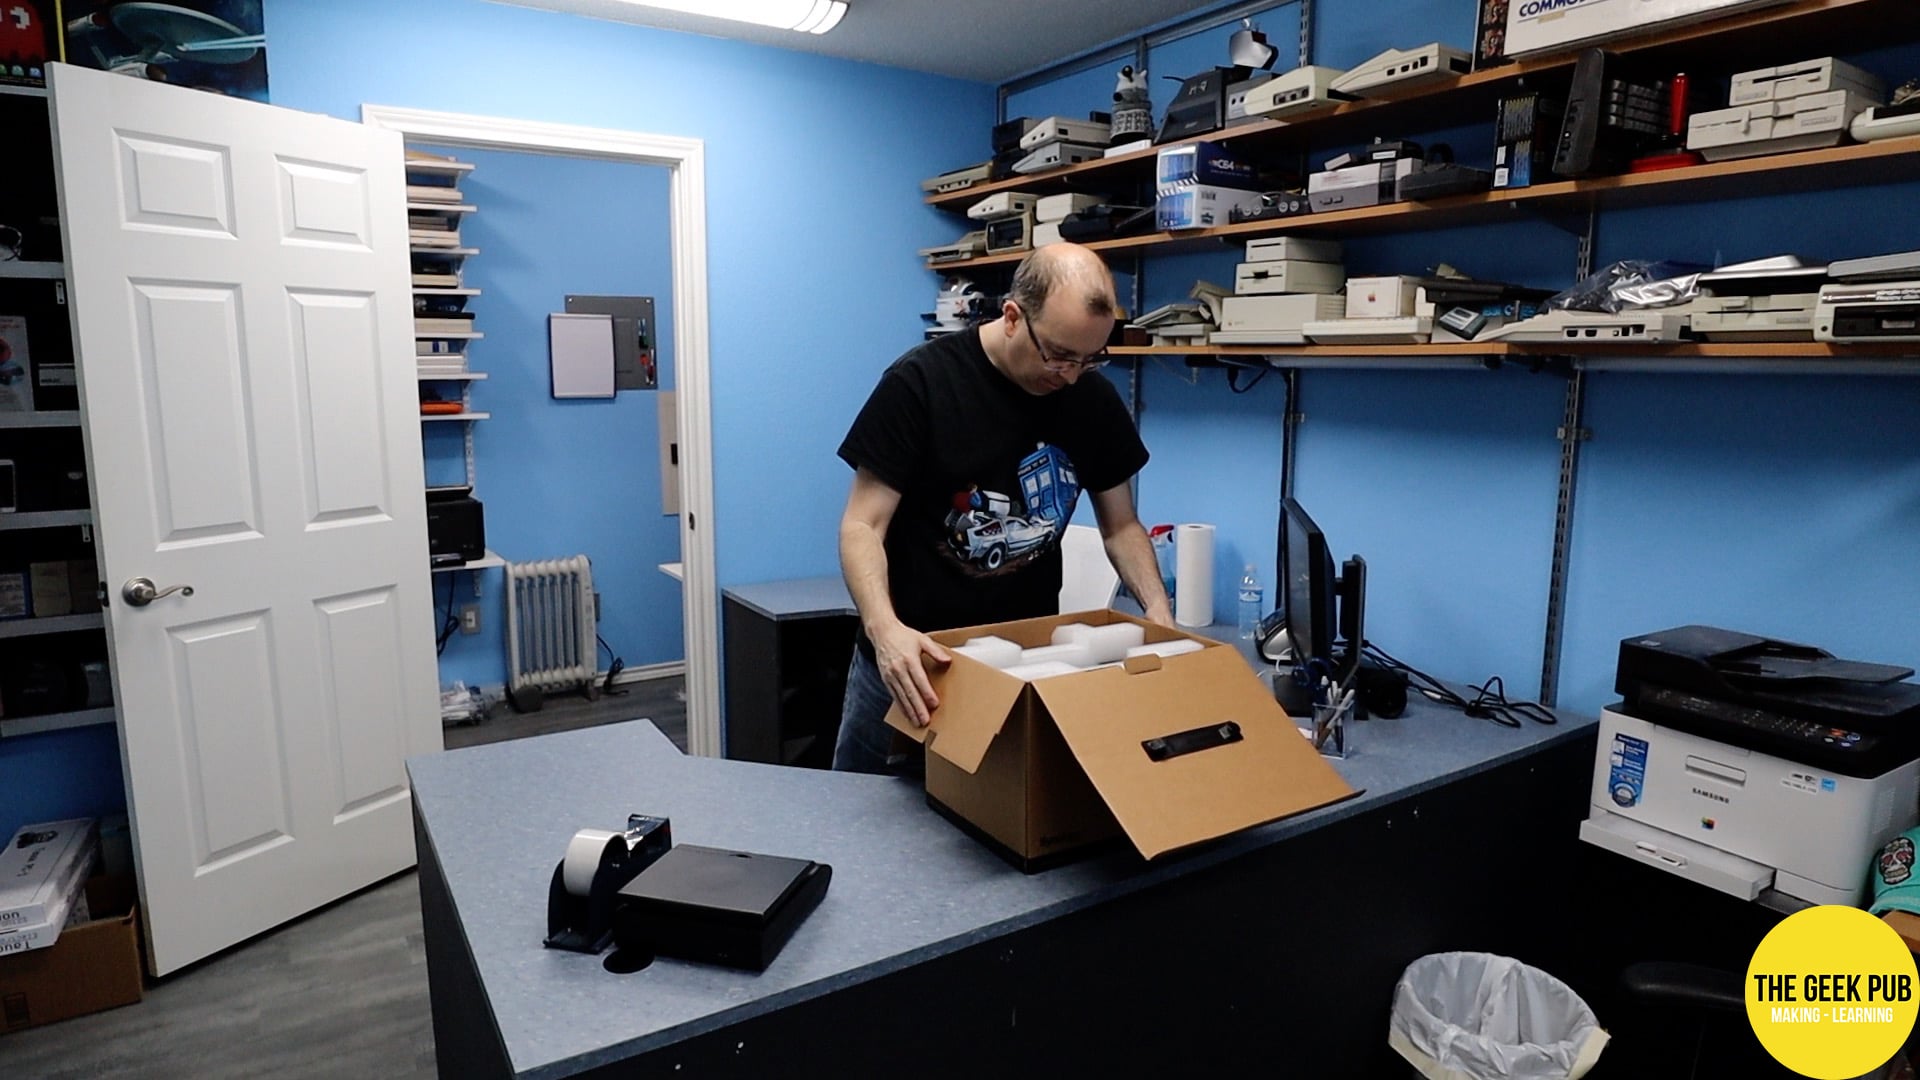
So with everything all synced up, I loaded up the new Synology, and headed over to my brother’s house! David quickly got to work unpacking the Synology and getting it all ready to go in its new home.
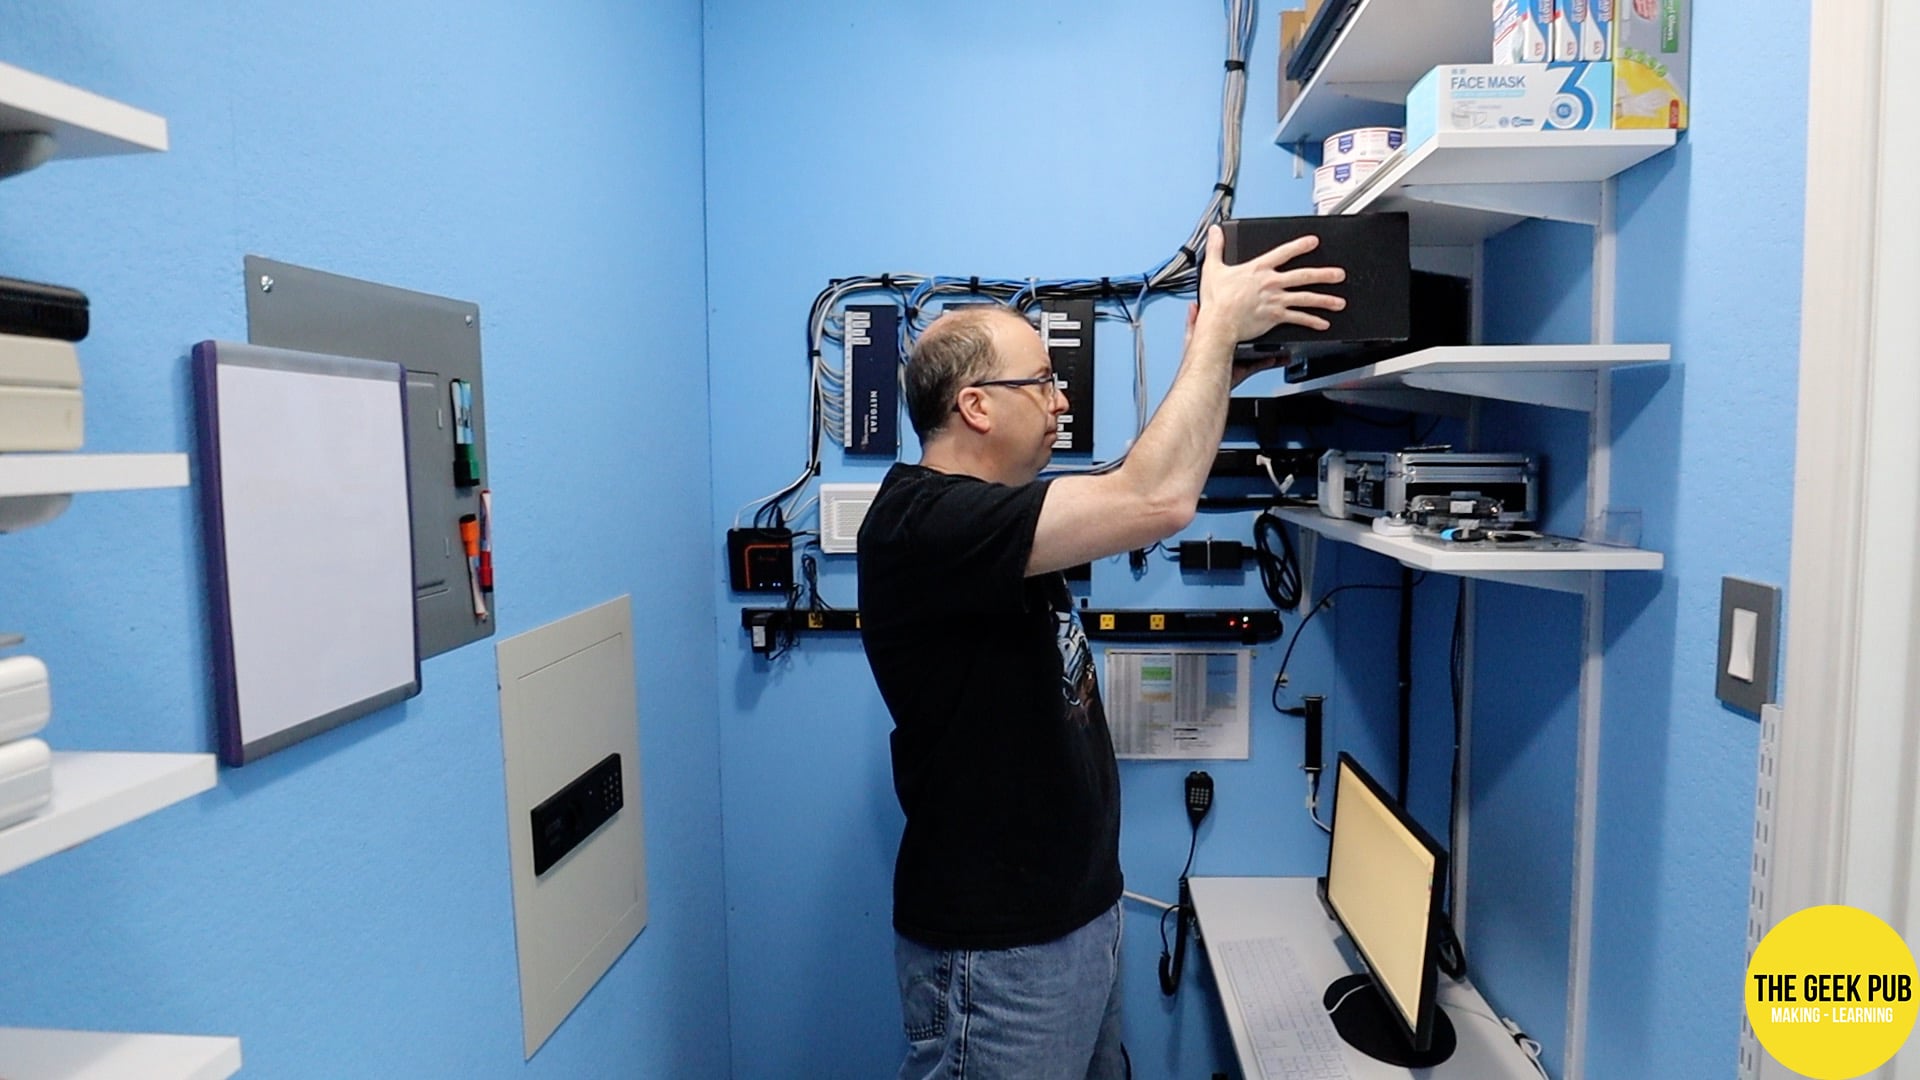
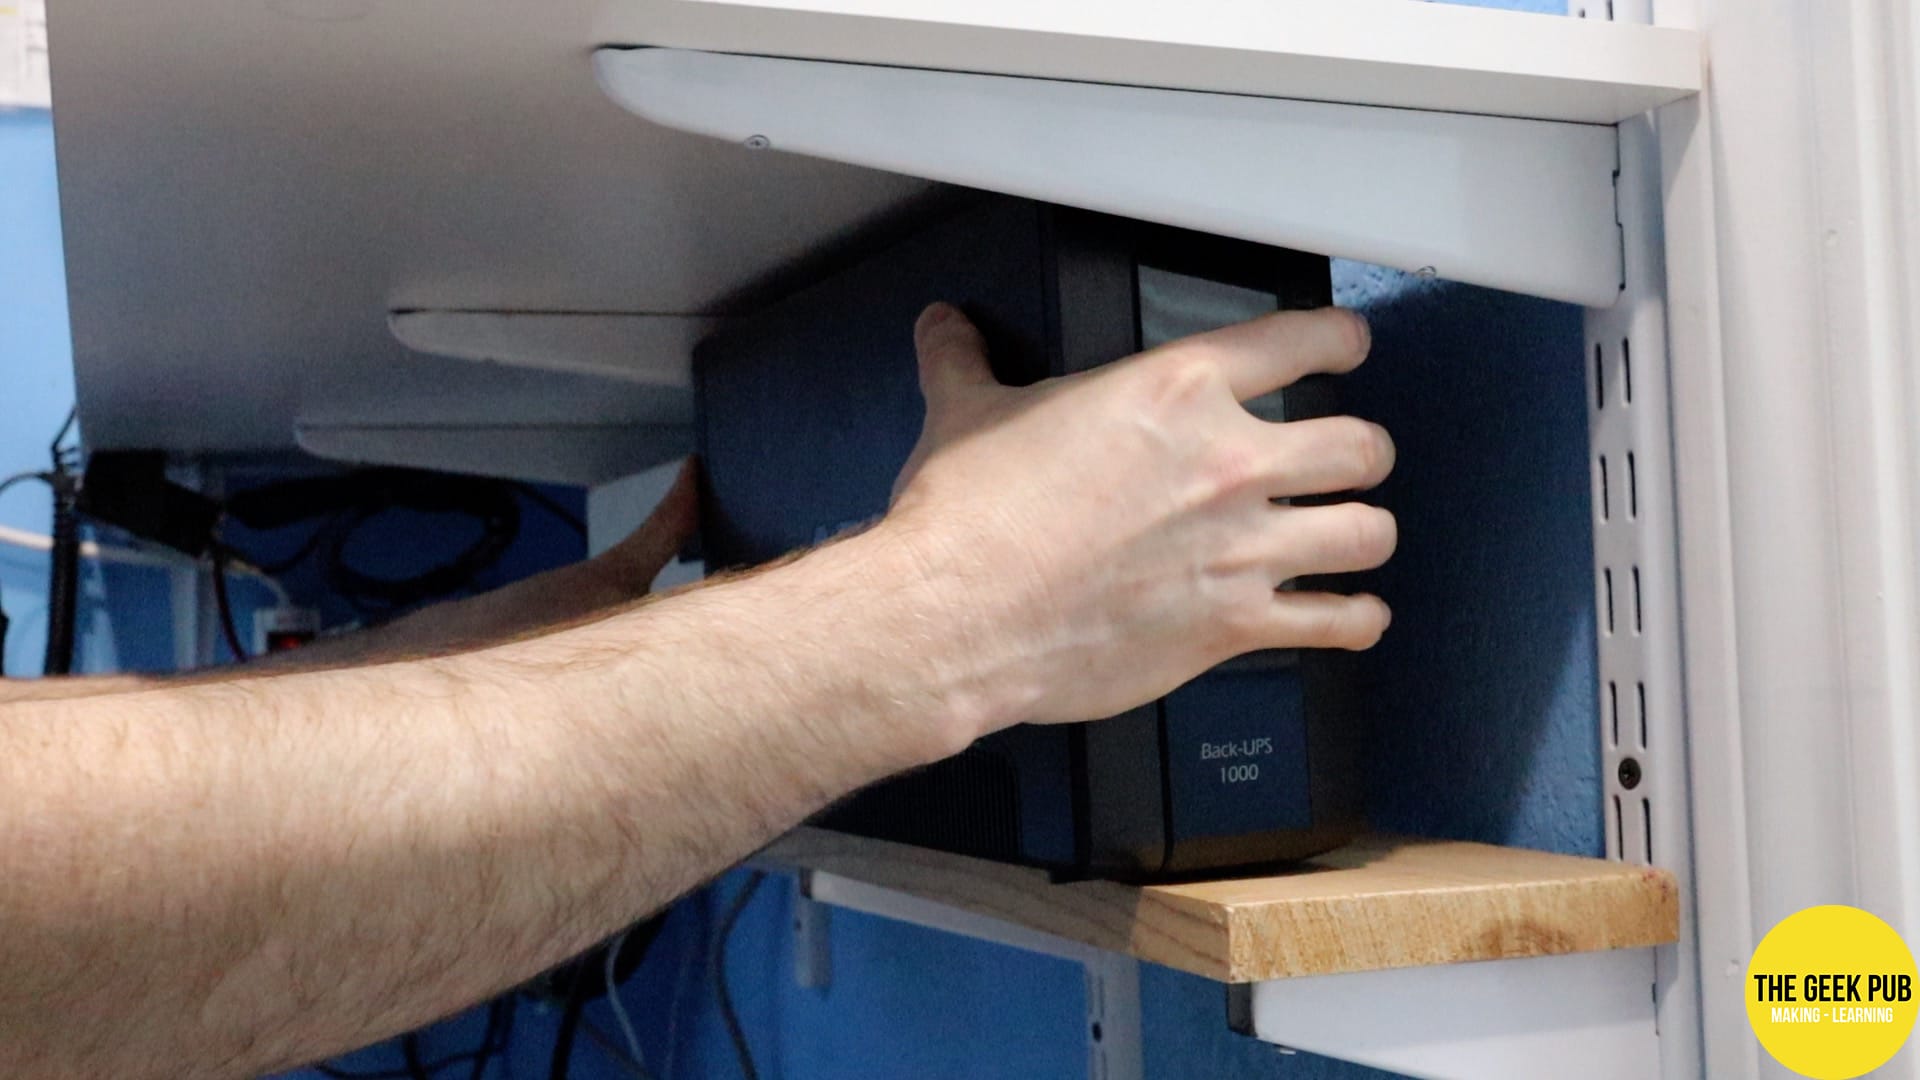
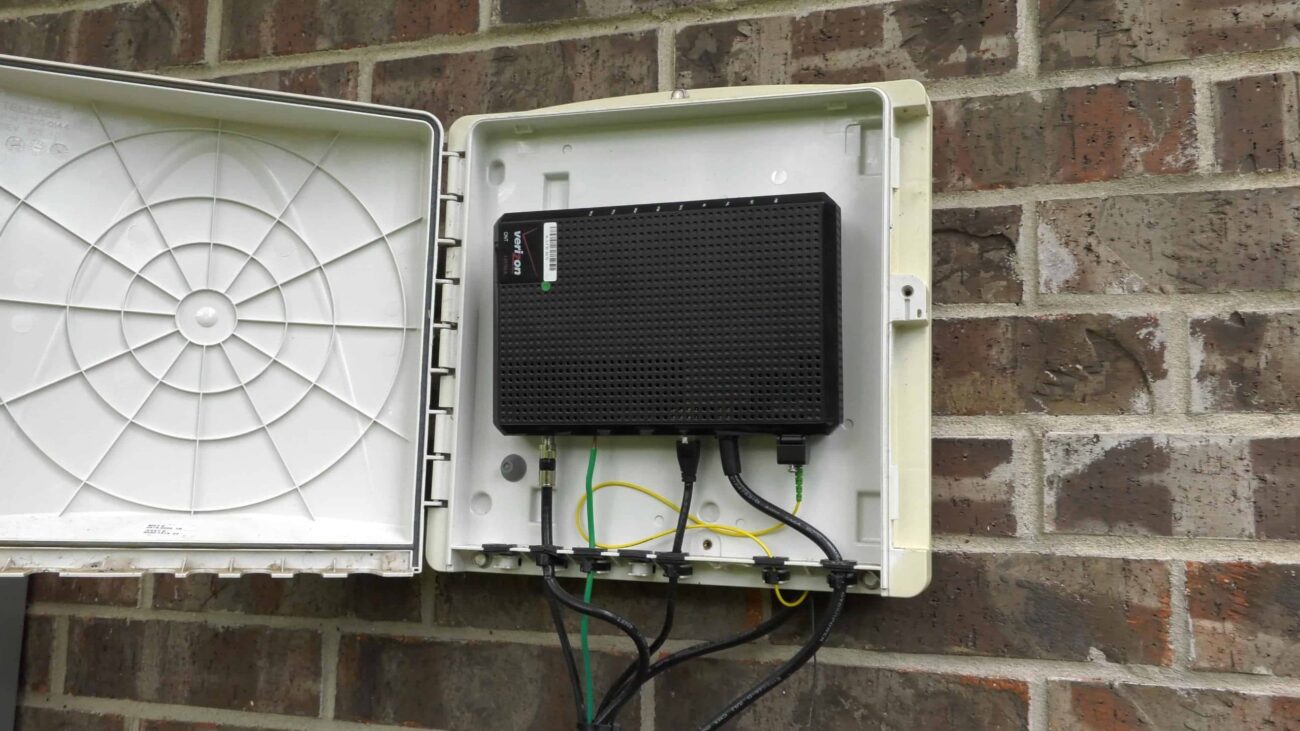
He made a spot in his network closet that’s a perfect fit, right next to his own Synology. Under the table he installed the dedicated UPS on this little custom shelf. Neat!
With everything plugged in we powered on the Synology and let the bits start flowing! Replicating a Synology offsite is complete!
Replicating a Synology: Some Final Thoughts
OK! Well now I have all of my data off site. I feel so much better now! But, there are a few things that I wanted to mention.
Why Replicate Once a Day?
A lot of you are probably wondering why I decided to have the Synology replicate at 3 AM rather than just continuously replicate and there’s really a couple of good reasons for that!
First, most of you who watched our VPN between friends and family video know that David’s internet connection is pretty terrible. At least compared to what most of us have in this area of the United States! So the last thing I wanted to do was drop 25GB of video that I’ve been editing on my NAS right at the time that David is streaming Netflix. This would swamp his bandwidth and make him none too happy. If I’m copying files over and that happens at 3AM when he’s asleep, no big deal no one will even notice.
The second reason might surprise you! It’s for security reasons. Let’s say that I was to get some kind of malware that does some kind of ransomware or cryptolocker on my NAS. If I am replicating everything immediately as it changes, then I’m going to immediately start replicating all of that damage off-site. Not only will my on-site files be locked, but so will all of my off-site files! A double disaster! If you have them set on a delay then it gives you plenty of time if something goes seriously wrong to stop that replication before it gets off-site!
Why the Memory Upgrade?
The other thing that you might ask is “why did I do the memory upgrade if it’s just going to be an off-site replicated Synology and it doesn’t really do anything else?”
There’s a couple reasons. RAM these days is just incredibly cheap. I think I spent $28 on Amazon for those sticks of RAM. So kind of why not right? But also because it gives me the option I didn’t show this on video or mention above. I actually installed Synology’s virtual machine manager. I installed both Windows 10 and Ubuntu Server on the Synology. Sometimes File Station Manager that is within DSM is just not all that feature rich and having a full Windows 10 box or Ubuntu box that I can use to manipulate files and things quickly with scripts or PowerShell is really nice to have. I’ll keep them powered off 99% of the time but they’re always there if I need them!
I hope you’ve found that replicating a Synology off-site is a lot simpler than it seems. Leave a comment below or tell me I did it all wrong. 🙂
5
4.5
5
0.5
This is such a cool option. I’d never considered this.
Thank you for a great guide, i’m working towards this setup, as my standard backup takes way to long now. I have the option to place the offsite NAS at a friend, and he needs a admin account to configure the NAS for his network. For privacy reasons I was just wondering if the replicated snapshot is stored encrypted on the offsite NAS? Thank you..
Regards,
Peter @ Denmark, Europe
Yes. I encrypt my data both at home and offsite.
Very cool! Is the replicated data available to be consumed at the remote location (your brother’s house), or is it only able to be used as a recovery source in the event of a loss at the source location (your house)? I’m looking for a way to replicate data that would be able to be used at the remote location, but as read-only. Data would only be added at the source, replicated to the target, but needs to be available at both.
Thanks!
john
It’s fully online and accessible.
Hi, do you have a vpn to your brother’s house? How do the two NAS’s find each other? I didn’t see any router port settings or DDNS config. Thanks…
If you change files at your brother’s house, do they replicate back to your house? Two way sync?
Nope. But it can be configured to do that.
Great Video! Thank you for sharing. Would love to know more about Synology’s Virtual Machine Manager.
Would you recommend Drive Sync for that or the Replication service?