Blog
Make a Wall Mount Arcade
Everyone is looking to save space these days, while still having a cool retro geek setup. A wall mount arcade is the perfect way to accomplish this! One of these awesome arcades (sometimes called a wall hanging arcade) is perfect for a bedroom, game room, media room, or even in your cave if your spouse has one! Follow along as we show you how to DIY build one. It’s easy and anyone can do it!
Watch the Wall Mount Arcade Video
A Wall Mount Arcade For Everyone
In this article we will go step by step through the process of building a wall mount arcade, starting with cutting out the panels from MDF or plywood and finishing up with installing the electronic components (such as the monitor, buttons, and joysticks). This arcade is powered by a Raspberry Pi running Retropie. If you’re looking for more info on that we have several posts on these topics too!
If you’re looking for detailed wall mount arcade plans with cut and stick templates, we have them here!
Tools and Consumables Used
If you’d like to make this arcade and like the tools we used, here’s a handy list for you. Using these links costs you nothing, and we get a small commission. Thanks for your support!
Tools Used in this Project
- DeWalt Jigsaw
- Woodpeckers T-Square 24 inch
- Circle Templates
- Forstner Bit set
- Saw Stop Table Saw
- Bostitch Brad Nailer
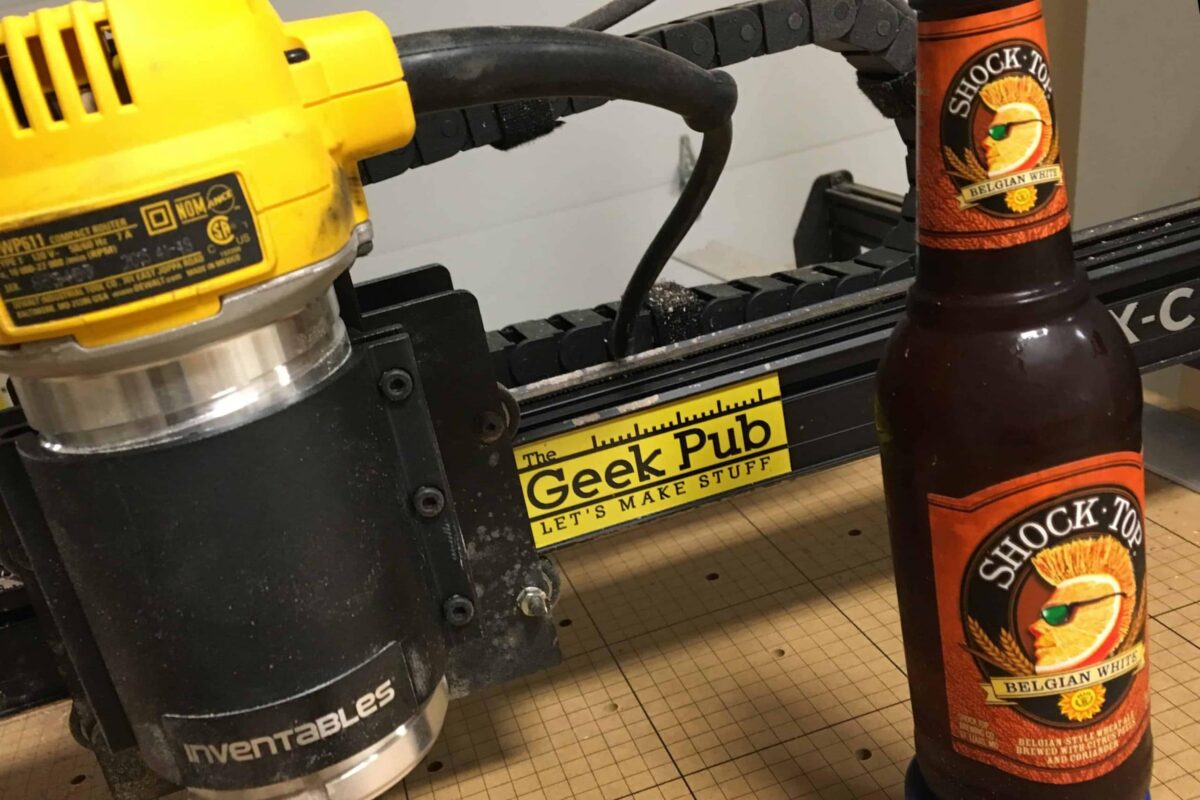
- DeWalt 20v Router
- Router Slot Cutter Set
- Pro caulking gun
- Bench Cookies for painting
- Vaughan SF12 Soft Hammer
- Center punch
- DeWalt 20v Drill
- DeWalkt 20v Impact Driver
- Cricut Vinyl Cutter
Consumables Used in this Project
- Double sided fabric tape
- 3M Super 77 spray adhesive
- 18 gauge brad nails
- DAP black caulking
- Filler primer
- Flat white paint
- Vinyl Assortment Pack
Constructing the Wall Mount Arcade Cabinet
 Let’s go step by step constructing the Wall Mount Arcade Cabinet!
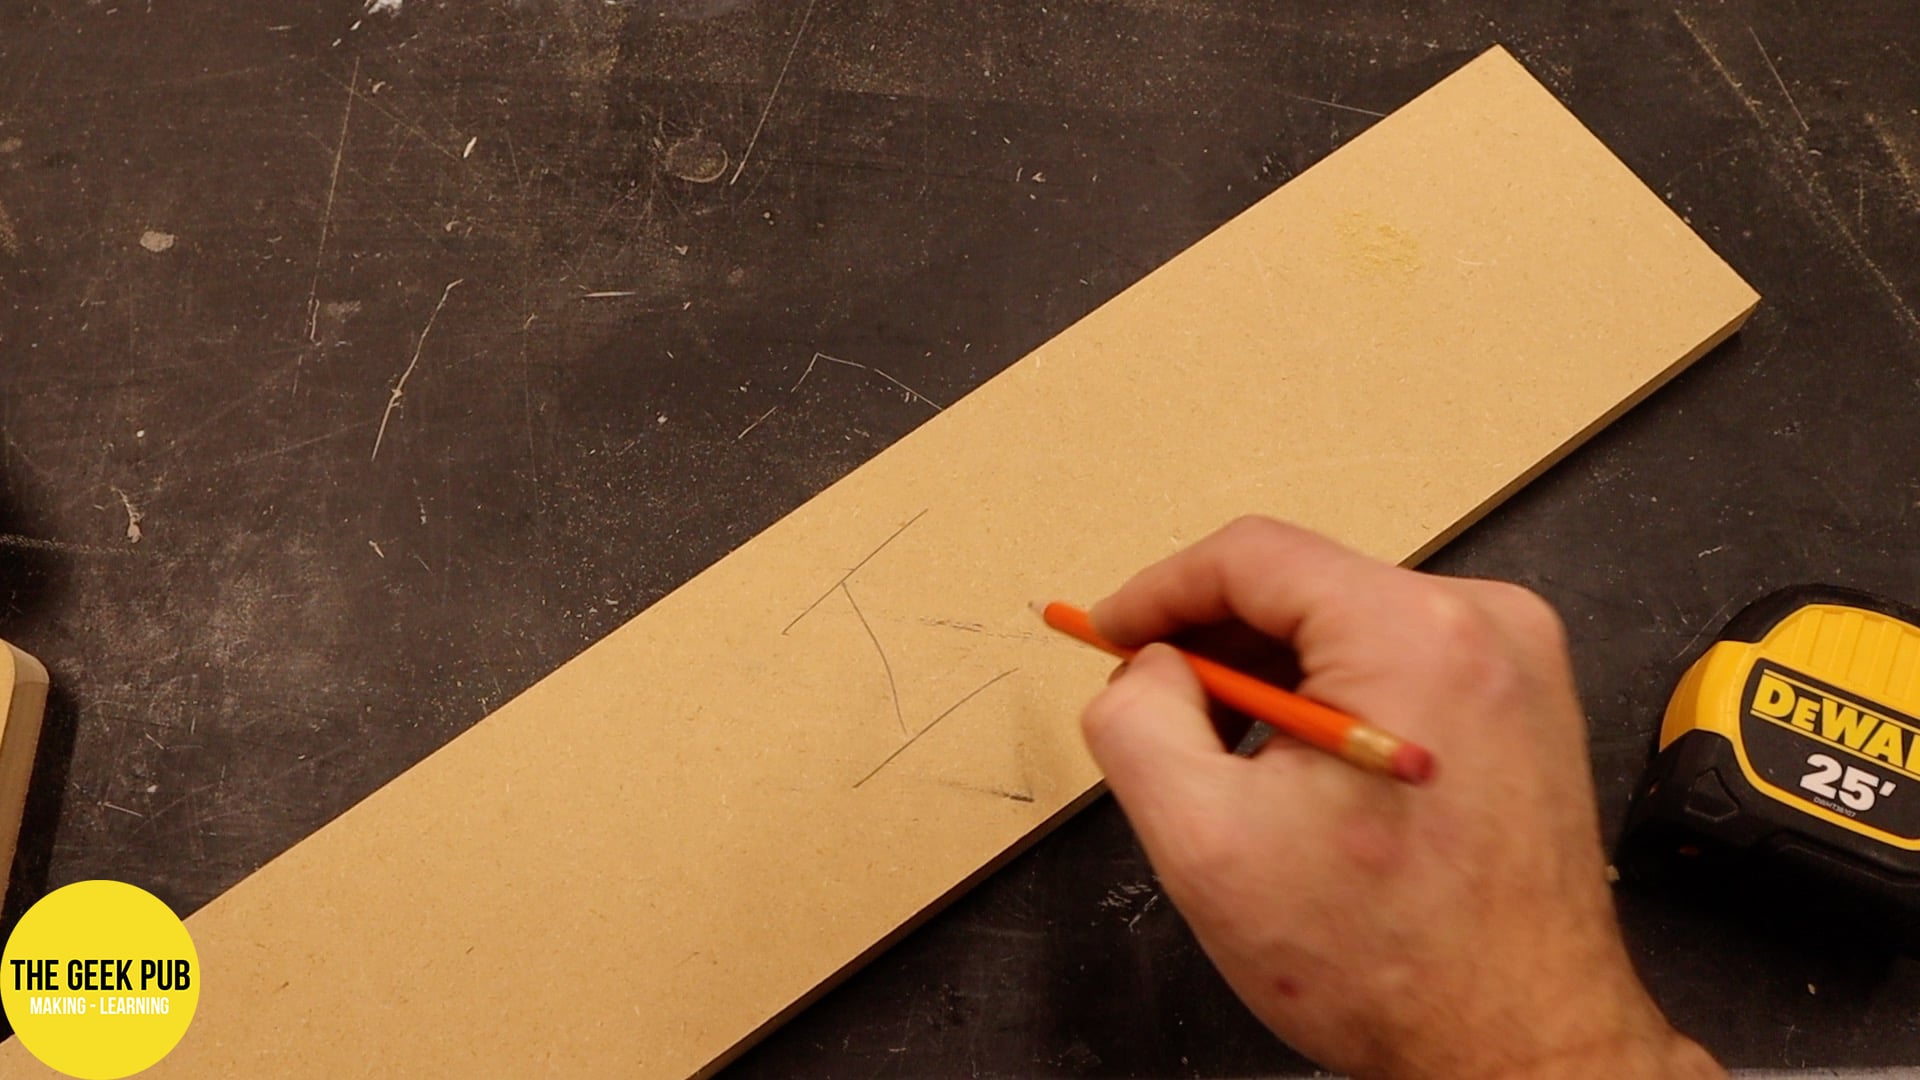
Step 1: Layout the Side Panels and tape them together
We’re going to start the arcade by making the two side panels. Because the side panels are exact copies of each other, were going to cut them out at the same time. Of course, of you’d prefer to cut them out individually, you can do that too.
I started by taking two scrap pieces of MDF I had in the garage and used double sided fabric tape to stick them together for the cut. If you don’t have scrap pieces, just cut off a section of MDF or plywood from your source material and lay them over the top of each other.
Now that you’ve got them together, it’s time to layout the dimensions following the plan files. Many people worry about angles when laying out arcade side panels. I’m here to tell you there is an easier way! If you layout the lines according to the plan files, all you will need to do is connec the dots between the lines and the angle will be created for you. It’s almost magic!
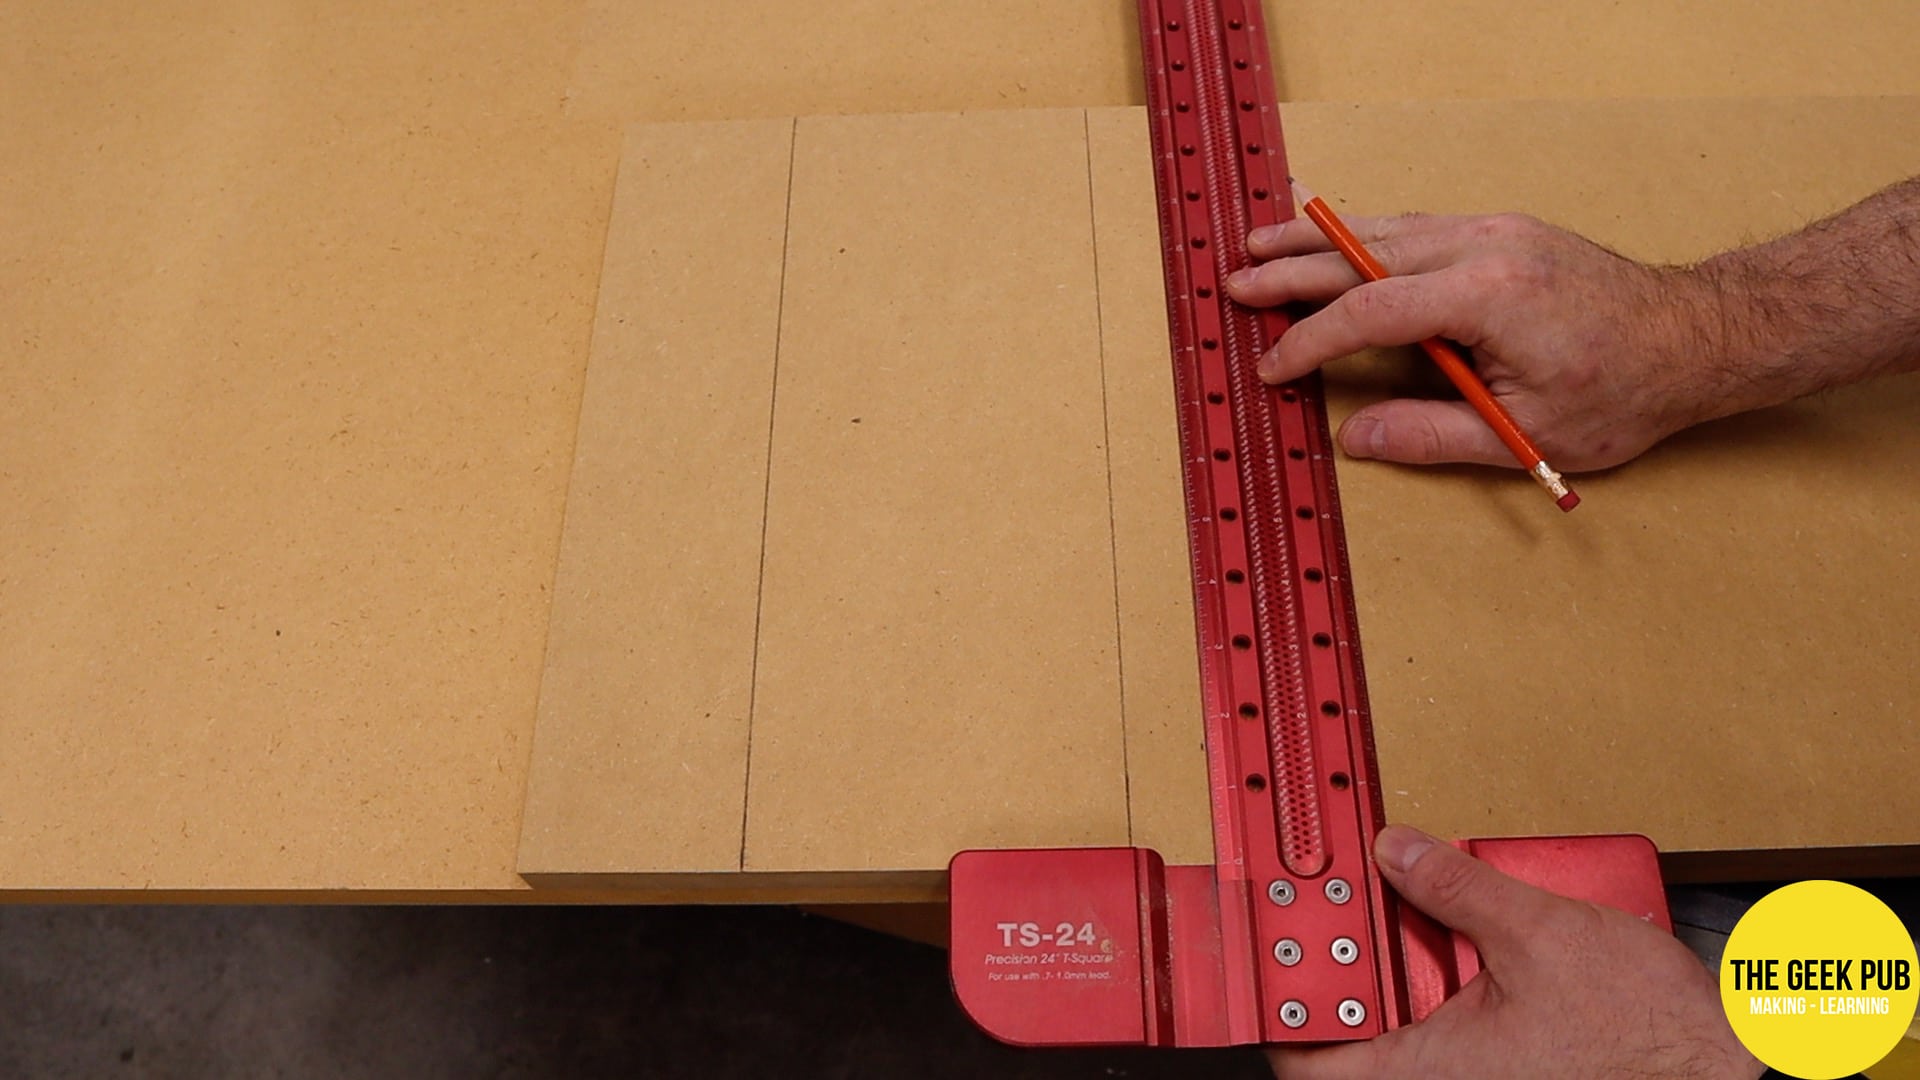


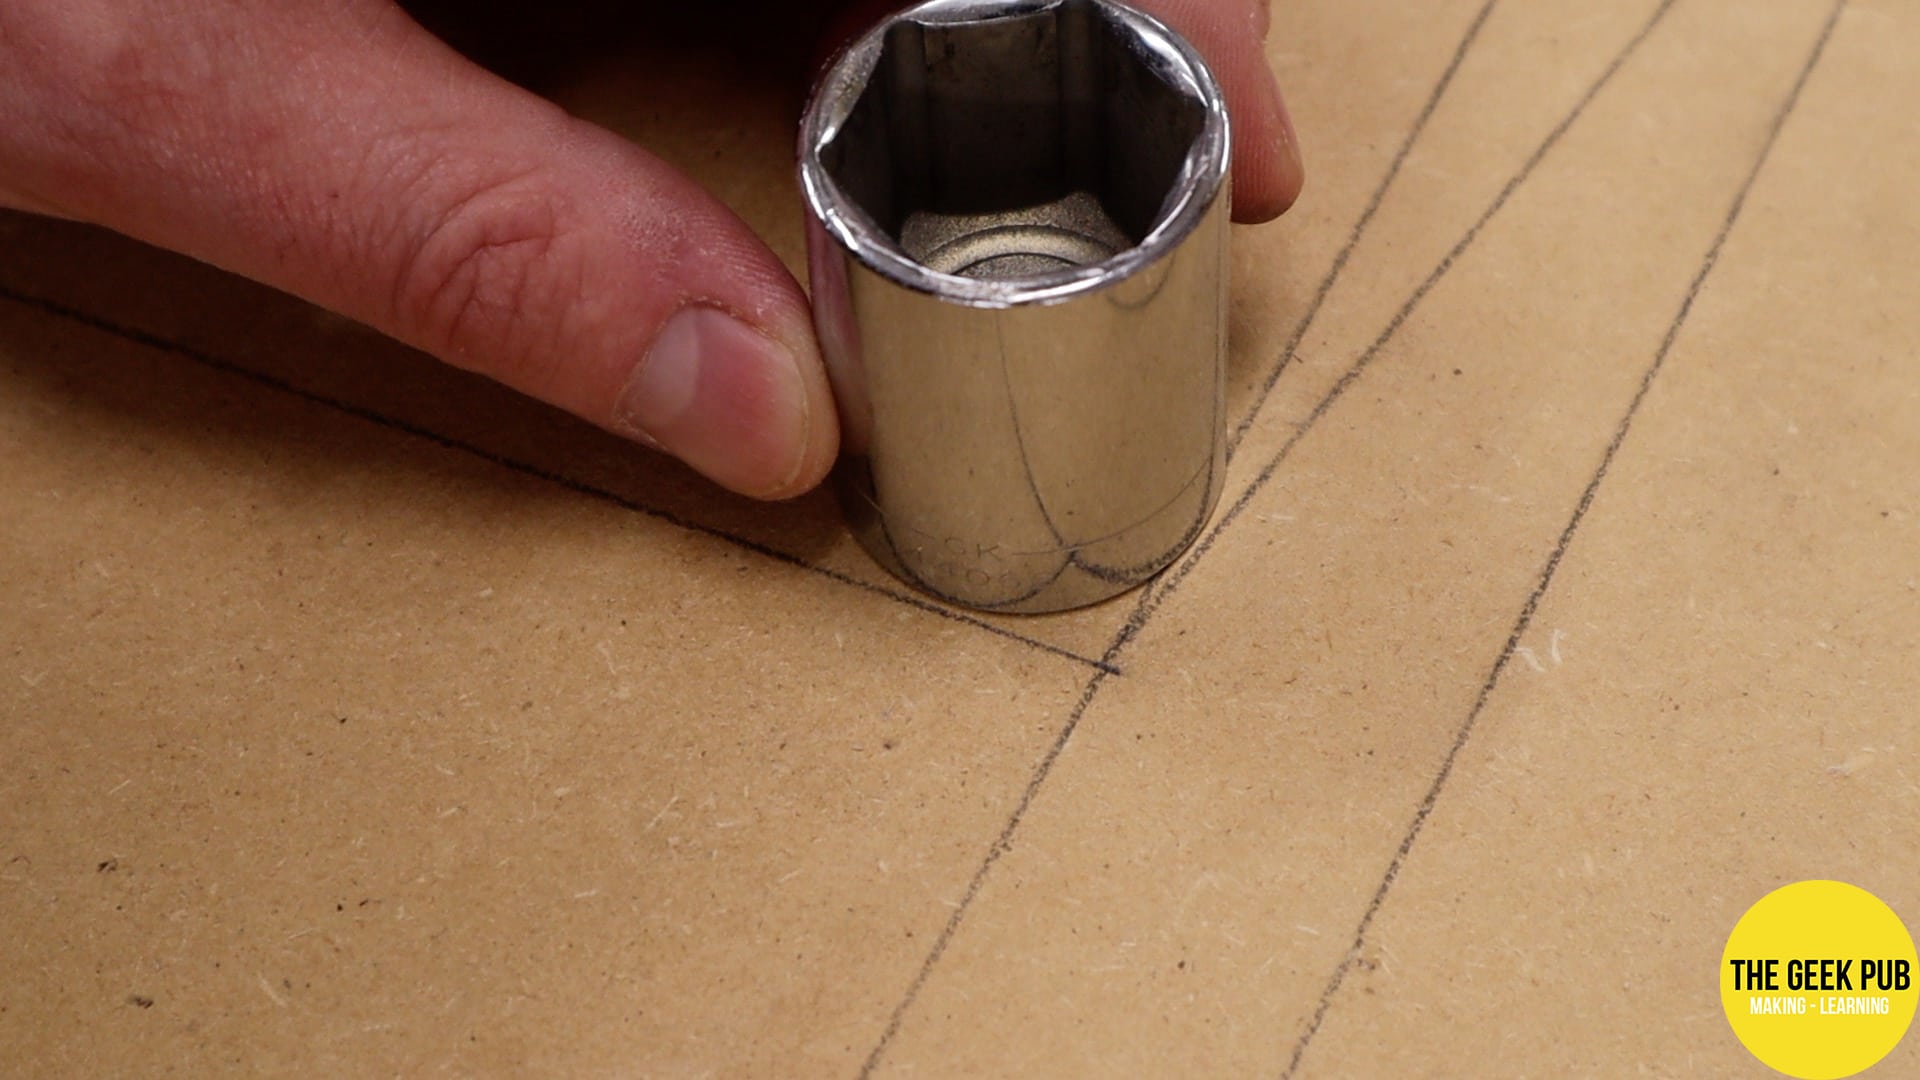
When laying out the side panels, we don’t create any curves. All of the corners form hard angles. Some of you will want to round over the corners for a more decorative look on your wall mount arcade. You can do this an any number of ways. You can use special circle jigs that you can get from places like Rockler. Or you can use simple round things you have around the house such as a spray paint can or a socket. I just used a 1″ socket from my Craftsmen socket set.
Set the socket up against any of the two intersections you want to round over and use a pencil to the create the arc by following the outside of the socket or other round surface.
Since these are purely for decoration you can make them as large or as small as you’d like (or completely leave them off). Make it your own!

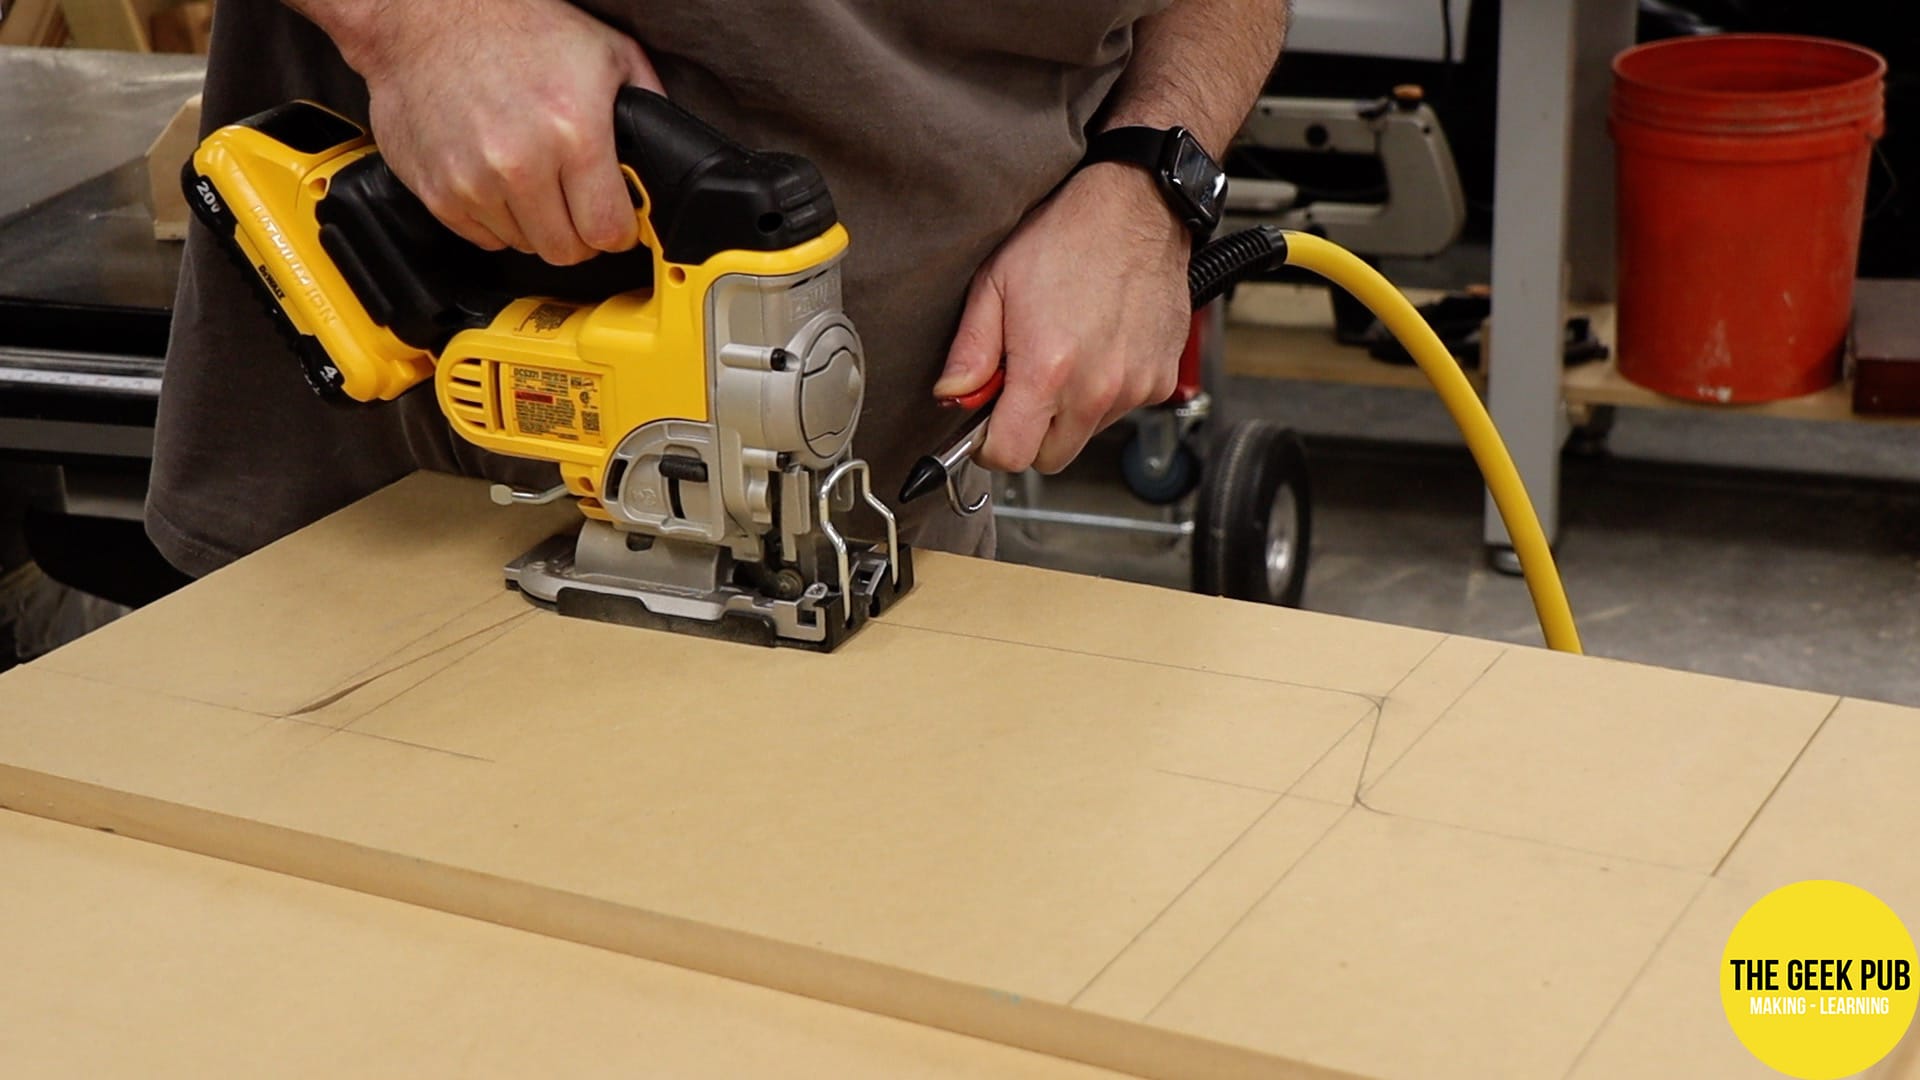
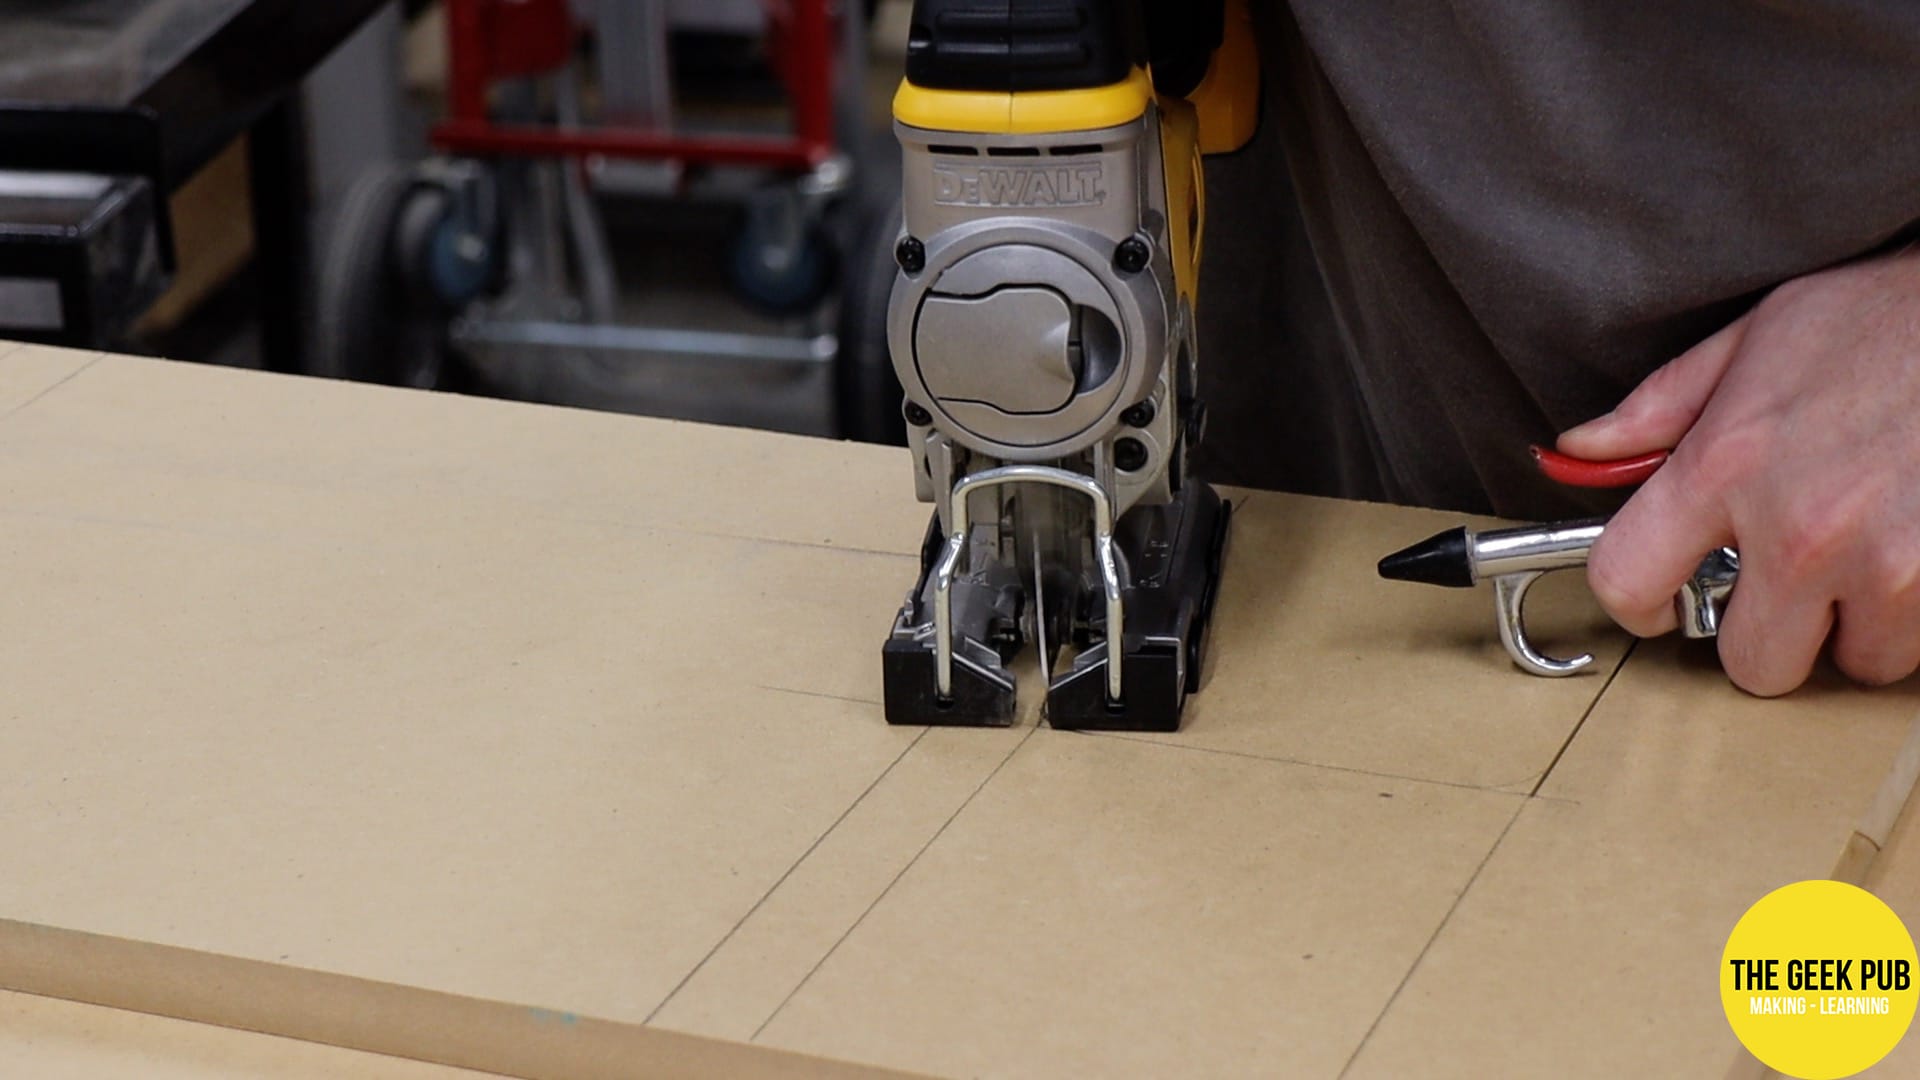
Step 2: Cut out the Side Panels
Now it’s time to cut out the side panels of our wall hanging arcade. About the only way to do this for the average arcade builder is to use a jigsaw. Though if you had a full on woodshop you could use a bandsaw for this operation as well. A quality jigsaw will make all the difference in how straight your lines are.
As with all operations of this type, going slow is the key to getting good quality results. The faster you move the saw, the more likely you are to get off the line or make a mistake.
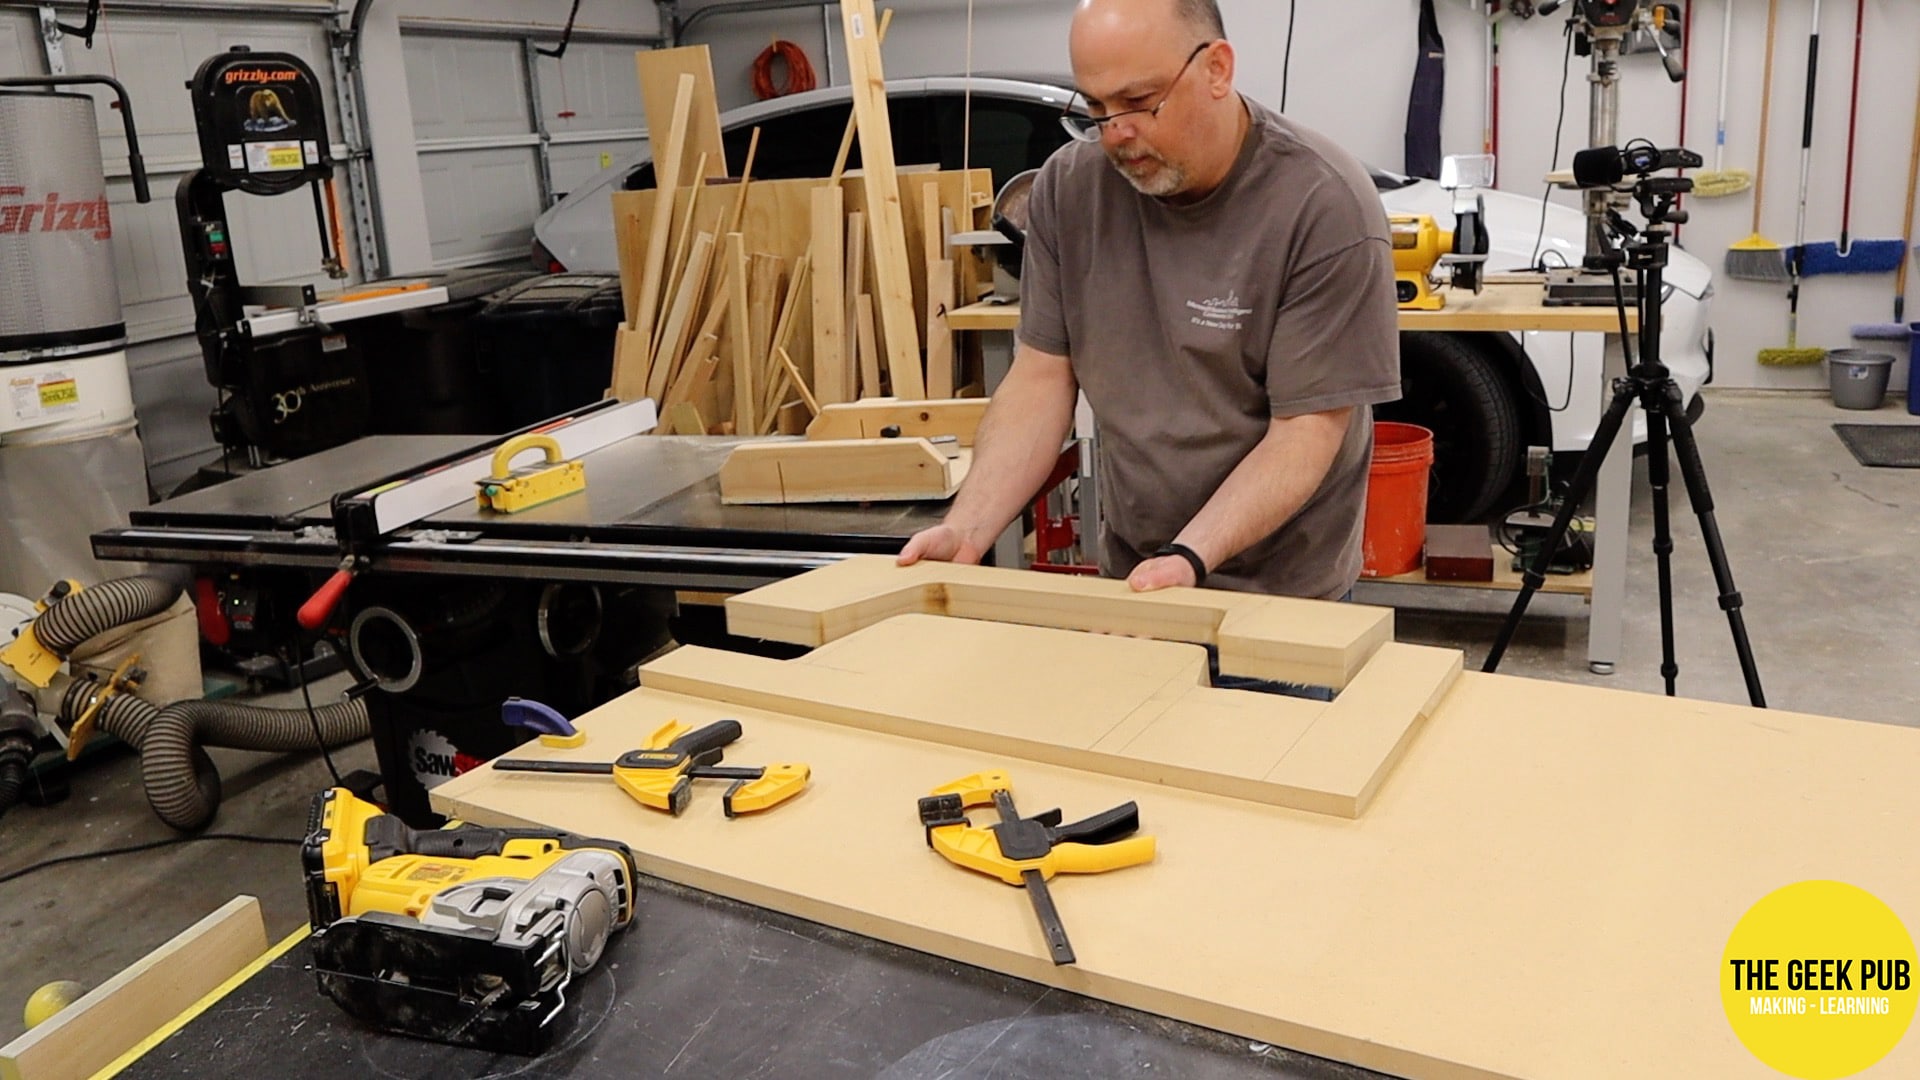
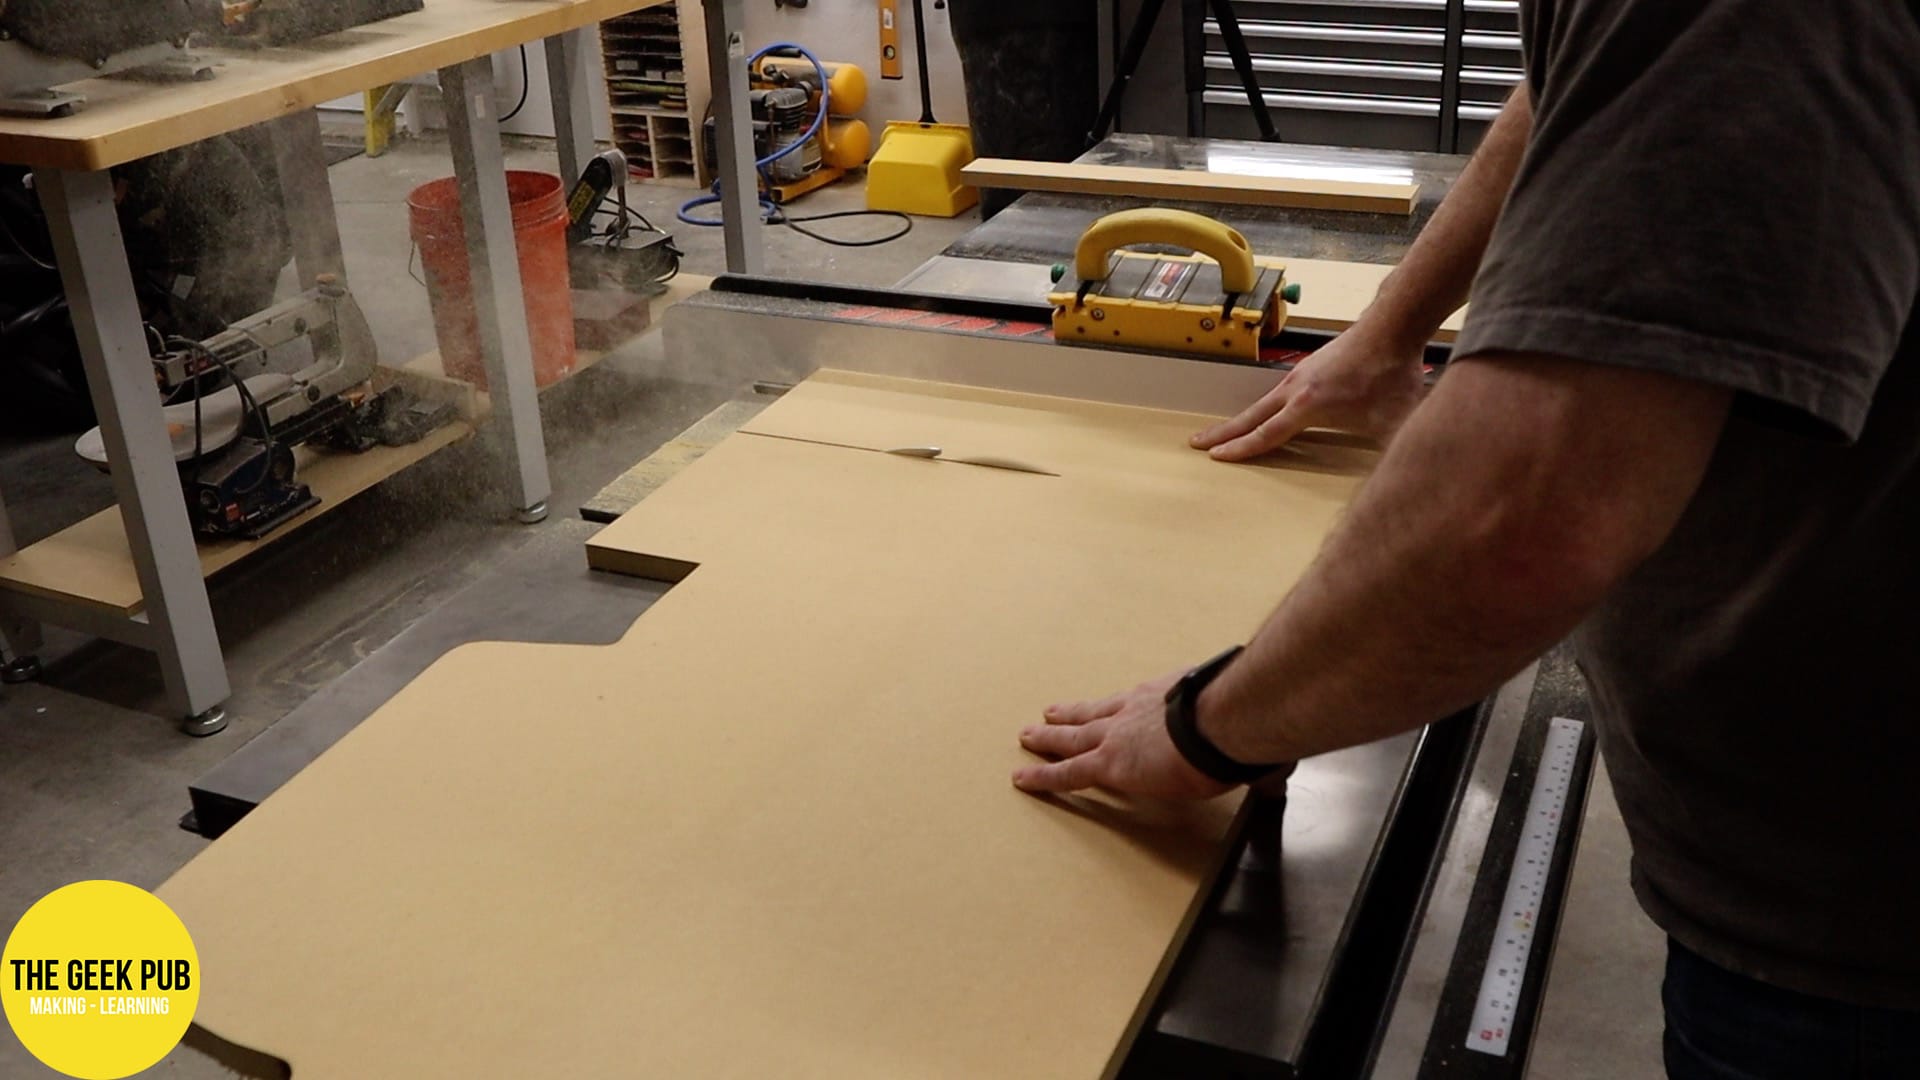
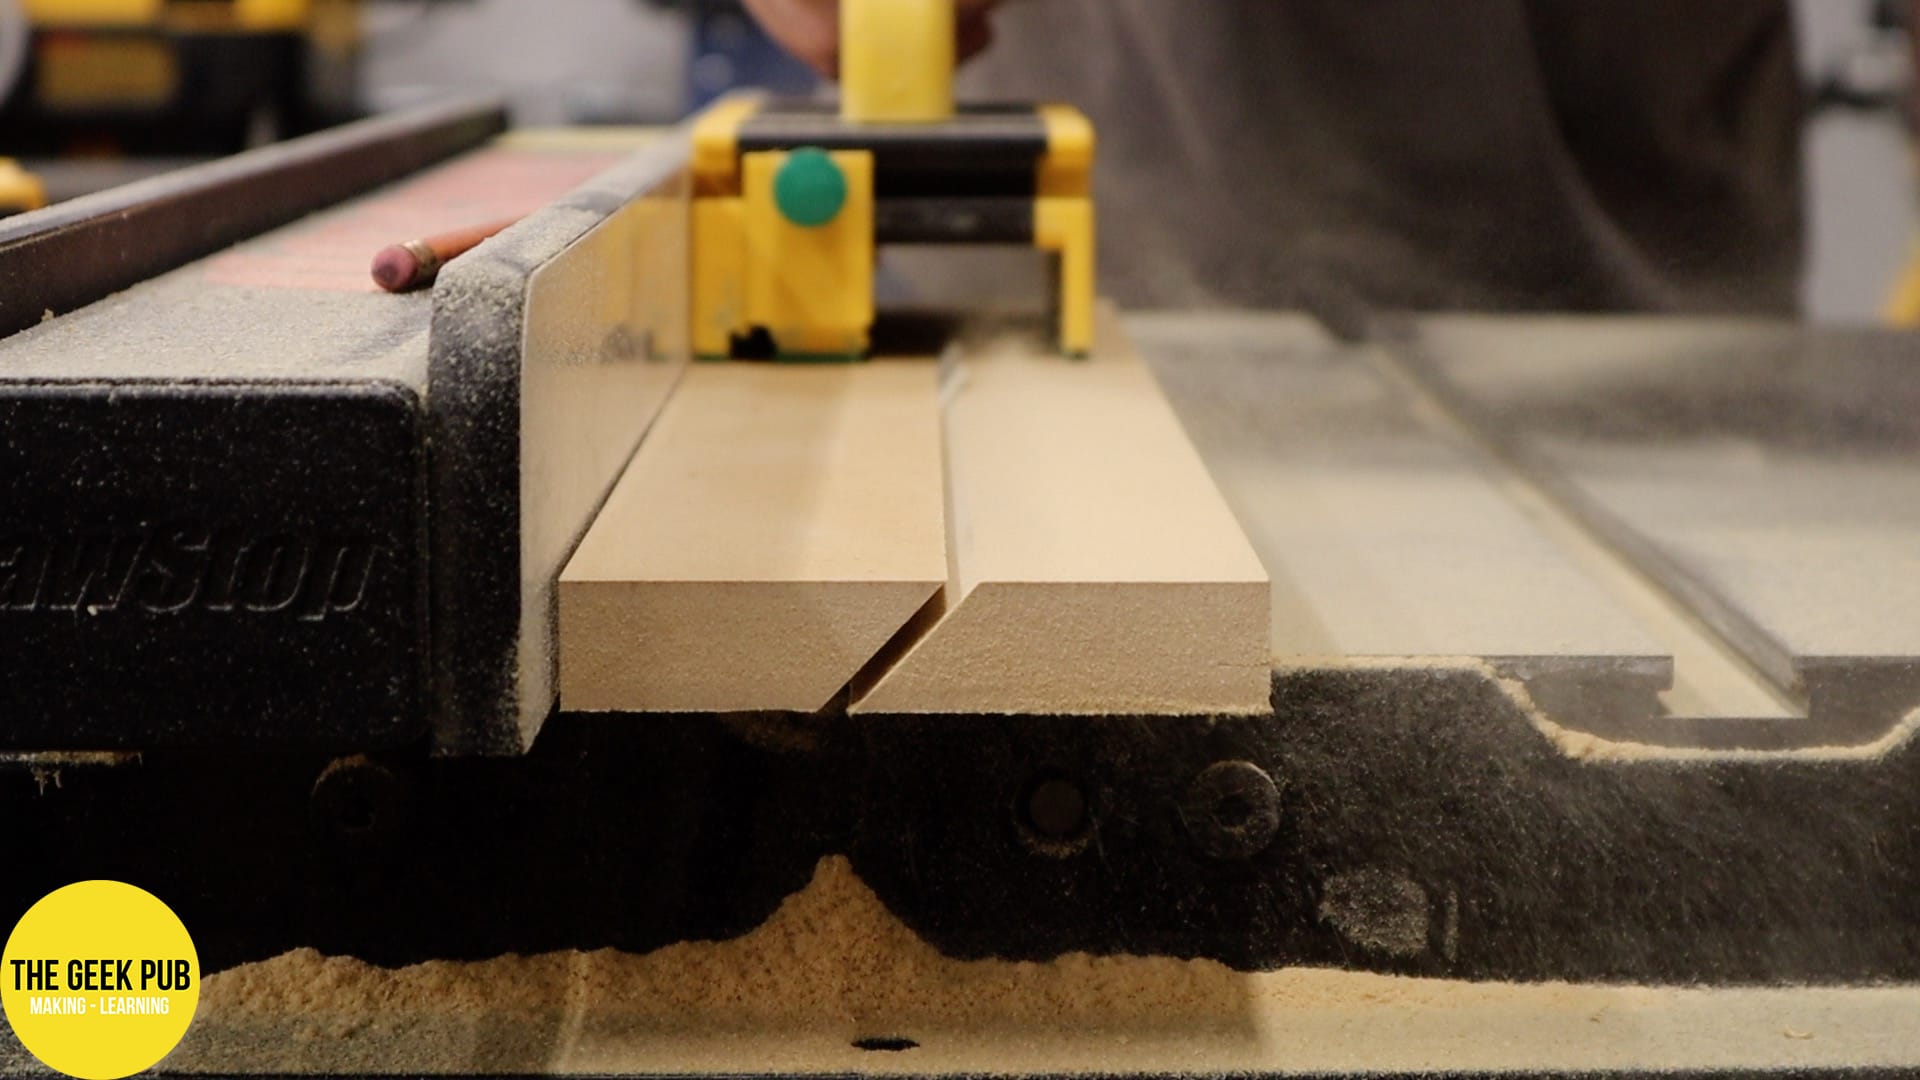
Step 3: Cut out the Rest of the Panels
I used my table saw to cut out the rest of the panels for the wall mount arcade. However, for those of you without a table saw, just keep using your jigsaw. If you have a handheld circular saw that will do wonders as well!
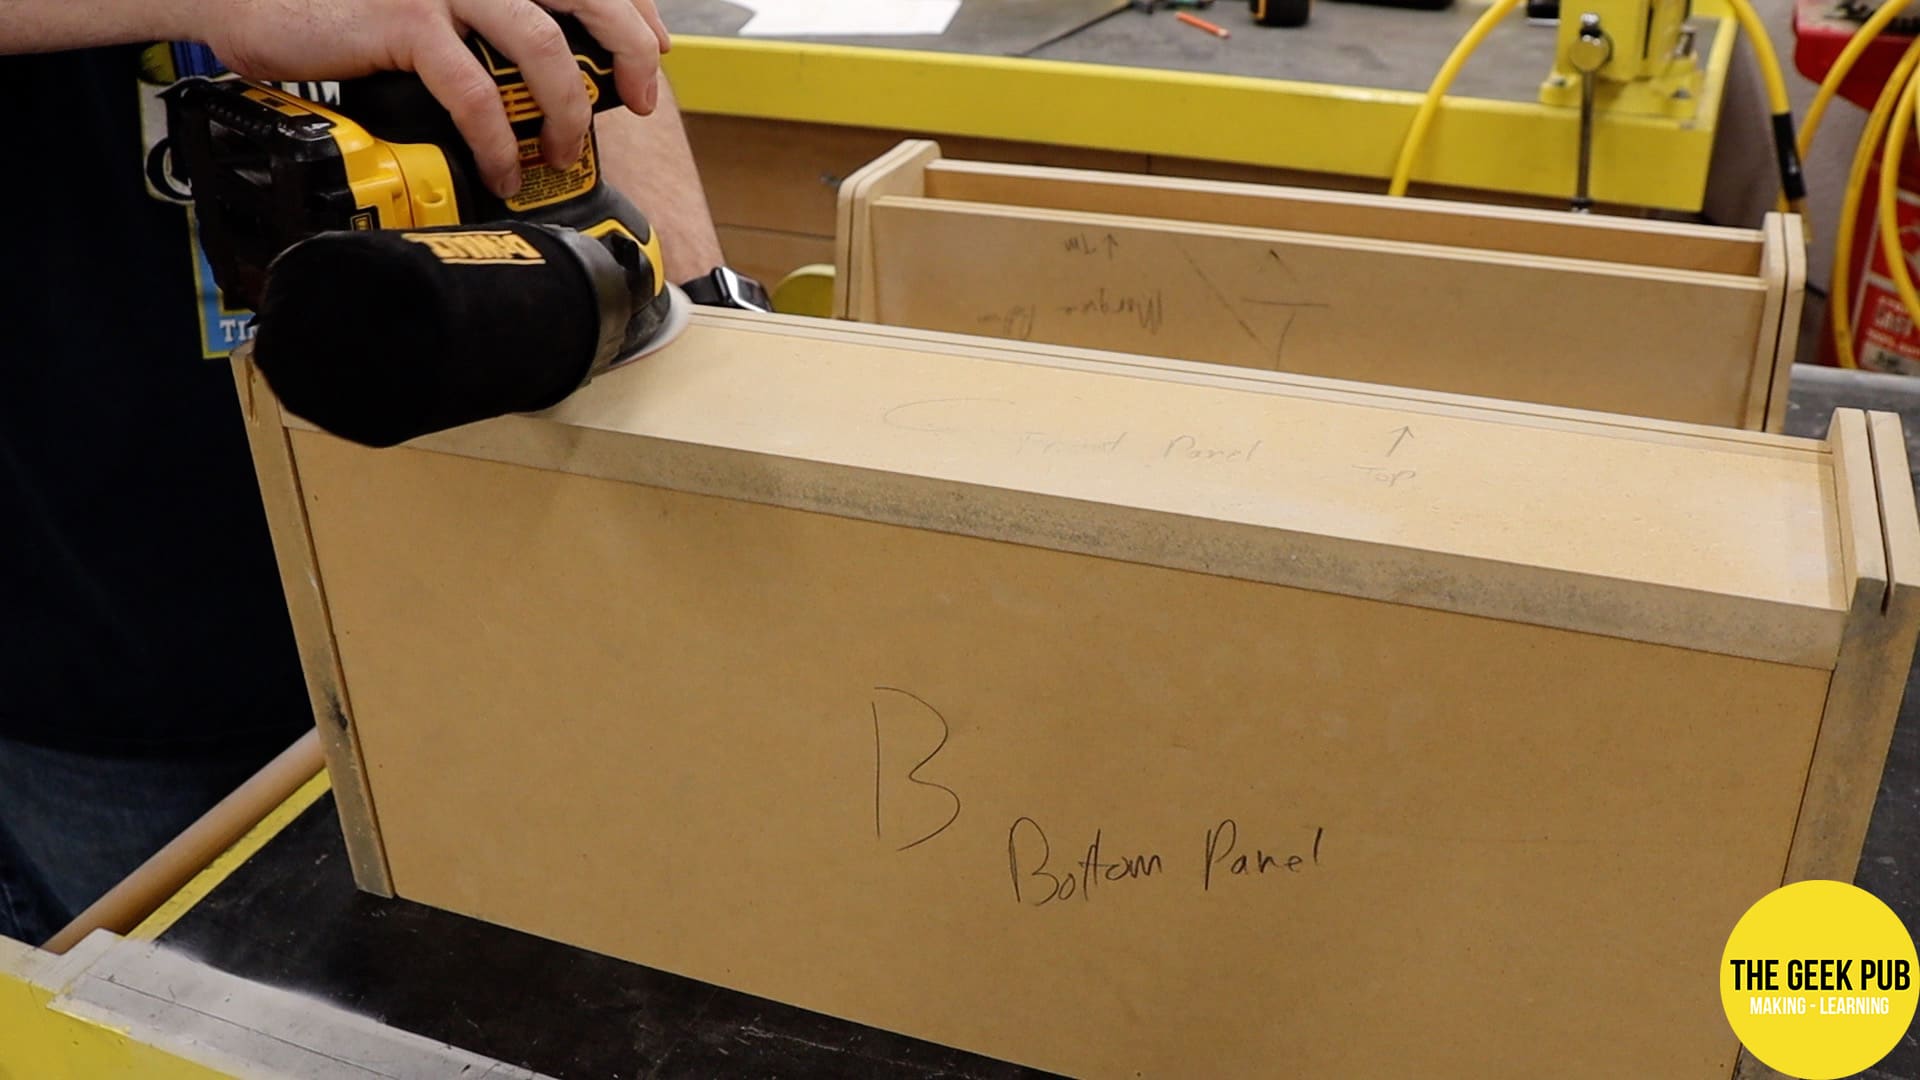
Be sure to label each part as you cut it out to help you keep track of it later. Trust me. Do this.
Some of the panels have optional angles on them. If you want to do these, you’ll need to set your saw to the correct angle as indicated in the plans. Most all saws (including jigsaws) have a setting to change the angle of the cut. For the wall hanging cleat, I actually just oversized the board and cut it in half at a 45 degree angle to make both boards in one go. A super simple time saving step.
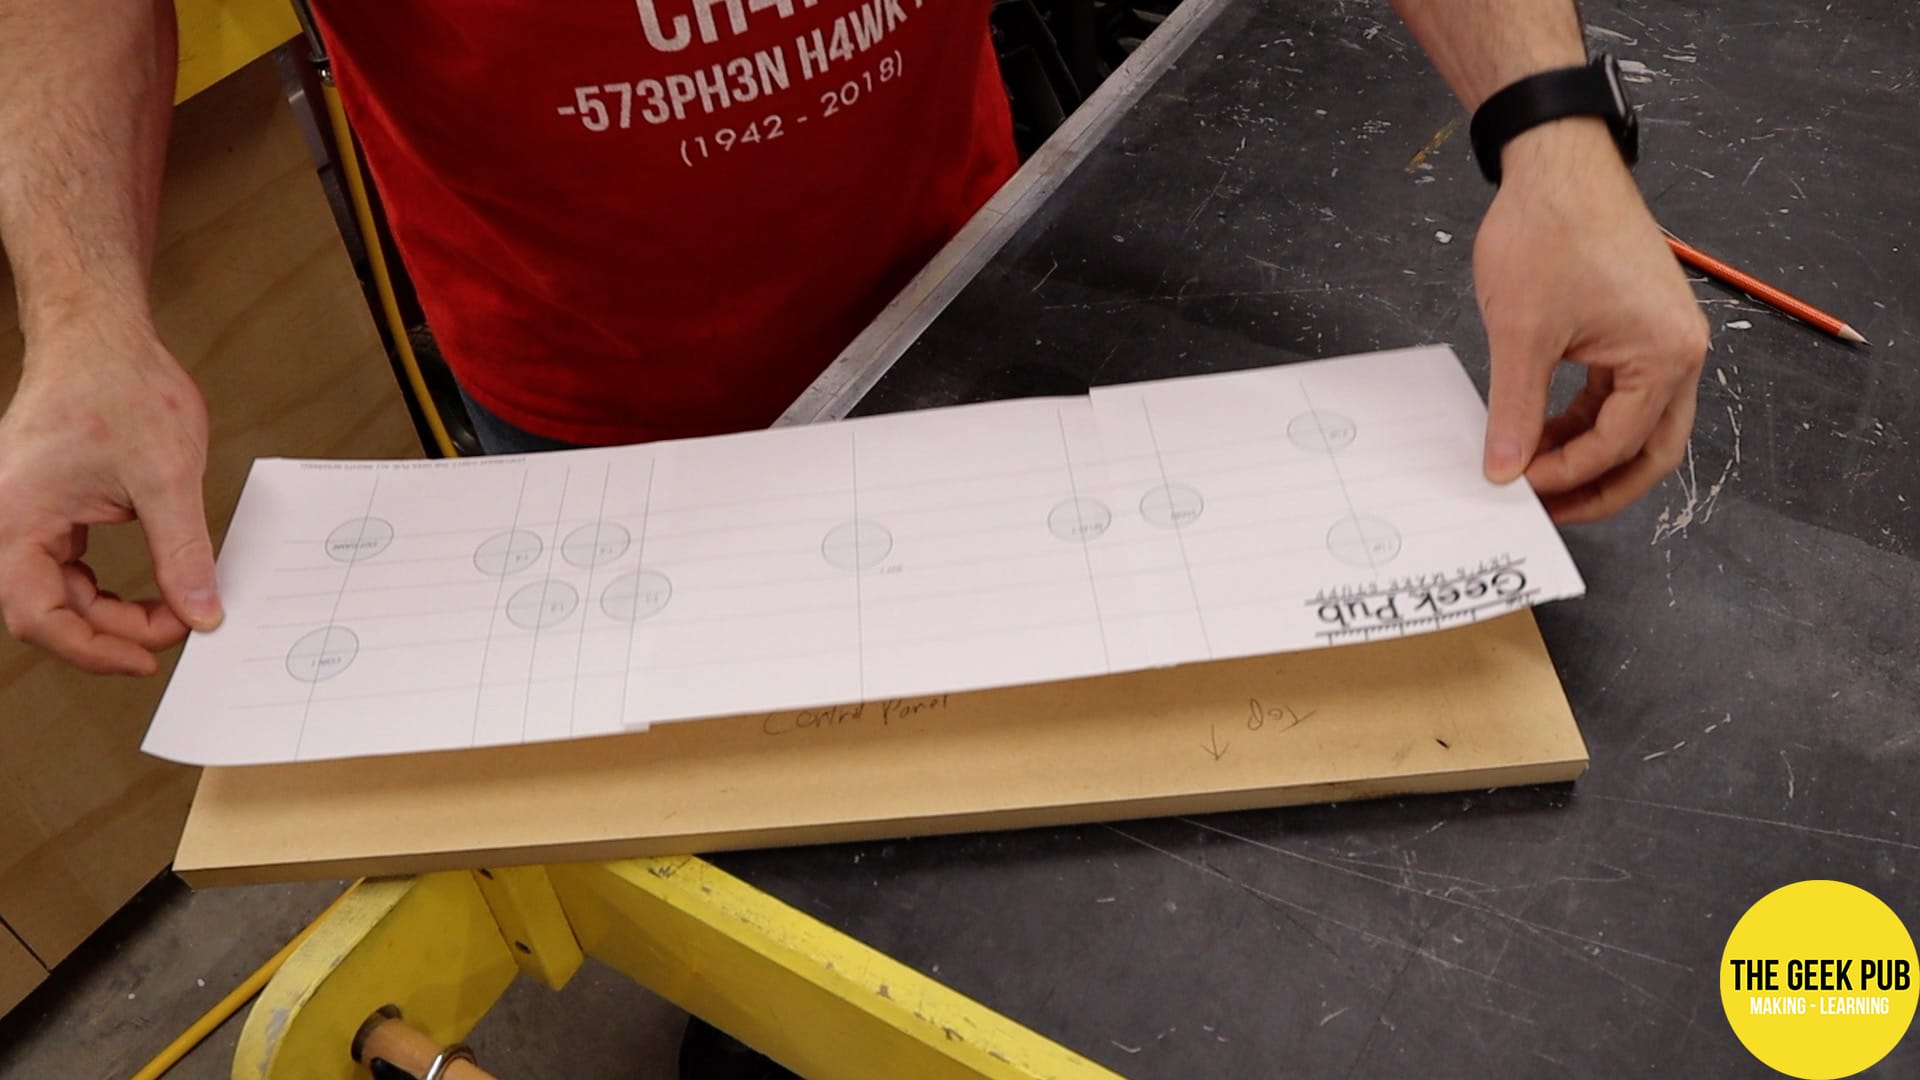
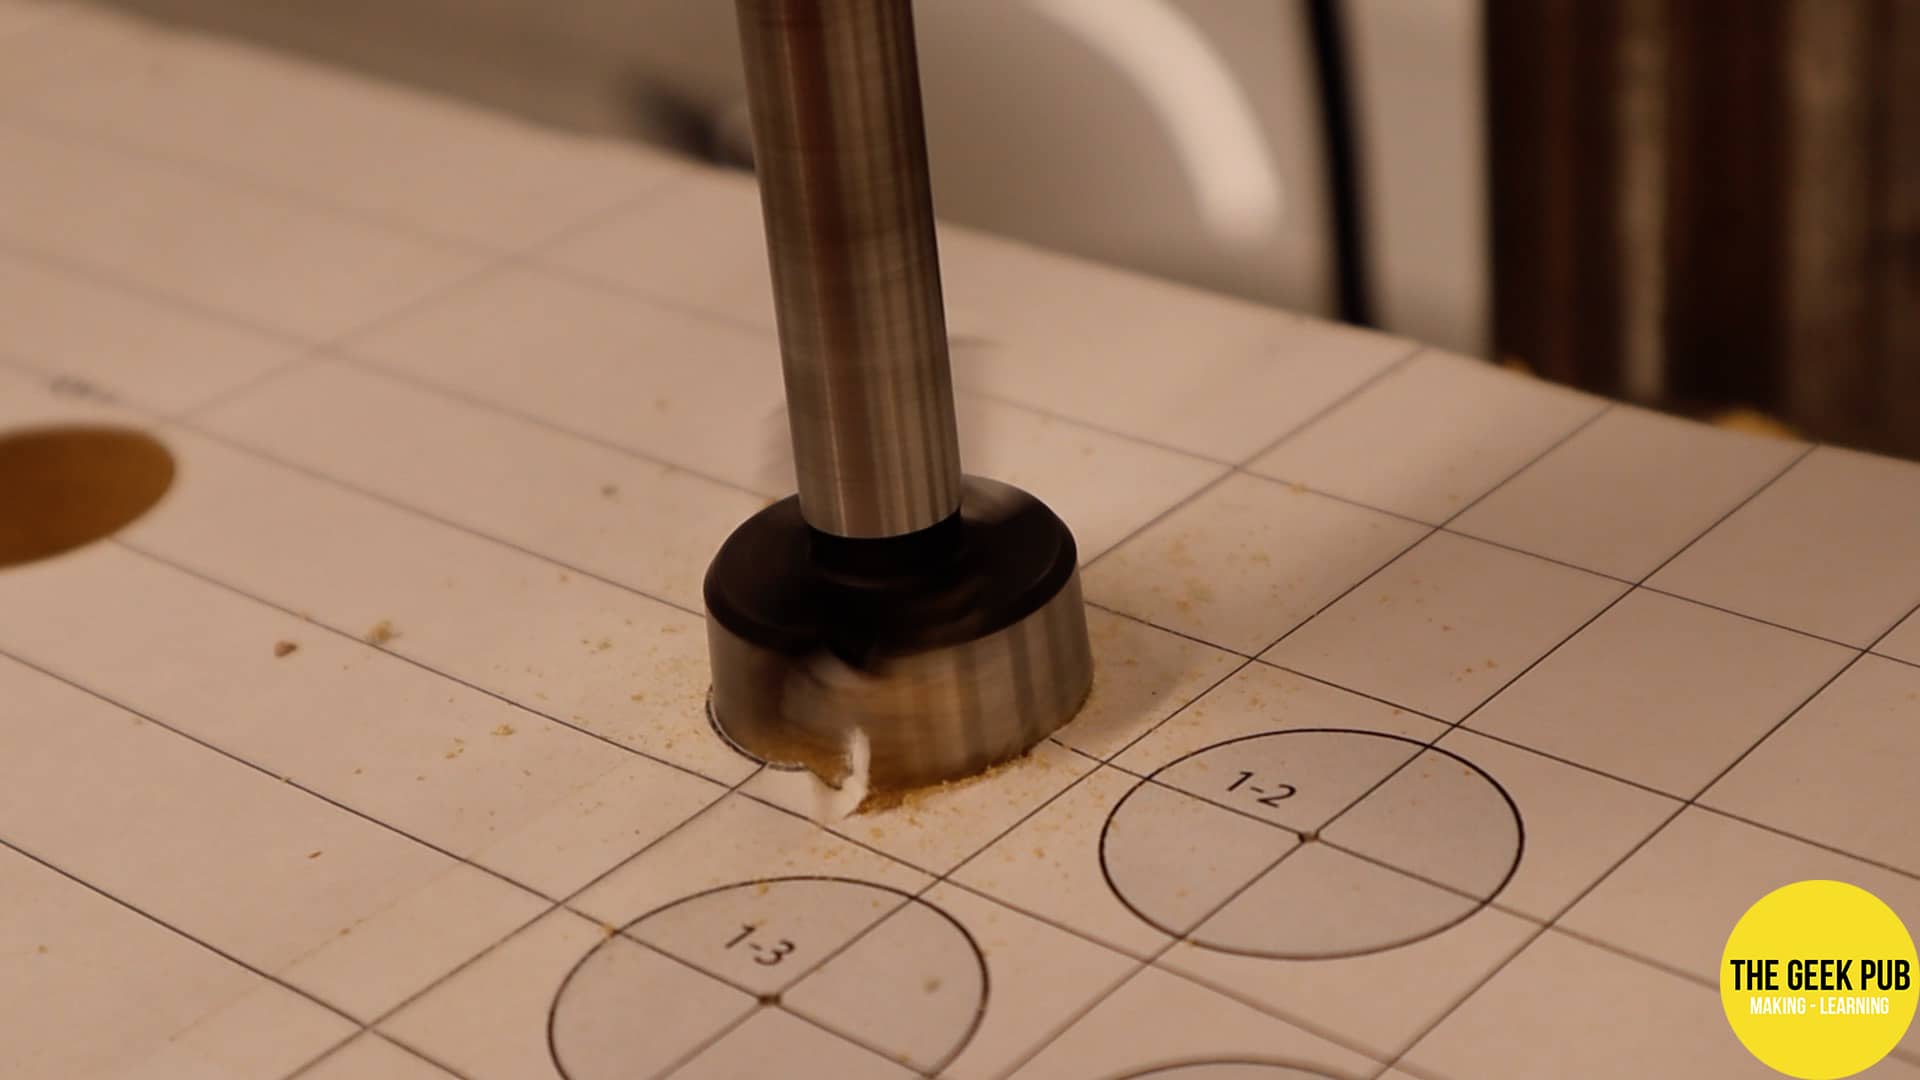
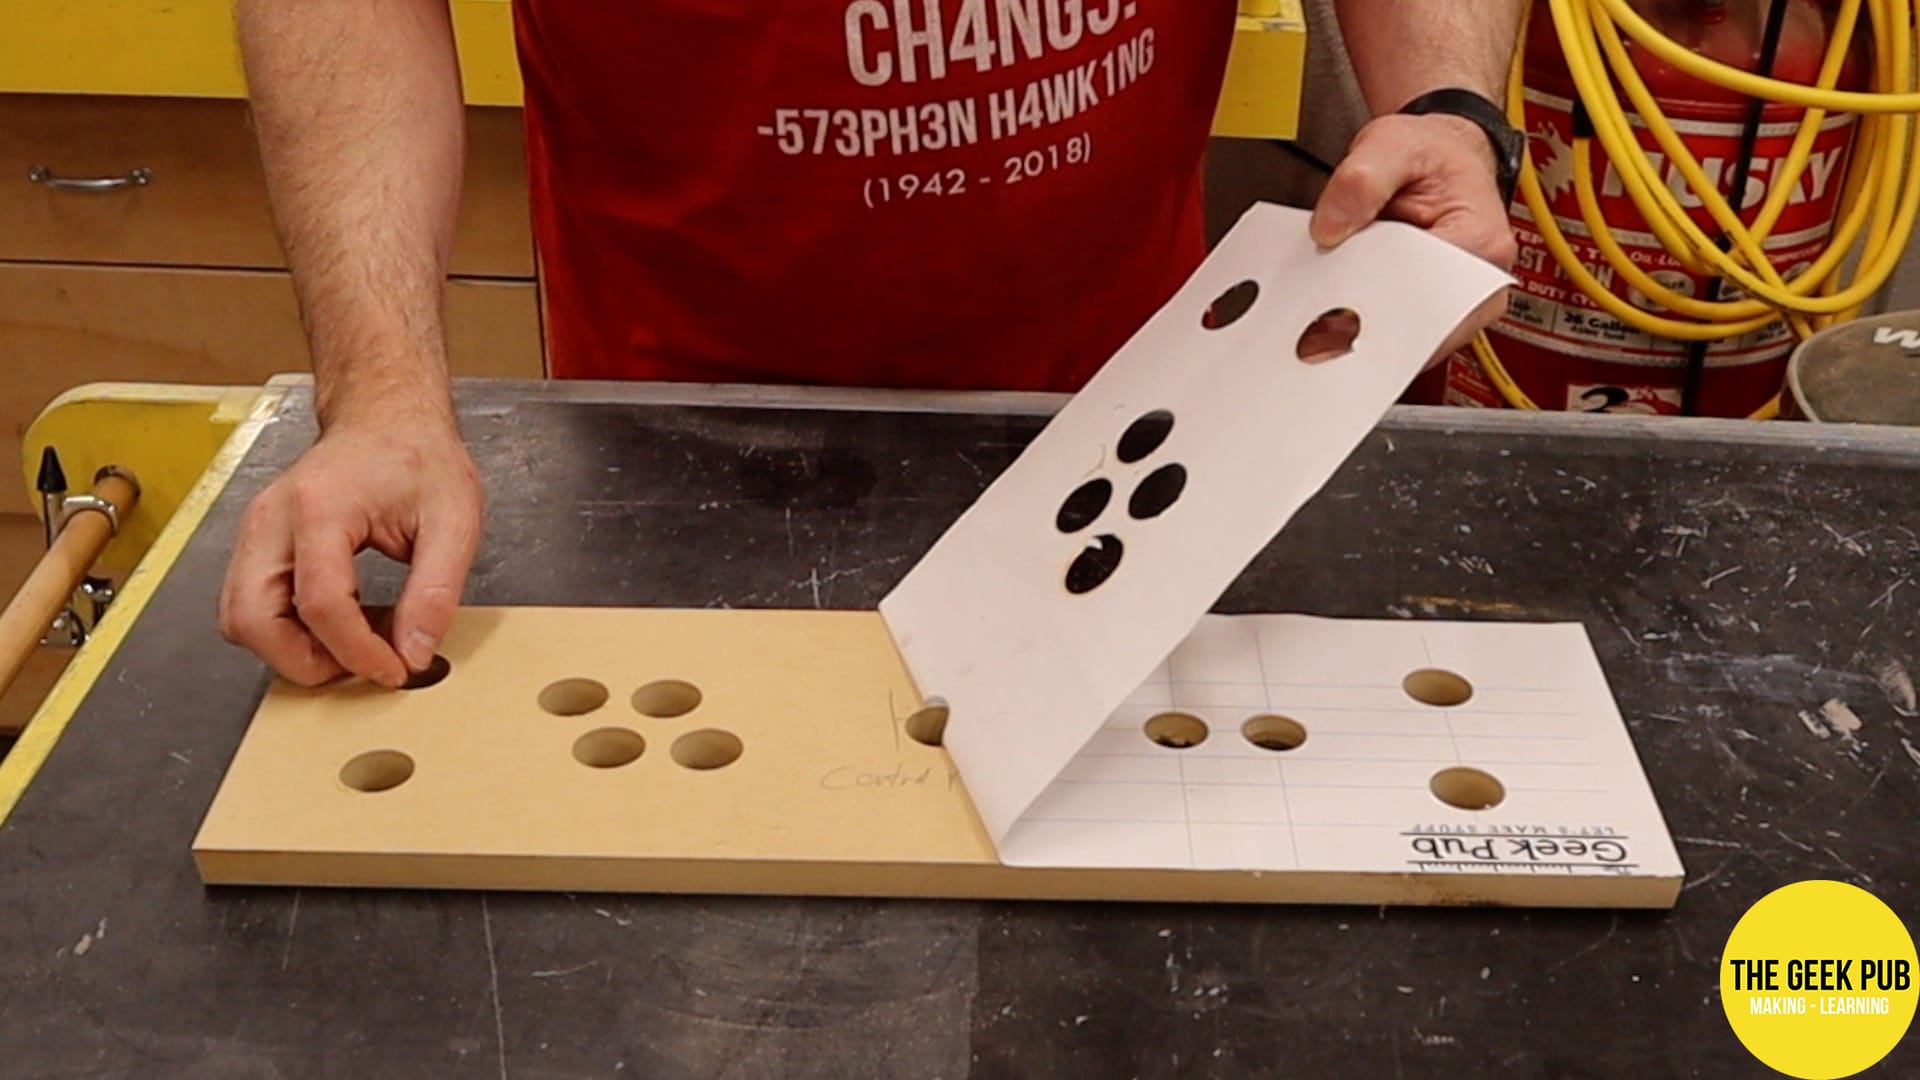
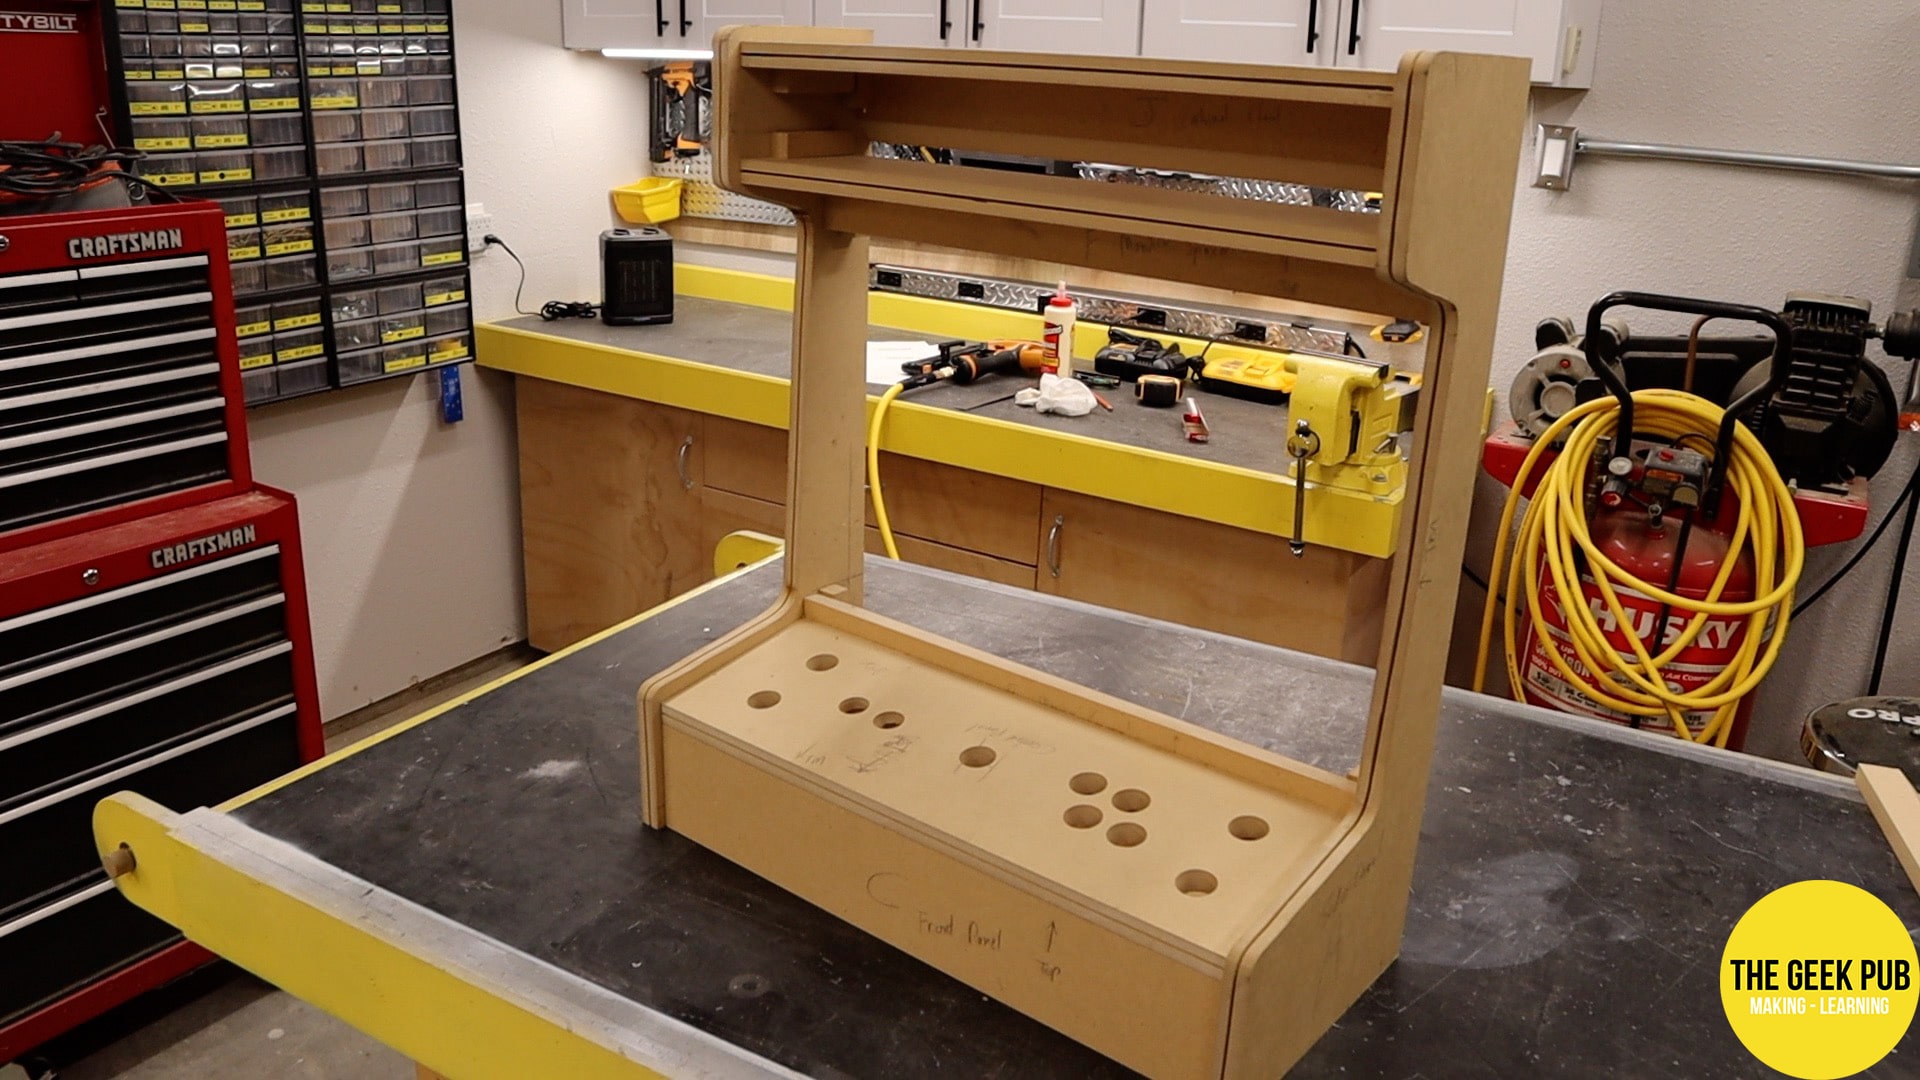
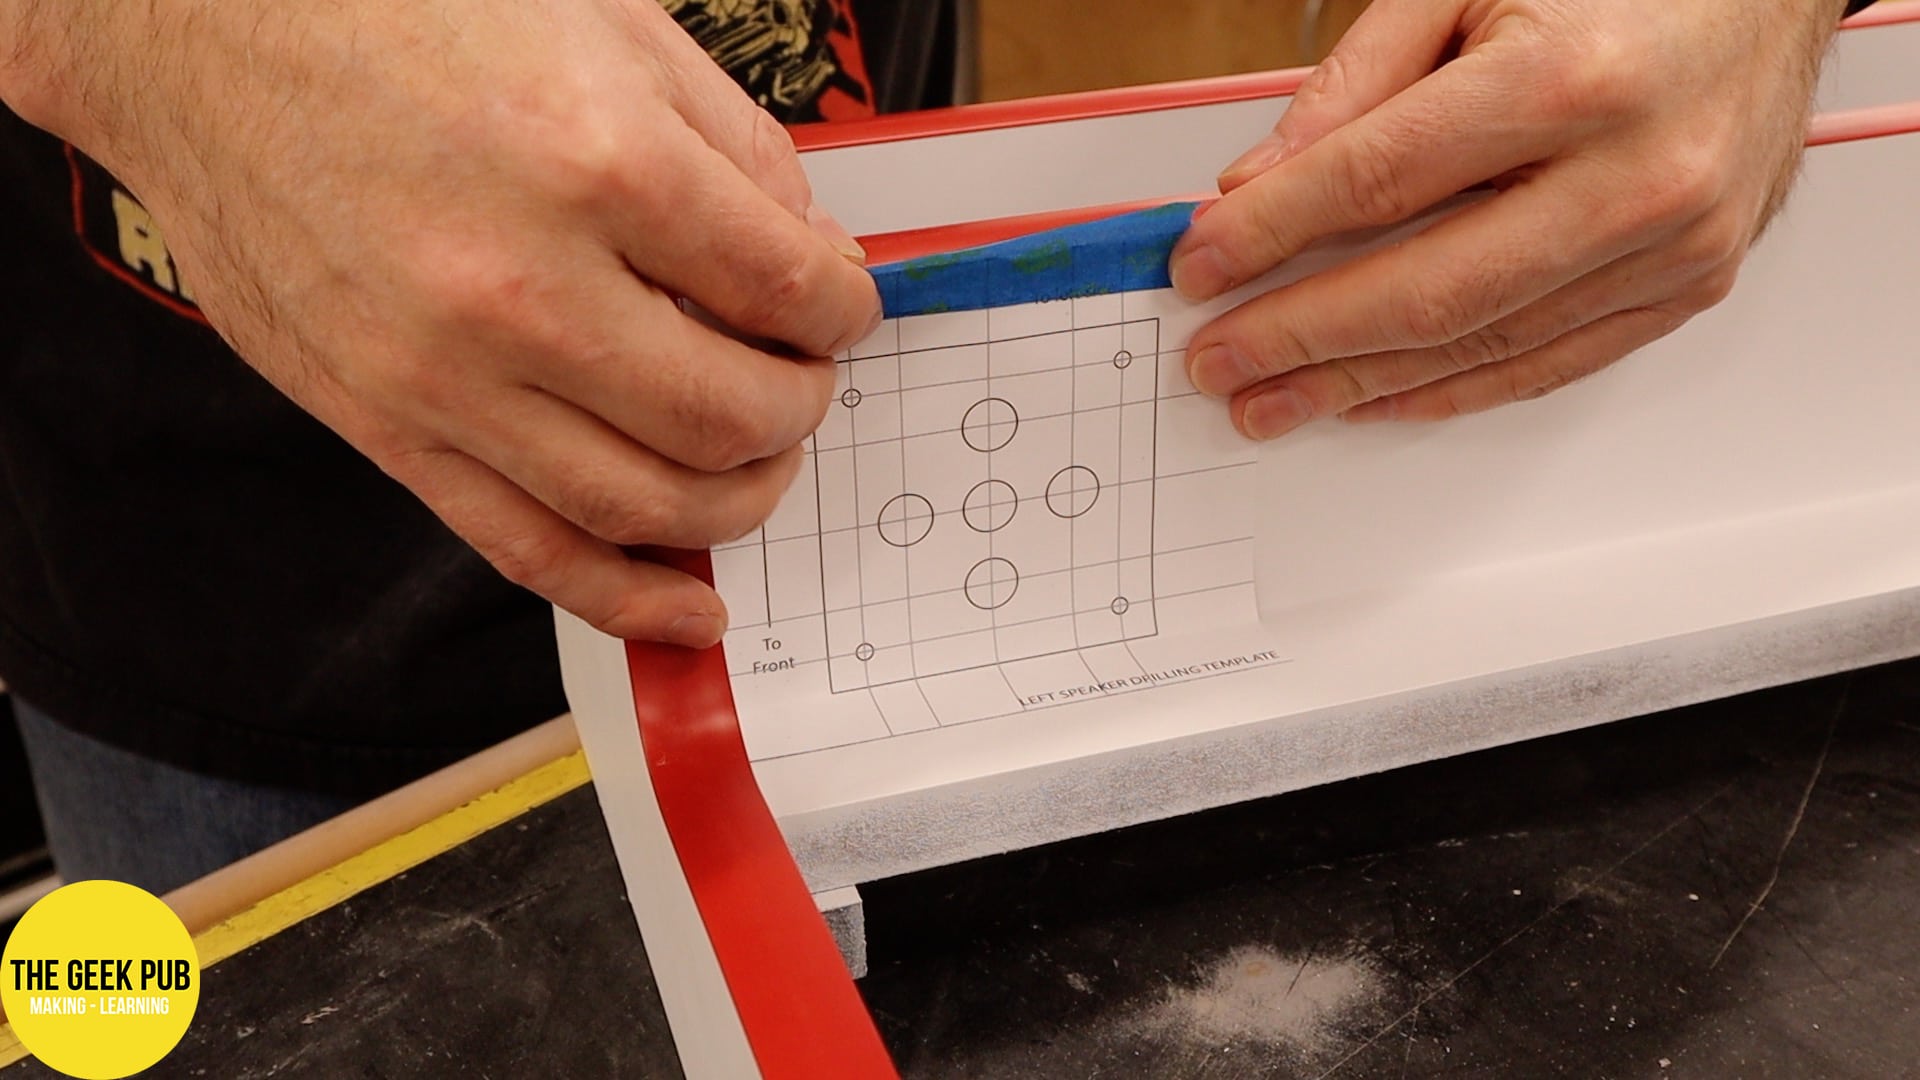
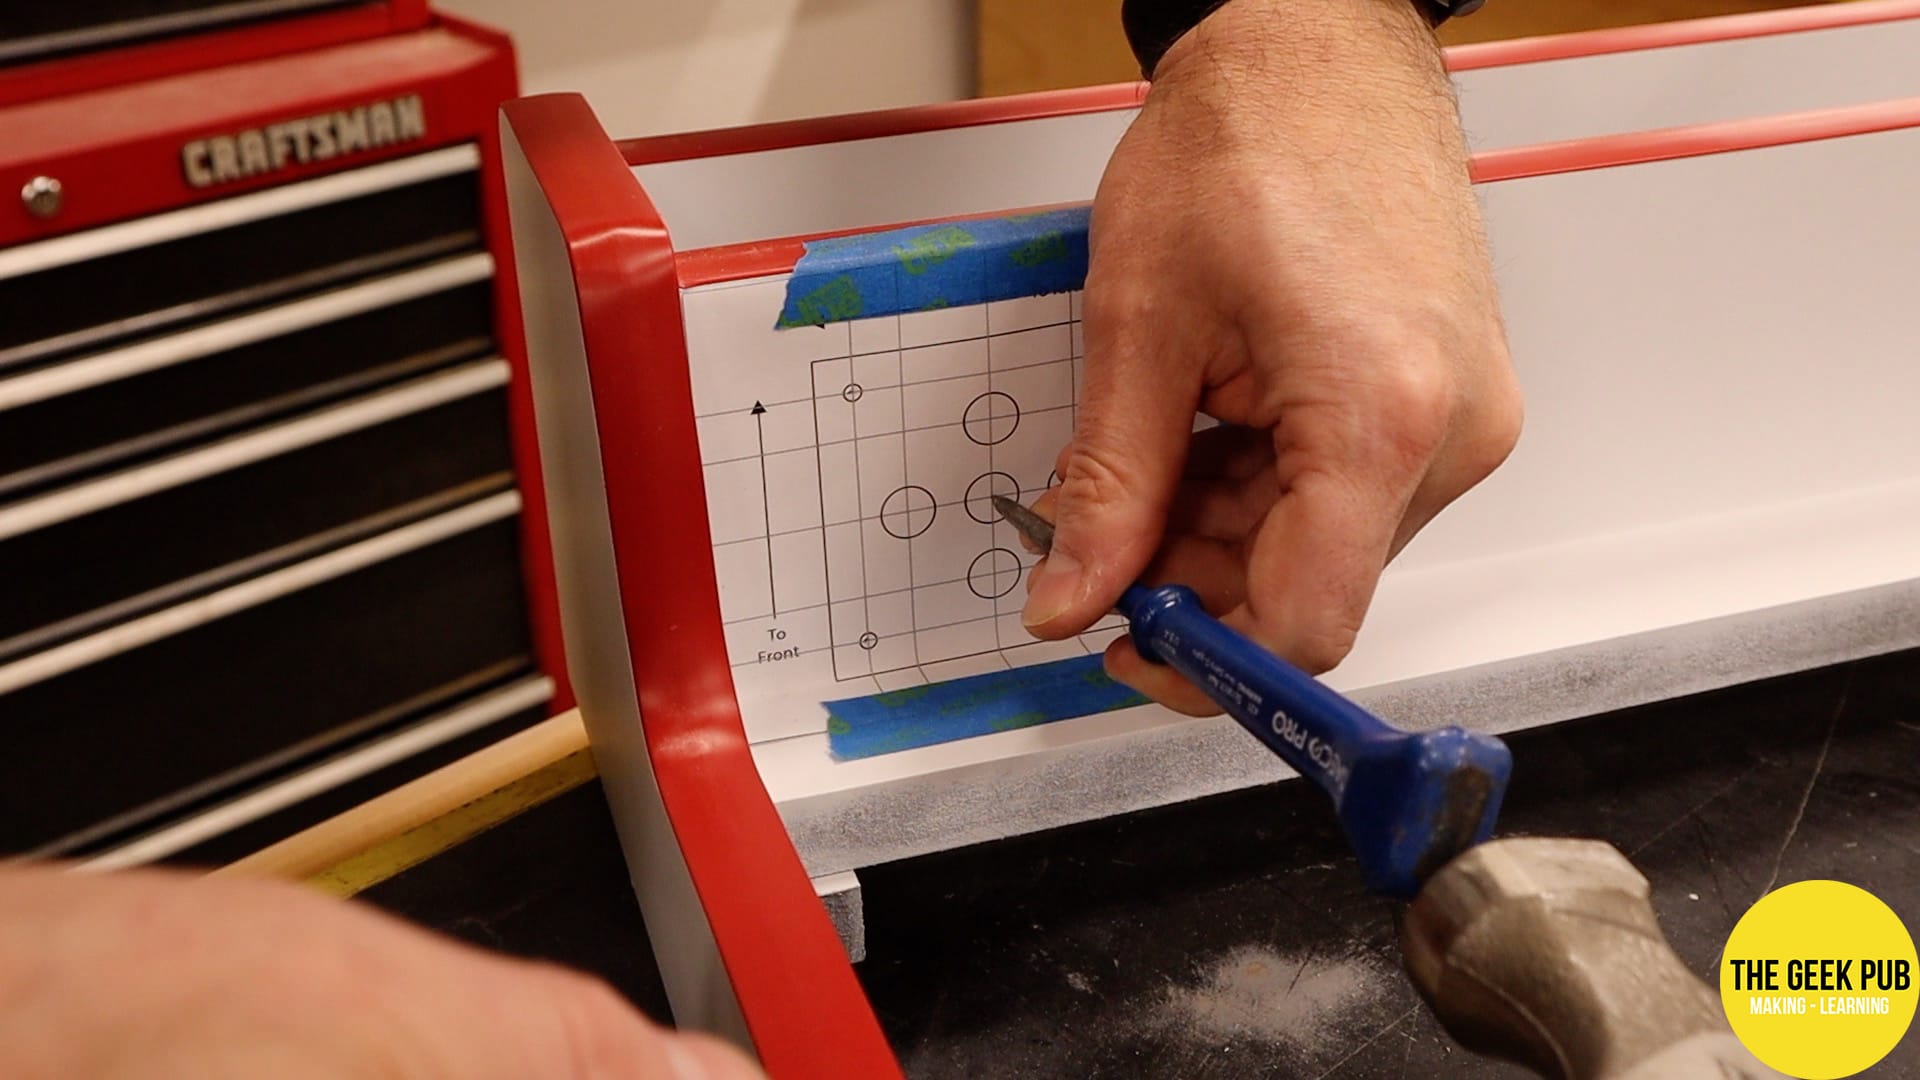
Step 4: Drilling the Control Panel
Before we assemble the wall hanging arcade we have two more steps to do! The first is to drill out the control panel for the buttons and the joysticks. This can be accomplished using any number of bits such as a paddle or spade bit. My favorite bit for this operation is called a Forstner bit.
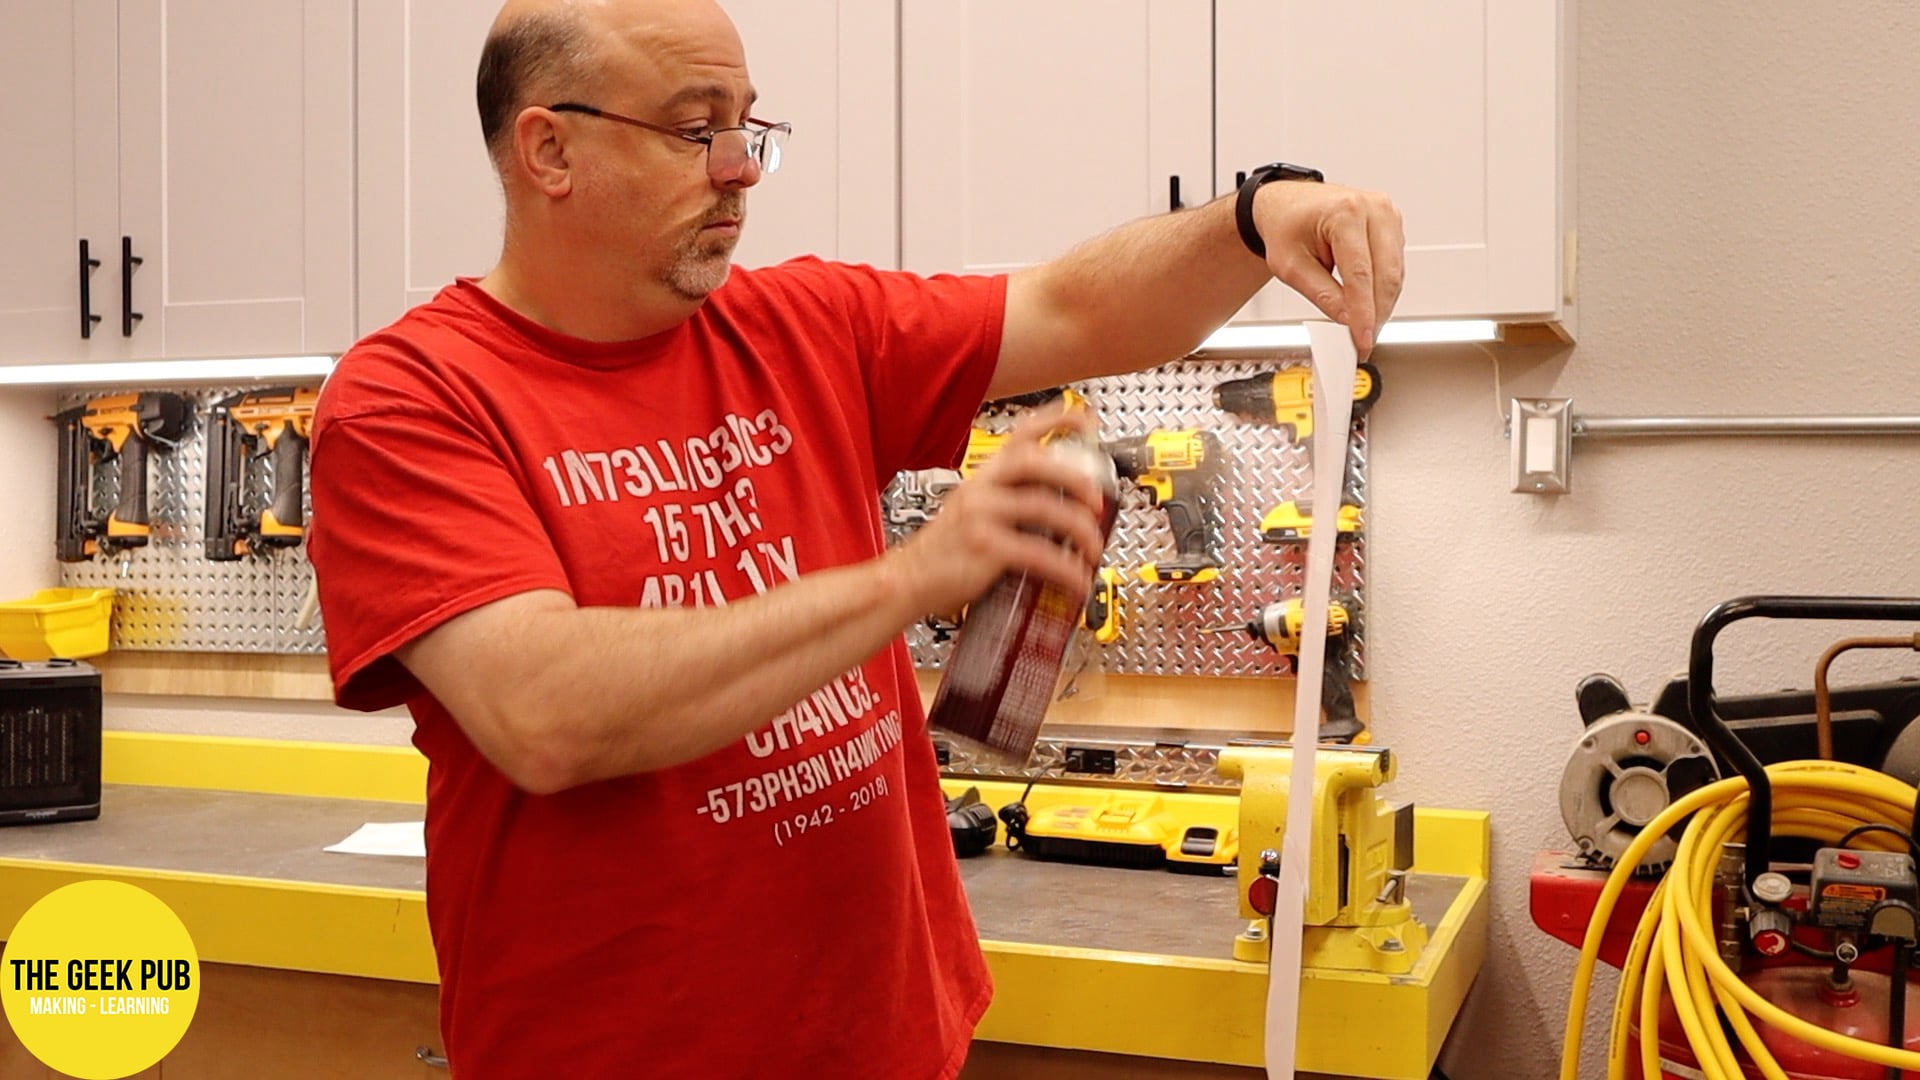
From the plans, print out the spray and stick template. I like to use 3M Super 77 spray adhesive. Just spray the back of the template and wave it around in the air to get it tacky. After about 30 seconds you place it on the control panel and it will stick perfectly.
helps to use a center punch to start each hole (you can just use your smallest screwdriver in a pinch). The spade or Forstner bit will have a brad point on the end of it that will align into this hole for a perfectly placed cut!
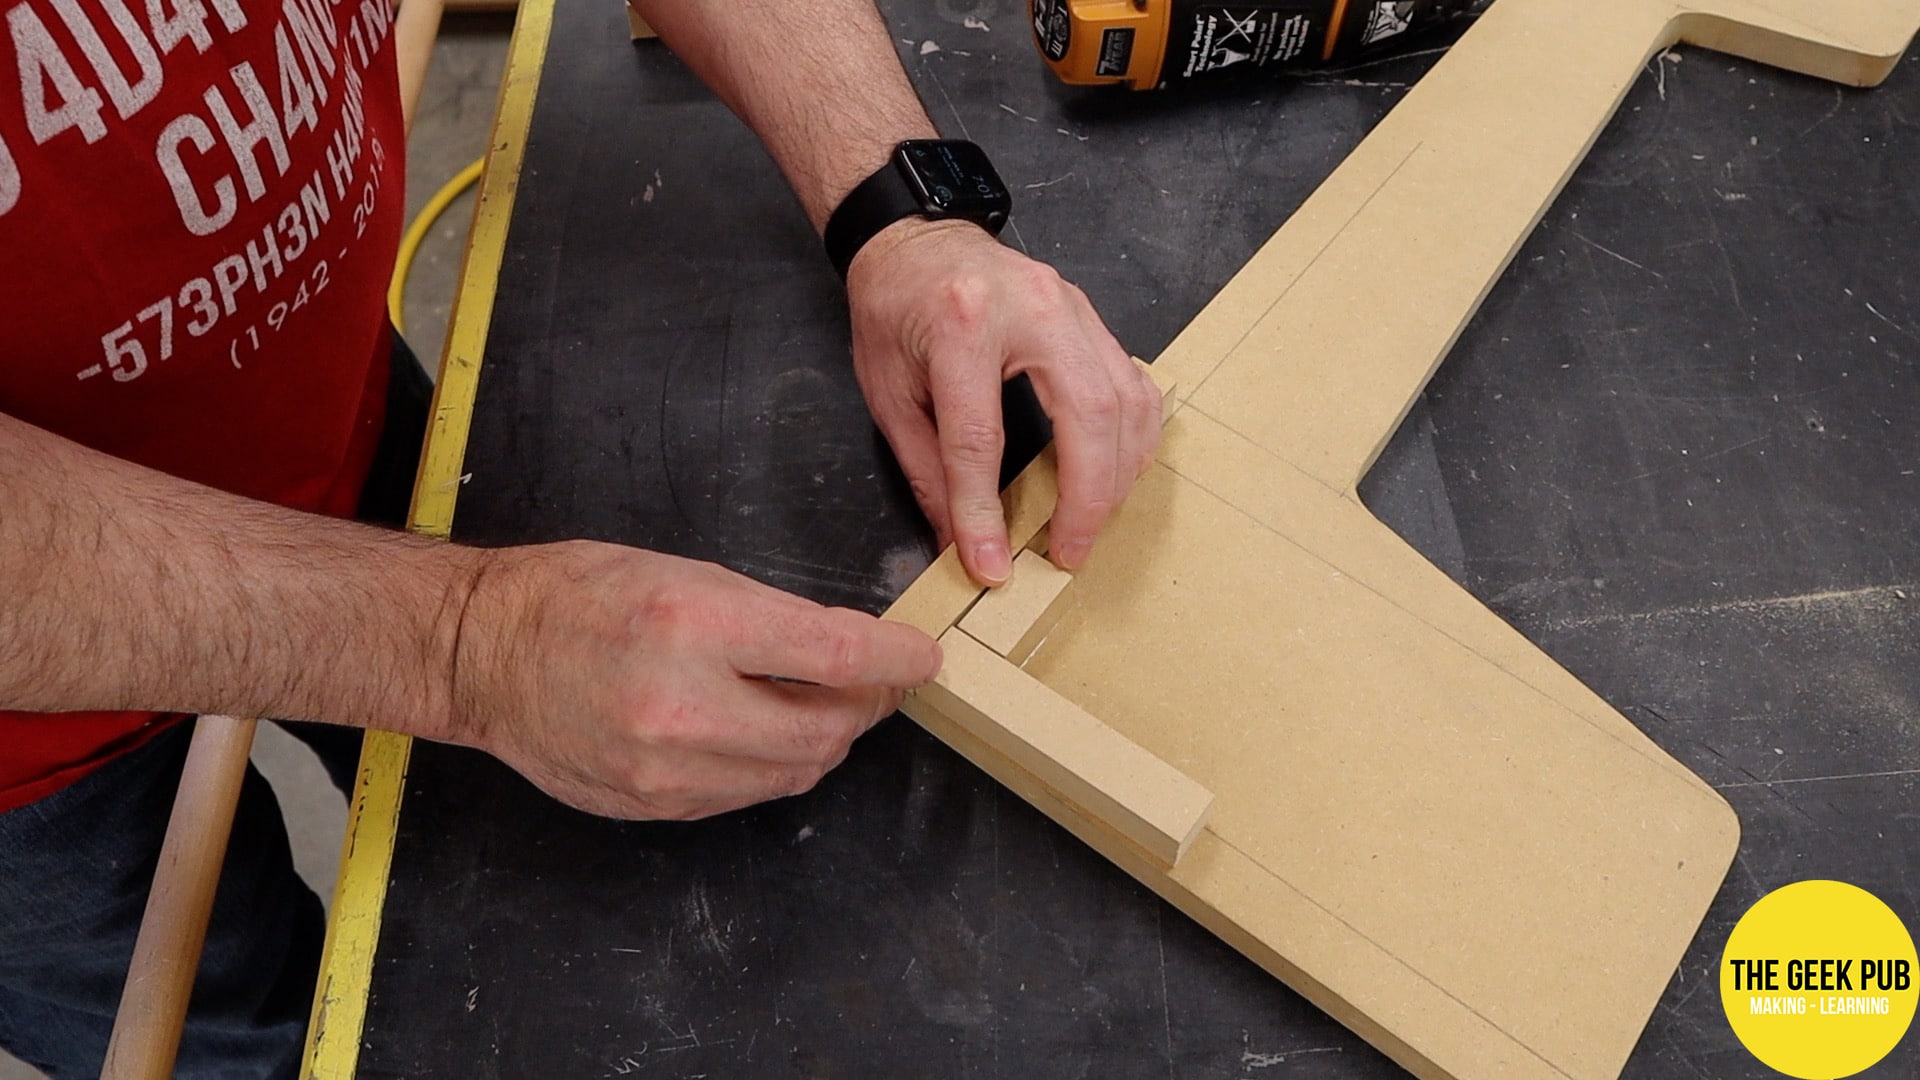
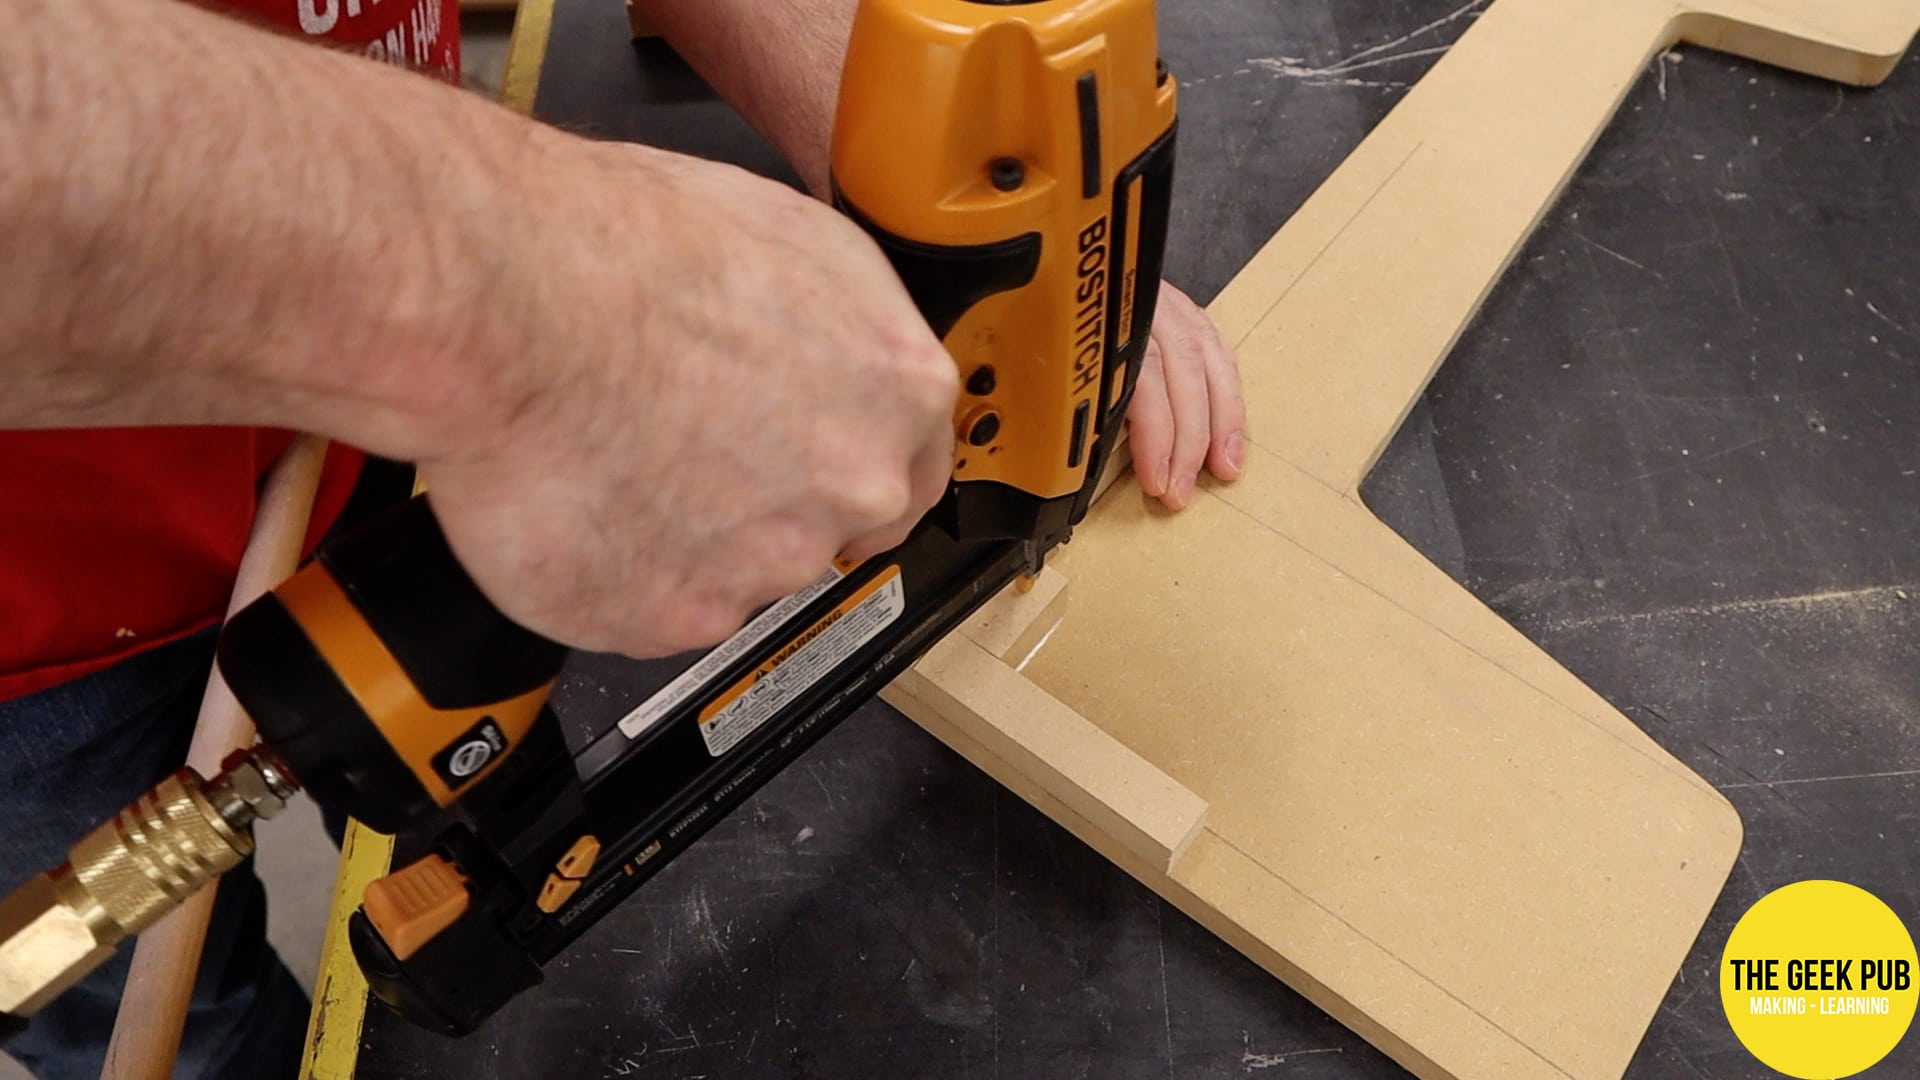
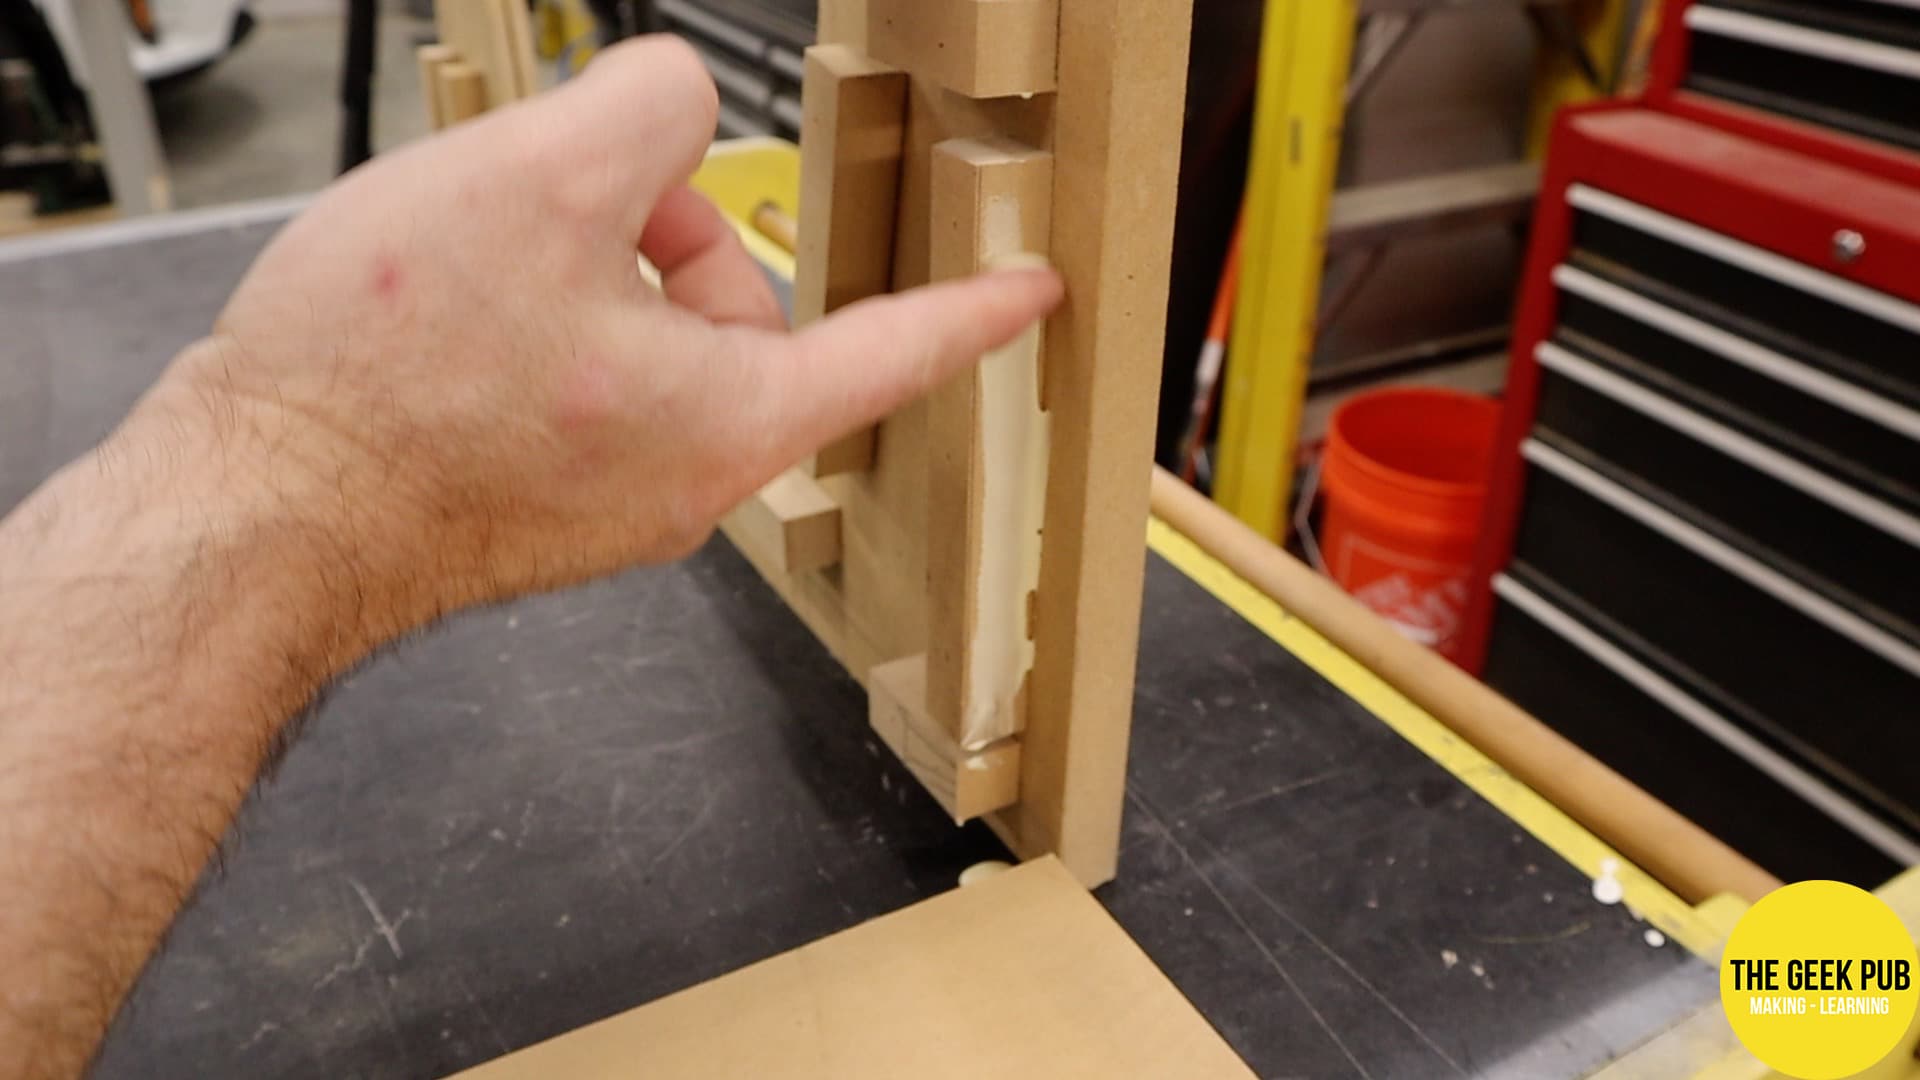
Step 5: Installing the Cleats (Optional)
My preferred method of building an arcade is to use cleats on the side panels to hold all of the other panels in place during assembly. This is a purely optional method, but it works very well. If you are going to use screws (especially pocket screws), then there is no real reason to do these. When using glue (with or without brad nails) this makes for a super easy and strong solution.
The first step is to lay them all out on one of the side panels to verify their positions and that you didn’t miss any during the cutting steps.
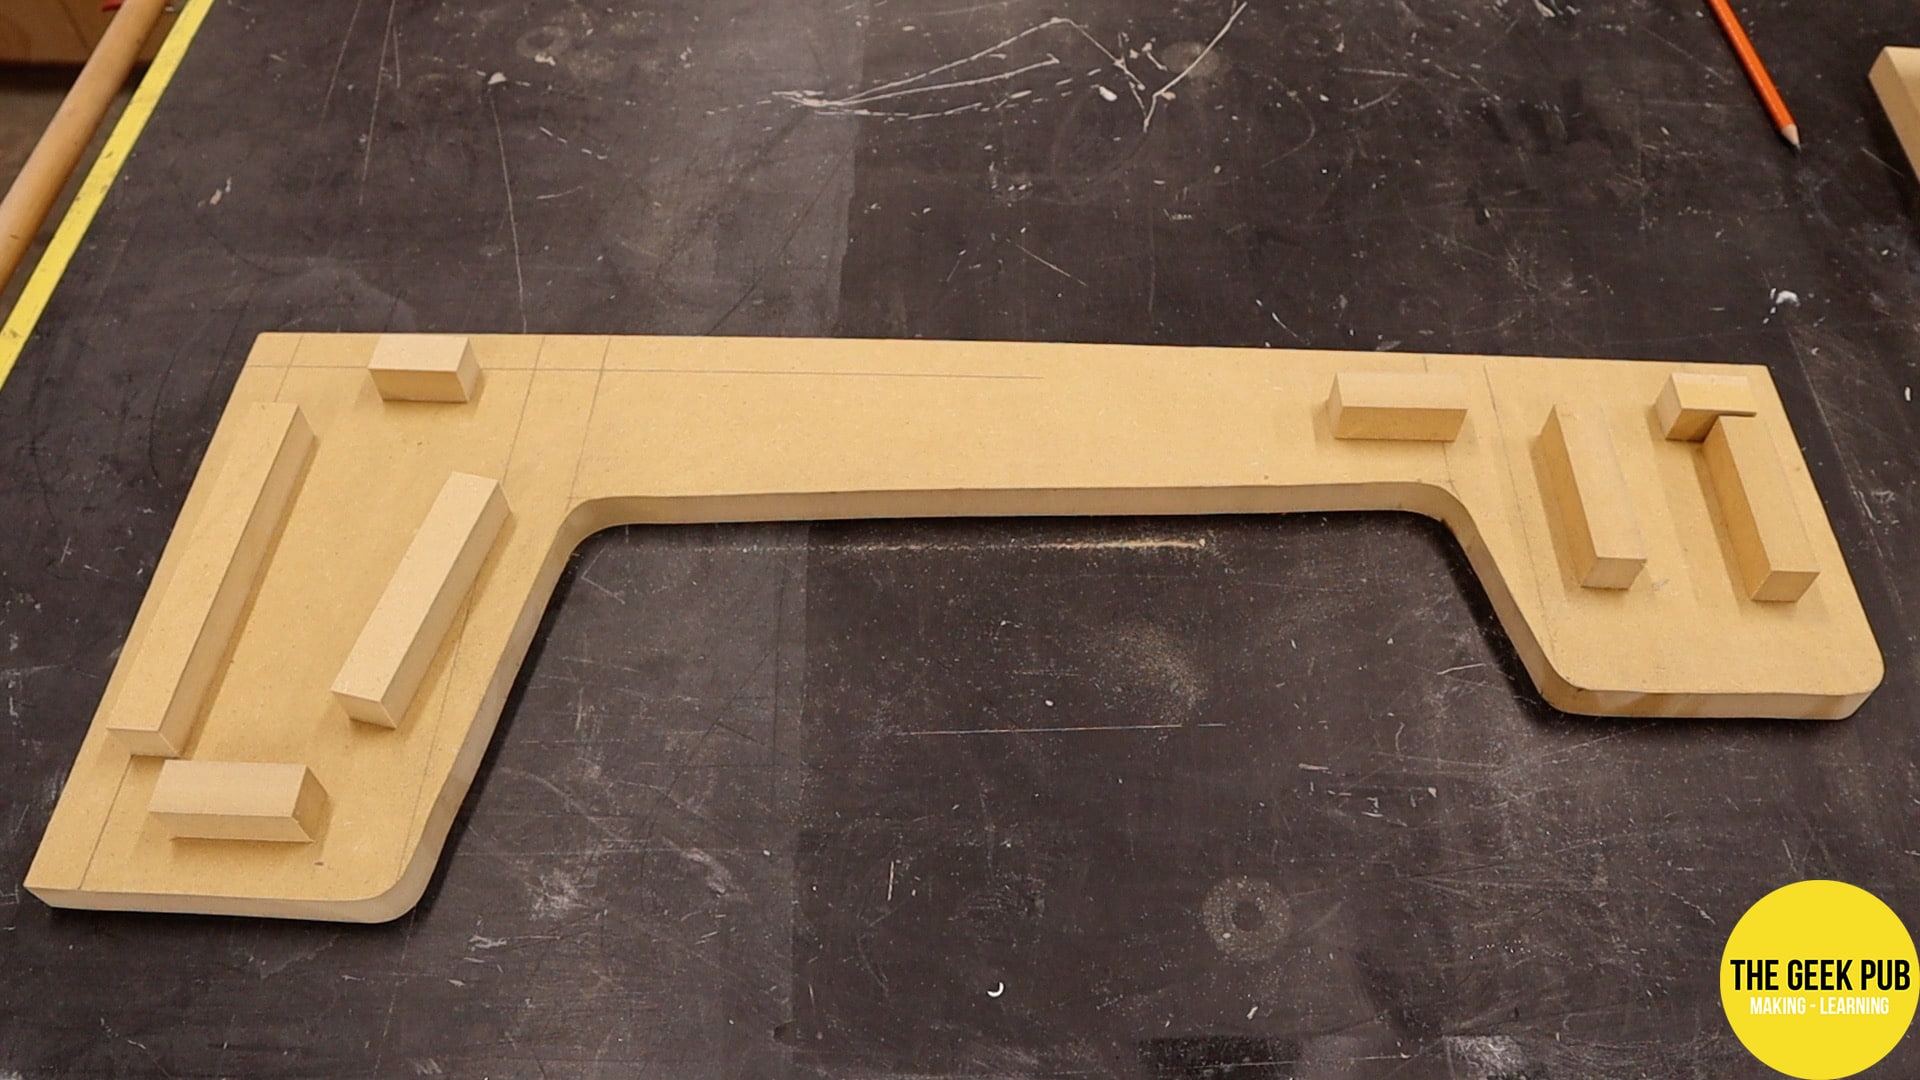
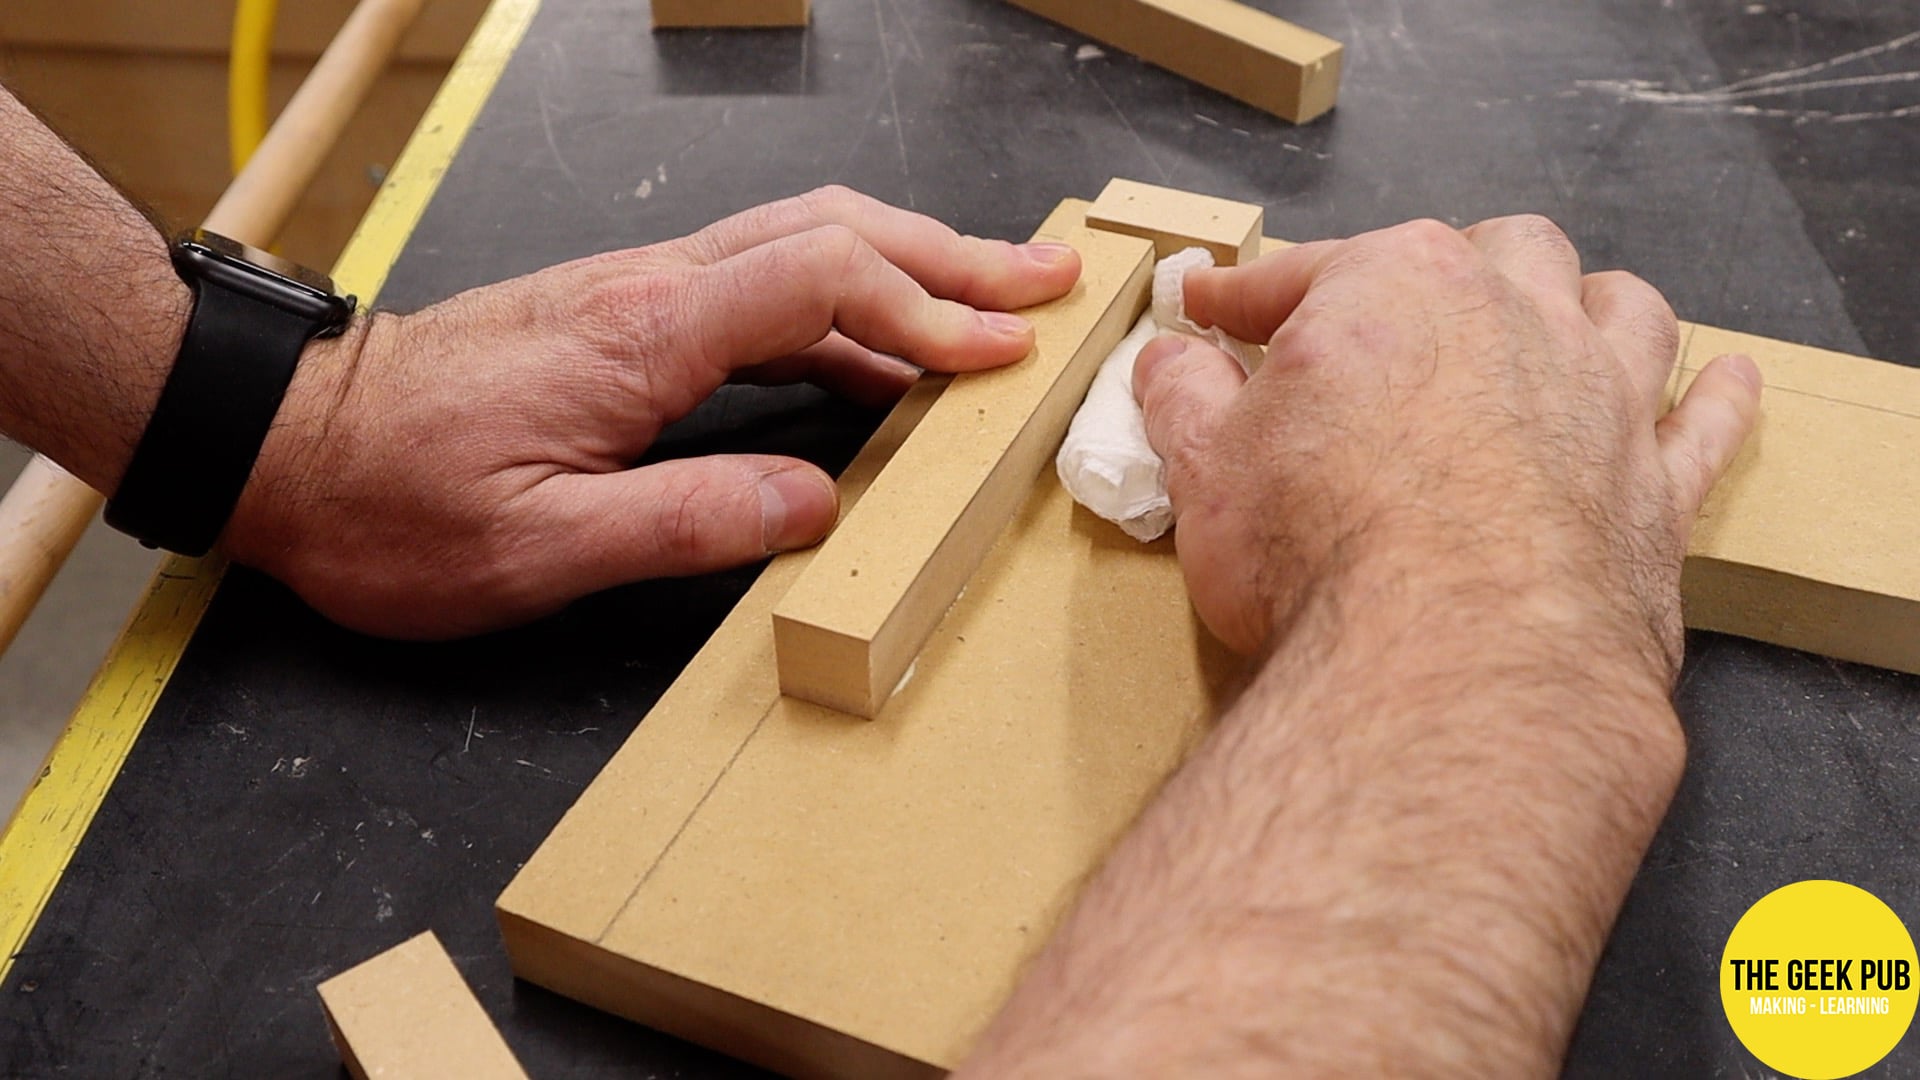
I took each of the cleats and applied glue to them. Then using other cleats as a spacer I positioned them in their exact locations.
Then I used my brad nailer to tack them into place. Brad nails don’t really provide much structural integrity. At the end of the day they are just mini clamps that hold the wall hanging arcade together while the glue dries up over the next few hours.
Be sure to wipe away any glue squeeze out. If you leave it, your panels won’t line up later because the dried glue chunks will be in the way.
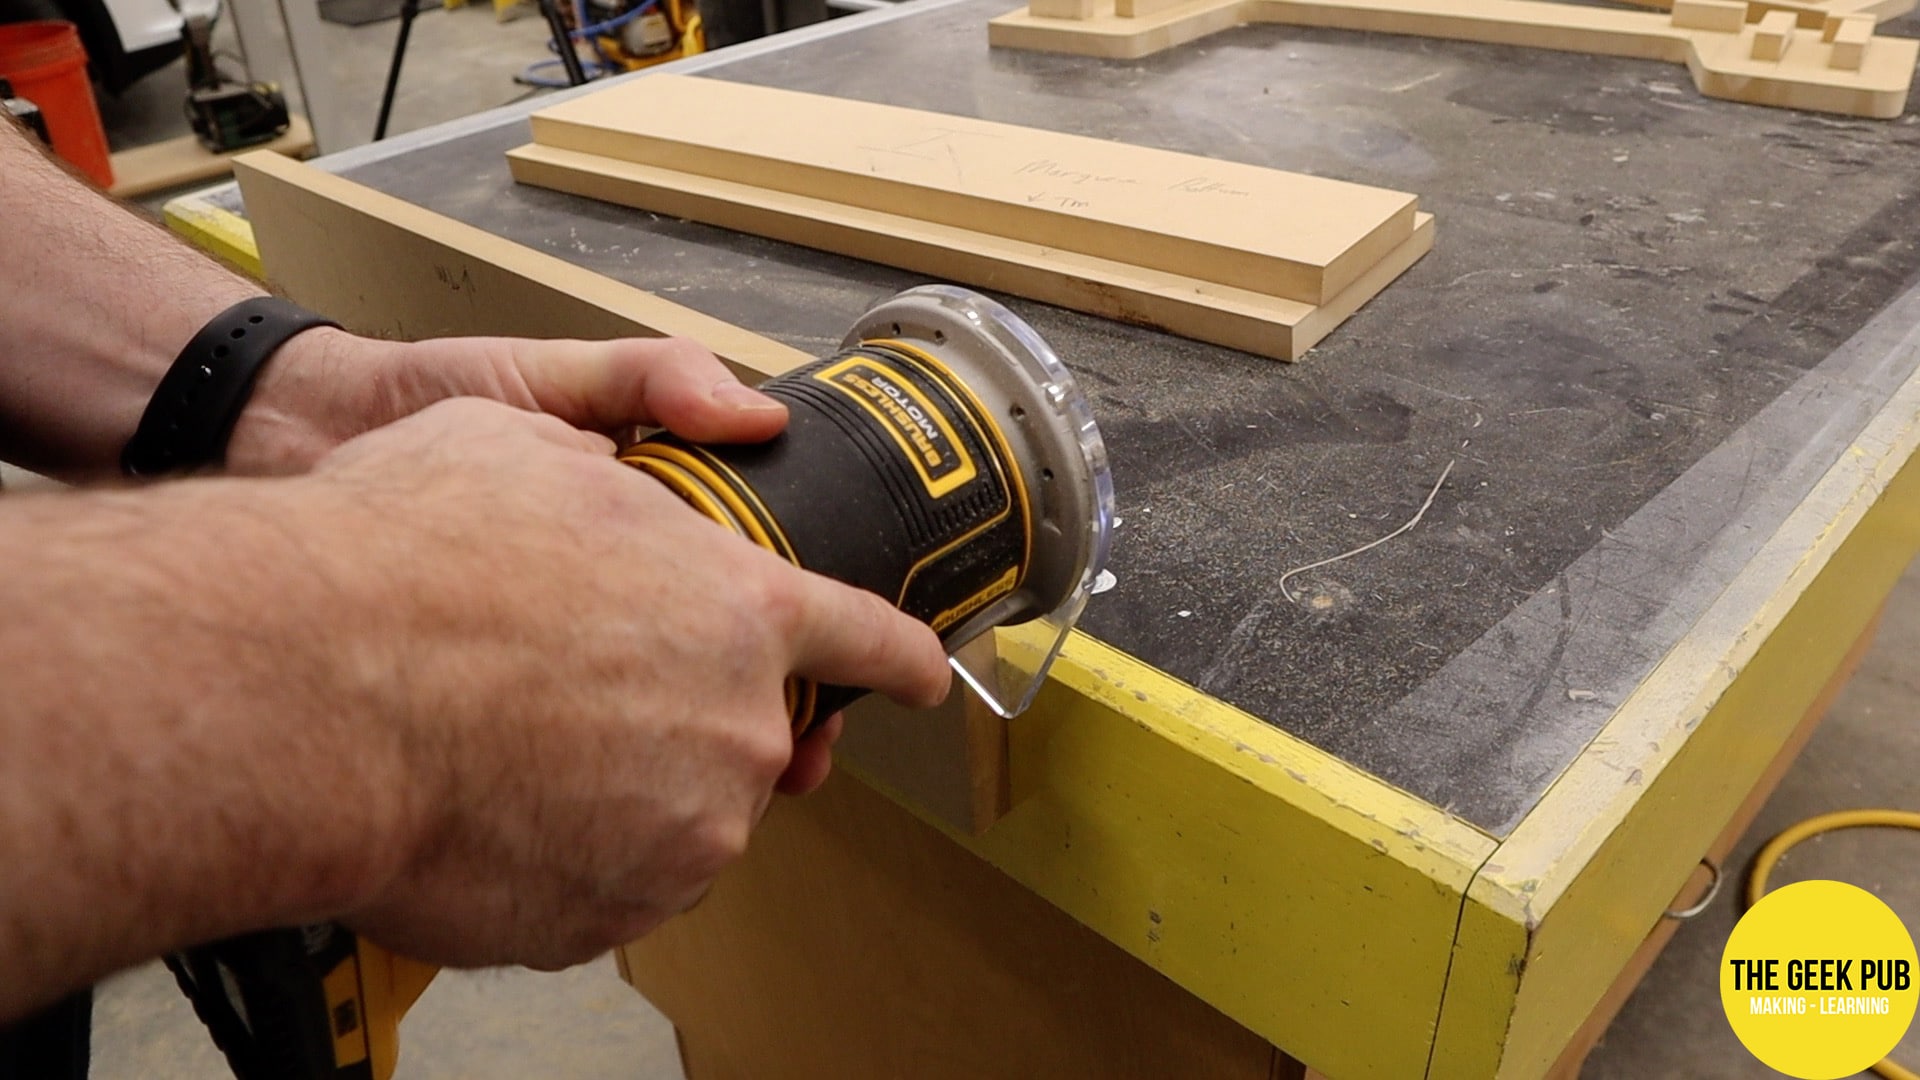
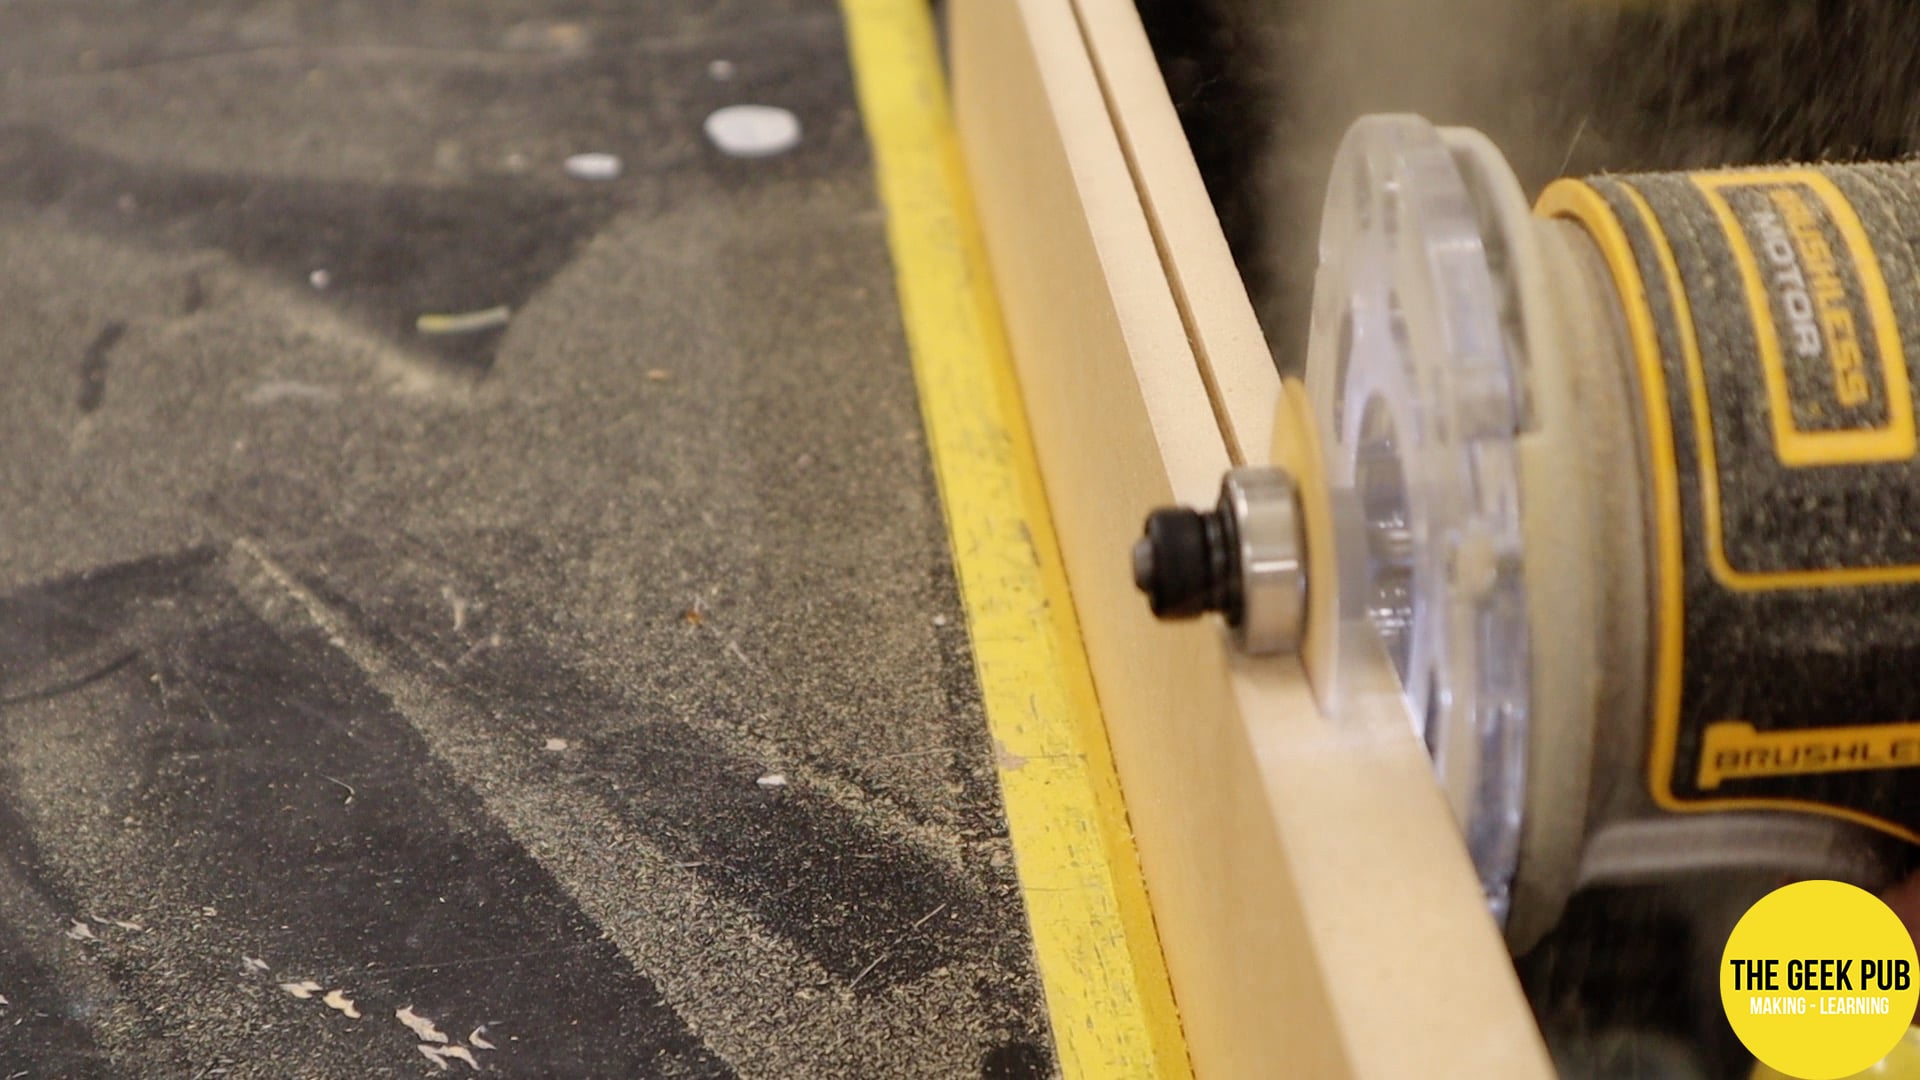
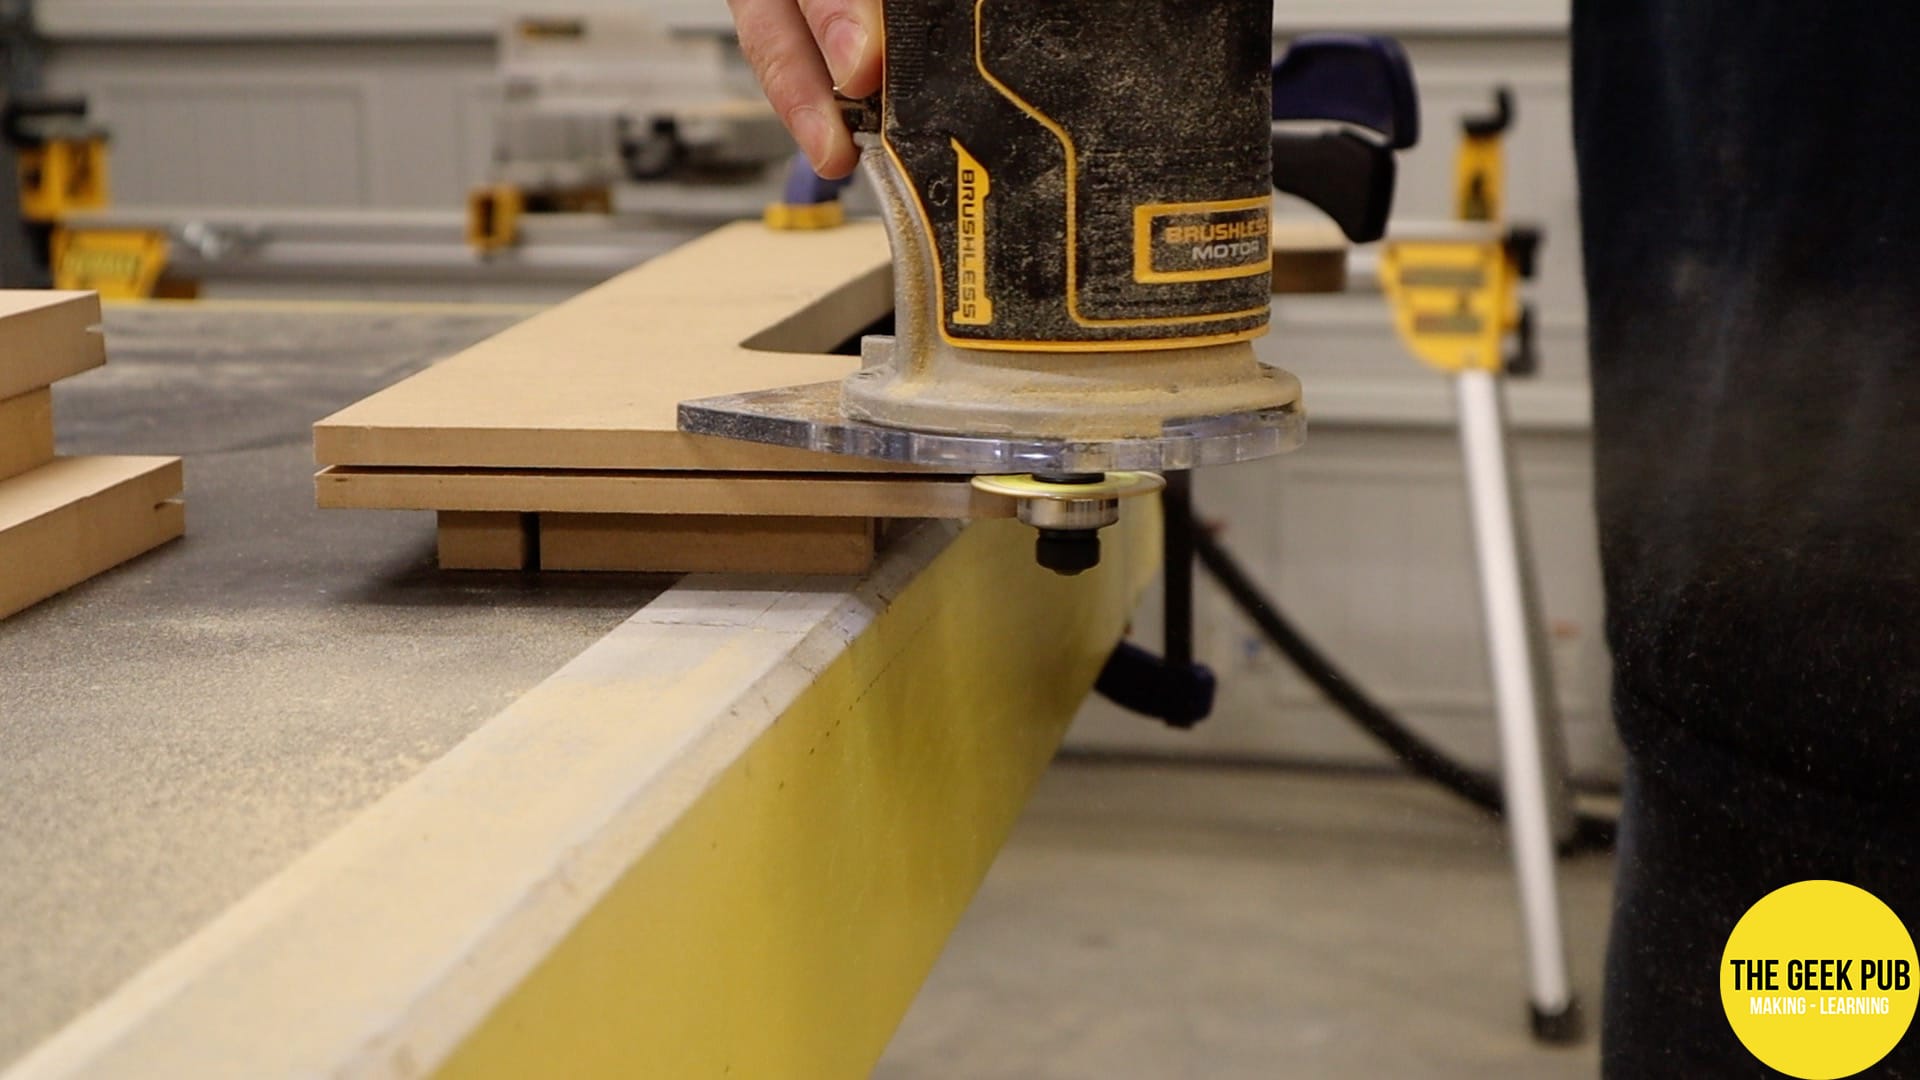
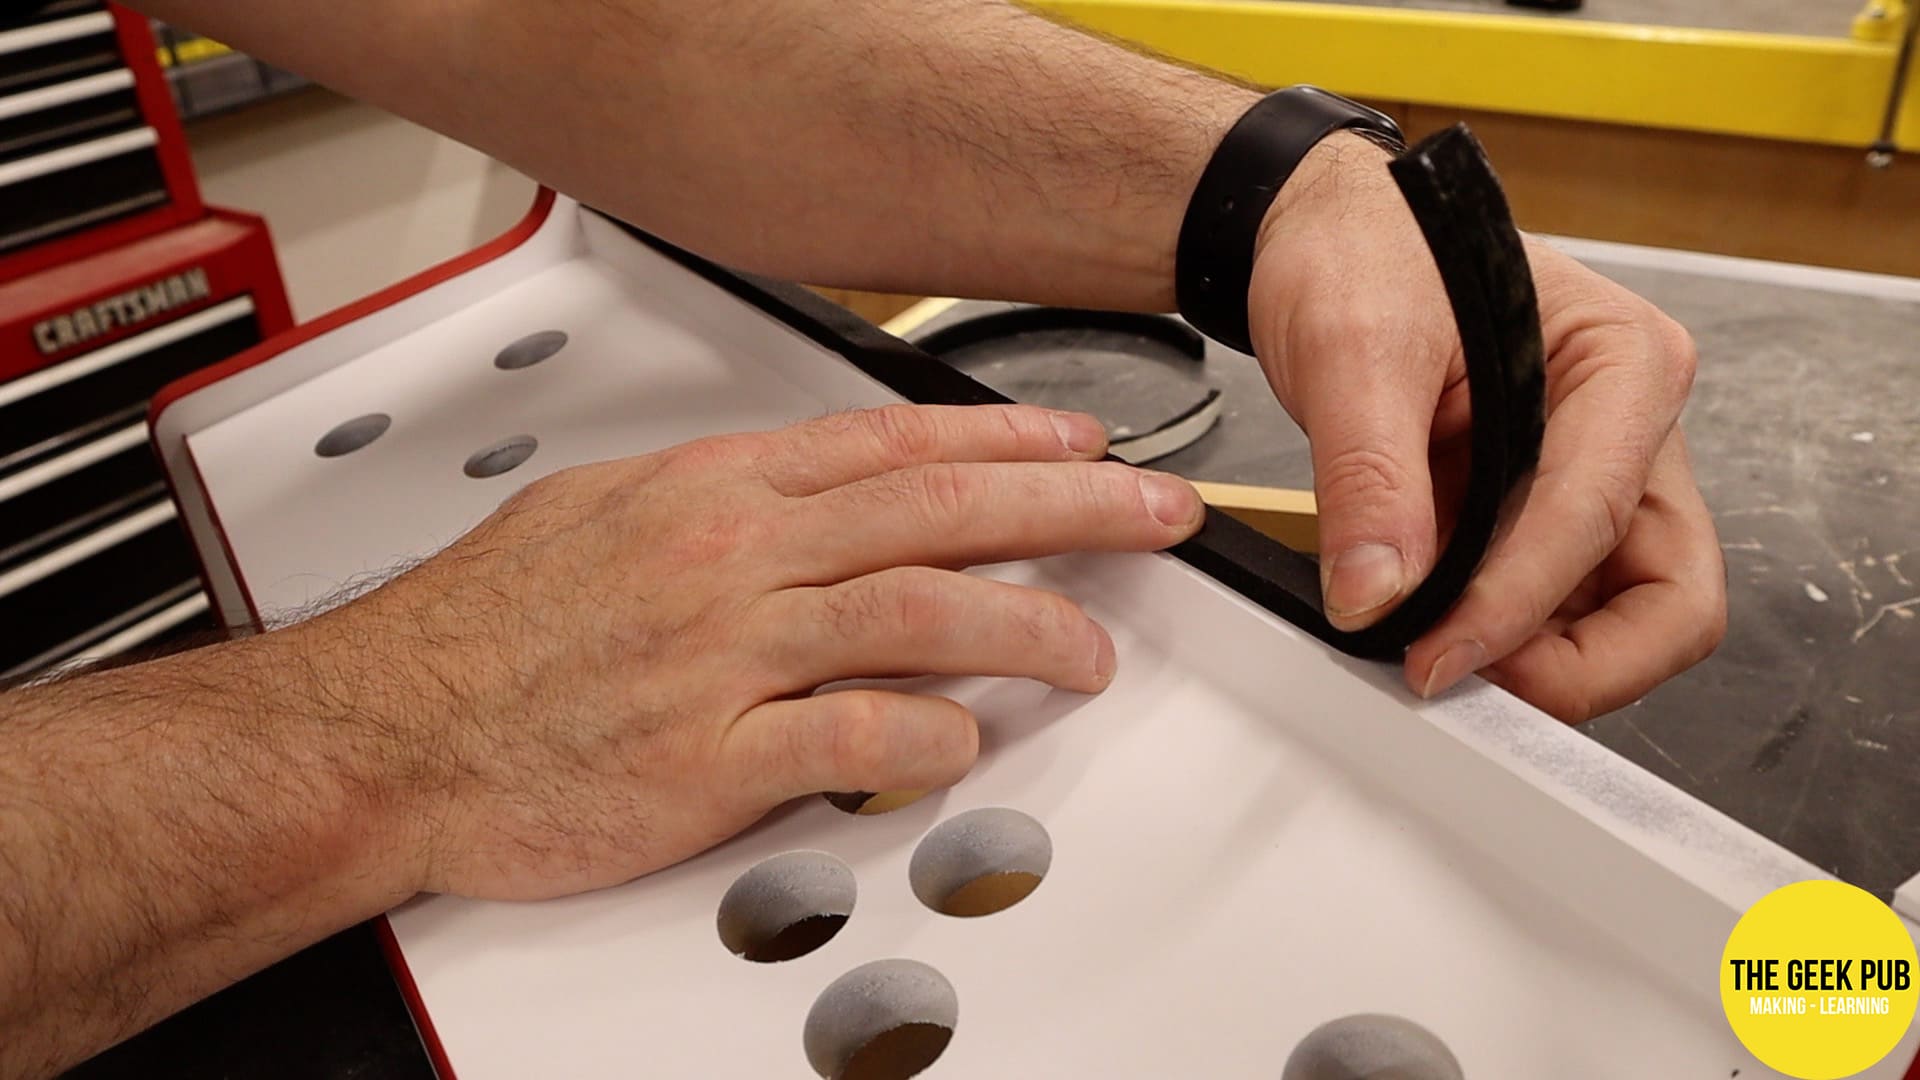
Step 6: Routing for T-Molding (Optional)
The final step before assembling our wall mount arcade is to route out for T-molding. This is another purely optional step, but it really makes for a super clean finish and is very retro!
I normally use my router table for these types of operations, but for this video I wanted to show how to use handheld router, since that’s what most of you are likely to have.
They key to a good result with this type of operation is to go slow and take your time. The faster you go, the more likely you are to jerk or misalign the router.
I routed out the side panels, the marquee, and the control panel for T-molding on this arcade. This is your arcade, so make it your own!
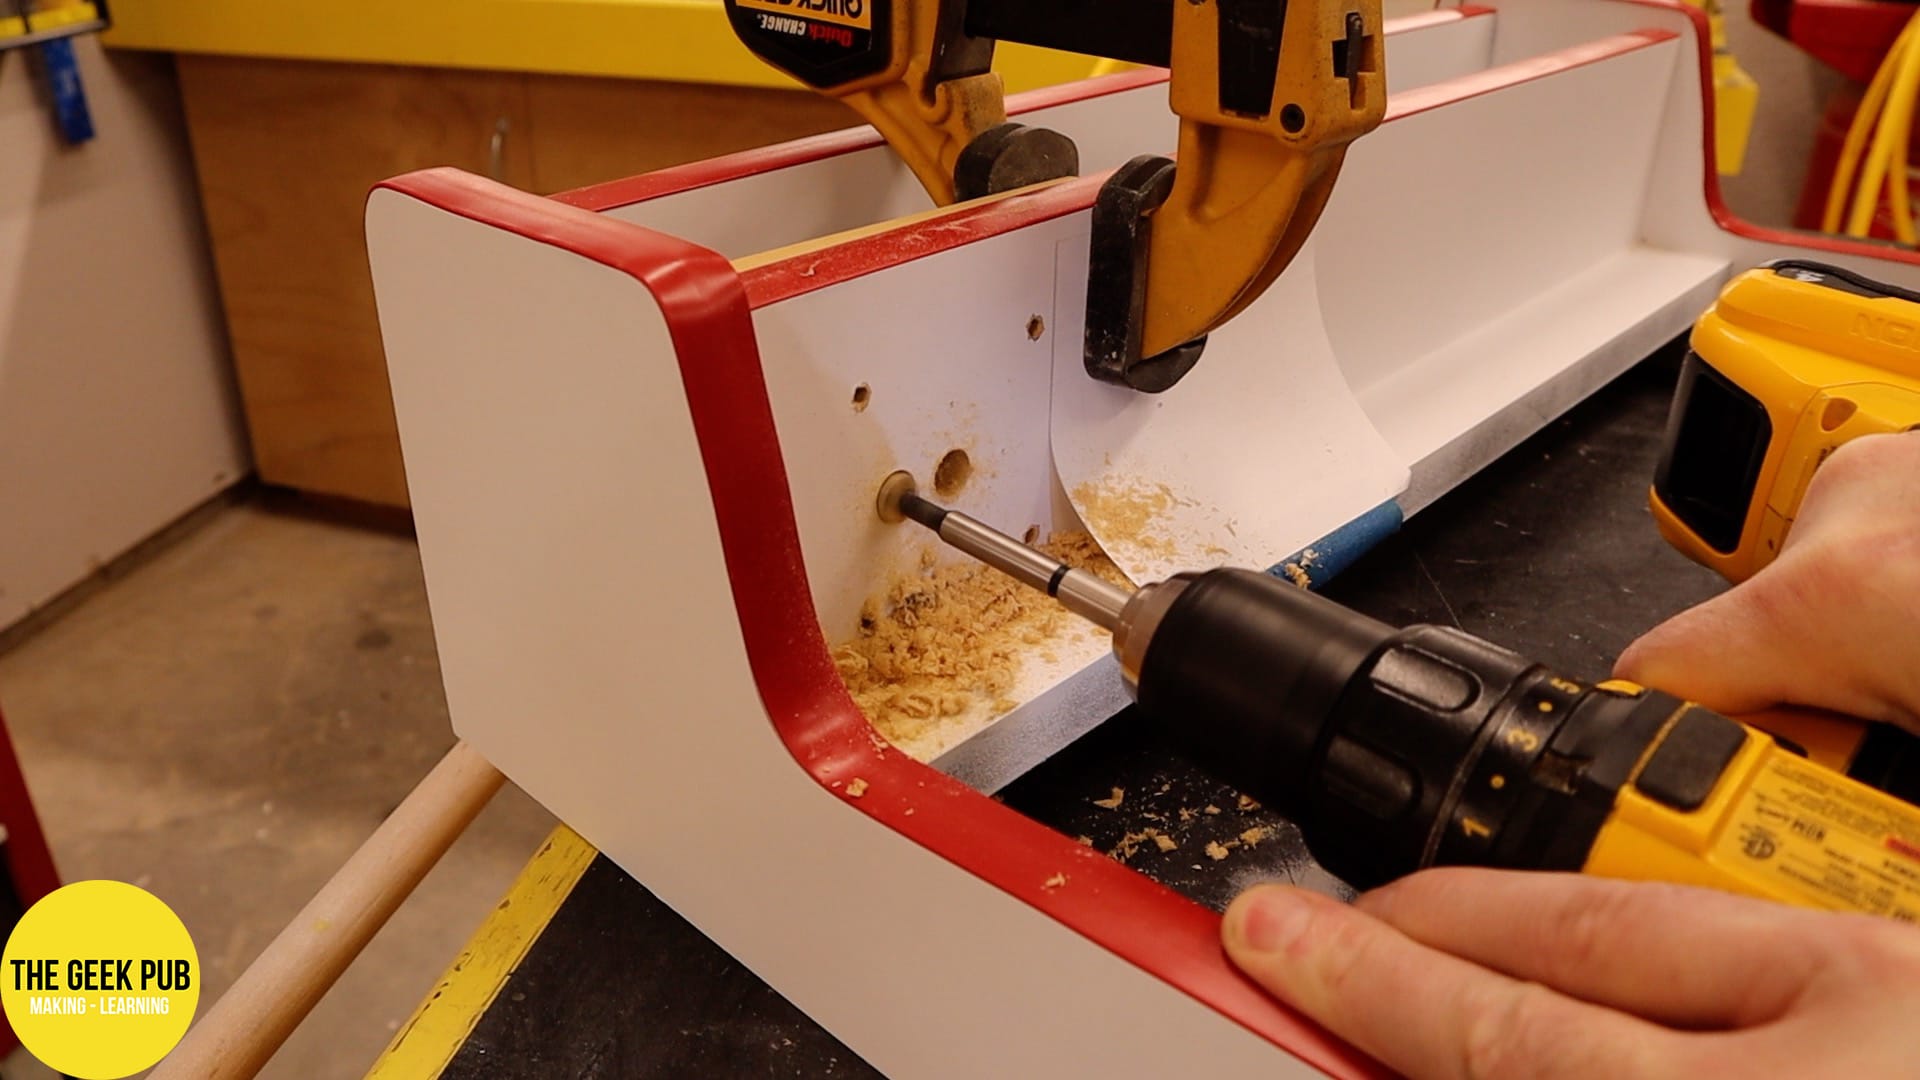
Step 7: Assemble the Wall Mount Arcade
Now it’s time to assemble the arcade. This is the easiest part of the entire build. I took each component and laid it out according the plans. I glued and brad nailed it into place.
My suggestion here is to start with the bottom panel first, and then the top panel. Once those two are in place use a square to make sure the arcade is square and perfectly aligned. Then install the rest of the panels.
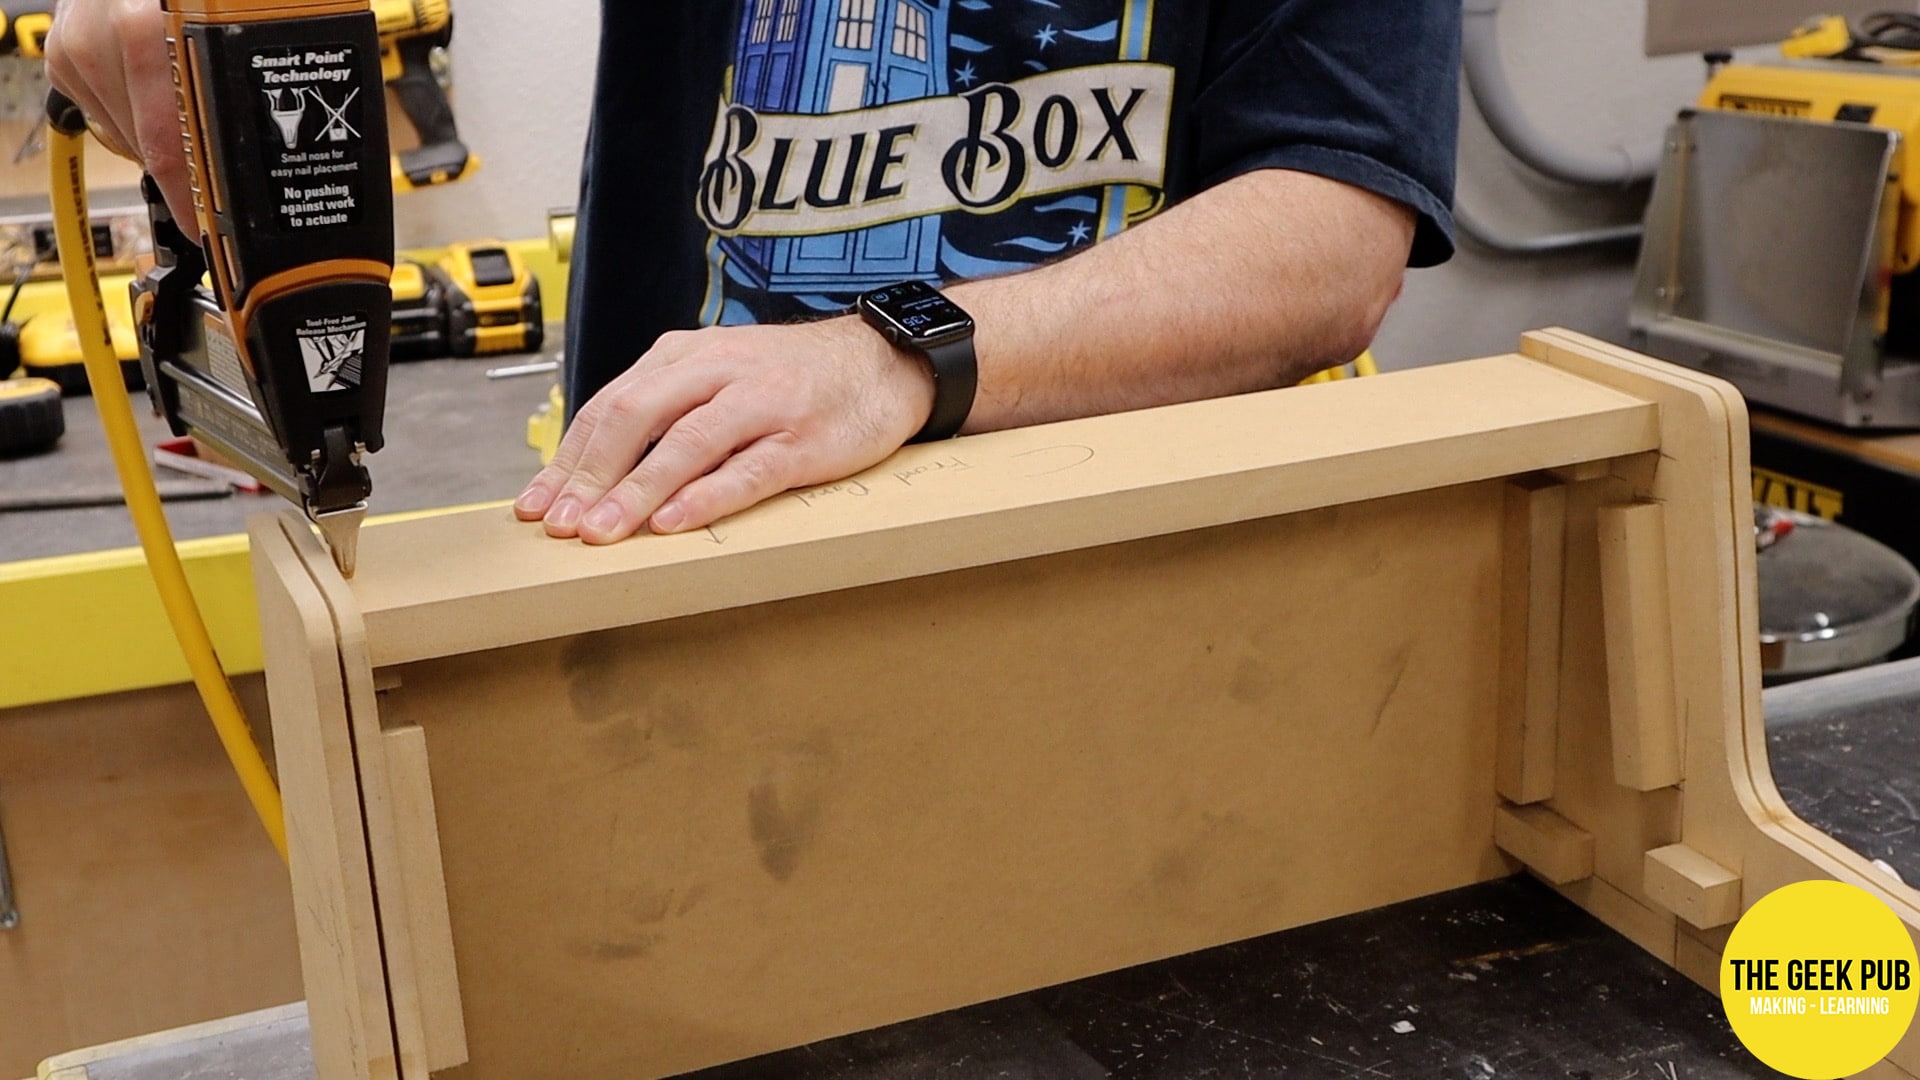
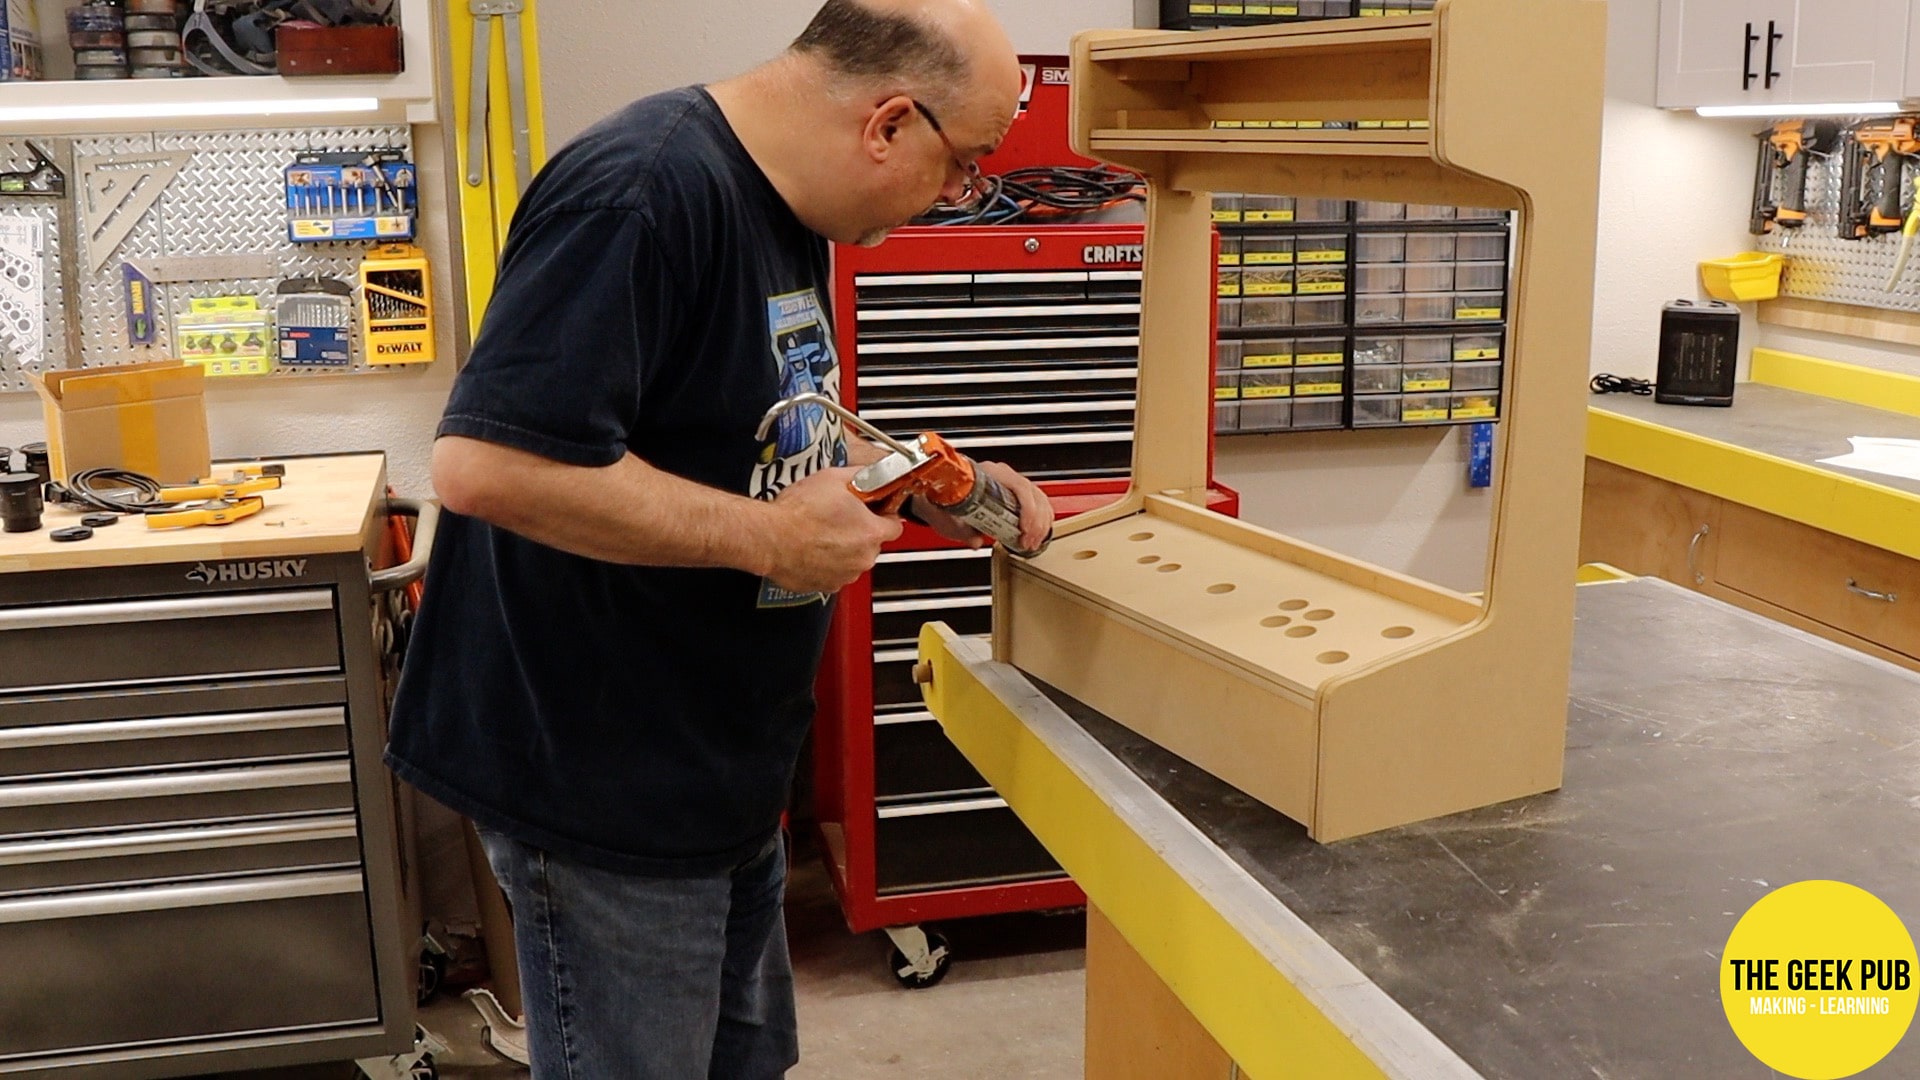
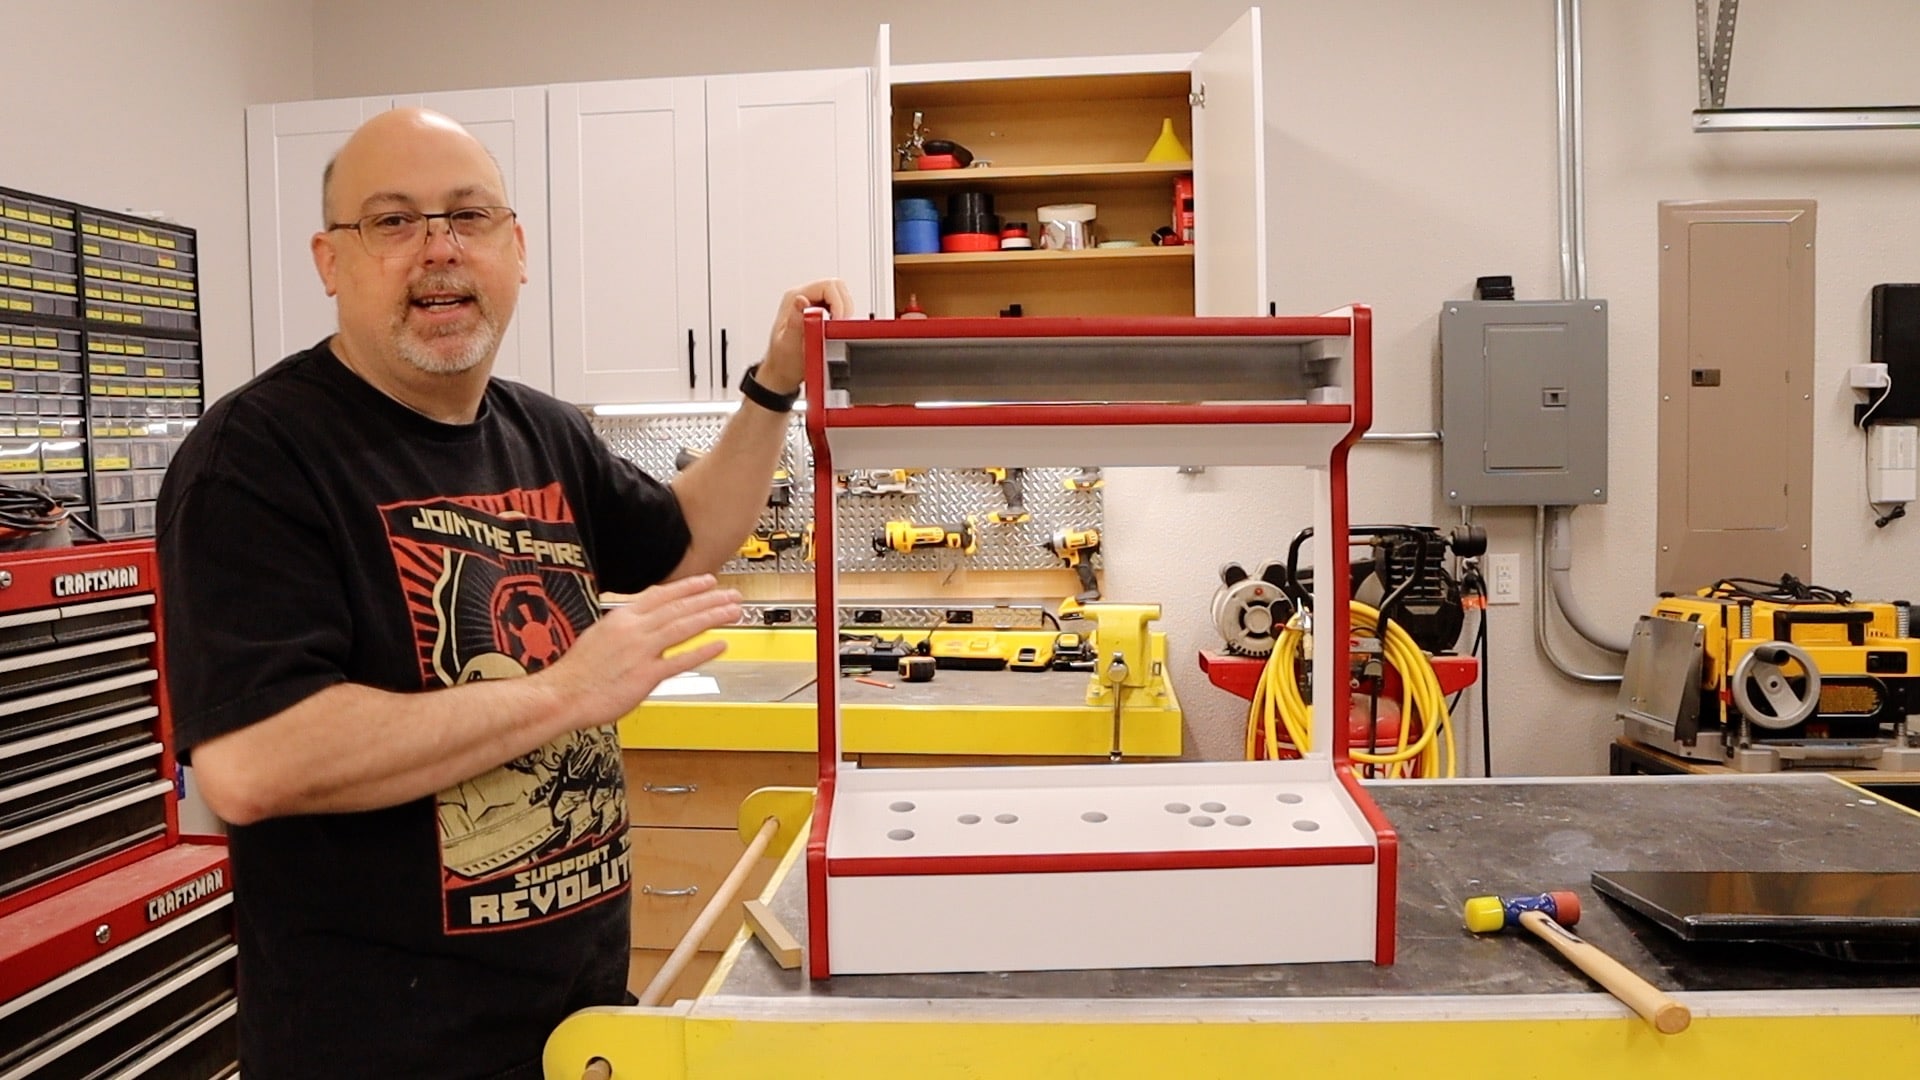
The complete assembly looks really awesome!
Step 8: Prepping for Paint
The outcome of the finish work of any arcade is only as good as the prep work you do beforehand. It’s important that paint has a super smooth and clean surface to lay down onto.
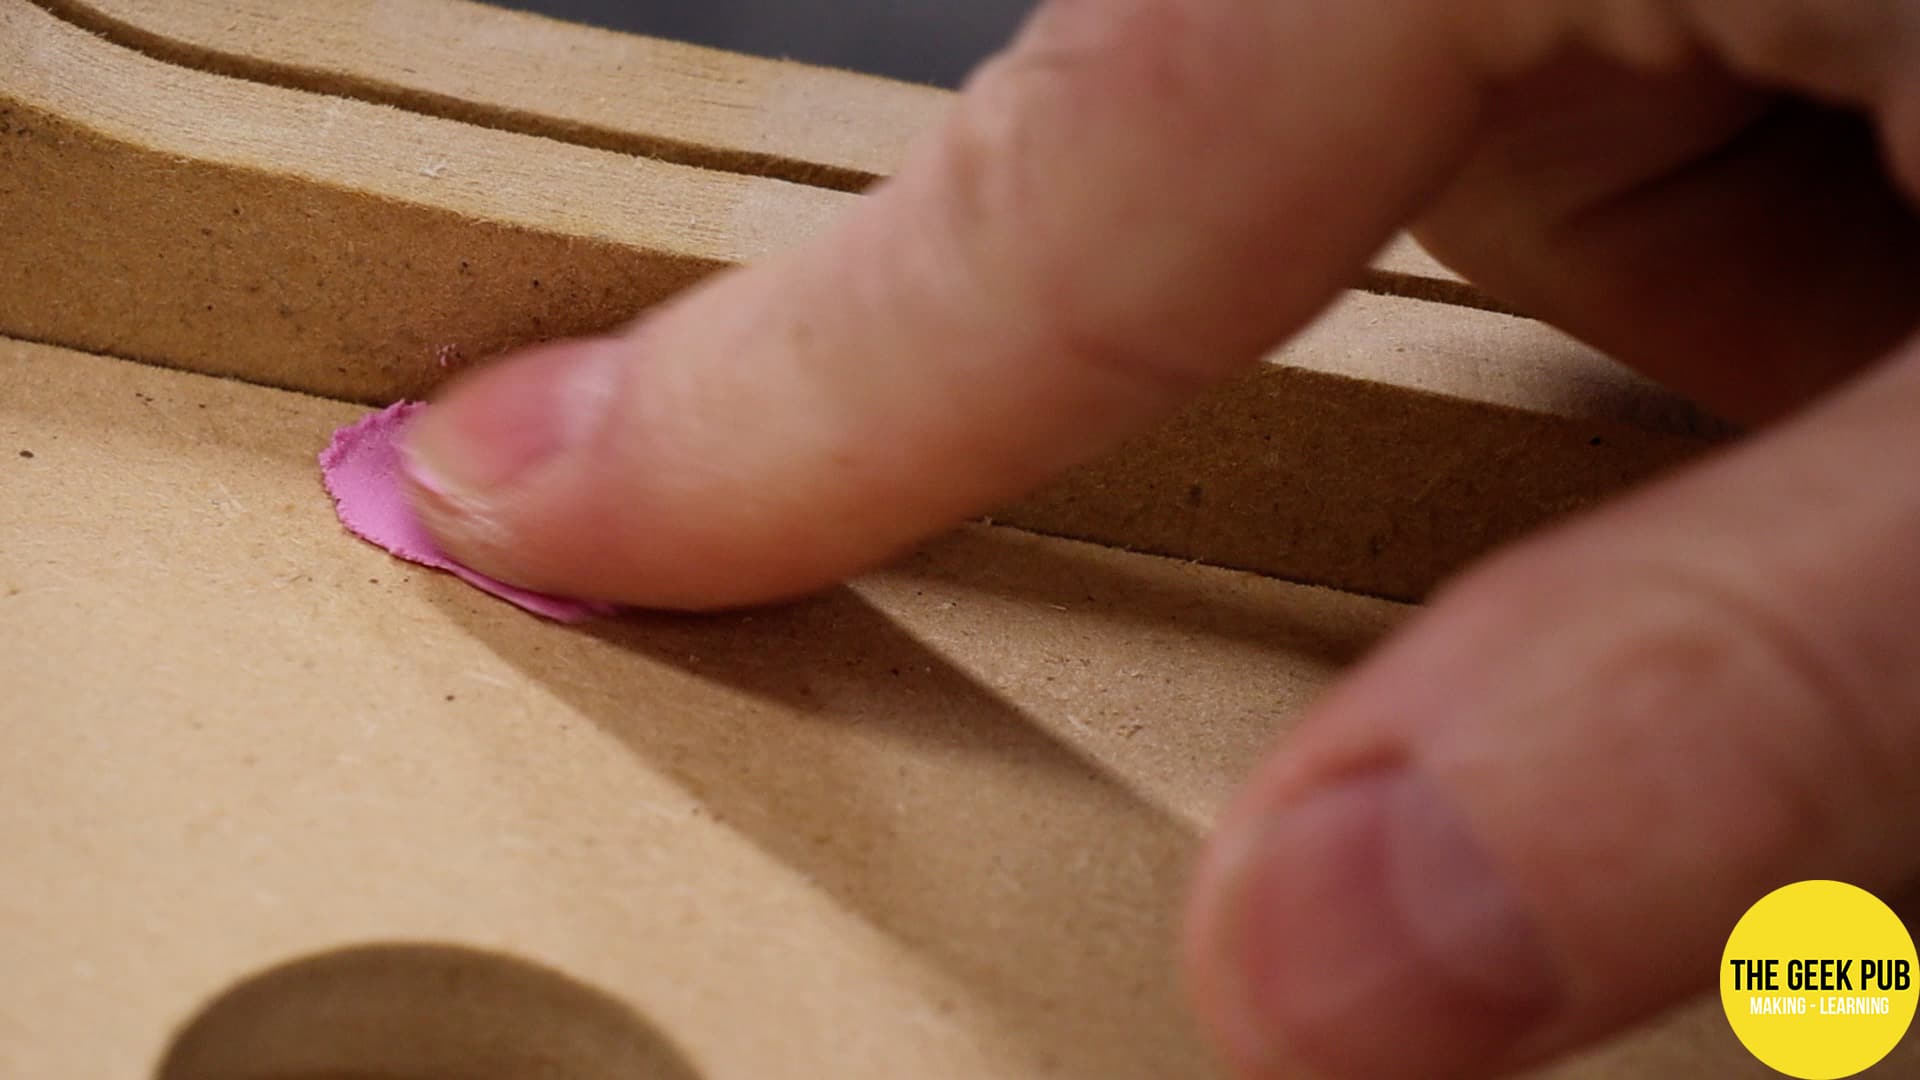
In order to get that super clean finish, we need to start with filling any nail or screw holes left over from assembly of the wall mount arcade. In my case a bunch of brad nail holes!
I used some spackling to fill in all of the nail holes. I prefer spackling because it won’t leave a divot or “sink in” after it dries like caulking or some other putties might. It also dries super fast. I applied the spackling with finger and then used my 5 in 1 tool to wipe away the excess for a perfct smooth finish.
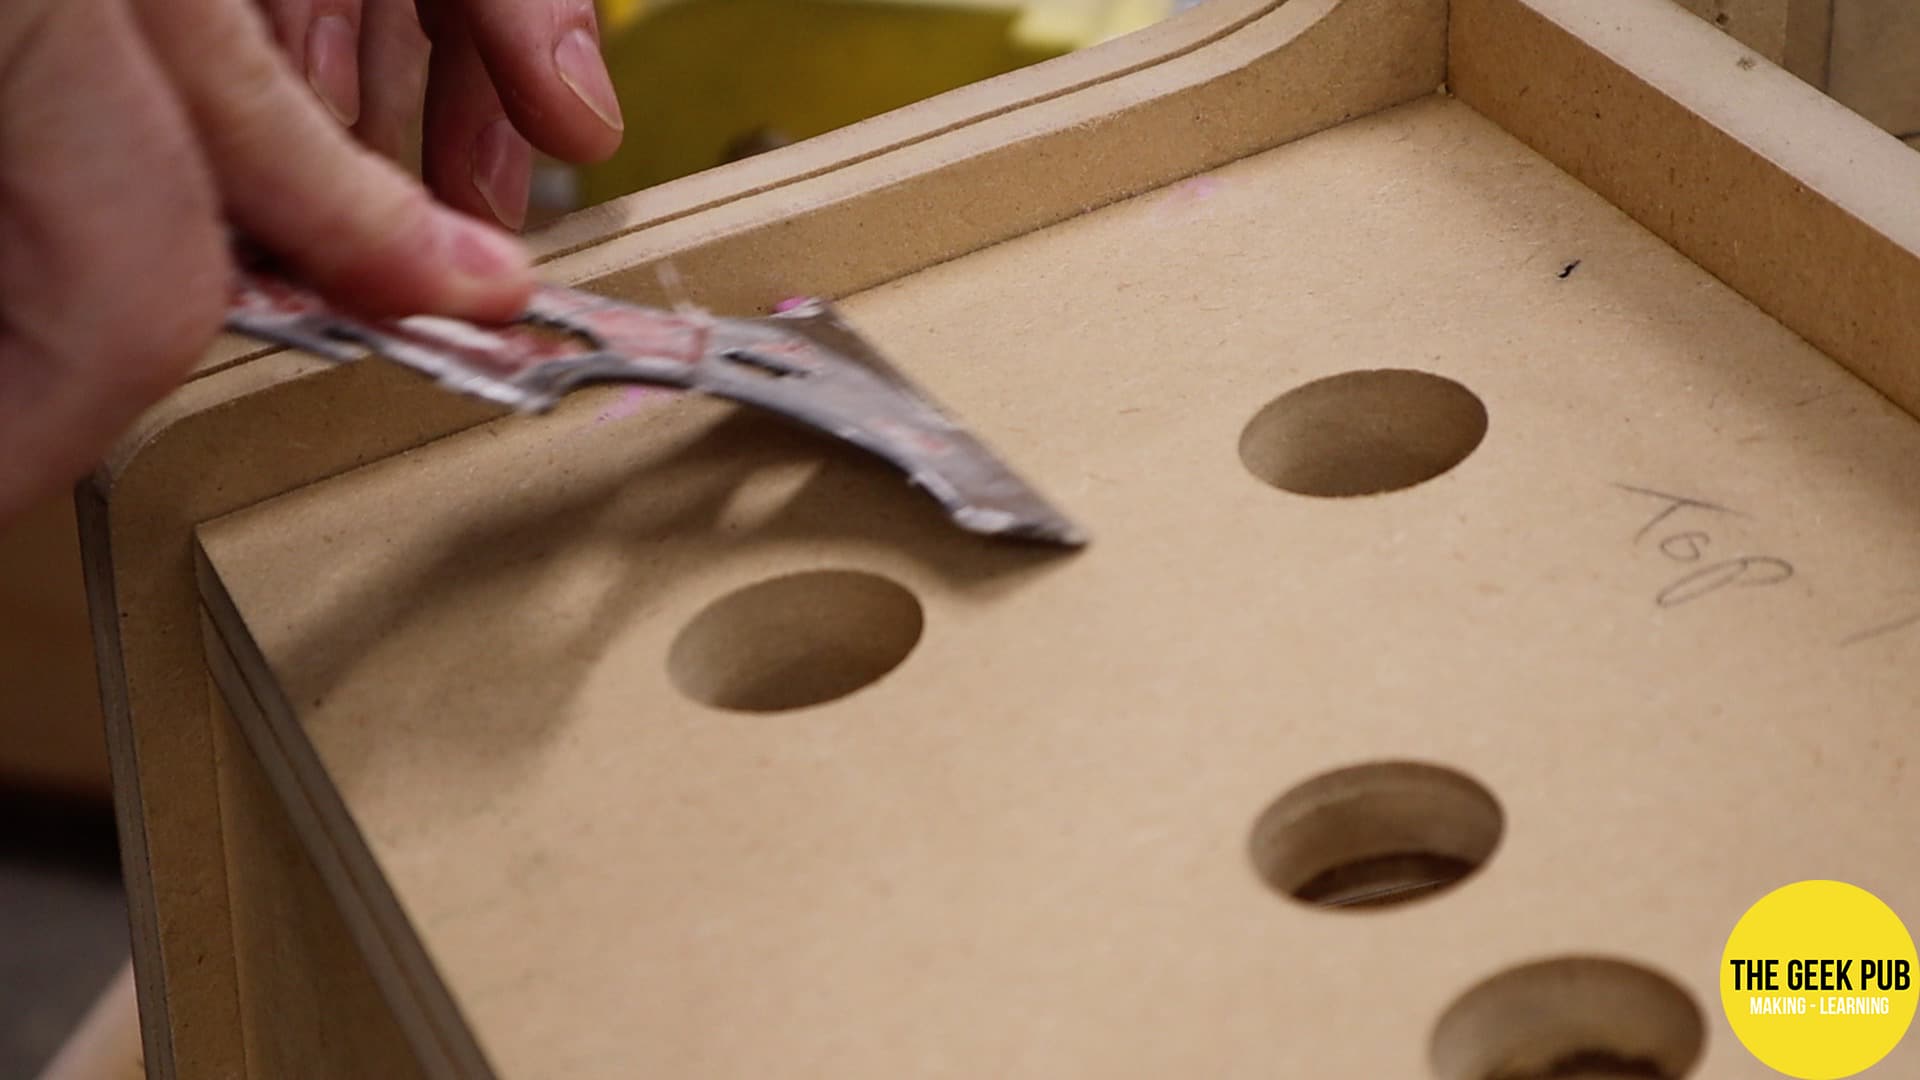
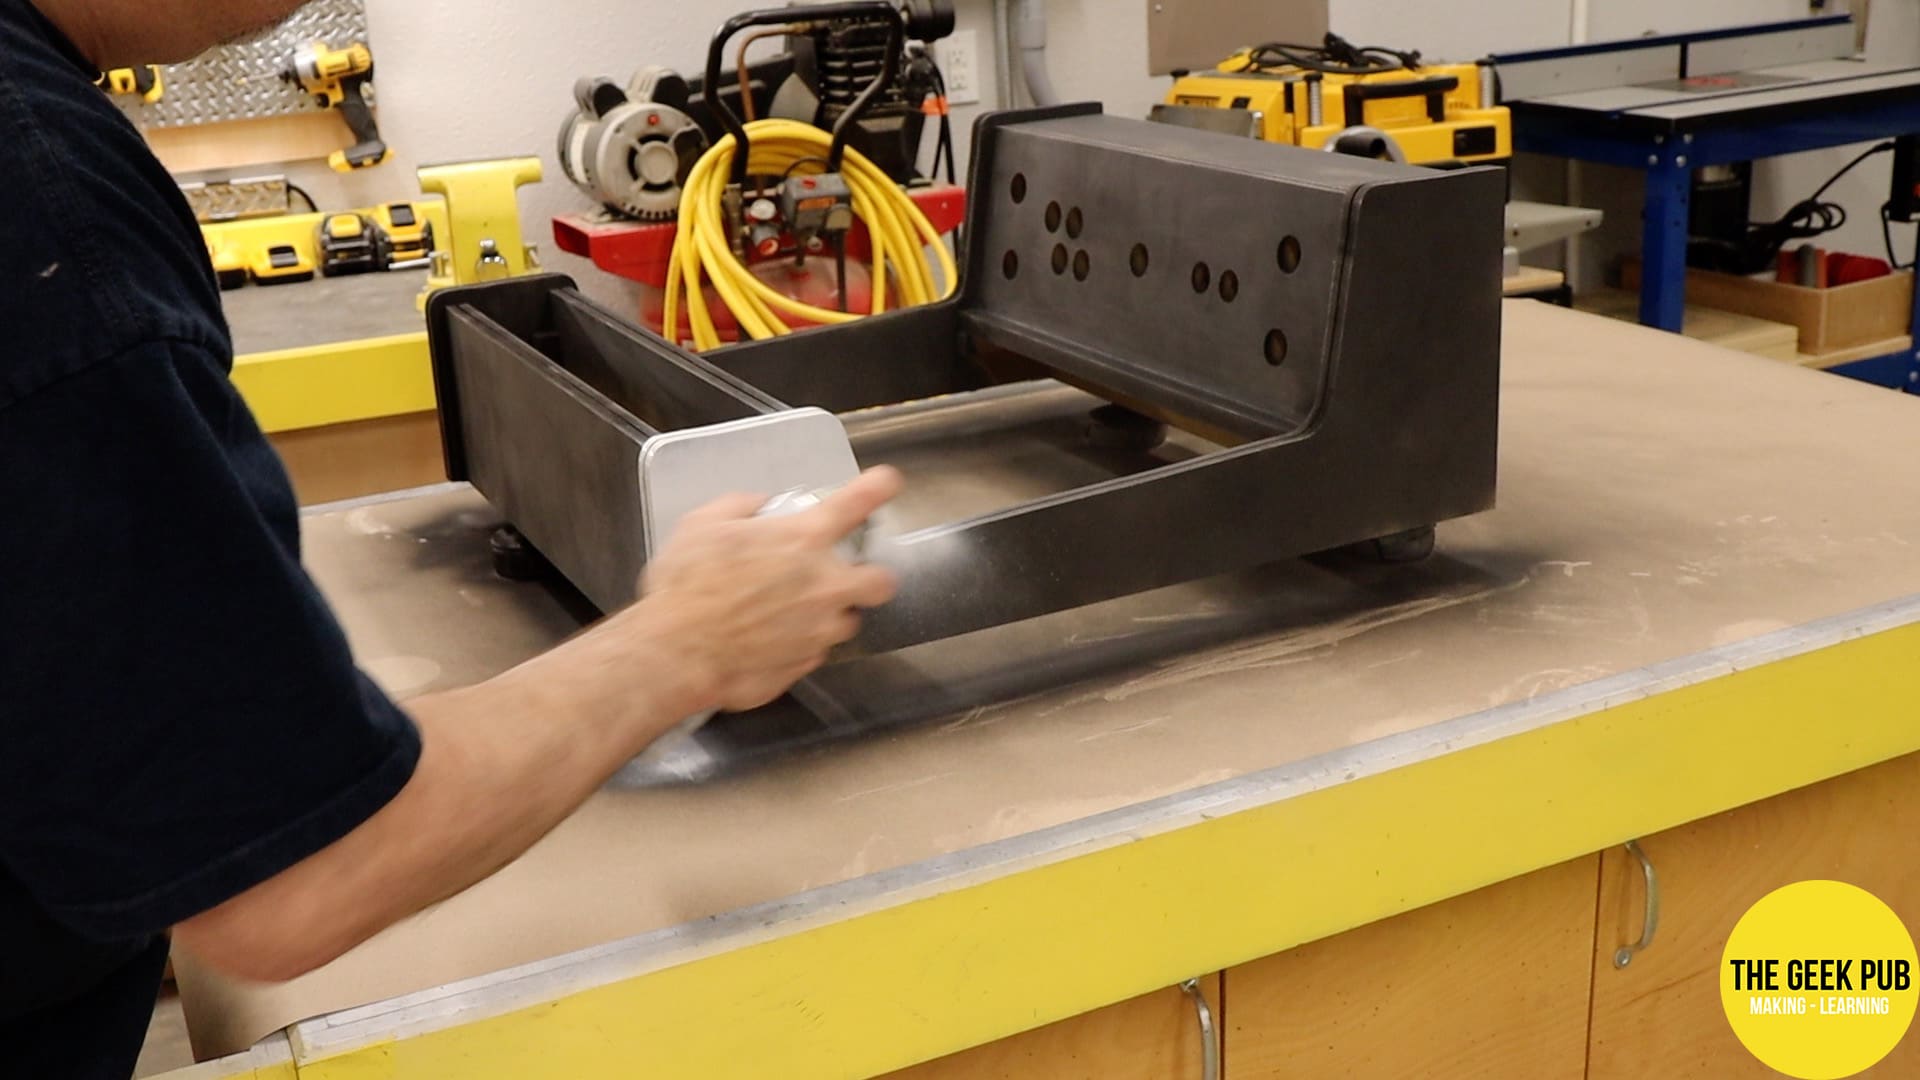
The next thing I did was sand the entire cabinet with my orbital sander. And then touched up any corners it couldn’t reach with a rectangular sanding sponge.
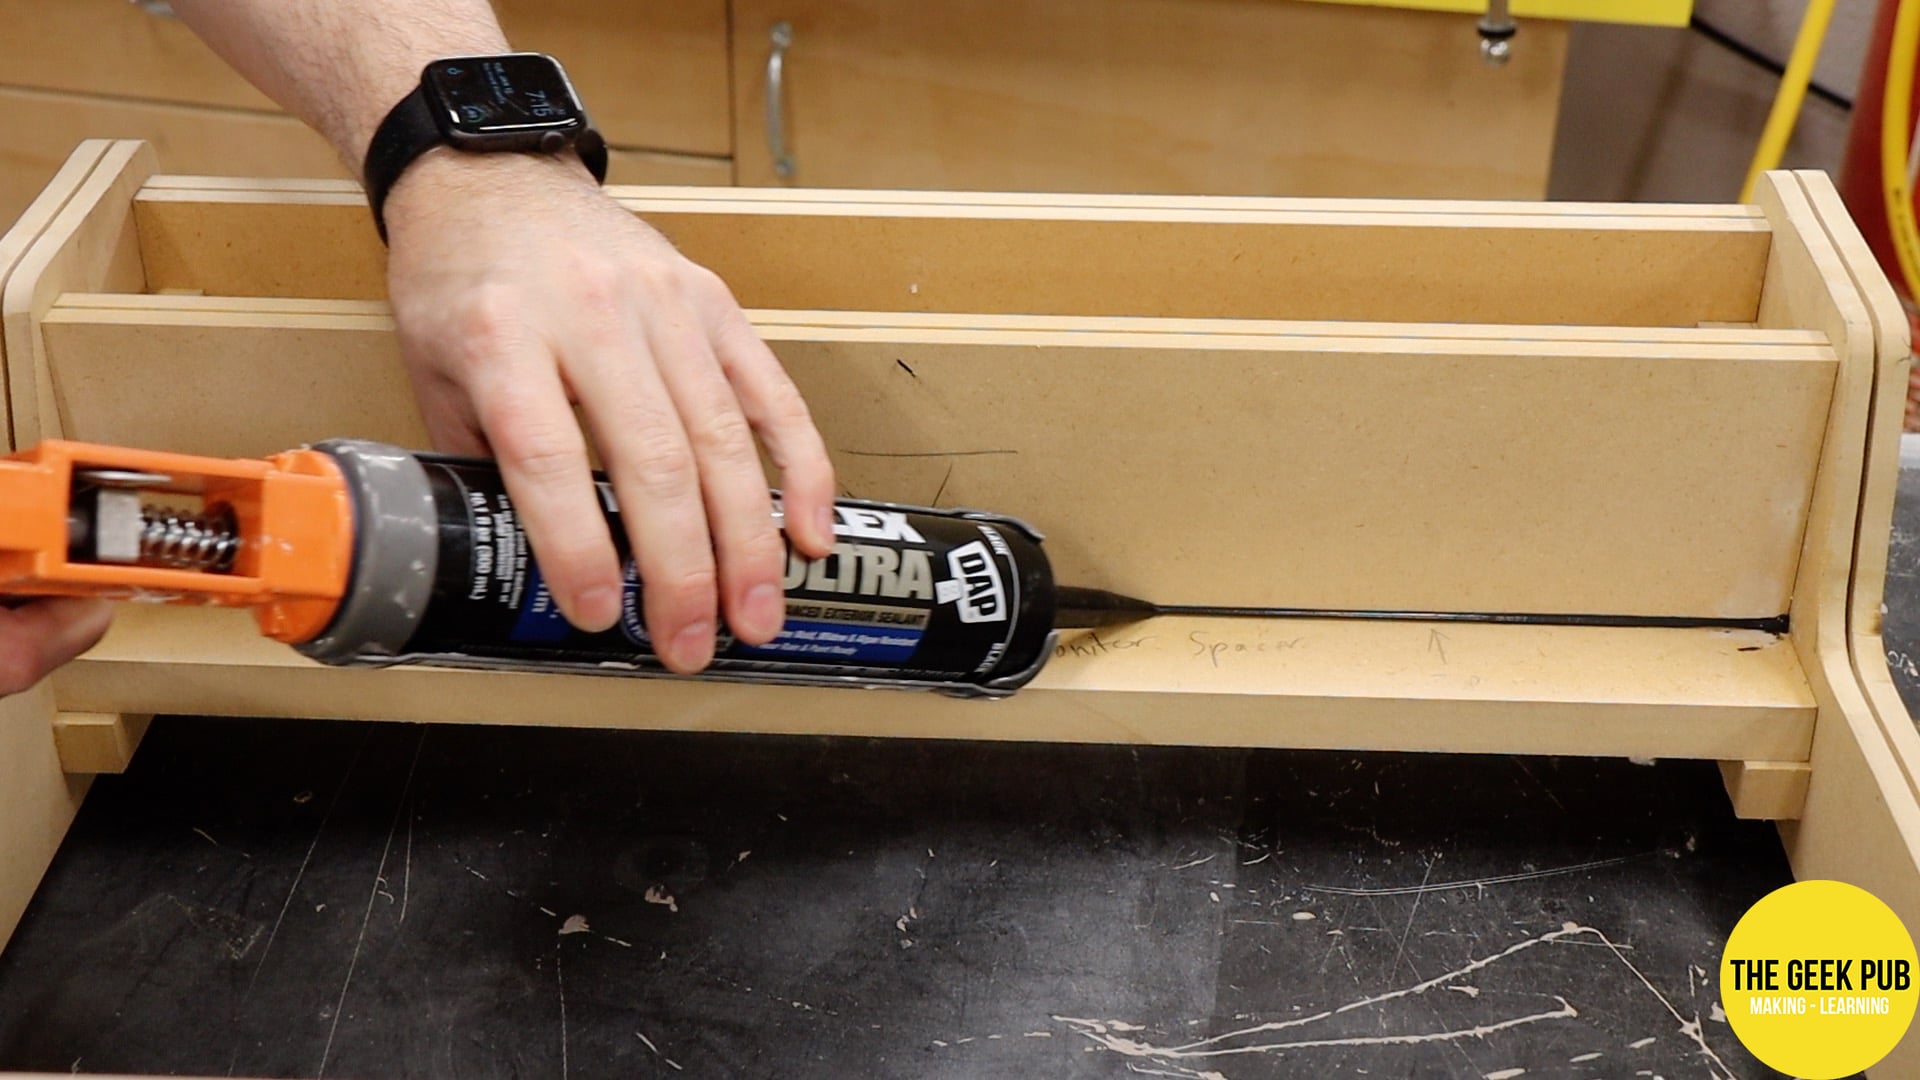
Then after sanding I caulked any visible joints of the arcade with some black caulking I had left over from another project. With caulk, less is often more. Don’t put too much on or it will be a paint to clean it up.
Step 9: Painting the Wall Mount Arcade
After the caulking has dried and been sanded lightly its time to prime the arcade. I generally like to use Filler Primer for this operation but I was completely out at the time I made this. So I just used regular Rust-O-Leum primer. I only shot a single coat and let it dry overnight. Plywood and MDF can really soak up the paint, so a good primer is a must!
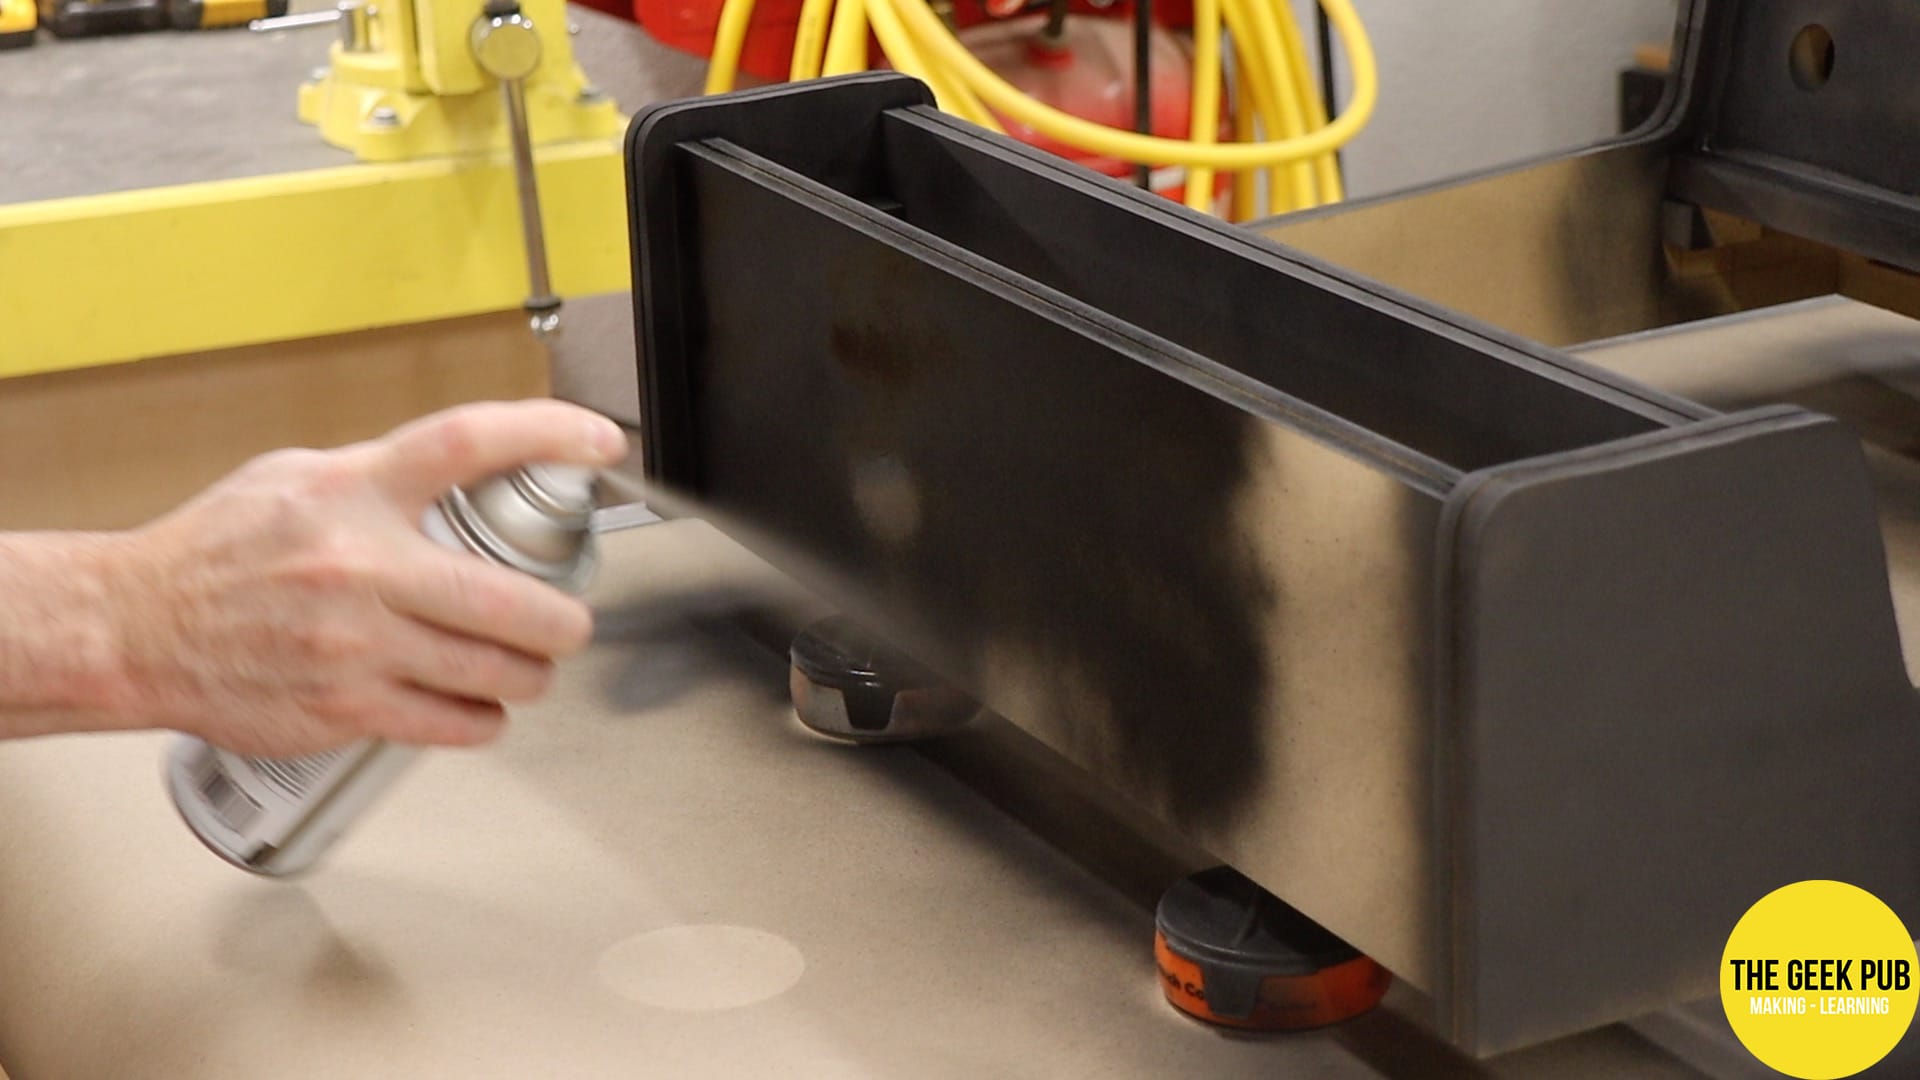
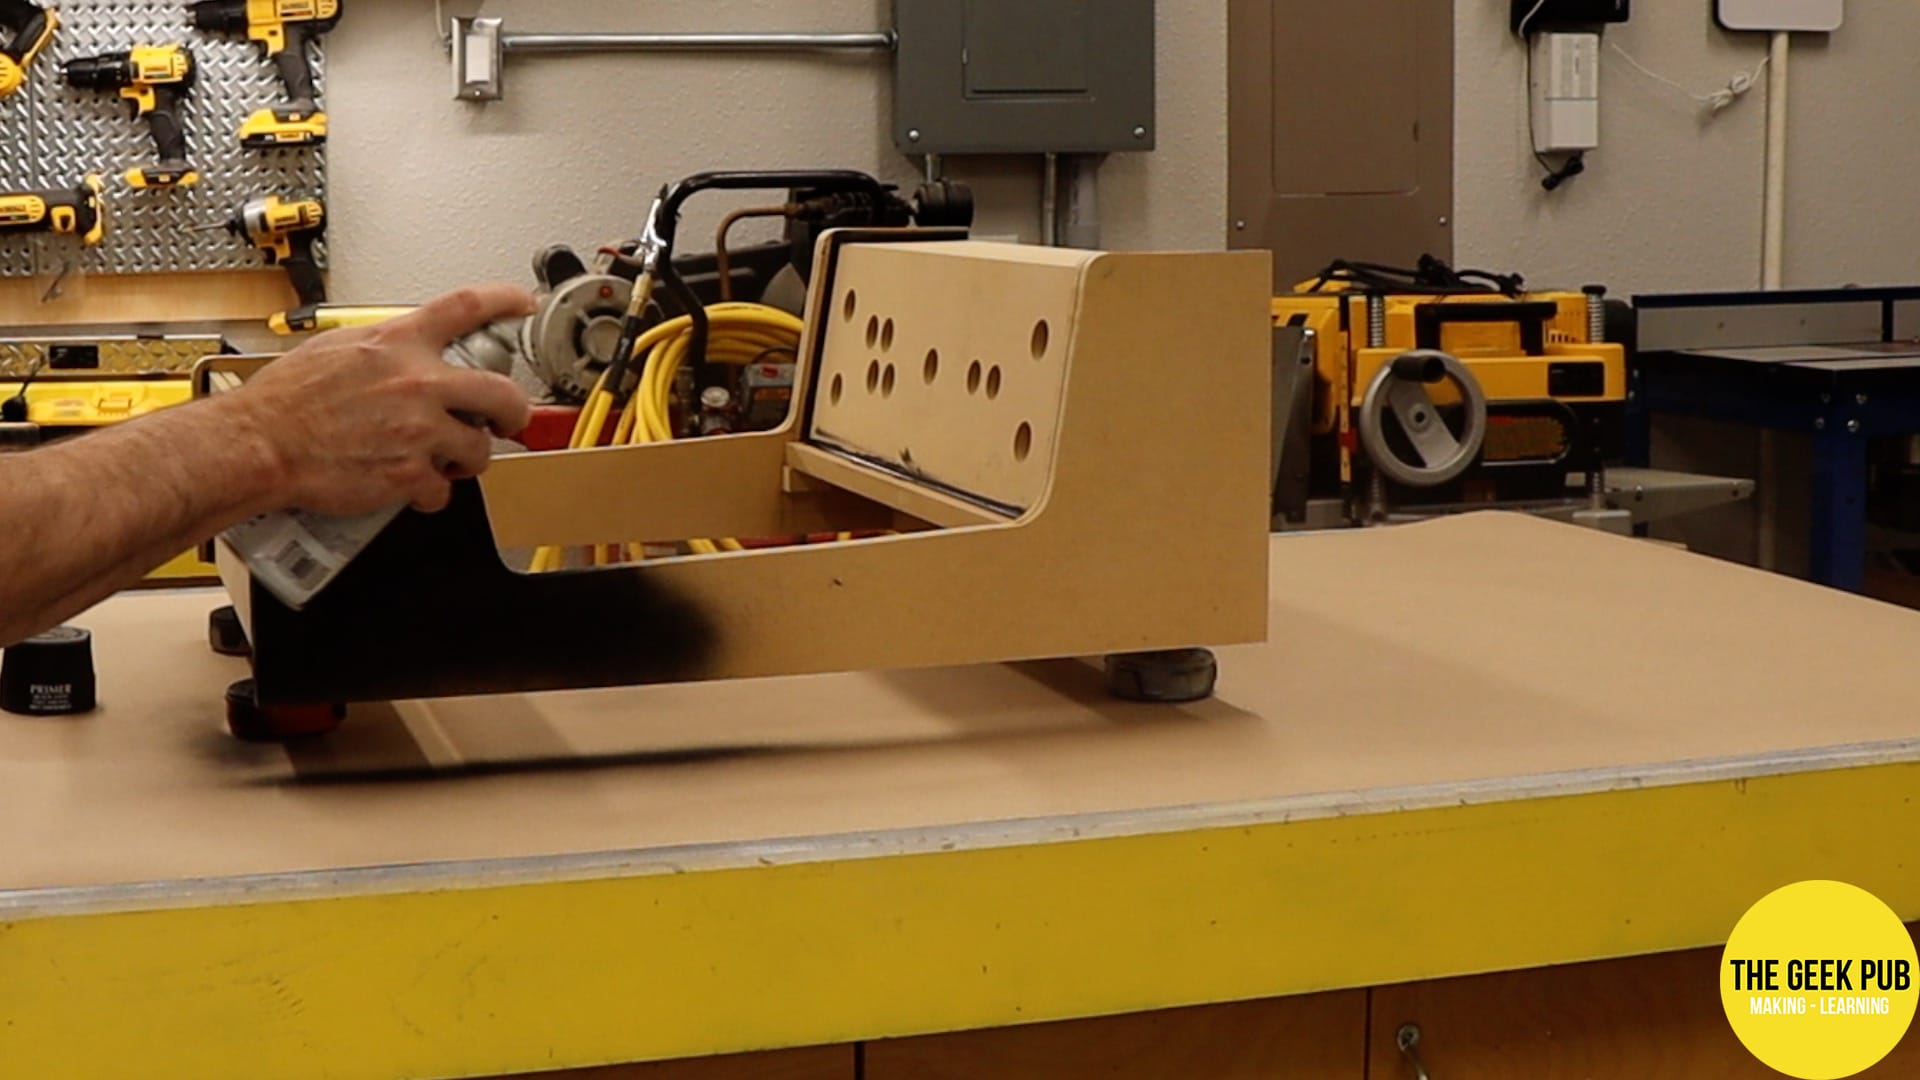
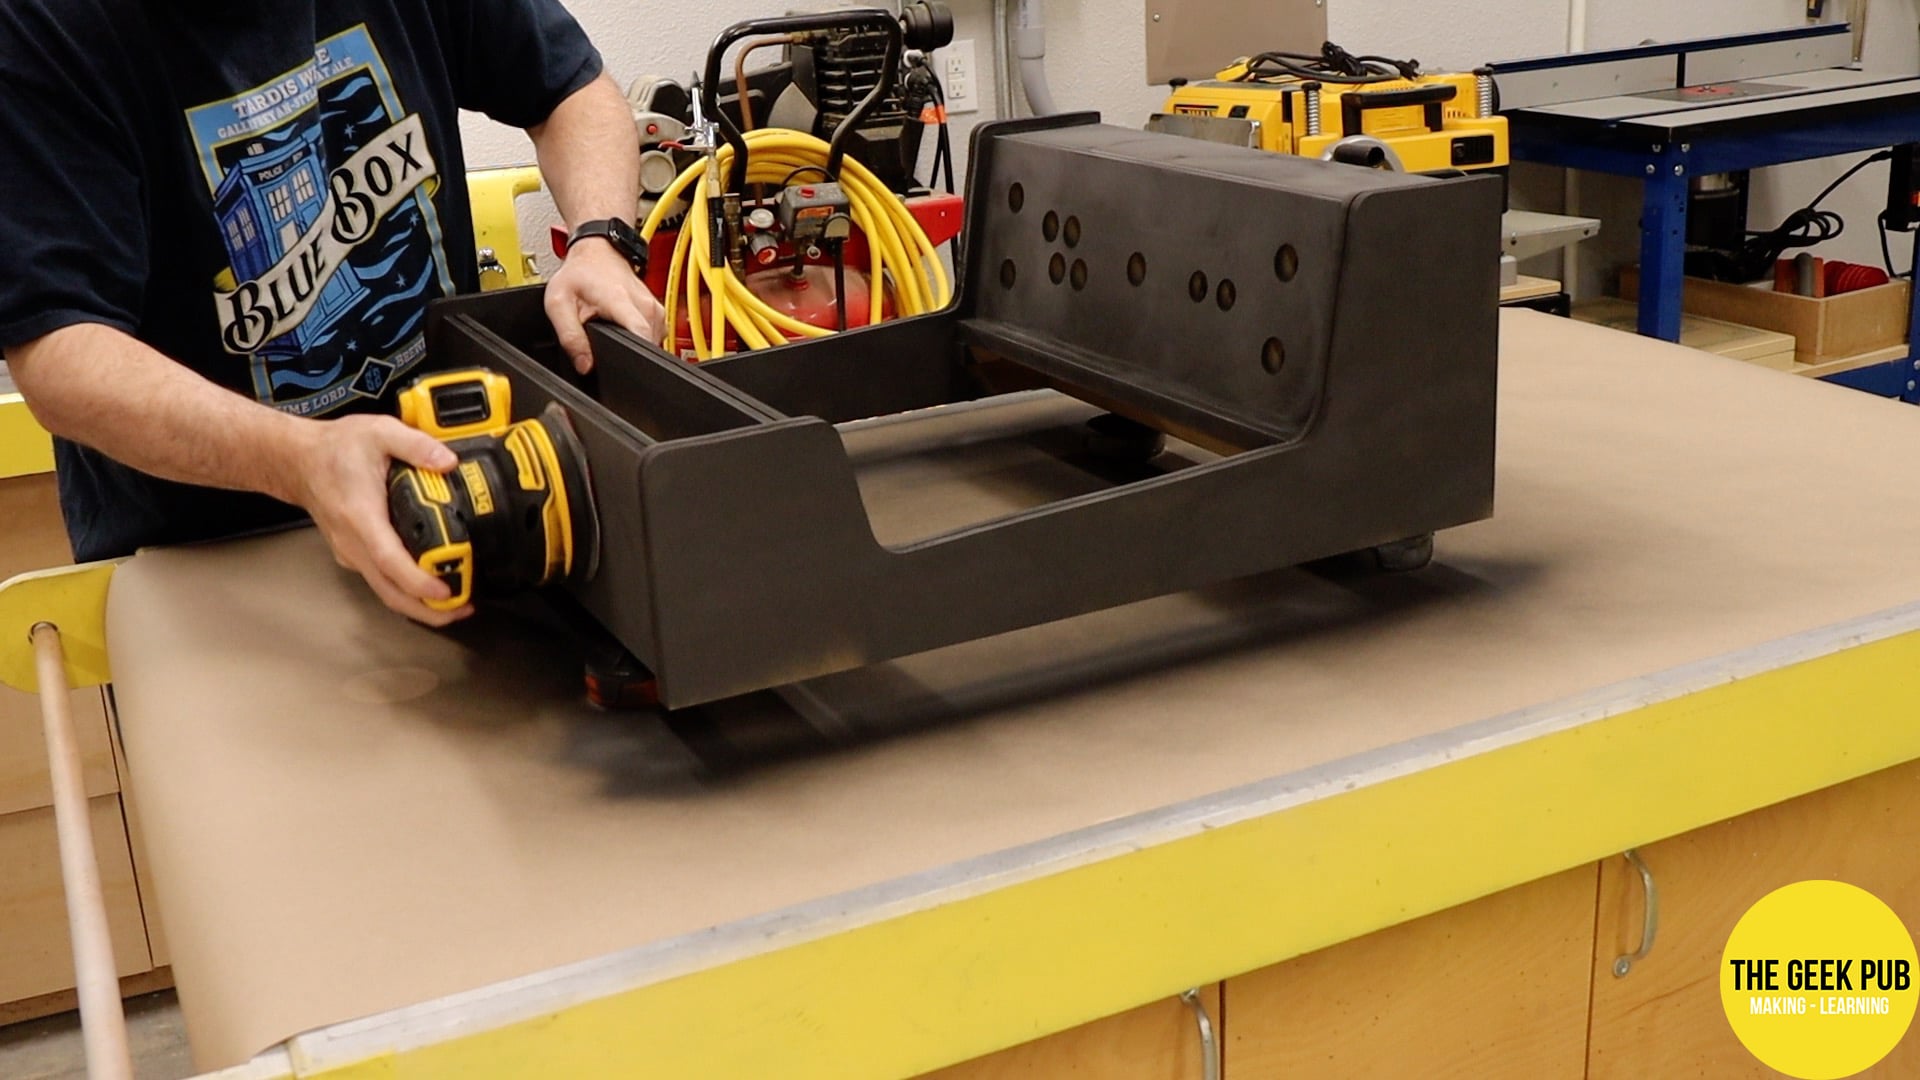
The next morning after the primer was good and dry I gave it a quick sanding and then shot it with flat white Rust-O-Leum paint. You guys have been complaining that all I ever make is black arcades. So I made a white one!
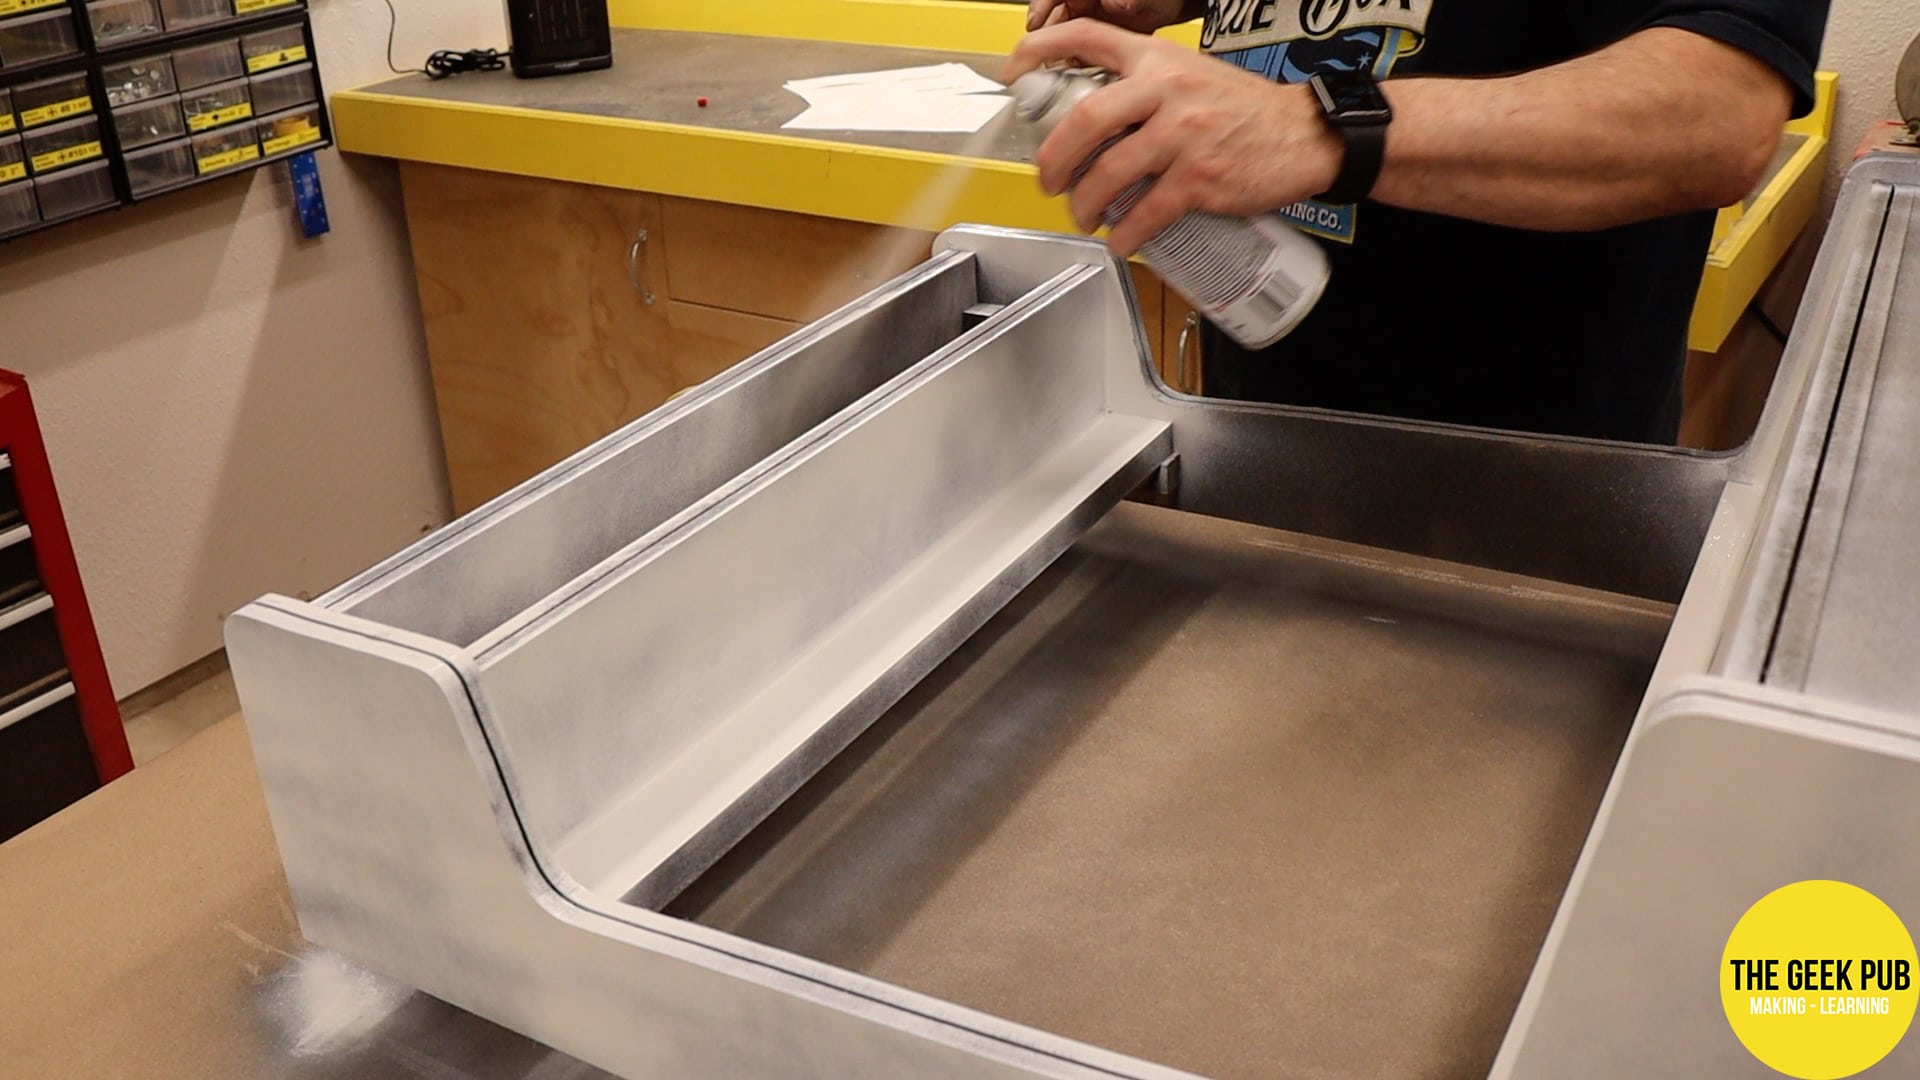
I have a full HVLP sprayer. But I have to tell you for small jobs like this, I much prefer a rattle can. There’s no sprayer to clean up afterwards and I can do just as good of a job.
The only thing I’d caution on with rattle cans is this: If you want to avoid runs, use lots of thin coats rather a couple of heavy coats. You’ll get much better results.

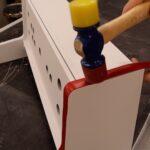
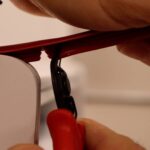
Step 10: Installing the T-Molding (Optional)
Of course, if you decided not to do T-molding you can totally skip this step! But everyone knows that I am all in on T-molding. I love the stuff. It makes an arcade look like an arcade!
I decided that red T-molding (along with red buttons) would be absolutely gorgeous on this white arcade and let me tell you, it does not disappoint! I have an entire video on How to Install T-Molding if you want to learn more about the process of installing it.
In a nutshell, I recommend using a soft face hammer, such as a rubber mallet to do the install. The mallet is not about forcing the molding into the track, but rather saving your hands and fingers from all of the pressing. You’ll thank me later.
Anywhere the T-molding bends, you’ll need to notch or slot the track portion to bend around the curves. Super simple. I just used some side cutting pliers.
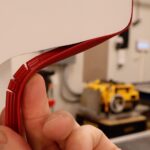
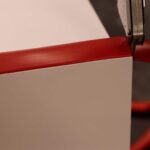
And people does it ever look gorgeous!
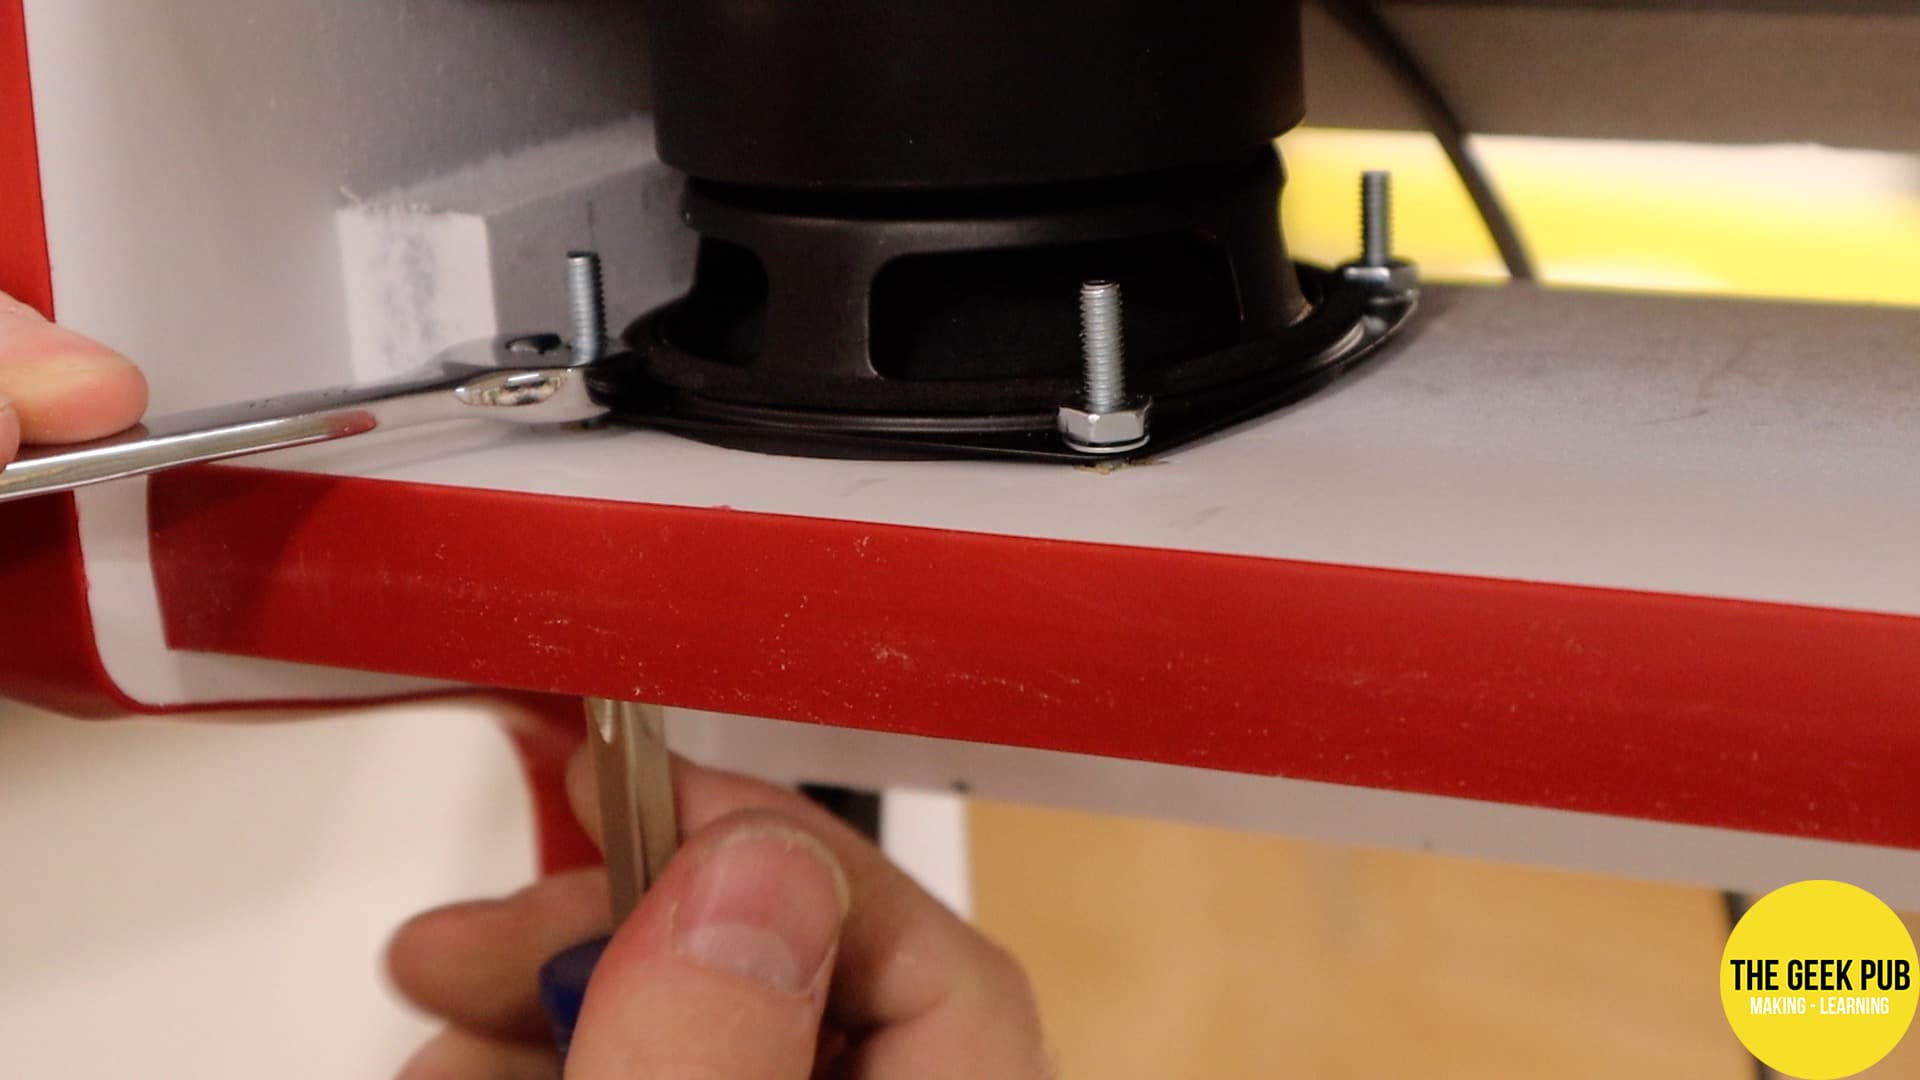
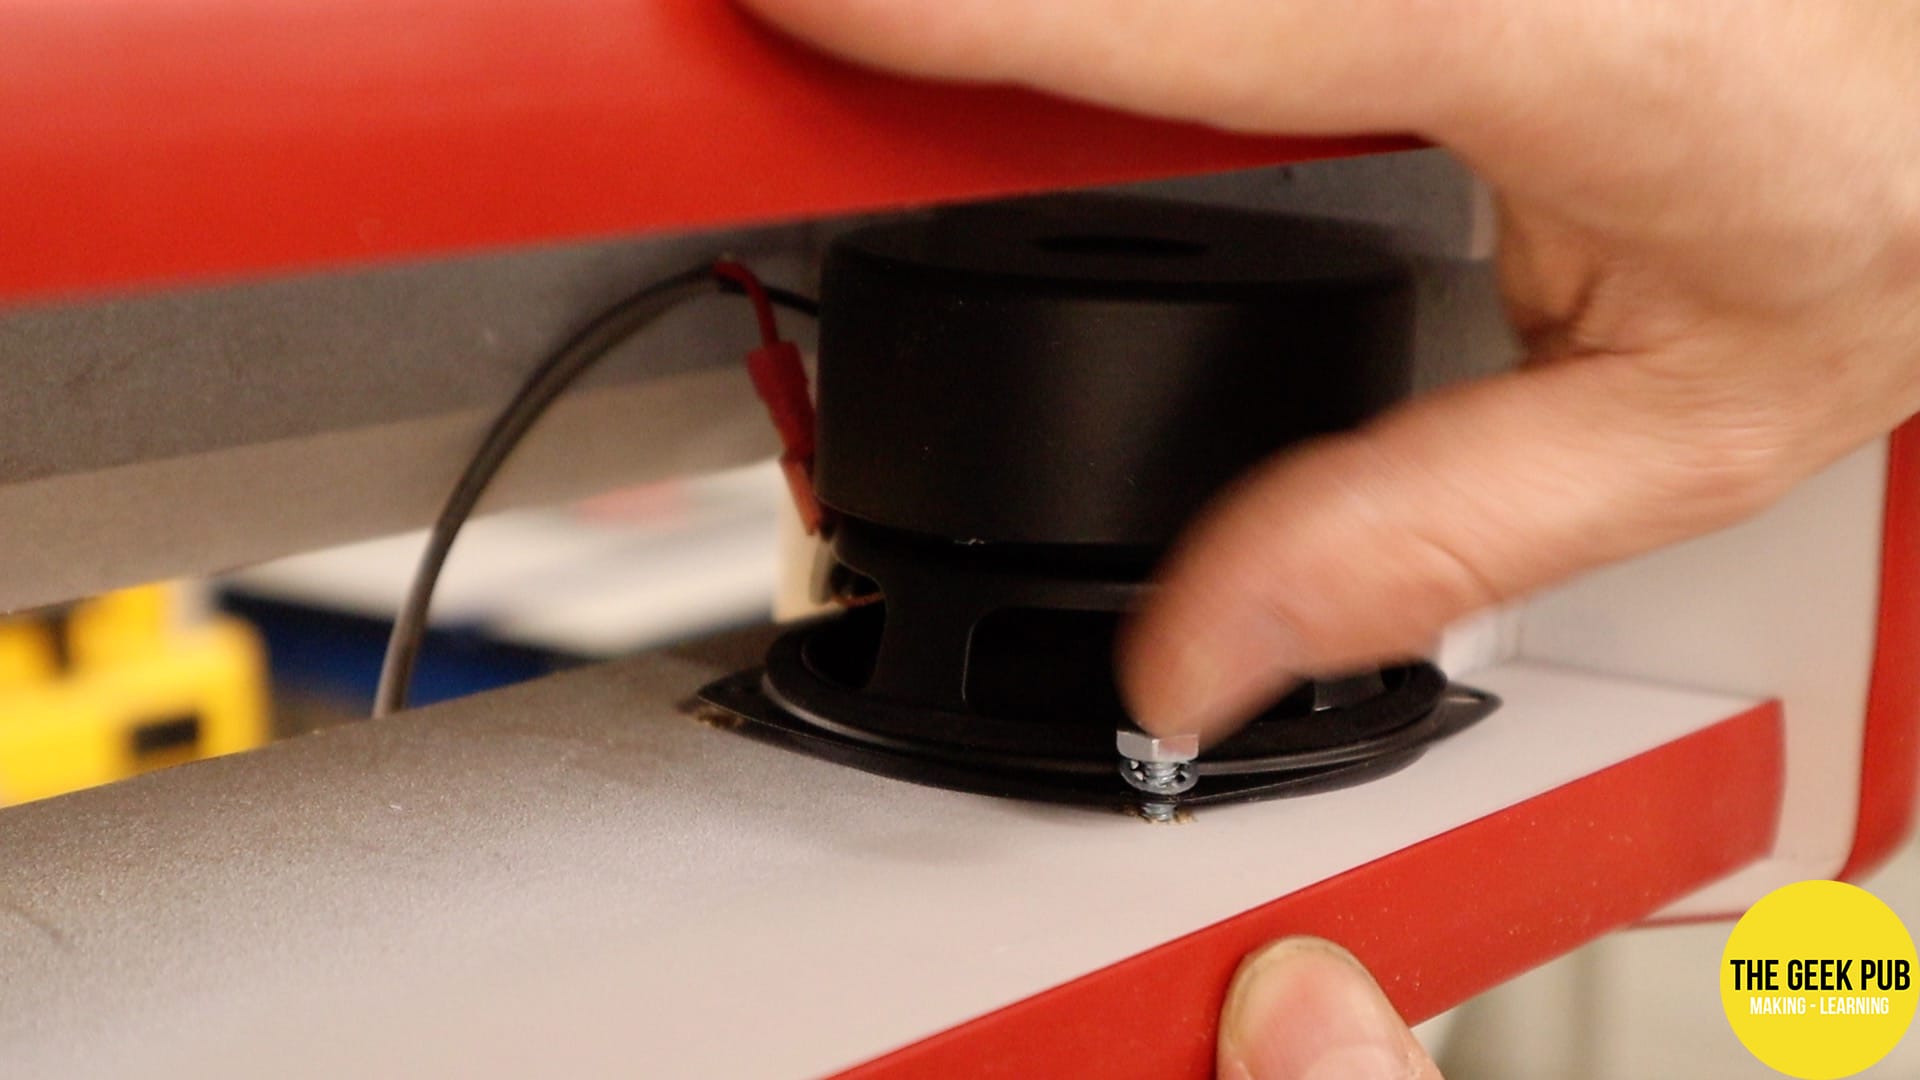
Step 11: Install the Speakers
I decided to install different speakers than I normally do for this wall hanging arcade. These little speakers are from Drok and have a separate power amplifier. I decided to mount them inside the marquee for a super clean look.
Unfortunately I wasn’t sure up until this step which speakers I was going to use so I waited to drill these until after assembly. You could certainly do this step before assembly and paint.
I used a regular bit for drilling the mounting holes, and Forstner bit for drilling out the sound holes.
Step 12: Install the Marquee Light
The next thing I did was install the light for the marquee. This is just a regular 12-inch under cabinet light I bought from Home Depot. I just screwed the mounting brackets against the back of the arcade and then it just snaps into place. It plugs into the quad outlet in the bottom of the arcade.
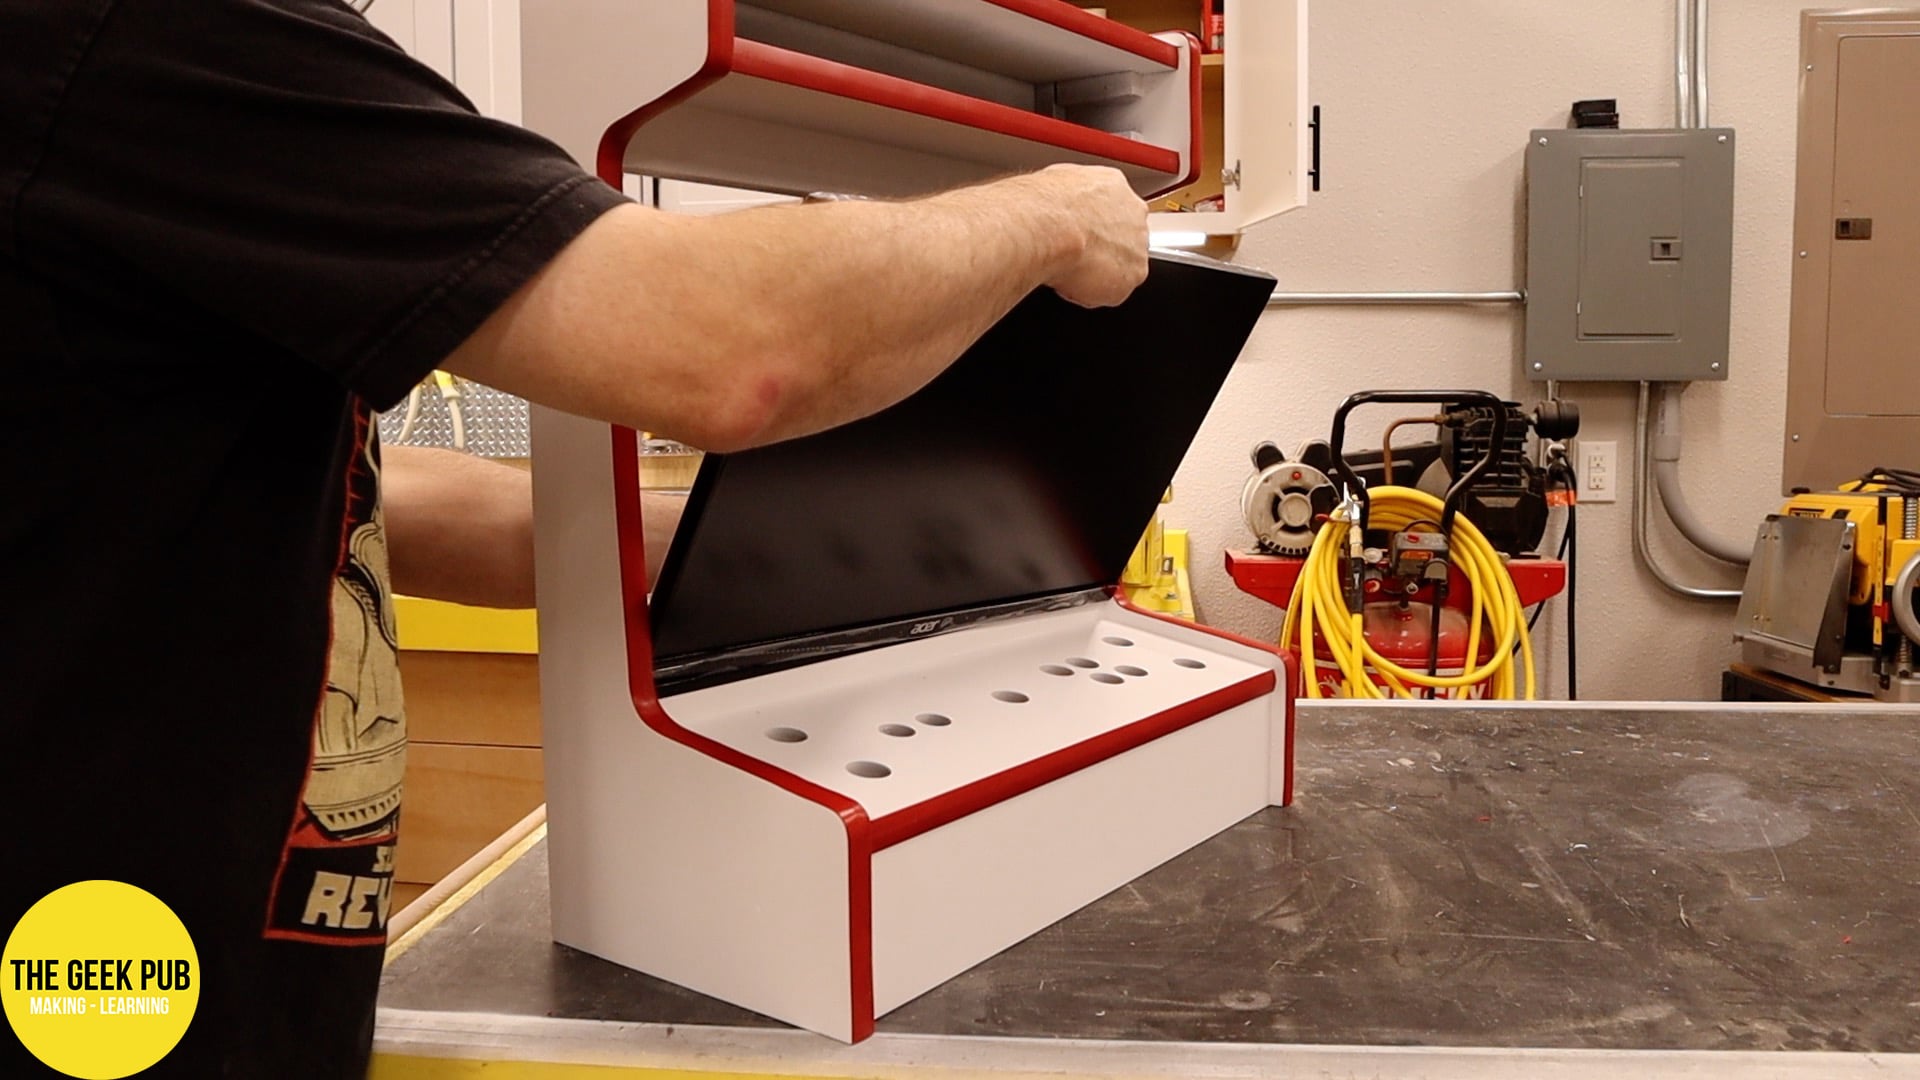
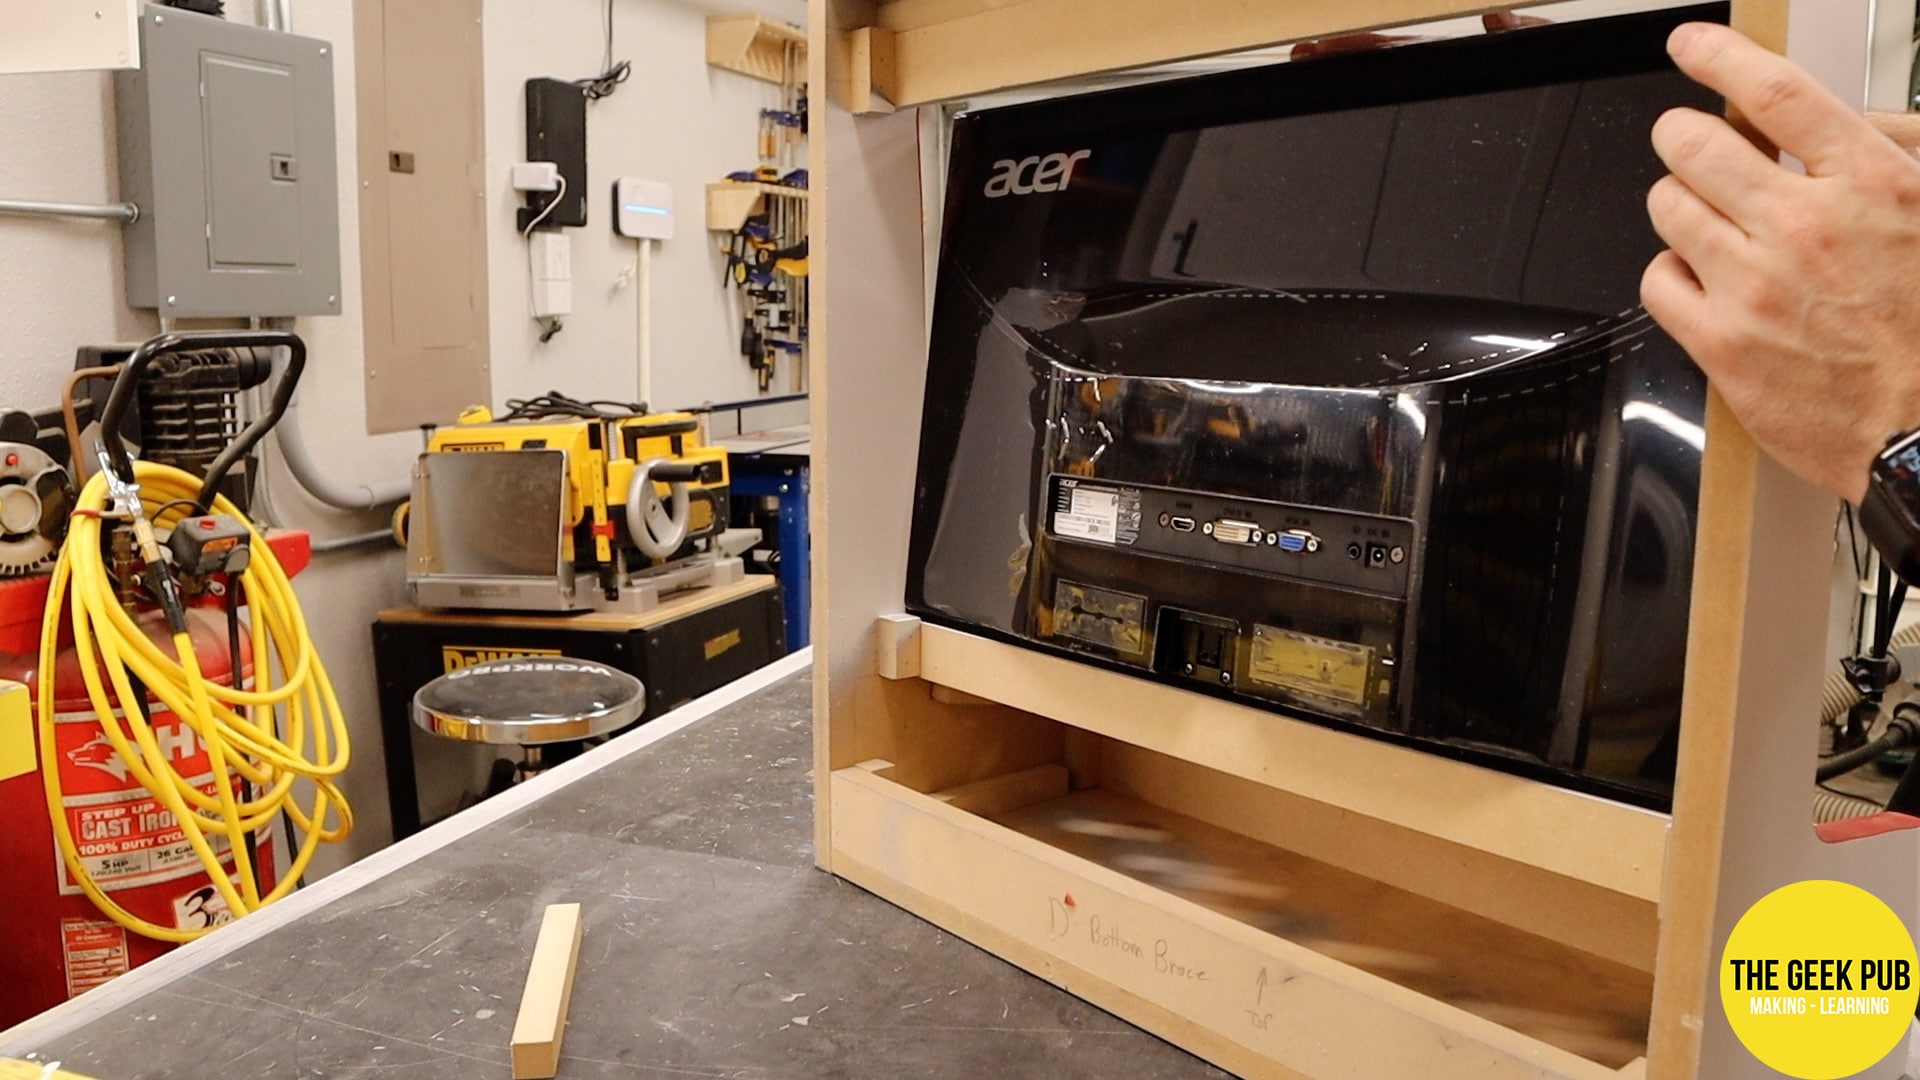
Step 13: Installing the Monitor
Installing the monitor is pretty simple. It just leans back into place. I put some foam weather stripping down in order cause a tight seal between the monitor and the arcade cabinet.
Then the monitor simply press fits into place and is support by the cleats we installed in step 5.
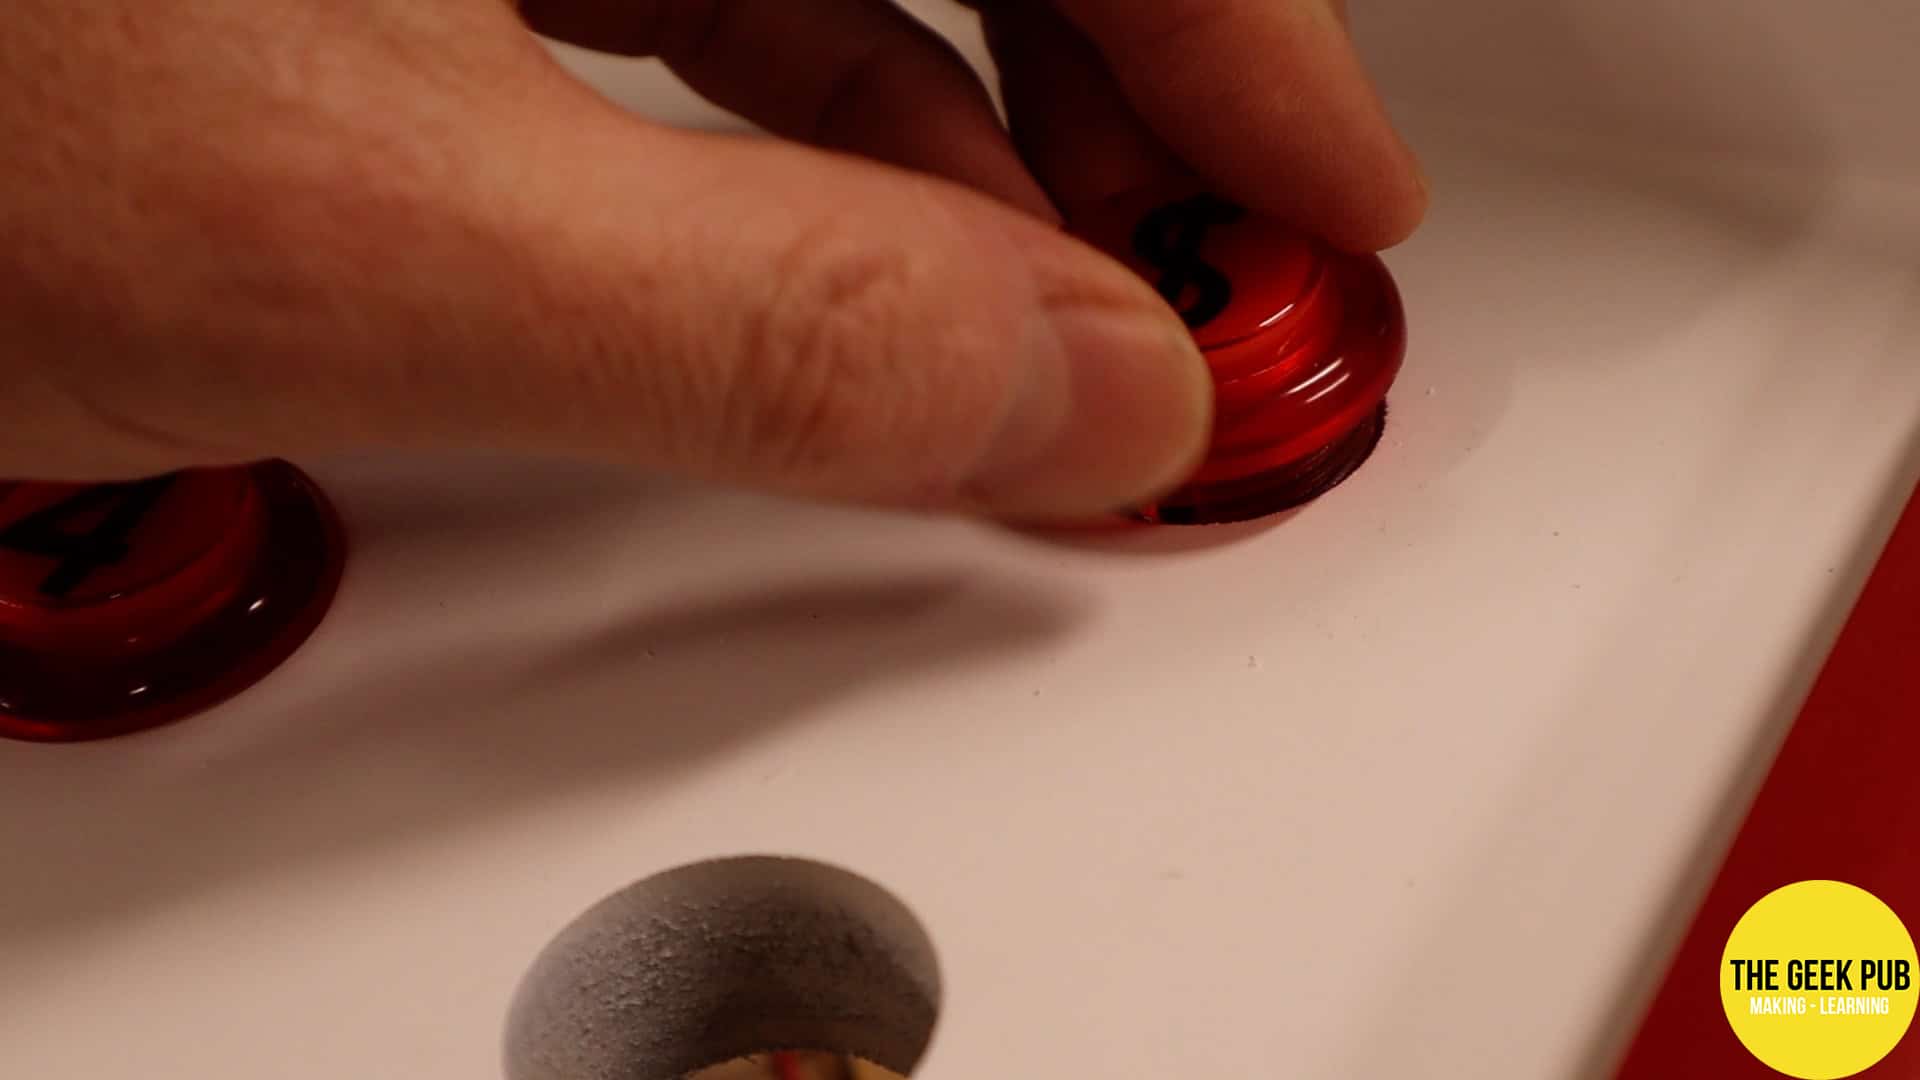
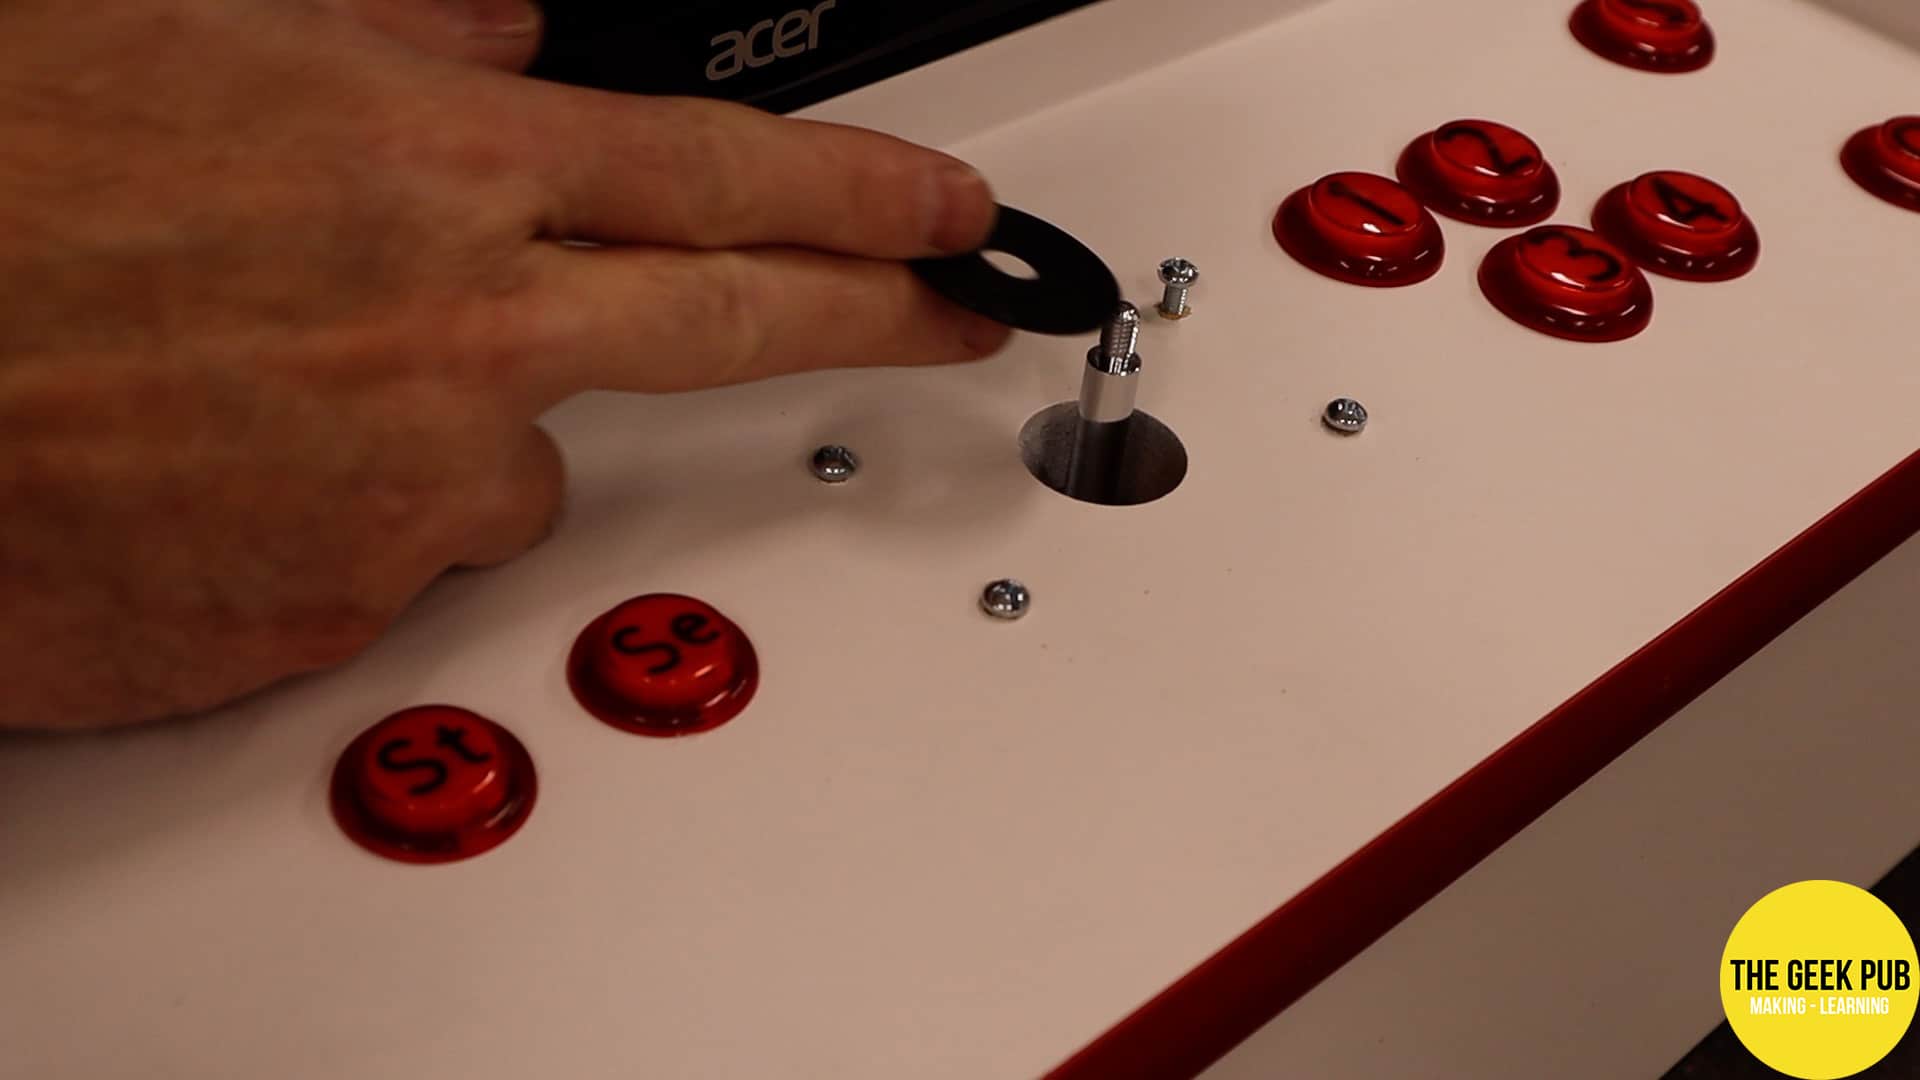
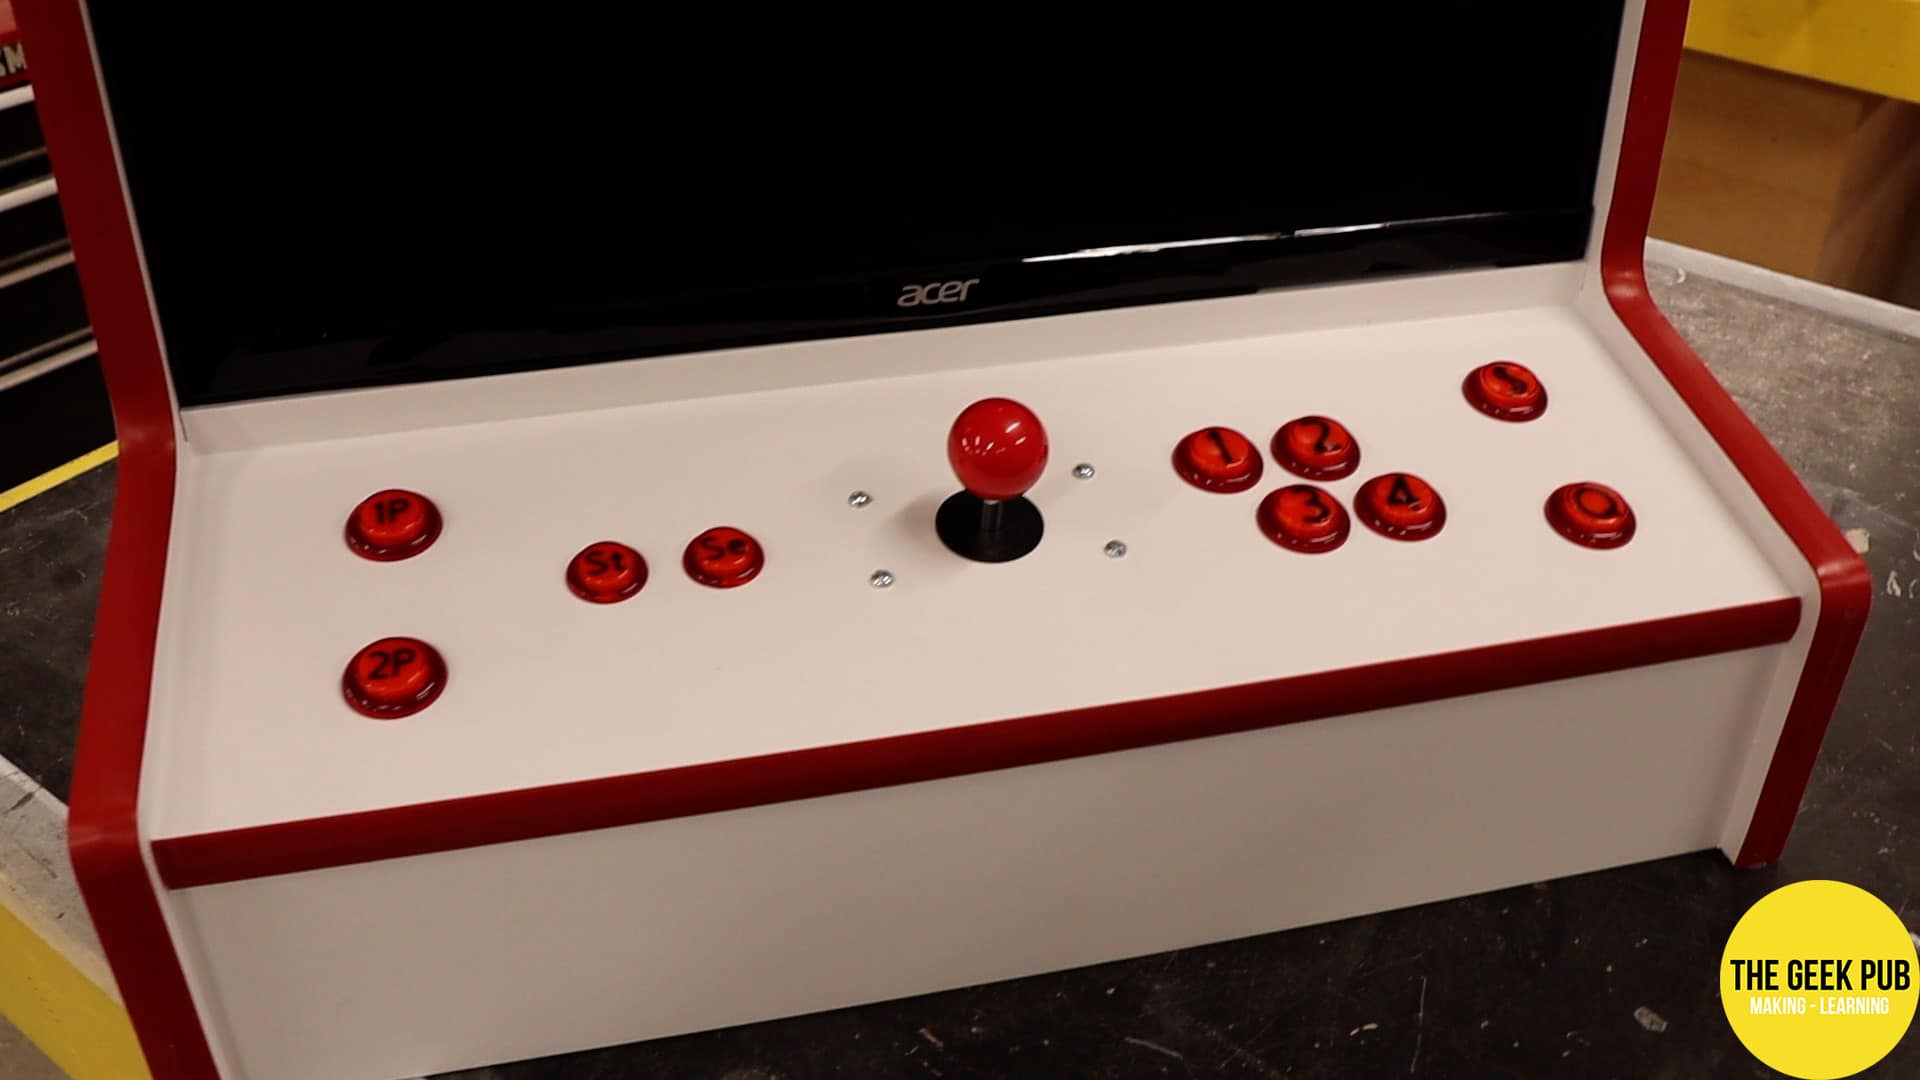
Step 14: Installing the Buttons and Joystick
I include two templates with the arcade for the control panel. A single-player template and a two-player template. For this build I chose the single player template. It’s just a simple matter of dropping the buttons in place and screwing the nuts on the backside.
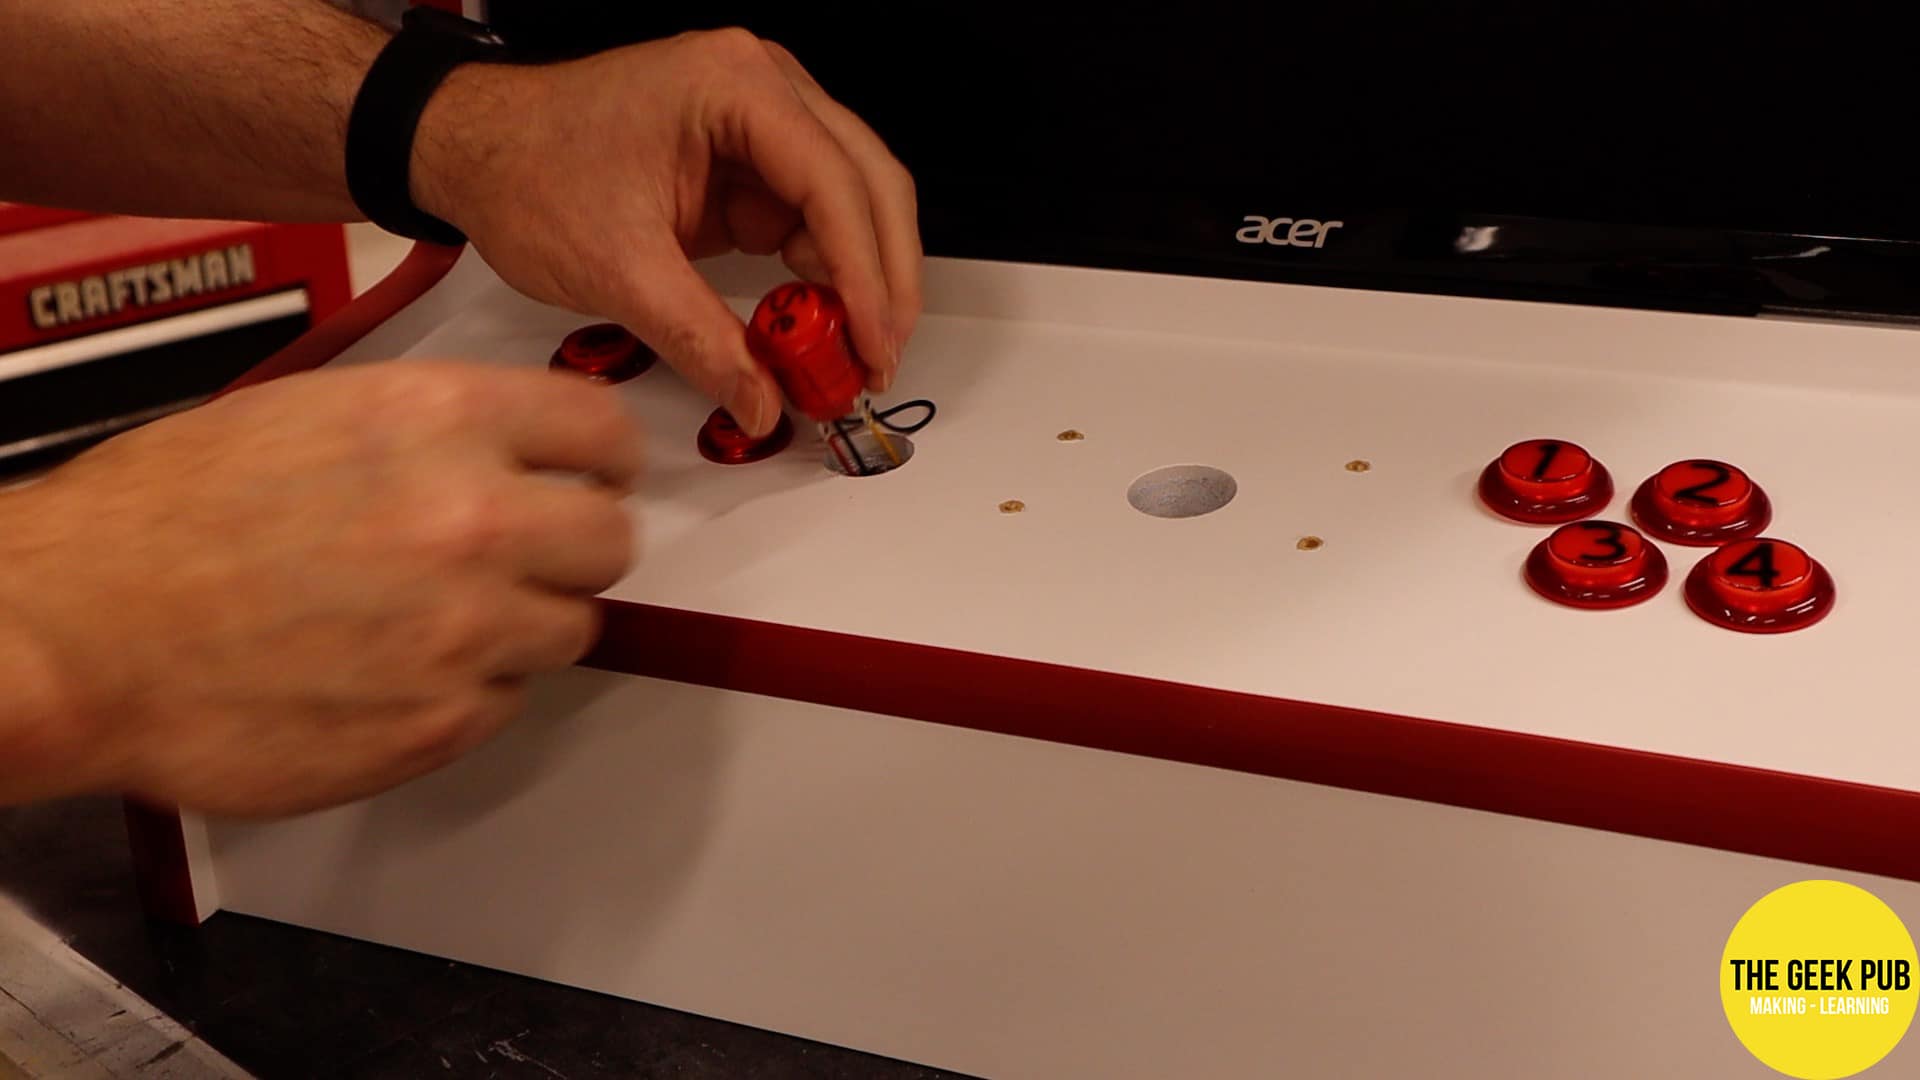
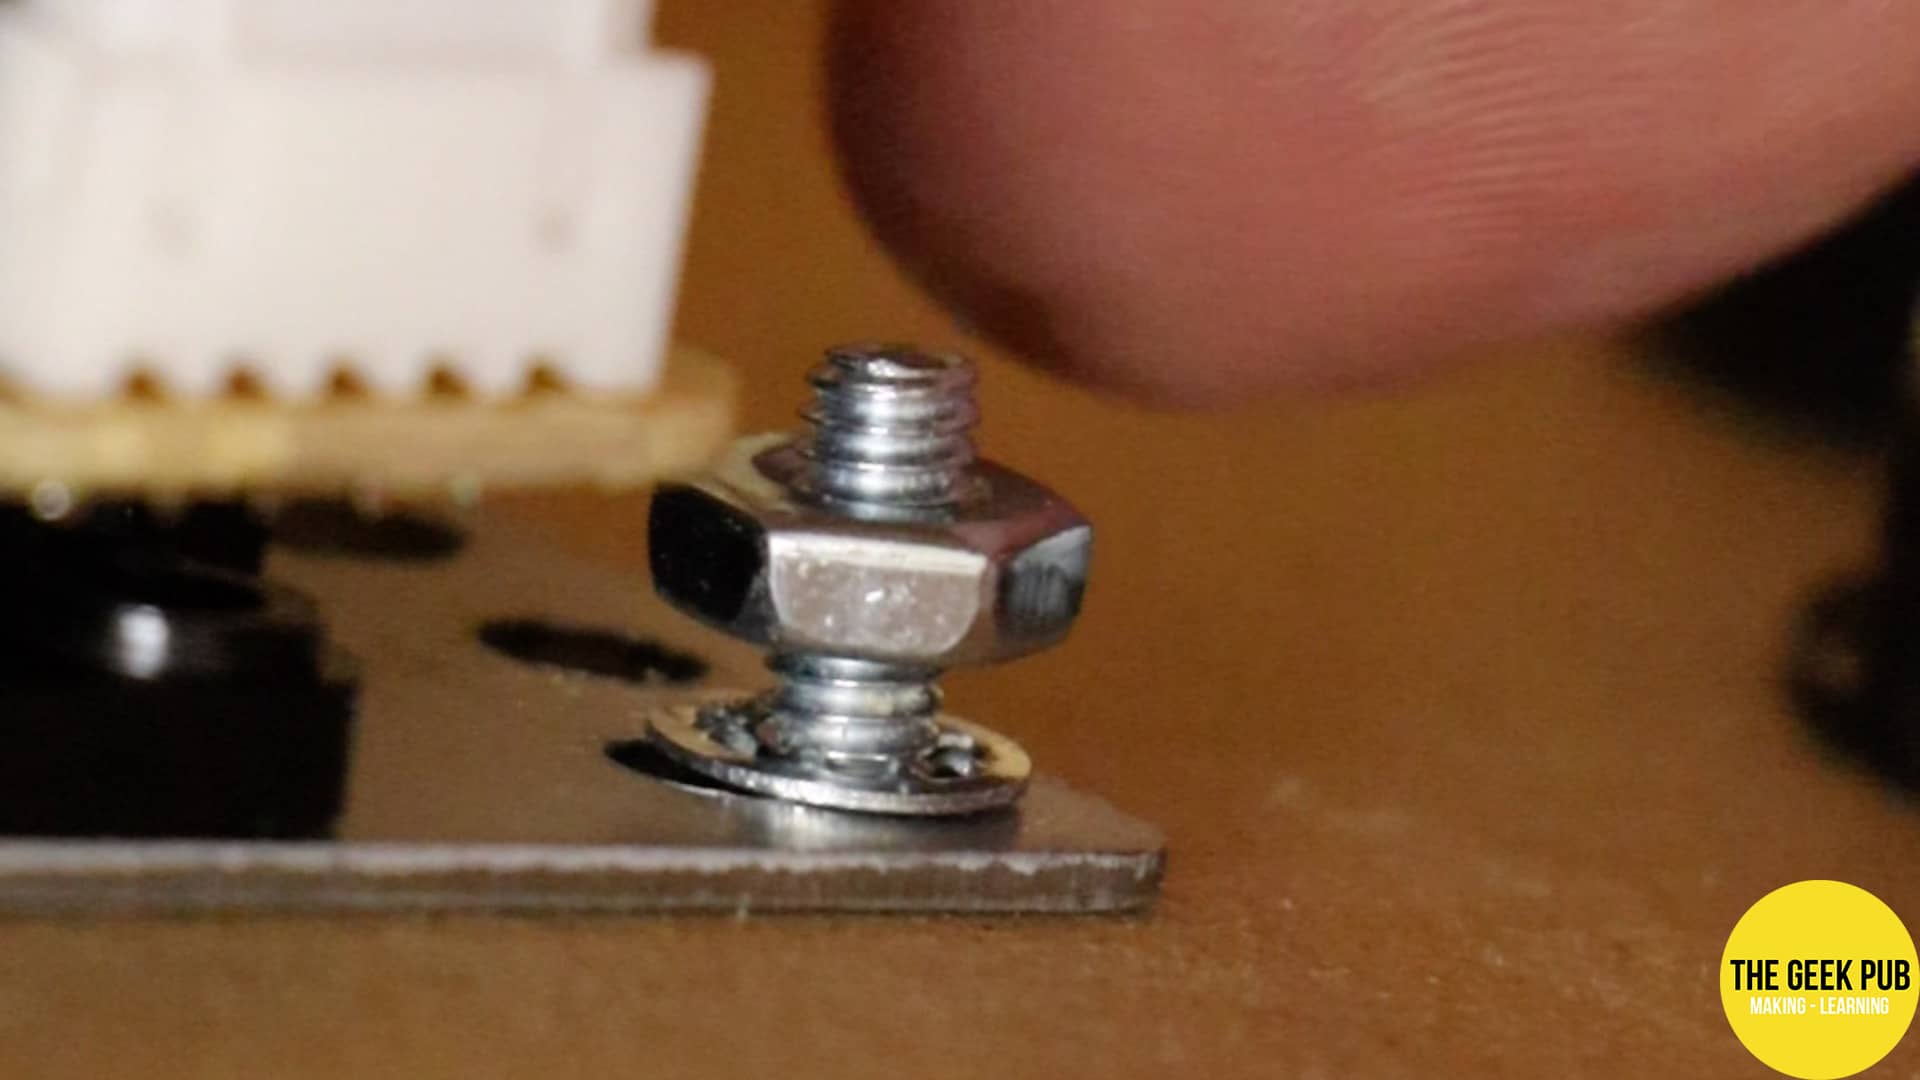
I normally like to screw the joystick down using wood screws from the back side of the arcade. However, since the wall mount is too small to get a drill under, I decided to use exposed machine screws on this build. I might change these out at some point with some red anodized ones if I think about it.
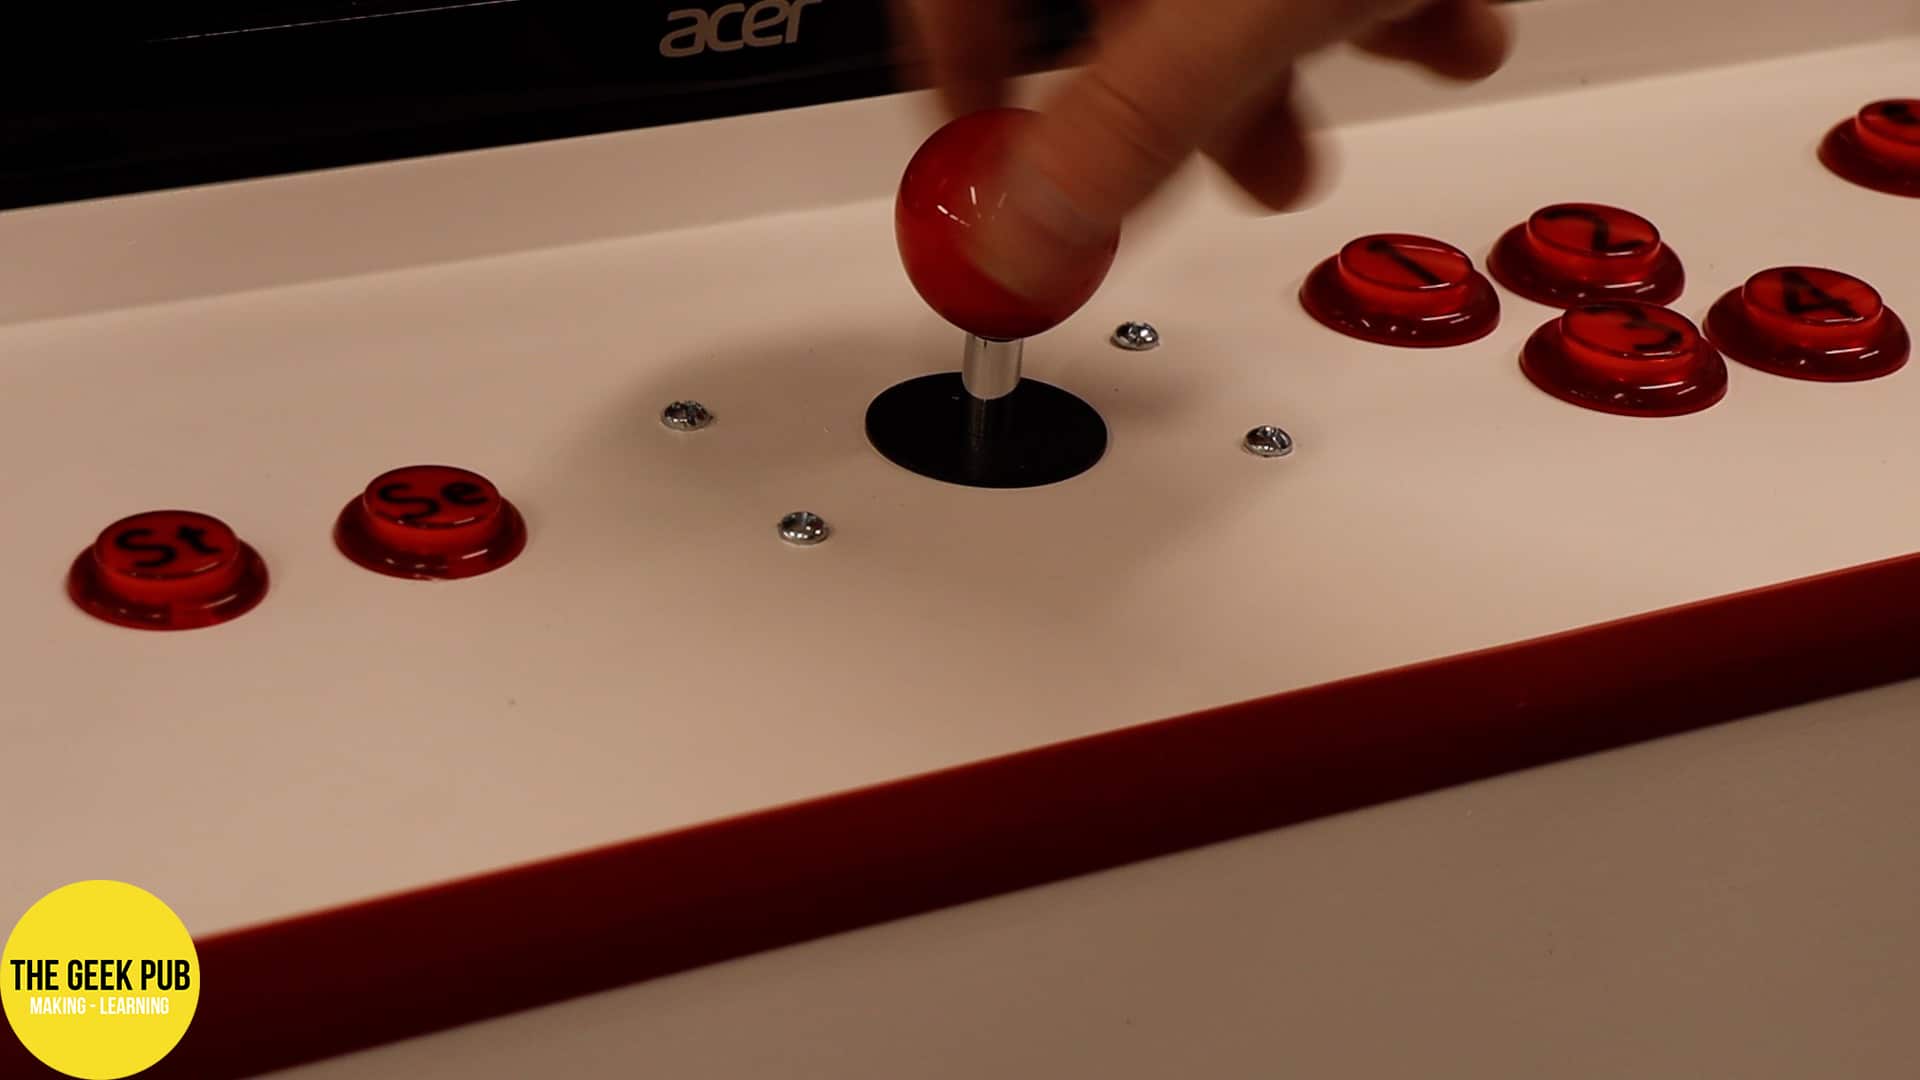
And let me tell you. I love the color theme of this arcade. All of the red and white just looks amazing!
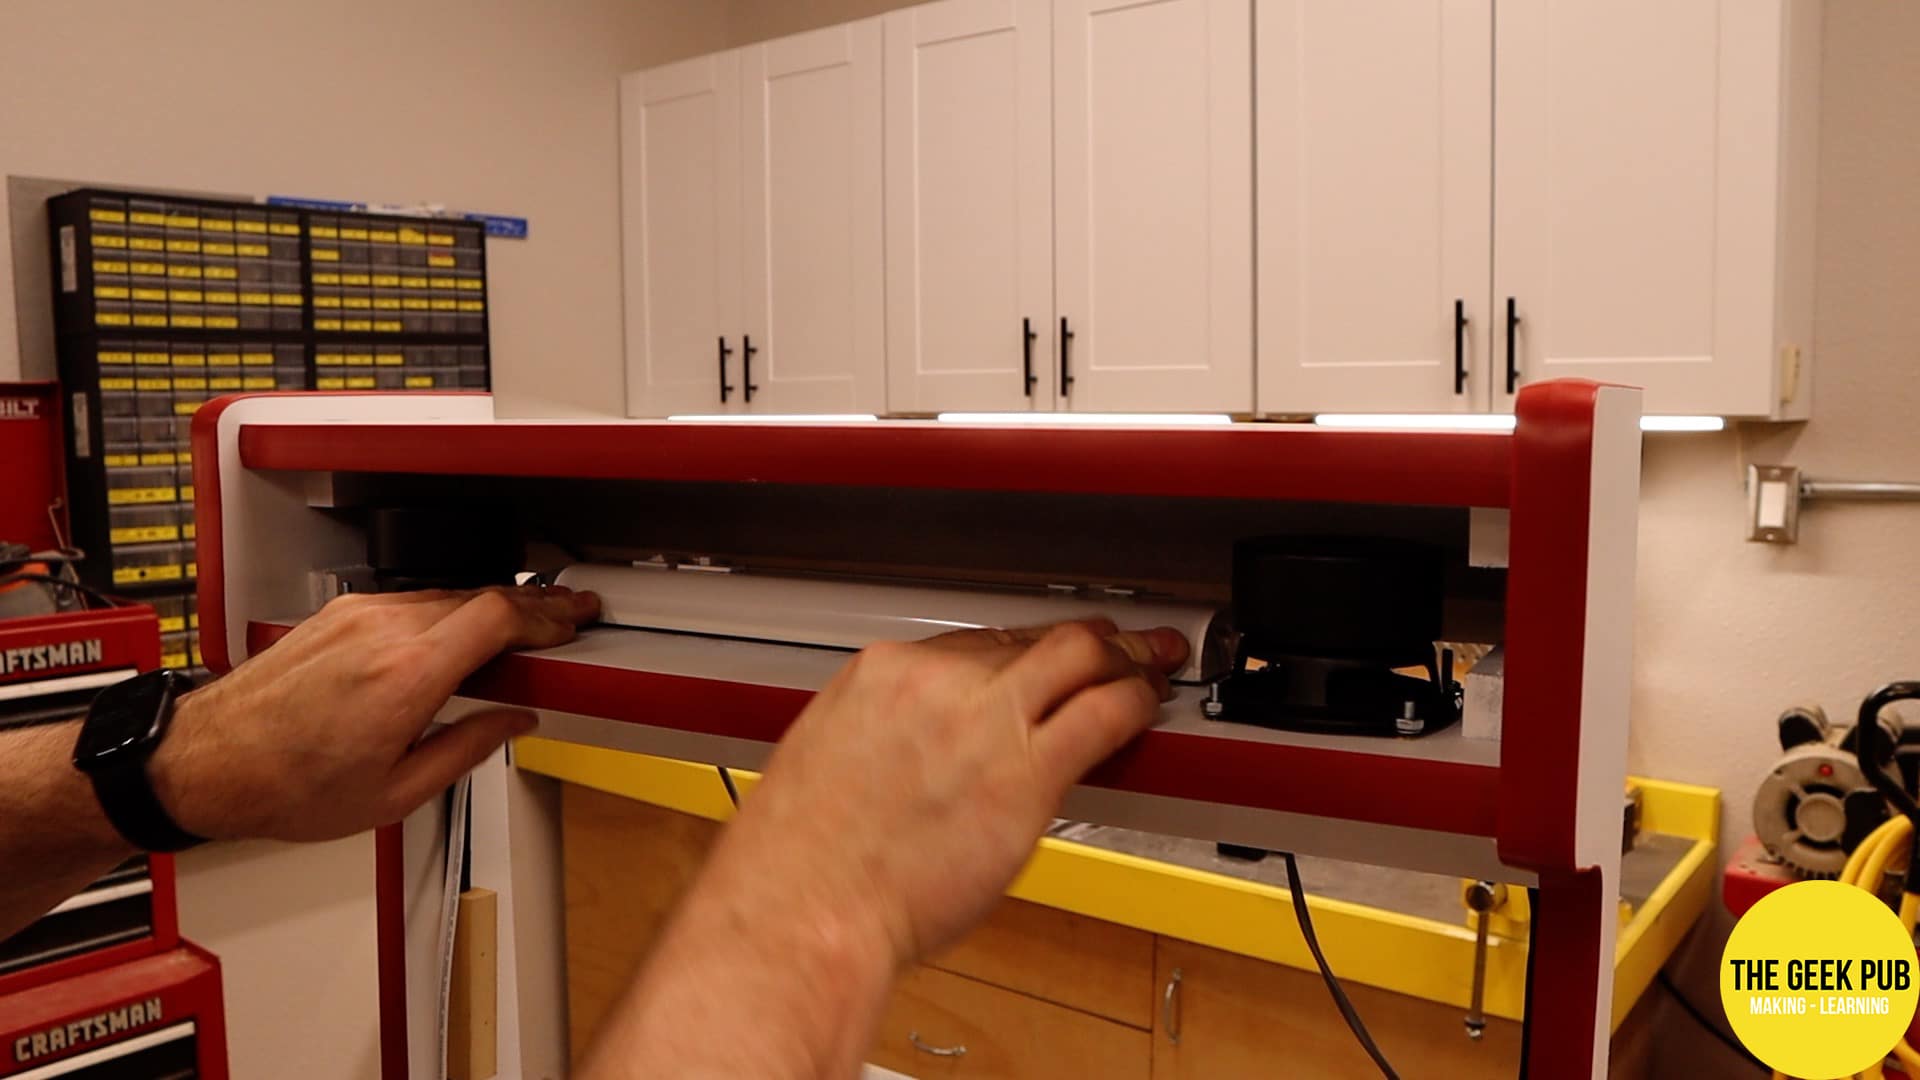
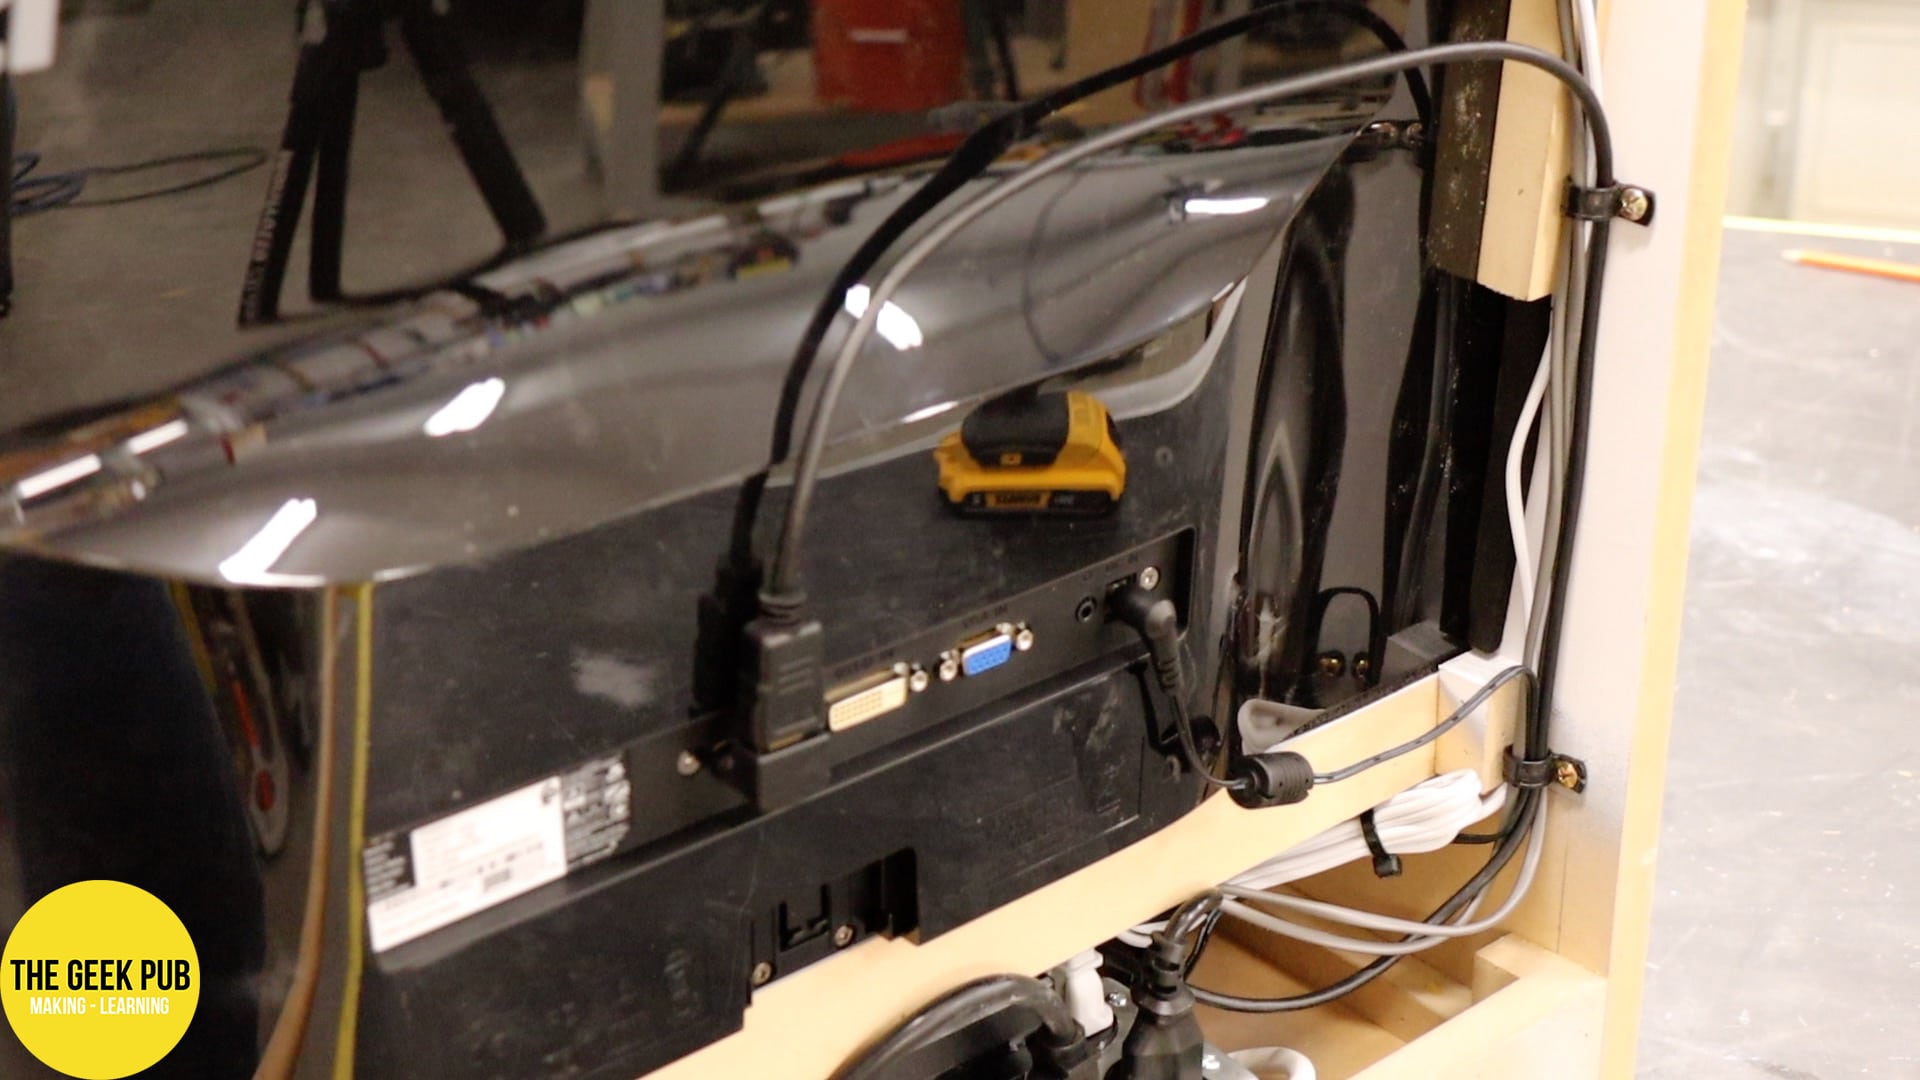
Step 15: Rear Cable Management
I really wanted to clean up all of the messy cables in the wall mount arcade. I decided on using some plastic cable clips to route all of the cables in a single bundle around the edges of the cabinet.
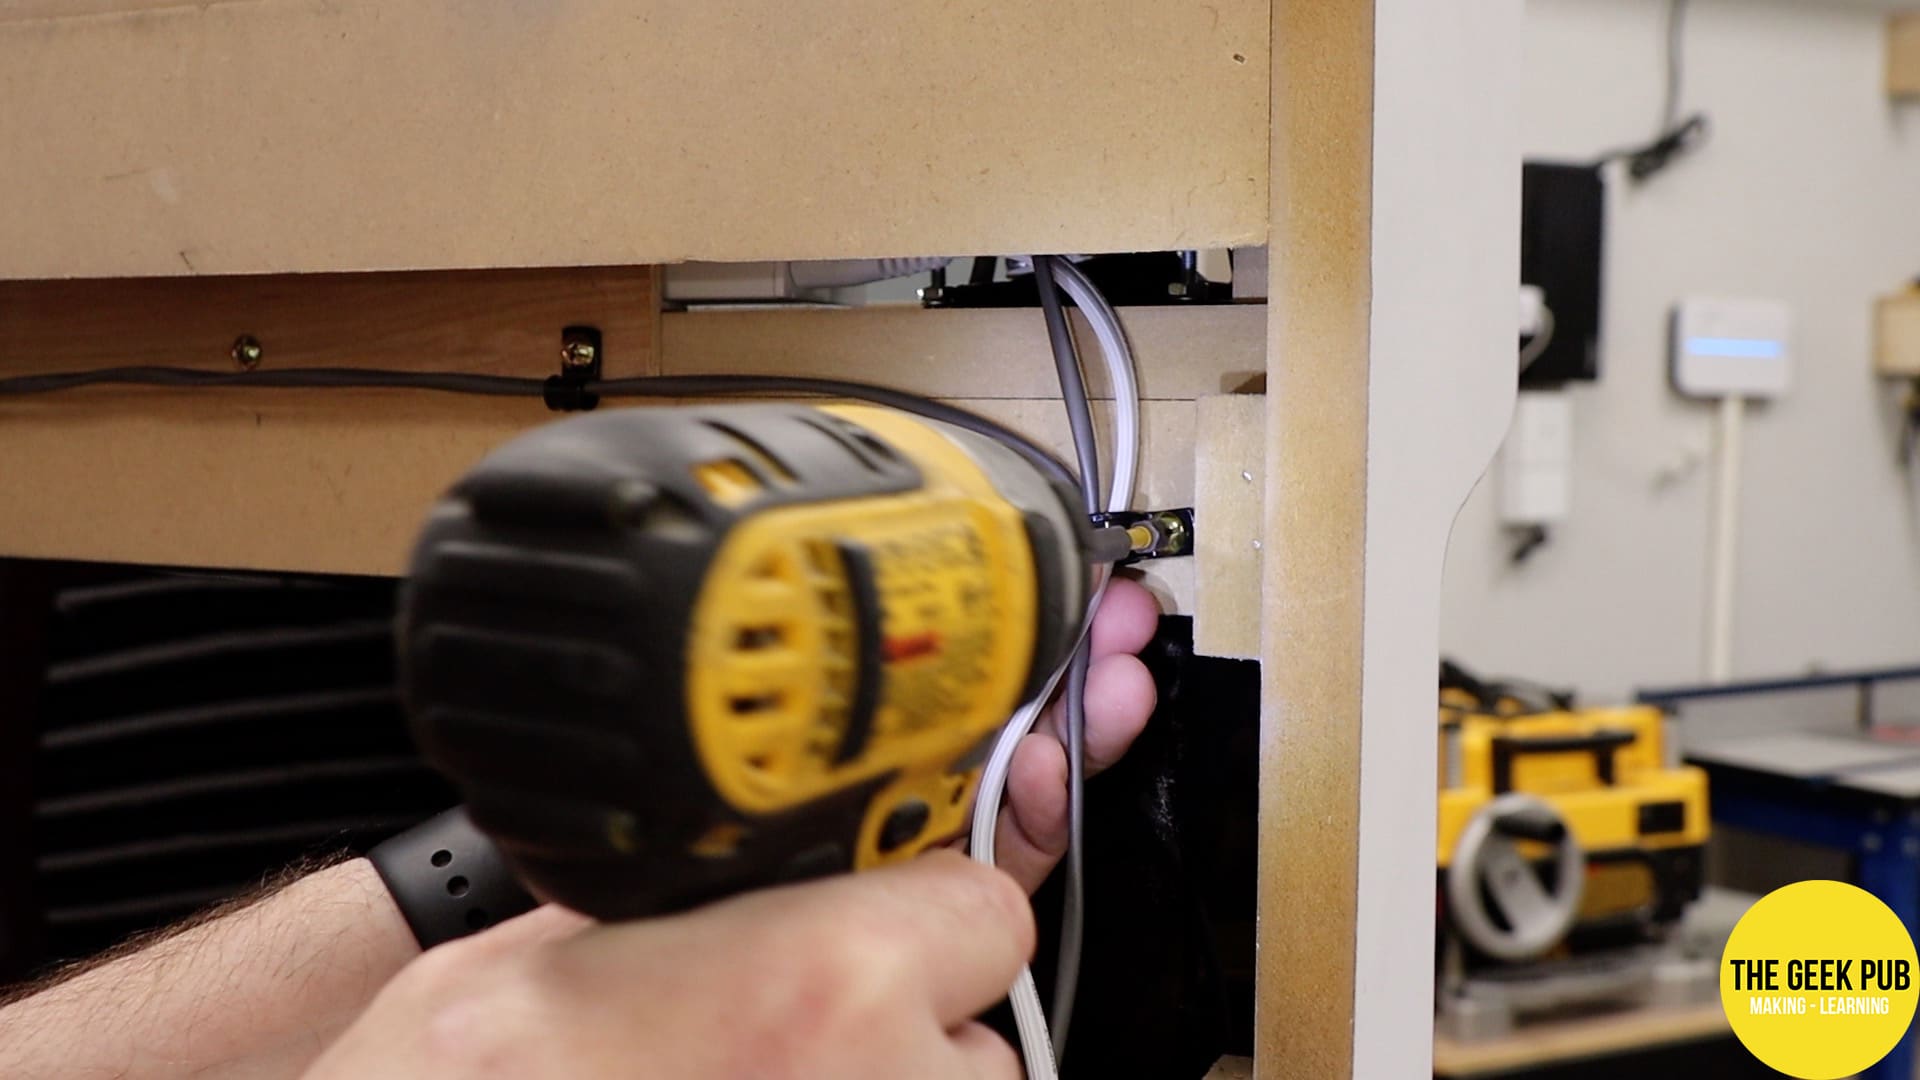

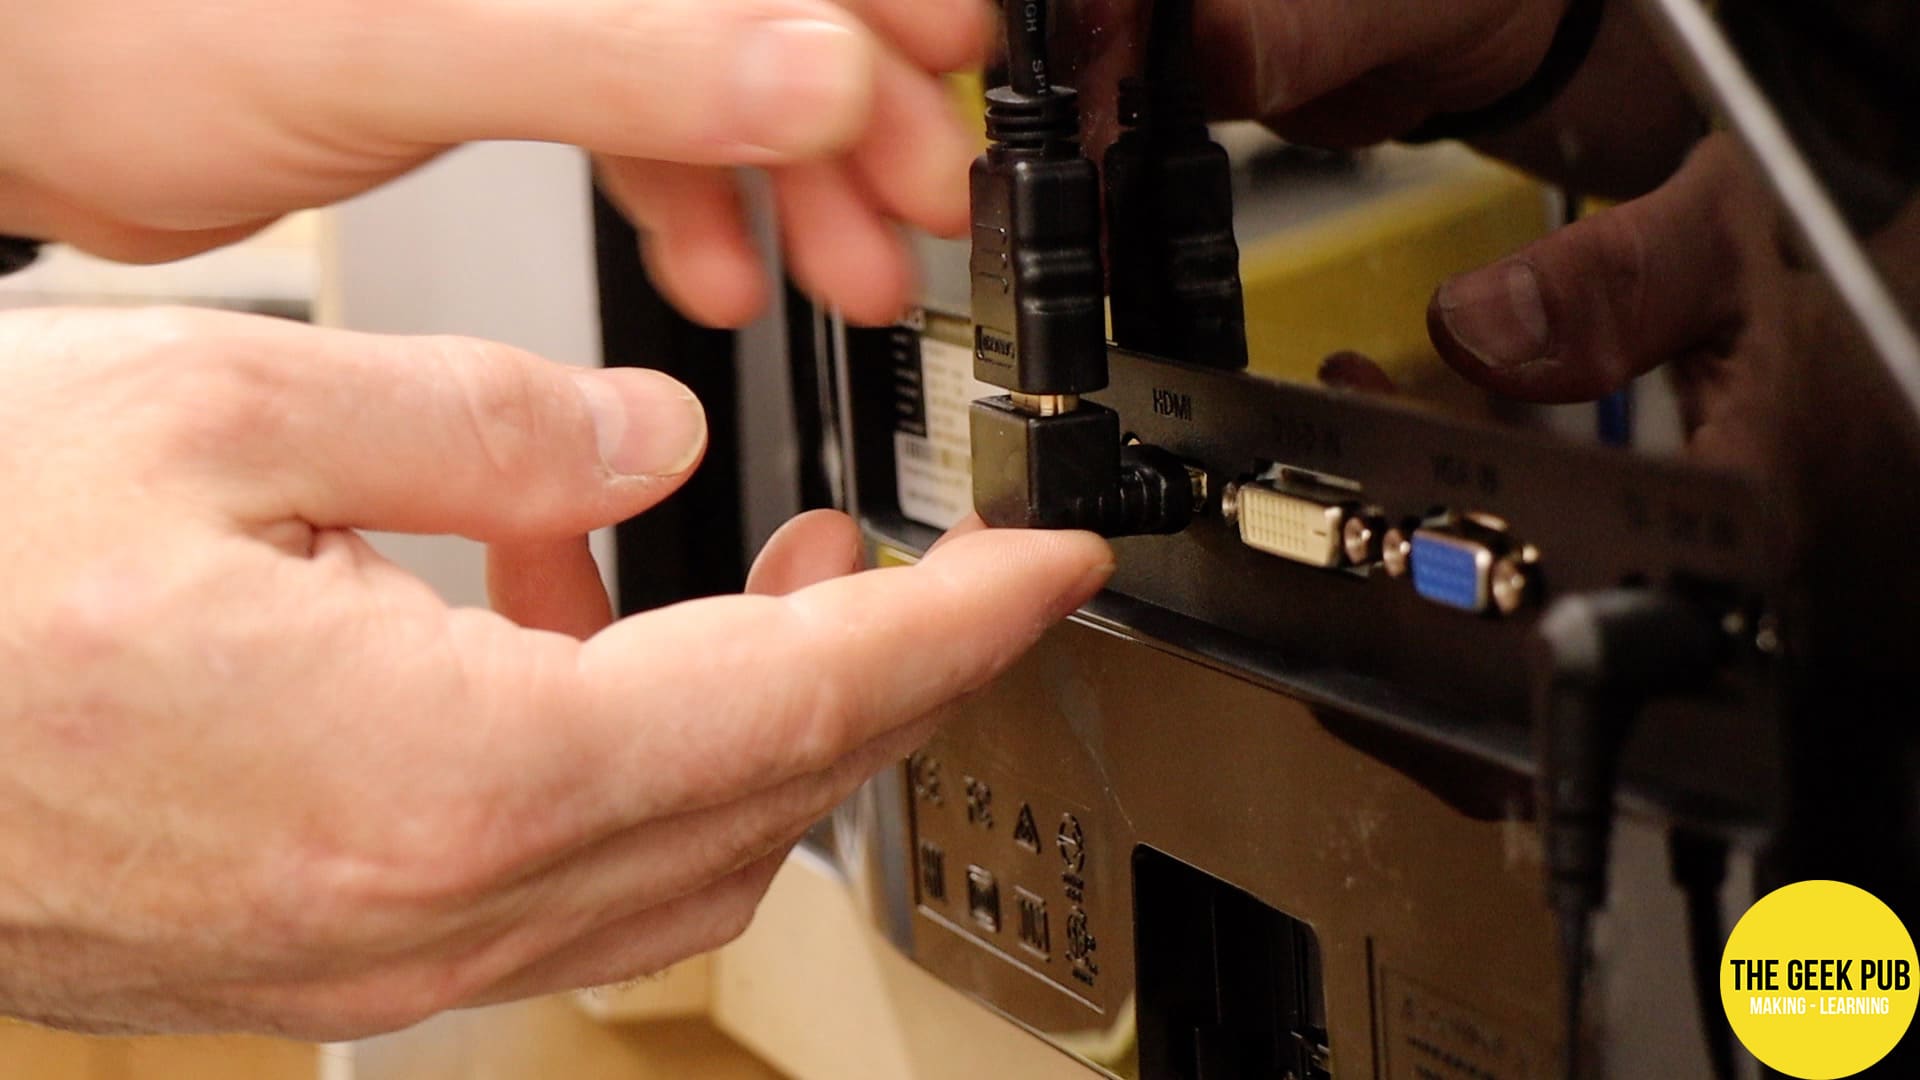
Since this arcade is super thin in the spirit of wall mounting it, there isn’t much room for cables to stick out the back of it. In order to solve for that problem I added a 90 degree HDMI adapter to the back of the monitor to keep it from interfering with the wall.
And with everything in place the cable management really turned out nice!
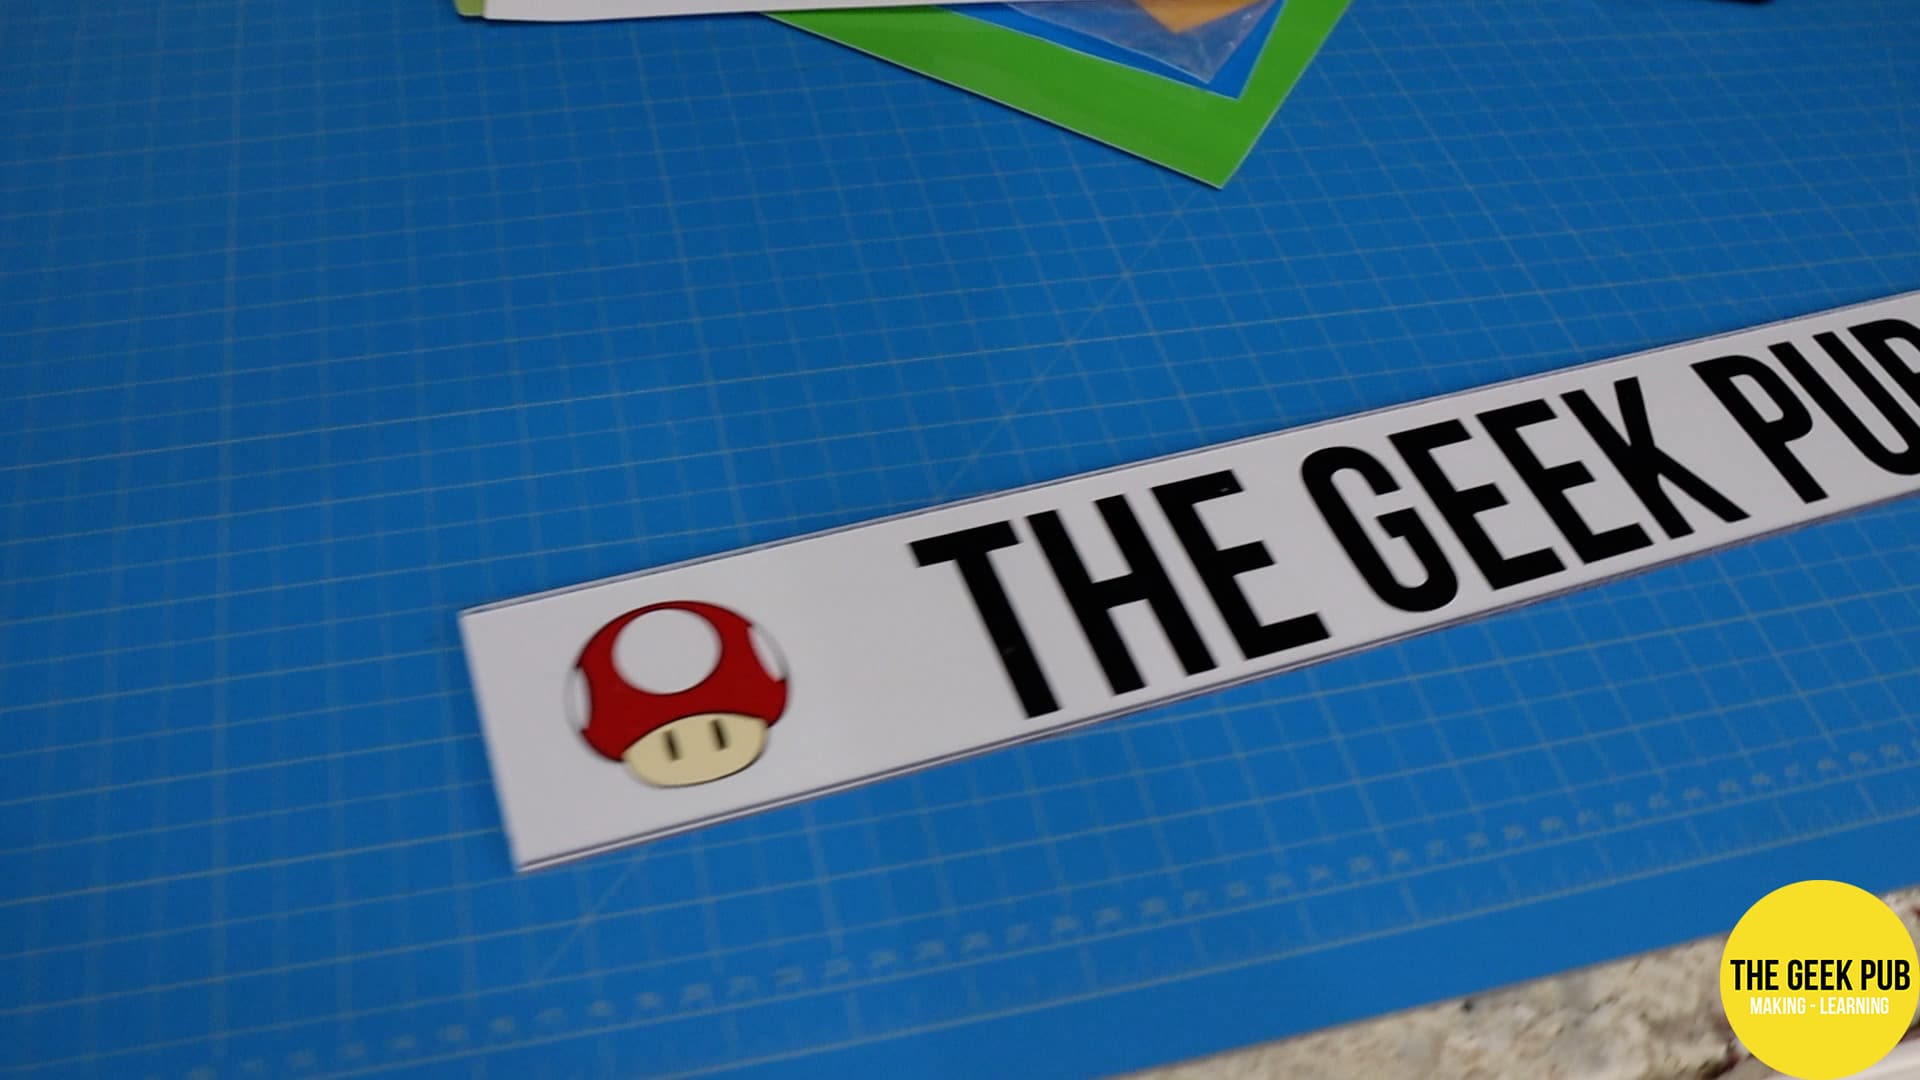
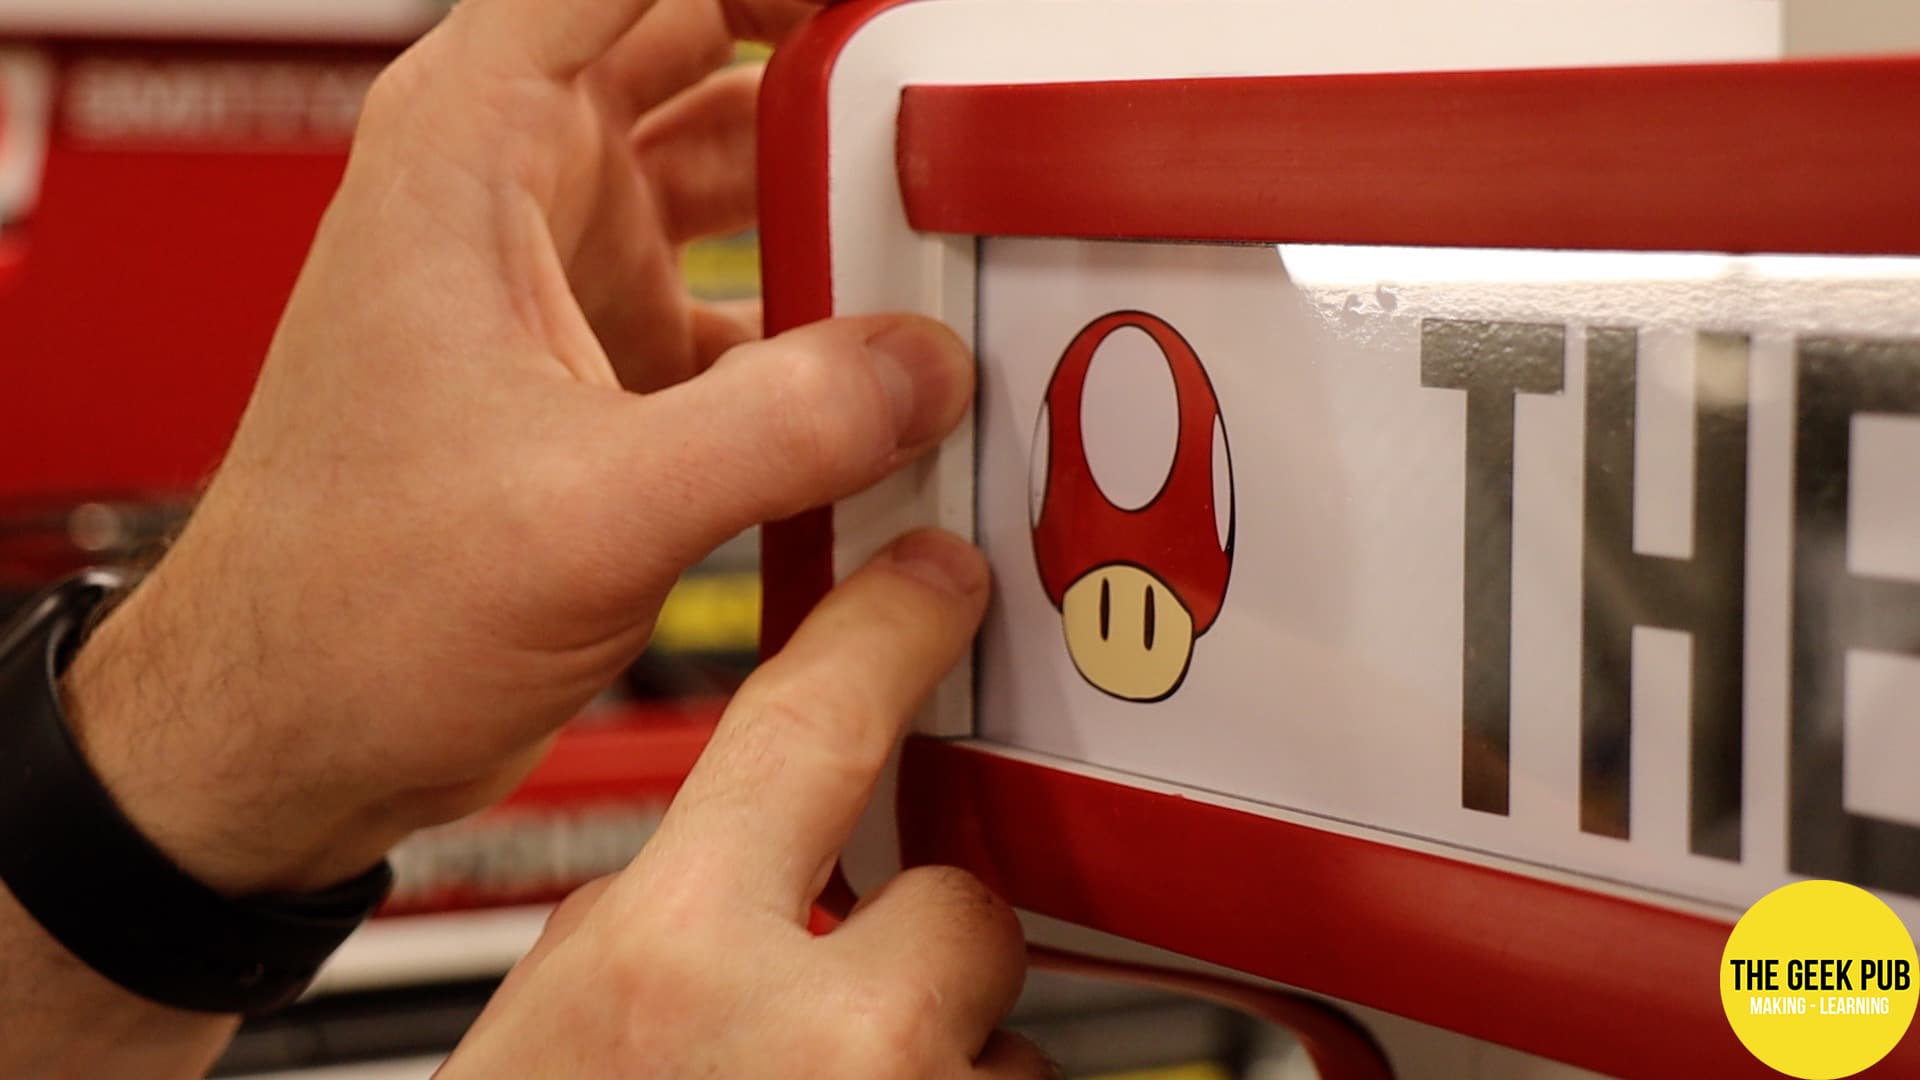
Step 16: Making the Mushroom Marquee
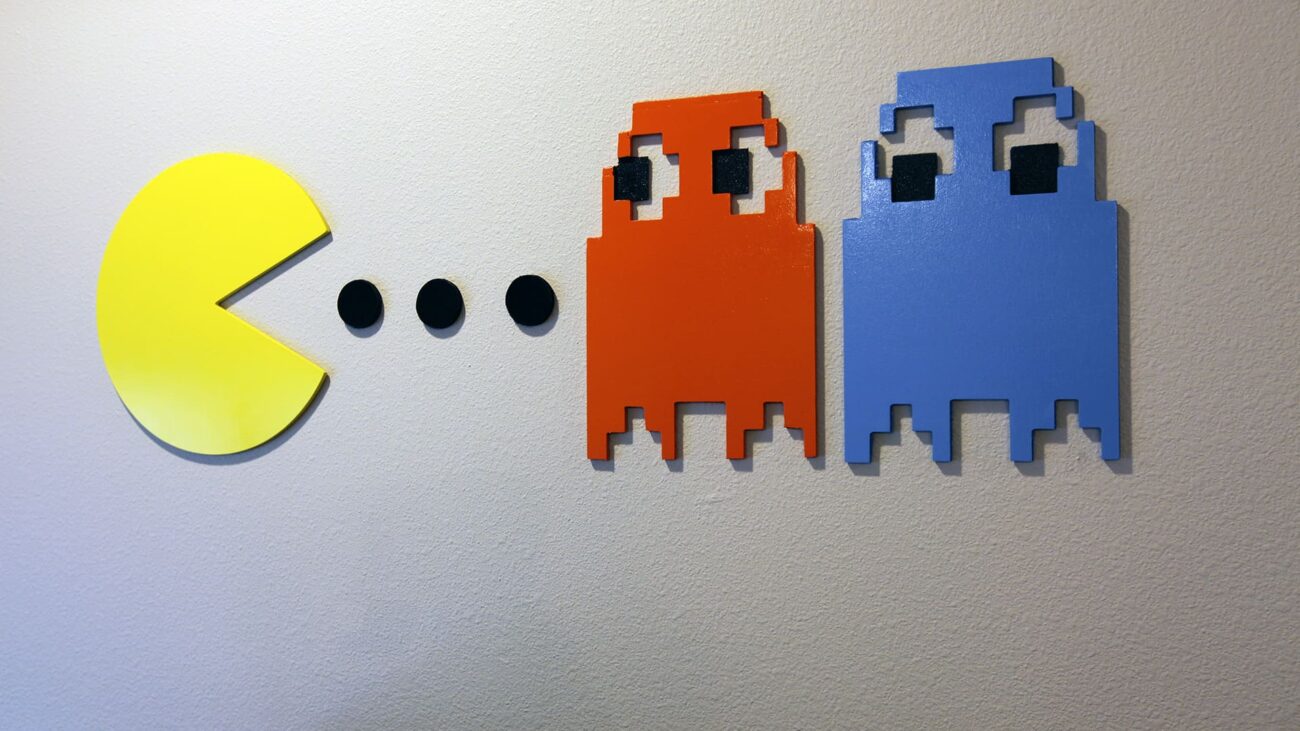
I wanted to make a super special Marquee to go along with this awesome color scheme. I decided on a Geek Pub logo along with some super awesome mushroom dudes reminiscent of my all time favorite game.
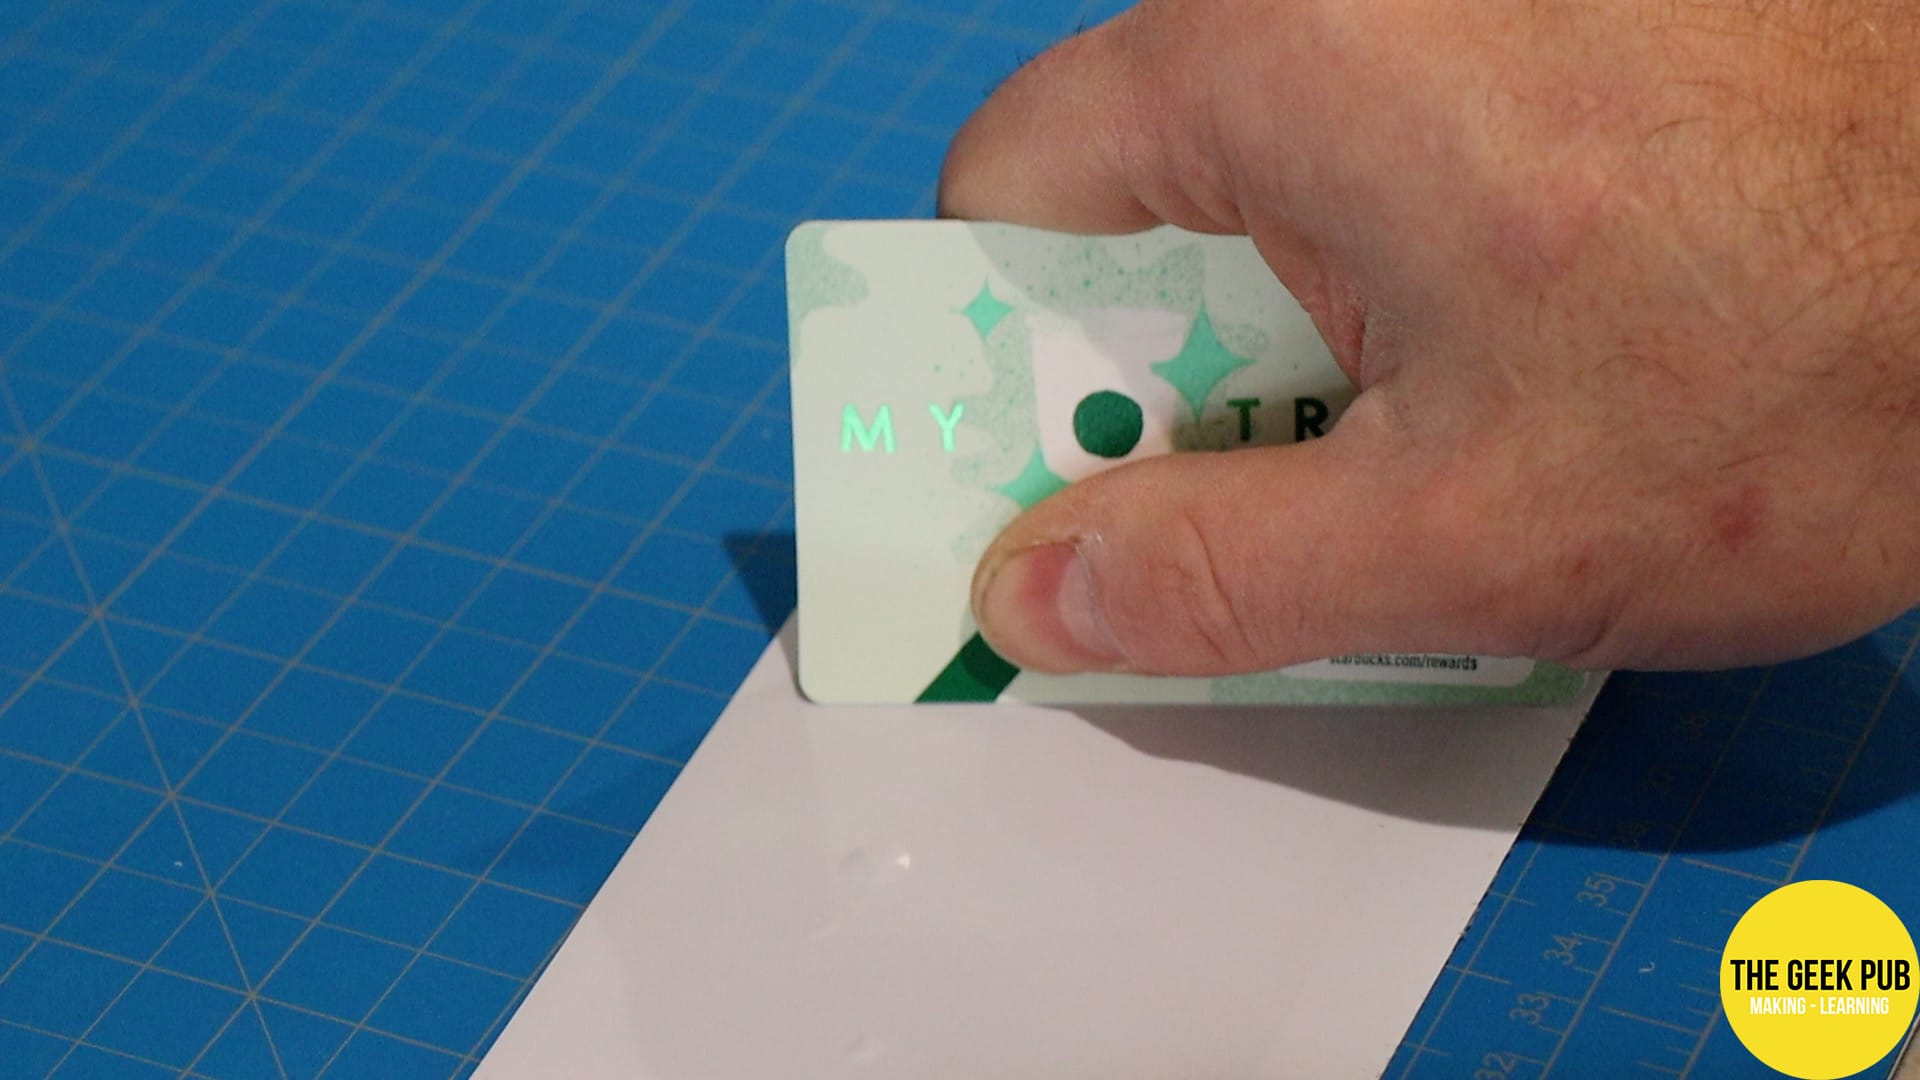
I started by taking some plexiglass (acrylic sheets) cut to the right dimensions and laminated one of them with some white vinyl from my Cricut vinyl cutter. I used a razer knife to cut it to size and then a random gift card to squeegee out the bubbles. Some of the stubborn bubbles I popped with a needle.
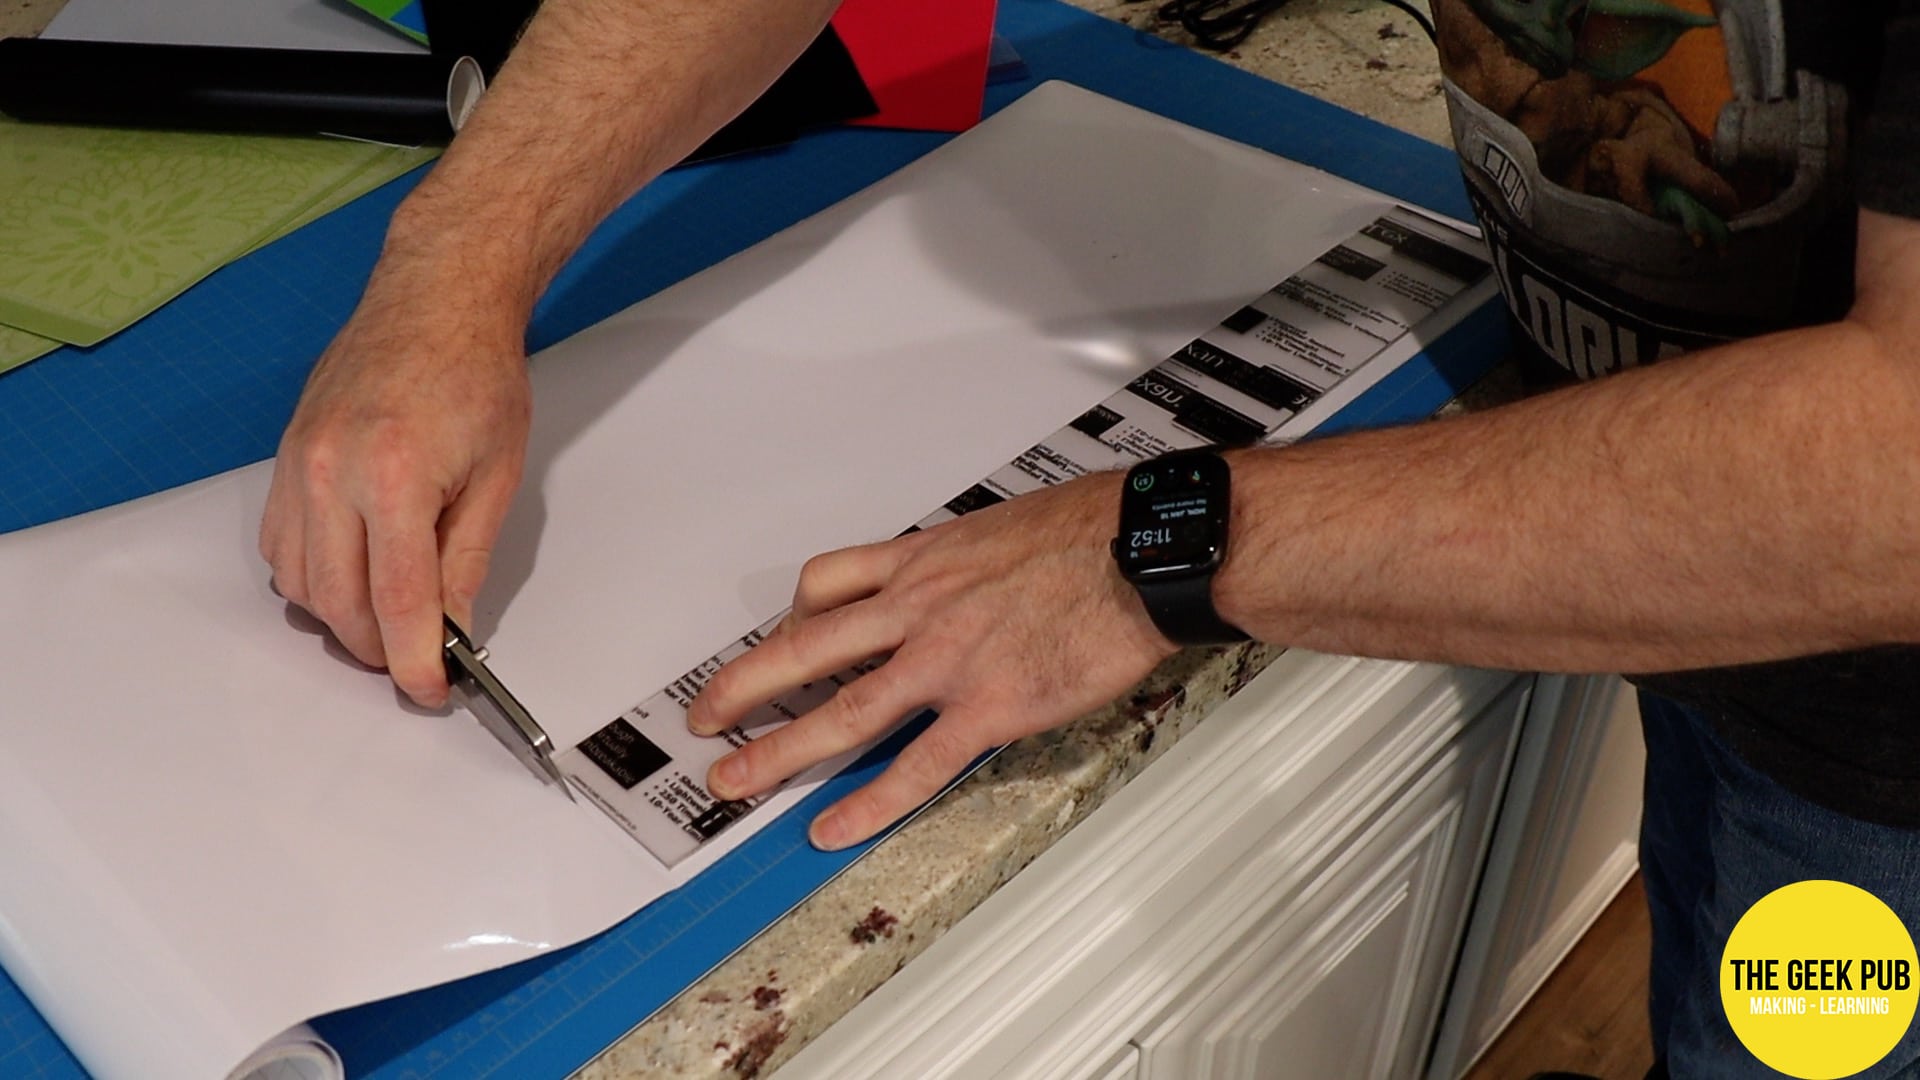
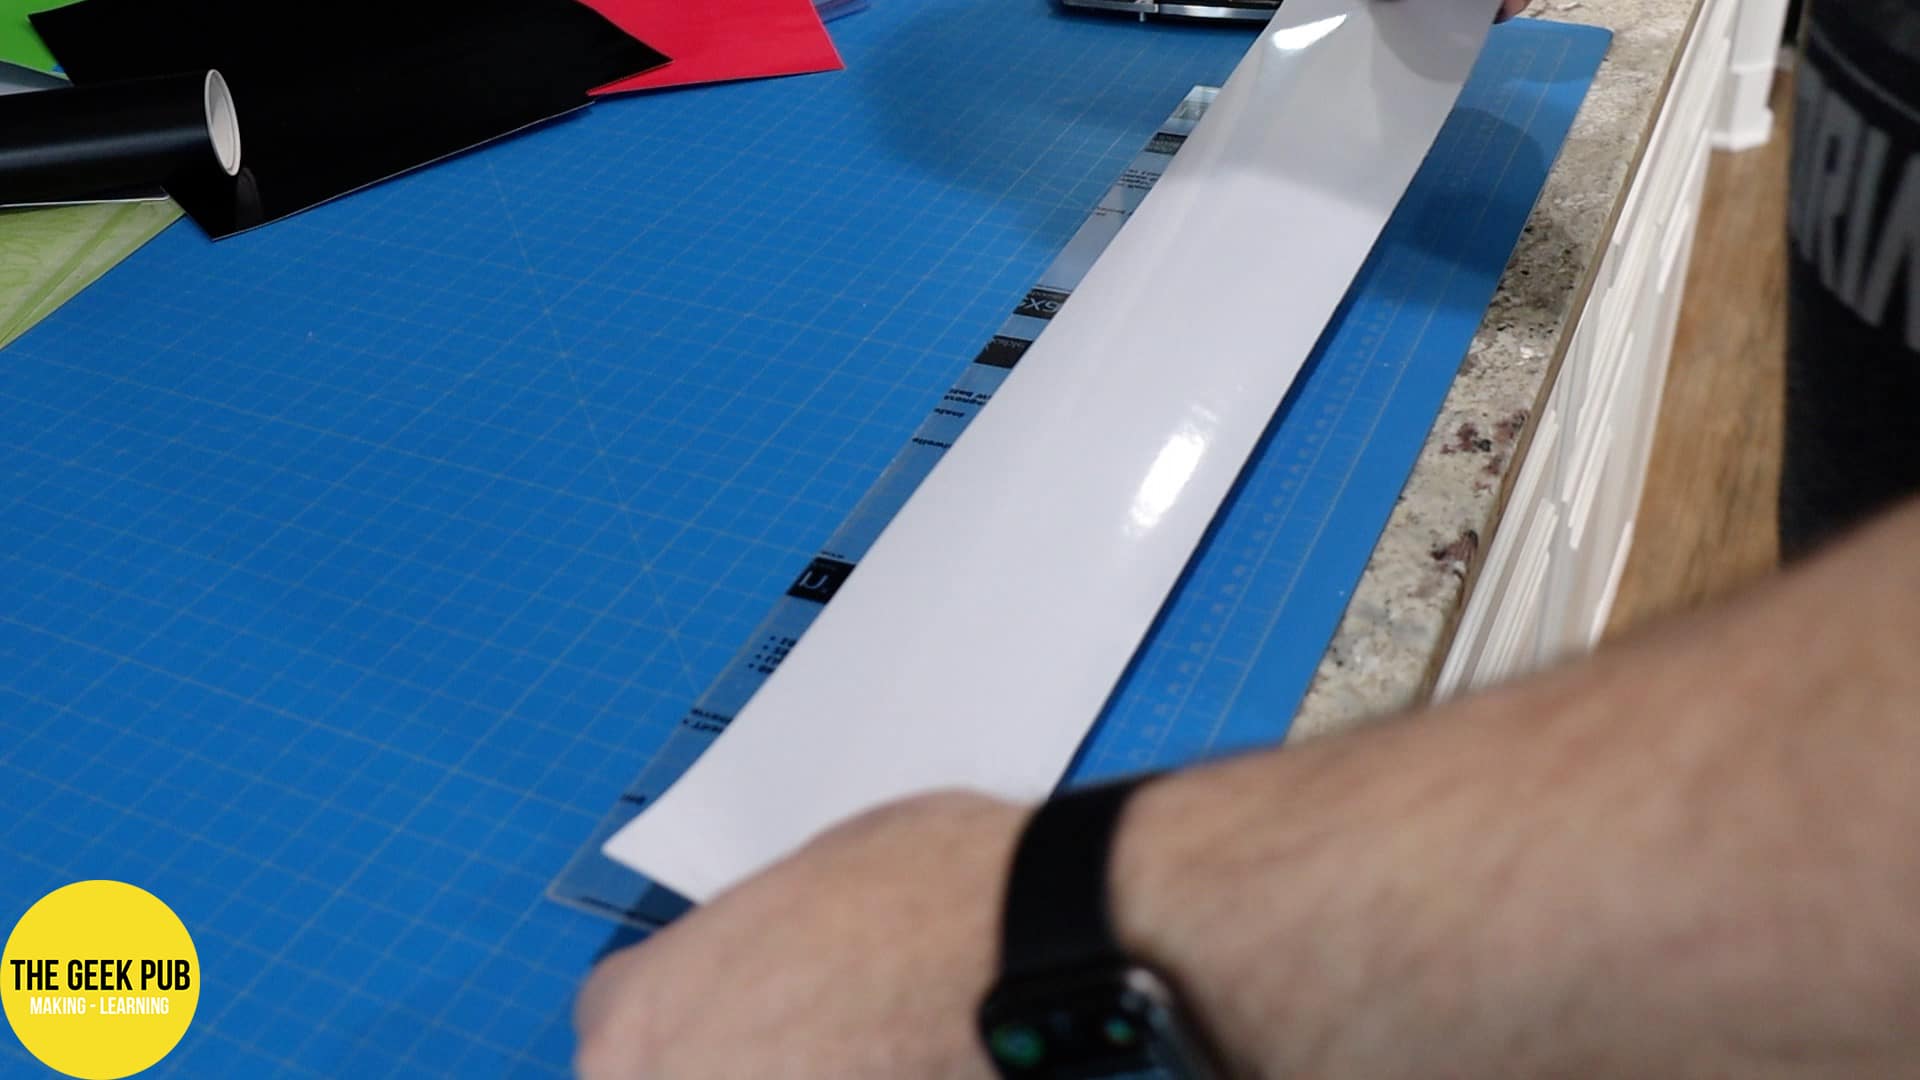
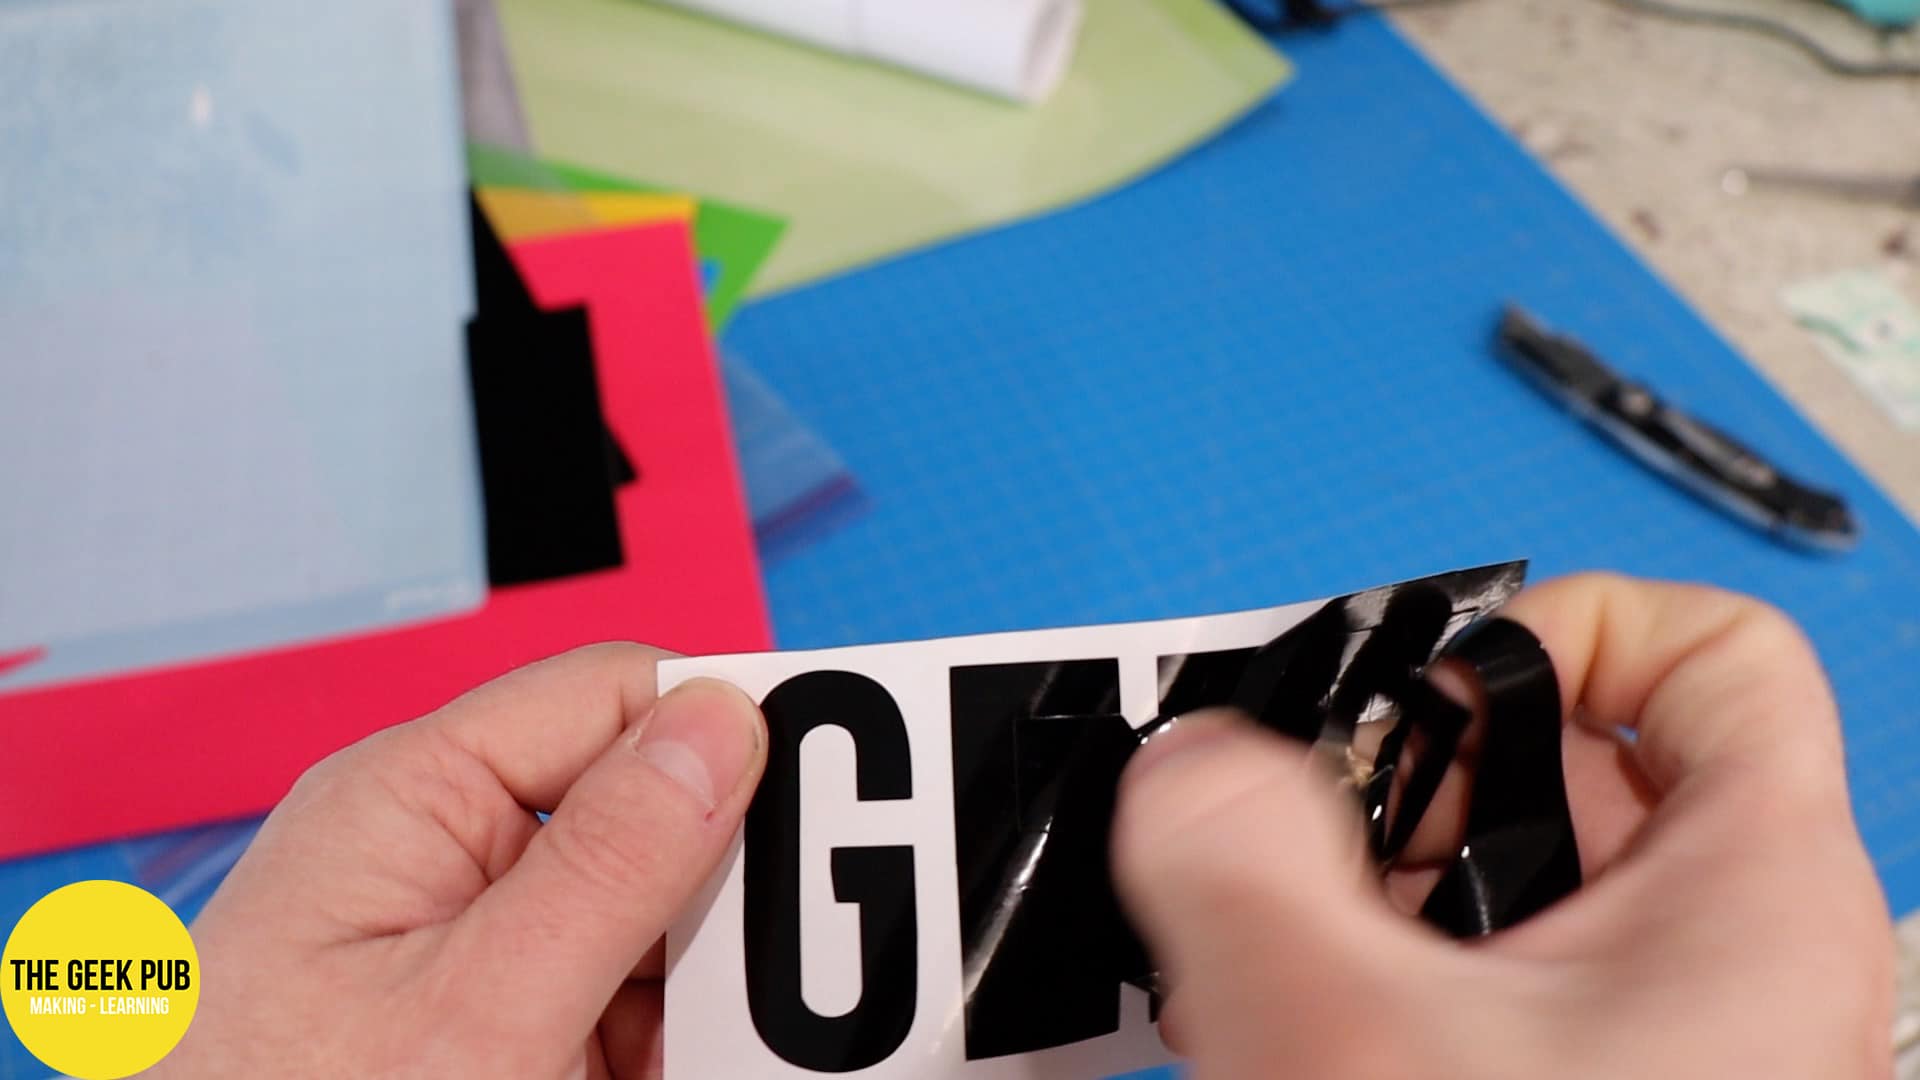
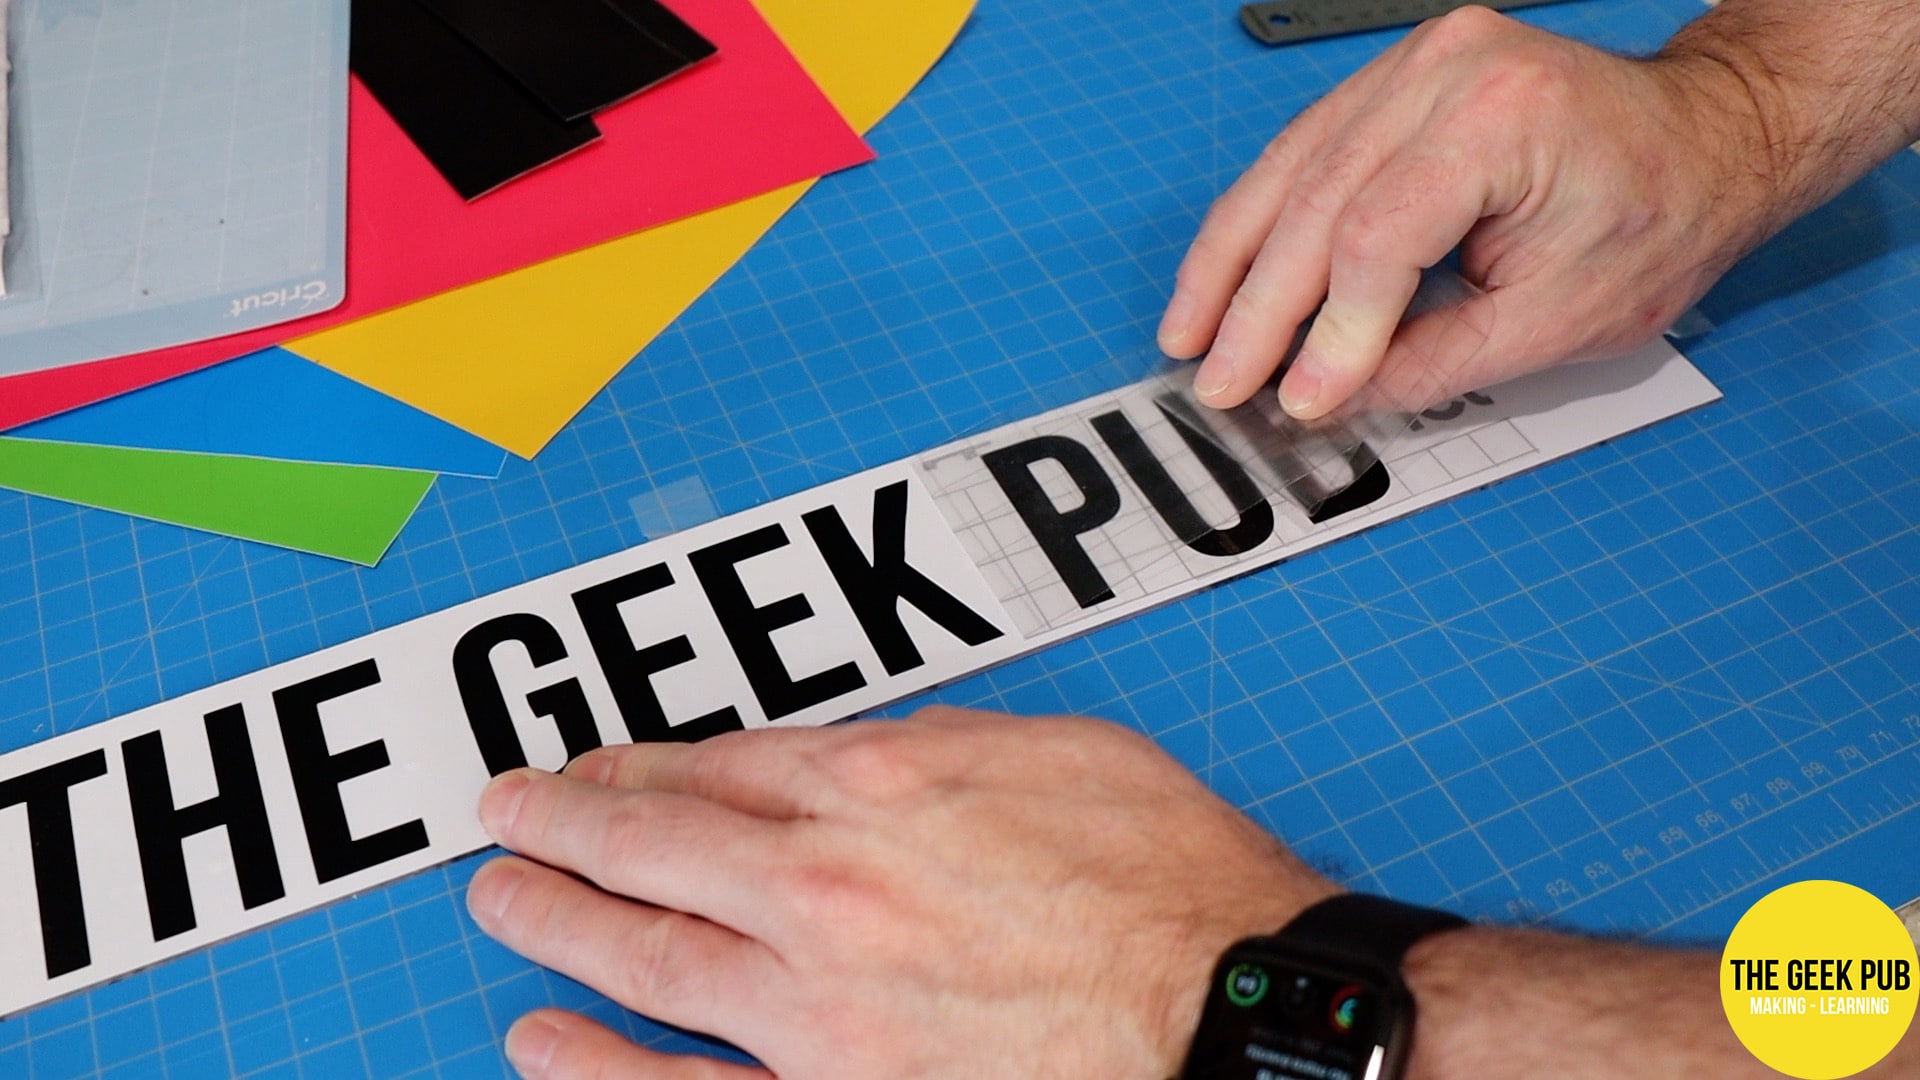
Then I used the Cricut to cut out my logo.
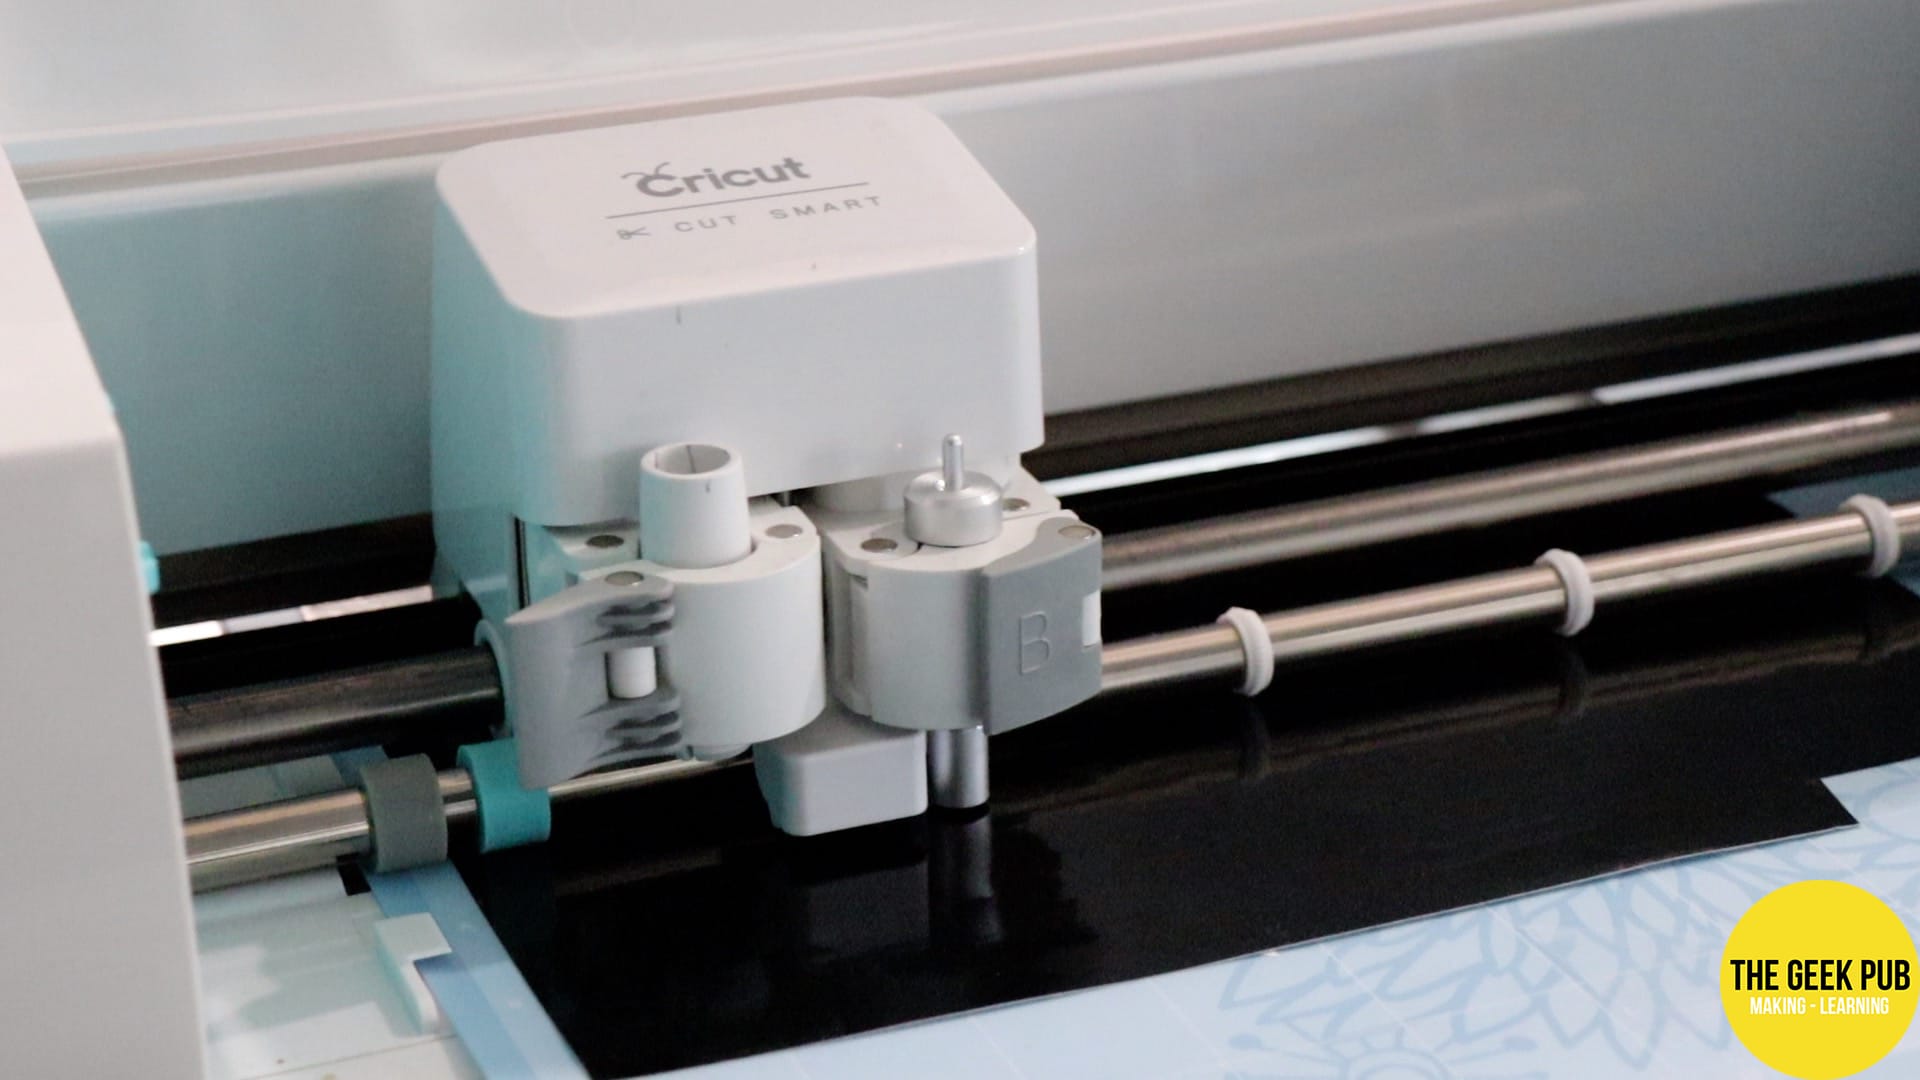
And then I made some awesome mushroom dudes on the Cricut. This was a four layer process. Each component being cut and applied separately.
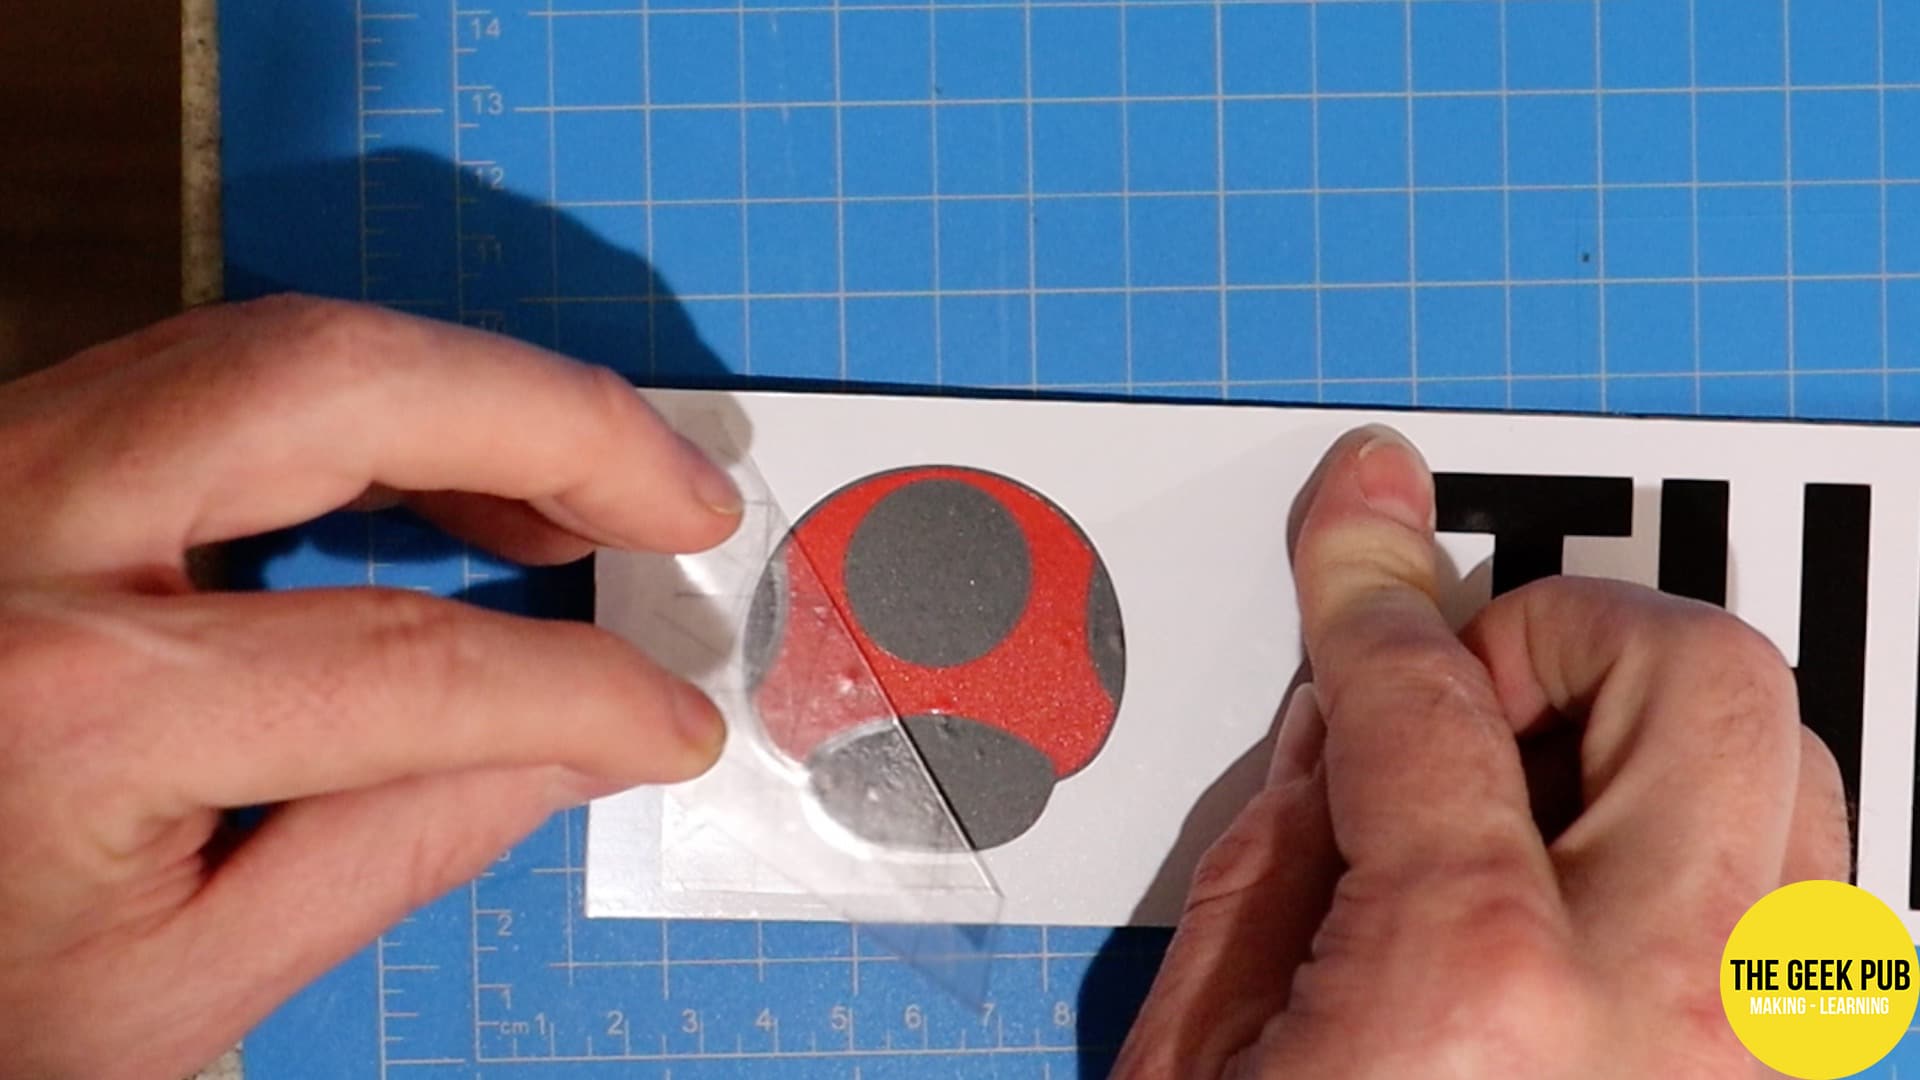
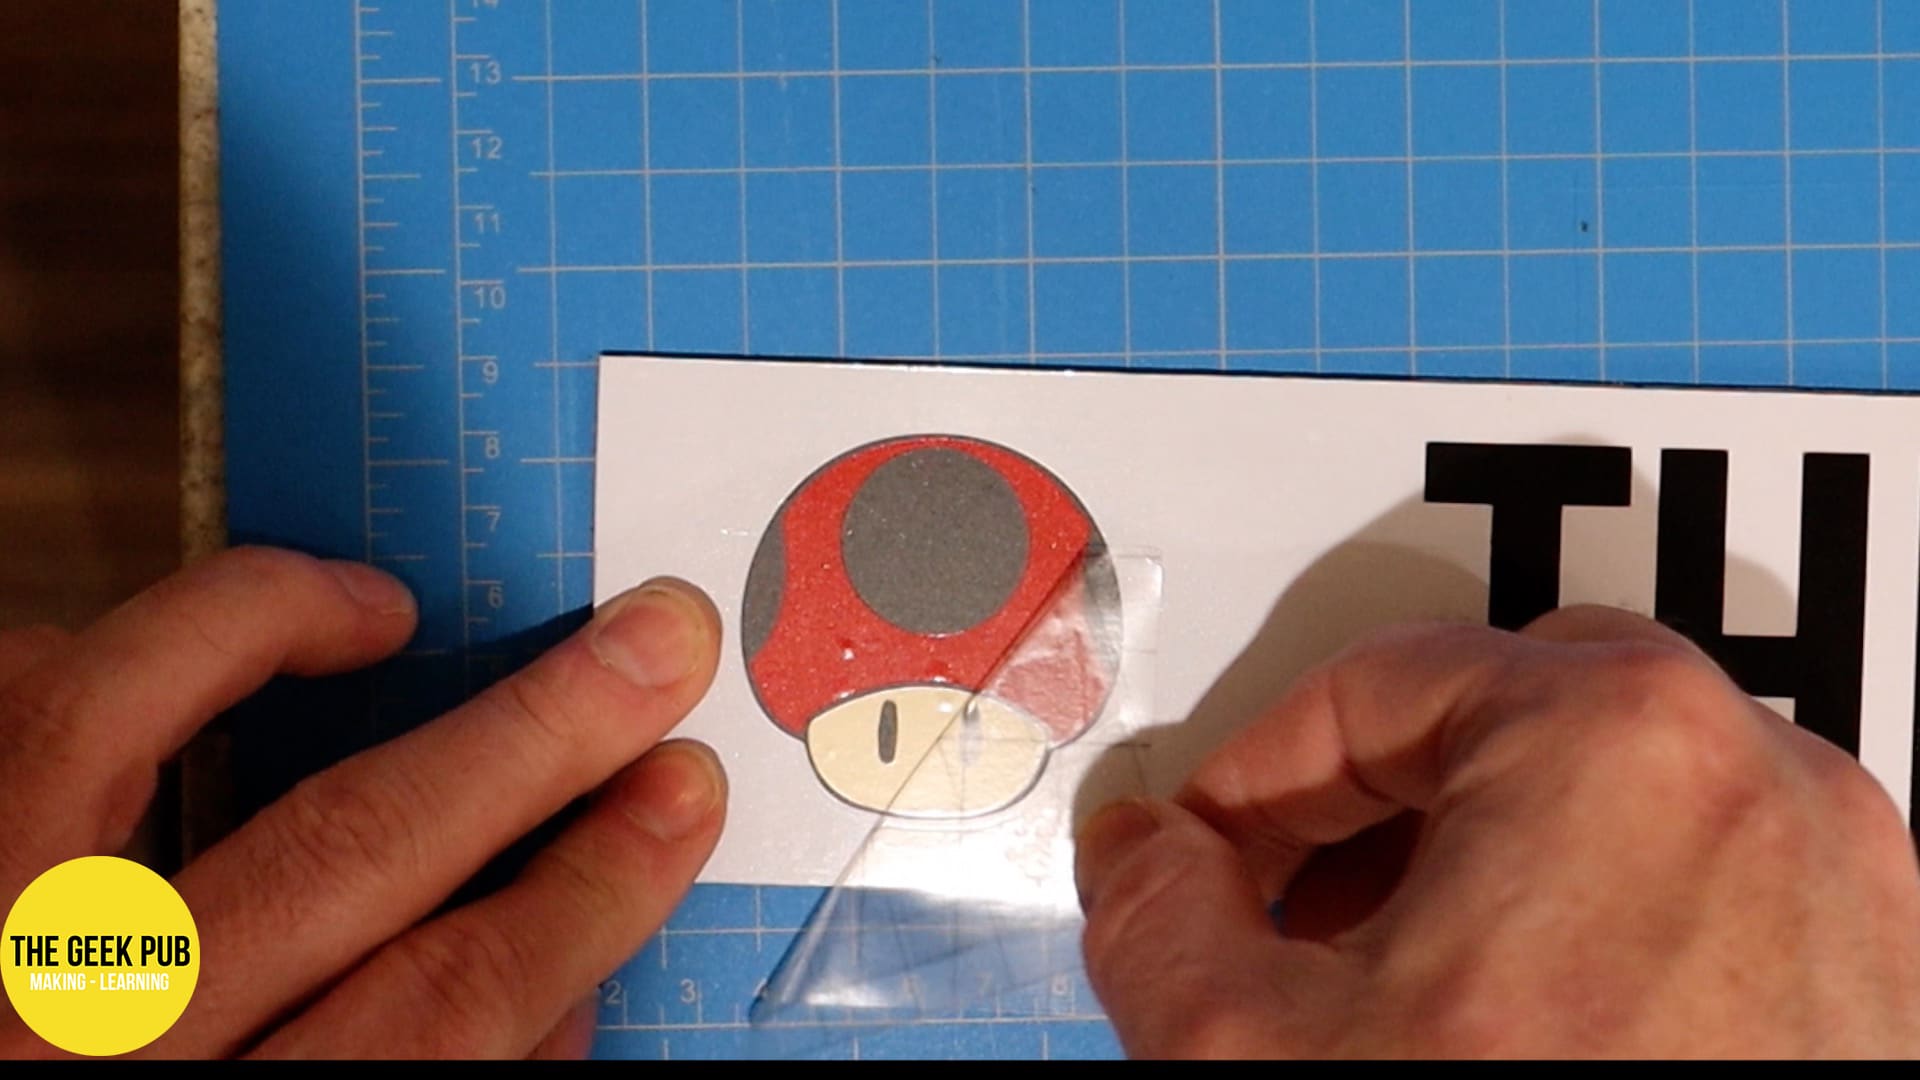
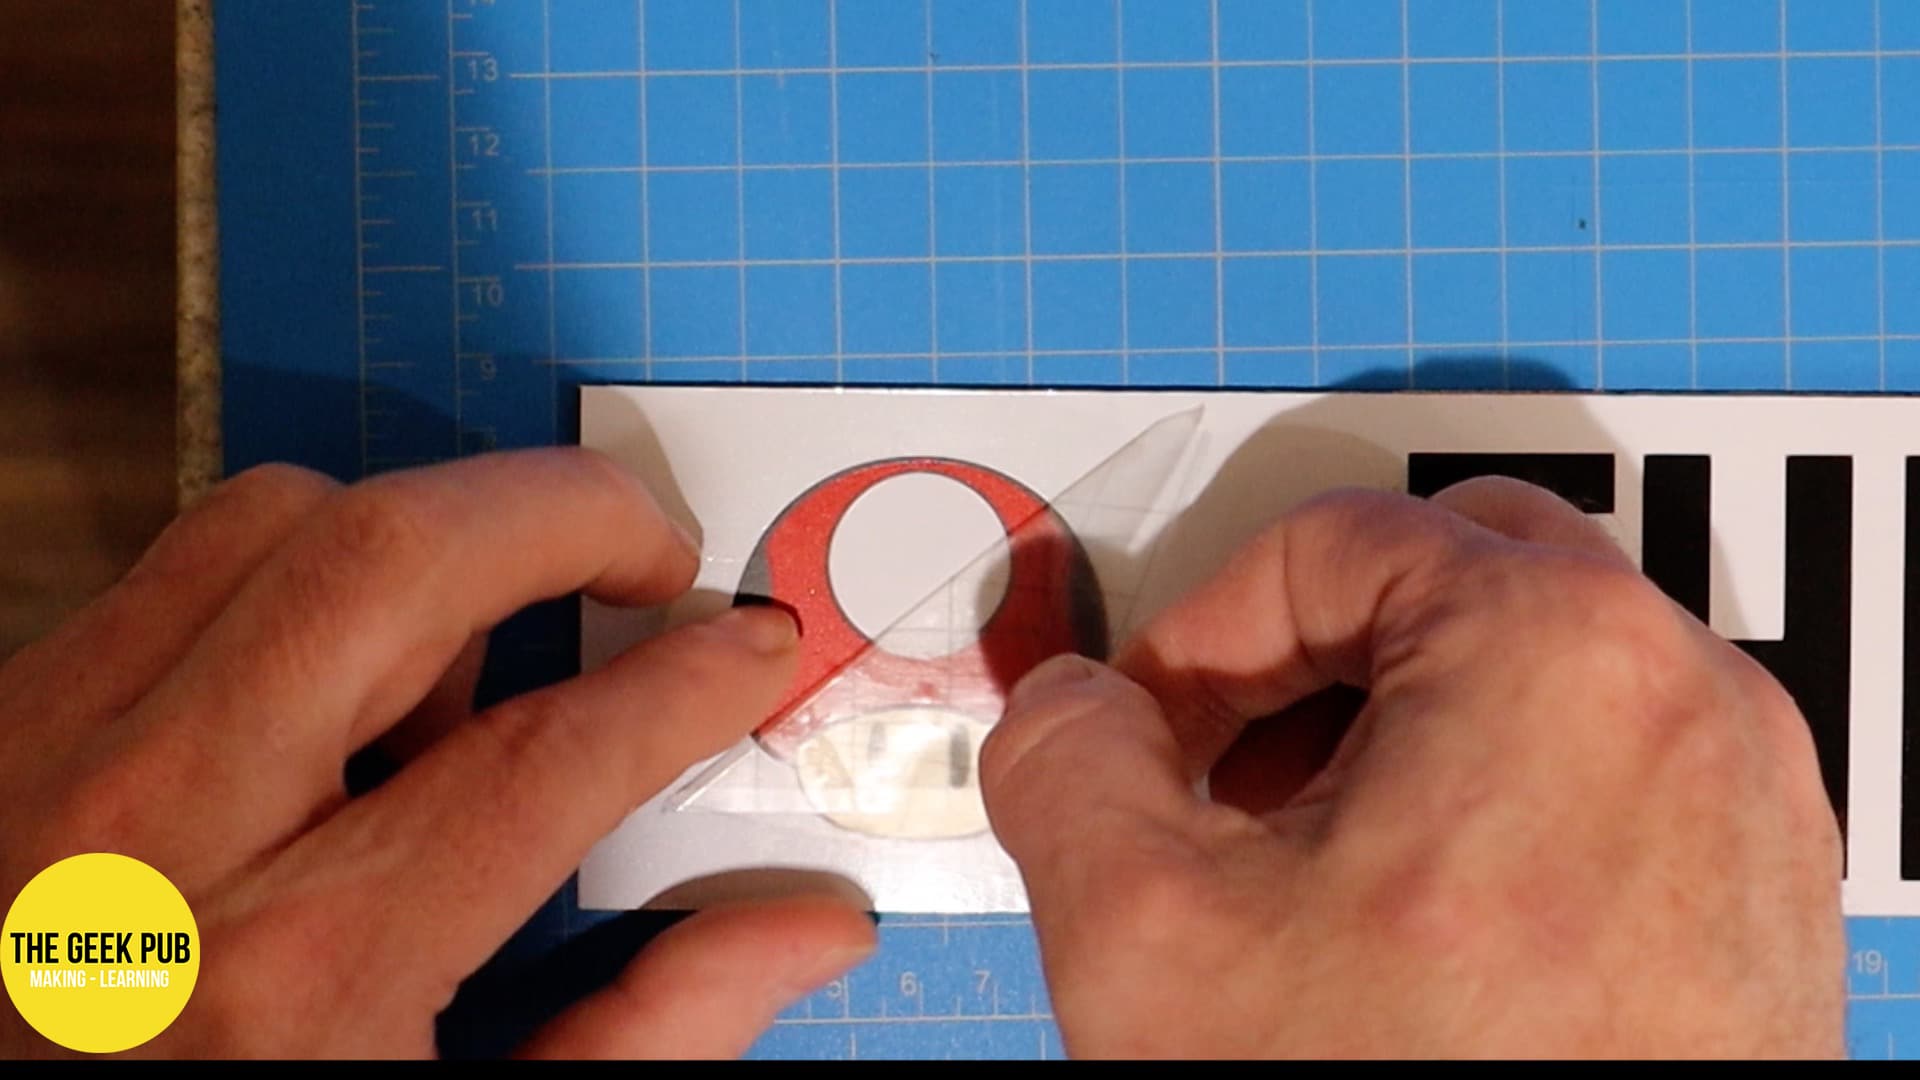
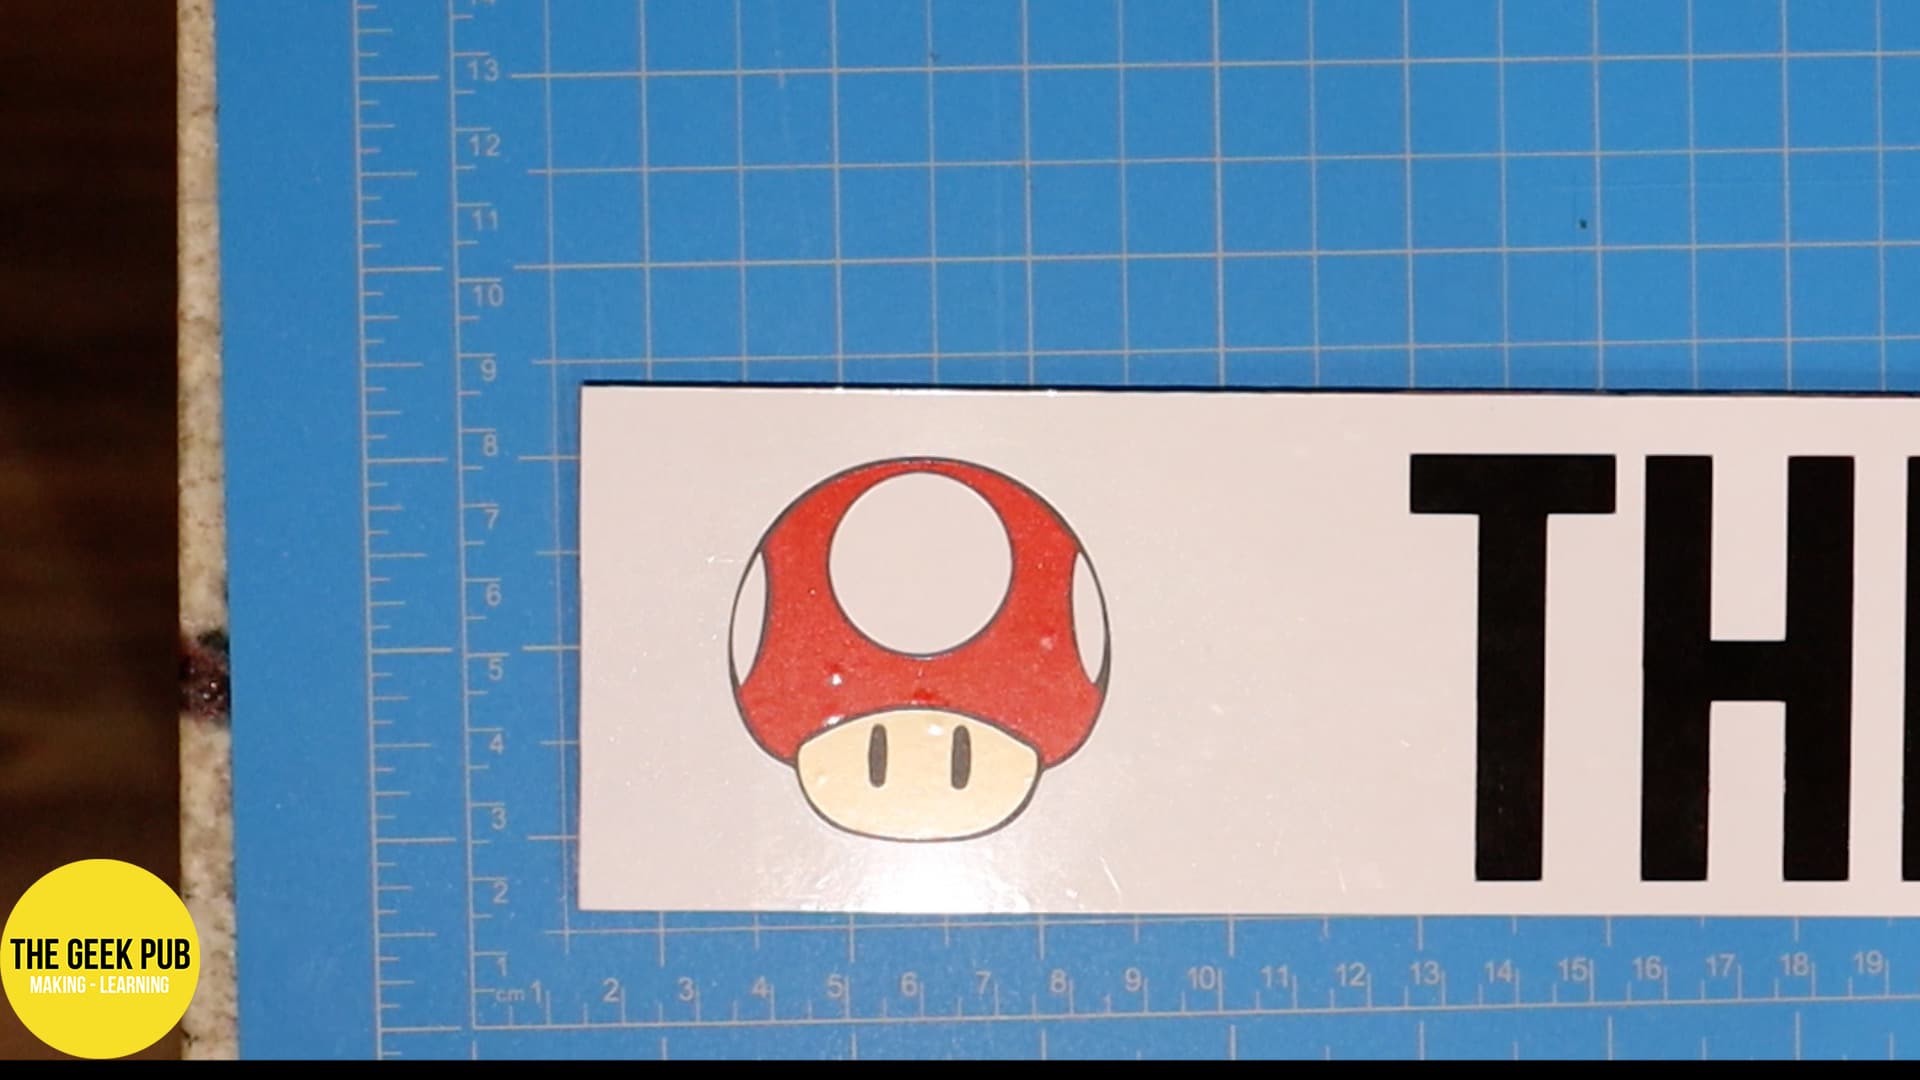
And wow was I happy with how these turned out! This marquee is going to totally rock!
Step 17: Installing the Marquee
The marquee simply slides into place in the marquee slot at the top of the wall hanging arcade. To keep it from coming out, I added two little decorative trim pieces, on each end. This allows servicing if needed but will otherwise hold it permanently.
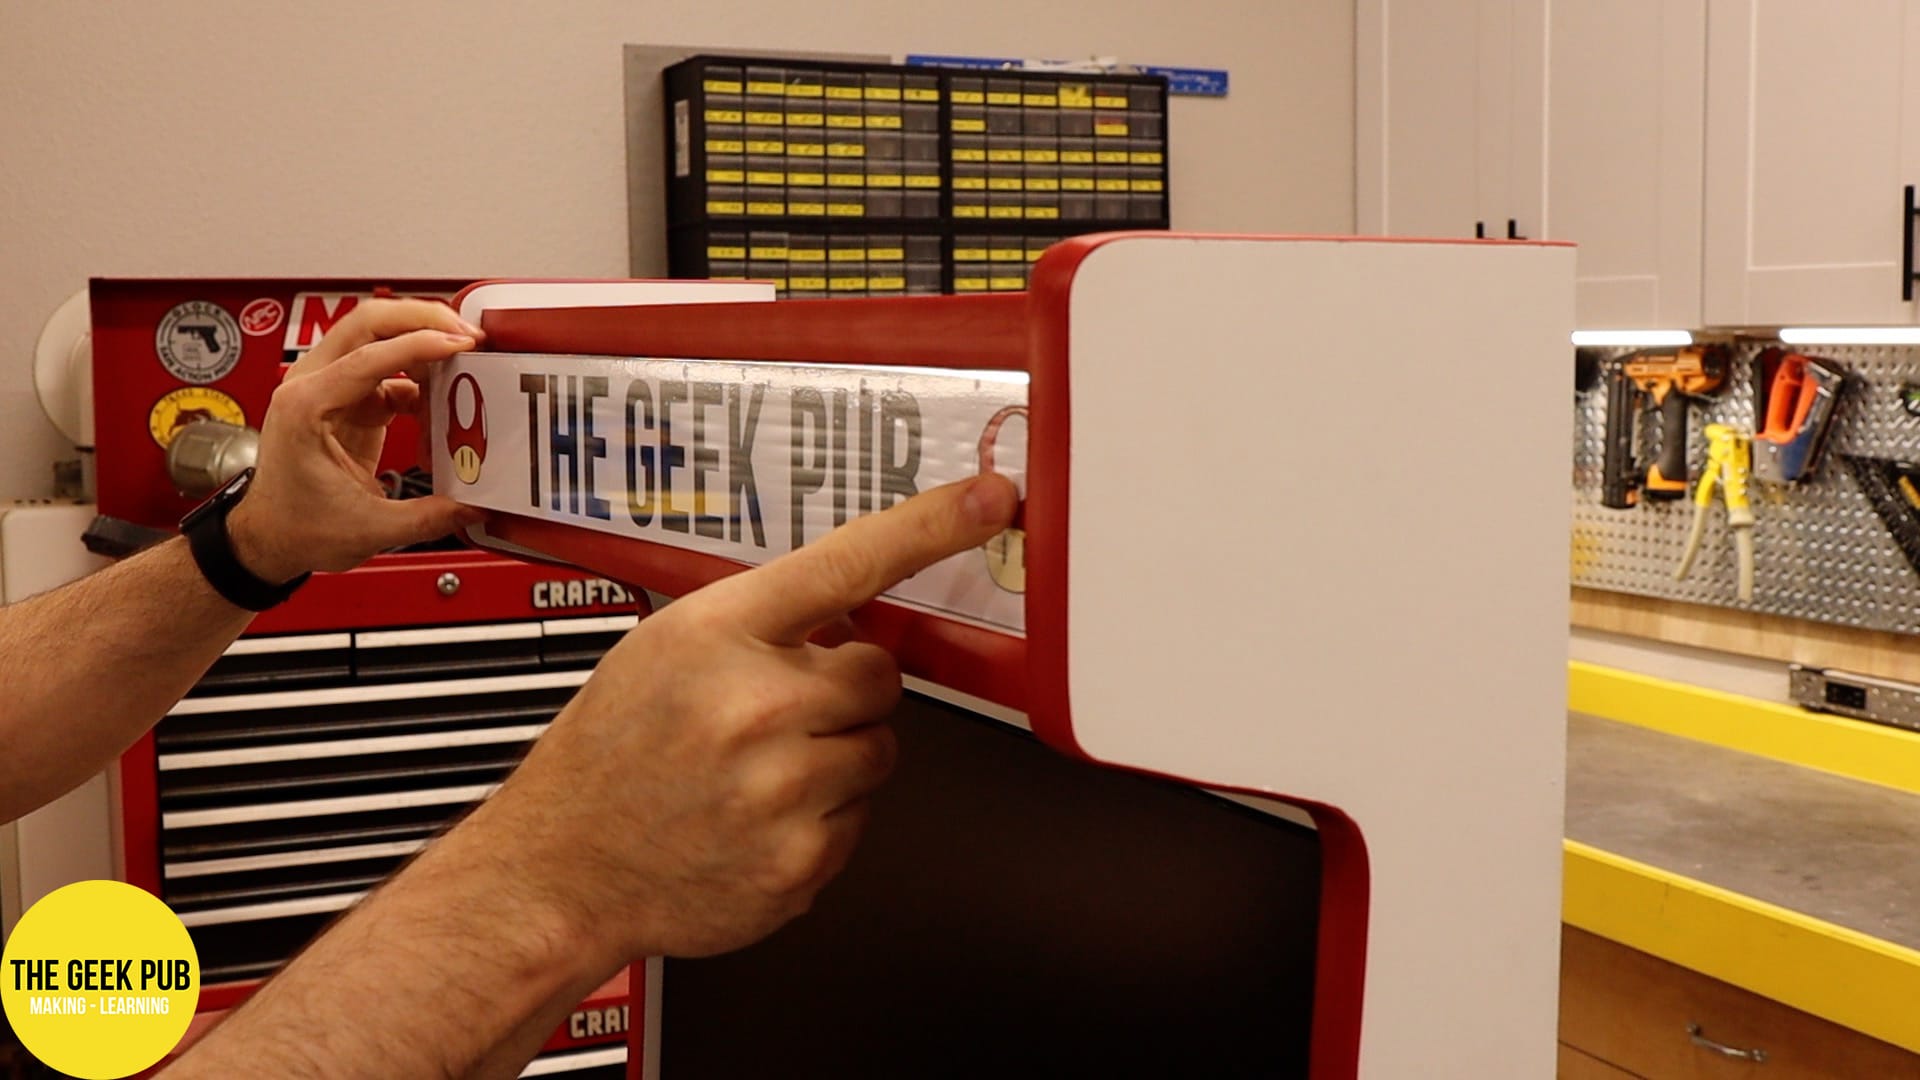
This is definitely my favorite marquee of all of my arcades! And I thought it was going to be hard to get a decent size marquee on a wall hanging arcade! So excited with this version!

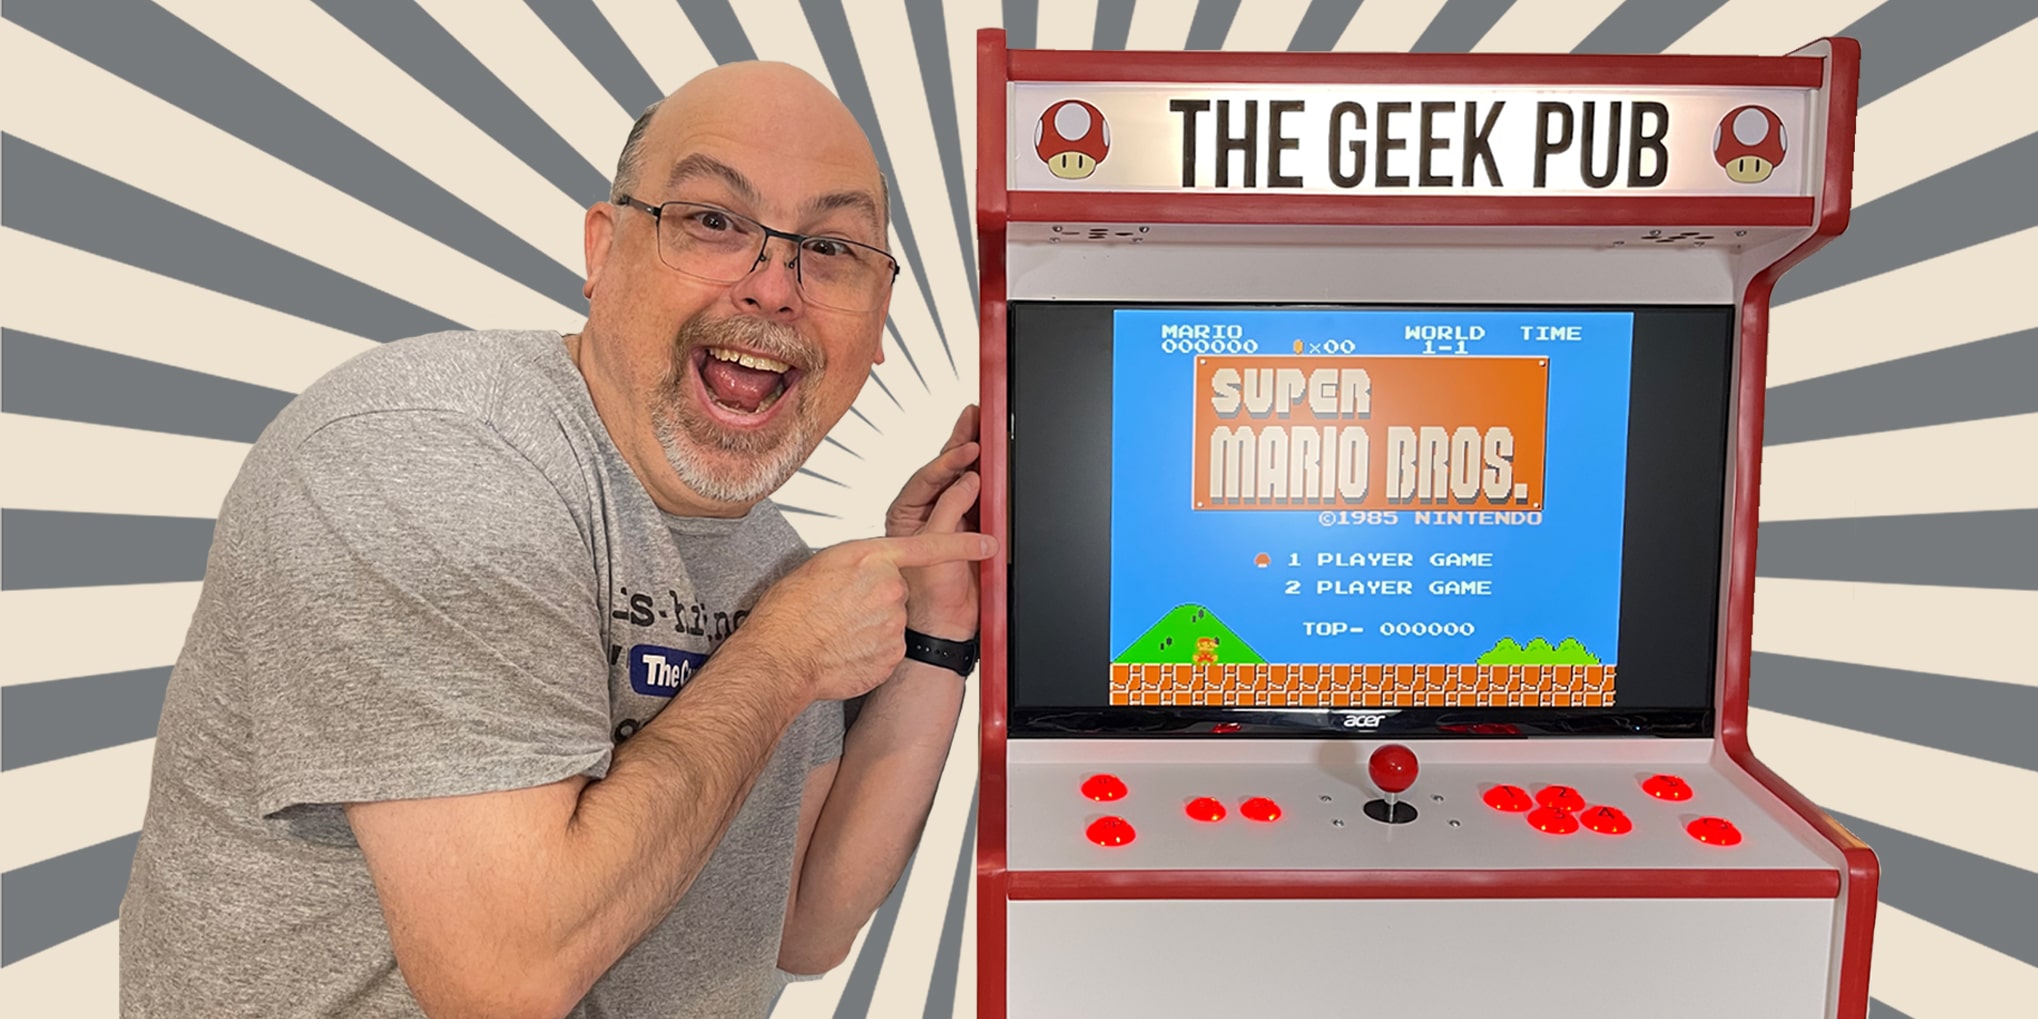
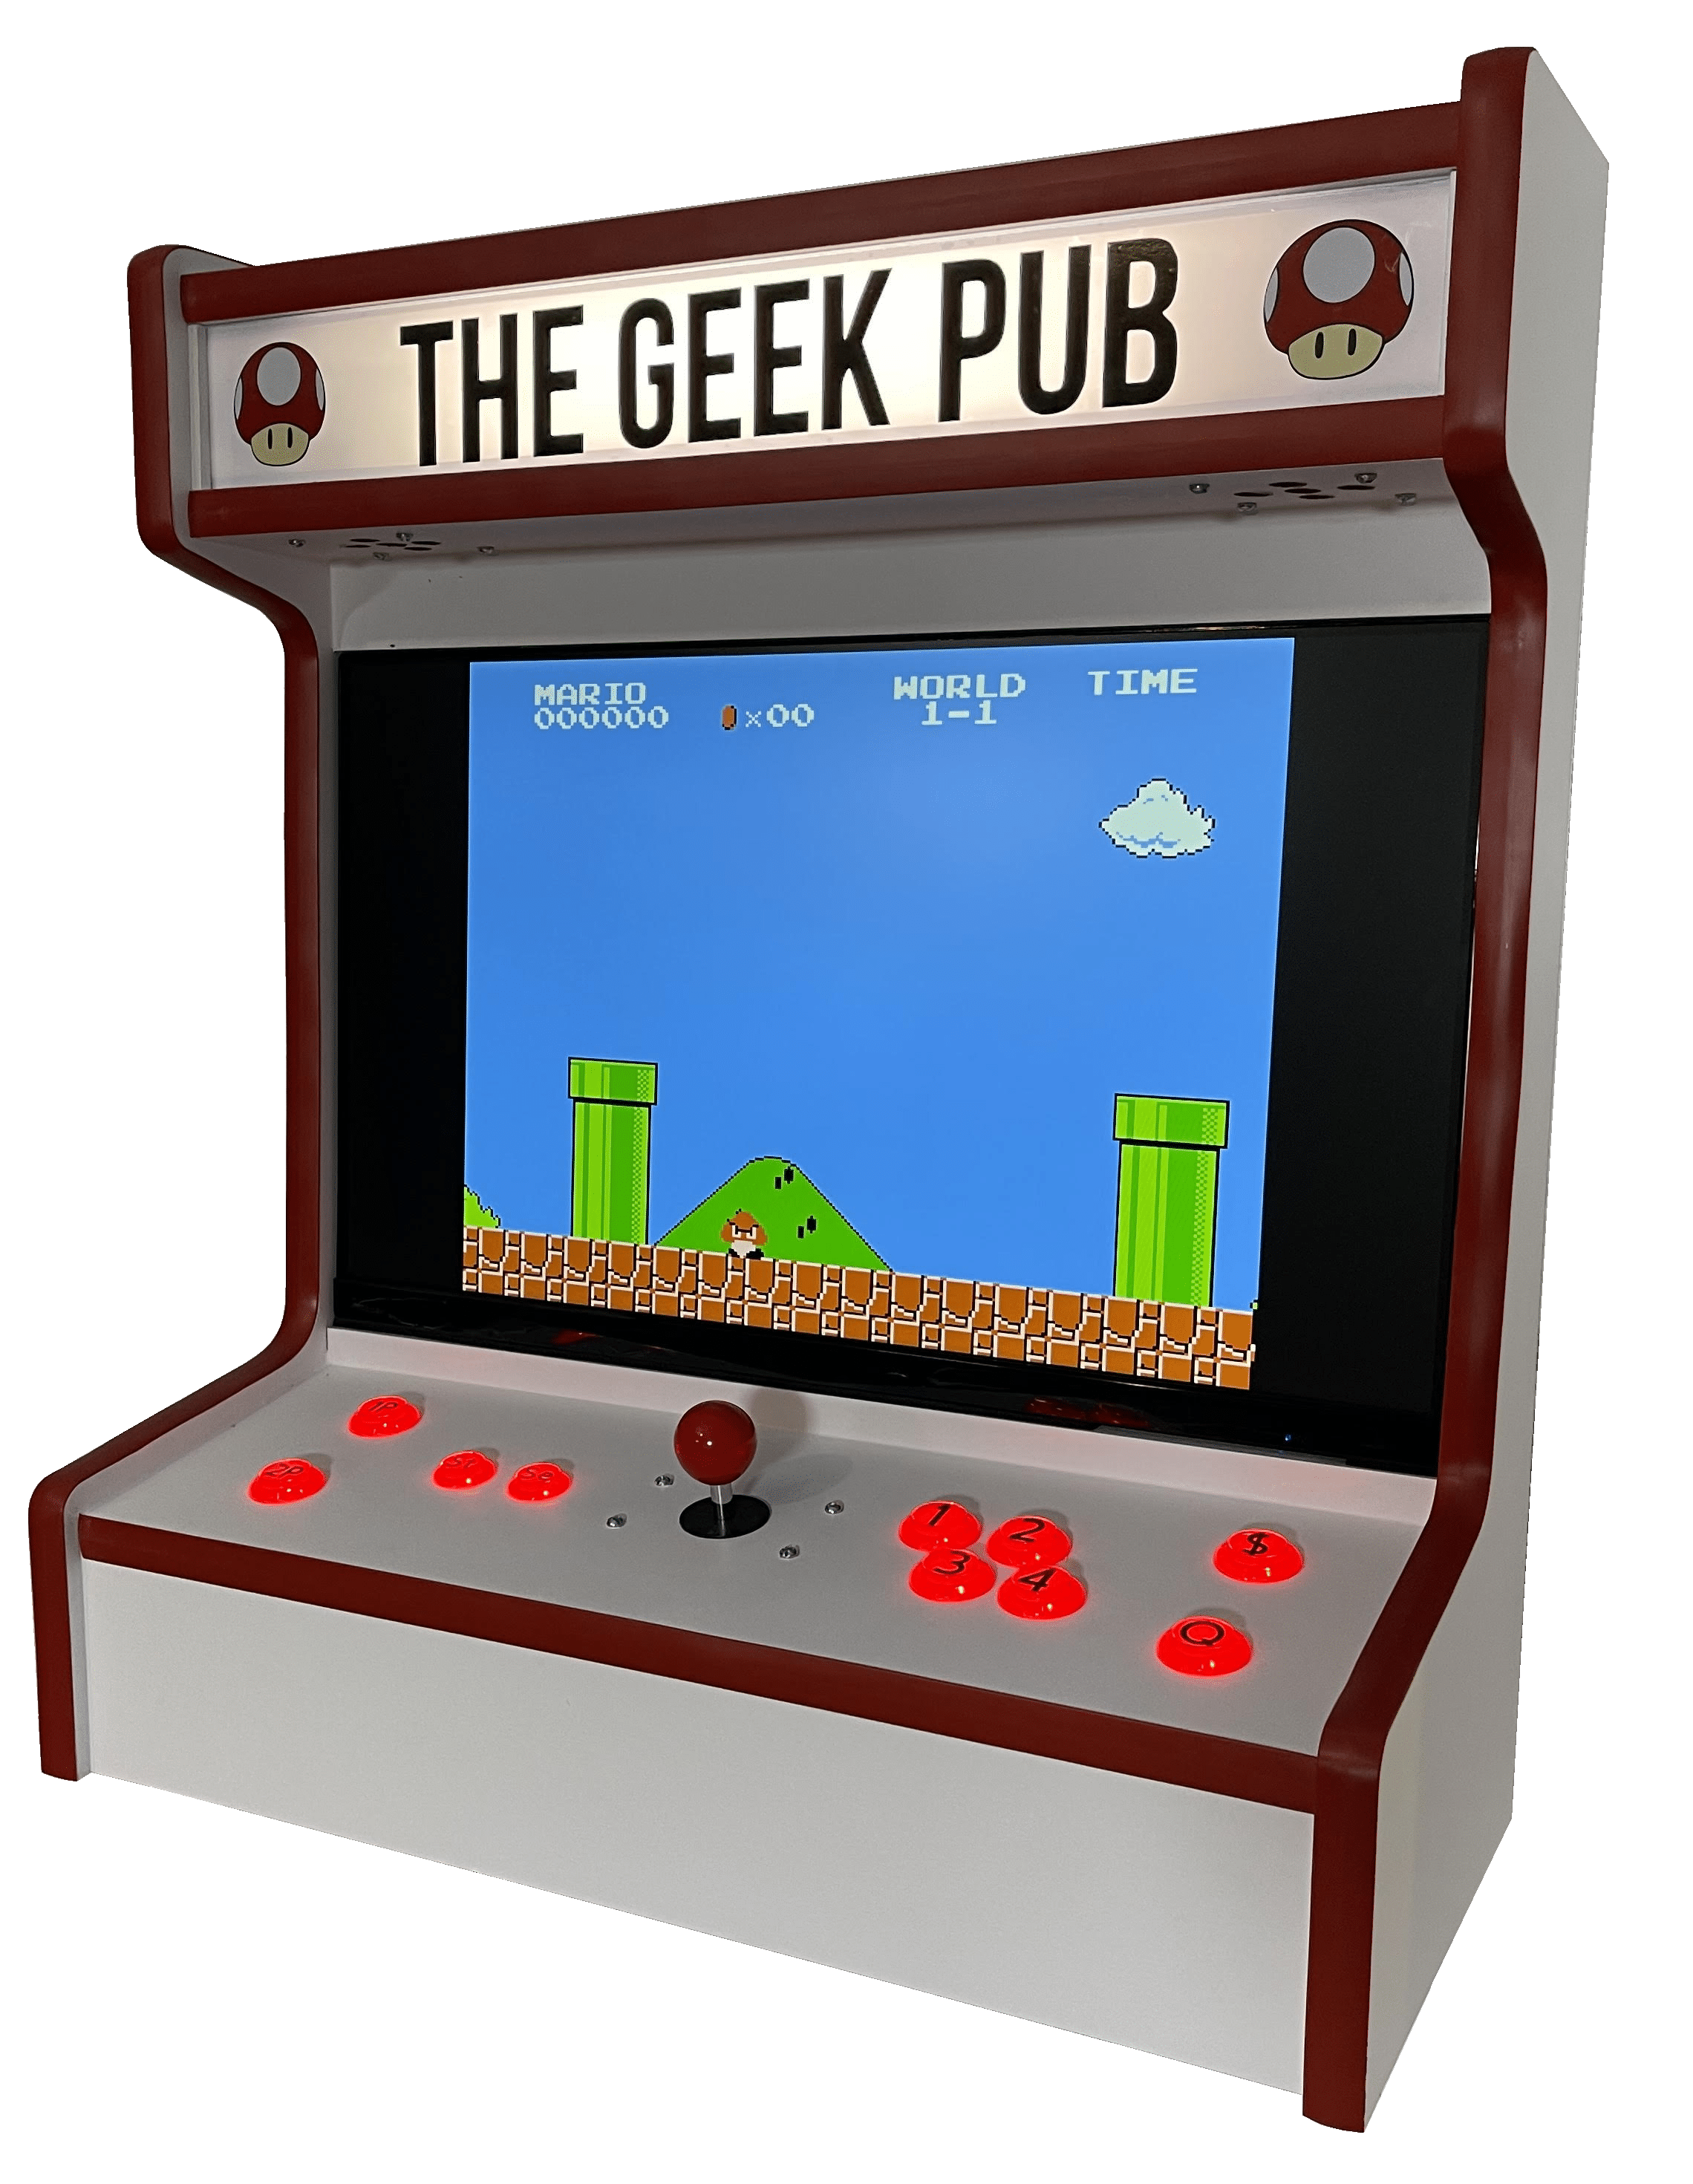
The Completed Wall Mount Arcade Cabinet
I could not be happier with how this arcade cabinet turned out! It is absolutely gorgeous in every single way. If you want to make this wall hanging arcade, you can grab the plans here.


4.5
Thanks for all of your support guys!
Mike – This is your best design yet! Love this thing!
1.5
5
Thank you Mike. I love this arcade so much I can barely stand it. I have to make this one! You’re grandkids are so cute in the video!
I just finished mine! I’ll post pictures on instagram soon!
Did you end up posting pictures. Would’ve to see
What’s your favorite arcade machine to play on. You’ve built so many.