Blog
How to use an Orbital Sander
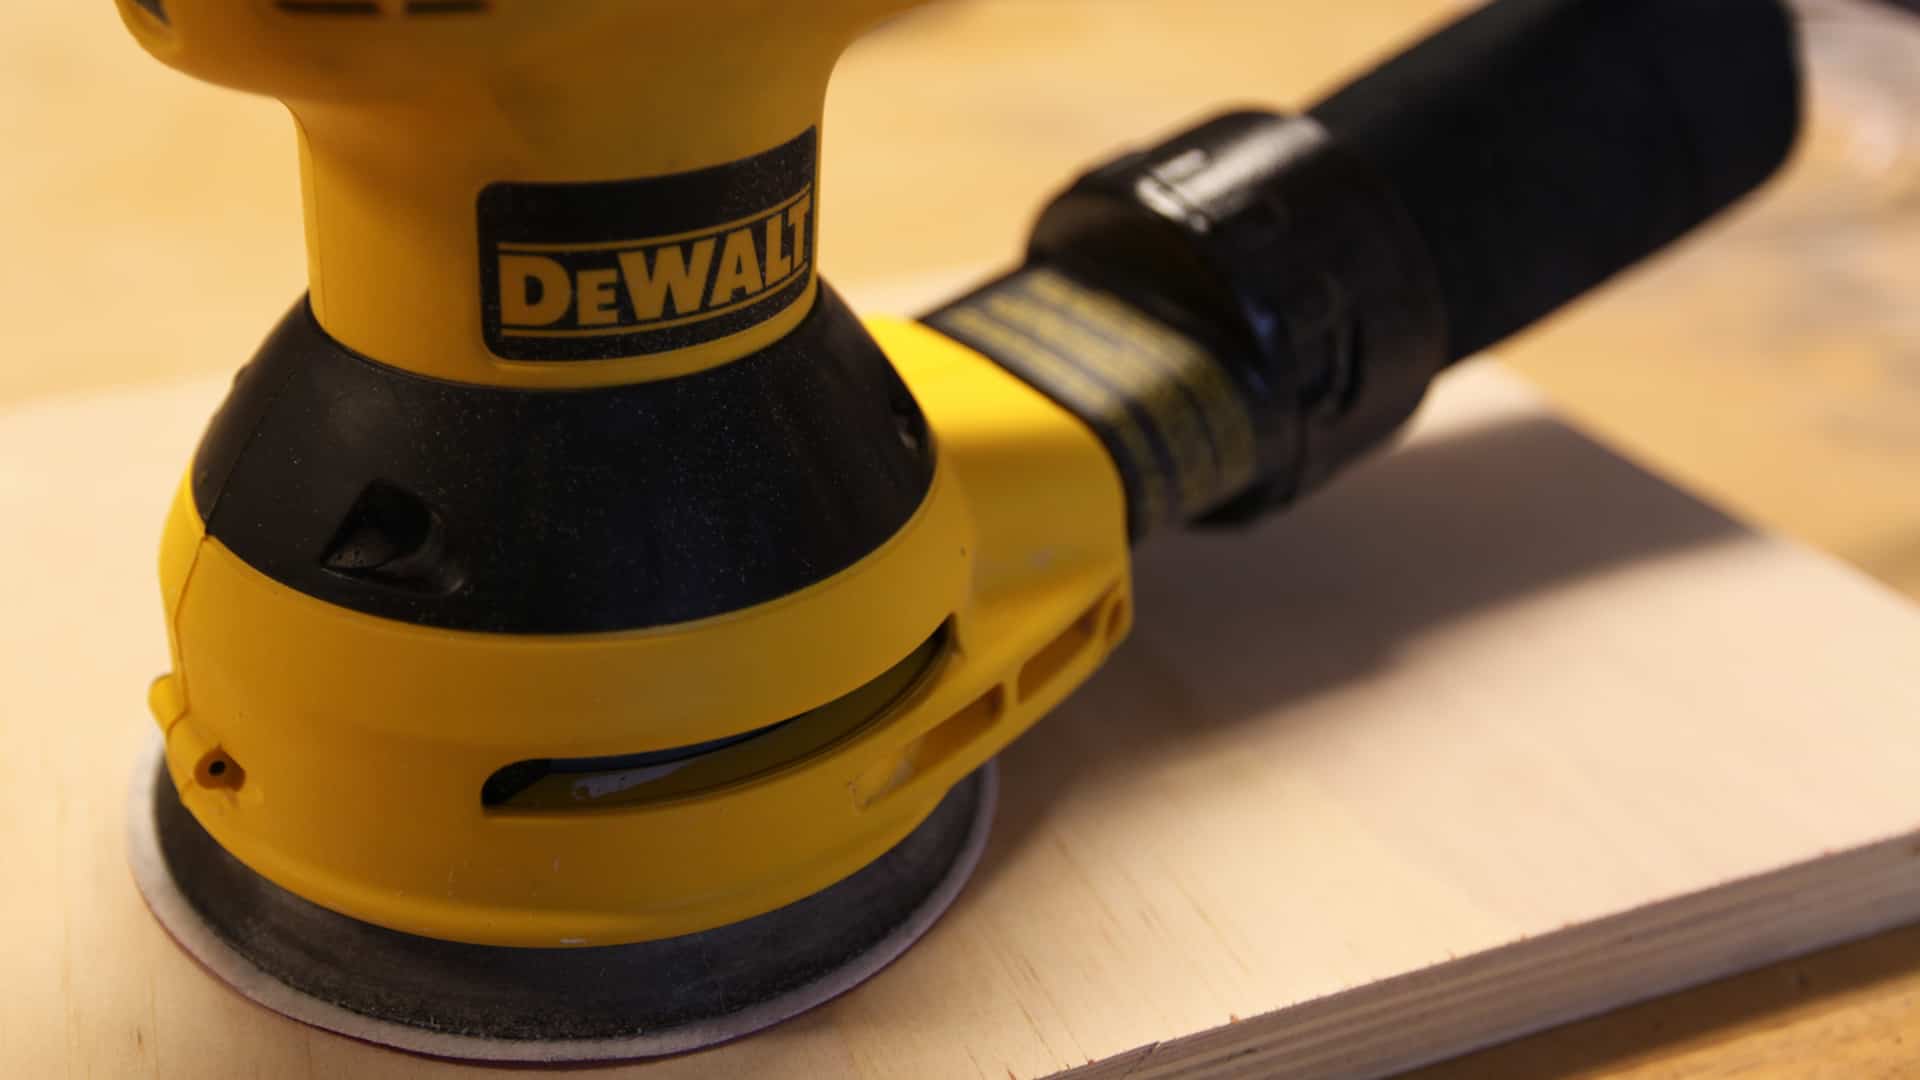
A random orbital sander is a staple of every shop, or if it is not, it should be! This is a very versatile tool for getting an incredibly smooth and scratch free finish onto your projects, whether woodworking, plastic working, or metal working. There’s quite the diversity of applications for this tool!
There was a time when there were only oscillating sanders, belt sanders, and disc sanders. The random orbital sander is the of course the next generation of the age old disc sander. In fact the random orbital sander is fairly new kid on the block in the big scheme of things, not hitting the market until 1982. And much like the tools that came before it there is of course a right way and a wrong way to use it.
Watch the Random Orbital Sander Preview Video
[fvplayer id=”13″]

What is a Random Orbital Sander?
 The random orbital sander is simply a sander that moves the sanding media in a circle (spinning it) while at the same time moving the entire pad in a slightly oval orbit around the center of the sanders z axis. Simply put the sander keeps the sanding particles from making contact with the same section of wood over and over, resulting in a more uniform finish.
How to Correctly Use a Random Orbital Sander
To use a random orbital sander correctly you should keep the following in mind:
- Turn on the sander and let it spin up to speed before making contact with the material.
- Lift the sander off of the material before turning it off.
- Always move the sander in a left right action with the direction of the grain.
- Do not press down on the sander, allow it to sand under light pressure only.
- Do not tip the sander on its side to attack low spots.
- Do not allow more than 1/4 to 1/3 of the sanding pad to leave the surface of the wood.
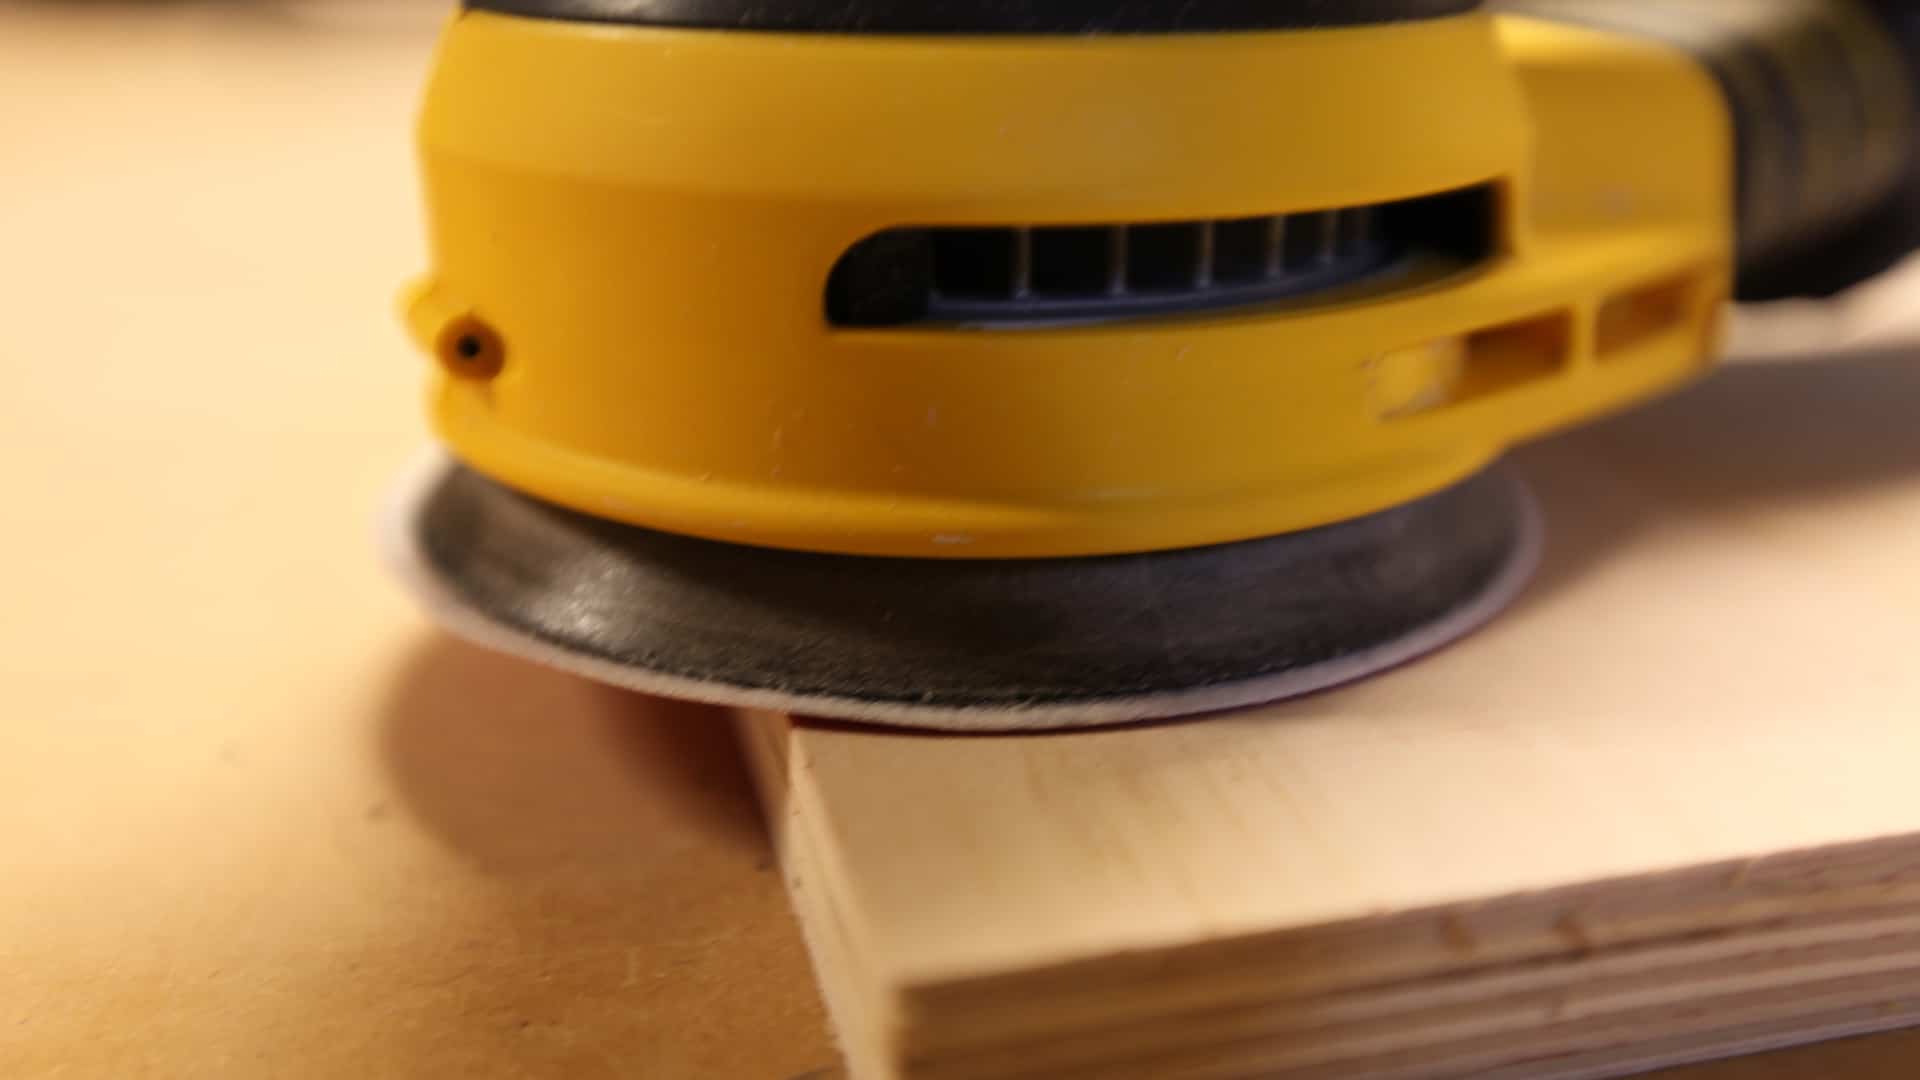 Random orbital sanders are highly efficient tools, and work on similar principles to other orbital tools. If you tip the sander on its side (say at 10° to 30°) it will most likely create a low spot in your finish. This is not easy to recover from. For similar reasons it is important to keep at least 3/4 of your sanding pad on your material at all times when sanding to the edge of your material. Otherwise you’ll most likely end up with a round over effect on the edges.
The sanders are designed to work with minimal pressure. Pressing down on them will slow down the RPM at which they operate. This will 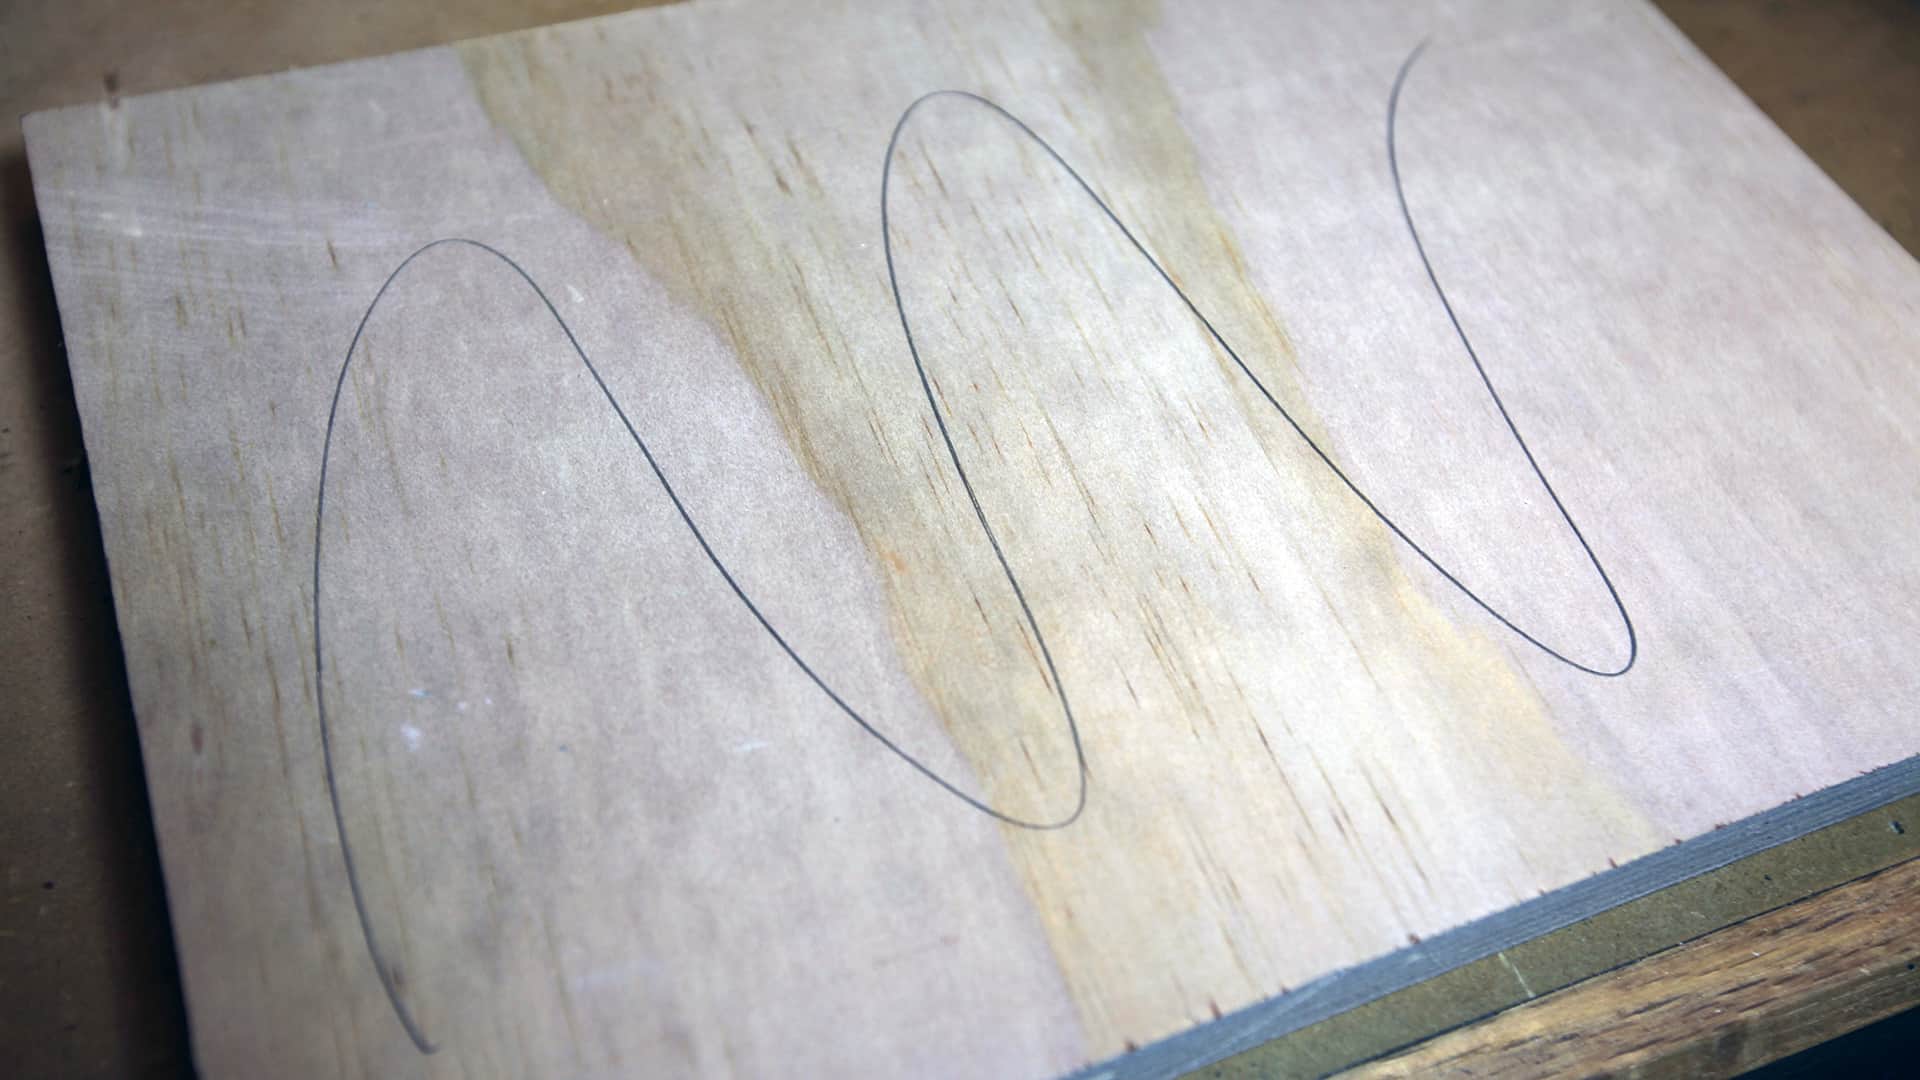 result in the sander being much less efficient and will shorten the life of the motor. The pressure should simply be the weight of the sander plus the weight of your arm resting on it and no more.
If you’re having trouble seeing the progress of your sander there is a simple trick you can use that will make it much easier to see where you’re going and where you’ve been. Using a pencil mark a sine wave line on your material. As you sand some of the pencil will start to disappear. You can continue to add pencil marks until the entire surface is even and flat to your liking.
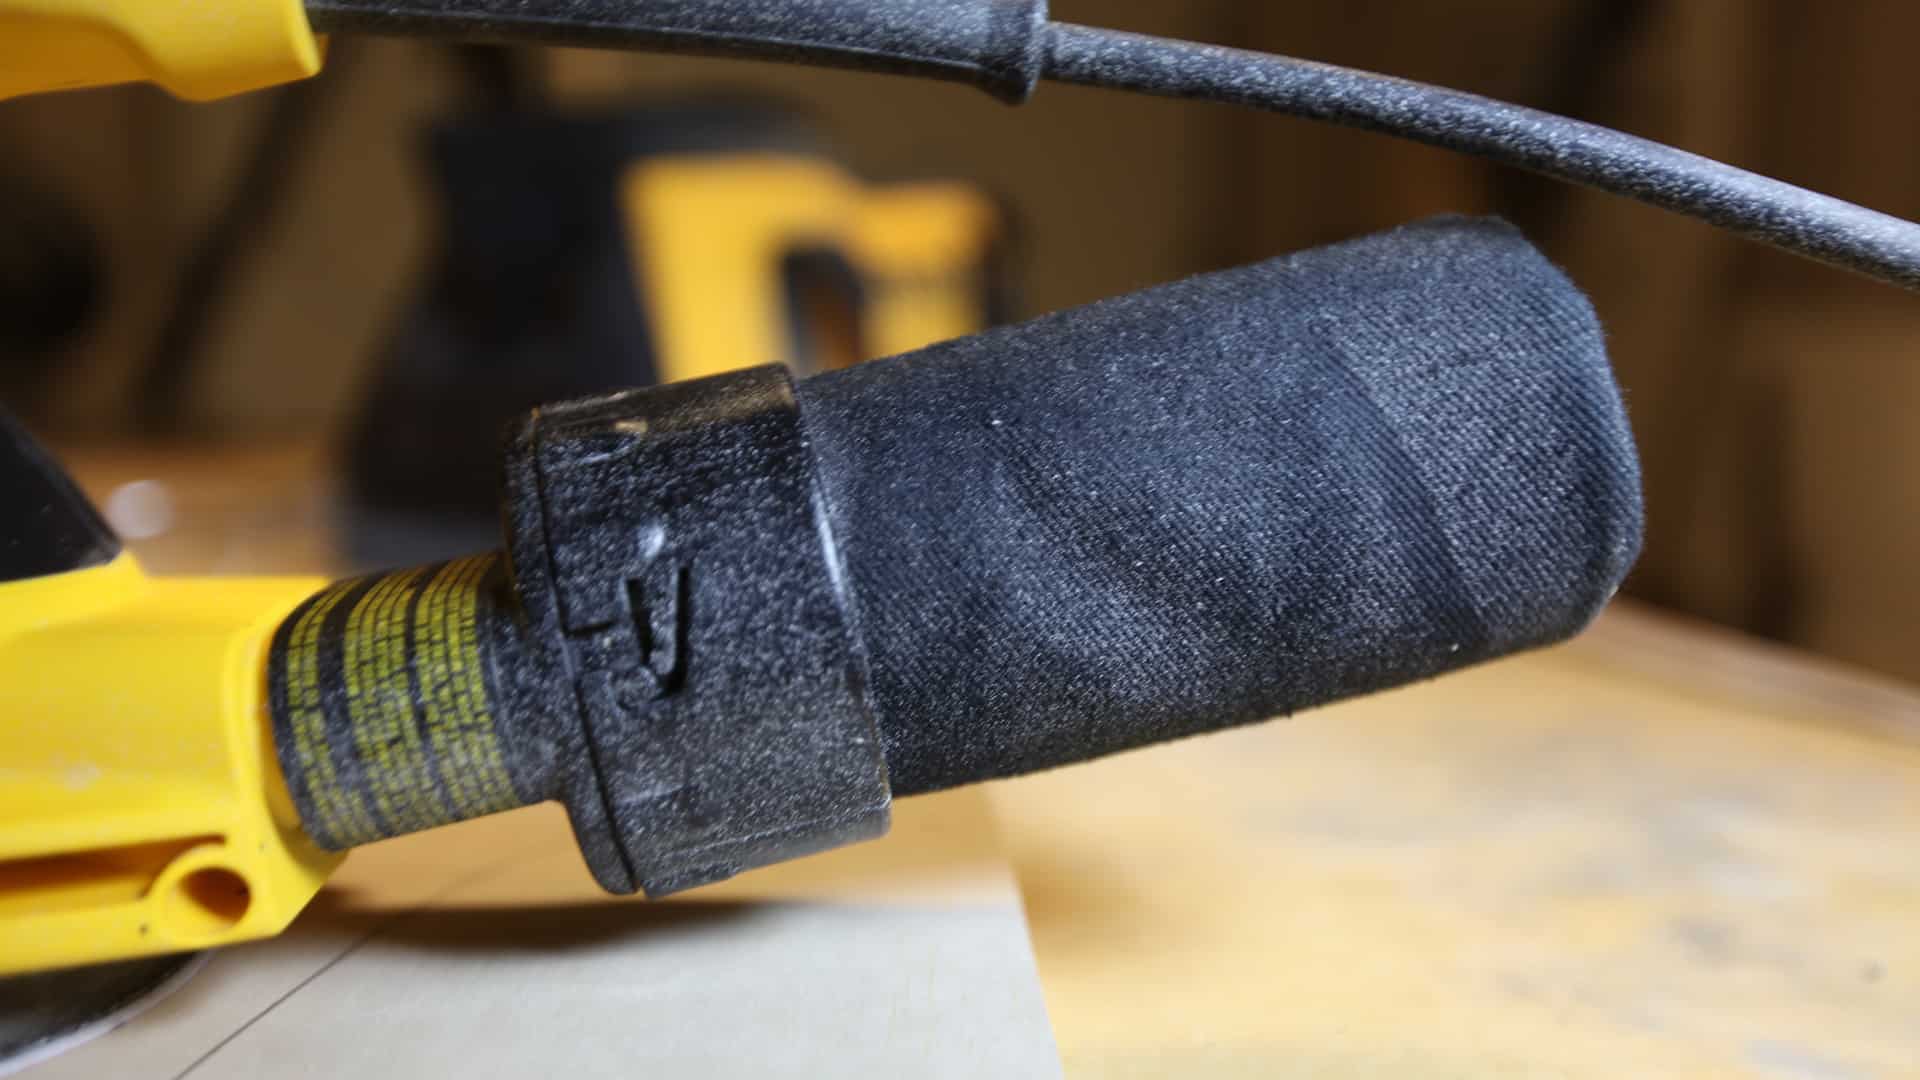
Random Orbital Sander Dust Collection
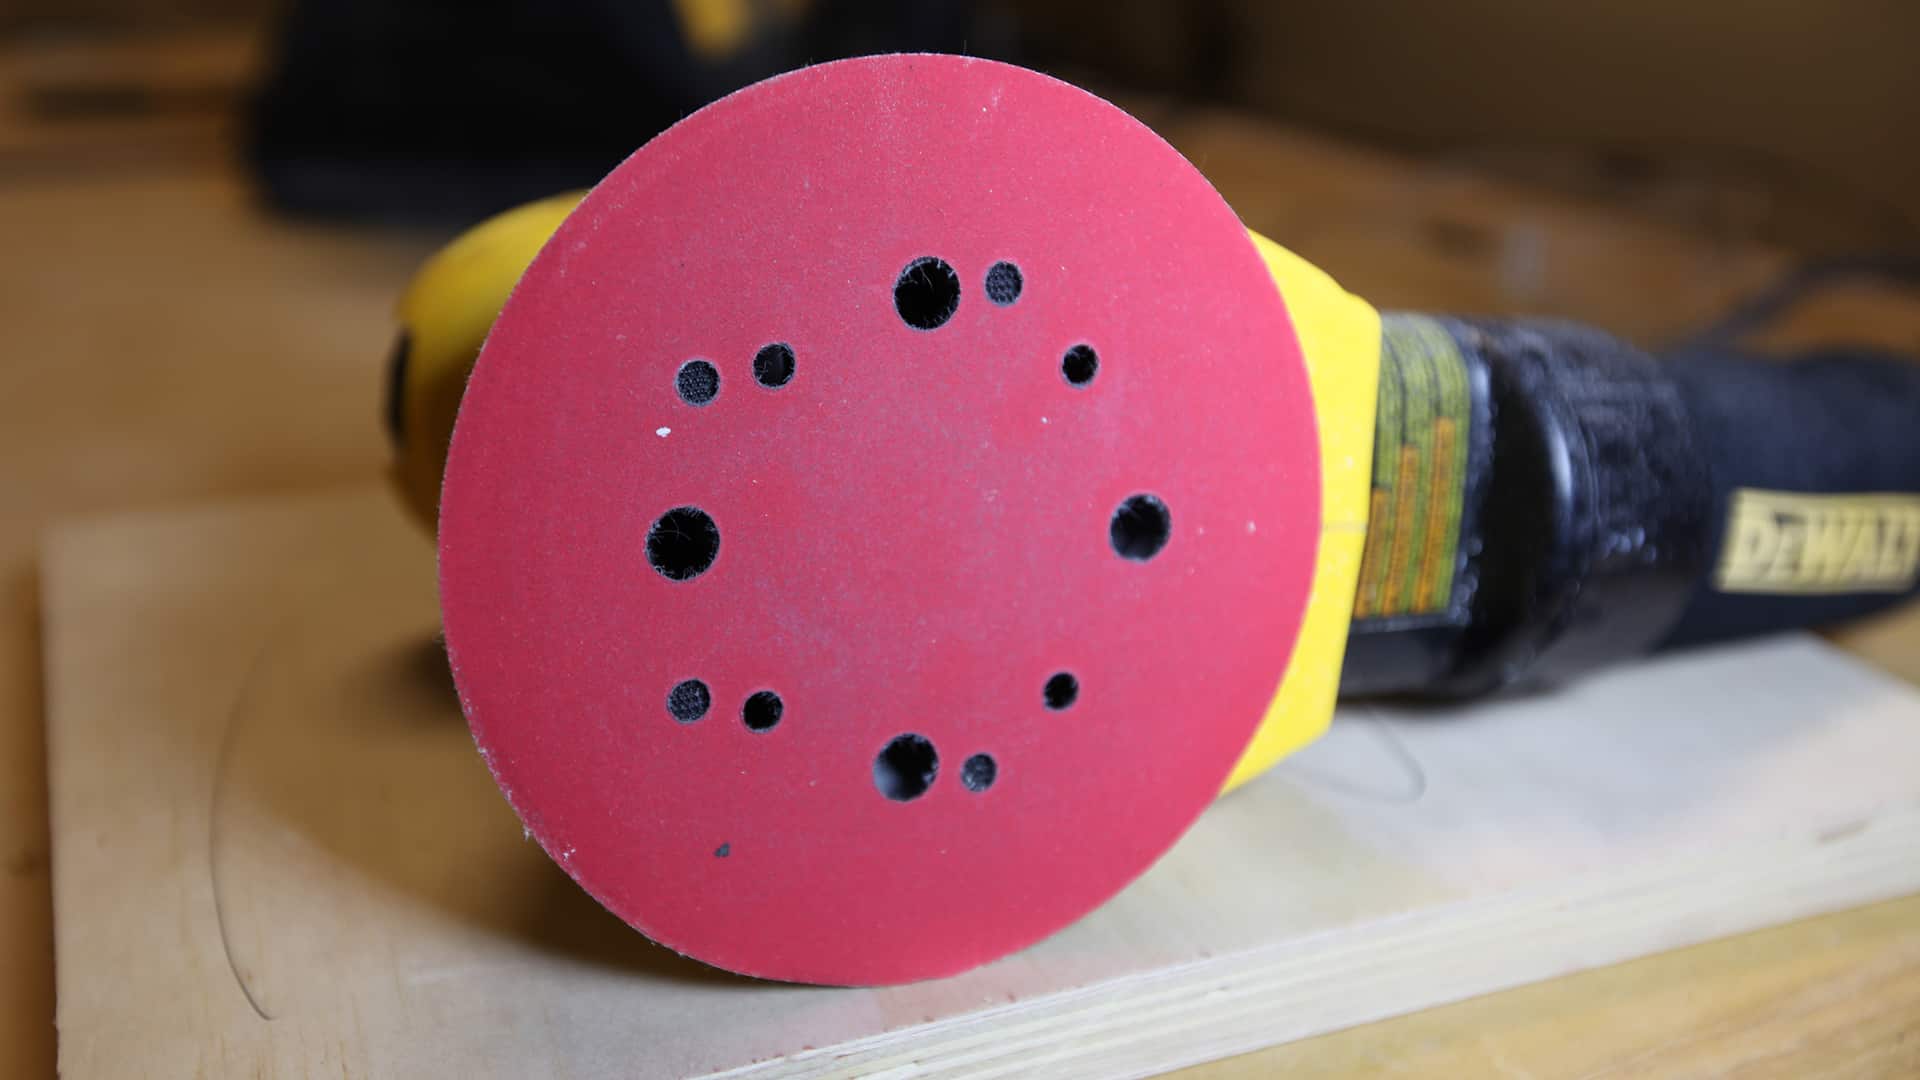
Most random orbital sanders also have holes on the sanding media that allow for dust collection to occur by pulling the particles off of the working material and into the sander itself. The sander can come with a bag attached to the back or some kind of filter. The best option of course is a hose attached to an active dust collection system.


Thank you so much for this helpful article. I’m an old widow who has never before usedan orbital sander, but having read your helpful advice I feel confident about trying my hand at sanding my wooden kitchen unit which has become stained over the years.
5
0.5
1.5