Blog
Setup a Raspberry Pi VPN Server
A VPN server is a great way to provide secure, encrypted remote access to your home. VPN servers are built-in to many pro grade firewalls and home router appliance. pfSense for example is a great open source home firewall that includes both OpenVPN and IPSEC services out of the box. However, many home users don’t have much choice as their ISP dictates which firewall or router they use. A
Since the
In addition to providing remote access, a VPN provides encryption for your data. This can be great when accessing your home network from a public or untrusted Wi-Fi network when traveling. All data sent between your device or laptop will be secured with an encryption key that only you know keeping snooping eyes out of your sensitive data!
Parts List for this Project
If you don’t already have everything you need, here’s a handy parts list for this project:
- Raspberry Pi 3
- Raspberry Pi power supply
- Raspberry Pi case (case with fan)
- 32GB microSD card
- HDMI cable
- Wireless keyboard
Setting up a Raspberry Pi VPN Server
Before we begin setting up our
RELATED: How to Download and Install Raspbian

Some Words of Caution for VPN Servers
Setting up a VPN means there is a way to access literally everything on your home network. There are some precautions you should take before doing this project.
- VPN username and password – We highly recommend you use a different username and password on your VPN than you use on anything else. If a nefarious individual gets your Facebook credentials, you don’t want them to be able to VPN to your home using them!
- Home Devices – Make sure everything on your home network is secured via a password. If you have a NAS, XBOX, network printer, etc., make sure each of them is secured via a complex password. Don’t use the same credentials for your VPN server as you do for your firewall!
These words of caution are not meant to scare you. They’re meant to help you understand some simple best practices that will help you keep your network safe and secure from attackers.
To change the password of the default “pi” user on your
[code language=”bash”]
passwd
[/code]
Setting up Your Firewall
The next task we need to tackle is your Firewall or Router. By default your home firewall will not be aware of your
The default port for OpenVPN is 1194. In your firewall, create a port forwarding rule for port 1194 to the IP address of your RPi.
If you don’t know the IP address of your RPi you can get it by typing hostname -I (capital i) at the command line of your RPi. If you don’t know how to port forward a port on your router, just google the name of your router, its model number, and “port forward”. For example “Linksys AC1750 port forward”. You’ll quickly find an article on how to do it. In most cases it is quite simple. If your router is leased from your ISP, their tech support can probably do it for you.
Beginning the Raspberry Pi VPN Server Installation
It’s now time to begin the installation of our
[code language=”bash”]
curl -L https://install.pivpn.io | bash
[/code]
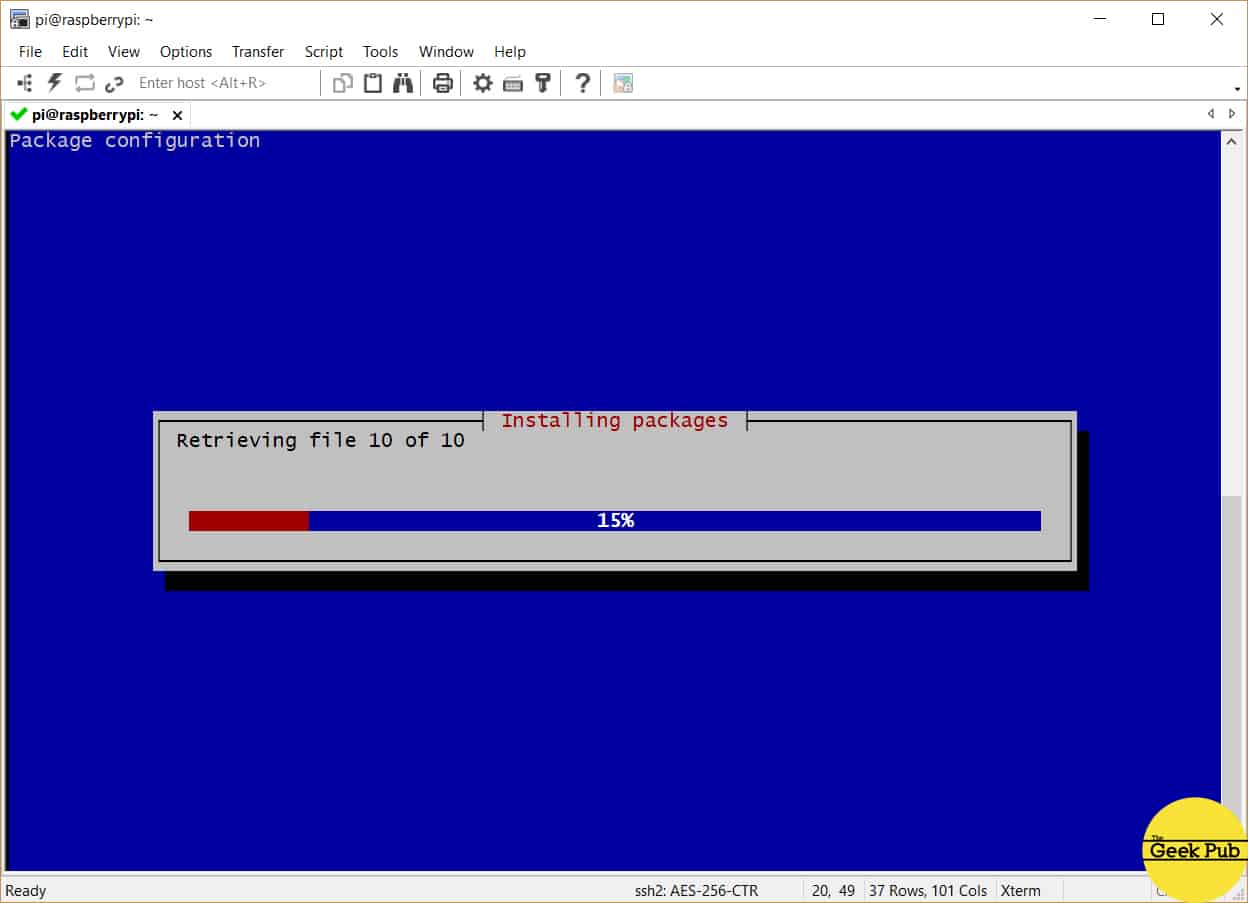
The PiVPN script will immediately begin updating the tools and software needed to create your VPN server.
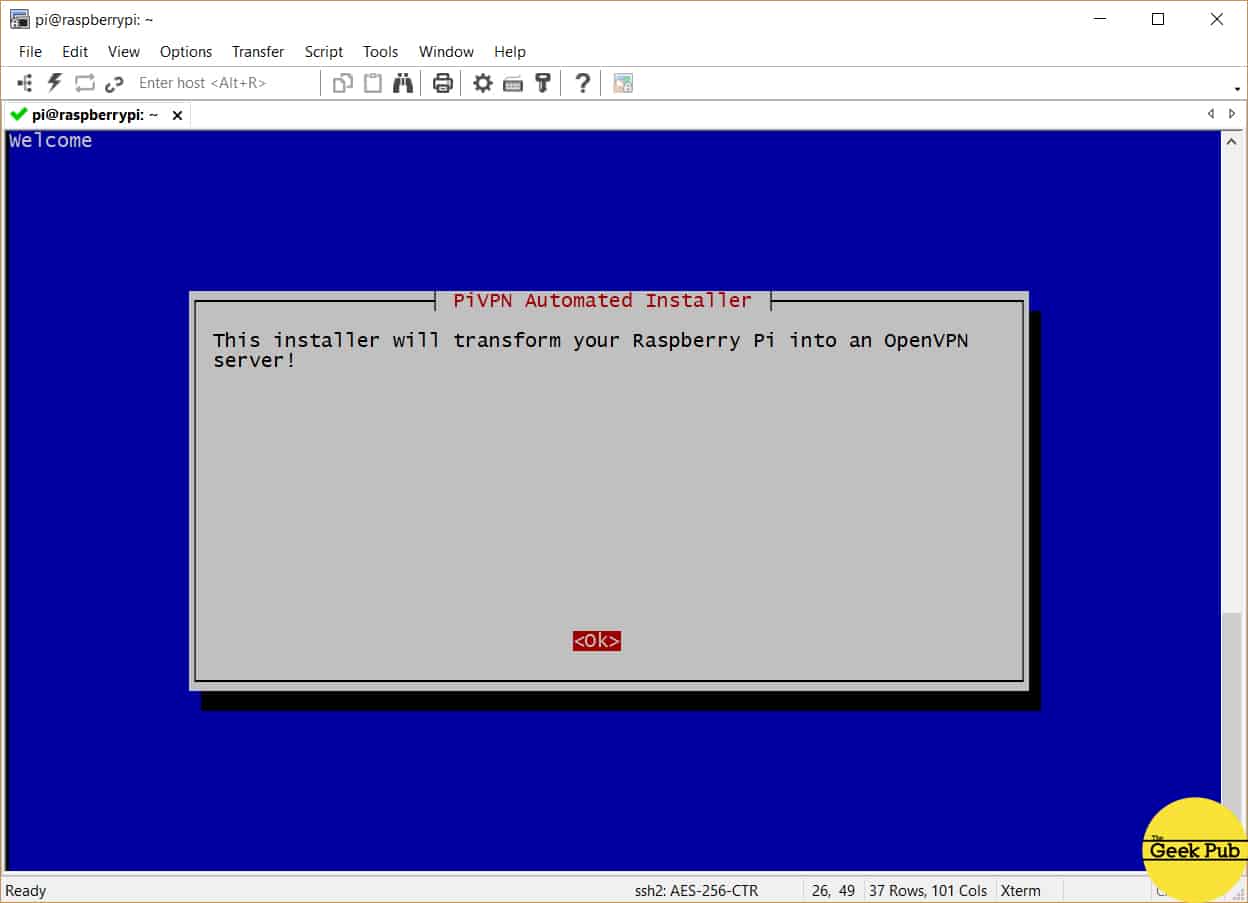
You’ll quickly be presented with the installer startup screen. Just press enter to begin the setup process.
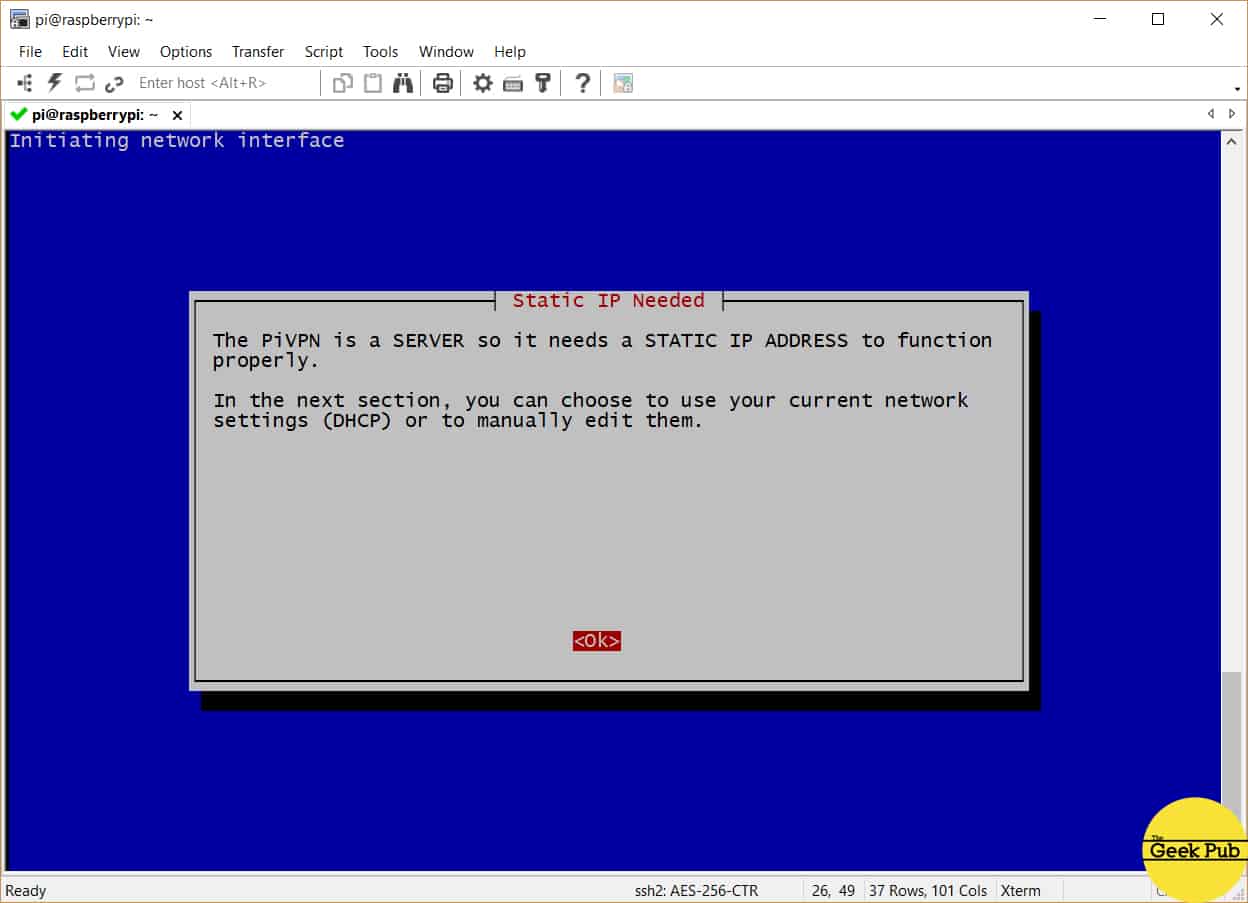
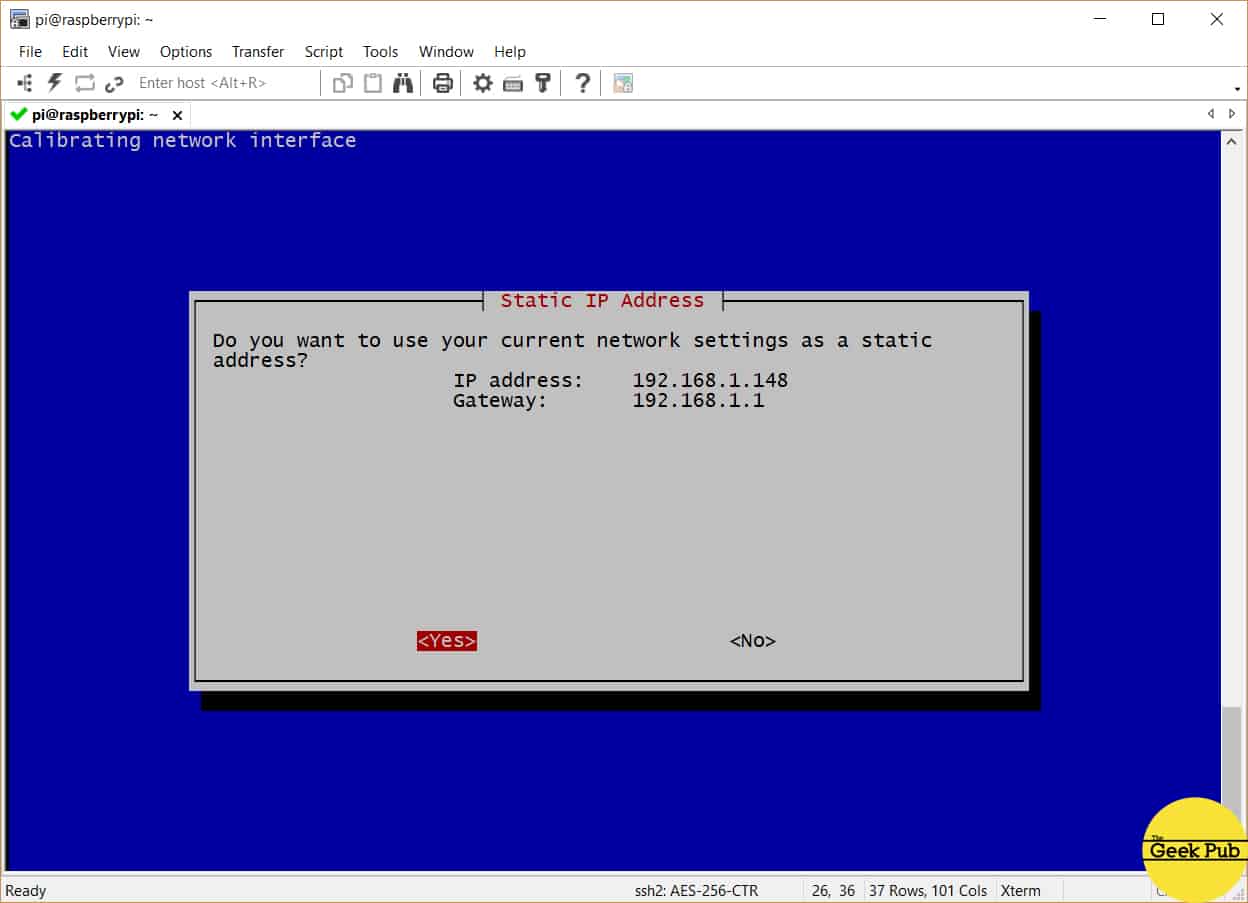
Your RPi VPN server needs a static IP address in order to operate correctly. Press enter to begin the configuration of your IP address.
By default the PiVPN script will ask you to use the existing IP address and convert it to a static address. This is probably OK for most users. If you don’t want to use this address (or already have a defined range of static addresses on your network) you can choose to change that address here. For most users just select yes and press enter.
If you have any problems, in most routers you can reserve this address on the DHCP server settings screen. Most modern routers however are smart enough to detect that an address is in use and do so automatically.
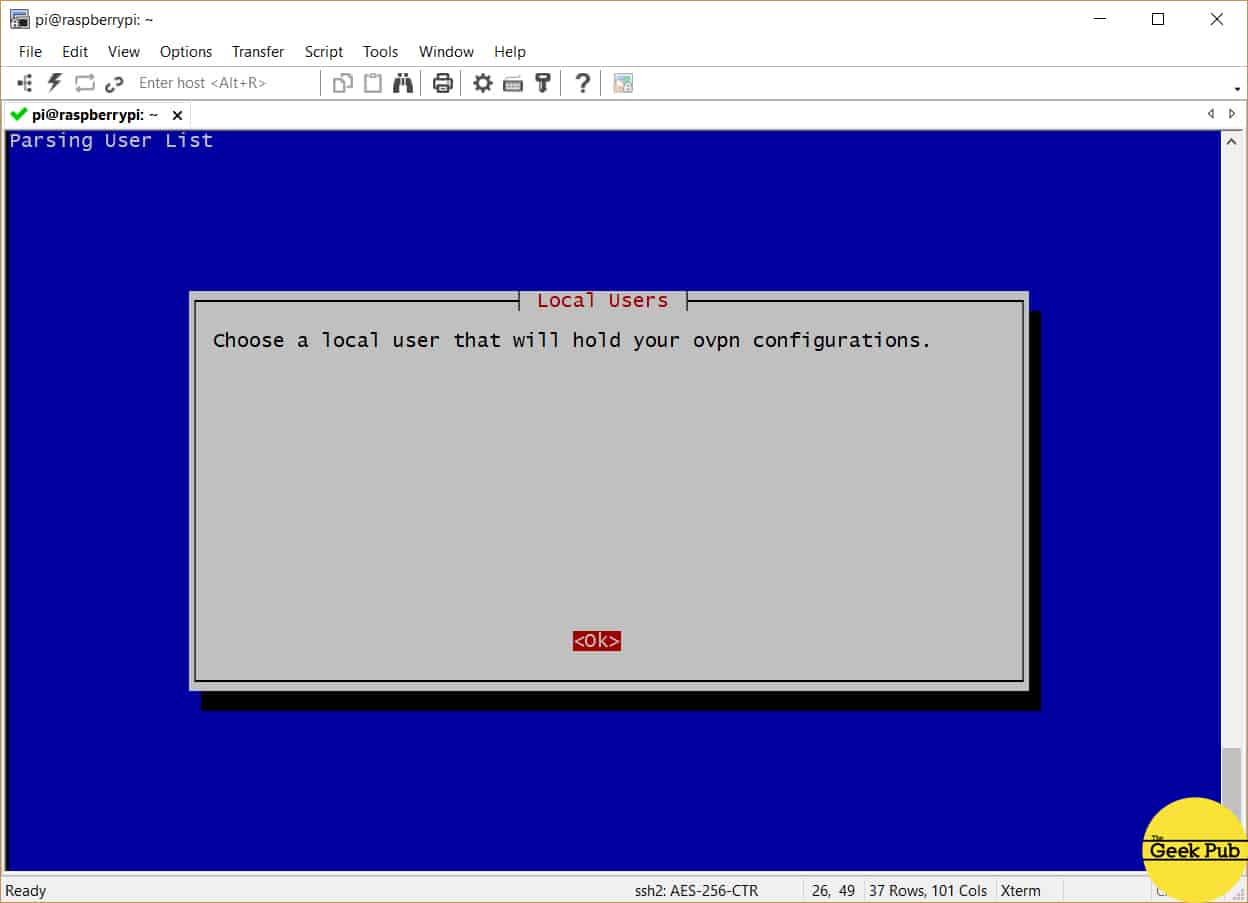
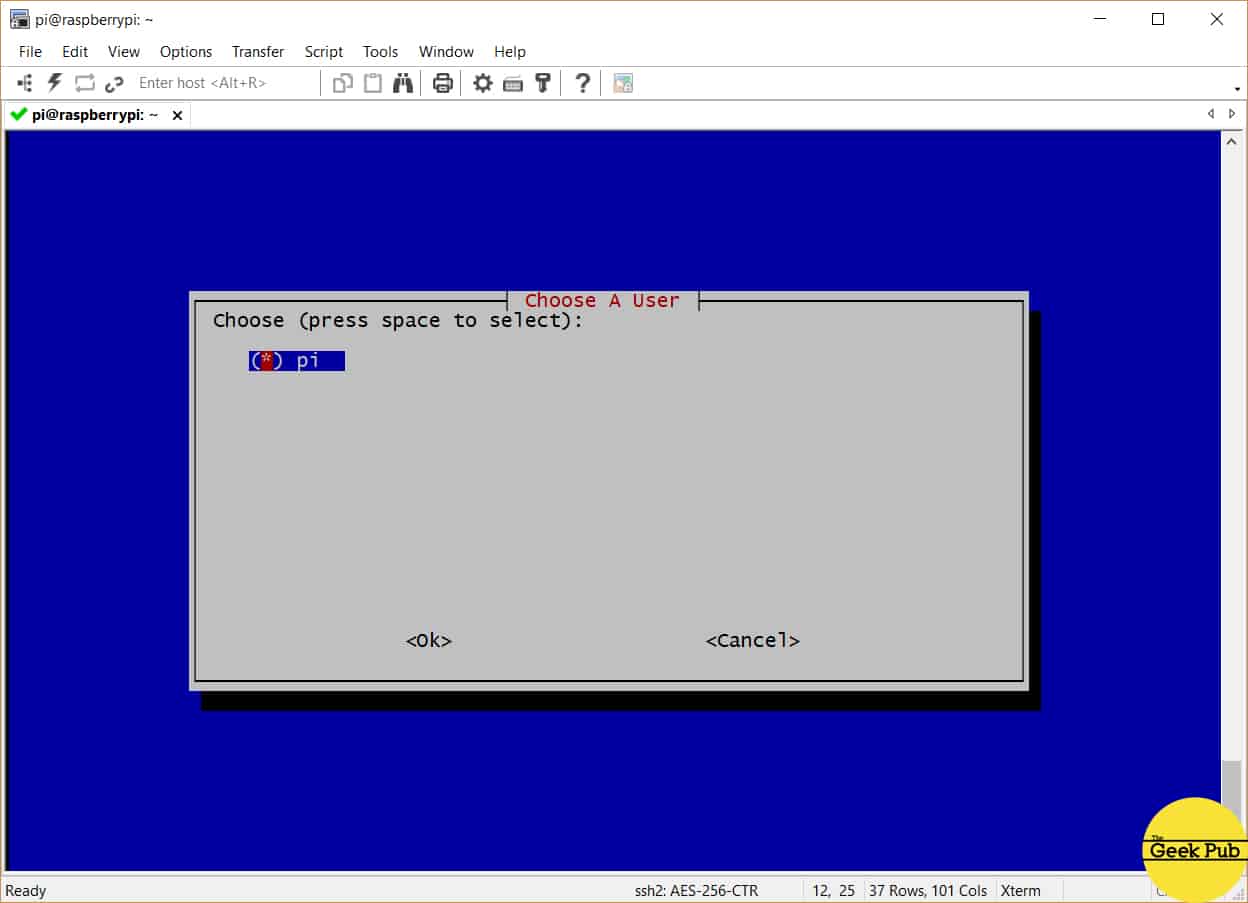
Now we’ll select a user for OpenVPN’s configurations. Just press enter.
Unless you’ve created additional users on your
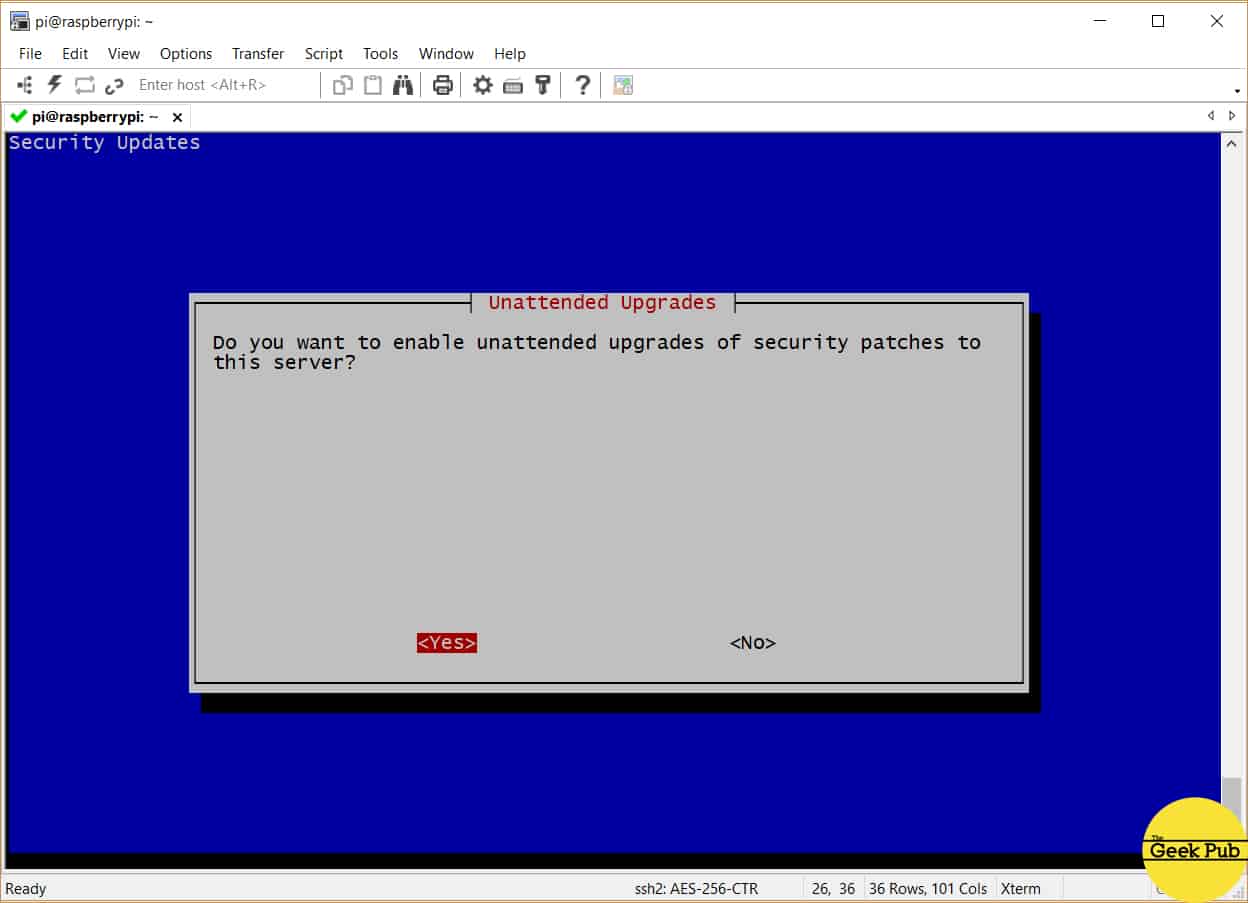
You’re now going to be asked if you’d like to enable unattended upgrades. We highly recommend that you do this! Your
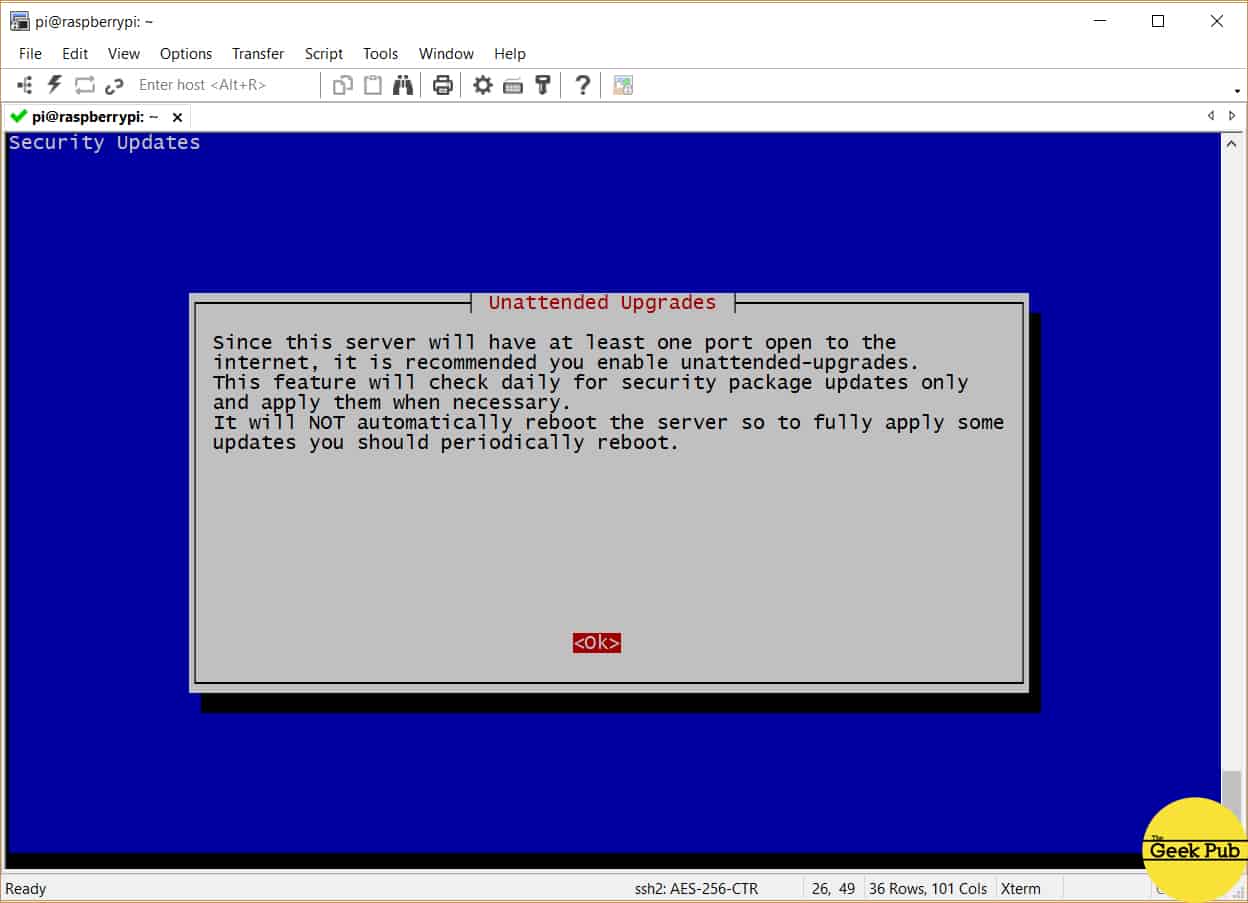
Select yes to enable automatic updates, and then press enter.
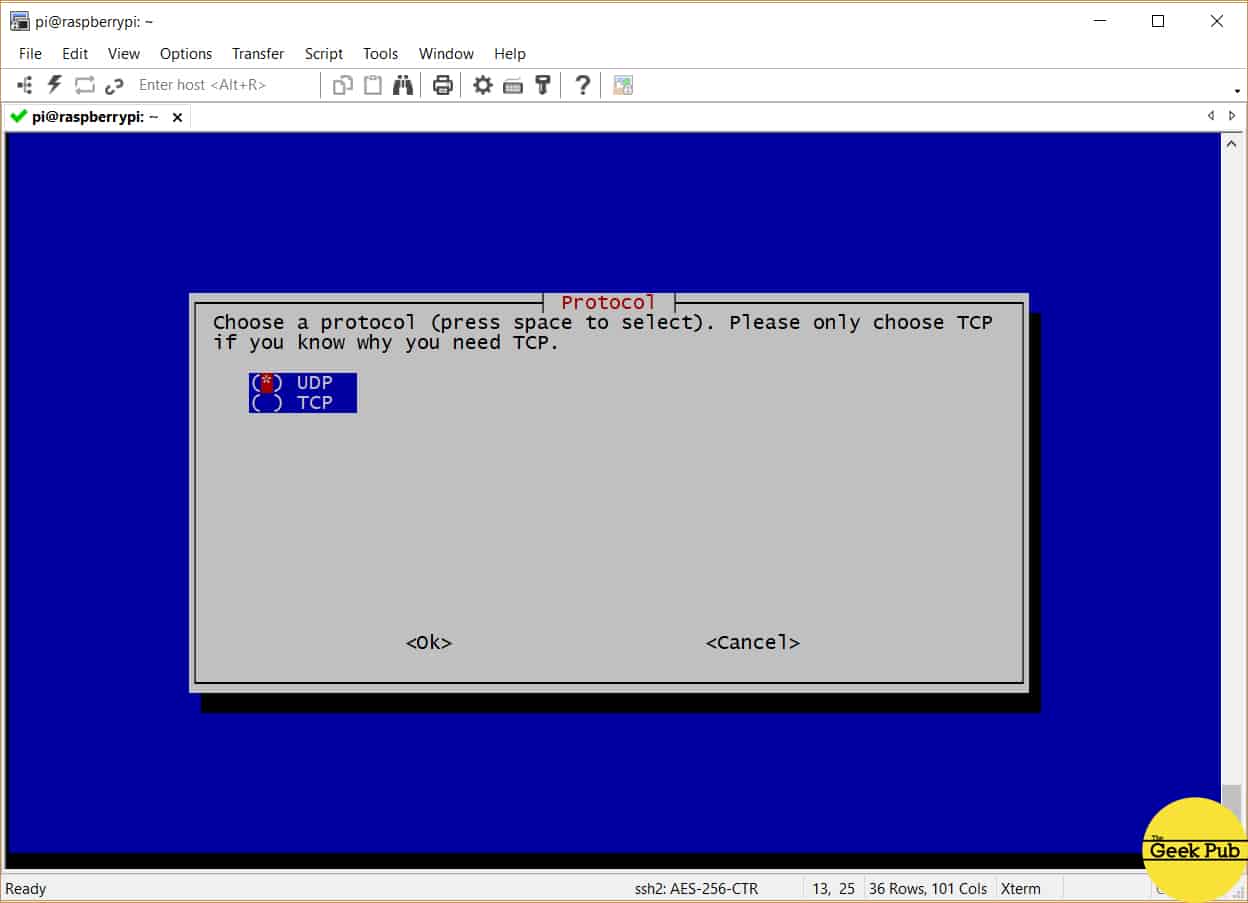
You’ll now be asked whether or not you would like to use the UDP or TCP protocol for your OpenVPN connections. We recommend you use UDP for VPN services unless you have a specific requirement for the TCP protocol. TCP introduces additional re-transmit overhead that can cause issues with VPN connections if configured improperly.
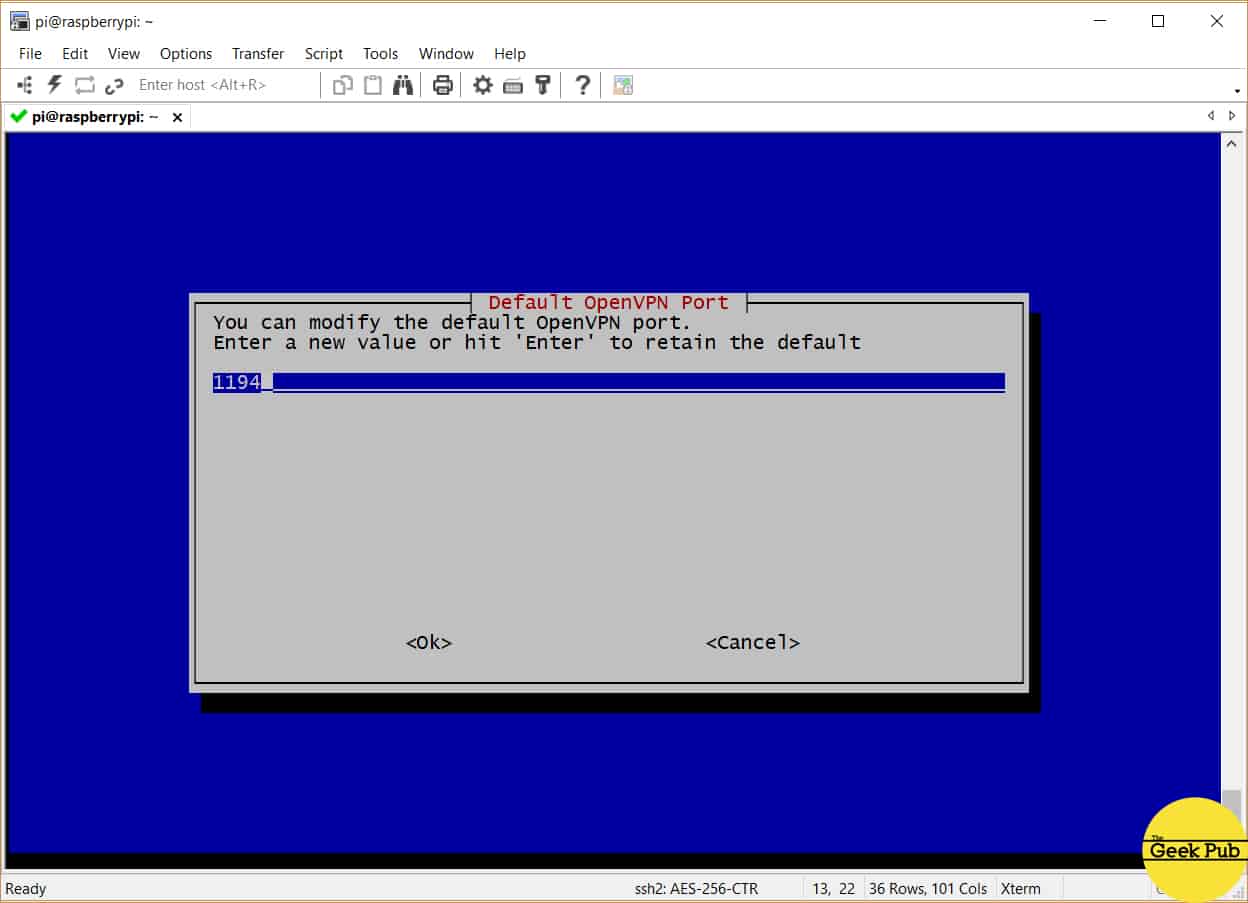
You’ll now be prompted to select the VPN’s port. This should be 1194 unless you plan to use a non-standard port. It is important to note that if you change this here, you will need to change this in your firewalll’s port forwarding configuration and on the client device connecting to the VPN server. There are basically two reasons to change this. One is if your ISP blocks port 1194. The second is if you’d like to make your VPN port a little harder to find (a smart hacker is going to find it no matter what port you select).
For most all users, keep port 1194 in place and press enter.
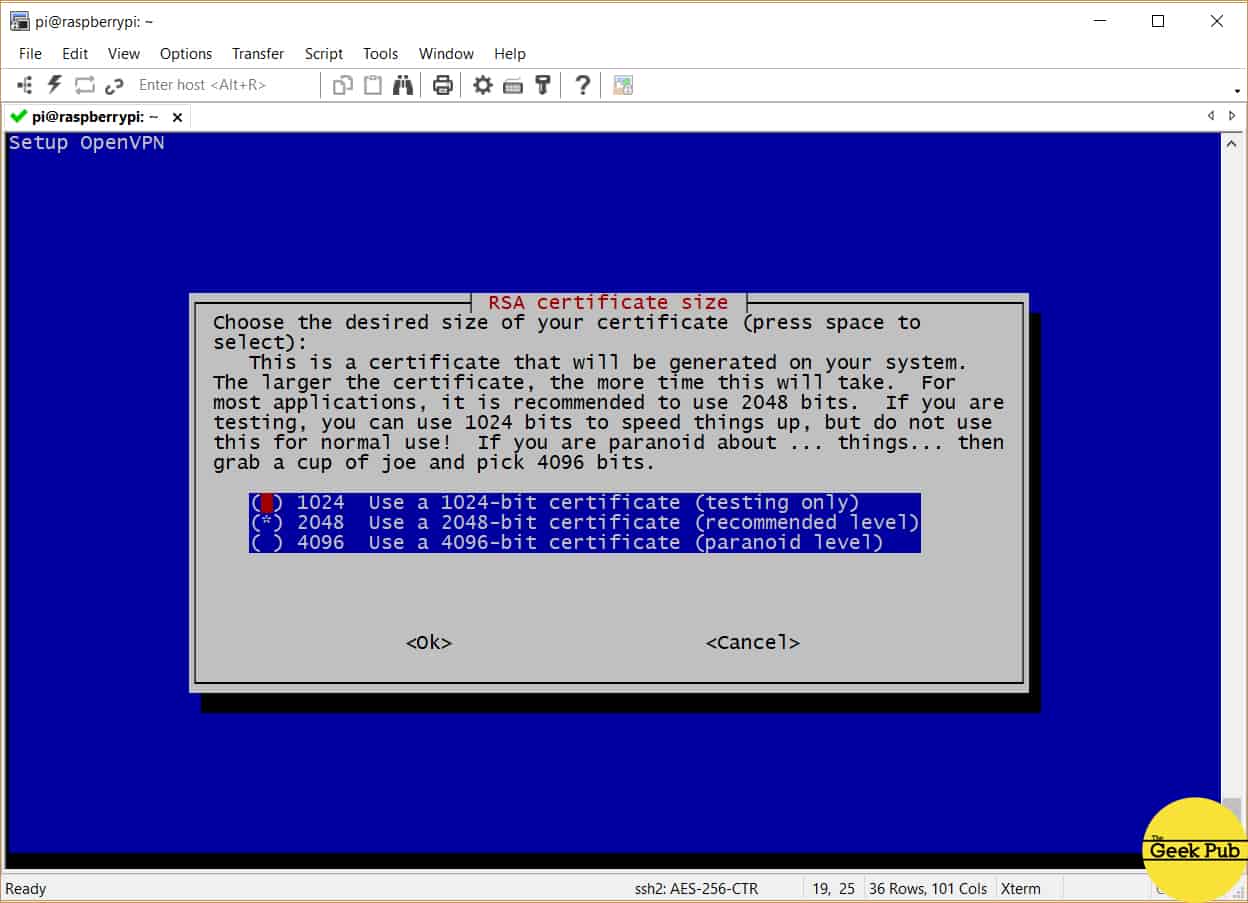
Next up the PiVPN script is going to ask you to select an encryption strength. This is the size of the RSA certificate key you’ll be using in your project. The default should be good enough for most people, which is 2048-bit key. If you’re over the top paranoid, you can go with 4096 bit, but remember this will add additional packet and CPU overhead on your RPi and client device which will affect performance.
We recommend you select 2048 and press enter.
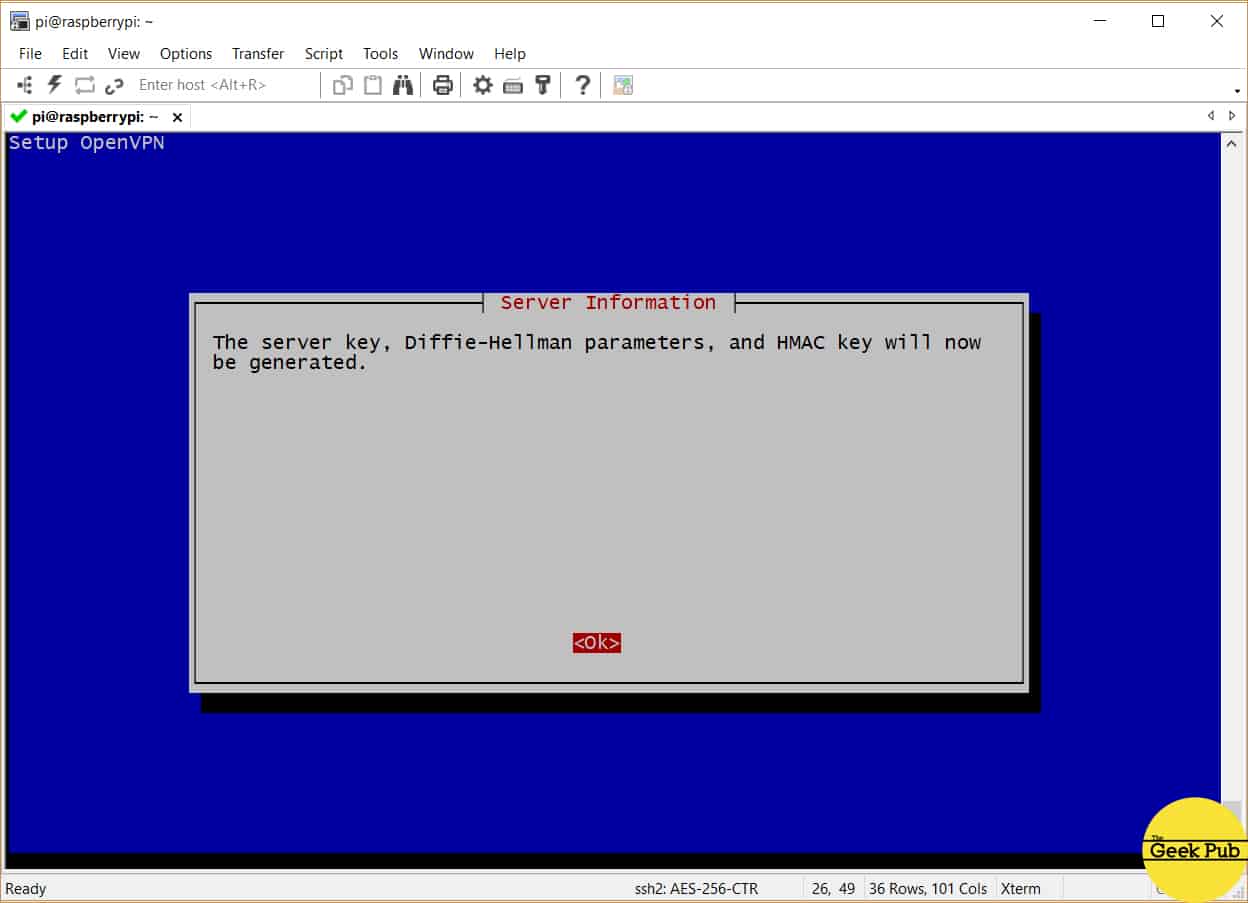
The PiVPN script will spend just a minute creating a new certificate for your VPN server and then prompt you again to create the “Diffie-Hellman Parameters”. Just press enter.
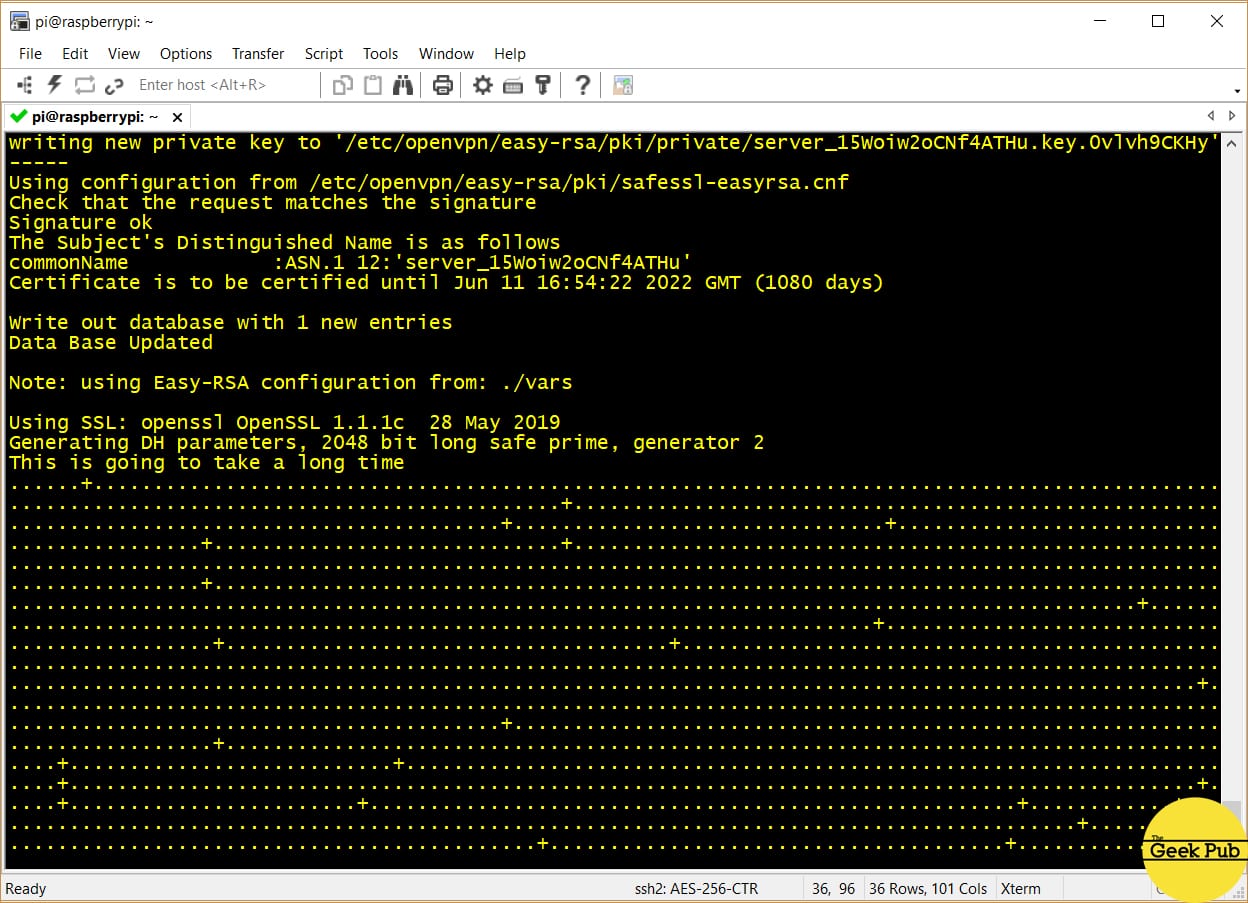
The PiVPN script will initiate the process of generating the key. This will take a quite a few minutes of chugging on most Pis! Be patient.
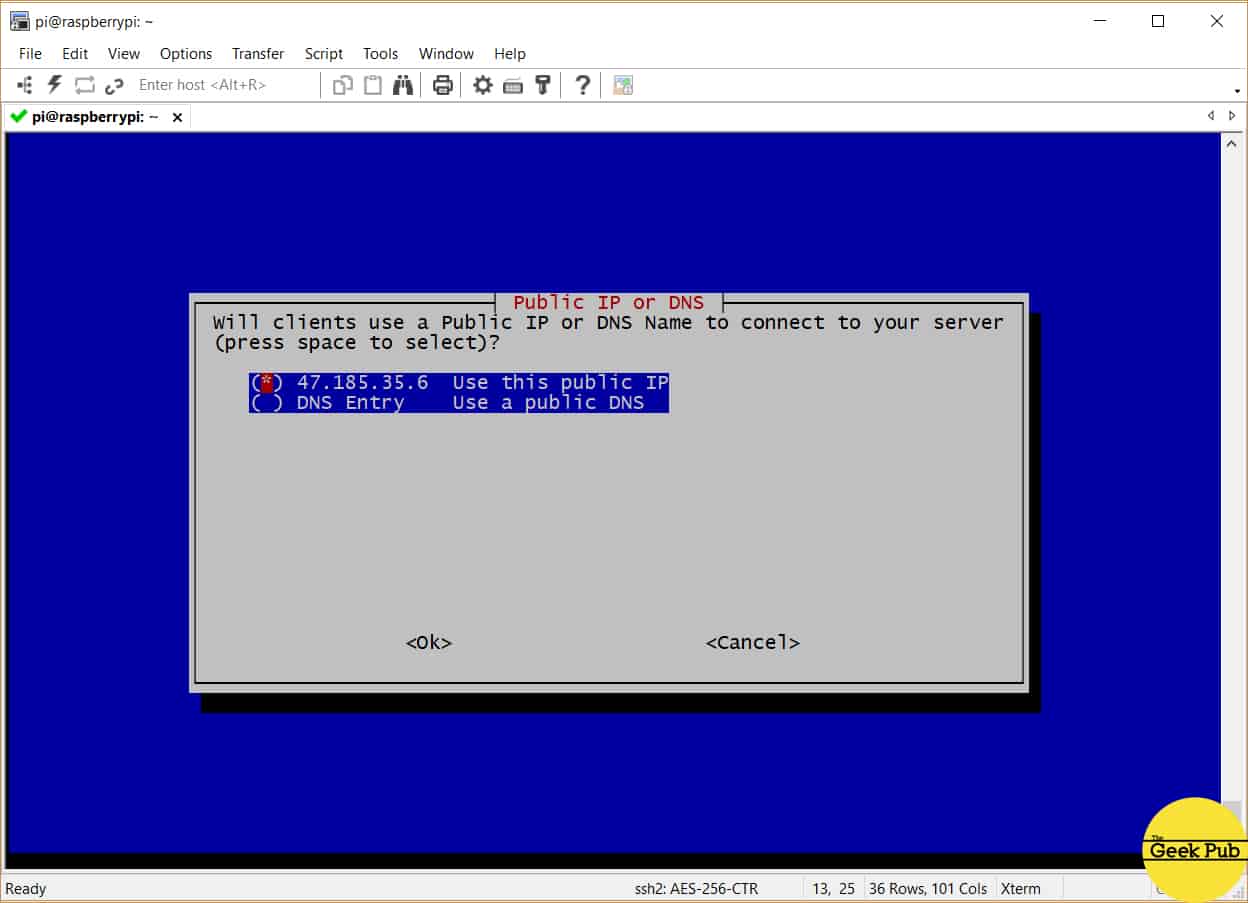
On this next screen you’ll be asked whether or not you want to use a Public IP address or a DNS name. Most of you will want to use your Public IP address provided by your ISP.
Some more advanced users may wish to use a dynamic DNS service such as No-IP.org if your IP address changes regularly. That’s outside the scope of this tutorial however.
Select Public IP address and press enter.
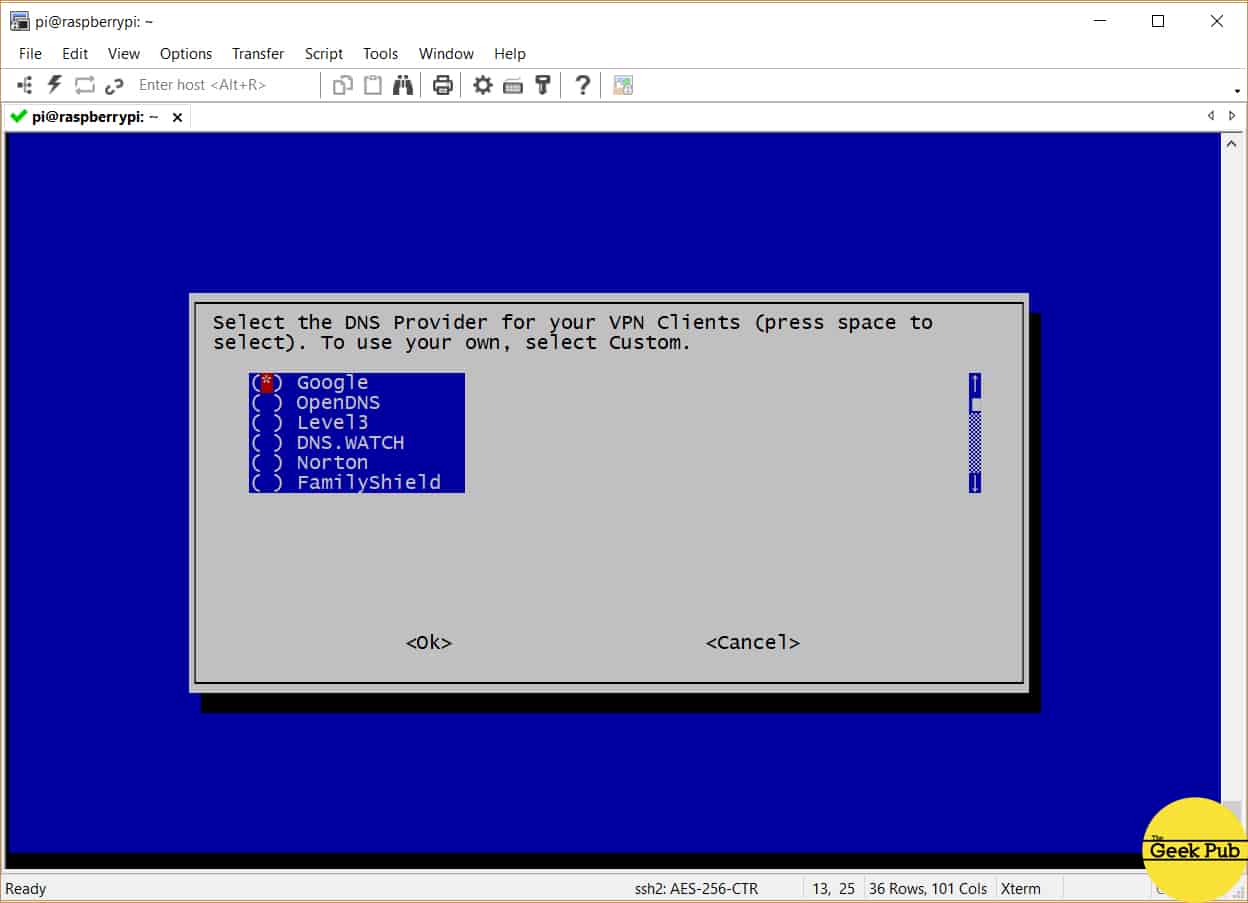
You’ll now be offered the option of using a specific DNS provider. This is an important step if you run DNS or have DNS overrides configured on your home firewall or router. Some more advanced users will want to select the custom and choose the IP address of your home router for this. For most everyone else just choose Google DNS and press enter.
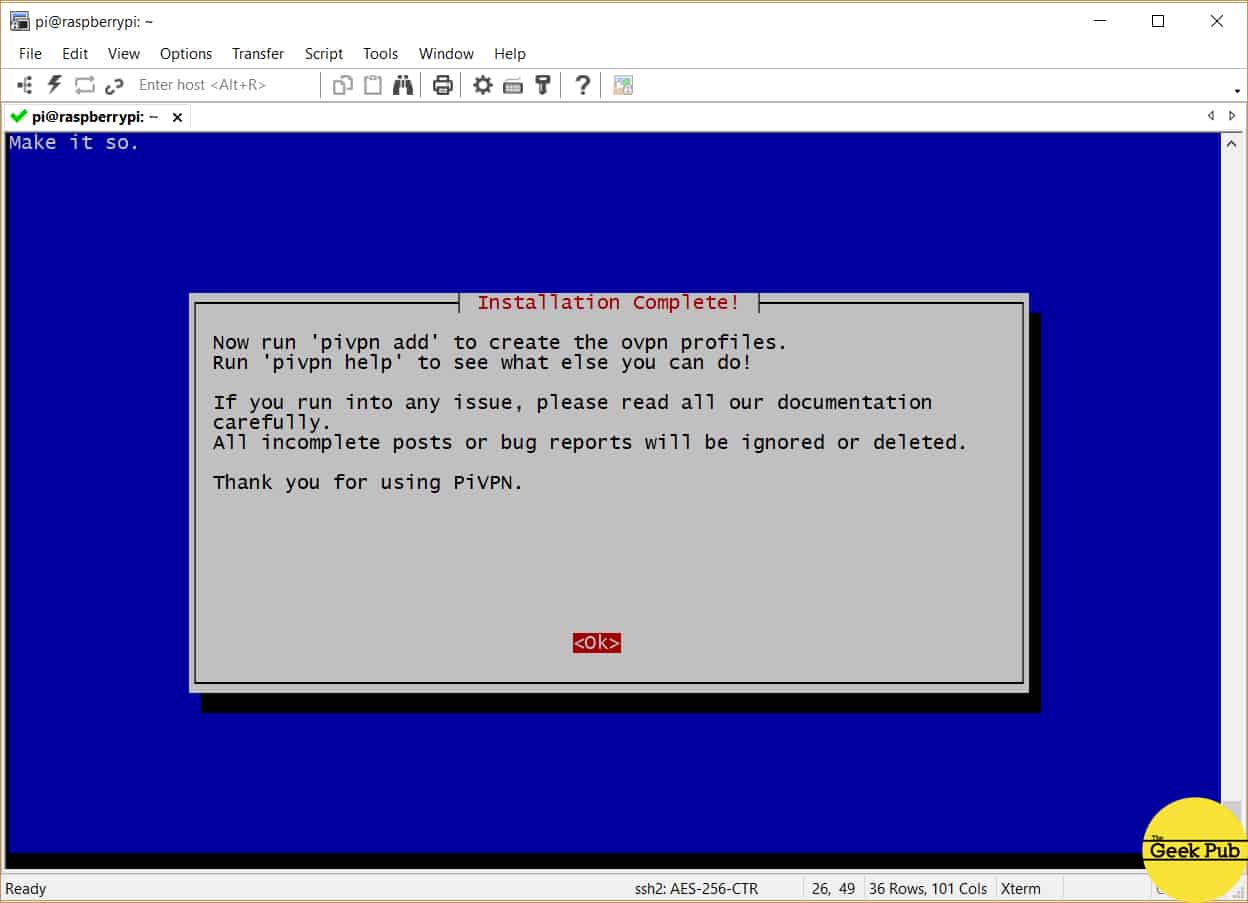
You’ll then be greeted by the completion screen! Congratulations, we’re almost done.
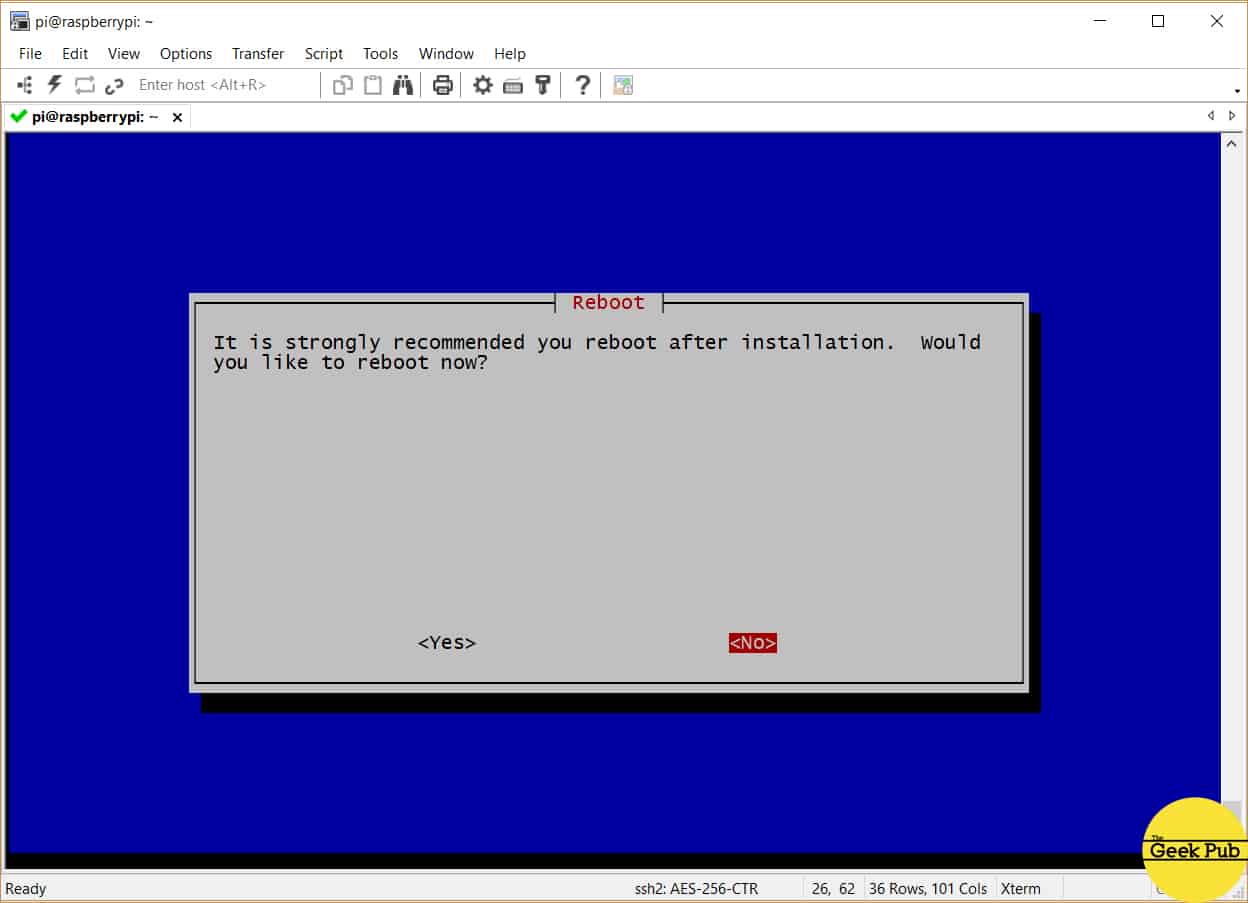
Finally, PiVPN will ask you to reboot your
Setting up Your Raspberry Pi VPN Clients
We now need to begin the process of setting up VPN clients to connect to our
[code language=”bash”]
sudo pivpn add
[/code]
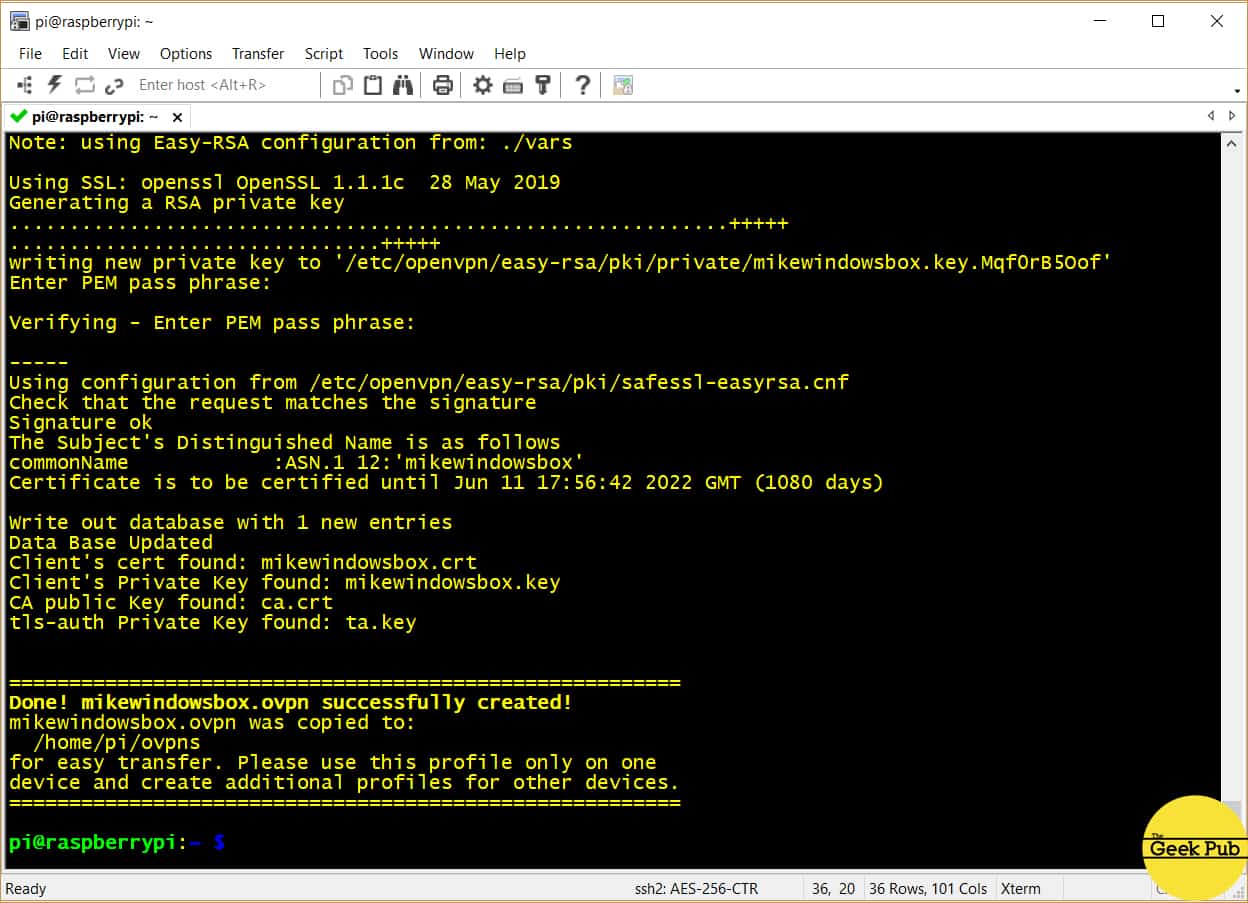
Enter the name of your VPN client. This is a unique identifier for a device. You might choose something like MikesMacBook or DavidsIPAD. Something you’ll recognize when you see it. Next you’ll be asked for a password for this client. Select a password that you’ve not ever used anywhere else. Remember, this password gives access to your home network.
Note, your password will be displayed. I’ve blanked it in my screenshot for security purposes.
Using FTP or SMB, move the file to your Windows PC. That’s beyond the scope of this tutorial, but we recommend FileZilla for FTP transfers. Its free and open source!
RELATED: Setting up SMB on your Raspberry Pi
Importing the OVPN File on Windows
On your Windows PC, you’ll need to import the OpenVPN .OVPN file in your Open VPN client. If you don’t already have the OpenVPN client installed, you can download it from here. Look for the Windows client and install it on your PC.
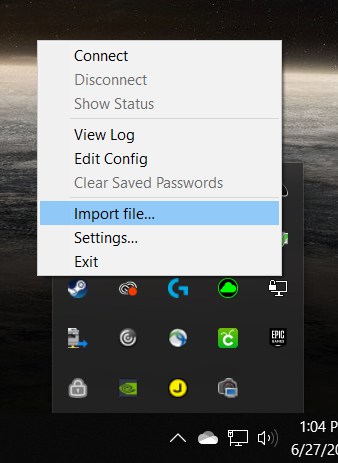
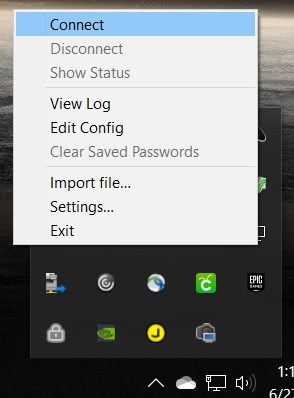
Once installed and you’ve rebooted your PC, you’ll find an OpenVPN client in your system tray. Right click the tray icon and select import file.
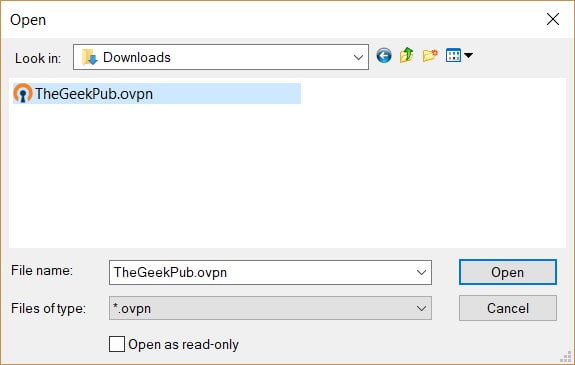
You’ll be shown an OpenVPN dialog box. Browse to the location of the .ovpn file and import it into your VPN client by clicking open.
You’ve now successfully created your
Right click the OpenVPN icon in the system tray, but this time select and click connect.
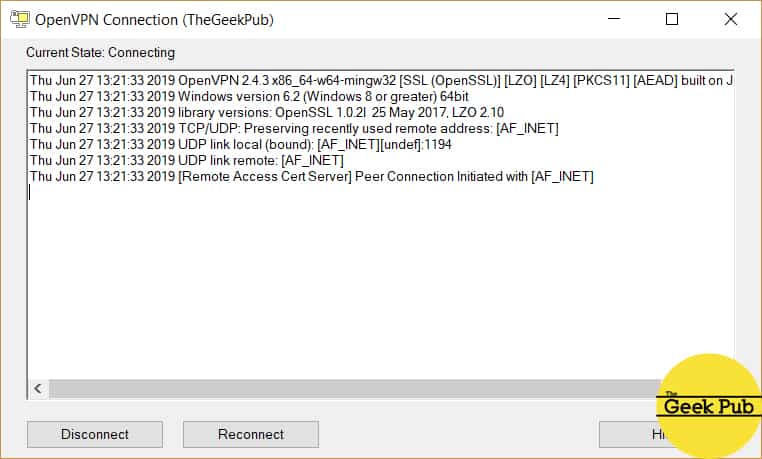
You’ll see a dialog box showing the connection process (I’ve again removed my personal information) and finally a popup showing you’ve connected successfully.
If you run into any problems at this point go back and verify all of your information:
- Did you properly configure port forwarding?
- Verify your username
- Double check your password
- Did you select UDP?
- Did you change the port number from the default 1194?
I’ve helped a lot of people through troubleshooting
Some firewalls will need you to forward the port and create an allow rule, while other firewalls will do that for you. Check your documentation.
Also, another important thing to know. Some routers do not forward traffic back to the inside interface. Since you are connecting to port 1194 on the external IP address of your firewall, you may have to test your VPN from another network such as a friend of the local starbucks, as it may not work internally. This is completely dependent on your firewall, and its configuration or capabilities.
If you have any issues or need any help, leave us a comment below and we will do our best to help you out!
[adinserter block=”5″]


5
Hi Mike, thanks for this. This might be a daft question but is the pi connected to the router and everything connected to the pi?
The Pi just plugs into any free router port.
Thanks for sharing this Mike. Can this work with PIA VPN as well?
This is for accessing your home network remotely, not connecting to remote VPN services. The best way to connect to PIA is with the OpenVPN client that they provide.
This is badass. I had no idea you could do this!
Oops, sorry about that. Thanks for explaining that. I will give it a shot!
Is the Raspberry Pi as secure as a real server? It worries me using a cheap device for this.
The price of the computer has little do with its security. That’s generally a software side issue.
Best project you’ve ever done! VPN for the win Mike!
5
Thanks for project Mike, worked perfect! I’m using a Pi 4 2GB, maybe a bit overkill but works like a charm.
Thanks Mike. Very helpful.
Just a question. Does this RPI VPN Server setup by default push all traffic through tunnel?
Just curious, if I take my phone, openvpn, and go to a public wifi, connect Open VPN back home to the Pi VPN server and browse, I see it is working properly. But what about other non http usage?
Will all phone/network data requests be pushed from public IP address on the phone, do the searching on home network and push data back to the phone (or is this only for web browsing) and would it be ok to get a ‘how-to-test’ for this document?
For this VPN build you are using a Raspberry Pi 3…The Raspberry Pi 3 doesn’t support Gigabit Ethernet. Won’t this be a bottleneck in regards to network access speeds?
Hi,i have installed openvpn server by using mobile network but when i access vpn server from client on same network, its not connected.let me know whats the issue behind this. is there any sense to access vpn server on same client-server network
i have successfully setup the pivpn on my raspberry 3 but i can only get connected when i am on home network and soon i turn off my wifi it does not work. Please help me what i need to do. Thanks
WOW!!! I have been struggling to think of ways to get home to my network without leaving a PC online with say TeamViewer…. well, since I stopped using ‘Untangle’ as my gateway, and went with a ubiquiti hardware solution. I have a RPi4 running Home Assistant, so I’ll definitely be trying this out when i get home for sure! Thanks.