Blog
How to install Raspbian on the Raspberry Pi
We have a lot of Raspberry Pi projects and Arduino projects and tutorials on our site. There are a lot of great resources already for learning how to install Raspbian on the
Let’s start with some basics. Raspbian is the most popular and most developed operating system for the
Raspbian provides everything that most Rasperry Pi users will need. It comes with a fantastic GUI based on LXDE. It comes with the Chromium browser, which is compatible with the vast majority of websites. It has a solid command line, file system, and packed with lots of libraries and software to make using the
How to Install Raspbian on the Raspberry Pi
So now that we have a little background on Raspbian, let’s get started installing it on our
- Raspberry Pi 3
- Raspberry Pi power supply
- Raspberry Pi case
- MicroSD card (32GB)
- HDMI cable
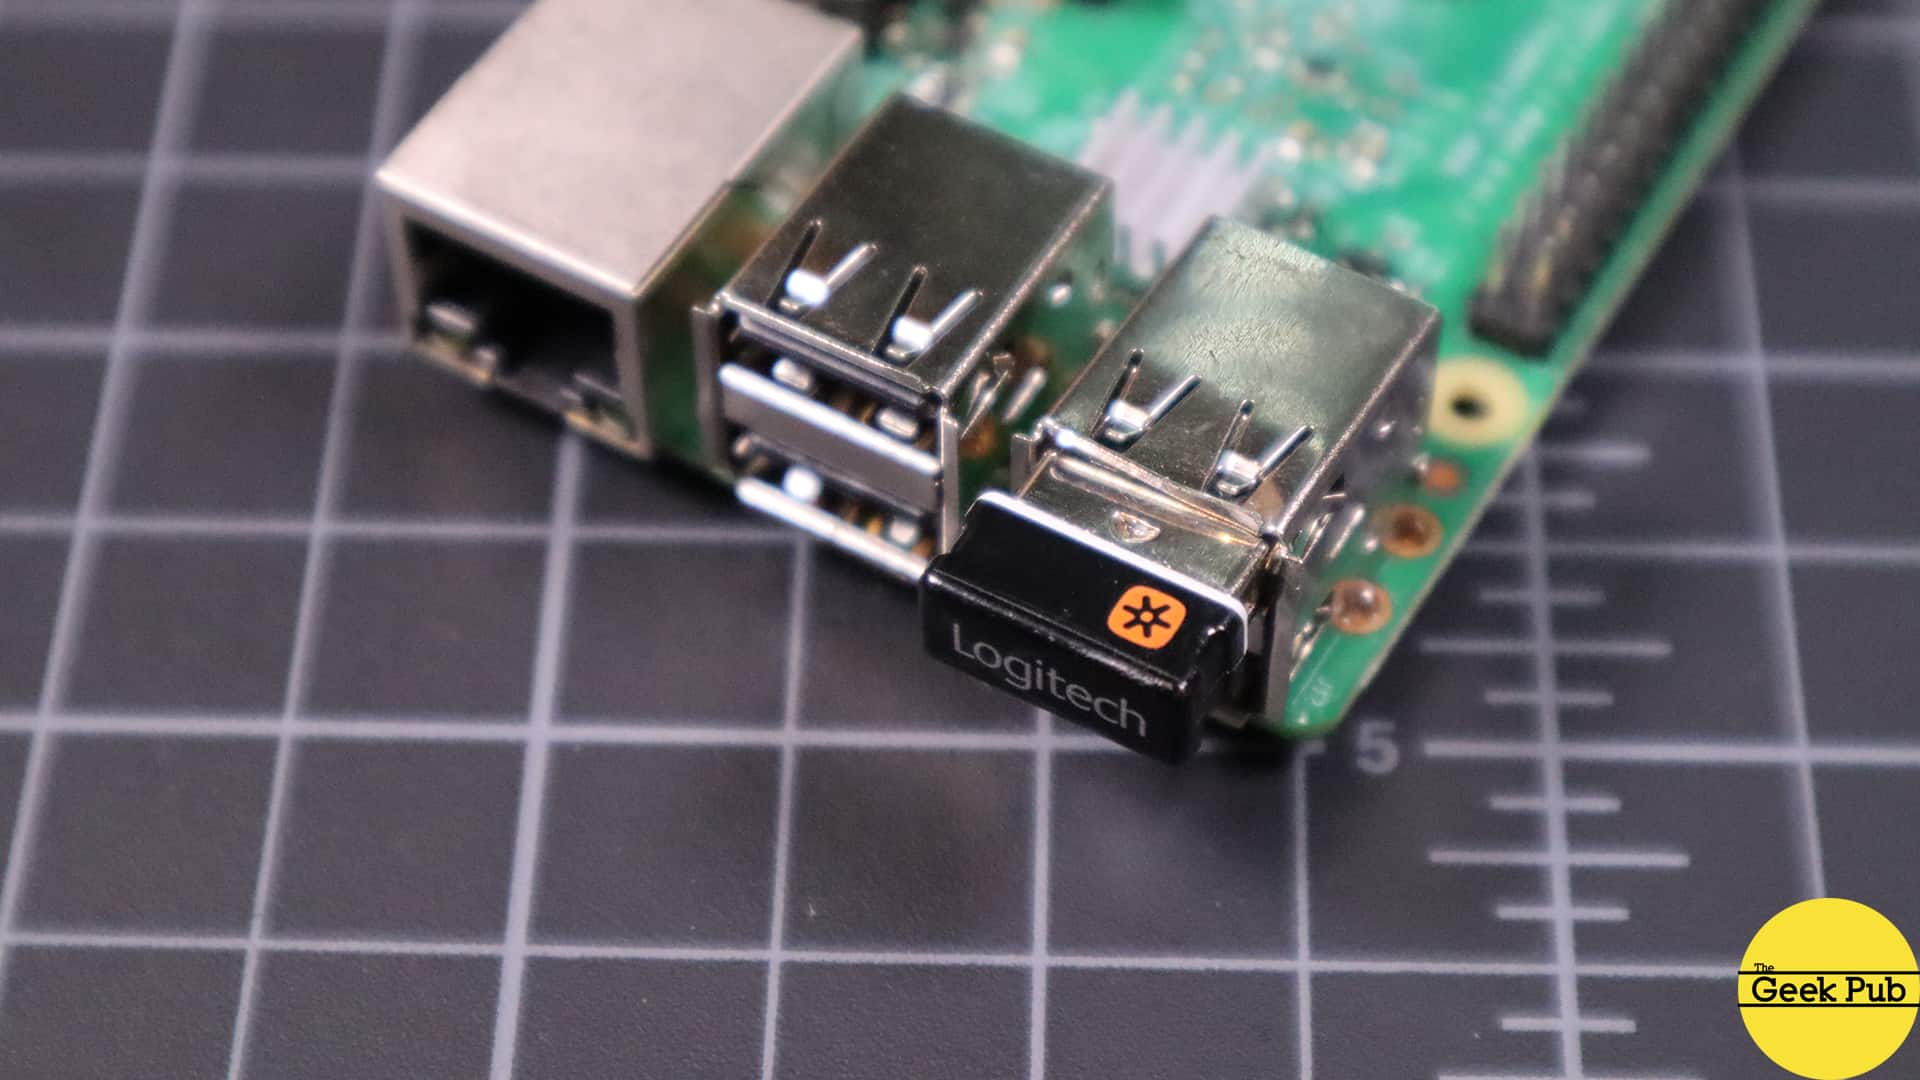
- Mouse and keyboard
- 7in1 card reader
Of course, you’ll also need a monitor and access to the internet. But we assume you’ve got that already! We’ve selected what believe are the best starter components for the Pi. If you need to save a little money, you can go with a smaller SD card, we don’t recommend anything smaller than 16GB these days. You’ll just wind up upgrading anyway if you go with anything smaller. You could also opt for a
Let’s get started!
Download Raspbian
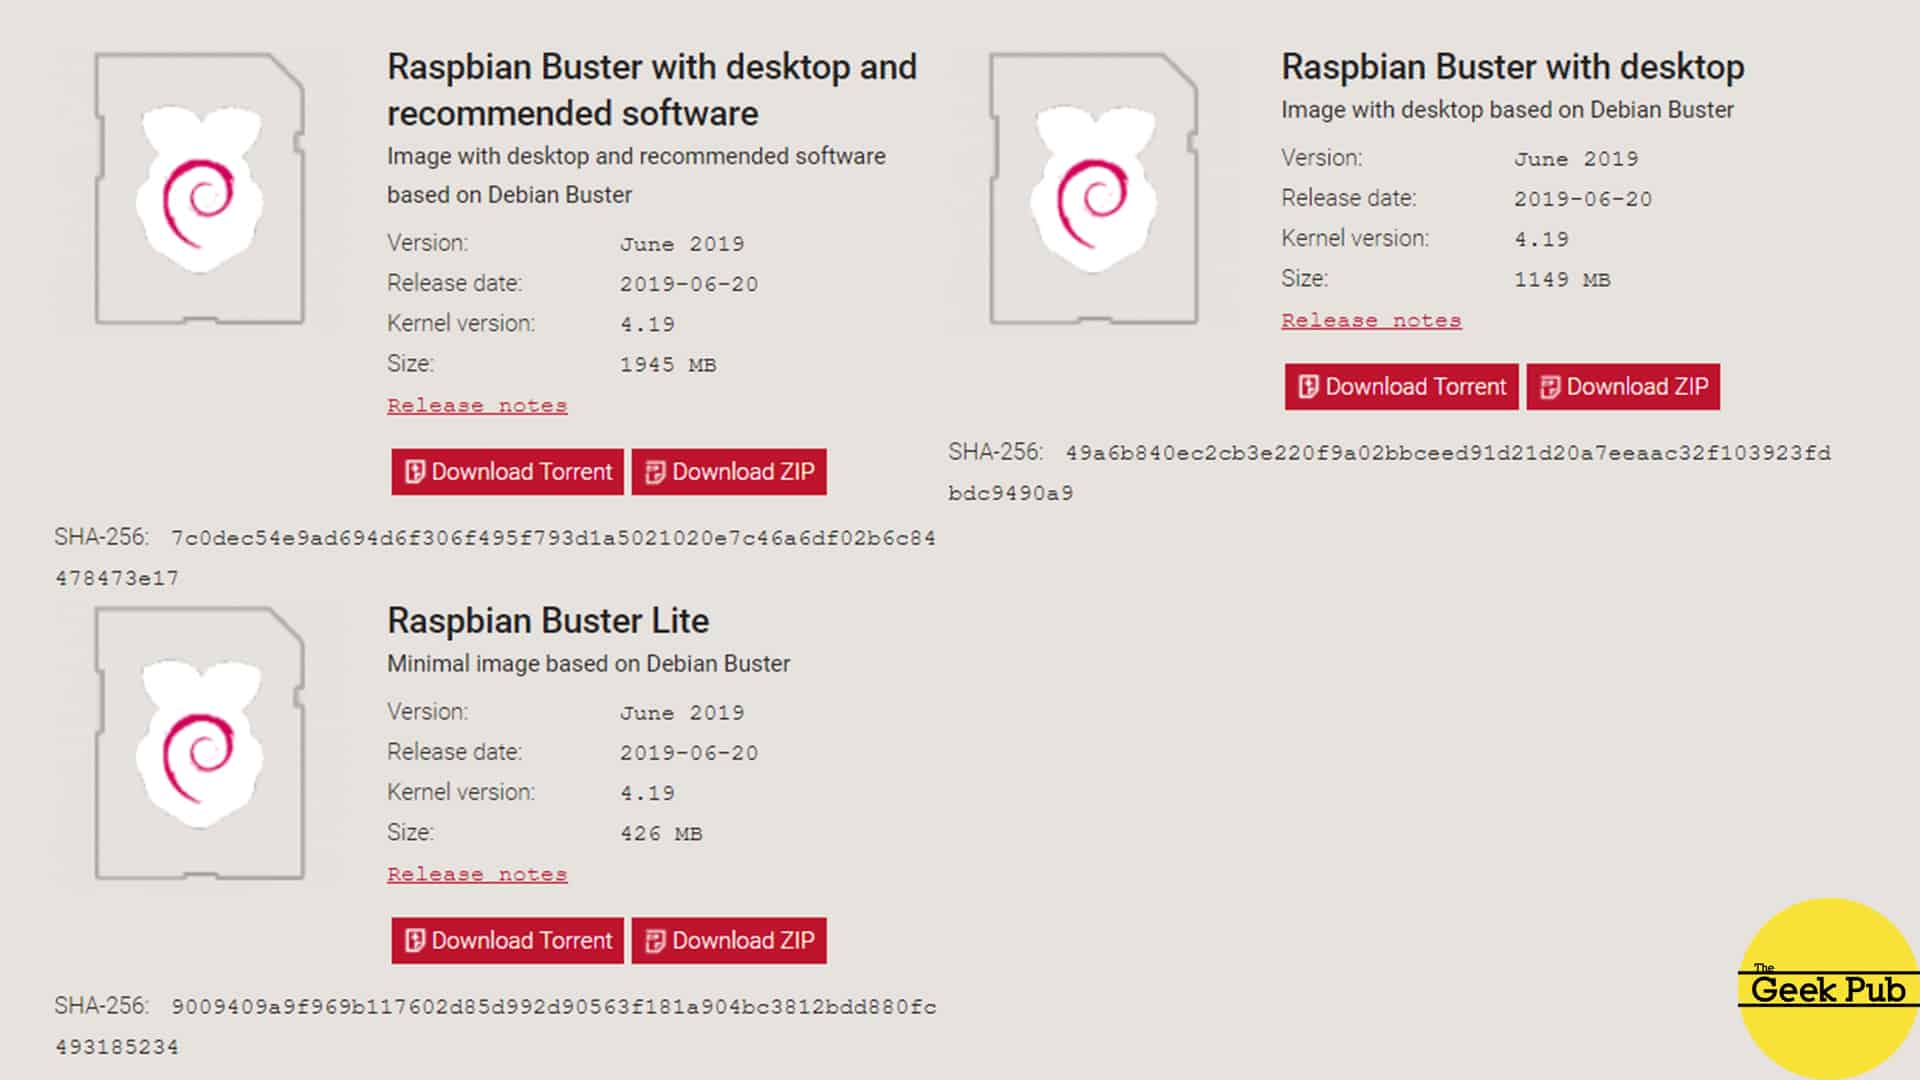
First things first we need to download the latest version of Raspbian. You can do that here. You’ll find three versions of Raspbian available for download. You’ll need to decide which one you want!
- Raspbian with desktop and recommended software – this is the “full meal deal”. It includes the LXDE GUI, all the desktop software recommended by the foundation, and just about everything a beginner will need to get started.
- Raspbian with desktop – This is Raspbian with the LXDE GUI, and Chromium. Most other software is not included.
- Raspbian Lite – This version does not include the GUI. You’ll only want to get this version if you’re planning on building a headless device that only boots to the command line.
For most users, you’ll want to download “Raspbian with desktop and recommended software”. It’s the most comprehensive package and perfect for the beginners with the
You’ll also notice there is a Torrent download and normal download. If you’re familiar with torrents we highly recommend grabbing the Torrent version as it will download much faster. For everyone else, just download the ZIPPED version.
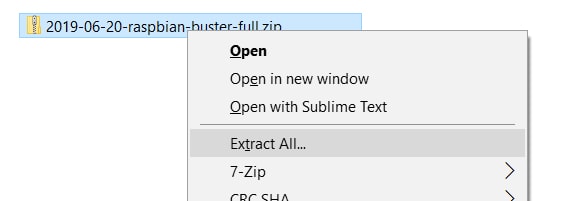
Unzip Raspbian
The next step is to unzip the Raspbian image so that we can simply burn it to the microSD card. This will depend on your operating system.
If you’re using Windows 10, you simply right-click the file and choose Extract All.
For Windows 7, you may want to grab a copy of 7-Zip. It is free and works far batter than most other tools.
Under MacOS, you’ll just need to double click the file. In typical Mac simplicity, the file will automatically unzip and appear in the finder window next to the compressed version.
Burn Raspbian to Your MicroSD Card
The next step is to burn Rasbpian to your microSD card. We highly recommend the imaging tool from Balena Software called Etcher, and that’s what we will use in this tutorial.
Open etcher and select the Raspbian image we just unzipped. It should end in the .img extension.
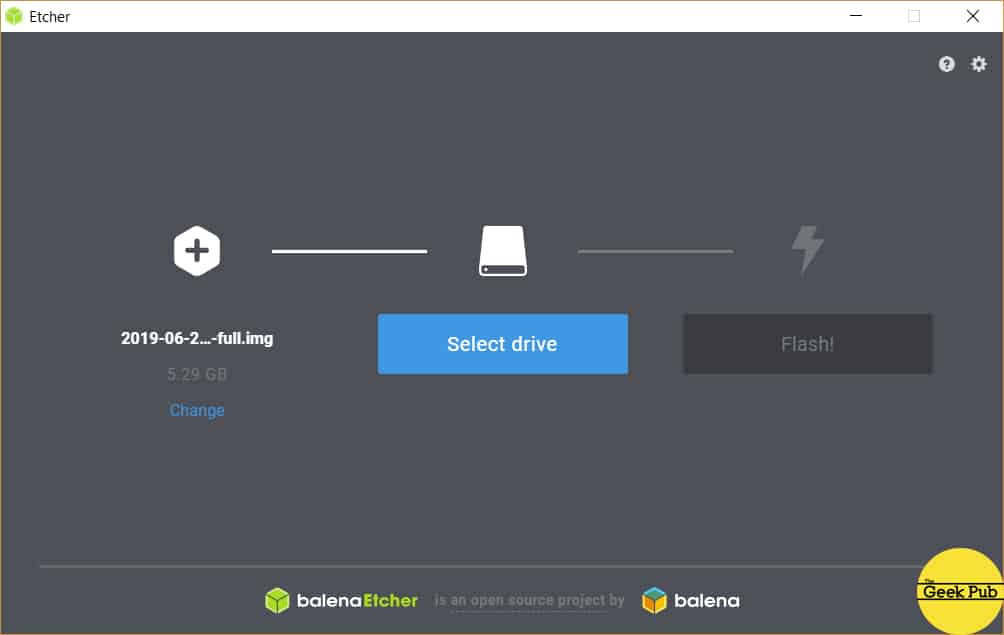
If you’ve not already you need to insert your microSD card into your PC. Looking for an SD card reader, we highly recommend this one. It’s super simple and affordable 7in1 reader/writer that should work for all your card reading needs with this project and many others.
Next, select your microSD card in Etcher by clicking Select drive, and then double clicking the card.
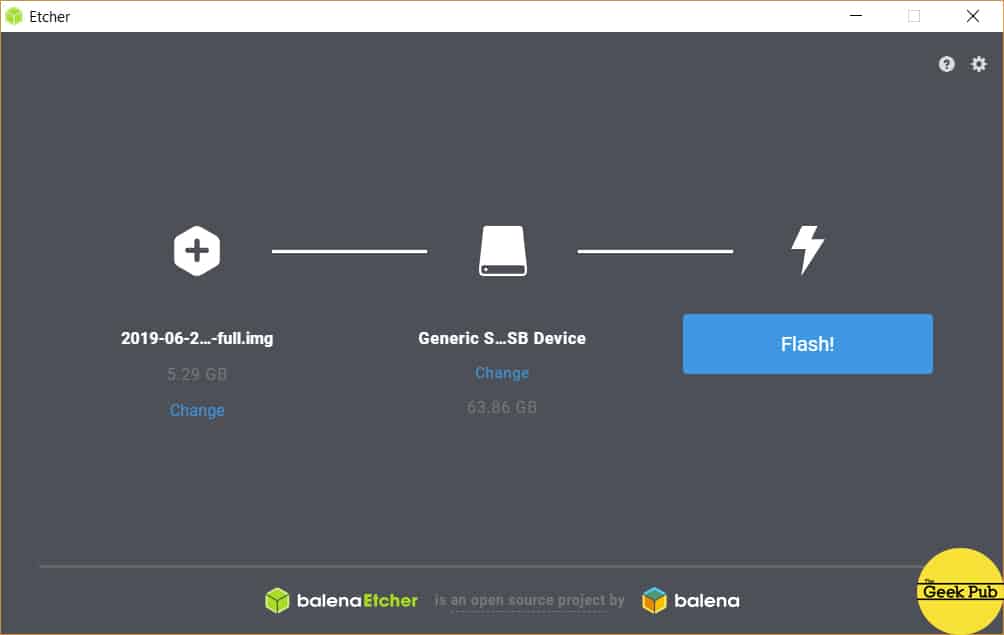
Next step, click the Flash! button and Etcher will begin the process of writing the Raspbian image to your microSD card!
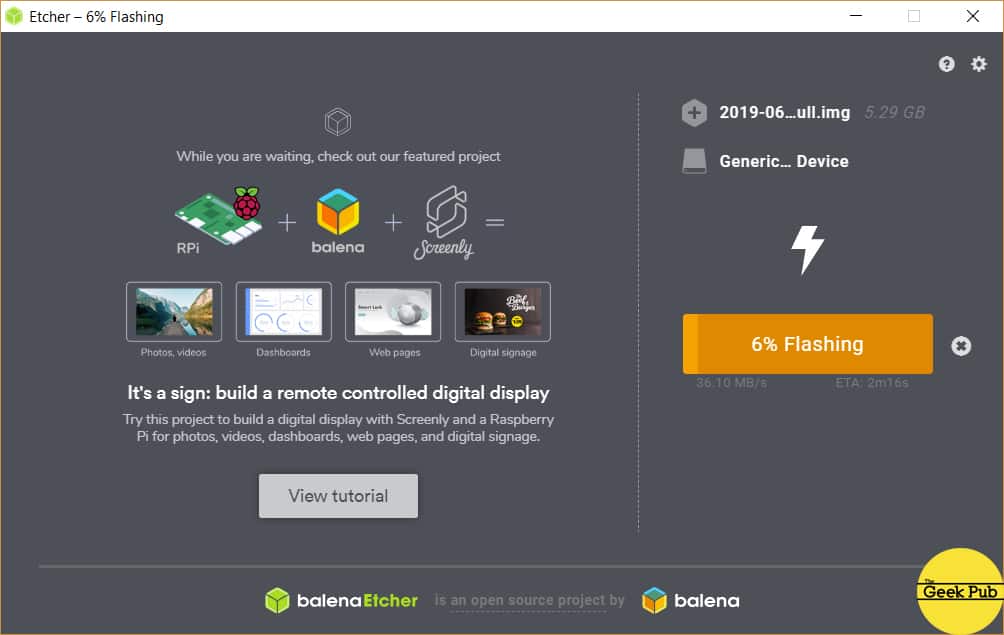
Etcher will show some recommended projects and advertisements while the process completes. Depending on the speed of your PC, USB bus, and hard drive, this could take only a few seconds, or up to 5 minutes to complete. Once the burn is complete, Etcher will run a verify process to make sure the image burned properly. If it did not, you may have a bad microSD card and you should probably get a different one.
Booting Up Rasbpian for the First Time
The last step of installing Raspbian on the
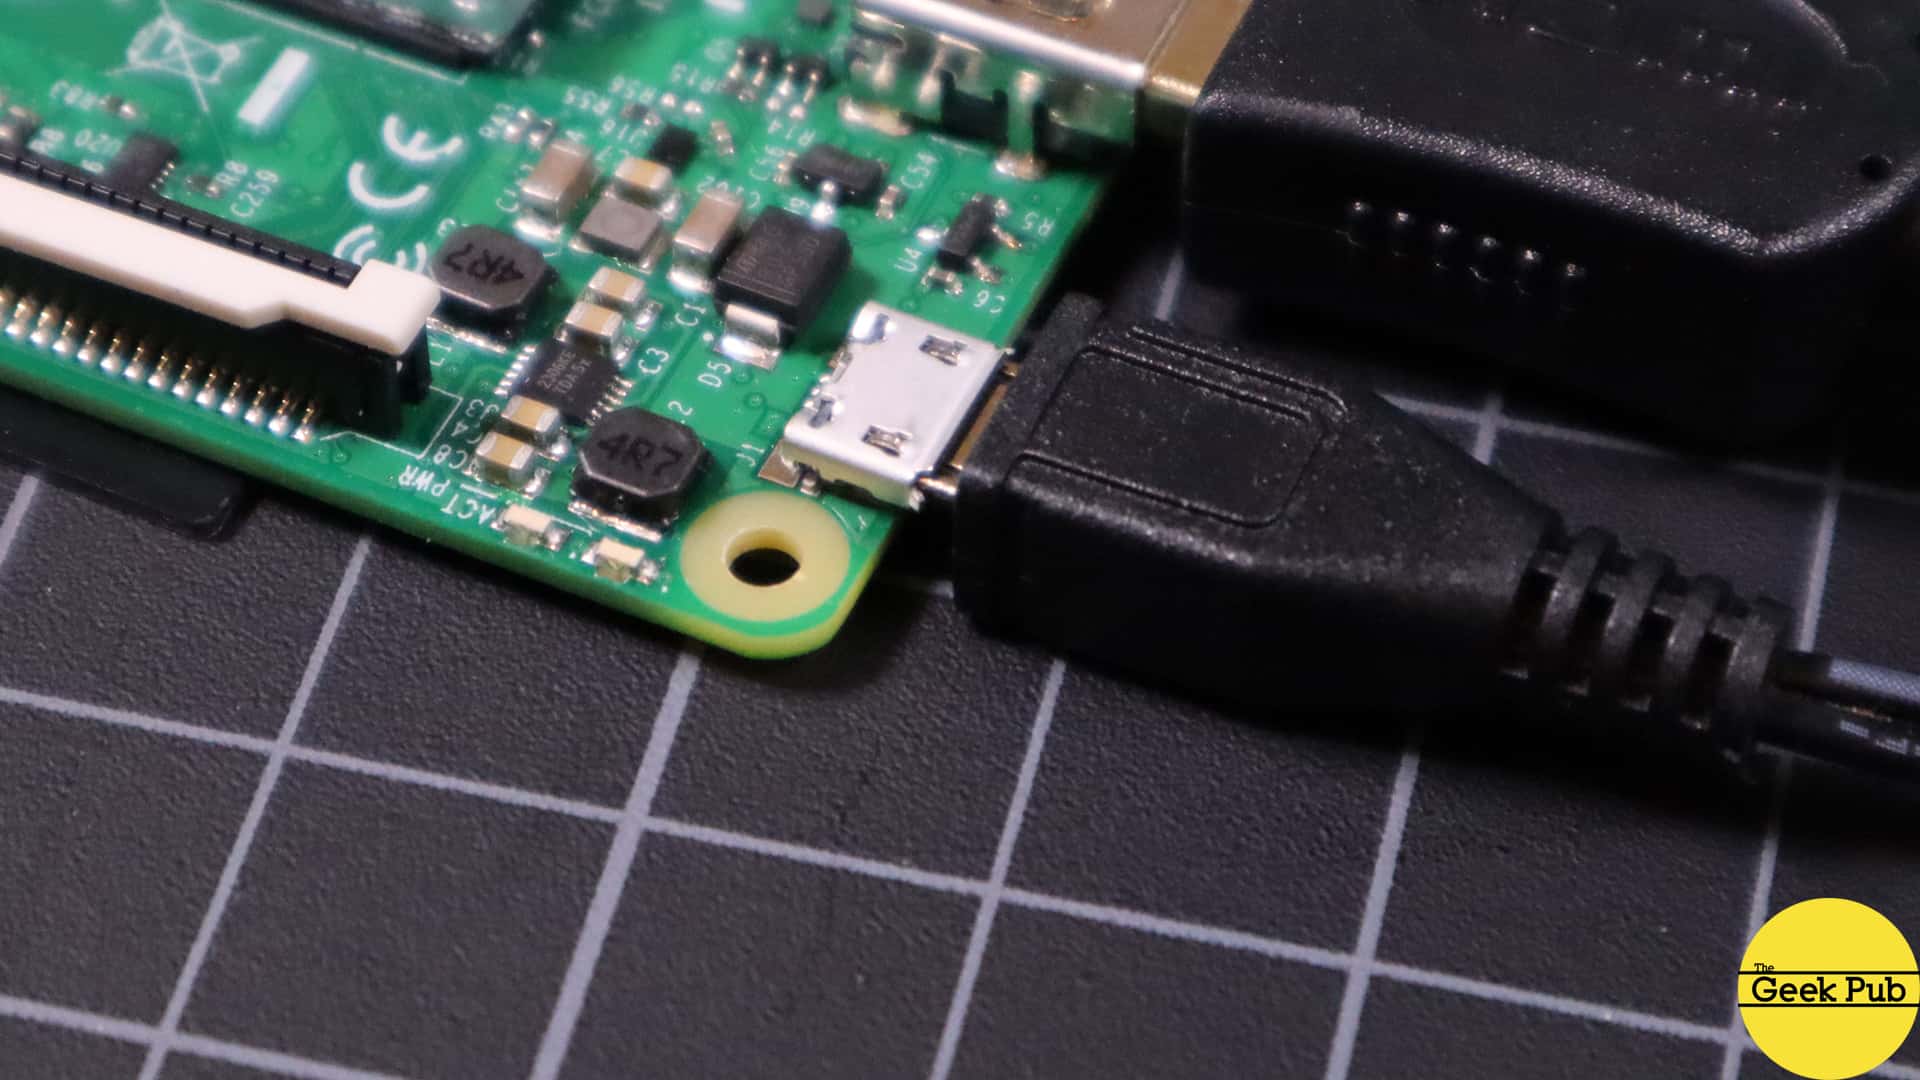
Make sure your Pi is disconnected from power. This means that the 5v micro USB (or USB-C on the
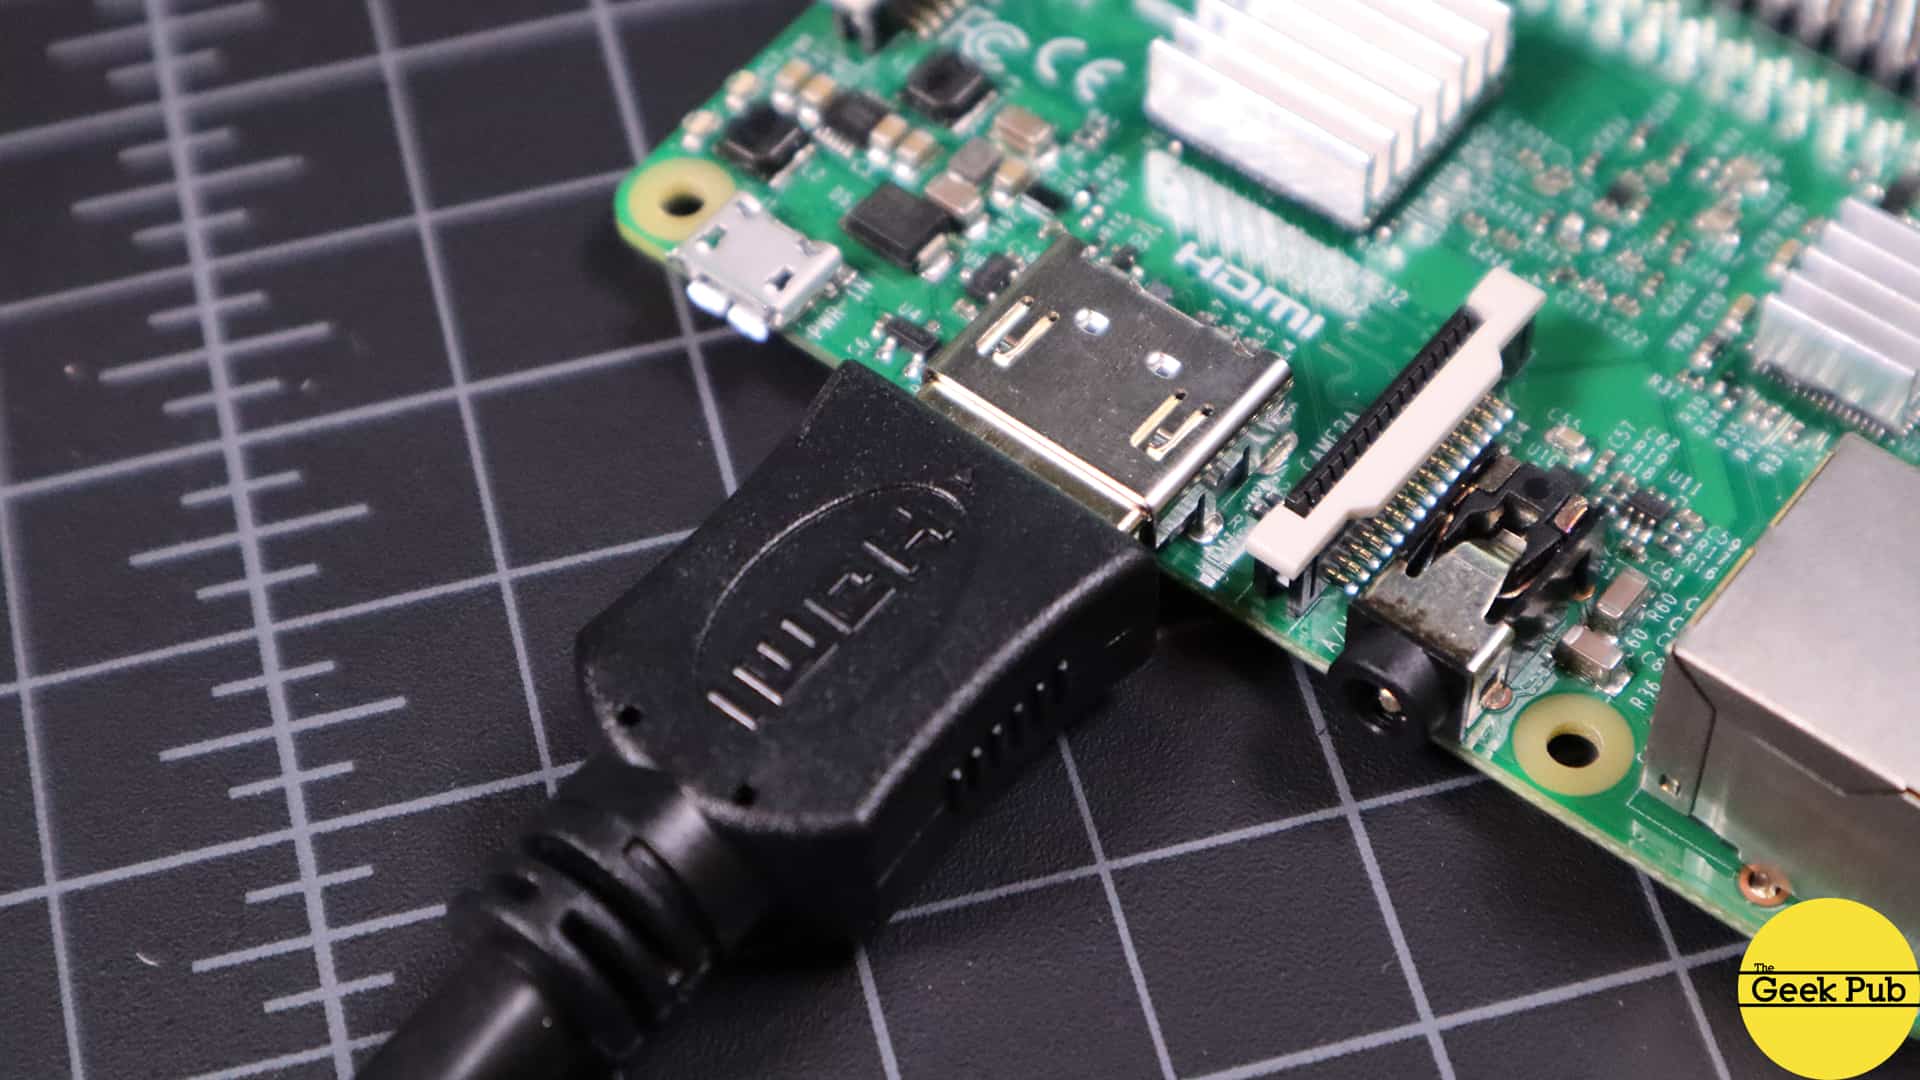
Plug in the
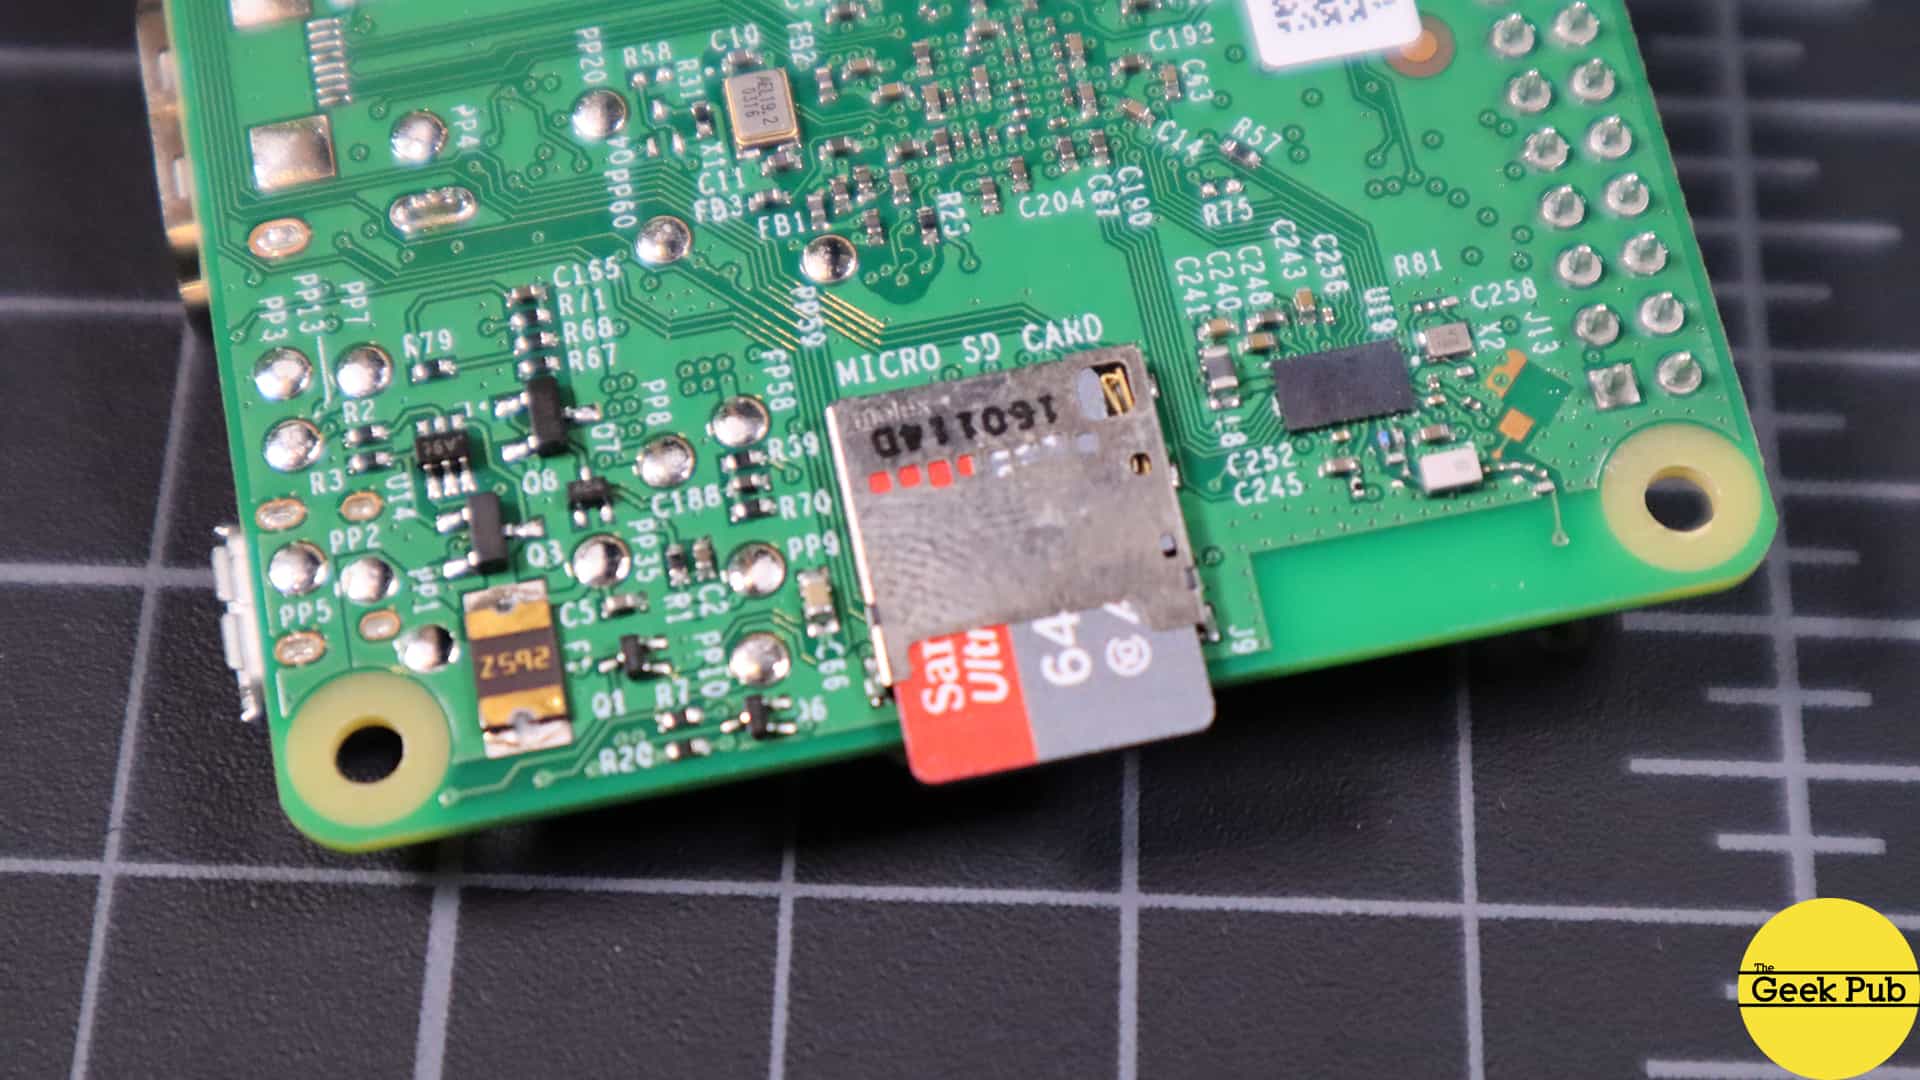
Next, insert the newly burned microSD card into your
Finally, plug the micro-USB 5v power into the Pi.
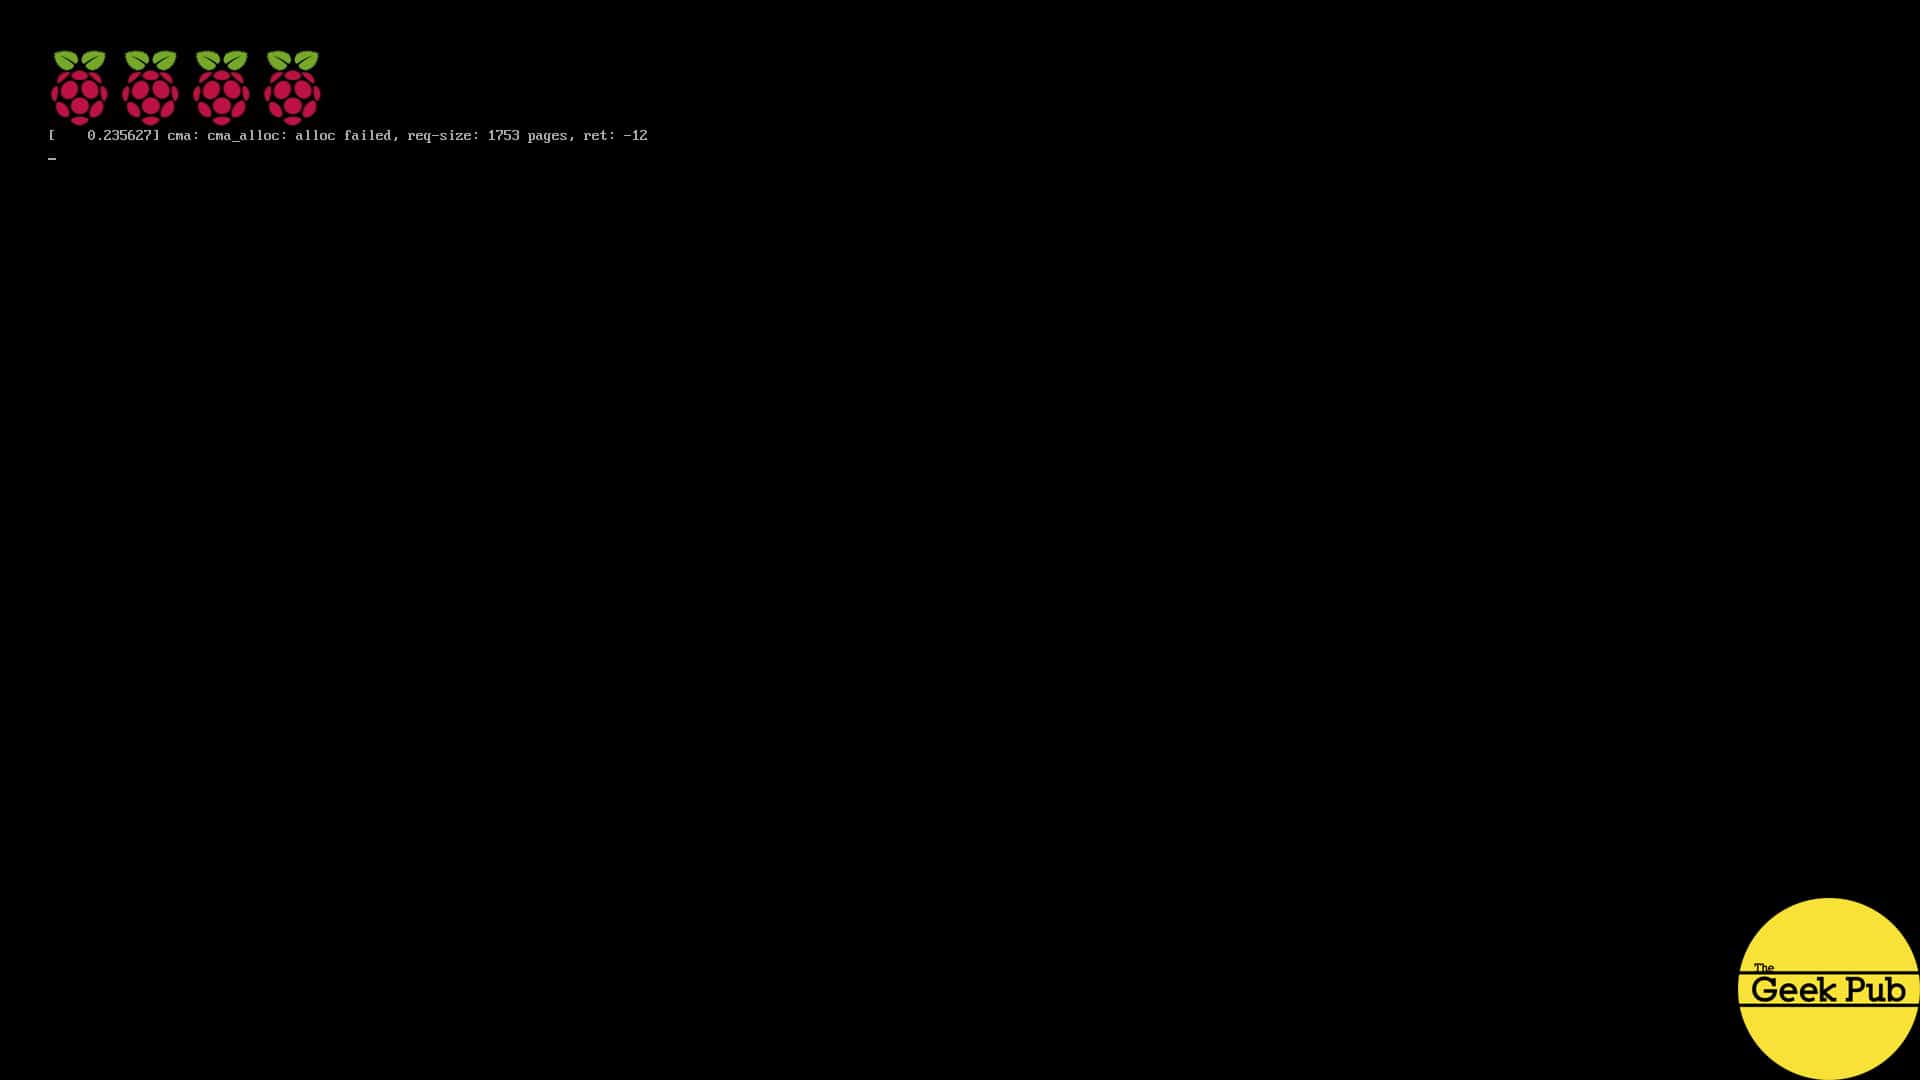
The power and SD cards LEDs on the Pi should come to life and Raspbian should show the boot process beginning. You’ll first see a “rainbow” screen, followed by three Raspberry Pis.

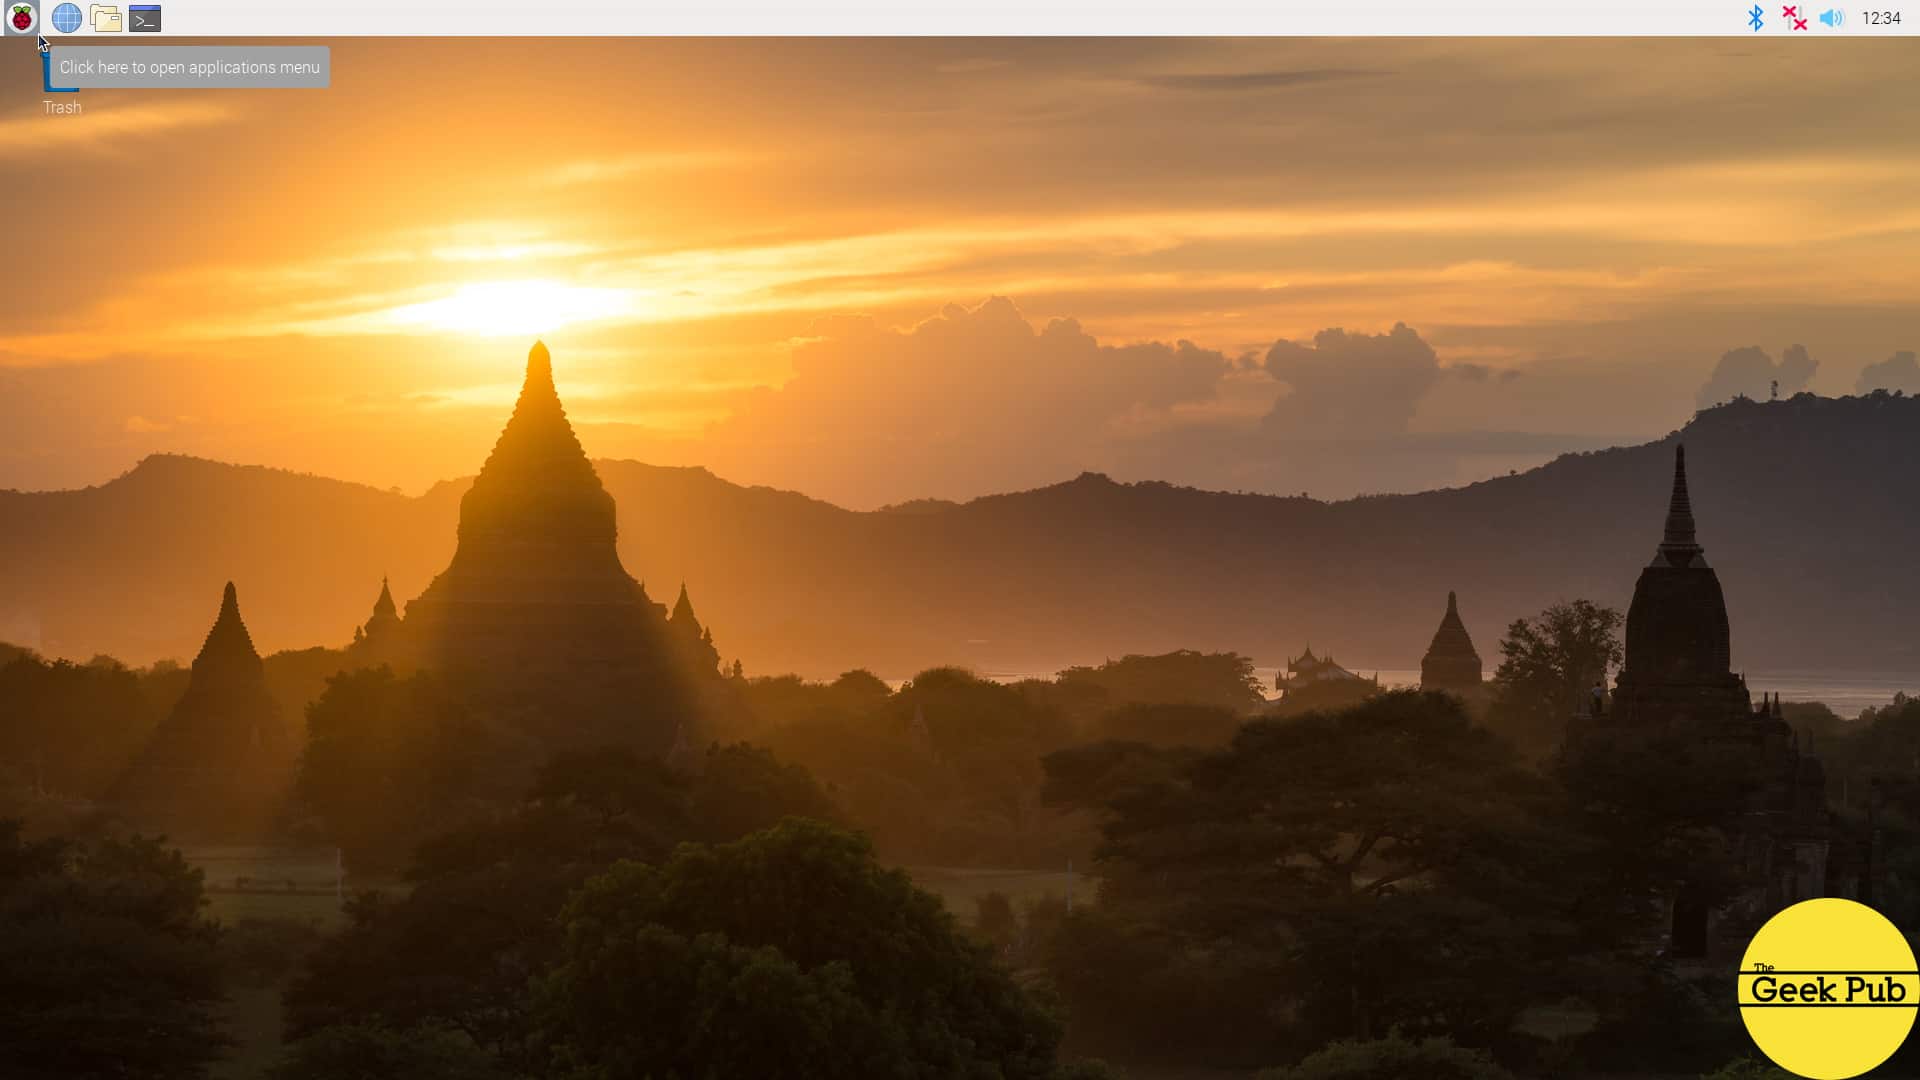
Within a few seconds you should be greeted with the Raspbian desktop! You’ve done it!
Congratulations! You’ve successfully learned how to to install Raspbian on the
[adinserter block=”5″]


5
Great tutorial Mike!
Looking forward to more awesome stuff Mike!
how can i use my laptop as a monitor
@Umer That depends on your laptop. Some laptops support target display mode. Some do not.