Blog
R2-D2: Continuing to build an Astromech
As I continue on with my journey to build an Astromech, we’ll go down several paths. We have to paint the dome panels (the top ones are called pie panels), build the frame, mount the dome, and start on the electronics which includes some custom programming.
I am going to go through things in order I tackled them, so if things don’t follow your expect sequence this is why.
Build an Astromech: Paint the Dome Panels
After polishing the dome, I used a mini-hacksaw to remove the pie panels, and all of the other dome panel components. This process takes a little patience and a little agility. I could have used a multi-tool or Dremel to accomplish this process, but I felt like one wrong move and it would all be over. I don’t have any spare domes or dome pieces laying around (and neither will you). If that 3000 RPM spinning disk were to snag something, it would leave a gouge in the dome or panel that would be permanent. With that in mind the mini-hacksaw is the perfect tool for this job.
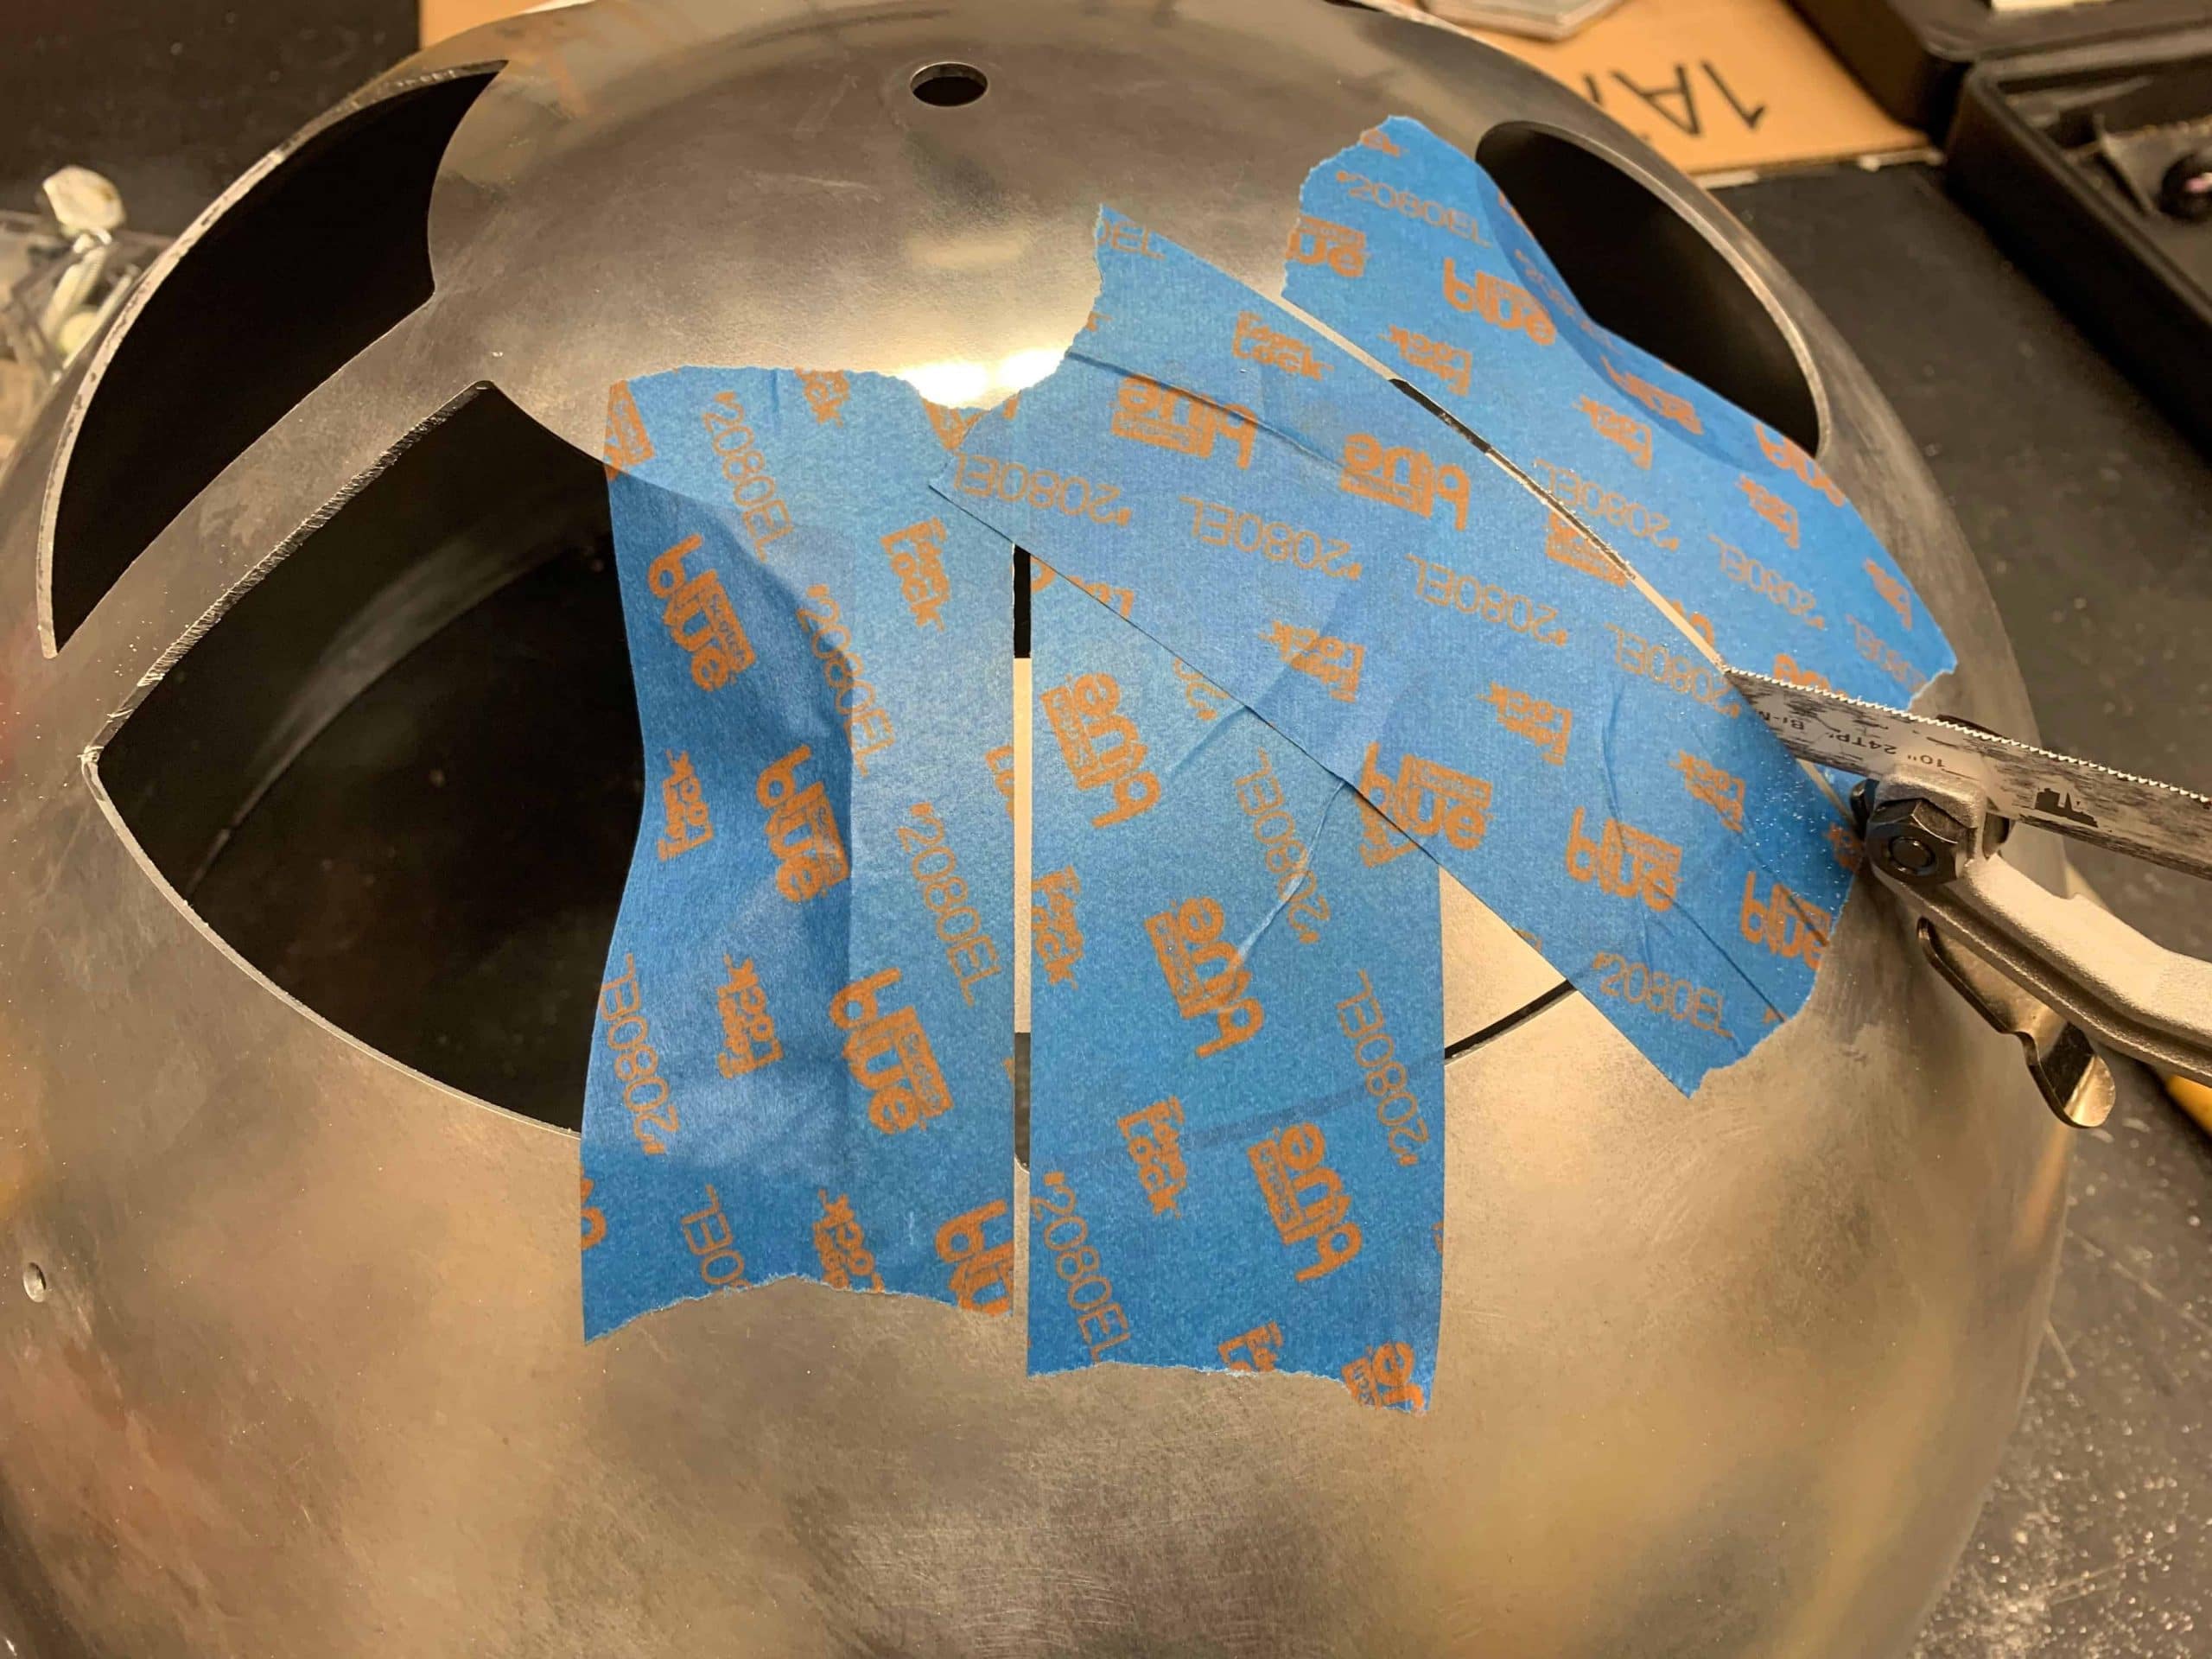
Remember you’ll need to cut panels and components from both the internal and external domes. My recommendation is to start with the internal dome. If you mess something up that will never be seen. You’ll get plenty of practice before you start the external dome.
I used masking tape to serve two purposes. First, to protect the dome should I hit it with the blade or handle; and secondly, to create a straight edge to align my blade to. Then I just cut along the straight-edge of the masking tape.
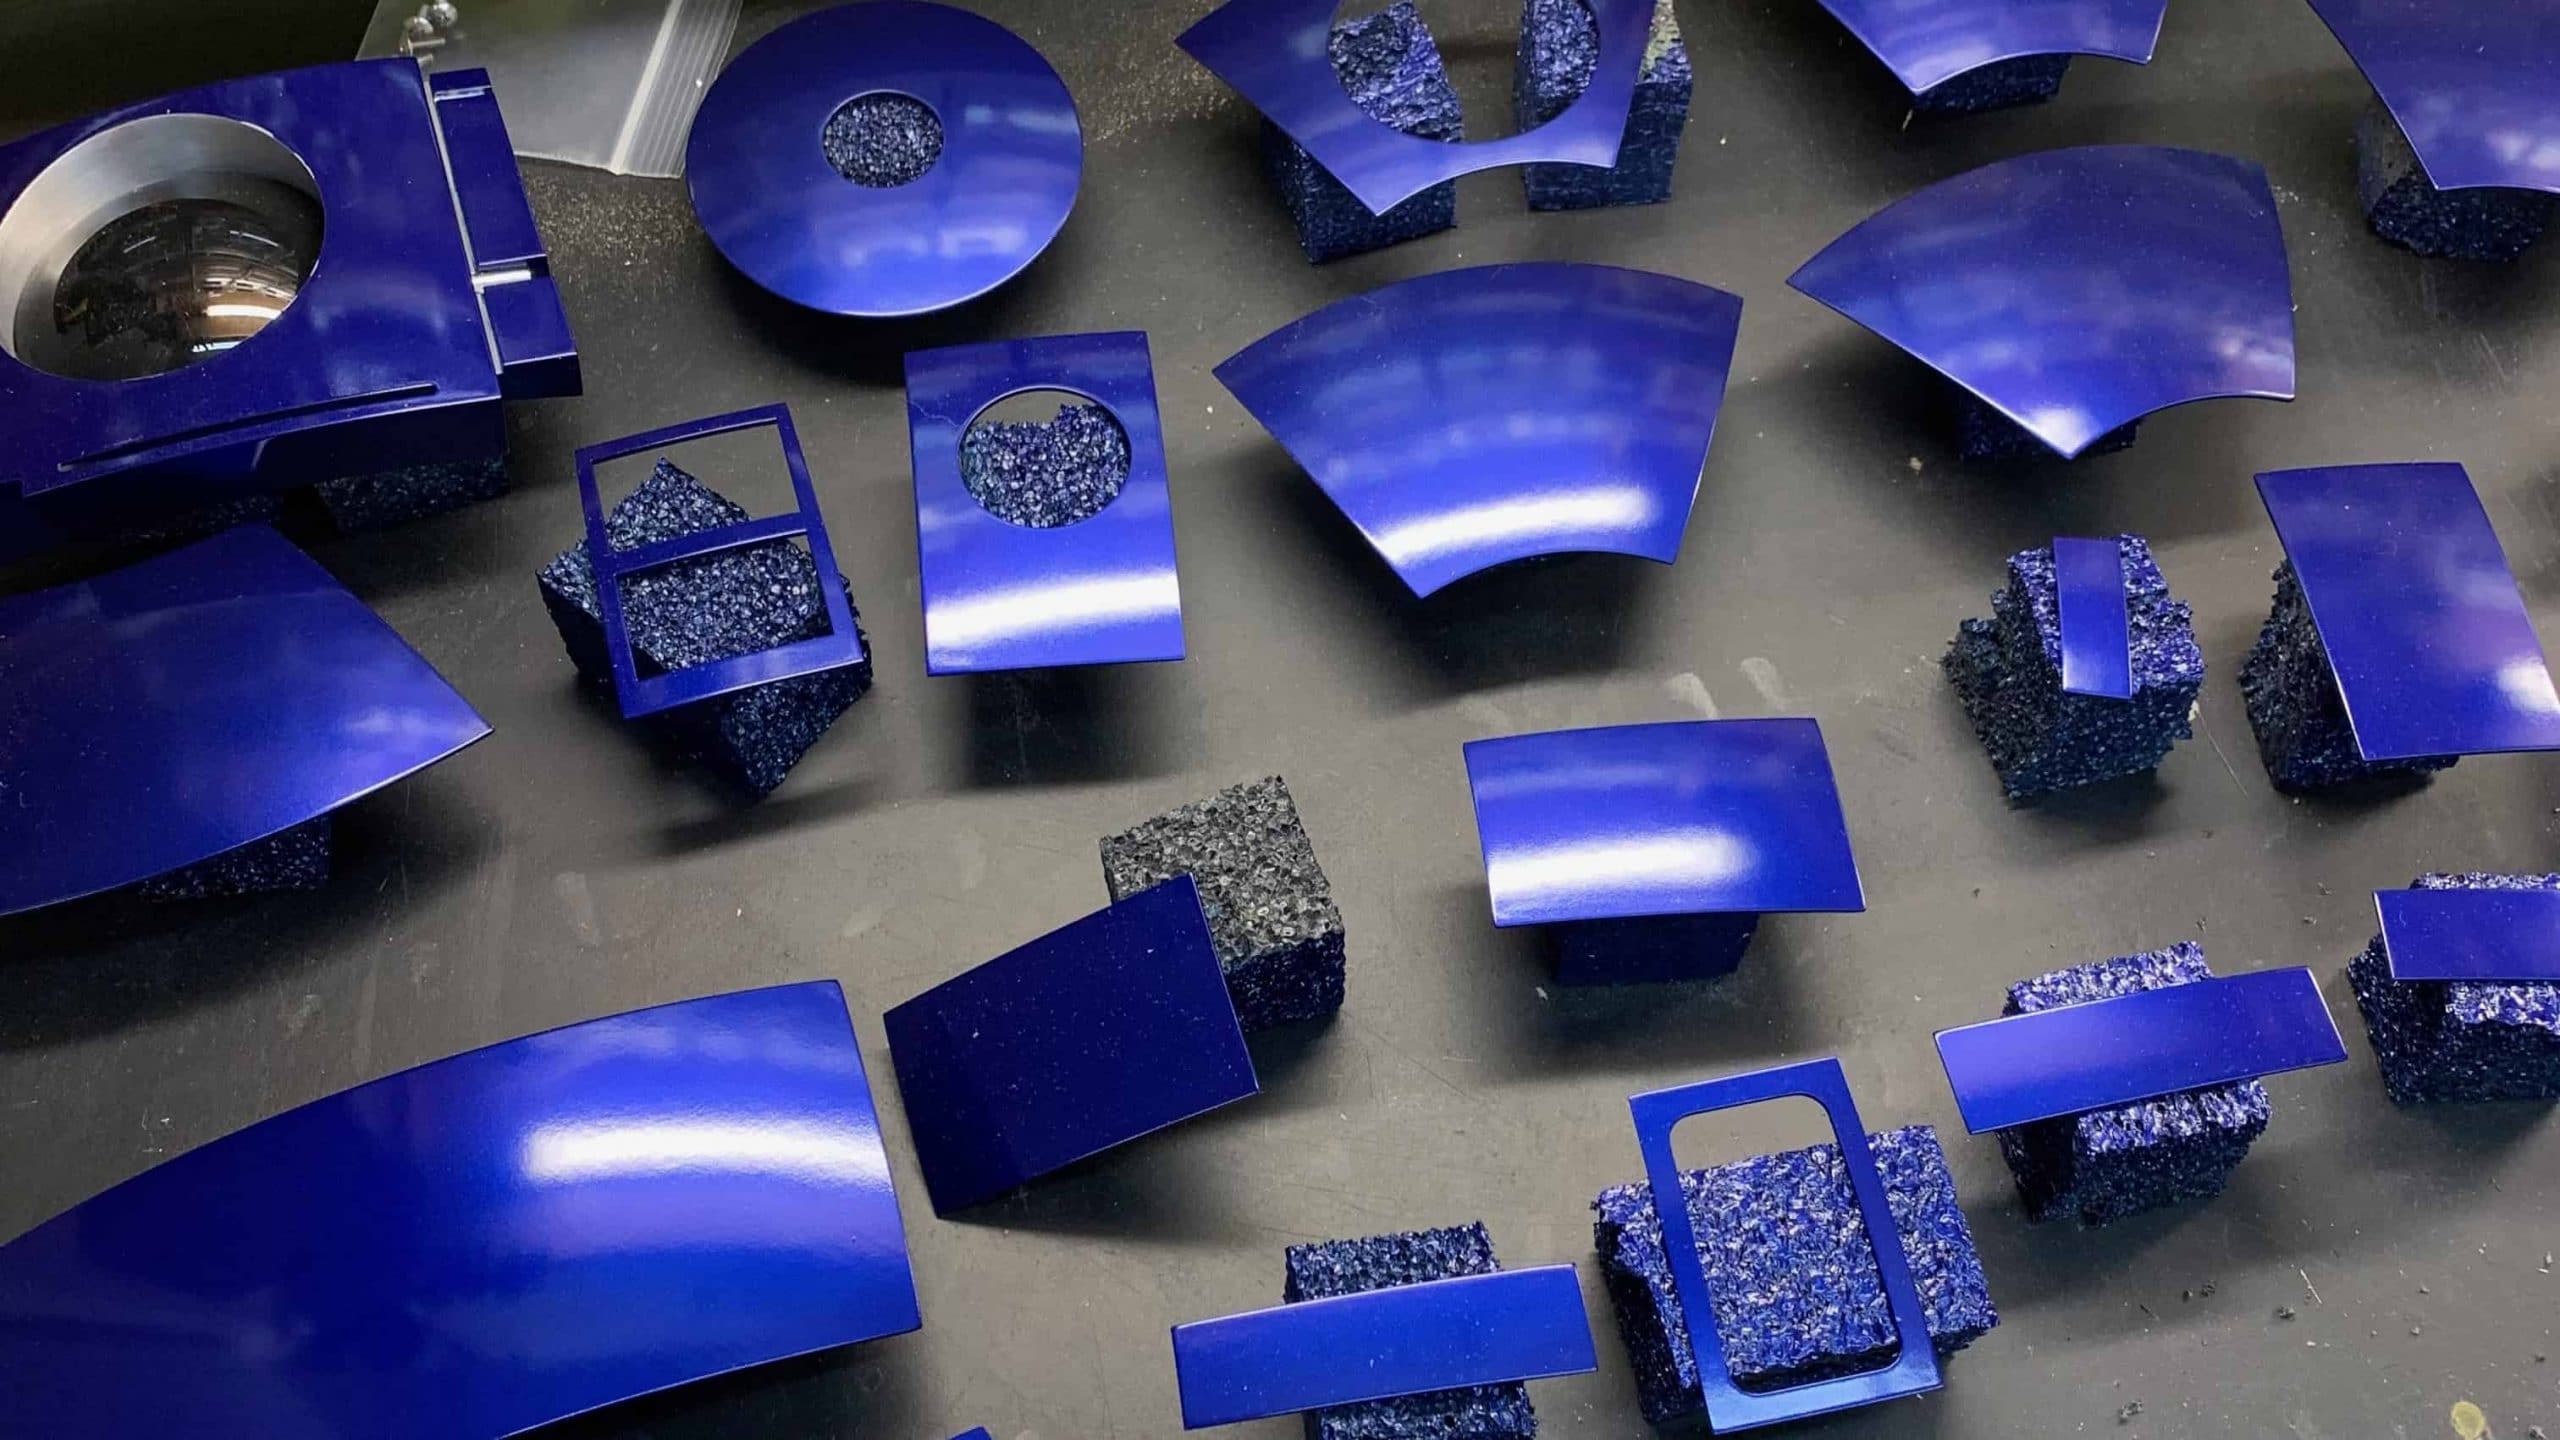
Once finished, I took each of the now separate panels to my belt sander and cleaned up the edges making everything nice and flat. A followed that up with 320 grit sandpaper to smooth all of the edges and remove the sharpness. I also sanded the top surface with 320 grit sandpaper to rough them up for paint adhesion.
Painting the Dome Panels
The next step in my process of continuing to build an Astromech was to paint the dome panels and components. There are many guides on the internet on how to make “Dykem blue” or “Hypo blue”. You see, the original R2-D2 blue was a mix of a base coat of purple paint with a top layer of blue metallic. This is what gives R2 a purple sheen under certain lighting conditions.
The process however is a lot of work, and not one that I feel like lends to all that much better results than an off the shelf paints. Die hard screen accurate hobbyists are throwing lots of darts my way at this point, and I don’t really care.
Ford makes a paint called Sonic Blue Pearl that is used on some of their older cars. You can get this paint from Dupli-Color either from Amazon or from various auto-parts stores (see my R2-D2 parts list for links). What I like about this paint is that it is very close to R2-D2 blue. It’s got a touch of purple and metallic already in the paint. I suspect 99% of people would never know the difference.
Preparing the R2-D2 Dome Panels for Paint
You’ll need to prepare the R2-D2 dome panels for the primer and paint process. I started by sanding all of the panel surfaces with 320 grit sandpaper matching the primer instructions. Before priming, take each panel and clean it with rubbing alcohol (or the proper paint thinner) and then wipe it clean with a tack cloth to remove any remaining dust. Be sure to keep oily fingers from touching the bare metal after this process or you’ll contaminate the surface.
Priming and Painting the Dome Panels
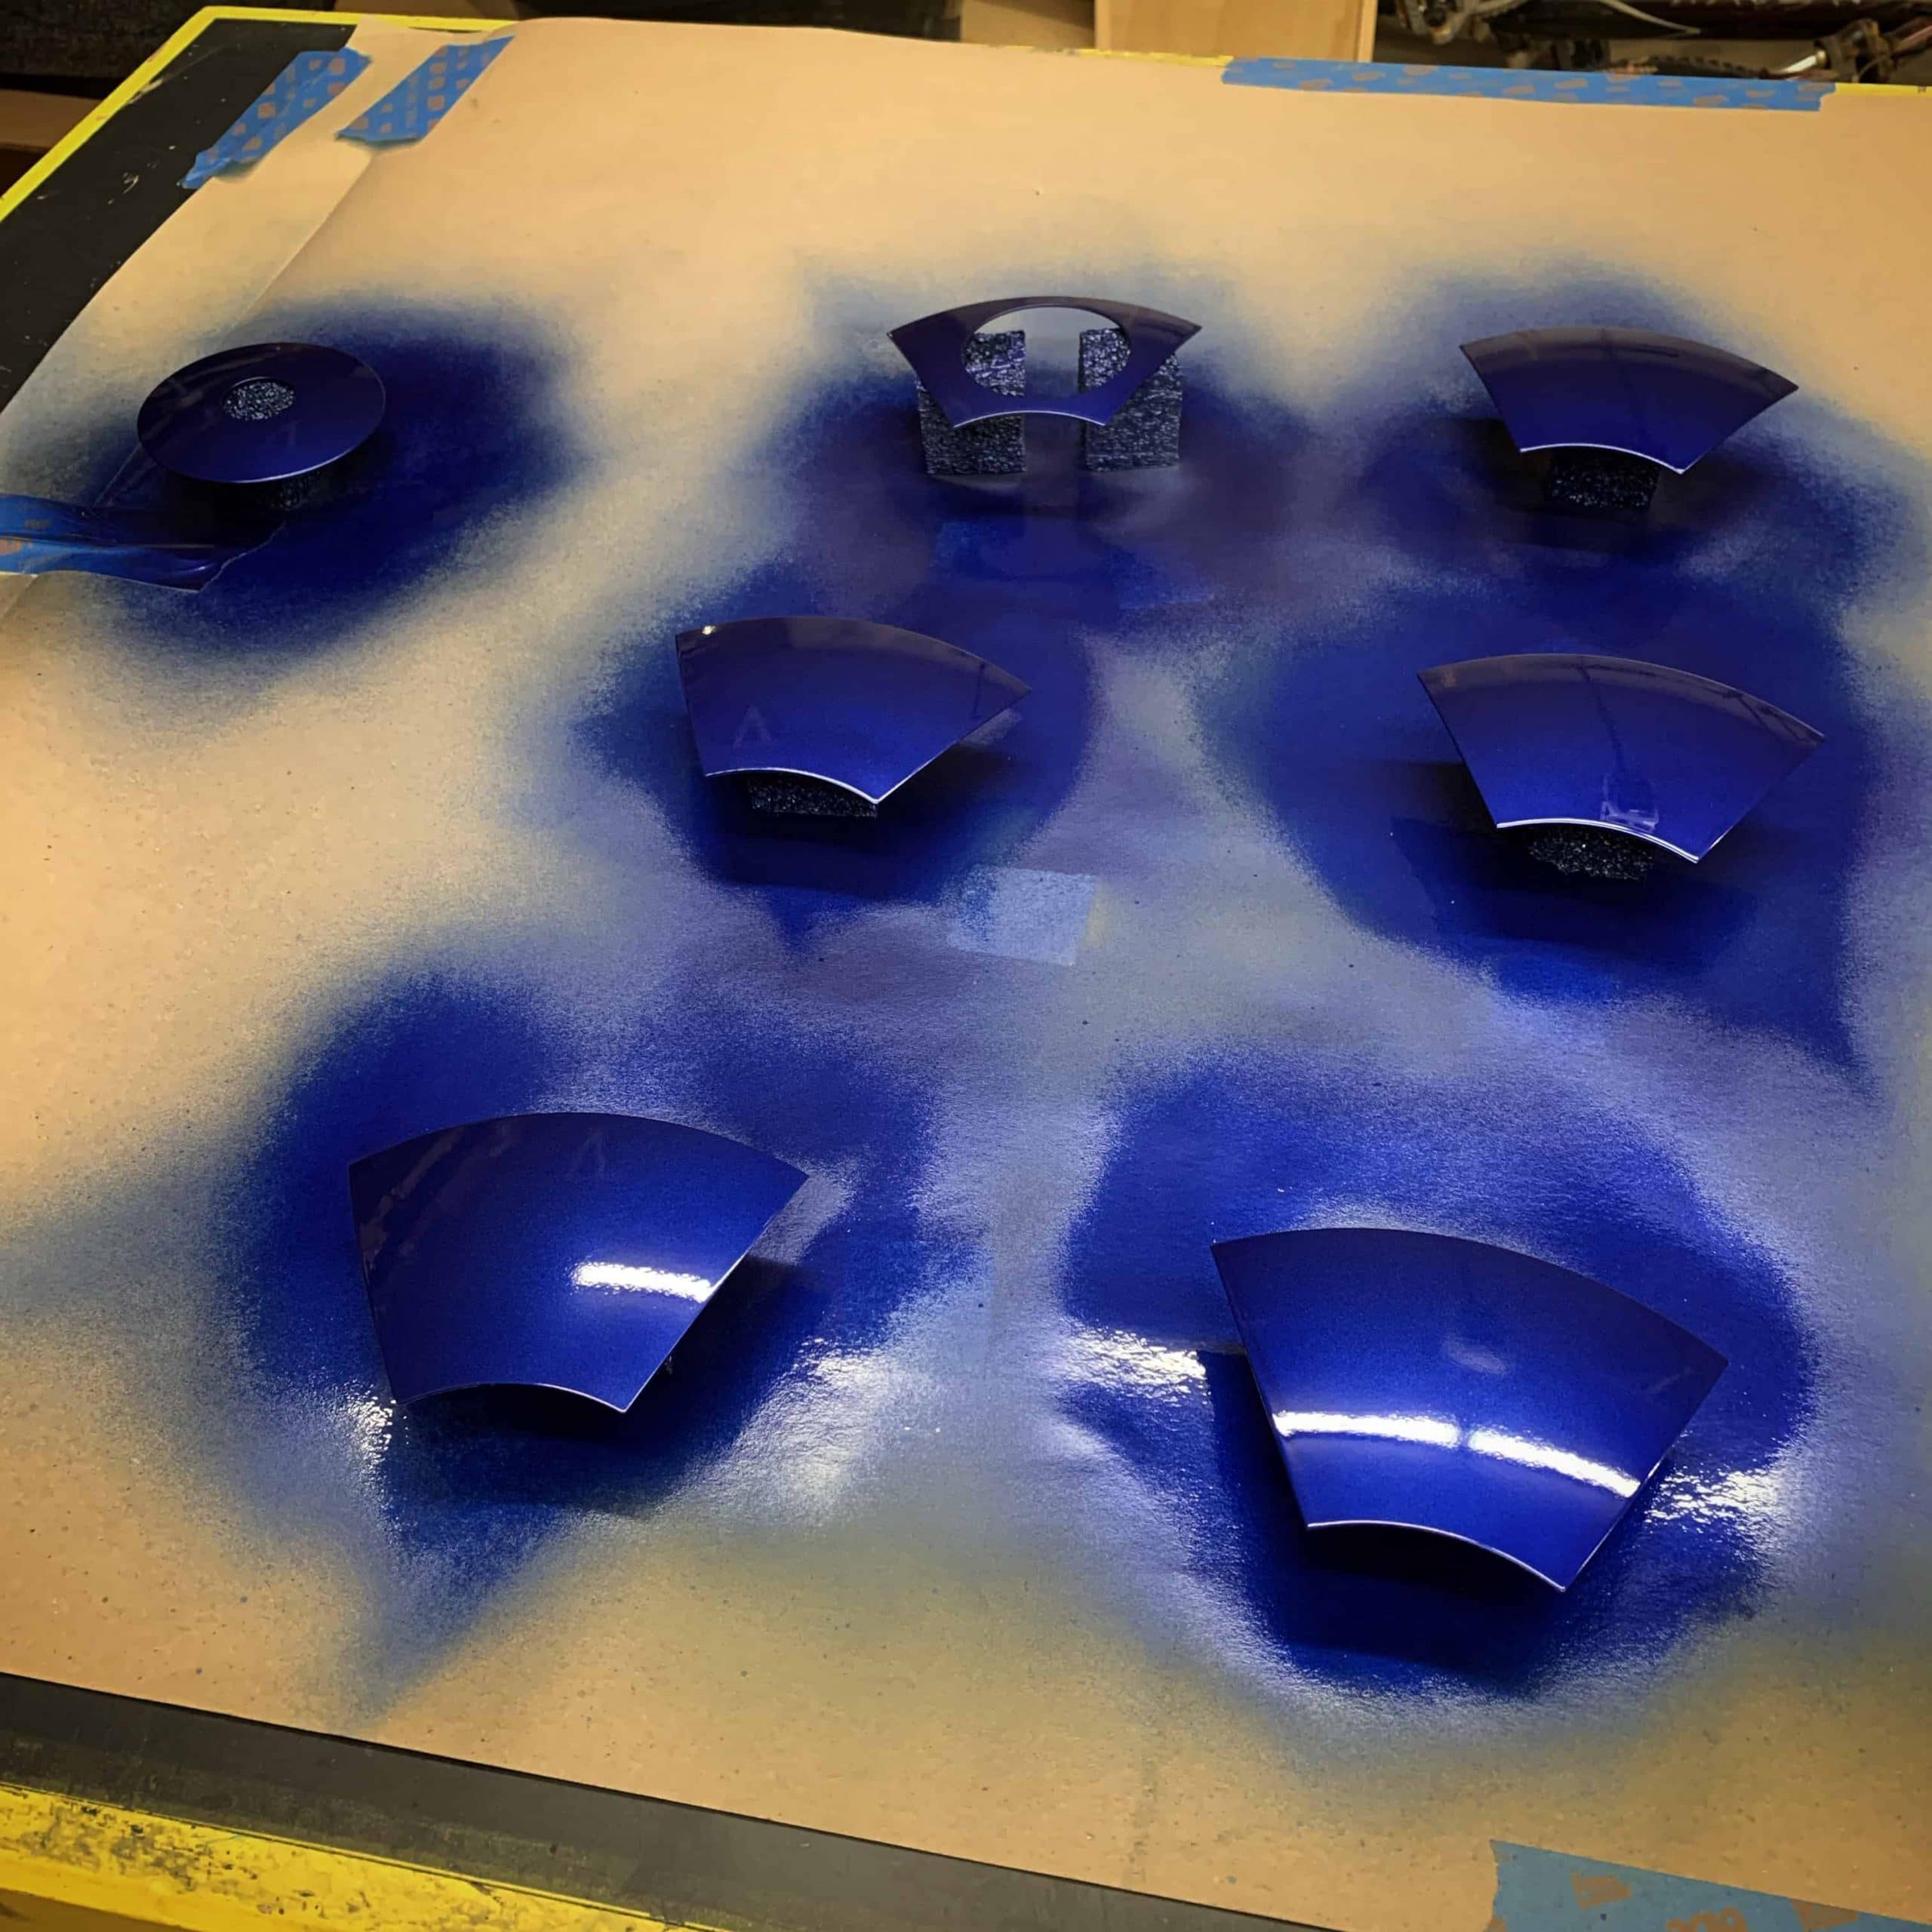
Using the self-etching primer, prime the dome panels following the directions on the can. This is usually a three to four light coats about 10 minutes apart.
Even though the instructions on the primer say you can sand and final coat within an hour, I highly recommend you wait until the next day. I always get far superior paint results by waiting 24 hours! The next day you’ll lightly wet sand the primed parts with 500 grit sandpaper to remove any roughness. This will help you get a glass like finish on your final coats.
Follow-up the sanding with another use of the tack cloth and then follow the directions on your paint. If you decide to use Dupli-Color Sonic Blue Pearl and the accompanying clear coat its a very straight process of three to four light coats of paint, 10 minutes apart. Wait an hour, and then clear coat two light coats followed by a fairly heavy finish coat 10 minutes apart. You should get bang up results.
Do not skimp on the sanding and cleaning process. That’s what makes the difference between an awesome result and a just OK result.
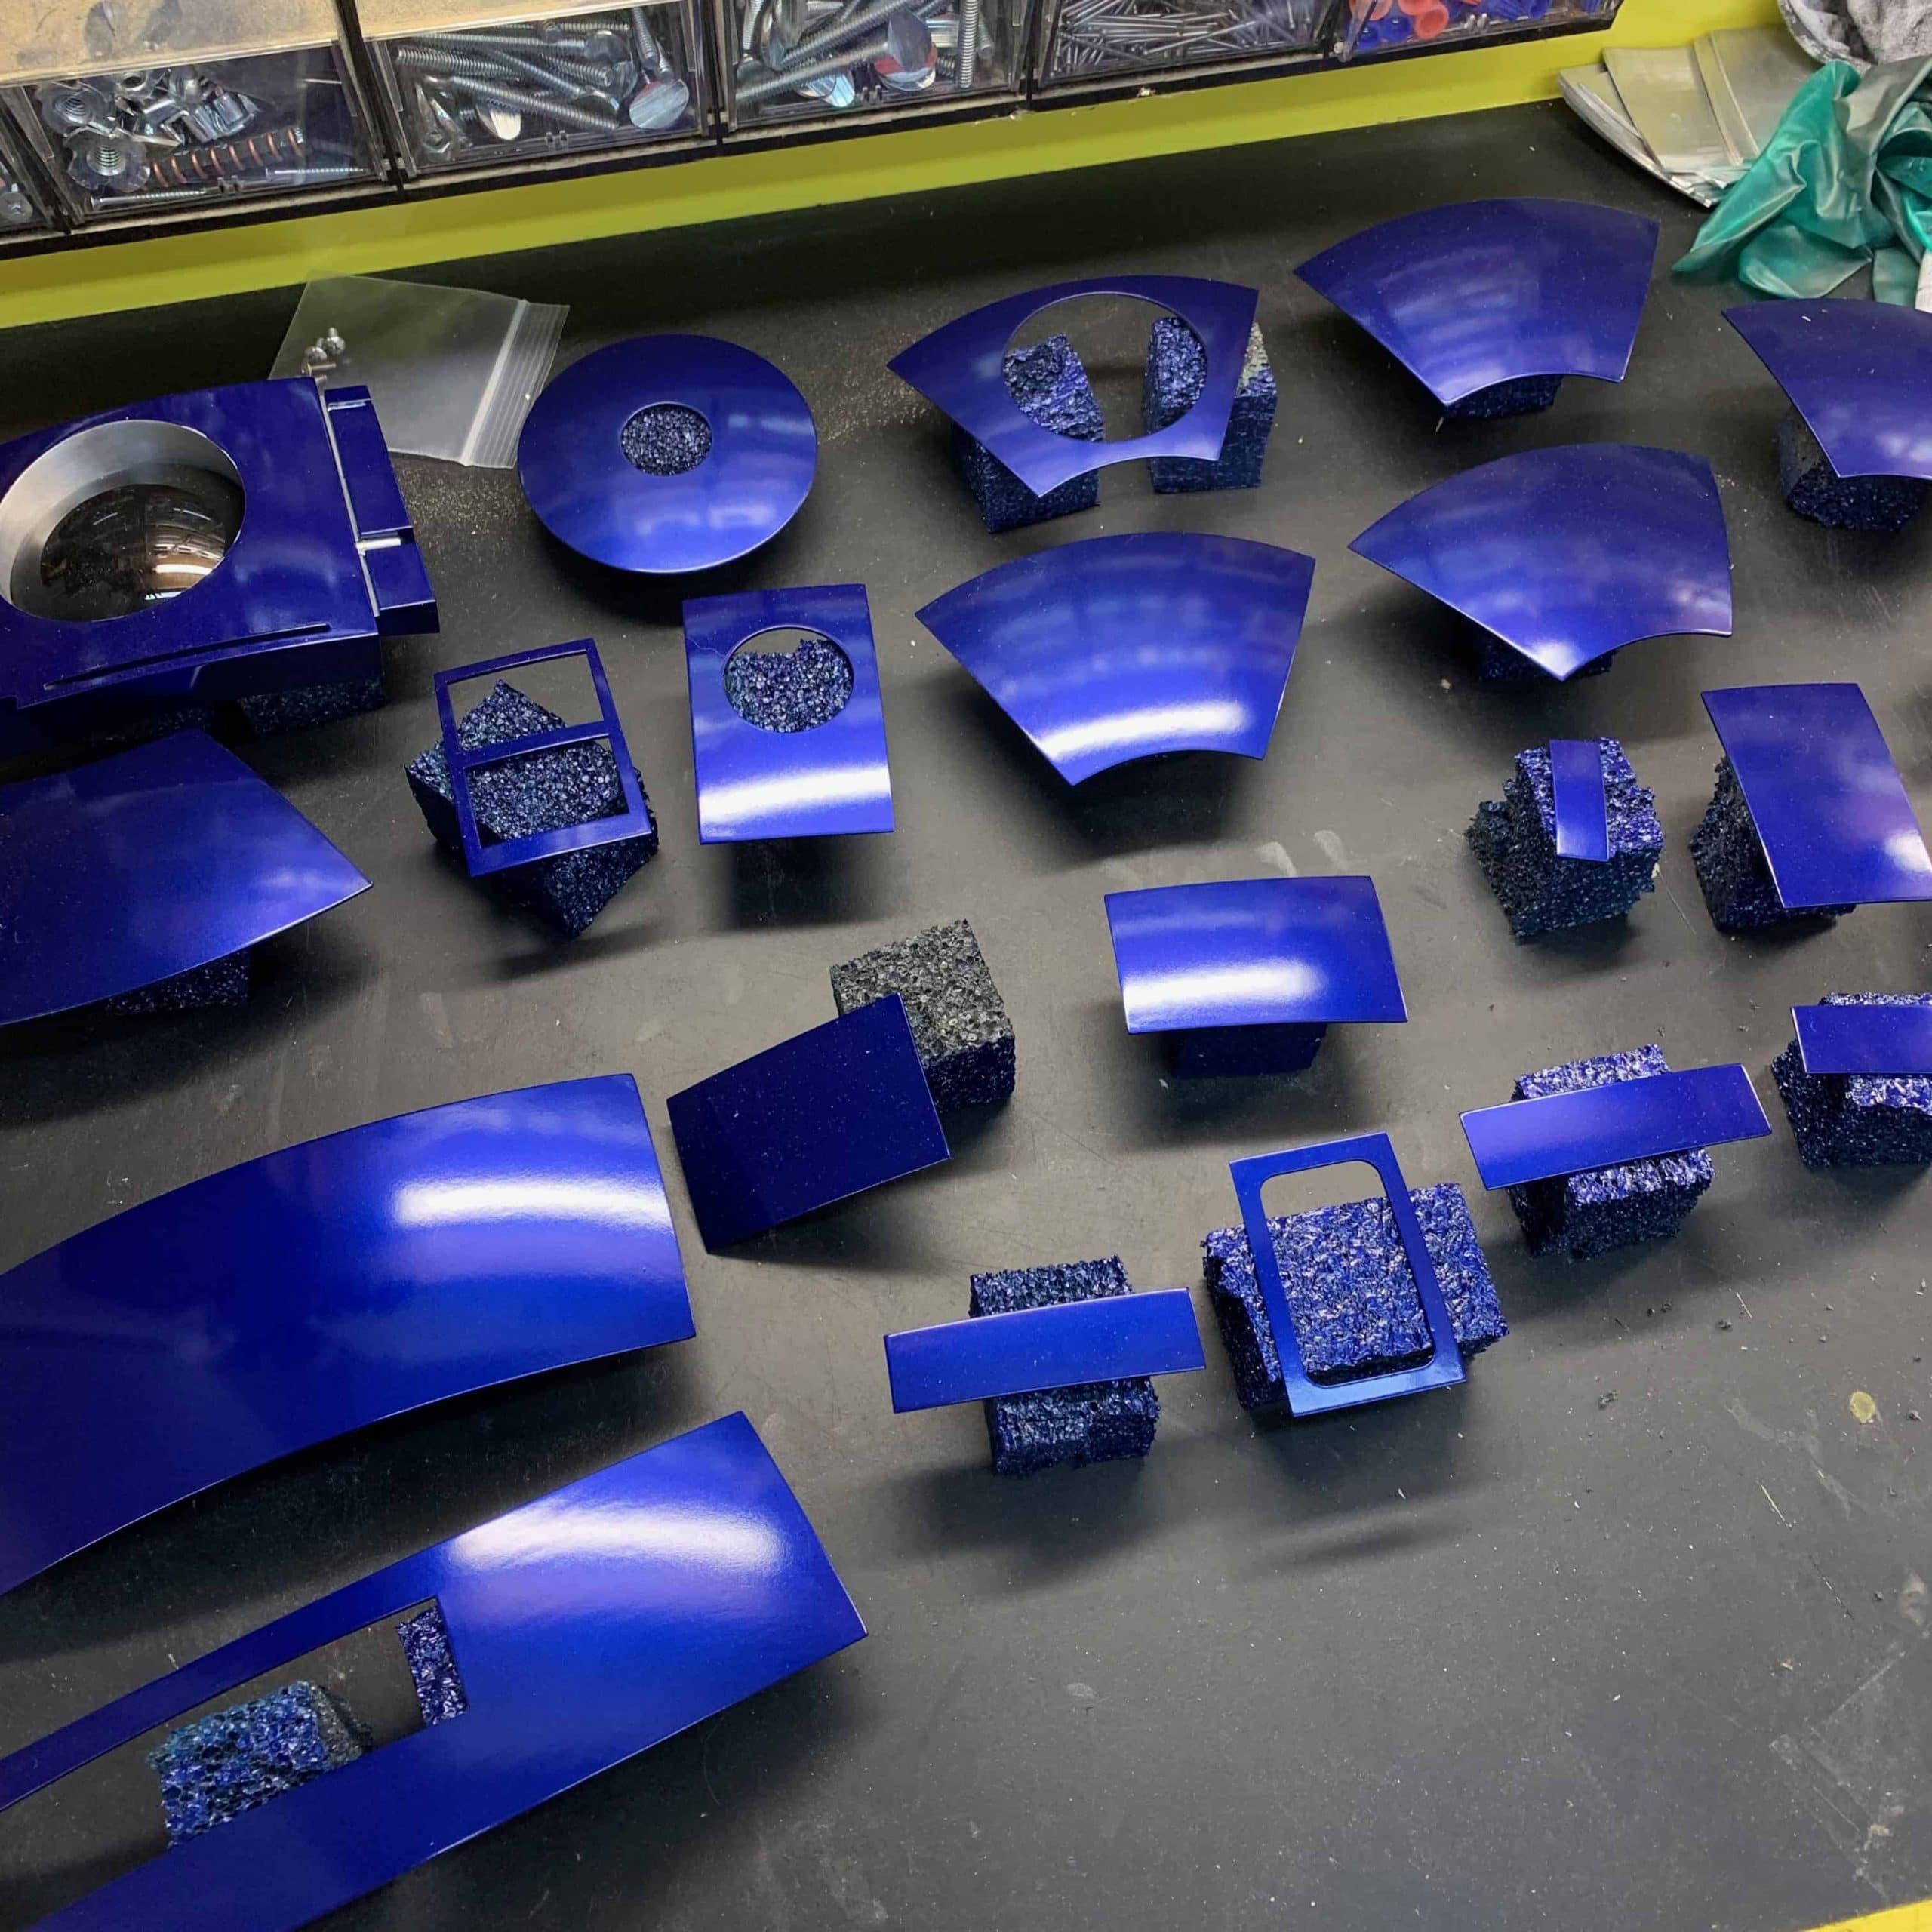
At this point I am still waiting to complete the final assembly of my dome because I don’t have all of the dome hinges yet. I do however have most everything else I need. The quest to build an Astromech is a waiting game.
The Electronics and Controls for R2-D2
Since I have to wait for parts, the next thing I decided to tackle on my R2-D2 project is the electronics. This is an area while I will take a major departure from the astromech.net builder’s club specs. I am going to control my R2-D2 with more modern components. I will be using a Raspberry Pi 3 Model B+ for the main brain, connected to three Arduino Mega 2560‘s that will operate all of the relays, speed controllers, servos, and LEDs. Think of this like an Ocutupus. One main brain with several smaller ancillary purpose specific brains. The
RELATED: Controlling Arduino’s from the I2C bus with a Raspberry Pi
I have been writing 100% ground up code for both the
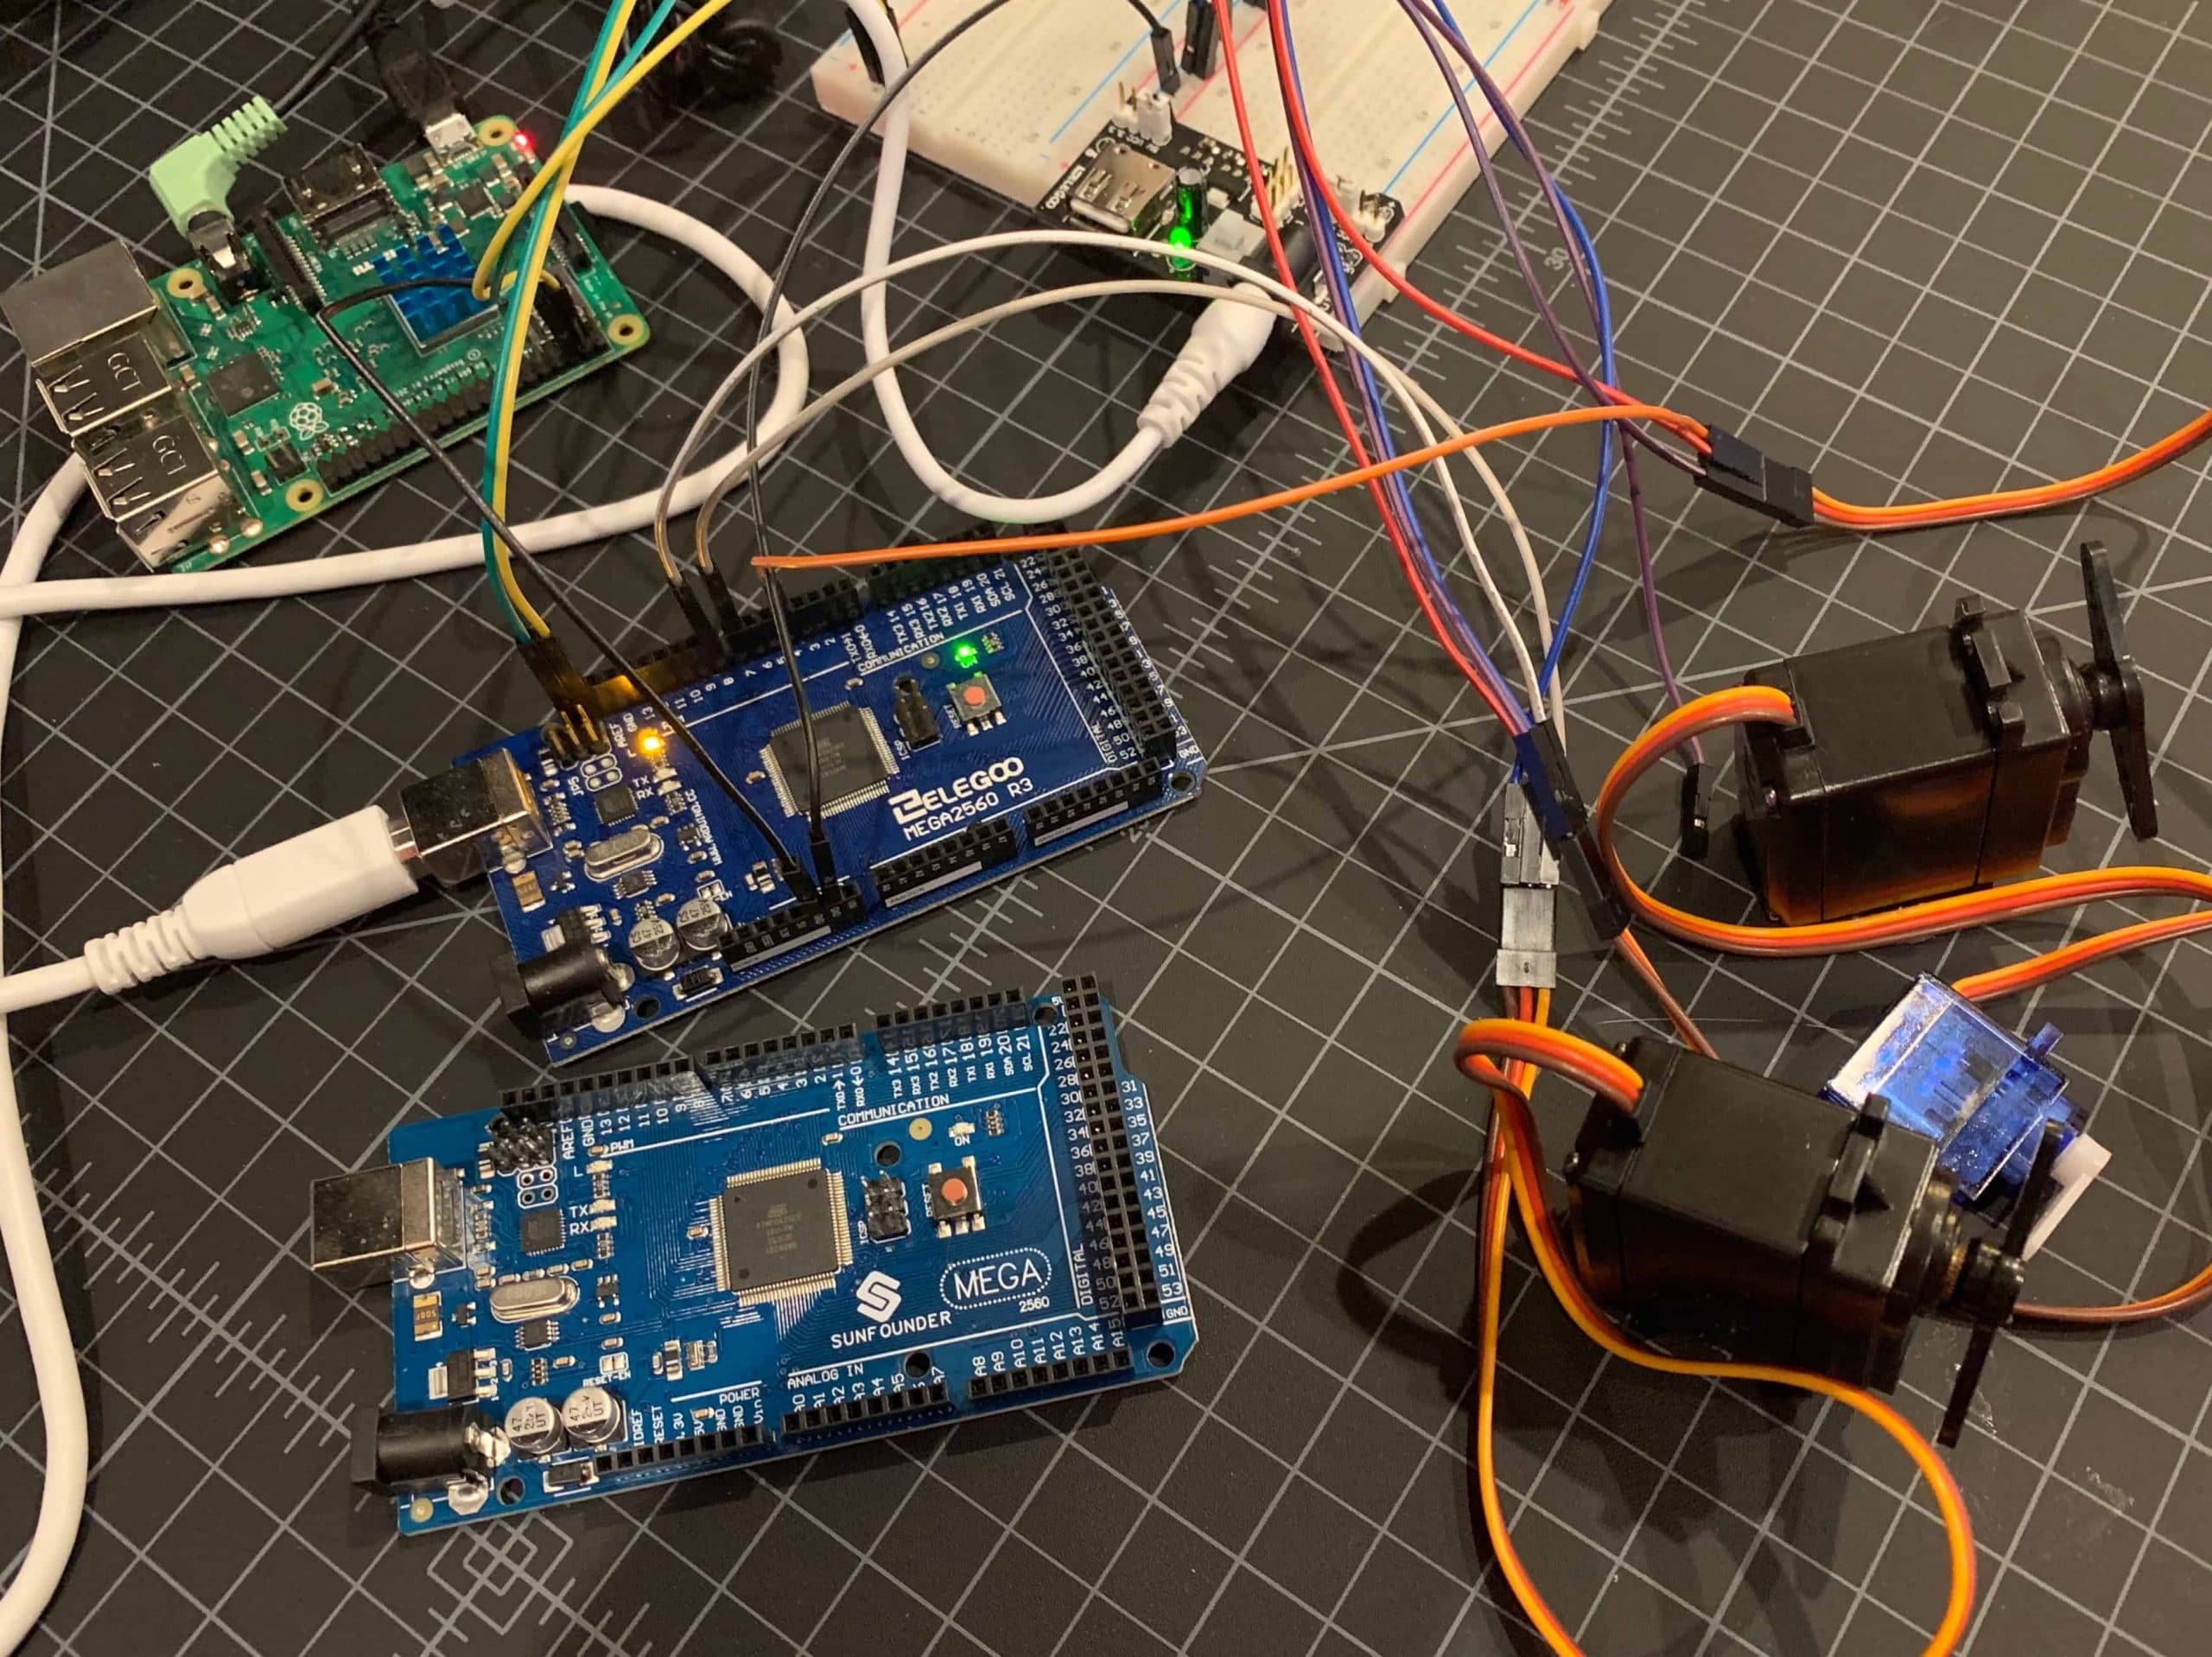
Here you can see my prototype setup with several test relays.
For remote control of my R2-D2 I will be using a Playstation 3 controller over Bluetooth. The
Additionally, I will create some automation scripts that will allow me to put R2-D2 into “auto mode”. In this mode he will sense his surroundings and interact with it. This could be beeping on motion, randomly turning his dome, or moving a holo projector to look at a kid that just walked up.
Keep reading on with my project by learning how I mounted and installed the hinges and pie panel servos.
RELATED: The Geek Pub’s R2-D2 Parts List


Looks fantastic so far
4.5