Full Size R2-D2 Parts List
This page has been created in response to the R2-D2 build project posts I have been doing. Rather than forcing everyone to go through each and every post to get my parts list, I’ve created a single repository for it and will link each post here. This page will exist as my official R2-D2 parts list page.
Please keep in mind there are literally hundreds of different ways to build an R2-D2. This should only serve as The Geek Pub R2-D2 parts list. In other words, the way I built it. You may choose to use portions of my build, all of it, or none of it.
List of R2-D2 Project Posts
You may with to refer to the following R2-D2 project posts for context on this parts list. As I build and complete R2-D2 I will continue to add posts to the site and to this list.
- Building R2-D2 – An Introduction
- R2-D2: Continuing to build an Astromech
- R2-D2: Automating the Pie Panels
The Geek Pub’s R2-D2 Parts Lists
In this parts list I will detail every part I have purchased and a link to where I bought it (if applicable). It’s important to note that I am not including what I paid for it because I feel like the prices change too often and for my privacy (and quite honestly, if you have to ask you probably shouldn’t consider this project.)
I will also break the parts list down into five sections: Dome, Body, Legs, Electronics, and Other to make it simpler to understand. Some parts I will list in both places for clarity. For example, I used the same servo’s in the dome and in the body. Again, this list will grow weekly as I continue the build process and I will update this to a final version when I officially complete my droid.
Where appropriate I will link the astromech.net forums for parts runs and other information you may need. You’ll need to become a member of the club (its free!) to read those posts. It’s also import to note that some vendors will not sell you parts without your valid astromech.net UserID.
The R2-D2 Dome Parts List
The dome is a very complicated set of components. There are many ways to build it, but I chose to go the all aluminum hydro-formed dome for authenticity’s sake. I just don’t think a plastic dome painted silver looks the part.
| Part | Qty | Description and Link(s) |
| Hydro-formed Dome | 1 | 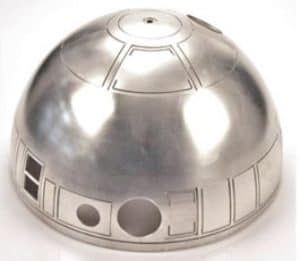 I purchased the Darren Murrer hydro-formed and laser CNC cut dome. In my opinion its the only one anyone should consider. It’s rock solid, super screen accurate, and a joy to work with. I purchased the Darren Murrer hydro-formed and laser CNC cut dome. In my opinion its the only one anyone should consider. It’s rock solid, super screen accurate, and a joy to work with.
Purchase link: |
| Radar Eye Bezel | 1 | 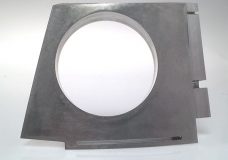 I purchased the Darren Murrer CNC cut radar eye. It’s solid aluminum (“diet version” if you will). I purchased the Darren Murrer CNC cut radar eye. It’s solid aluminum (“diet version” if you will).
Purchase link: |
| Dome Bearing | 1 | 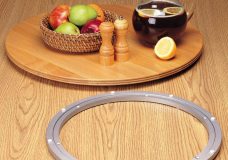 R2-D2’s dome rotates around his body. You’r going to need a big ass bearing for that. Rockler makes a “lazy susan” bearing that is beefy and the perfect size. Rockler part number 12451. R2-D2’s dome rotates around his body. You’r going to need a big ass bearing for that. Rockler makes a “lazy susan” bearing that is beefy and the perfect size. Rockler part number 12451.
Purchase link: |
| Holo Projectors | 3 | 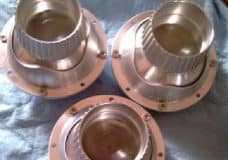 Again, wishing to stick with all aluminum parts, I ordered the aluminum holo projectors from Bob Considine on the Astromech forums. Again, wishing to stick with all aluminum parts, I ordered the aluminum holo projectors from Bob Considine on the Astromech forums.
|
| Press fit Studs | 50 | 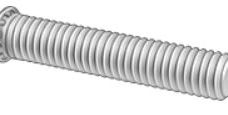 In order to attach your hinges, and other dome parts, you’ll need either a very strong adhesive or some press fit studs. I chose to go with press fits studs for most items. It’s a permanent and elegant solution. In order to attach your hinges, and other dome parts, you’ll need either a very strong adhesive or some press fit studs. I chose to go with press fits studs for most items. It’s a permanent and elegant solution.
Purchase link: |
The R2-D2 Body Parts List
As with the dome, the body is pretty damn complicated. So this will be long.
| Part | Qty | Description and Link(s) |
| Outer Skins | 1 | 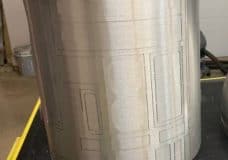 Again sticking with aluminum to the look that I am going for. I will be painting only the other skin so the aluminum under skin will show through all of the cracks and hinges. Again sticking with aluminum to the look that I am going for. I will be painting only the other skin so the aluminum under skin will show through all of the cracks and hinges.
Purchase link: |
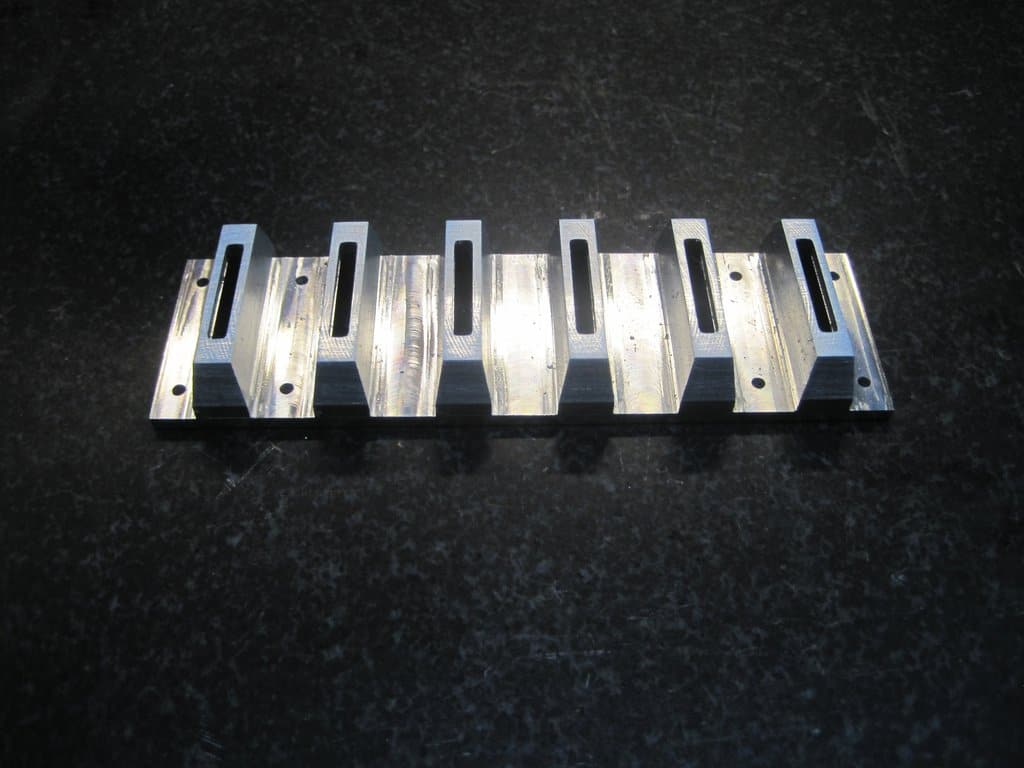
| Frame | 1 | 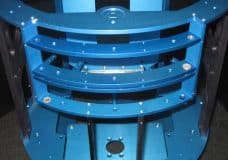 I purchased the WORR Parts Super Frame. It’s solid aluminum and super nice. It comes with tons of accessories you’re going to need for mounting all kinds of other components such as the legs, speakers, circuit boards, etc. I purchased the WORR Parts Super Frame. It’s solid aluminum and super nice. It comes with tons of accessories you’re going to need for mounting all kinds of other components such as the legs, speakers, circuit boards, etc.
Purchase link: |
| Center Vents | 1 | 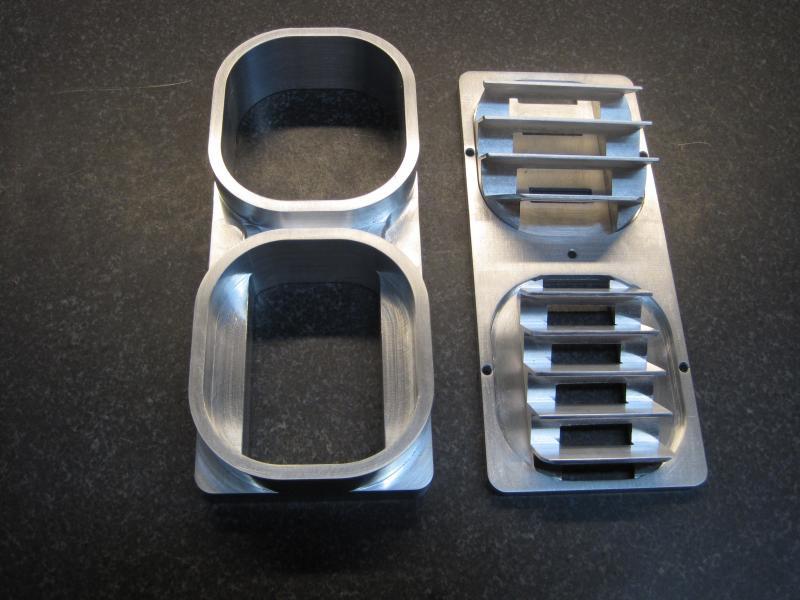 These center vents from WORR parts are the highest quality one’s you’ll find. I am even told that Disney has started using these on their own droids. These center vents from WORR parts are the highest quality one’s you’ll find. I am even told that Disney has started using these on their own droids.
Purchase link: |
| Coin Returns | 1 | 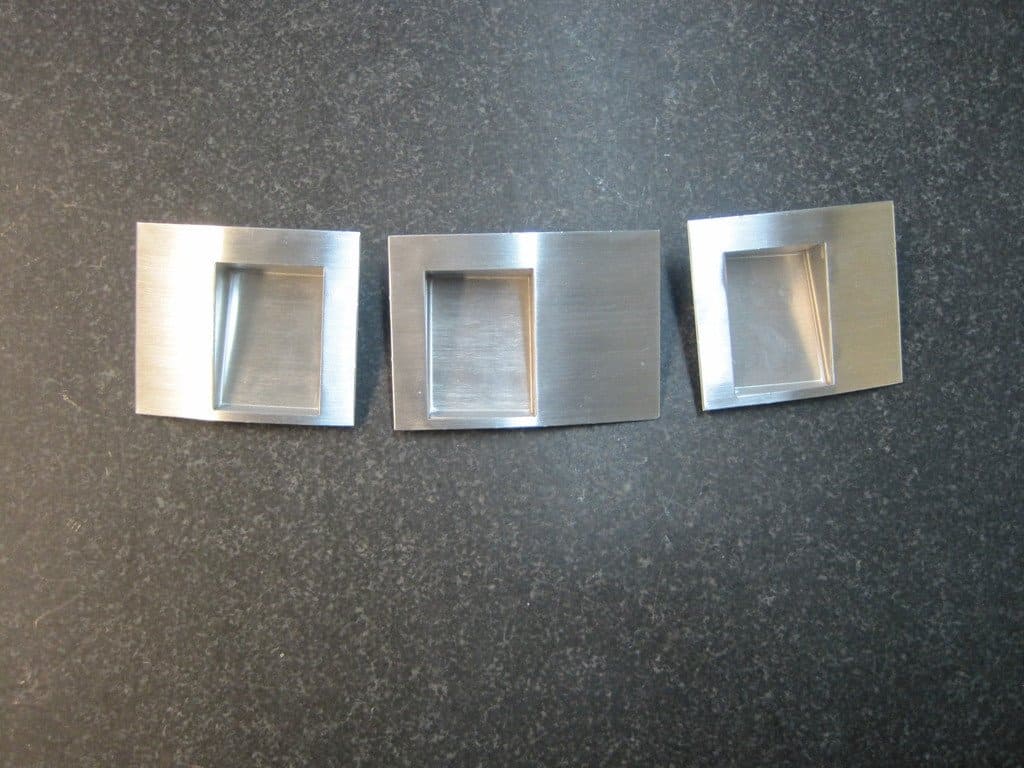 These Dallas CNC coin returns are featherweight and a perfect fit. These Dallas CNC coin returns are featherweight and a perfect fit.
Purchase link: |
| Coin Slots | 1 |
Purchase link: |
 These are the featherweight or “diet” coin slots from Dallas CNC/WORR Parts.
The R2-D2 Legs Parts List
The legs include the actual legs, the ankles, the feet, and the drive systems.
| Part | Qty | Description and Link(s) |
| Legs | 1 | 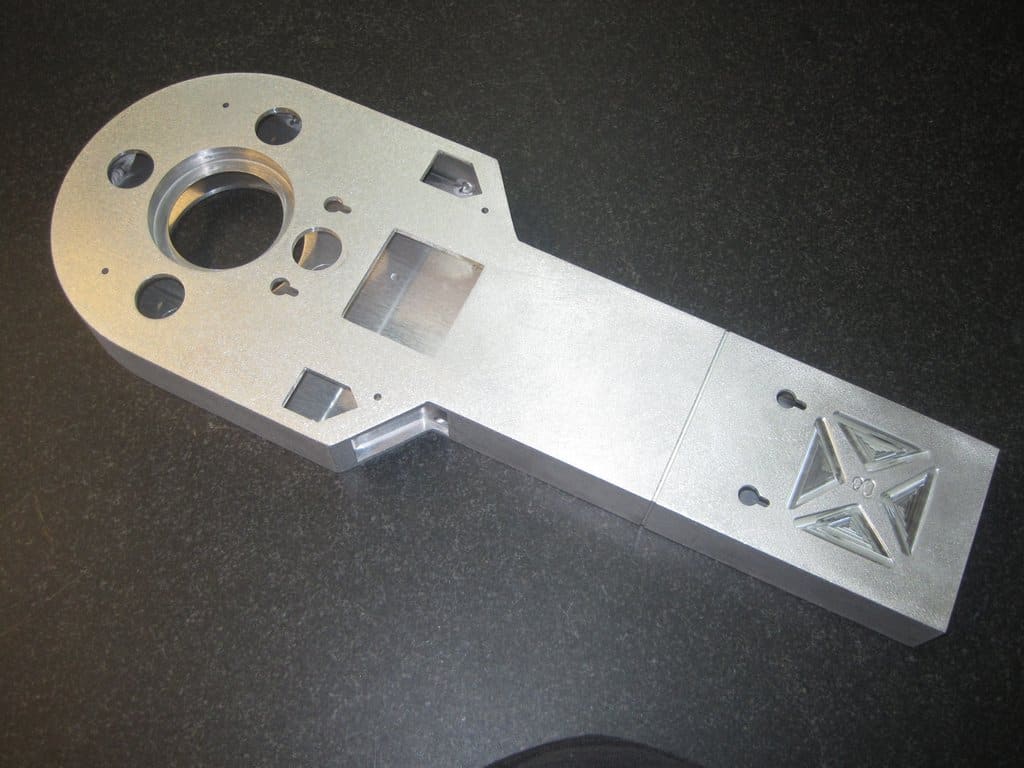 I purchased James Vanreenen’s (Dallas CNC Shop) all aluminum legs. They’re rock solid and awesome. I purchased James Vanreenen’s (Dallas CNC Shop) all aluminum legs. They’re rock solid and awesome.
Purchase link: |
| Horse Shoes | 1 | 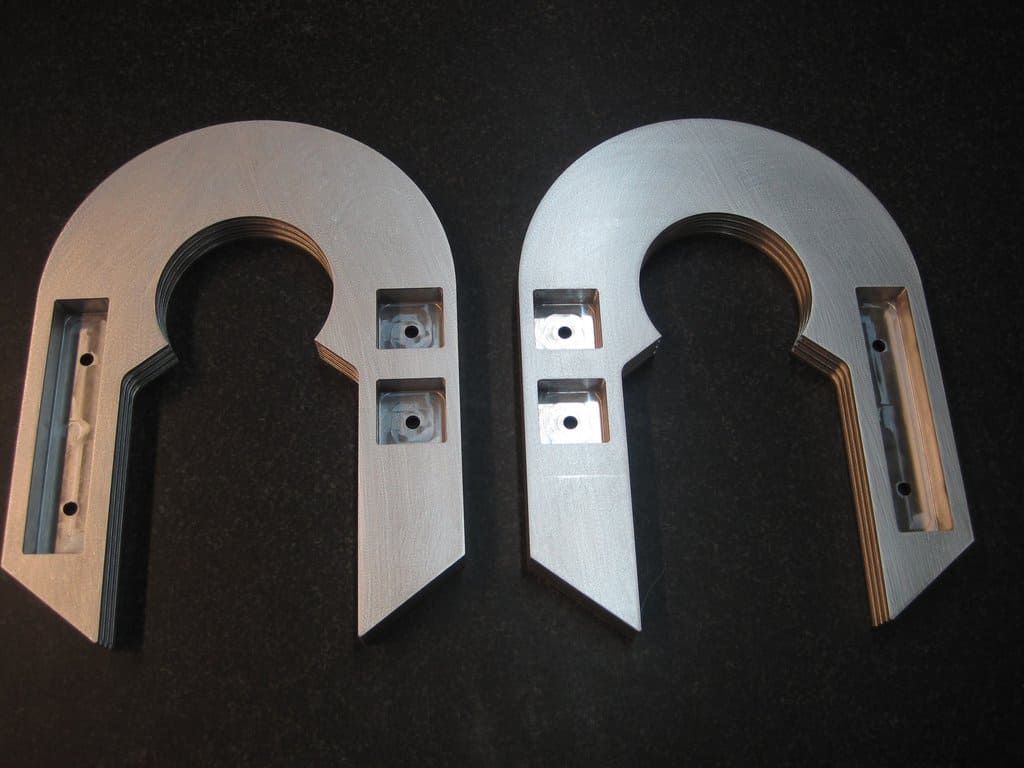 I also purchased Jame’s horseshoes. These are the real deal folks! I also purchased Jame’s horseshoes. These are the real deal folks!
Purchase link: |
The R2-D2 Electronics Parts List
I’ve decided to build the brains of my R2-D2 from scratch including writing my own custom operating system. It’s based on a
| Part | Qty | Description and Link(s) |
| 1 | 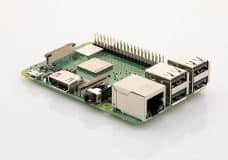 The “brain” of my R2-D2 is the The “brain” of my R2-D2 is the Purchase link: |
|
| Ardunio Mega 2560 | 3 | 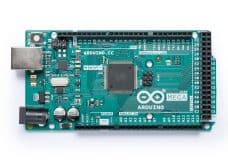 The The Purchase link: |
| Slip Ring | 1 | 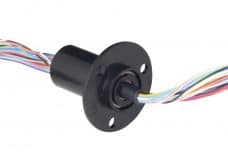 In order to keep your wires from getting tangled and ripped apart as R2-D2’s dome spins, you’re going to need a slip ring. This will allow your wires to spin on a hub but still pass their signals. In order to keep your wires from getting tangled and ripped apart as R2-D2’s dome spins, you’re going to need a slip ring. This will allow your wires to spin on a hub but still pass their signals.
Purchase link: |
| DB-25 Breakout w/case | 1 | 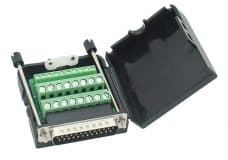 One thing I wanted to do was to avoid permanently soldering the slip-ring to the frame. This allows for easy maintenance and replacing of the slip ring later on. For that I used these awesome DB-25 male breakout cases. One thing I wanted to do was to avoid permanently soldering the slip-ring to the frame. This allows for easy maintenance and replacing of the slip ring later on. For that I used these awesome DB-25 male breakout cases.
Purchase link: |
| DB-25 Breakout Board | 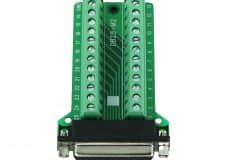 On the other end of the slip ring I also wanted to avoid soldering to simplify maintenance and changes, for that I used these DB-25 female breakout boards. These quite simply rock. On the other end of the slip ring I also wanted to avoid soldering to simplify maintenance and changes, for that I used these DB-25 female breakout boards. These quite simply rock.
Purchase link: |
|
| Micro Servos (cheap) | 20 | 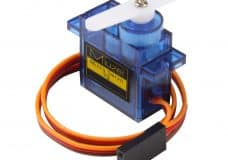 To actuate the holo projectors and other movable parts of R2-D2, you’ll need servos. Some times such as the holo projectors will require two servos for full X-Y movement. To actuate the holo projectors and other movable parts of R2-D2, you’ll need servos. Some times such as the holo projectors will require two servos for full X-Y movement.
Purchase link: |
| Micro Servos (expensive) | 12 | 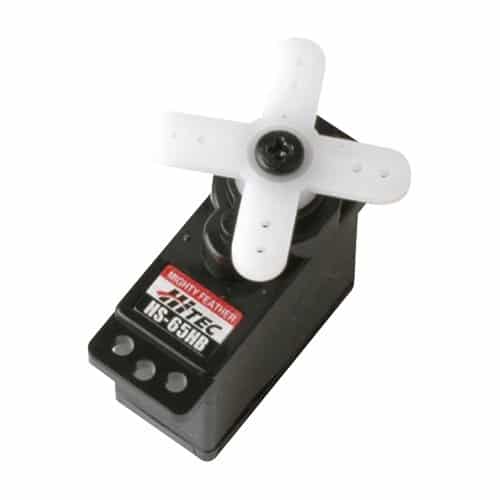 I found the cheap servos were just not strong enough to automate the dome panels as accurately and quickly as I wanted them to, so I used some more expensive Hitec 33065S HS-65HB Mighty Karbonite servos for those. I found the cheap servos were just not strong enough to automate the dome panels as accurately and quickly as I wanted them to, so I used some more expensive Hitec 33065S HS-65HB Mighty Karbonite servos for those.
Purchase link: |
| Dome Motor | 1 | 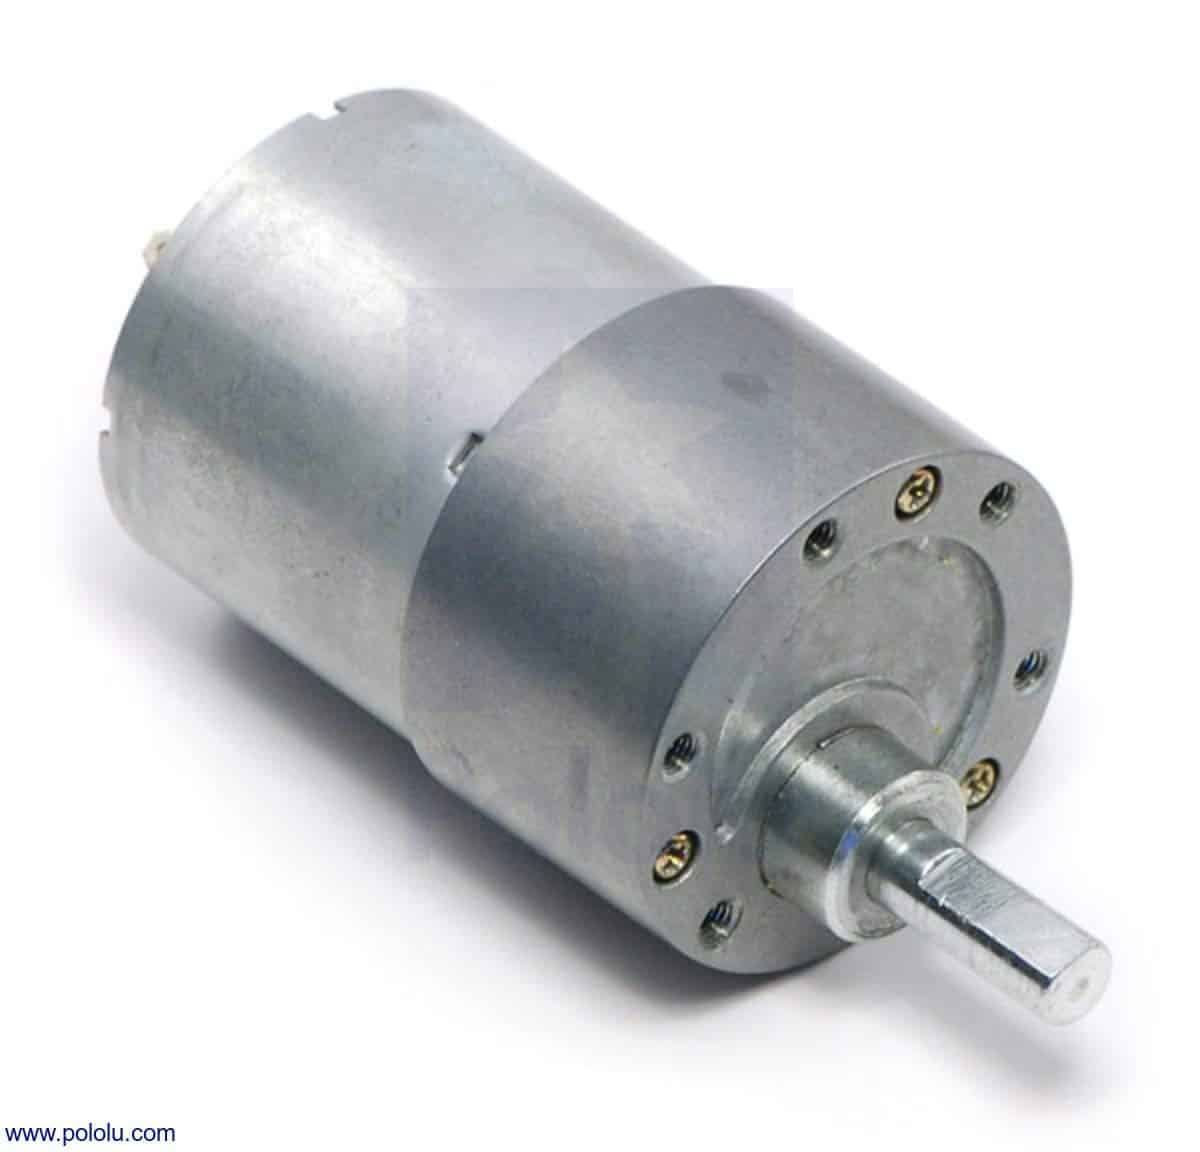 I went with the Pololu 30:1 motor to spin my dome. It’s much more affordable than the pitman motors and works just as well. I went with the Pololu 30:1 motor to spin my dome. It’s much more affordable than the pitman motors and works just as well.
Purchase link: |
The R2-D2 Other Parts List
In this section, I will cover parts that are universal, such as paint and finishing parts.
| Part | Qty | Description and Link(s) |
| R2-D2 Blurple Paint | 3 |  For painting R2-D2, I decided to go with Dupli-color Sonic Blue Pearl. It’s a Ford “perfect match” paint. It’s blue with a lot of hits of purple and metallic. It’s not a perfect screen accurate blurple, but it so close I don’t care to go to the effort to re-create Hypo-Blue or Dykem. Dupli-color part # BFM0378. For painting R2-D2, I decided to go with Dupli-color Sonic Blue Pearl. It’s a Ford “perfect match” paint. It’s blue with a lot of hits of purple and metallic. It’s not a perfect screen accurate blurple, but it so close I don’t care to go to the effort to re-create Hypo-Blue or Dykem. Dupli-color part # BFM0378.
Purchase link: |
| Clear Coat | 3 | Purchase link: |
| Self Etching Primer | 2 | 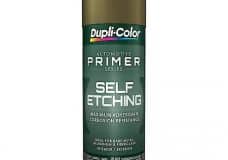 For paint to bond to aluminum its highly recommended that your rough the surface with 320 grit, followed by the application of self etching primer. This will create a strong bond between the aluminum and the top layer of paint. I chose Dupli-color Self Etching Primer part # DAP1690. For paint to bond to aluminum its highly recommended that your rough the surface with 320 grit, followed by the application of self etching primer. This will create a strong bond between the aluminum and the top layer of paint. I chose Dupli-color Self Etching Primer part # DAP1690.
Purchase link: |
The R2-D2 Tools List
These are tools I purchased (or already owned, but consider must haves) for building R2-D2.
| Part | Qty | Description and Link(s) |
| Benchtop Buffer | 1 |  For polishing the dome and other aluminum parts, a benchtop buffer will turn a full days worth of work into just a few minutes. For polishing the dome and other aluminum parts, a benchtop buffer will turn a full days worth of work into just a few minutes.
Purchase link: |
| Buffing Pads | 3 | 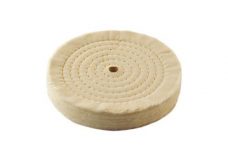 You will need cotton buffing pads (get two or three of them for different compound grits) for use with your benchtop buffer. You will need cotton buffing pads (get two or three of them for different compound grits) for use with your benchtop buffer.
Purchase link: |
| Buffing Compound | 1 | 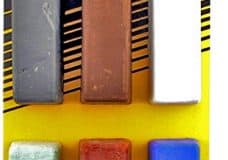 Grab a variety pack of buffing compound for your buffer. You’ll mostly use the red compound, but its great to have the others for certain work. Grab a variety pack of buffing compound for your buffer. You’ll mostly use the red compound, but its great to have the others for certain work.
Purchase link: |
| Flush Wire Cutters | 1 |  You will be doing a lot of wiring inside your astromech. A good set of wire cutters is essential, and these are great flush cut units. Flush cut is designed for cutting right up to a connection or solder joint such as a resistor in a through hole board. You will be doing a lot of wiring inside your astromech. A good set of wire cutters is essential, and these are great flush cut units. Flush cut is designed for cutting right up to a connection or solder joint such as a resistor in a through hole board.
Purchase link: |
| Auto-Ranging Mult-Meter | 1 |  Along with the rest of your work you’re going to do a lot of electronics testing. Get a good auto-ranging multimeter. Also, check out our article on picking the best multimeter. Along with the rest of your work you’re going to do a lot of electronics testing. Get a good auto-ranging multimeter. Also, check out our article on picking the best multimeter.
Purchase link: |
| Soldering Station | 1 | 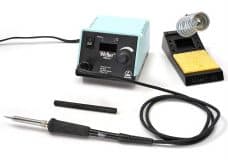 Get a proper soldering station. You’re going to solder a bunch of components, so don’t mess around with a $3 iron from Wal-Mart and get something good. Get a proper soldering station. You’re going to solder a bunch of components, so don’t mess around with a $3 iron from Wal-Mart and get something good.
Purchase link: |
| Quality 60-40 Solder | 1 | 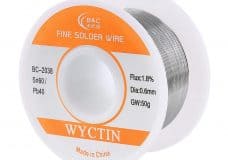 Get some .06mm 60-40 Tin Lead solder. Thin soldering wire is so much better for small components and will really change how good your results are. Get some .06mm 60-40 Tin Lead solder. Thin soldering wire is so much better for small components and will really change how good your results are.
Purchase link: |
| Head Visor Magnifier | 1 | 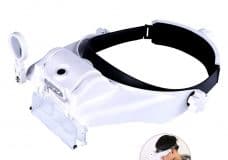 When you are soldering all those parts or trying to read the tiny print on circuits you will be very glad you have a lighted head magnifier! When you are soldering all those parts or trying to read the tiny print on circuits you will be very glad you have a lighted head magnifier!
Purchase link: |
| JST SM Kit | 1 | 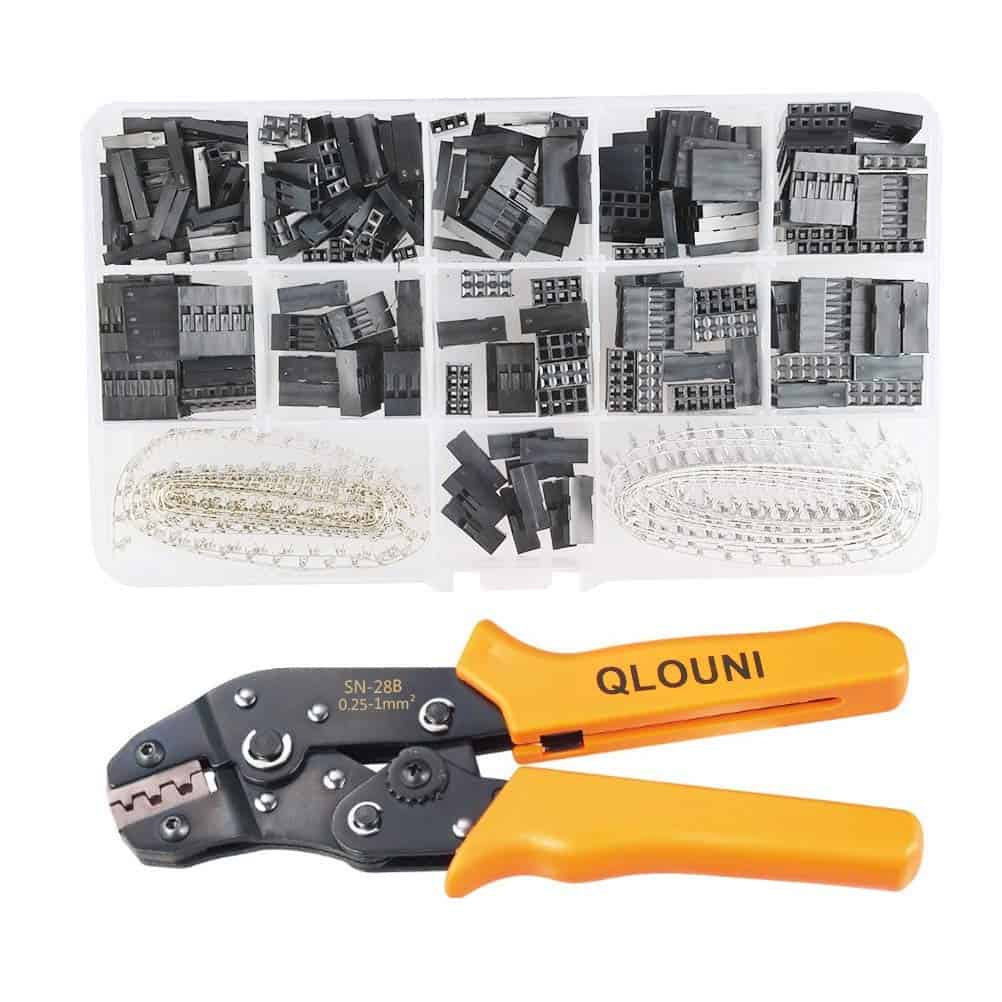 Since I am using a lot of Since I am using a lot of Purchase link: |
[convertkit form=939012]
If you have any questions or comments, leave them below!
Oh how I love this site! R2D2!!!!! Beep Bloop Boop!
Great help, wot speed Controler did you use on the head, how do you trigger it to move and can it be switched or to an auto mode. Thanks
hello, I’m looking for a very small part for a life size c3po and a very small part for a life size R2D2. I have pictures. Is there anyone who can help me or guide me? thank you
Wear do you find the small gear that goes on the motor to turn the bearing