Blog
Building R2-D2 – An Introduction

Building R2-D2 has been a lifelong dream of mine. It’s been on the playbook and my backlog of projects for many years. Quite frankly, there are a few simple reasons that I haven’t gotten to this project until now. It’s not a short project. It’s expensive. It’s complicated. Let’s break those down!
Building R2-D2 is Complicated
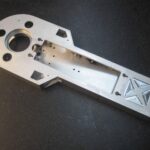
Let’s just get right to the biggest reason building R2-D2 has taken till now. It is a very complex project. There are so many different parts that need to be obtained or made. R2-D2 isn’t one of those projects where I can make every part or component myself. I’ll have to source parts from others who have specialized tools to make them. For example, you need a million dollar machine to hyrdoform and laser cut the inner and outer domes. The other thing to understand is that not all of the parts are readily available. You might have to wait for enough people to order them before the maker will do a “parts run”. Sometimes those parts runs can take months to happen if there isn’t enough immediate demand.
Beyond all of the parts, just the research and work that goes into decided what type of R2-D2 you want to build, and what type of materials you want to use can be daunting. You can choose wood, styrene plastic, or aluminum for your build (or any combination of those). And there are pros and cons to each of them. Powder coated aluminum just looks the part. It’s incredibly beautiful to behold. But those droids require a crane to lift ranging from 250 to 400 lbs depending on your design. Wood on the other hand requires much more finish work to get that realistic look and is prone to damage from water exposure. Styrene R2-D2s require similar finish work, but they have the unique combination of easy repairs and and being very light.
Building R2-D2 is Expensive
As you can imagine all of those custom parts are not going to be cheap. While you could make your dome from plastic and paint it with metallic paint, you’re never going to get the true movie accurate look of a polished aluminum dome. Depends on how much those types of things matter to you. A plastic dome can be made for $50 and a lot of work, while a screen accurate aluminum dome is going to cost you $500 or more unless you have a hydroforming machine and laser CNC in your garage.
You’ll need to make decisions along the way to balance cost, time spent, and screen accuracy of the finished product if that matters to you.
Even without custom made components, building R2-D2 isn’t a cheap project. A full styrene plastic droid is going to cost you around $500 to build if you cheap out in every way possible meaning it probably won’t have drive motors or a remote control
Building R2-D2 is Long Term
This isn’t going to be a quick project. It’s going to be a long one! It will probably take me many months to complete. Partly due to the complexity, and partly due to the price. It can also take days of working on just one single part complete it.
I will be building my R2-D2 in three distinct sections. Dome, Body, and Legs. Each has their own set of complexities.
The good news is there is a site called astromech.net which is the home of the R2 builder’s club. They have loads of documentation, build plans for many of the components, and a very active forum of builders to ask questions to.
Why I am Building R2-D2
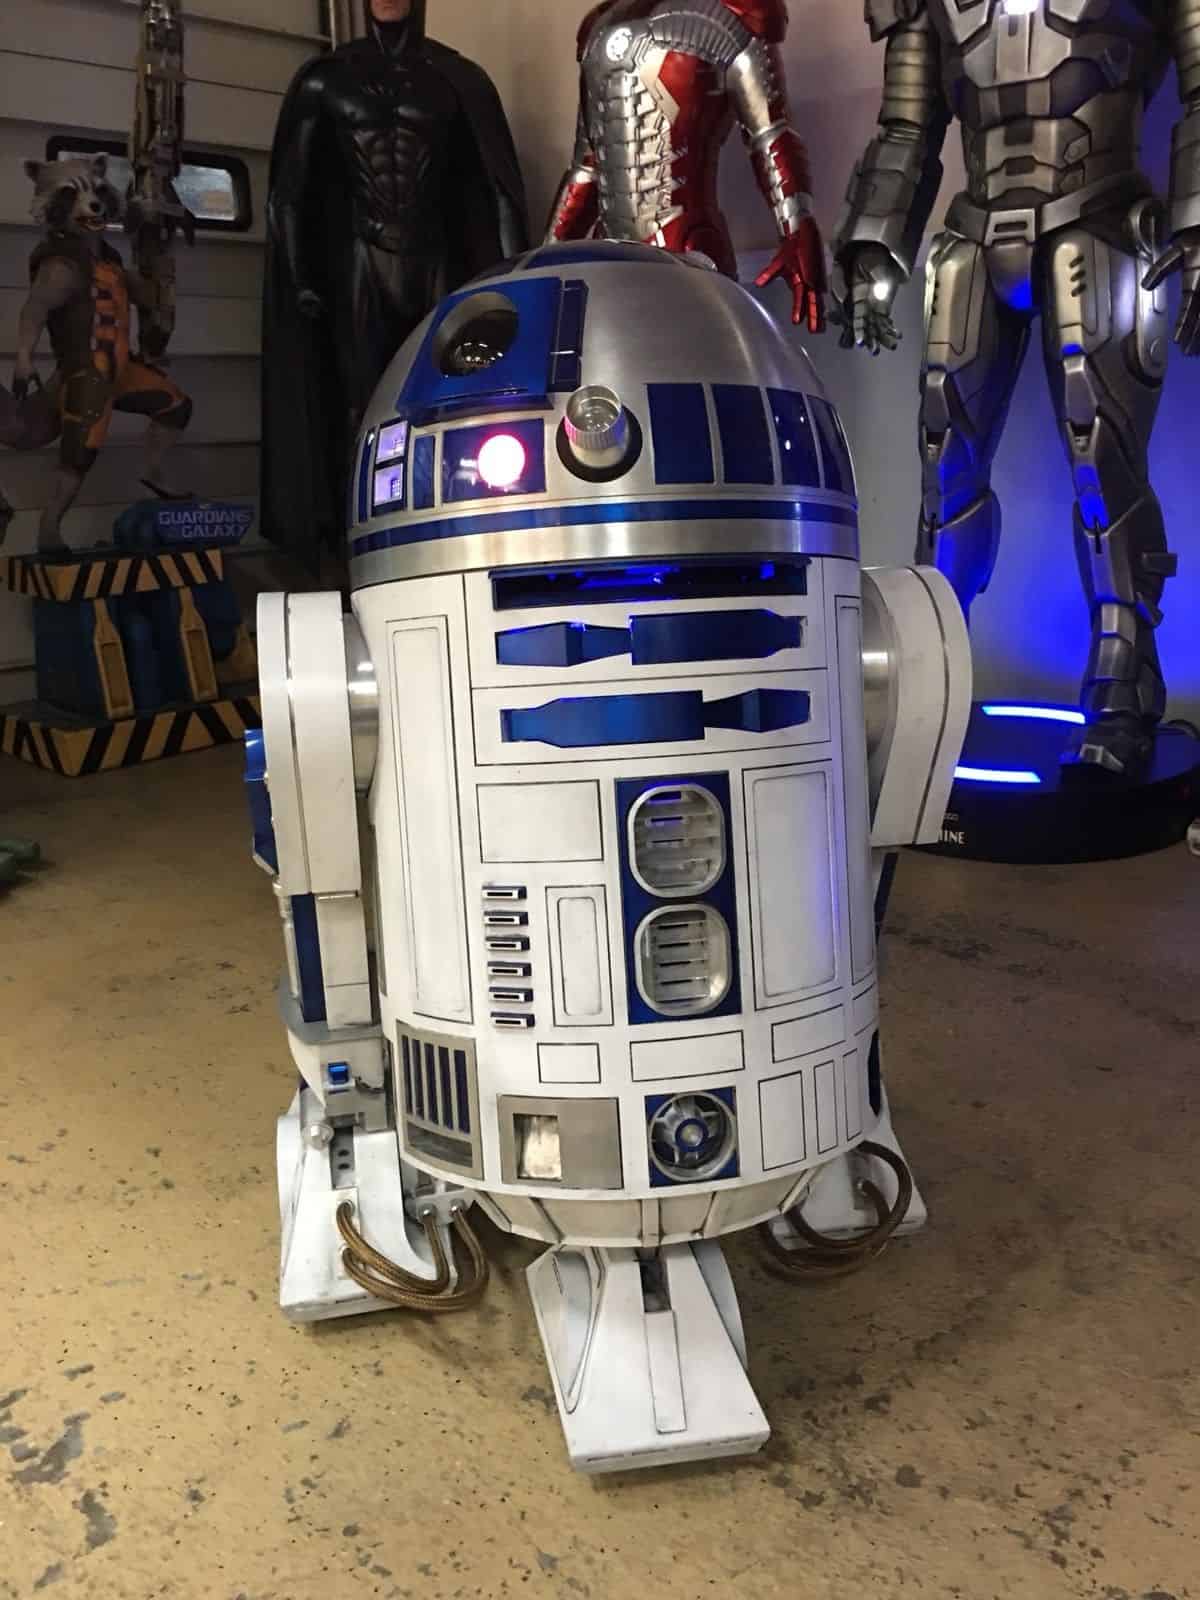 I grew up in the 70s/80s as a geek, a computer nerd, and a kid who loved Sci-Fi. Star Wars was one of my favorite movies. I had every single Star Wars action figure, each of the toys (including an AT-AT, Millennium Falcon, and Luke’s X-Wing). R2-D2 was my favorite of all the droids. He was cool, he added humor to scenes without ever saying a word, and the design was just mesmerizing. It made me imagine even as a kid that we might have droids like this in the future helping run our world. Of course things are turning out a little differently in the real world, but R2-D2 is there to stay!
So the next thing you’re probably asking is what int he world will I do with it? Well beyond having a ton of fun with the process of building it, it will make an awesome entertainment and conversation piece for my game room/theater room. Having a life sized R2-D2 spinning around with a Return of the Jedi serving tray filled with beer, wine, and cocktails will be awesome! R2-D2 will be the life of the party!
I will also likely take my droid to comic-cons and conventions as well as my local prop makers club meets.
“If once you start down the droid path, forever it will dominate your destiny, consume you it will…” – Master Yoda
Decisions I Have Made for My R2-D2 Build
I’ve already made some of the most fundamental decisions about my droid. This includes materials, finishes, screen accuracy, etc.
Screen Accuracy
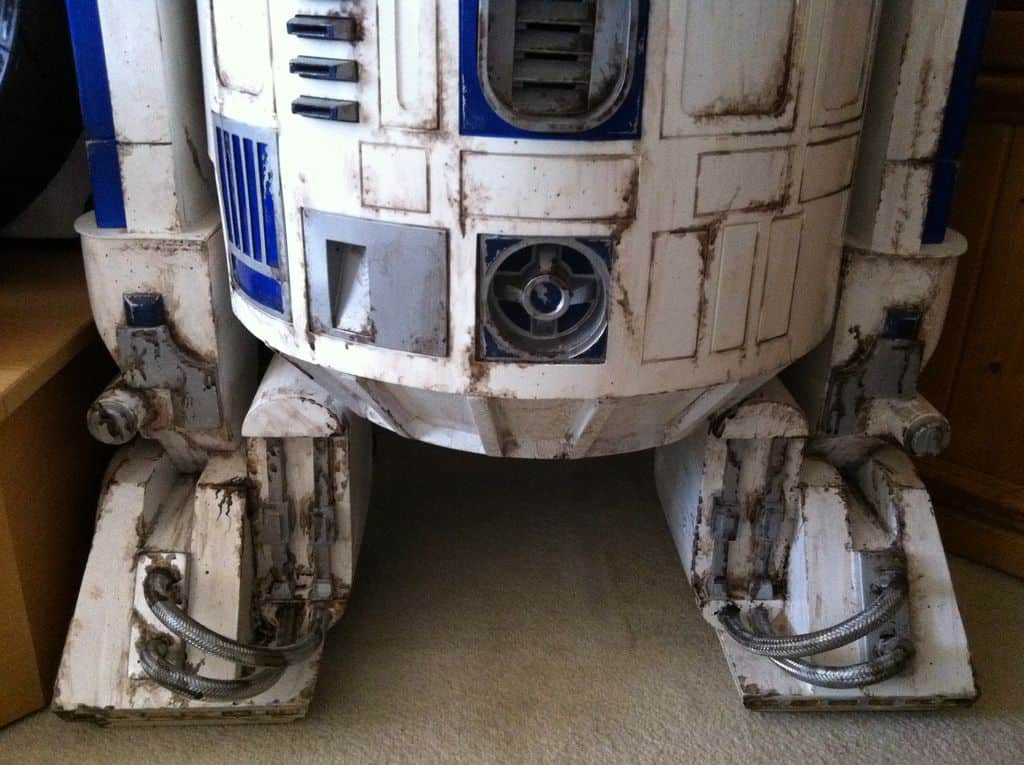 Let’s start with a concept called screen accuracy. This simple refers to how accurate of a representation your replica is to the one used in the actual movie. If your R2-D2 is painted gold and white, it wouldn’t be screen accurate. If it was two inches taller or shorter it would also not be screen accurate. Some people are very serious about screen accuracy while others purposefully deviate to make their R2-D2 unique and different.
Many people also go for screen accuracy of a specific section or scene in the movie. This means a process of “weathering” their droid to make it look dirty in the same places R2-D2 in the movie was dirty in that scene. Weathering is also a great way to cover up any previous mistakes you made in finishing the prop.
For me, I plan to go with a non-weathered or “pristine” droid and I plan to make it decently screen accurate without being obsessed with perfection. That means I will likely make some concessions here and there to control cost.
RELATED: The Geek Pub’s R2-D2 Parts List
Materials
I am planning to use mostly aluminum parts for domes, radar eye, skins, and anywhere else aluminum was exposed in the films such as the horseshoes over his upper legs. I am also planning to use an aluminum frame for the best structural rigidity and future options for upgrades and mounting. For everything else I plan to use styrene plastic and build the components myself (mostly for fun of doing it).
Electronics
For the electronics I am going to go pretty much 100% custom. I will be using a Raspberry Pi for the brain, along with several Arduino Megas to control all of the motors, servos, LED screens, speakers, and LED lighting. I hope to use a combination of Wi-Fi, Ethernet, and the I2C serial bus to send commands to components. The
In fact many of the
My Progress So Far
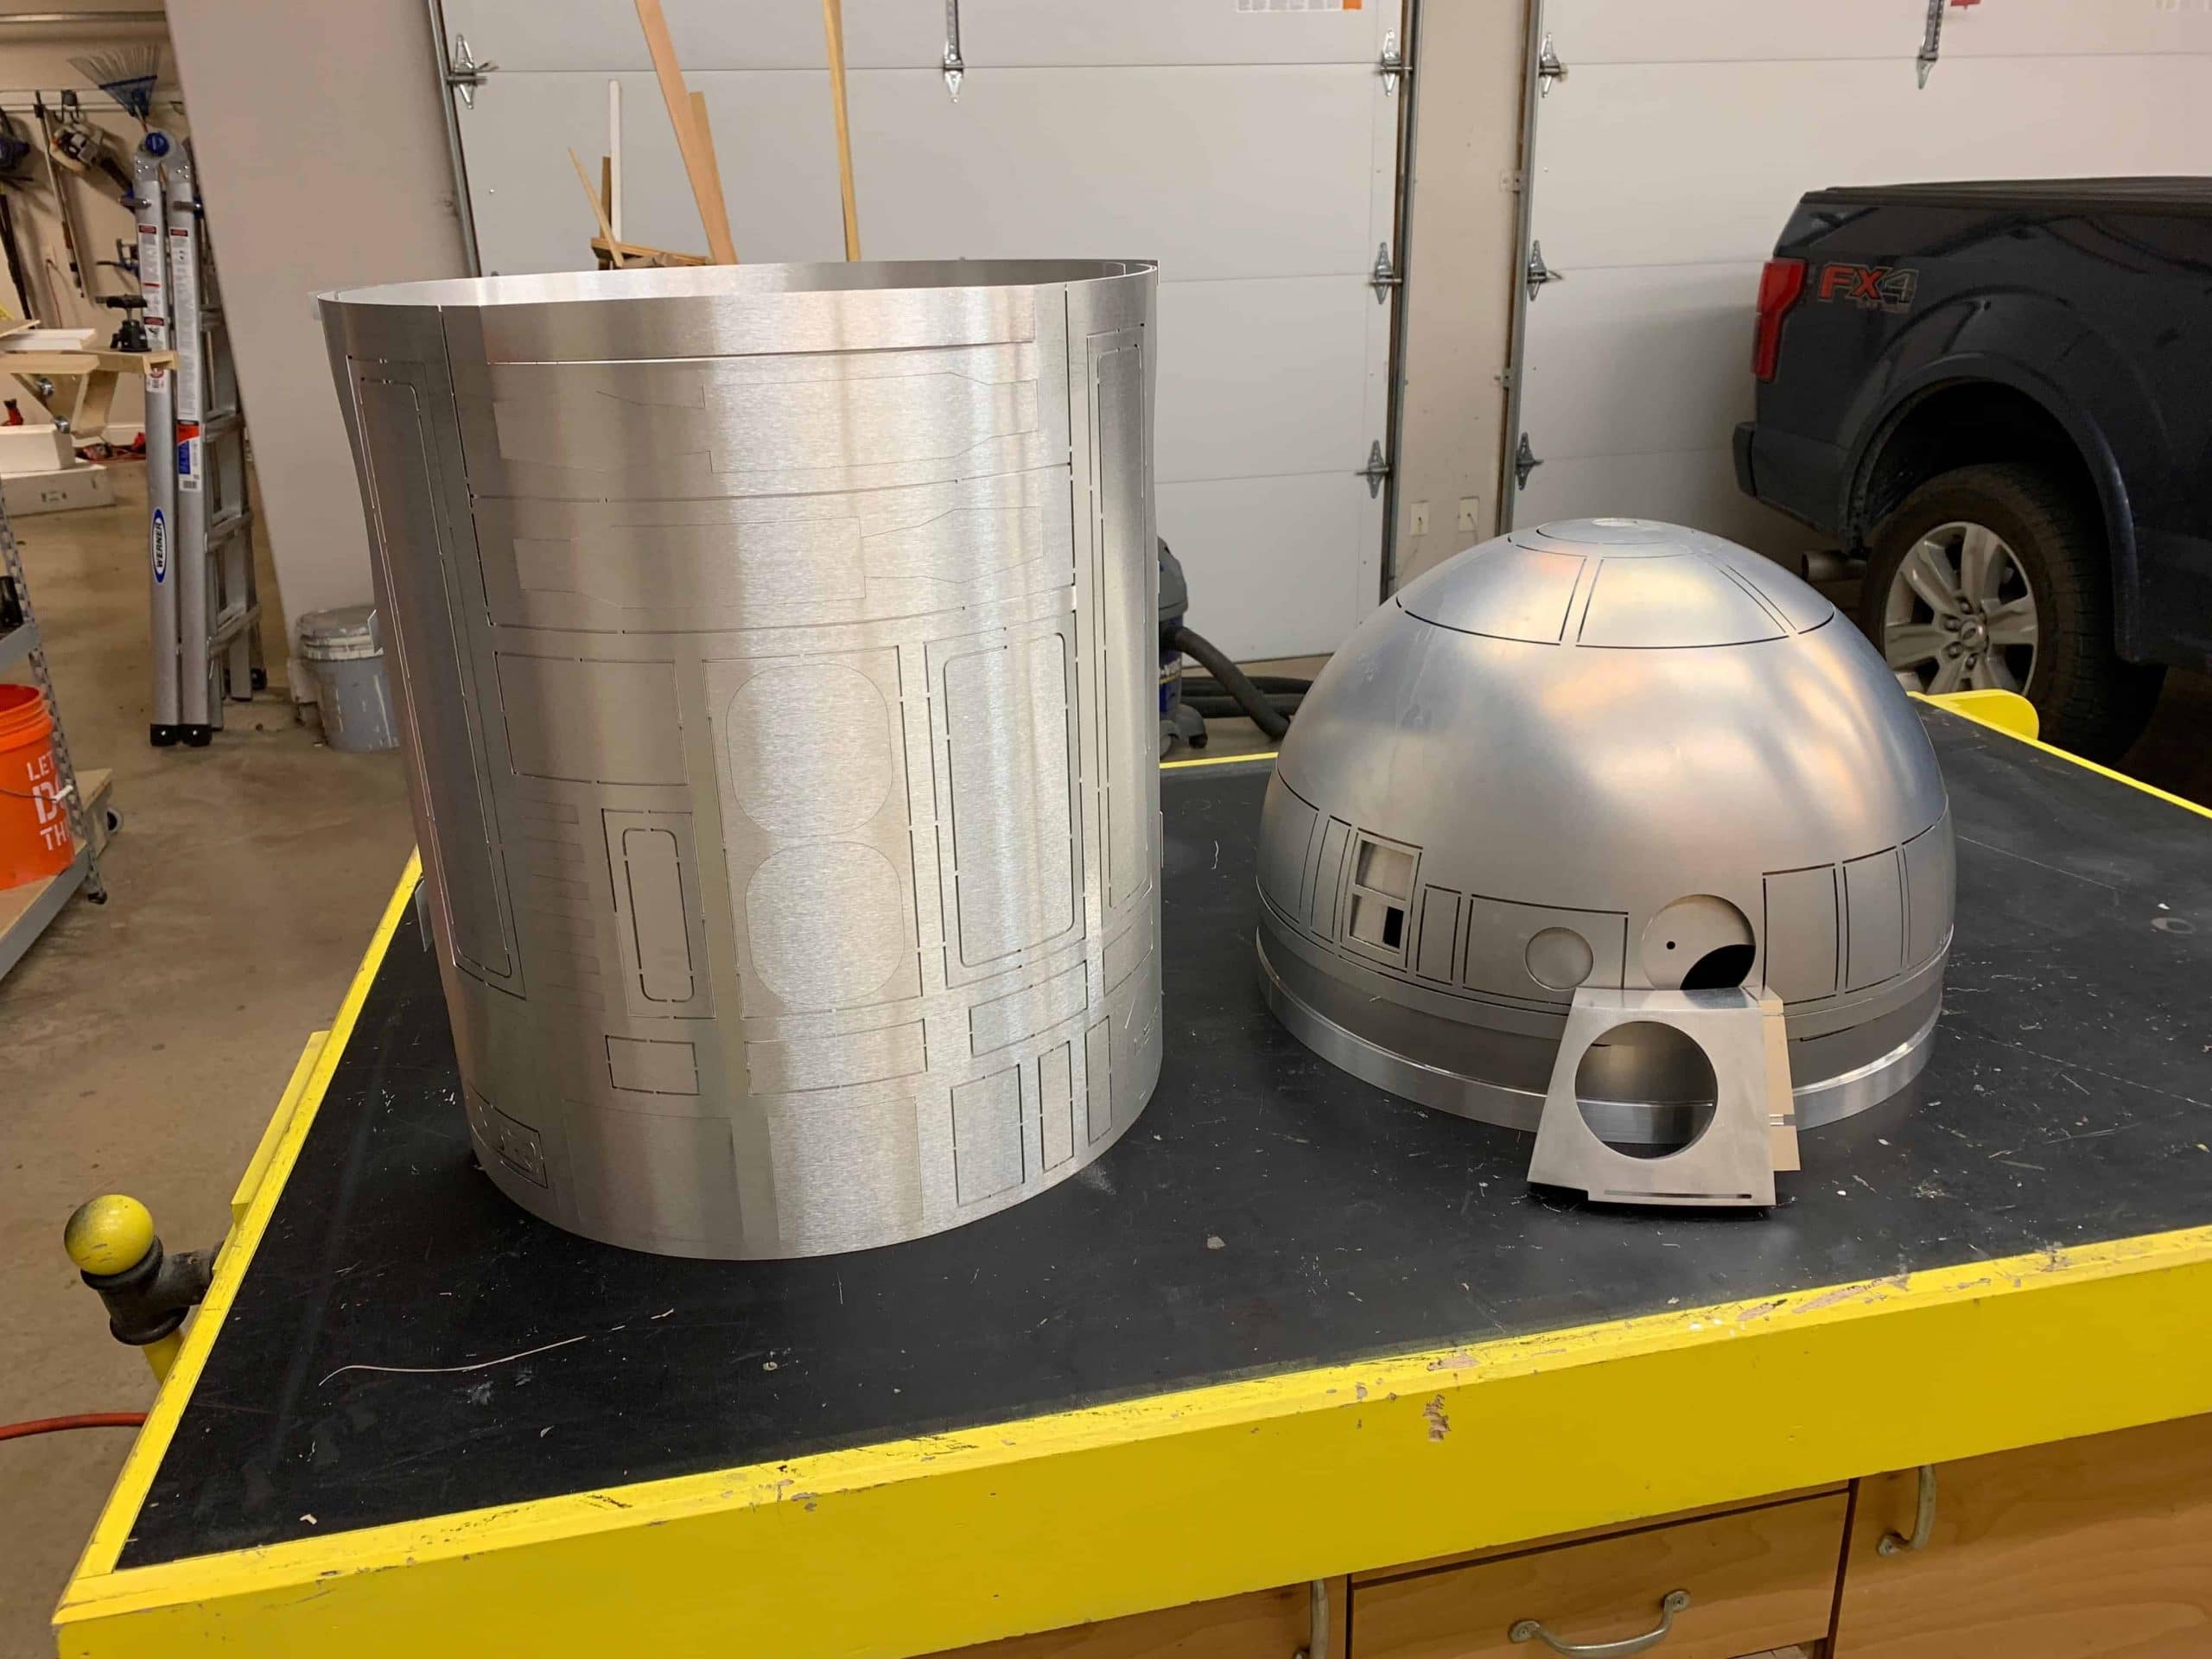
The progress of building R2-D2 so far has been mostly research. I have spent hours researching build options, components, calculating costs, etc. This research has led to the decisions above. For the first section of the build I have decided to focus on the dome first. Although I have since decided I am going to acquire and construct the frame as well as this is the central point and housing location of most of my electronics. But I won’t work any further on the body until I make significant progress on the dome.
Getting the Parts
I purchased my dome and radar eye from the build runs supplied by Granite Earth. This build run is screen accurate and incredibly well made. But it will set you back a chunk of change. It does however come with a dome ring, which is a solid CNCed piece. These are not cheap to make.
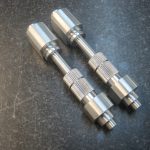
Since R2-D2’s head rotates you’ll also need a large bearing to sit between the dome and the frame. It turns out our friends over at Rockler make a great “lazy susan” bearing that is the perfect R2-D2 dome bearing. So I also picked one of those up.
Polishing the Dome
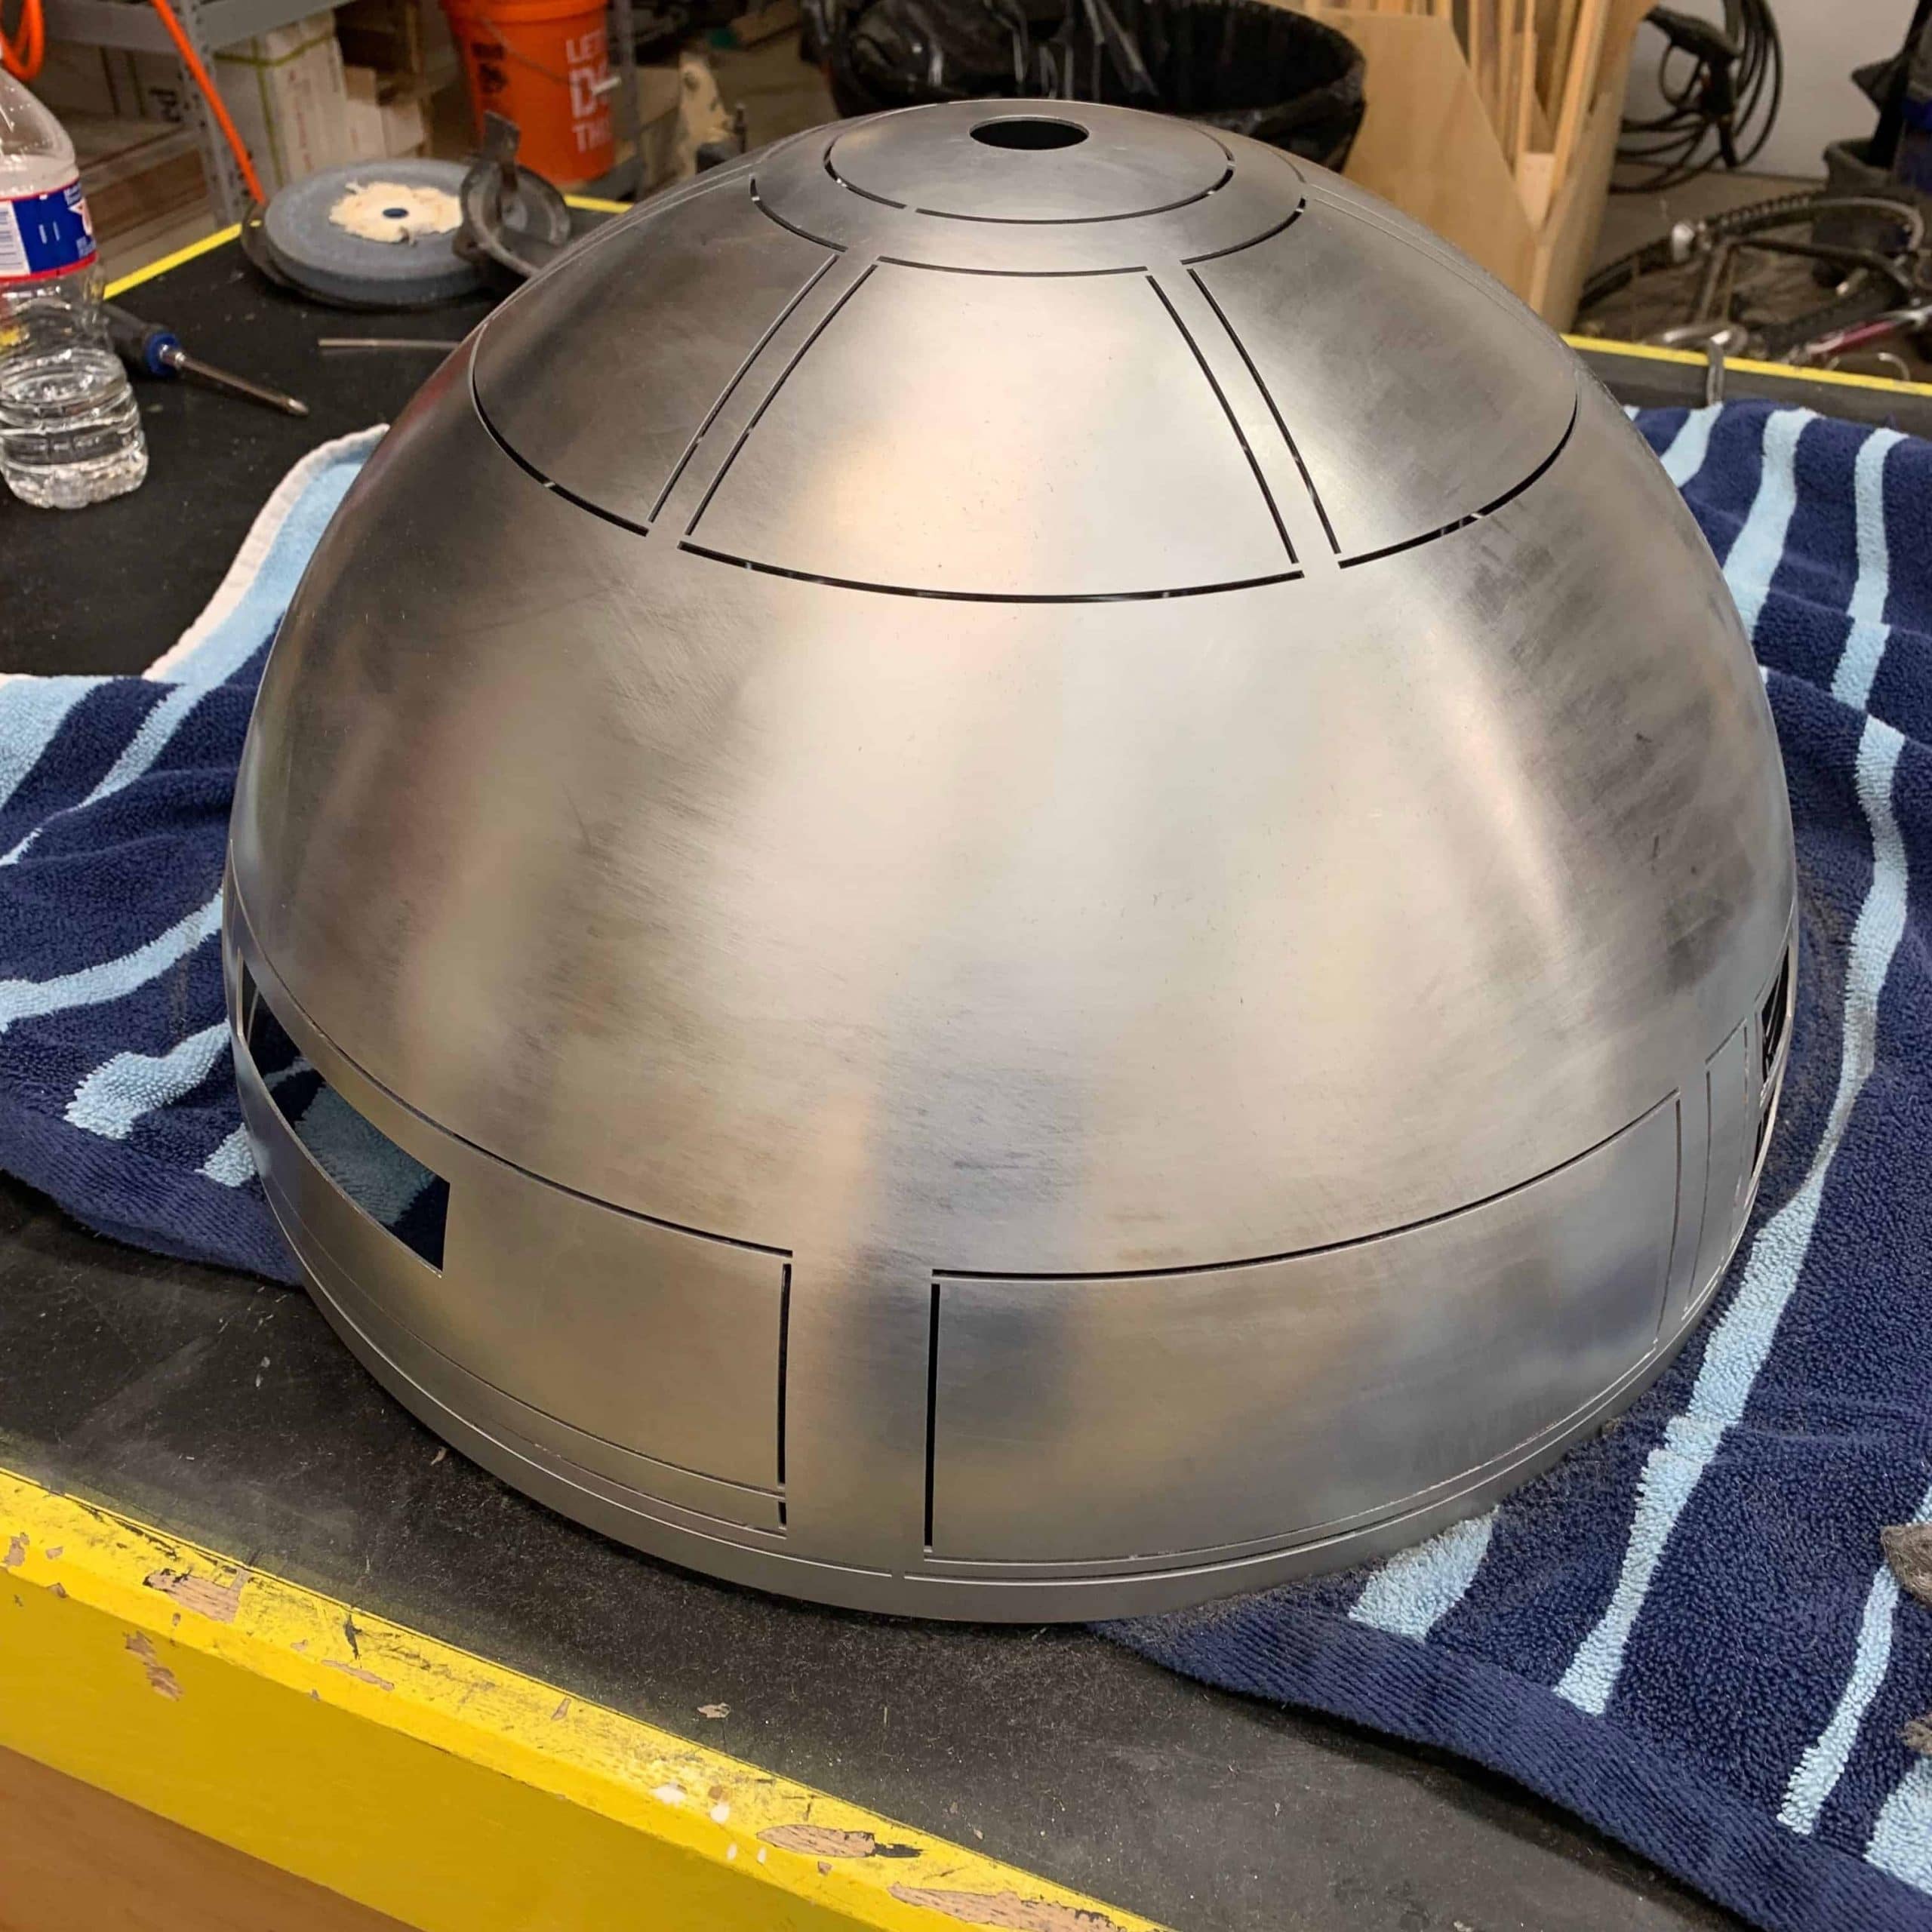
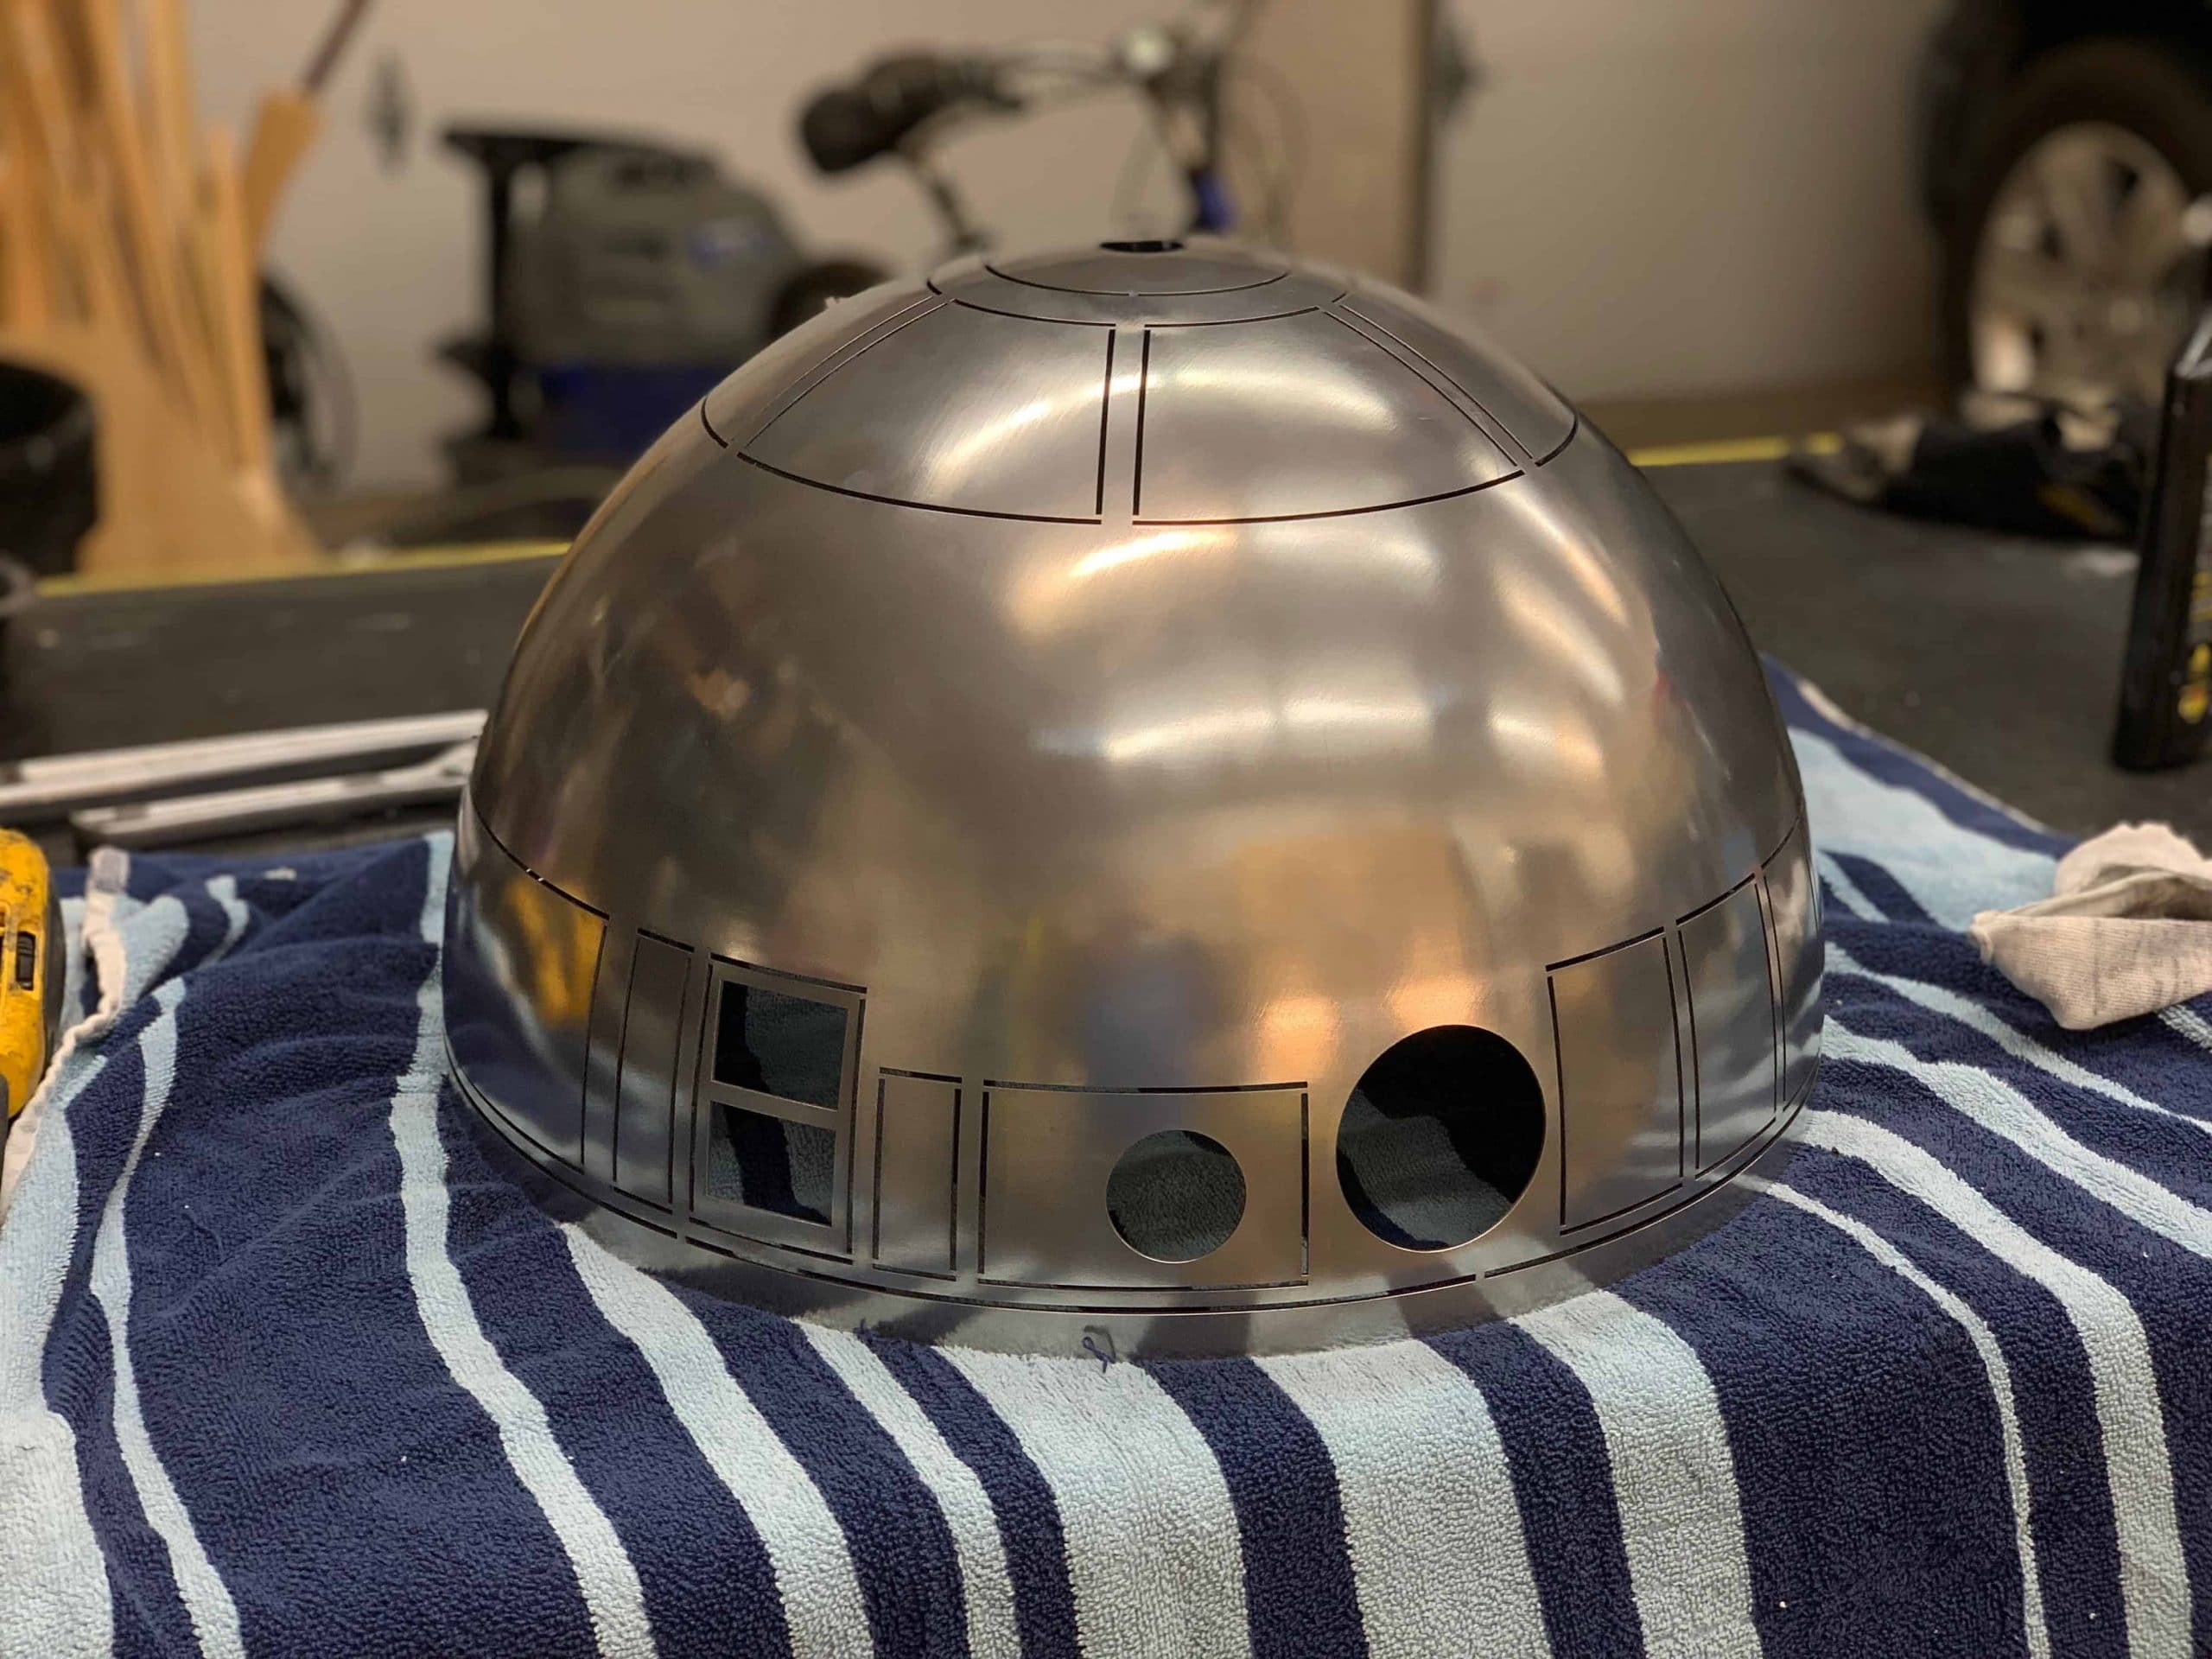
The dome and dome components all come from the factory with laser slag on them (sharp bits of metal that will slice your hands up) where the laser made its cuts. These all must be removed for the inner and outer domes to fit together (and for your safety!). I proceeded to use my Dremel with a wire brush wheel to knock these off quickly without causing any damage to the dome. However there were a few stubborn pieces that required the use of a very small needle file to break loose.
Once that was done, I moved on to polishing the dome. Building R2-D2 is a pain! I spent about an hour with #0000 steel wool sanding the dome to remove the stretch marks from the hydro forming process. My arms were sore for two days afterwards! After that intense workout I used my bench grinder/polisher with a polishing wheel installed and went all over the dome three times with red polish. That worked beautifully and made the dome really shine, but not too much. Just right. Getting that final finish is almost as much art as it is science.
Next Steps for Building R2-D2
In my next updates I will be going over the cutting out of the dome componentry and priming/painting them. This will be a slow process and I have some travel plans that will slow me down some. Look out for those coming soon.
Some of you are undoubtedly asking if I am going to make a video about this project. The answer to that is complicated. I won’t be making a video of the entire project due to how long term it is. It would be a video a year in the making. Additionally, I am not going to make a lot of videos about the process because there are hundreds of YouTube videos on those topics already. I will be making a few videos on this topic though that I feel I can add value and show things from my unique designs and point of view.
RELATED: The Geek Pub’s R2-D2 Parts List


Man Mike, this is the king of awesome projects. This is one of the projects I could only dream about doing. You’re an amazing maker. I’ll have to just live vicariously through you!
You might be surprised, but this project isn’t that hard. So many people before me have done most of the work to figure it out.
4.5