Blog
X-Carve Upgrade HONEST Review
The team over at Inventables contacted me and said “Hey! We’d like to send you the latest version of the X-Carve with all of the upgrades including the X-Controller; and the only thing we’d ask in return is that you give it an honest review.” So this is my honest review.
Watch the X-Carve Upgrade HONEST Review Video
The Problems with the Original X-Carve
I think I have been pretty honest and upfront in my original review with how I felt about the original X-Carve. I am glad to report that many of the things I was dissatisfied with have been corrected! My first complaint was the underpowered spindle that X-Carve originally included. It was just far too underpowered and it just did not do the machine justice. Additionally, the power supply, Arduino and G-Shield on top simply did not provide enough current to the stepper motors. Both problems have been solved with the X-Controller along with the new DeWalt 611 spindle. That has made the upgraded X-Carve leaps and bounds better than the original.
But there are a couple of other problems that I really found more irritating than those two problems.
The New Solid Gantry Arm
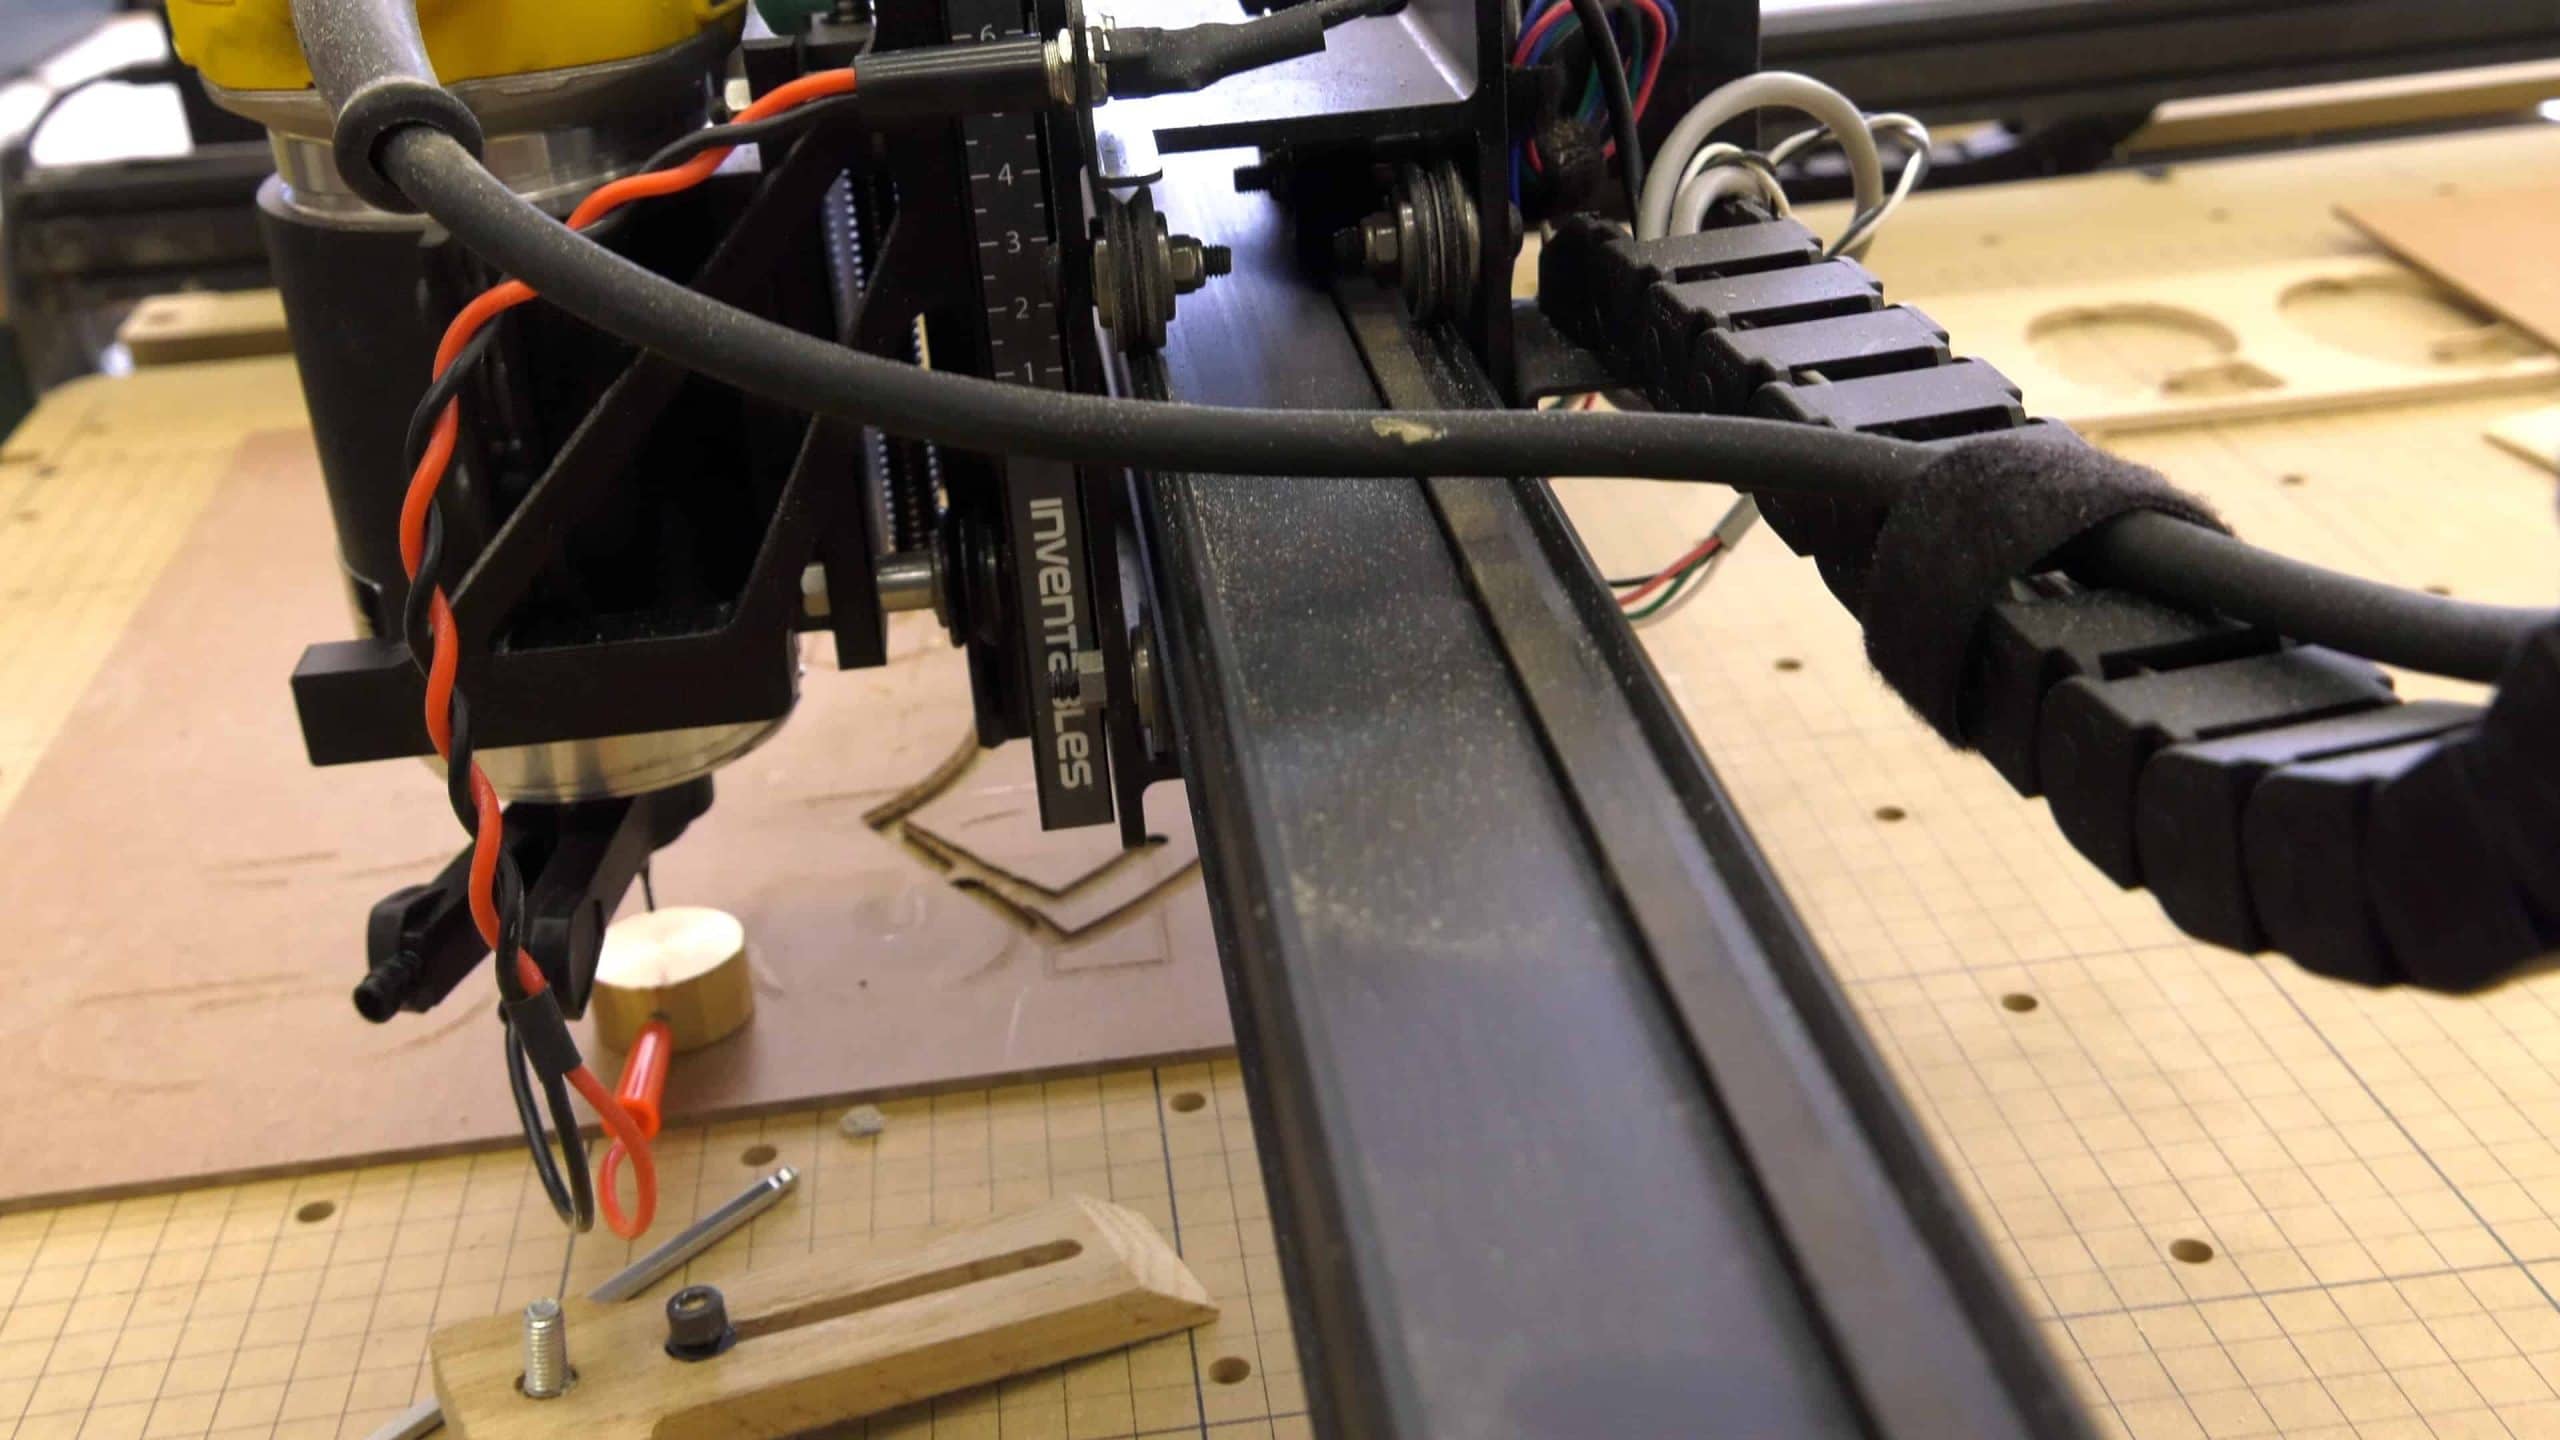
The first is that the gantry arm was made from two separate pieces of aluminum which really allowed for a lot of flex when you were trying to move through tough material such as Walnut or Aluminum. You would up getting this shaky pattern or stair-step patterns on the material and it just drove me insane. A lot of times I would have to run the X-Carve so slow that it would take two or three hours to carve something that I feel should only take 10 or 15 minutes. I am glad to say that has been corrected. With the new X-Carve it is a single piece of aluminum which is much more rigid and I think is a major upgrade.
The Addition of Dust Collection
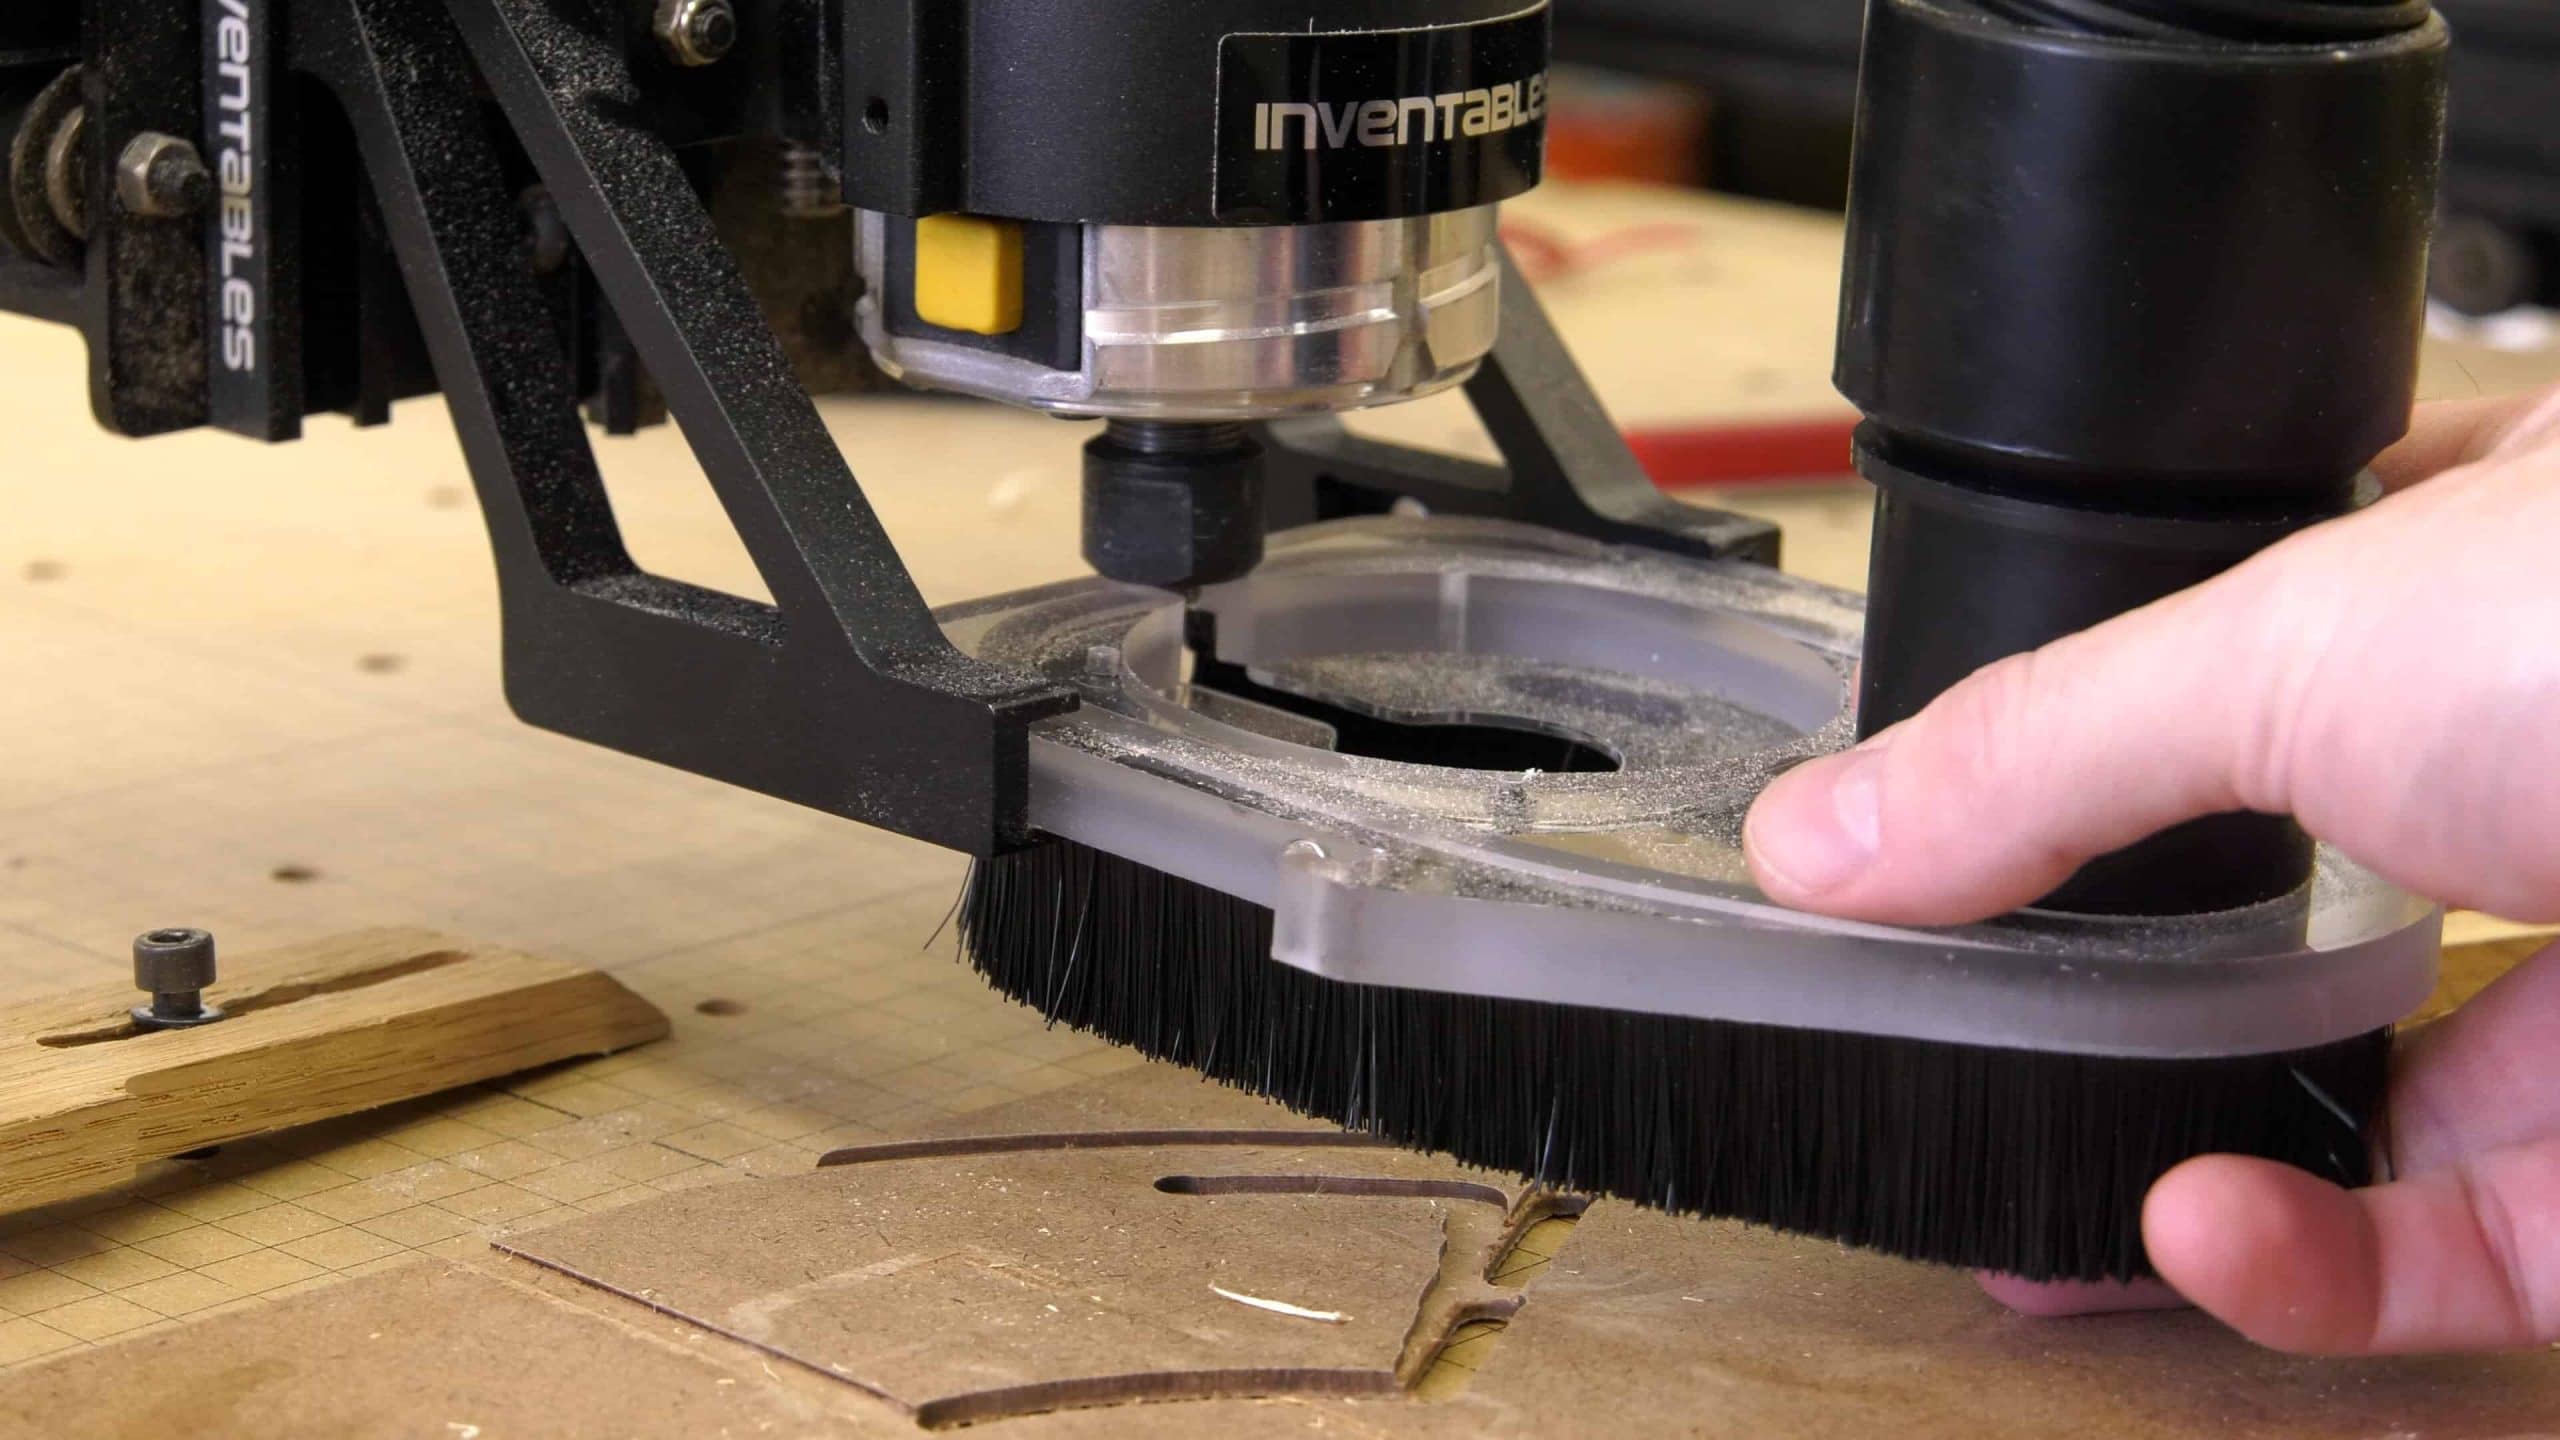
The next thing the guys over at Inventables added that I think is probably one of my favorite new features is the addition of this dust collection system. There is an attachment unit that goes at the bottom of the spindle and its acrylic so you can see through it which makes a huge difference. It connects with rare-earth magnets so you simply slide it in and it just locks into place on its own. It’s really simple and quick and it just works. So bravo for this, this is a great addition.
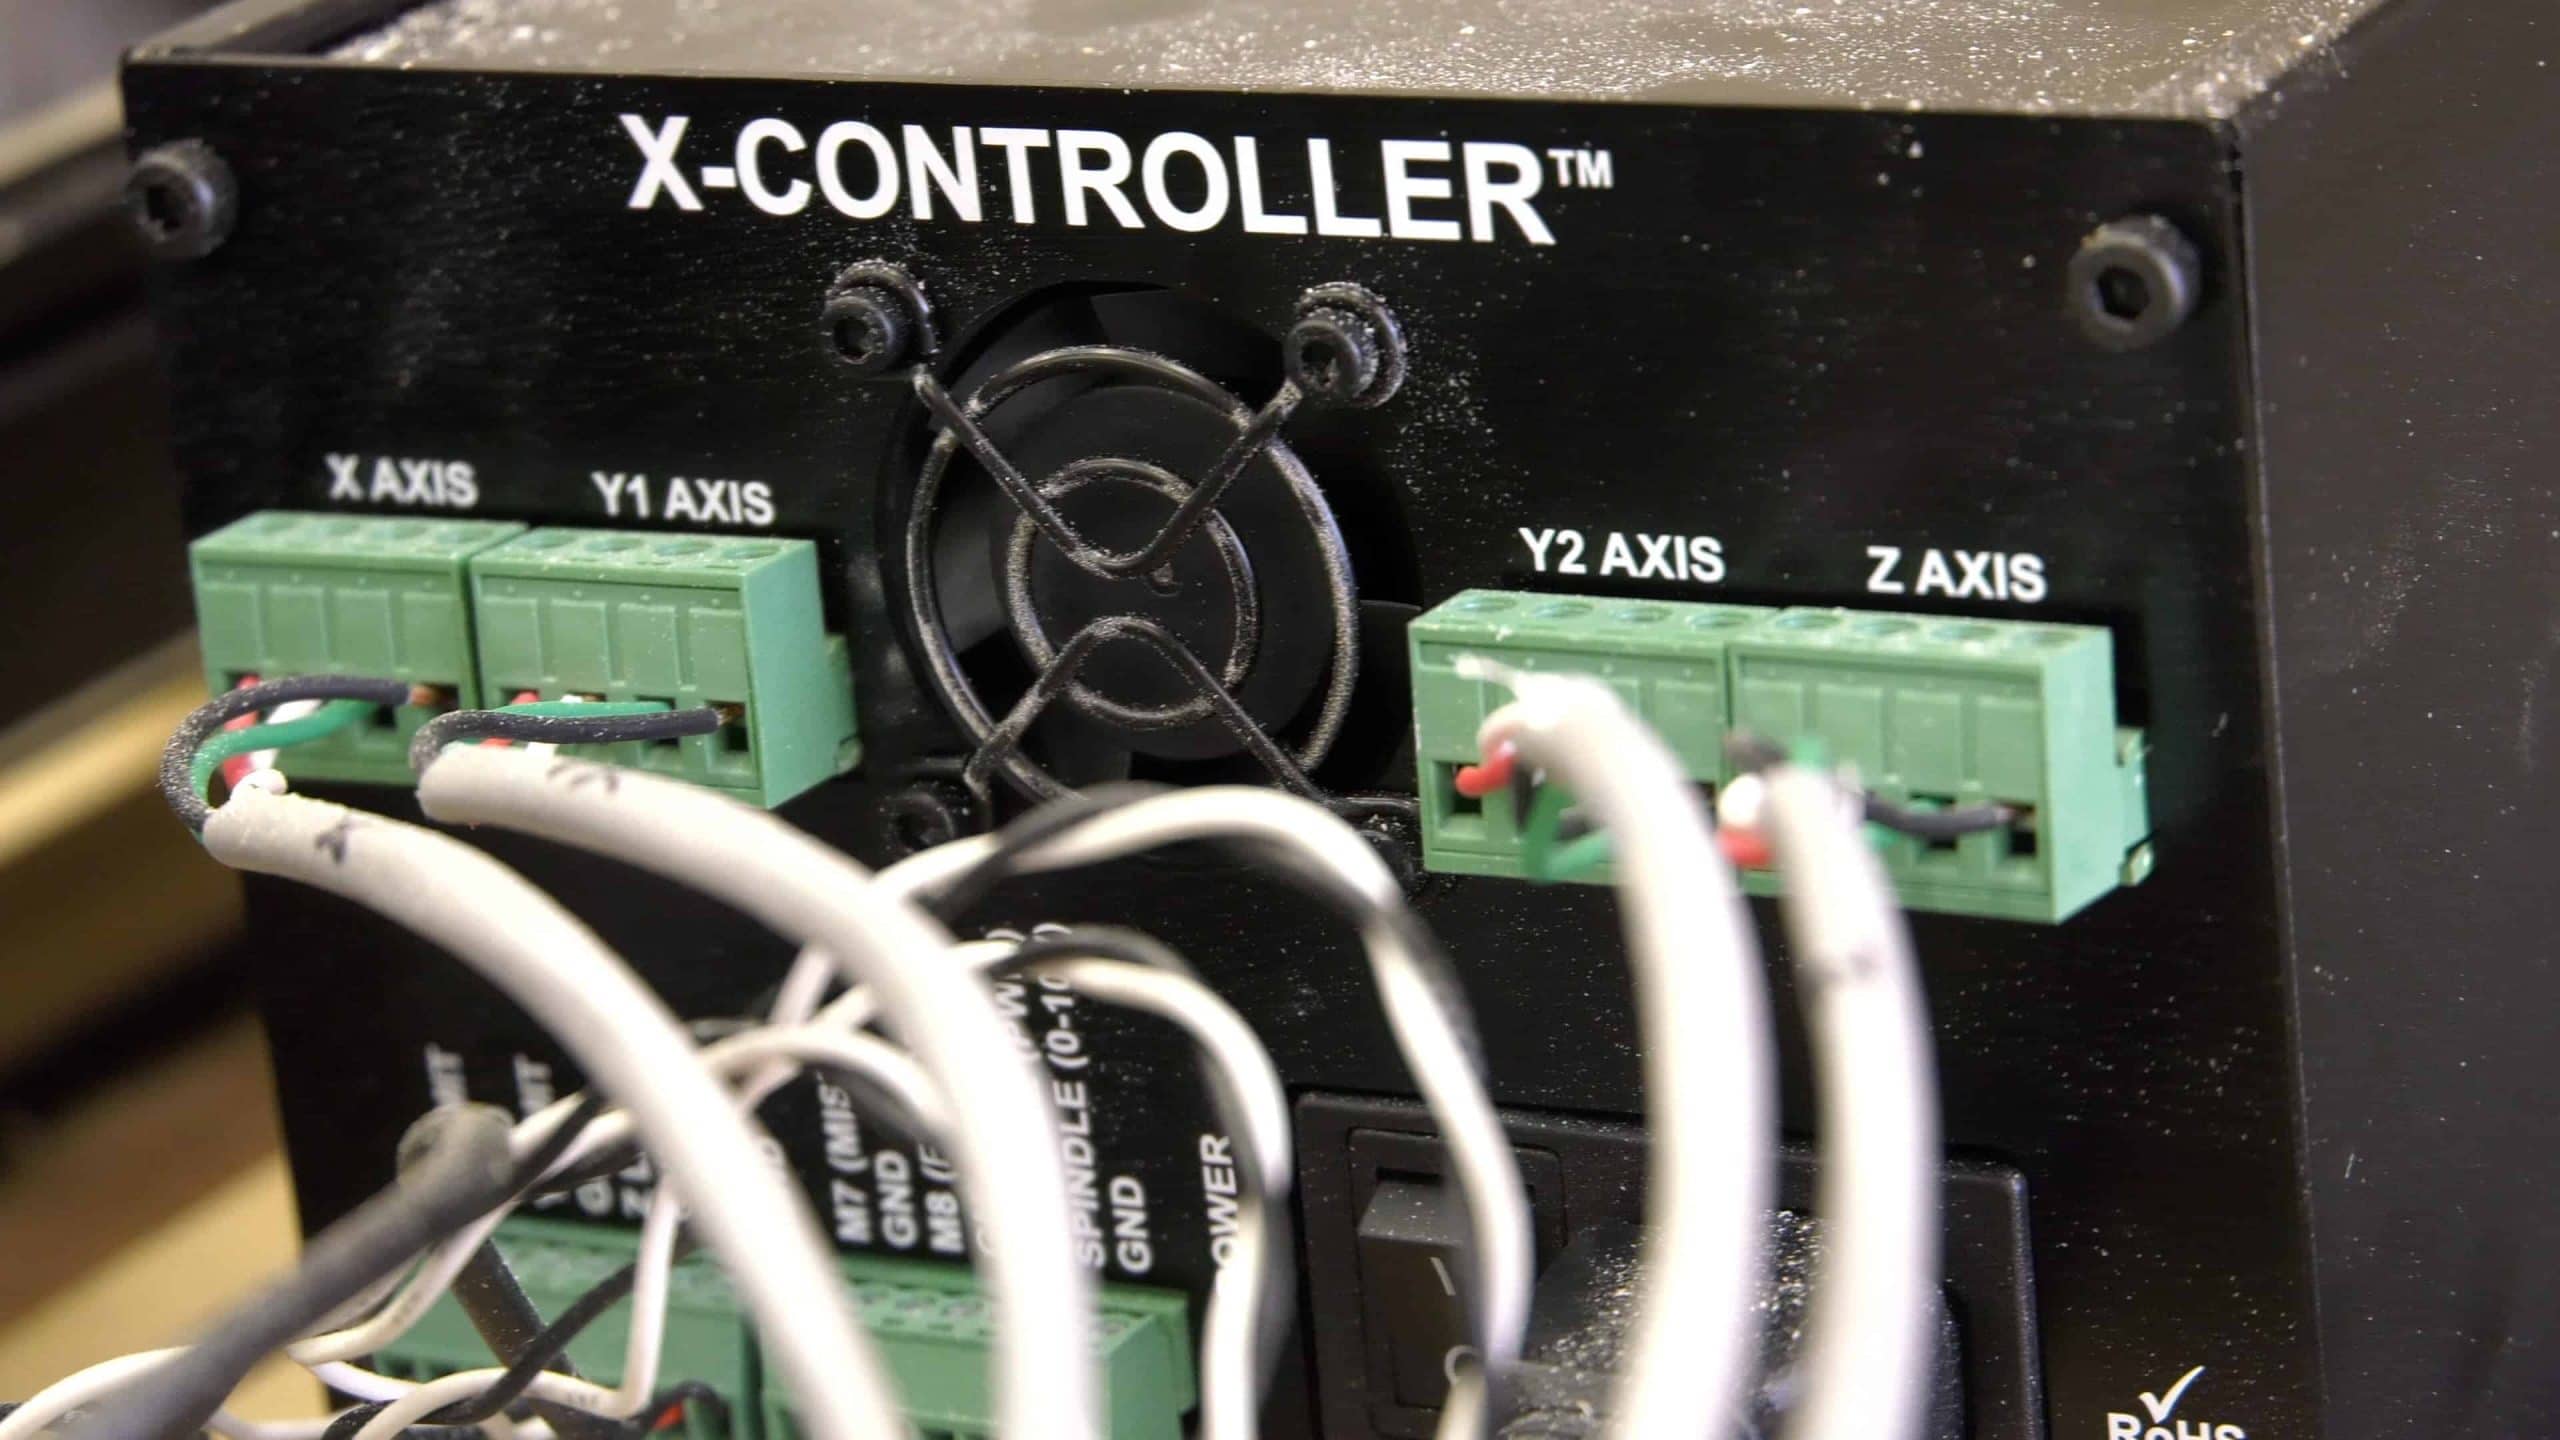
The X-Controller
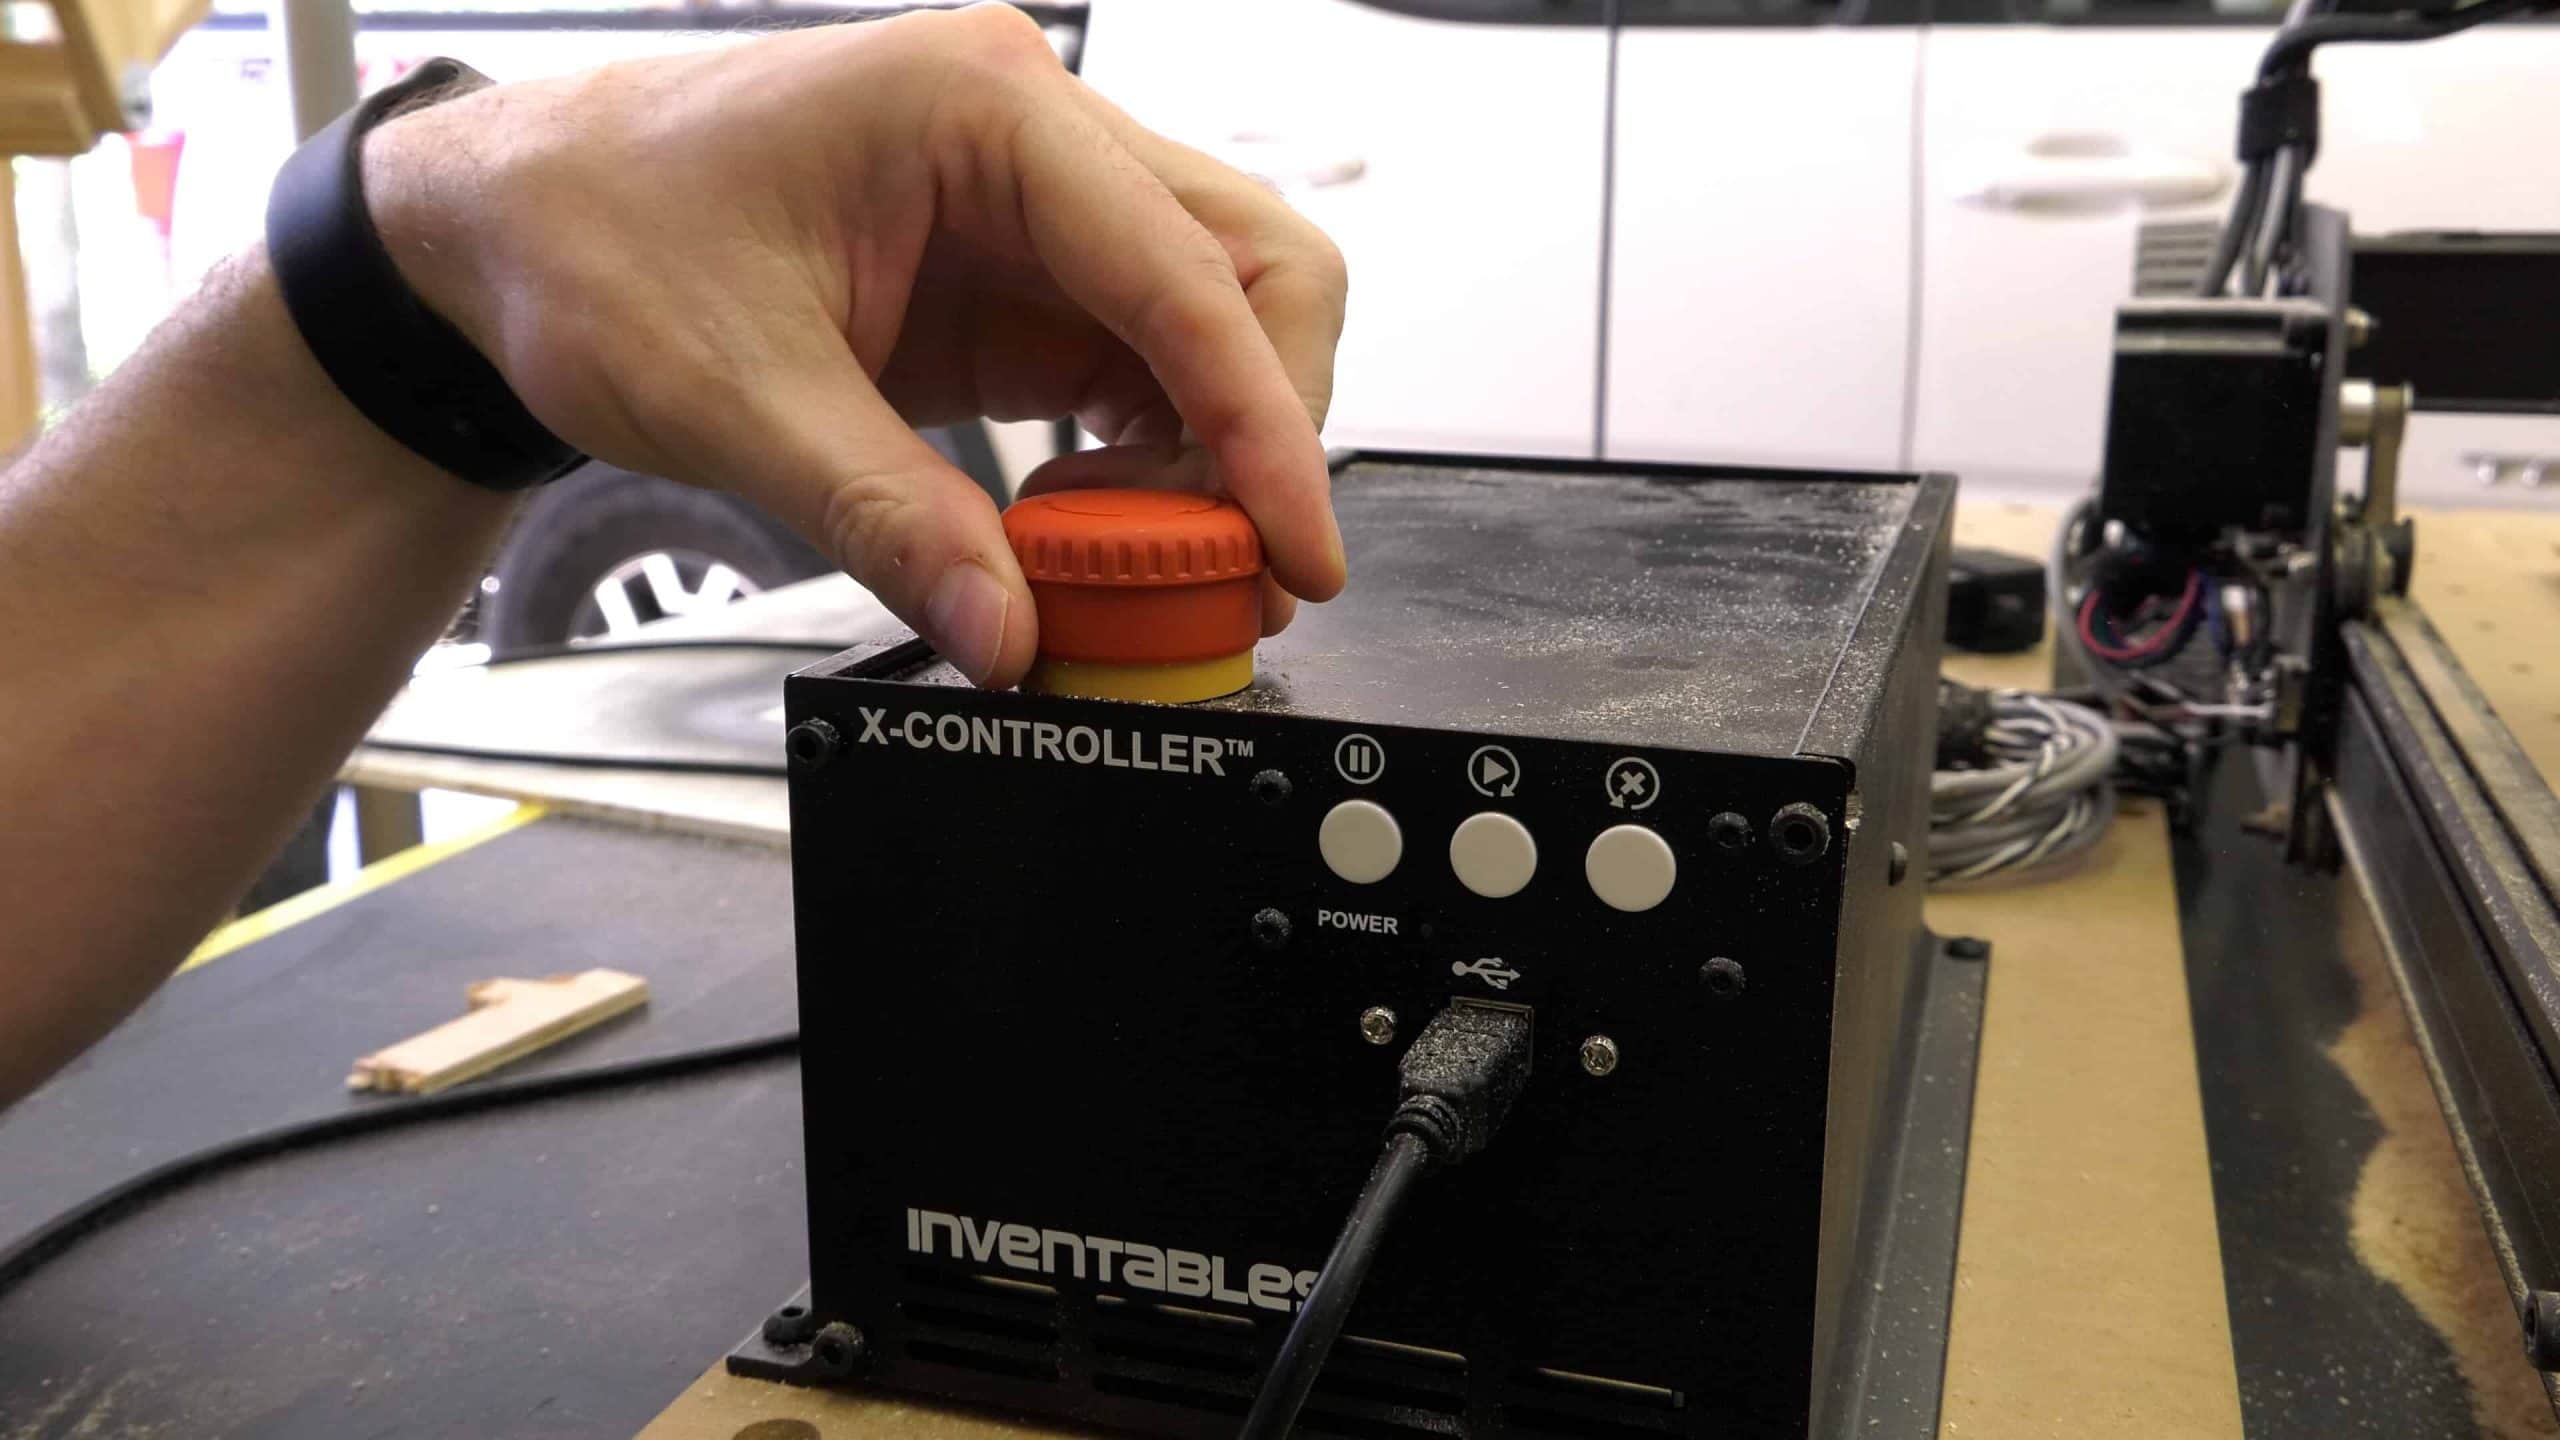
As you can probably already tell, the X-Controller itself is much larger. It has three to four times the power of the old Arduino and G-Shield offering. My favorite new feature though is that the X-Controller has this big red button on top that you can hit and it will stop the machine no matter what it is doing – it will just stop right in its tracks. And this is fantastic because I have had several times where in this last project the X-Carve will belt slip and it is going to destroy the project if I don’t stop it, and in just one hit of the stop button the whole machine halts. Absolutely fantastic, even if I wish it wasn’t necessary in the first place. You also have three buttons on the front where you can pause, start, and stop midstream if you need to make some adjustments or vacuum up some excess dust or whatever the case may be.
Fantastic upgrade! I really can’t say enough good about this new controller.
On the backside of the X-Controller you have two Y-Axis connectors which is awesome because with the original Arduino and G-Shield you only had a single connector and both stepper motors were actually sharing the same voltage and current and so now with this setup you are actually doubling the power to the Y-Axis servos, which is fantastic!
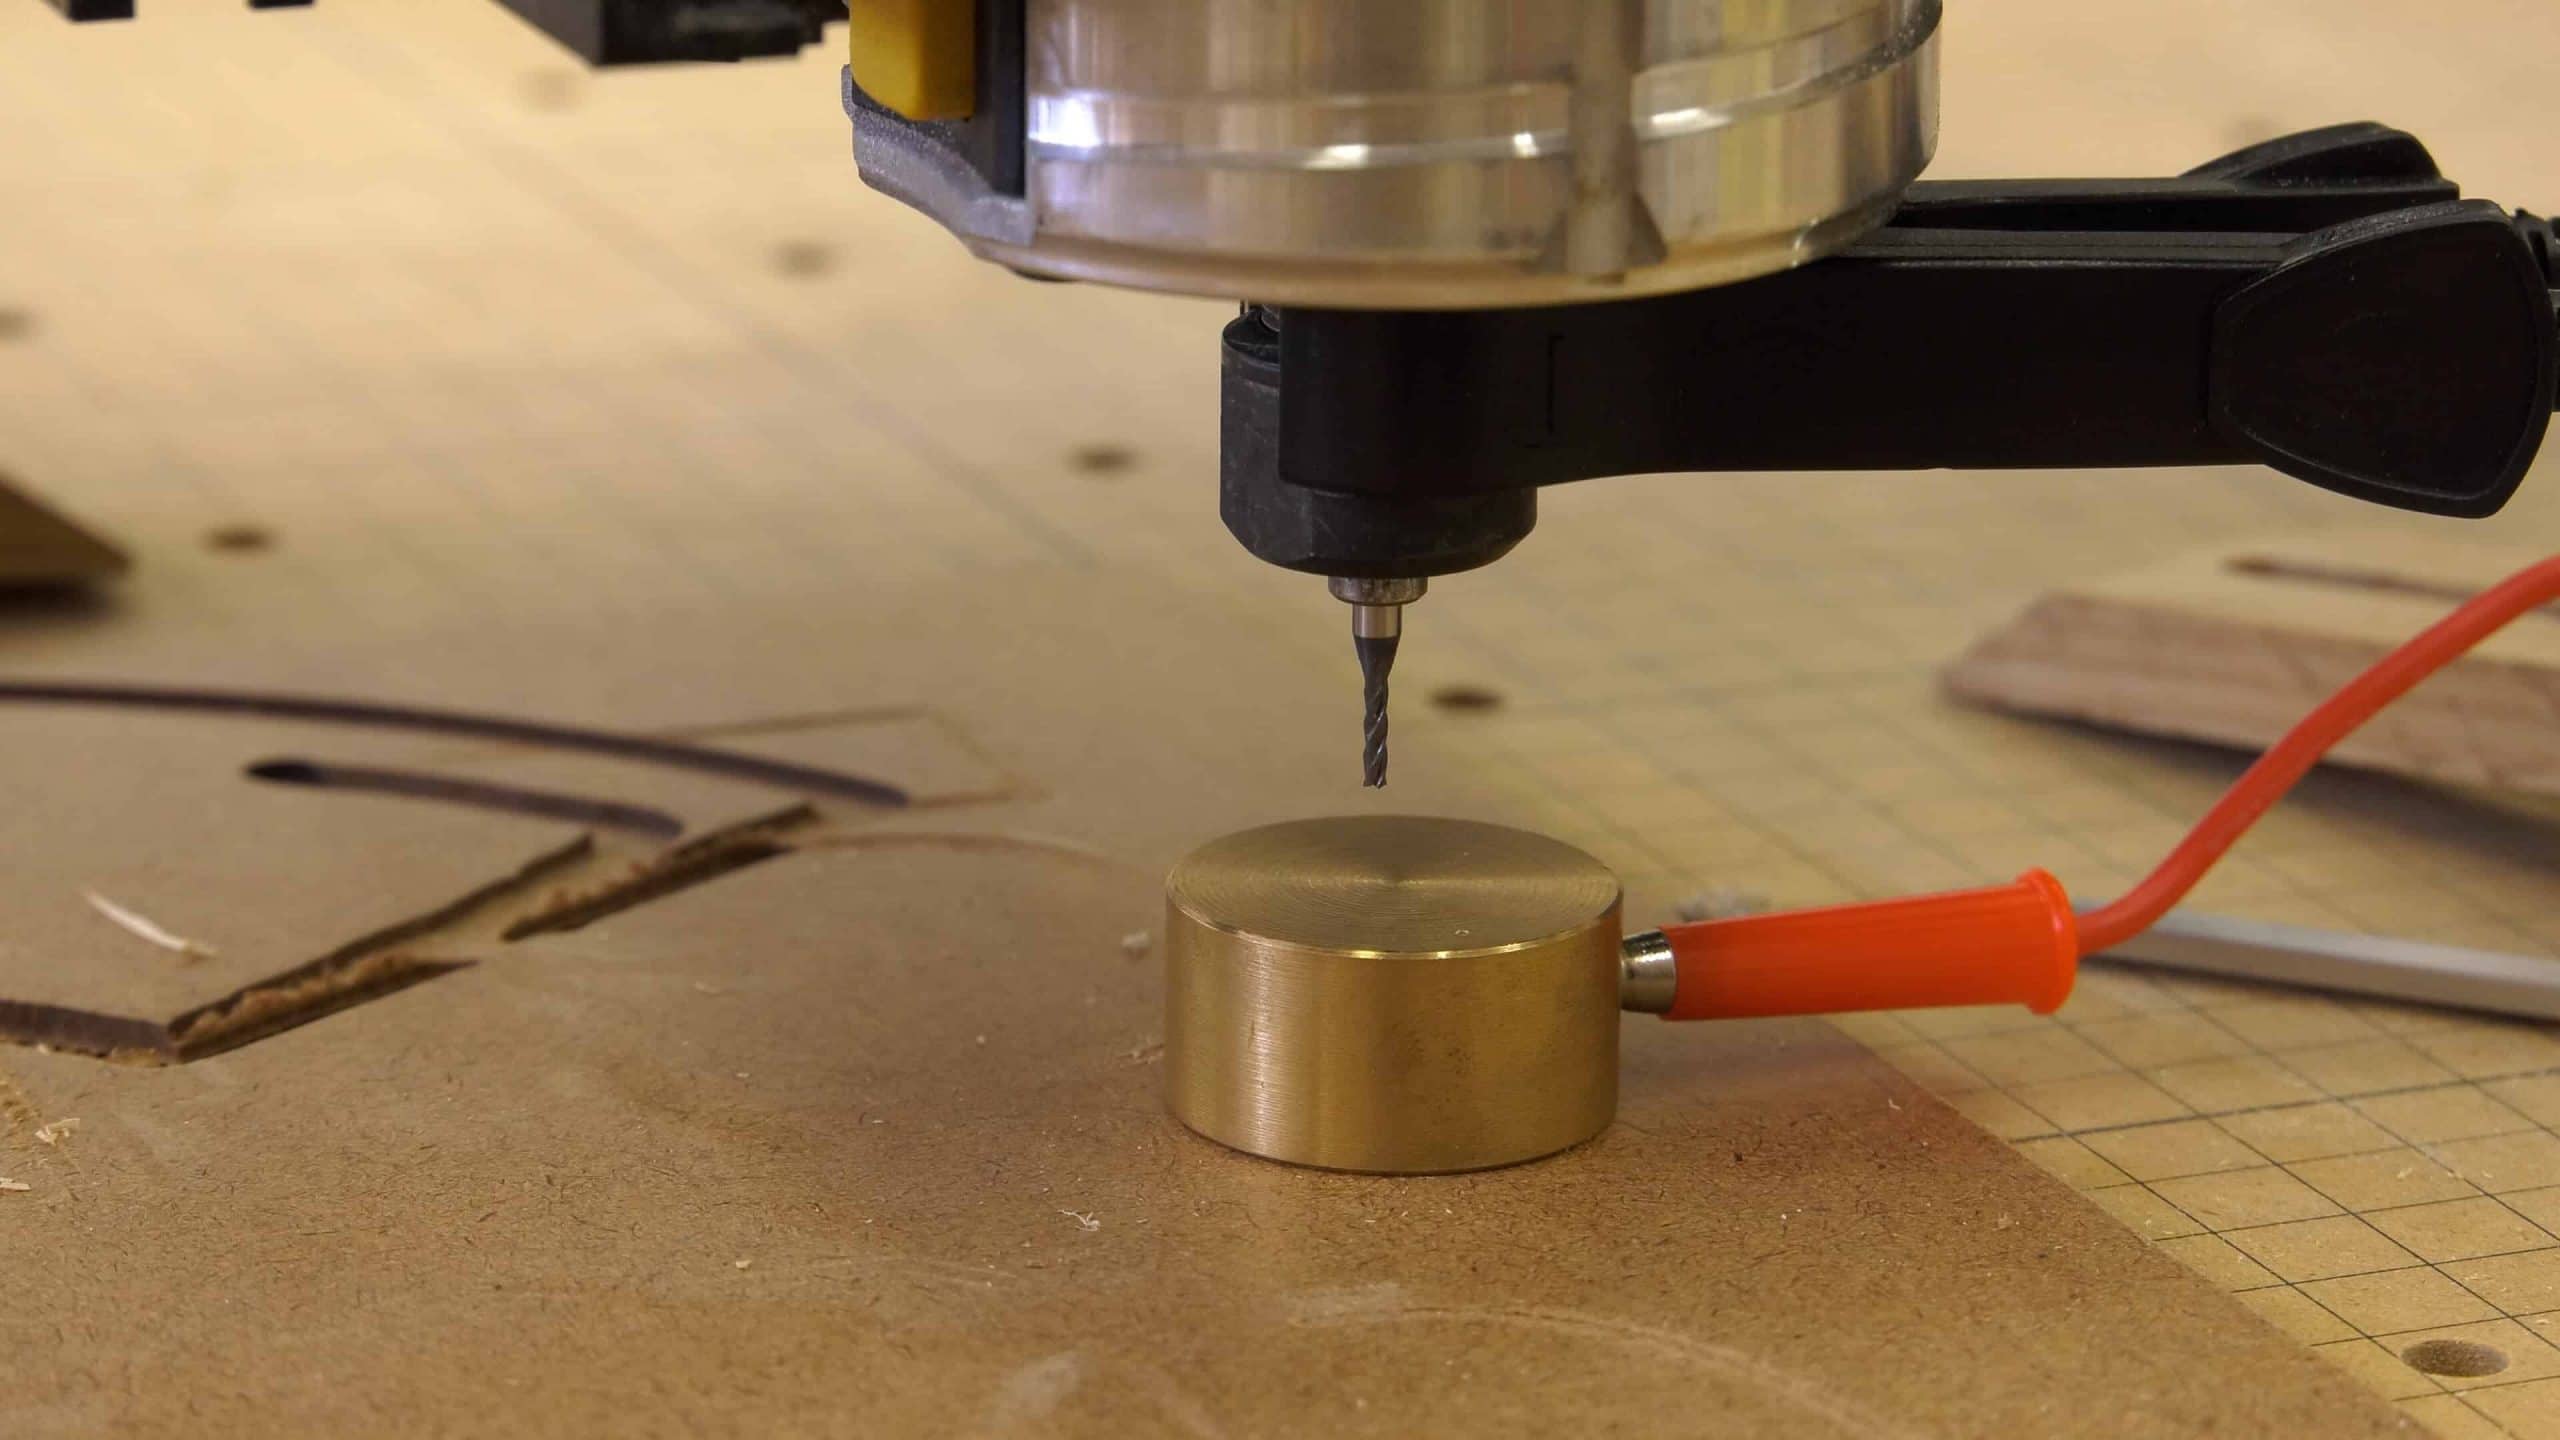
The Z-Axis Probe Rules
Another new feature that I really like about the new X-Carve is this Z-Axis probe. It plugs in on the X-Carve gantry and you attach a clamp to the spindle. You set a small brass sensor anywhere underneath the X-Carve spindle, but on top of your material. When you do your setup the X-Carve will automatically figure out where the home position is for the Z-Axis by lowering it until it touches that brass. No more guess work, or trying to slide a little shim of paper underneath trying to figure out where the actual Z-Axis should stop. This has made a major difference in how many times I cut too deep in the material accidentally. No more guess work involved there. So, another fantastic upgrade.
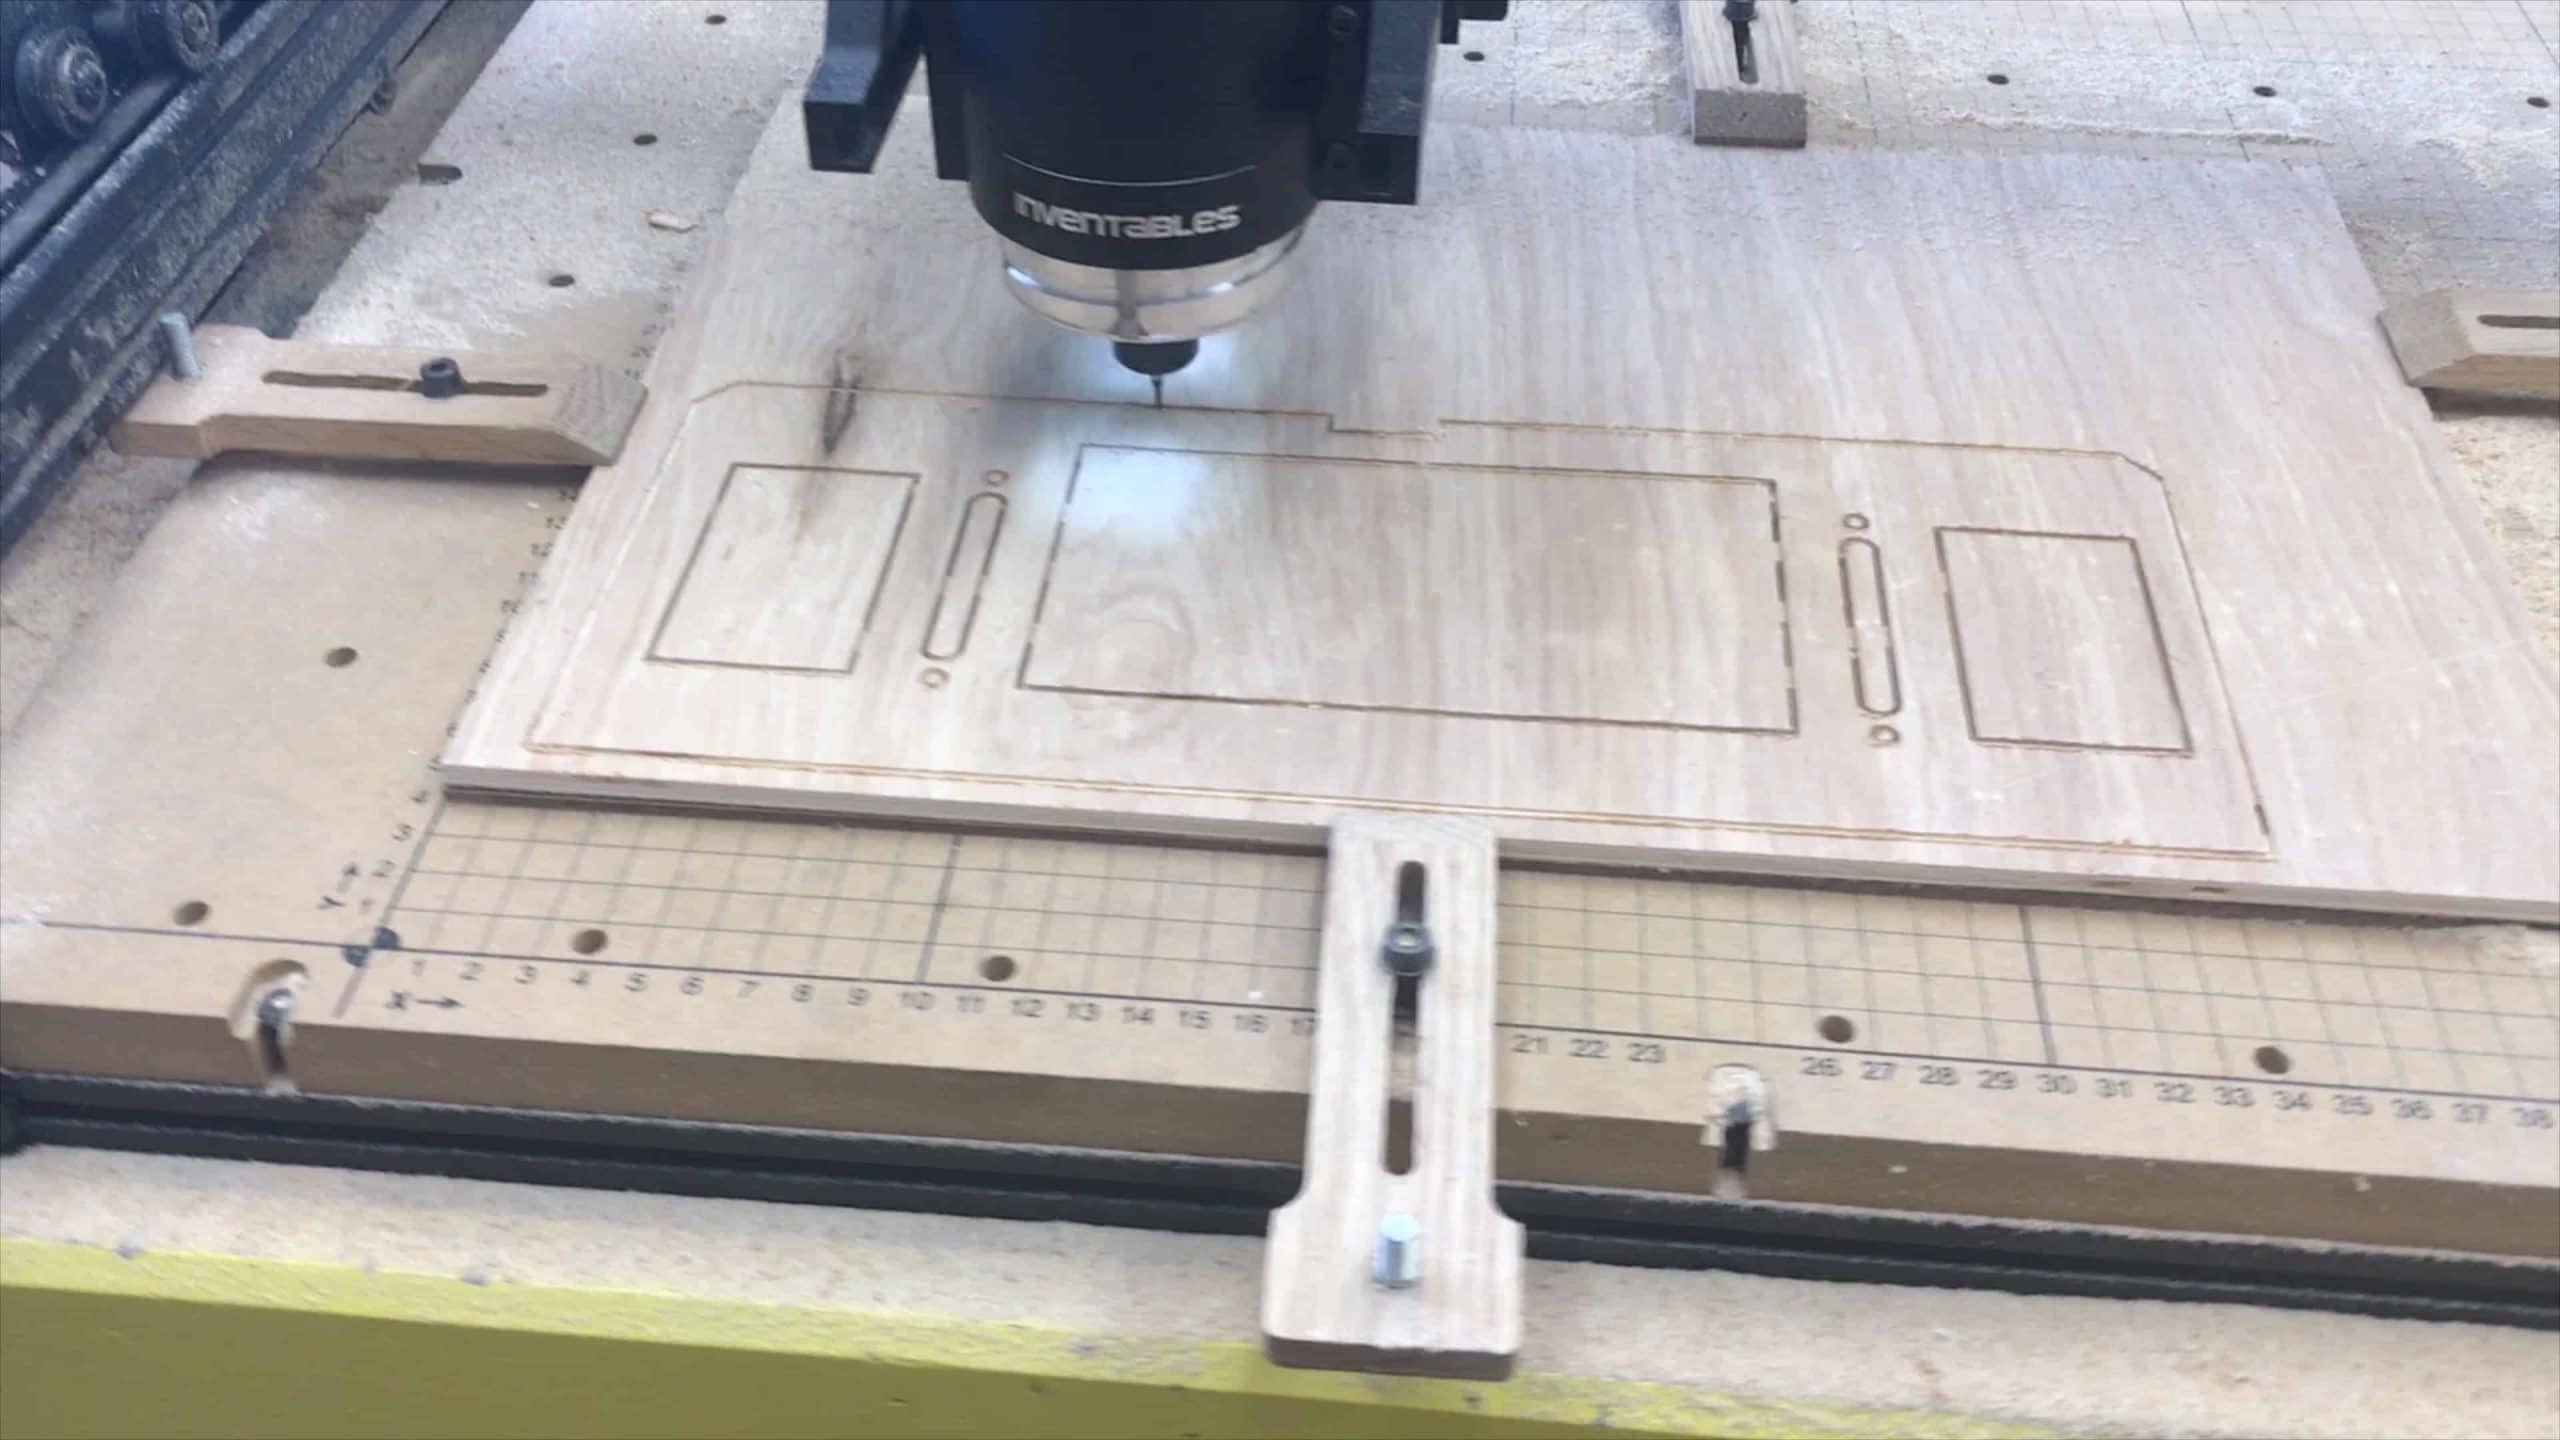
My Projects to Test the New X-Carve
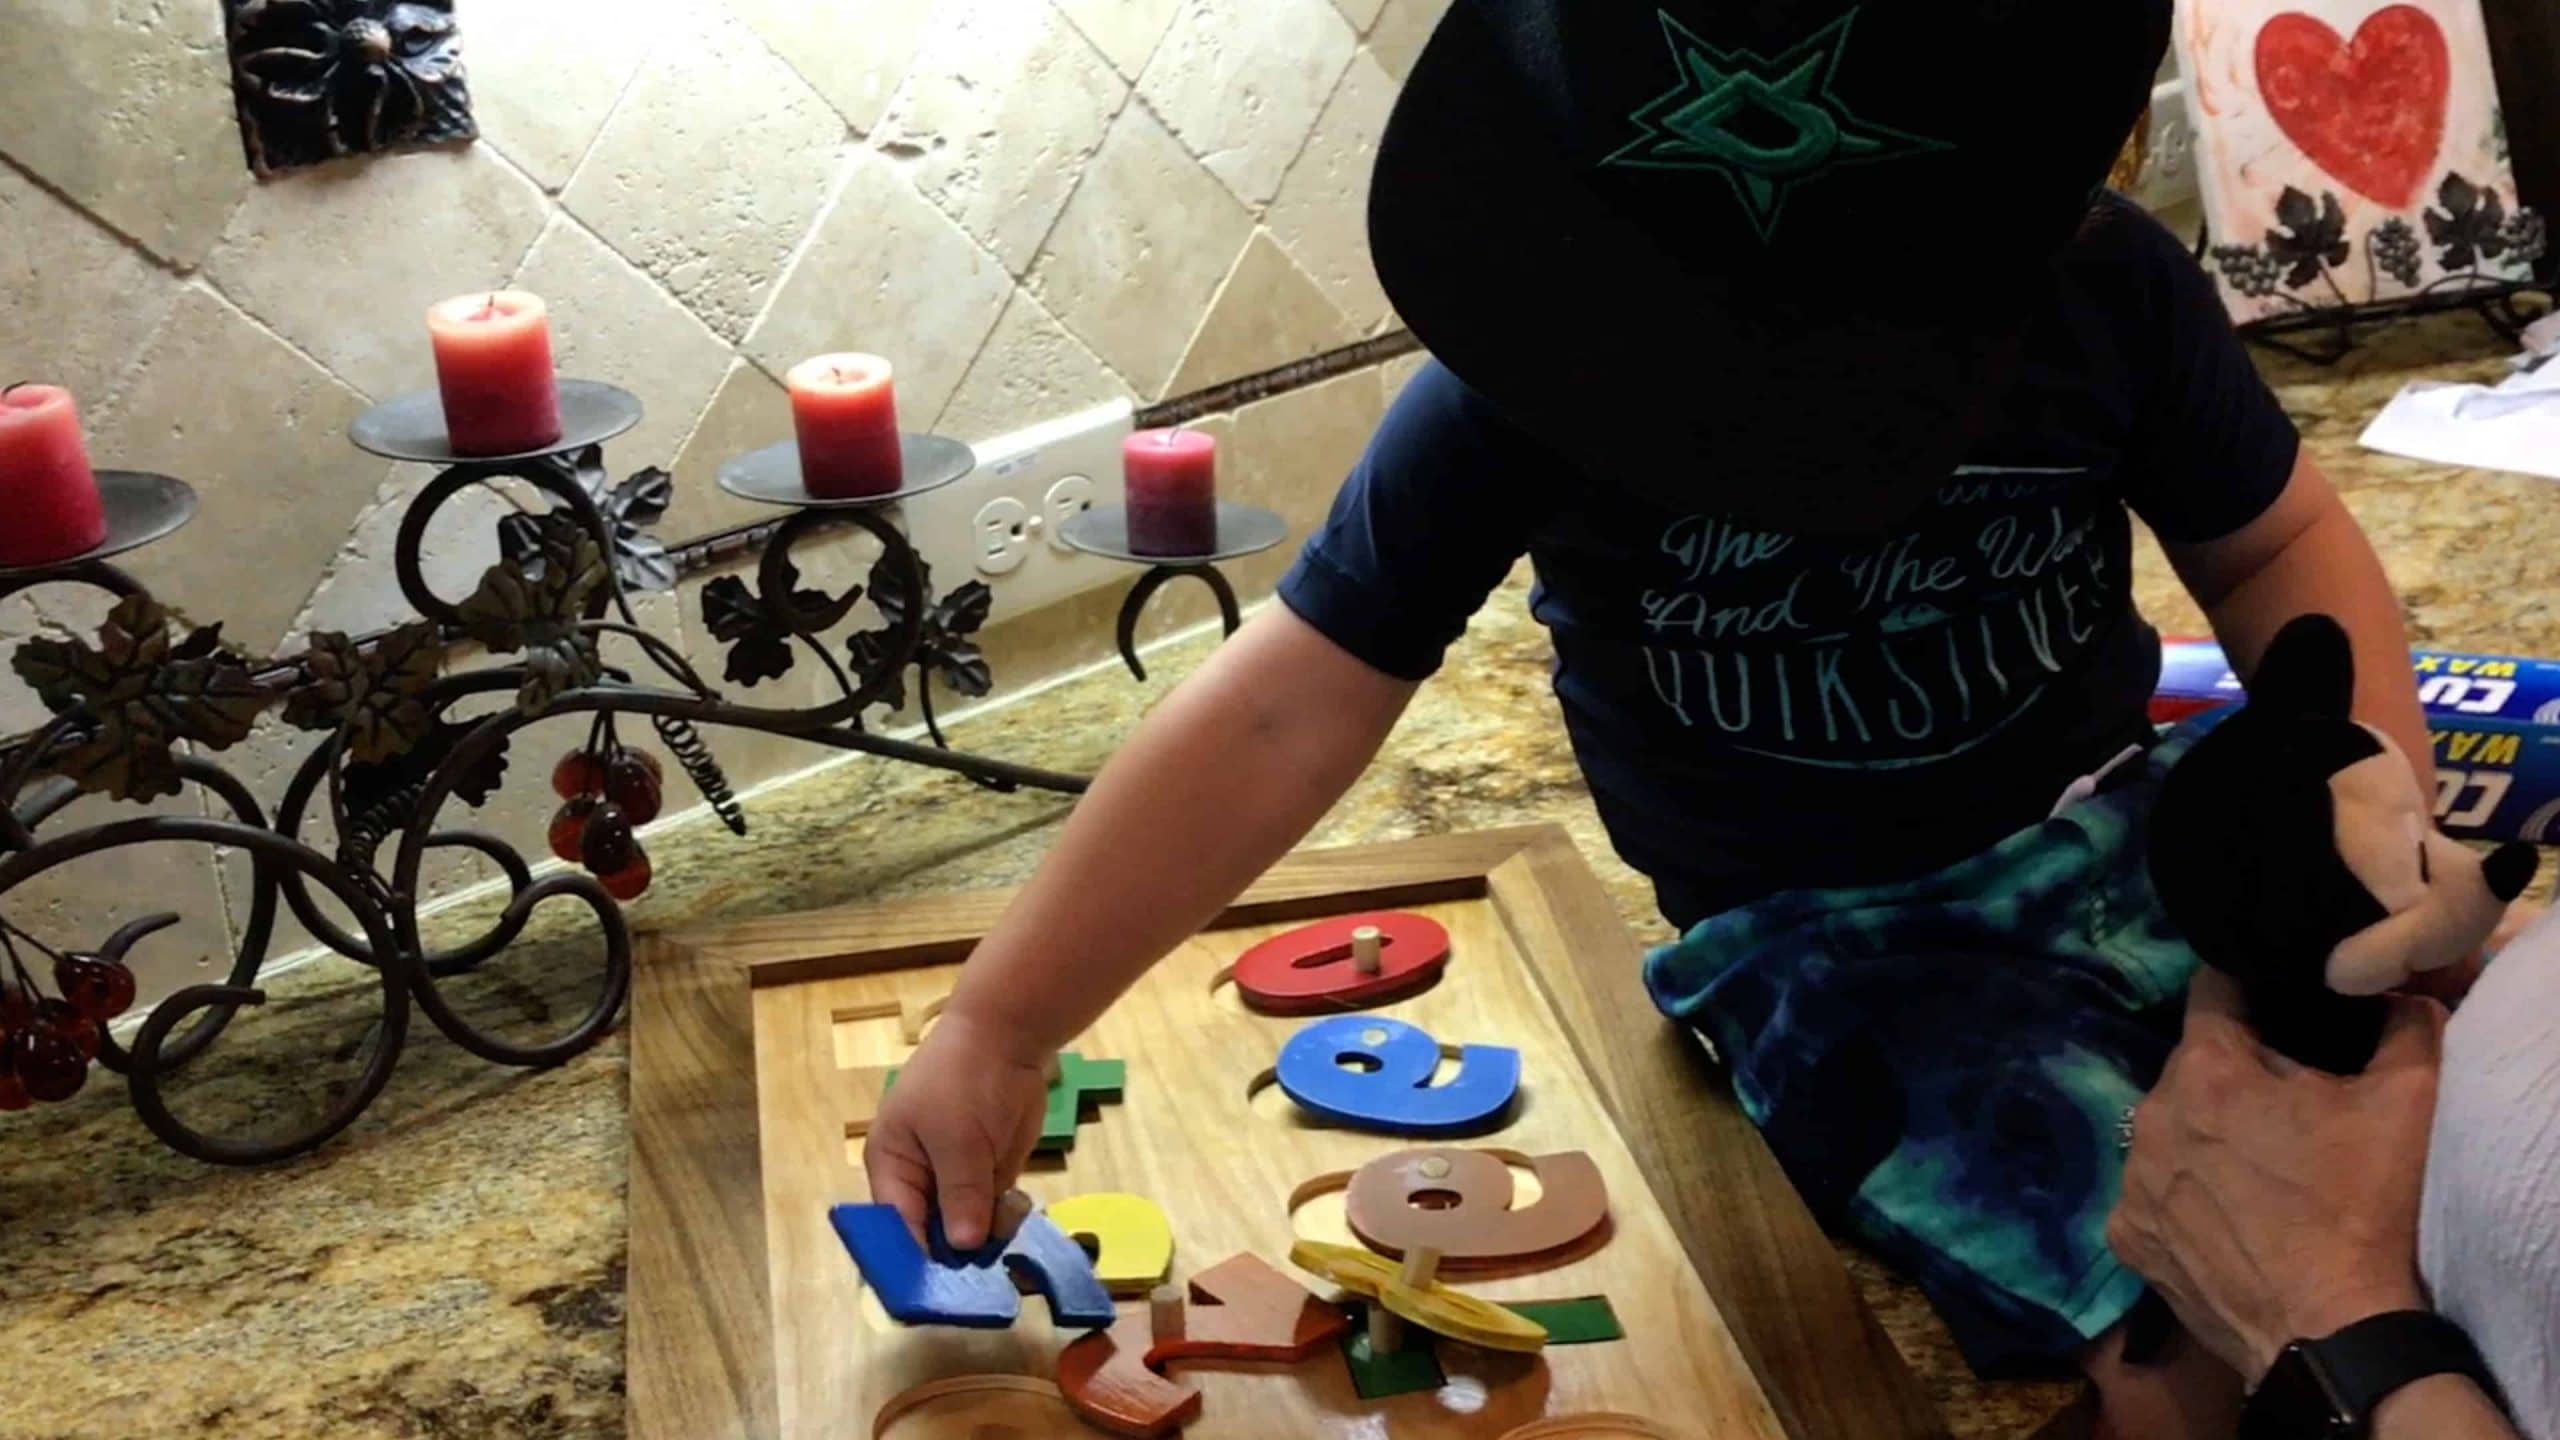
To put the X-Carve through its paces I did a couple of projects. For the first one I built a prototype dash for a friend of mine who is building a Ford Lightning race truck and he’s going to put a little touch screen in there and so we did that. Just a wooden prototype. We’ll make the ABS version in the future. The second project I did was this cool little number board for my grandson so that he can learn numbers. It’s just a little Walnut frame with some Birch plywood and I used the X-Carve to cut out all of these little numbers and it turned out really well. And the good news is he really seems to like it too.
Should you buy the Upgraded X-Carve?
OK! So it sounds like everyone should just go out an buy an X-Carve. Well not so fast. Is this machine a major upgrade over previous versions? Well absolutely it is! There is no doubt. This machine is a fantastic upgrade over the previous version or the original version of the X-Carve. All of these components are really well thought out and are really well designed. Except for one which drives me absolutely insane and that is belts. I can’t believe that these belts have not been replaced with a rack and pinion system. Every time I use the X-Carve I always struggle because something somewhere in the middle of the project will slip and I will have to spend time readjusting the belts and starting my project over. And that’s just kind of the nature of the beast when you are using something that is made out of rubber like this that gets stretched for long periods of time in the heat sitting out in the garage and the shop. It just stretches and it has to be readjusted and retightened fairly often. And I use this machine fairly often too which probably puts additional stress on them.
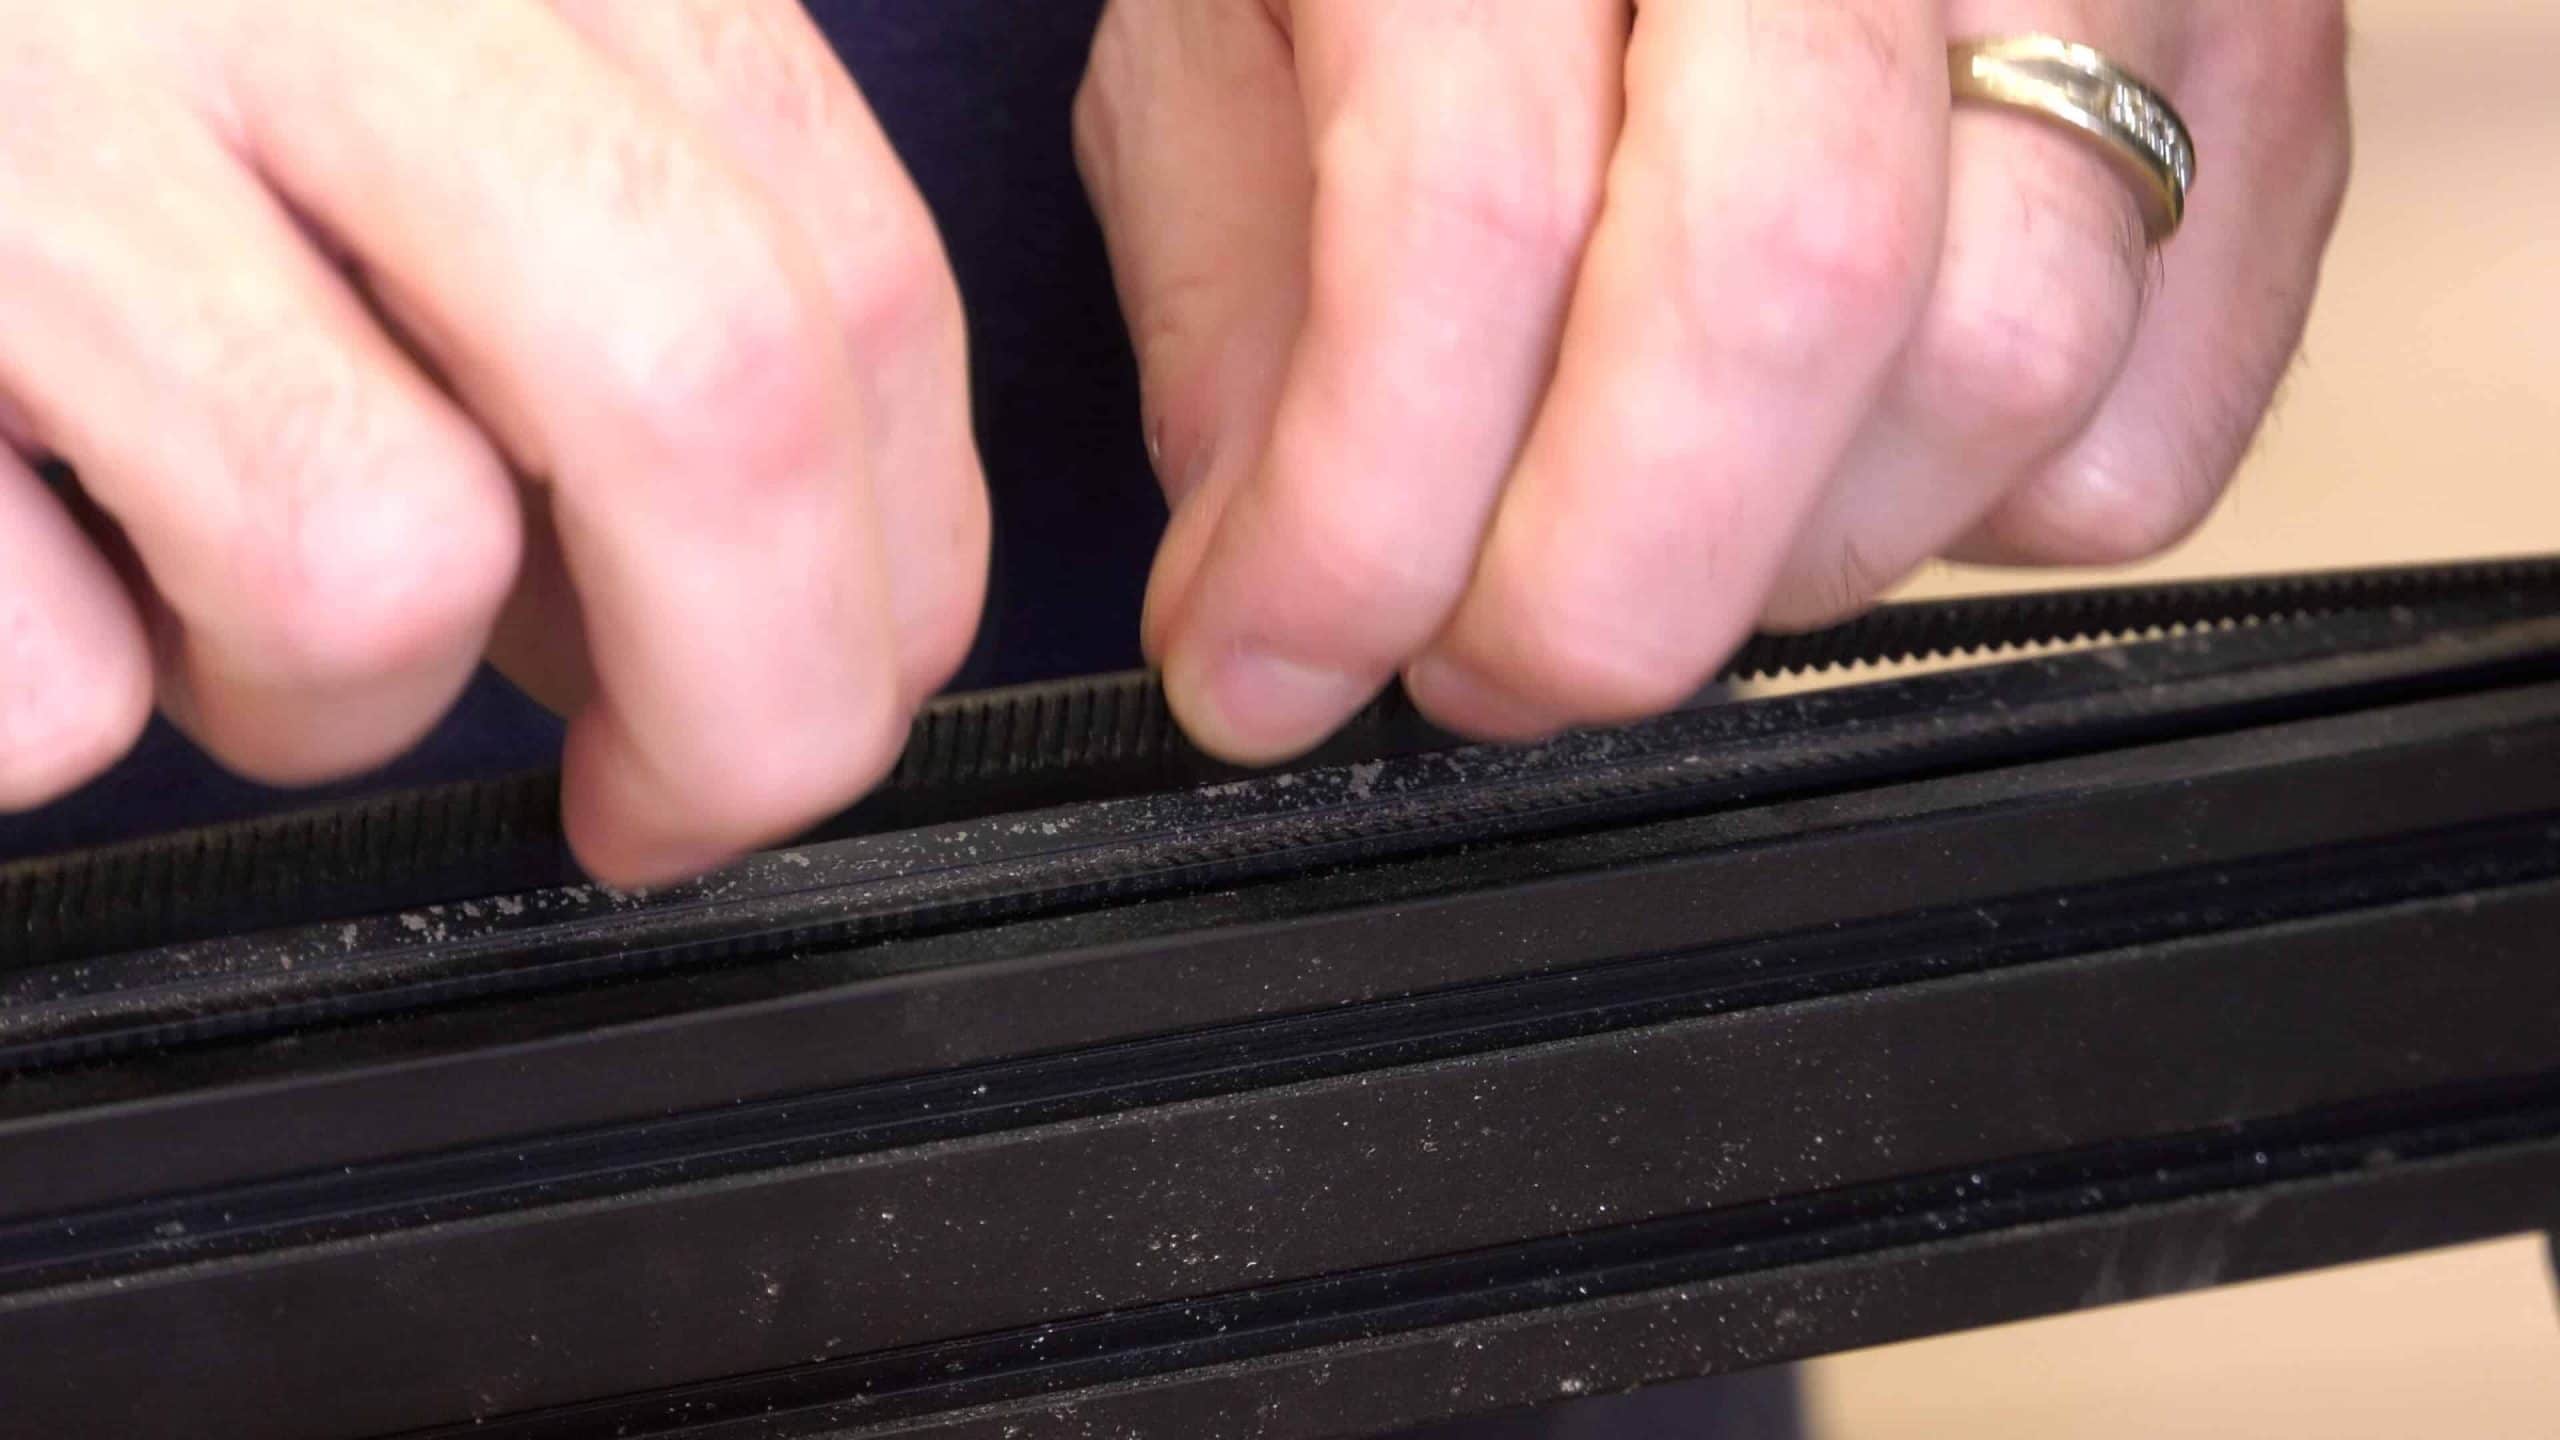
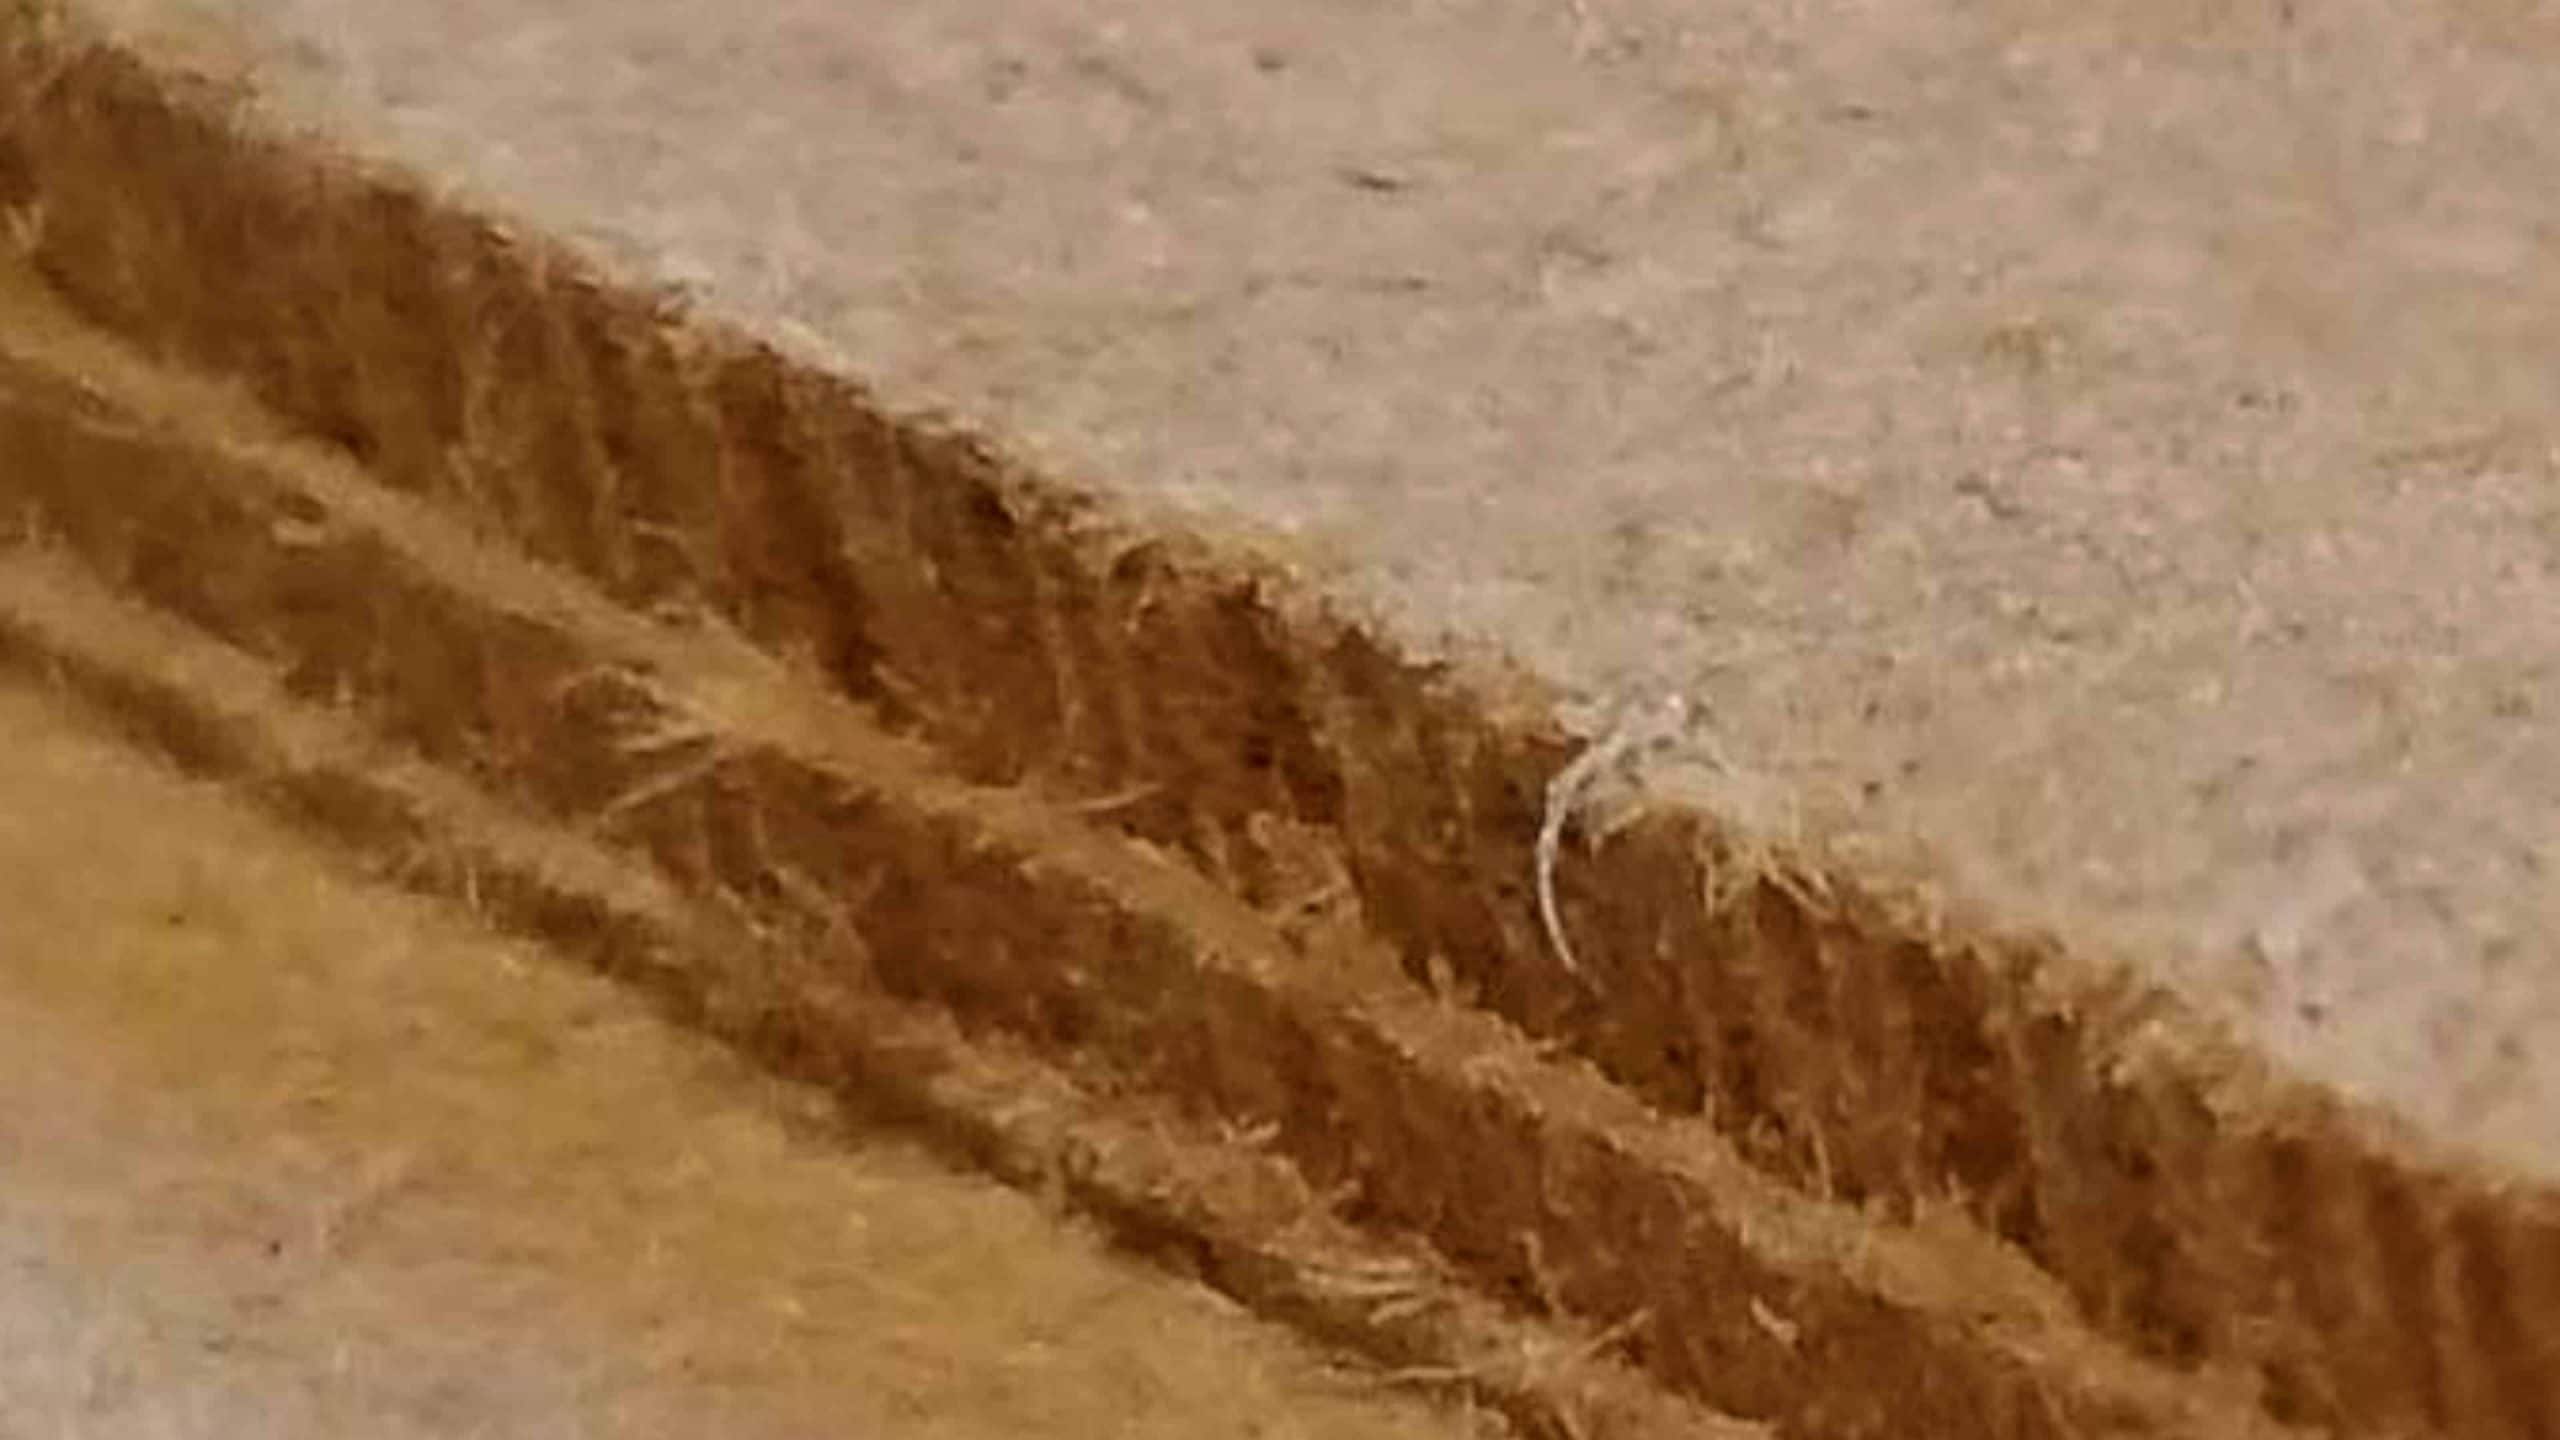
In fact in this very project that I just did with the number puzzle, I had a belt slip! It’s really hard to notice because I was really quick and hit the stop button as fast as I could, but the one is about a sixteenth to an eighth of an inch too low. That is because during the carve process when it got to the one it actually belt slipped and started cutting in the wrong place! Now luckily it is really hard to notice. There is one little jab that you can see where the bit went into the wrong place, but other than that I was able to save the project. This is something that I struggle with almost every time that I use this machine, especially after it has been sitting for a while and I haven’t used it recently.
In my opinion that is the downfall of this machine and that is the one thing that has to be changed. Move it to rack and pinion Inventables and that will solve the problem and make this a much, much higher class machine.
So what would I give this? I would probably give this machine a 3.5 out of 5 stars based on that single flaw. Everything else: Fantastic. So that, is my honest review.


I’m new to cnc work and have done all of my signs free-hand with a Dewalt 611. About 50% of my signs are larger signs of 25 sf. I’ve been looking at Carvewright and X-Carve. Do you feel this would be a good starter cnc for newbys?
3.5