Blog
Installing a 19″ Network Rack (at home)

The story of installing a home network rack in our house is a great one, but first you need to know the backstory! When we built our new home a year ago (we started it in 2013) one of the things that was very important to me was that the home was designed with structured wiring for voice, video, data, and security. Because of this the builder hired an Audio Visual company called Mass AVS, run buy a guy name Mark Albaugh. This company turned out to be absolutely horrible. They didn’t use any kind of hangers in the attic, and just laid everything on the rafters. This caused many of the cables to be cut by the dry wall guys. Most of the cables got encapsulated in spray foam making them impossible to find. They didn’t cover the patch panels causing them to get filled with texture and spackling after they left. They had to come back and re-do a lot of the job.
When we noticed the kids room was missing its Cat5 and RG6 for TV, the company came back and just cut a cable running to another part of the house and reused it to avoid running a new cable. Something we didn’t find out until a year later when we tried to use that port in the other room. After repeated re-work and repair calls, the builder finally fired Mark and his company and brought in another company to correct as much of the work as they could. However, it will never be the structured wiring I desired the house to have. I mean, there’s not much I can do about all the cables being under the spray foam at this point. But I can make the network better! So read on to follow my journey installing a home network rack!
Watch the Installing a Home Network Rack Video
Installing a Home Network Rack
The good news, is that after re-punching the Cat5e at both ends (jack and patch panels) all of the cables did pass spec. That was great news. What wasn’t great news is that I initially didn’t have time to deal with the rest of the situation and just sat all of my network gear on some crappy Ikea shelves instead of installing a home network rack on the wall. In this project, I am going to fix that! (In a future video, I will give a home network tour!)
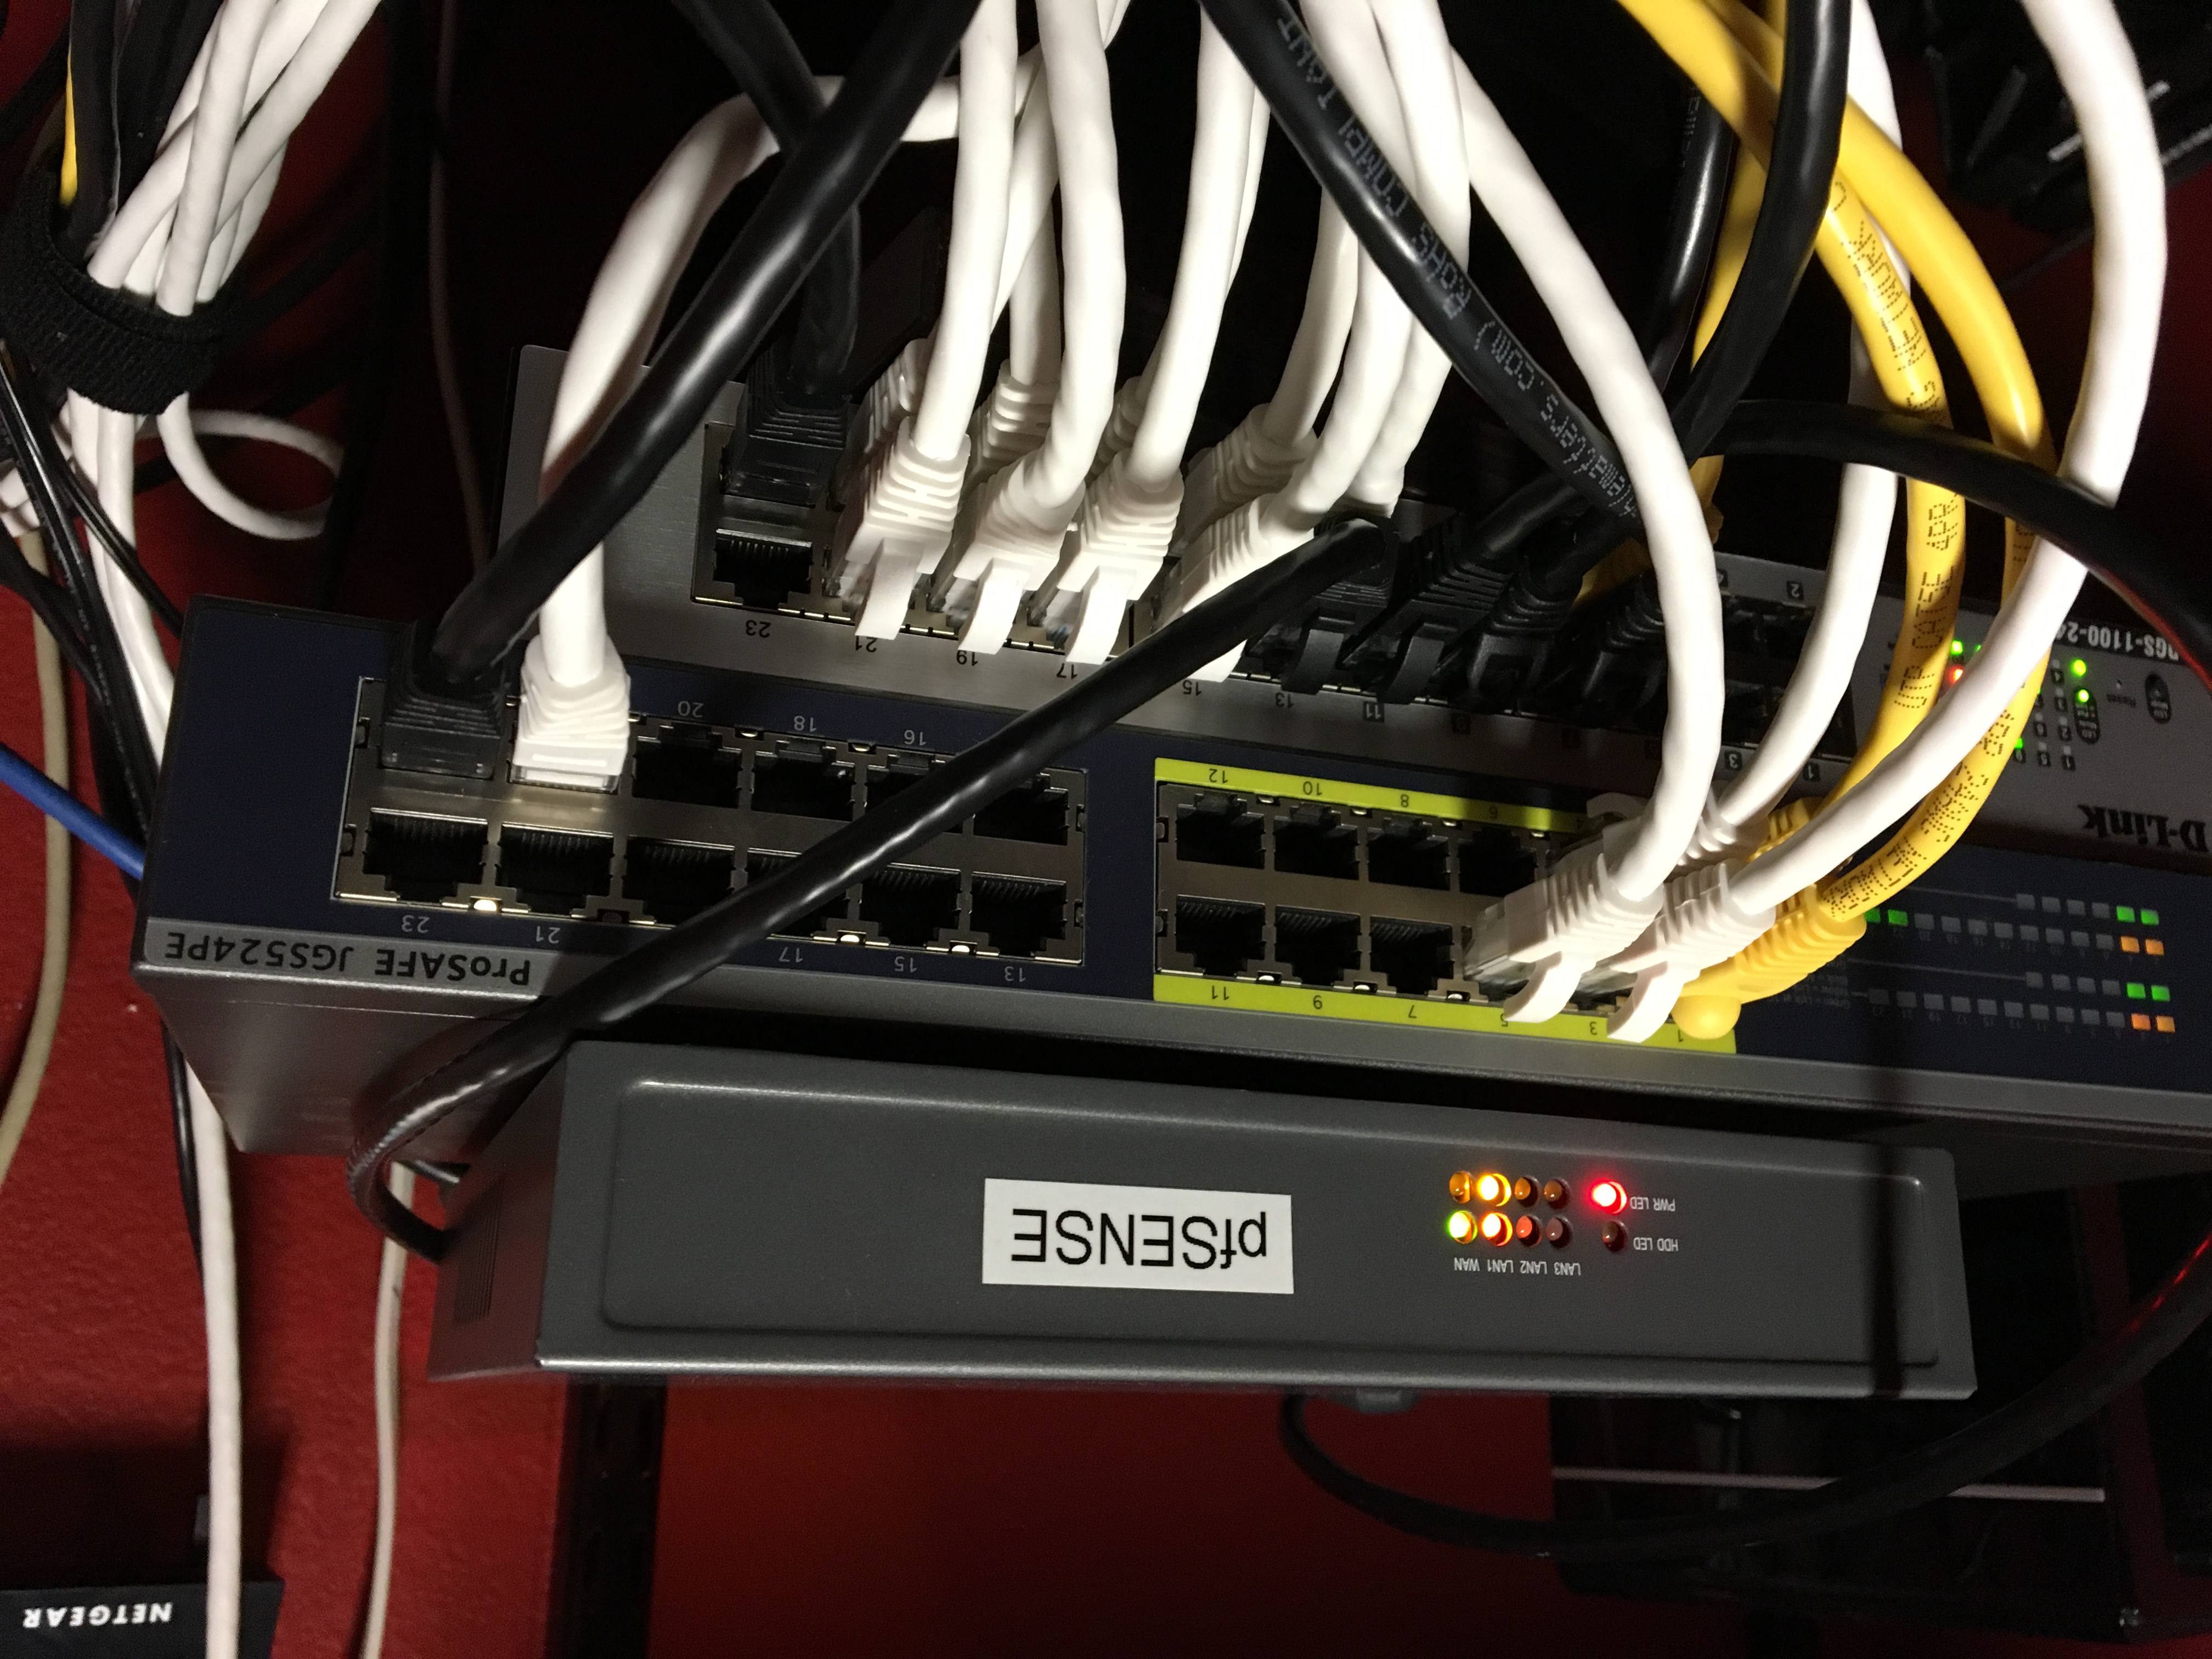
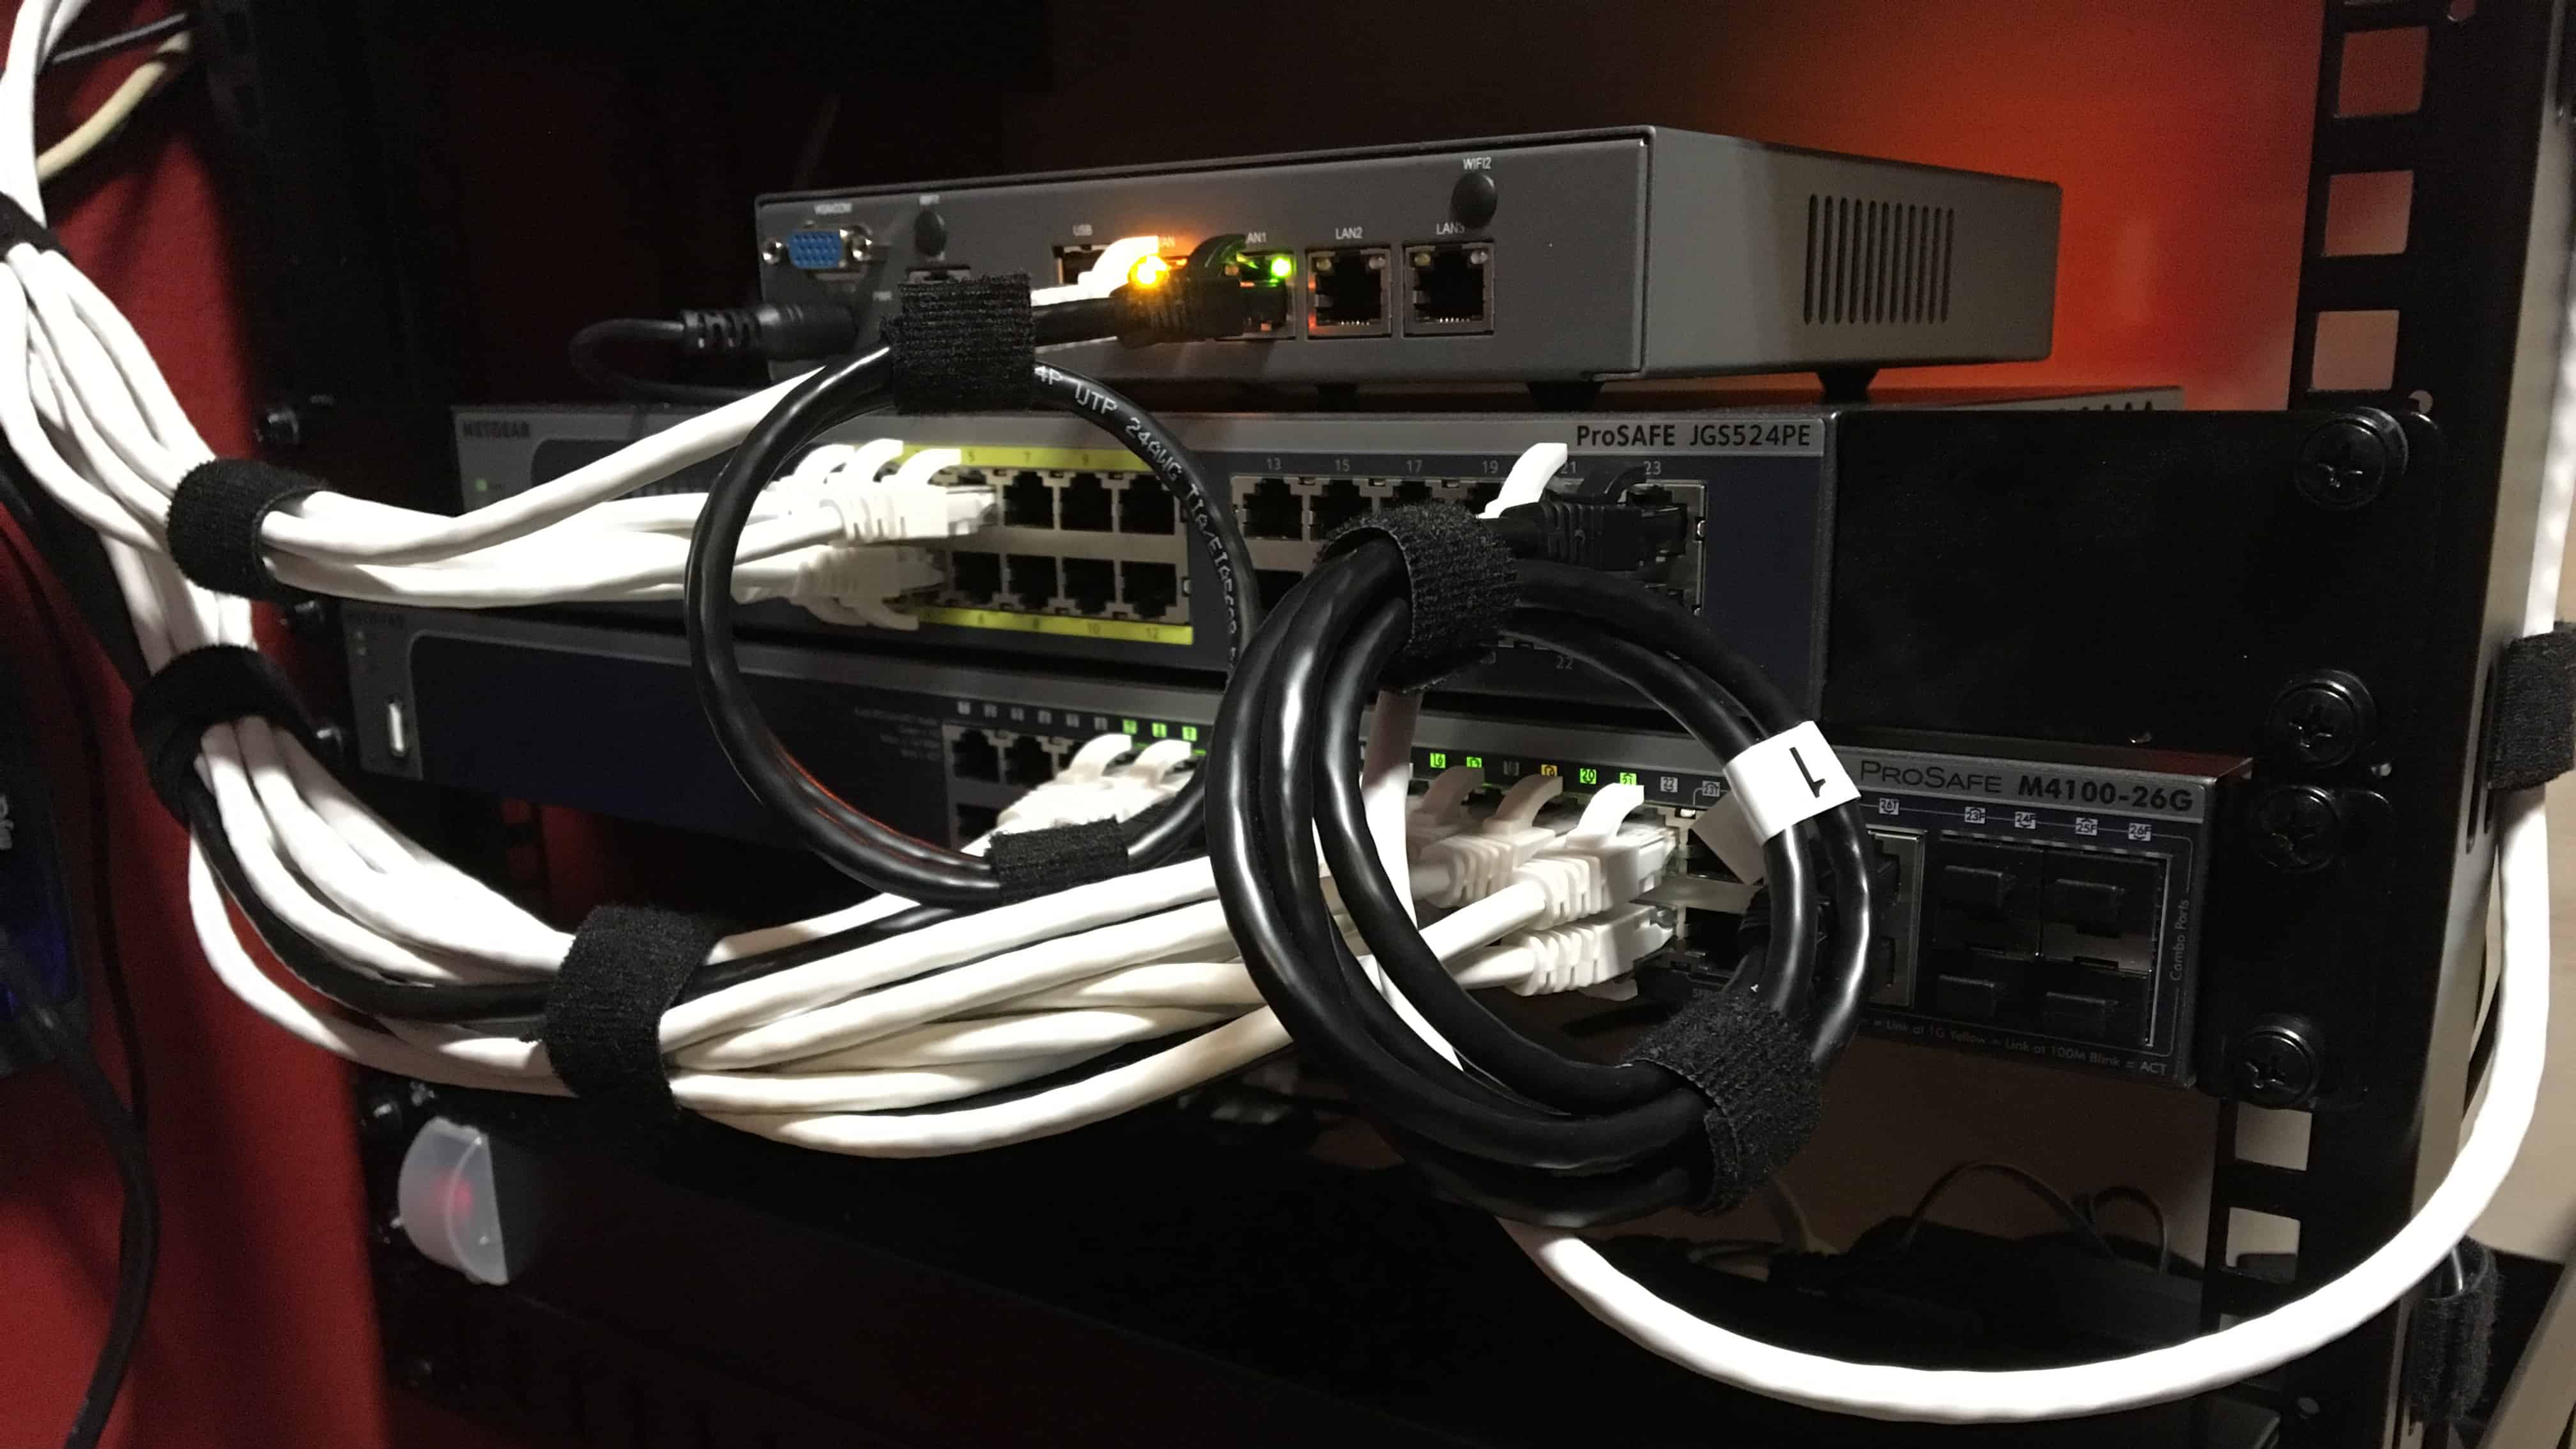
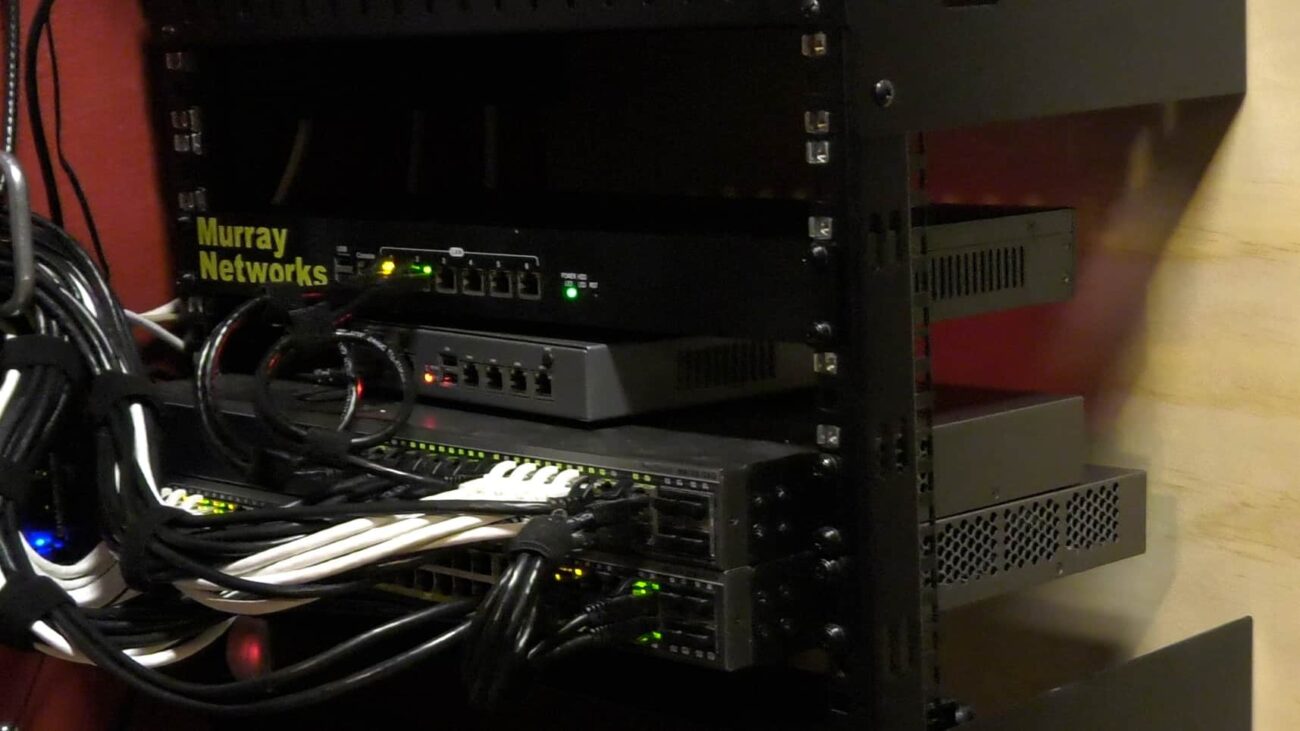
The rack needed to hold several components of my network and some components that were not rack mountable. I have two 24 port Netgear switches, one with Power over Ethernet (PoE) that runs my video surveillance cameras. I have a pfSense firewall-router that connects my home to the internet. A D-Link NVR, two small PCs, and MediaSonic NAS that runs my Plex media server. In addition there are several small components such a MyQ network gateway for my garage door openers and an Apple Airport Extreme for the upstairs wireless.
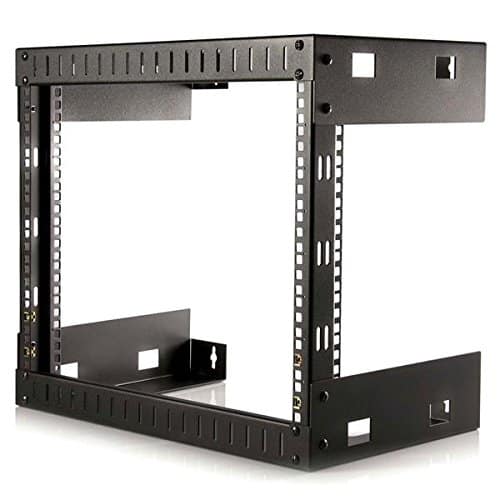
I purchased a 19″ 8U rack from Amazon. It’s StarTech unit. The rack is fantastic! Very heavy duty, solidly build and quite easy to mount! The rack came flat packed and required 16 screws to assemble it, but assembly was incredibly simple. I had it put together in about 5 minutes with nothing but a Philip’s head screwdriver. The rack has 8U of mounting space. The rack units are clearly marked with dots. There are plenty of slots designed for cable ties and velcro all over the rack, which makes cable management a breeze.
RELATED: Our Picks for the Best Home Network Racks
The rack has large holes in the top and bottom. These are of course for conduit, cables, etc to pass through the rack. In my case, I want to use the top of the rack as a shelf and this hole is annoying, but easily fixed as you will see below.
The rack mounts to the wall with four 1/4″ bolts. I recommend using washers, although optional. This rock does not hinge or swing away from the wall for maintenance, which won’t be needed in my install.
Here’s the parts list for what I installed:
- Star Tech 19″ Wall Mount Rack
- Netgear 26 Port Managed Switch
- Synology Network Video Recorder NVR216
- pfSense Firewall
Mounting and Installing the Home Network Rack
So let’s go through the process of install a home network rack.
Step 1: Preparing the Wall
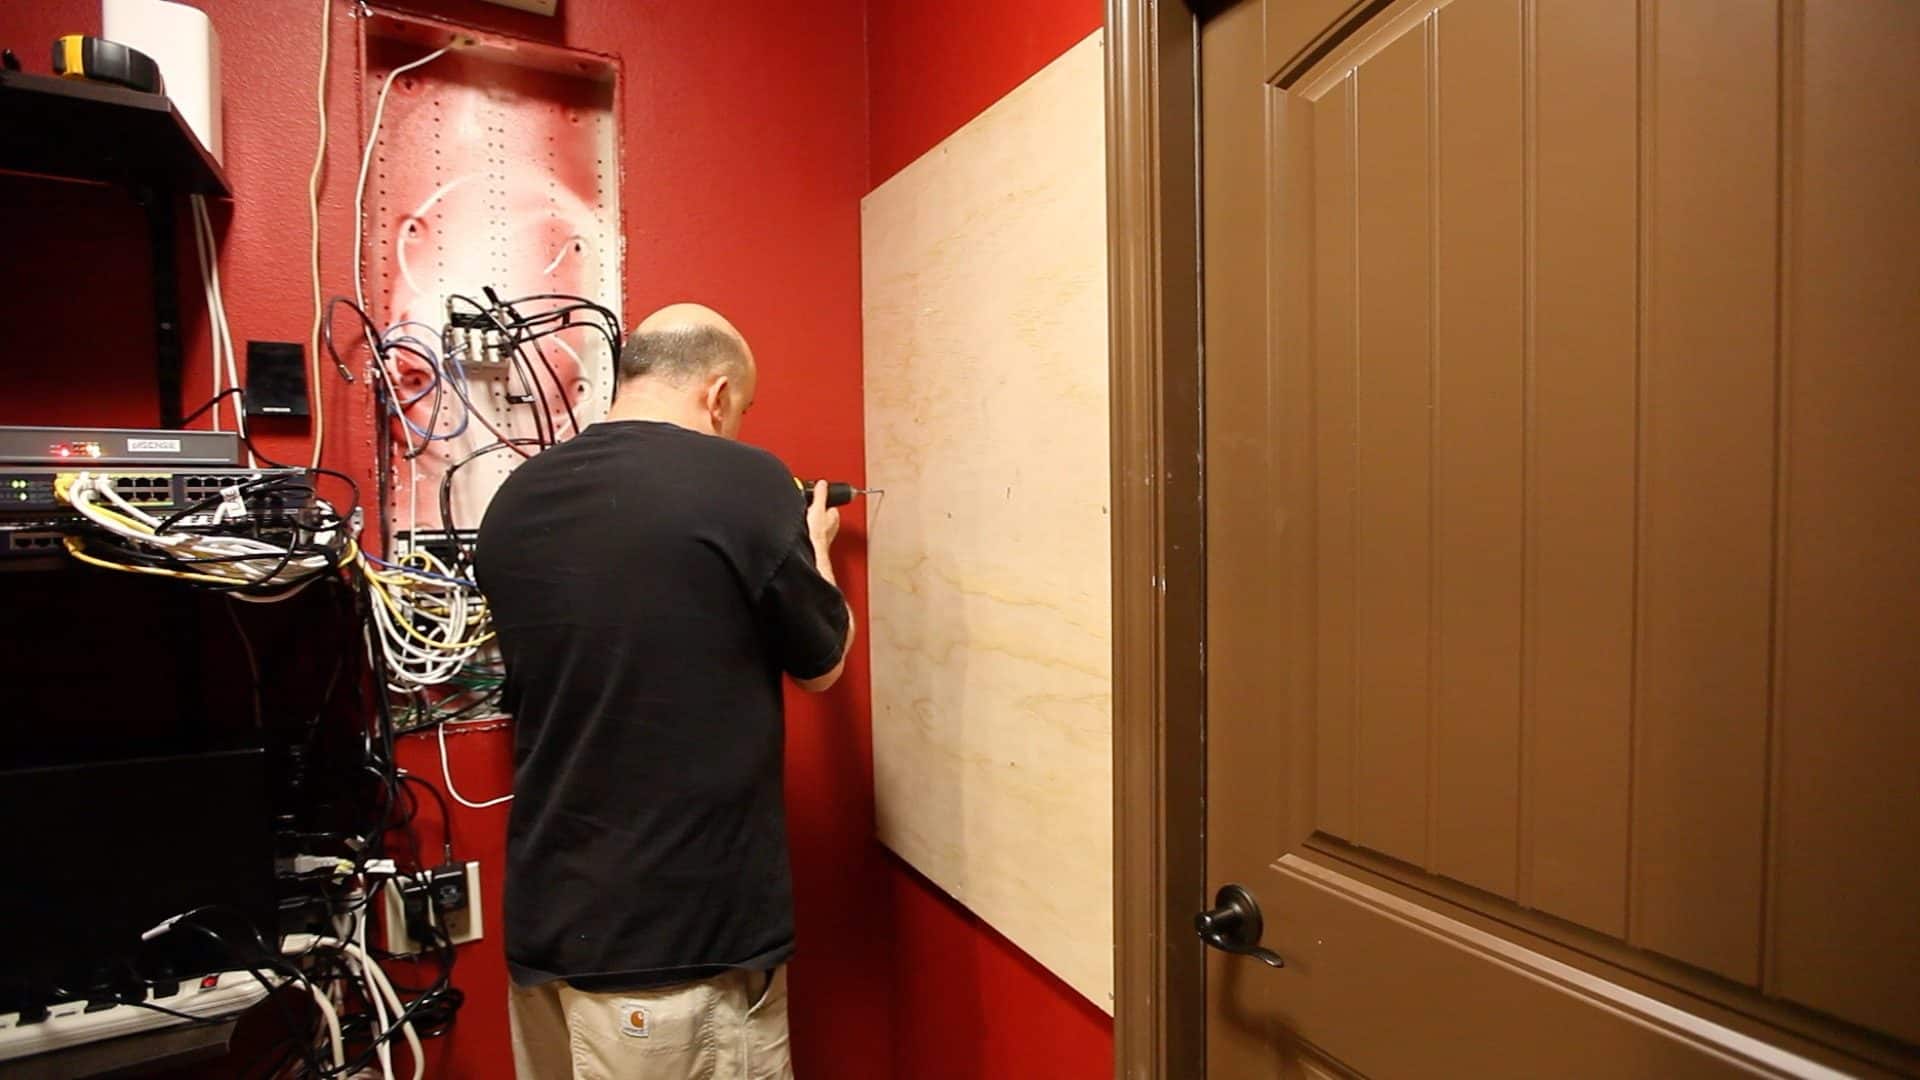
The StarTech 19″ rack mounting holes are 16″ on center. This is perfect for mounting the rack between two studs. Unfortunately, my wall being 27″ apart didn’t have a set of studs in a location I could actually use. The rack would have been pressed against the wall on the left side with clearance for cables. To remedy this I first mounted a 27″ X 48″ section of cabinet grade 3/4″ plywood to the wall with nine 2.5″ wood/dry wall screws. This allowed me to mount the rack anywhere in that area that I liked and will be strong enough to support more than enough weight now, or in the future.
Step 2: Mark and drill the holes
I had my son hold the network rack on the wall, while I used a level to make sure it was flush and square. I then used a Sharpie to mark all of the hole location on the plywood. From there I was able to set the rack on the floor and drill out all of the holes using a 1/8″ drill bit.
Pre-drilling isn’t absolutely necessary, but it will make it simpler to put the bolts in.
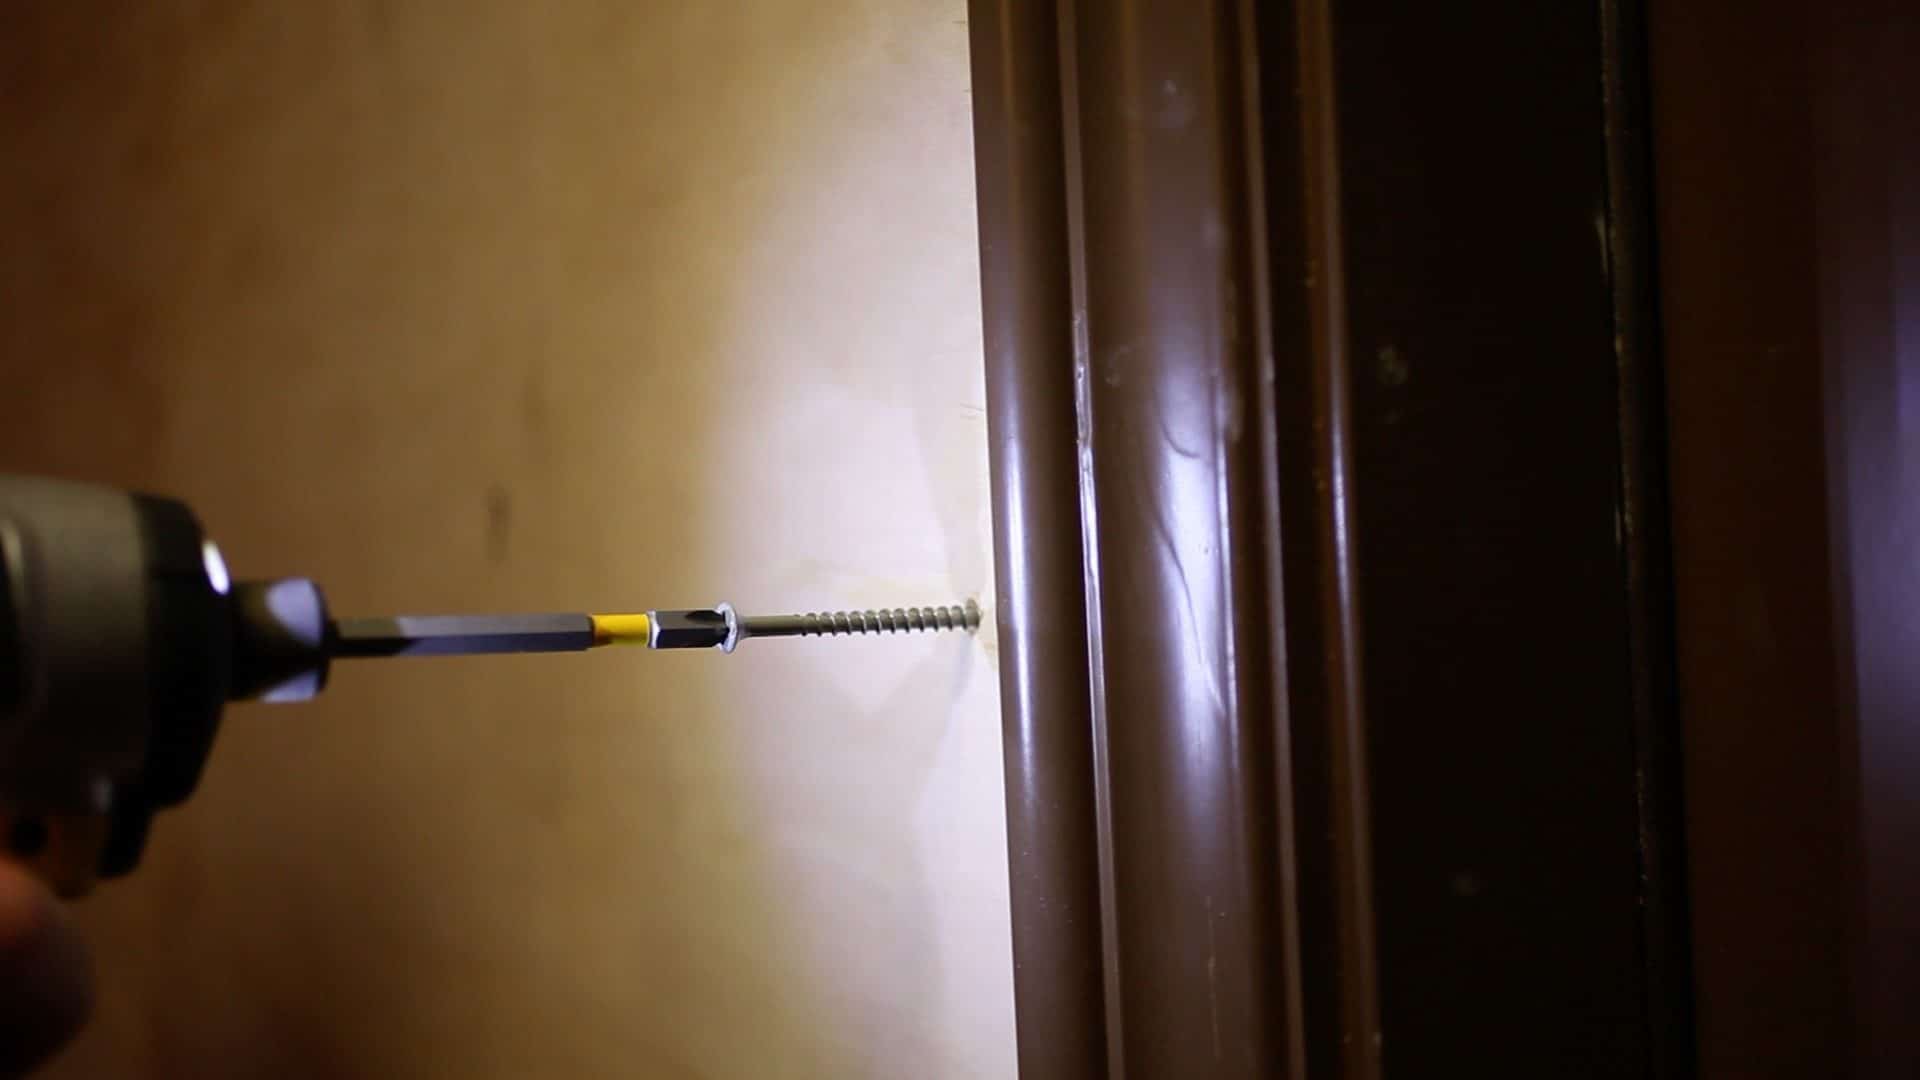
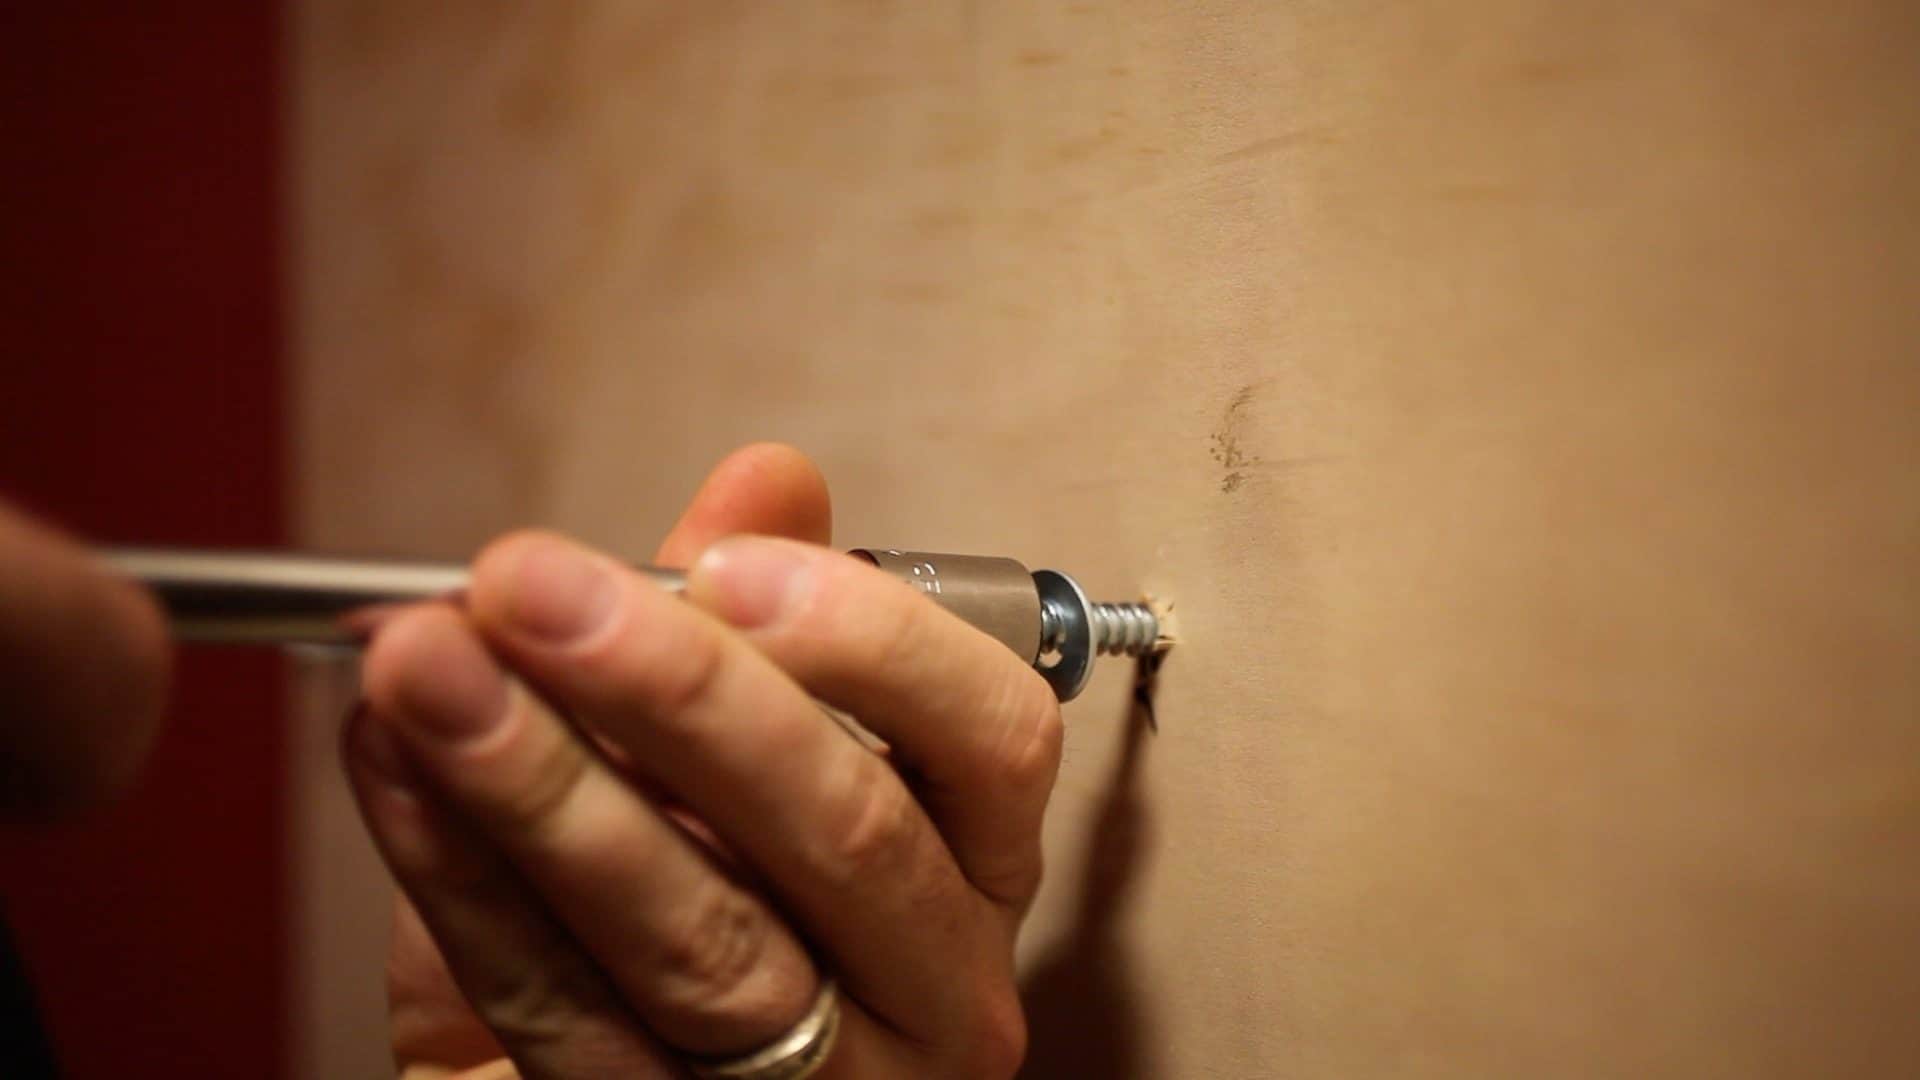
Step 3: Add the mounting bolts
Screw in the four 1/4″ mounting bolts to the wall.
I highly recommend using flat washers to give it some extra holding power, as the holes in the rack are just a little big for my liking and I was worried the bolt heads might pull through.
The plywood I used is 3/4″ cabinet grade pine. It should hold all the weight I would ever put in this rack.
Step 4: Hang the rack on the bolts
Hang the rack over the four bolts! Unfortunately, it was at this point I realized an error in my process.
Remember those washers I recommended in step 3? Yeah. Those washers won’t fit through the holes on the rack! I went ahead and hung the rack and then removed one bolt at a time and moved the washer to the front side.
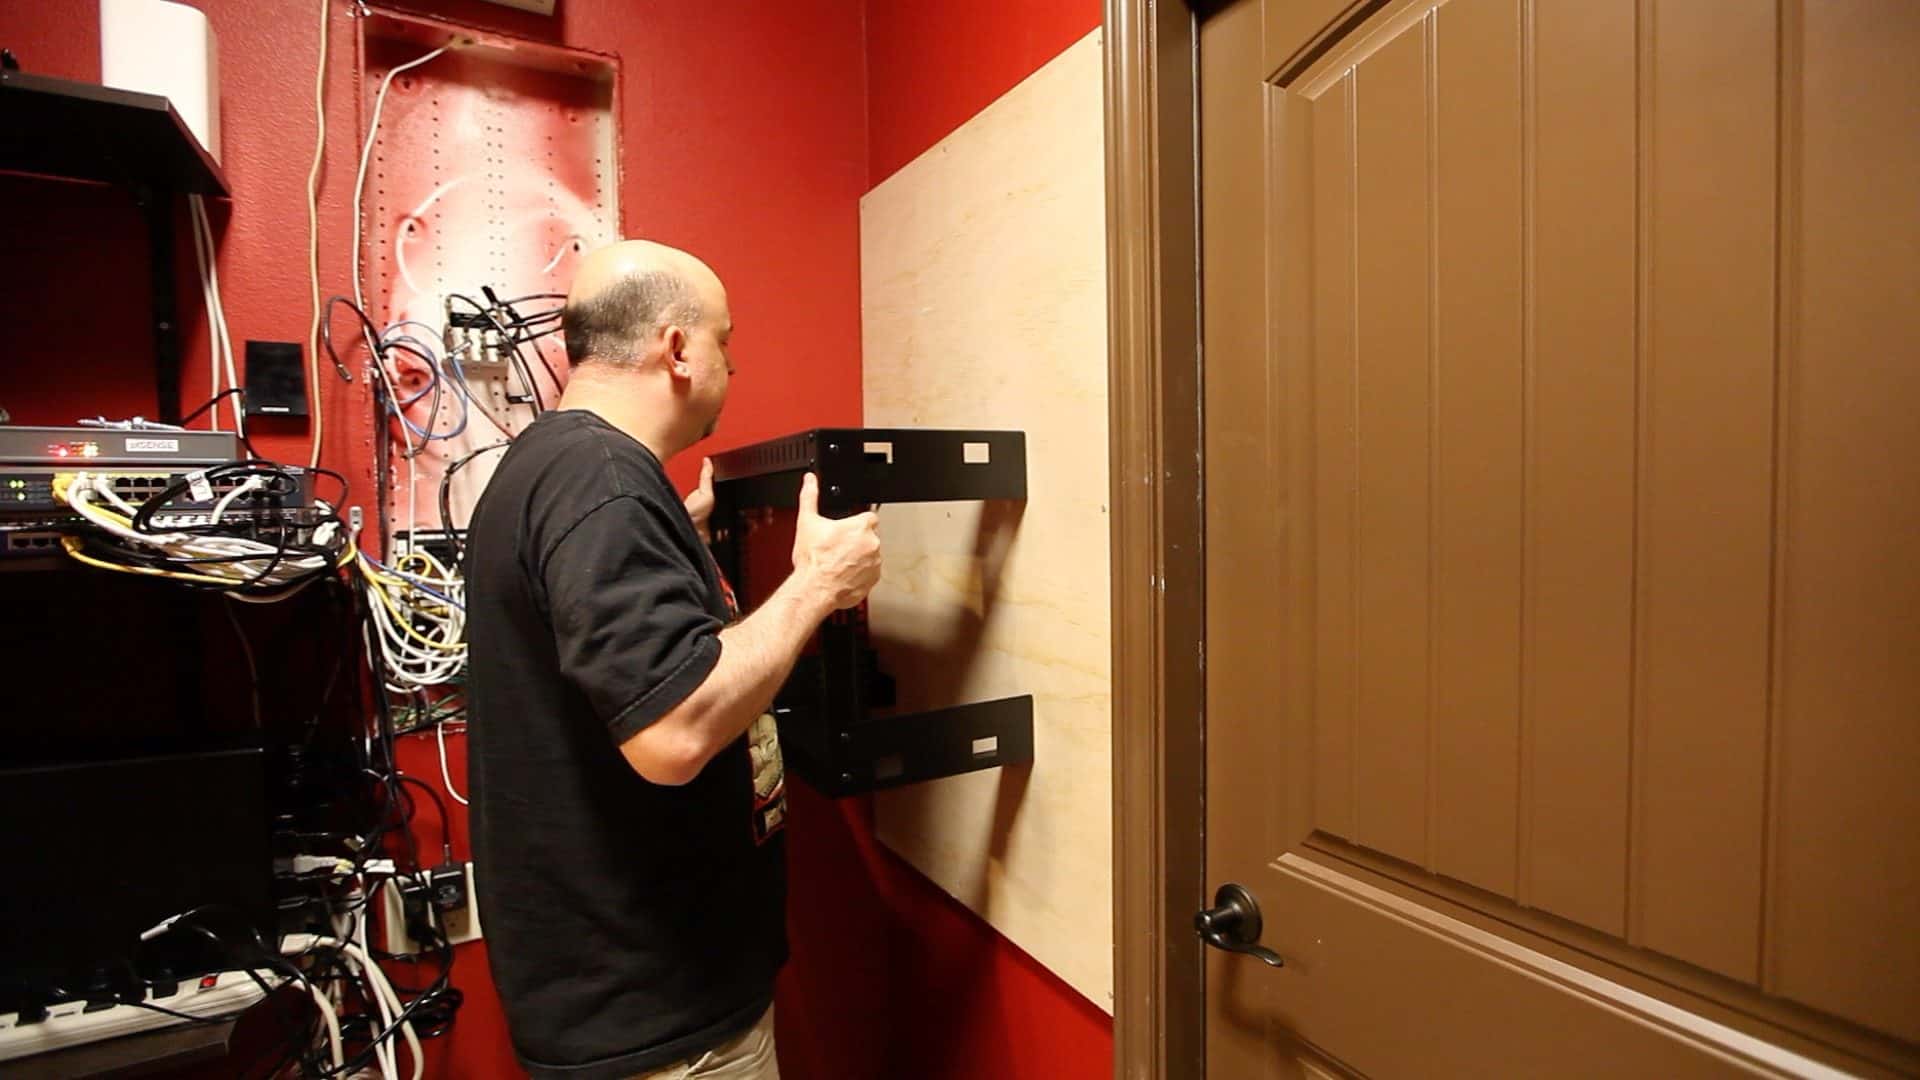
So much for planning right?
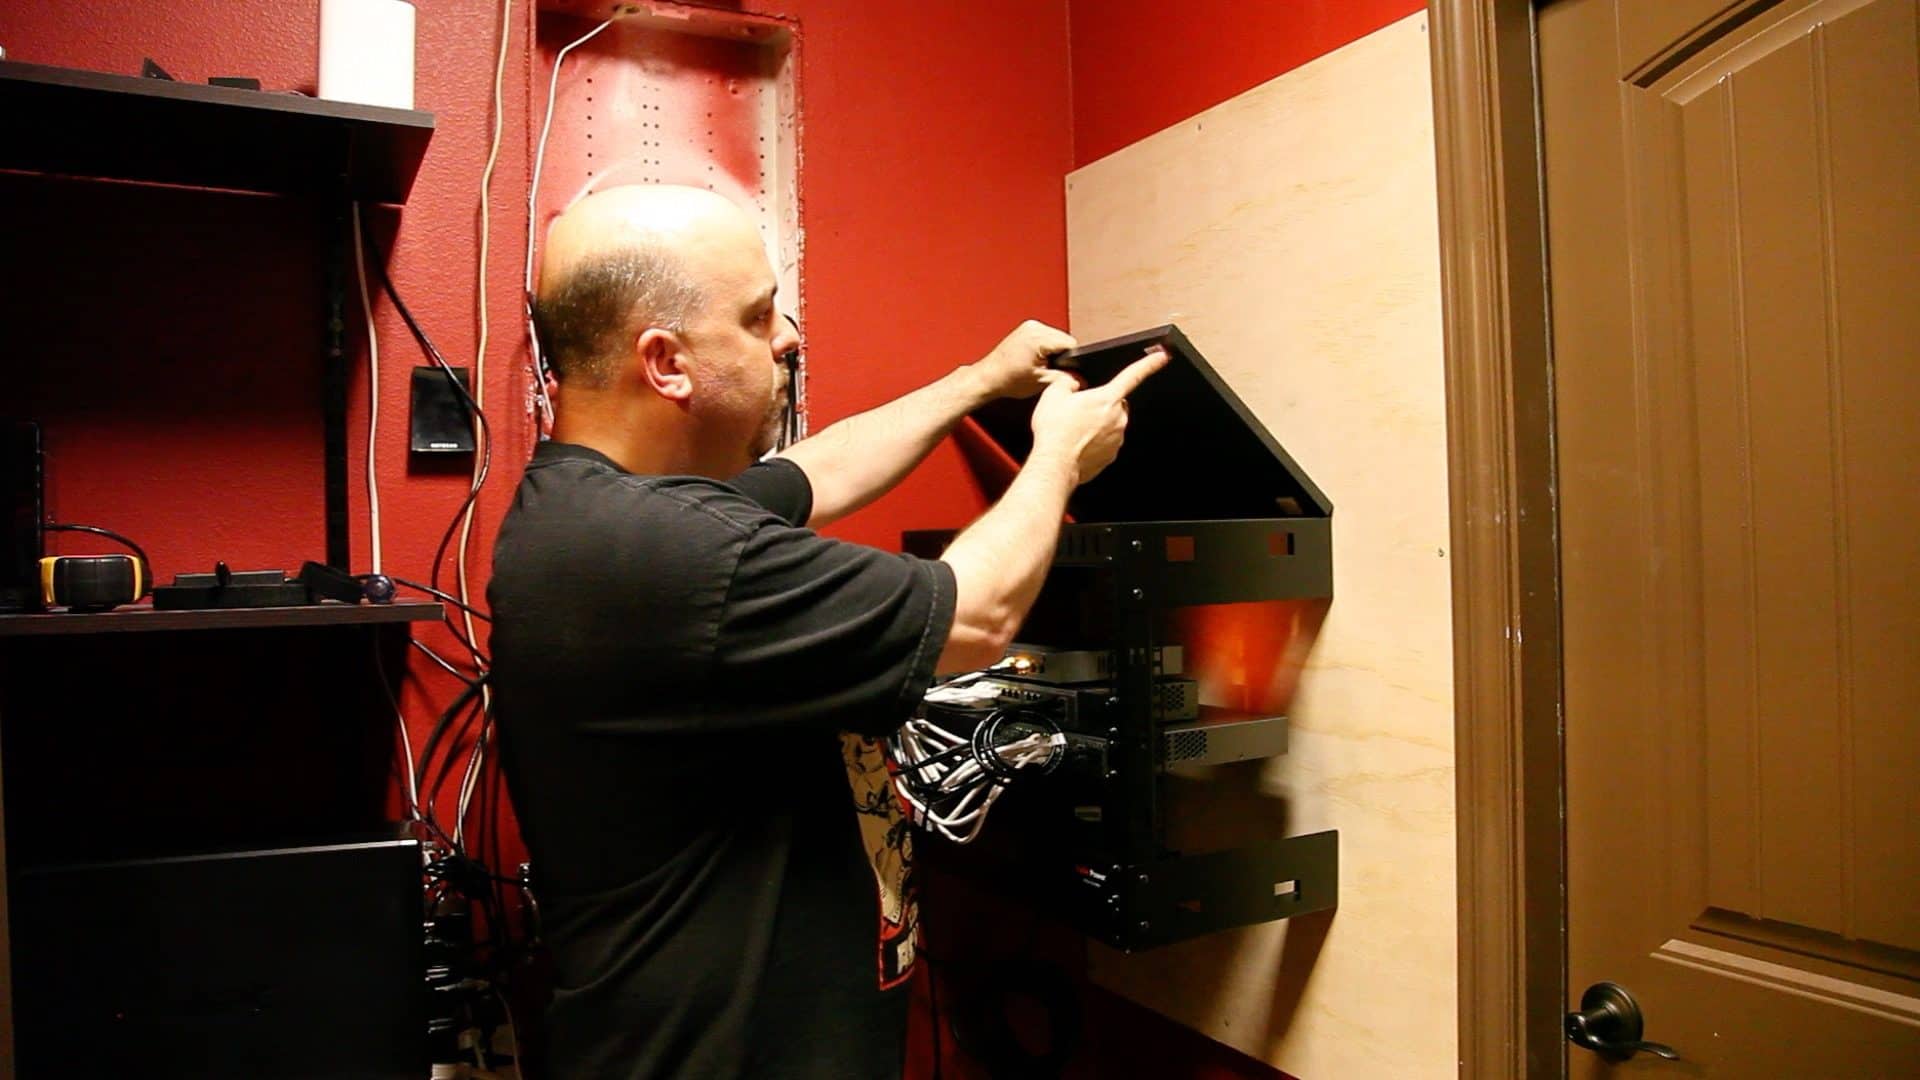
Step 5: Putting a shelf on top of the rack
As I mentioned earlier in this article, this rack has a big hole in the top of it for cable management. I won’t be using that hole, rather I want to sit equipment on the top of this rack.
To solve this problem I bought a black Ikea shelf that was exactly the same size as the top of my rack for $5. I used industrial grade velcro to hold it place so that I could easily remove it in the future, should the need arise.
Step 6: Install the equipment
Installing the home network rack is complete. Now its just time to install all of the gear into the rack. I installed a 10 outlet rack mount PDU (power strip for the laymen) in the bottom of the rack and then installed my equipment in the middle, leaving room on the top or bottom for more gear in the future.
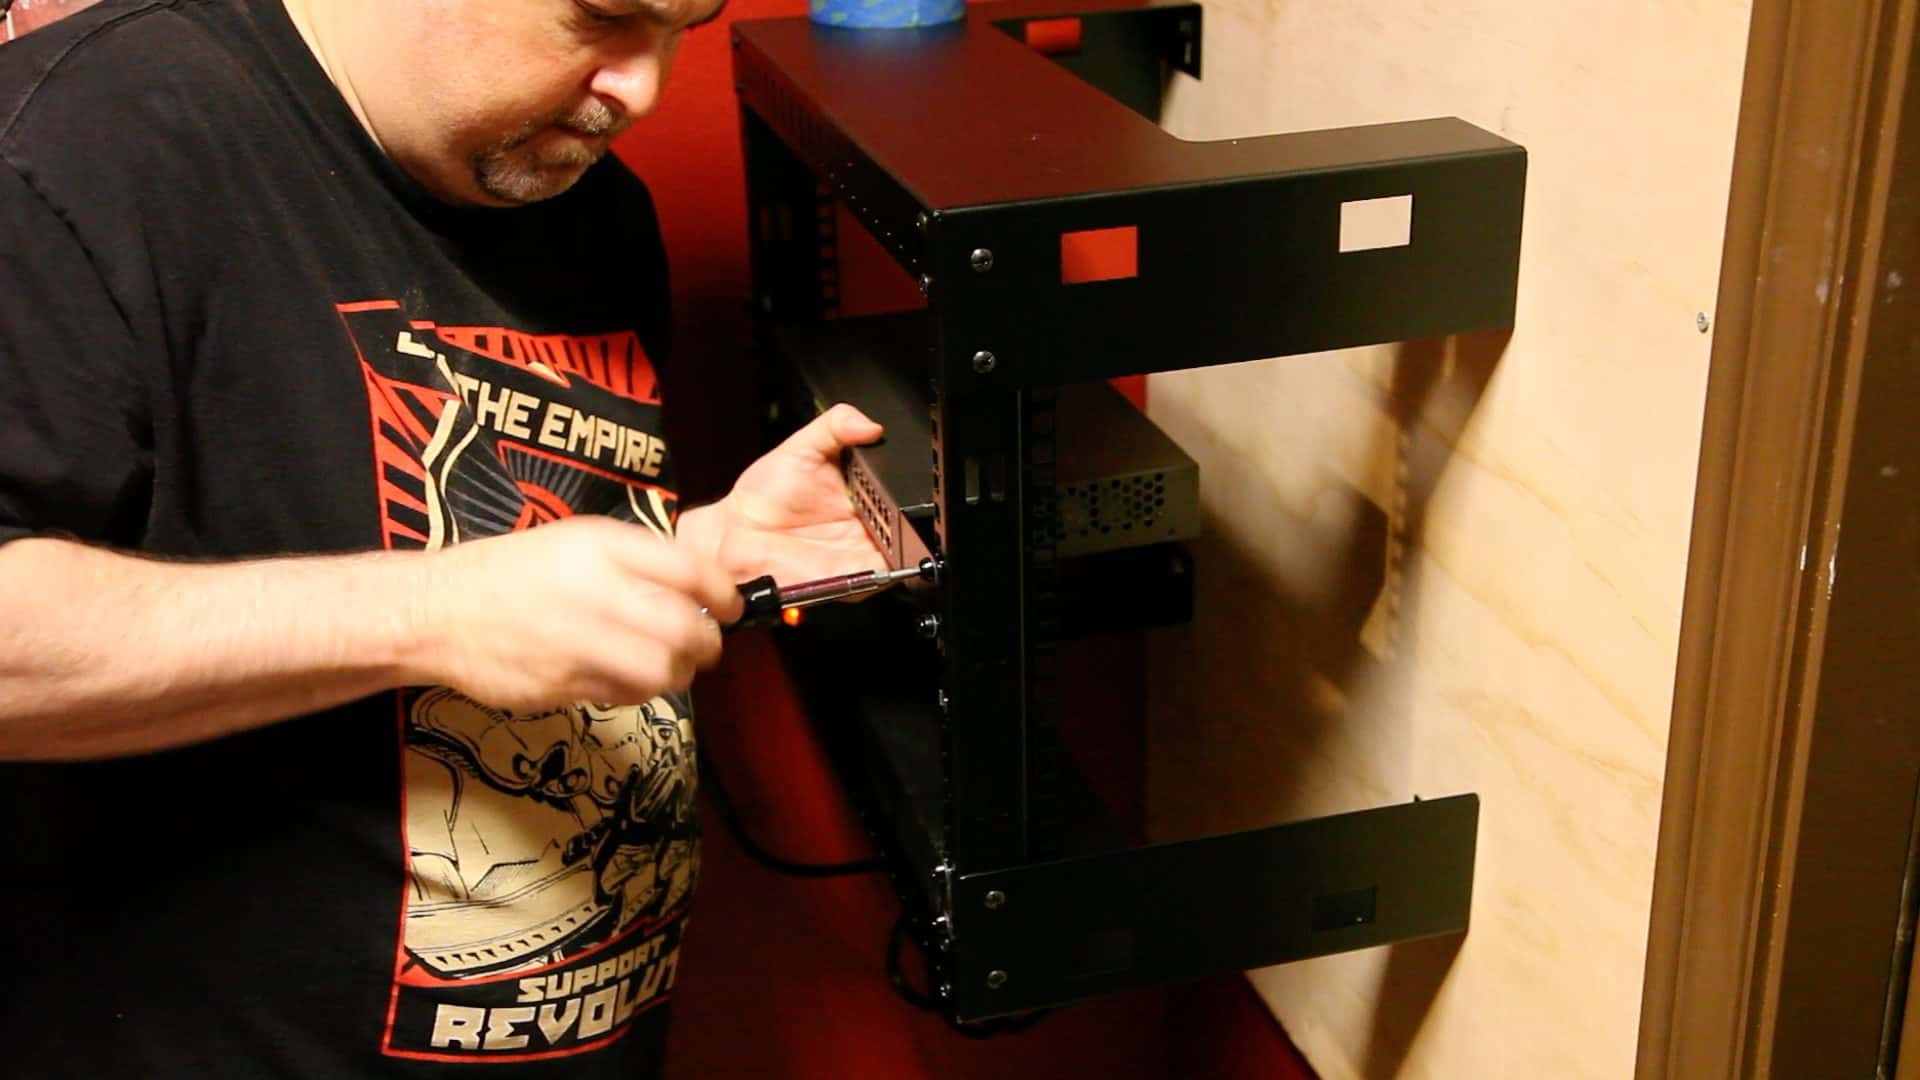
On the top shelf I placed all of my non-rack mountable hardware. I used velcro strips for cable management.
The Completed Home Network Rack Install
This completes the install of my home network rack and I must say it turned out fantastic! Installing a home network rack can be fun and will make your like a lot easier if you have a big network!
what kind of bolts did you use to fasten to the plywood? Do they just go through the drywall and stick out with enough of the threads holding the weight of your rack and equipment in the plywood?
5