Blog
The Apple 1 Case

Many people believe the original Apple 1 case to be the case shown on the Wikipedia page. However it’s important to understand what exactly the Apple 1 was. The original Apple 1 was far from the products that Apple designs today. The Apple 1 was a kit computer! It was designed for hobbyists and tinkerers! It did not come with a case!
That case you see on Wikipedia (pictured below) is just a case some hobbyist made in their garage! There was no official Apple 1 case! This hobbyist made case was thoughtful though! It included a space for the monitor to sit, video connections via BNC connectors, and even a power plug to power the monitor! So bravo to this person for making an Apple 1 case that became iconic, even if it has nothing to do with Jobs or Wozniak!

The Apple 1 Replica: 8-Bit Guy Style
My brother The 8-Bit Guy made a replica Apple 1. If you haven’t see that video, you should definitely check it out.
It’s hard to call what David built a “replica” though. I mean it is not an Apple 1 that Jobs and Wozniak built in their garage in Palo Alto. But its also not a replica of the type you regularly see today. For example, if you look at the Replica 1, its a modern Apple 1 that only replicates the original in electrical function but looks nothing like the original. It uses modern components and completely redesigned PCB. You can call these functional clones more than replicas.
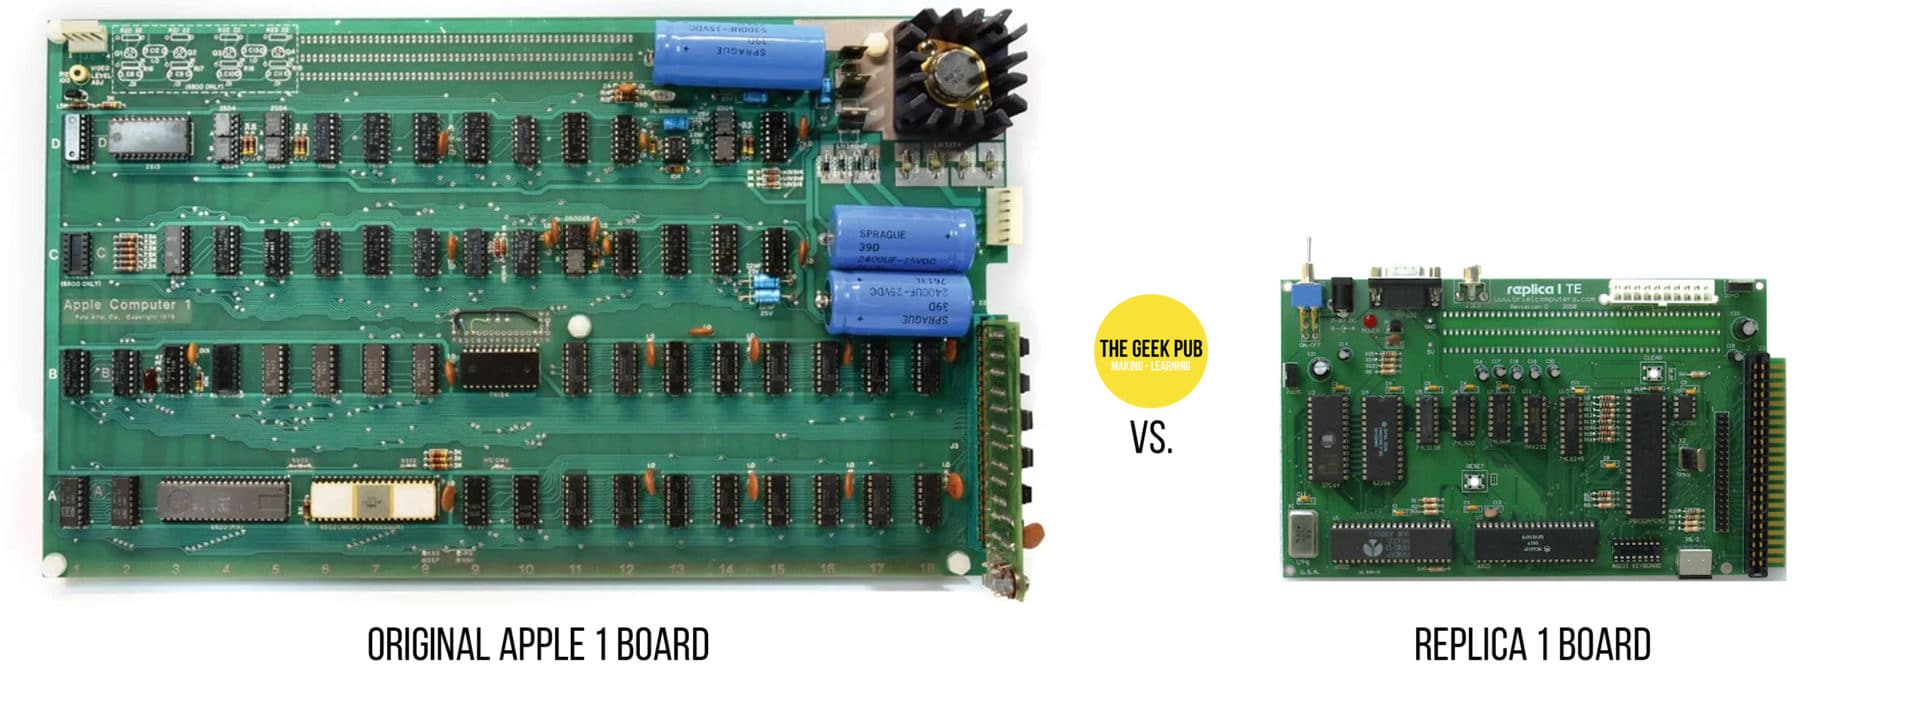
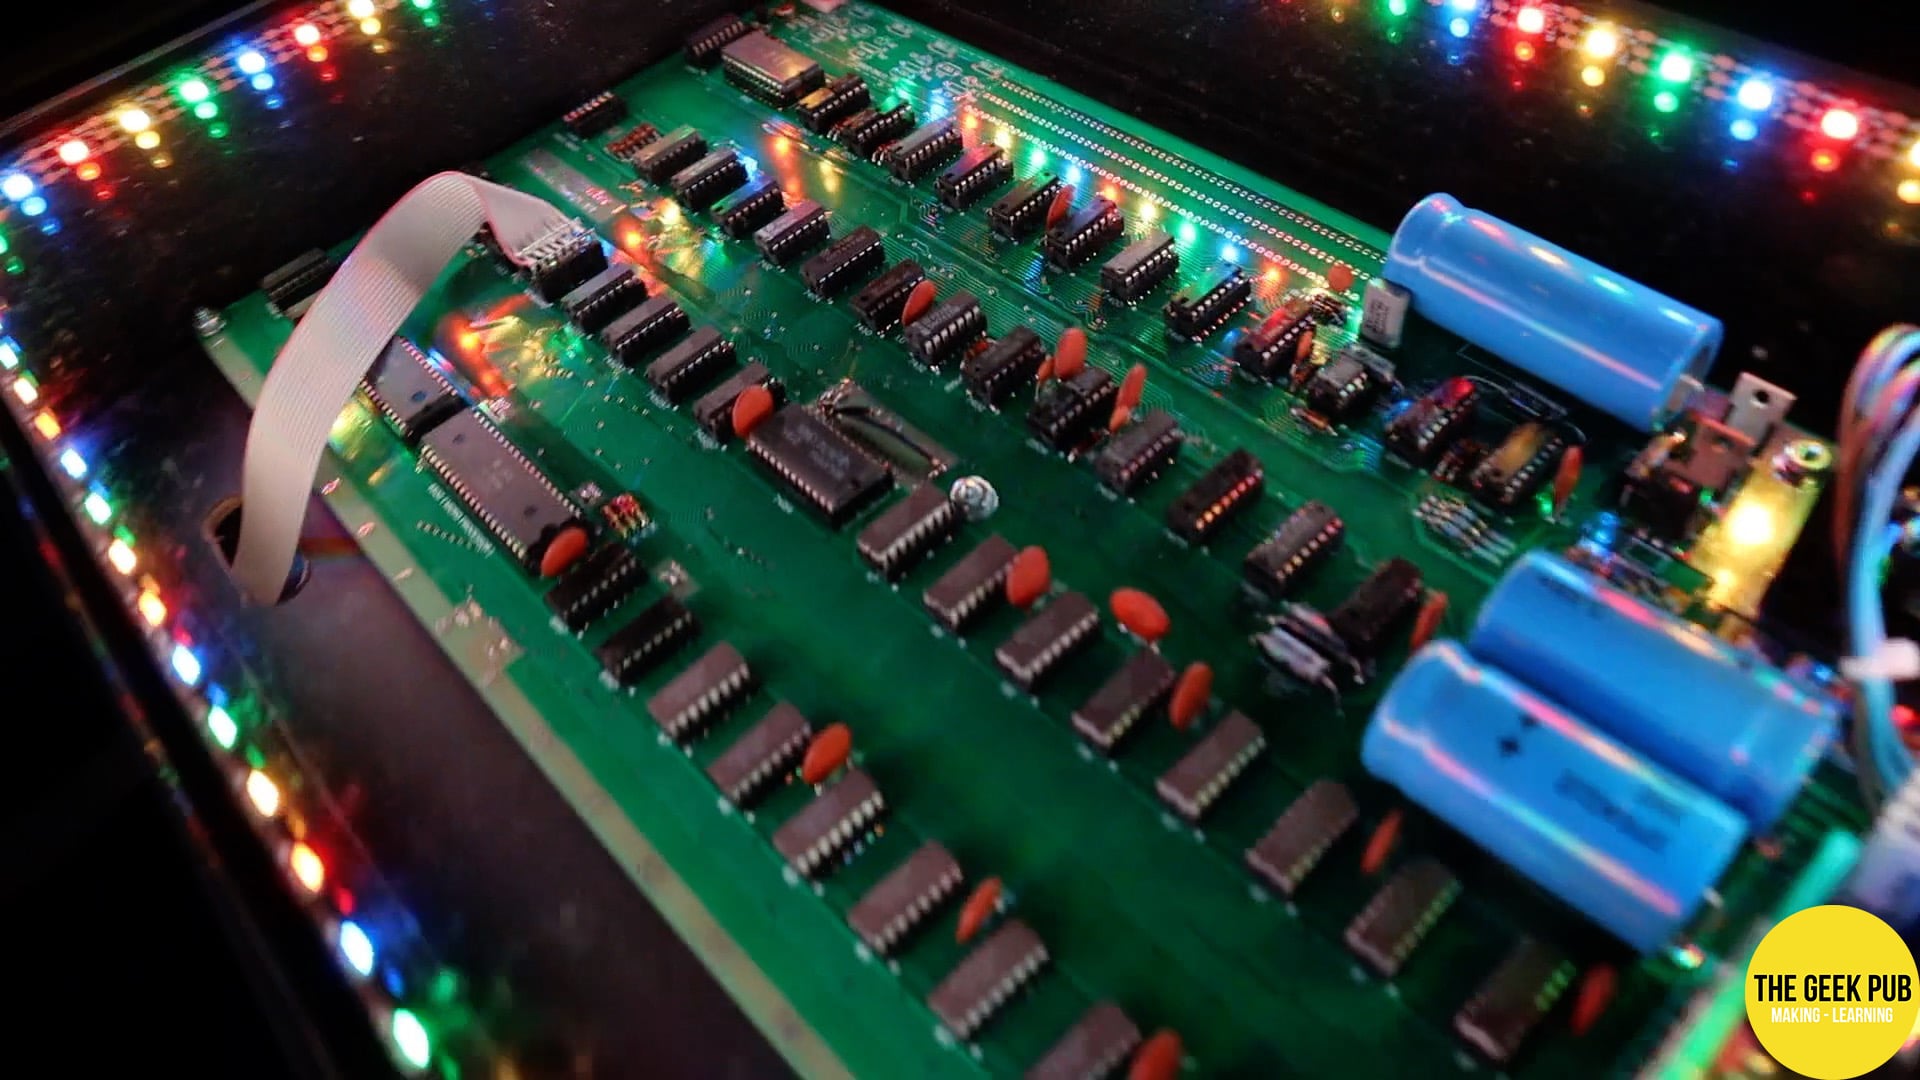
The 8-Bit Guy’s Apple 1 replica is built using only a replica of the original PCB. All of the other components are old stock and era correct. This makes his version almost original. These are the very same parts that the Steves would have sourced and used to build their Apple 1.
The Apple 1 Case: Geek Pub Style
With this in mind, I wanted to try to capture some of the old school style components of the build along with some modern styling ala the Jony Ive era of Apple design. Could I combine them together and give this Apple 1 a case that honors both the old Apple and the modern Apple? I think I can!
This case will eventually wind up in our museum at The Geek Pub. A place where it will be on display for all to see. Which means we want our case to make the Apple 1 board visible and on display. A fully enclosed case is paramount though to keep people from touching the sensitive circuitry that is very hard to find replacements for today!
Of course in Geek Pub fashion we must add something geeky to this case as well! But we will save that for the end of the article. A little surprise if you will. Let’s get to building!
If you want to see just how great this turned out, you can also watch our video on this build!
Tools Used in this Project
If you want to know more about or purchase any of the tools used in this project, here are some handy links.
| QTY | TOOL / LINK | ||
|---|---|---|---|
| 1X | [icon name=”grip-lines” prefix=”fas”] | Bostitch Brad Nailer | [icon name=”cart-plus” prefix=”fas”] |
| 1X | [icon name=”grip-lines-vertical” prefix=”fas”] | DeWalt Cordless Jigsaw | [icon name=”cart-plus” prefix=”fas”] |
| 1X | [icon name=”times-circle” prefix=”fas”] | DeWalt Impact Driver | [icon name=”cart-plus” prefix=”fas”] |
| 1X | [icon name=”circle” prefix=”fas”] | DeWalt Orbital Sander | [icon name=”cart-plus” prefix=”fas”] |
| 1X | [icon name=”circle” prefix=”fas”] | PowerTec Bench Buffer | [icon name=”cart-plus” prefix=”fas”] |
| 1X | [icon name=”circle” prefix=”fas”] | Saw Stop Cabinet Saw | [icon name=”cart-plus” prefix=”fas”] |
| 1X | [icon name=”square” prefix=”far”] | Rockler Corner Clamps | [icon name=”cart-plus” prefix=”fas”] |
Parts List for this Project
If you want to build this project, here are some handy links to the parts we used.
| QTY | PART / LINK | ||
|---|---|---|---|
| 1X | [icon name=”power-off” prefix=”fas”] | Fused and Switched IEC-14 Receptacle | [icon name=”cart-plus” prefix=”fas”] |
| 1X | [icon name=”spray-can” prefix=”fas”] | 3M Super 77 Spray Adhesive | [icon name=”cart-plus” prefix=”fas”] |
| 1X | [icon name=”times-circle” prefix=”fas”] | Quick Terminal Blocks | [icon name=”cart-plus” prefix=”fas”] |
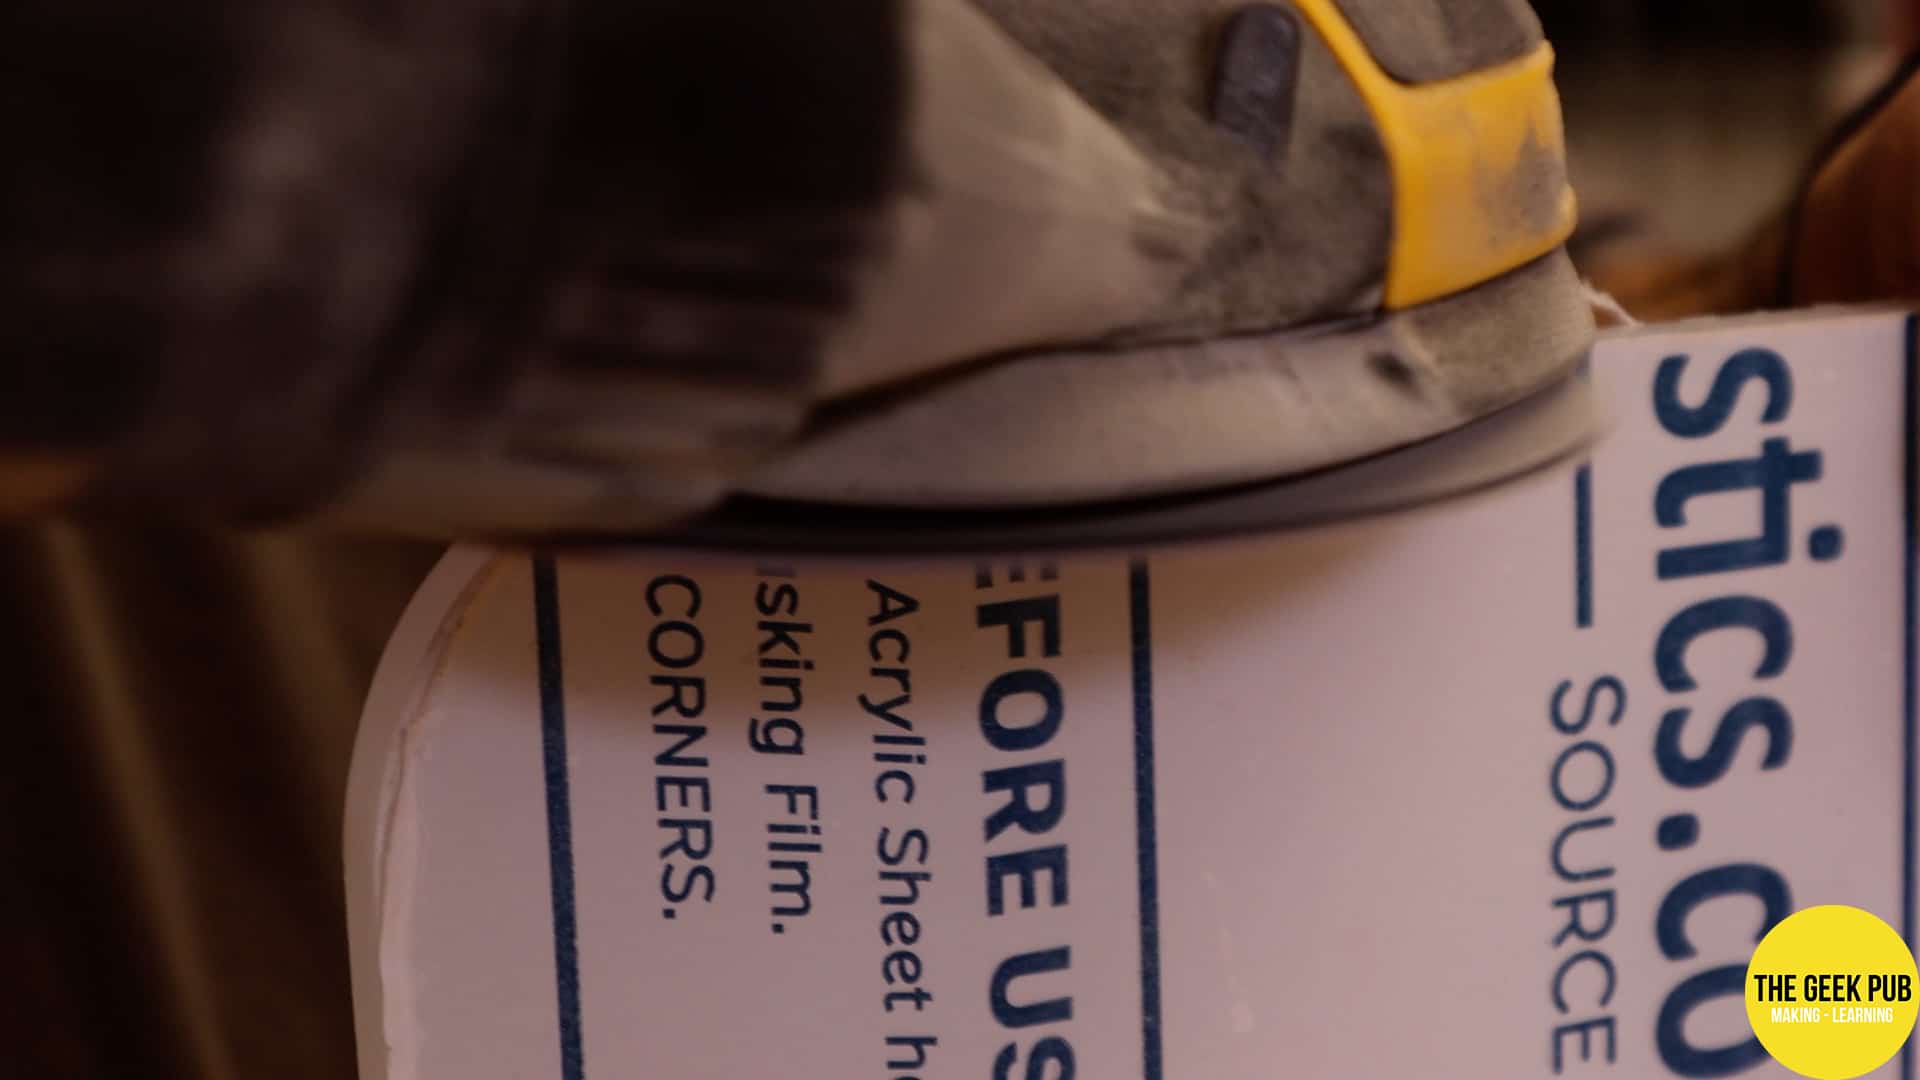
| 1X | [icon name=”square” prefix=”far”] | 3/8″ Acrylic Sheet | [icon name=”cart-plus” prefix=”fas”] |
Some of these links may be affiliate links. If you use them they cost you nothing, but we get a small commission that helps us keep making projects like this!
Making the Apple 1 Case Frame
Our Apple 1 case will be made mostly of wood and we are going to need to cut down some boards to make it. However without spoiling things, we do want to give the modern era Apple rounded corners. This will require some woodworking trickery!
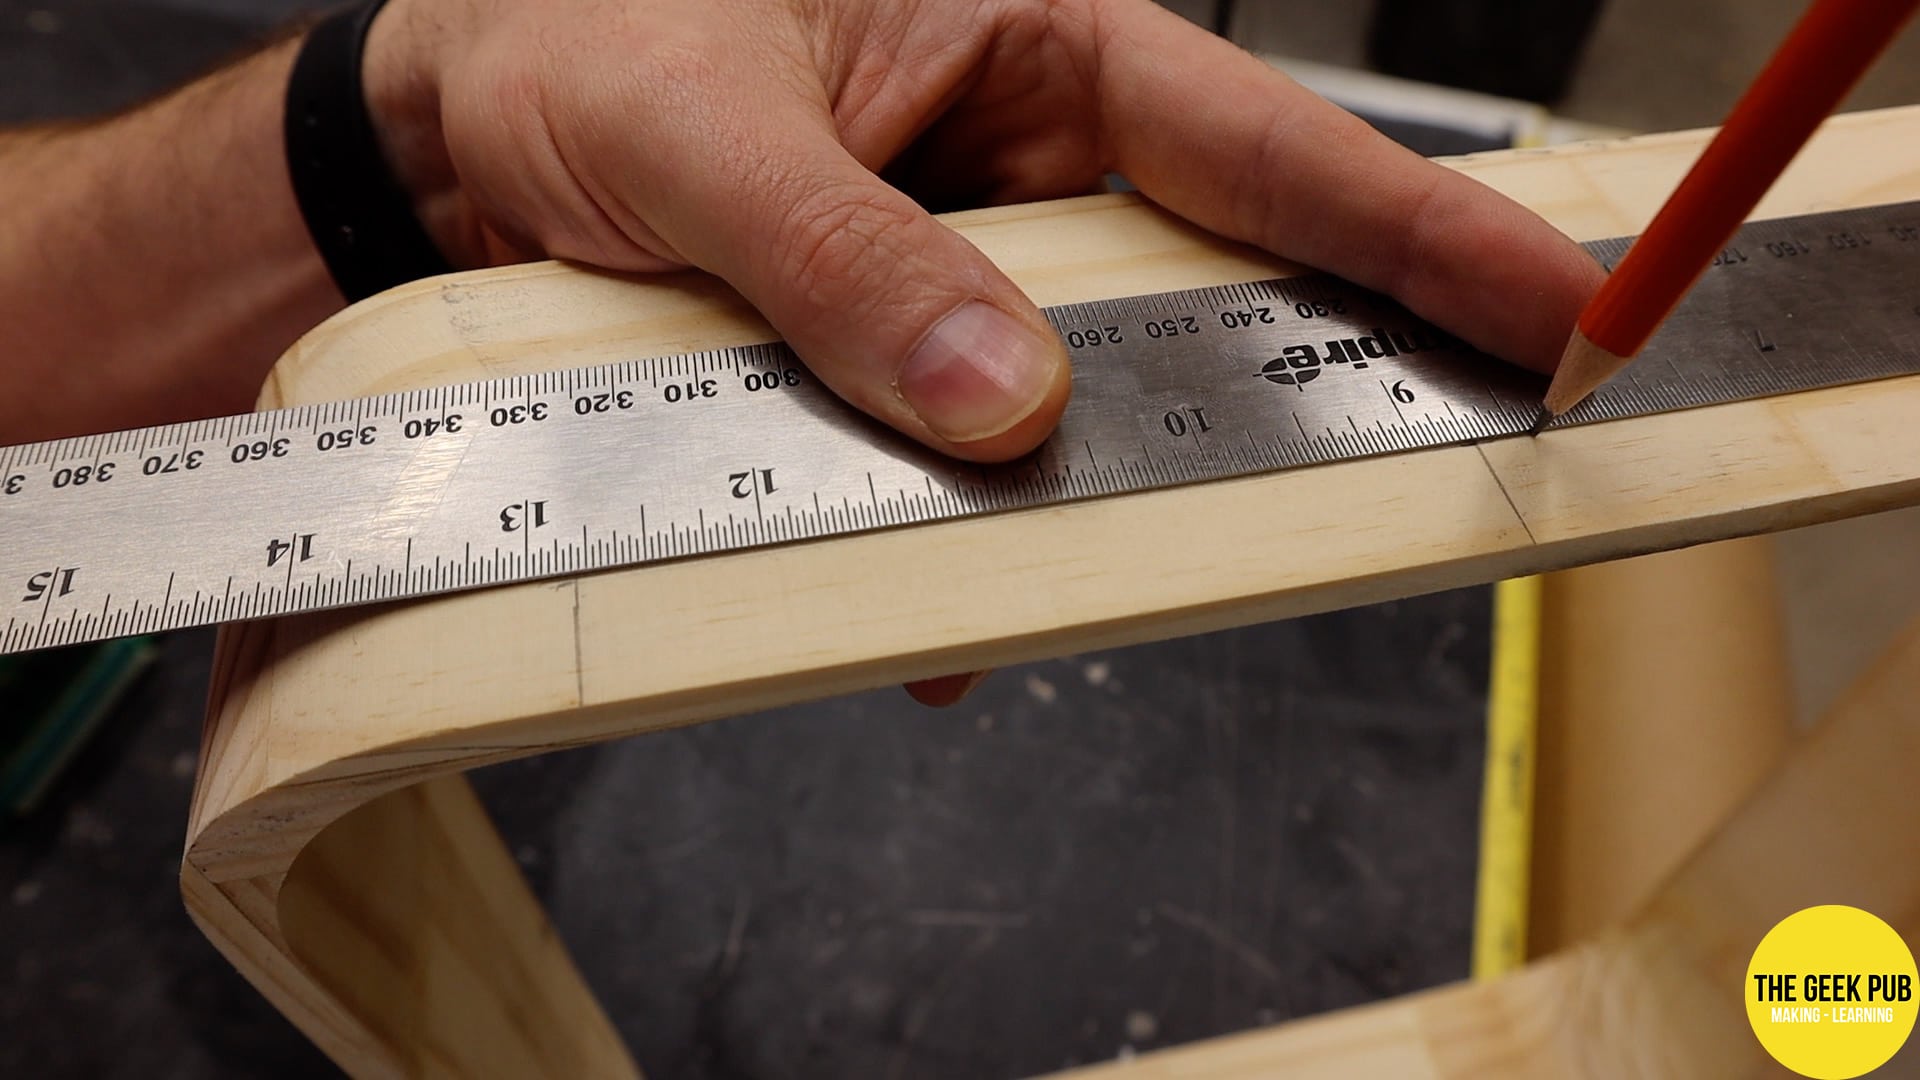
I started by using the table saw to mill down some pine boards to make the outer walls of the case. I sanded them down lightly to remove the saw marks and then cut them to length on the miter saw. As always, I like to label all my parts as I cut them.

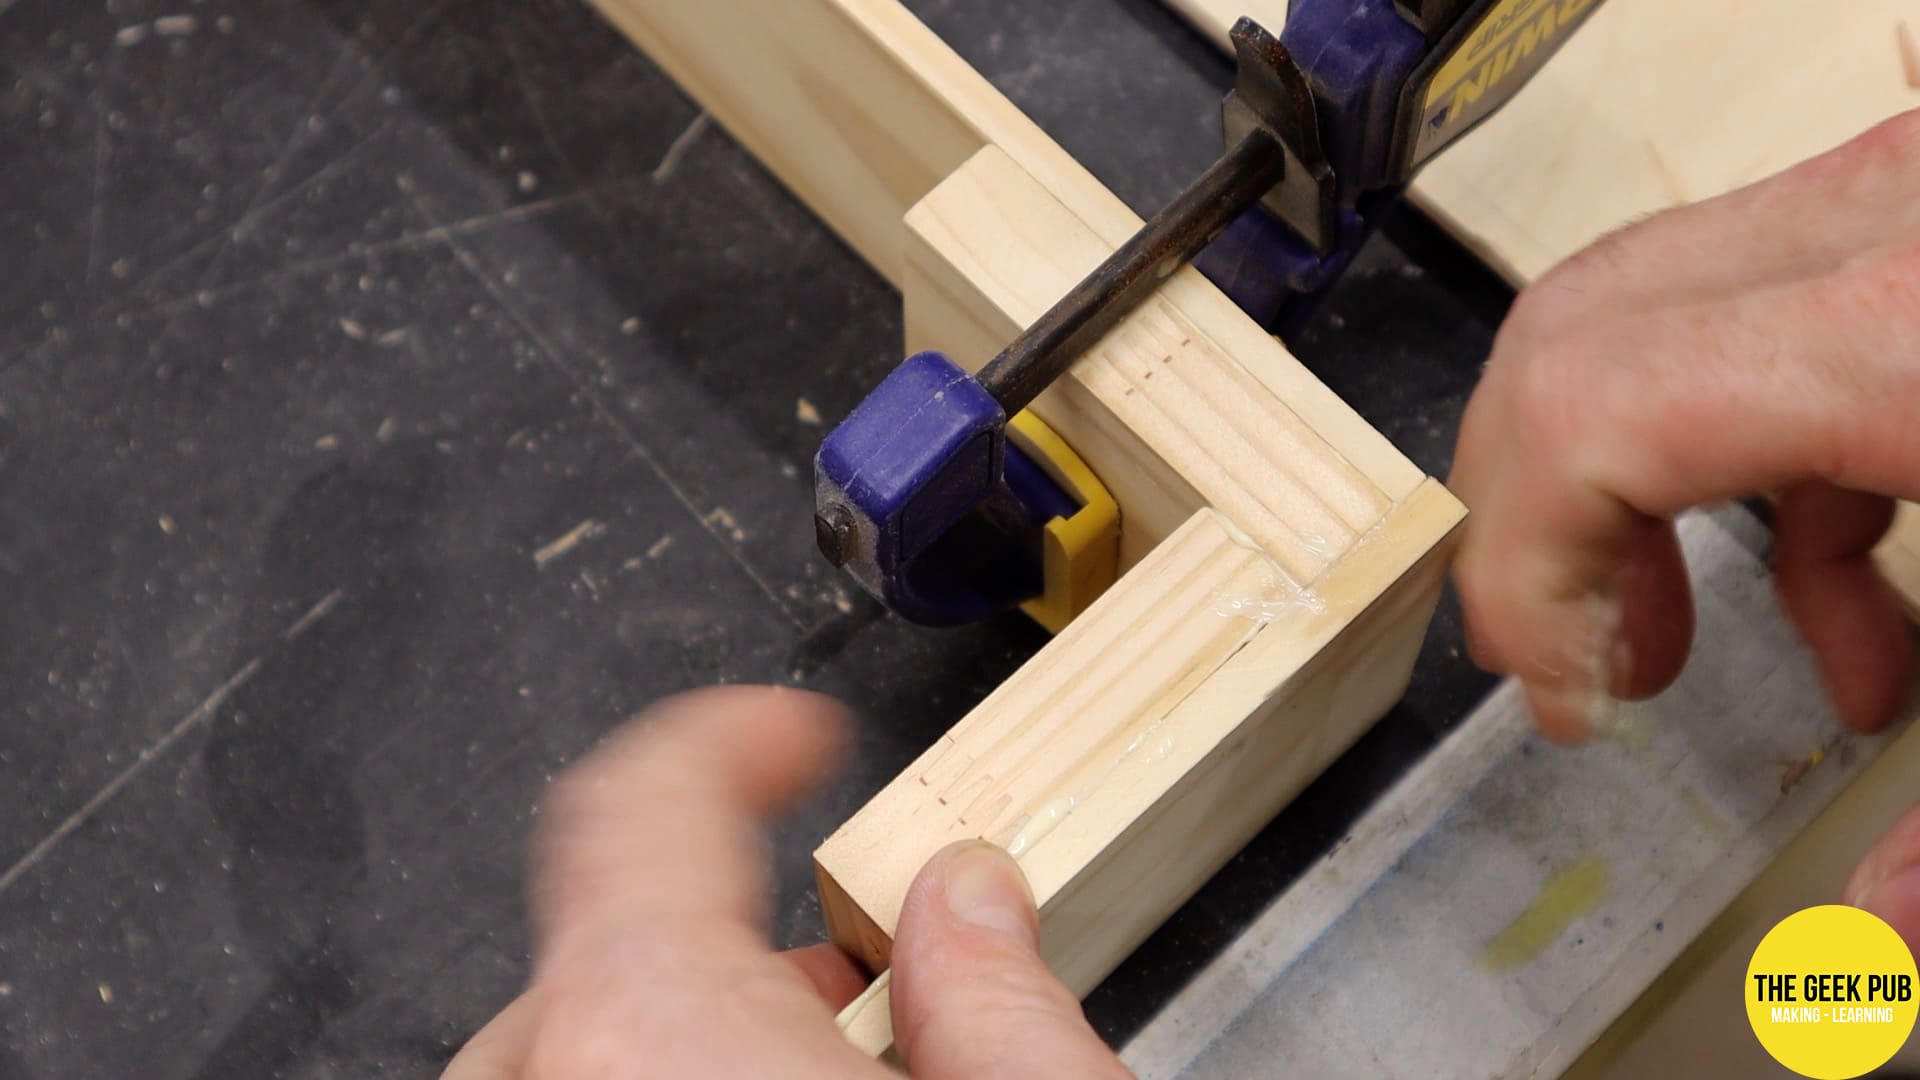
Using these corner jigs to keep things perfectly square, I glued and clamped the sections together. The old saying that you can never have enough clamps in the shop is definitely true!


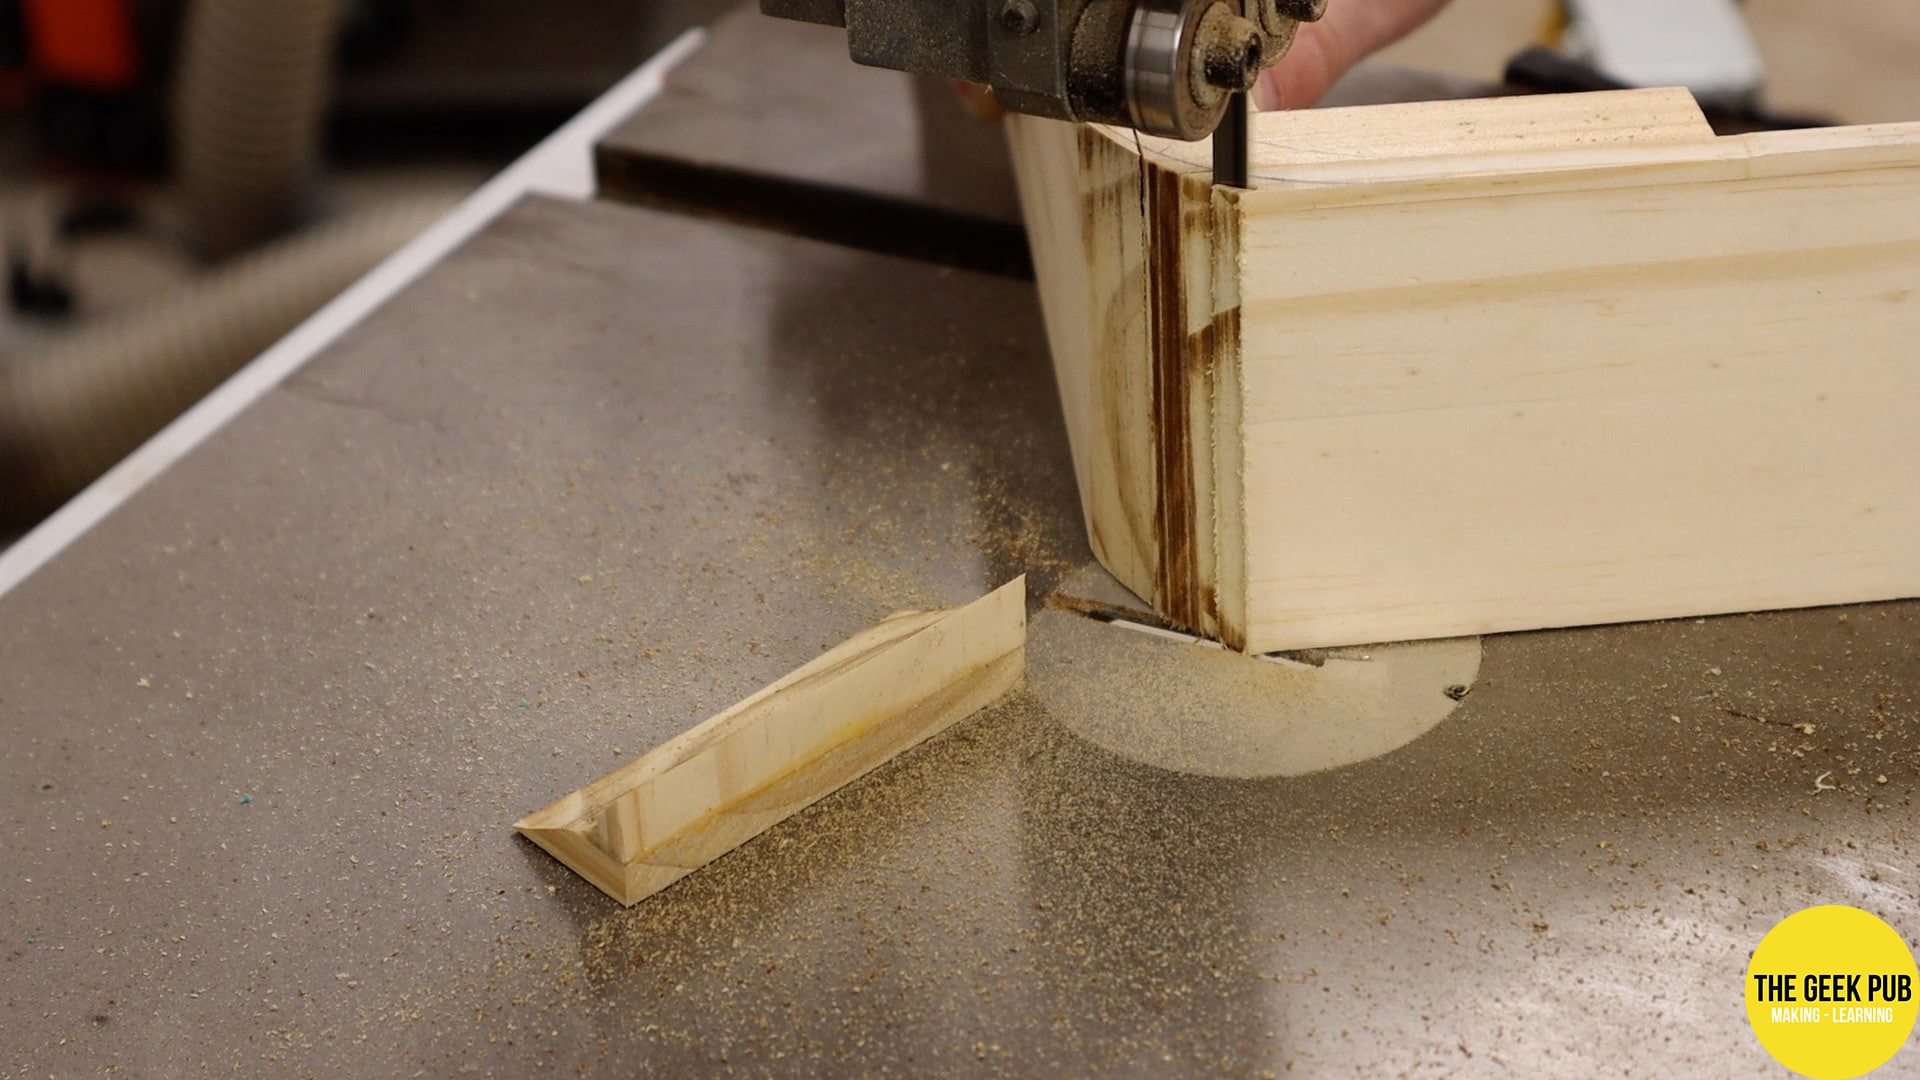
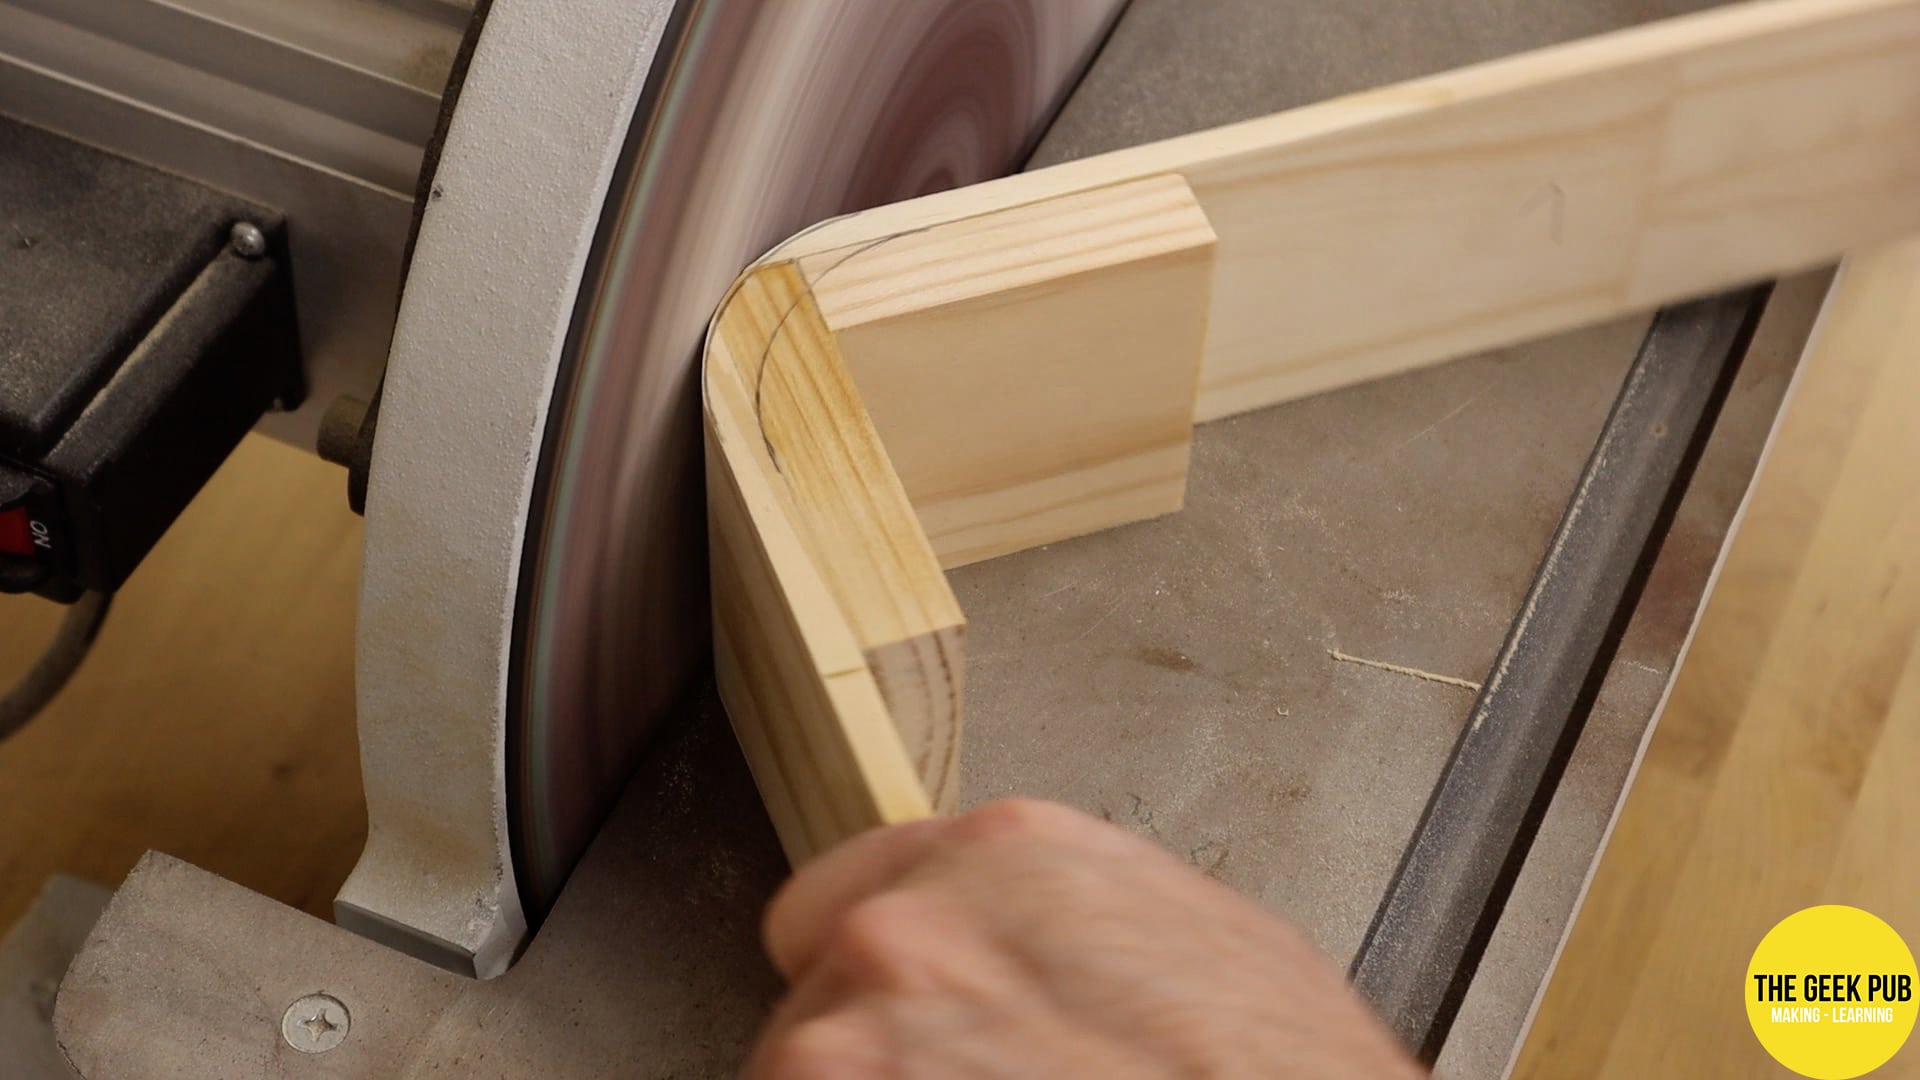
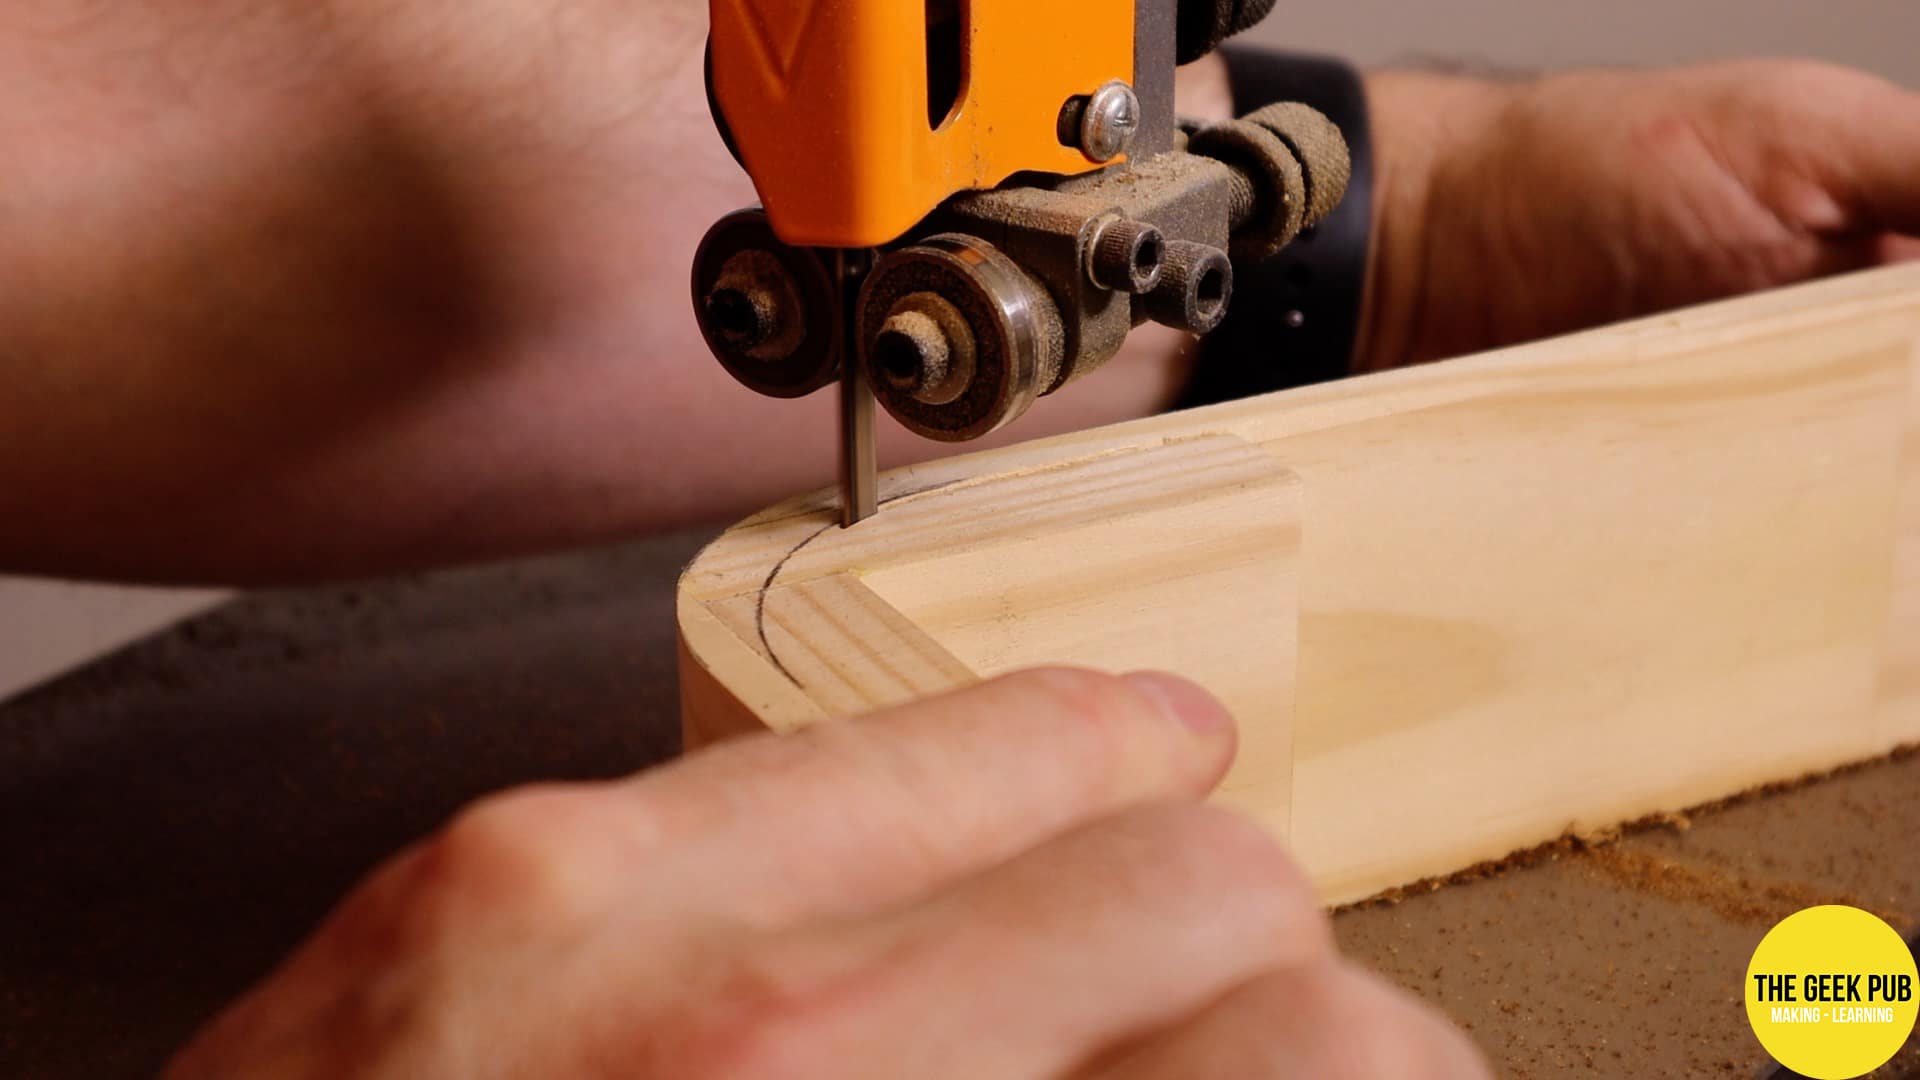
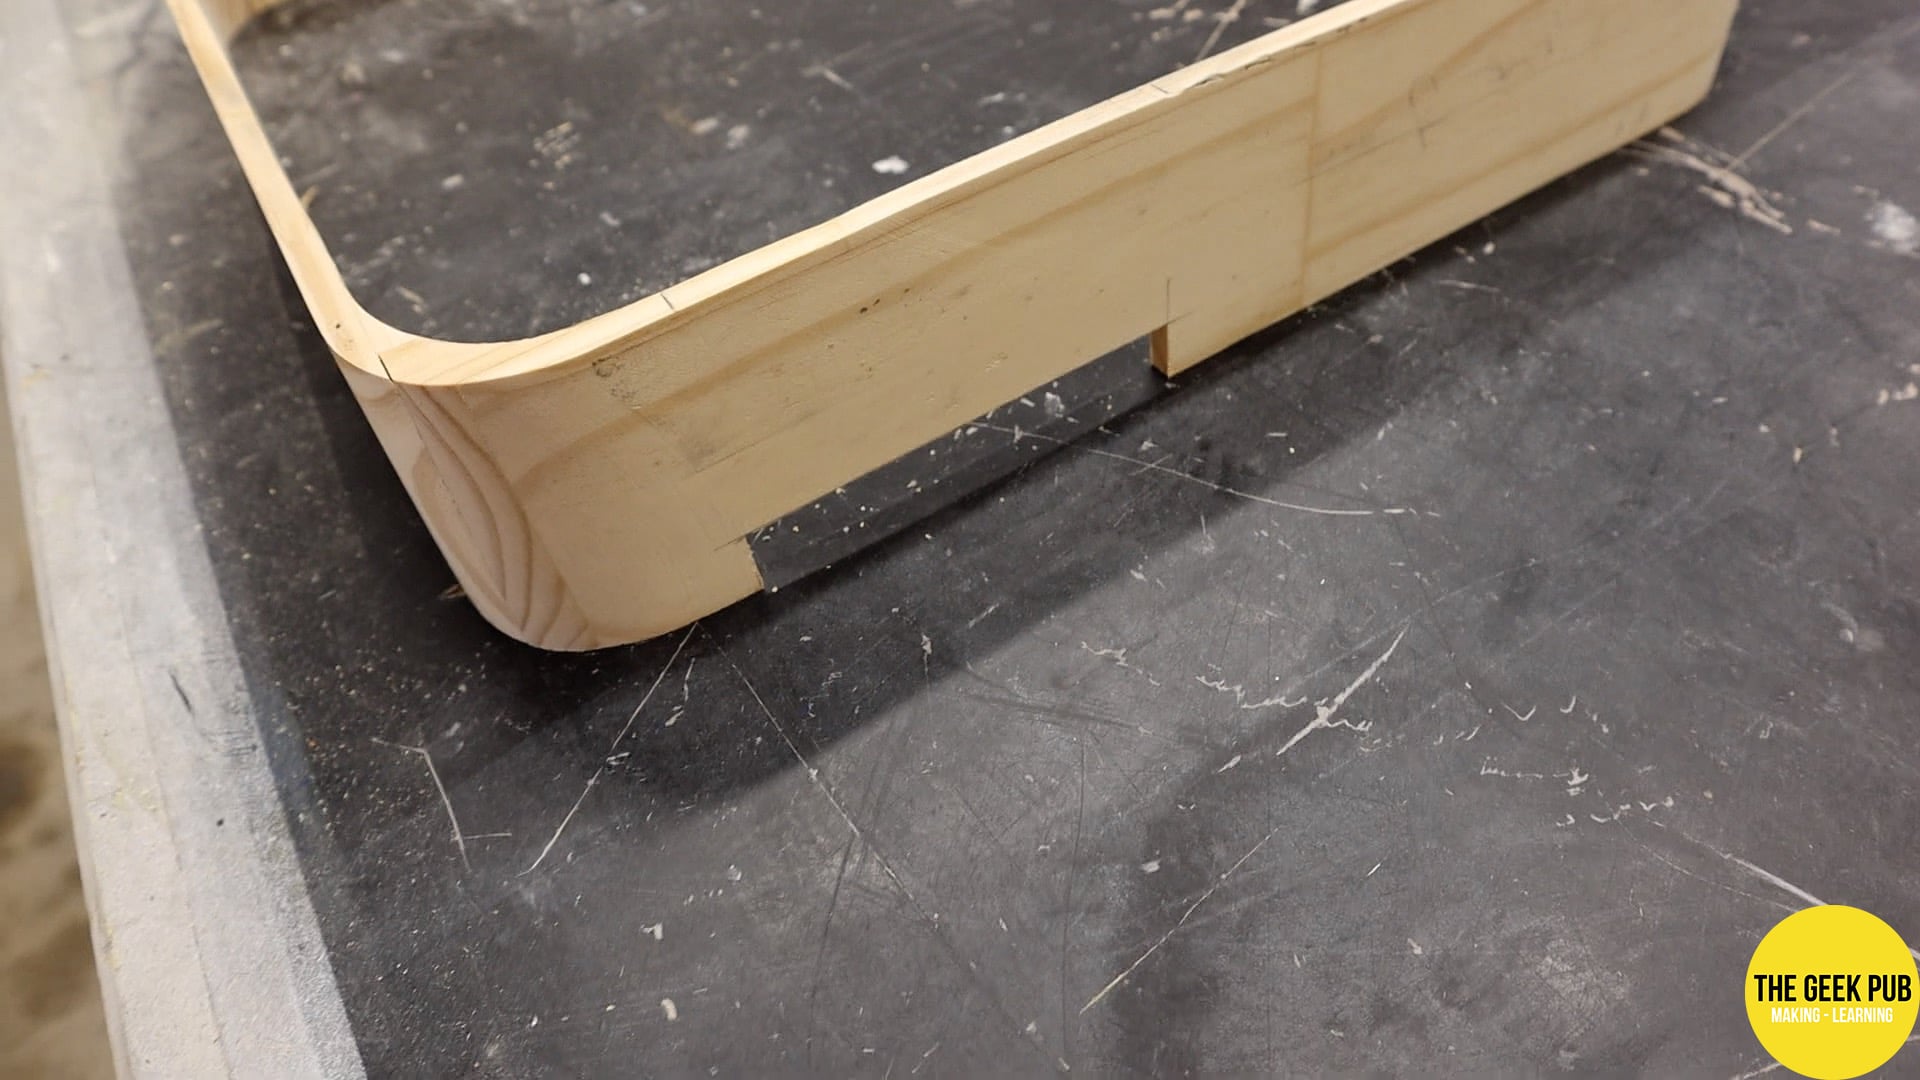
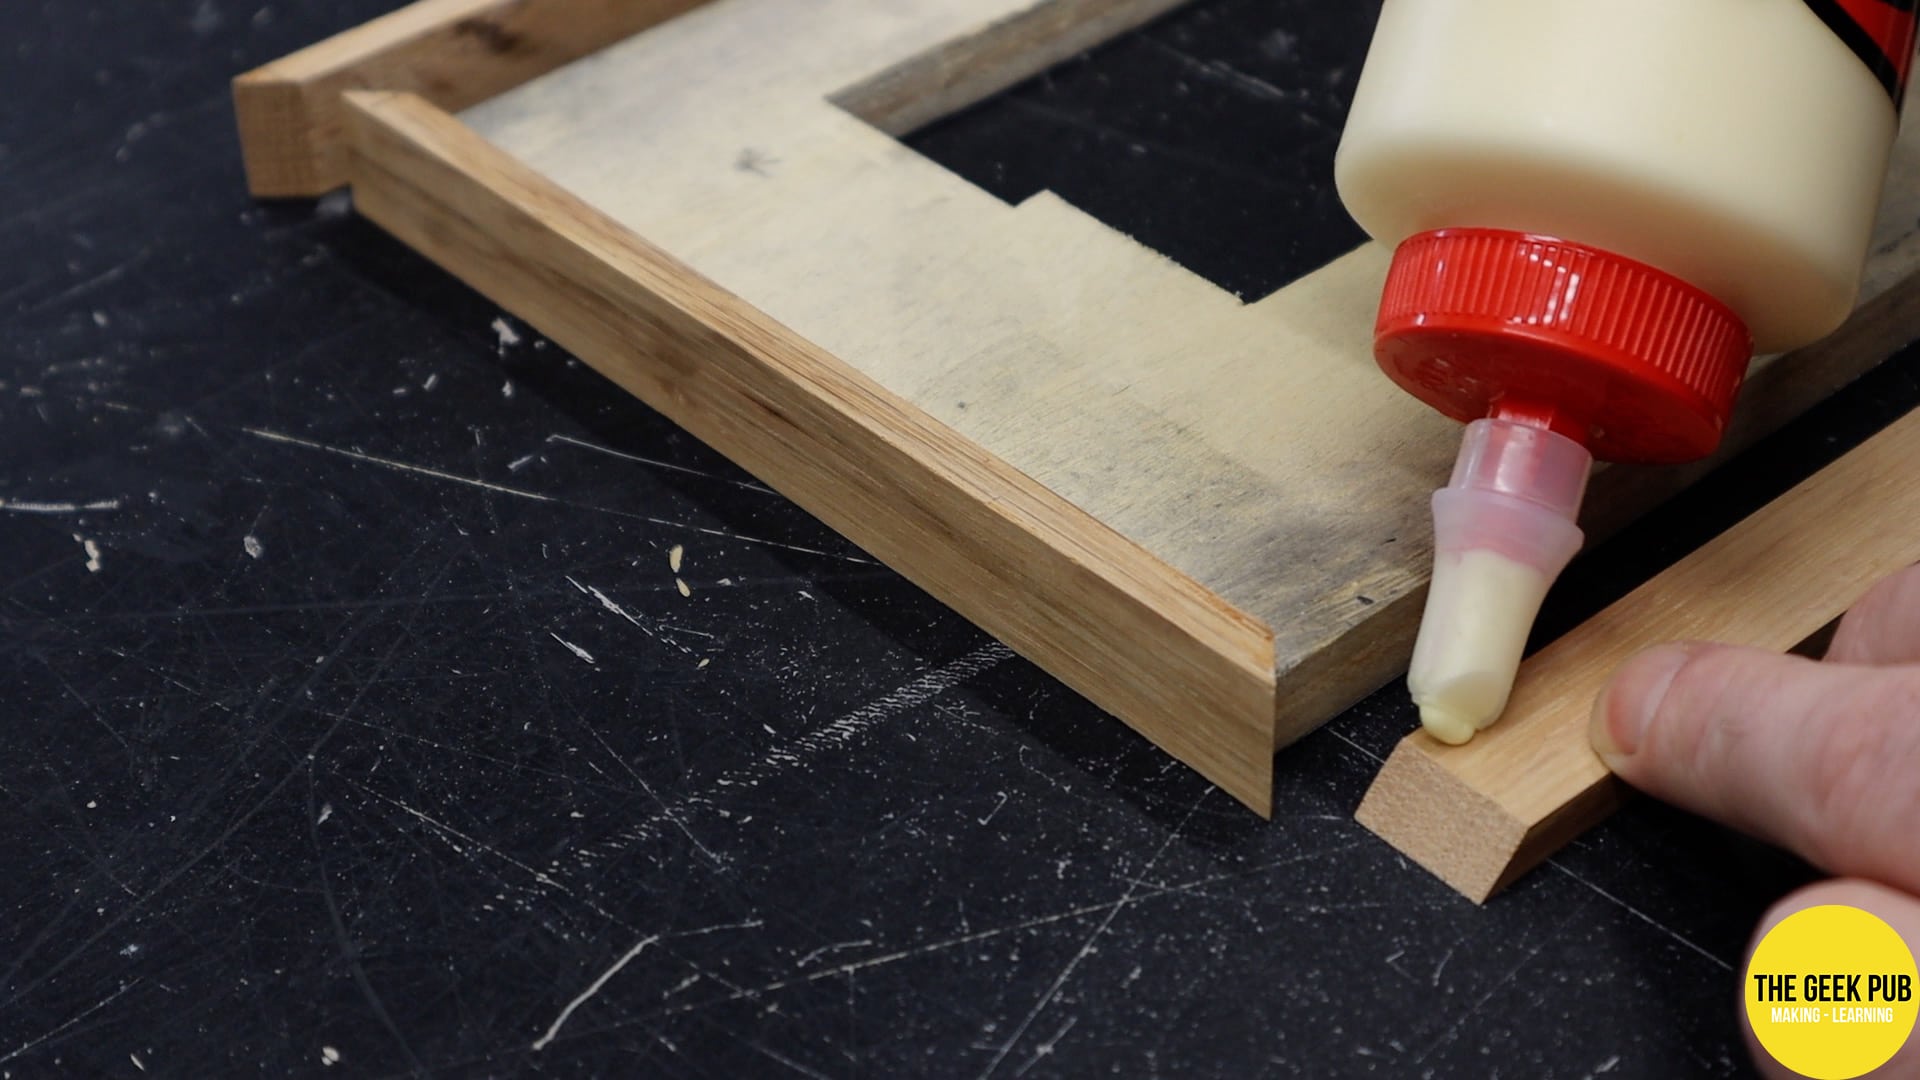
So as we mentioned earlier, all of the corners of the box need to be rounded over. That will be a problem because there’s not enough material on the corners to round them over, at least to the depth we need to go. In order to rectify that I’m going to add a couple of blocks of extra material to each corner with wood glue and then we can just cut that down on the bandsaw after it dries.
Now if I were Matthias Wandel, I would totally make a rounded box joint here! But, I am not that cool and I don’t have enough time to go to that level. I’ll have to stick with a Steve Ramsey butt joint. A little patience will be required though! I am not going to use brad nails here, because I don’t want to be hitting those nails with my band saw. I’ll have to wait for the glue to dry!
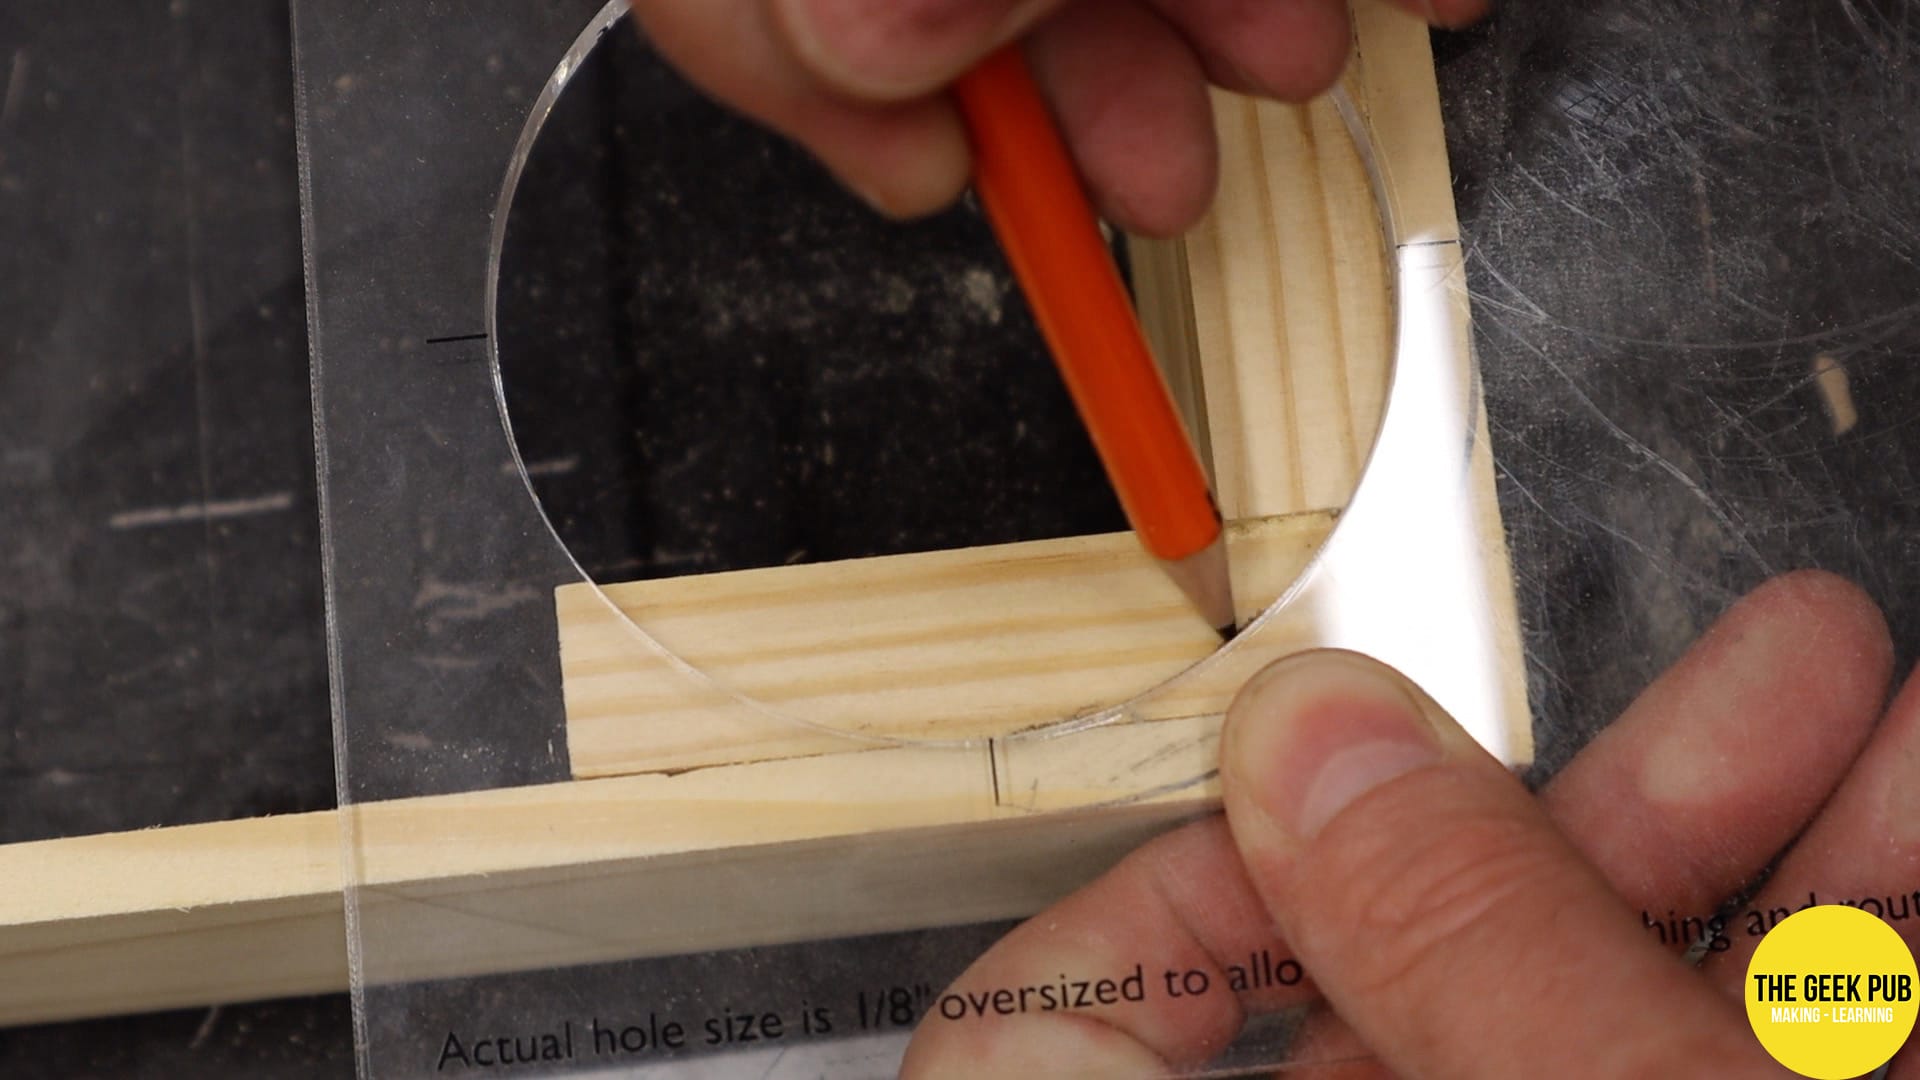
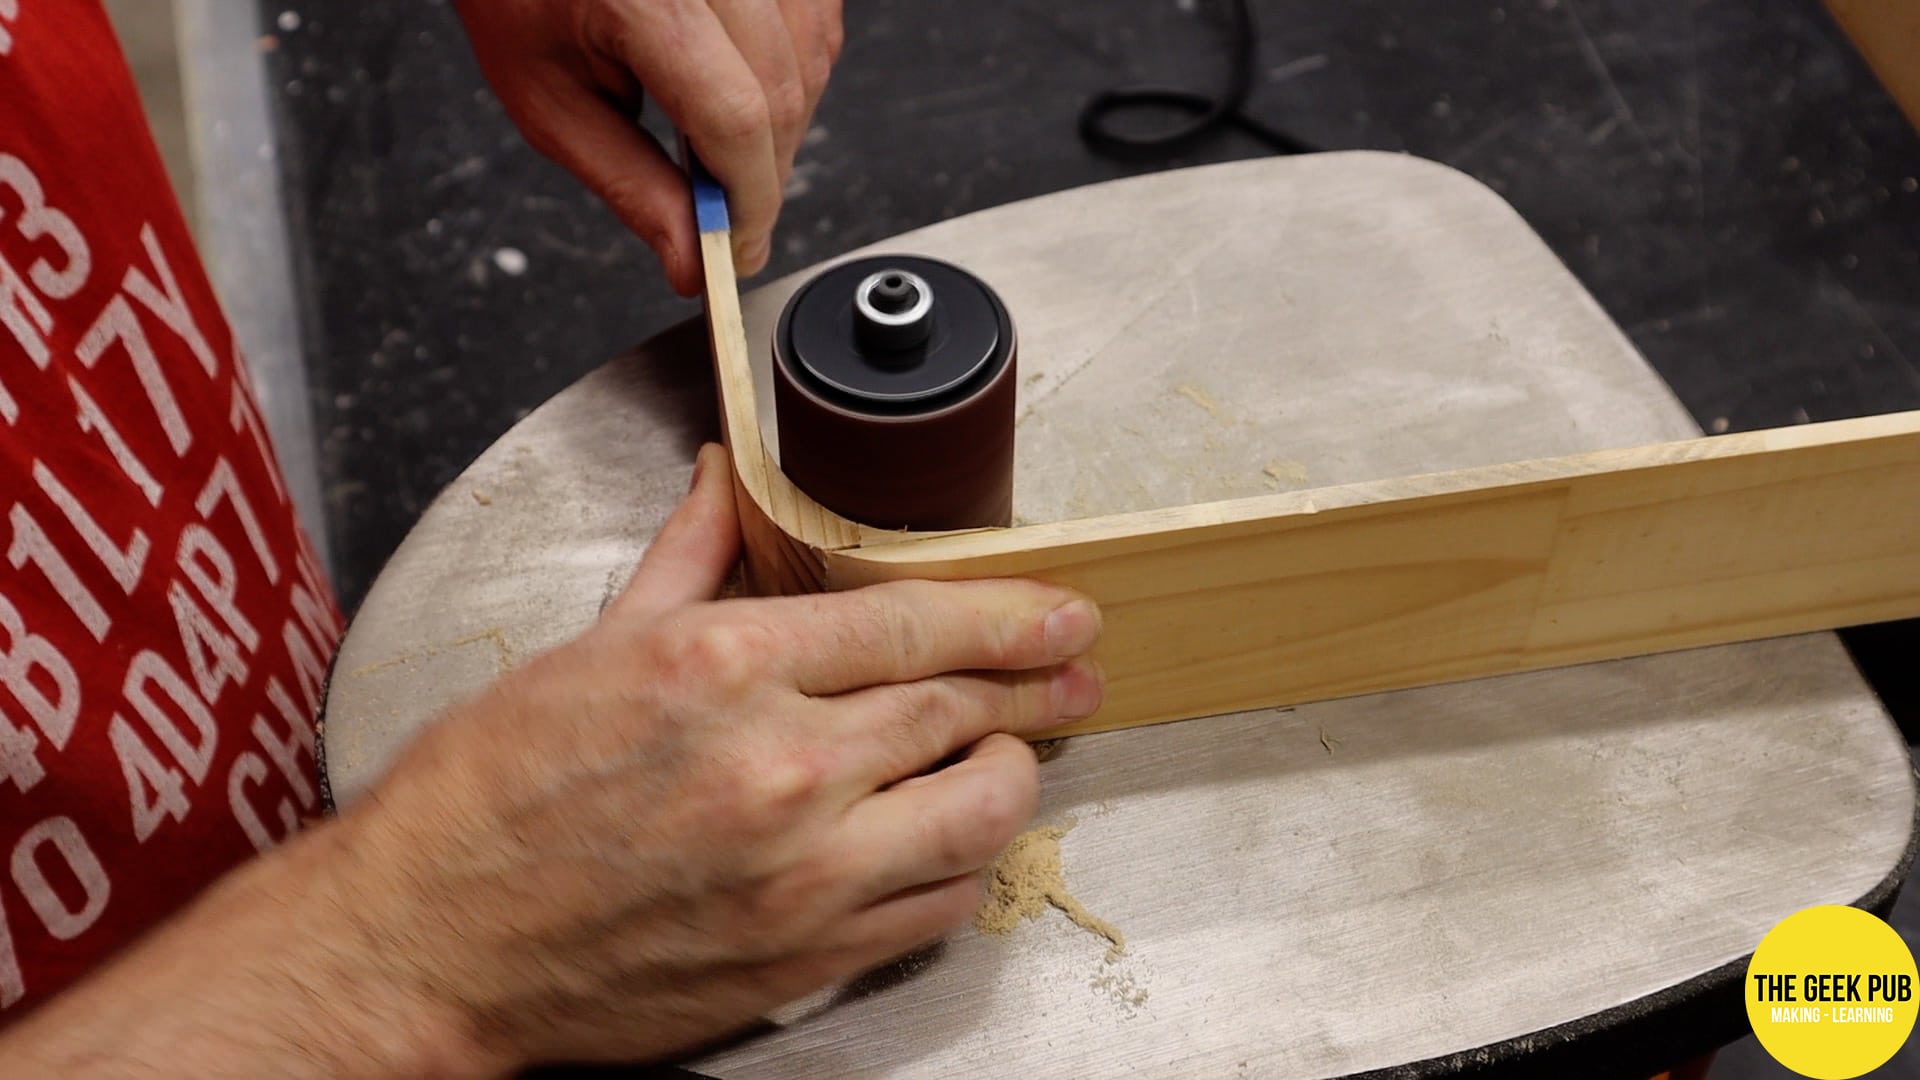
I used this circle jig to make both the inner and outer curves. Most of time I just use a paint can. I guess I wanted a little more accuracy this time. Or maybe I just couldn’t find a paint can of the right size. You decide!
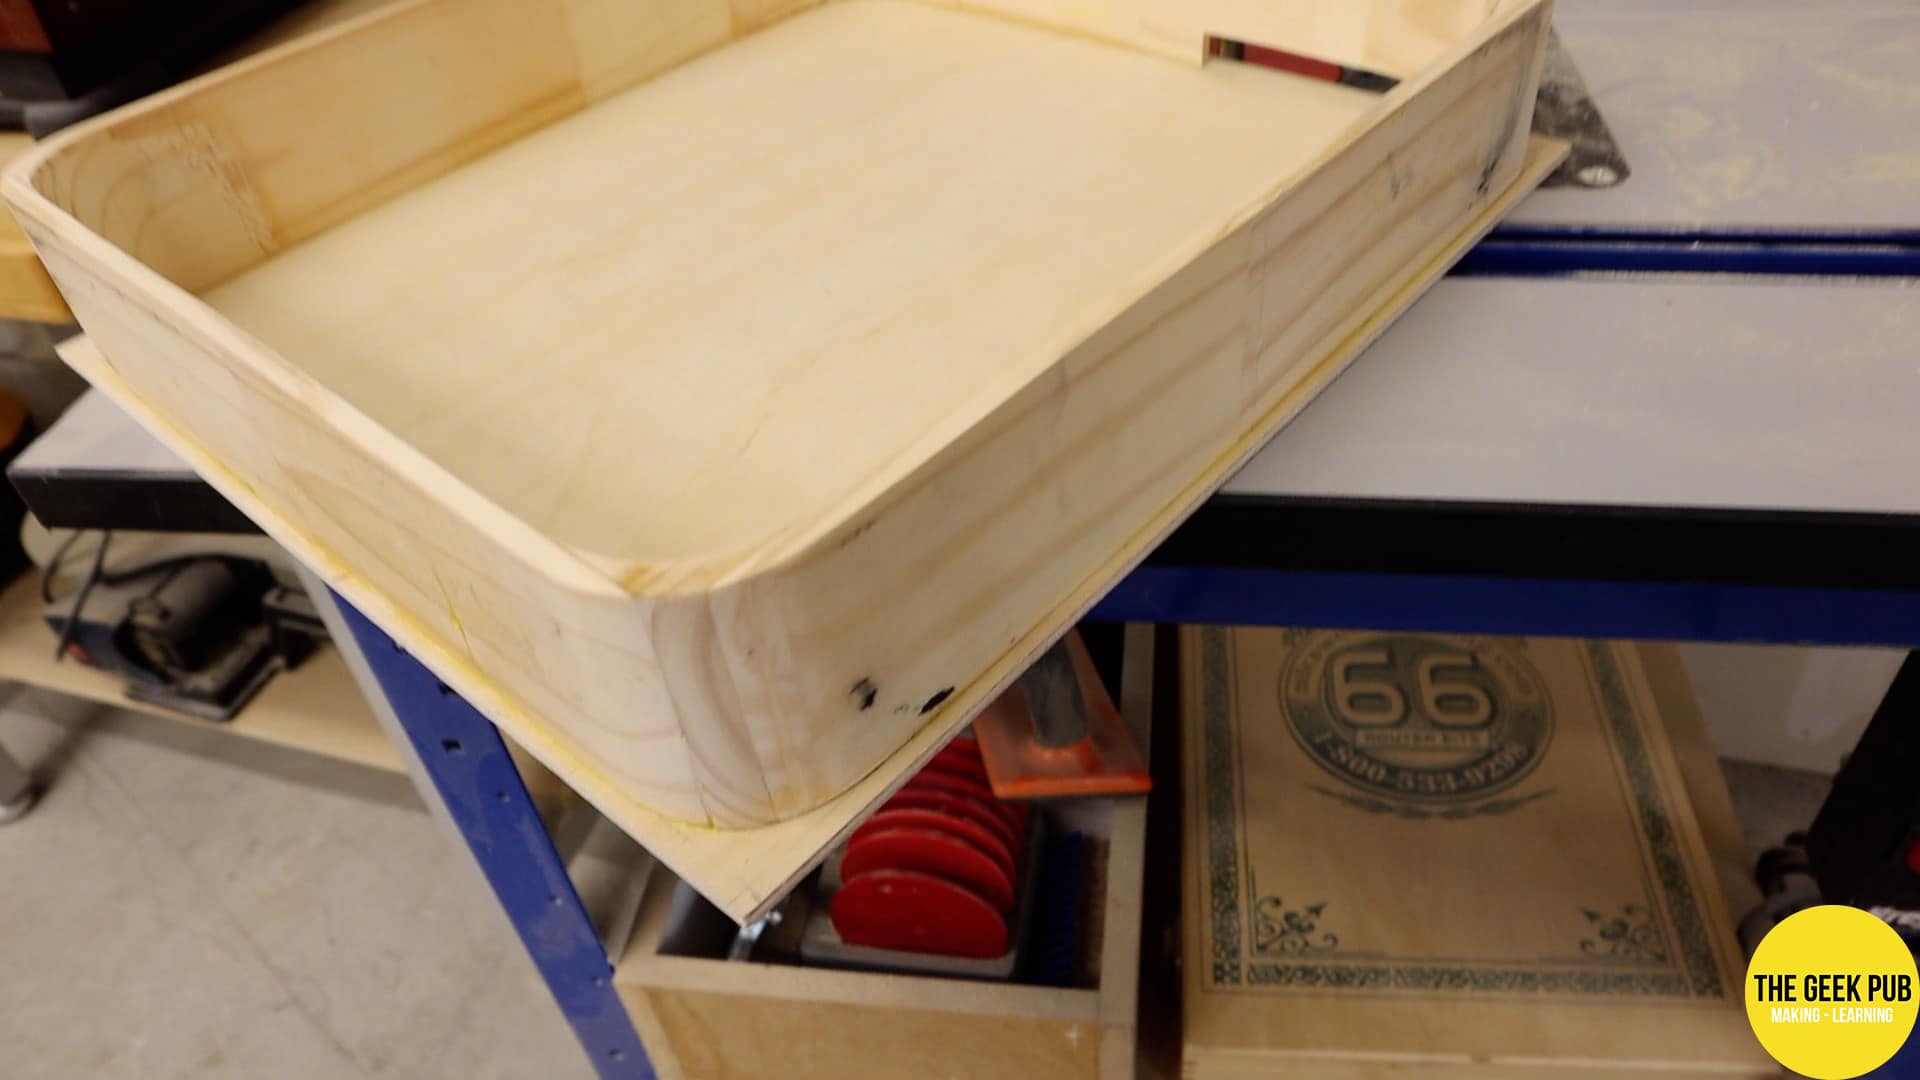
Over on the bandsaw I trimmed the outer curves away from the case, keeping about an eight inch away from the line. I then used my bench sander to bring the material flush with the line. I then did the same operation on the inside of the box, keeping just slightly off the line. In hindsight I probably would have made the bocks shorter! I used the spindle sander in order to clean up the bandsaw marks and bring the material to the pencil lines.
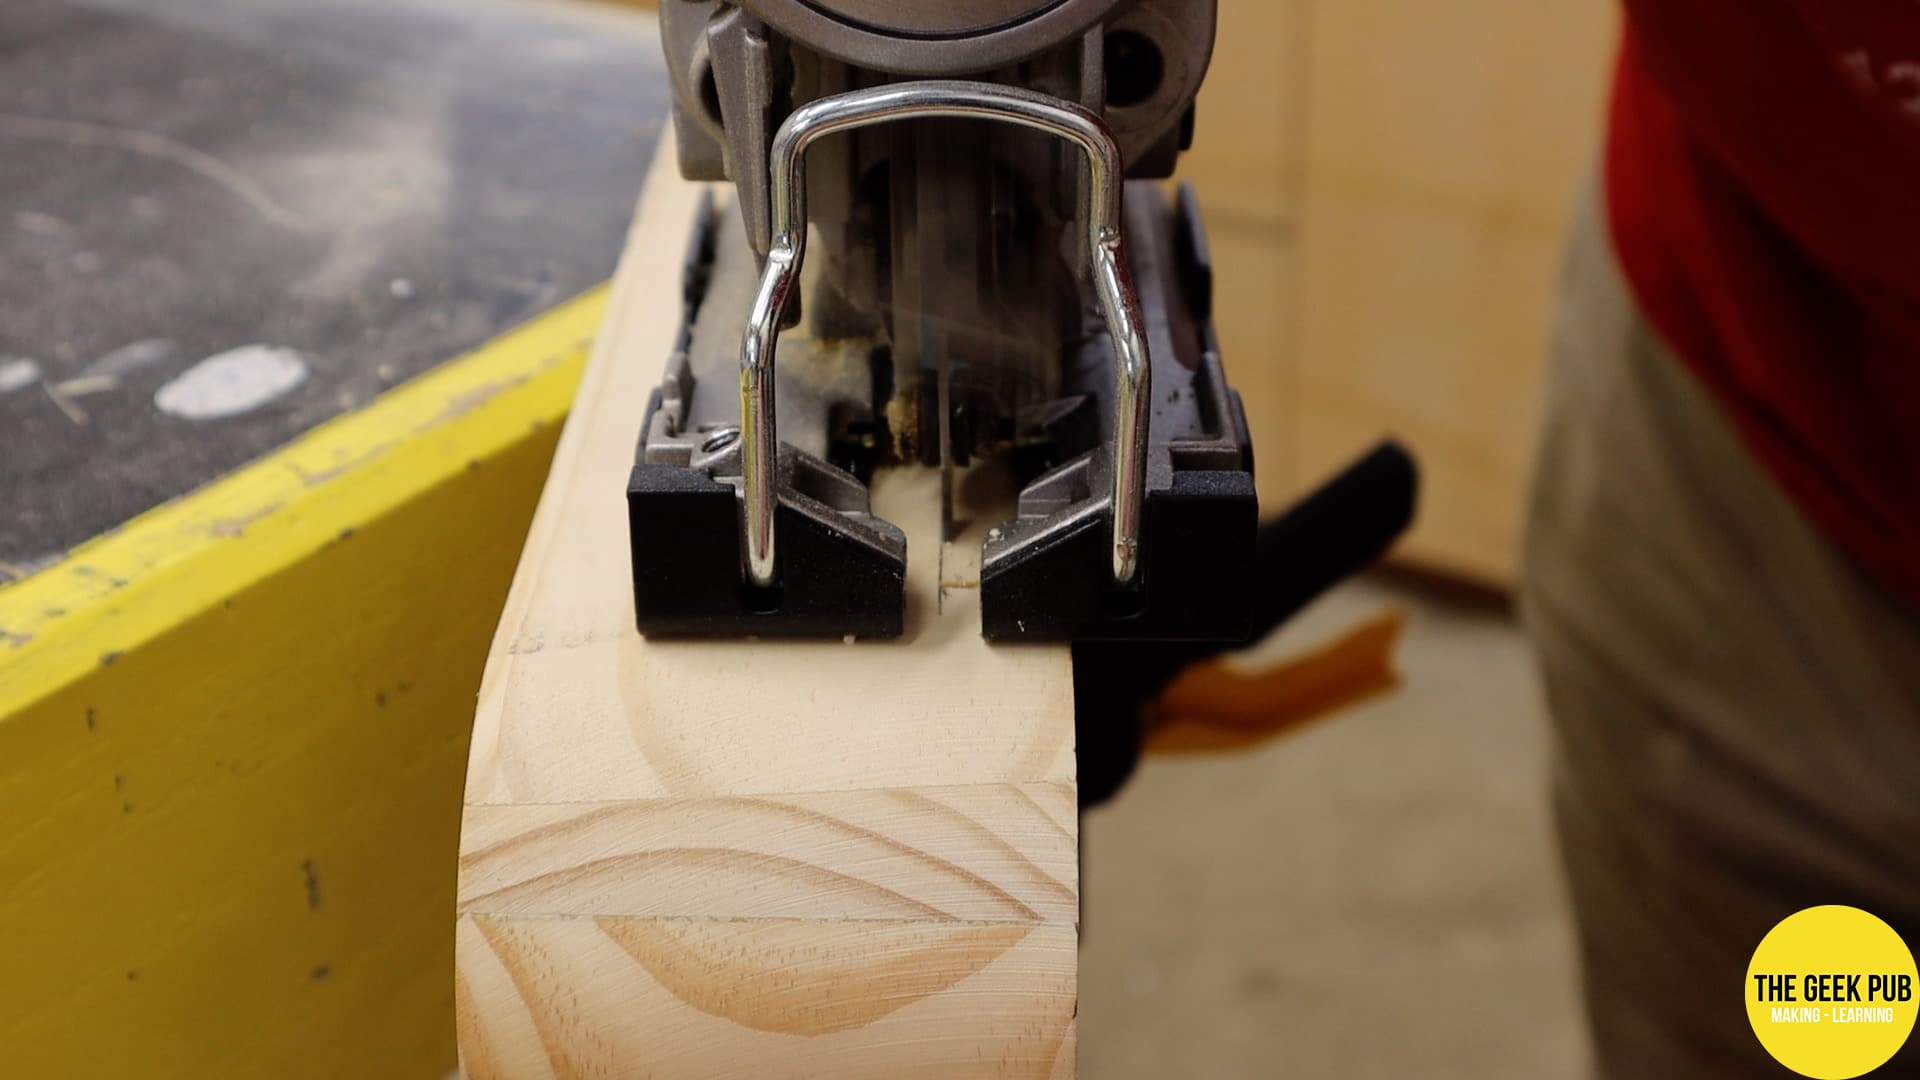
We need a slot on the side of the box for the expansion slot. We’ll discuss that in a bit, but for now I just marked it with a pencil and then cut it out with the jigsaw.
Making the Case Bottom
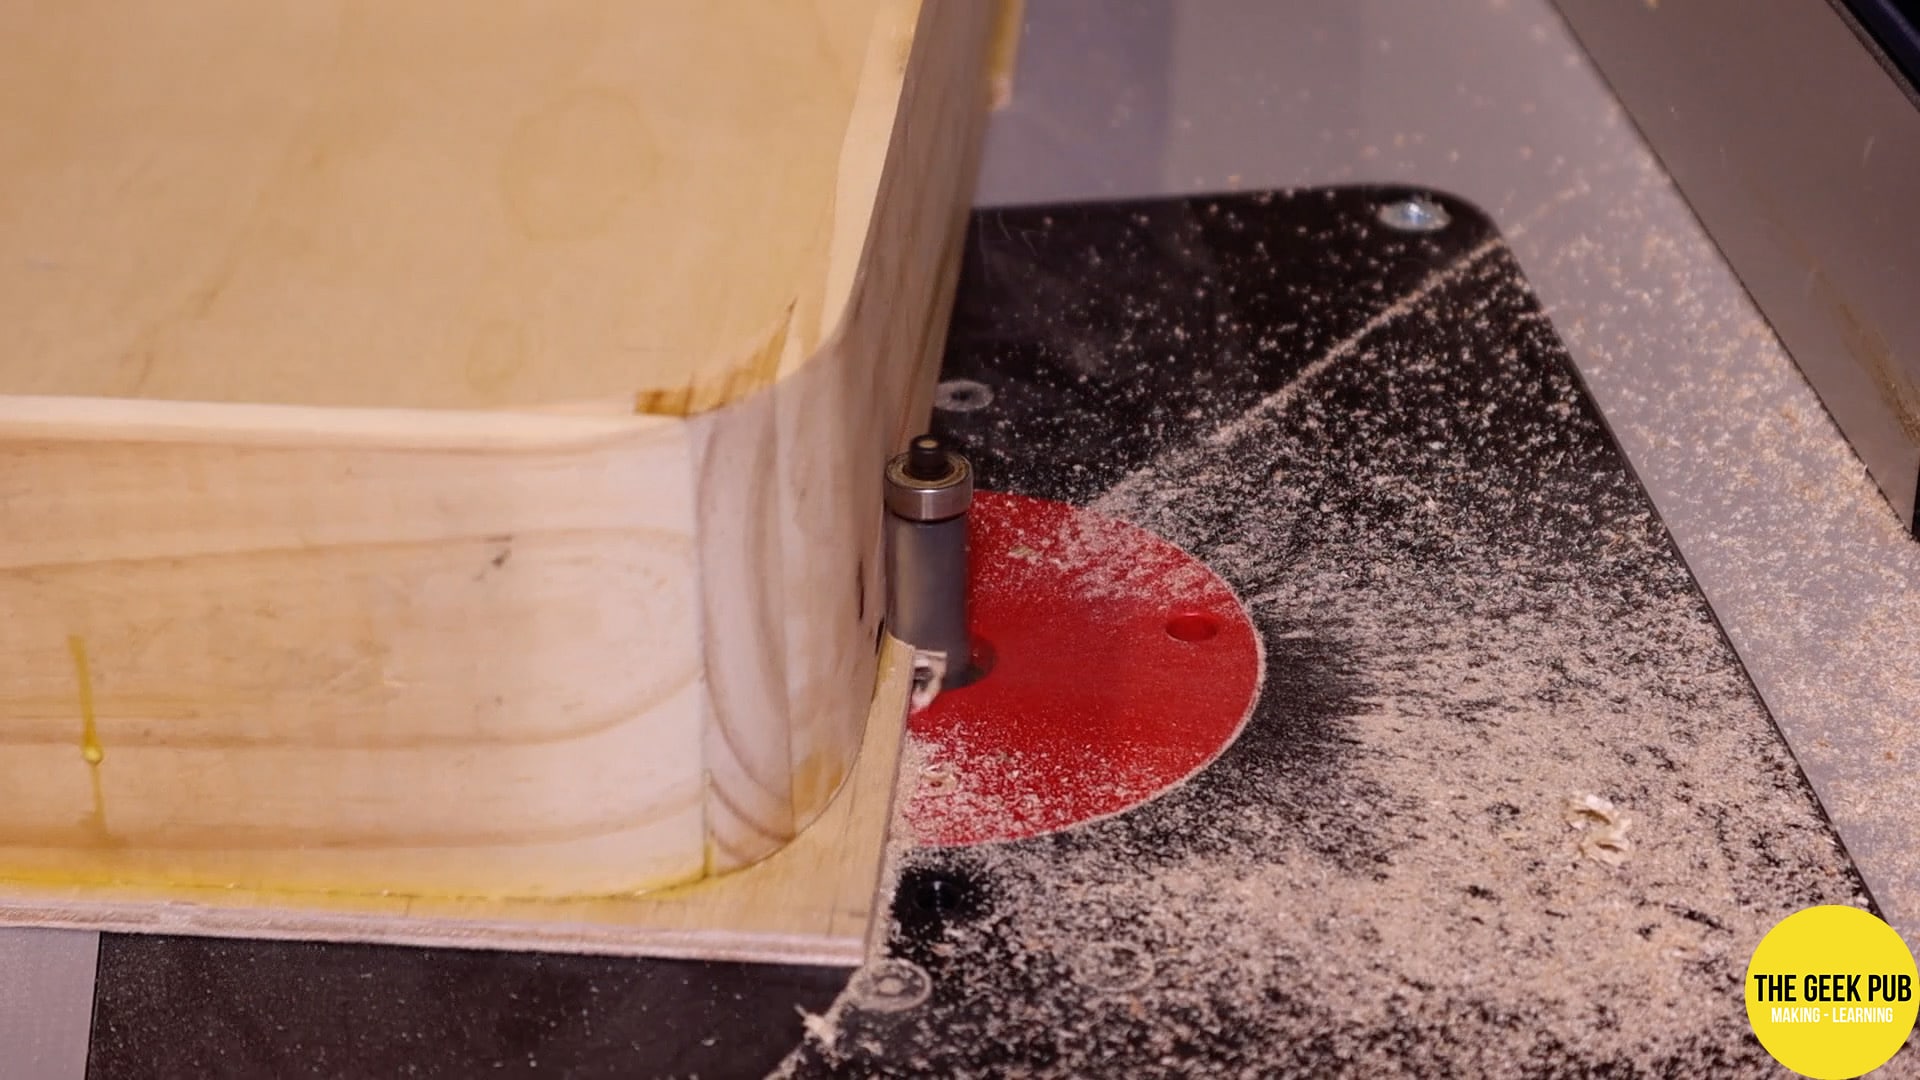
I added glue to the bottom of the case and flipped it over onto a sheet of quarter inch plywood. The plywood is slightly larger than the bottom of the case all the way around. This way I can use a flush trim bit on the router and make it align to the sides and curves of the case perfectly!

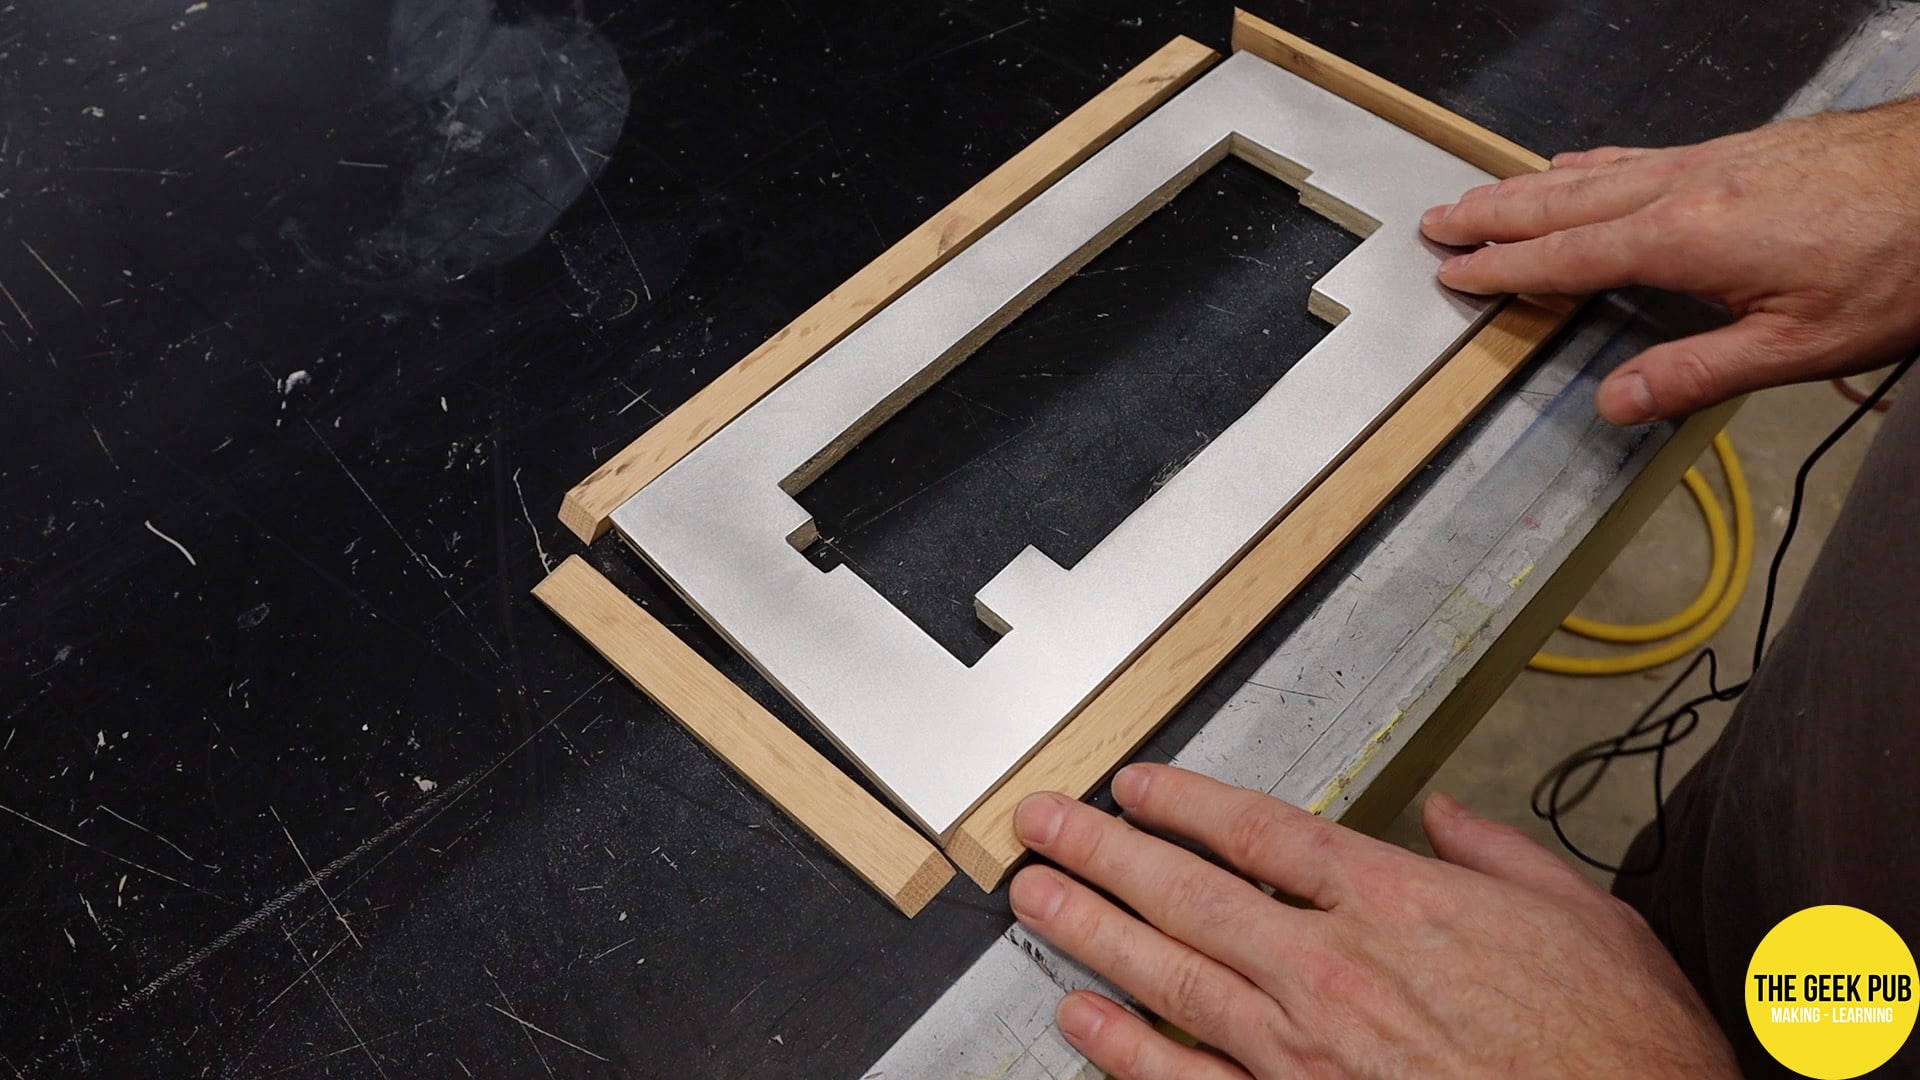
Making the Apple 1 Keyboard Cover
I first needed to cut out the basic dimension of the keyboard. I used my table saw to do this.
Note: My table saw is a saw stop. I had to disable the safety function of the saw before cutting metal material. You also need to switch over to a non-ferrous metal cutting blade before cutting aluminum.
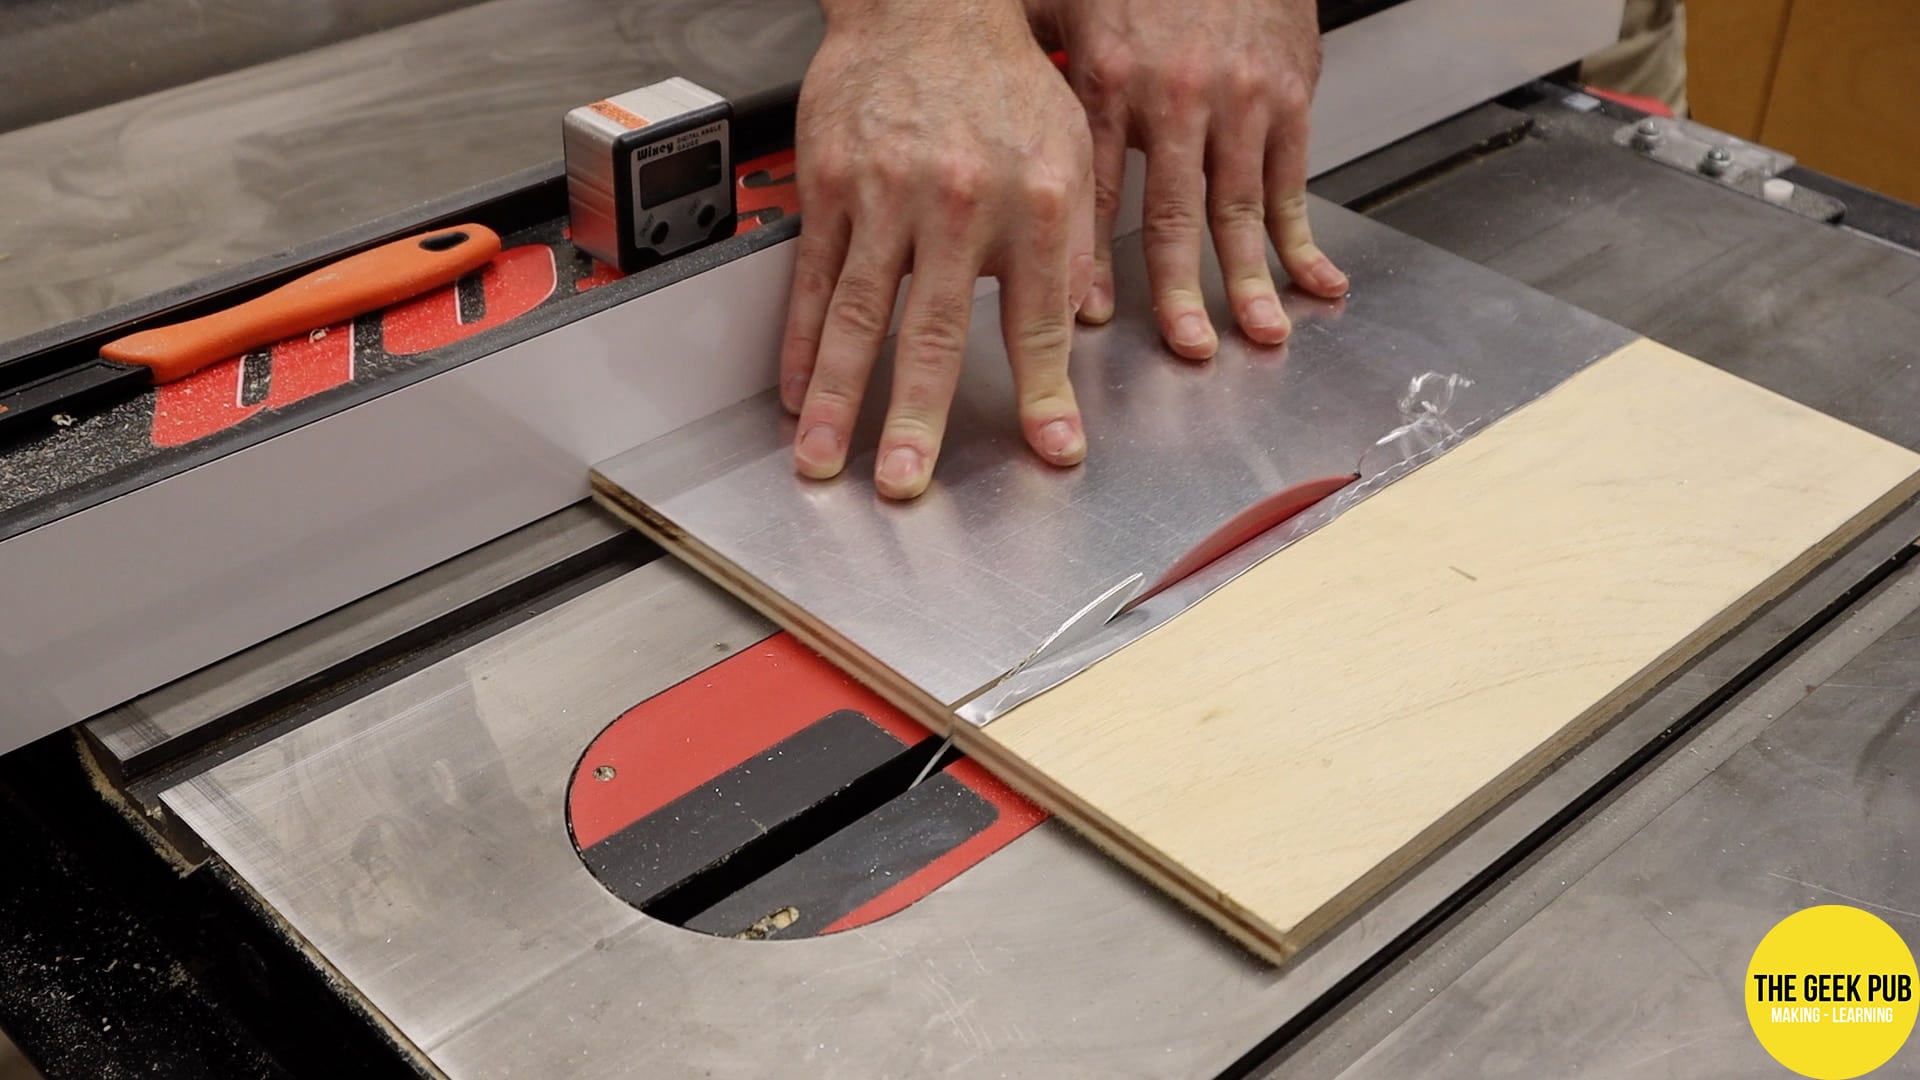
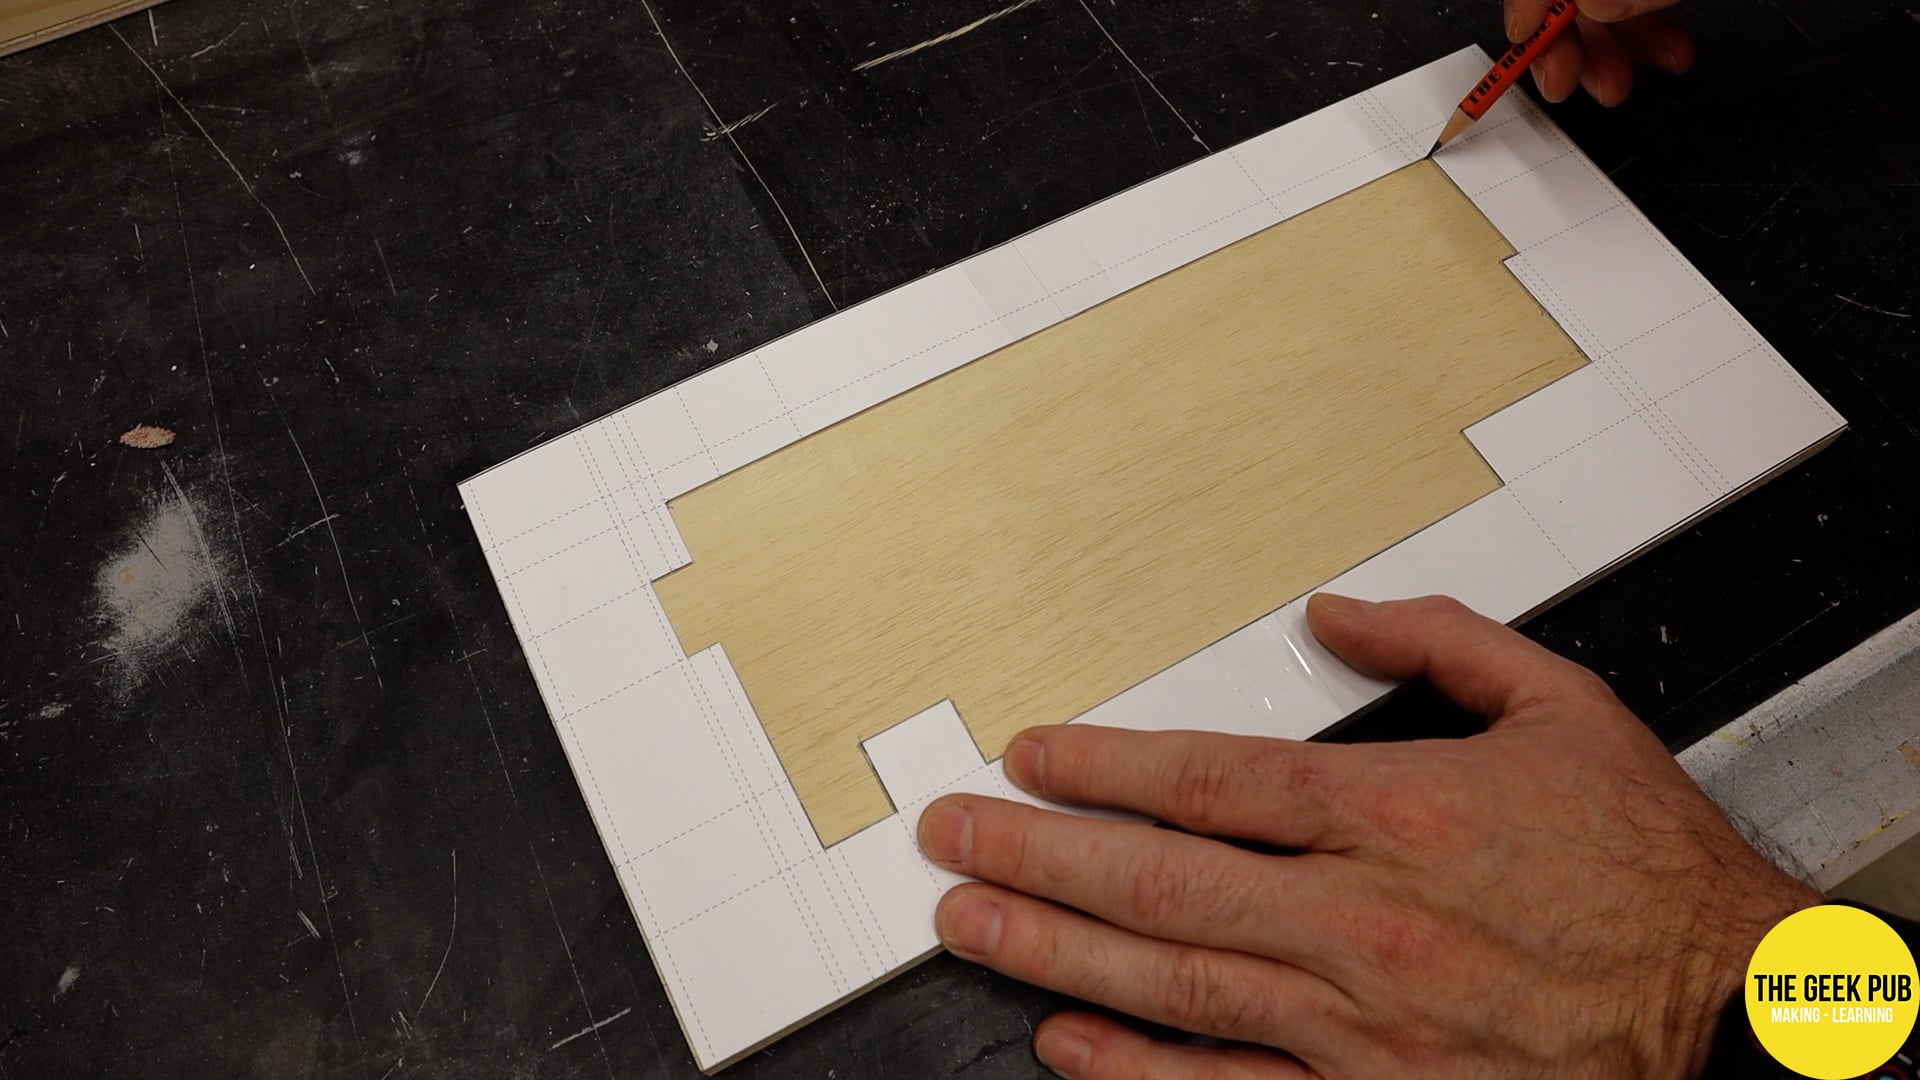
To cut out the keyboard I taped the template onto the keyboard, drilled a pilot hole and then used the jigsaw to cut it out. I need to get my CNC out of storage as this would have been a great use for it! But it just goes to show, use the tools you have. Don’t let tools be the excuse why you can’t make something!

This Apple 1 case is starting to exceed my expectations!
A Fused Power Switch for the Apple 1 Case
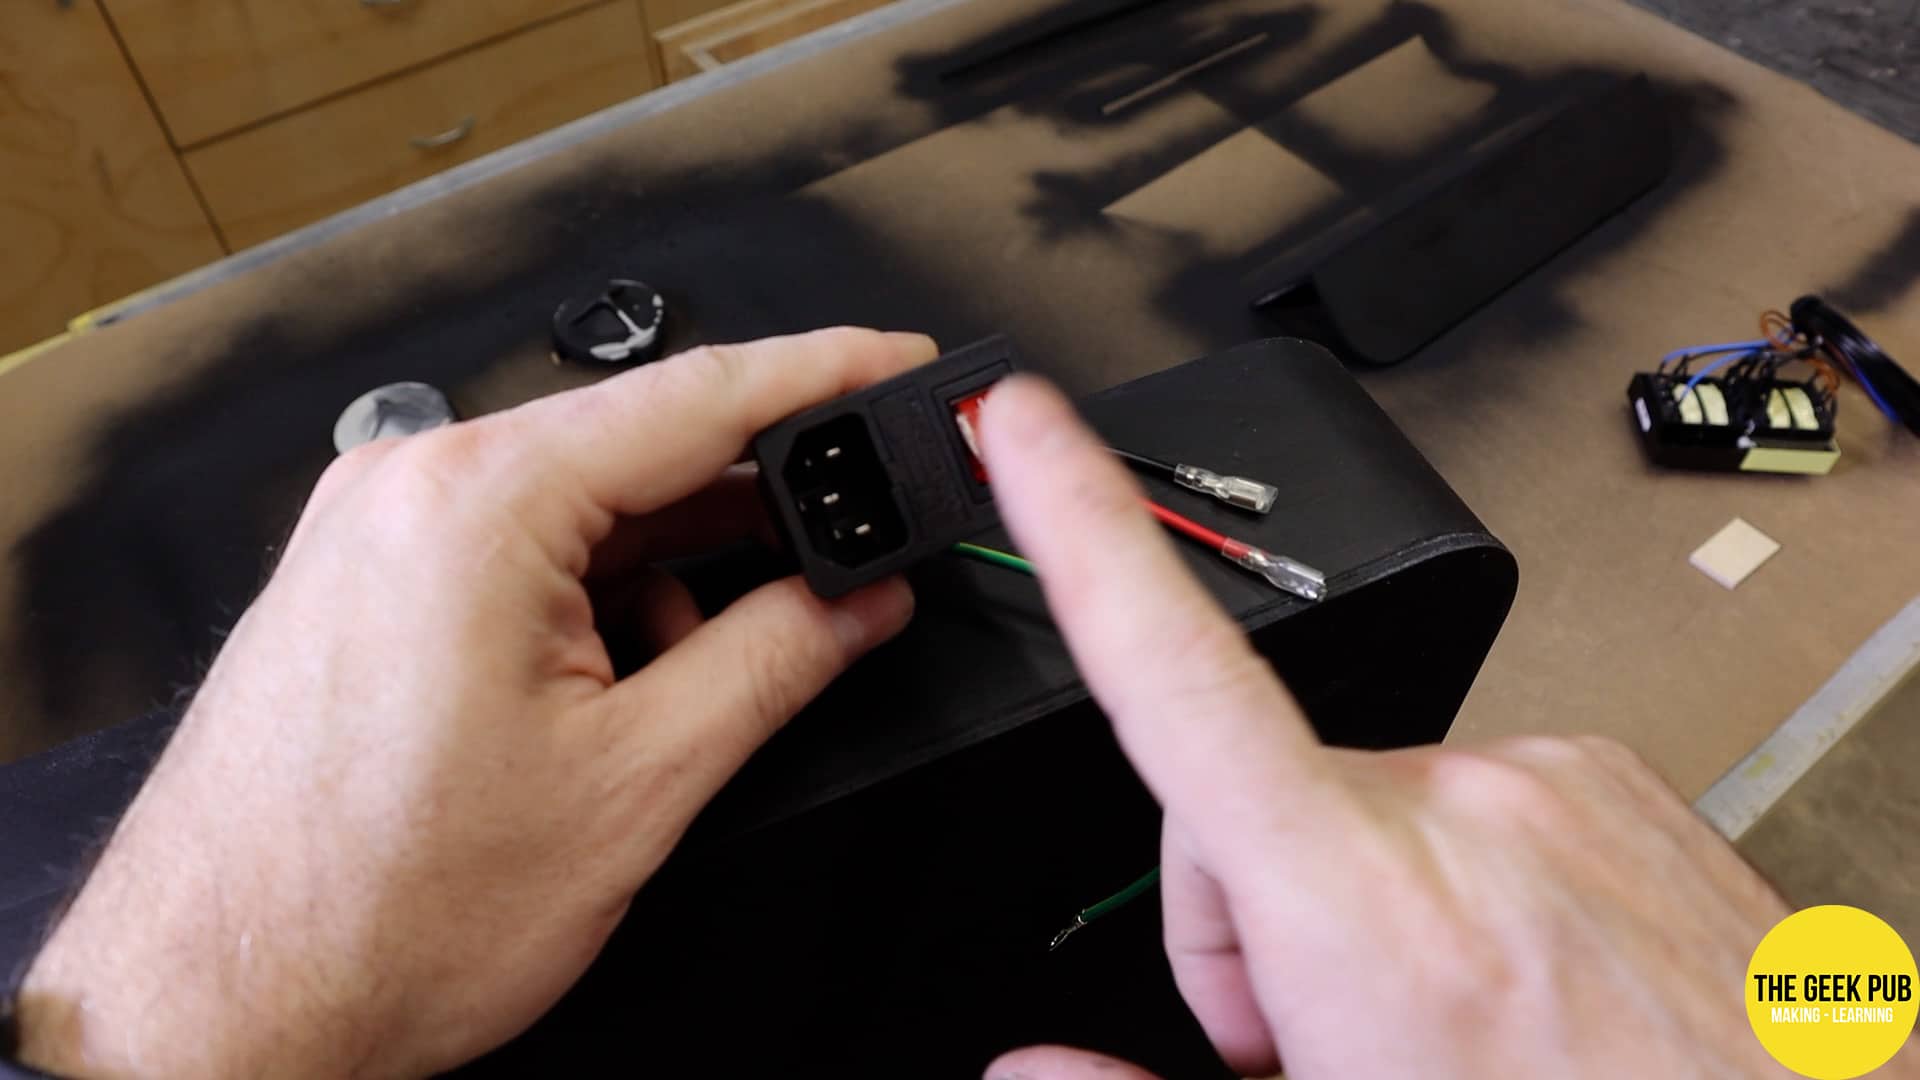
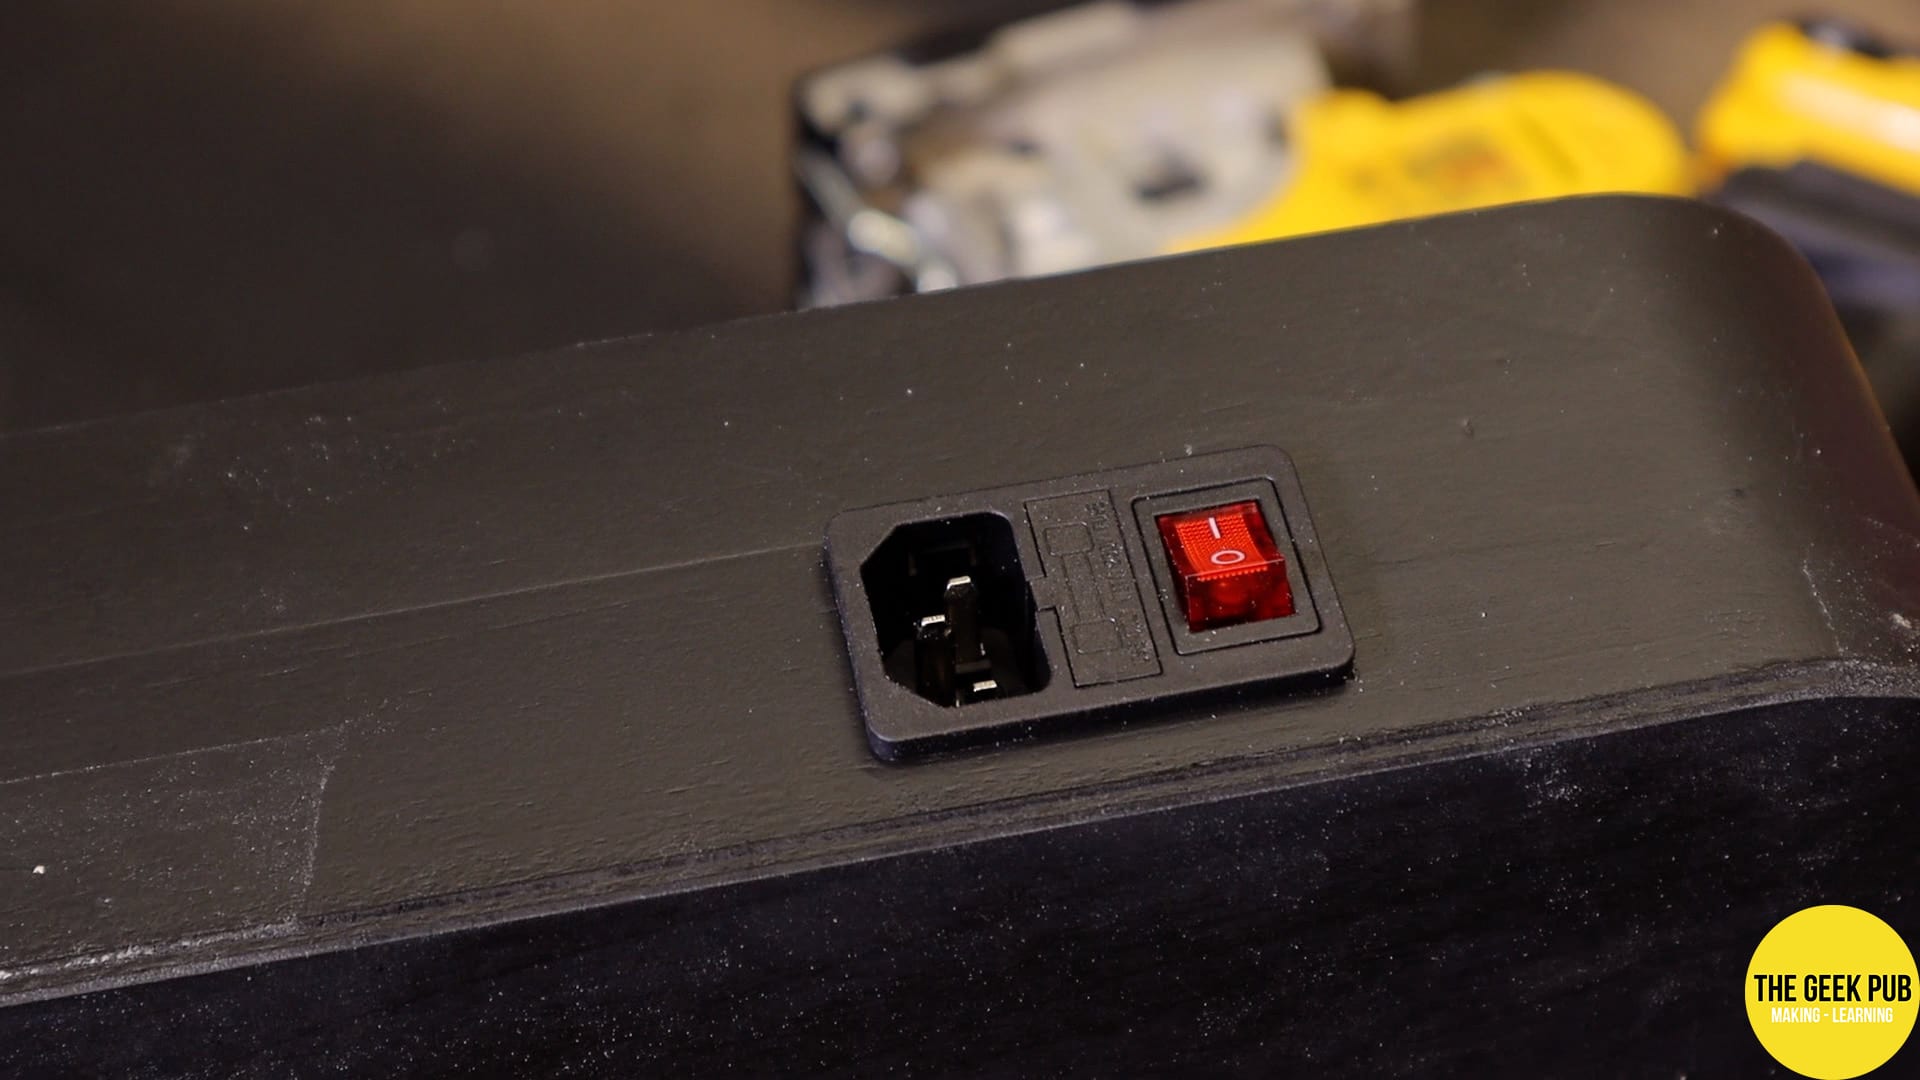
I decided it would be best if our Apple 1 case had a power switch that was fused to protect it from all kinds of electrical dangers. Most original Apple 1 hobbyists just plugged the little guy directly into the mains supply. Ouch!
I also wanted to have a standard IEC-14 socket on the back so that any regular computer power cord could be used with the Apple 1!
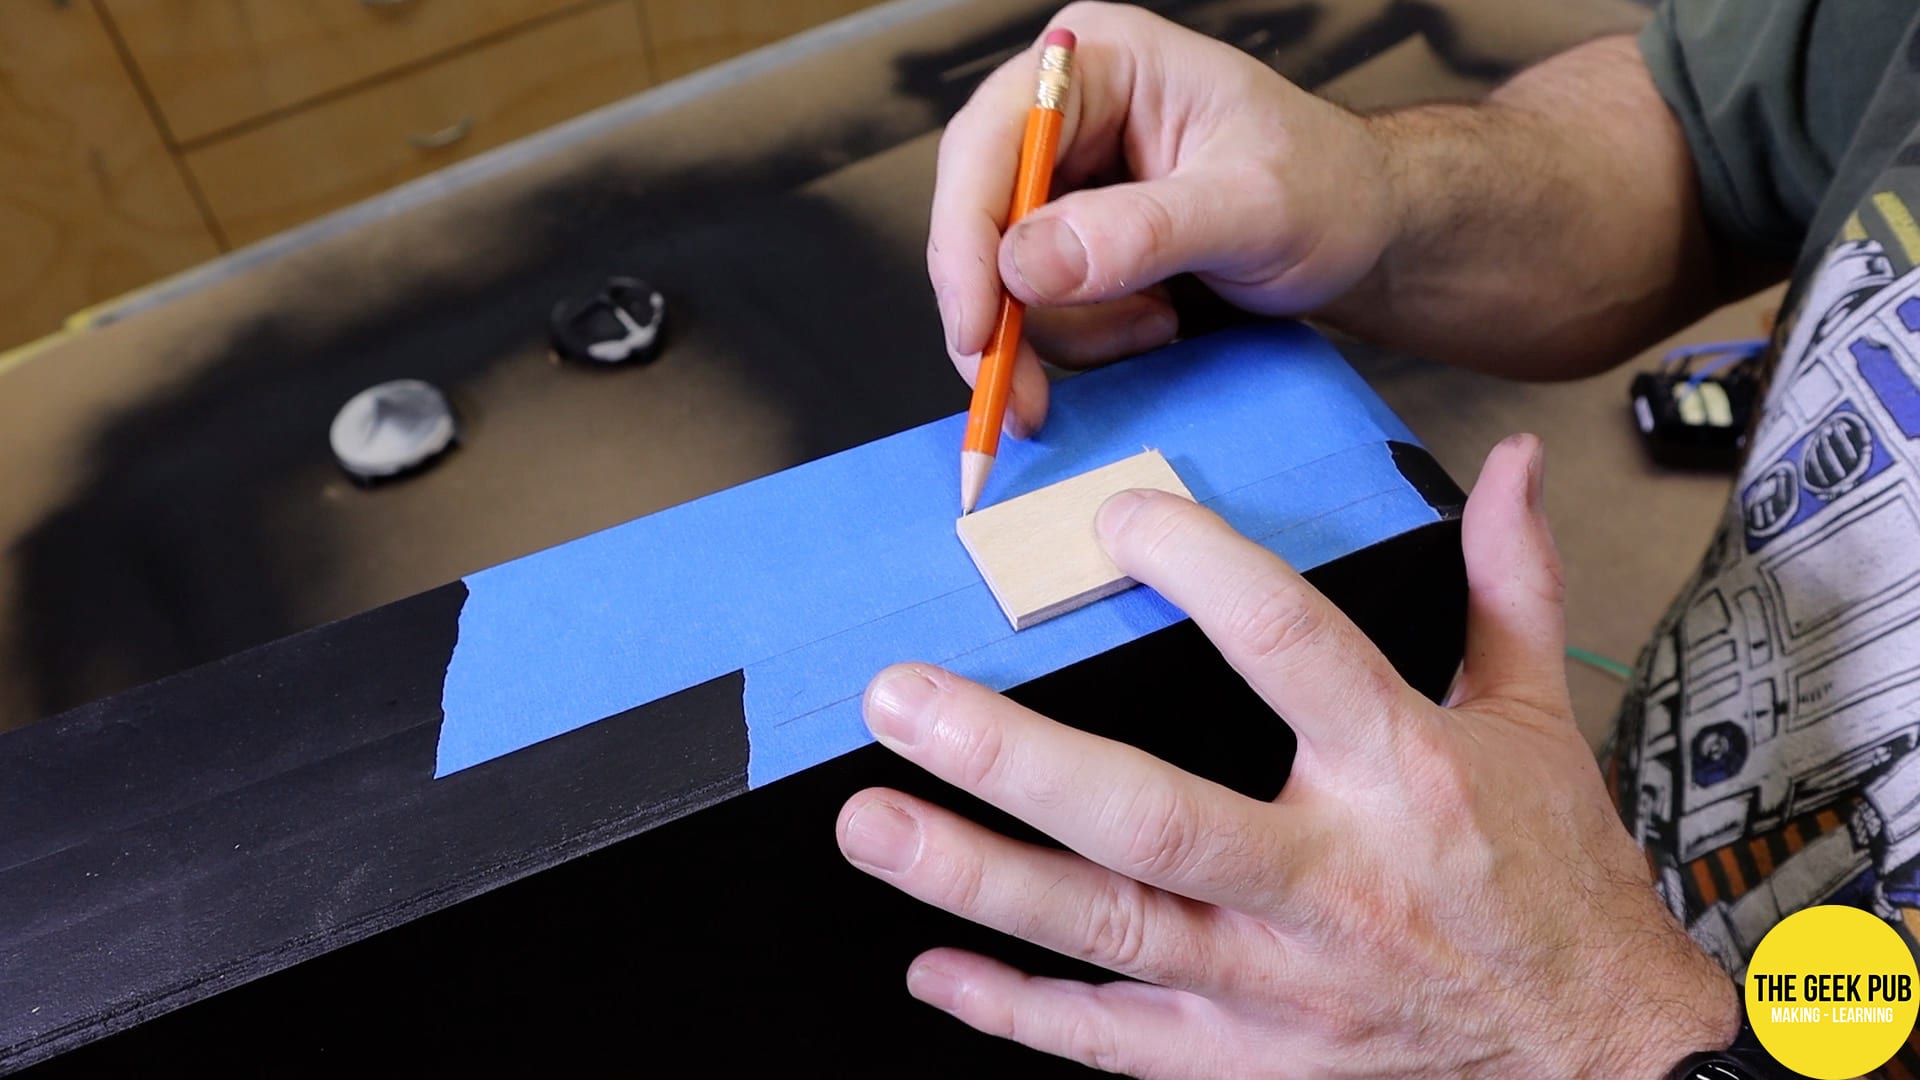
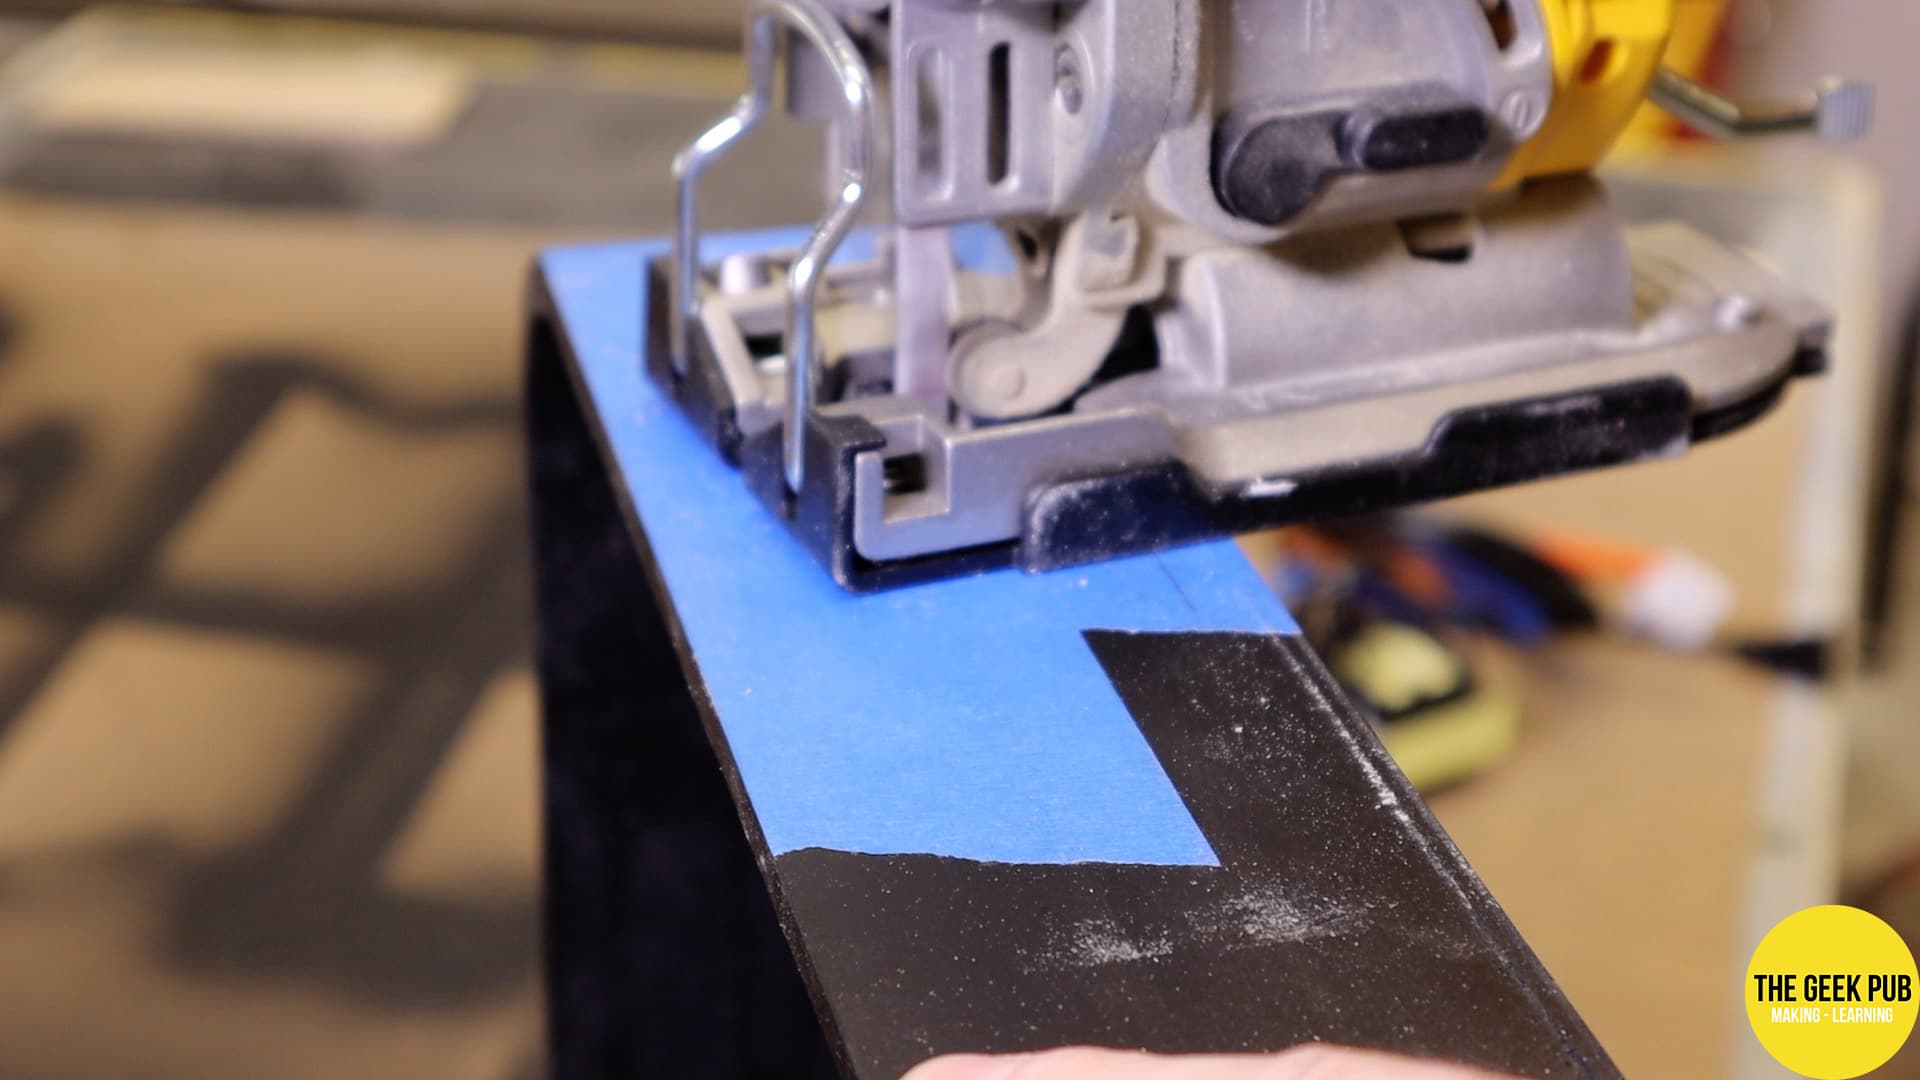
I added some masking tape, used a little wood template I made and market out where the IEC-14 fused switch would go and then cut it out with the jigsaw. The masking tape serves two purposes. It protect the paint from being scratched up by the jigsaw. But it also makes it much easier to see the pencil lines than they would have been on the black surface. Win-win!
RELATED: Why Your Jigsaw Doesn’t Cut Straight Lines
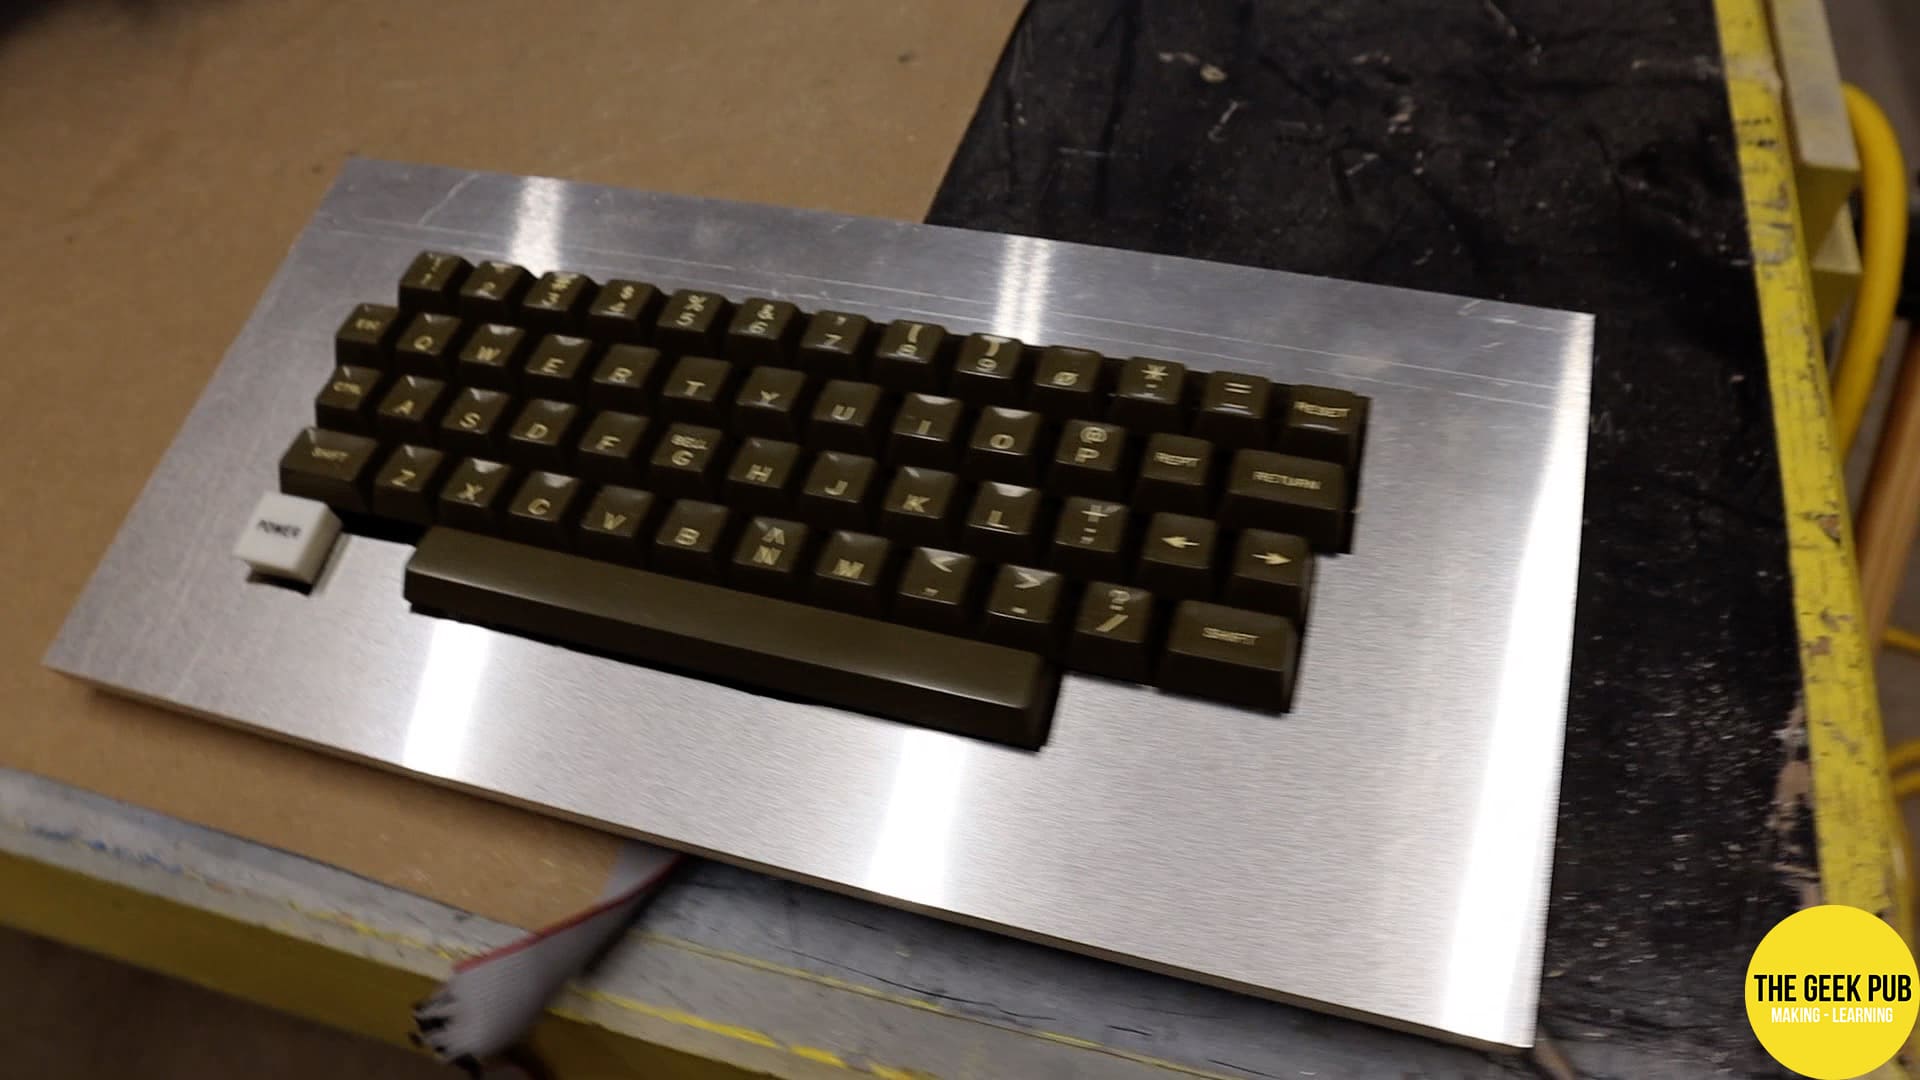
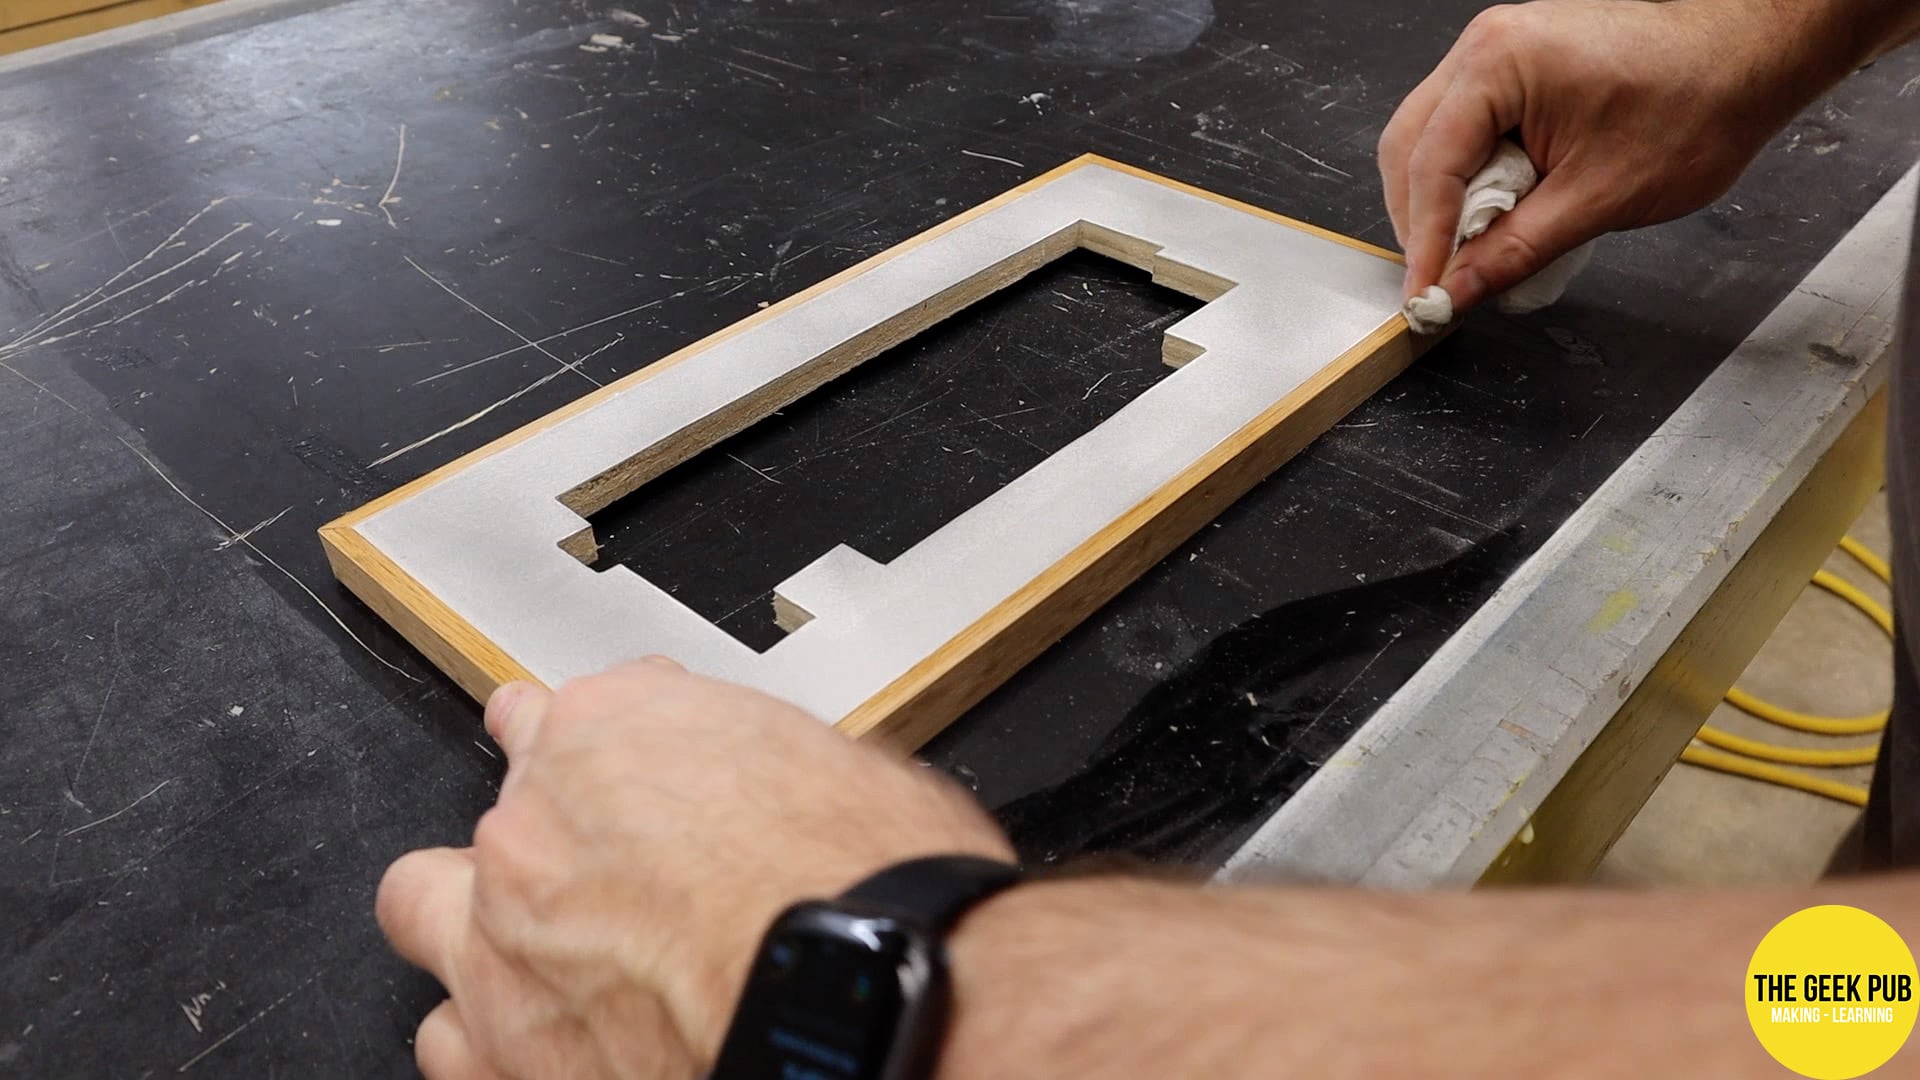
Apple 1 Aluminum Finish
Both the keyboard cover and case for the Apple 1 are going to be covered in Aluminum. Modern Apple computers seem to use a sand-blasted or soda-blasted type finish. I don’t have a sand-blaster or a soda-blaster. So in order to make this work I am going to have to use an alternate method. I found that using a 220 grit sanding disc on my orbital sander mimicked the Apple look close enough! It removes the glossiness of the aluminum but still leaves it looking like a shiny metal surface!
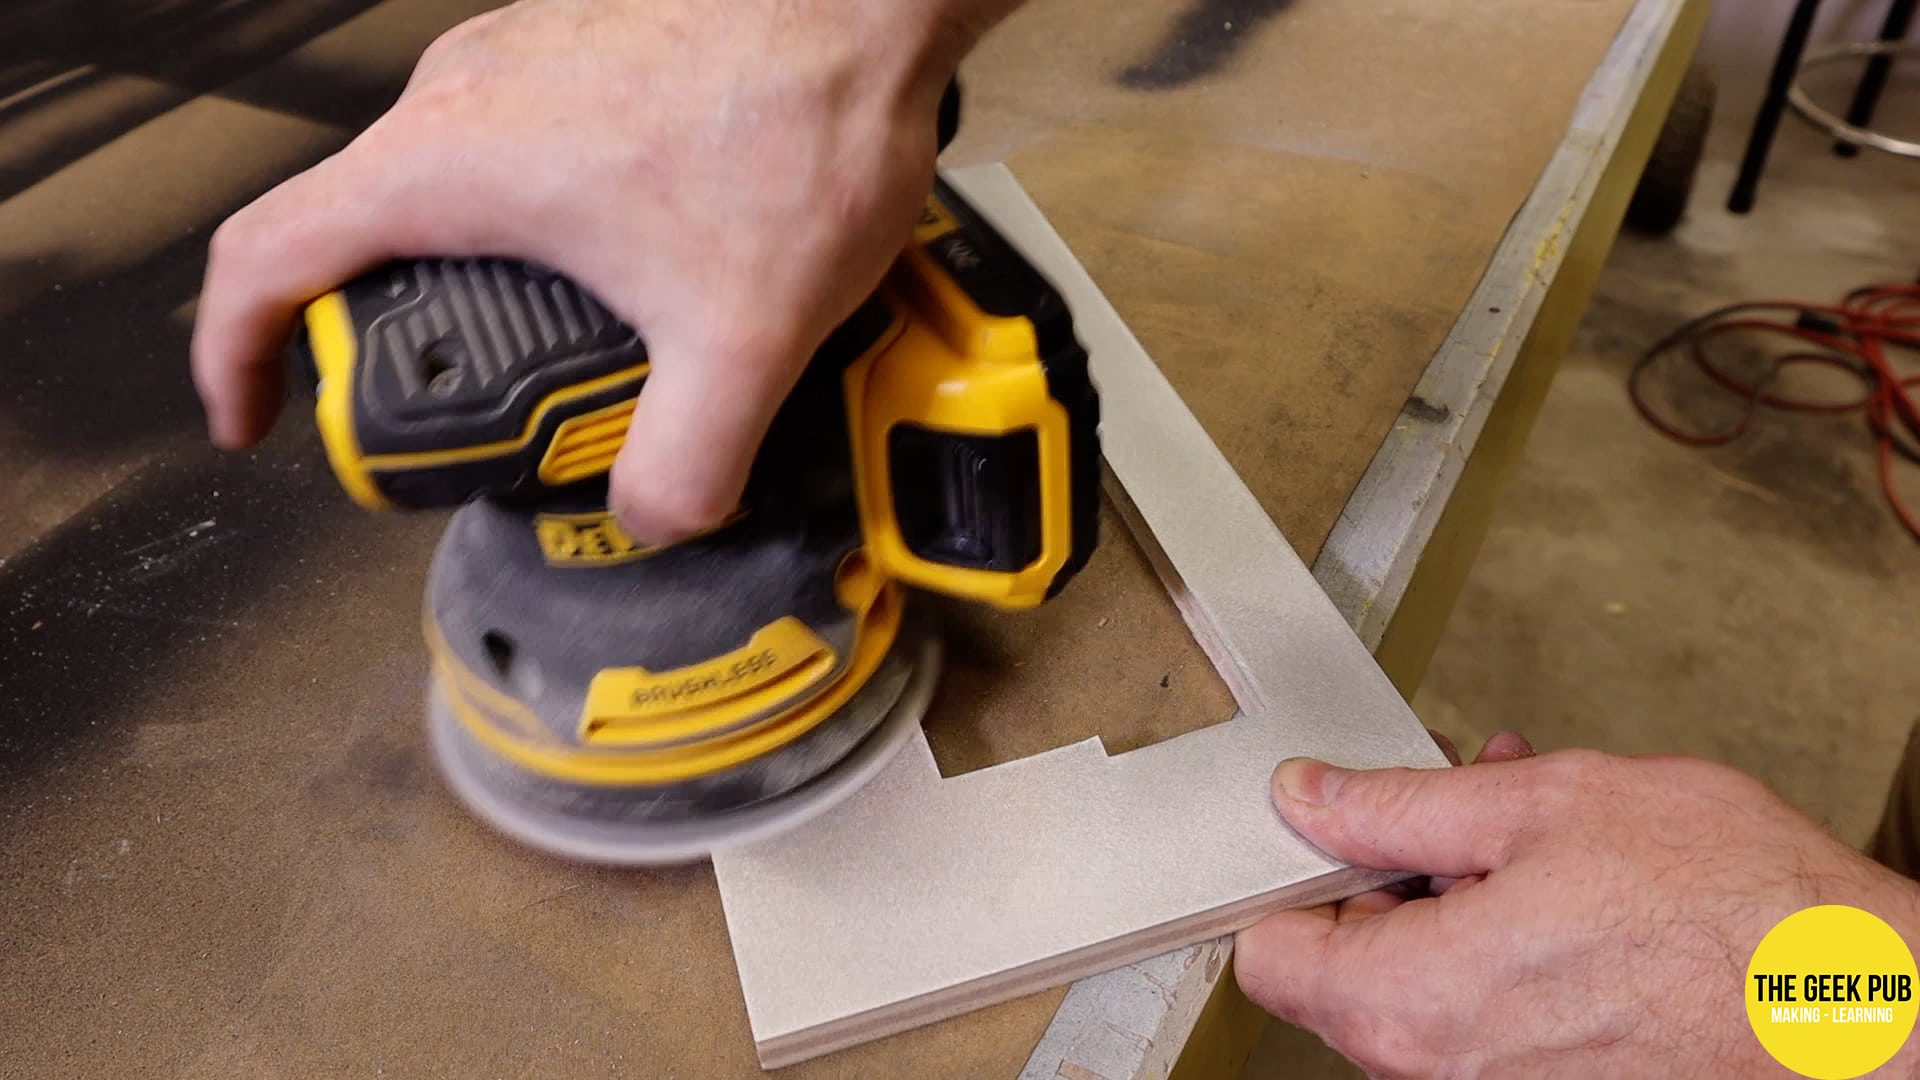

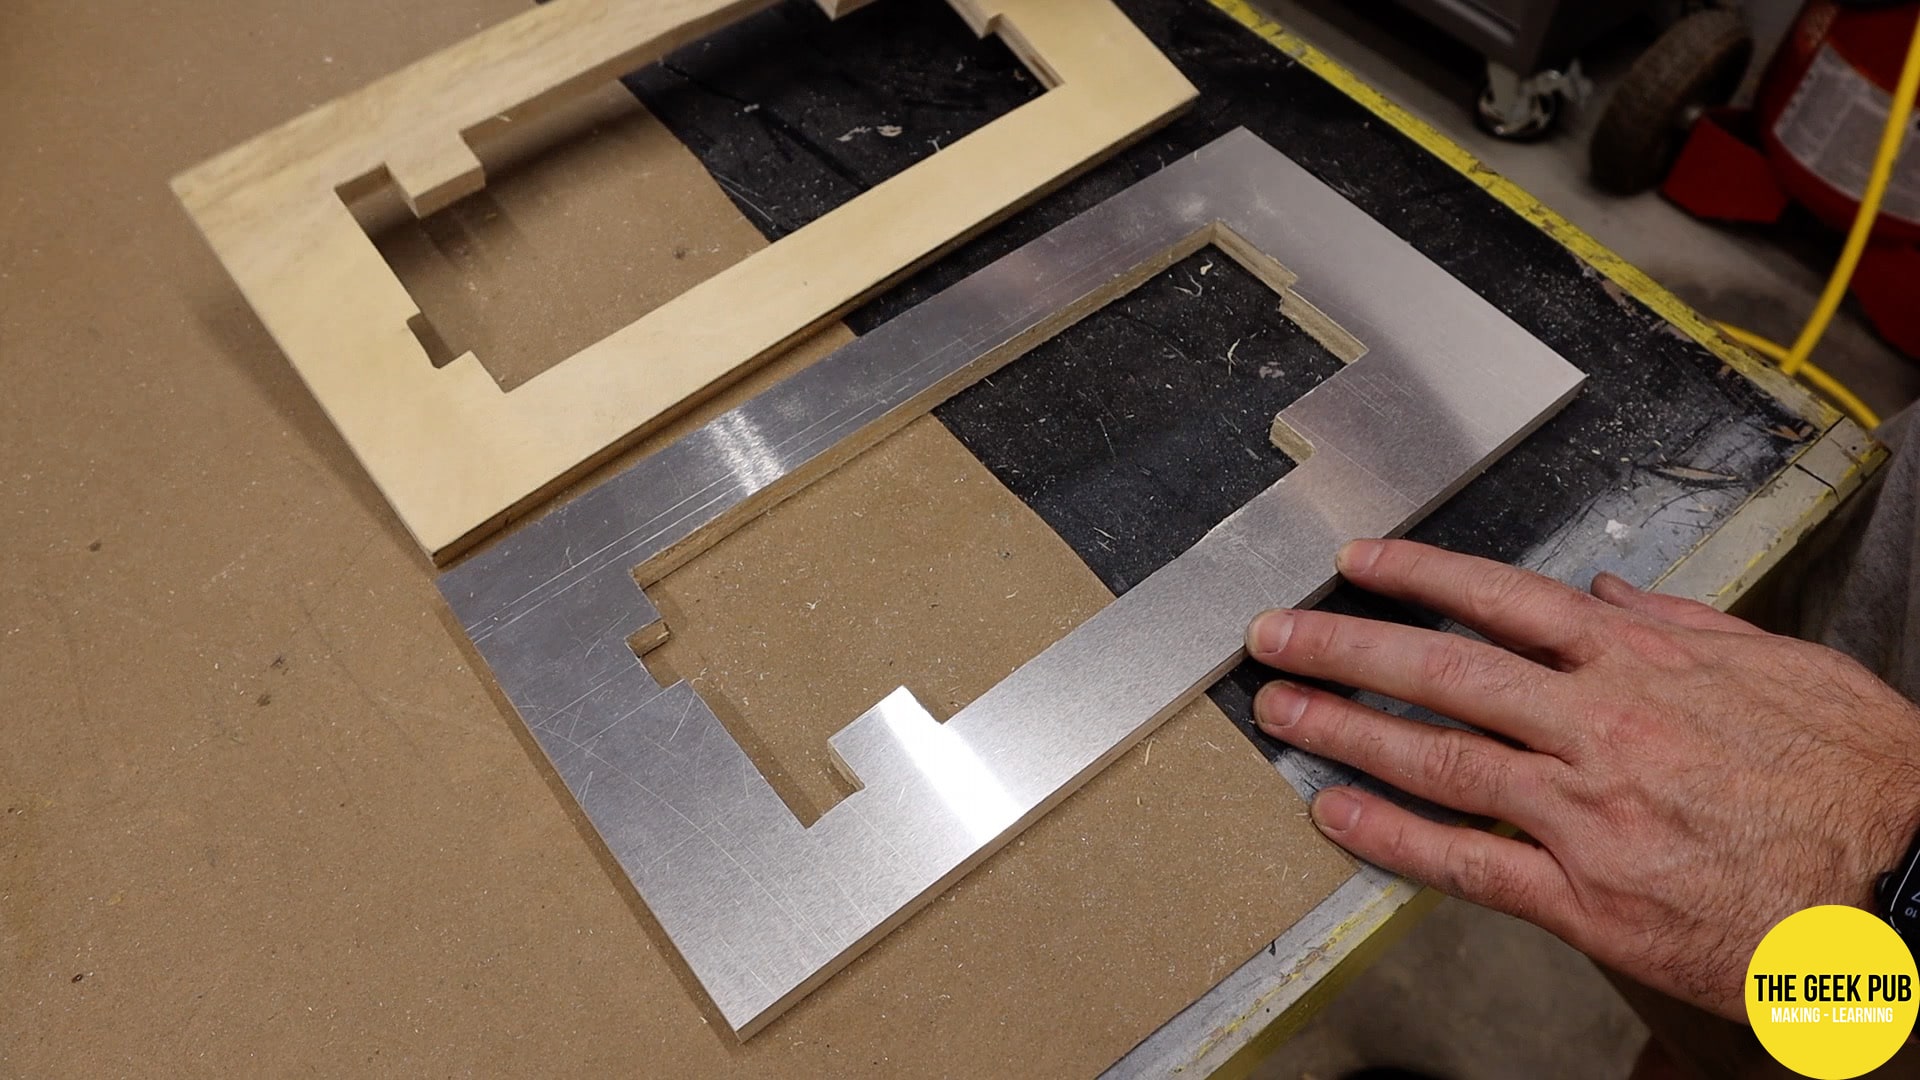
Before moving on to the application, I took a quick minute and cut the same slot for the Apple 1’s card edge connector into the aluminum.
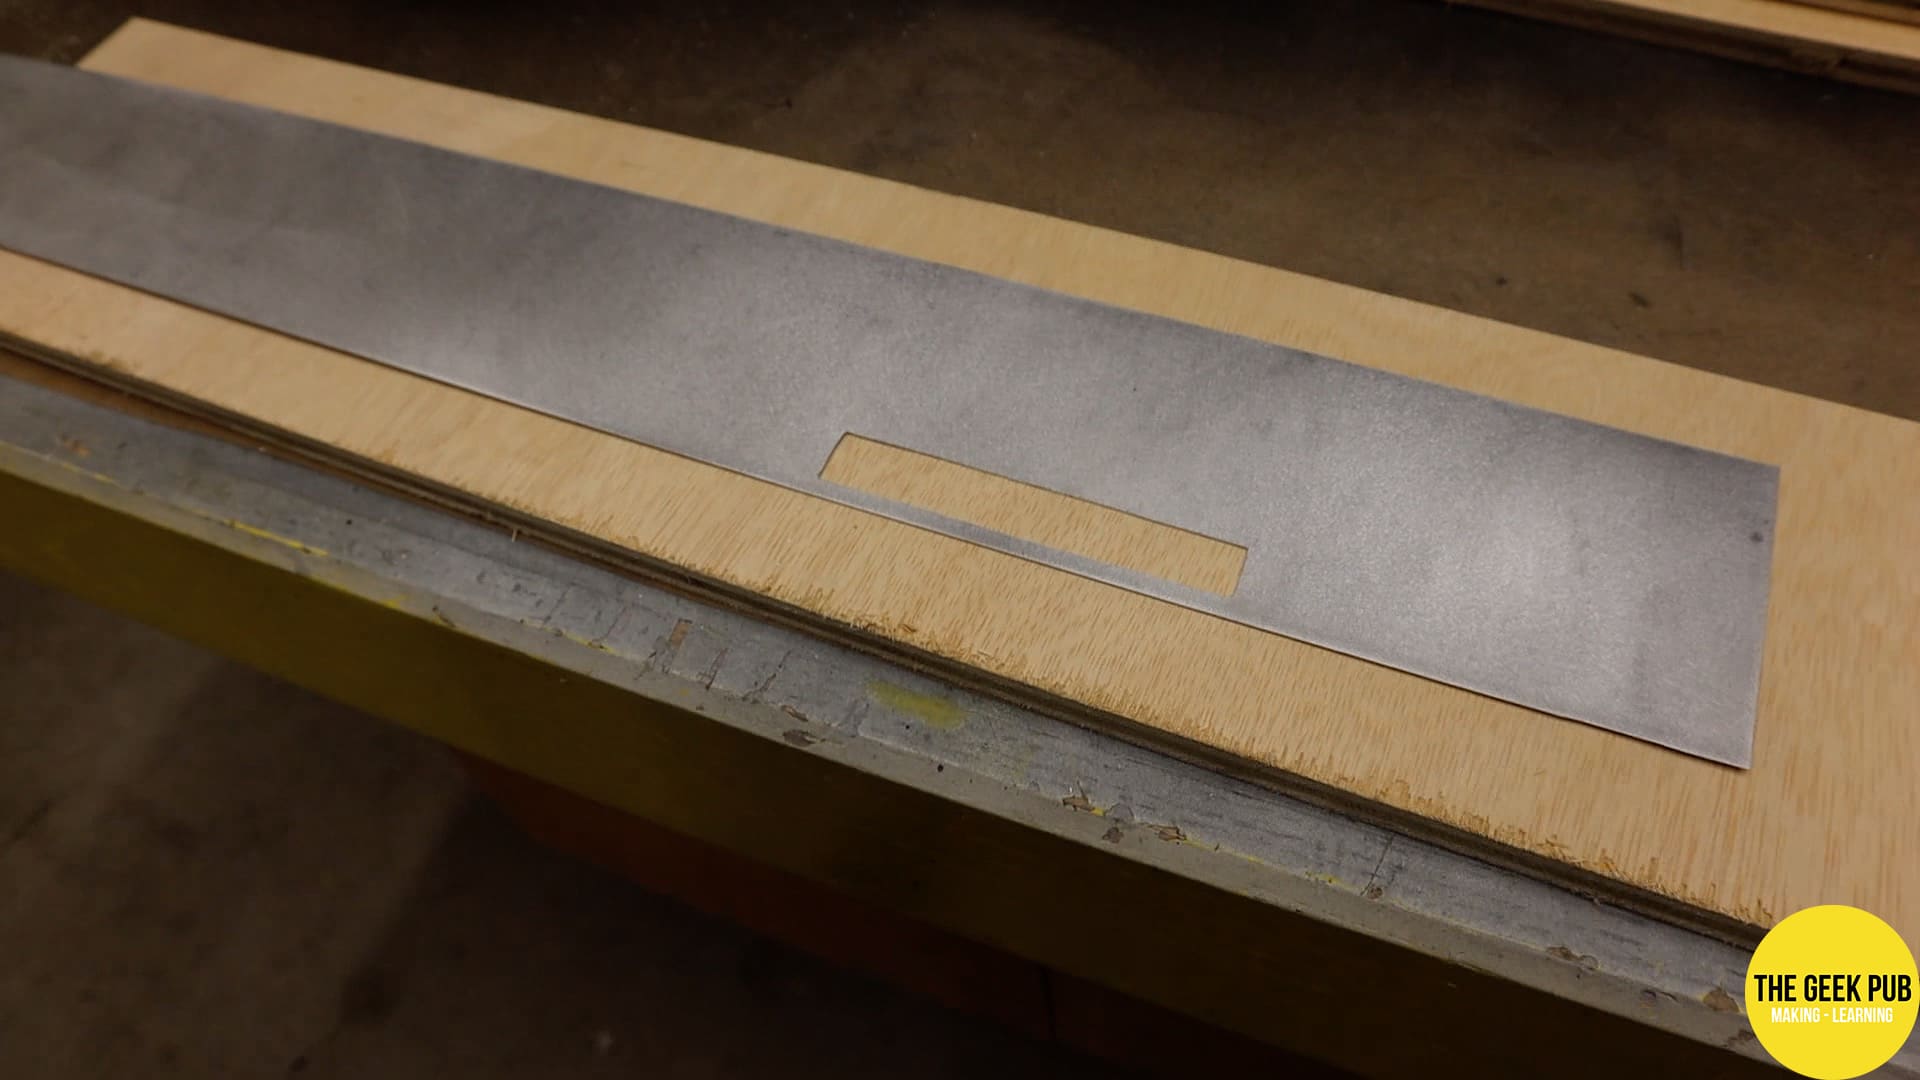
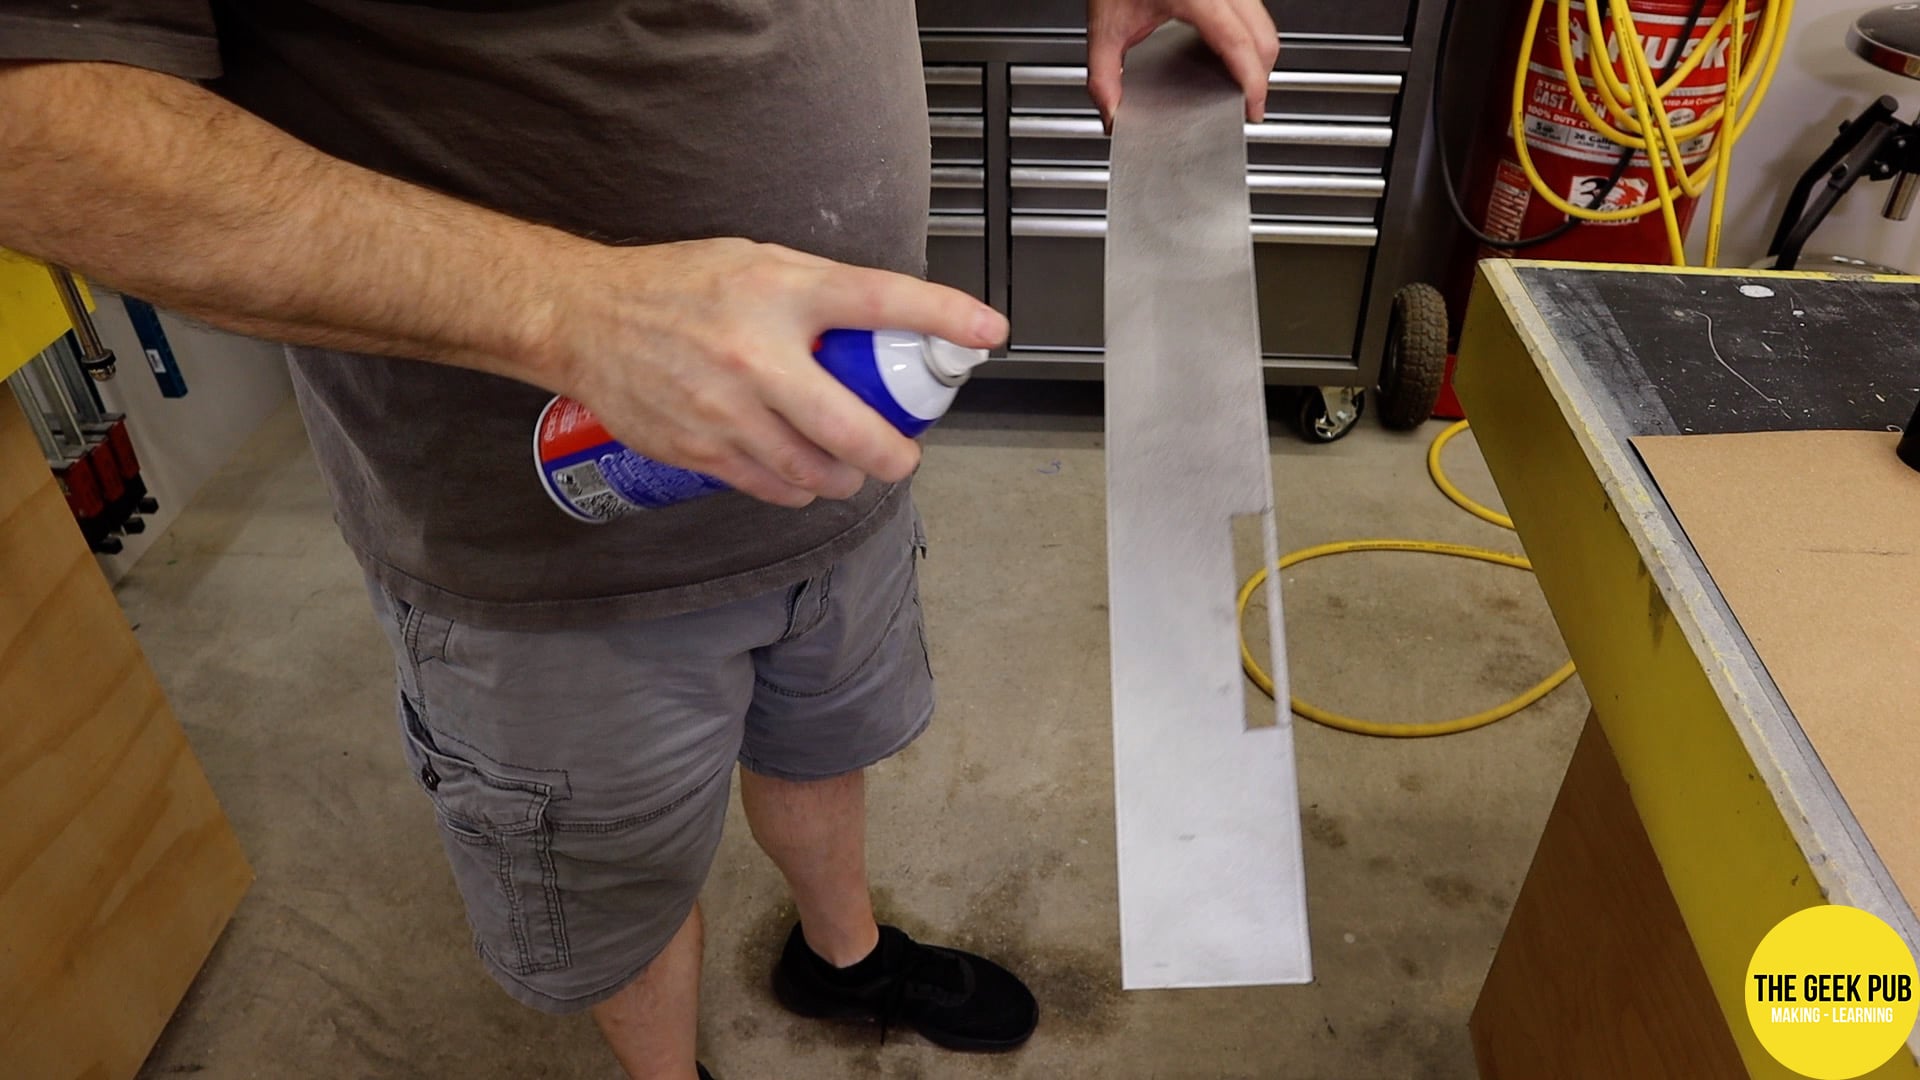
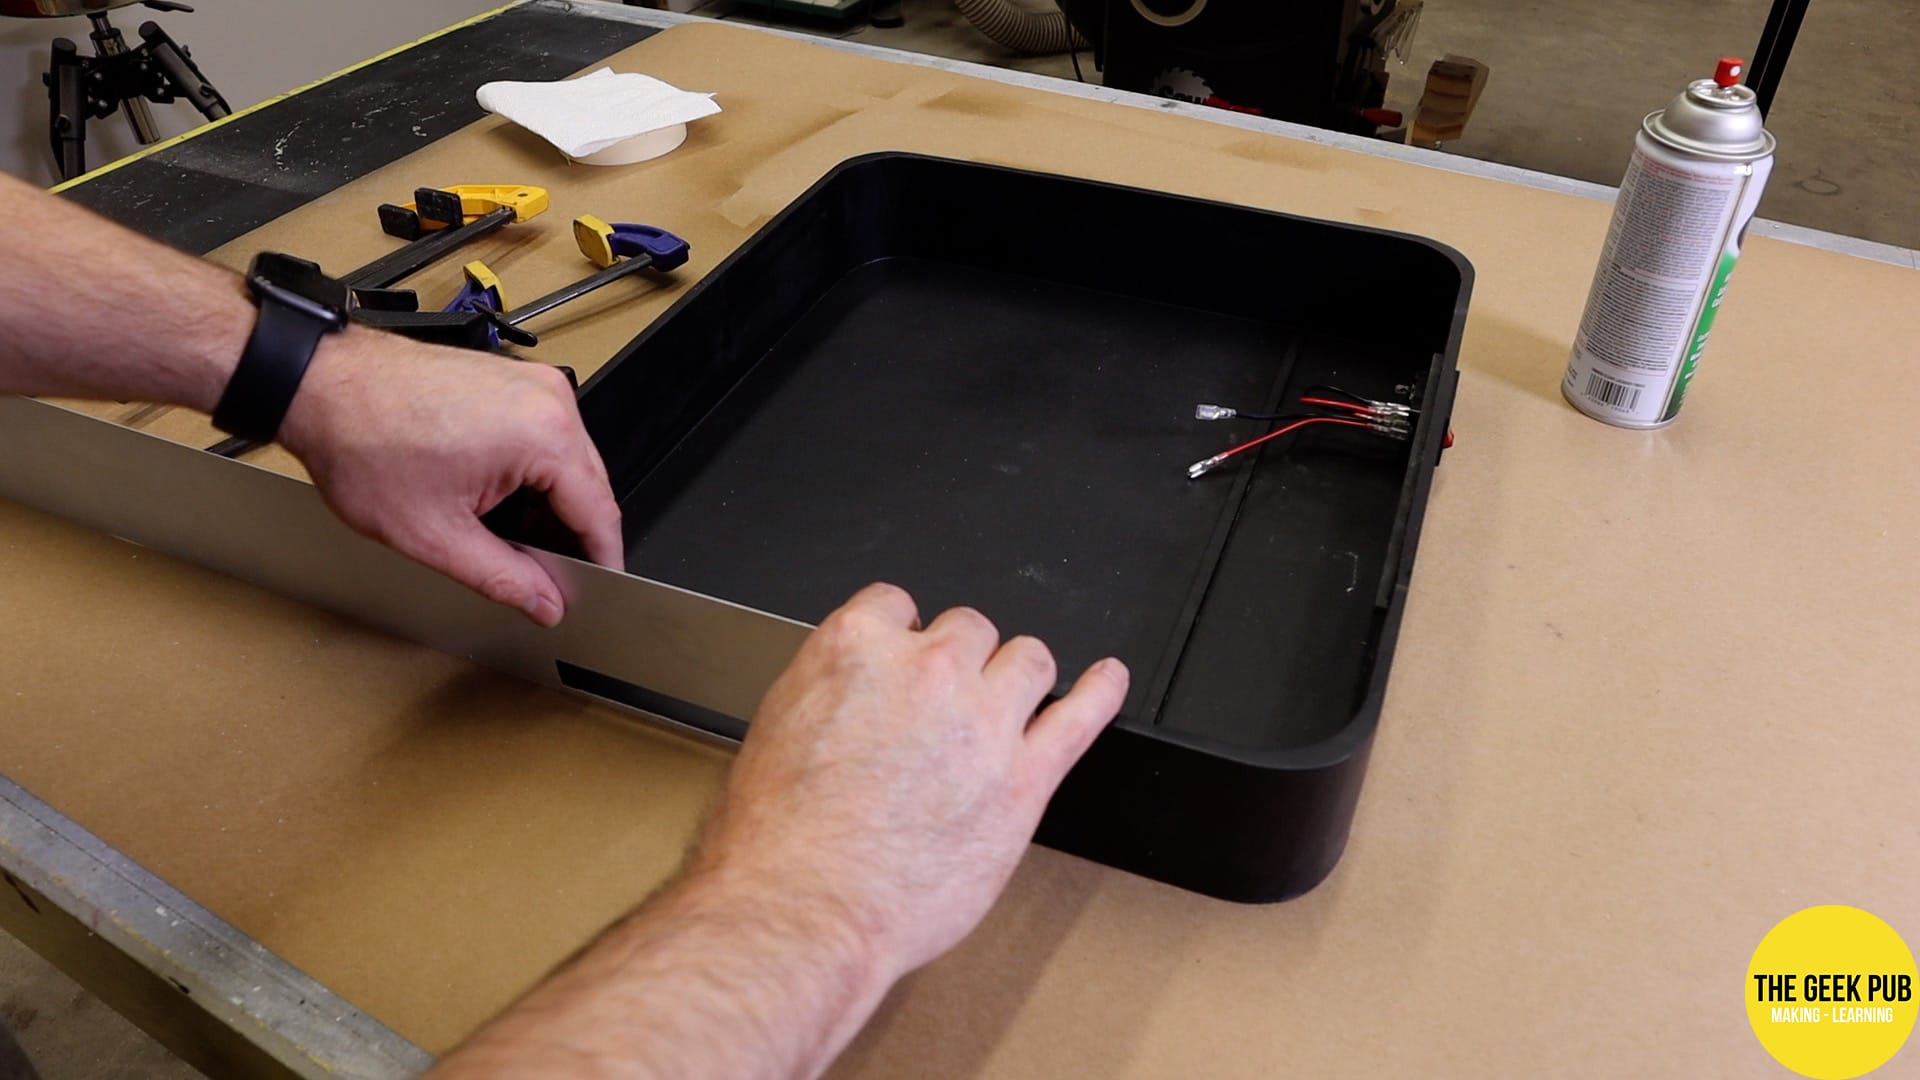
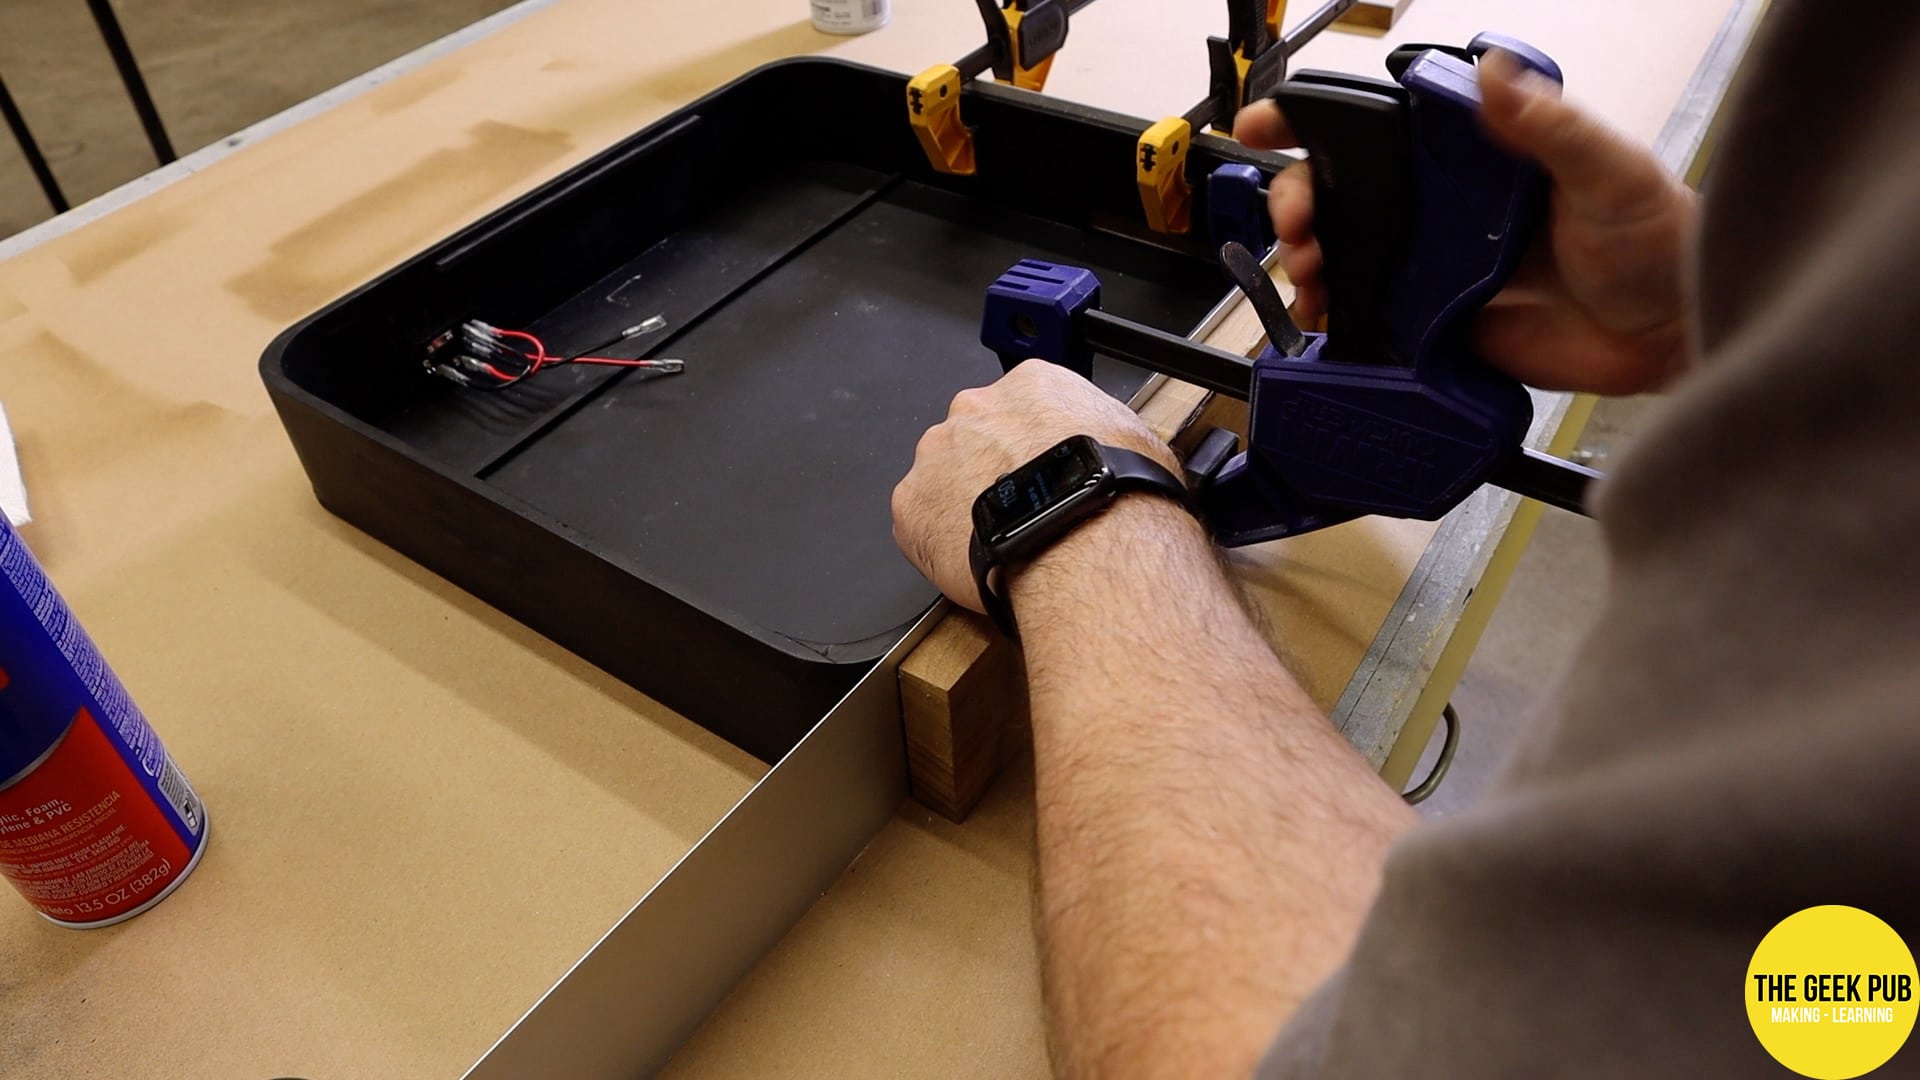
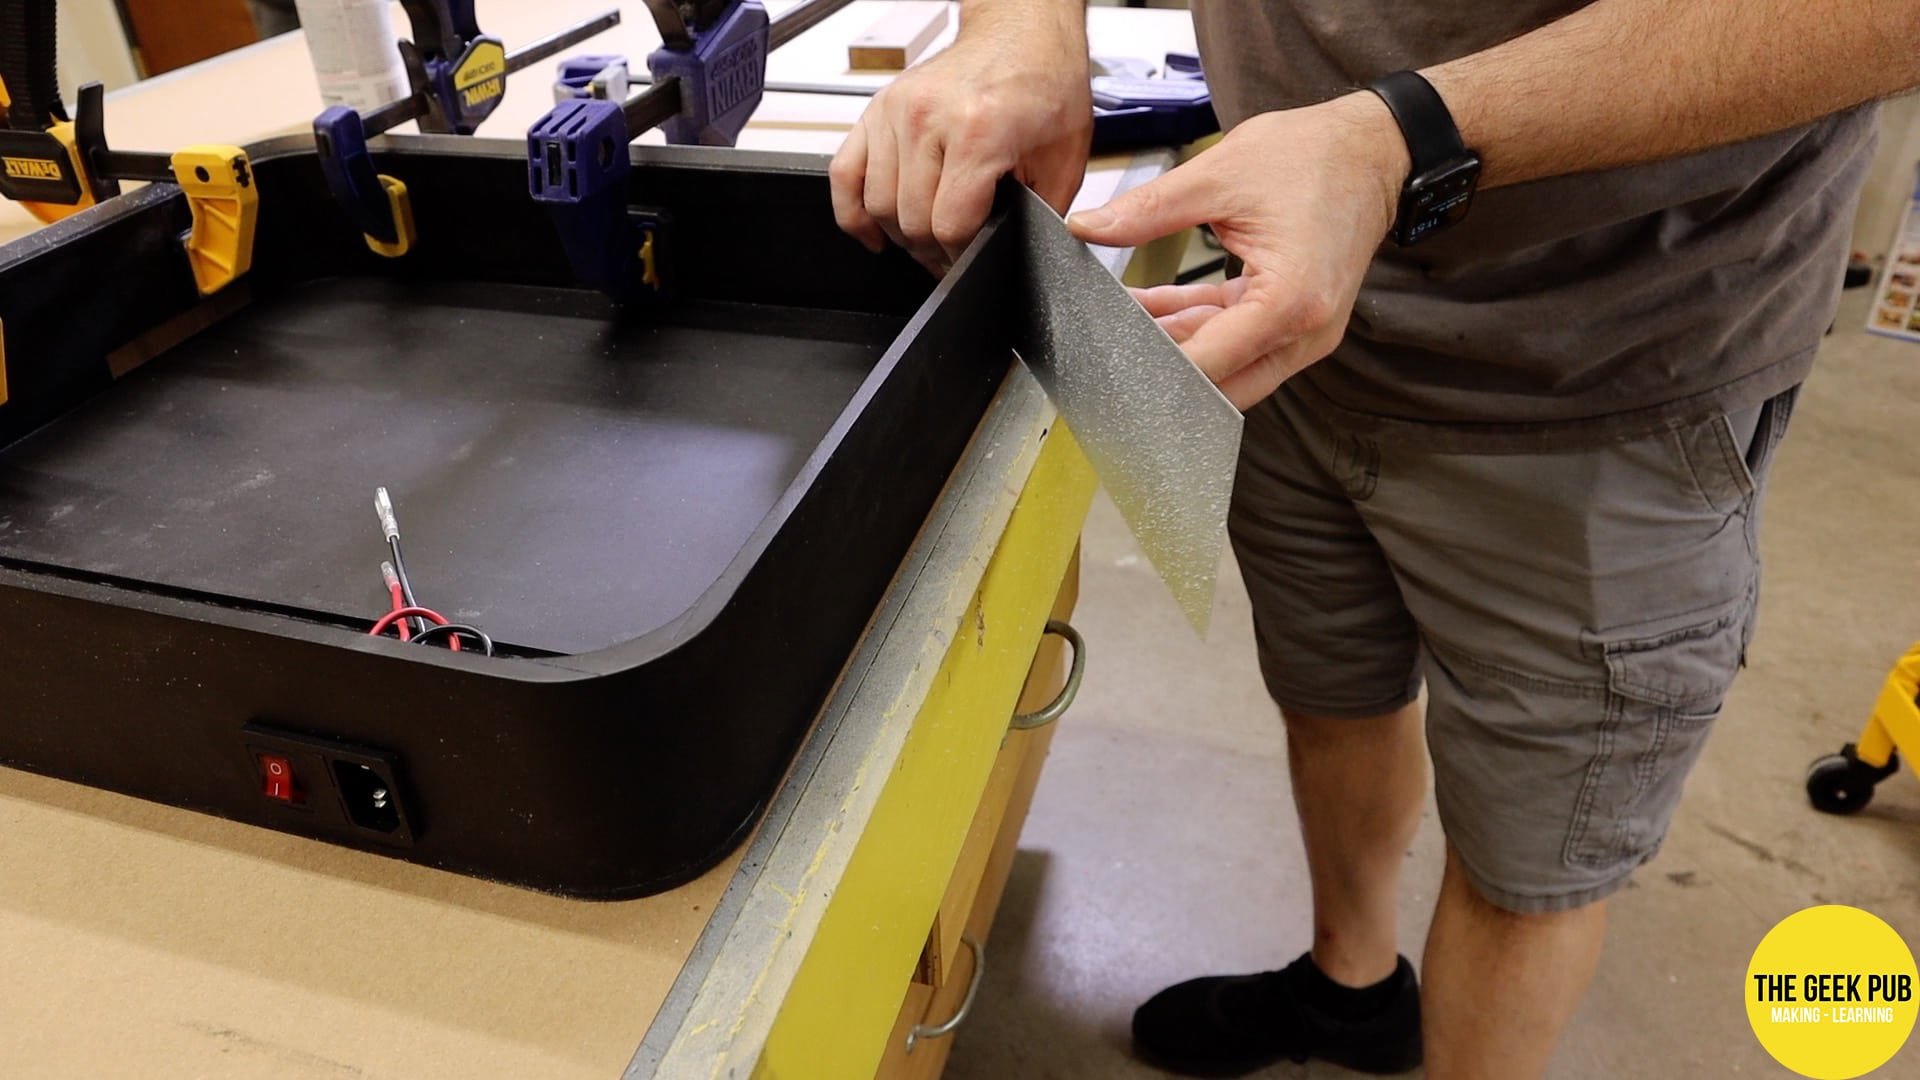
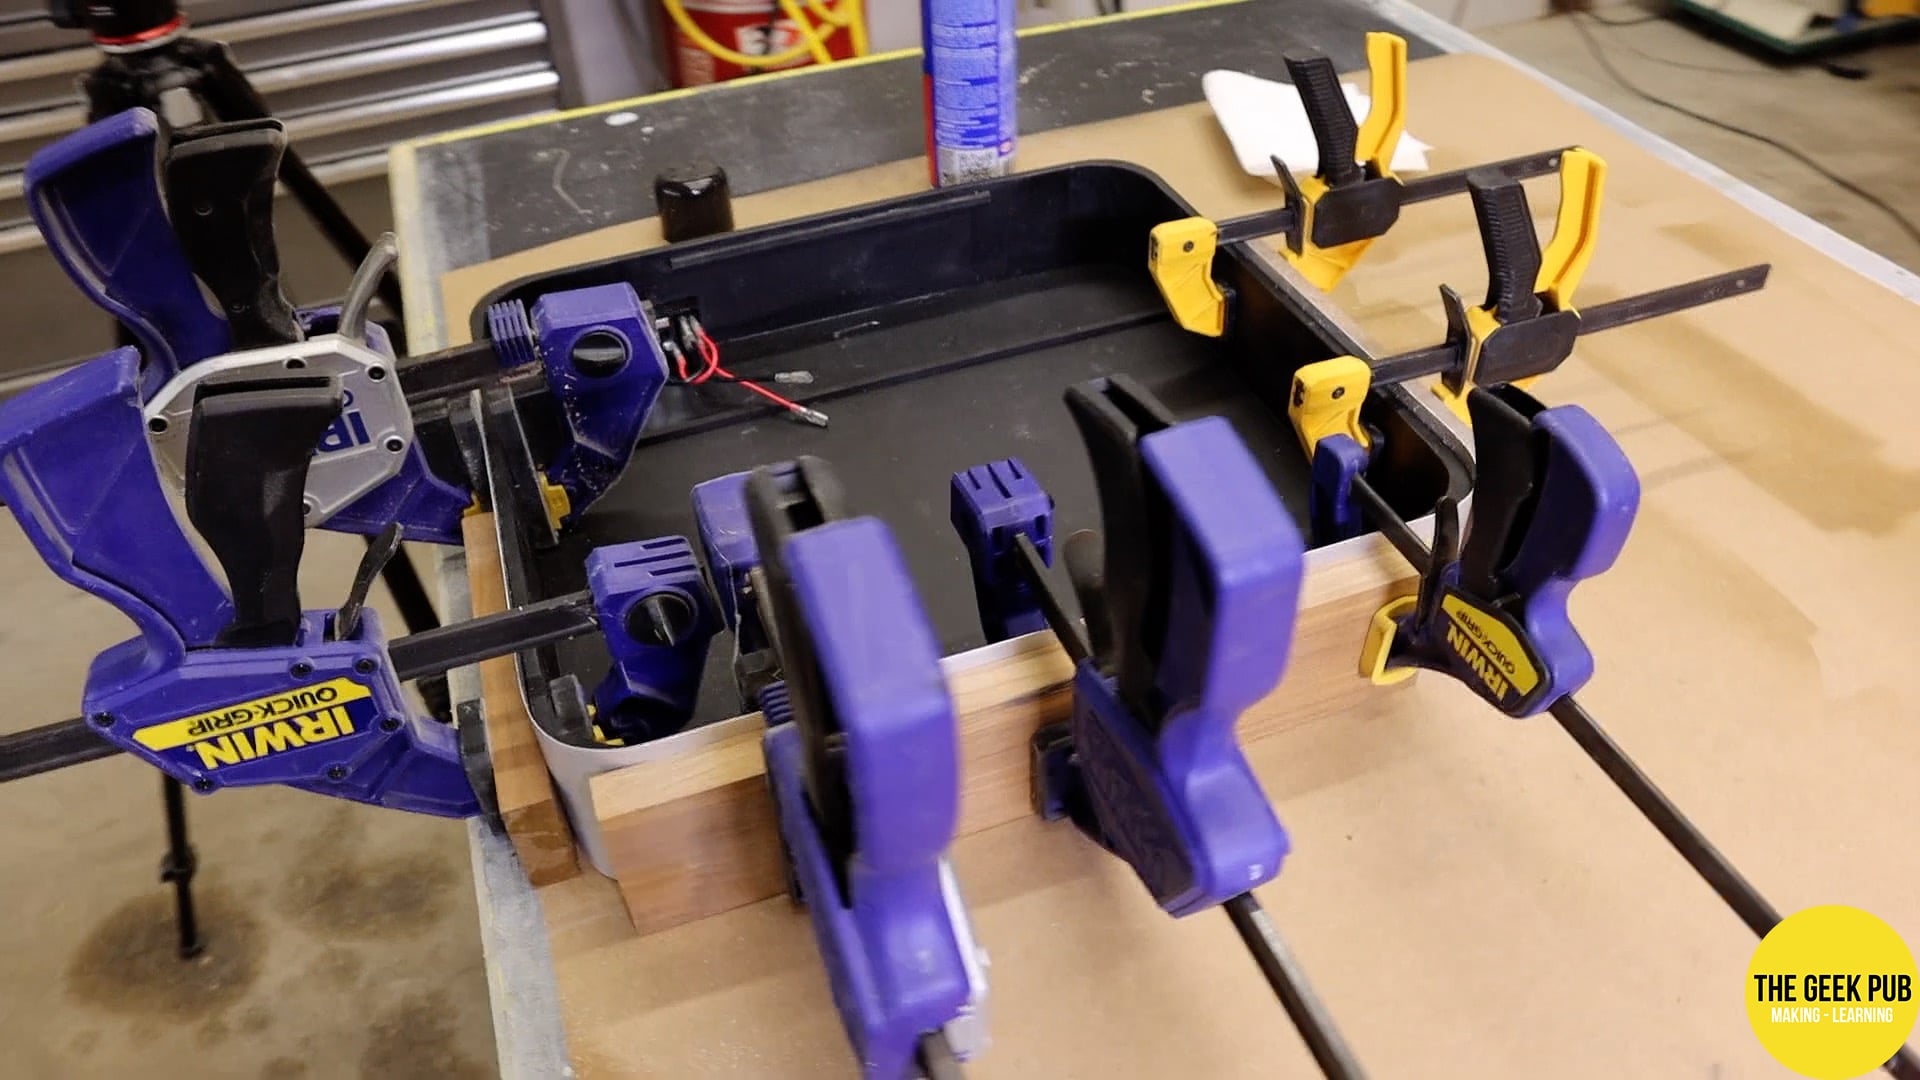
After the metal was sanded and I was happy with the shine and texture, I moved to applying the aluminum to the Apple 1 case. This was a tricky procedure because I needed to bend the aluminum around the Apple 1 case and hold in place while the glue dries. For the glue I chose 3M Super 77 spray adhesive.
I once again proved you can never have enough clamps in the shop!
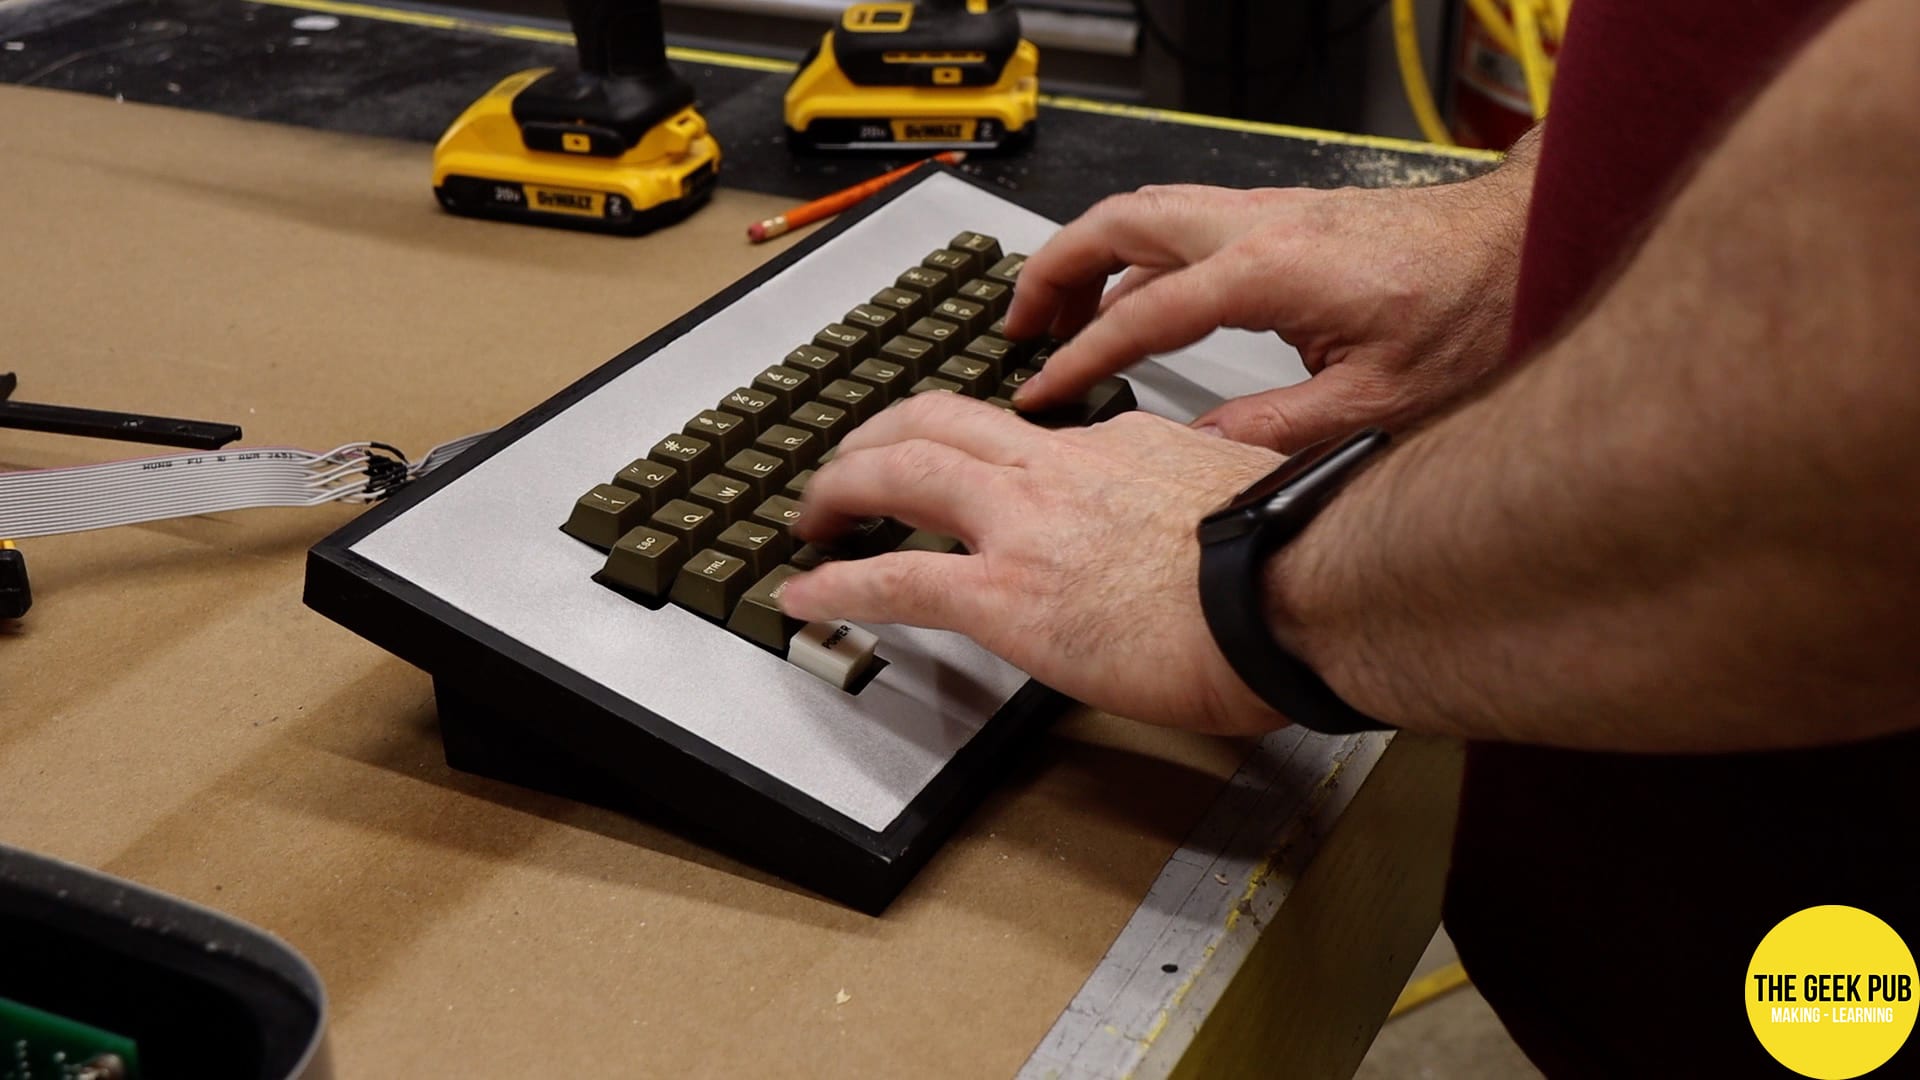
Finishing the Keyboard Cover
To add just a little more decoration to the keyboard cover, I added some oak strips around the outside of it (that will be painted black to match the case). This will hide the ugly plywood edges and give the keyboard itself a finished look. I just glued them on and of course since we’re not cutting it I used brad nails to hold them in place while the glue dries.
Wow does the finished keyboard cover look amazing! The black trim and the sanded and lacquered aluminum just make it pop!

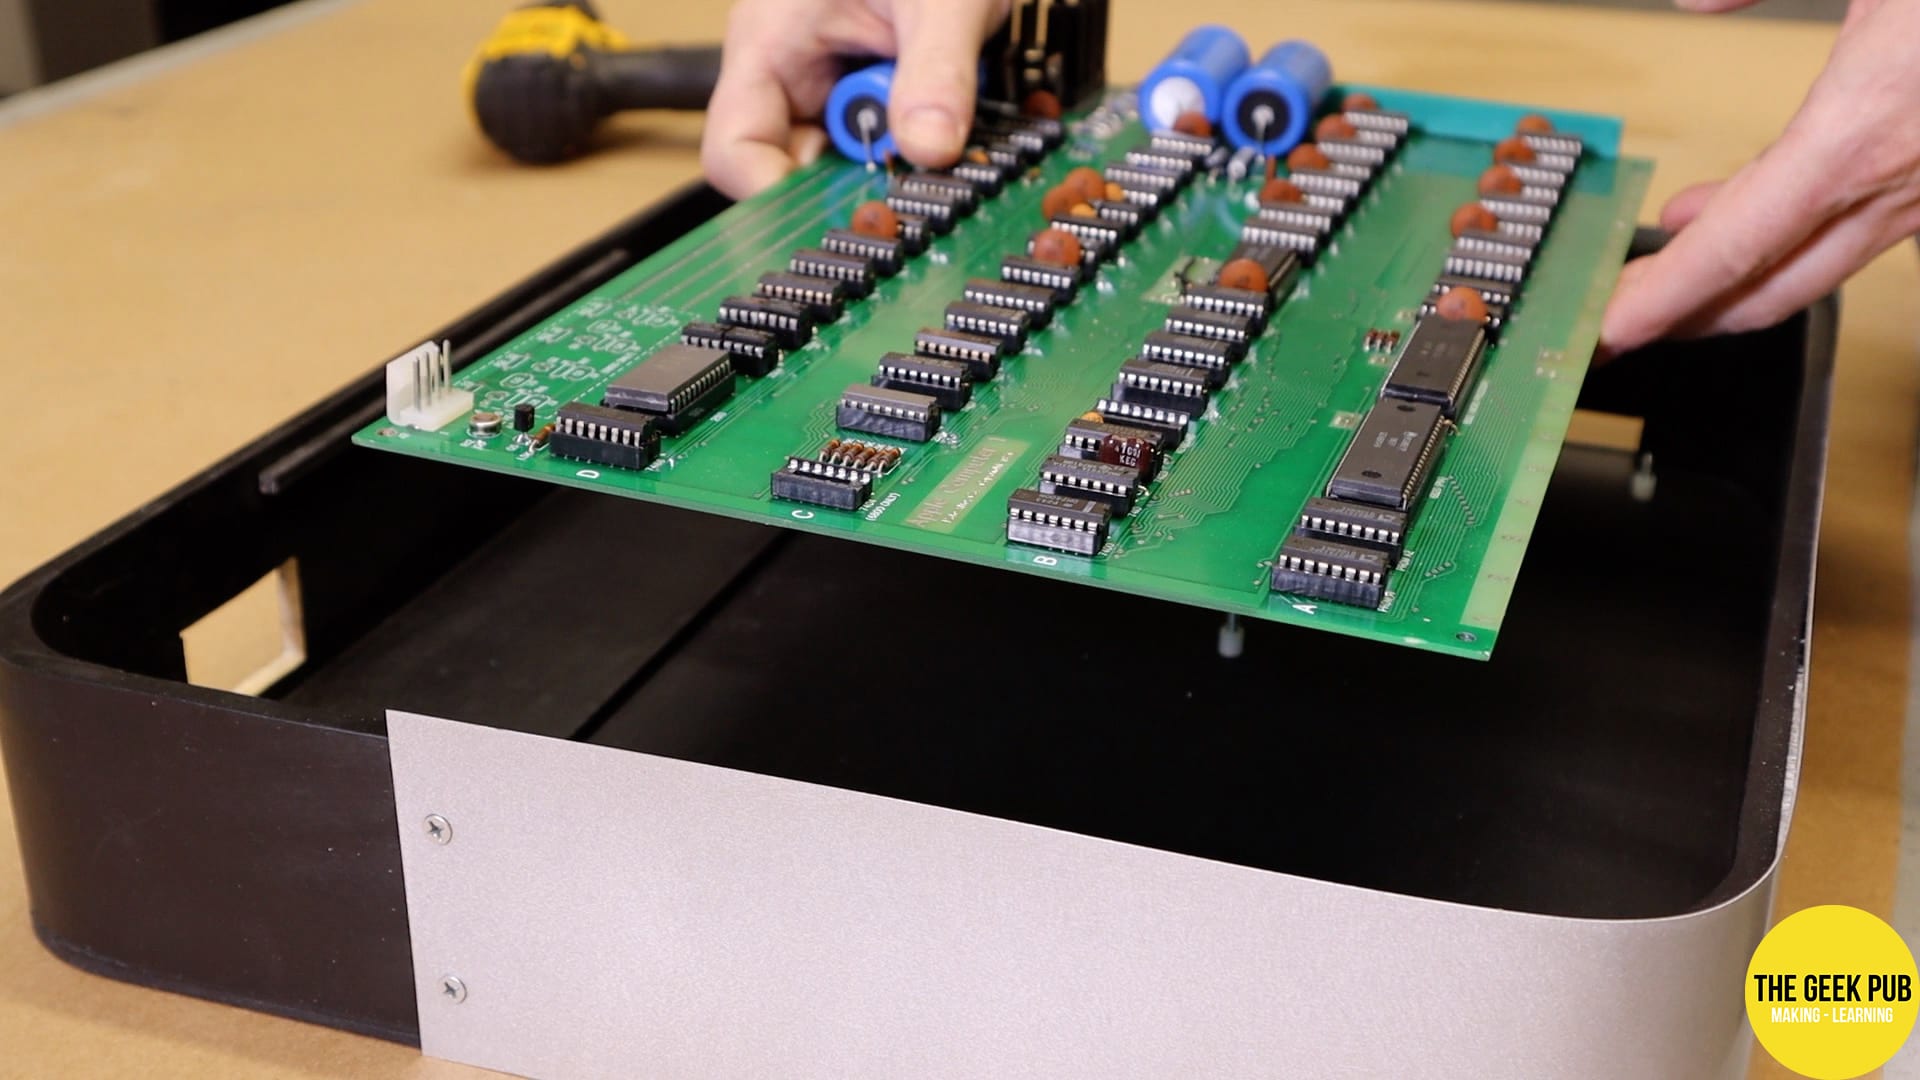
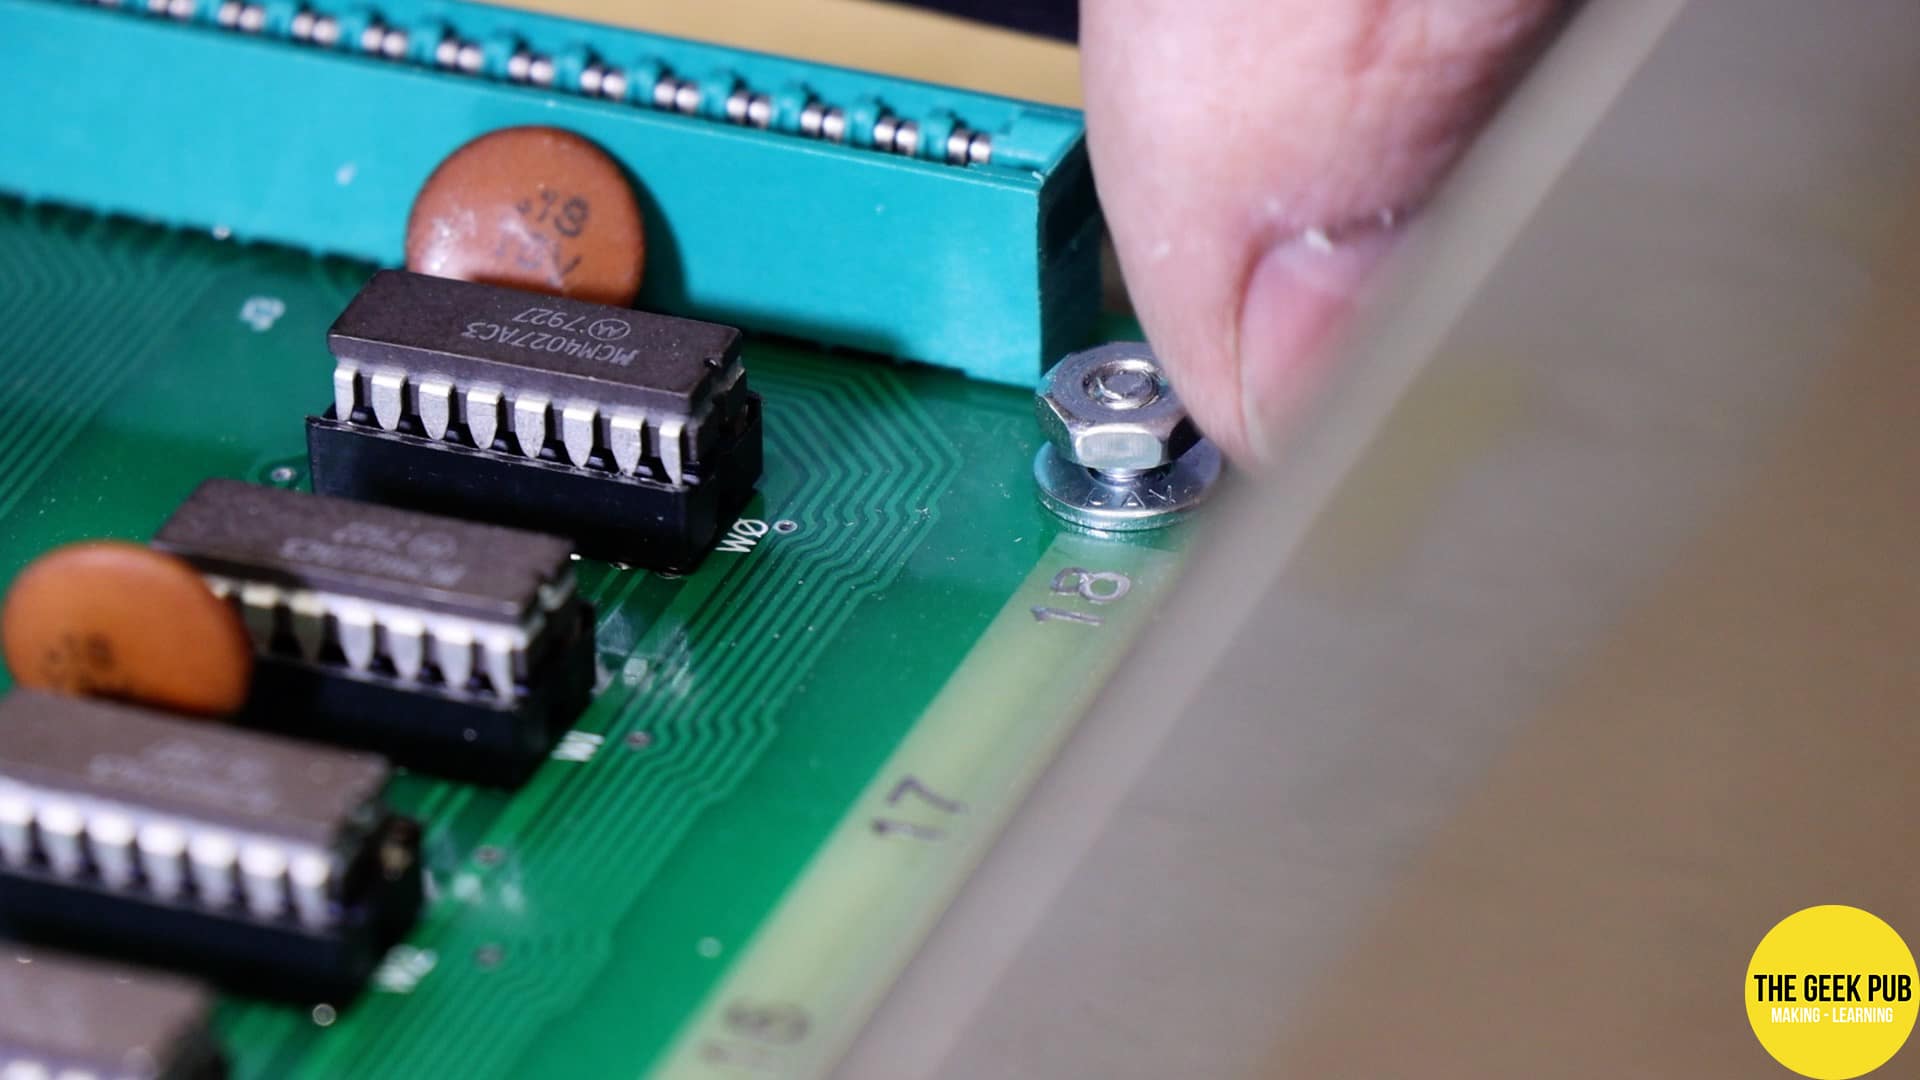
Installing the Apple 1 Board into the Case
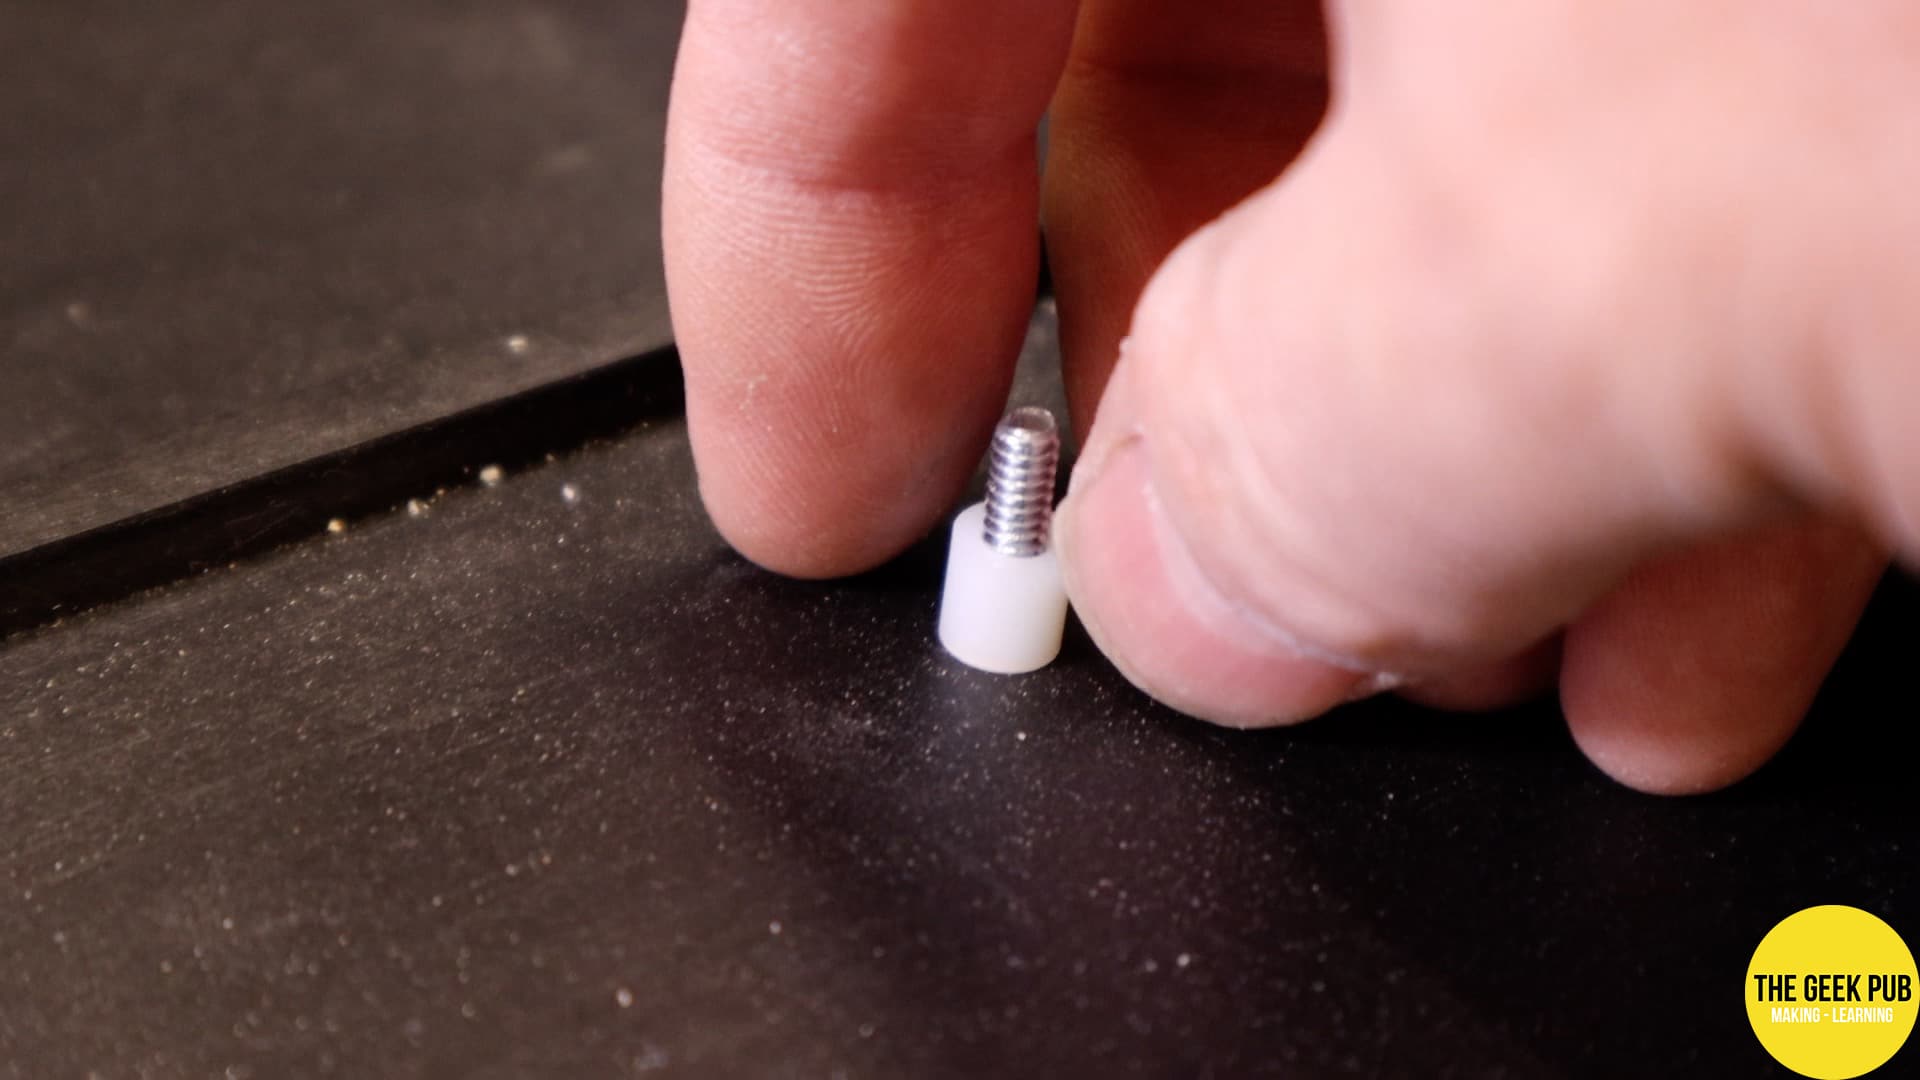
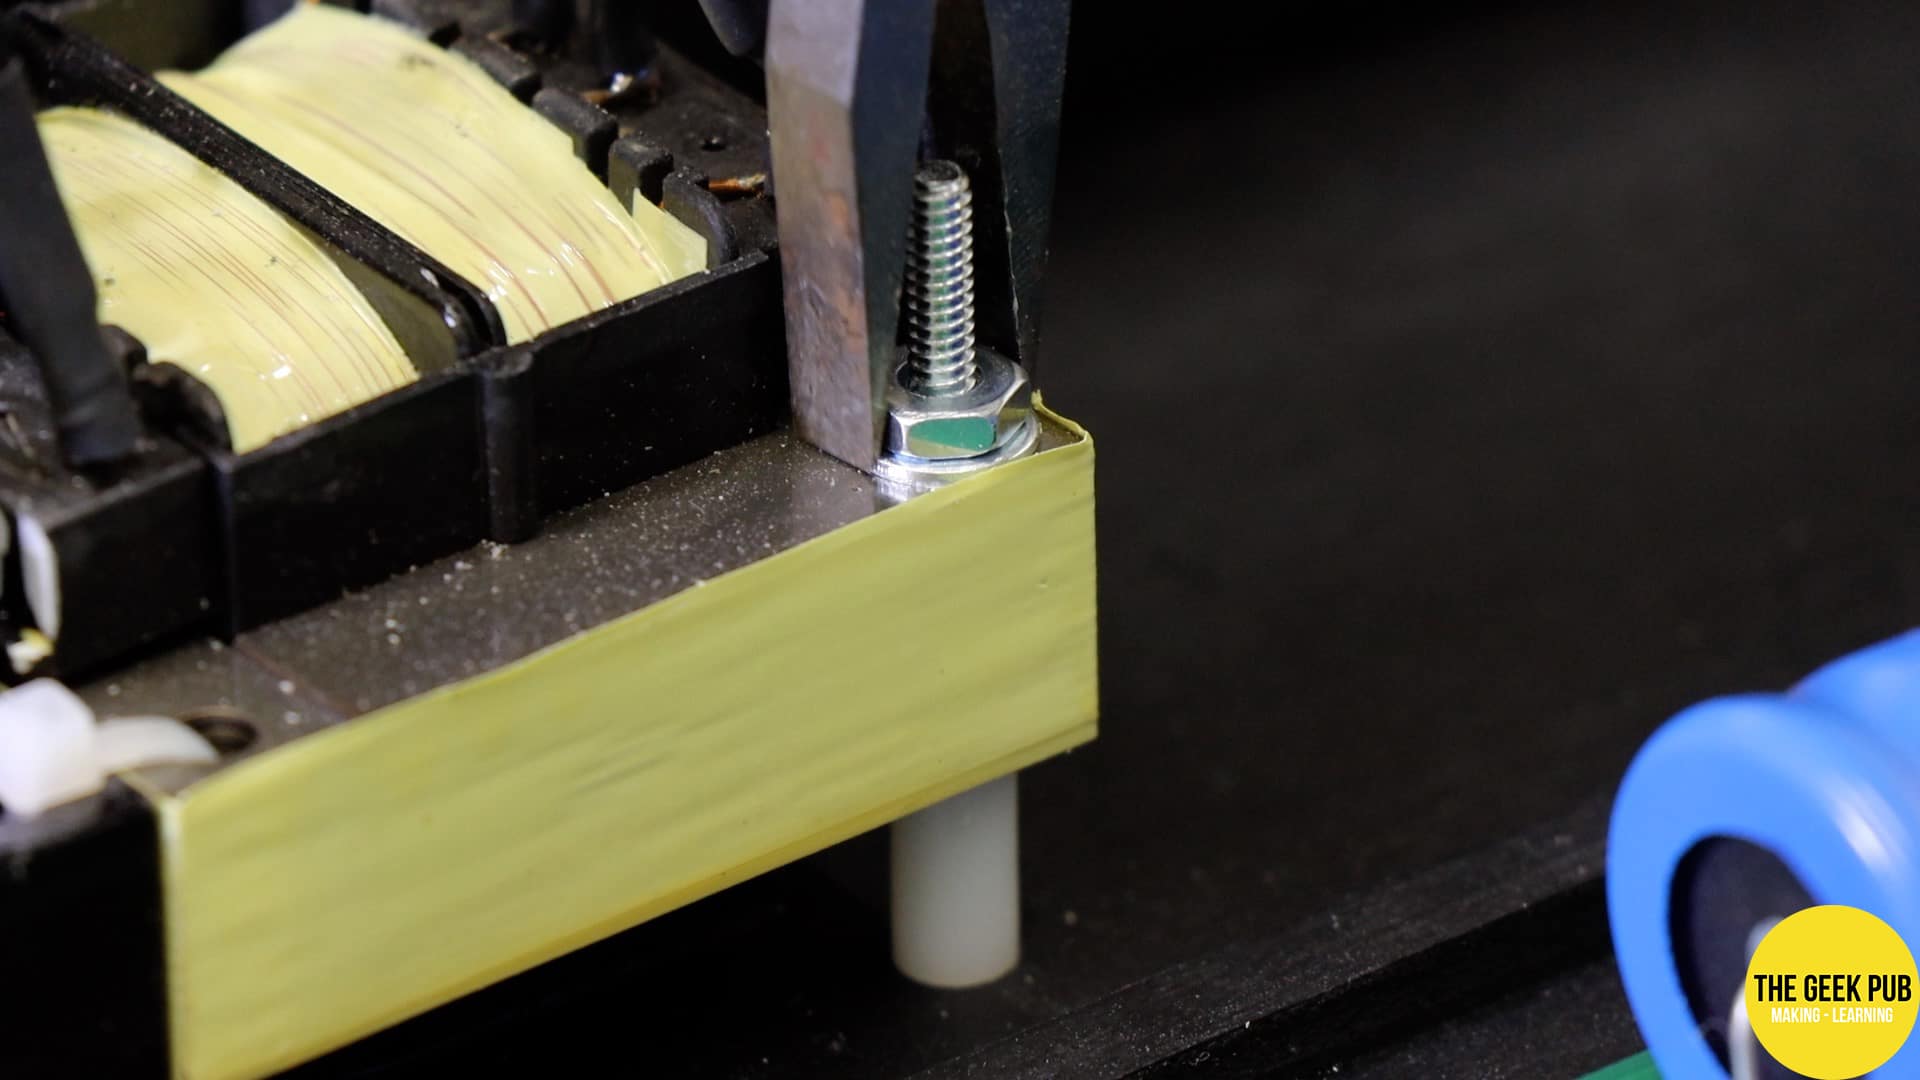
On the bottom of the Apple 1 case I added some machine screws and then put plastic stand-offs on them. This will support the Apple 1 board in the case. On top of the board, I used some washers and nuts to hold it in place.

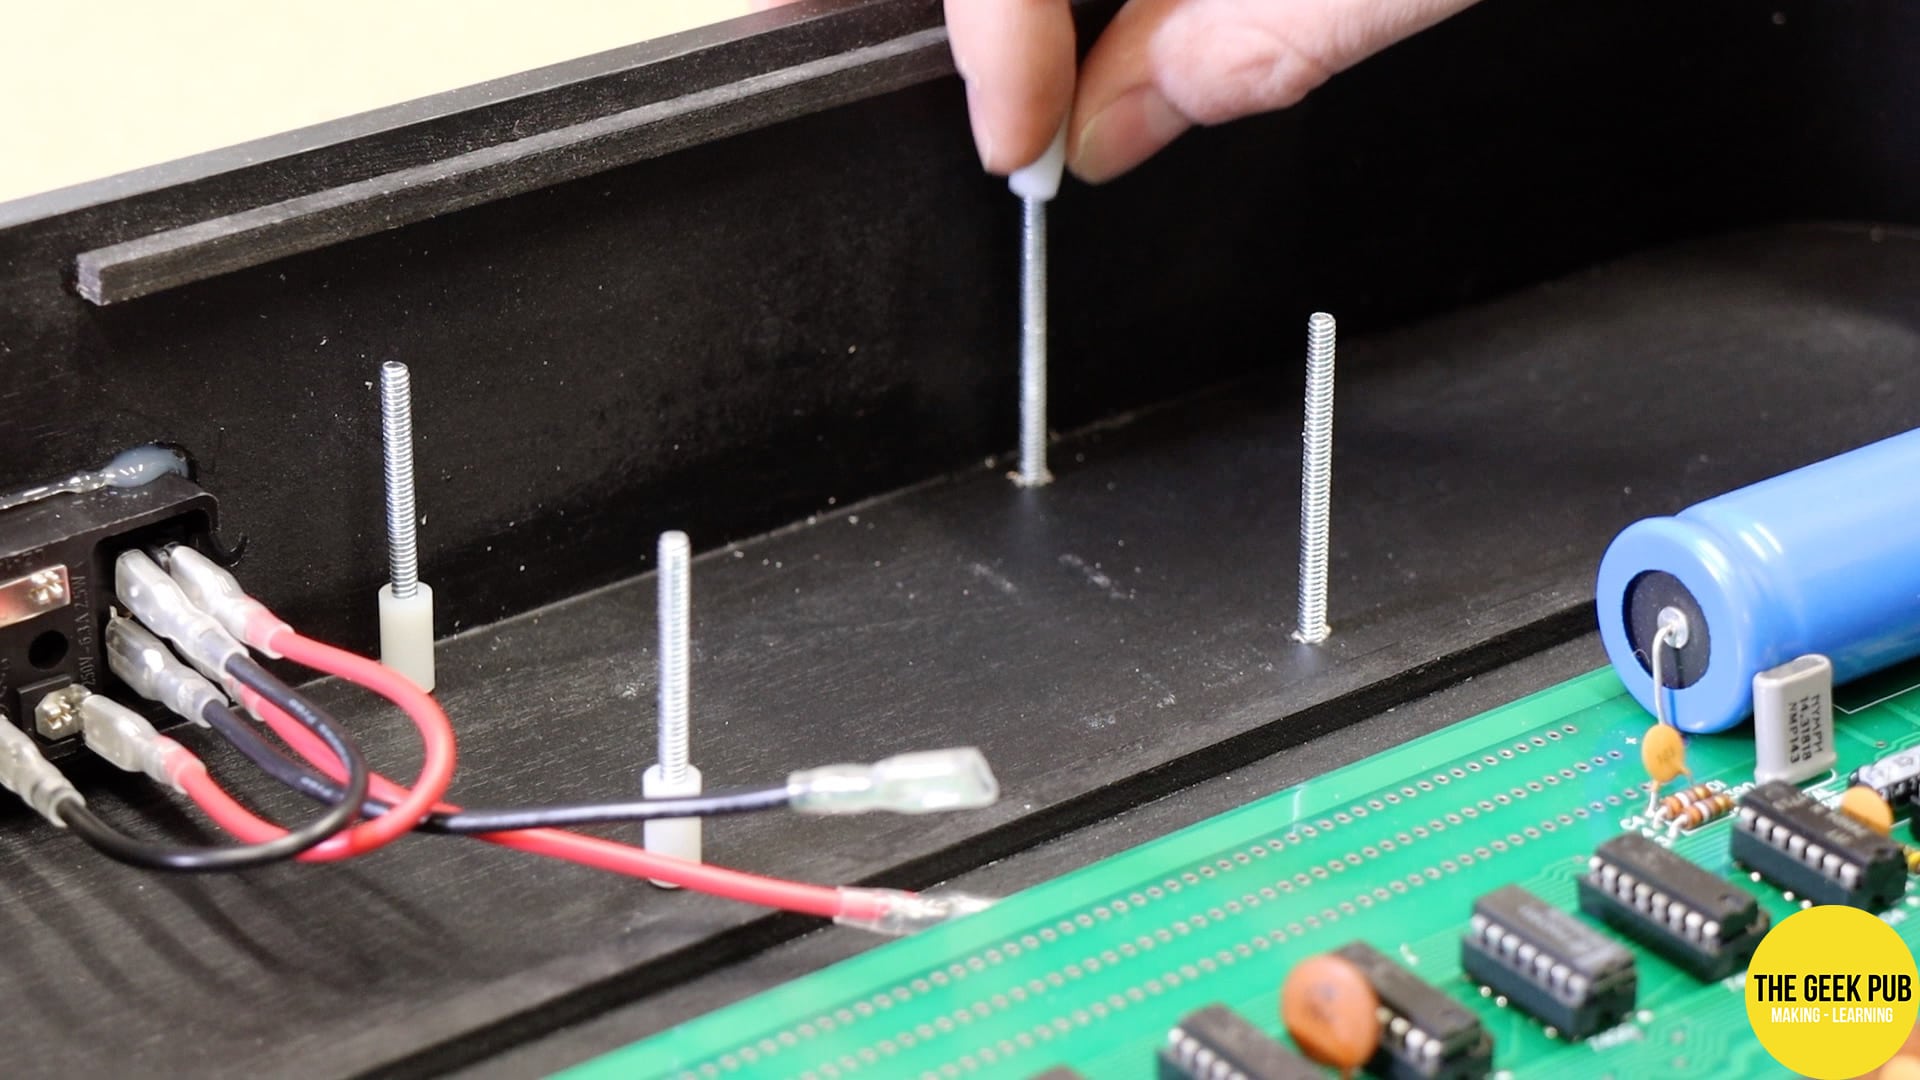
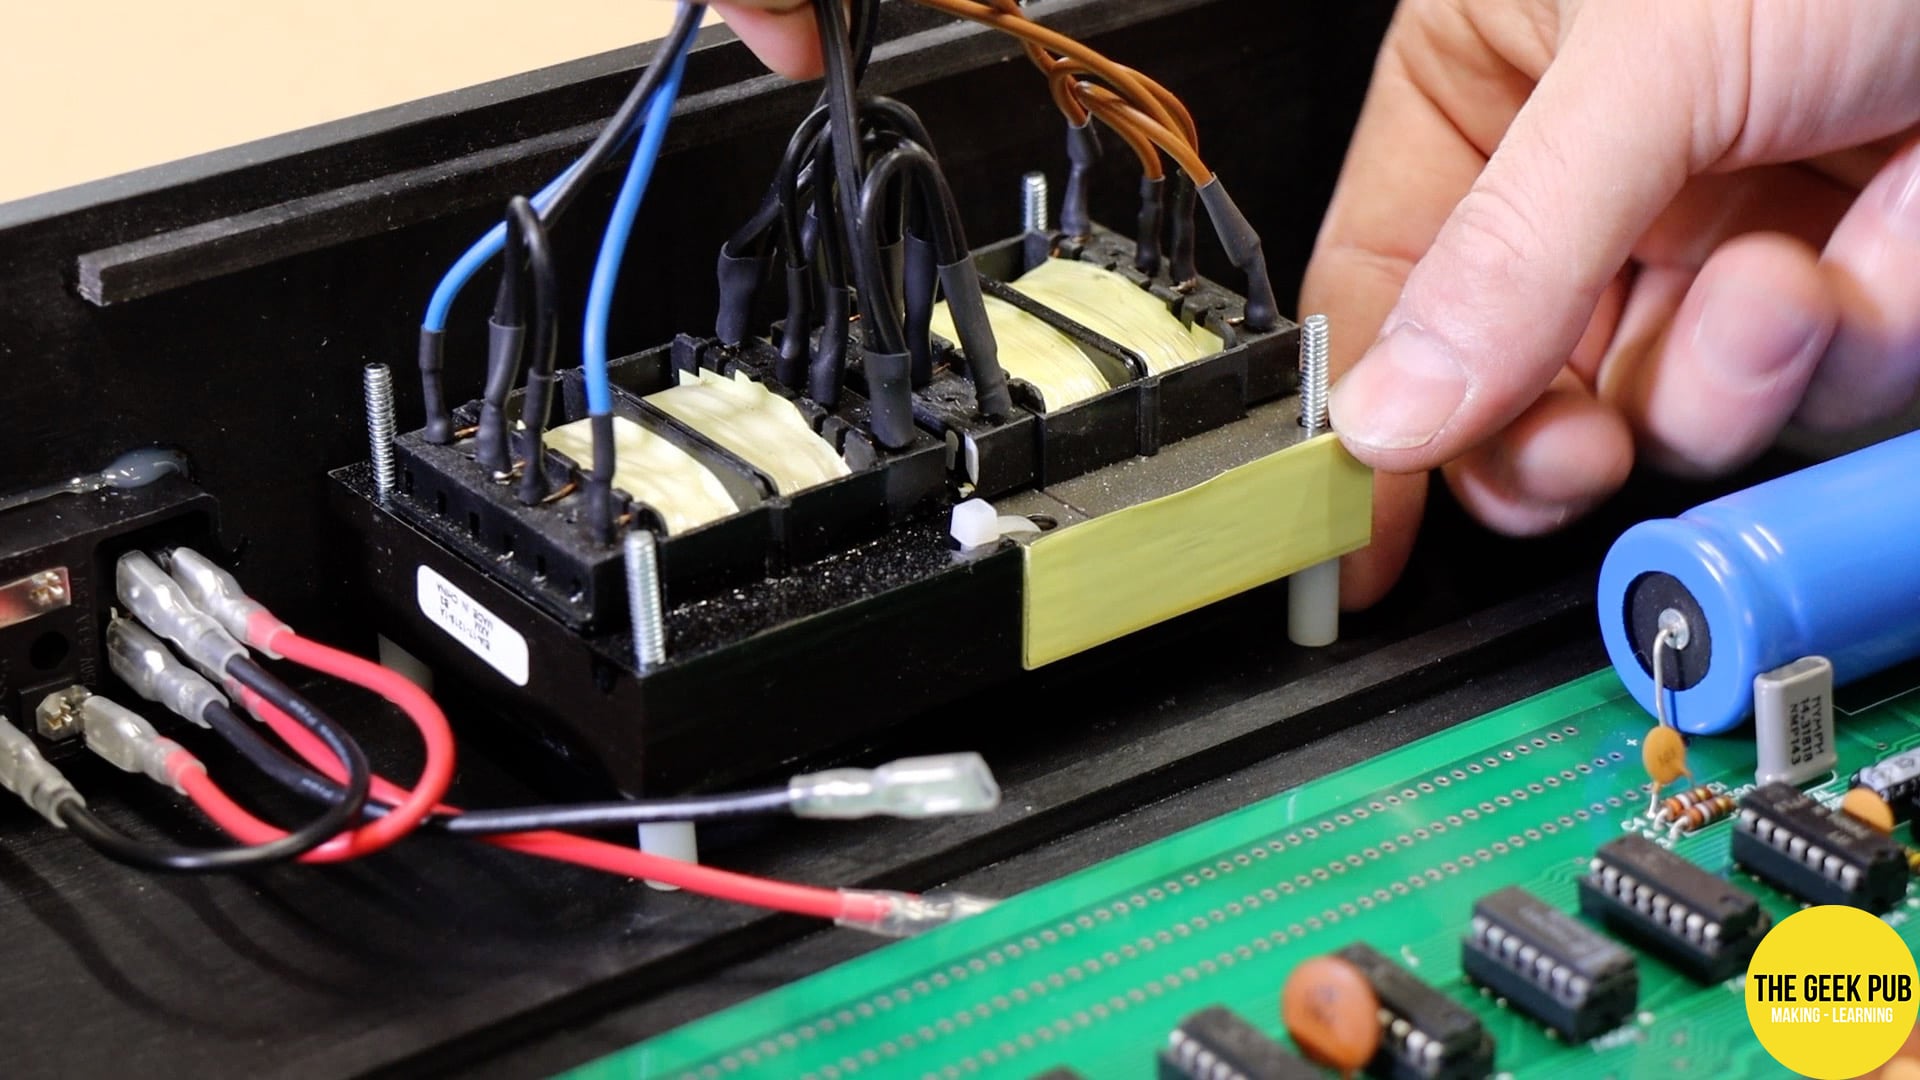
I used the same mounting method for the transforms in the back of the case.
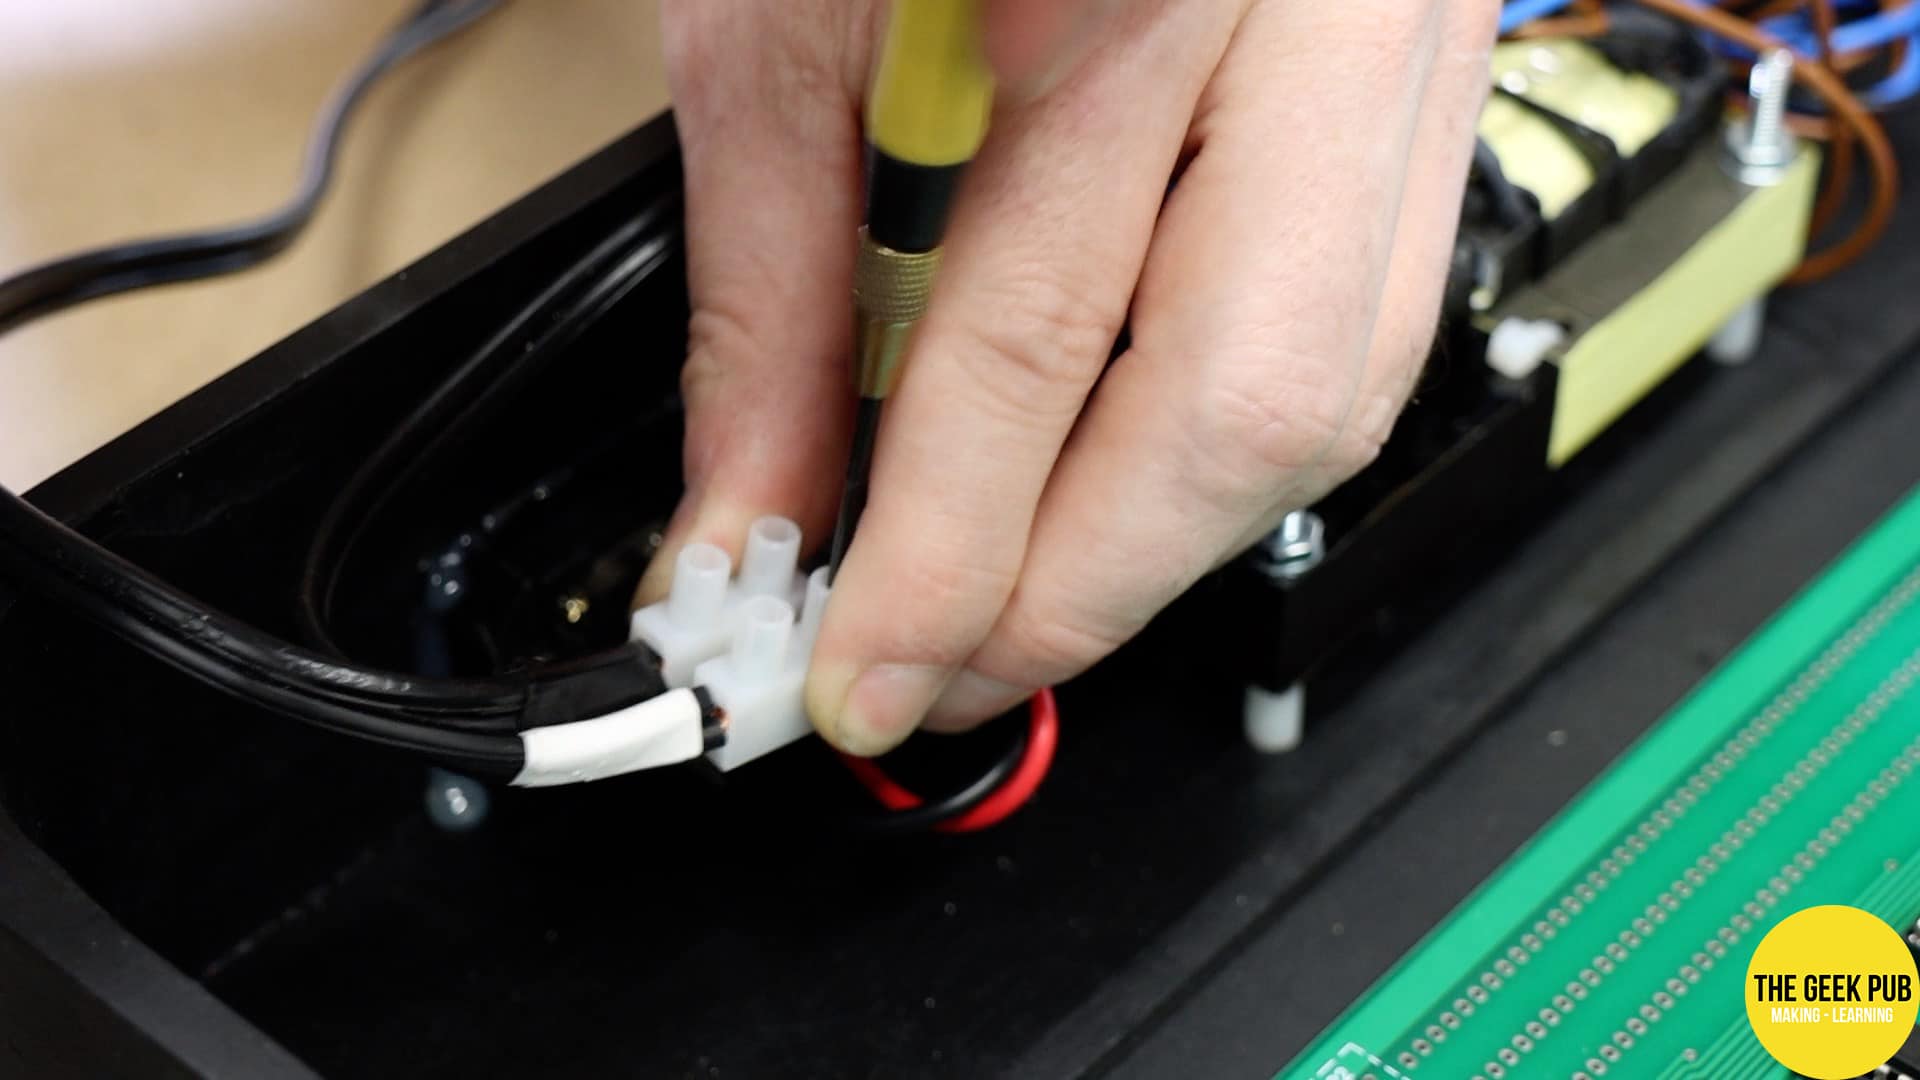
Apple 1 Case Wiring
To connect the wires from the switch to the transformers, I used this little four post terminal block.
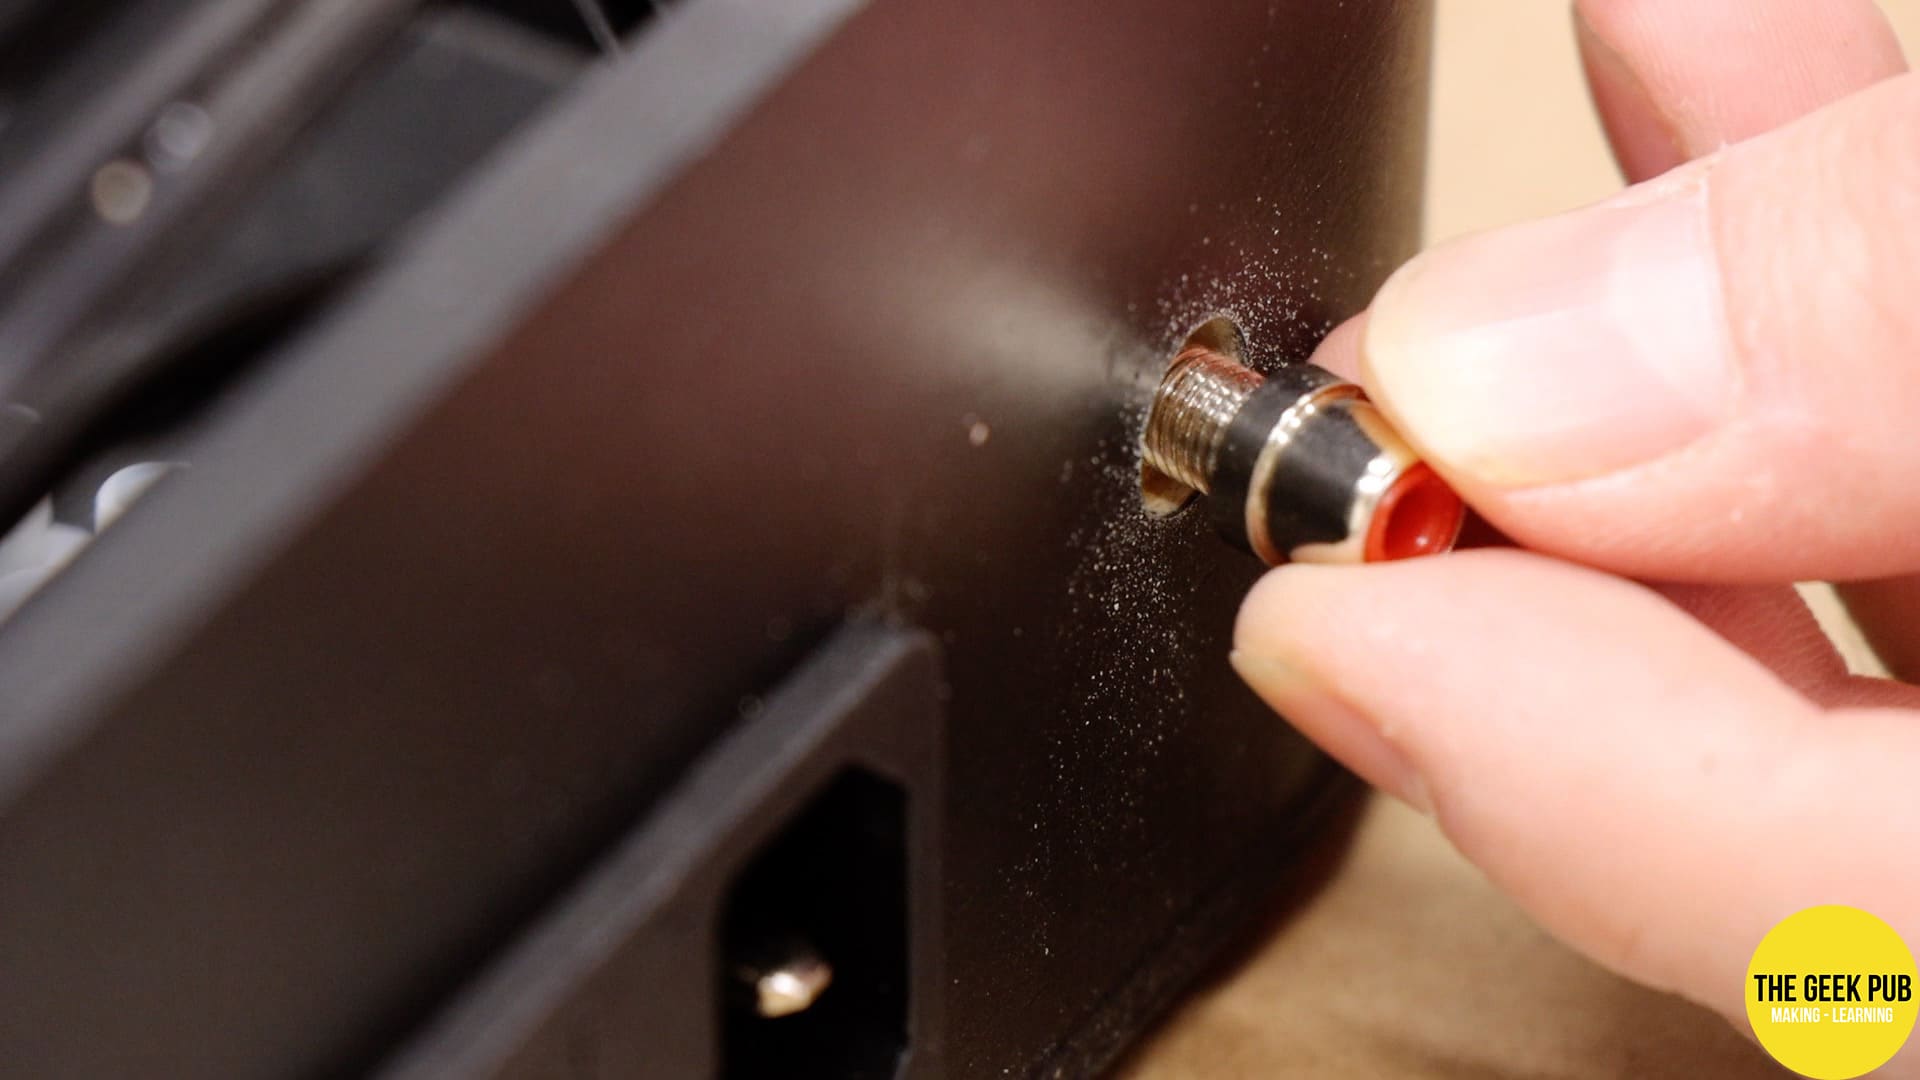
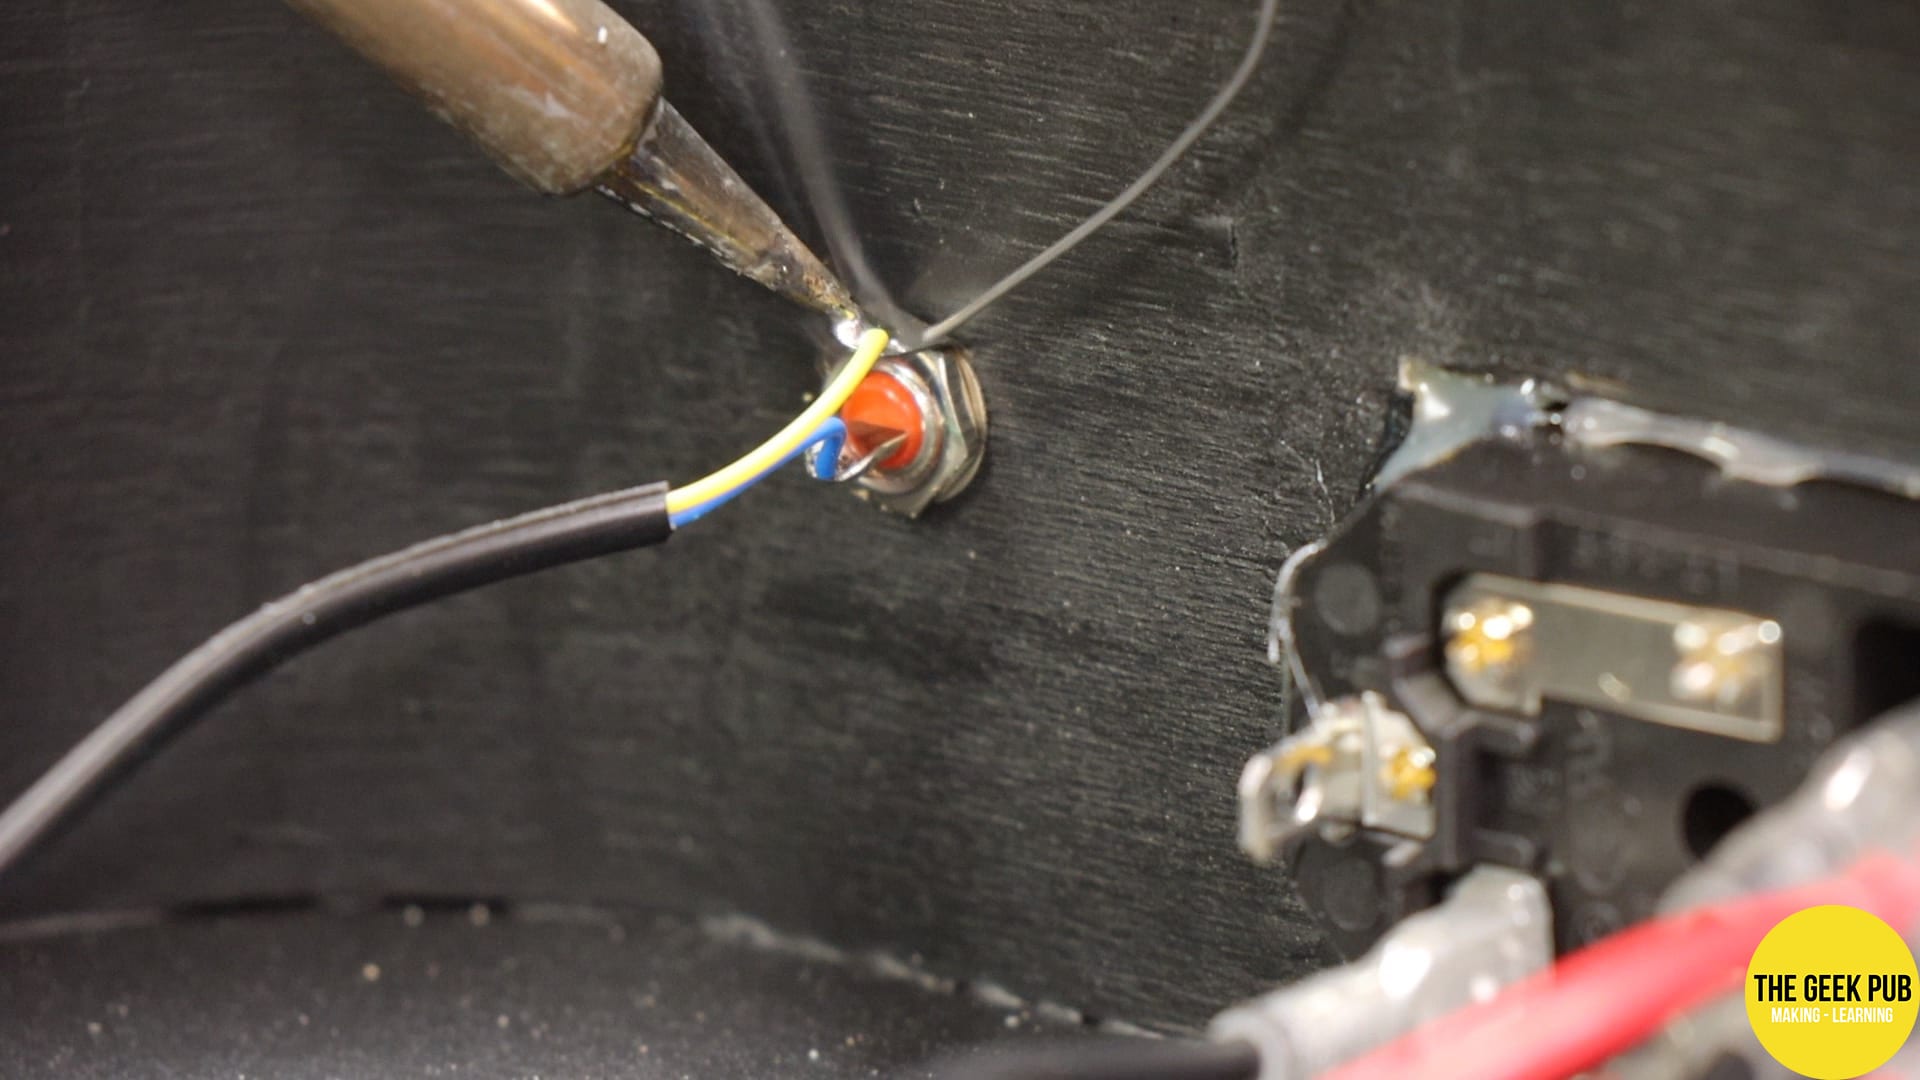
I then added an RCA style connector to the back of the case and soldered it to the video leads, connecting them to the Apple 1 video header.

Finishing up the Apple 1 Case
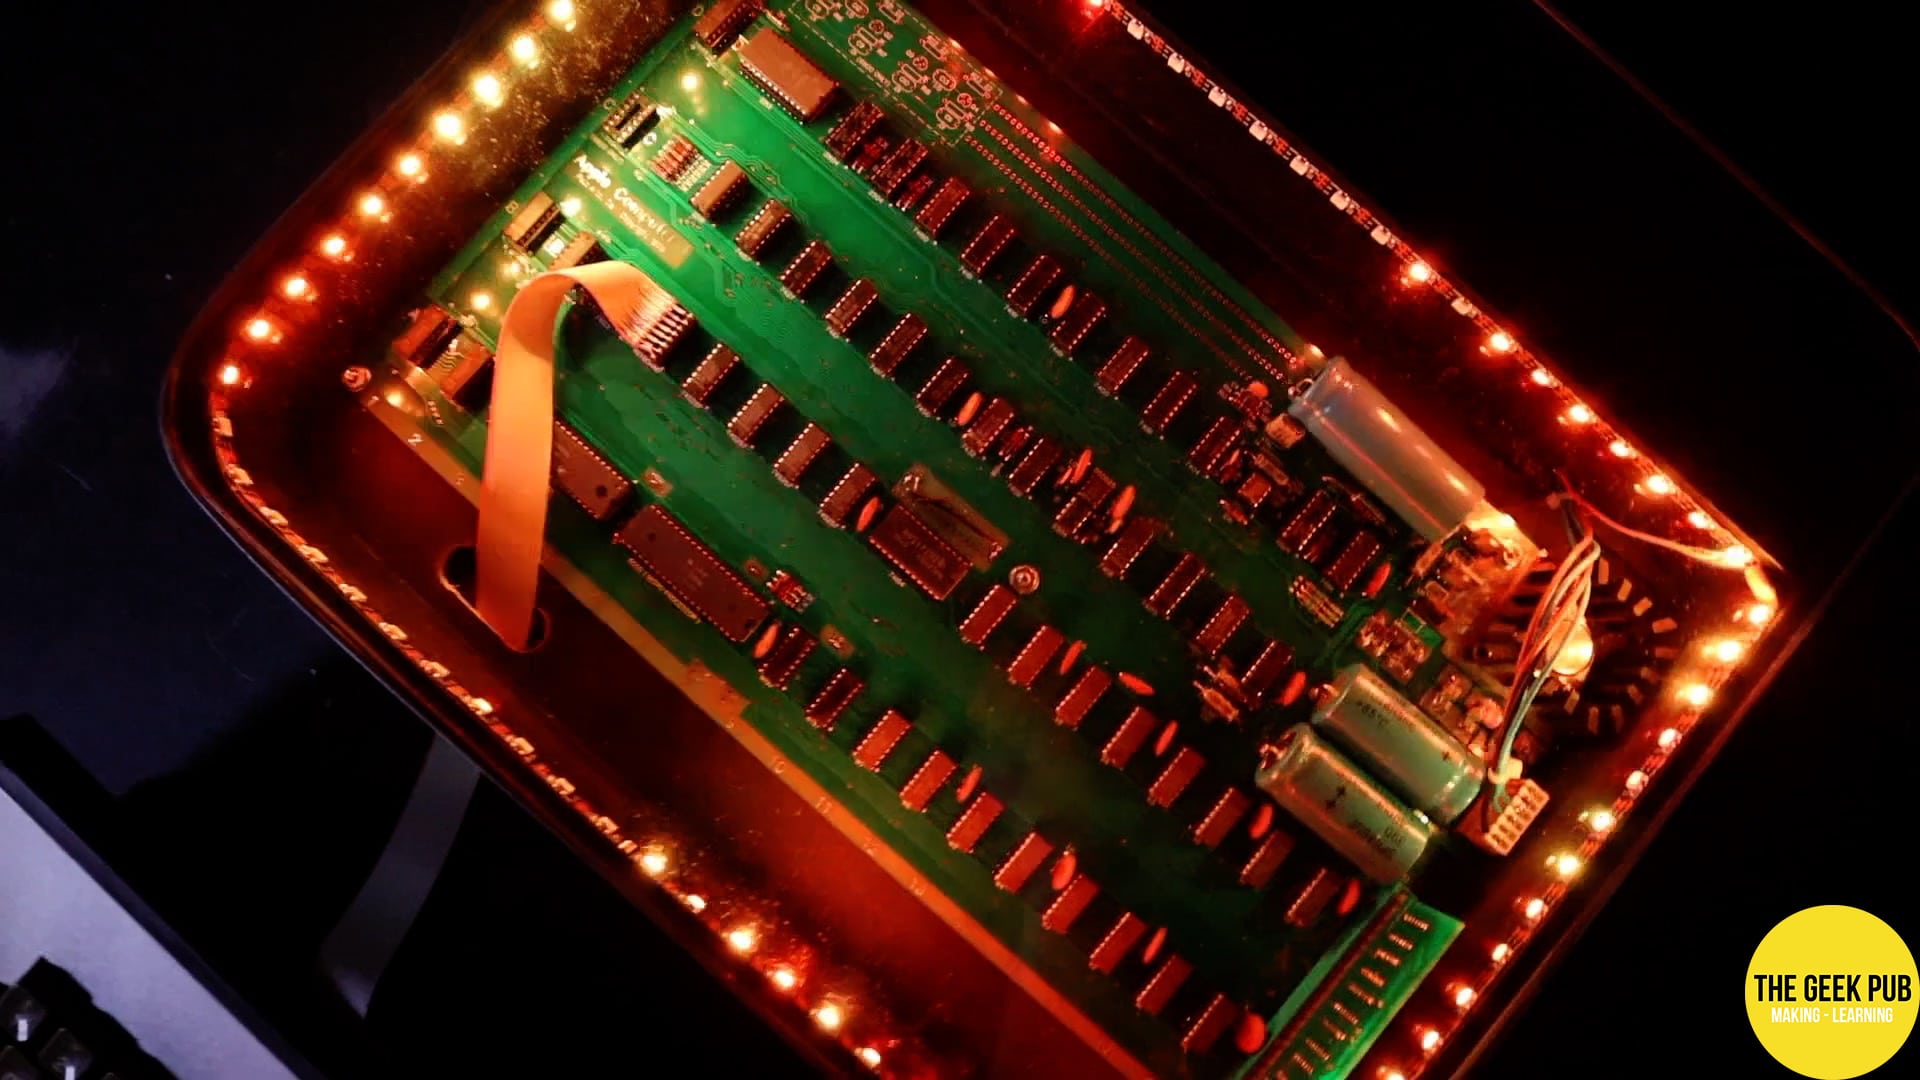
The Apple 1 case needs some rubber feet on the bottom to keep it steady. So I added one at each corner. I also added an Apple logo to the front of the case to make it feel the part!

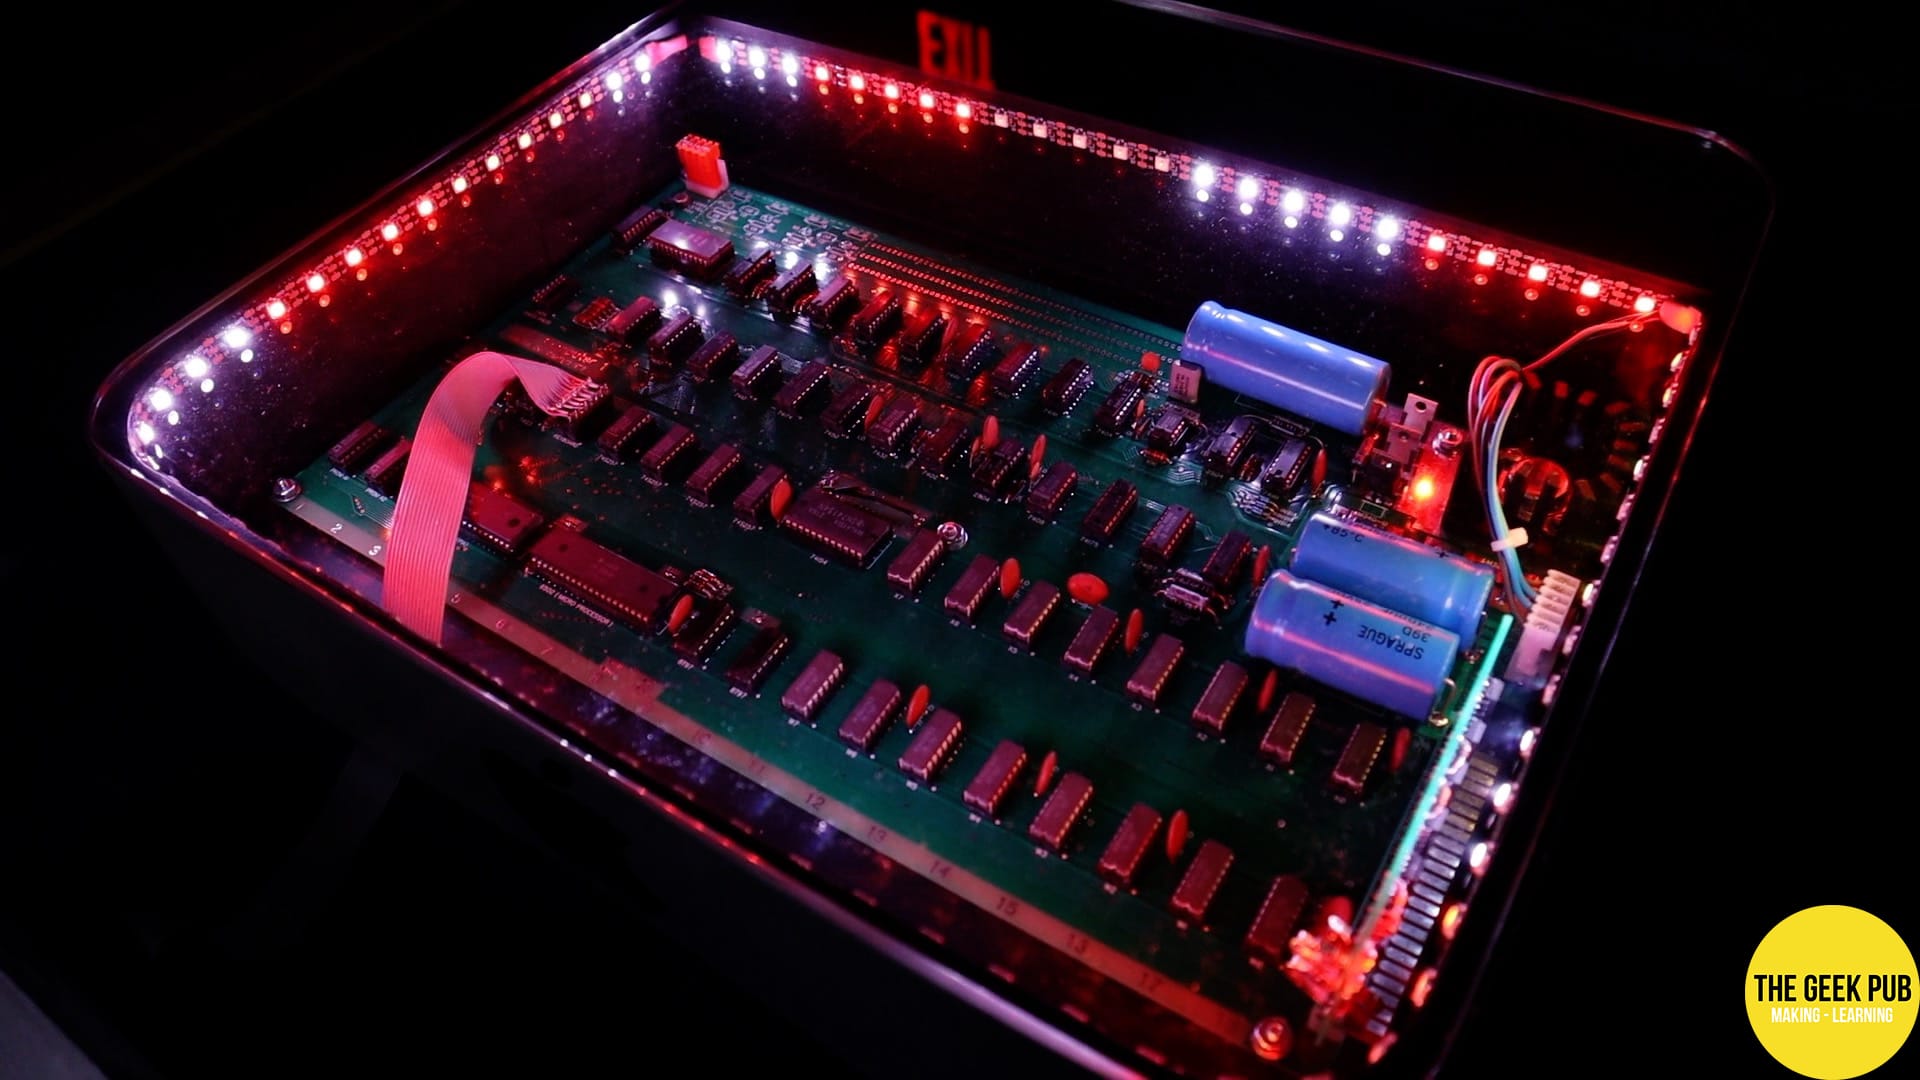
Since the Apple 1 computer is going to wind up in The Geek Pub museum room , I wanted to make sure the main board would be clearly visible through the top of the case. Even with the monitor on top of it. In order to accomplish that I used some 3/8″ (10mm) acrylic (aka Plexiglass) sheet.
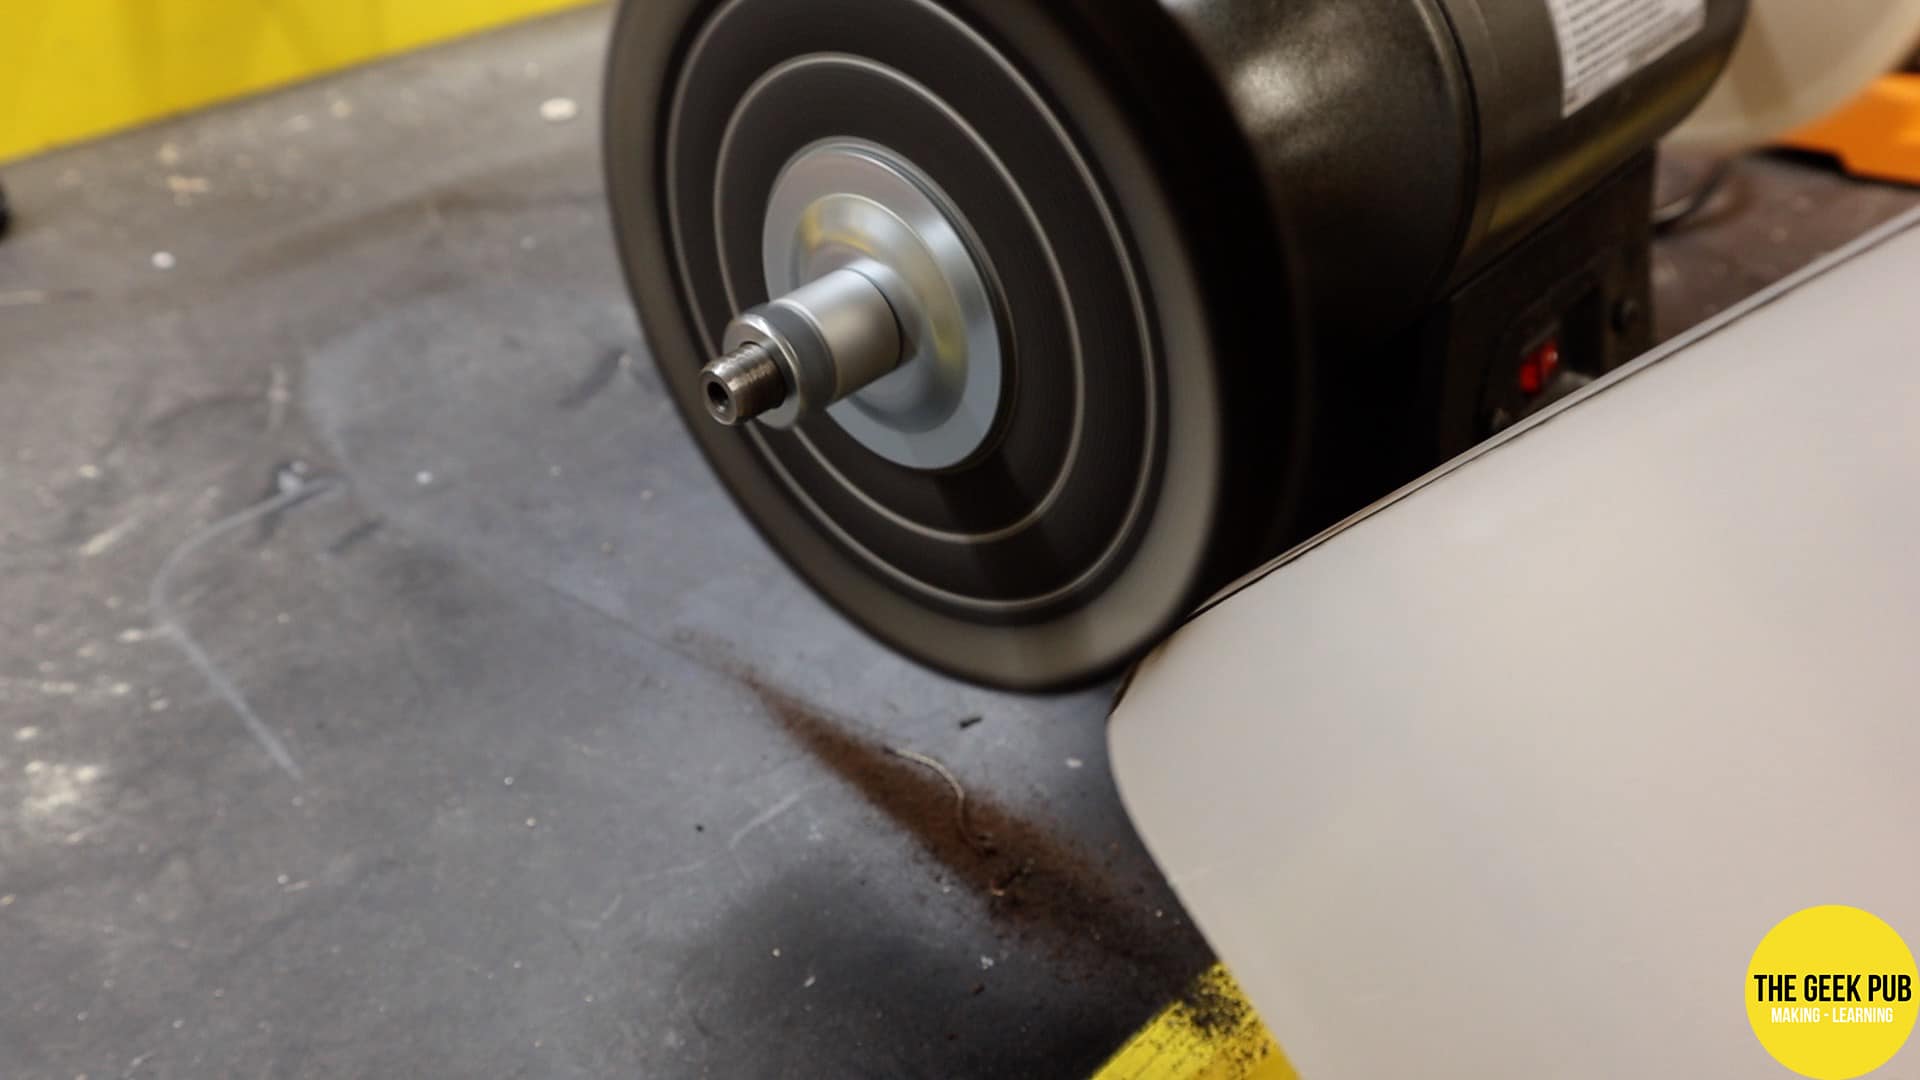
I cut the acrylic sheet down on the table saw to the exact dimensions, then used the bandsaw and bench sander to create the curves. I found that going slow with the sander prevented the acrylic sheet from melting.


Using the orbital sander on its highest speed setting I just sanded around all of the edges and corners. Once all of the saw marks were gone, I used some red compound on the buffing wheel to bring it back its transparency.
Note: I am aware of the MAP gas torch trick to restore the transparency of acrylic. However, I don’t like this method because it just leaves waves everywhere the saw marks were -and- if you apply too much heat accidentally there is no chance of fixing it. And that’s an easy mistake to make.
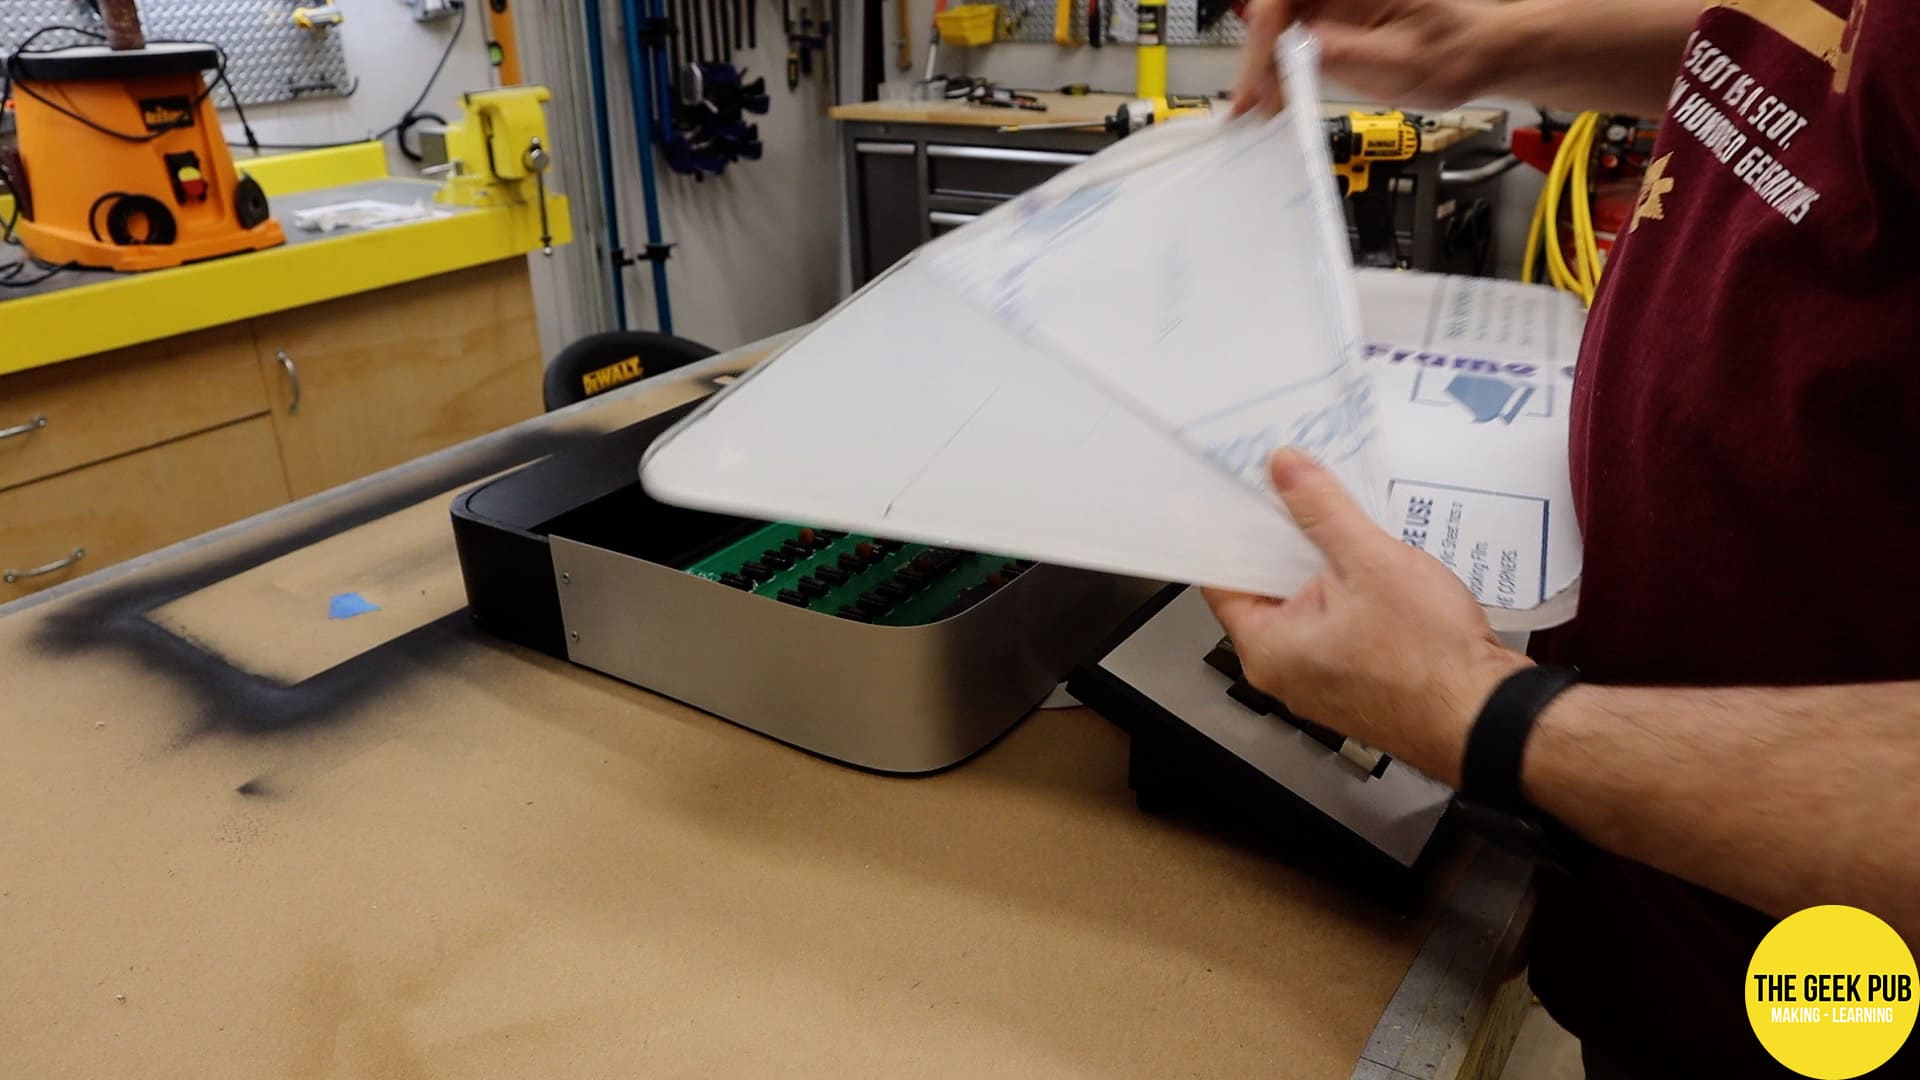
Oh man! I am getting excited. But before we fire it up we need to remove the plastic wrap from the acrylic top and place it on the case.
The Finished Apple 1 Case
Woooooow!!! This turned out even better than I had hoped for! This case really drives home the old school + modern mashup I was going for!

A Little Geek Pub Surprise
I said I was going to add a little something geeky to this project to make it more exciting. And here it is! You really need to watch the video to get the full effect. RGB lighting!!!
Apple 1 Case Final Thoughts
What a fun project! I really really enjoyed building this and I tried to capture a lot of the different eras. So a little bit of the old school Apple world with the old school boards and the old monitor. But then also a little bit of the new aluminum style that of the Jony Ive era!
And then also got to have a little geeky with some of RGB lights????? Now the truth of the matter is… I really didn’t need RGB! However, this is going to land in the museum here at The Geek Pub and I wanted to make sure that this board was lit up! So the RGB lighting is really always going to be white or maybe a light blue. The LEDs are a way to make sure the board is nice and bright so that when visitors come to the museum they can look at it. But I thought for the video it would be really awesome to just have them go crazy!!
Behind the scenes is a little ESP-32 microcontroller running a software package called WLED.

We’ll probably see this in a few more videos! I need to do a clear screen button and a couple of other little things that just didn’t have time to do for this article and video.
Pretty nifty – does fit the current aesthetic. Would love to see you do a combined keybard-and-CPU Apple ][ style case for the Apple I. And, in a hat-tip to Woz, with a Dvorak layout.