Blog
Arduino Serial Monitor Basics

The Arduino serial monitor is an incredible tool for working with Arduinos! Mostly because of the shear simplicity of it. So simple, yet so powerful!
The serial monitor can be used both to receive communications from the Arduino, but also to send communications to the Arduino. Many hobbyists forget the latter.
Arduino to PC/Mac Serial Monitor Communications
For most applications you’re going to be using the Arduino to send information to the serial monitor on your PC. This a great way to get information about what the Arduino is doing. It’s also a great place to send data when debugging. I often will output the contents of a variable to the Arduino serial monitor so that I can make sure my code is working as expected.
PC/Mac to Arduino Serial Monitor Communications
This a nice way to send simple data or commands to the Arduino from your PC. You can ask the Arduino to read input and then do something with that input. For example if you were controlling an RGB LED string you might enter the names of colors to get the Arduino to change the color scheme. Or it could be as simple as just sending it the command ON or OFF.
How to Use the Arduino Serial Monitor
Let’s get to know the Arduino serial monitor and all of its simplicity. You’ve already used it the previous tutorials, so let’s take a little deeper dive.
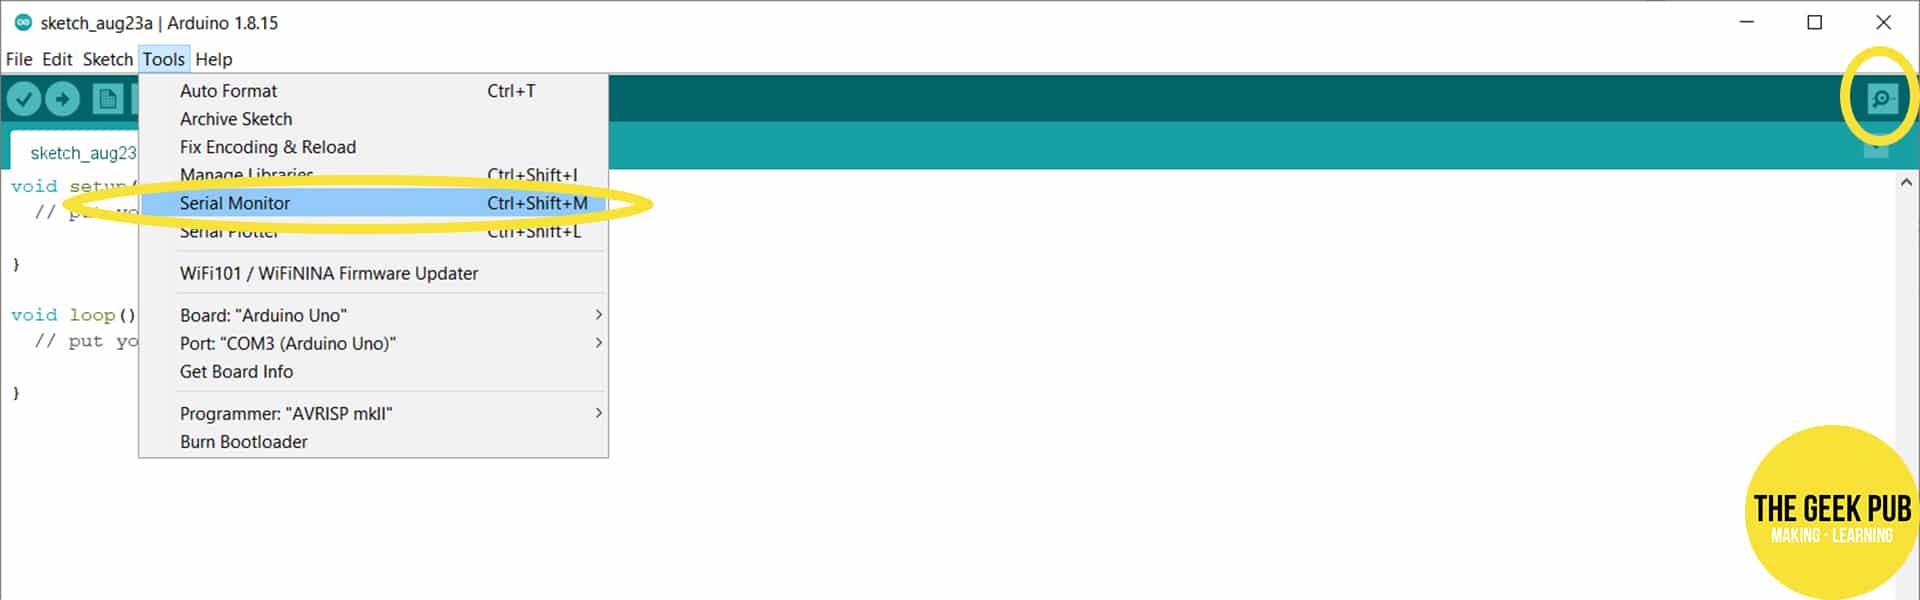
First, let’s open the serial monitor. There are two ways to do this. The first is by clicking Tools and the Serial Monitor. The second is by clicking the Serial Monitor button on the far right of the toolbar.
Overview of the Serial Monitor
Now that you have the serial monitor open, lets take a quick tour of it and show you what’s available.
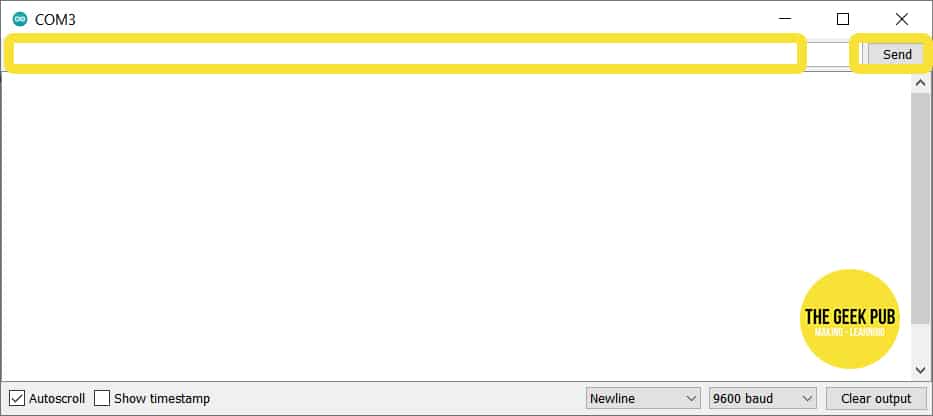
Input Box and Send Button
The first thing to notice at the top of the Arduino serial monitor is an input box where you can type text and a send button. This is how you send data and commands manually to your Arduino sketches from your PC.
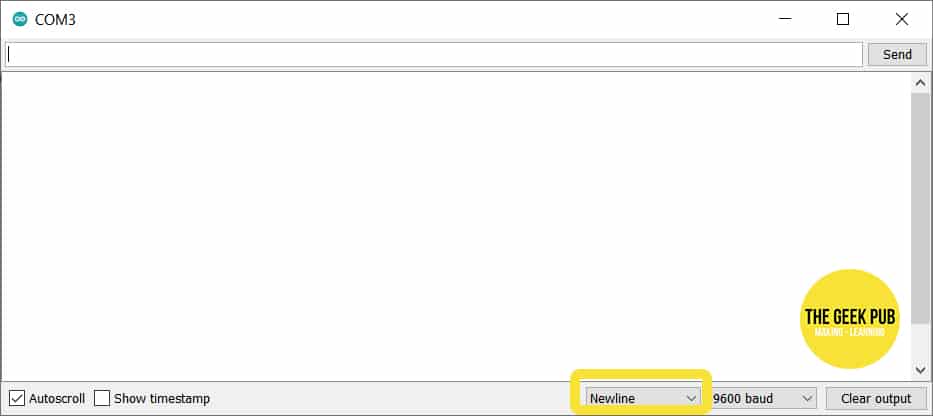
Newline Dropdown Box
The newline dropdown box determines how the serial console’s input box sends a the associated text. For most all Sketches you will leave this set to Newline.
- No line ending – does not send any kind of line ending with communication.
- Newline – send only newline (“\n”)
- Carriage return – sends only a carriage return (“\r”)
- Both NL & CR – sends a newline and a carriage return (“\n\r”)
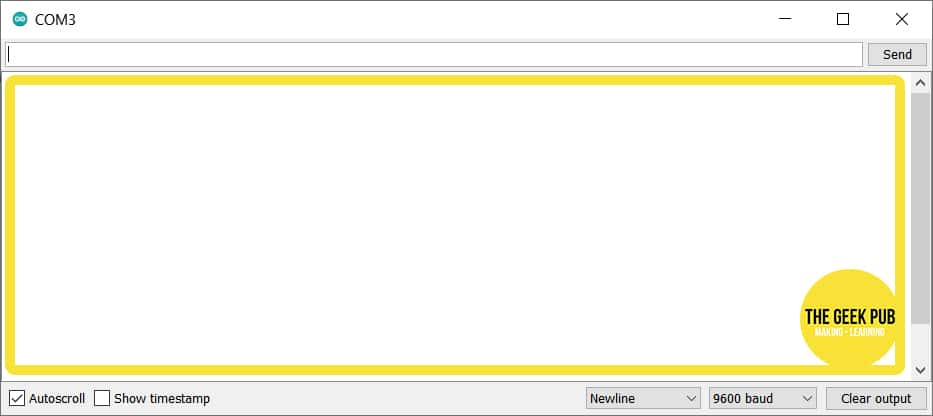
Output Console
The output box is where all serial communications received from the Arduino will be printed onto your screen.
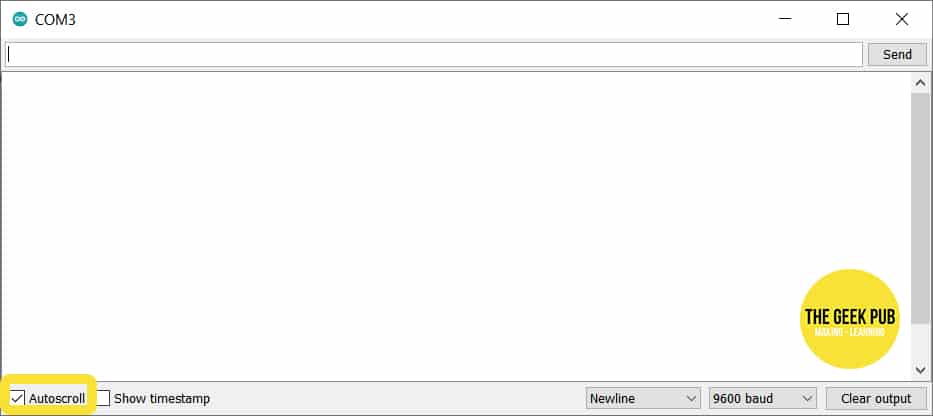
Autoscroll
At the bottom left hand corner of the screen is a checkbox called Autoscroll. When this box is checked and output fills the box, the box will automatically begin scrolling. If you uncheck this box, you will need scroll manually using the scroll bar.
Autoscroll will most likely be left checked most of the time. Unchecking autoscroll is helpful when lots of data is being output and there is a need to scroll manually back and forth within the box without fighting the scrolling process.
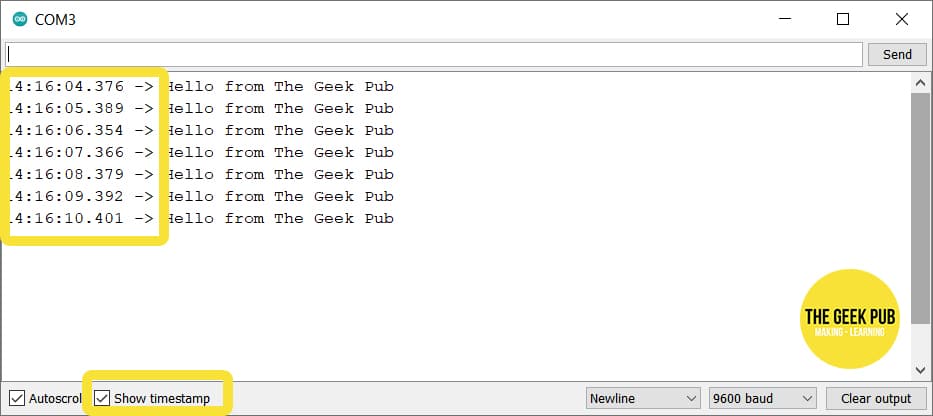
Show Timestamp
Next to the Autoscroll checkbox is another checkbox called Show timestamp. Show timestamp prepends the time that the message was received to each serial message. This is very handy for when you need to walk away from the Arduino and check something later. Especially for long running code, or code that only experiences an event or bug at odd times.
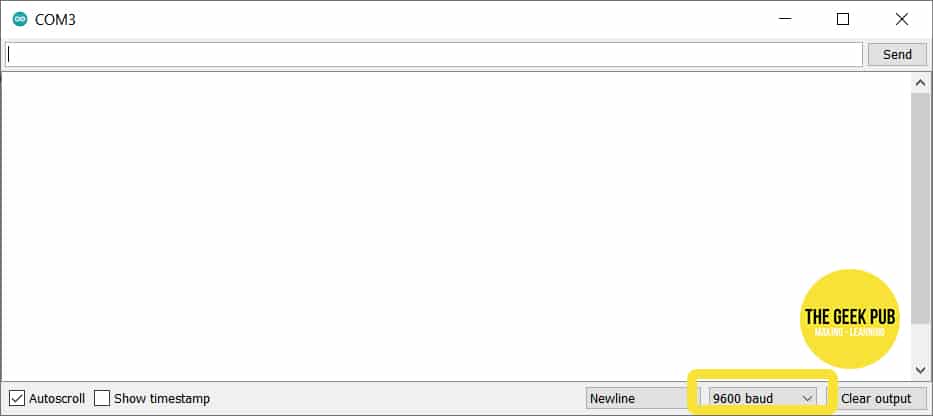
Baud Rate
The baud rate setting determines what speed the serial line between the PC and the Arduino operate at. This will be the same baud rate you define in the Setup() function of your code (Serial.begin(9600); in our example). Setting this faster is sometimes necessary when large amounts of communications are expected.
Clear Output
Clear output does exactly what you would expect. It clears the serial monitor’s output box.
Serial Monitor Arduino to PC/Mac Communication
Sending data from the Arduino to the Serial monitor on your PC or Mac is super simple. You’ve already done it in previous exercises! Enter the following example code and send it to your Arduino:
void setup() {
Serial.begin(9600);
}
void loop() {
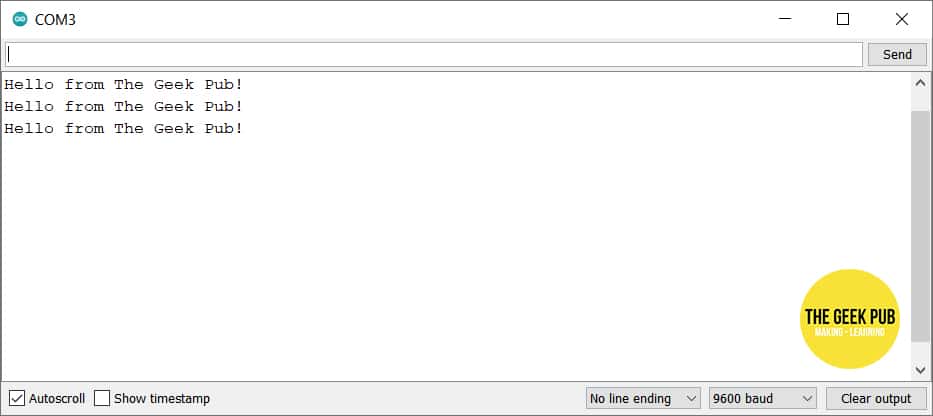
Serial.println("Hello from The Geek Pub!");
delay(1000);
}
This code will print “Hello from the Geek Pub” on your screen with a one second delay between each.
Serial Monitor PC/Mac to Arduino Communication
Next up, we’re going to learn how to send data from our PC to our Arduino! Enter the following code into the IDE and send it to your Arduino:
void setup() {
  Serial.begin(9600);
}

void loop() {
  if(Serial.available()) // if there is data on the line
  {
    String mycommand = Serial.readStringUntil('\n'); // read string until we see a newline character

    if(mycommand == "ON")
    {
      Serial.println("I turned it ON!"); // Reply text to send to Serial Monitor
    }
    else
    if(mycommand == "OFF")
    {
      Serial.println("I turned it OFF"); // Reply text to send to Serial Monitor
    }
  }
}
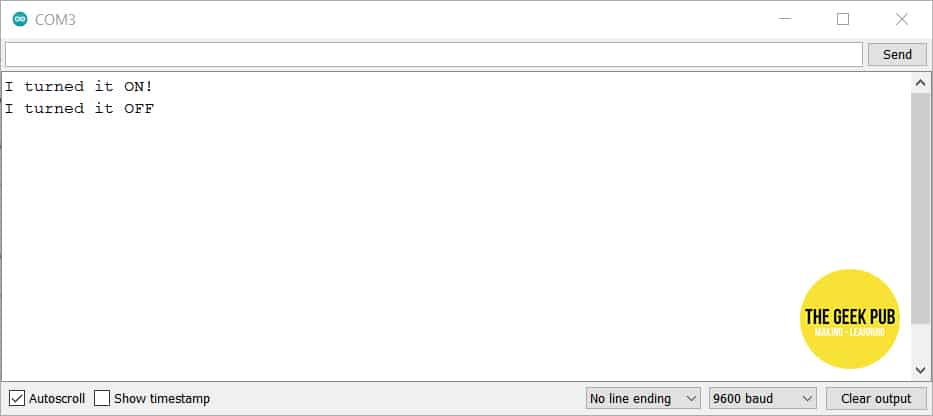
Open the serial monitor and it should be empty. In the input box type ON and click Send.
“I turned it ON!” should appear in the output box on the Arduino serial monitor.
Now type OFF in the input box and click Send.
“I turned if OFF!” should appear directly below in the serial monitor!
Next Steps
Now that you know the basics of the Arduino serial monitor, it is time for you to move on to the next tutorial!


