Blog
Arduino Hardware Preparation
Now that you have the Arduino IDE installed, it’s time to move on to getting your hardware prepped. For many this means purchasing the hardware! There are several ways to go. You could buy a kit (highly recommended), or if money is tight you can just buy the components you need to get started: an Arduino, a USB cable, and a sensor or two. If you already have the hardware then you can skip the list and go to the Arduino hardware preparation section below.
Also, you may want to check out the Arduino Sensor Wiki to see a list of all the sensors you can get for the platform.
Arduino Starter Kits
We highly recommend that most people start off with an Arduino starter kit. This is the fastest way to get everything you’ll need for this hobby! Here’s our three favorite kits:
| QTY | PART/LINK | ||
|---|---|---|---|
| 1X | [icon name=”box-open” prefix=”fas”] | Official Arduino Starter Kit (Arduino’s own kit) | [icon name=”cart-plus” prefix=”fas”] |
| 1X | [icon name=”box-open” prefix=”fas”] | Elegoo Small Starter Kit (Smaller kit) | [icon name=”cart-plus” prefix=”fas”] |
| 1X | [icon name=”box-open” prefix=”fas”] | Elegoo Ultimate Starter Kit (Larger Kit) | [icon name=”cart-plus” prefix=”fas”] |
Standalone Arduinos
If you’re looking for a standalone Arduino, without the kit then you’ll most likely want to buy at least these basics:
| QTY | PART/LINK | ||
|---|---|---|---|
| 1X | [icon name=”microchip” prefix=”fas”] | Arduino Uno Development Board (just the board) | [icon name=”cart-plus” prefix=”fas”] |
| 1X | [icon name=”usb” prefix=”fab”] | USB Cable (connect Uno to PC or Mac) | [icon name=”cart-plus” prefix=”fas”] |
| 1X | [icon name=”th” prefix=”fas”] | Solderless Breadboard (No solder board to add your sensors) | [icon name=”cart-plus” prefix=”fas”] |
| 1X | [icon name=”grip-lines” prefix=”fas”] | Jumper Wire Assortment (No solder wires to connect your sensors) | [icon name=”cart-plus” prefix=”fas”] |

Optional Components and Sensors
In addition to the Arduino, you’ll most likely want a few basic components and sensors to get started with your project. At the bare minimum we recommend some buttons or switches, and some LEDs.
Also, you may want to check out the Arduino Sensor Wiki to see a list of all the sensors you can get for Arduinos. There are some really cool sensors available!
| QTY | PART/LINK | ||
|---|---|---|---|
| 1X | [icon name=”circle” prefix=”fas”] | Button (momentary) | [icon name=”cart-plus” prefix=”fas”] |
| 1X | [icon name=”toggle-on” prefix=”fas”] | Switch (latching) | [icon name=”cart-plus” prefix=”fas”] |
| 1X | [icon name=”lightbulb” prefix=”fas”] | LEDs (assortment kit of 5 colors) | [icon name=”cart-plus” prefix=”fas”] |
| 1X | [icon name=”keyboard” prefix=”fas”] | Keypad (membrane keypad 4×4) | [icon name=”cart-plus” prefix=”fas”] |
| 1X | [icon name=”volume-up” prefix=”fas”] | Piezo Buzzer (makes noises, buzzes) | [icon name=”cart-plus” prefix=”fas”] |
| 1X | [icon name=”circle-notch” prefix=”fas”] | Ultrasonic Sensor (to measure distances) | [icon name=”cart-plus” prefix=”fas”] |
| 1X | [icon name=”square” prefix=”fas”] | Stepper Motor (provides motion to your projects) | [icon name=”cart-plus” prefix=”fas”] |
| 1X | [icon name=”dot-circle” prefix=”fas”] | Potentiometer (variable resistance) | [icon name=”cart-plus” prefix=”fas”] |
| 1X | [icon name=”dot-circle” prefix=”fas”] | Rotary Encoder (input selection) | [icon name=”cart-plus” prefix=”fas”] |
| 1X | [icon name=”slash” prefix=”fas”] | Relay (control high voltage devices) | [icon name=”cart-plus” prefix=”fas”] |
| 1X | [icon name=”lightbulb” prefix=”fas”] | Light Sensor (sense light or dark) | [icon name=”cart-plus” prefix=”fas”] |
| 1X | [icon name=”hand-pointer” prefix=”fas”] | Touch Sensor (sense human touch) | [icon name=”cart-plus” prefix=”fas”] |
Tools to Consider for Beginners
In your Arduino hardware preparation, you should also consider some basic tools to get you started.
| QTY | TOOL/LINK | ||
|---|---|---|---|
| 1X | [icon name=”tachometer-alt” prefix=”fas”] | Digital Multimeter (Beginner version) | [icon name=”cart-plus” prefix=”fas”] |
| 1X | [icon name=”grip-lines” prefix=”fas”] | Soldering Iron (some components will require soldering) | [icon name=”cart-plus” prefix=”fas”] |
| 1X | [icon name=”screwdriver” prefix=”fas”] | Small Screwdriver Set | [icon name=”cart-plus” prefix=”fas”] |
| 1X | [icon name=”cut” prefix=”fas”] | Wire Cutter/Stripper | [icon name=”cart-plus” prefix=”fas”] |
Some of these links are affiliates. If you use them it costs you nothing, but we get a small commissions and that helps us keep making content for you!
Plugging in the Hardware
Once you get your Arduino hardware purchased and prepared, its time to plug it into your PC or Mac. Plug the USB Type B connector into your Arduino Uno, and the USB Type A connector Into your PC or Mac.
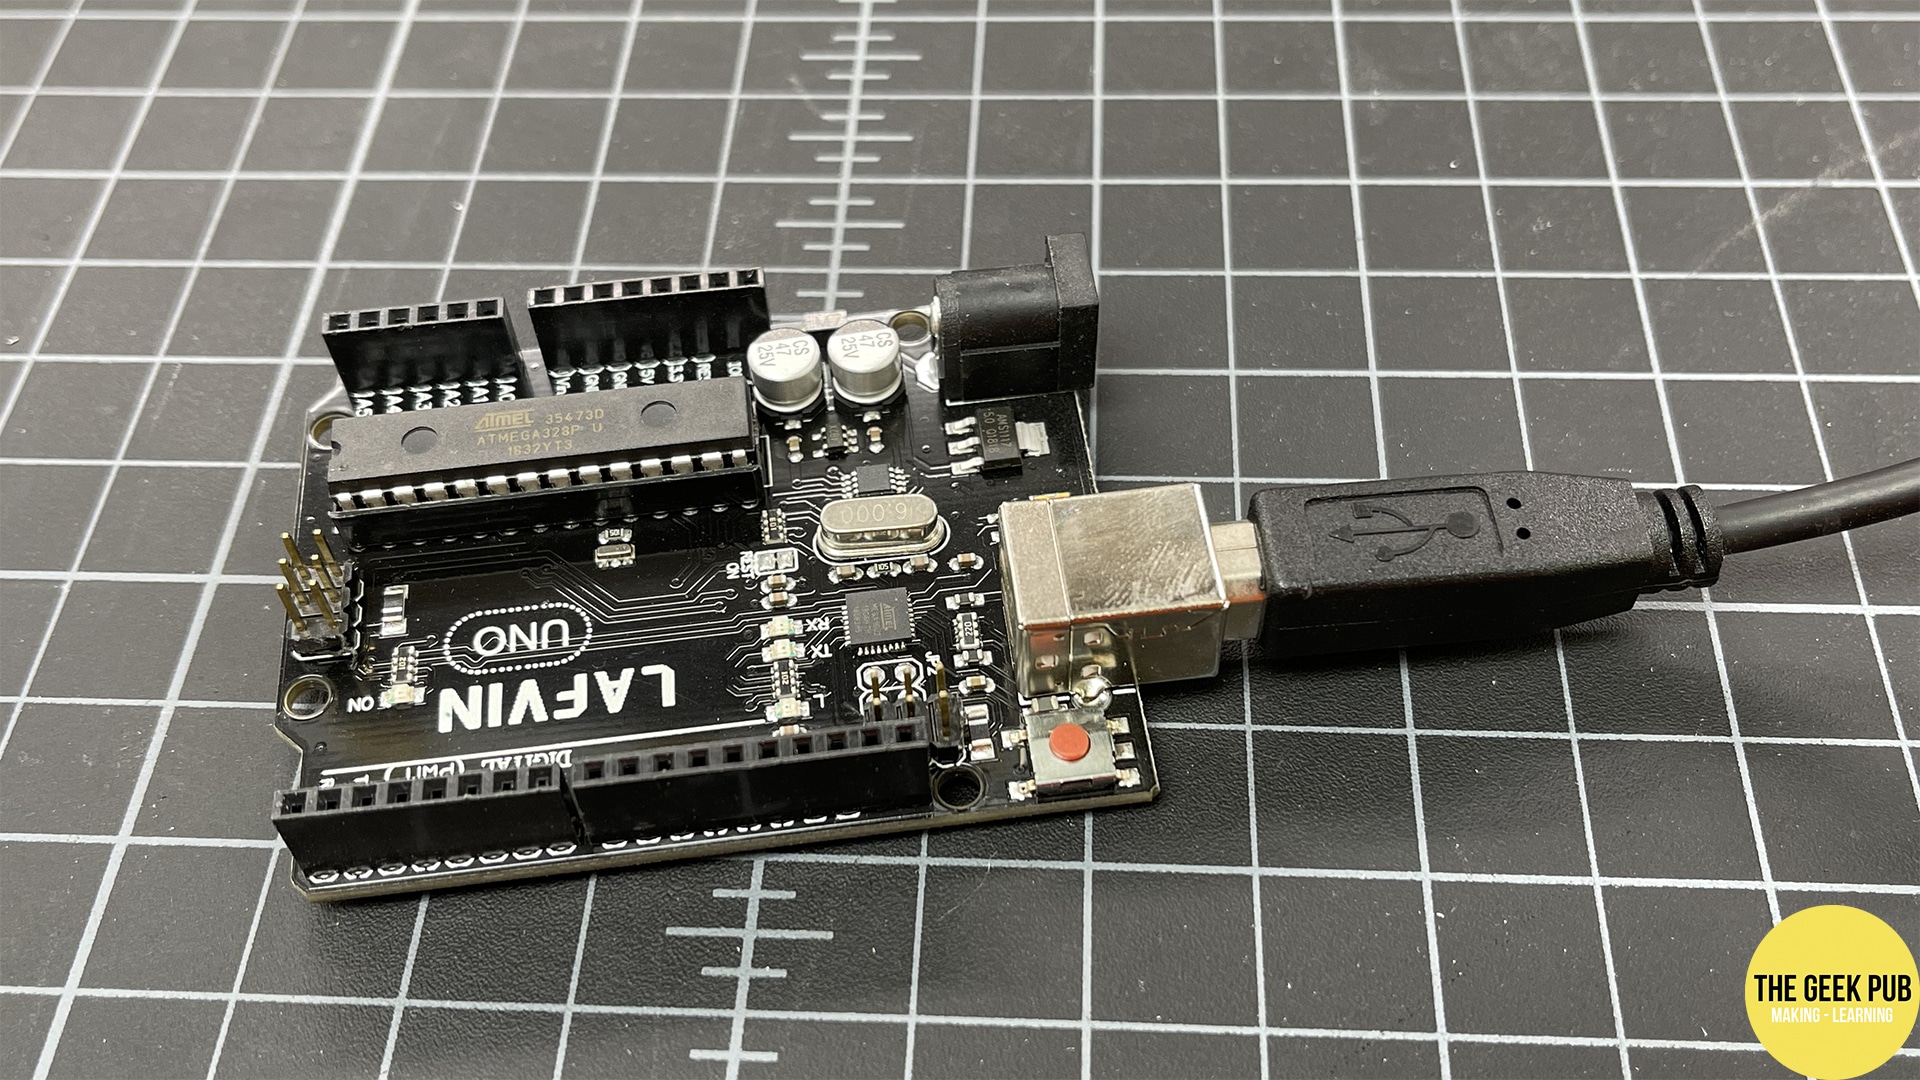
Note: Please install the Arduino IDE before plugging in your Arduino. The IDE installation installs the proper USB drivers.
Next Steps
Its time to move on to the next step! From here you can: