Blog
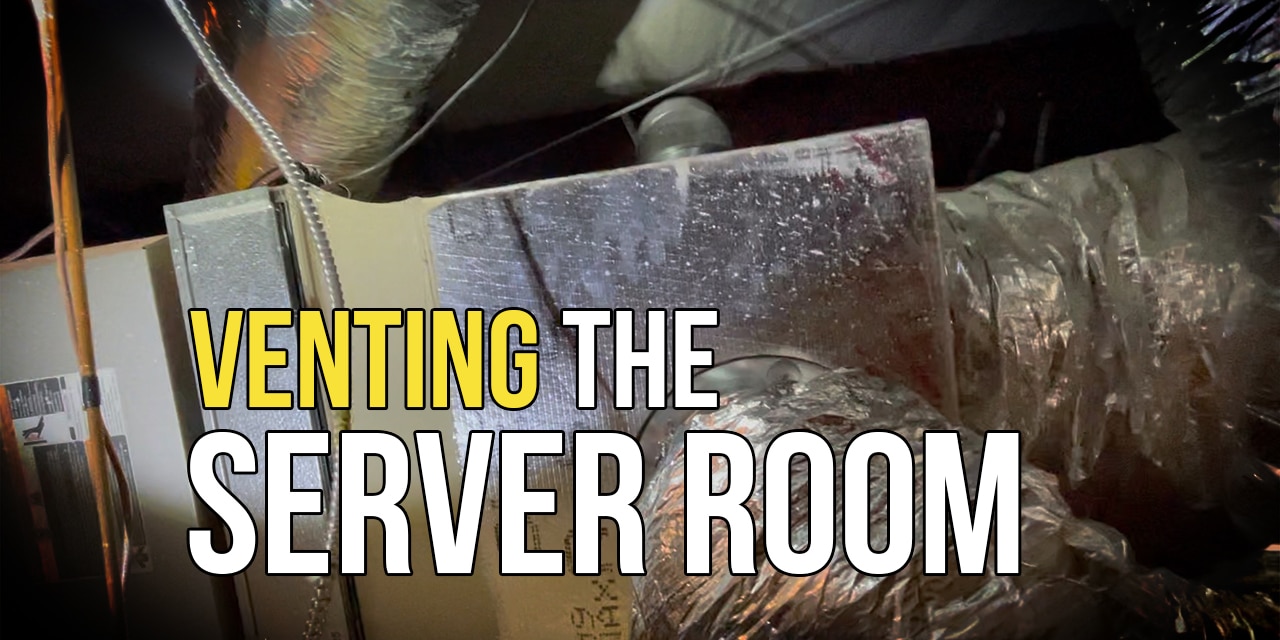
Venting the Server Room
With summer here, the heat in the server room was getting pretty high. We knew we couldn’t wait much longer to do this project. So venting the server room was quickly becoming a top priority!
Watch the Venting the Server Room Video
Items Used in this Video
If you’re looking to do this project, these are the items we used in this video. If you use these links, we get a small commission, but it costs you nothing.
- AC Infinity Cloudline T8
- 24×24 Drop Ceiling Return Air
- 8″ Starting Collar
- 8″ Insulated Duct – 25 feet
- Aluminum Duct Tape
If you have a server or a network closet that has high temperatures, there are several ways to go about cooling it down. The most common way to go about venting a server room is to use active cooling. This generally involves using a ductless (aka mini-split) air conditioner unit that is dedicated to cooling only that room. In fact, we use a ductless AC to cool the workshop area of the new building.
The problem with this approach is that it is quite costly. A ductless AC (installed) can cost between $4000 and $8000 depending on how large it is and what features it has.
In many cases though, active cooling just isn’t really needed. In the case of The Geek Pub’s server room, I decided to go with the heat extraction method. This method is the same method I used when venting my home theater closet.
Extracting Heat from the Server Room
Venting the server room with heat extraction involves using some sort of ducted fan that removes hot air from the room. In our case I purchased the AC Infinity Cloudline T8. It’s an 8-Inch inline duct fan that you place in the attic and has a remote controller and remote temperature probe.

The basic process is simple. Rather than injecting cool air into the room, we want to extract heat. The building already has a central HVAC system in the attic area (above the raised ceiling). This system is more than capable of keeping the entire building cool, including the server room. The goal of venting the server room is to disperse all of the heat the server room generates to the rest of the building. The entire building’s temperature will rise slightly, and the AC unit will kick on and off as normal to cool things down.
We add the AC Infinity inline on a return and have it continually remove the warm air from the server room and pass it into the return air of the central HVAC system.
Adding a Return to the Server Room
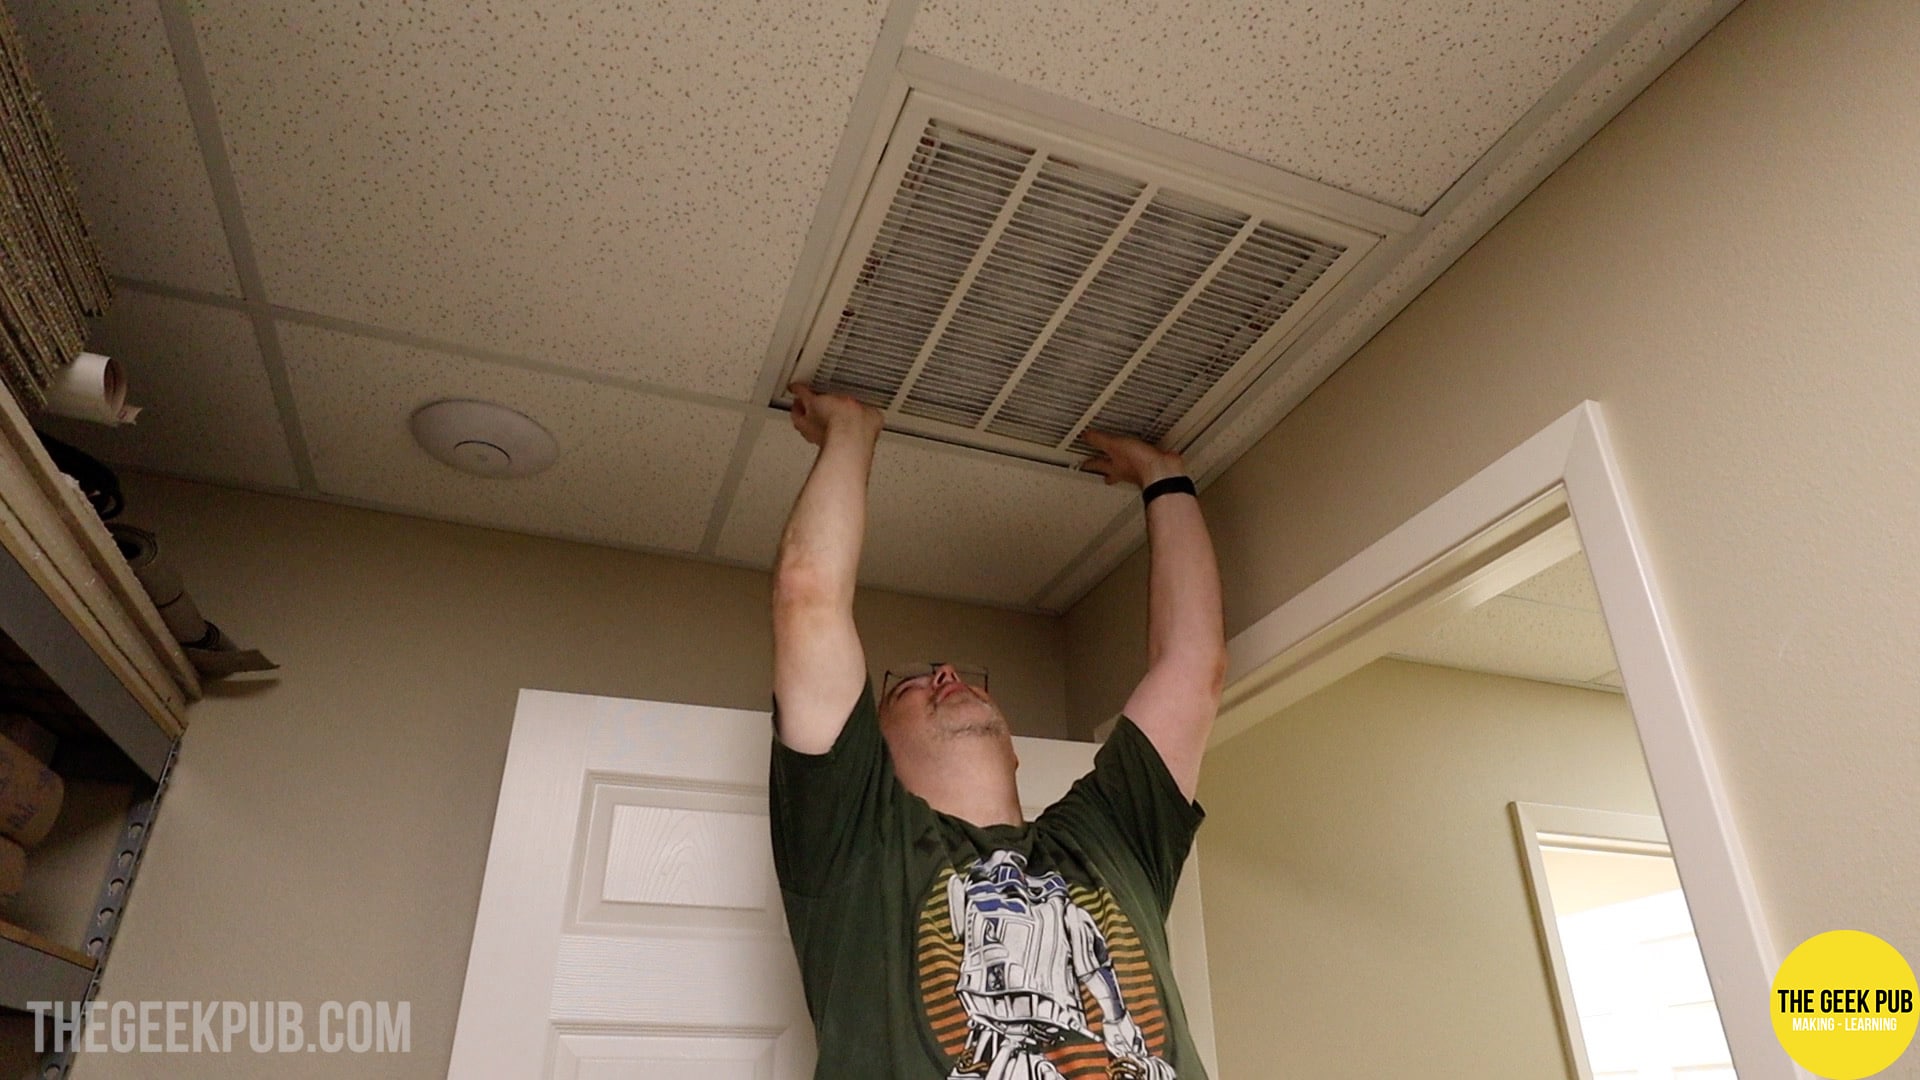
There’s only one catch! Our server room doesn’t have a return air vent! So we need to add one. I purchased a 24×24 trofffer style return air box to go into the server room.
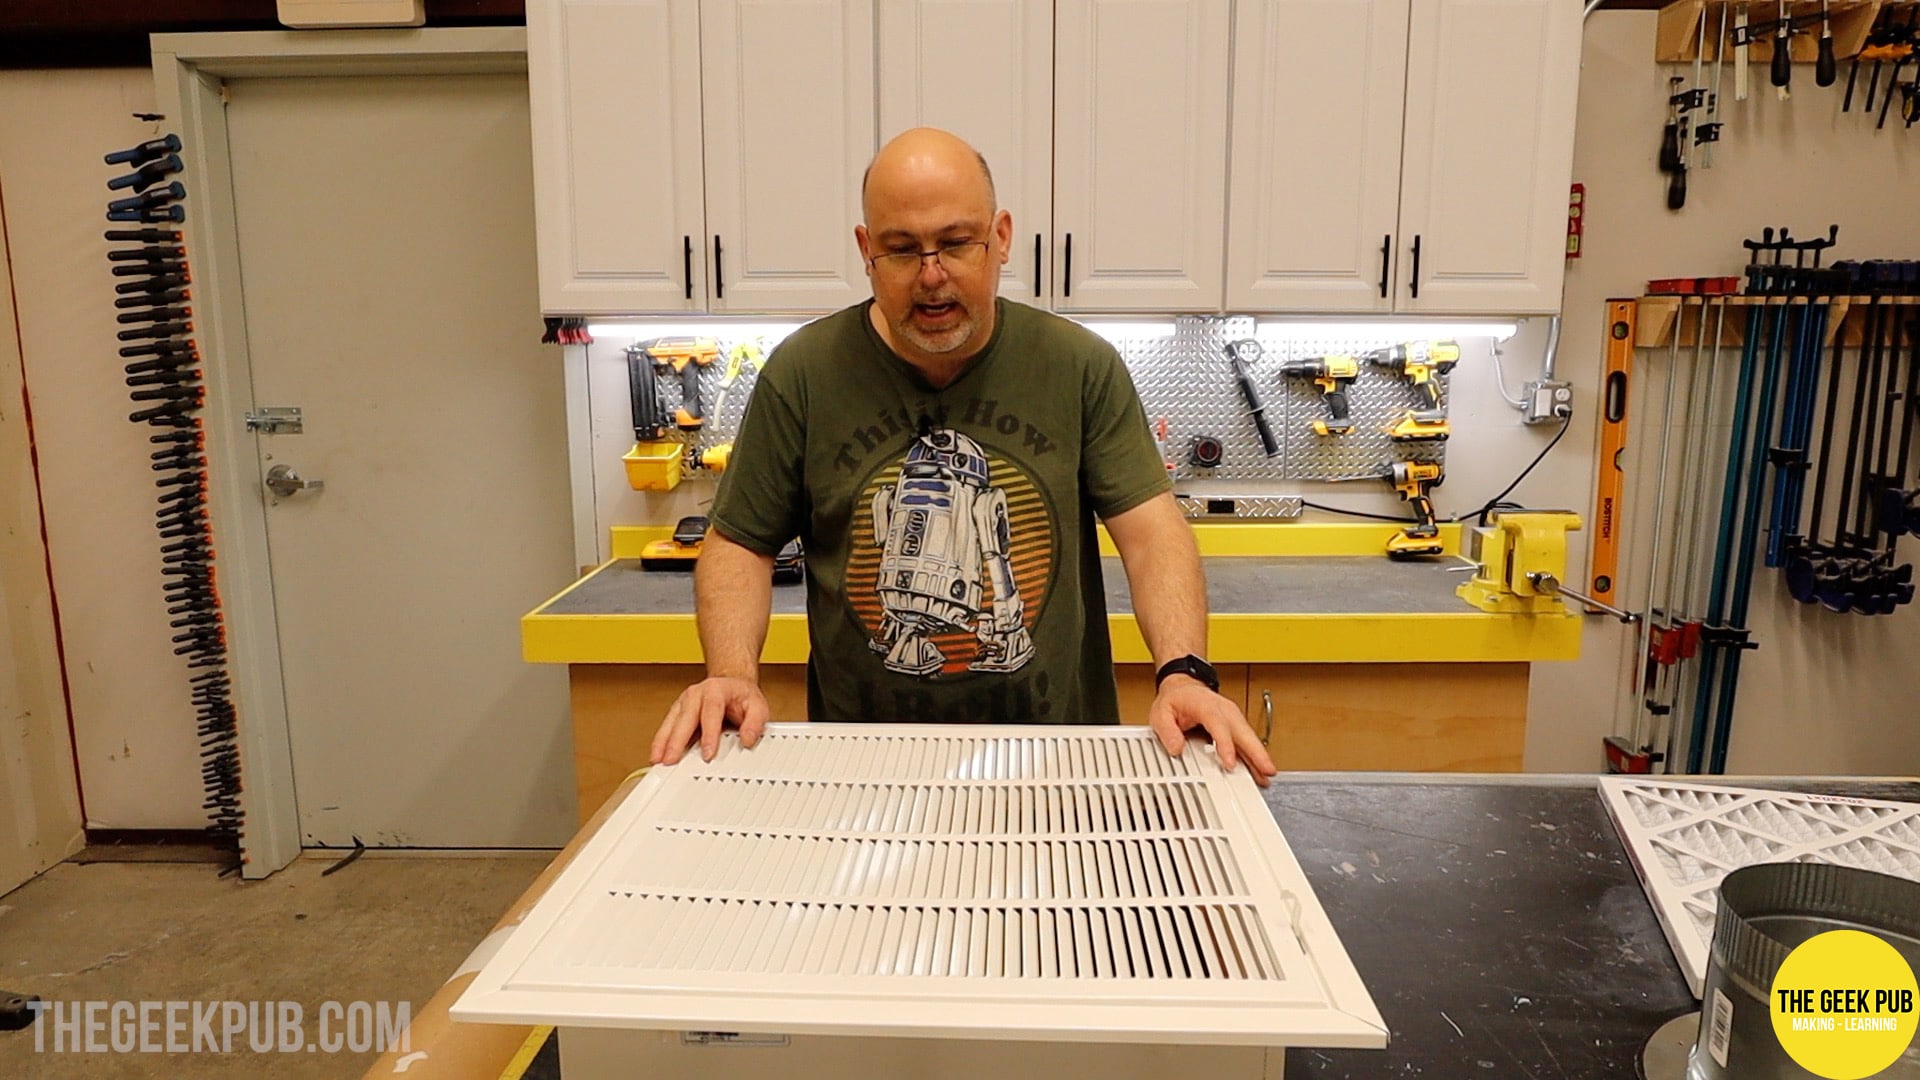
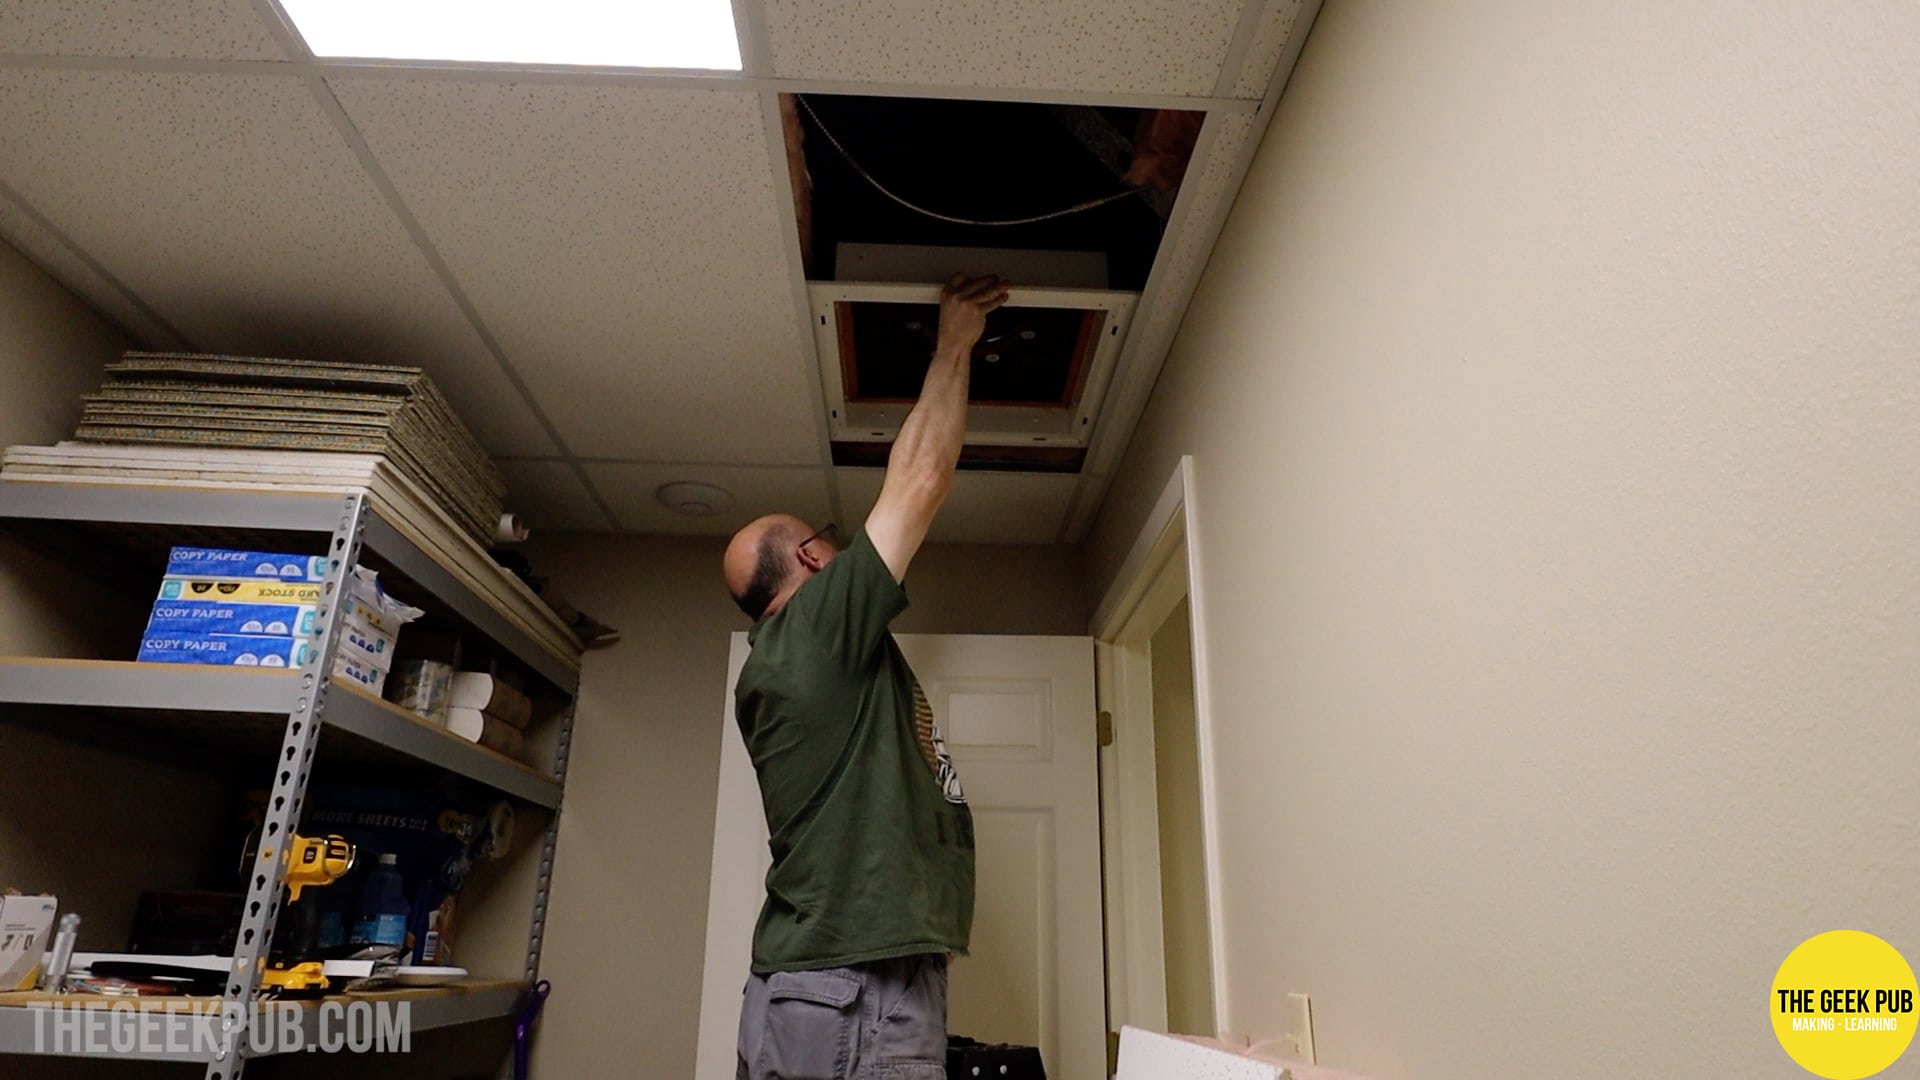
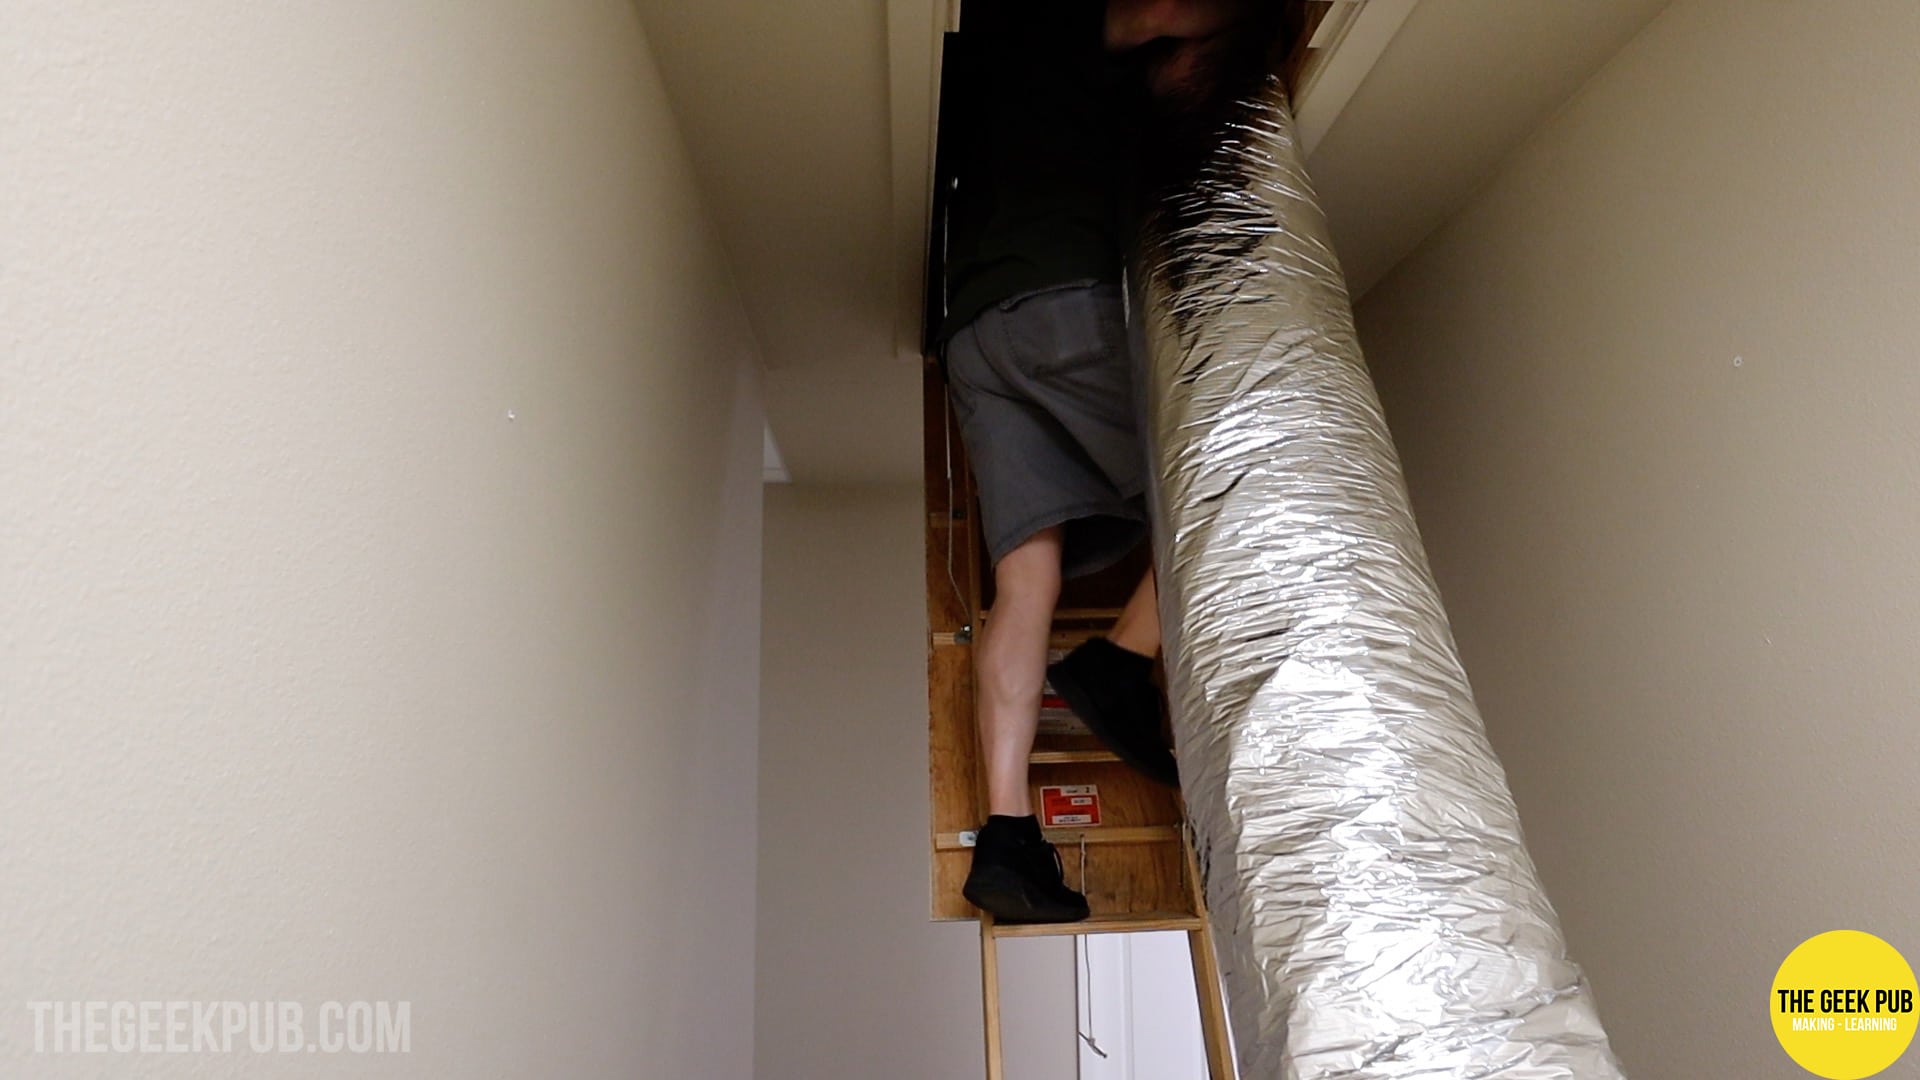
You attach a take-off or starting collar to the back of these and then attach insulated ducting that will run to your return air box on your HVAC unit. After installing this in the ceiling, I ran a section of ducting from the HVAC unit through the drop ceiling and attached it to the back of the return air box. The ducting is attached to the starting collar with aluminum tape. One mistake I made was to not unbox the ducting in the attic. This meant I had to drag the entire 25 foot section up the stairs!

The last thing I needed to do was to was to install the filter and grill over the ceiling duct. We’re halfway through venting the server room!
Installing the AC Infinity
Unfortunately, due to the cramped spaces and high temperature in the attic area, I took mostly photos of the completed install. Dealing with loads of sweat and a camera that wouldn’t stay in place was unbearable.
I mounted the AC Infinity on the “red iron” above the ceiling using self tapping screws.
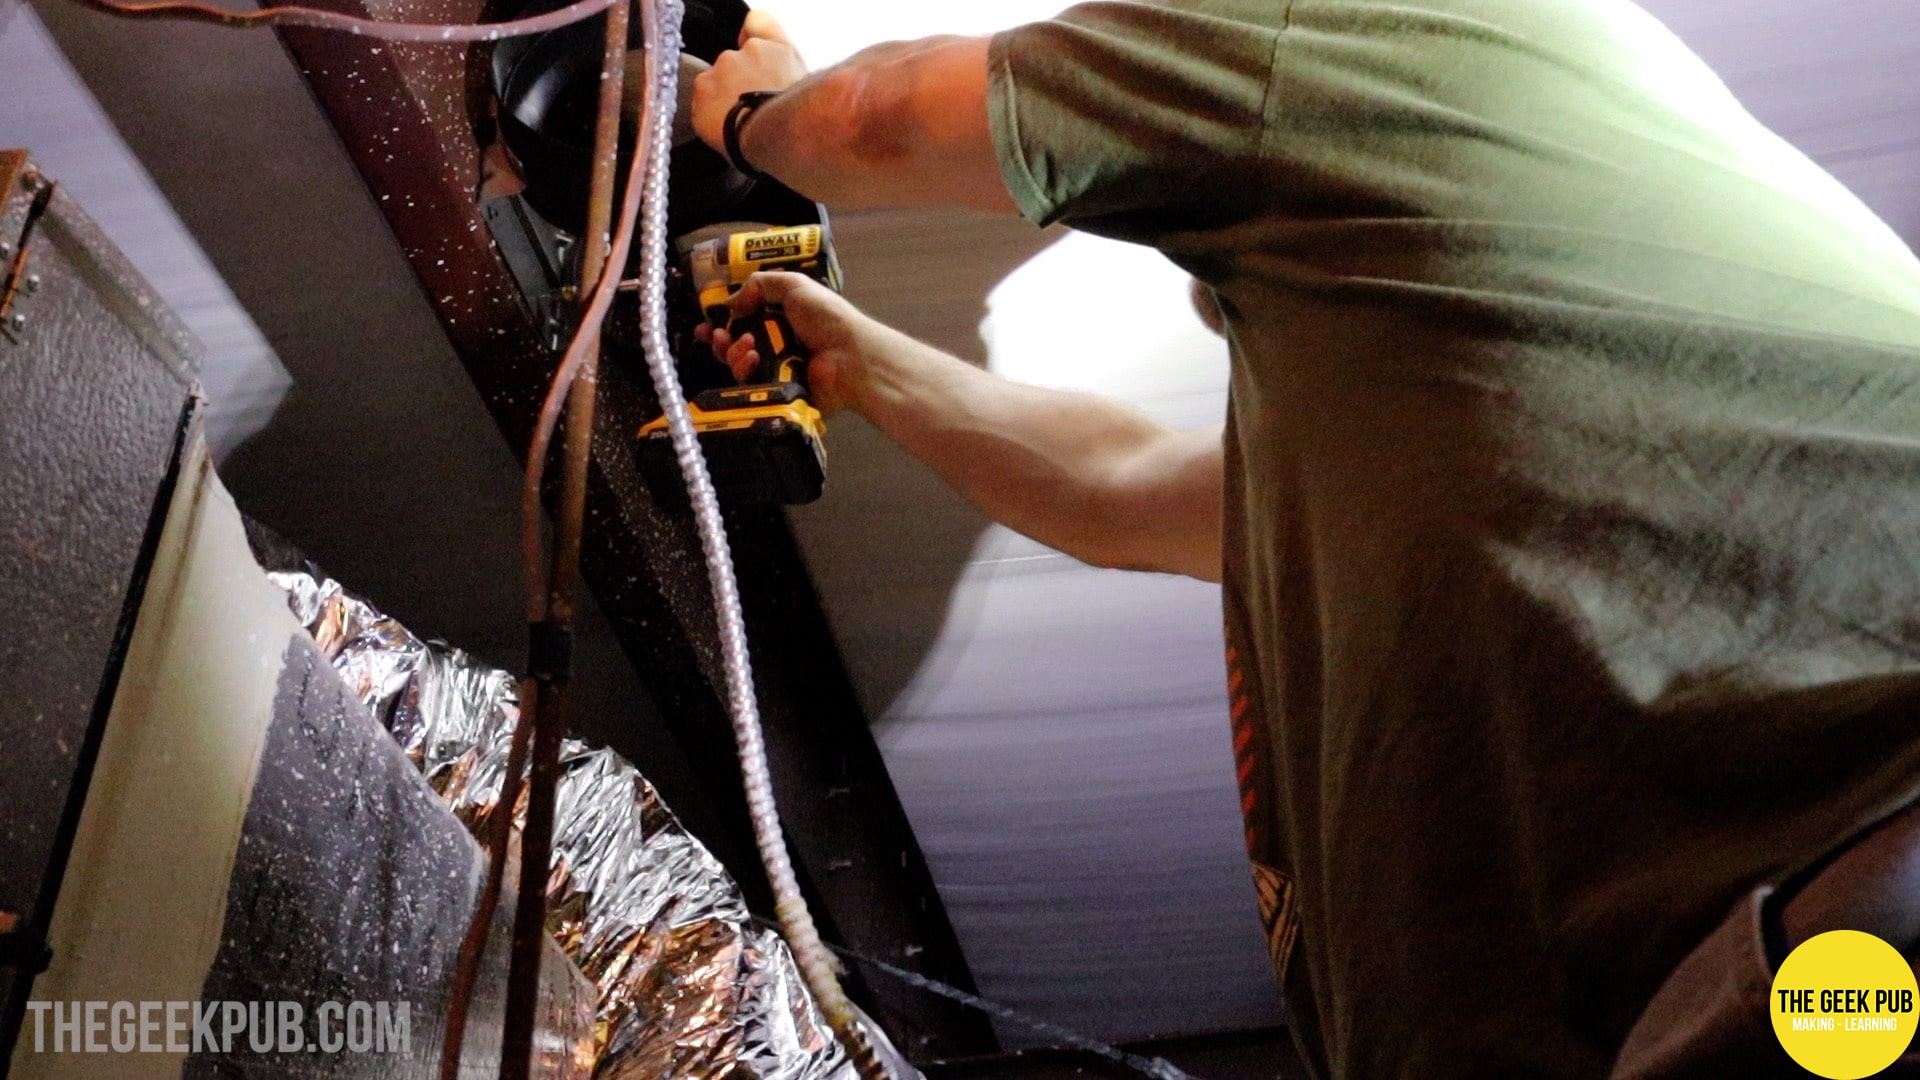
I then attached both ducts to the unit. The duct from the closet goes to the input side, and the duct to the AC return box goes on the output side. I then cut an 8″ hole in the return box and attached the other starting collar. This is the exact same material and process as the back of the return we did earlier.
Mounting the Controller
Venting the server room into the AC system needs to be controlled automatically. To make that happen, we need to have a controller unit in the server and remote temperature sensor. The controller mounts on the wall and can be configured to turn on and off based on high or low temperature, as well as high or low humidty. I simply set it to turn on any time the temperature in the room reaches 80 degrees.
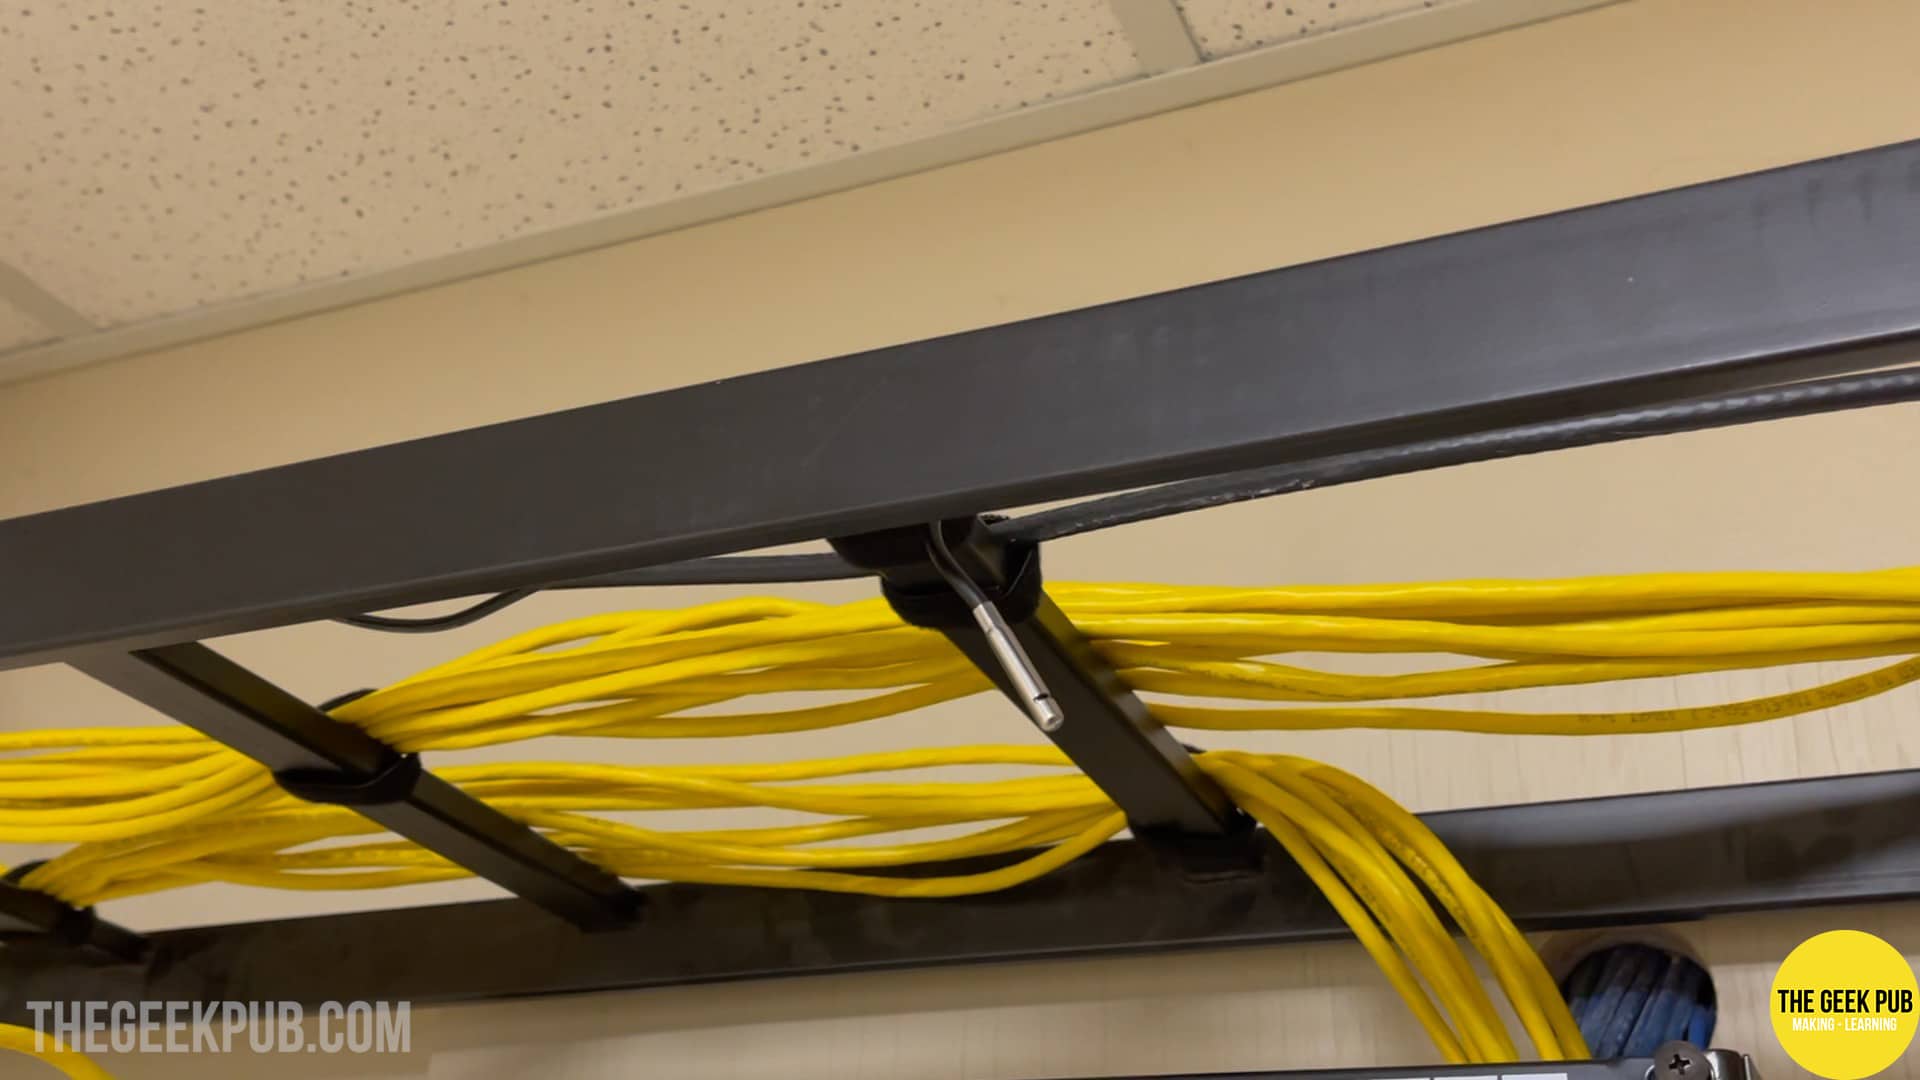
I then mounted the temperature sensor in the back of the room on the ladder rack. This is probably the hottest area of the room.