Blog
How to Backup a Raspberry Pi
Many people pour hours and hours into developing a project on their Raspberry Pi and never put any though in how to back up their work. A
Things to Consider Before Backing Up a Raspberry Pi
I know a lot of people will comment below saying things like “I keep a copy of my code on my PC/Dropbox/Smartphone.” and that’s awesome. Keeping a copy of your code on another device is absolutely a great thing to do. Honestly, for some projects it might be enough. However, may people fail to remember that a
When developing a projecting, you’ll likely need to make many configuration changes to the Raspbian operating system. You’ll also likely install new software libraries and packages onto the Pi for your code to take advantage of. When you restore your code from a folder on your PC none of those configurations or libraries will be installed. You’ll have to remember what they all were and add them back one at a time. That’s a mess.
In this how to backup a
- Backing up your development over the network (good)
- Backing up a copy of the SD-Card to your PC (best)
For the astute in the room, you’re probably thinking right about now “Why not do both?”. And you couldn’t be more right! I use both methods to backup my R2-D2 build project. I make a nightly copy of my development files and a weekly image of the SD Card.
Backing up Your Files to the Network
So let’s first go over how to backup your files to the network. This is a pretty simple task. I’d highly recommend using a dedicated NAS appliance for backing things up as they usually have superior redundancy and backup options for their own data. However, a Windows 10 share will do in a pinch. If you need help setting up a Windows 10 share, check out this article.
The first thing you’ll need to do is mount the shared folder on your
Installing Samba
Before you can mount Samba (or SMB) shares on your
[code language=”bash”]
sudo apt-get update
sudo apt-get install samba samba-common-bin smbclient cifs-utils
[/code]
Create a Network Mount Folder
You’ll want to create a folder on your
[code language=”bash”]
sudo mkdir /NAS
sudo chmod 777 /NAS
[/code]
Mount the Windows Folder on Your Raspberry Pi
The next order of business is super simple! You’re ready to mount your NAS or Windows share to the newly created folder on your
[code language=”bash”]
sudo mount.cifs //nas1.home/Dropbox /Dropbox/ -o user=yourusername,password=yourpassword
[/code]
You can also put this command into a file called “mountme.sh” or whatever name you prefer, allowing you to run it quickly without typing it in every time. However, remember that this means a password is stored in plain text for anyone to see if others have access to your
[code language=”bash”]
#!/bin/bash
sudo mount.cifs //nas1.home/Dropbox /Dropbox/ -o user=yourusername,password=yourpassword
[/code]
Syncing your Raspberry Pi Code to Your PC
The next thing you need to do is copy your code to your Windows or NAS shared folder. You could do this with the CP (copy) command. However, I much prefer to use rsync. It is faster, keeps all of the file attributes intact, and will only waste time and network bandwidth on files that have changed. If you have a lot of files this could take a while on the first sync, but on subsequent copies, only changed files get transferred and it will be significantly faster. The command to do that is below.
[code language=”bash”]
rsync -rvh /home/pi/Documents/MyCode /NAS/MyCode/
[/code]
If you’d prefer to just copy the files you can use this command. Keep in mind every file will be copied and overwritten.
[code language=”bash”]
cp -r /home/pi/Documents/MyCode /NAS/MyCode/
[/code]
How to Backup a Raspberry Pi SD Card to Windows
The absolute best way to ensure you have a copy of your
My preferred tool for imaging an SD card is Balena Etcher. It’s a super easy to use tool and does a great job. Unfortunately, it only copies files too the SD card and won’t back them up to an image. Since that’s what we need to do, we’ll be use Win32 Disk Imager.. If you’re on a Mac you can use Apple Pi Baker. Win32 disk imager is what we’ll use in this how-to, but Apple Pi Baker works very similarly.
The first thing you need to do is safely shutdown your
[code language=”bash”]
sudo shutdown now
[/code]
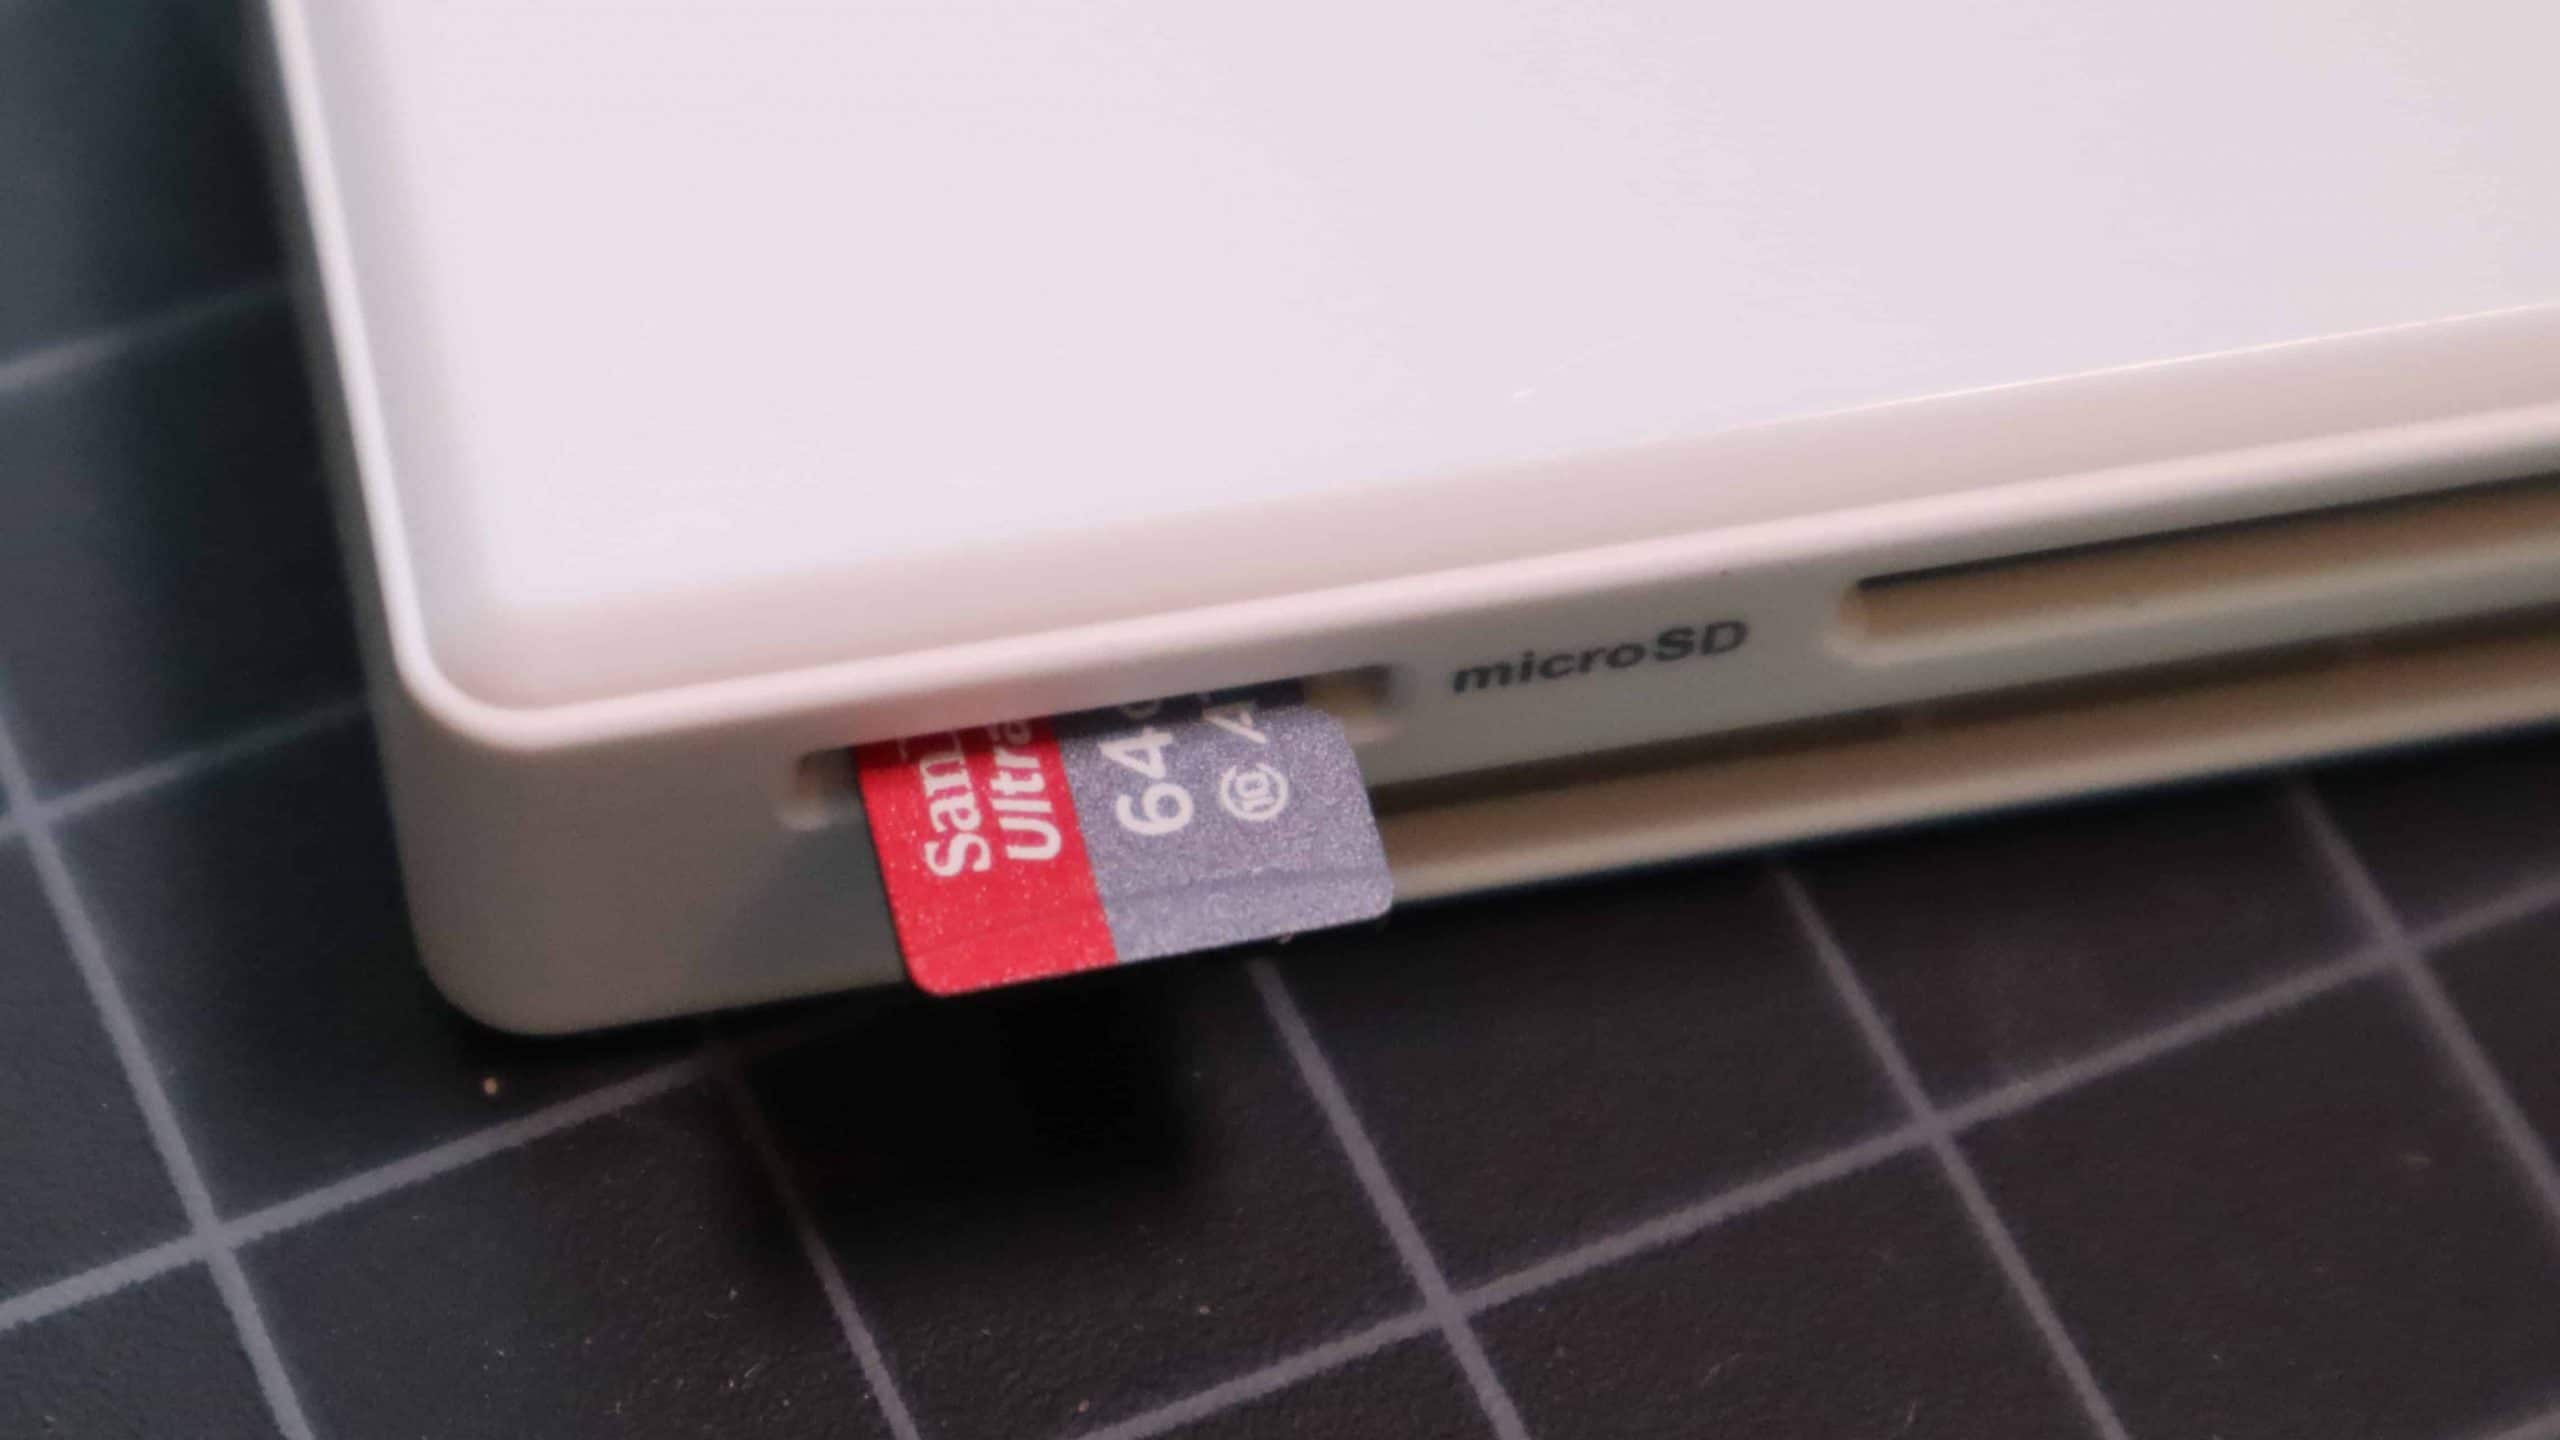
Move the SD Card to Your PC and Create an Image
After a few minutes your
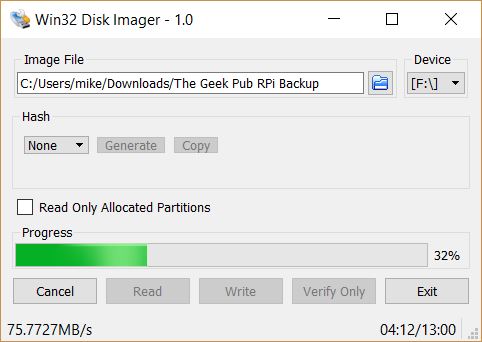
Next, open Win32 Disk Imager and click the folder icon next to “Image File” and enter the name of the backup file. In my case I chose “The Geek Pub RPi Backup.img”, but any name will do.
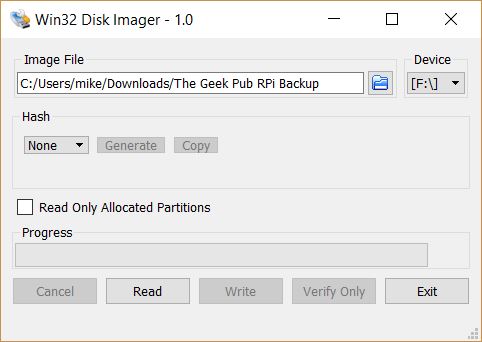
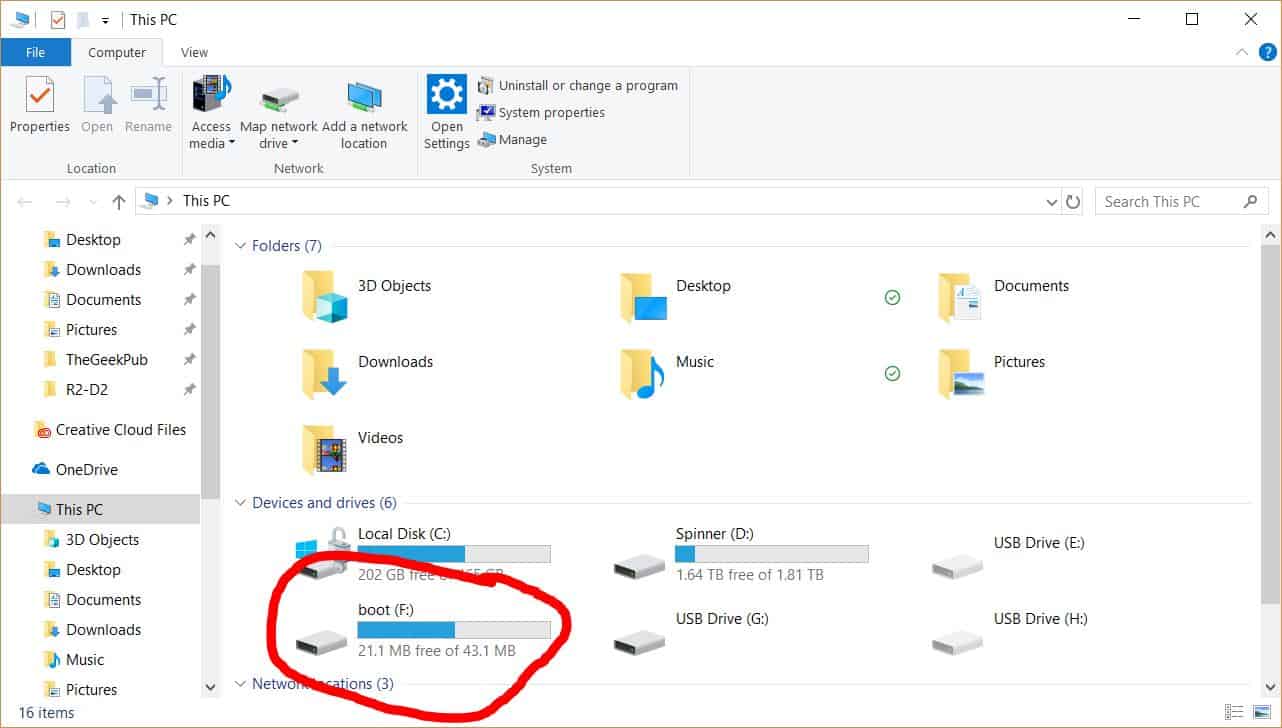
On the far right top side of the imager, click the Device drop-down and select the drive letter that represents your micro-SD card (or the reader it is plugged into). In my case that is the F:\ drive, but yours will likely be different. You can go to My Computer to see a list of all of your drives if you have any concerns or have multiple drives listed and you are not sure which one to choose. Your
Now click on the Read button. Win32 Disk Imager will begin reading the contents of your SD card and writing it to the file name you chose. Be patient, this is probably going to take between 5 and 10 minutes depending on how much data you’ve copied to the Pi’s SD card.
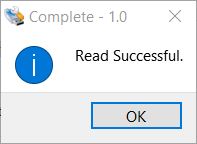
 One the process is complete, you’ll be present with a success dialog box. All is done and you can safely store your backup on your PC, NAS or cloud storage folder for future use.
Restoring Your Raspberry Pi ‘s SD Card
In the future, if you decide to restore your SD card, just follow the same steps. Only this time select the image and click the Write button. The process will operate in reverse. For an even simpler restore we recommend using Balena Etcher.
One thing we hear a lot from people is that their RPi SD card will not mount on their PC when they try to restore it. This is a common problem. The fastest way to fix this is to format the micro-SD card before you try to restore data to it. Honestly, its not a bad idea to do this anyway as your micro-SD card could have been corrupted at some point, hence why you’re restoring it!
How to Backup a Raspberry Pi SD Card to MacOS
Backing up your
Just like in our Windows example, you’ll need to plug your
[code language=”bash”]
diskutil list
[/code]
You should see something similar to the following output. 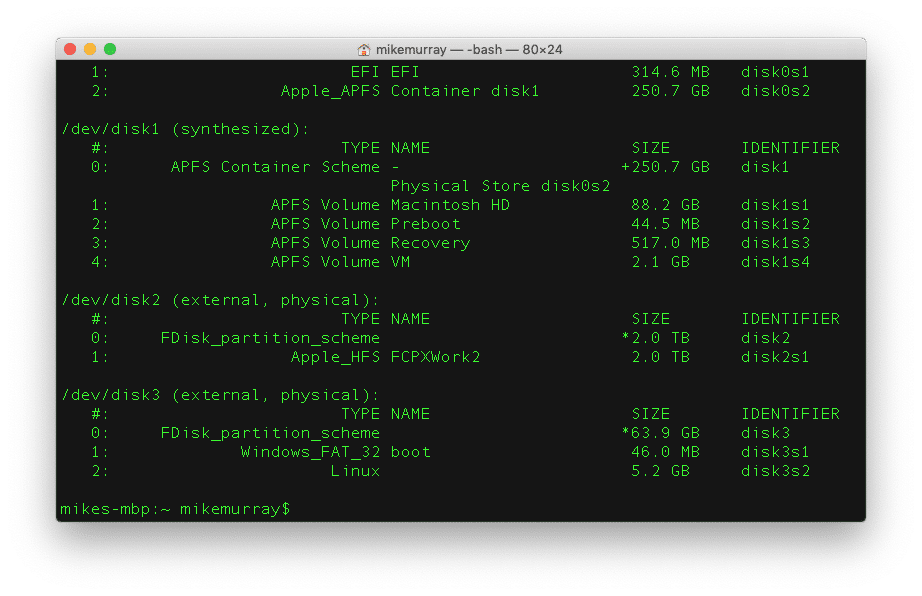 Look for a disk called “boot” that is similar in size to that of your
With the name of your drive now known, all you need to do is run the DD command to backup that drive to a file.
[code language=”bash”]
sudo dd if=/dev/disk3 of=/Users/yourusername/Documents/TheGeekPubPiBackup.img
[/code]
The weird thing about this utility is that shows zero progress after it starts running. Because this backup will take 5 to 10 minutes to complete, many people assume its hung and not working. But there is a neat trick to get the status. Just press CTRL+T while DD is running to get a nice little output of what is happening.
Final Thoughts on Backing Up Your Raspberry Pi
Now that you know how to backup your
Reducing Win32Disk Imager File Size
Win32 Disk Imager is a byte-for-byte copy of your
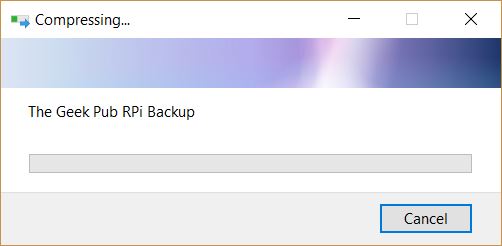
The first way is to simply use Windows 10’s built in compression utility to compress the file into a .zip file. This works great and in most cases will significantly reduce the file size of your backup. In my case, I was able to get about a 65% reduction in file size. Unfortunately, its very slow and will take just about as long as the original backup to complete.
 Another option is to use HDRawCopy. This utility is similar to Win32DiskImager but also compresses the file during execution. It’s not as well supported as other imaging utilities, but it does the job well enough.
Well now that you know how to backup a


4.5
Great article! Great point about NAS automatically backing up to the cloud… mere on premises backup solutions are not sufficient!
A couple more thoughts I had and adhere to:
1) For all code projects, I use source control systems like Git. This guards against inadvertent modifications or deletions to your code as you develop and can serve as a “backup” for your code
2) For everything installed on my Pi devices, I have a full set of line-by-line re-installation procedures, so I always know what libraries, settings, etc. need to be applied to a Pi installation. This takes a lot of discipline, and some people think I am crazy, but my consulting background makes this second nature for me.
3) If using an incremental backup approach as opposed to full imaging approach, don’t forget about data stored outside of that Samba share! I have a MySQL database with 4 million sound samples in it, which grows everyday. I run a daily cron script that uses mysqldump to export the database and save it on a Samba share so that it gets backed up.
If you are in Windows, and you want to reduce the size of your final image (and who doesn’t?), and ALSO make it so that it can be installed onto a smaller SD card (YAY!), you will need to decrease the size of the ext4 partition on the SD card BEFORE using Win32DiskImager. So far, the only partition manager I’ve found that can read/write ext4 partitions in Windows is DiskGenius (there may be others). The main downside to this procedure is that it takes FOREVER to shrink a partition on an SD card. Oh well.. I guess ya gotta take the good with the bad.
This is a great article. Unfortunately I could not get my network share to mount. I think the issue is that I did not understand the network path.
“You’re ready to mount your NAS or Windows share to the newly created folder on your Raspberry Pi. ”
Command: sudo mount.cifs //nas1.home/Dropbox /Dropbox/ -o user=yourusername,password=yourpassword
What is the path to the network share? (I did not understand why Dropbox is listed twice)
And why is the newly created folder on the Pi (which is entitled “NAS”) apparently not listed in this mount command?
I am sorry for these basic questions.
Same question. Please help.
This is f*!ked up – diligently following your steps for backing up and noticed the screenshot said: ~ mikemurray$ which is also my name! 🙂 so top marks for personalising the post for me 😉
0.5