Blog
Boot a Raspberry Pi from USB
Have you ever wanted to boot a
Boot a Raspberry Pi from USB
 Before we get down to it, let’s take just a second to understand why you might want to boot a
- USB storage and flash drives are generally cheaper than SD cards at the same performance levels or better
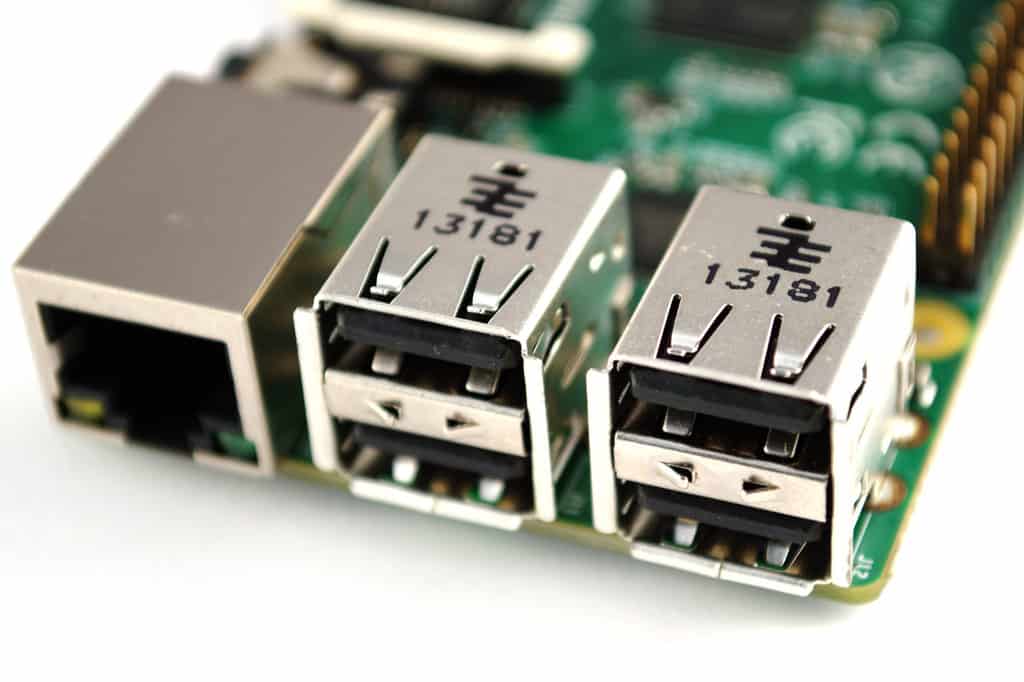
- If you Pi is embedded into a device or build it may be difficult to get to the SD Card on the Pi, but having a remote mount USB port is easy (check out the remote ports on one of our bartop arcade cabinets)
- Using a
Raspberry Pi to run a NAS, you can simply boot from the same mass storage device your sharing with your users rather than maintain an SD Card
If you’re new to the RPi, here’s a simple parts list for this project:
- Raspberry Pi Model B+*
- Micro SD Card for provisioning
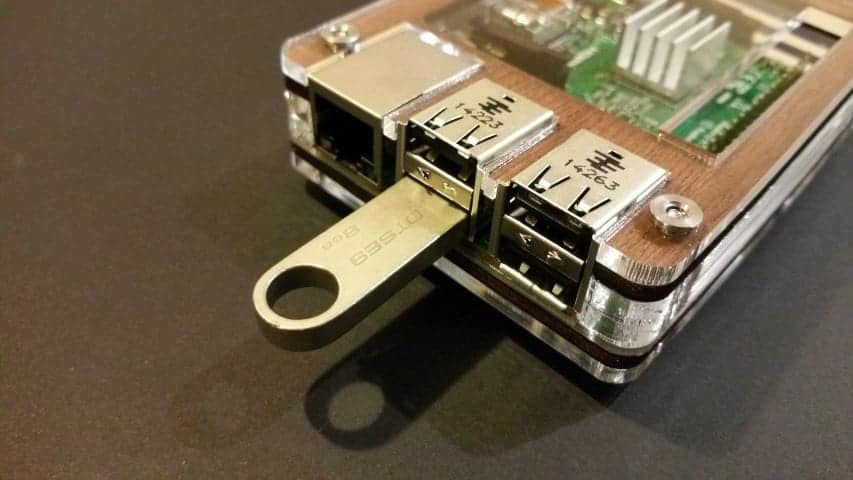
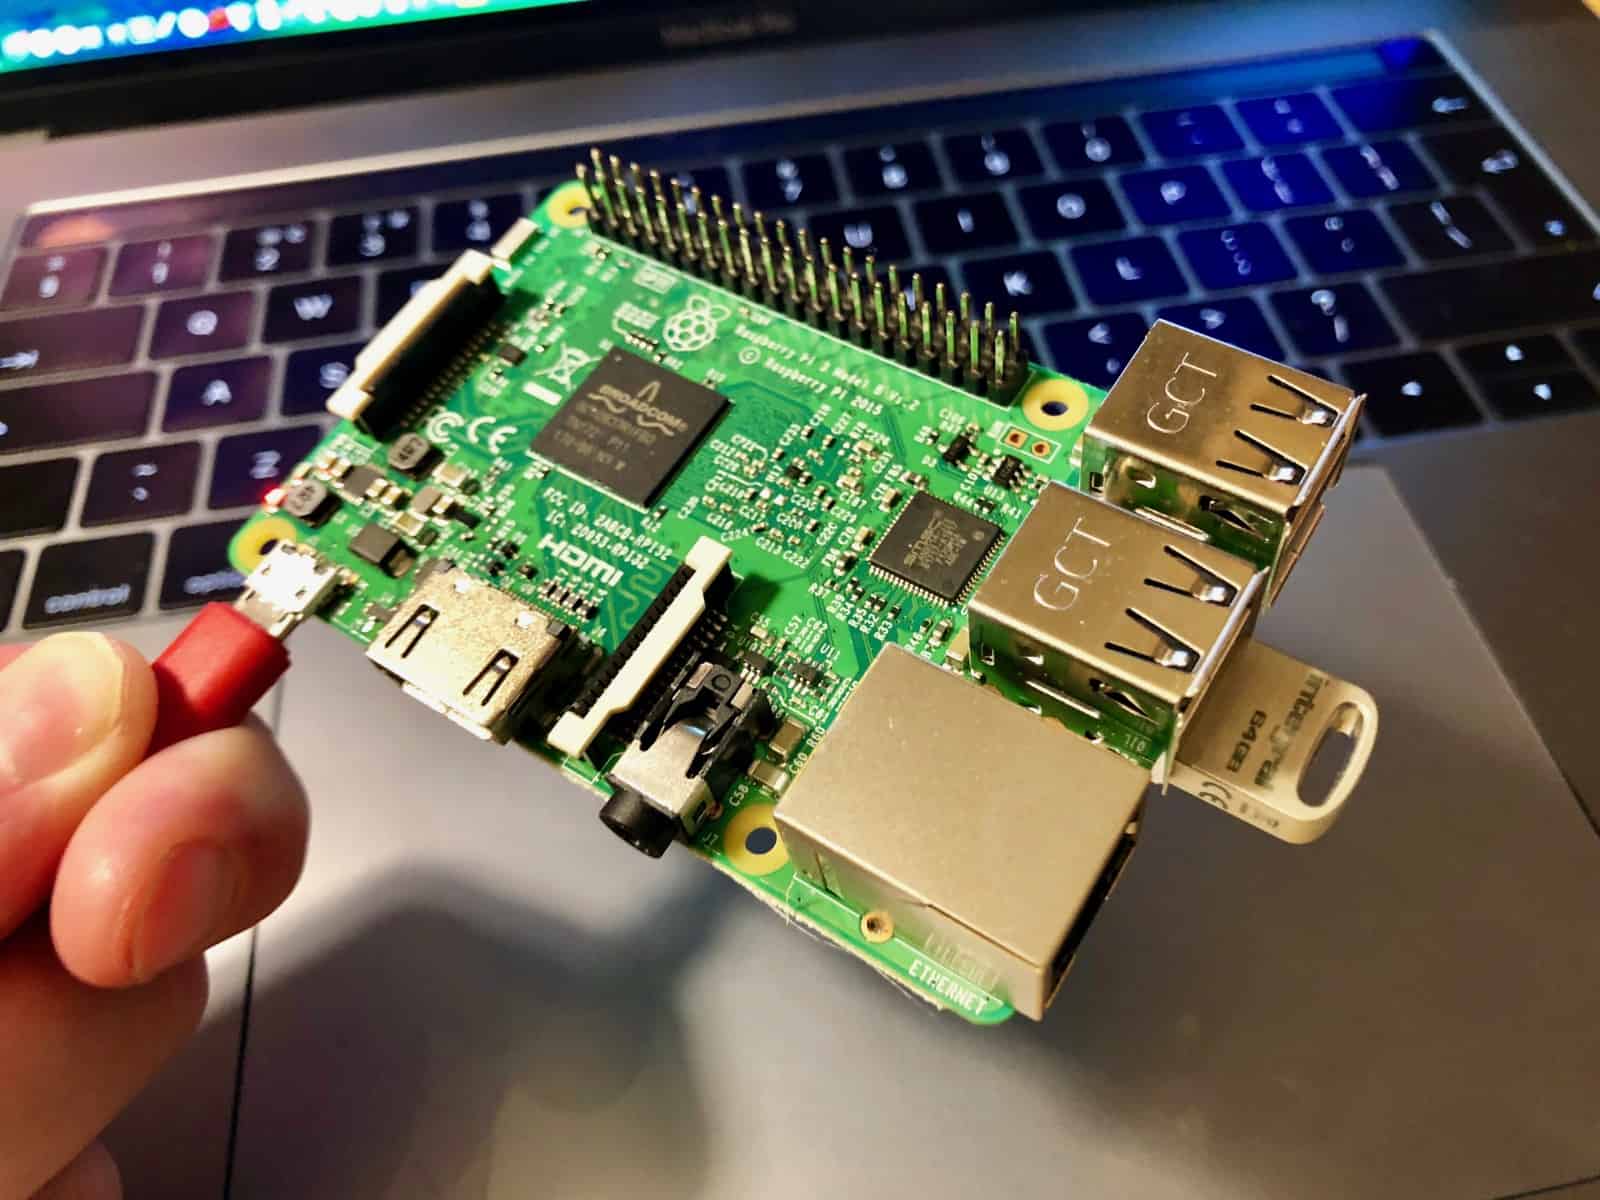
- USB Thumb Drive
- Raspberry Pi Power Supply
- Raspberry Pi Case
- USB Card Reader
* Note that you can not USB boot from the original
Preparing the Raspberry Pi to Boot from USB
Now we will set the One Time Programmable (or OTP) bit on your
(Note for
Step 1: Install Raspbian on a Micro SD Card.The type of card and speed are mostly irrelevant as the card will not be needed after we configure the OTP memory.
Step 2: Boot the
[code language=”bash”]
sudo apt-get update
sudo apt-get upgrade
[/code]
Step 3: Now we can move on to programming the OTP memory to allow booting from USB. We need to make a change to the boot configuration file so that your Pi will boot up and be ready for the OTP changes.
[code language=”bash”]
echo program_usb_boot_mode=1 | sudo tee -a /boot/config.txt
[/code]
Step 4: Issue the reboot command and let your
[code language=”bash”]
sudo reboot
[/code]
Step 5: Verify that the OTP boot settings have been written. Open a new terminal window and enter the the following command:
[code language=”bash”]
vcgencmd otp_dump | grep 17:
[/code]
If you entered everything correctly in step 3 you will see 17:302000a output on your screen. This confirms your
Remember to either remove this command from the /boot/config.txt or reload this Micro SD card with a fresh version of Raspbian, otherwise any Pi you place it into will have its OTP changed to USB boot.
Preparing the USB Drive for Booting your Raspberry Pi
Preparing a USB stick, hard drive, or other device to boot Raspbian is the same basic process you follow to prepare the Micro-SD card for booting. But in case this is your first time, we will walk you through quickly!
Step 1: Download the latest version of Raspbian from from the official Raspbian download page.
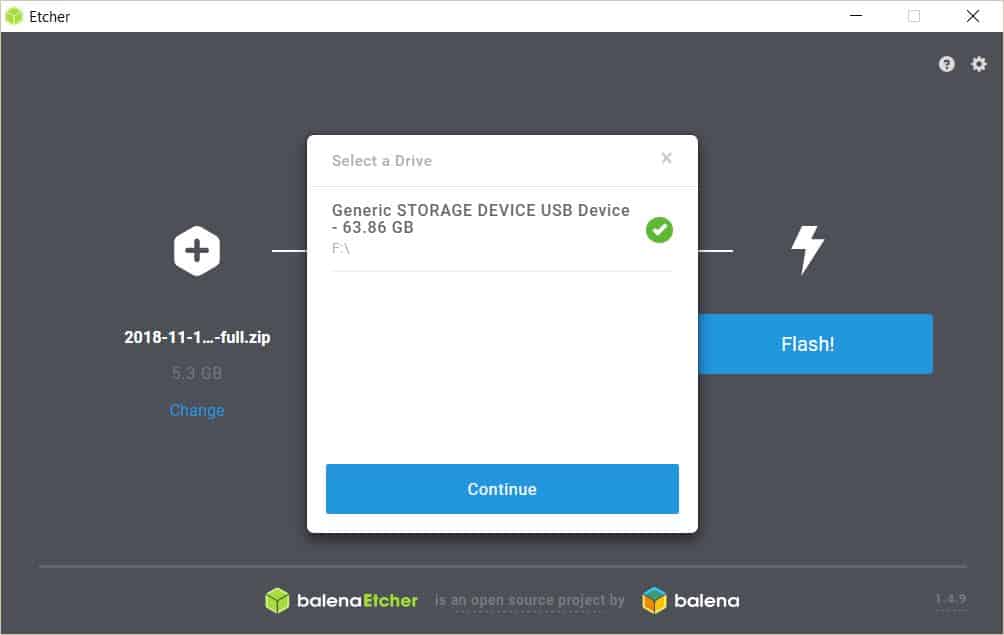
Step 2: Download Etcher from Balena Etcher and install it on your PC or Mac. Etcher writes images to SD Cards, and USB memory sticks. Once Etcher is installed, go ahead and launch it.
Step 3: Click select Image and select the Raspbian image you downloaded in Step 1.

Step 4: Select the drive you wish to flash (the USB stick your going to use to boot the
Step 5: Click flash and let Etcher do its thing. This could take anywhere from 30 seconds to a minute or two. Since Etcher is free, it will show you some
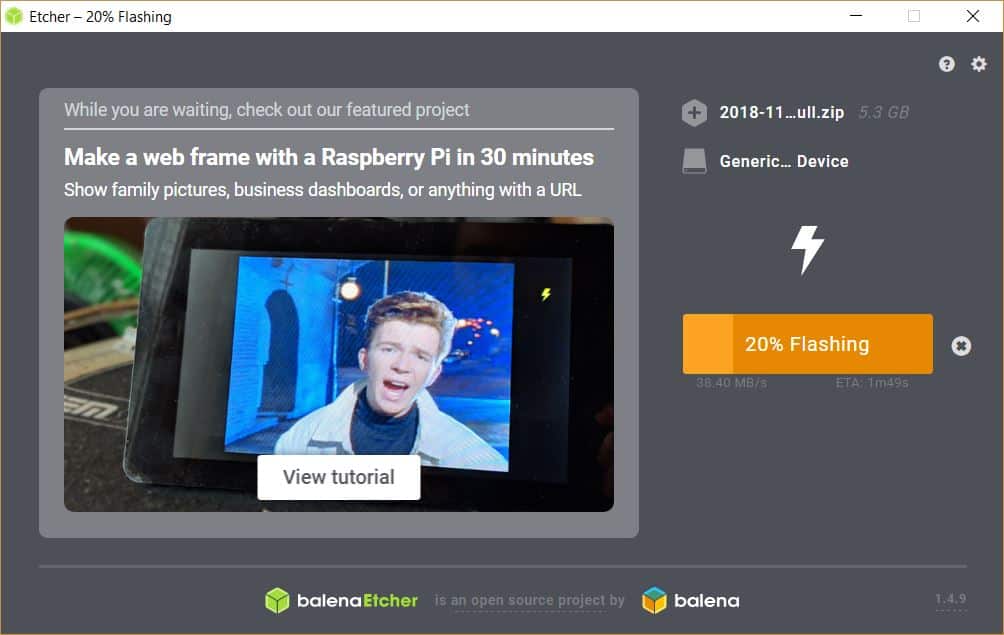
Step 6: When Etcher finishes and verifies the drive, eject it from your PC and plug it into any open port on your
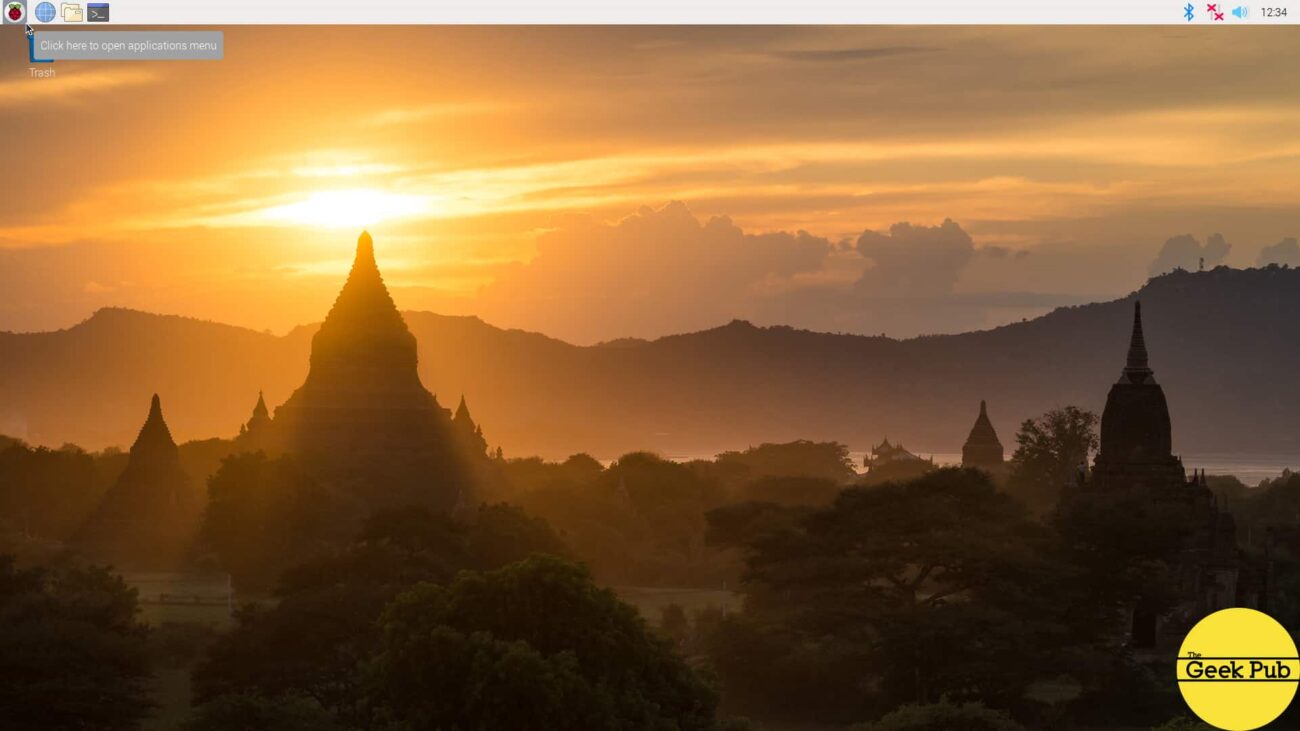
Booting from USB takes about 10 seconds longer than booting from the Micro-SD Card. This is because the Pi will first look for an installed Micro-SD card, and then look for a USB boot device when one is not found. It just takes a few seconds for that process to happen. So don’t get nervous when your
That’s all you have to do to boot a