Blog
Overclocking the AMD RX 580 for Mining
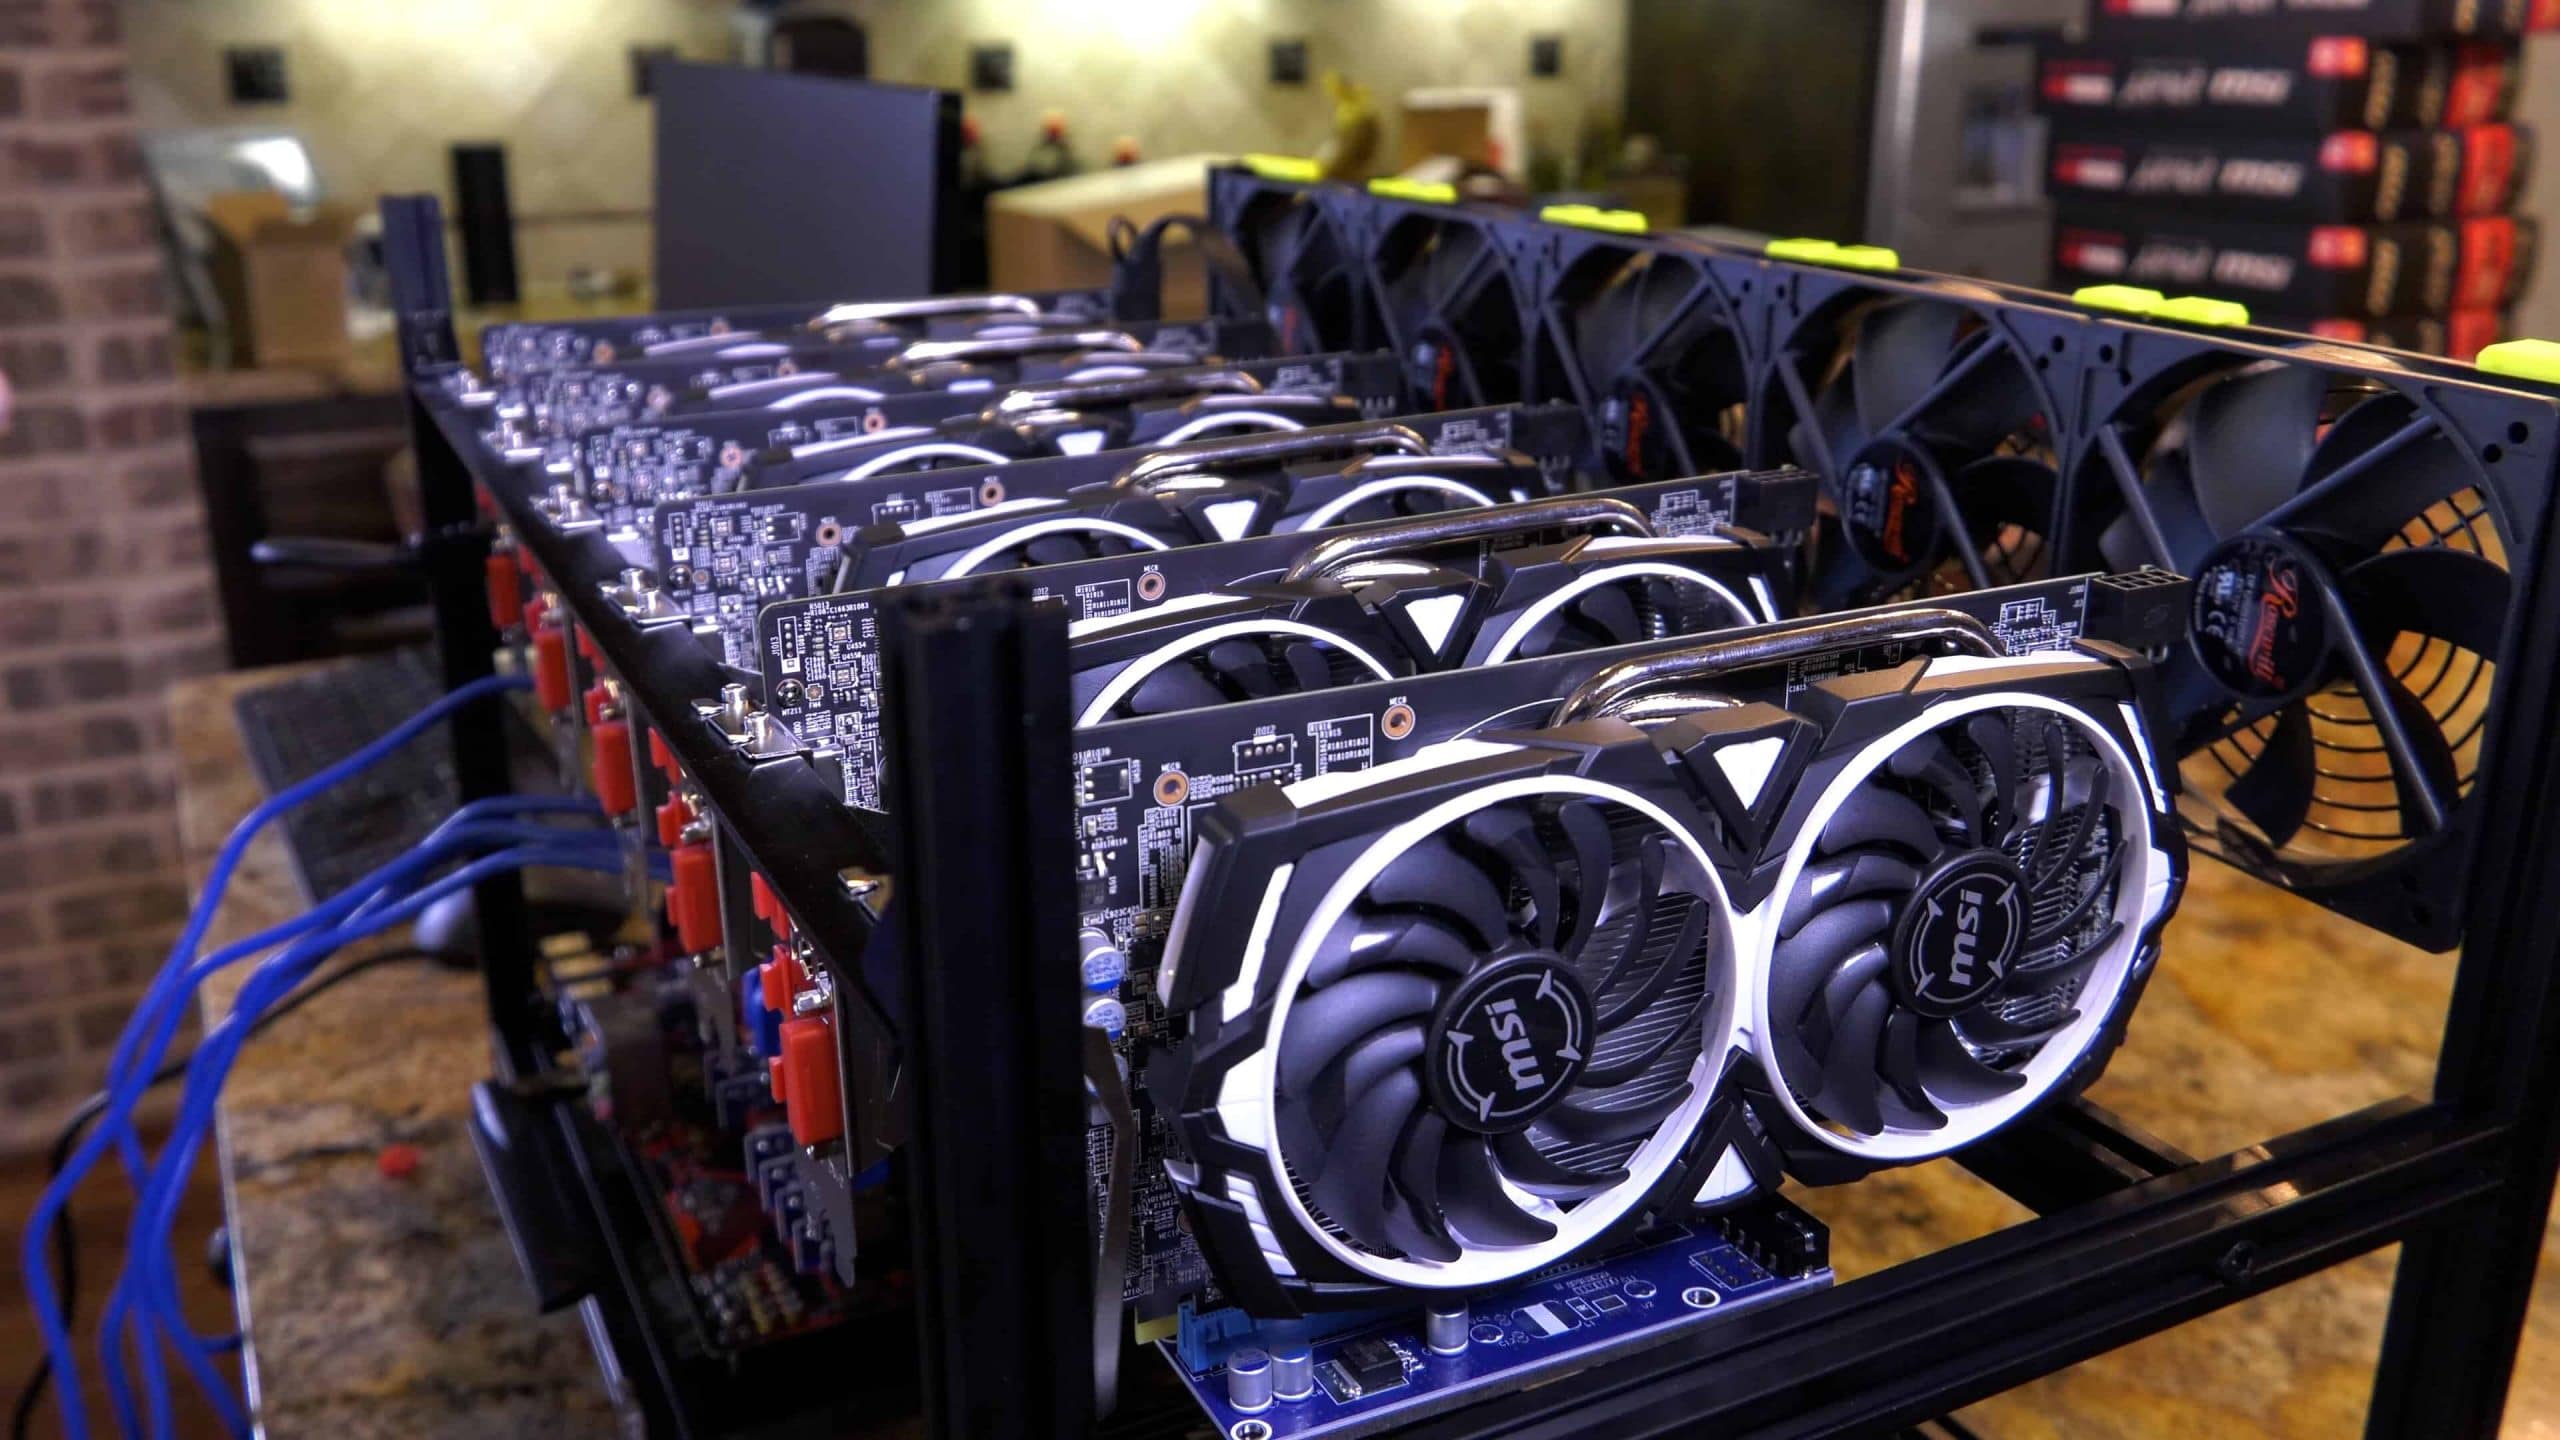
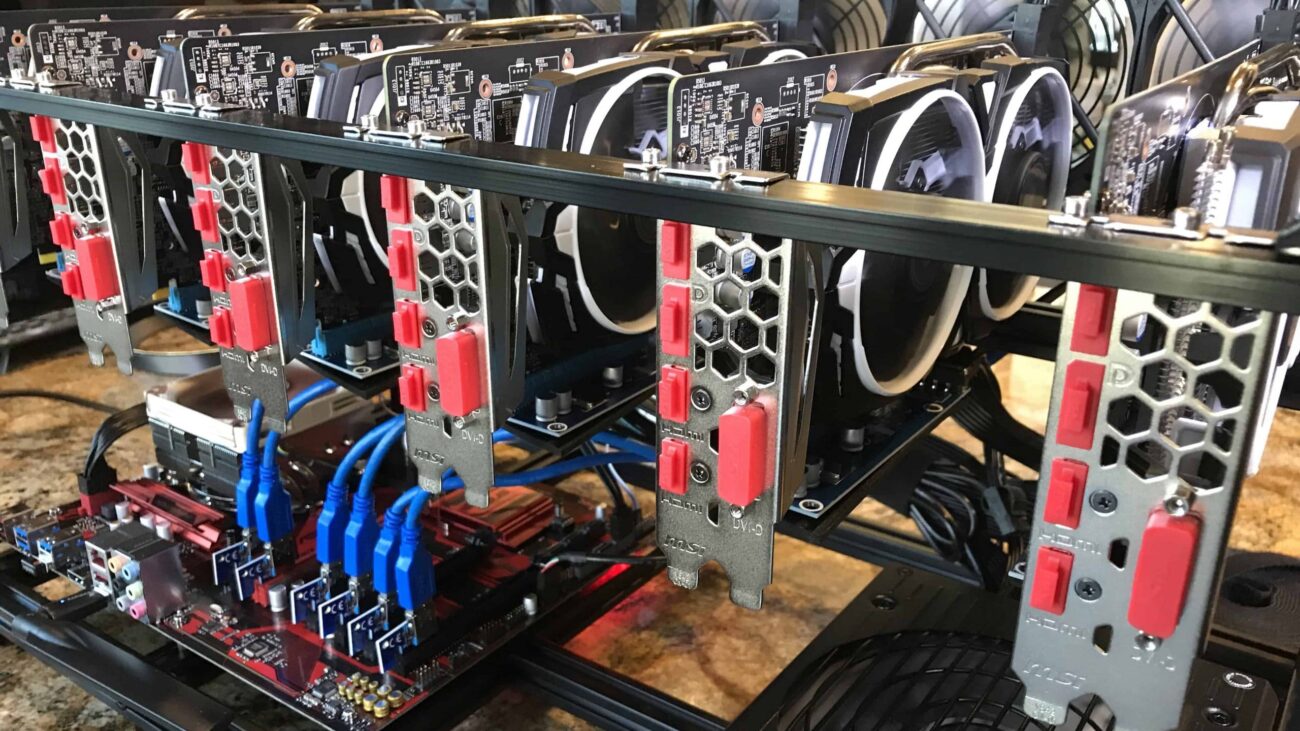
Mining is literally going insane! People are snapping up both GPUs for mining as well as ASIC miners faster than manufacturers can make them. This has led to explosive growth in those markets. It’s also let to a whole art and science behind overclocking these systems to make them perform better. So in this post we’re going to explain how to go about overclocking the RX 580 for mining! Something many of you asked me how to do after my latest mining rig build.
Overclocking the RX 580 for mining is different from other cards such as the likes of the NVIDIA GTX 1060/70/80/ti because with the AMD cards you can still tweak the BIOS. Doing these BIOS tweaks can give you as much as another 5 MH/s in Ethereum. That’s another 30 MH/s in a six card rig. Seriously, that’s basically a seventh card for free! But it takes some more technical know how. So let’s get to it. In this post we will be overclocking the MSI RX 580 ARMOR 8GB card. Get it here.
One thing I would like to point out to people. You don’t have to build an entire mining rig to mine with a GPU. You can use your existing gaming PC to mine, or you can put second GPU in your computer and dedicate it to mining. Mining takes up very little CPU, so in most cases you’ll never even know its there doing its job.
Overclocking the RX 580 for Mining
So let’s get started on this overclocking adventure! This assumes you are mining on Windows. You will need Windows installed or you’ll need to install the RX580 in a Windows machine to do the BIOS patching. However, once that’s done you can run Linux or Simple Mining OS after the fact if you prefer. Patching the drivers is not required for Simple Mining OS. I would also note, that it most likely voids your GPU’s warranty if you do any of this. So it’s up to you to make the decision if you’re OK with that possibility.
Obtain an AMD RX 580 Video Card
This may sound like a “no brainer”, but you’re going to need an AMD video card for this to work. Specifically an AMD RX 580, but this same set of steps also apply the AMD RX 480 and other other AMD graphics cards. So make sure you have one those cards before beginning.
Install the AMD GPU Drivers
The next step is to install the latest AMD GPU drivers. Go to the AMD support website and get the driver package specific for your card. In the latest set of drivers, the mining enhancements are included in the main set of drivers. You’ll just select “compute” from the dropdown box in the configuration screen. Do NOT install ReLive when asked.
Only connect one card at a time when performing the BIOS update. This will save you a lot of frustration.
Download the Overclocking and BIOS Tools
You’re going to need several tools in order to install the BIOS and overclock your GPU. Download them all now, so you won’t be scrambling for them later.
- The GPU Z software allows you to see your GPU statistics
- ATI Winflash allows you to download and upload the AMD GPU BIOS files to the card
- The Polaris Bios Editor allows you to edit the BIOS for mining.
- The ATI Driver Patcher allows you to patch your AMD drivers in Windows.
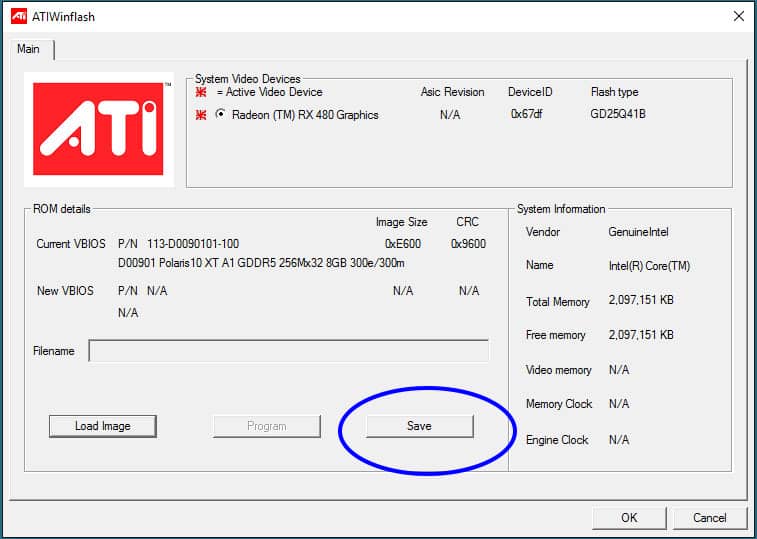
Save The Stock BIOS to a File
Before we start overclocking the RX 580 for mining we need to save a copy of the existing BIOS. Right-click the ATWinflash.exe and choose “Run as Administrator”. ATIWinflash and and click save. Save a copy of your BIOS as something like GPU1-RX580-stock.rom.
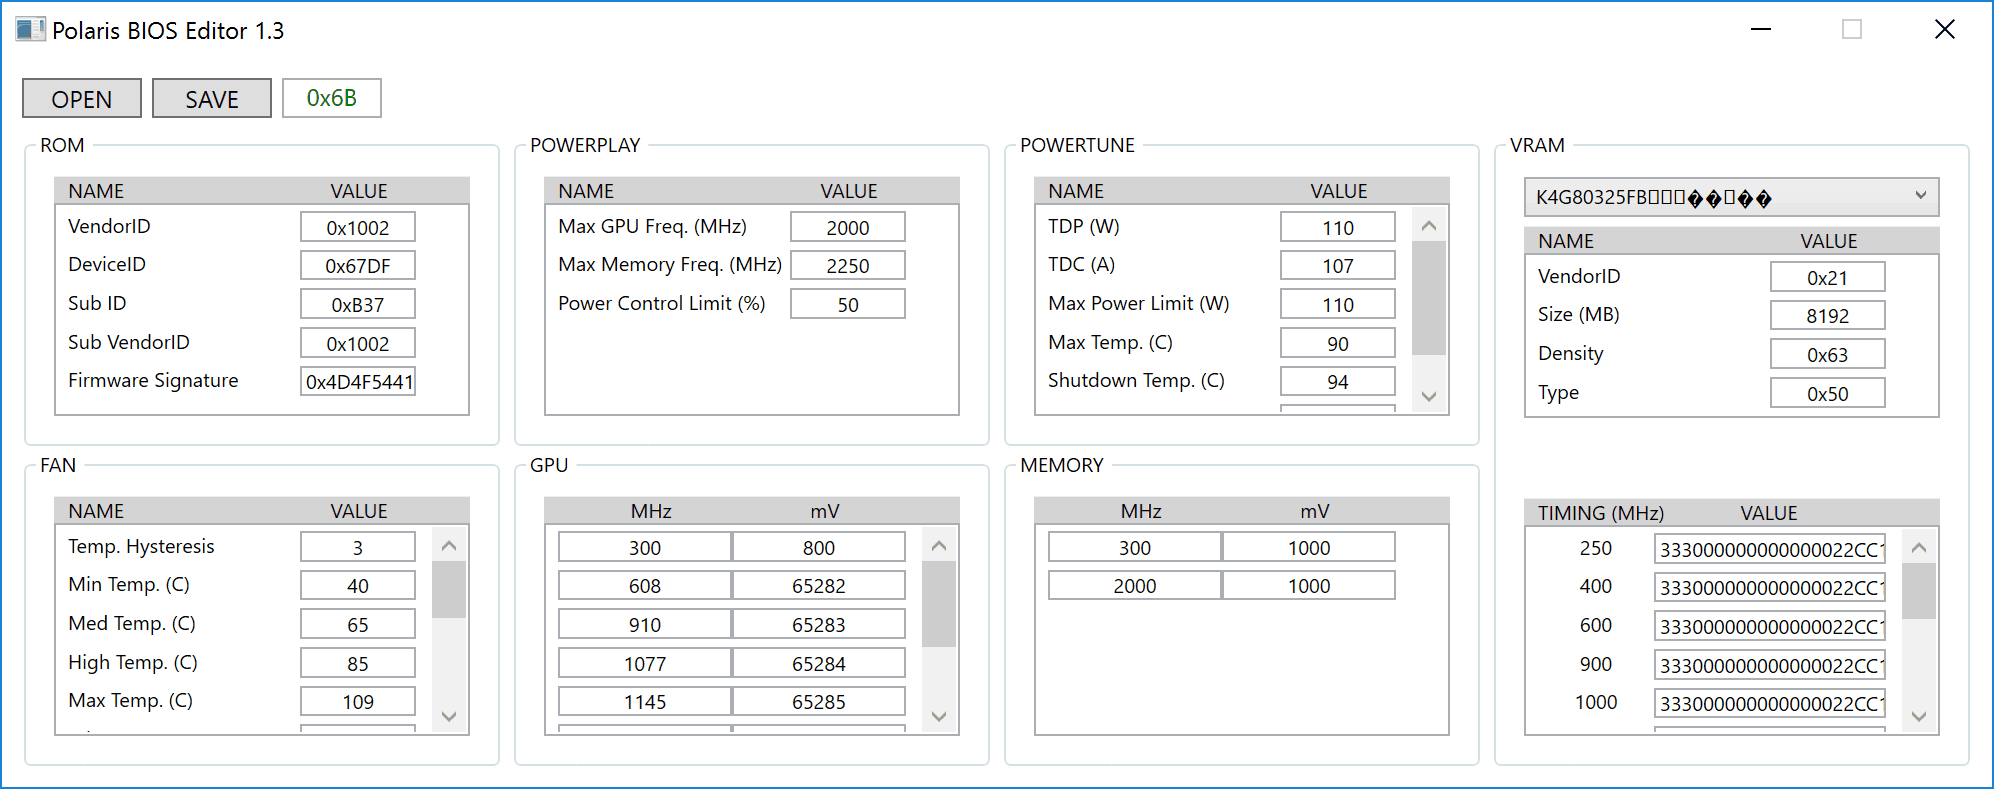
Edit The Stock BIOS File
Using the Polaris BIOS editor, open the file you just saved. Under the TIMING section, copy the value in 1:1750 to the box 1:2000 so that the values in both boxes are the same (the original value of 1:1750). Save the file as something similar to GPU1-RX580-modded.rom.
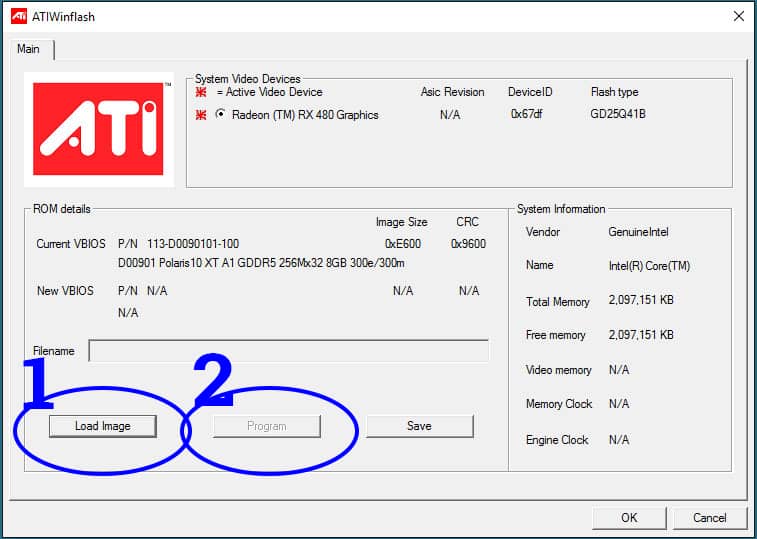
Program the BIOS
Re-open ATIWinflash and select Load Image. Select the modified file you just saved with the Polaris BIOS Editor. Then click Program. This will take about 1 minute and then ask you to reboot your PC. Do not reboot yet.
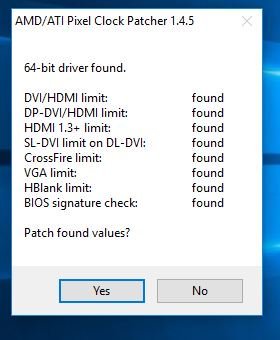
Patch your AMD Drivers
Before you click the reboot button you need to patch your AMD drivers. Right-click the AMD driver patcher and choose “Run as Administrator”. Then click yes to patch your drivers. This adjusts the AMD drivers to work properly with the modded BIOS timings. Once it completes you may press yes to reboot from the previous step. (If you’re using Simple Mining OS or any version of Linux, patching the drivers is not needed. Skip this step.)
Update the Claymore Settings
Your Claymore batch file and set your settings to look something like this:
setx GPU_FORCE_64BIT_PTR 0
setx GPU_MAX_HEAP_SIZE 100
setx GPU_USE_SYNC_OBJECTS 1
setx GPU_MAX_ALLOC_PERCENT 100
setx GPU_SINGLE_ALLOC_PERCENT 100
EthDcrMiner64.exe -epool YourPool -etha 0 -ewal YourWalletAddr.MinerName -epsw x -mode 1 -fanmin 30 -fanmax 100 -cclock 1130 -mclock 2200 -cvddc 850 -mvddc 850
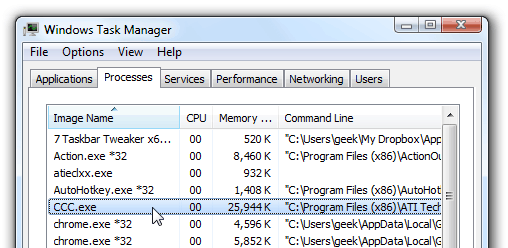
The most important settings are cclock 1130, clock 2200, cvddc 850, mvddc 850. These overclock and undervolt your cards. This should deliver you a minimum of 29 to 30 MH/s in Claymore. (In my example below one card is running at 27 MH/s because I am using it as a video display to take this snapshot in Windows 10).

My Timing section on Polaris is a mess, nothing like: 600…900…1000… What do I do please? I’d post an image but don’t know how to here.
You can easily get 30 Mh/s in Ethereum with these cards. Not too shabby for a card that costs so little. Why would anyone pay 2X the price for a 1080ti for 7 or 8 more hashes???
I did all of this, but the best I can get is 28.6 mhs. What am I doing wrong?
Check your memory in GPU-Z. I suspect you have Hynix. If so you need to copy 2:1750 to 2:2000 and 2:2200 also.
1:1750 to 2:2000 and 2:2200
I am trying to optimize my BIOS by following your original post:However, when I am opening my original bios in Polaris Editor in the box TIMING I don’t have 1:1750 of 1:2000. I have bunch of weird numbers. Please advice how to fix my problem, so I can follow the BIOS change tutorial ( I will email you attachment if you wish to help)
I was seeing nice 30 Mh/s when I was flashing the bios with the card directly on the board but now that they are in risers I’m getting about 27. I found the AMD setting to put all the cards into compute mode. I’m using the same risers.
Also checked my memory, I have 1 Samsung and 3 Micron. I did not export a stock bios for every card, I just flashed the Modded ROM from the first card to all of the cards. Was that a mistake?
Some success. Appears you have to re-run the driver patch when moving from on-board to the riser. This got 3 of my cards back to 29.xx MH/s For some reason the Samsung memory card is still about 27. Looking at your suggestion for the Hynix memory above I’m guessing there might be a different timing register for it as well?
Turns out I didn’t click ‘apply changes’ so my Modded ROM wasn’t really modded. The Micro cards appear to get better memory timings from the factory so they would do 29.xxx without the mod. The samsung card runs just a shade under 30 now that it is actually modded. Thanks for the video, looking forward to getting all six slots filled with 580s and mining the ‘E’.
please i want to know if this in claymore work with undervolt and overclocking.secondly i want to if this is applicable to hynix memory 4gb because i observed that memory timing strap of 4gb and 8gb are not the same.
Thanks for the Lovely Guide,
I wanted to know about the update the claymore setting :-
WHAT SHOULD I DO IF I AM ON NICEHASH ? HOW DO I CHANGE THE SETTING AS SPECIFIED FOR THE CLAYMORE ?
So one of my cards is only at 17mh/s after this, the others are at 29mh/s, so not sure how to start going about debugging this? Any help is appreciated!
This not working at all with msi armor 580 ,has been 18mh/s for minutes 24 mh/s and after back to 17 mh/s again ,try 10 solutions now all is fake.
Not sure what to tell you without more info, but I have 17 of those MSI Armor cards all running 30 MHs. If you’re running windows, I suggest trying EthOS and letting it handle the overclock and undervolt. I also suggest using the ONE CLICK TIMINGS in the latest Polaris BIOS editor.
I don’t know how you get 30 MHs. After the modifications my cards just get one extra MHs from 17Mhs to 18 Mhs.
I have two 6x MSI Armor rigs and found them to be finicky at times. I generally don’t have much problem with ETH but as I’ve tried to mine other coins with different miners it takes some patients coming up with stable settings.
If they come up at lower speeds I generally get them back to 30 Mhs by running the driver patcher, restoring, then repatching. This is assuming you followed the flashing steps correctly. Also since I did the bios modding procedure here there us a newer version of the bios editor that automatically detects your memory type and make the correct changes. If you are running a normal AMD driver make sure you go into the global configuration for each video card and set it from Graphics to “Compute” mode. It has to reboot the software each time so it takes a while to do it for 6 cards.
First of all – thank you!
I have a problem to find “Compute” settings.
I visited AMD Drivers page, I set correct options for downloading correct driver. I have tried to find the “Compute” selection but unsuccessfully. Where should it be?
I avoided to instal ReLive and I’m tallking about last drivers 18.3.4 Adrenalin.
It doesn’t only void your warranty but it will also likely reduce the overall lifespan of your GPU. That of course depends on how extreme your overclocking is but I’m just saying.
hi, i can’t run atiflash or winflash..im using win 10 and i got the gp. but dont open any app. any sugestions ? regards
*i got the same gpu*
Reverse from Windows 1803 update. This update unable to run atiflash.
Thanks! One doubt, will I still be able to play with the card after applying these changes?
Depends on the game, your monitor, and a lot of other things. But most likely you will experience some problems.
Had to come back and say “Thank You!” This worked perfectly for me. Must have got lucky with my Sapphire Cards cause they both sing at 32.2Mh/s on Claymore through NiceHash. I’ve been running this for over a year 95%+ up time and never a problem.
That’s fantastic! Enjoy your rig!
2.5
3.5
4.5
I spin 31,5 mhz with 100 wattage usage. Could prob do better if not being lazy
Thank you also for the card specs! Rig is running smoother, cooler, and faster….averaging 244 mh/s.
I was getting 9.5Mh/s with my ASROCK rx 580. After the changes you showed as I`m getting 9,9Mh/s. I cant find where the problem is. Why is the hashrate so low
I can`t make my Asrock RX580 tun faster than 9.9 with your changes. It was 9.5 before. GPU shows 100% usage but temp and vents are low, like it is making not effort. What could I check? Thank you!
Solved: Have to swith mode in the driver from gaming to computing. Now, 30mhs
Does this only work on claymore not ethminer? highest i can get is 20.5mh.
I found a way. Been getting 28.7mh/s on both @ between 95 w to 100w. one is msi rx 580 8g and other is xfx rx 580 8g.
0.5
i using power color red dragon got 32.01MH/S
77watt detected on Radeon software
I have tried several variations of this. enabled the compute mode as well. I am using nanominer on nanopool. the max I get is 12 MH/s with all the mods you have specified. What am I doing wrong?
Any help is appreciated.
Hey everytime I flash the bios with new rom card just stops working. I do everything according to your advice. Any ideas? I have msi rx580s with samsung memory.
Hi Fla, I cannot reach more than 25Mh with this card, did you only do what is suggested on this post? Could you maybe send me your bios please? 🙂
i get stable 33 mh/s no bios mod:
Core: 1250
mv: 900
memory: 2250
mv: 950
RX 580 XFX 8 GB
100 wts
Hi mrsaw, how you setup the values vor mv’s if you don’t modify bios?
hiya… I am a long time follower of this web page… Back in 2017 this web page helped me a lot to setup my mining rig so a belated thanks for that. i closed down my mining activities back in 2018. However now i wanted to make a rig of some leftover parts lying around at home with the same Sapphire Nitro RX580 8GB that i used pretty successfully back in 2017. back then i was running my miners in windows 32bit with blockchain amd driver and modded Sapphire Nitro RX580 8GB on claymore miner and was getting approximately 33MH/gpu now i noticed that claymore miner doesn’t even work. i have tried other miners recommended on ethermin.org but they give me super bad hashrate and also the blockchain driver doest work well. Can somebody give me some advice regarding right OS version, drivers and miner to get at least 32mh? any advise will be highly appreciated since i have had few sleepless night with no success 🙁
Check your memory speed. It is the key. I got 2 saphire rx 580 and tuning them to 2150 Mhz, I can easily get 30-31 MH/s.
But I just use 2050Mhz, I want to keep the lifetime of my card. No need for bios mod.
This article helped me a lott!
Can i also use these steps for the RX570 8GB?
I have several Sapphire rx580 SE 8gb. Currently running approximately 33-34mhs each. Cards are modded. Using Hiveos Linux with Phoenix Miner latest version. Don’t use Claymore. Claymore only good with Ethos back in 2017-2018 when I once used. Set OC in separate settings depending what type of memory you have on that particular card. Hynix mem got the best hash rate so far.
would you be kind enough to share your Hynix mem OC settings? My expertise are limited when it comes to fiddling with the OC settings 🙁
cheers!
how is that possible even with flashing the bios my hasrate is still limited at 7MH/S any idea??
RX 580 SAPHIRE 8Gb ======== Use: ==== -81core ===== +12 power ===== 85 temp ===== 1189 core clock ====== 2250 mem clock ( AFTER BURNER) miner….. 31.500mh
hello friend, give me your configuration because I use a powercolor rx580 and I can only get 24mhz, I’m using radeon software