Blog
How to Mine Ethereum
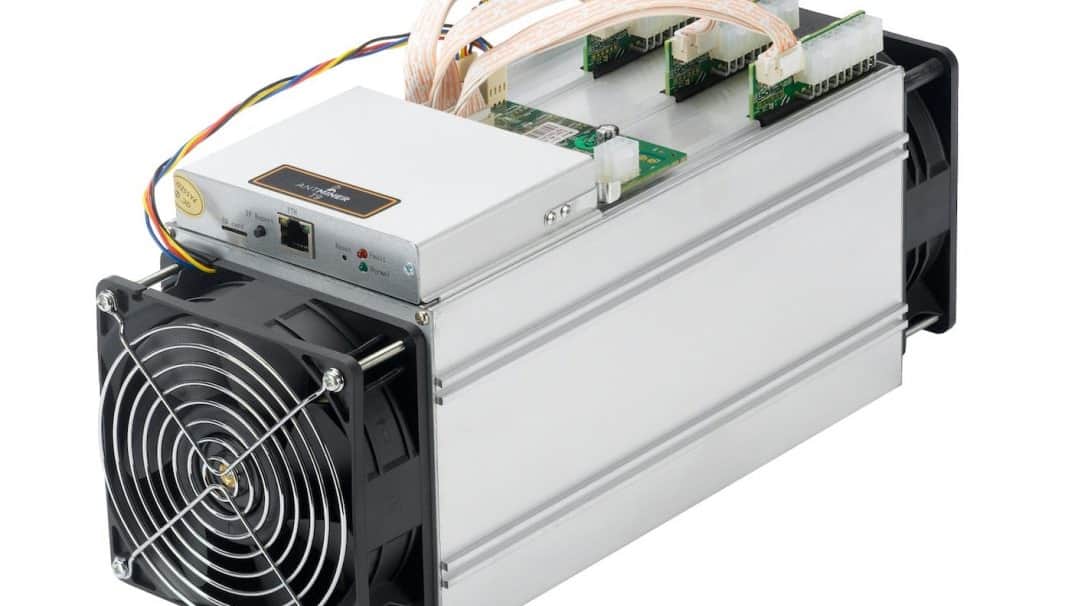
[adinserter name=”TopOfPost”]Mining is very popular right now. With the hype surrounding Bitcoin it really is no wonder. Mining BitCoin requires a hefty investment in a very specialized type of machine. It’s called an ASIC miner. ASIC is an acronym for Application Specific Integrated Circuit. Put simply, these devices were custom made to do one thing: mine Bitcoins. These machine have far more power than GPU based mining machines. In fact, ASIC miners have completely replaced GPU mining for several cryptocurrencies. Ethereum on the other hand is built to be somewhat “ASIC proof” in that it needs large amounts of RAM to be mined; something that would greatly increase the cost of an ASIC. This means that Ethereum can be mined only with GPUs (at least until it switches to Proof of Stake). So we will cover how to mine Ethereum (the right way) in this blog post!
Mine Ethereum the Right Way
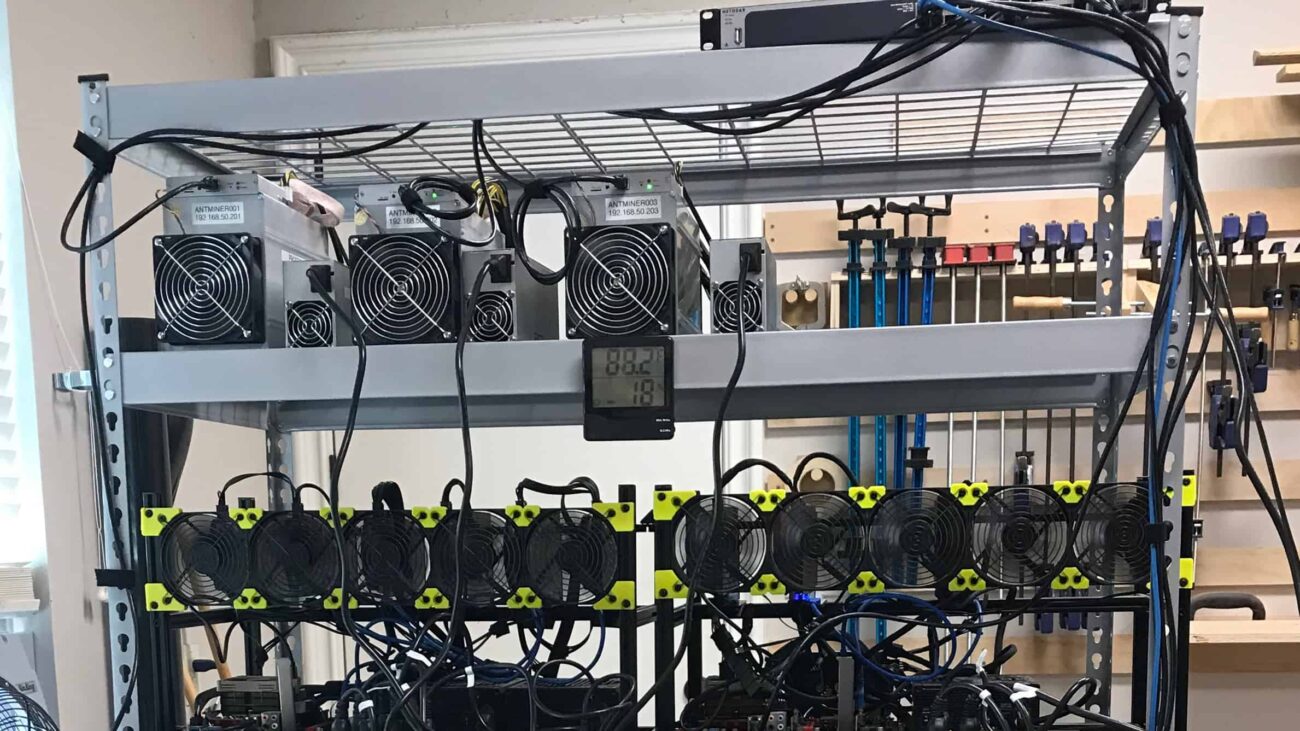
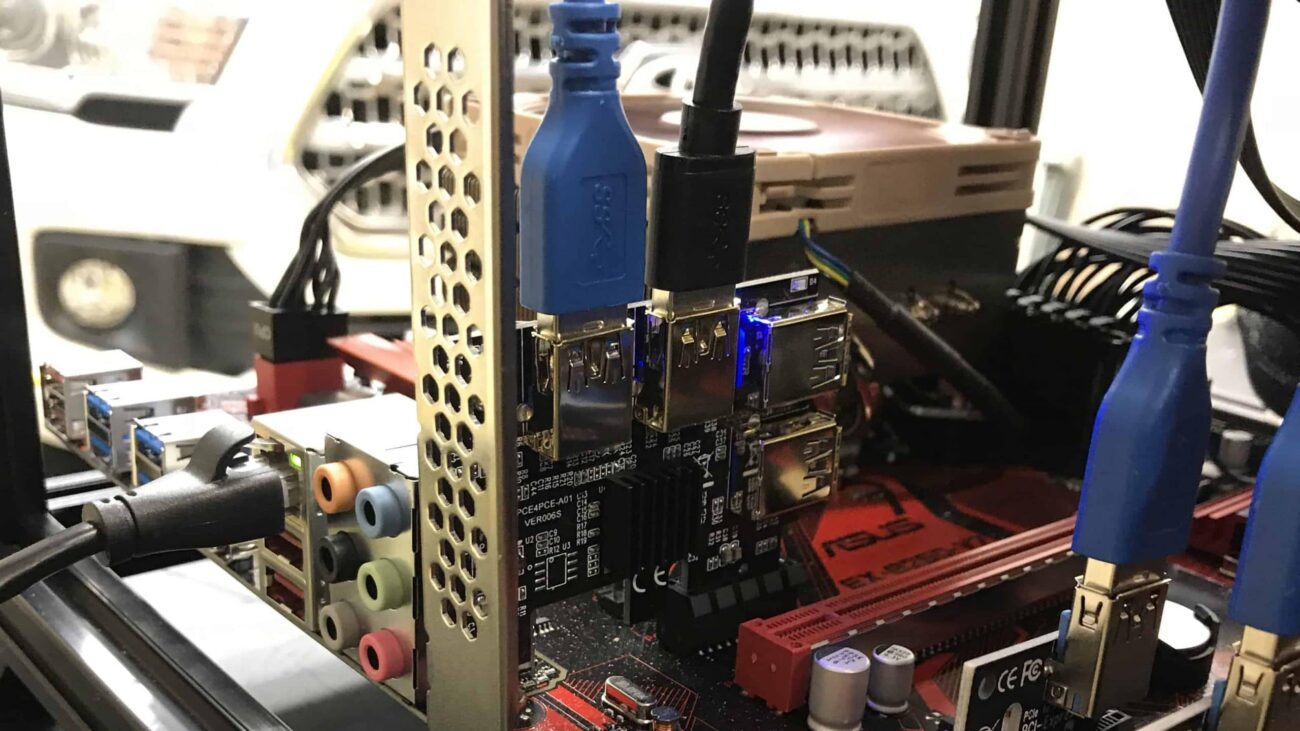
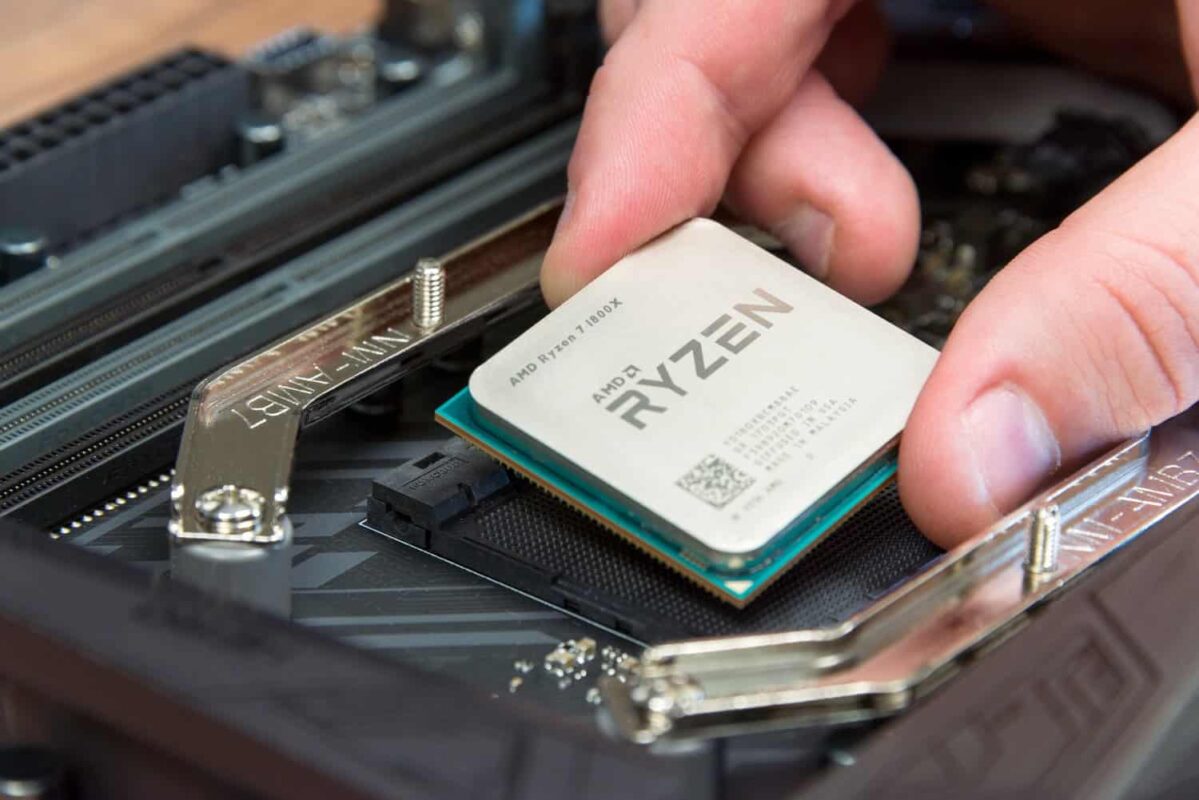
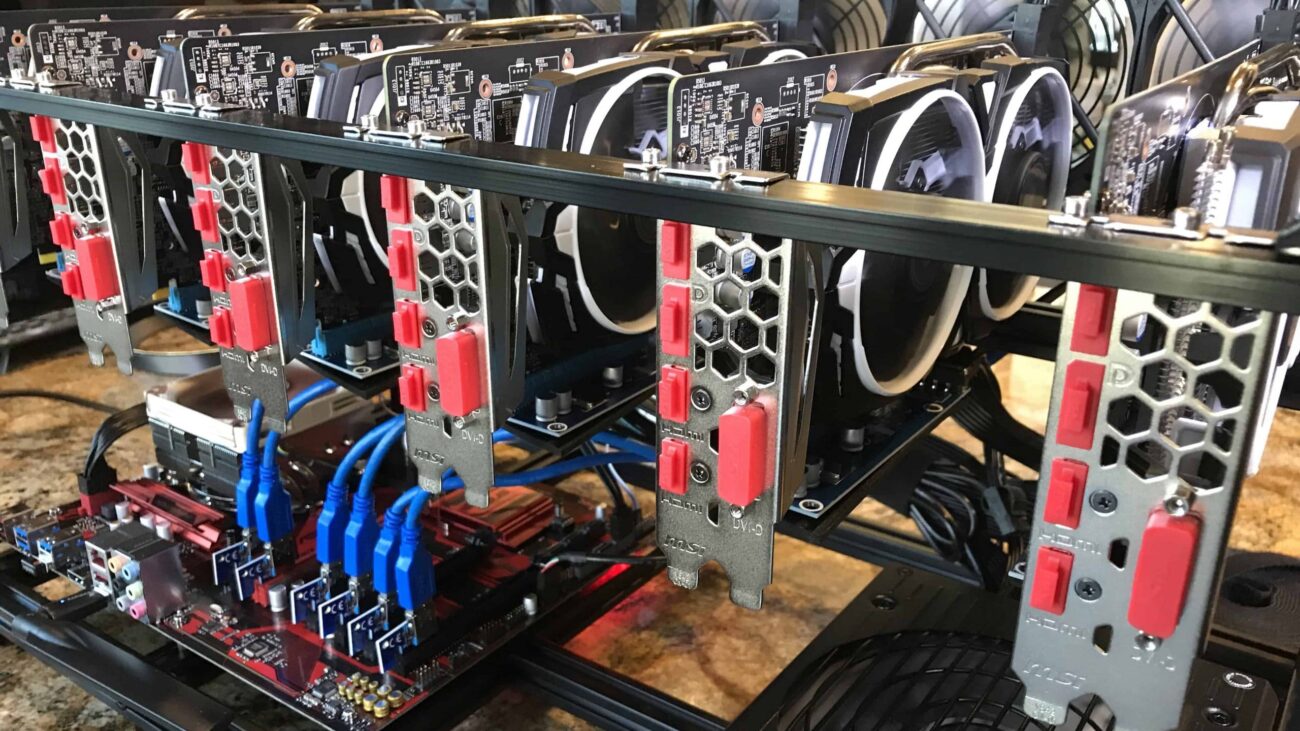
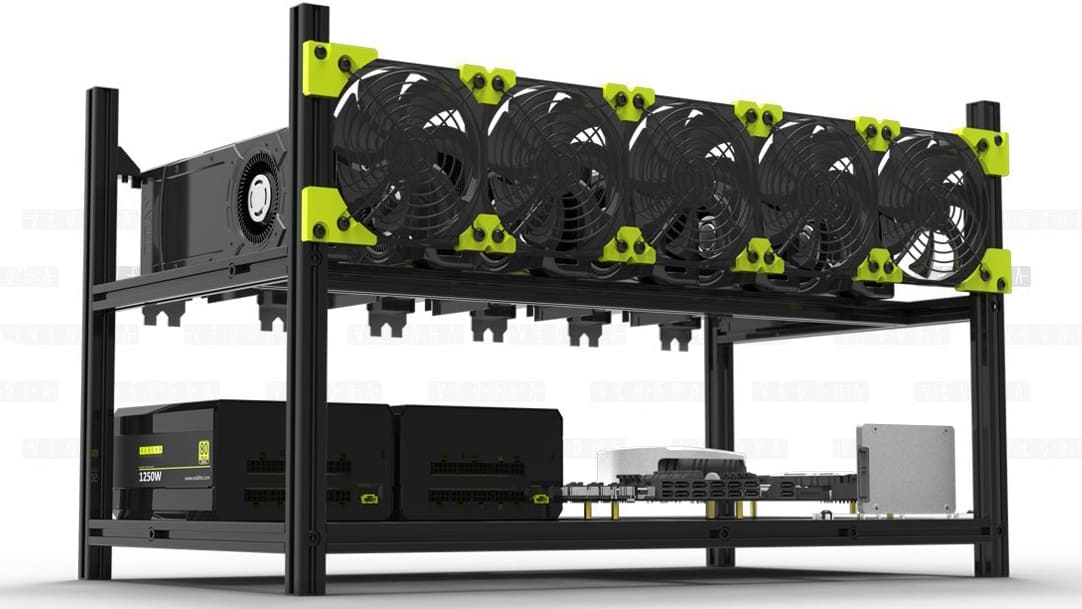
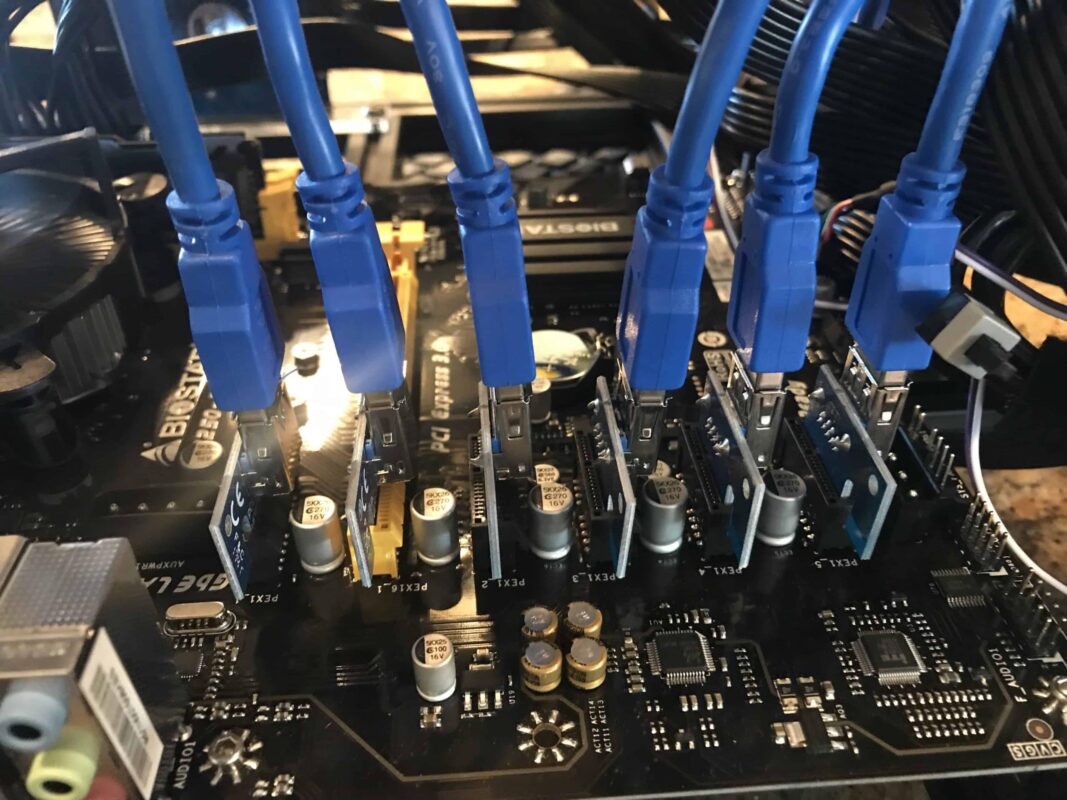
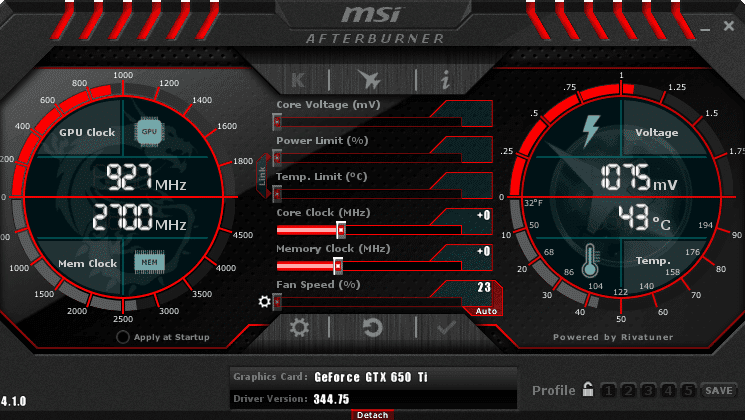
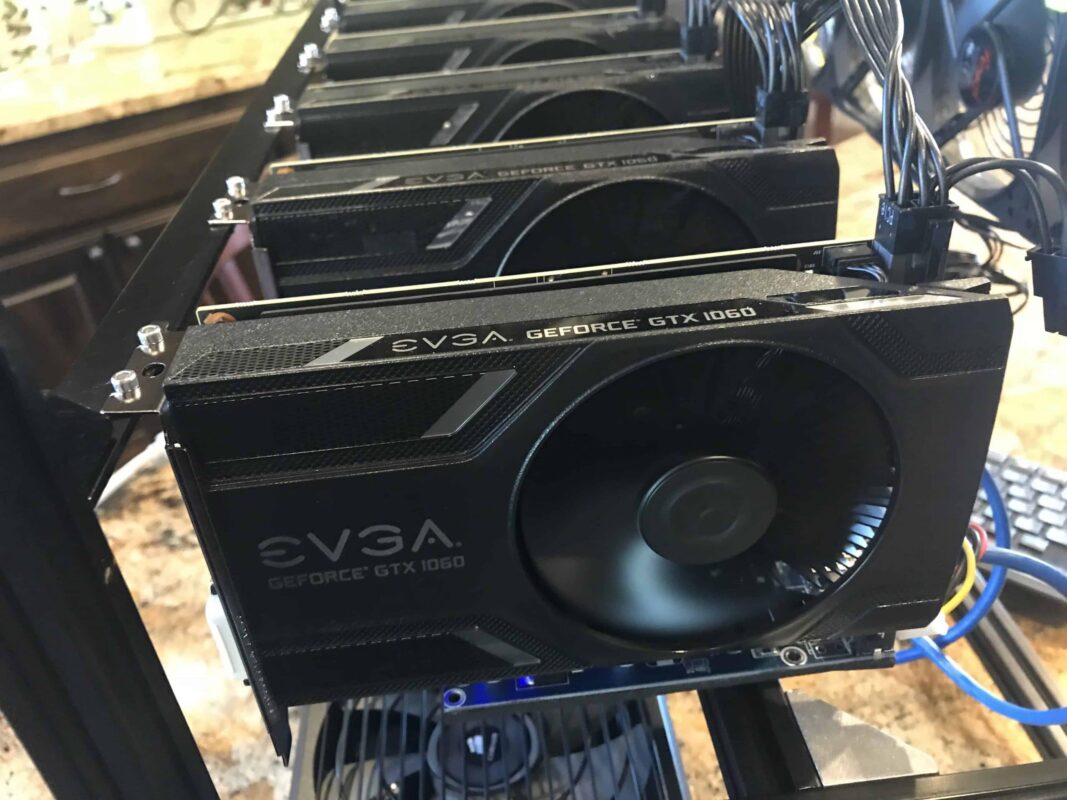
Mining Ethereum can be fun and easy, and it should be! If you’re confused about which hardware to buy, check out my Mining Rig Tour, and my article on the Best Ethereum Mining GPU. In this article we’re going to focus on the software and logistical side of mining, rather than the hardware.
Step 1: Get an Ethereum Wallet
The first thing you need to do is get an Ethereum Wallet. You can get the free wallet from the Ethereum Project, or setup an online wallet at a site such as Coinbase. There are some inherent risks to both of those, but you’ll probably need a Coinbase account at some point to sell your Ethereum.
PC Based Wallets
 PC based wallets are software wallets that run on your local PC. If you want to mine Ethereum you’ll want to have a PC based wallet to send your coins/ether to. There are some risks to a PC based wallet you need to be aware of though:
- If your PC is compromised, a hacker can send your coins to his wallet. You will be unable to get them back.
- If your PC crashes and you can’t find your recovery keys your coins will be lost forever.
- Your wallet will need to sync with the Ethereum network each time you open it.
The good news is that most of those risks are fairly easily mitigated. With proper backups and a safe place to keep your recovery keys these can be overcome. A PC based wallet is also great because you own the wallet. It is not owned by a 3rd party who could go bankrupt or get hacked.
Web Based Wallets
 Web based wallets are much like they sound. A website operates the wallet on your behalf, keeps it secure and allows you to access it from anywhere or on any of your devices. Coinbase is probably the most popular web based wallet. There are of course some things to consider with web based wallets:
- The wallet is only as secure as the owners of the website keep it. Nicehash for example was hacked and all coins were lost to the hackers.
- If the company goes bankrupt you will likely never see your coins again.
- If their site goes down you will likely lose access to your coins during that time.
- It is unwise to mine Ethereum directly to a web based wallet, as the wallet address could change on you.
But there are some major upsides to a web based wallet. Selling your Ethereum to Coinbase (also GDAX) is quick and easy. Coins in your Coinbase wallet can be converted to cash in a matter of minutes. PC based wallets may require you to transfer them before you can sell them or convert them to other coins.
Hardware Based Wallets
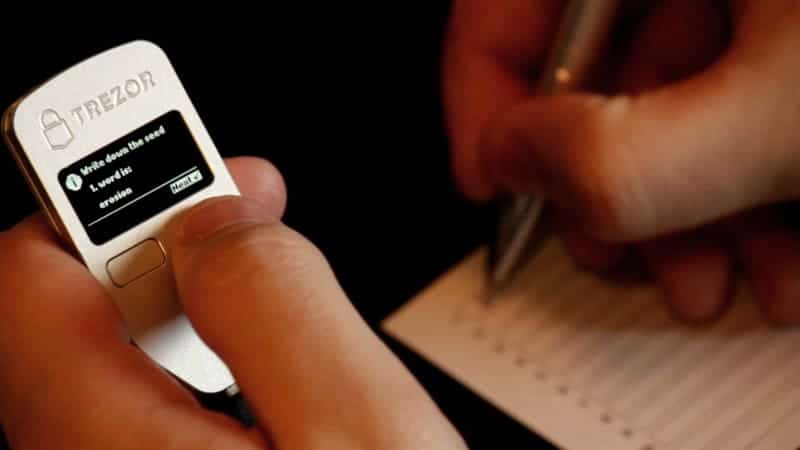
The hardware based wallet is probably the best way to go for a miner. Hardware wallets live on something physical. They usually look similar to a USB stick. The Trezor hardware wallet is the most popular. A hardware wallet is basically (theoretically at least) immune to viruses and hackers, since it is offline and disconnected from the Internet most of the time. It is only plugged into your PC or smartphone when you actually need to access it. I recommend most miners have one. If you plan to mine Ethereum, I’d highly recommend it.
Step 2: Get the Claymore Miner
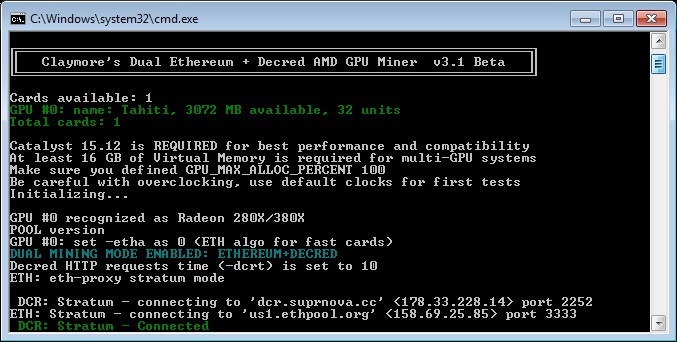 There are several mining software packages out there for mining Ethereum. The simplest is EthMiner. It’s sort of the stock Chevy if you will. There is a better option. If you plan to mine Ethereum, I highly recommend you use the Claymore mining software. Claymore is capable of dual mining. Meaning you can mine Ethereum and another coin at the same time without losing any performance (only for coins that use different architecture).
The Claymore miner does have one caveat you need to be aware of. While the software is free, the Claymore miner does have what is known as a developer fee. In a nutshell, the developer will use 1% to 2% of your GPU time to mine Ethereum on his behalf. This is how the developer gets paid. 2% is fair in my opinion, if not for one main reason: In my experience Claymore is 8% or more faster than EthMiner. So you’re going to be ahead regardless. I don’t mind one bit helping a developer out who writes quality software.
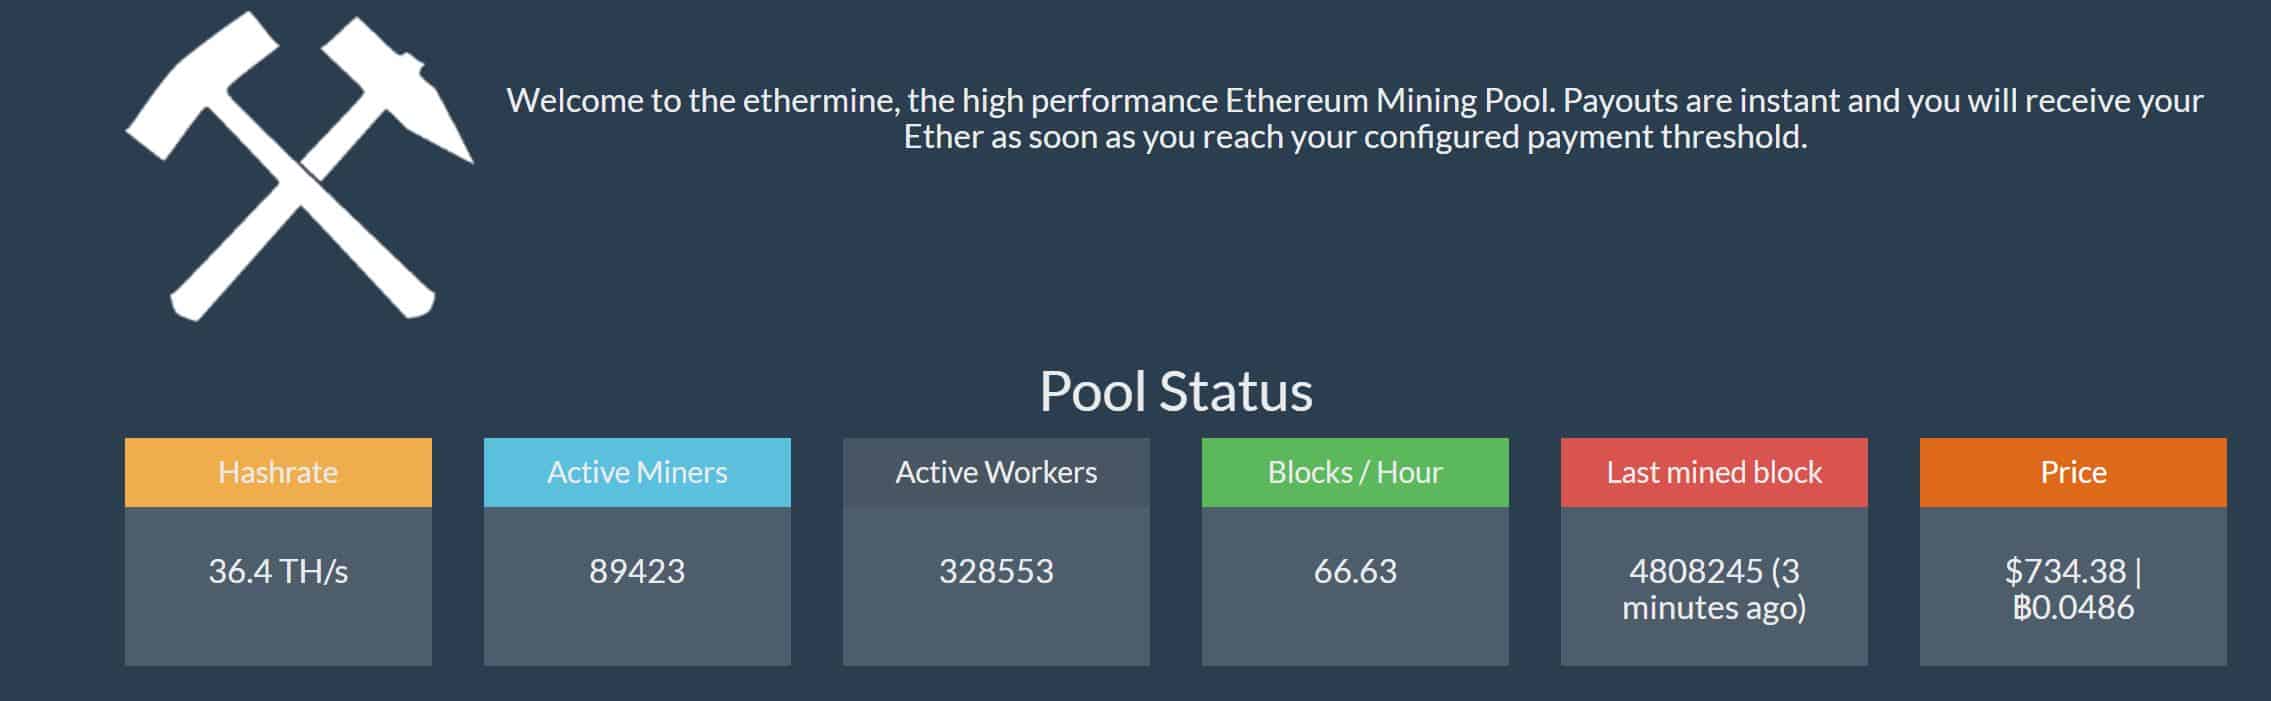
Step 3: Join the EtherMine.org Pool
You’re likely not interested in solo mining. At least not as a beginner. In most cases, solo mining should be reserved for those who are experienced and have a large amount of hashing power. A mining pool is where lots of miners come together and put all of their hashing power into a central pool. When one miner finds a coin, the proceeds are divided and shared with everyone in the pool. This is a very fair system and makes for much faster and consistent payouts.
Ethermine is my favorite pool (by far). Its incredibly simple to setup and the payout is fast, usually within minutes of reaching your goals. Complete instructions on setting up Claymore to connect to Ethermine are right on their homepage. One thing that’s not always clear to newbies. The ID is the receive wallet address of your Ethereum wallet (or Trezor), a period, and a name to identify the machine. If you have more than one mining rig, use the same ID, with different machine names.
As with all shared services, the owners of the pool take a 1% cut of the work your machine does for the pool.

There’s a neat story about a guy who almost lost like $100K worth of bitcoin on a trezor cause he lost his recovery password. ooops.
can u make a video how to set up and run Claymore mining software. because i m no nothing about computer,i already build like ur set up but i dont know how i can mining ETH only by Claymore mining software.
This is fantastic. I’ve always been interested in mining and appreciate your YouTube video and this website. Now just have to convince the wife. One question though, do I have to constantly be on my computer to select the next project to mine or if I have it tuned in it’ll just auto go to whatever job there is? I’d love to just have this running and I just check on it every now and then.
Btw I’ve subscribed to your channel. Thanks!!!
The mining PC must be running 24/7/365. All mining is automatic, you don’t need to be there.
These might be totally obvious to everyone else but a couple small things that really tripped me up. On the Ethermine.org page you have to enter your “address” to see your stats. This address is your receive wallet ID.
There is no “sign up” button or need to create an account. The info in the .bat file does it all for you. It’s so simple it makes it appear complicated.
If you made a Coinbase wallet, it seems to give you a new unique wallet ID every time you click on the ‘receive’ button. This makes sense but I was troubleshooting my startup .bat I went back to verify the address and it was different. If you have more than one rig its pretty easy to end up with different wallet IDs which you don’t want because they won’t appear together on Ethermine. I’m not running a farm or anything. I just built the miner and also fired it up on my gaming rig so it’s easy to run into that.
These kind of freaked me out since I FINALLY had time to get the miner running and I was seeing shares being found but couldn’t “show me the money!” Happily mining away just under 150Mh/s total, 125 on the miner and 30 on my 1080Ti PC.
Good call outs, I might update the article to clarify some of that. One thing I would point out is that coinbase doesn’t guarantee a wallet address to last forever. It’s not a good idea to mine to that address. You should mine to a hardware wallet like a Trezor and transfer it to coinbase only to sell it.
Thanks for the heads up about the address timing out. I do have a Trezor on order based on your article, will be sure to change the address.
This got me thinking. What happens when you change the wallet ID in your startup .bat? Since the ethermine stats are tied to the wallet ID, would I lose all the shares I’ve mined if I haven’t had a payout and change to a different wallet ID?
Depends on the pool. With Ethermine they will payout at the end of the month any remaining balances regardless of how much or how little. Other pools never pay until you hit the payout.
What wallet and pool do you use to mine Decred?
I am new to all this mining stuff, but I did get everything setup and running using your article. I still don’t really understand how any of this works though. 🙁
I started up a PC miner with a single GTX 1050 Ti 4Gb. I’m getting the “no work. pause for 3 s’ continually. In searching the web, the DAG is reported as 3Gb, so I should have room in the card, yes? I changed -G to -U and I’ve tried different servers. I’m guessing my vid card is too out of spec?
turns out I was missing a digit from my ID. started using the ethminer with limited diagnostics. clayminer explicitly noted the invalid user in the logs making it much easier to see what went wrong. Thanks for a great writeup to help me get started.
Wondering if your rig is still going and if you made any changes.