Blog
Overclocking a Mining GPU
[adinserter name=”TopOfPost”]Overclocking a mining GPU is a staple of mining cryptocurrency. It is almost a guarantee that if you are mining any type of coin overclocked GPUs are in play. It’s also possible you’ve found it to be very frustrating to do. One could consider it much like tuning a car. There is almost as much art that goes into it as there is science. Cards can be finicky, certain GPUs come with better or worse memory even within the same run of cards. Some lower-end cards cheap out completely on memory, resulting in an inferior card for mining purposes. Some cards simply can’t be cooled when overclocked because the stock cooler was not designed to carry any extra thermal capacity resulting in instability of the GPU at even the slightest overclock setting. In this post we’ll cover at high level how to go about reliably overclocking your GPUs for fun or performance!
Overclocking a Mining GPU
First things first: Make sure that the card you buy is unlocked for overclocking. These days, that’s usually all but the cheapest of cards.
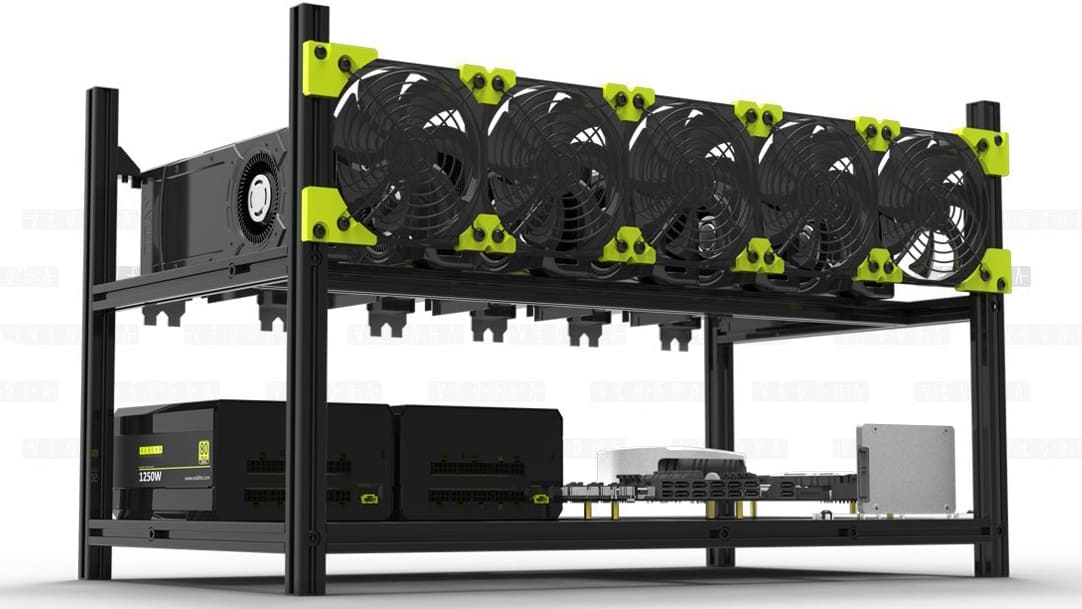
Building You Mining Rig
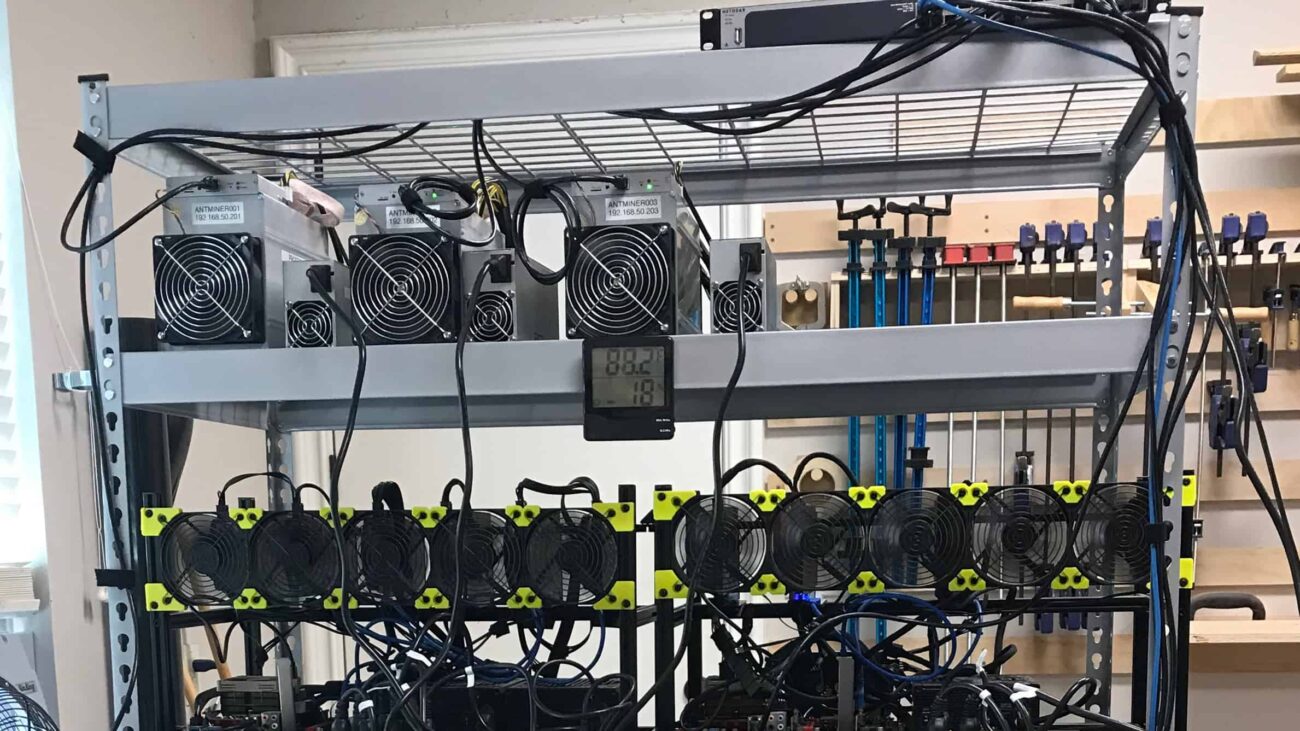
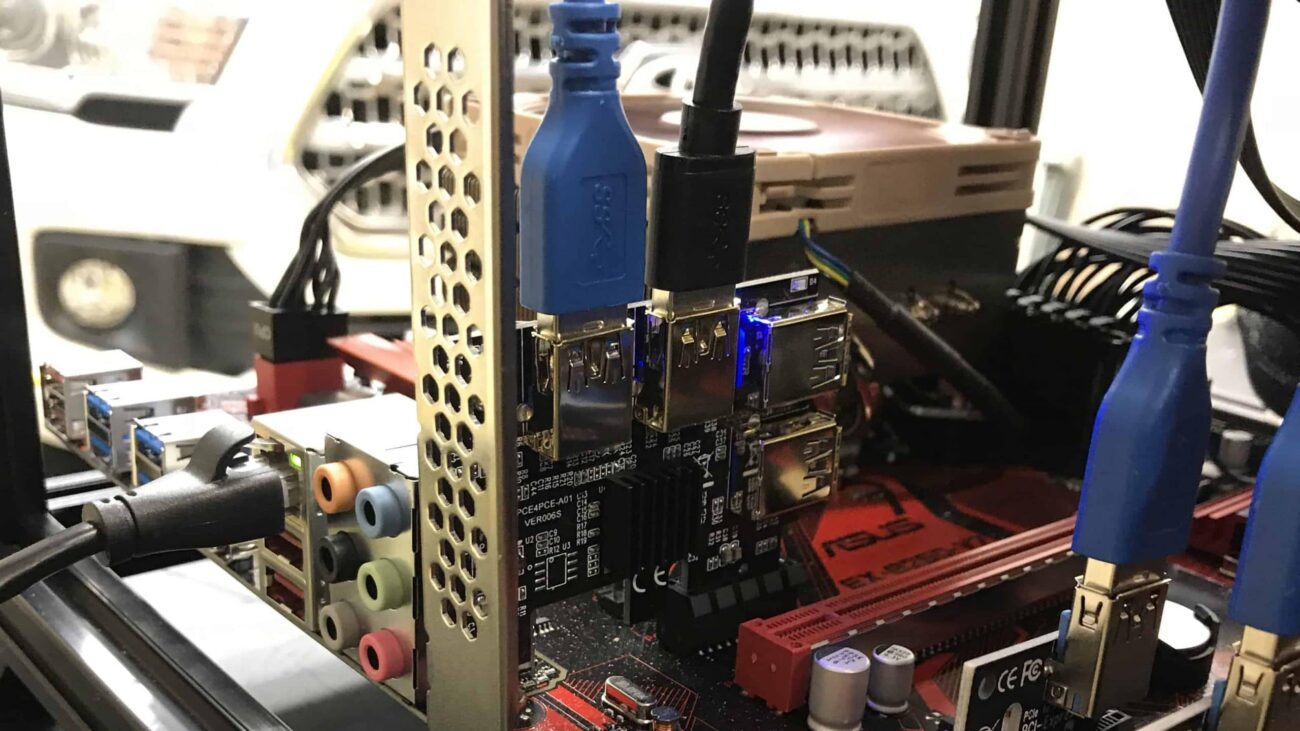
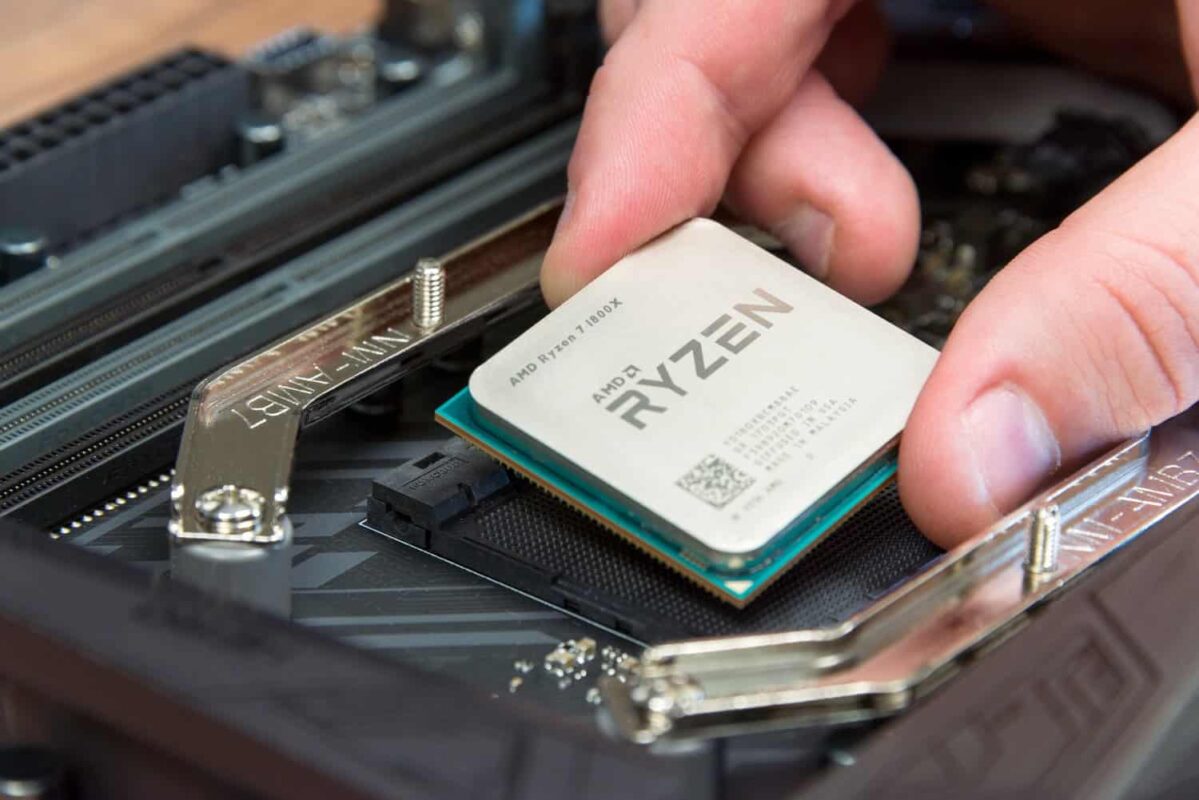
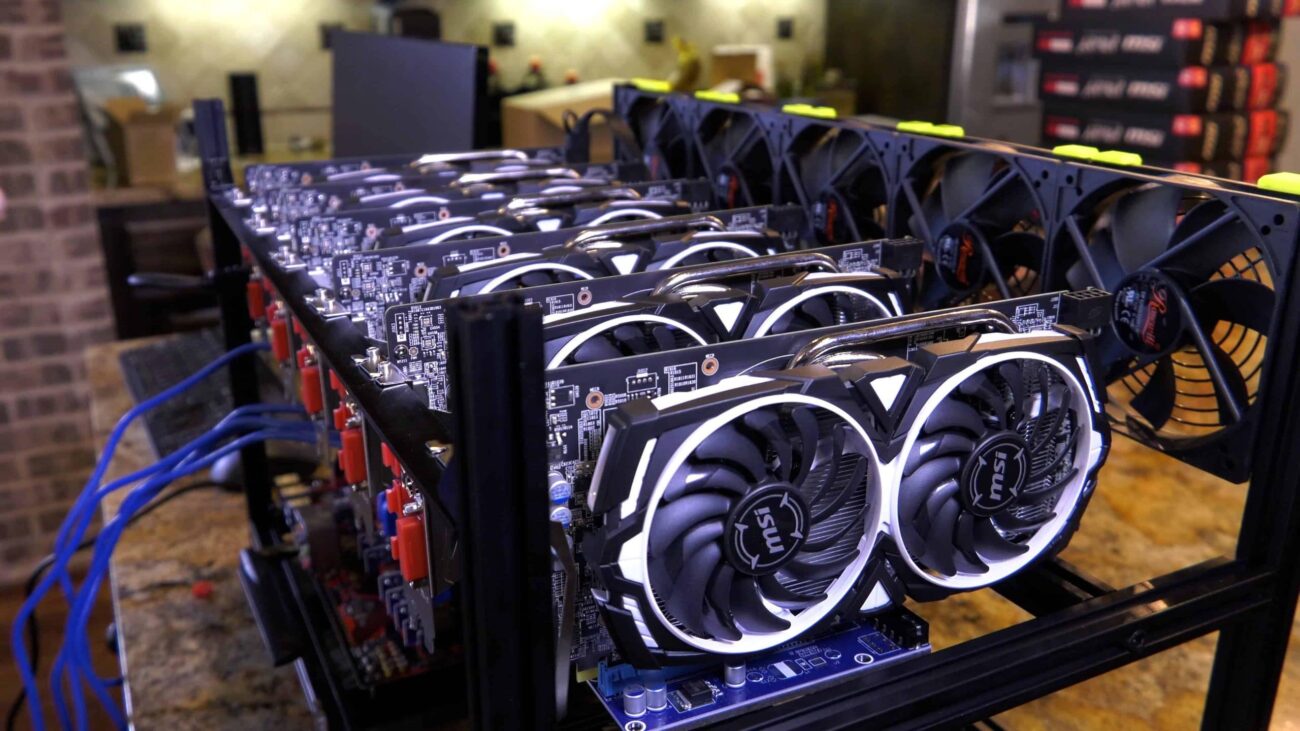
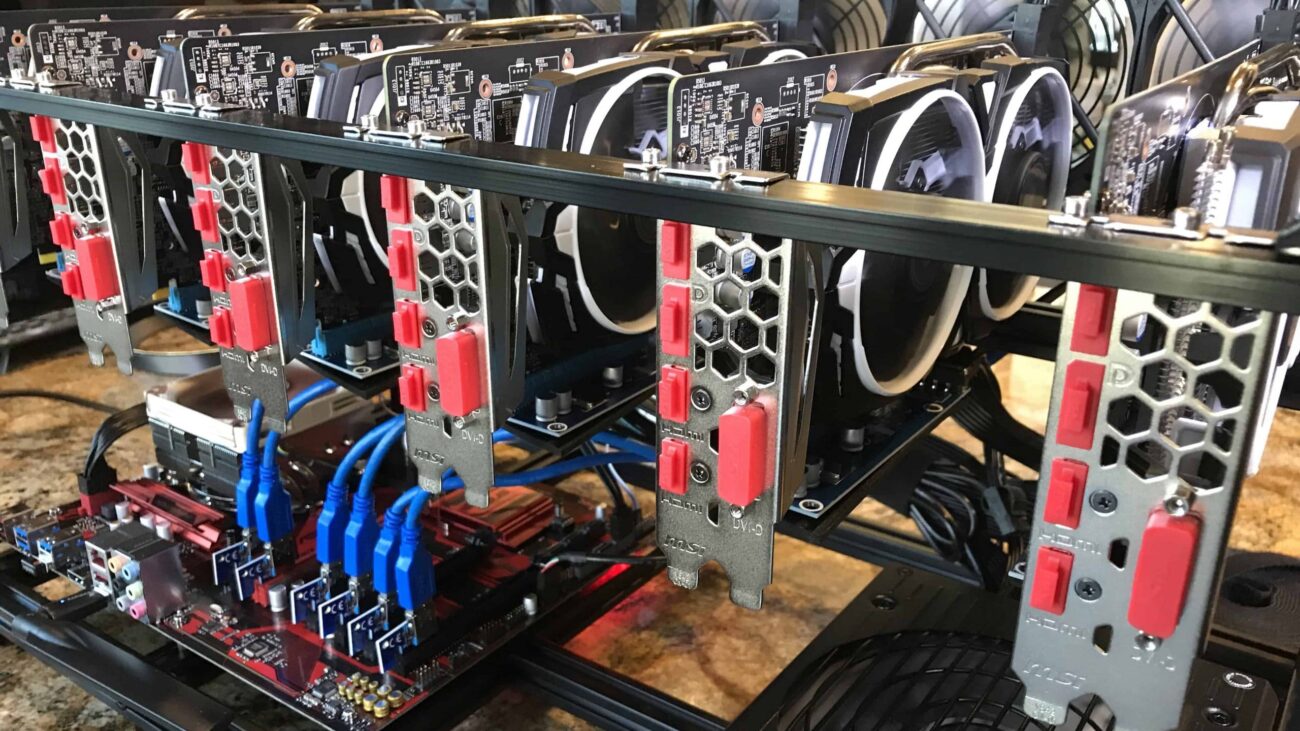
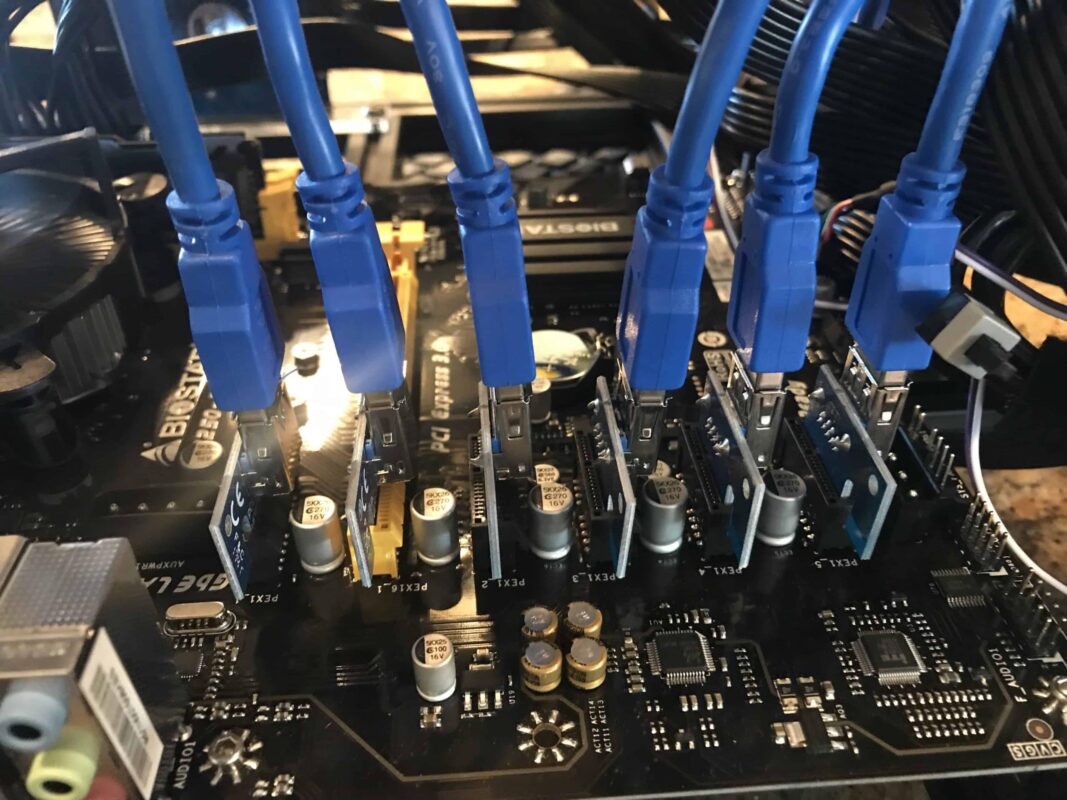
Build your mining rig just like any other machine. Install the CPU, processor, etc. just as you would normally. If you’re going to go about building a mining rig with four or more GPUs then it is likely that risers will be involved. There are several reasons for risers:
- Most GPUs used for cryptocurrency mining take up at least two slots on the motherboard, while on plugging in physically to a single slot.
- GPUs require an X16 slot. Most motherboards only have one or two X16 slots. X16 slots have 16 bus lanes, allowing for much faster communication between the video card and the motherboard. However, this is completely unnecessary for mining purposes. Mining sends a small math problem to the card and awaits an answer. This is a very different use-case than a video game would have.
- Assuming your board did have enough X16 slots, the close proximity of the cards would make for a difficult time in cooling.
- Risers convert X1 slots to X16 slots over a USB 3.0 cable allowing your to plug X16 GPUs into X1 slots (again, bandwidth is not an issue here).

Overclocking a Mining GPU with USB Risers
You can get risers for cheap from Amazon. After you’ve built your mining rig, installed all of the operating system and drivers, its a good idea to test everything and make sure it works reliably. I would recommend mining for it with at least a few hours before you being the overclocking process.
Get a GPU Overclocking Software Suite
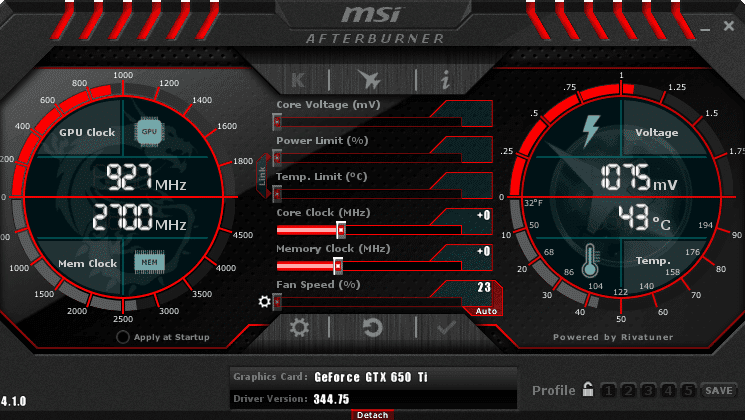
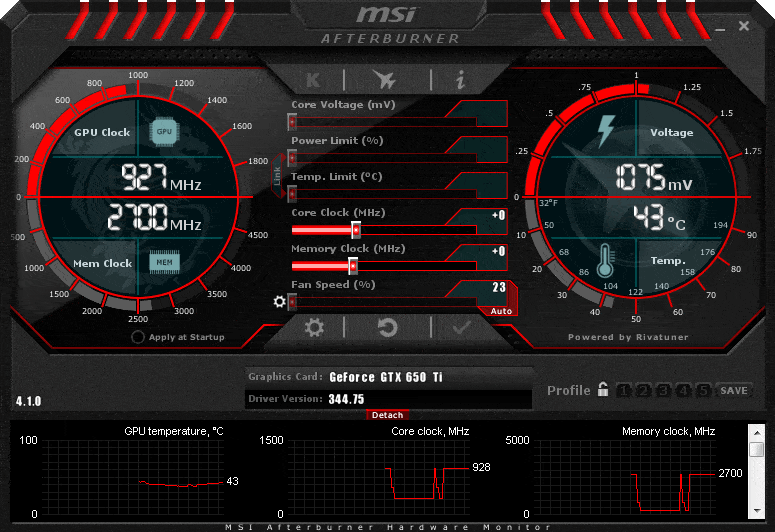
Bar none the easiest way to go about overclocking a mining GPU (or multiple GPUs) is to use a free product from MSI called Afterburner. Afterburner works on any GPU regardless of brand (no need to buy an MSI version of the GPU). Using Afterburner you’ll be able to modify all sorts of settings on your GPU from a single pane of glass. However, the items of most importance are front and center:
- Core Voltage – This controls the voltage input of the core GPU. Lower voltages may use less power. Generally leave this alone.
- Power Limit – Controls the Max power the GPU is allowed to consume. You can usually get away with setting this between 65% to 85% without reducing performance.
- Temp Limit – Sets the maximum temperature of the GPU before throttling or shutdown occurs.
- Core Clock (Mhz) – The core GPU speed, can usually be set to -75 or -100 without affecting performance.
- Memory Clock (Mhz) – This is the most important setting for mining. Some cards can go as much as +800 Mhz!
- Fan Speed – Generally leave this on auto and let the GPU decide. Higher settings may reduce fan life.
Overclocking a mining GPU with MSI Afterburner
There are many other settings, but I recommend you ignore them unless you’re an expert tuner. You might be able to get another 1% to 2% performance from your card, but you might also significantly reduce its lifespan if you’re not sure what the setting actually does. You’ve been warned.
After your mining rig has been mining for a few hours and has proven itself to be stable, it is time to overclocking it. Overclocking a mining GPU can be fun, but it doesn’t have to also be frustrating! If you follow these steps, I promise it will be fun!
Bring up MSI Afterburner and your mining software’s output screen (such as Claymore’s command window). (Hint: If you need more help with selecting mining software, check out our article on Mining Software and Wallets.) You’ll want to make all of these changes while your machine is mining and watch the output screens to see if they are having the desire effect.
Begin the Overclocking Process
We’re now ready to being the process of overclocking a mining GPU! Start by setting the sliders to these numbers and then hitting apply. These settings will be applied to all cards on the system that are the same model. If you have numerous different cards you will need to make this change on each card manually.
- Core Voltage – No change
- Power Limit – 85%
- Temp Limit – 70c
- Core Clock (Mhz) – -50Mhz
- Memory Clock (Mhz) – No change
- Fan Speed – Auto
Let the miner continue to mine for about 10 minutes and make sure the hashrate is unaffected. If shouldn’t change. If you have errors in Claymore, then set them slowly raise them back until the errors go away. Then make the following change:
- Memory Clock (Mhz) – +400Mhz
Let the miner continue to mine for about 10 minutes. You should see a decent increase in your hashrate. If you start seeing errors slowly remove 50Mhz at a time until the errors go away. Be sure to hit the Apply button and wait a few minutes between. If the card performs well at +400Mhz (it most definitely should) then proceed to add +50Mhz every 5 or so minutes until you start seeing errors. Most cards can easily handle +500Mhz. Some of the better cards can handle all of the way up to +800Mhz! If you used the GTX 1060 from my GPU mining rig, you should be able to get the max performance settings to work.
After you find the memory clock that is stable, start lowering the core clock and power limit -5 at a time until errors occur, and then raise it back up to the last increment it was stable. You should be at the most optimal mining settings at that point.
That’s it! You’ve successfully overclocked your mining GPU!

Finally a decently easy article on how this works! Thanks Mike!
Are the core clocks and power limit lowered together at the same time or is one setting lowered first fully followed by the next ?
You have to disable the link between them. Just click on the image ring between them ( left poisition of Temp Limit).
Whats the program that lets you see if there are errors or not I saw in a you tube video but now i cant find it or the program? please help Shane
Hi Mike, really a nice article.
I have a question, everyone suggests to lower the power limit by mining ETH, lowering Core and raising the ram to the maximum. For those who use for example software like NiceHash that uses different algorithms, such as Neoscrypt or Equihash, this strategy still remains valid? Because from the tests I’ve done I found important speed reductions when we go for example from DaggerHashimoto (ETH) to these. Waiting for your feedback, I thank you.
Yes me too… I find raising both core and memory do the trick
I have a question. The MSI afterburner screenshot that you showed shows only 1 GPU. What if i am running a mining rig? I need to essentially overclock all of them to run at their new altered core clocks and memory clocks. How would I be going about overclocking all of them at the same time? Also, do i need to modify my BIOS to run this? Or a stock BIOS would do everything that needs to be done for mining and overclocking?
If you have more than one card there is a drop down to select the other cards and a check box to apply changes to all cards.
5
How about the opposite… P ~ V^2 f and f ~ V, so P ~ f^3 if one is changing the voltage. So, two cards at half speed would consume one quarter the power of one card at full speed, but do the same work. this would save a lot on electricity.
I use after burner but temp limit cant be setting under 85°, how i can setting trmp limit?
Mike, I have a pair of RX850s running and both are running at 9.6 and nothing like 27 I read about. I have a picture of my setup with settings . Looking for some direction to help get them to about 9. Thanks
0.5
You forgot something. If your memory overclock is unstable that means your DAG is likley corrupted. You’ll have to restart the miner between changes to memory speed.
4.5
1
Right now I have an MSI 3070 Ventus 2x at -300 Core and +300 Memory stable at 64c with the fan at 43% yielding 52MH / s
Thank you for the recommendations!
you should be able to clock that mem up to closer to 1000 and the core clock down to -400 or so, i did that on my 2080 and getting 43 MH/s but with a 3070 it should be able to handle even more, the lowest you can take the core clock speed is -502 i wouldnt recommend going past -500. (mine is set on -480 for time being) Personally I have some tweaking to do to it still because it reverts back to 37 MH/s and original clock speed, over the course of a few hours of mining, so I’m tweaking it some more to be certain it will stay stable mining, my power limit is 70% doesn’t get above 69° C