Blog
Building my New Desktop and Gaming Rig
I’ve been planning to build a new gaming pc build for quite some time. Unfortunately so many other things just seem to get in the way. Well now that time is finally here, and I went all out on this bad boy including a GTX 1080ti STRIX and the Enthoo Evolv tempered glass case! All the links to the components are at the bottom of this post if you want to build this machine.
Watch the Gaming PC Build Video
Gaming PC Build
Before we get started, I should clarify that not only is this a Gaming PC Build, but that it is also going to be my primary desktop PC, which will be used for video editing. Therefore you might see a few things that make you scratch your head if you think of this as purely a gaming PC build.
The Case
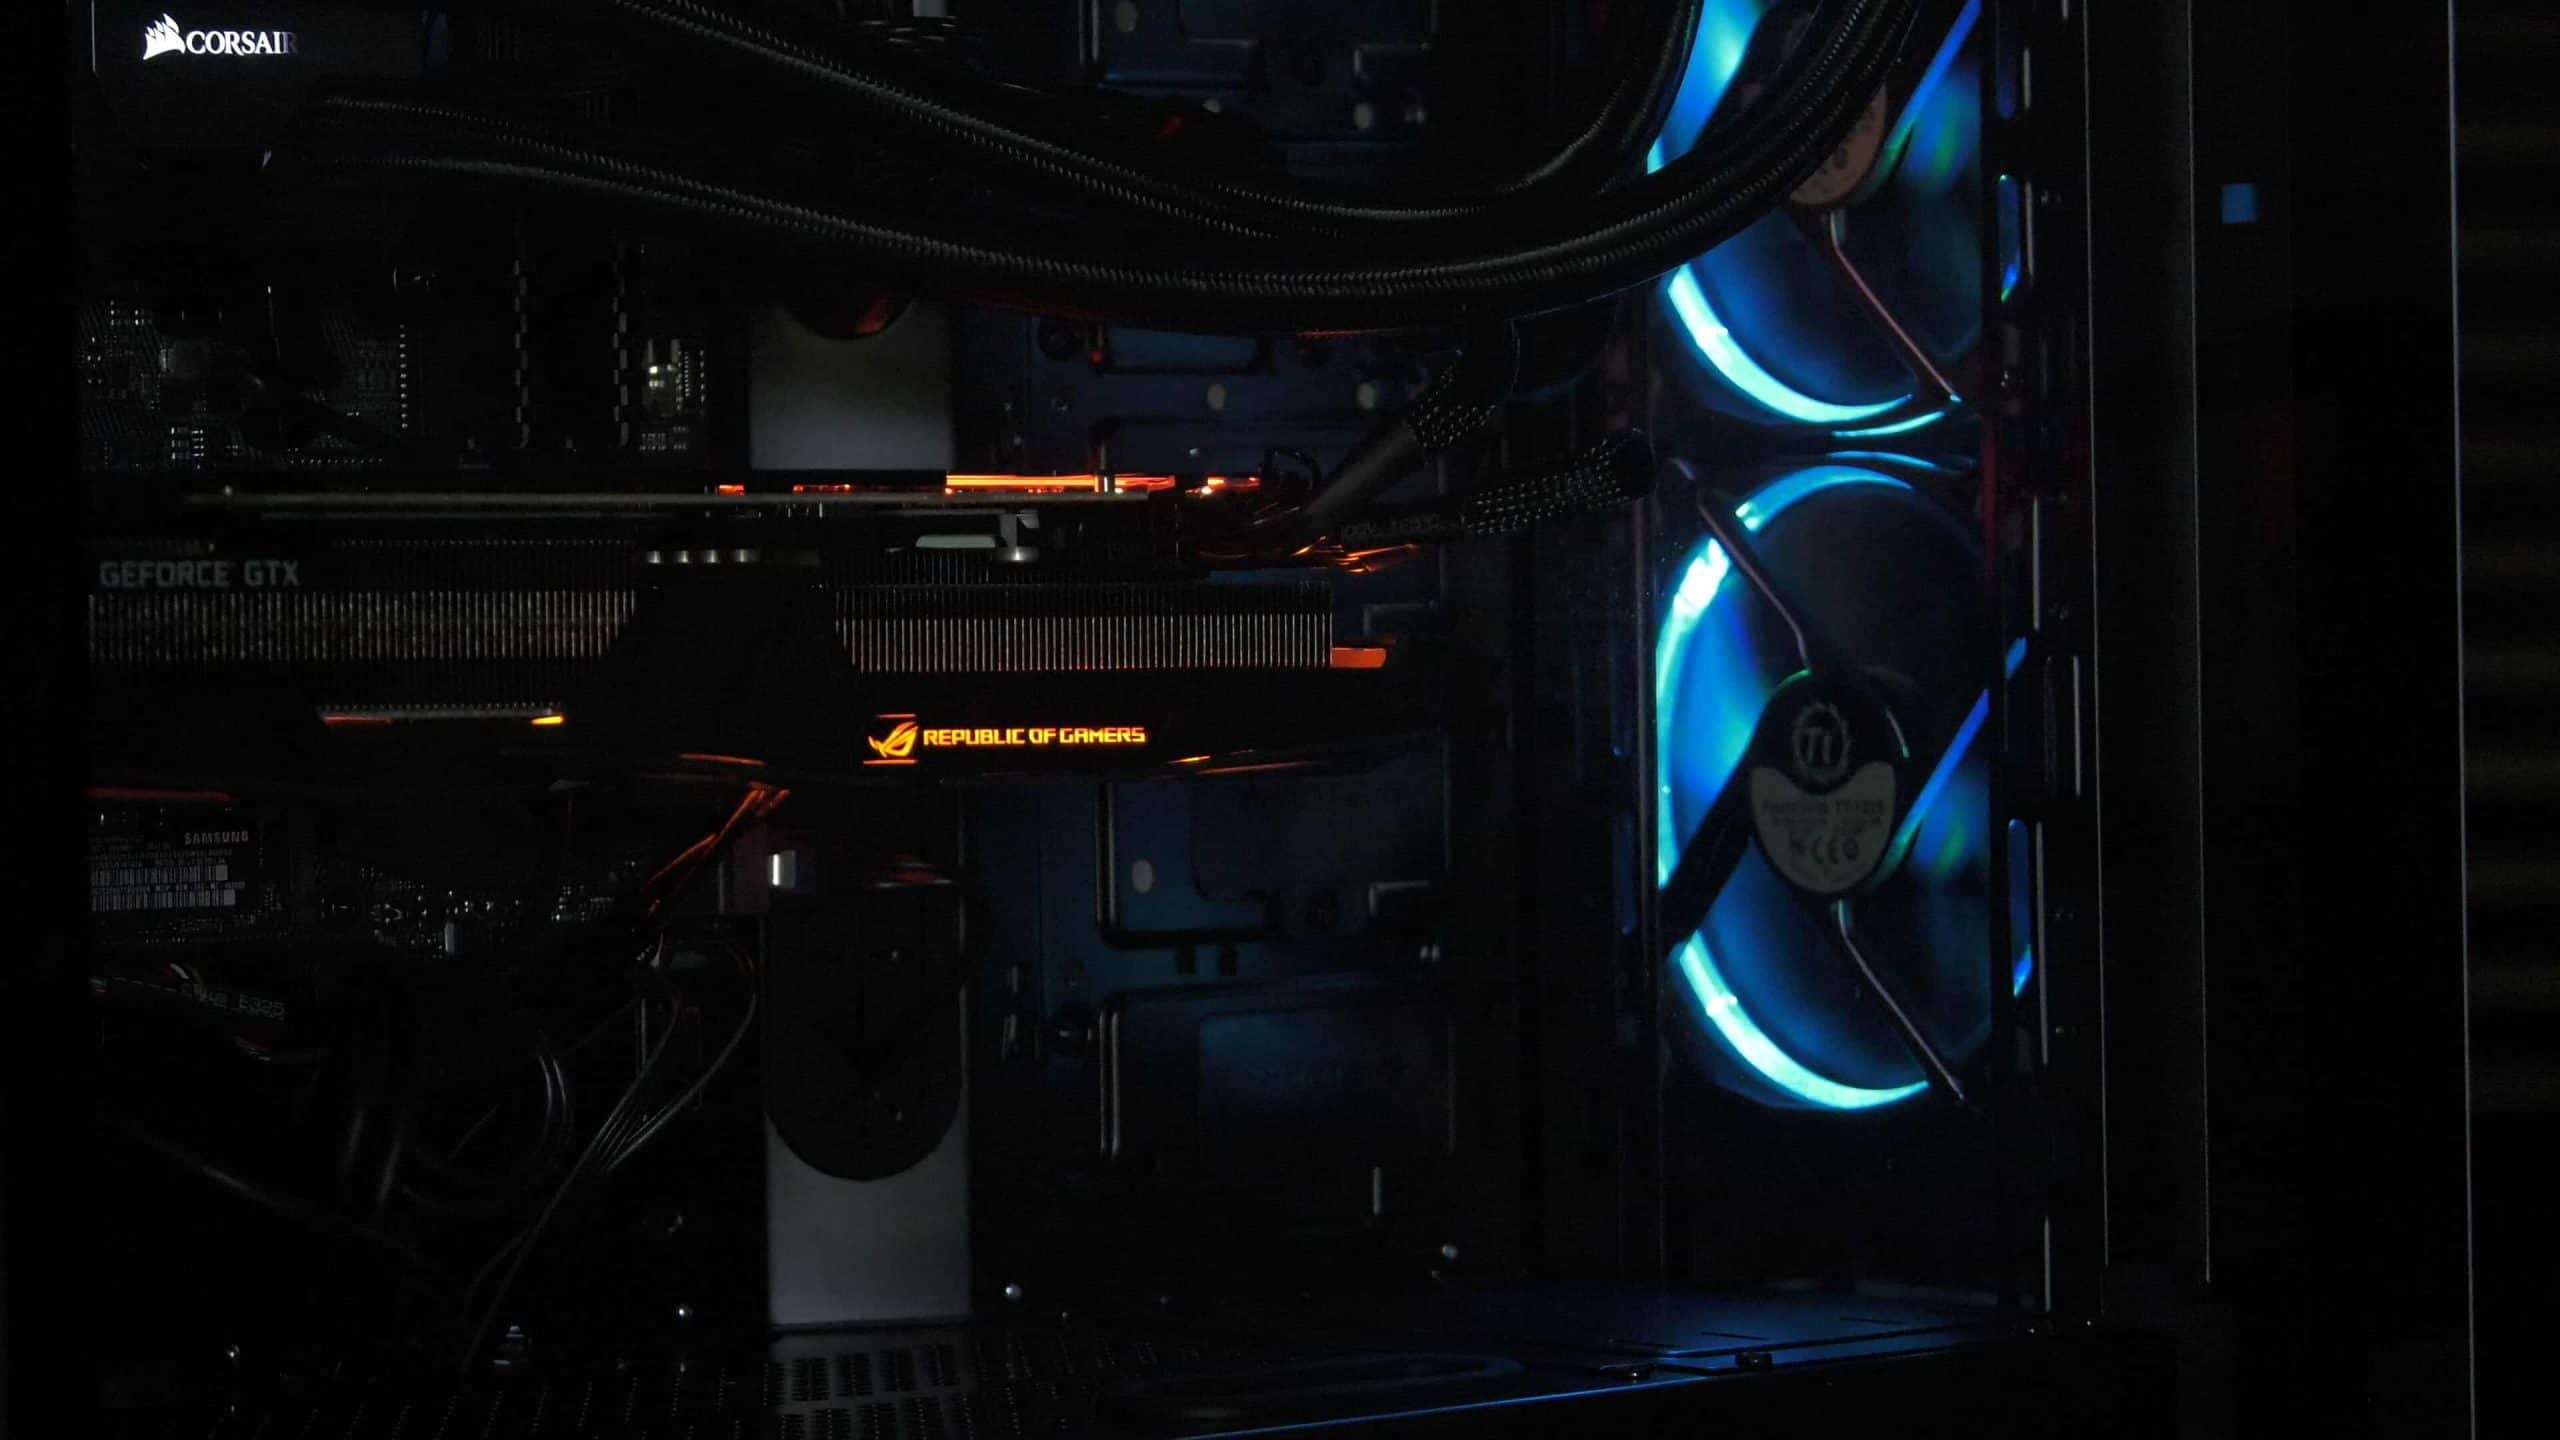
For the case for this build I went withe Phantec Enthoo Evolv with the tempered glass panels. This thing is an elegant beast that is so well designed I fell in love with it from the moment I saw it.

The Power Supply
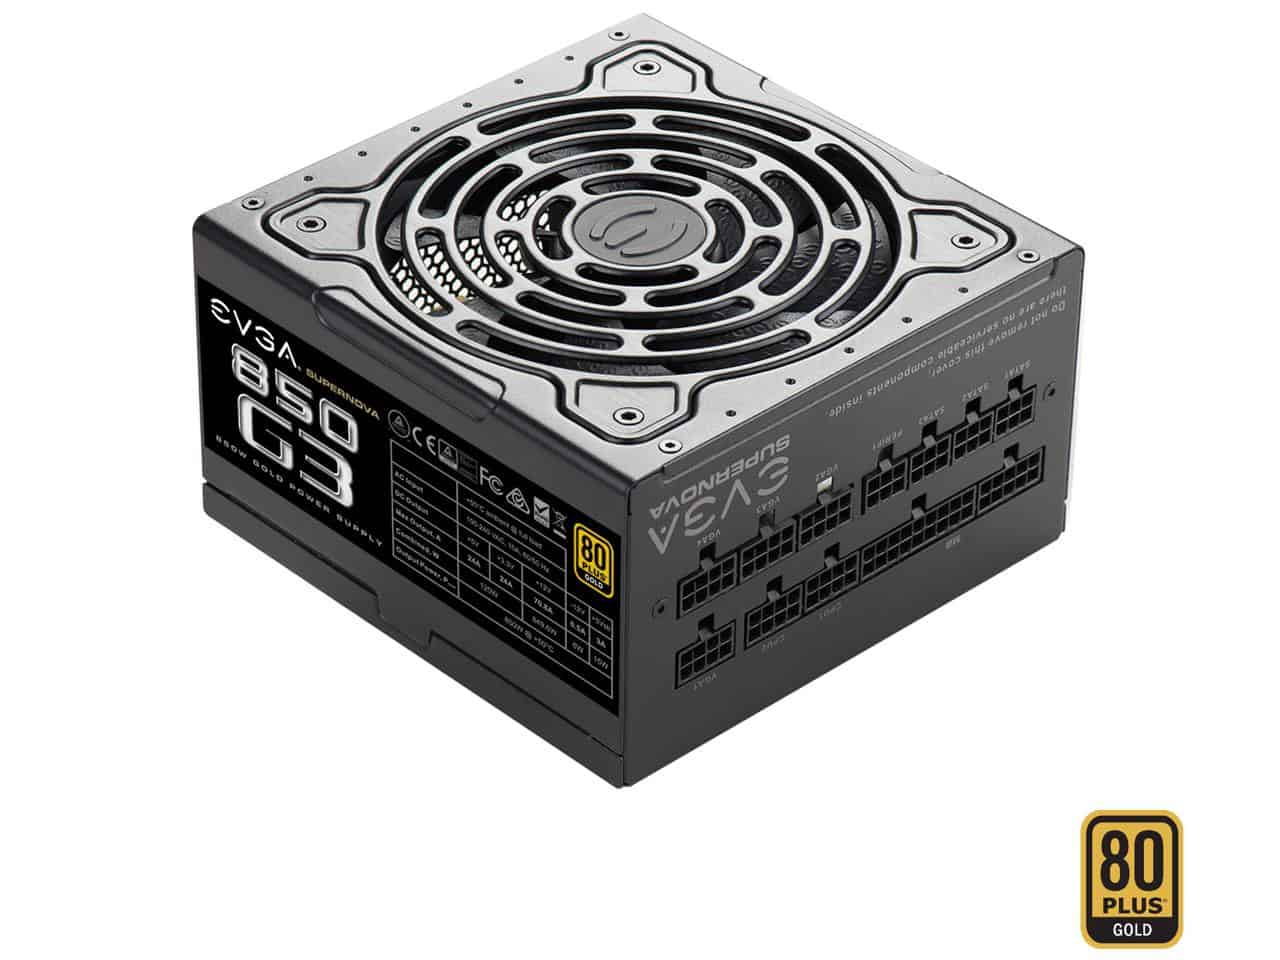
The power supply I went with is the EVGA Super Nova 850 G3. Its fully modular and rocks a 10 year warranty. If you’ve not used a modular power supply before you don’t know what you’re missing. No more giant cable mess, and no more guess work on what goes where.
The Motherboard and CPU
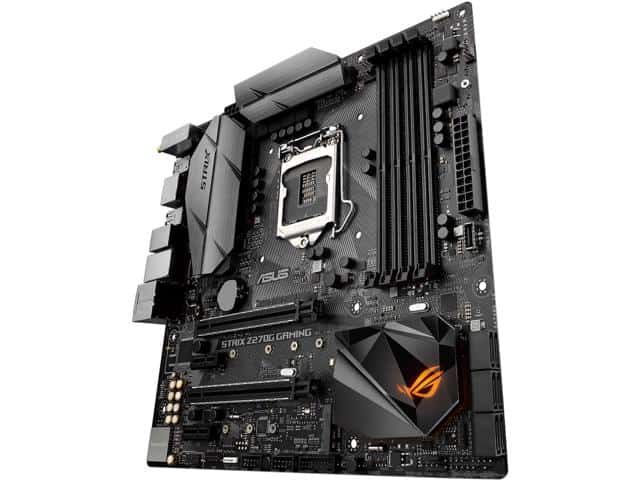
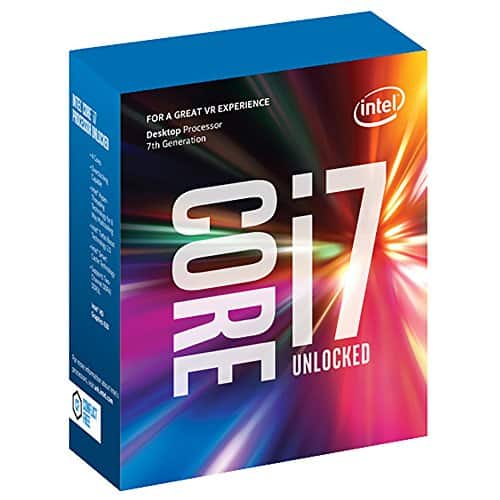
For my gaming PC build, I chose the Asus ROG STRIX 270G motherboard paired with an Intel Core i7-7700k found its way into my build, unlocked and overclocked to 4.8 Ghz.
The Hard Drive and RAM
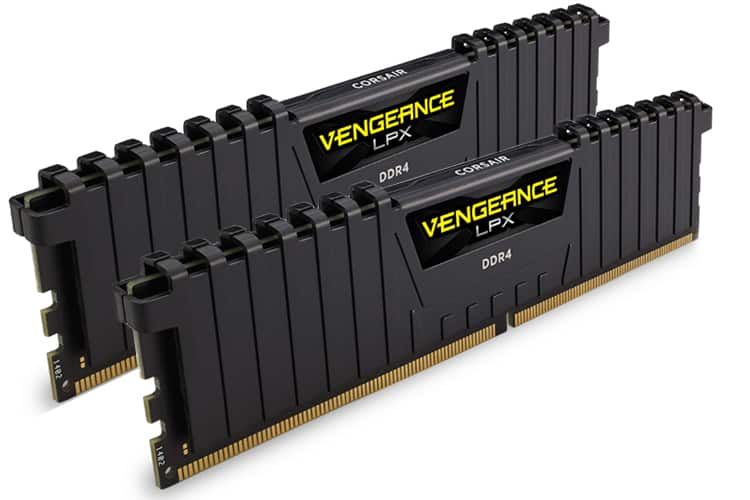
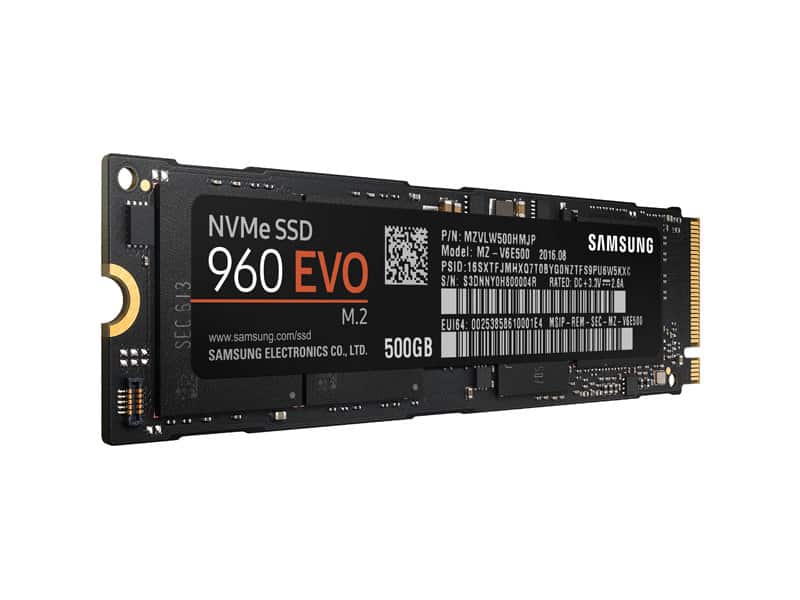
With a fast processor, you’re going to want fast IO, so I installed a 500 gigabyte Samsung EVO 960 NVMe SSD and two 16 gigabyte sticks of Corsair Vengeance LPX for 32 gigabytes of DDR4 RAM. Always be sure that the locking tabs click into place when installing RAM.
The CPU Cooler and Fans
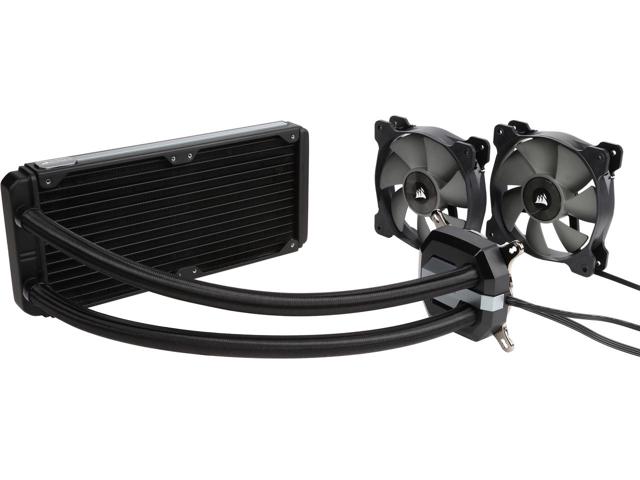
When doing a gaming PC build, you’re going to need a lot of cooling, especially if you plan to do any overclocking. I decided to go with a Corsair H100i V2 liquid cooler. Since I’m overclocking the 7700K, keeping the CPU cool is a must. The Enthoo Evolv has a radiator bracket located at the top of the case making installation a breeze.
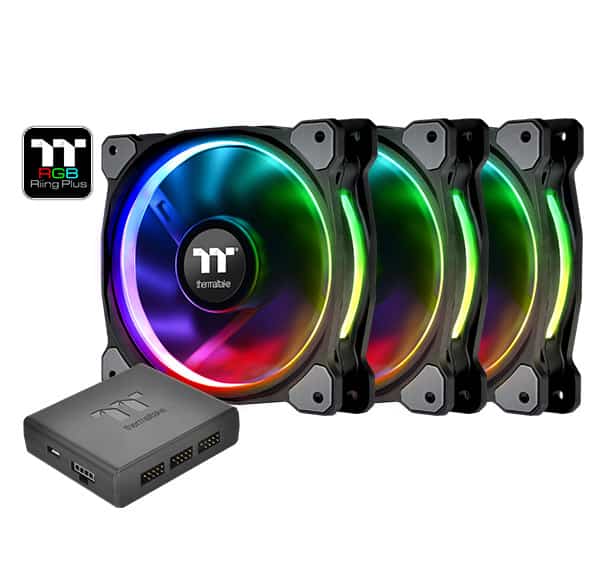
Now the fans that came with the Corsair H100i are let’s just say boring. So let’s toss those aside and put something worthy of a custom PC build. Thermaltake RGB Riing Fans to the rescue.
The Thermaltake Riing fans are just regular 120mm fans and will mount using the same hardware provided with the H100i. They’ll do the same cooling job but give our case some much needed style!
Managing the Cabling
The Enthoo Evolv has a fantastic rail on the back of the case that provides a cable raceway with velcro straps. This important since the case has tempered glass sides and all of these cables will be visible. Additionally the Evolv has strategically placed cut-outs allowing for precise routing of your cabling, keeping everything looking super clean.
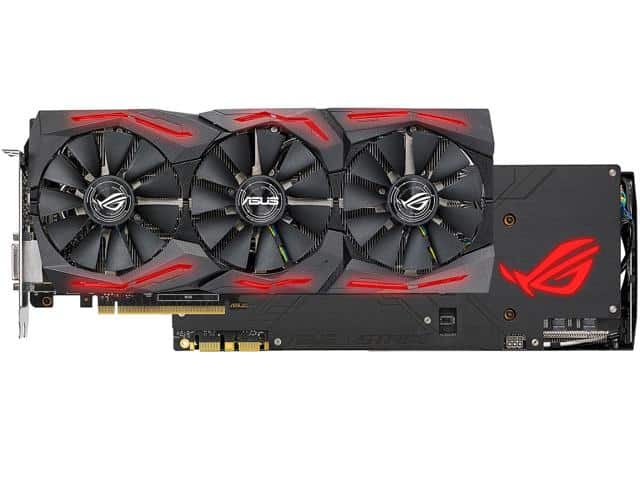
The Video Card
I installed the massive Nvidia GTX 1080ti video card in this gaming PC build! This thing is a monster and will let you run most any game at 4K with all the settings cranked to extreme! It’s 2.5 slot card though, so be ready for it to take up a lot of space inside your case!
Some Final Thoughts on this Gaming PC Build
Sometimes after you finish a project and you live with it for a couple of weeks you decide that you want to make some changes and that’s exactly what happened in this build.
Get the Components to Build this Rig:
- Phantec Enthoo Evolv Tempered Glass Case: http://amzn.to/2fk9IyM
- Intel Core i7 7700K CPU: http://amzn.to/2vcvsQE
- ASUS ROG STRIX Z270G Motherboard: http://amzn.to/2fl9Eyr
- ASUS STRIX GTX 1080ti Video Card: http://amzn.to/2vEH569
- Corsair Vengeance LXPX DDR 4 RMAM: http://amzn.to/2vF0LHe
- Samsung EVO 960 NVMe SSD: http://amzn.to/2hAakRt
- Corsair H100i V2 Liquid Cooler: http://amzn.to/2wkJtMu
- EVGA SuperNova 850 G3: http://amzn.to/2fkFJ9A
- Thermaltake Riing 120mm 3 Pack: http://amzn.to/2hAaQyT
- Logitech Gaming Mouse G403: http://amzn.to/2wkwrys
Moving the Fans Around
The first change that I made was that I put the original H100i fans back in place. I did this for two reasons. The first one was that I didn’t really like how the Thermaltake software was controlling the fans. I didn’t feel like it responded rapidly enough to some of the CPU temperature changes. But honestly the most important reason that I changed it was because that all you could see was two dashed lines on the RGB lighting at the top and I really wanted that to be more visible. Now you can see with them in the front you can see the ring effect on the fan and its visible all of the time and I really like that a lot. Styling with some awesome RGB!
Moving the CPU Radiator
The other big change I made and you might have actually caught it in one of the video clips because I changed it mid way through the actual build was that I moved the radiator from the far left side to the far right side. Again purely for aesthetics. I didn’t want the hoses of the CPU cooler covering the LED Corsair logo on top of the pump. And so again, just more aesthetics. I redid some of the cable management just a little bit to make it a little cleaner.
Phenomenal Build
But this project has turned out to be phenomenal and this gaming PC build is a total beast. I will give you one warning though if you decide to build this machine or one like it. It can get extremely noisy. The GTX 1080ti along with the rest of the fans will ramp up when playing something like Titanfall 2 with everything set to extreme. The fans turn into a jet engine, but I guess you have to live with that to get the performance we’re looking for!
Additionally in Adobe Premiere Pro this thing just screams through a video editing track. It makes my 2013 Mac Pro trashcan look like a dinosaur. This thing blows it away. Good job Apple – This machine is less than half the price.
So I absolutely love the tempered glass look of this case. A lot of cases today have these little windows and glass inserts, but this is an edge to edge top to bottom left to right solid piece of tempered glass and it’s got the same thing on the back. It’s absolutely gorgeous and its got just a little bit of a smokey tint to it and then al of the LEDs shining through just make this thing absolutely gorgeous. So I highly recommend this case if you’re looking to build a computer. Everything in it is so well laid out and so well thought out. So bravo to Phantec for that. Again, this is the Enthoo Evolv.
Well that’s the end of this video. Please leave at least one-hundred comments below telling my why I should have used Ryzen instead. I always look forward to those and I’ll see you in the next video.
is there a possiblity of builkding a gaming/media center and mining rig
I mean i have a tendency to watch movies/play games in weekend at nights, so i was thinking if its possbile to switch between my mining rig into gaming/media center