Blog
Adding Arcade Volume Control
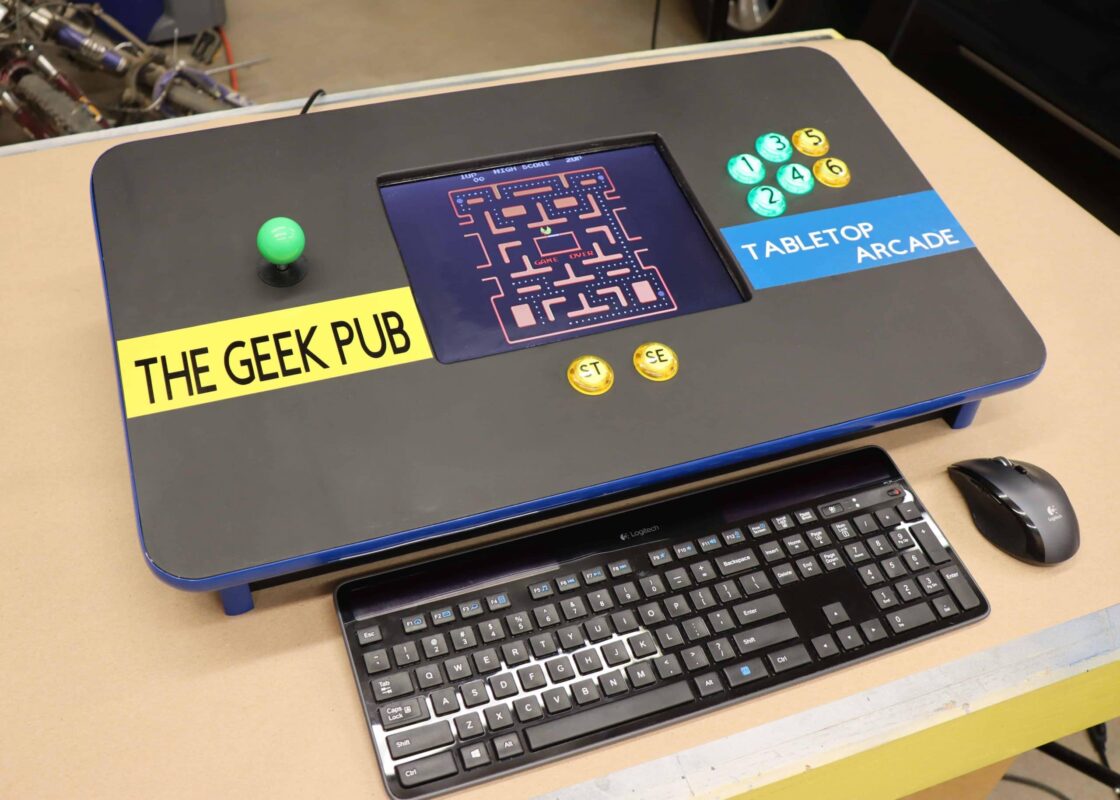
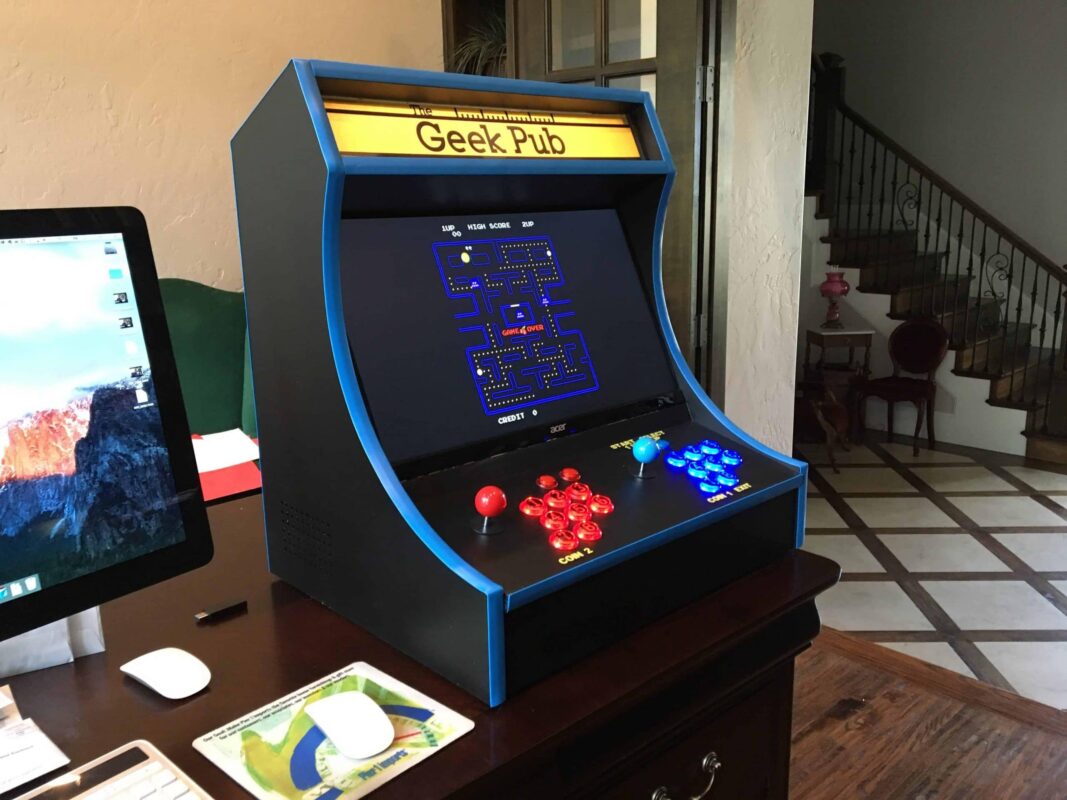
Adding an arcade volume control is a pretty simple task, but there’s a few things you’ll need to do both mechanically and electrically to get it to work correctly. In this tutorial, were going to add a volume control to the tabletop arcade, although this same method will work on any DIY arcade.
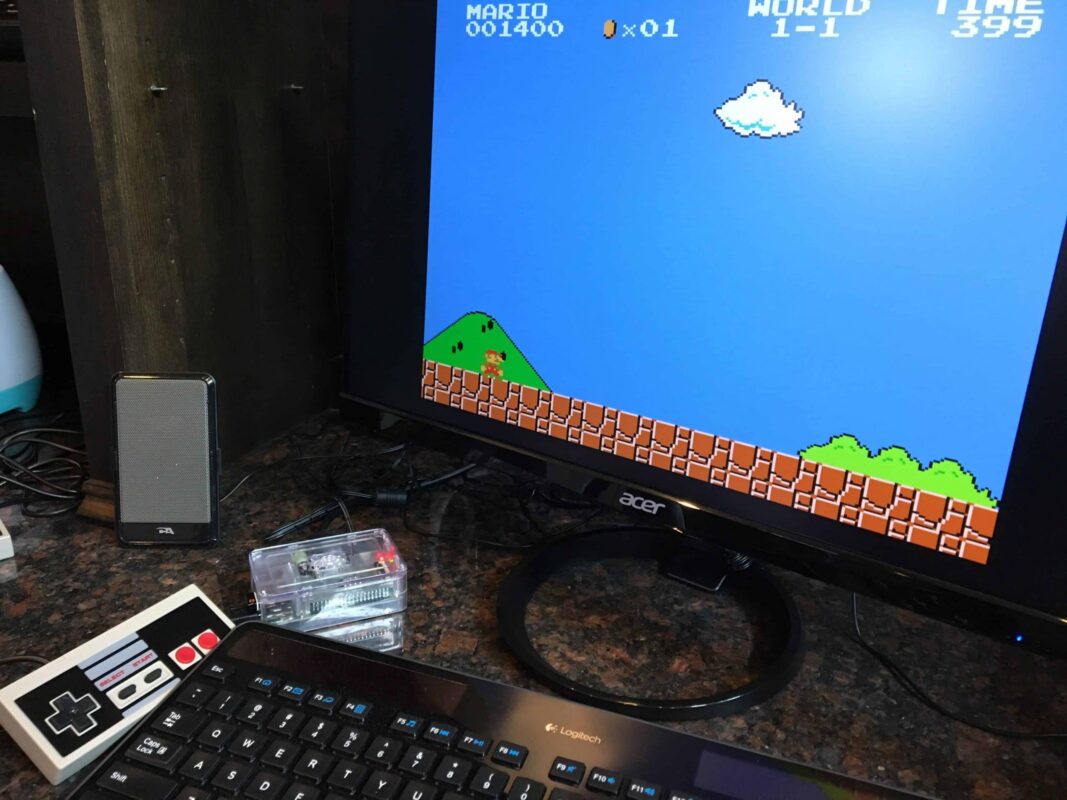
There are many ways to get sound out of the Raspberry Pi for your arcade. If your monitor supports HDMI and has speakers built in, then you might just use those internal speakers. However, in many cases monitors either don’t have speakers, or the ones they have are so terrible they might as well not have them. In fact, some users have simply replaced the speakers in their monitors with higher quality speakers if the built in amplifier is decent.
Most builders eventually default to just using the 3.5 mm audio jack on the Pi and set of external speakers. I really like these USB speakers, because they sound great and they are powered via USB. This means I don’t need any internal amplifiers, no extra wiring, etc. You just plug and play. The problem comes in that they don’t have any volume controls. The only way to change the volume is in Retropie’s control center. For most of my builds this is absolutely fine. But I recognize for some its not ideal. I’ll show you how to fix that today!
Installing an Arcade Volume Control
There are a few challenges to installing a volume control into the tabletop arcade. You’ll need the right kind of potentiometers, a way to connect that potentiometer, and finally a way to mount it into the cabinet. All of these can be a little confusing, so we’ll walk through each step in this tutorial.
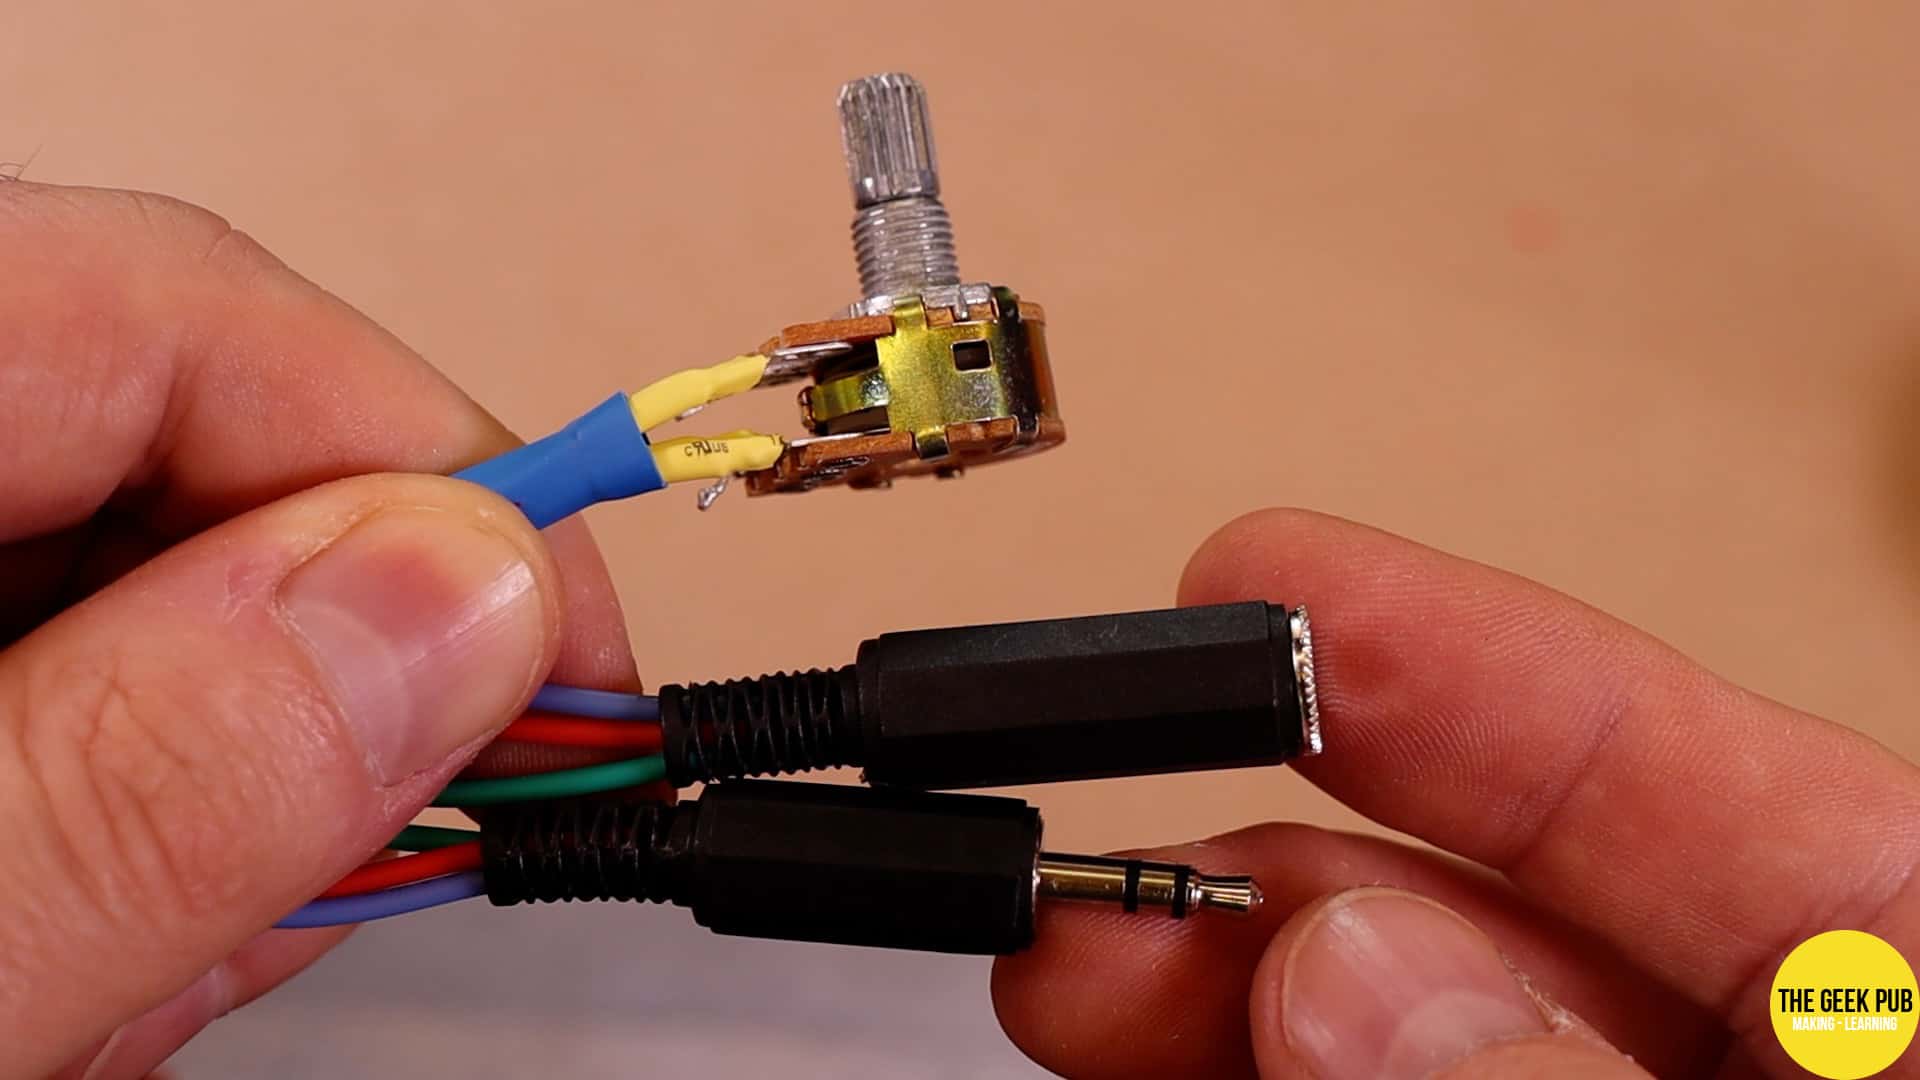
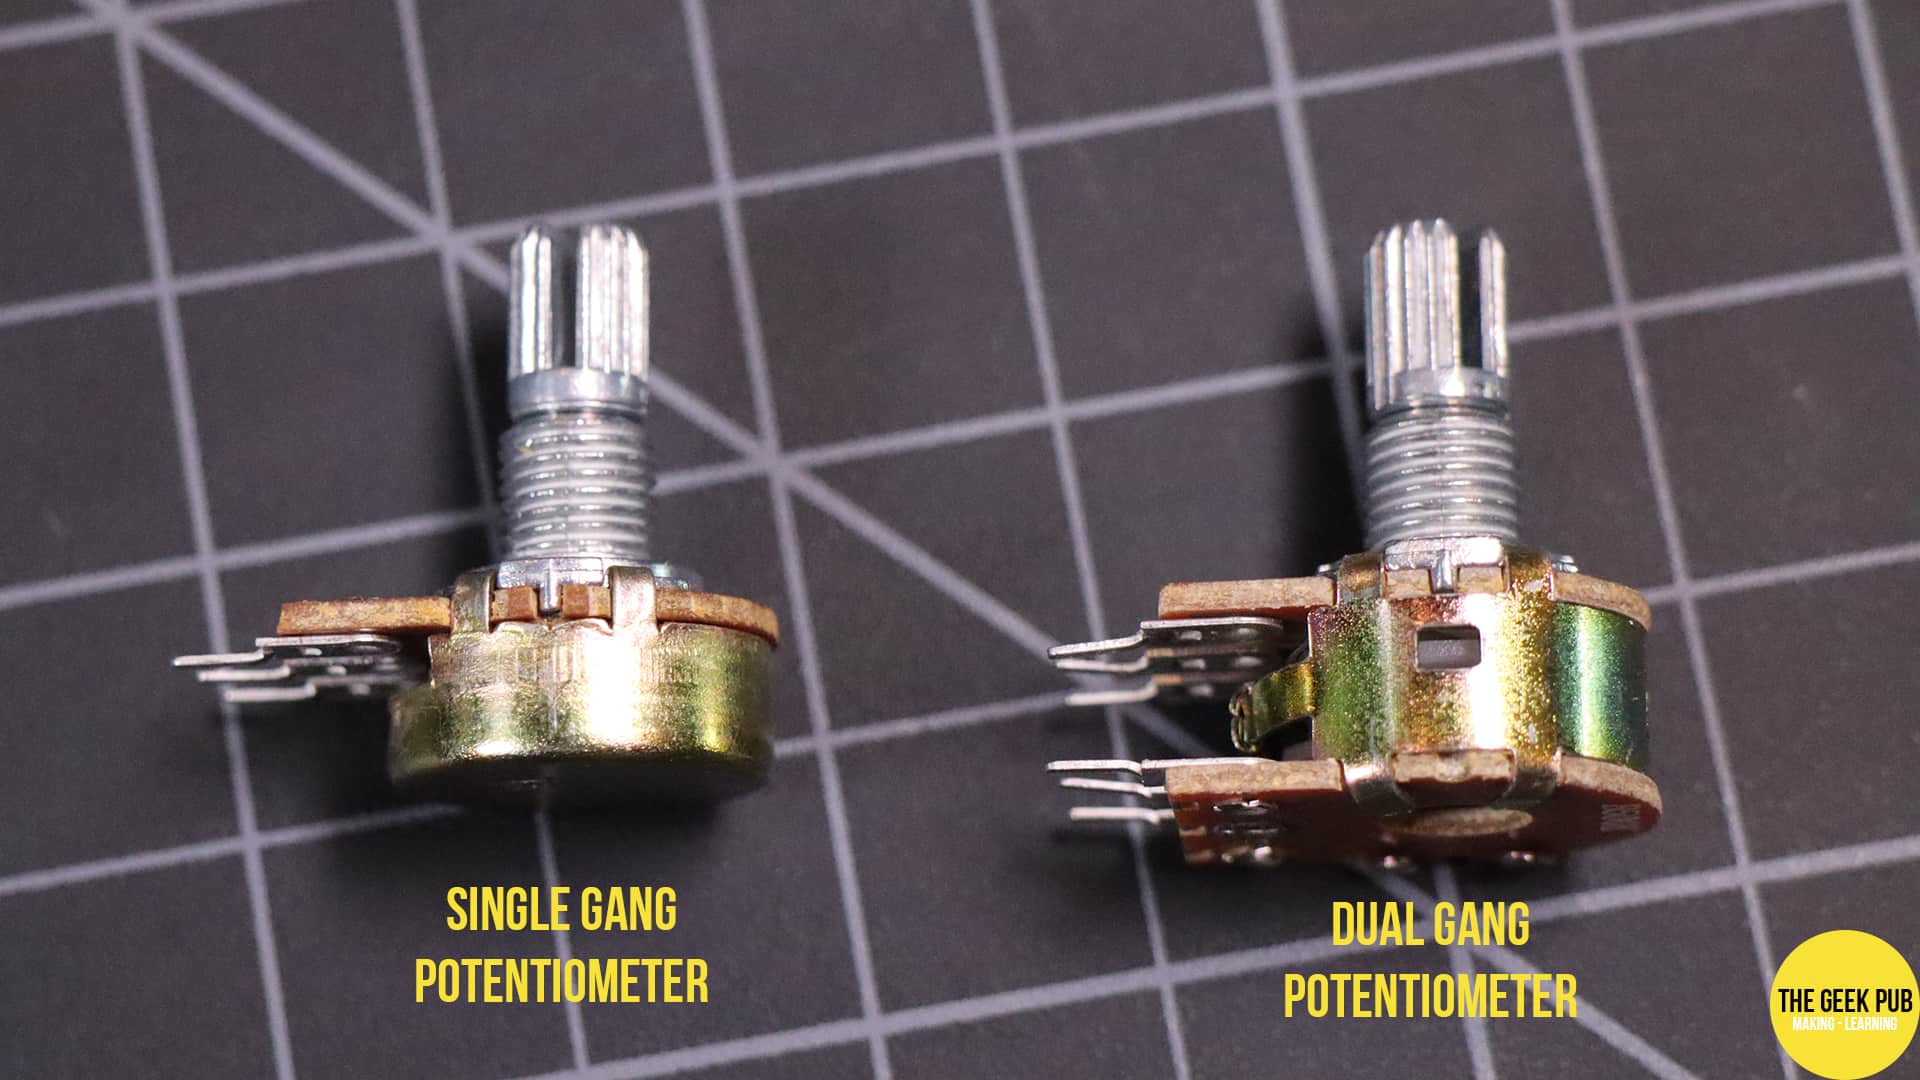
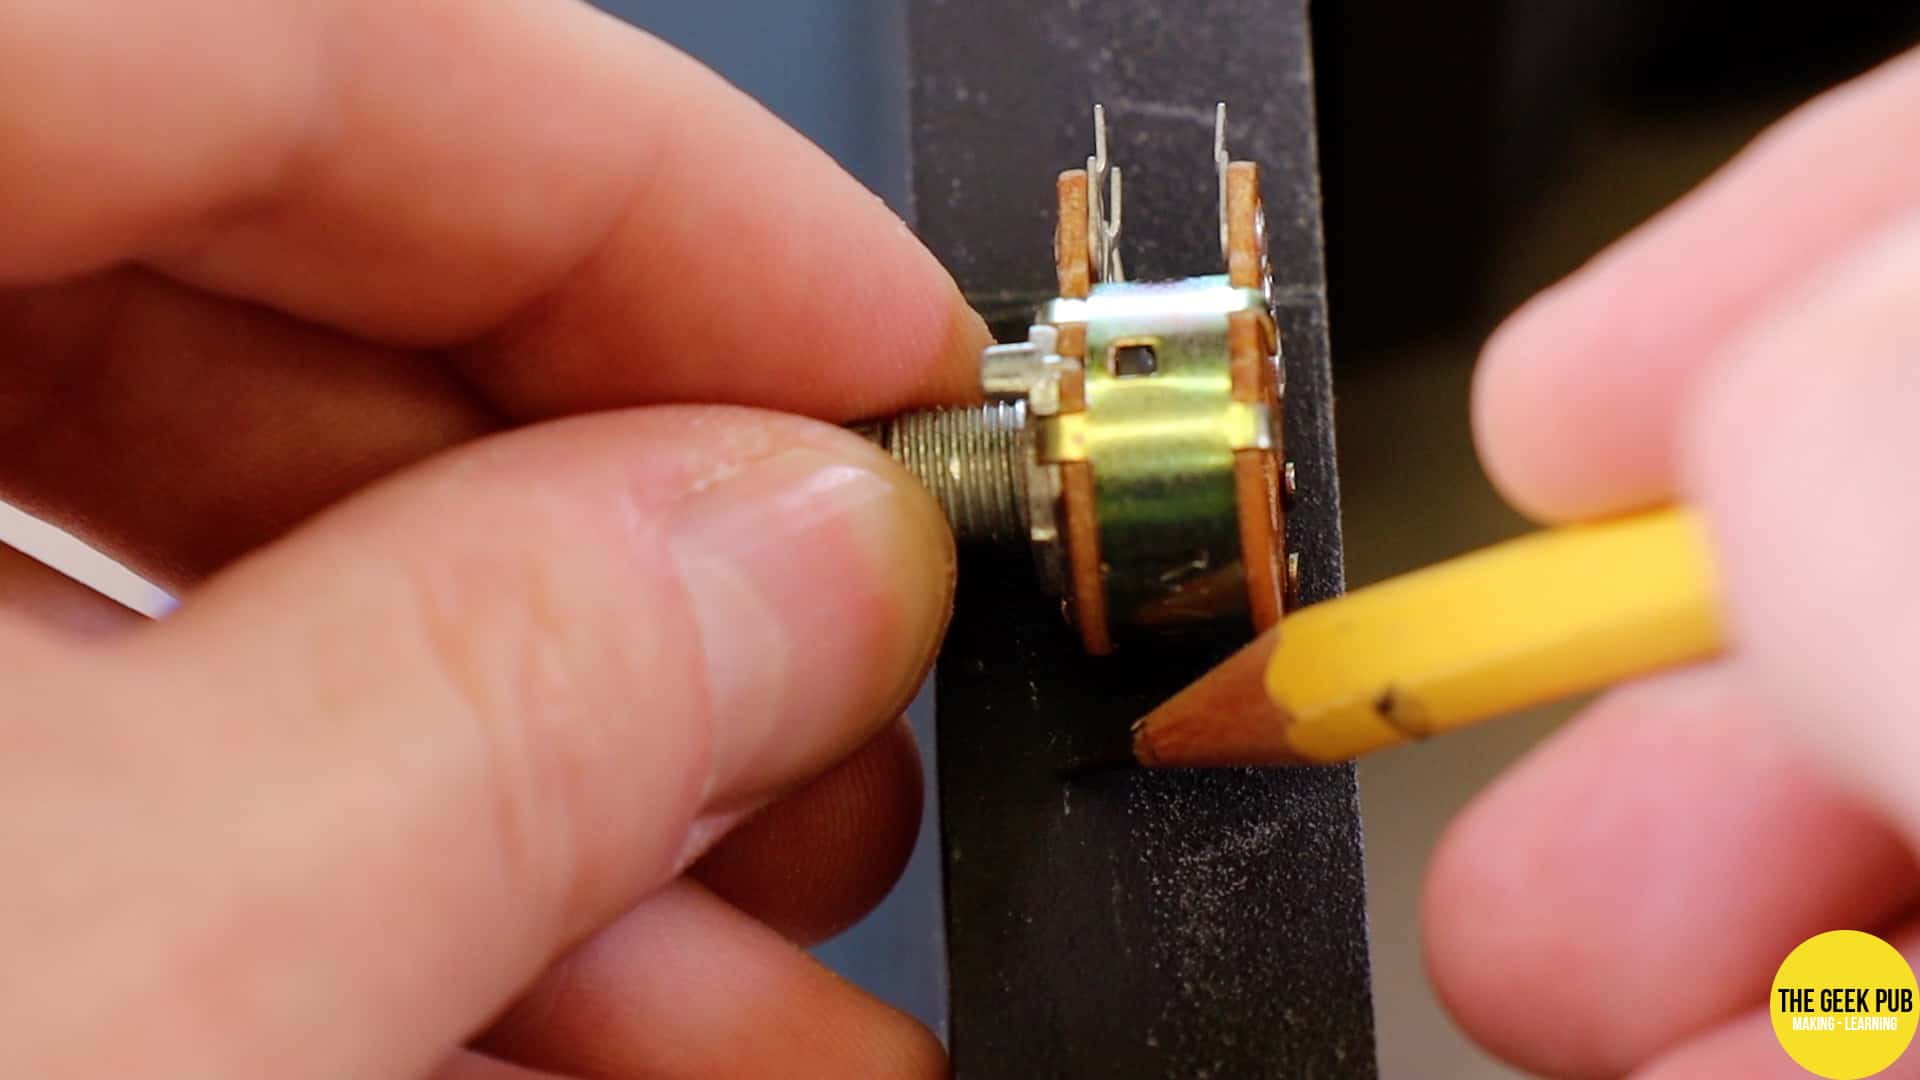
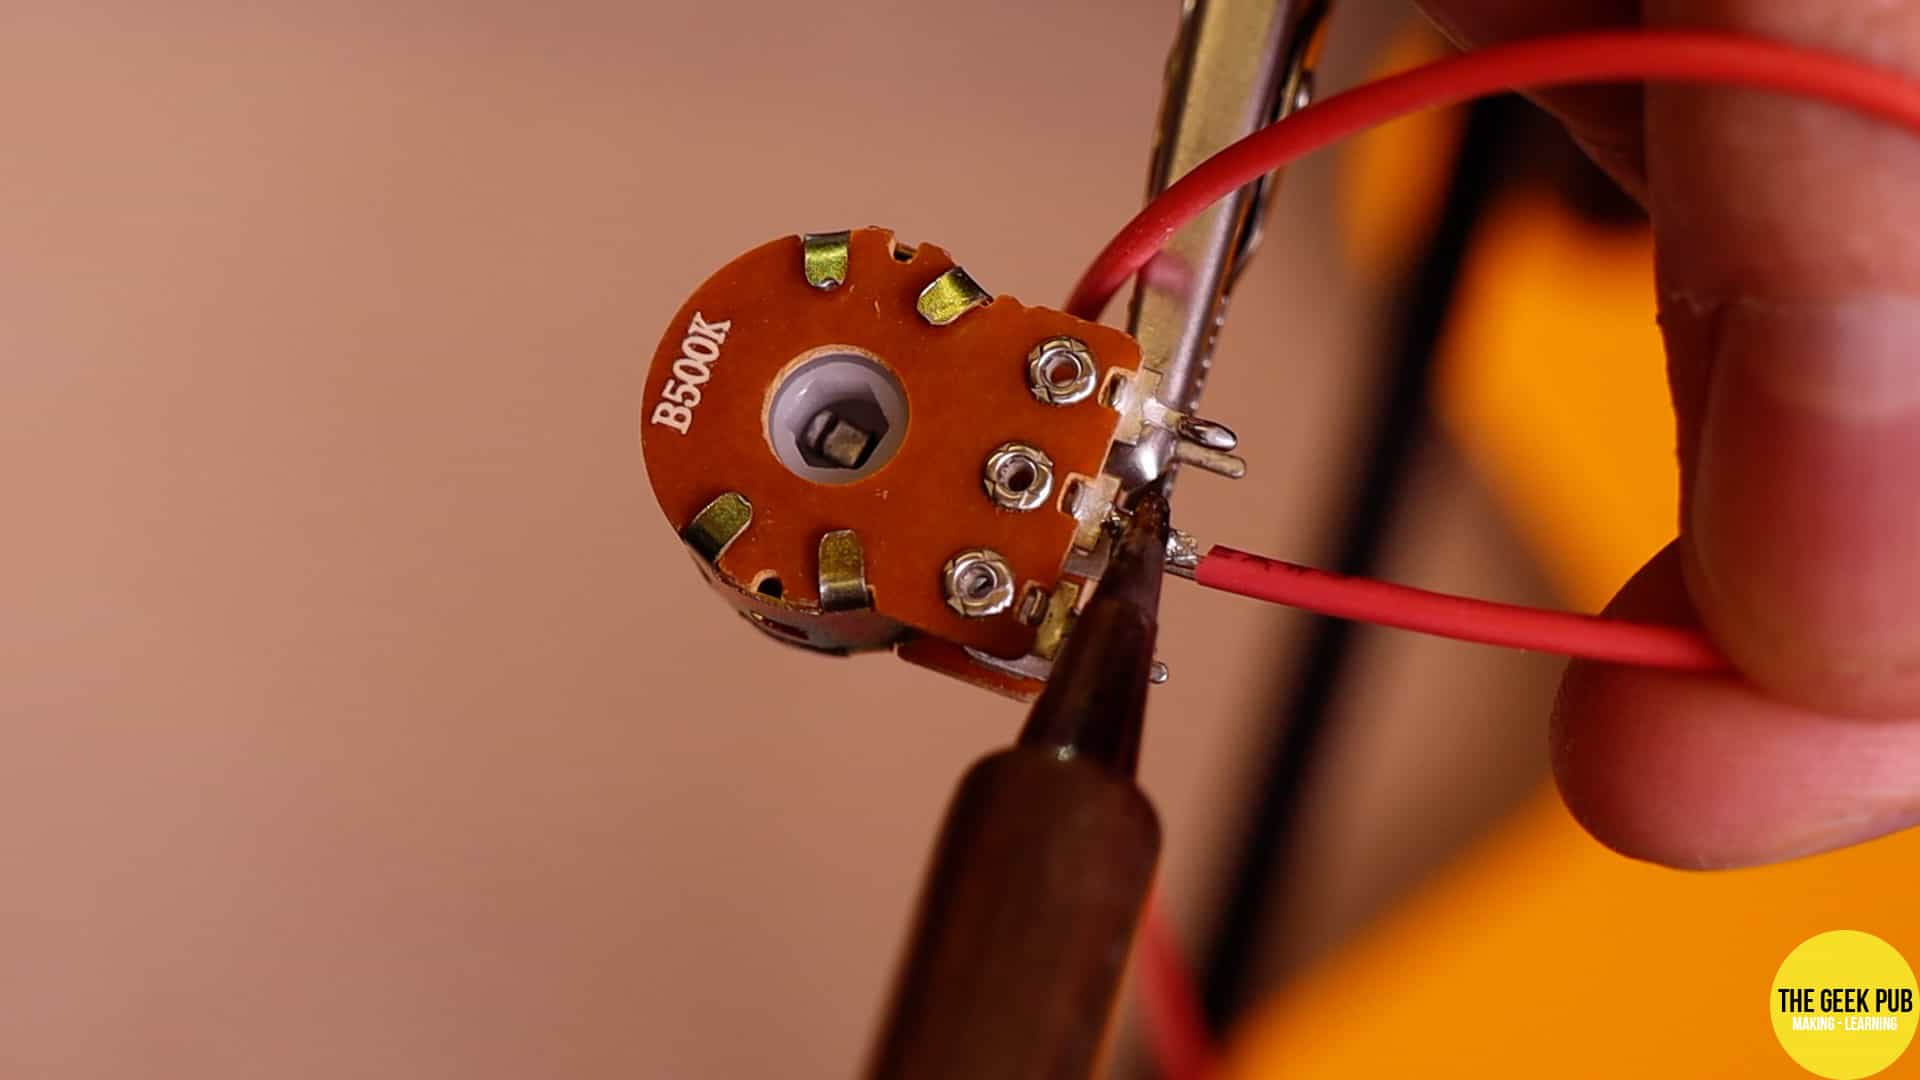
You might think you can just use any potentiometer you’d like, but you can’t. Normal potentiometers only control a single channel. For a stereo circuit you’ll need a dual gang (or stereo) potentiometer. A dual gang potentiometer is basically two potentiometers sharing a single shaft.
The next thing you need to do is properly size your potentiometer for its intended use. I found that a 500K Ohm potentiometer seemed to be the perfect match for controlling the volume of the
Parts List for this Project
Here’s a handy parts list for this project to get you started:
- 500K Ohm dual gang potentiometer
- 22 awg assorted wire
- 3.5mm stereo plug
- 3.5mm stereo jack
- 1-1/4in Forstner bit
- Volume knob
Wiring the Volume Control
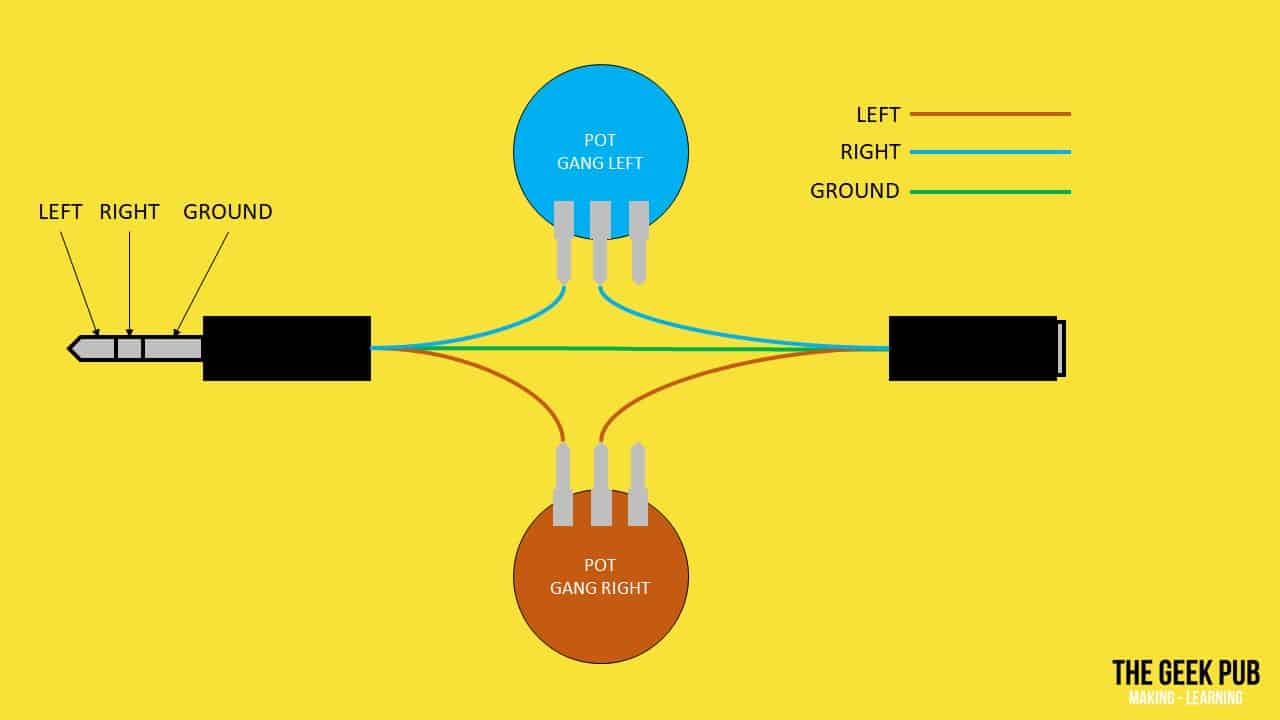
Wiring the volume control is super simple. Just follow this simple wiring diagram. Ground is connected straight through from the plug to the jack. The left and right channel each get wired to one of the gangs on the dual gang potentiometer. It doesn’t really matter which is which, just pick one to be left and the other will be right.
Watch the Arcade Volume Control Video
Backboring the Arcade Cabinet
I have another video all about backboring for arcade controls. Be sure to check that out for all kinds of detail on how the process works.
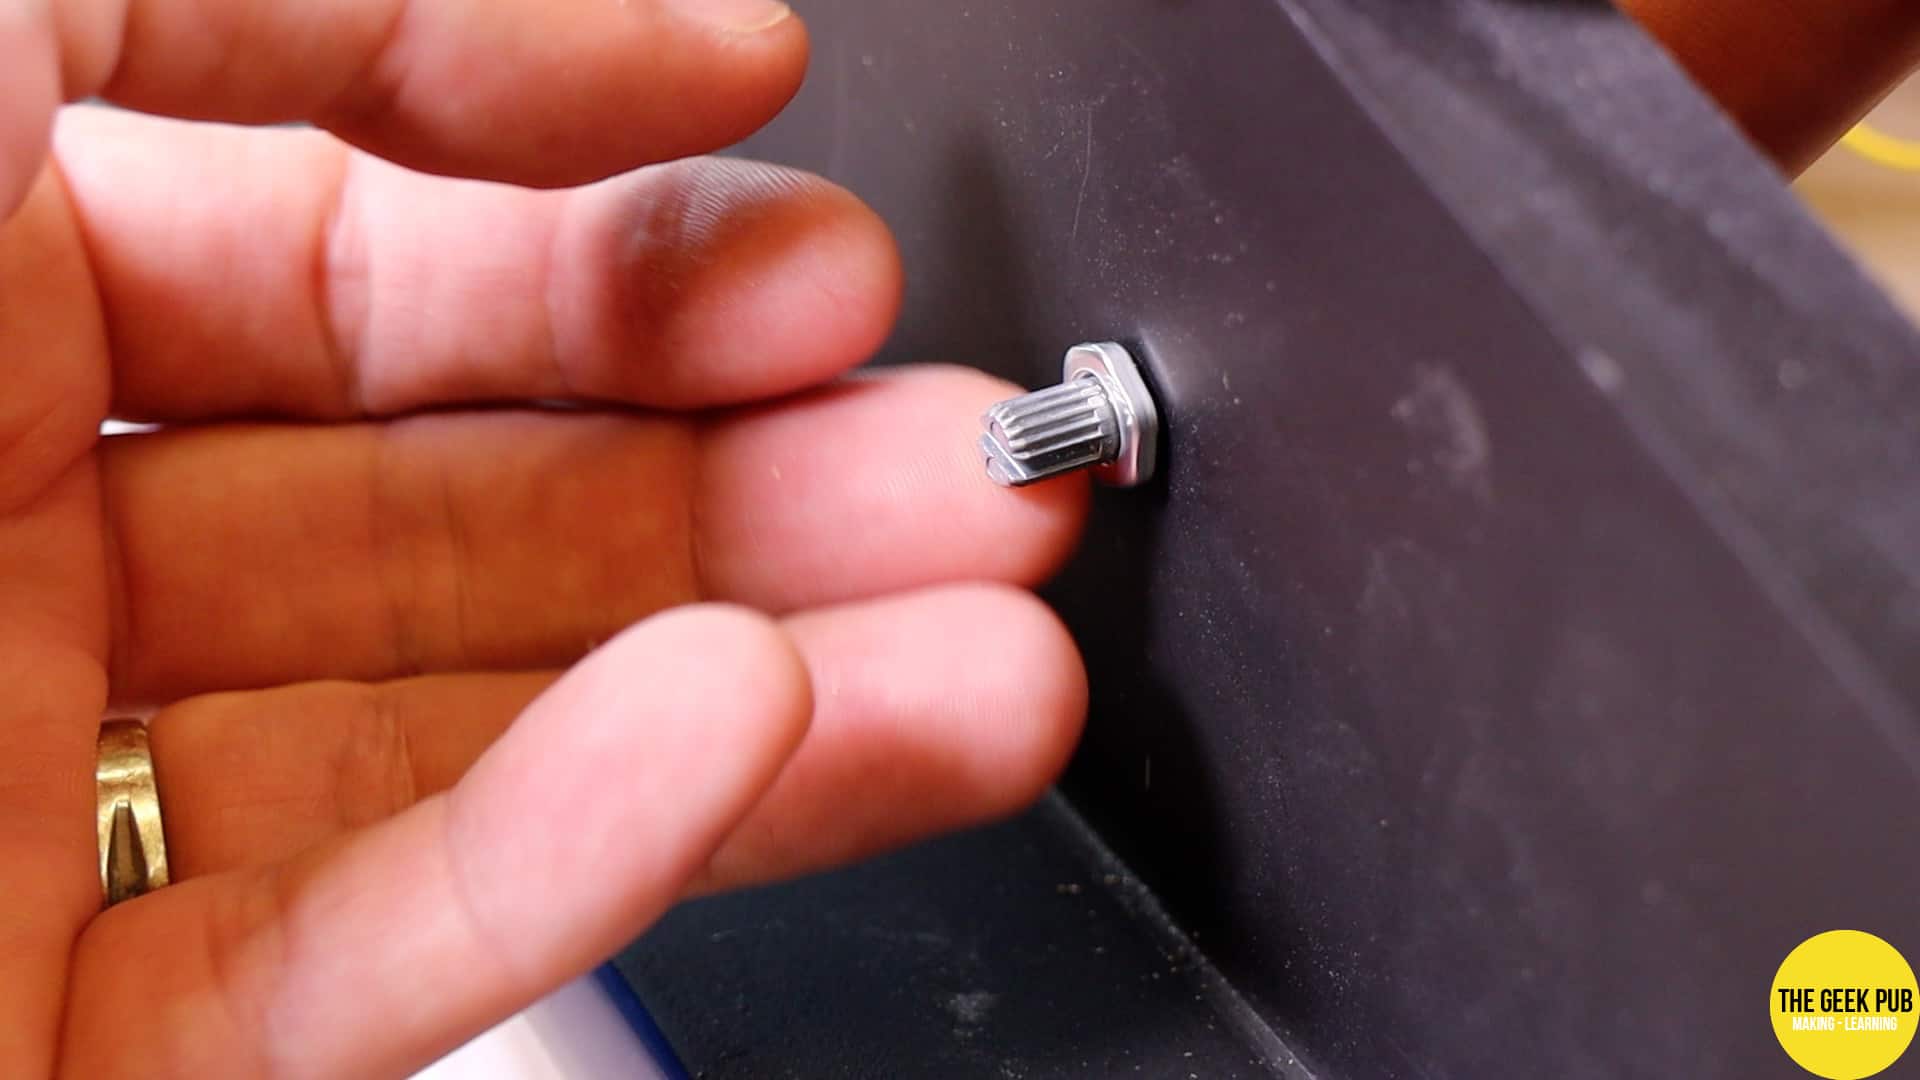
The potentiometer’s threaded section is only about 1/4″ long. That’s not going to fit in 3/4″ MDF! To solve this we’ll need to backbore the cabinet to allow the potentiometer to sit below the surface.
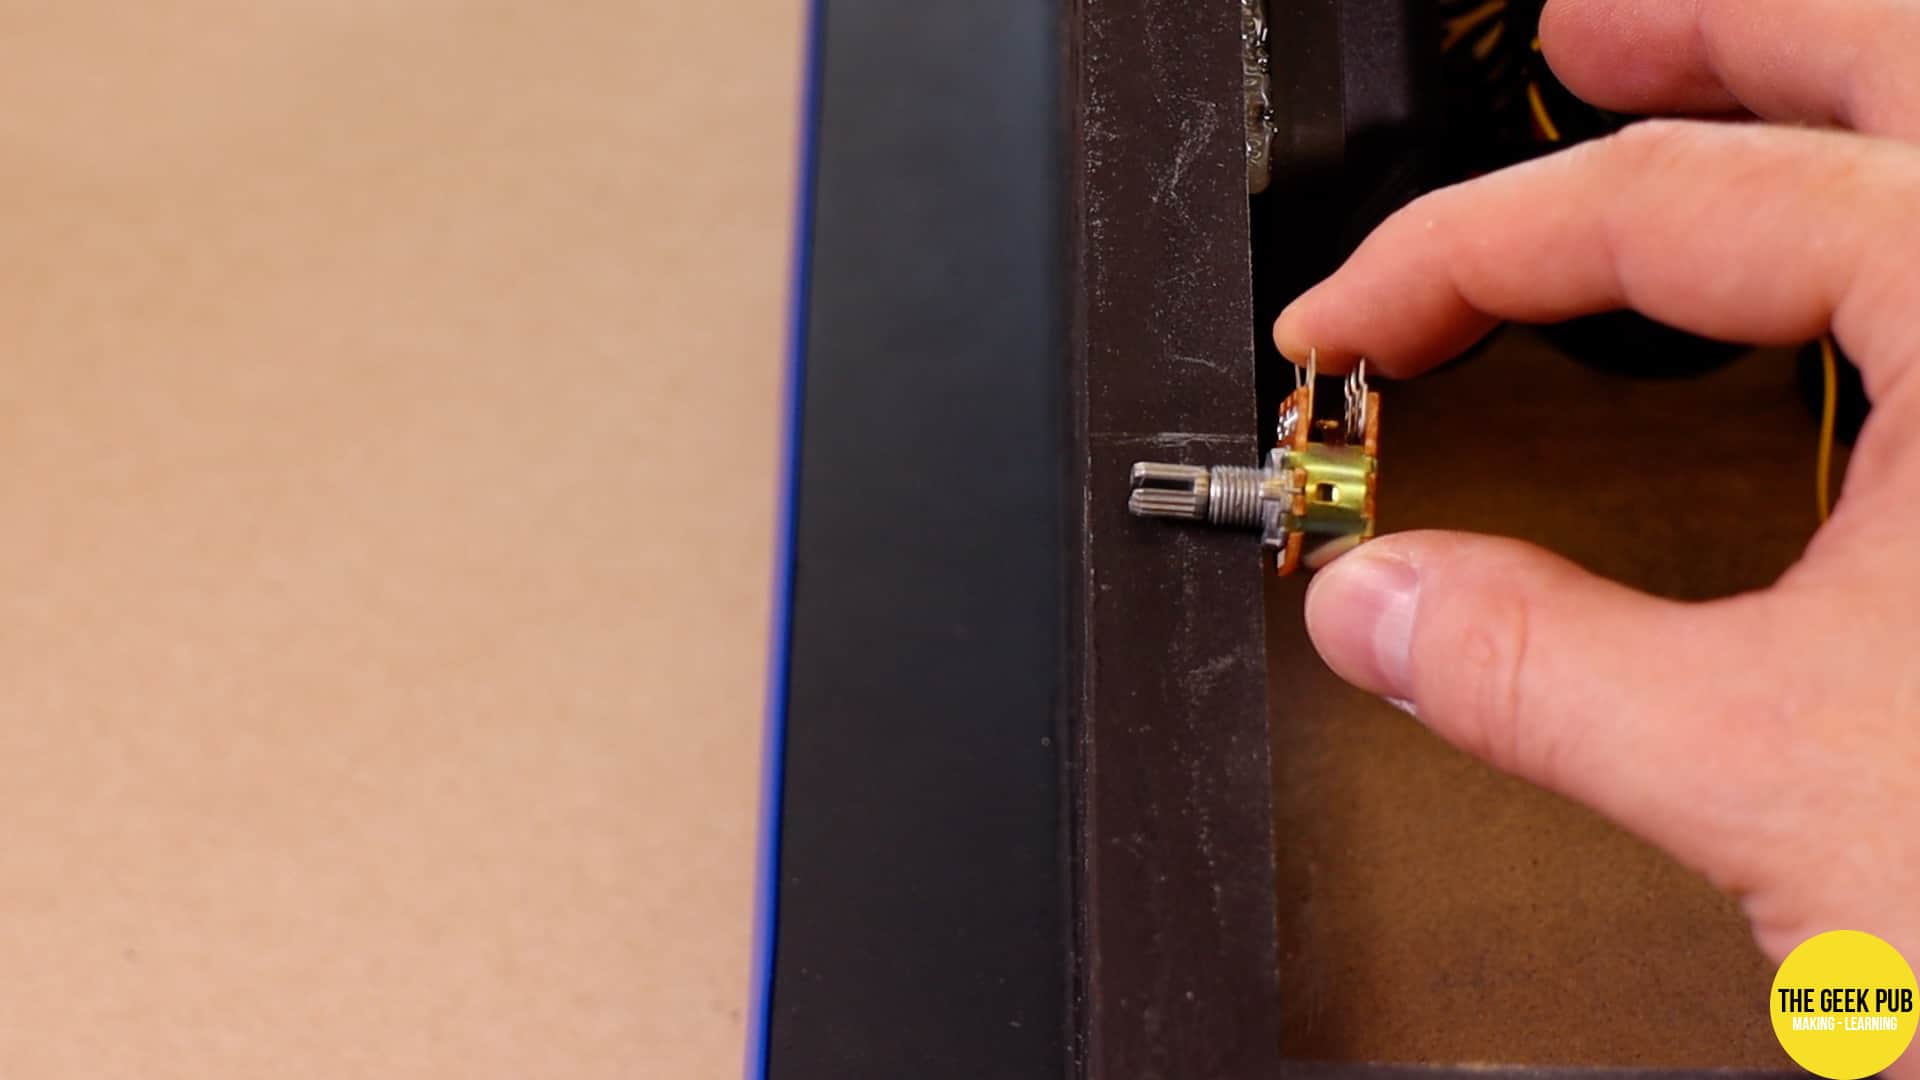
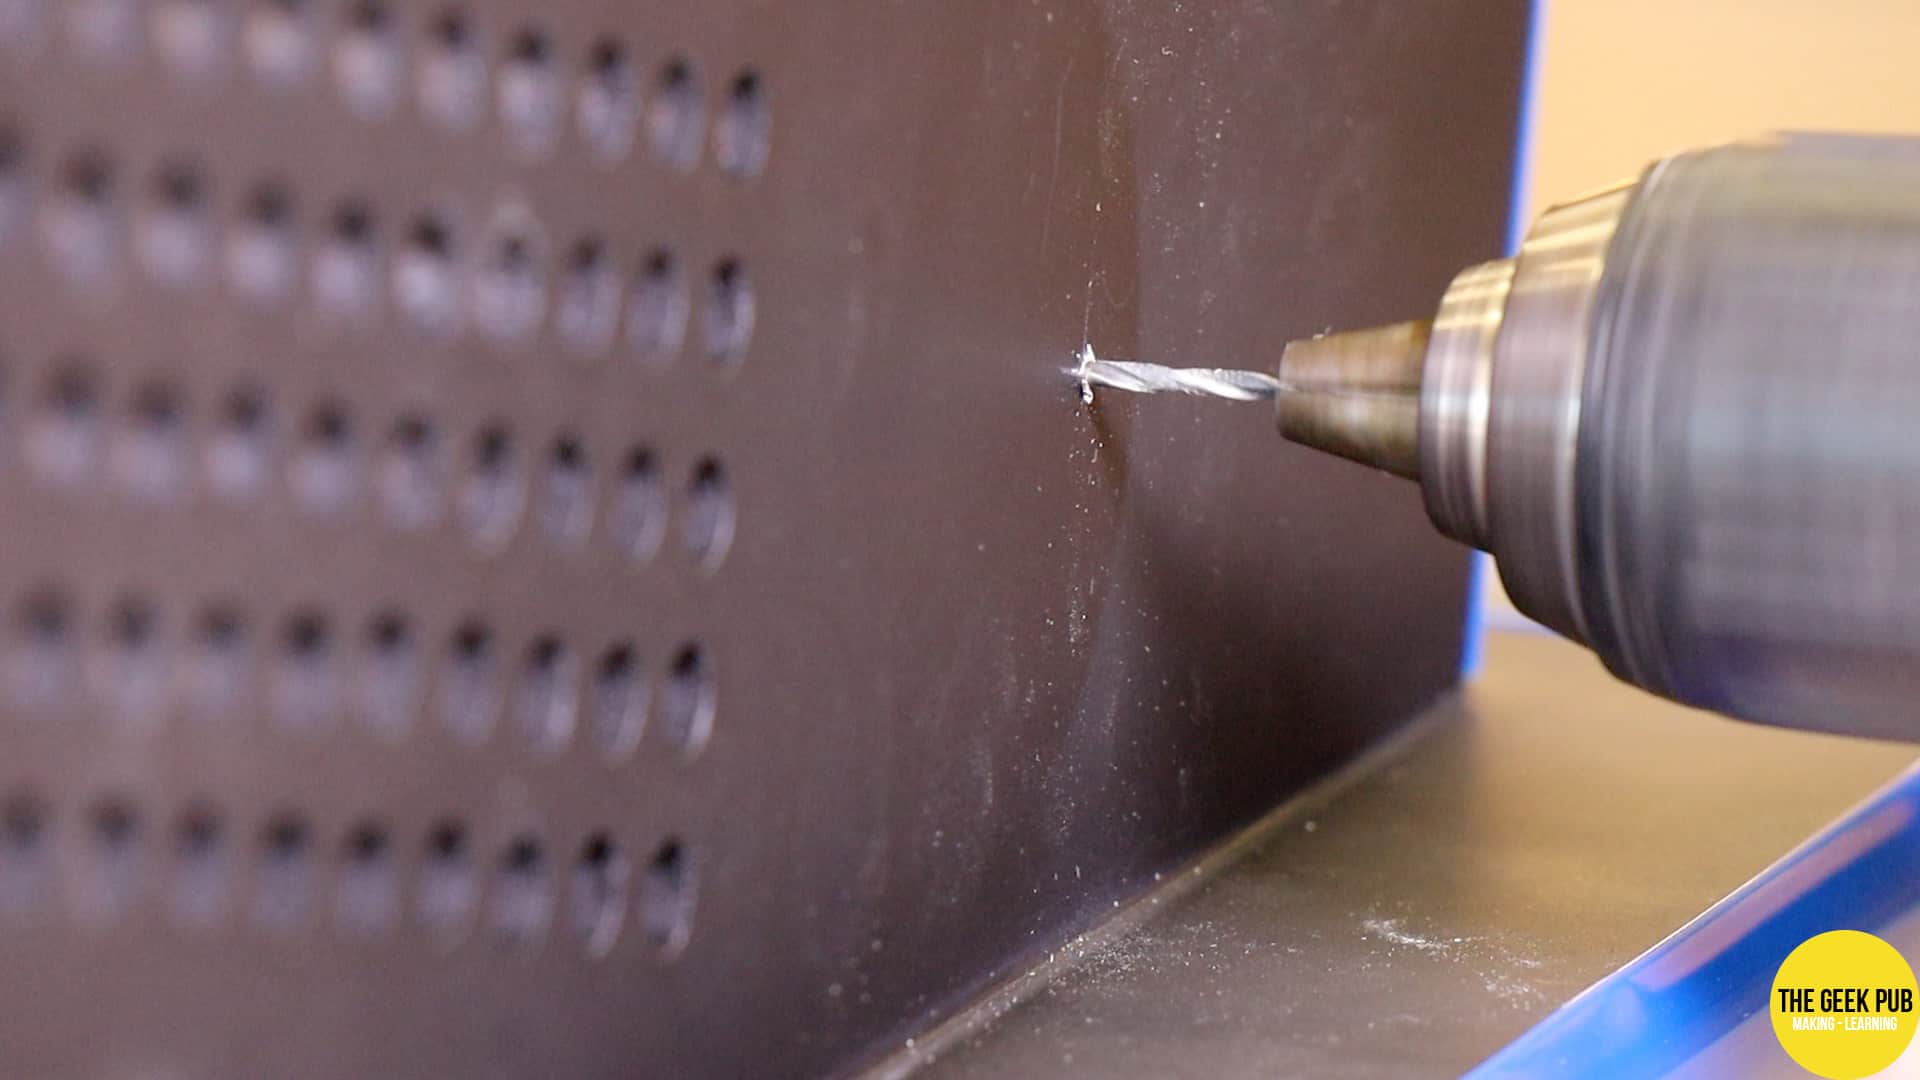
This is accomplished using a 1-1/4″ Forstner bit. First, drill a 1/16″ pilot hole through the arcade cabinet wall. This will give you a reference point on the inside and become the center of the cavity we’re going to bore out.
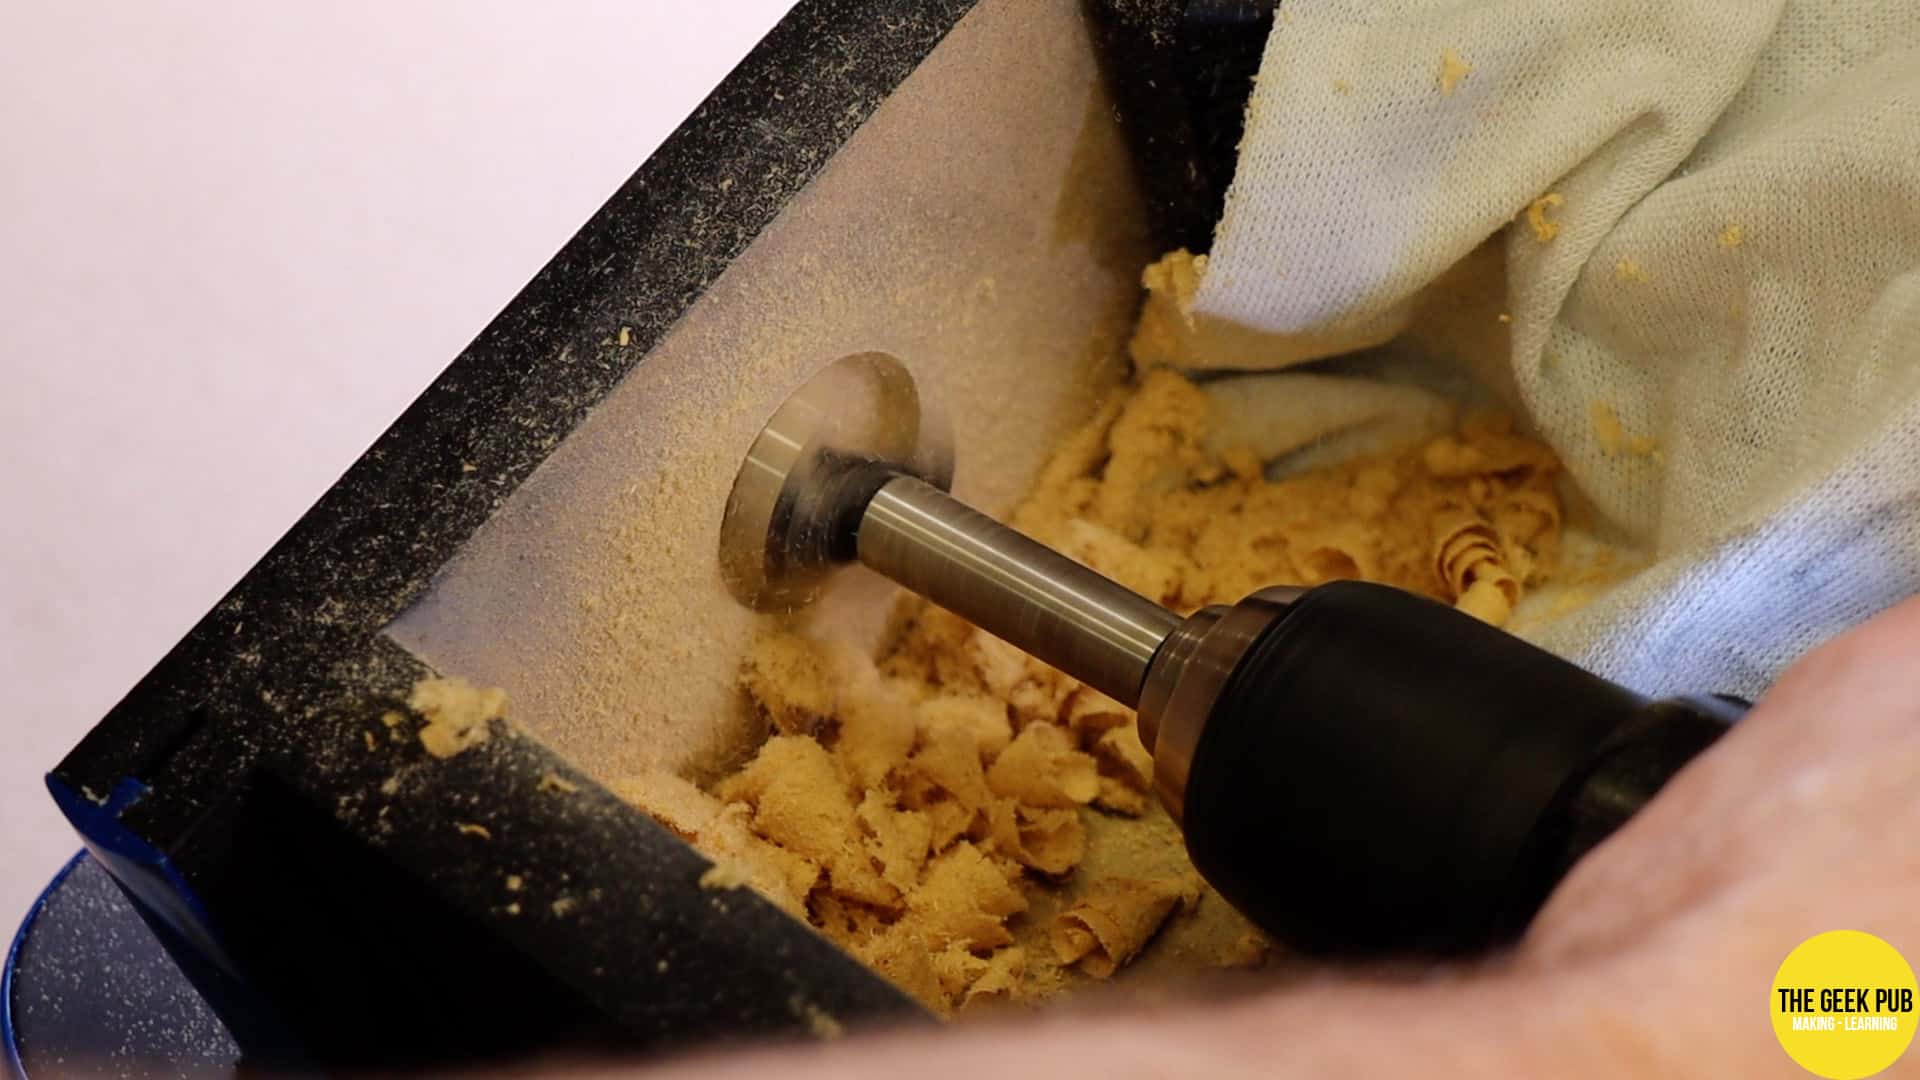
Then use the Forstner but on the inside of the arcade to drill down 1/2″ deep.
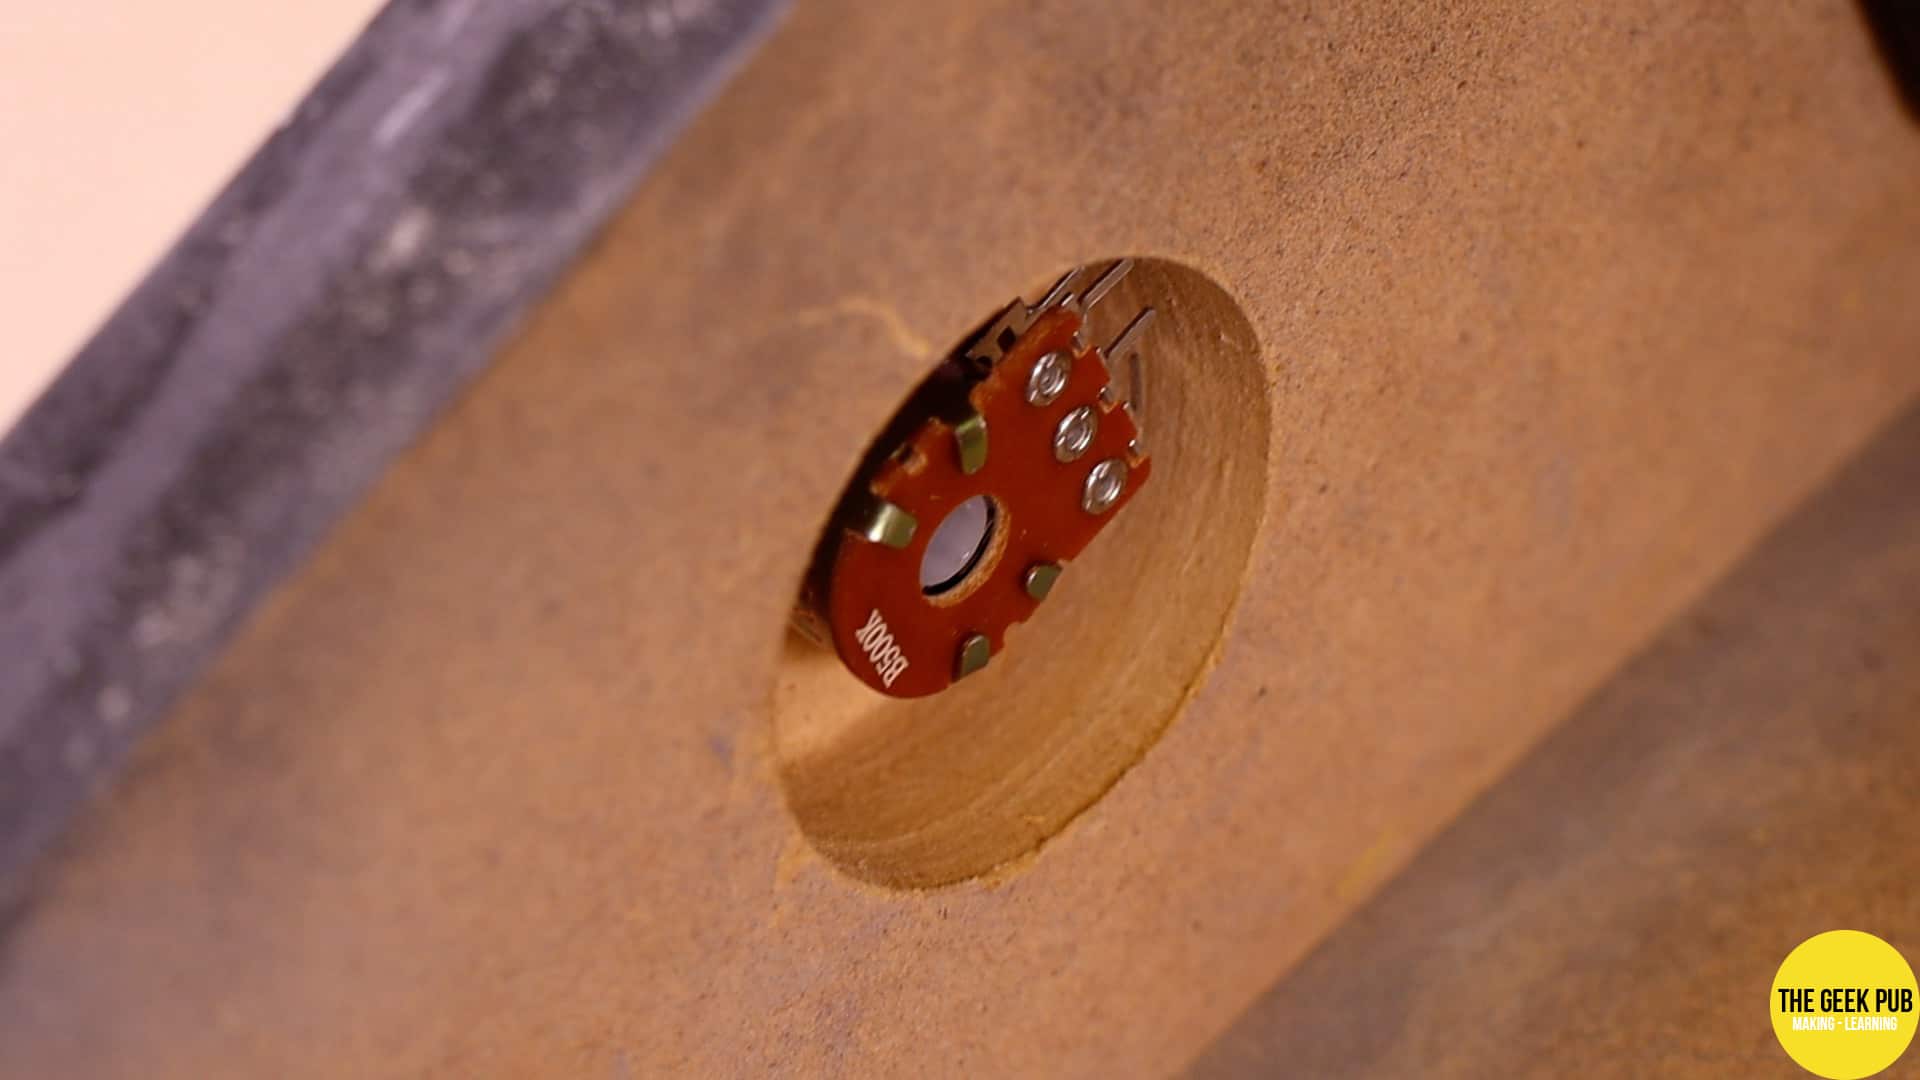
The potentiometer should fit perfectly into the cavity.
Wiring the Volume Control
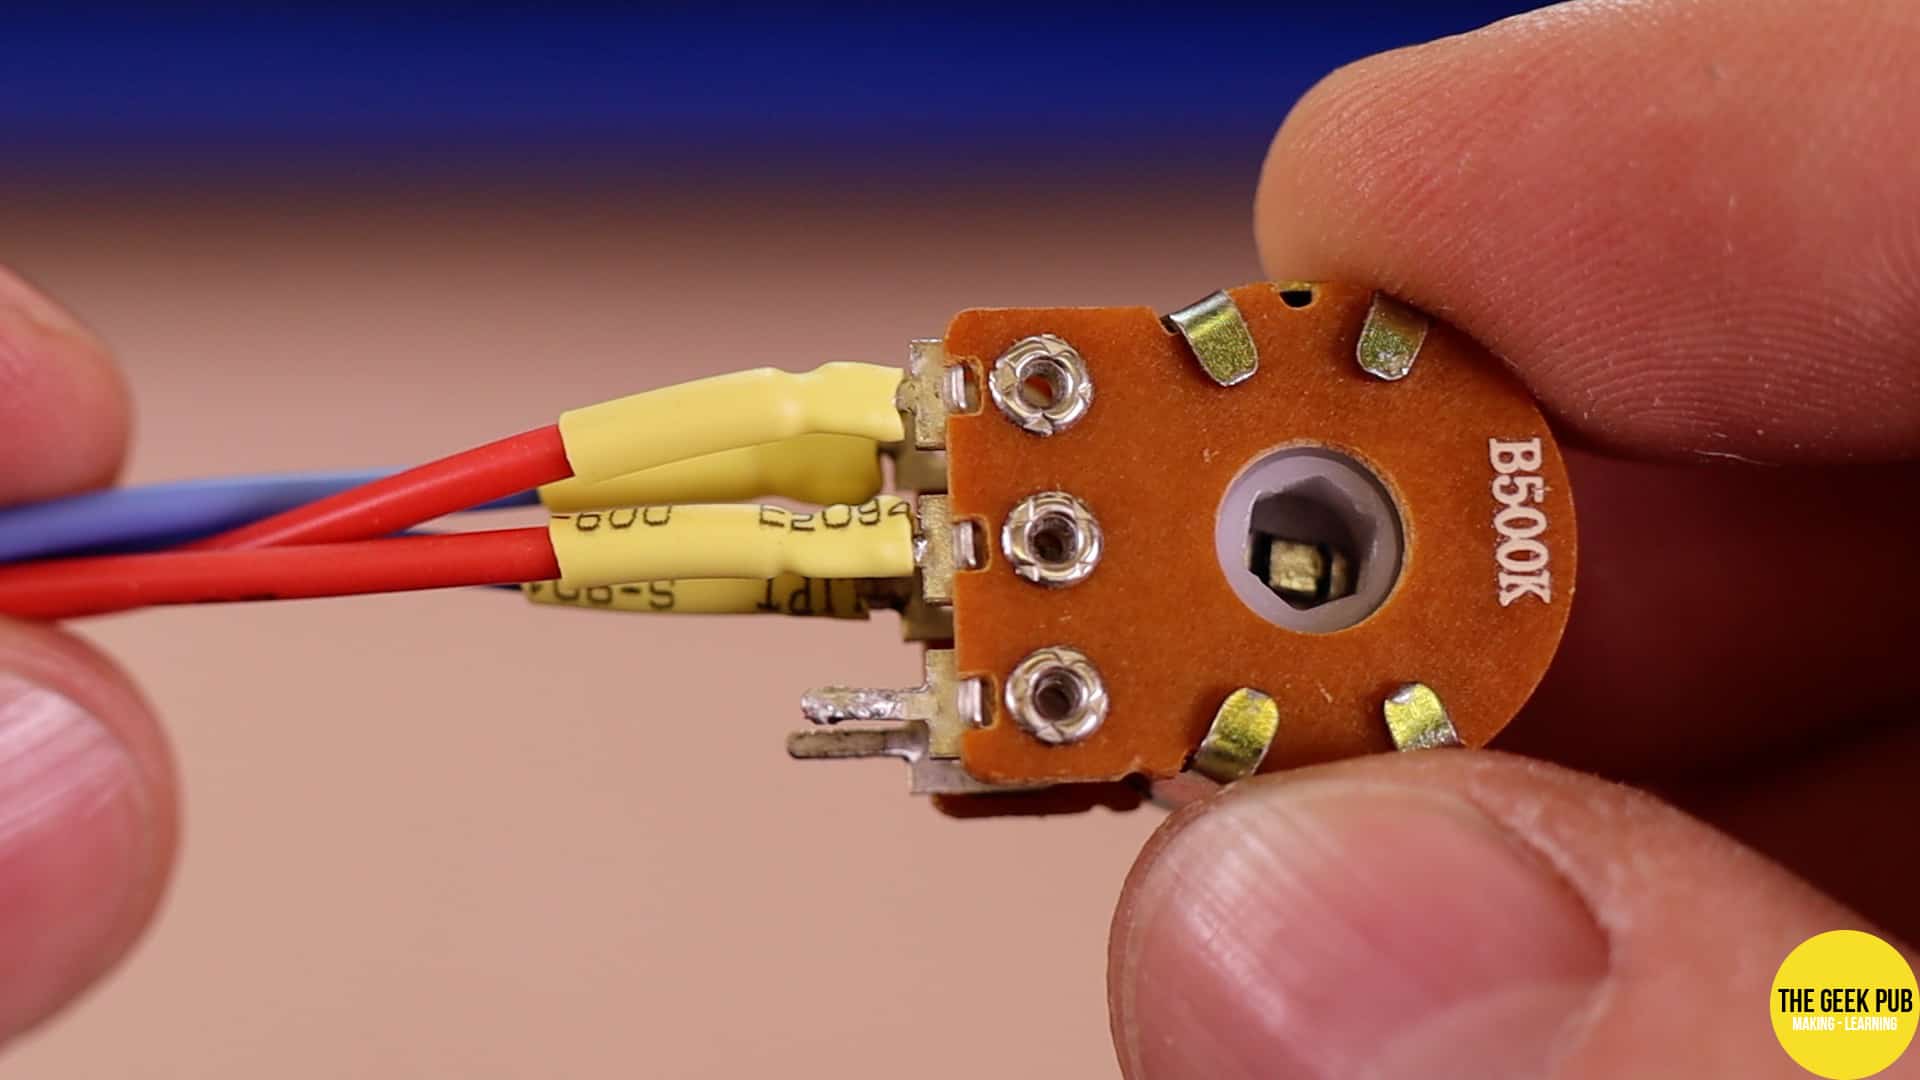
Now it is time to wire everything up and solder the wires to the potentiometer and the jack/plug. Start by soldering the wires to the potentiometer. I chose to go with red for left, and blue wire for right.
After soldering the wires, I always add heatshrink tubing to protect things. Just in case something ever touches the wires it won’t short out. Always use a heatgun to shrink the tubing, rather than a cigarette lighter. Using a cigarette lighter will damage the heatshrink making it hard and brittle, reducing its lifespan and increasing the potential for it to crack.
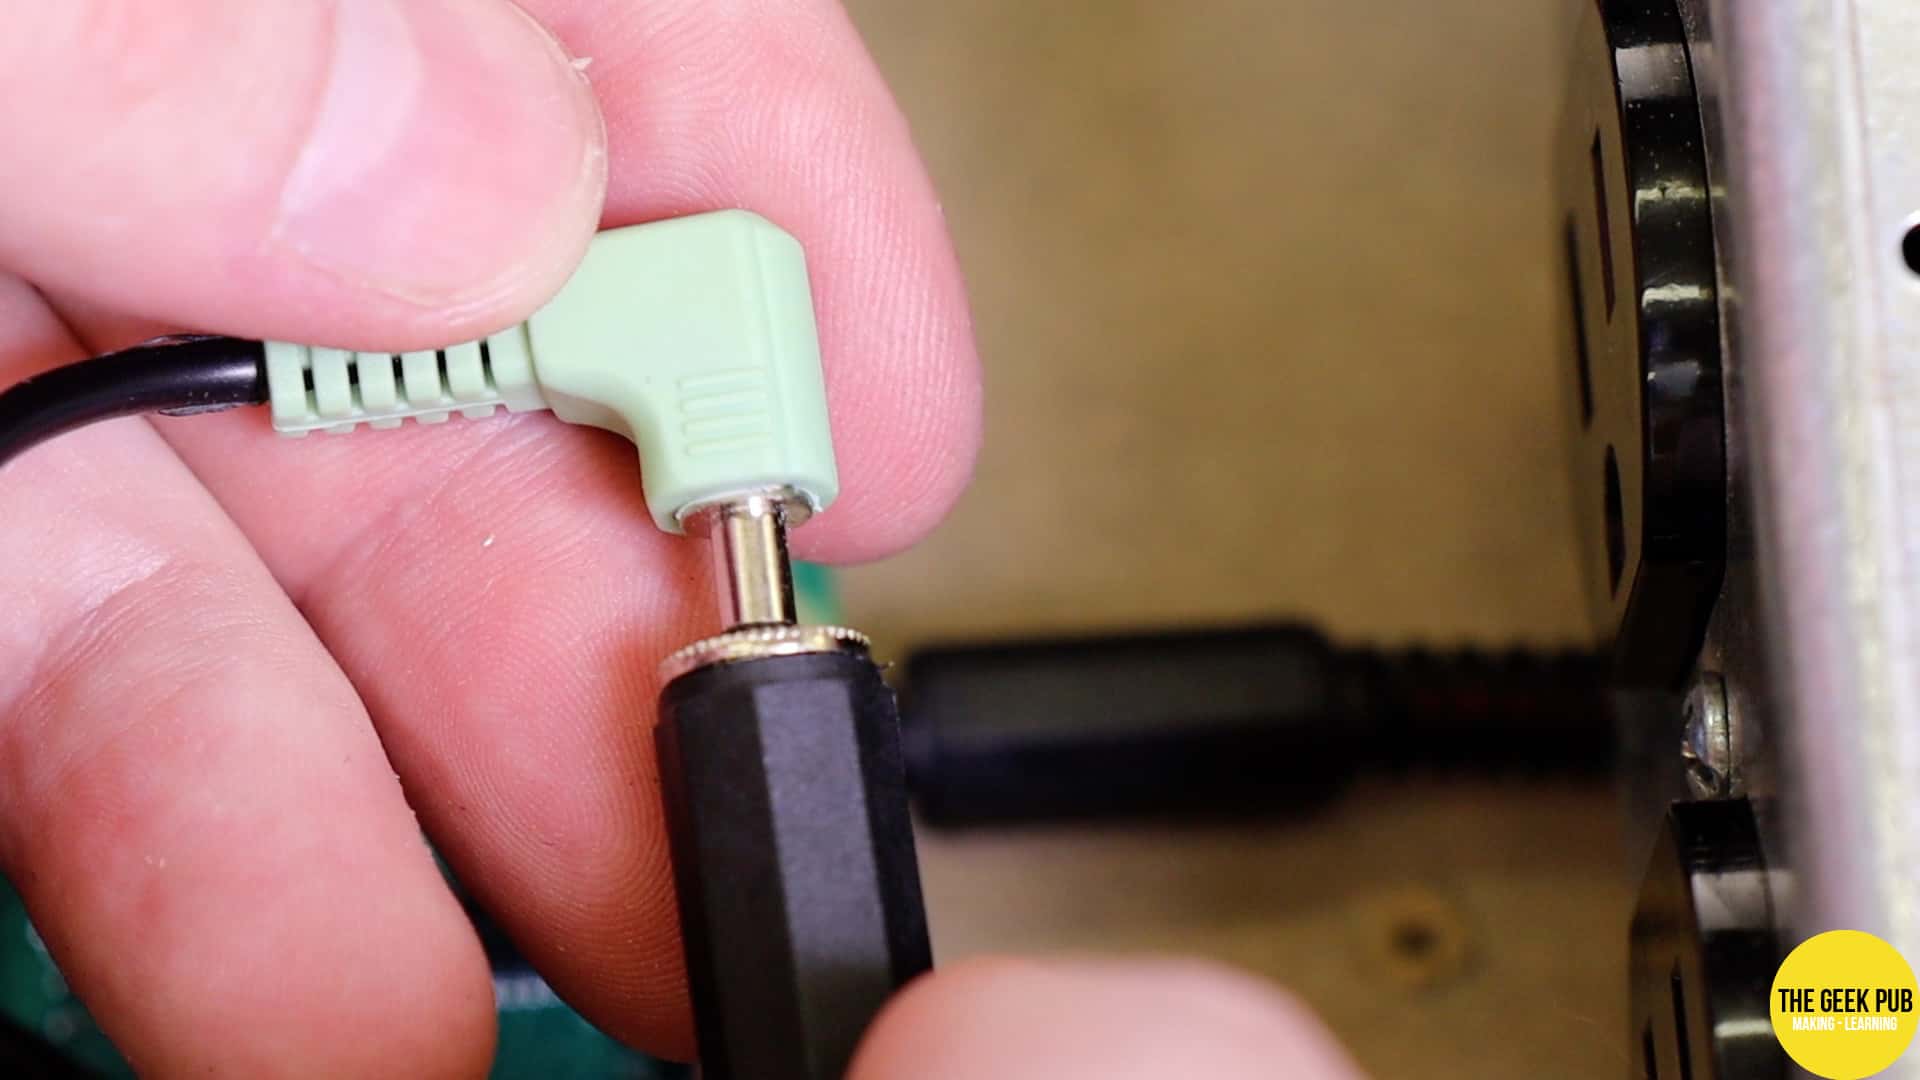
Next up, solder the left and right channels from the potentiometer to the 3.5mm jack and plug. Again, using heatshrink to protect against shorts.
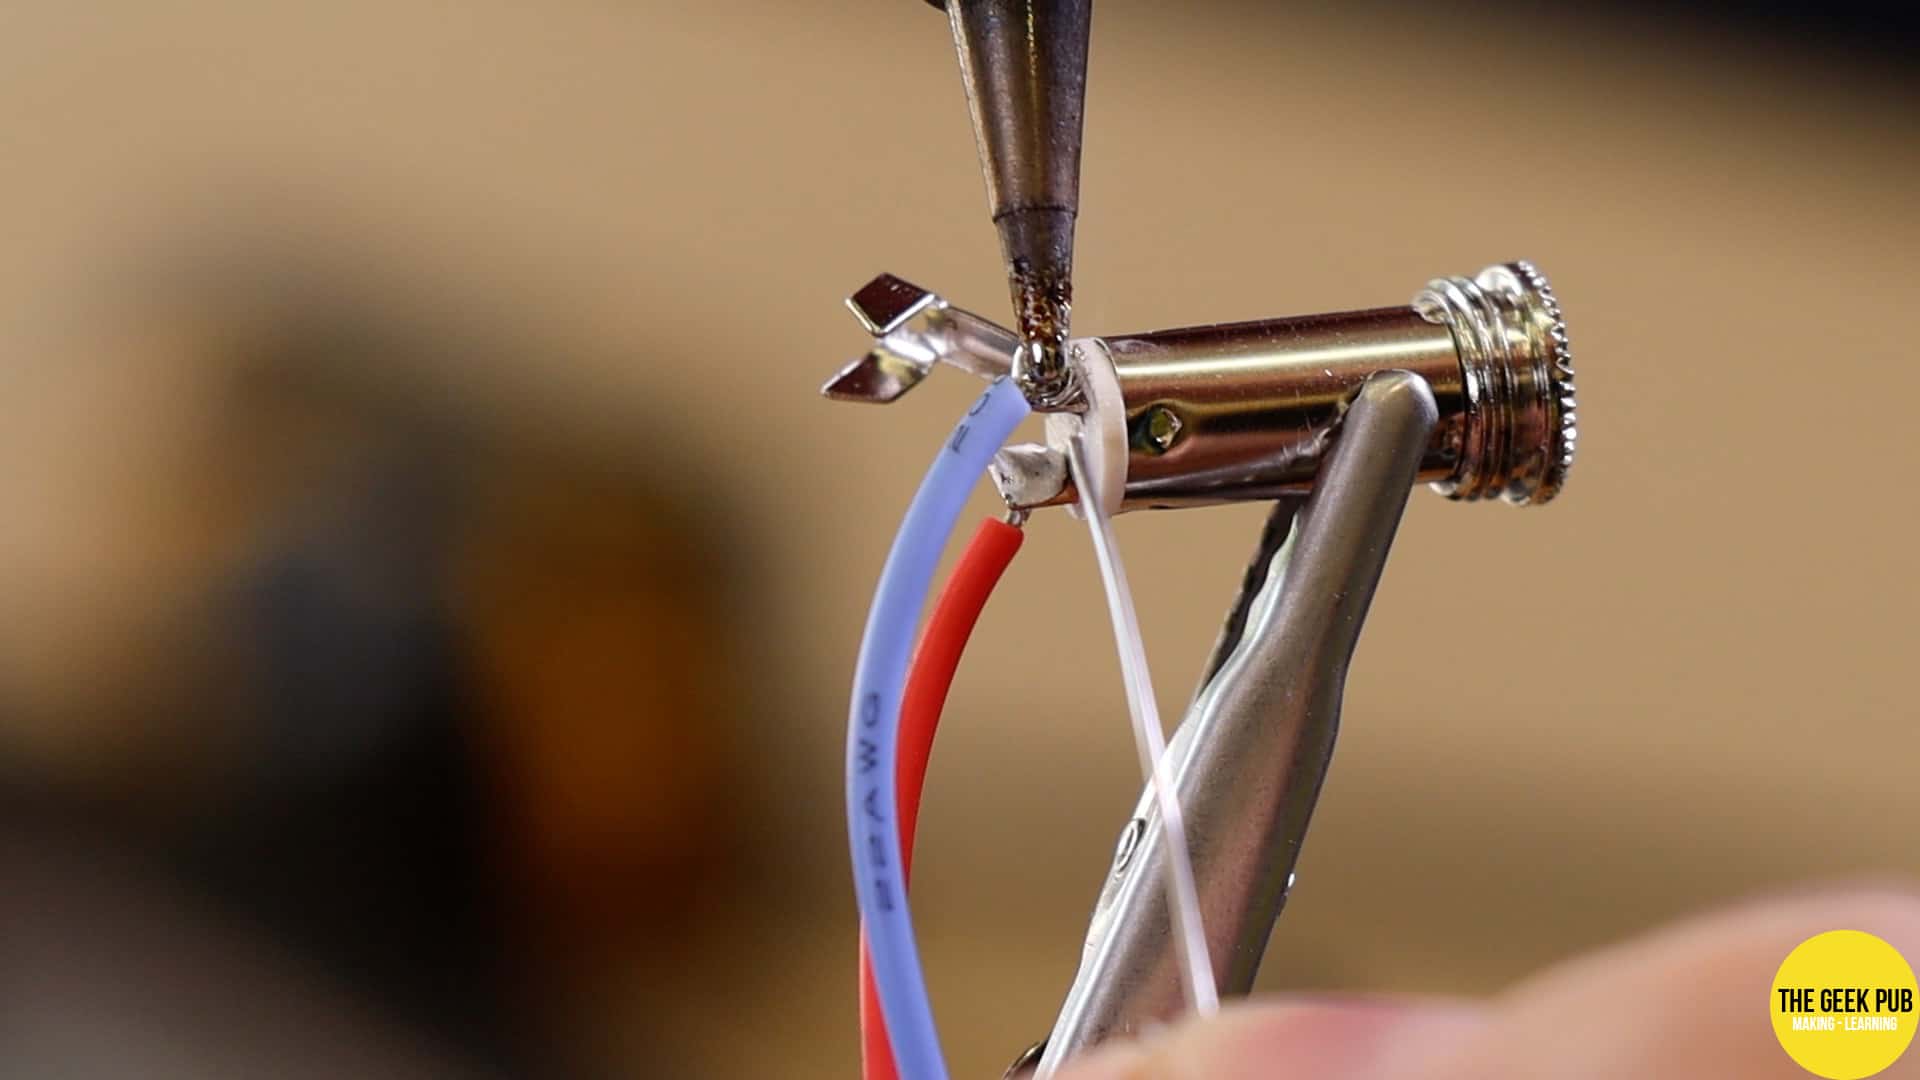
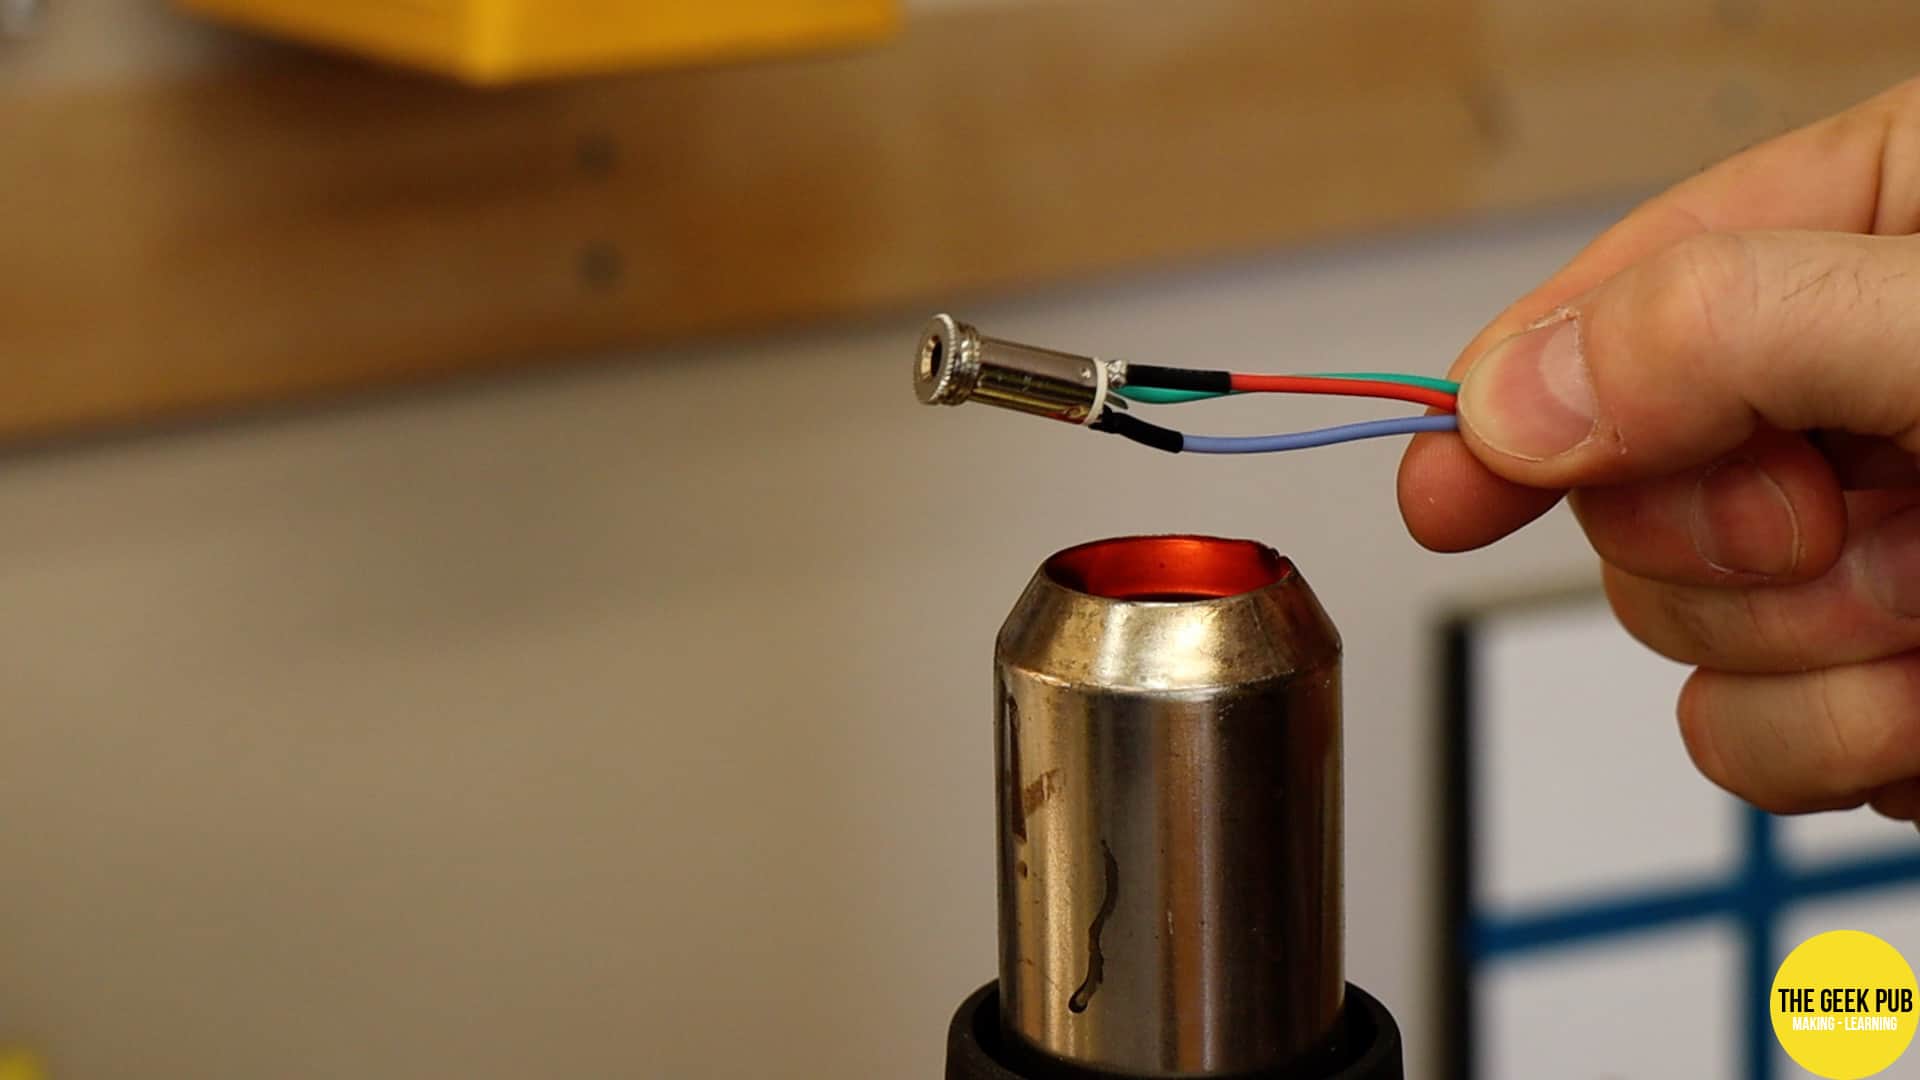
The volume control wiring is now complete and ready to be installed into the arcade!
Installing the Arcade Volume Control
To install the arcade volume control, all you need to do is mount the potentiometer and plug in the wires.
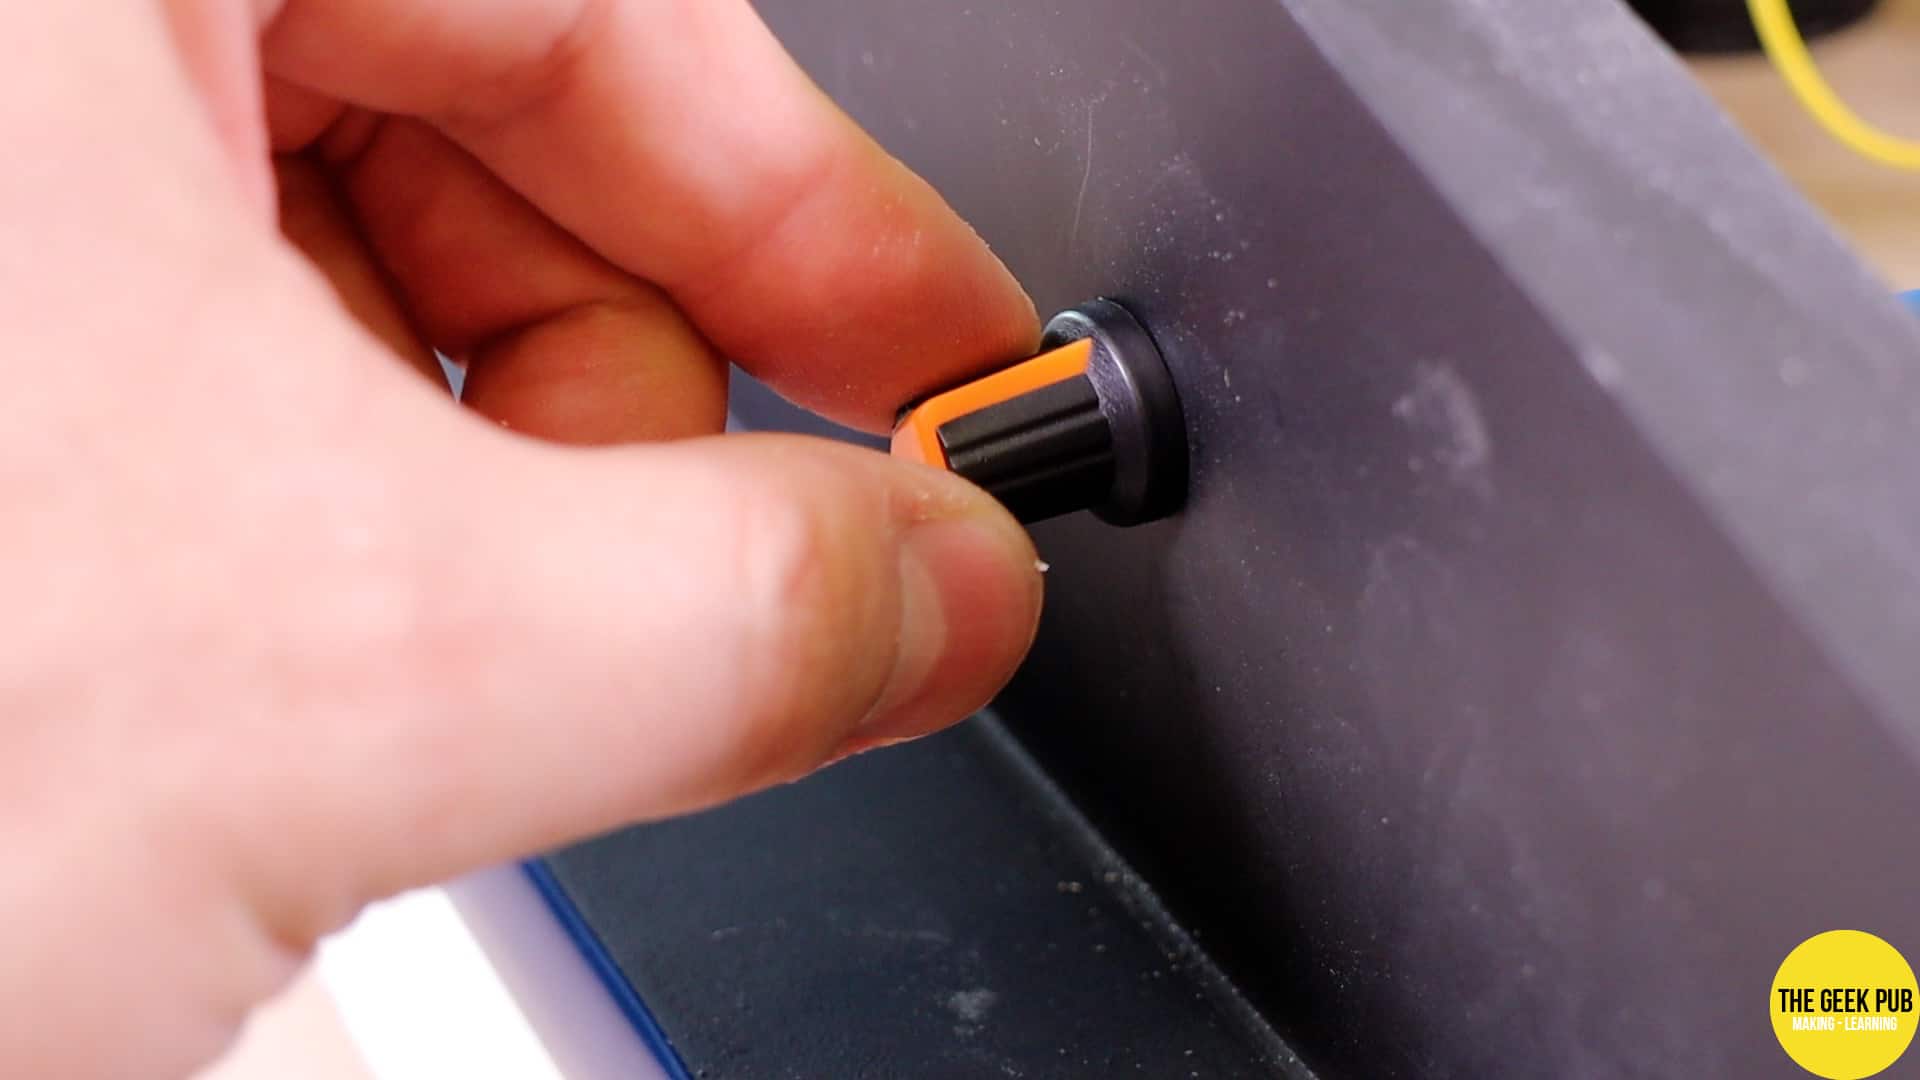
First, we insert the potentiometer into the cavity and secure it with a 1/4″ nut. I installed this cool volume knob I found on Amazon (too bad its gone now).
Next, we plug it in! Unplug your speakers from the
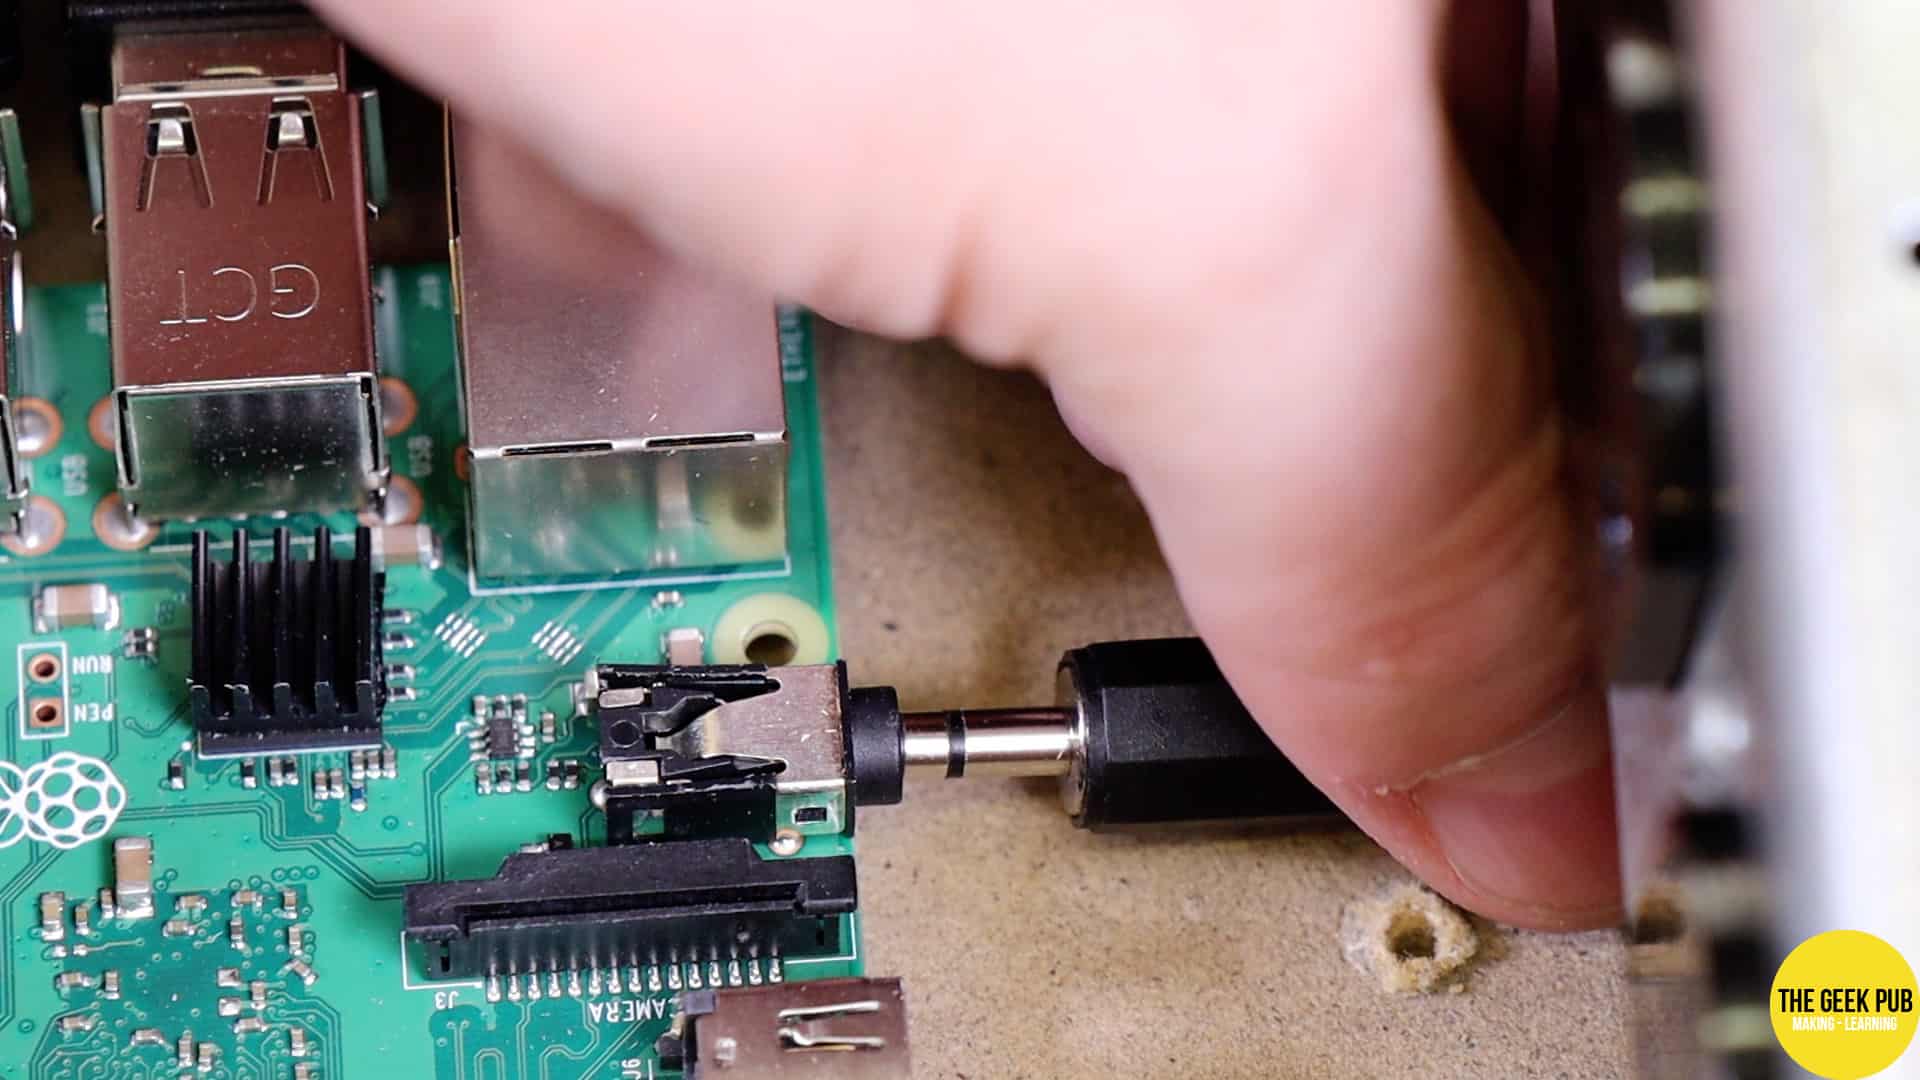
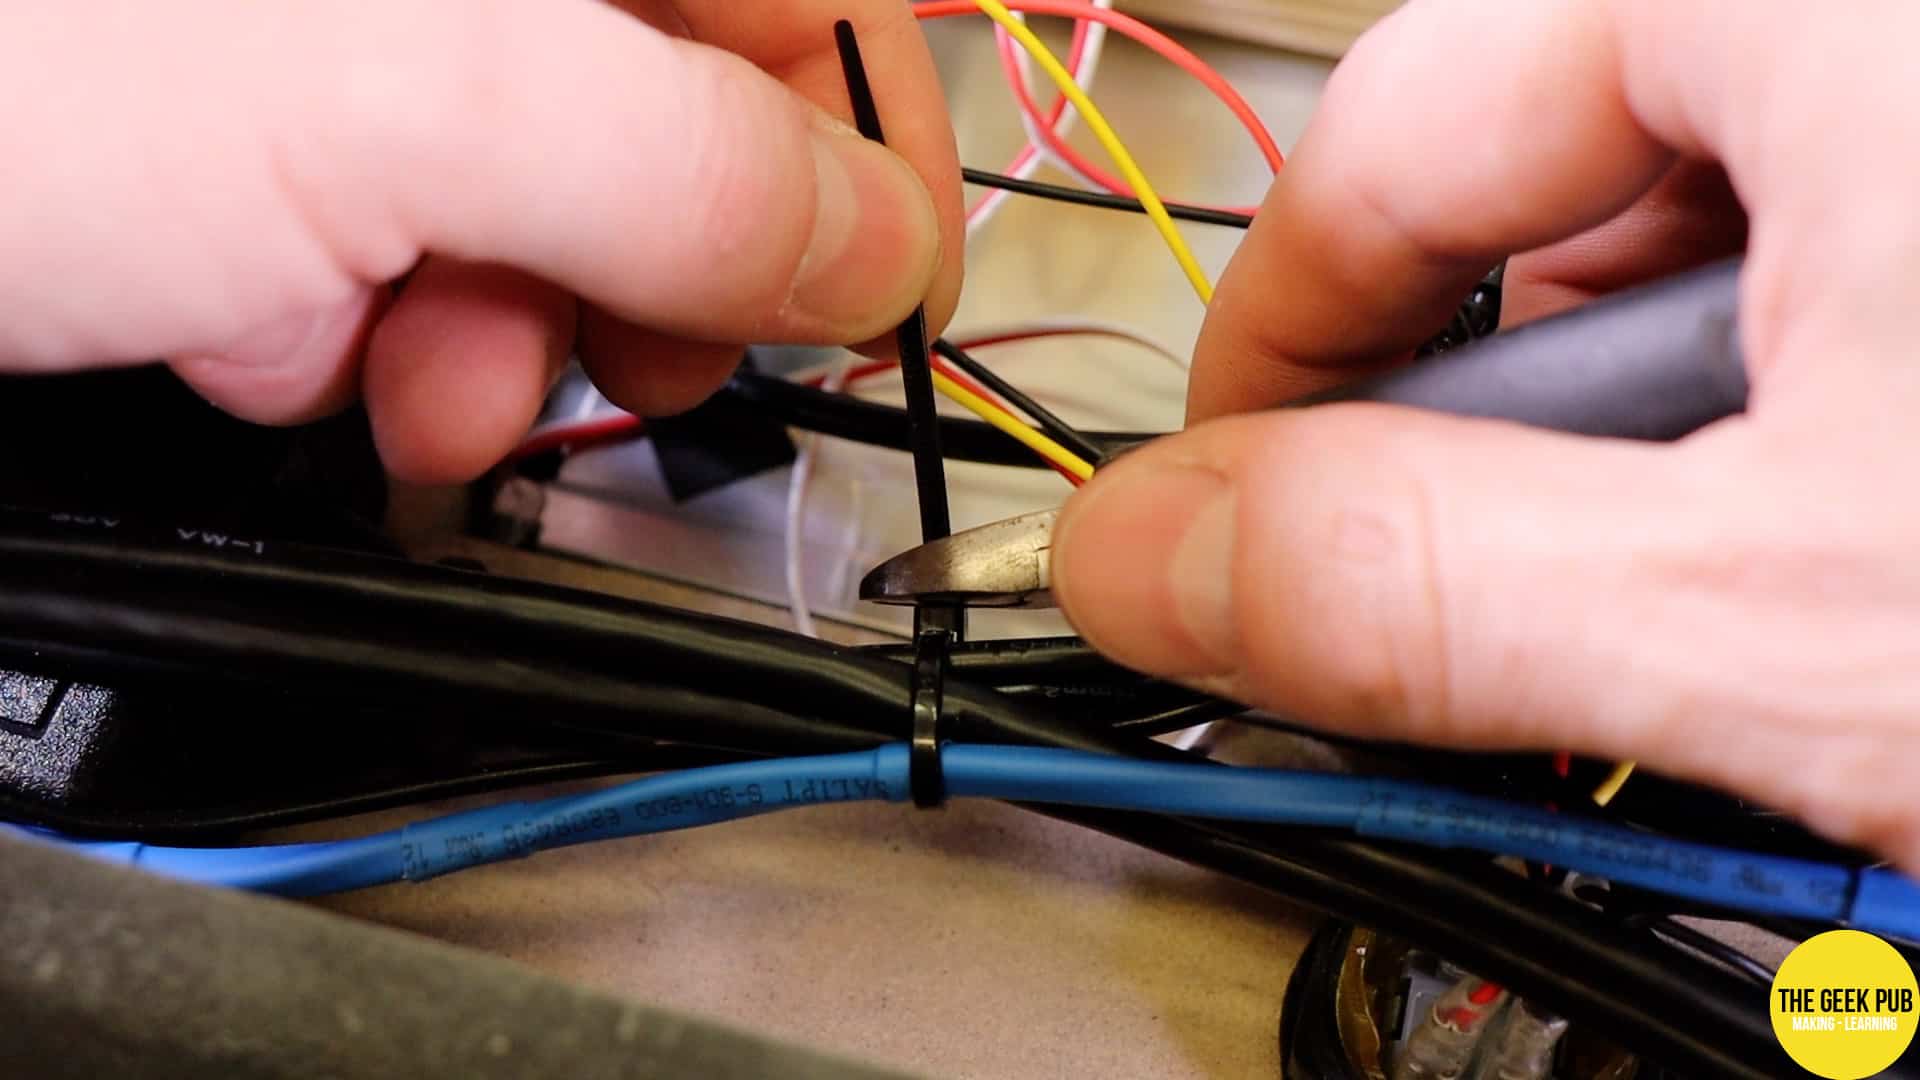
Finally, I zip tied all of the wires in place, just to make sure they don’t fall out or get snagged on anything at a later time.
That’s all there is to adding a volume control to your arcade cabinet!
RELATED: RetroPie Setup Guide


5
Totally adding this to my arcade Mike!
It would be nice and convenient if this was premade, not everyone had good soldering skills or the time to make this wire/knob piece, there’s a mass market for this so anyone wants to make and market this would be a life saver, just some FYI.
hi
Thanks for this guide.
it is working well but i have a parasite sound. Like a breath noise.
without the control volume, there is no parasite noise.
Any tips to prevent it ?
thanks !