Blog
How to make Workbench Doors and Drawers
Video Transcript
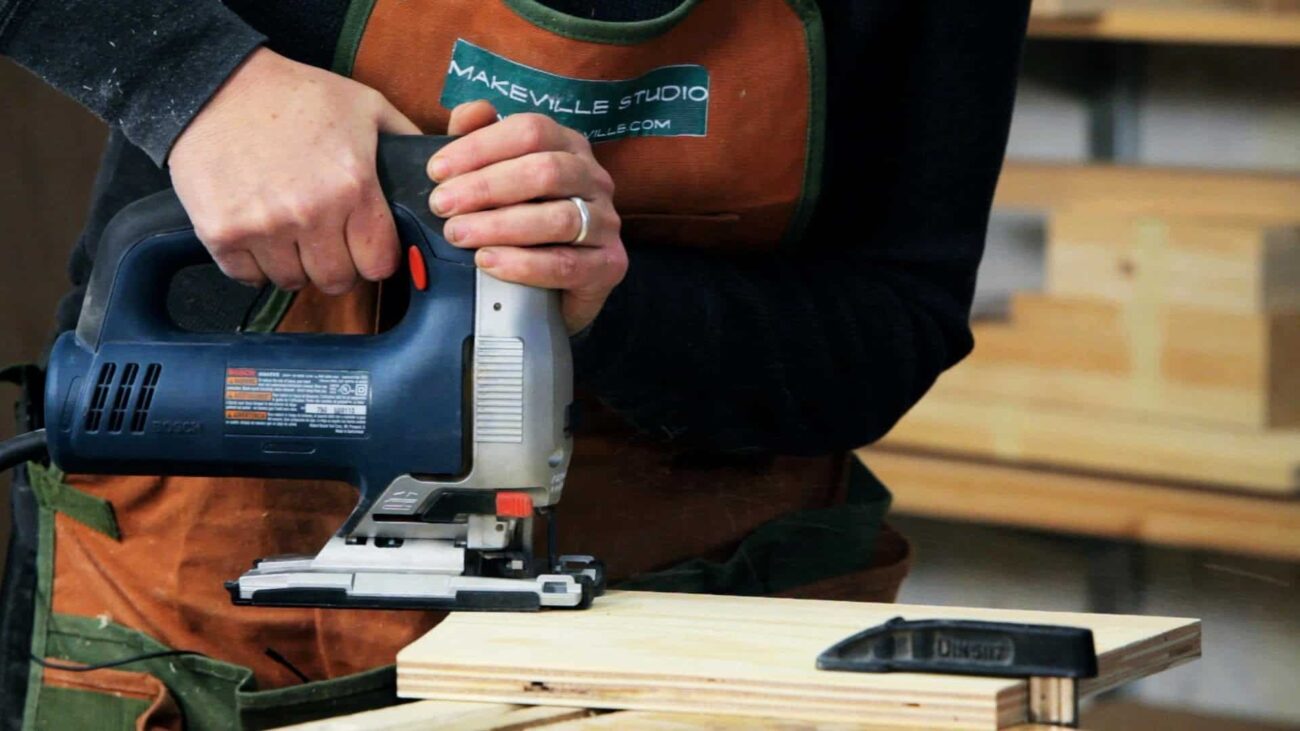
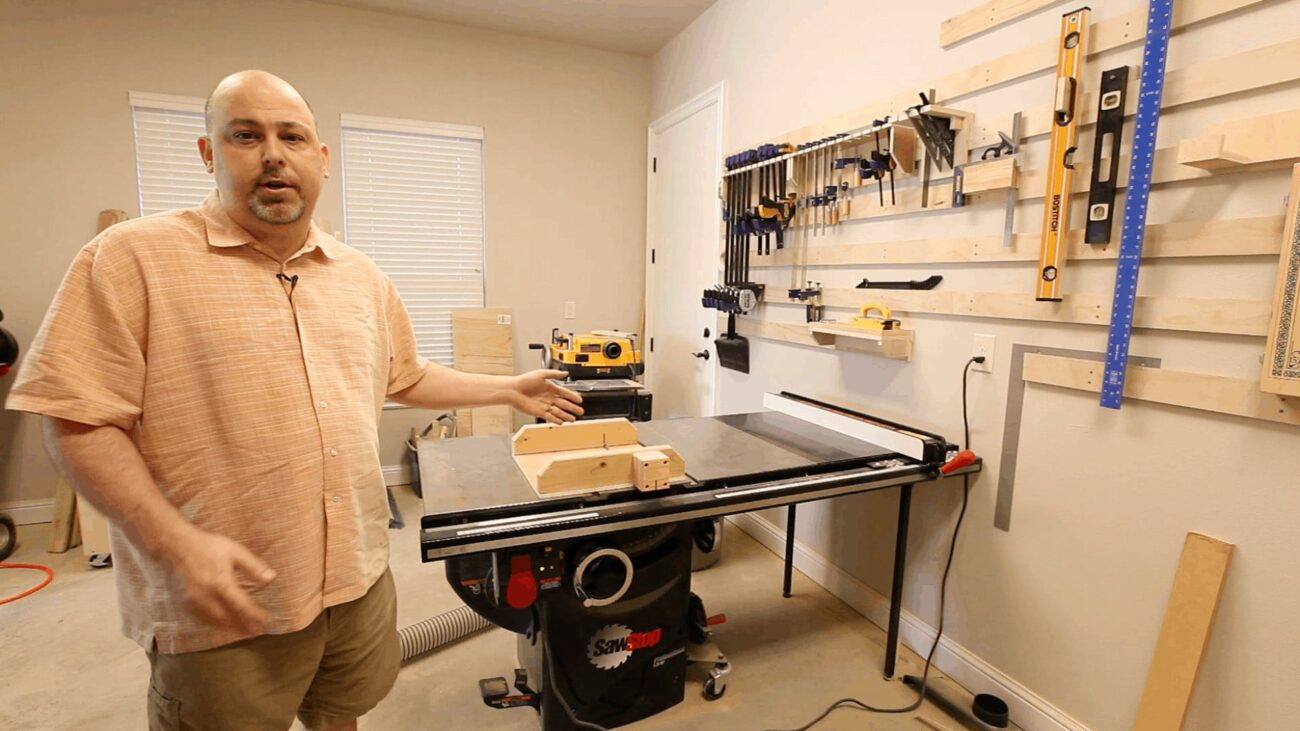
Hey guys, its Mike from The Geek Pub. When we first moved into the new shop, I built a lot of things to get me started, but I left a lot of them half finished. In this case, my work bench! Now, my workbench was designed specifically to have doors and drawers, but if you have any piece of shop furniture with a hole; such as a cabinet or a bookcase, you can use this same method to add door and drawers to your project. So let’s get started!
To get started I cut all of the boards that make the drawer faces, backs, and sides. You can do this in any order you like, but I like to make all of the same width cuts at once so that I never move the fence on the saw. This ensures they all exactly match.My table saw isn’t really setup for cutting down large sheet goods like 4×8 plywood, so I jut use a guide bar and my circular saw to cut them down to size to ensure I keep everything square and straight.
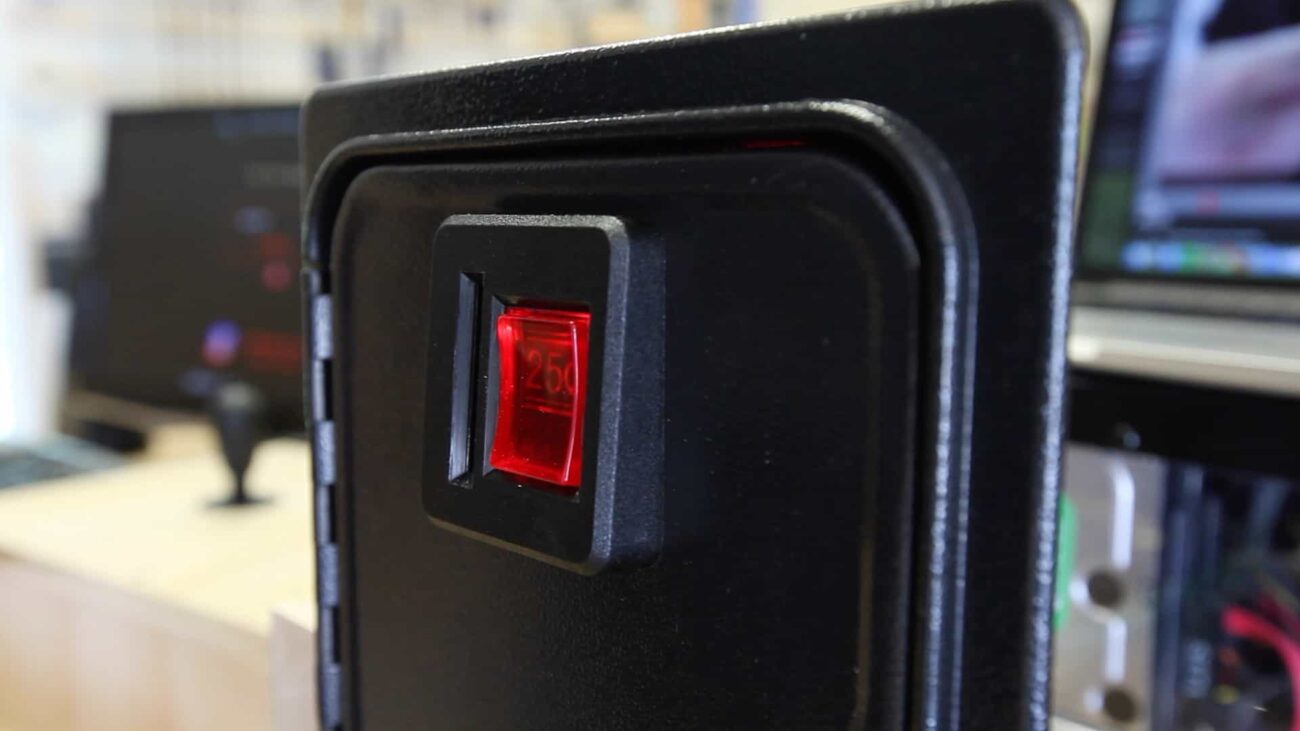
This leaves us with a nice stack of boards, but I want my drawers to be really strong as I plan to store large and heavy items in them. That mans I need Dado cuts. And that means I need to install the dado stack on the Saw Stop. To do that, we’ve got to remove the regular blade and change the safety brake cartridge over to the dado cartridge. There’s just a single pin that holds it in place. This brake cartridge is what stops the blade in case of contact with human skin. It simply slides over two guide rods and then locks into place with the pin.
Here, sped up 10x, I install the dado stack, with the correct spacers to cut 22/32’s slots for plywood. And then I just put the zero clearance insert back in place.
All of the drawer sides, backs, and faces need to have a dado cut in them. Our drawer bottoms will slide into them and be locked into place. I also cut rabbets into the sides of the faces and backs to add a little strength to those joints. And then back to large sheet of plywood so I could cut out the drawer bottoms. I cut them to their final dimensions on the table saw. This is when I really wish I had an outfeed table!
To assemble everything I used glue and brad nails. The glue really does all the work. The brad nails just hold it together until the glue cures. Once i had all the drawers assembled I set them aside to let the glue dry. And once they were ready I started installing all of the cabinet slides on them. It’s important to measure these carefully so they slide correctly and stay level.
When pushing in the drawers the first time, you have to push pretty hard until the bearing seat. Then they’ll open and close easily from then on. I prefer to make my doors and drawer faces from a single sheet of plywood. This way, when they’re installed the wood grain will all match and look great! People will think you’re a pro!
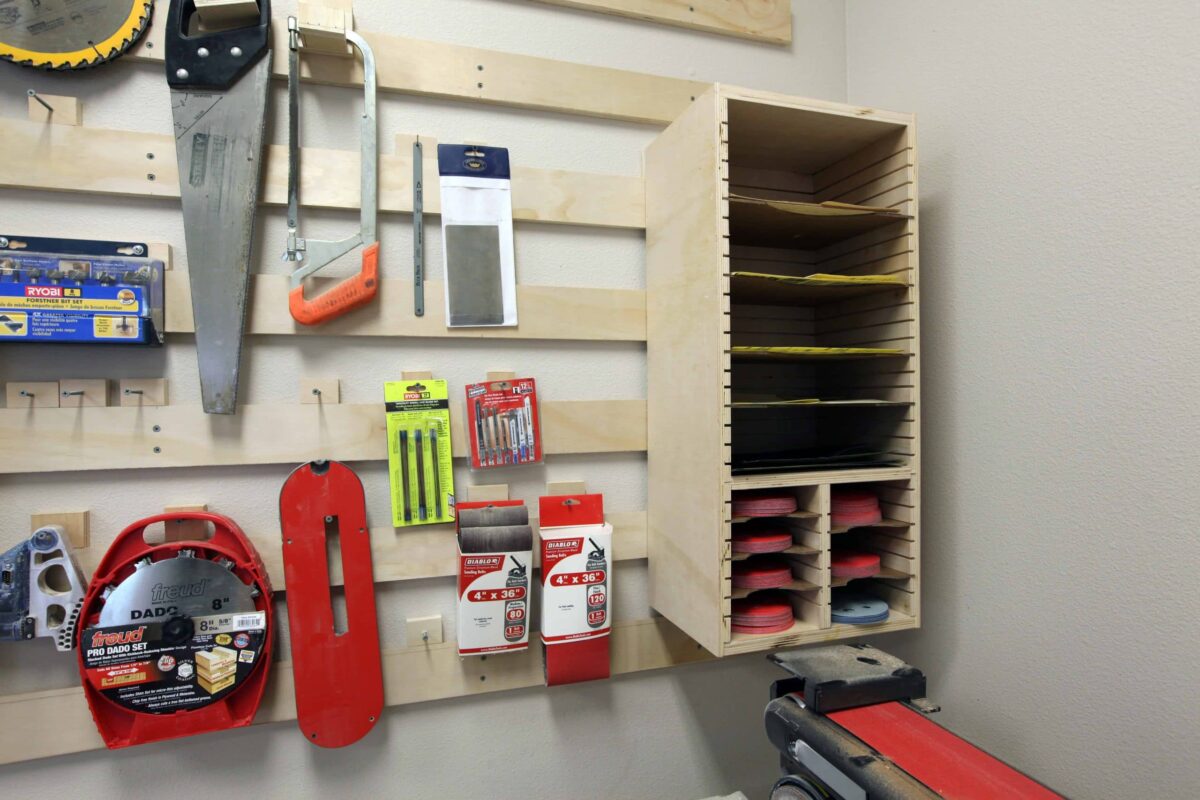
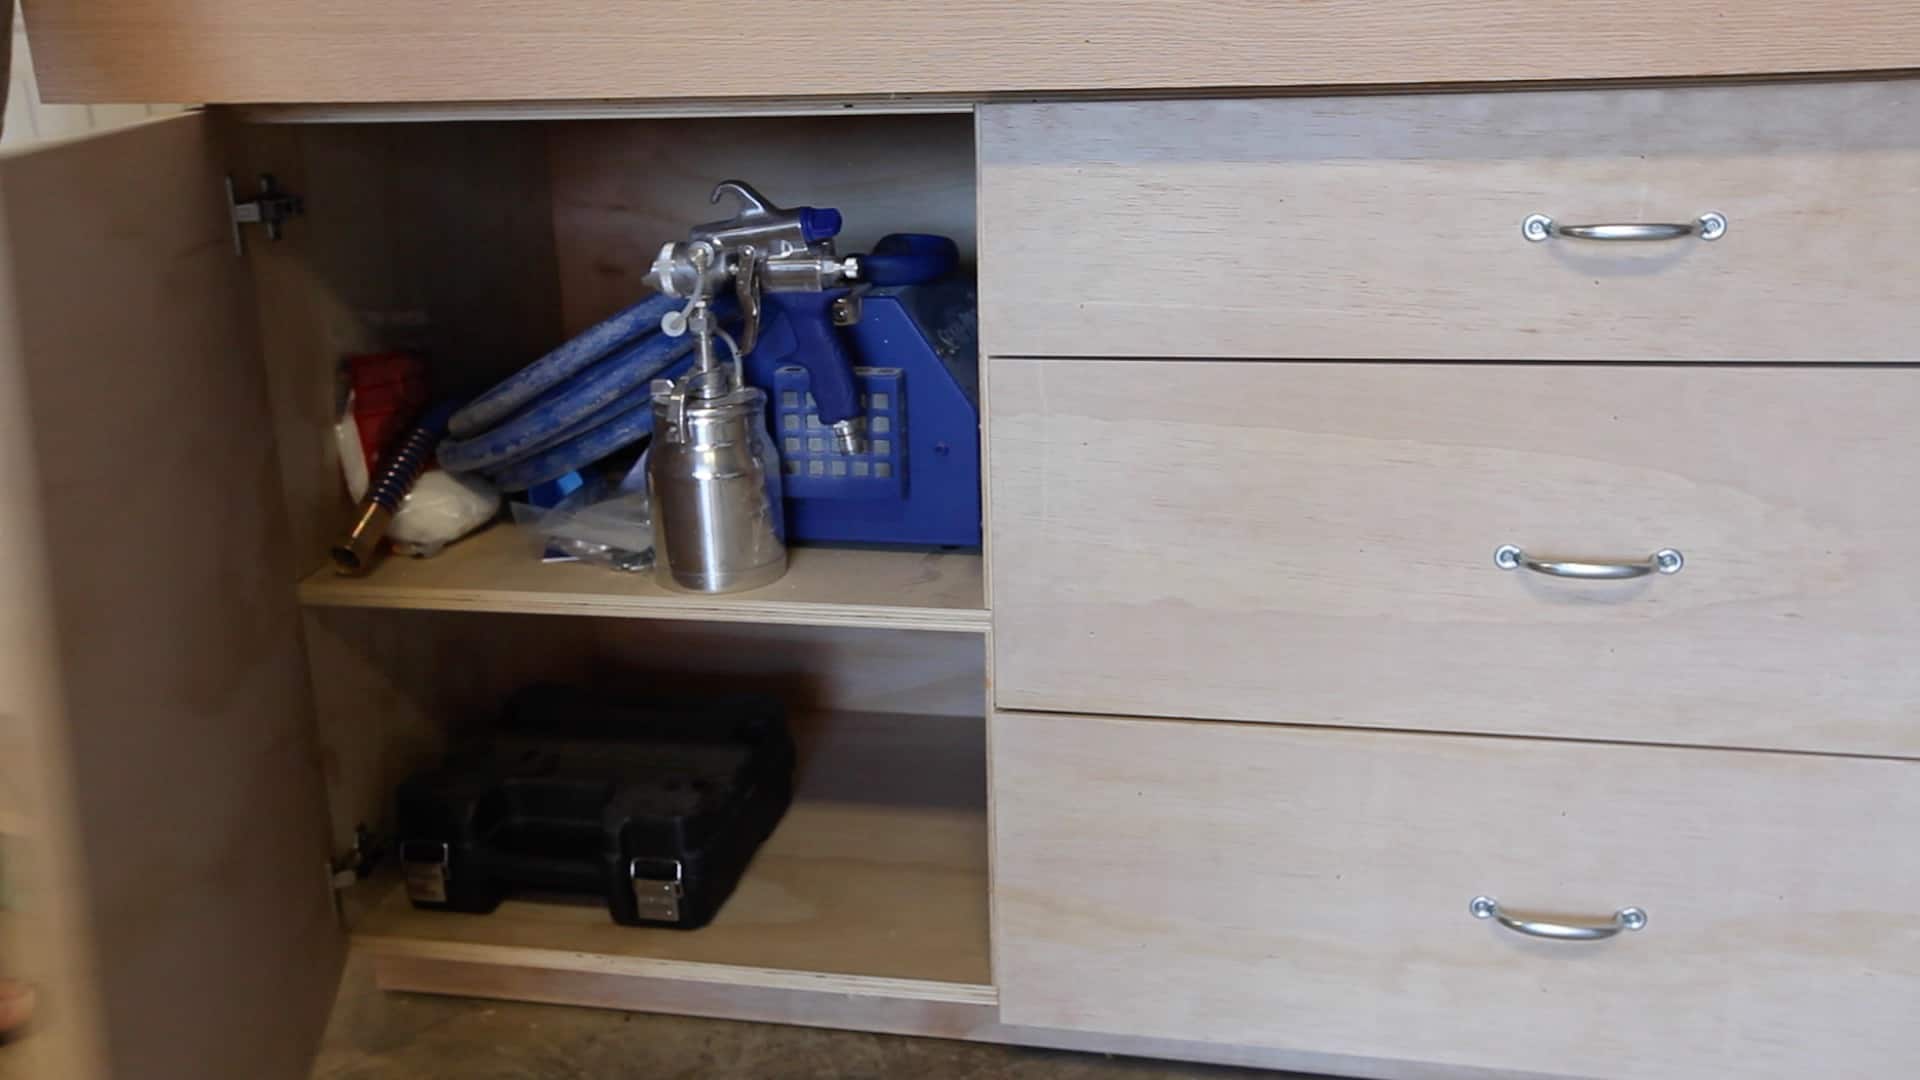
I used some clamps and spacer block to sit the doors on so I could line them up and mark them for the hinges. Then I used the drill press and a forstner bit to drill the hinge pockets. I just used regular european style cabinet hinges since they we’re going to support any weight, and there’s all kinds of little adjusters to get them lined up perfectly. Again using some glue and brad nails I attached the drawer faces. I was sure to put them on in the right order so that all of the woodgrain lines up.
And finally to finish everything off I added some drawer pulls from the local big box store. Now that I’m finished its time to fill them up with all the tools still in boxes from the move. You’ll get to see this paint gun in action in my next video!