Blog
Setup a Raspberry Pi Wireless Access Point
Did you know that the
Now, we’re going to be honest and tell you upfront that with some of the entry level
Parts List for this Project
Here’s a quick parts list for this project to get you started quickly:
- Raspberry Pi 3
- Raspberry Pi power supply
- Raspberry Pi case (case with fan)
- 32GB microSD card
- Ethernet cable
- Wireless keyboard
How to Setup a Raspberry Pi as Wireless Access Point
Now let’s move on and learn how to setup a
RELATED: Installing Raspbian on a new Raspberry Pi
As we mention at the beginning of most every article, we keep these articles updated so that they remain fresh and are accurate for the latest version of the software. Almost every problem reported to us with out tutorials is due to an old version of Raspbian. Please take a minute to update your Pi to the latest version before you begin. You can use the following commands to update your Pi:
[code language=”bash”]
sudo apt udpate
sudo apt ugprade
[/code]
Be sure to reboot your Pi after this by using the sudo reboot command to make sure everything is clean after this upgrade.
[box type=”info”] We recommend that your
NAT vs. Bridging RPi Access Points
Before we begin, we need to explain something. There are two ways to setup a
- NAT mode – The RPi acts as a router and NATs all traffic behind it to a new network. It acts as a DHCP server, and a DNS server for clients.
- Bridge mode – The RPi simply passes traffic as-is between your wired and wireless networks.
Most of the tutorials online focus on NAT mode. This is a really bad way to go. It basically means all wireless devices connected to your
In our tutorial we’re going to do it the right way using bridge mode. This is will make your RPi act just like a normal wireless access point and simply pass all traffic between the wired and wireless networks (unless you specifically block something with IPTables).
If you happen to need NAT mode, we will cover that in a future tutorial that will be linked here.
Installing hostapd and bridge-utils
Now its time to actually get to the meat of things and start installing packages. The first two we are going to install are hostapd and dnsmasq.
- hostapd – This is the magic bit of software that turns your wireless network card into an access point. It will do most of the heavy lifting for this project.
- bridge-utils– This software bridges two network adapters in order to pass traffic between them.
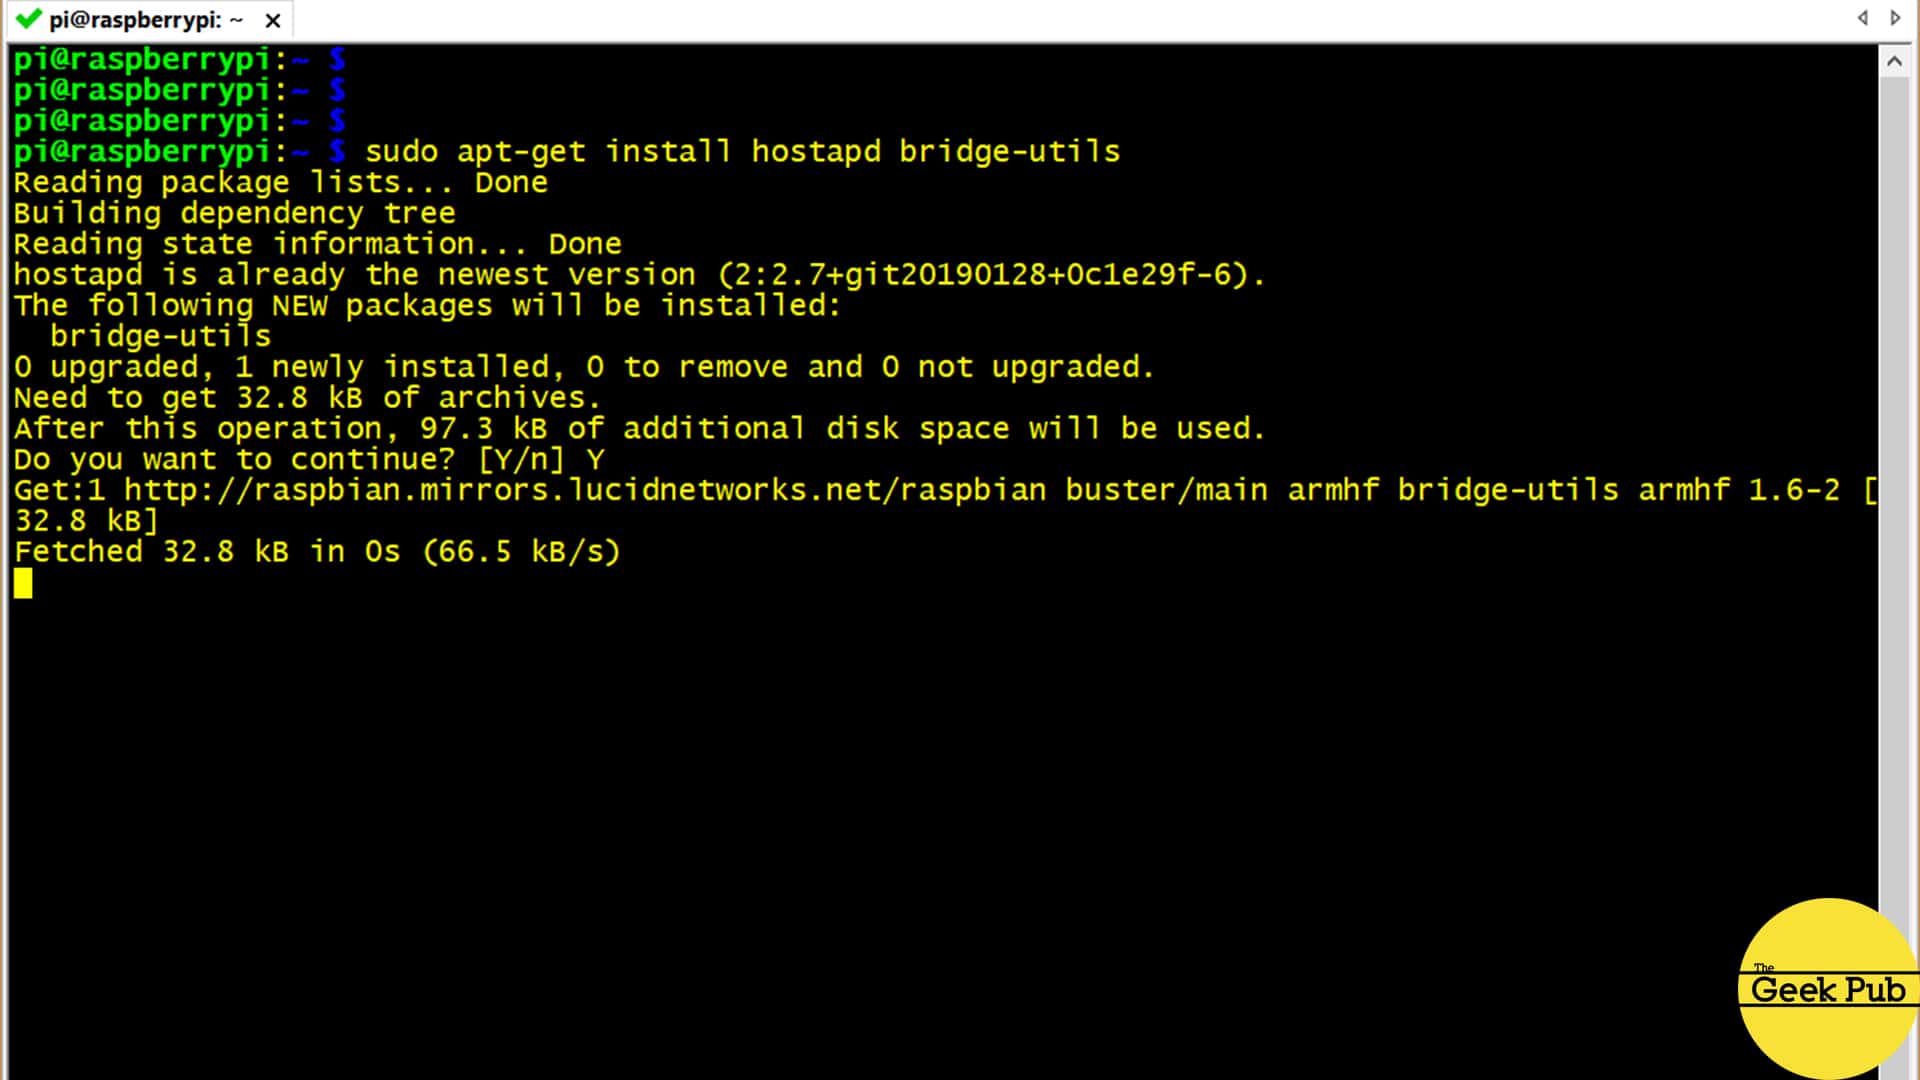
To install these, issue the following commands:
[code language=”bash”]
sudo apt install hostapd bridge-utils
[/code]
You’ll need to answer the confirmation prompt and then the software will install.
Configure DHCPD and Interfaces for Bridge Mode
In order to turn our
Edit dhcpcd.conf as follows:
[code language=”bash”]
sudo nano /etc/dhcpcd.conf
[/code]
You’ll want to add the following lines at the end of the file:
[code language=”bash”]
denyinterfaces eth0
denyinterfaces wlan0
[/code]
This configuration will prevent both ETH0 and WLAN0 from getting addresses from the DHCP client services. This is important, because we only want our virtual bridge interface BR0 to get an IP address.
Now we need to create that bridge and assign it our two interfaces, along with configuring how it gets its IP address. Edit the interfaces file with the following command:
[code language=”bash”]
sudo nano /etc/network/interfaces
[/code]
If you’d prefer your
[code language=”bash”]
# AP Bridge setup
auto br0
iface br0 inet dhcp
bridge_ports eth0 wlan0
[/code]
This will tell our RPi AP to get its IP from the network DHCP server (most likely your router/firewall), and that eth0 and wlan0 are to the bridged interfaces.
If you’d like to use a static IP address, the configuration looks like this (replace with your address and network info):
[code language=”bash”]
# AP Bridge setup
auto br0
iface br0 inet static
bridge_ports eth0 wlan0
address 192.168.1.5
netmask 255.255.255.0
network 192.168.1.0
broadcast 192.168.1.255
[/code]
Setting up hostapd
The next step is to setup hostapd to off up our SSID and network to users. To do this edit the following file:
[code language=”bash”]
sudo nano /etc/hostapd/hostapd.conf
[/code]
And now add the following lines (it should be empty):
[code language=”bash”]
interface=wlan0
driver=nl80211
ssid=YourSSIDHere
hw_mode=g
channel=7
wmm_enabled=0
macaddr_acl=0
auth_algs=1
ignore_broadcast_ssid=0
wpa=2
wpa_passphrase=YourWPA2PasswordHere
wpa_key_mgmt=WPA-PSK
wpa_pairwise=TKIP
rsn_pairwise=CCMP
[/code]
Now we need to tell hostapd where its configuration is. Edit the following file:
[code language=”bash”]
sudo nano /etc/default/hostapd
[/code]
Add the following line to the end of the file:
[code language=”bash”]
DAEMON_CONF="/etc/hostapd/hostapd.conf"
[/code]
That’s all the heavy lifting, let’s enable and start up the hostapd services! Enter the following commands:
[code language=”bash”]
sudo systemctl unmask hostapd
sudo systemctl enable hostapd
sudo systemctl start hostapd
[/code]
At this point, you’ll be able to see the SSID being broadcast, as well as connect to it from your smartphone, tablet, or laptop. However, traffic will not yet pass.
First. we need to enable IP forwarding by editing this file:
[code language=”bash”]
sudo nano /etc/sysctl.conf
[/code]
Uncomment this following line (remove the # sign from the front of the line.
[code language=”bash”]
net.ipv4.ip_forward=1
[/code]
Now we need to add masquerading for the Eth0 interface so that it can pass traffic for others:
[code language=”bash”]
sudo iptables -t nat -A POSTROUTING -o eth0 -j MASQUERADE
[/code]
And permanently save it so that it works on reboot:
[code language=”bash”]
sudo sh -c "iptables-save > /etc/iptables.ipv4.nat"
[/code]
And edit rc.local with following command:
[code language=”bash”]
iptables-restore < /etc/iptables.ipv4.nat
[/code]
and add the following line just above “Exit 0″.
[code language=”bash”]
iptables-restore < /etc/iptables.ipv4.nat
[/code]
Now reboot your
Connecting to Your Raspberry Pi Wireless Access Point
On any device except your
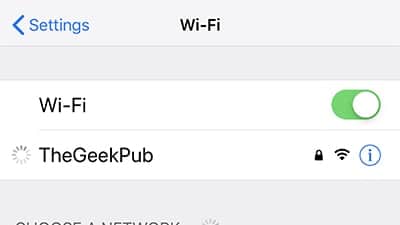
It should only take a few seconds and you should be on the network and able to browse the internet!
I was only able to get about 55 megabit with a

Now there are definitely some cons to using a
- It won’t be as fast as a real access point.
- Limited capacity to handle multiple users.
- The Pi antenna is limited.
- No support for MIMO or any other advanced handling of clients.
But there is one huge pro. Its super cheap and super fast to setup. If you’ve got a
[adinserter block=”5″]


5
Bridge mode for the win!
Super cool idea! You come up with neat stuff I never thought of.
Could you use this same technique to bridge two wired networks?
Yes, but you would need a USB ethernet adapter because the Pi only has one network port.
Can I add more than one wireless dongle and do multiple SSID?
Actually, you can add more than one SSID without adding any hardware.
Hi, thanks for the tutorial. I can see and connect the wifi hotspot on my Pi, but when I connect to it from other devices like a phone I get “no internet available” but I am able to connect to the internet through my PI. I want to use dinamic IP’s. Any suggestions?
Hello Mike, nice tutorial, quick question I cannot connect to via SSH to ma raspberry, any suggestions to get that working?
Could this be used, for the opposite? A (transparent) wireless bridge.
Would this work for a Camper moving from 1 place to another. An A.P. requires that I connect all WiFi Units with the new password. What would be preferable would be to log the Raspberry to the new network and everything else would be logged onto it already. Most Campground WiFis are slow
so speed is not the issue. Any Thoughts on this? TY
When I run the command to permanently save the iptables rules I get an error:
sh: 1: gt: not found
Even if I run the iptables command manually my Android phone will authenticate fine but it does not get a DHCP address from the DSL router.
This comes from a display problem in the article, in which the html code is displayed instead of the > (“greater than”) or < ("less than") redirection character.
Amplifying my preceding reply, here are a couple of additions to an otherwise great piece.
1) The iptables commands inside the quotation marks in the article need to read
iptables-save > /etc/iptables.ipv4.nat
and
iptables-restore < /etc/iptables.ipv4.nat
2) To avoid the problem reported by Pete above, the hostapd.conf should start without the "driver" line but with a "bridge" line (thanks to github.com/SurferTim/documentation/configuration/wireless/access-point.md):
interface=wlan0
#driver=nl80211
bridge=br0
…
Cool… Would either method be better if I want to play with R Pi robots talking to themselves? I assume that as an access point one connected device can still http or other protocol into the pi acting as the access point. Is that correct?
Still doesn’t work for me. I connect and get a proper IP, but tells me it can’t connect to the Internet. After a few seconds it ends up just dropping the connection. Every time I try to join after that it immediately drops.
Could a WPS button be added? I’m trying to connect a TV which doesn’t let me enter a code. I think the TV is faulty, but I want to give this a go.
OK, so I did a fresh install of Raspbian and when through this again. It works fine with my iPhone and a Win10 PC. But everything takes a dump the moment I connect my Pixel 3 to it. The Pixel 3 connect, but claims to have no Internet. Then the wifi disappears and I can’t do anything until I reboot the Pi. So appears something doesn’t play nice with Android.
Thank you! This helped me out a lot!
0.5