Blog
How to Setup a Raspberry Pi Plex Server

The Plex media server is probably the most popular home media server software, right next to Kodi and XBMC. Indeed, we here at The Geek Pub run Plex as our media server of choice. It’s elegant, simple, and works with almost every streaming device and console around. Plex has clients for Apple TV, Roku, XBOX, iOS, Android, and just about anything else you can think of including Smart TVs! For the longest time Plex was only available as a client for the
RELATED: Setup the Best Raspberry Pi Plex Client
Setting Up a Raspberry Pi Plex Server
To get started with this project you’re going to need a few things. Of course, you’ll need a
Parts list for this project:
- Raspberry Pi 3 Model B+
- 32GB MicroSD card
- Raspberry Pi case
- Raspberry Pi power supply
- 64GB USB Memory stick or 1TB USB Hard drive
Install and Update Raspbian
If you’ve not done so already, you’ll need to install and update Raspbian. If you’re not sure how to install Raspbian for the first time, we have guide on that process. It’s quite simple.
You can update Raspbian to the latest version by running these simple commands:
[code language=”bash”]
sudo apt-get update
sudo apt-get upgrade
[/code]
Reboot your
Adding the Repository that Contains Plex
Plex is part of the Dev2Day repository. Raspbian by default does not check this repository when adding or upgrading software. We’ll need to add this repository to our Pi!
First we need to add the dev2day crypto key to our
[code language=”bash”]
wget -O – https://dev2day.de/pms/dev2day-pms.gpg.key | sudo apt-key add –
[/code]
Then issue the following command to add the repo:
[code language=”bash”]
echo "deb https://dev2day.de/pms/ jessie main" | sudo tee /etc/apt/sources.list.d/pms.list
[/code]
Finally, update your repositories one more time by issuing the apt update command:
[code language=”bash”]
sudo apt-get update sudo apt-get upgrade
[/code]
Now you’re ready to install Plex (finally)!
Install Plex on the Raspberry Pi
The easy part! Issue the following command on your Pi to install Plex Media server:
[code language=”bash”]
sudo apt-get install -t jessie plexmediaserver
[/code]
You have the ability to set the user on your system that Plex runs as. For most installations this will the be default “pi” account. If you’d like to create s plex user you can also do that and just swap out the name below.
Enter the following command to edit the Plex media server’s configuration:
[code language=”bash”]
sudo nano /etc/default/plexmediaserver.prev
[/code]
Find and edit the following line:
PLEX_MEDIA_SERVER_USER=plex
and change it to:
PLEX_MEDIA_SERVER_USER=pi
Press Control+X to save and exit the file and then issue the sudo reboot command to reboot your plex server and get everything fresh.
Adding Movies, TV Shows, and Music to Plex on the Pi
An empty Plex Media server on your
Browse to the IP address of your new Plex Media server in a web browser (If you don’t know the IP you can find it by typing the hostname -I command).
The URL for Plex will be: http://your_ip_address:32400/web/
In my case this is: http://192.168.1.5:32400/web/
Adding a Library
You’ll want to create a Plex Library for each of the folders you created above. To do this click the plus (+) next to the Libraries header on the left sidebar navigation menu:
![]() You’ll be presented with the Add Library dialog box:
You’ll be presented with the Add Library dialog box:
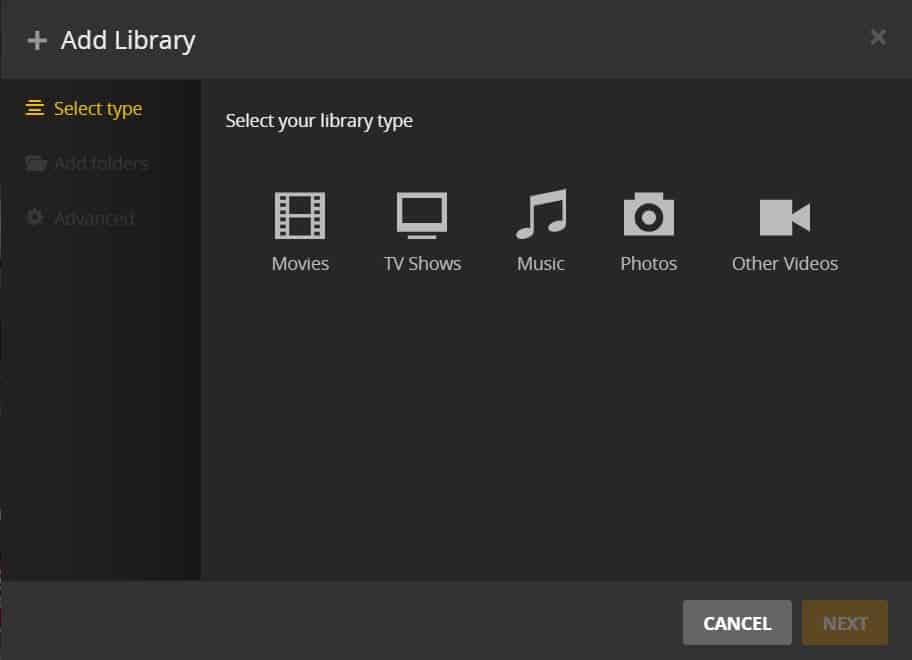
Choose the type of Plex Library to add. Either Movies, TV Shows, Music, Photos, or Other Videos. Other Videos is generally for home videos or training type videos in corporate environments.

Once you’ve selected the type, you will be prompted to name the library. Generally, you’ll name Movies “Movies”. However, if you’re breaking your movies into multiple libraries, this might “Sci-Fi Movies” for example. The choice is yours, and you can change it later. Once done, click the next button.
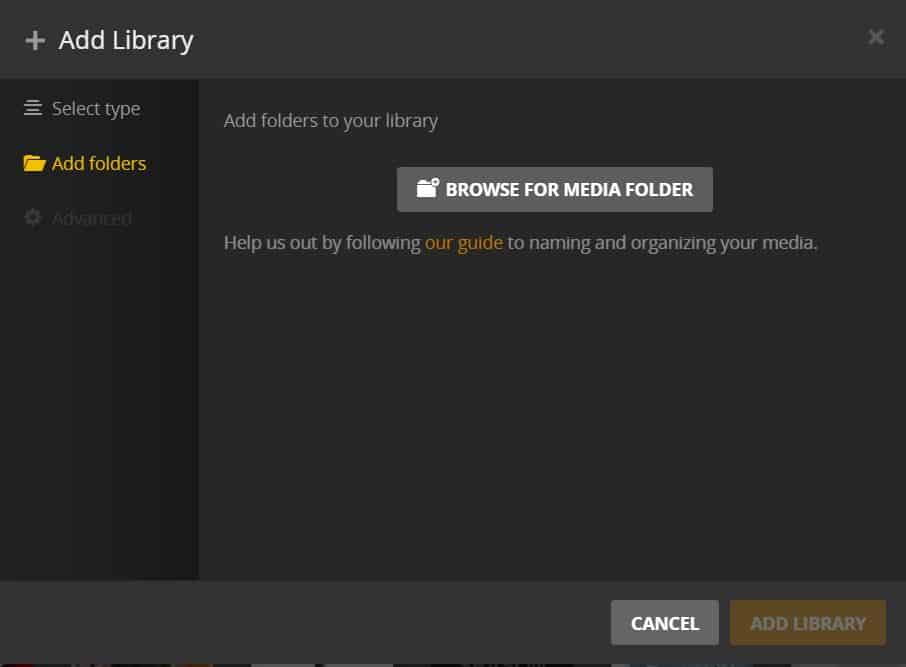
Next up you will be prompted to browse for your media folder.
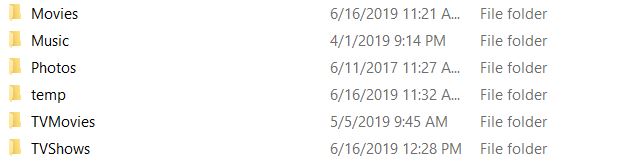
 Browse to the the folders located on your USB stick or USB hard drive.
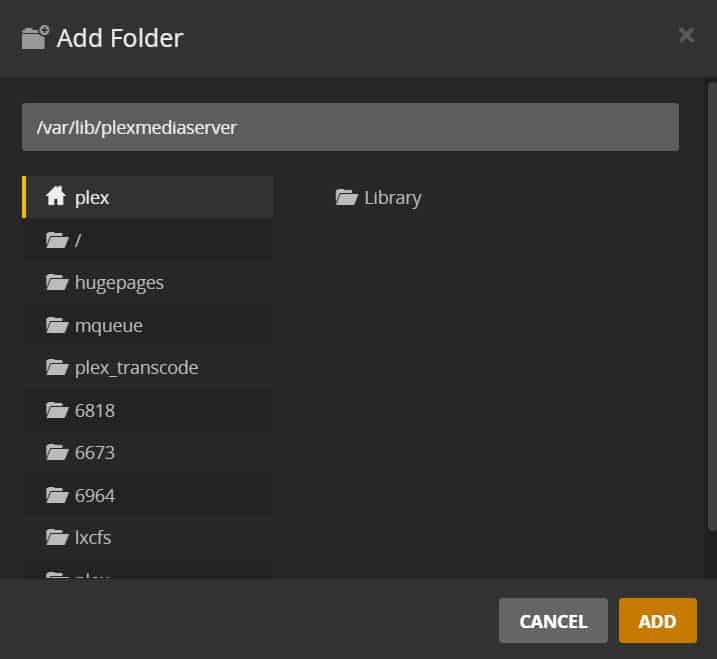
Finally, click add and you’re done. Give Plex a minute to complete the add process and it should start scanning your library for media automatically. If for some reason it doesn’t just click the little button next to your library and select “scan library files”.
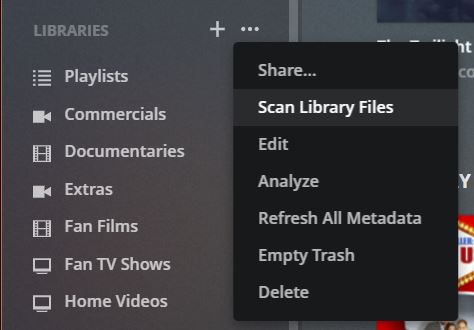 All of your files should pop up and you’re ready to go!
Connect Your Devices
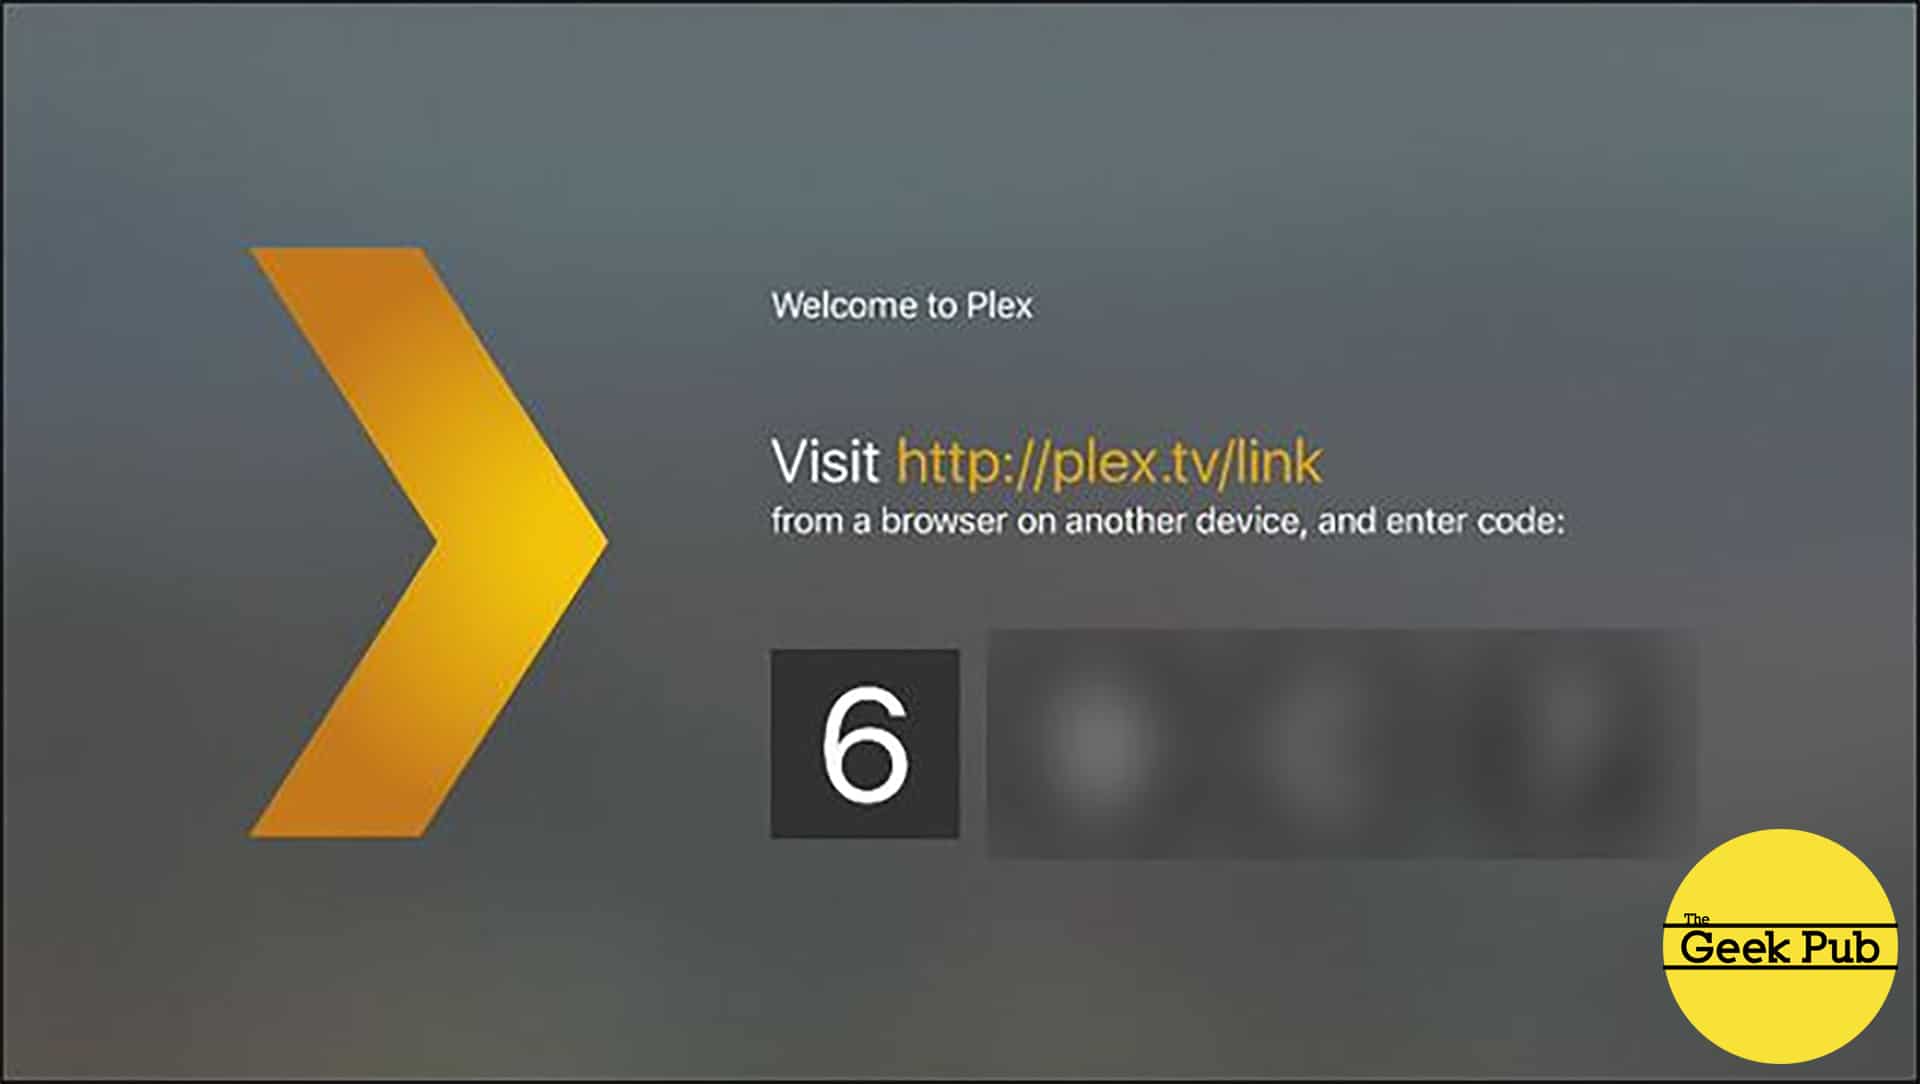
On each of your devices, install the Plex App from the respective App store. Once installed open the app and follow the directions on screen. If you’ve not yet created a Plex.TV account, now is the time to do so as you’ll likely need it to sign into your device.
Plex Apps will either ask you to sign into your Plex account or verify a 4 digit alphanumeric number (or both).
Once you’ve verified your account you will be presented with all of the media located on your
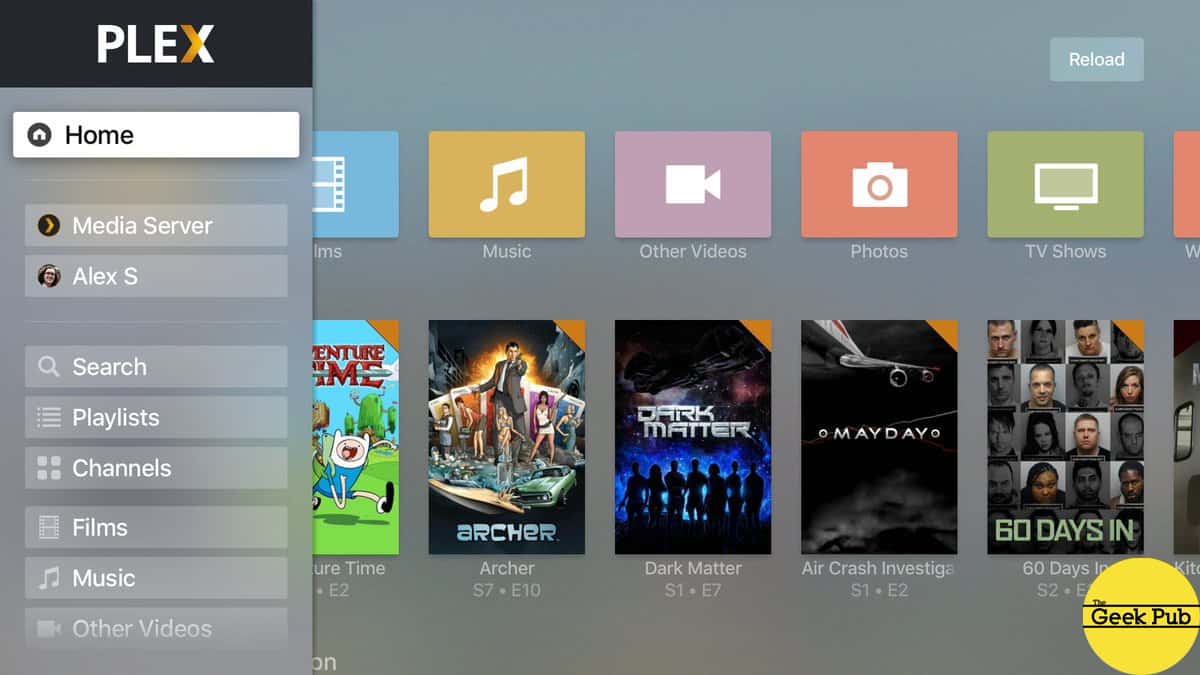
That’s all there is to it! Now let’s talk about some of the Pros and Cons of using the
Raspberry Pi Plex Server Pros and Cons
There are some pros and cons to using the
Raspberry Pi Plex Server Pros
- Affordable,
Raspberry Pi ‘s are super cheap - Easy to setup
- Space saving,
Raspberry Pi ‘s are small - Energy efficient
- Super quiet, no fans or other noise
Raspberry Pi Plex Server Cons
- Not suitable for large libraries
- Insufficient CPU for transcoding larger resolutions
- Insufficient CPU for handling multiple simultaneous streams
- SD cards don’t hold up well to long term write/erase cycles (consider booting your Pi from a hard drive)
We hope you found this tutorial helpful! If you need any help, leave a comment below or on our forum and someone will do their best to answer you! We love helping our readers!


4.5
It honestly never occurred to me that the Pi could be the server too. I always thought of it as the streaming device on my TV. good stuff!
ACE! This is the perfect solution for me! Thanks from down under!
Thanks for this. I have a 3B+ and a 4B and wonder if this will work on the 4B without any changes.
0.5