Blog
Commodore VIC-20 Clip Repair (3D Printed)
So I found a fantastic Commodore VIC-20 at a yard sale and it is absolutely gorgeous! It has Just a slight bit of yellowing that you can barely see and a few tiny scratches here and there… but other than that it is in tip top shape. Except for one thing. The clips on the back of it are broken. So we’re going to do a Commodore VIC-20 Clip Repair with some 3D printed components.
Watch the VIC-20 Clip Repair Video
Commodore VIC-20 Clip Repair
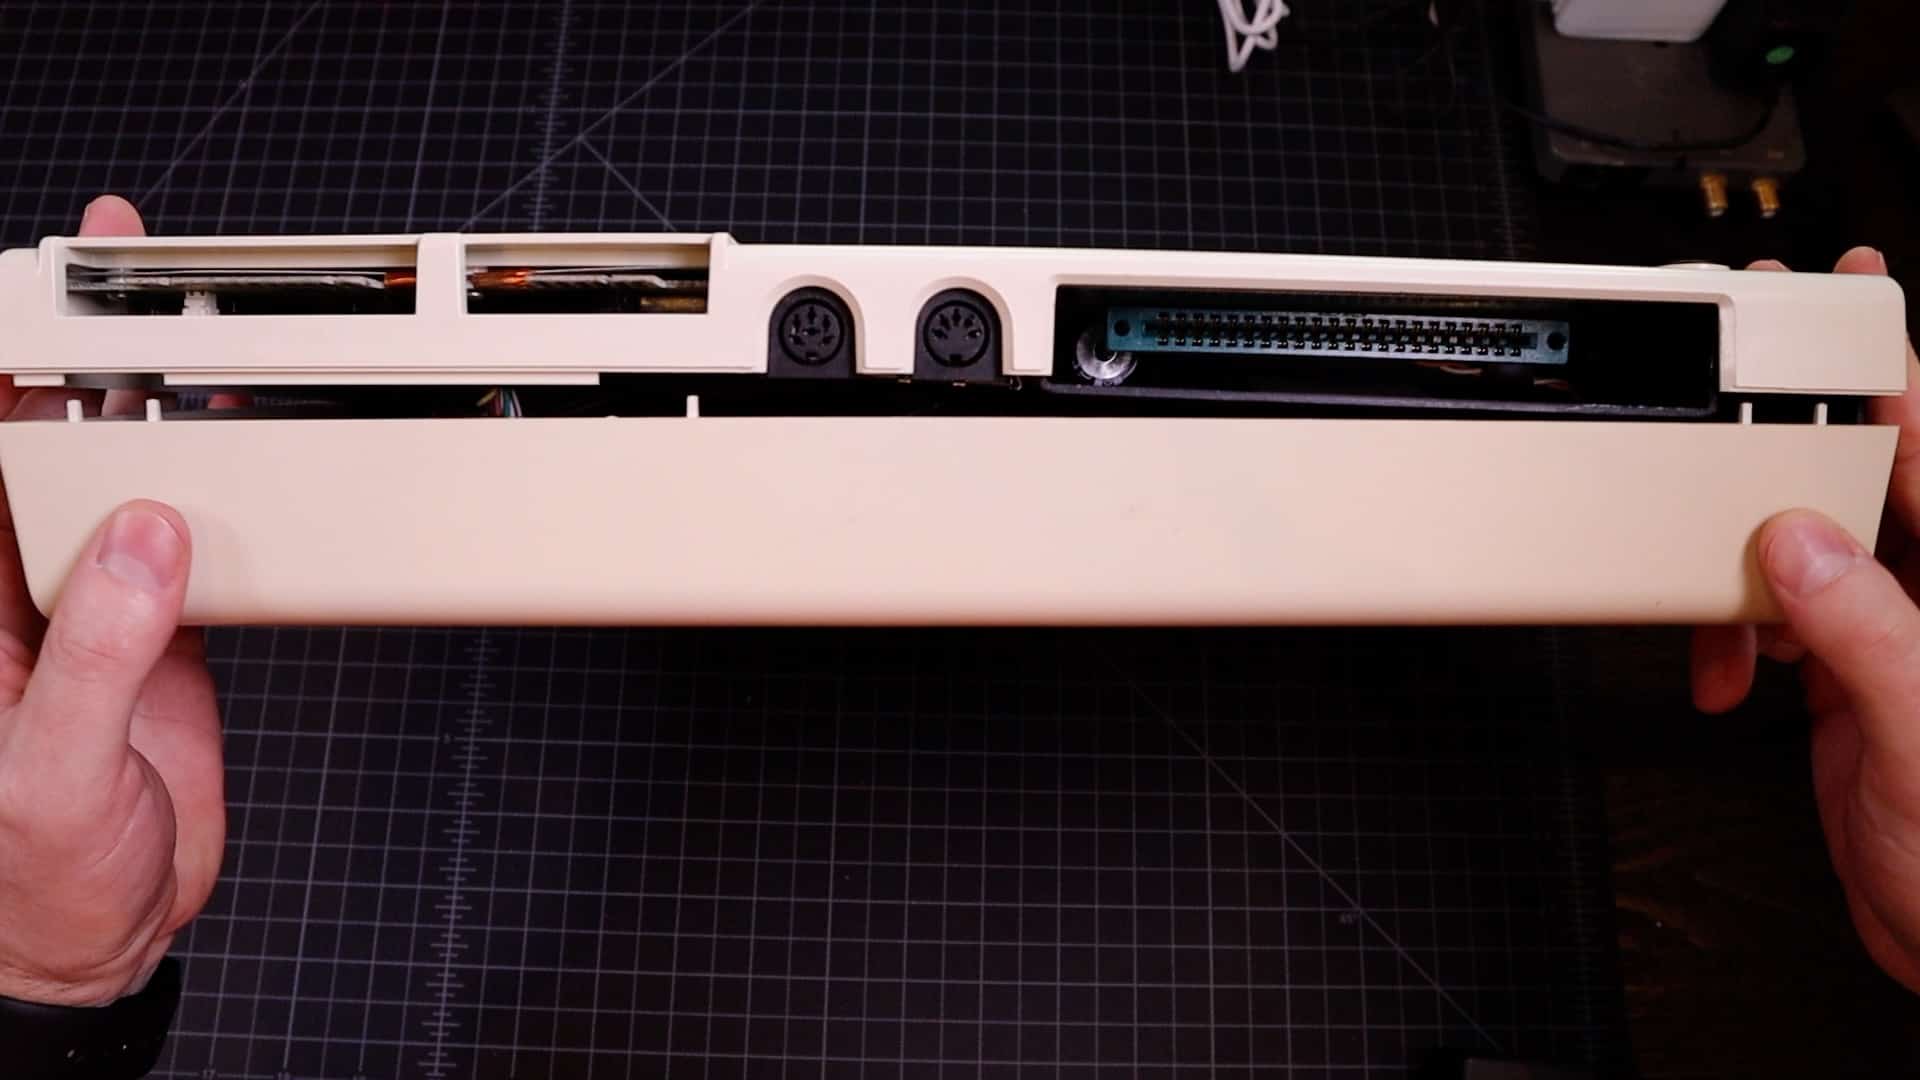
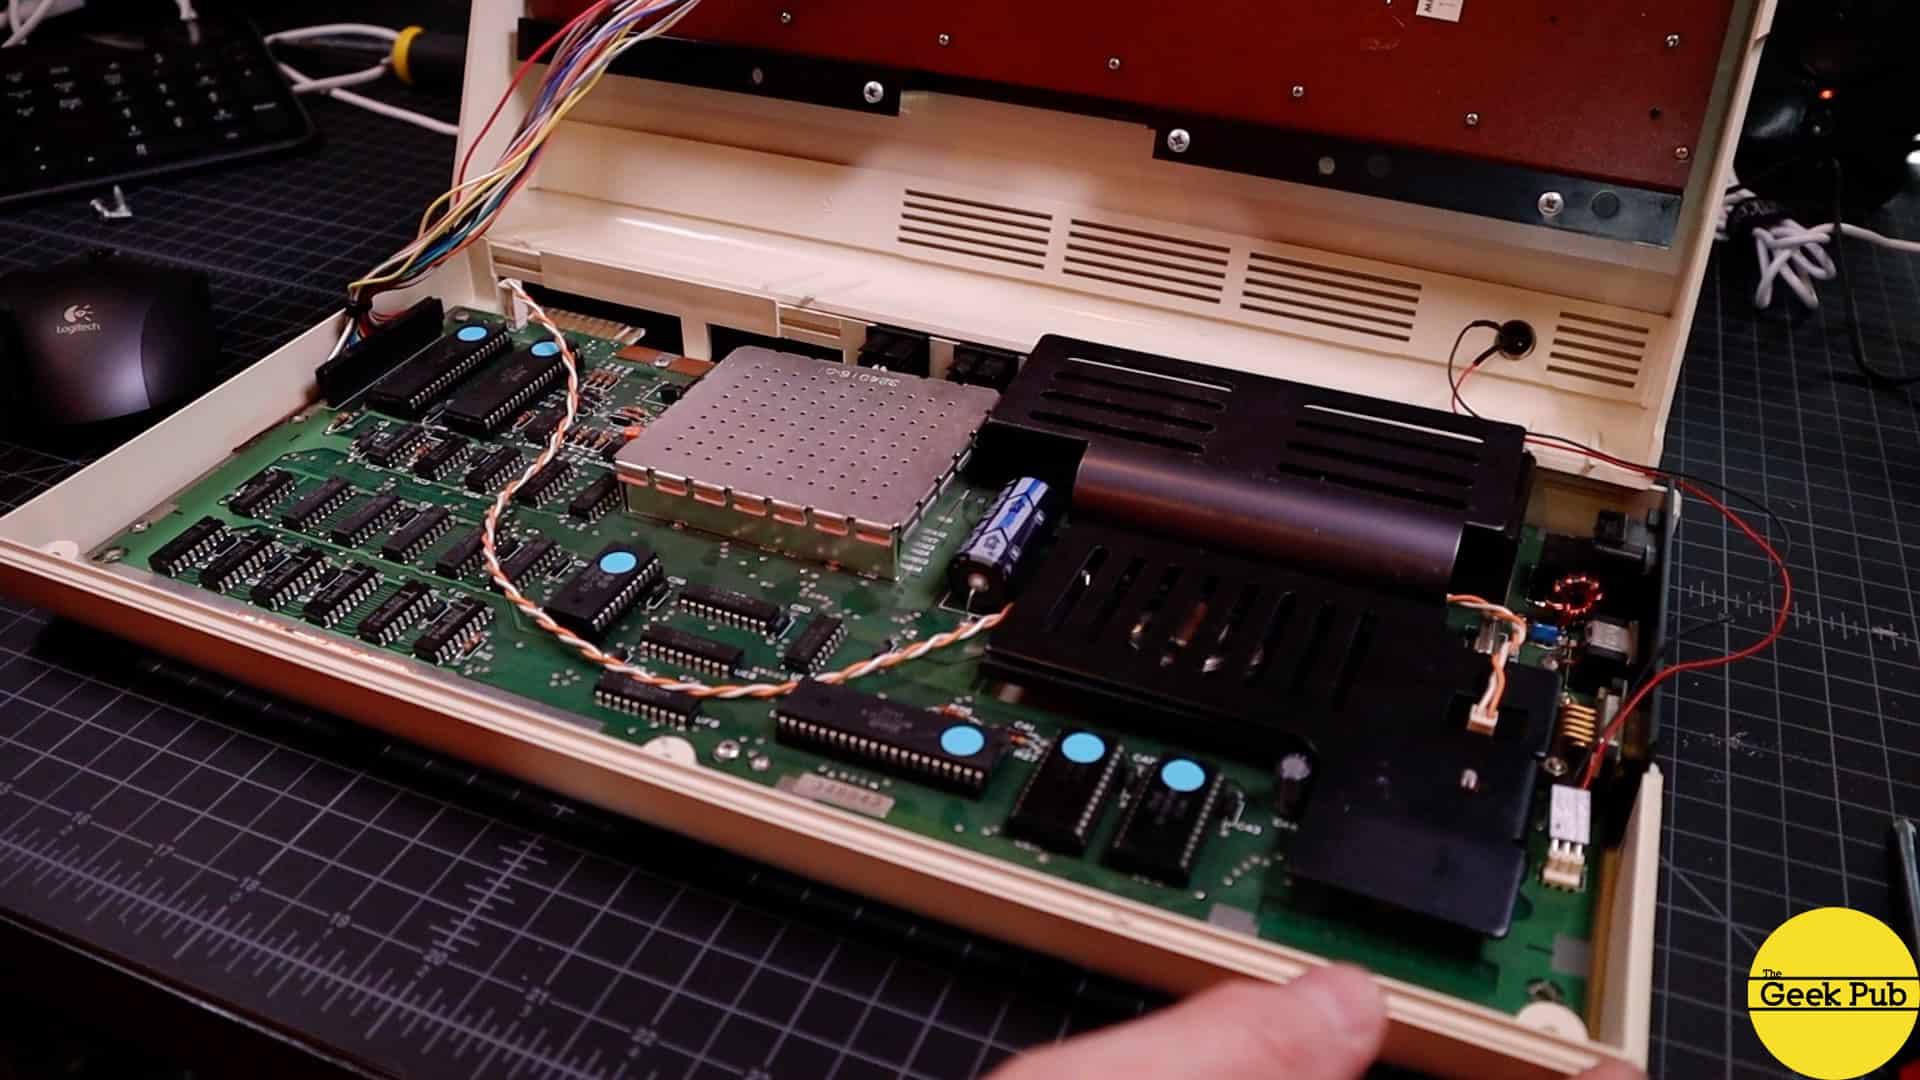
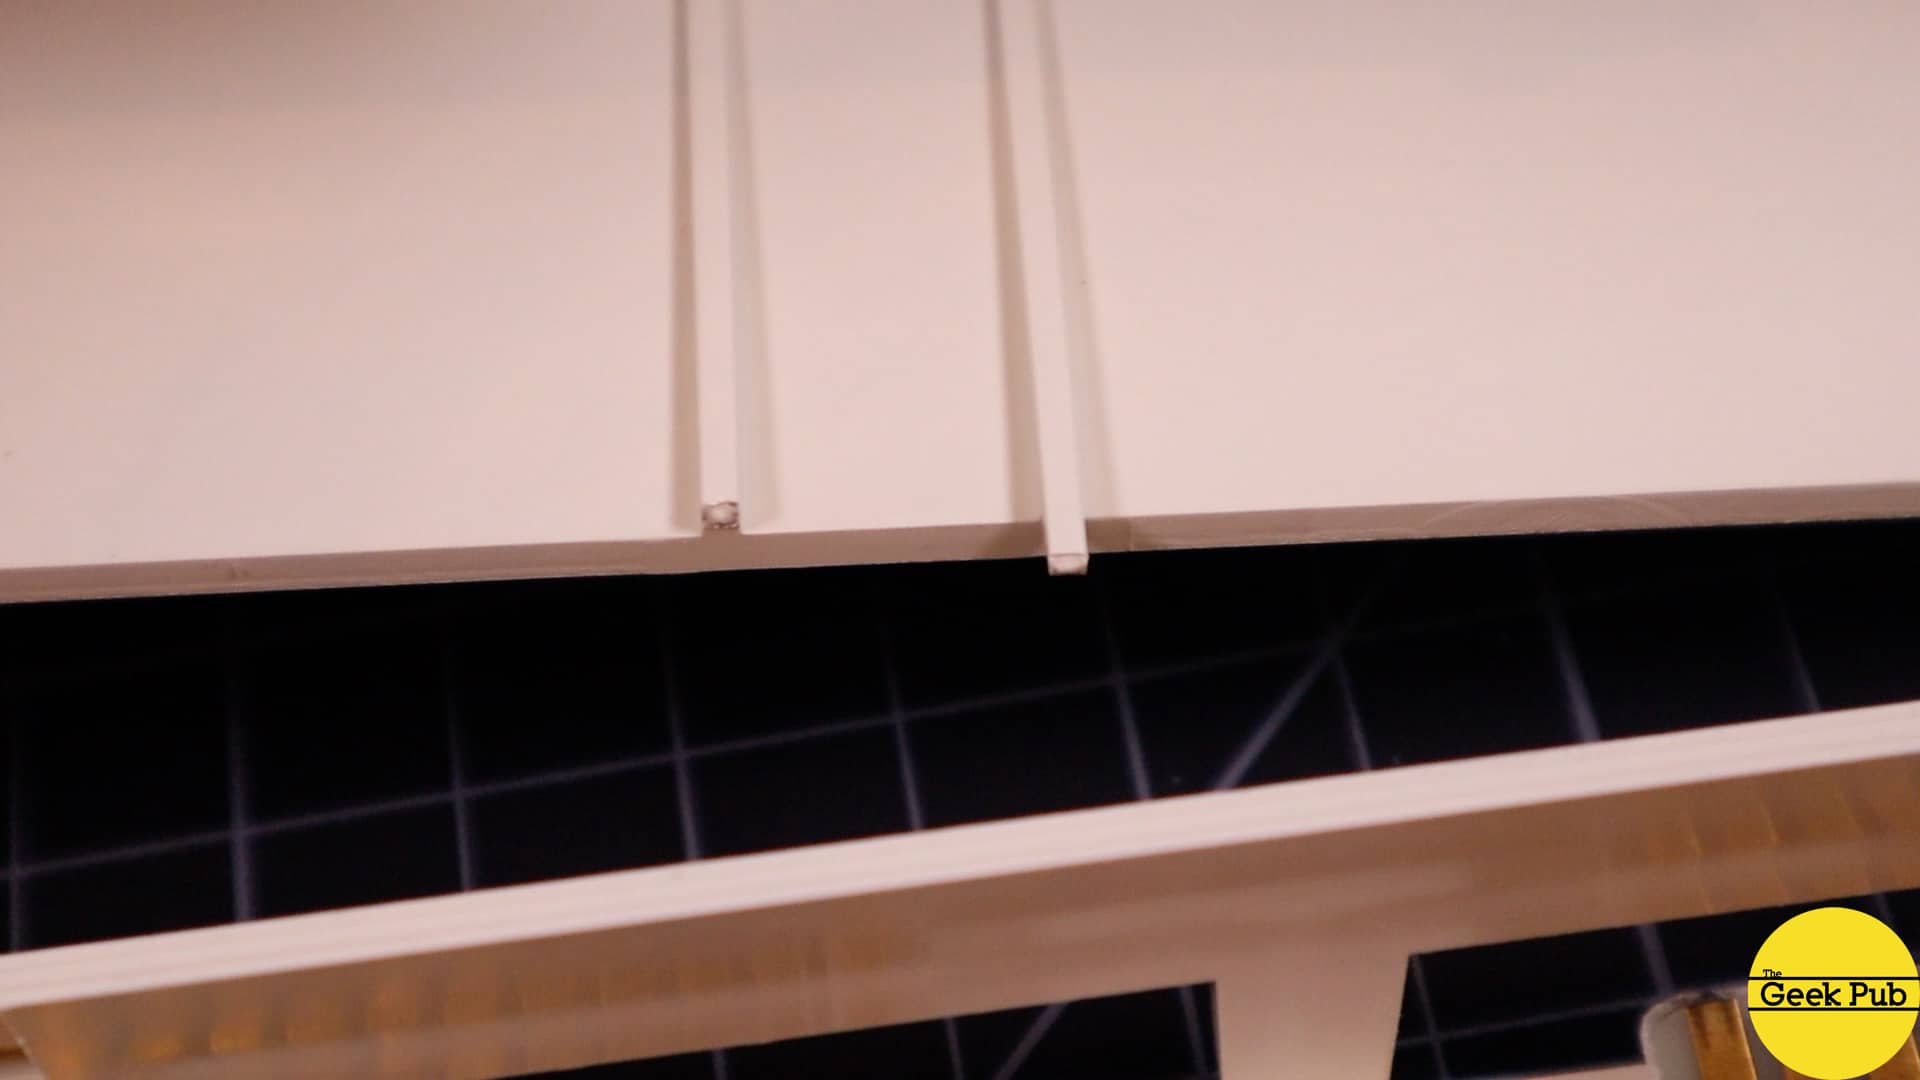
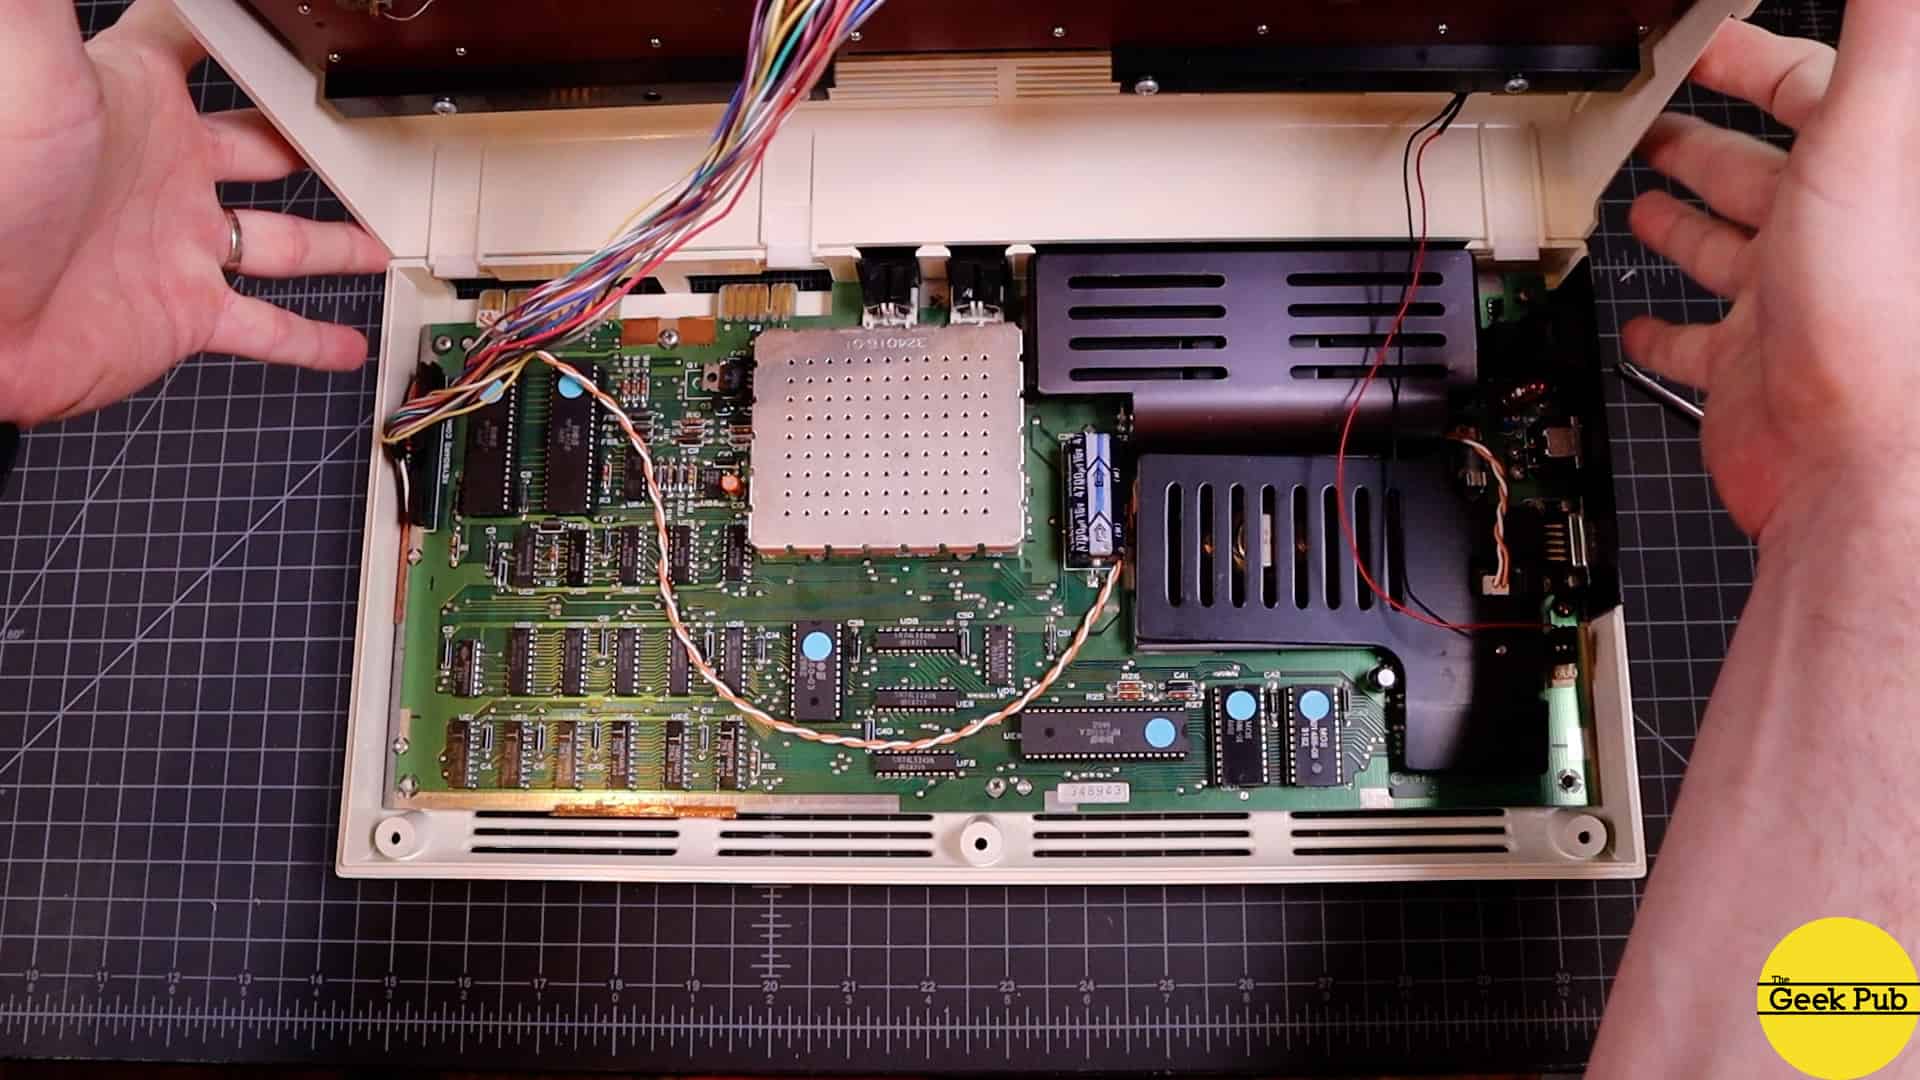
Of course, the first thing we have to do is open the case by removing the three screws. I was pretty amazed that this little guy was in such amazing shape. It doesn’t even have any dust bunnies inside it. Either someone recently cleaned it up, it has been stored in great environmental conditions. However, you can see by looking at these clips they are completely destroyed. There’s no gluing these back together, and unfortunately the parts are completely gone. We’re going to be making brand new 3D printer VIC-20 hooks for this guy!
Parts List for this Project:
Here’s a handy parts list to get you started on this project:
Creating the VIC-20 Clip Replacements
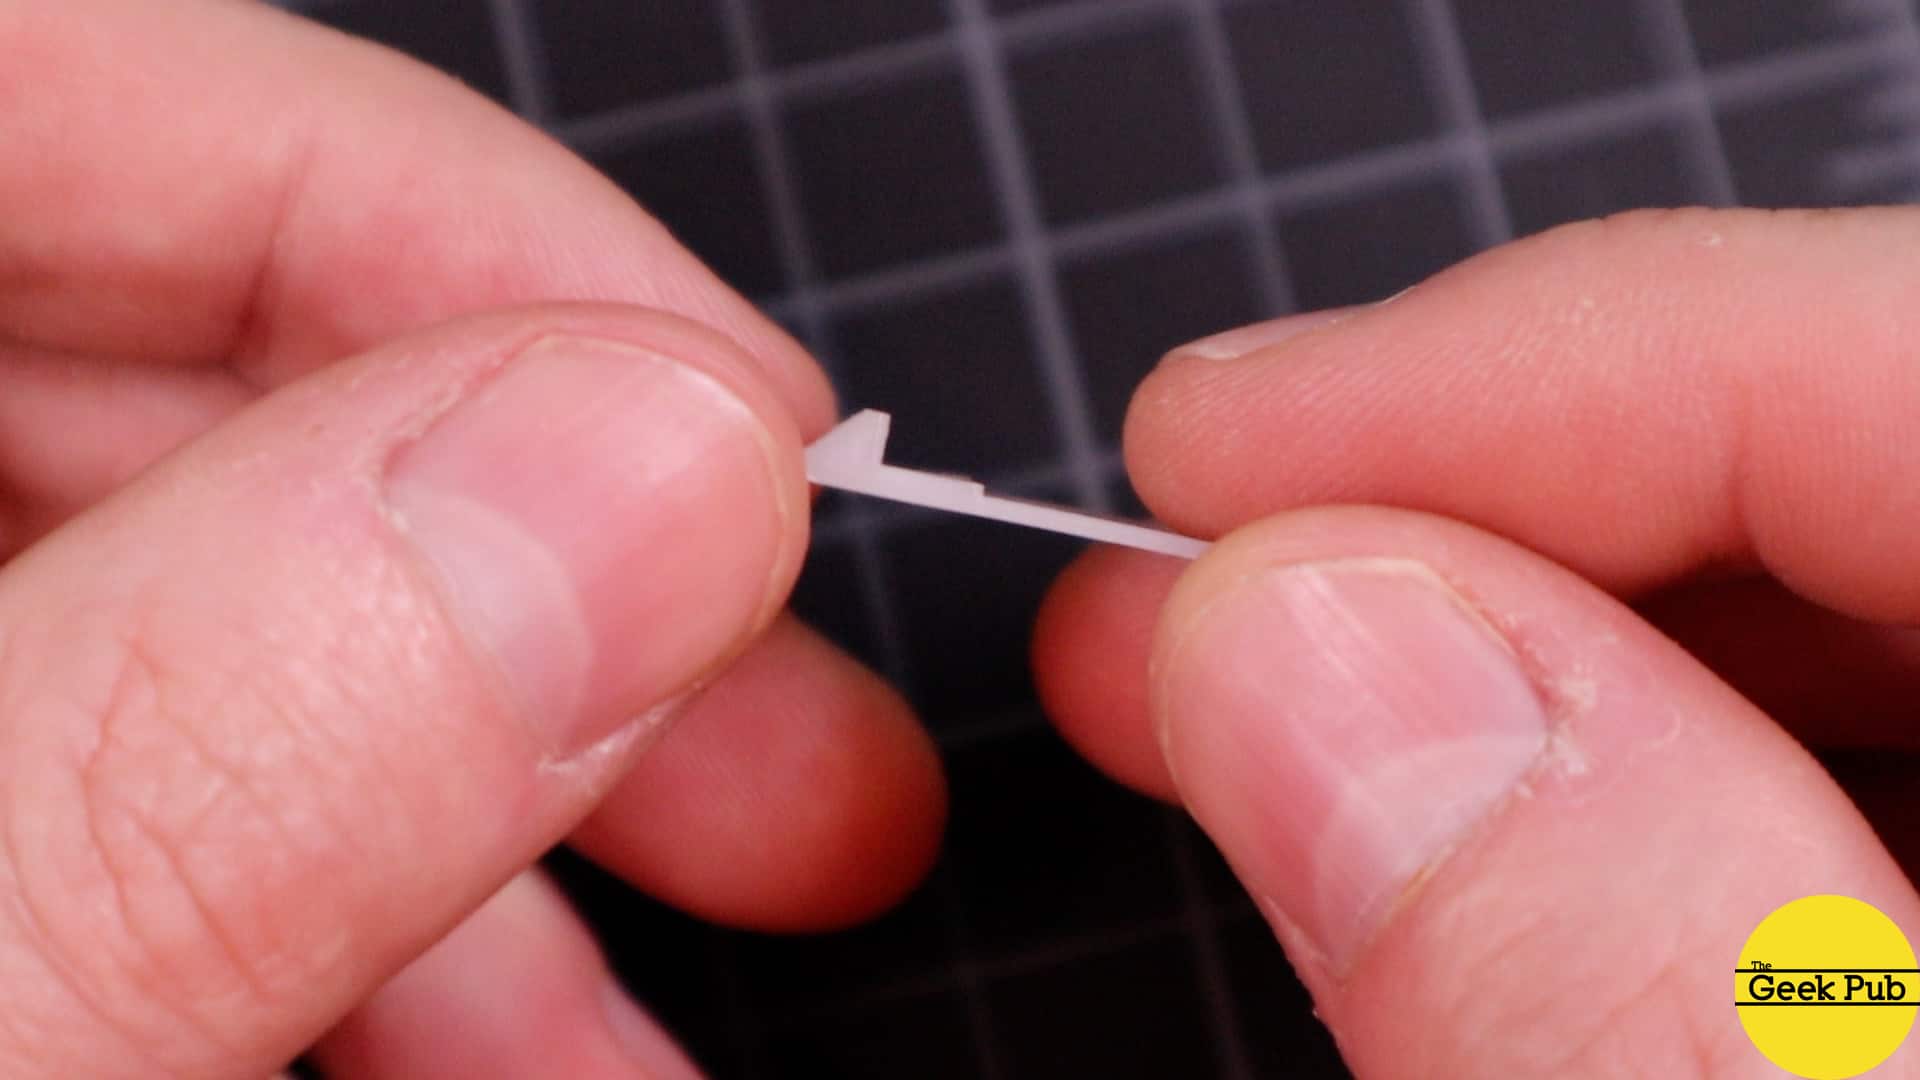
There were already some clips out on Thingiverse and I am just going to be honest, they’re total crap. Sorry if you’re the person that created them. They hooks are too small, they wobble in the mounts, and they have zero mechanisms to align them. I wanted these clips to have the right dimension and I also wanted them to be easy to install. So the ones we create here will fit perfectly and we’ll even add a recess to them to align them to the case making it so anyone should be able to install these without instructions.
Measuring the Commodore VIC-20 Case
So. The first thing we’ll do is bust out the trusty calipers and take a bunch of measurements of the VIC-20 case. I want these to fit exactly like the original clips but also be somewhat sturdier to future proof them. If you don’t have a set of calipers I highly recommend these. Don’t cheap out on calipers. You will most definitely regret it.
I took all of these measurements and created a new VIC-20 clip in Fusion 360. It just a matter of taking each component and punching in the numbers from my caliper measurements. Now, I’ll be the first to tell you that Fusion 360 becomes less intuitive with each release. And their move to more and more cloud based is really troublesome. But for now, its probably the best tool out there. (Autodesk. Stop screwing this up. It’s not too late.)
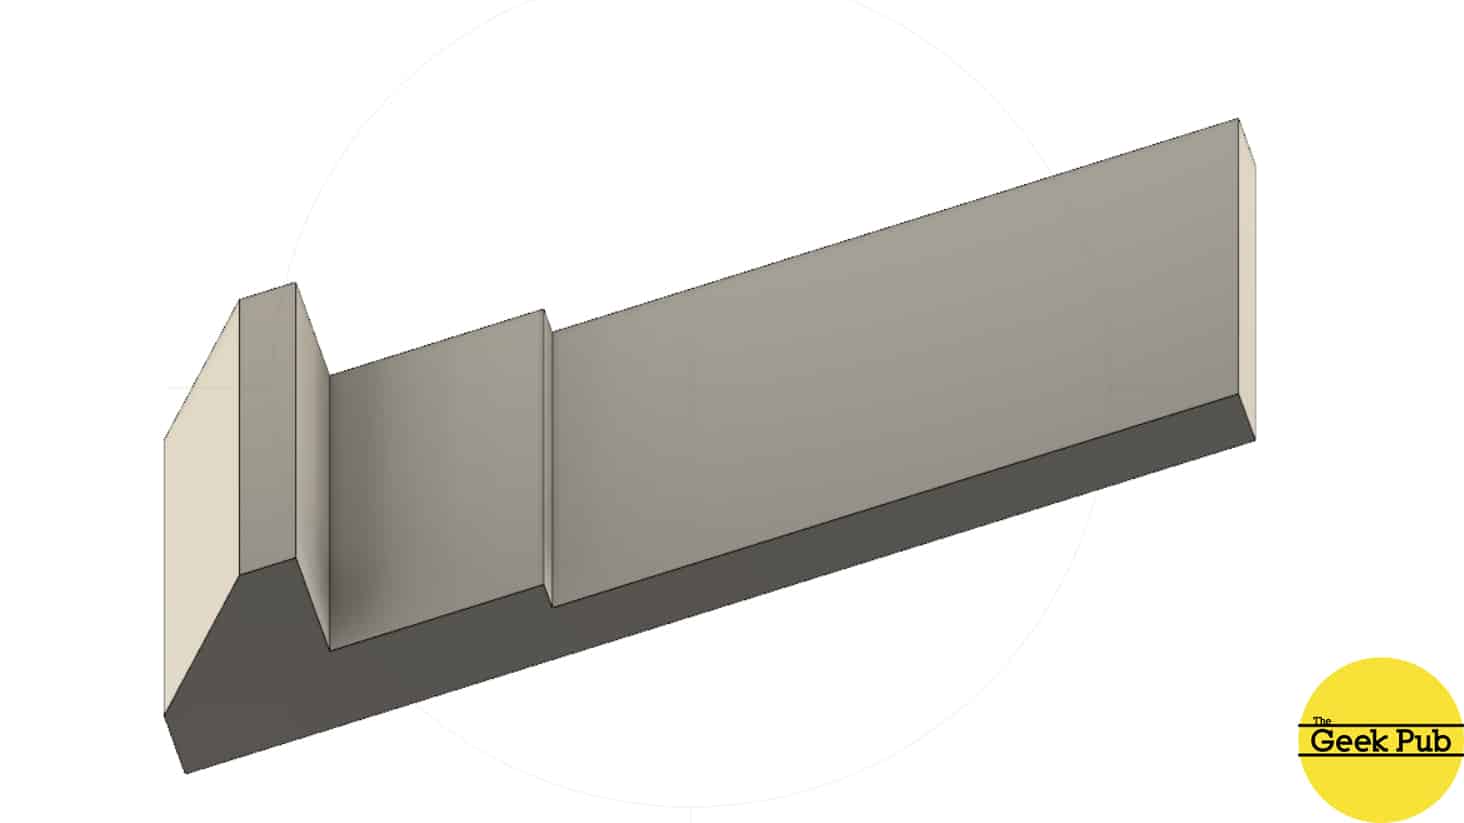
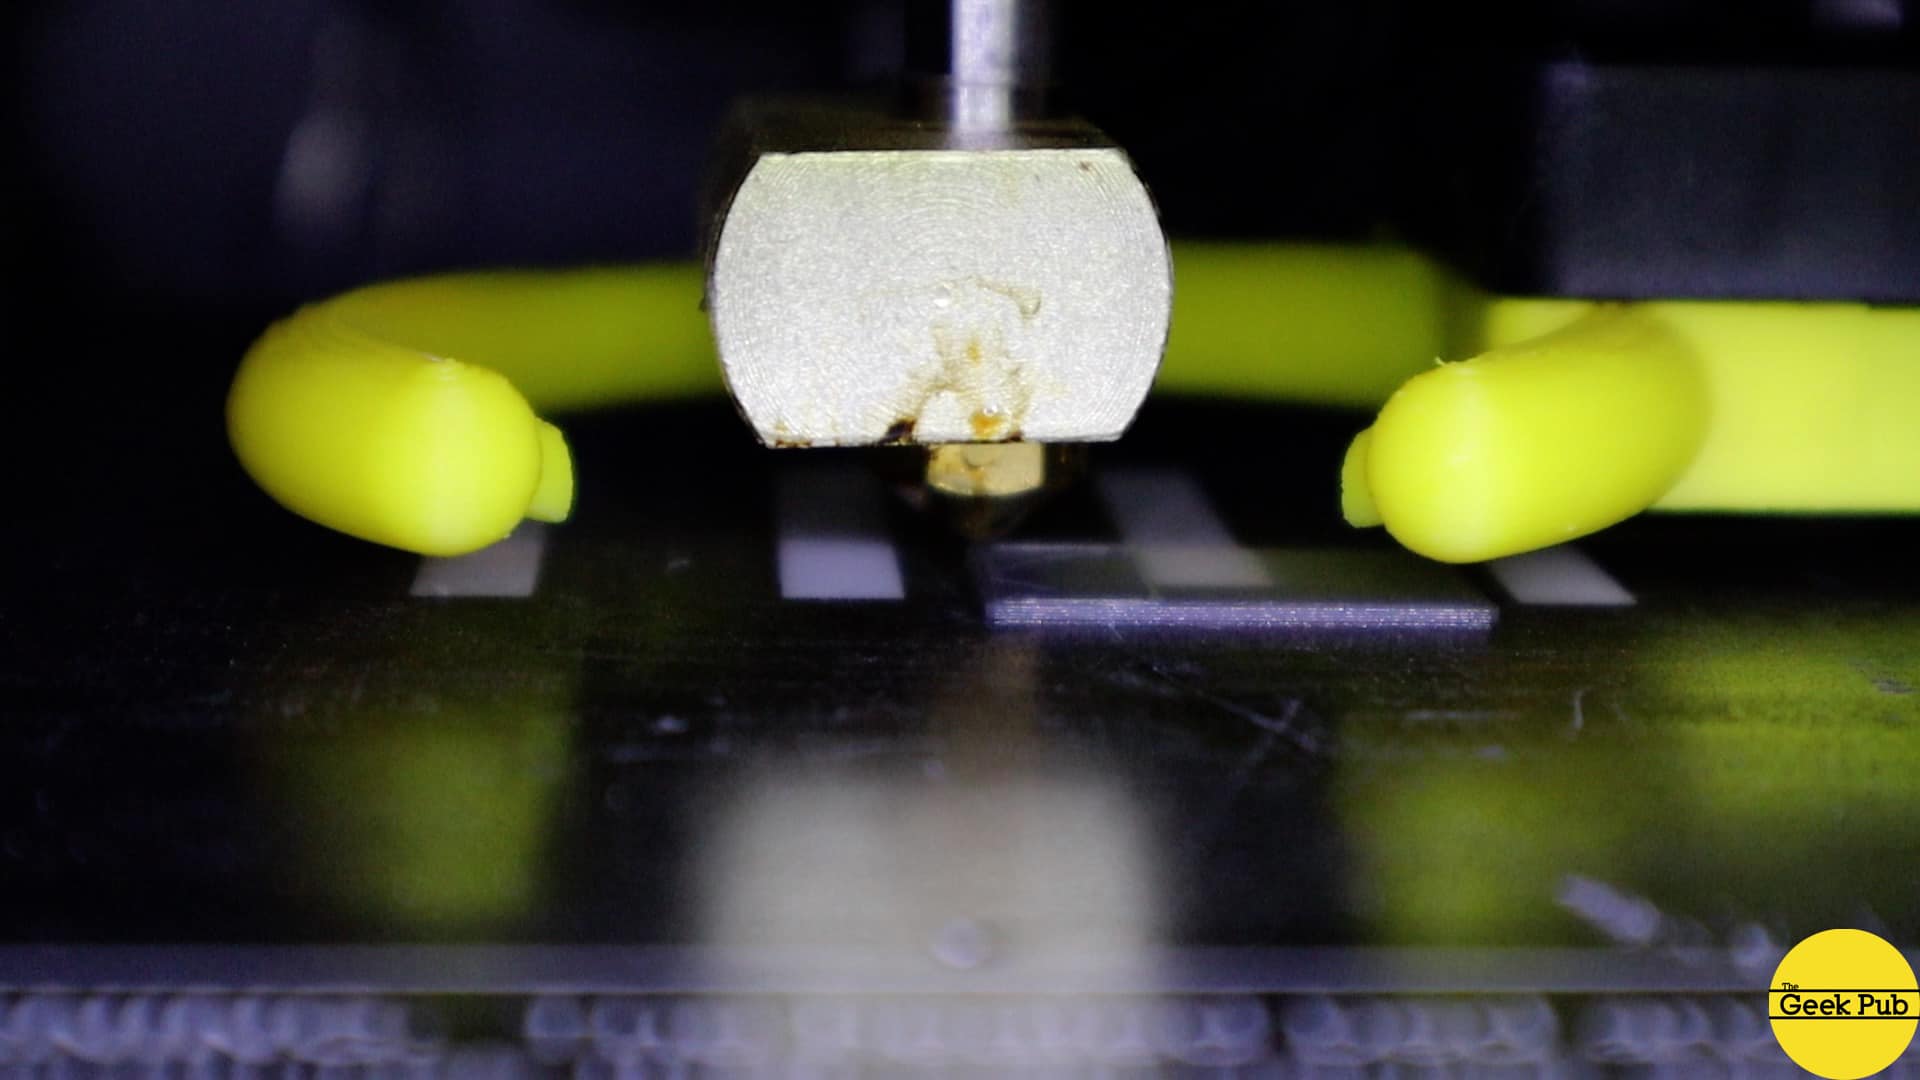
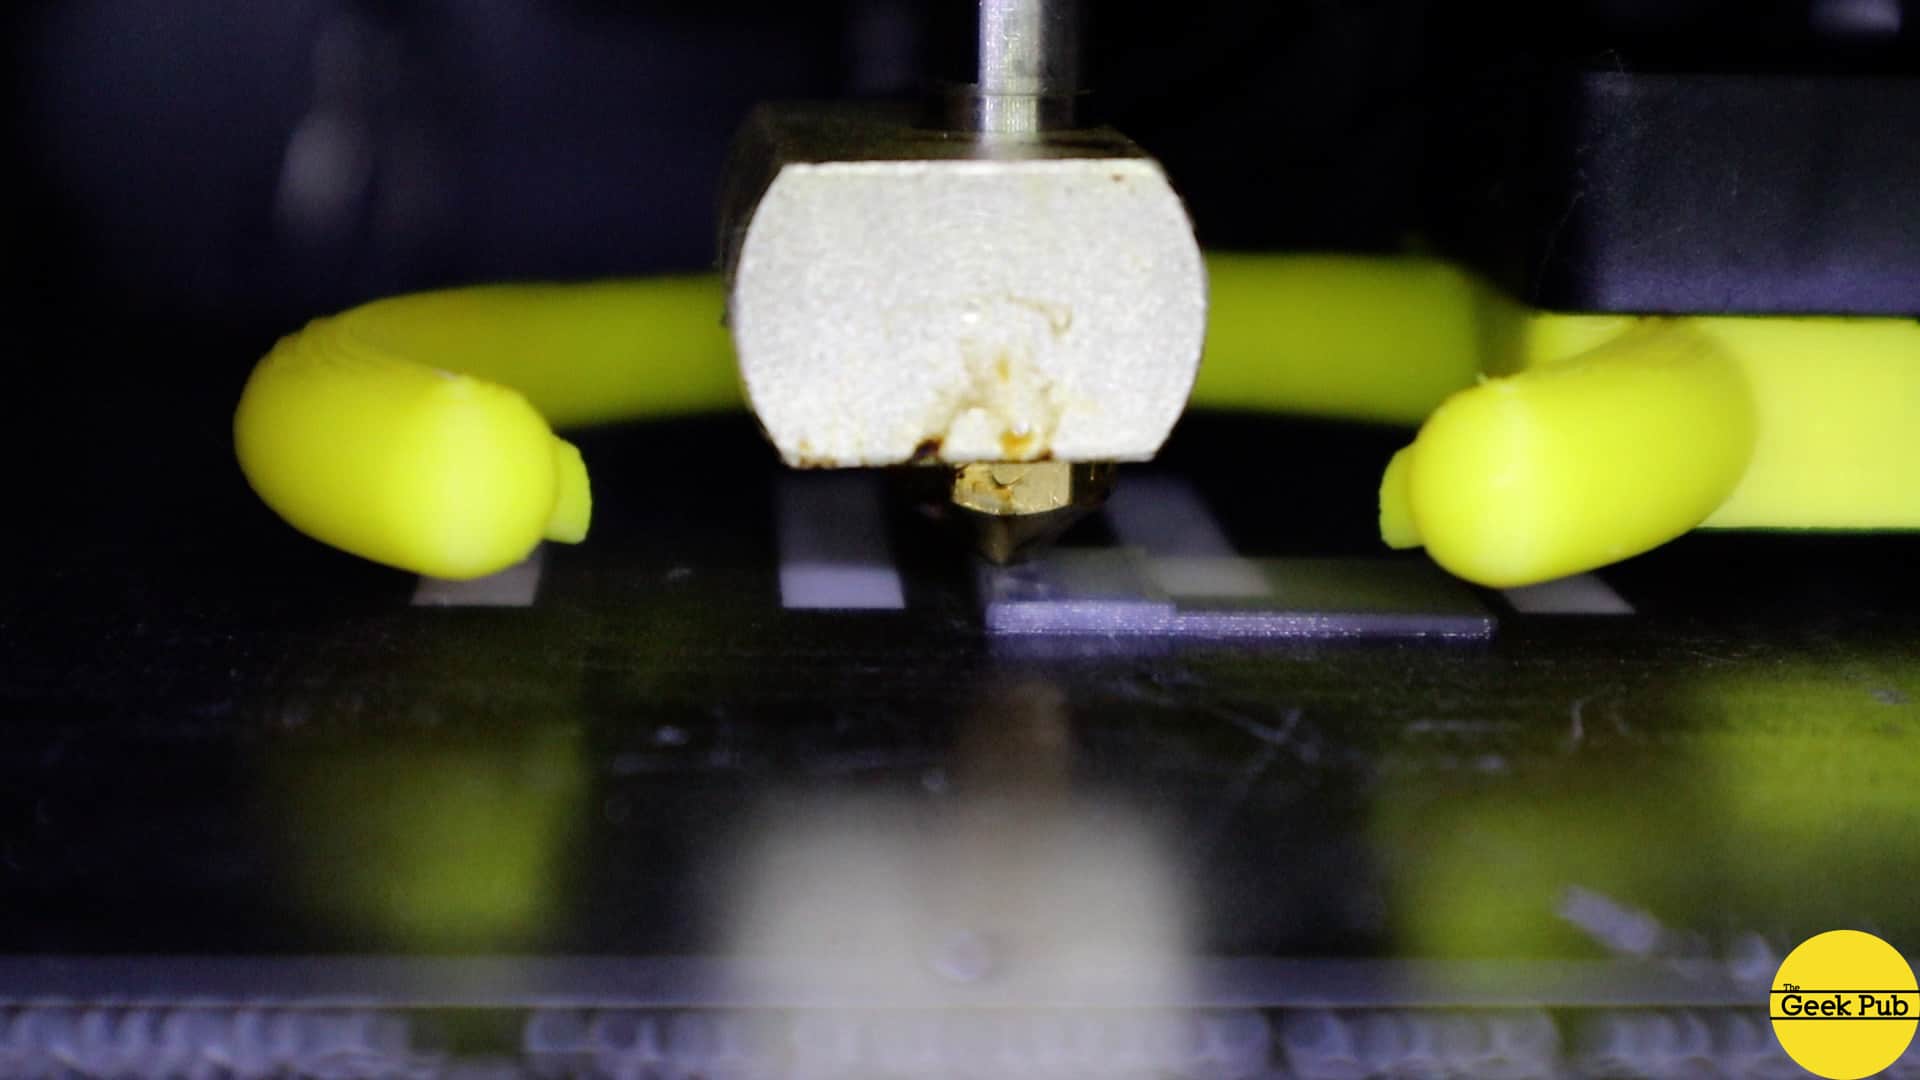
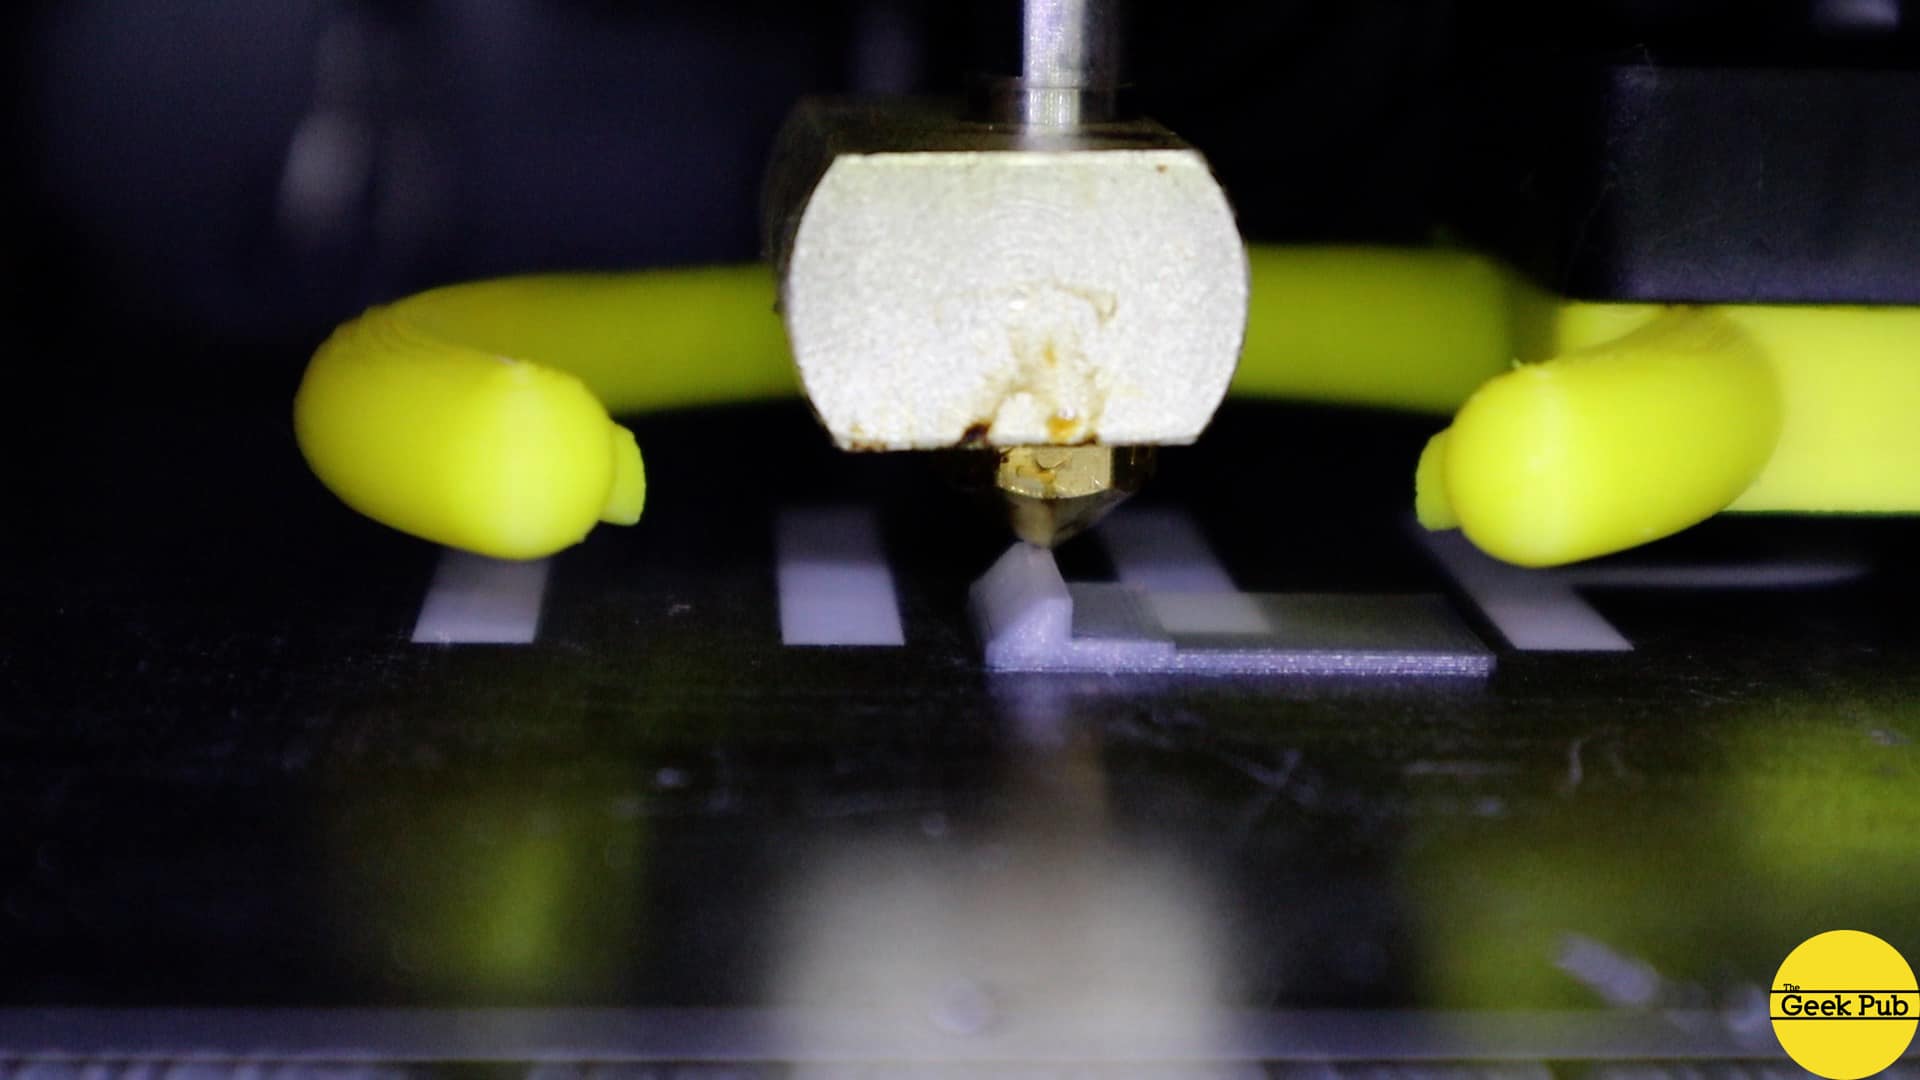
Alright, so with that I sent the file over to OctoPrint and set the 3D printer in motion. The first one turned out great, so I made three more.
RELATED: Review of my Wanhao 3D Printer
Attaching the Replacement VIC-20 Clips
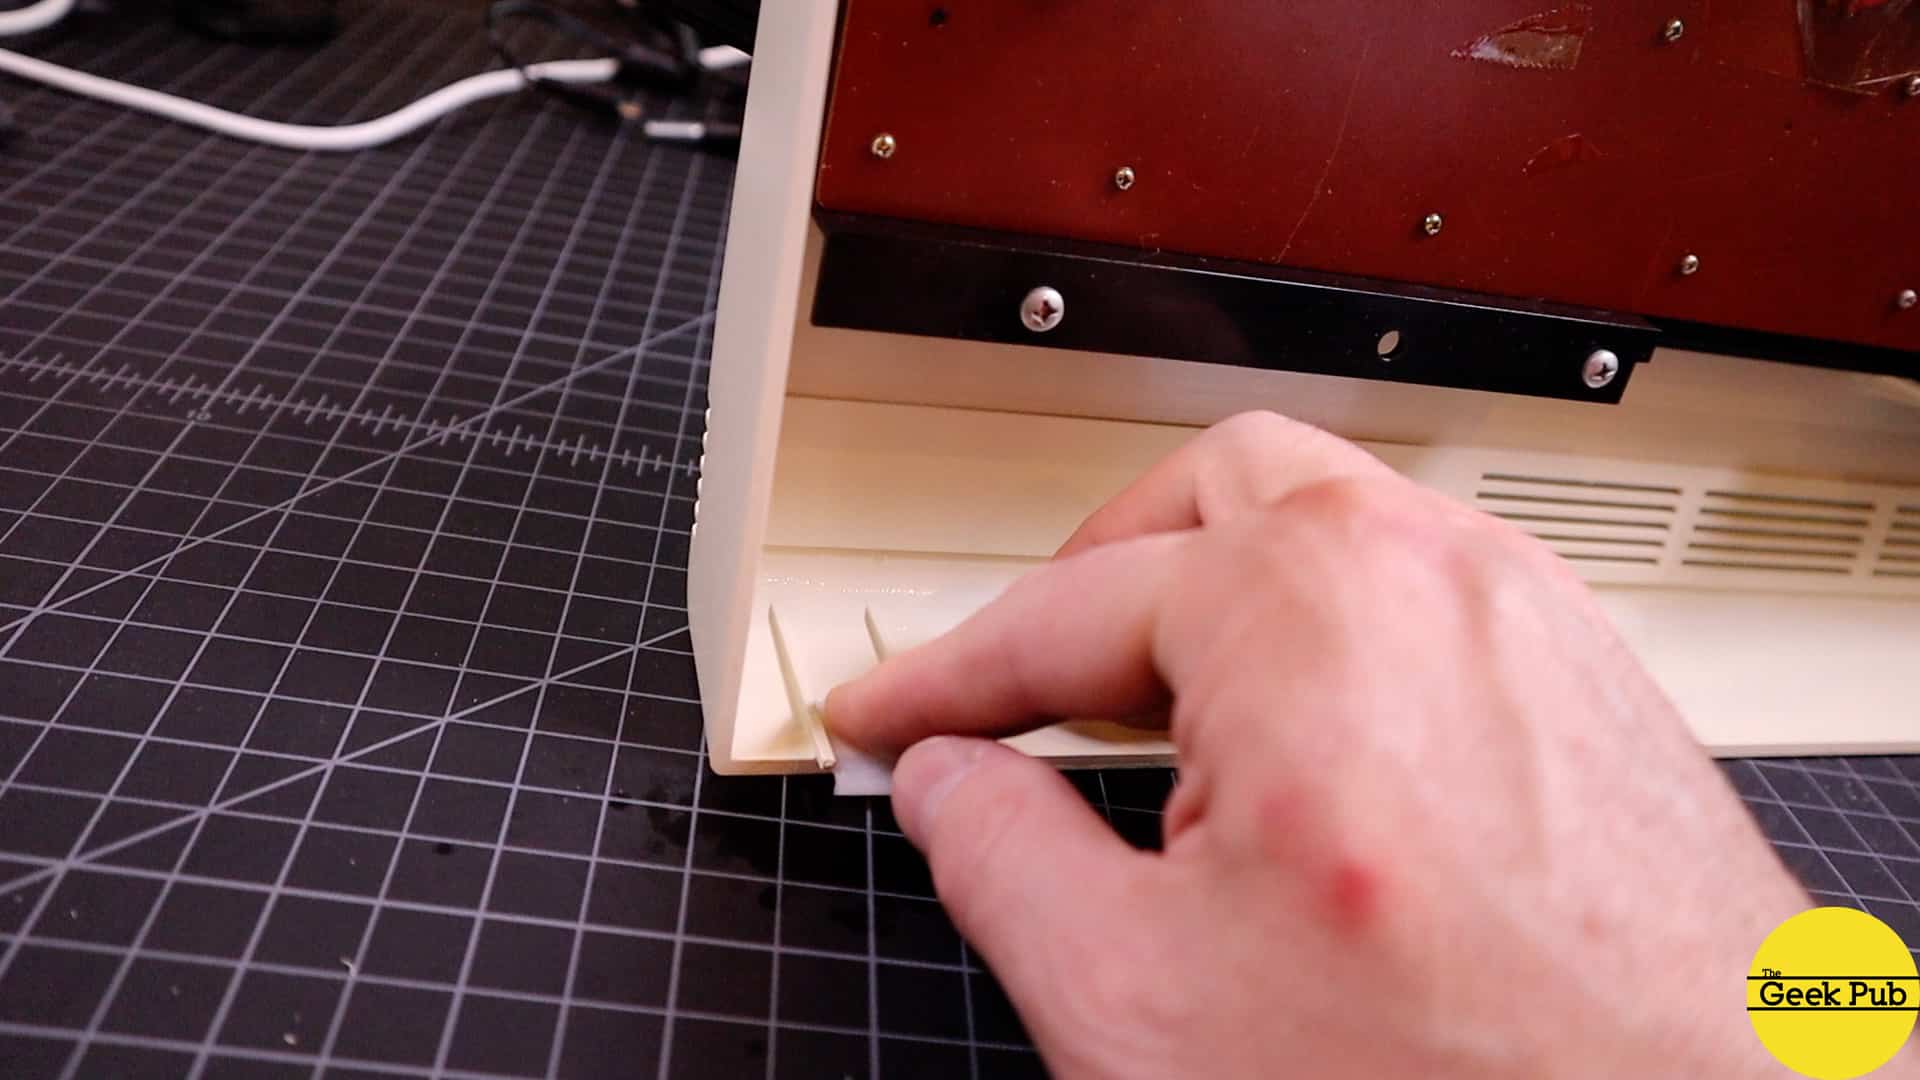
As we continue with our Commodore VIC-20 clip repair using a 3D printed clip, we just need to attach them to the VIC-20 case. As mentioned previously, this is incredibly simple to do since we included a recess in the clip to use for alignment purposes.
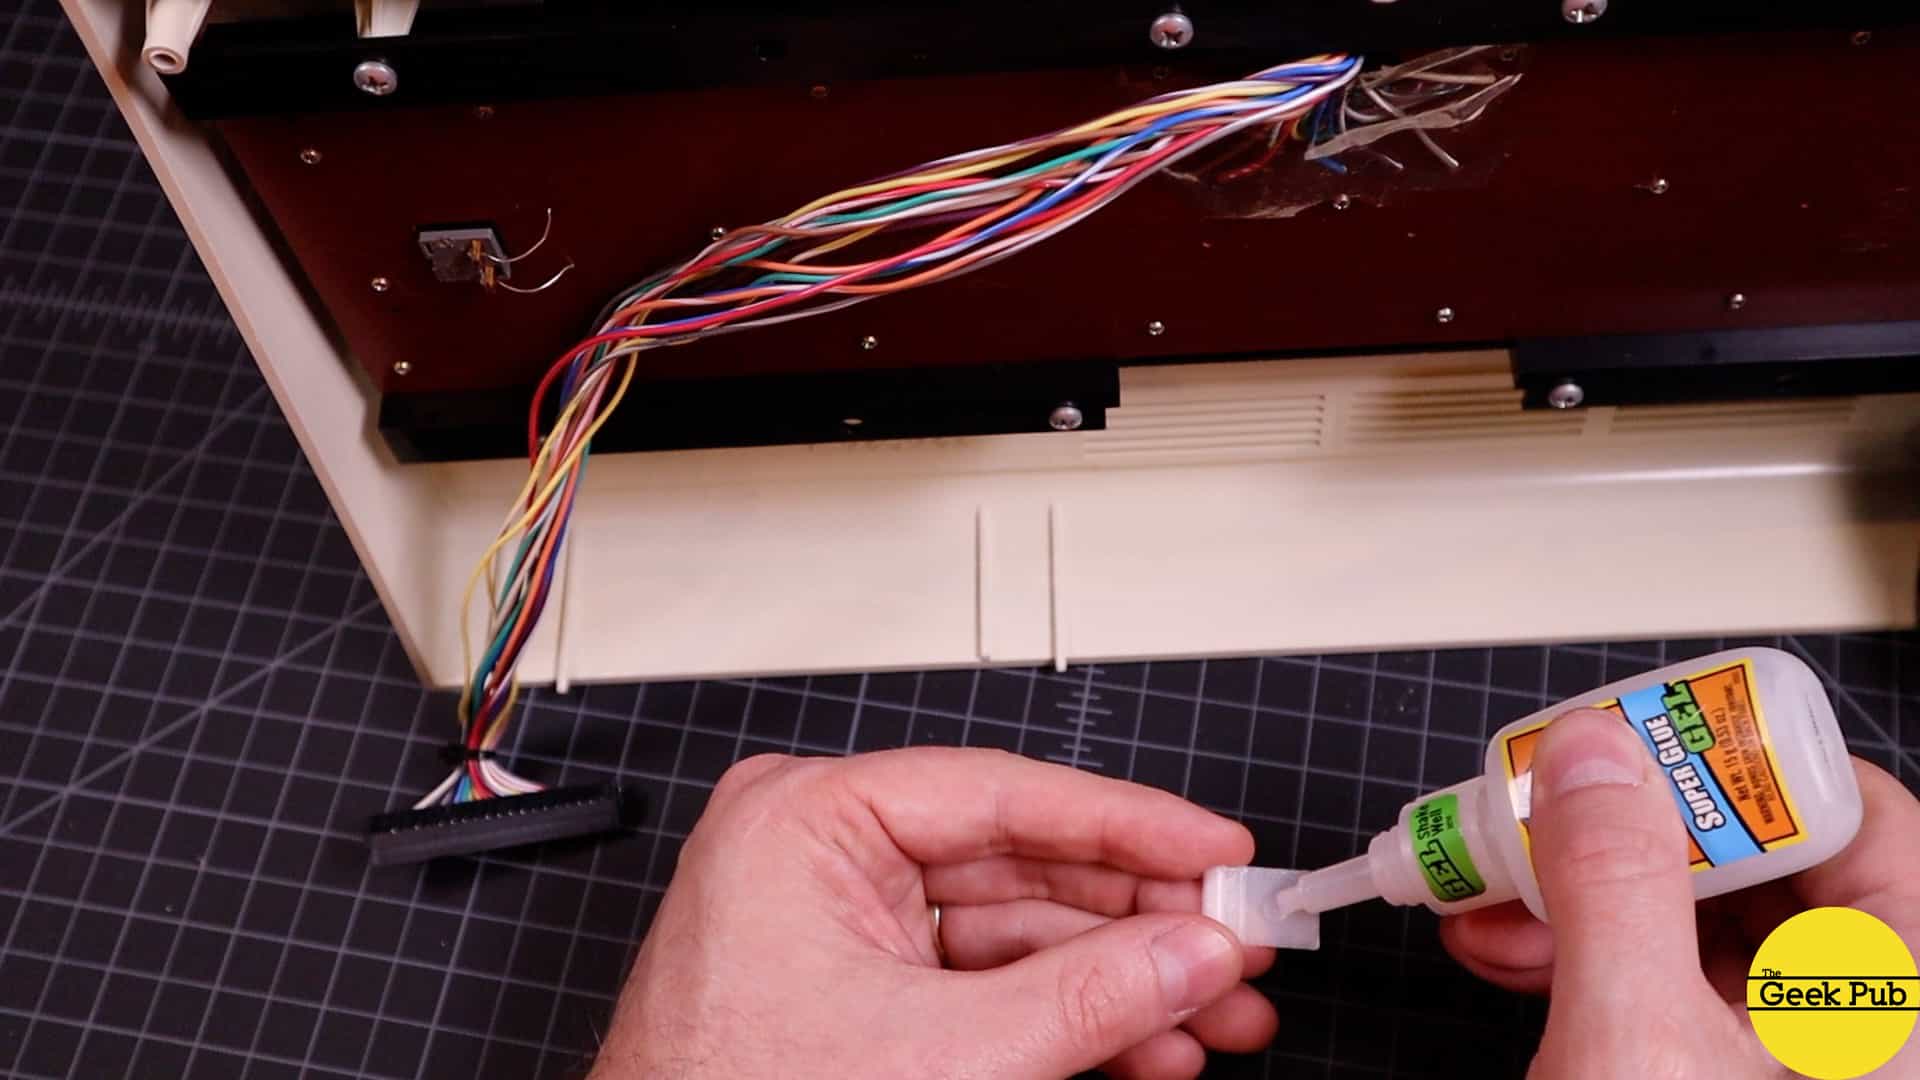
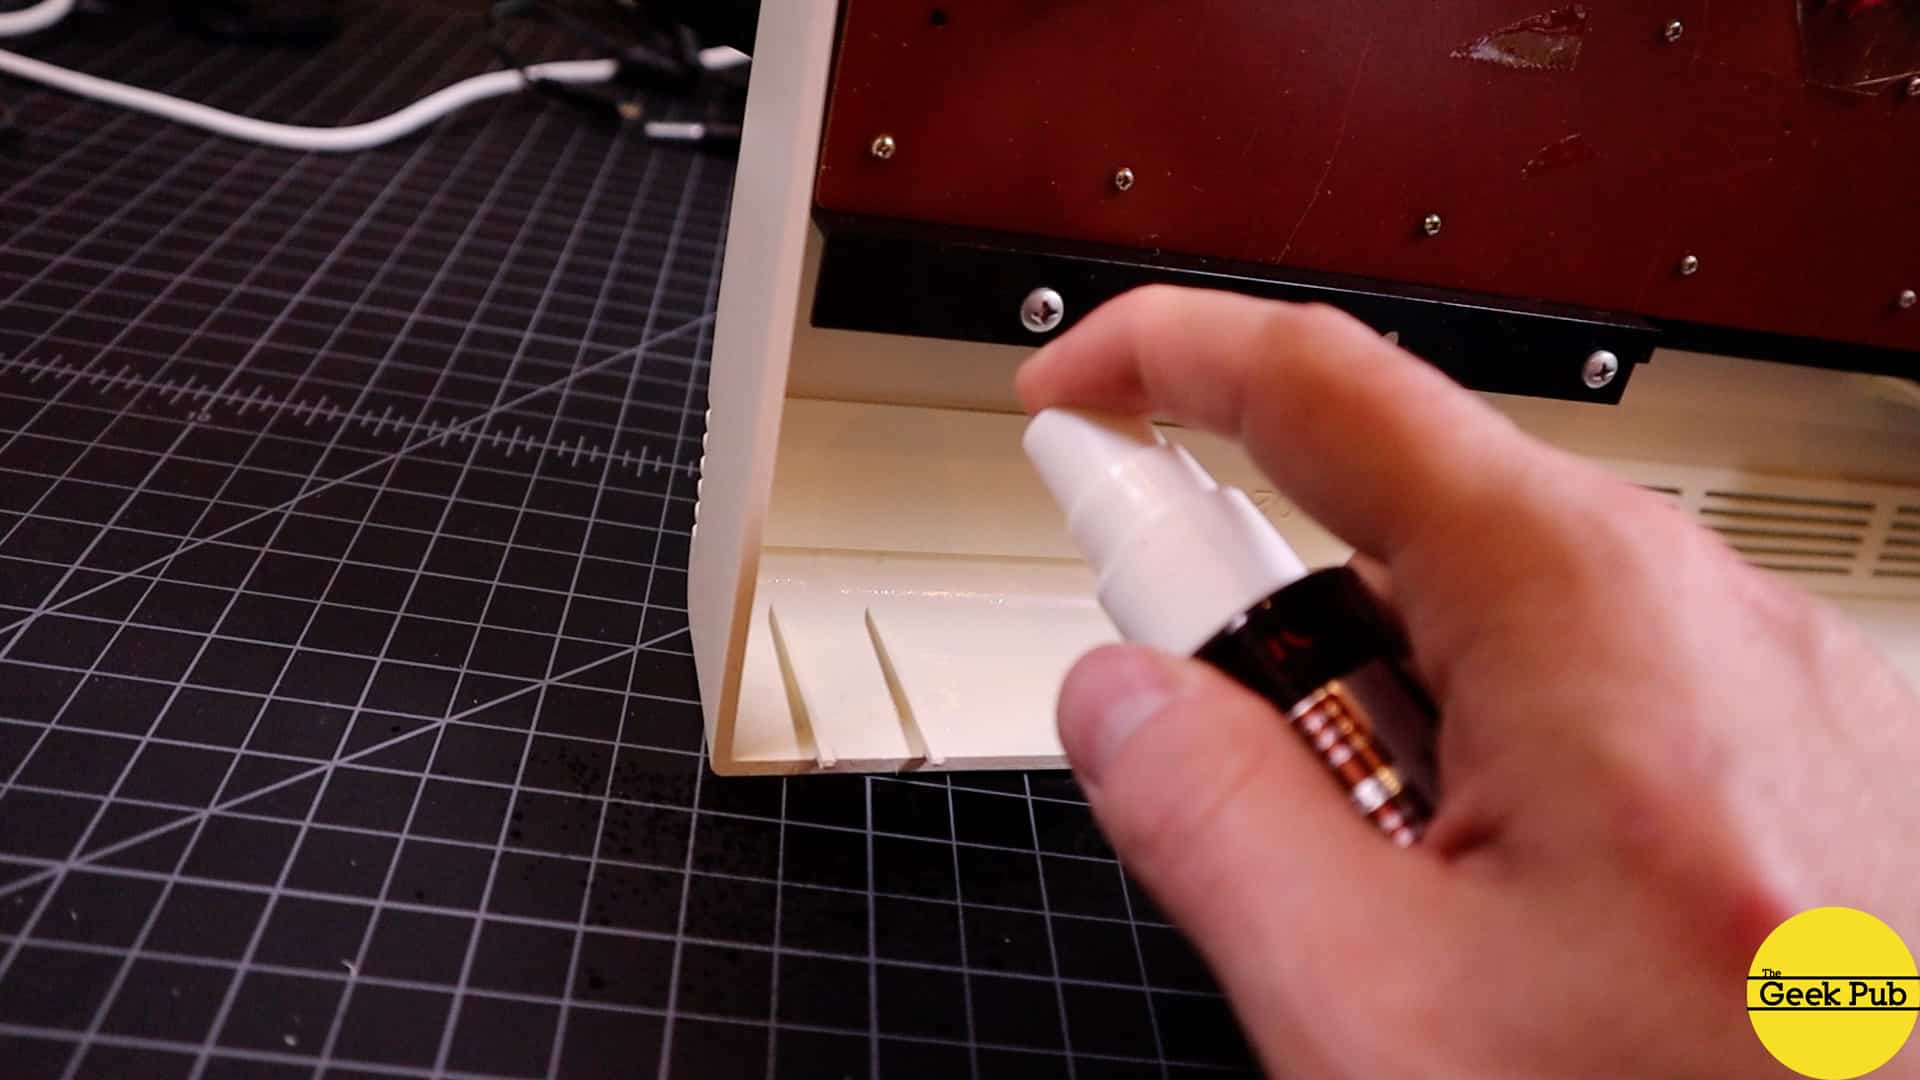
To attach the clip permanently, we’re going to use CA glue and accelerator. Put one small drop of CA glue on the clips, and then spray accelerator onto the VIC-20 case.
I get asked in a lot of my videos two questions:
CA Glue is just Super Glue right? Doesn’t that stuff suck?
Yes it is and no it doesn’t. CA stands for Cyanoacrylate. It’s what super glue is made from. CA glue forms an incredible strong bond that is most likely much stronger than the material it is bonding. Sometimes people think CA glue sucks, because they use way too much of it and then don’t let it dry completely. Less is more. Let it dry for 24 hours. The other reason people think it sucks is because they use it to repair dinnerware. CA glue does not hold up to water or the dishwasher. Don’t use CA glue for things that will get wet.
Does Activator/Accelerator make the CA glue bond weaker?
Yes it does. A tiny bit. But if you’re using the products correctly, you’re never going to notice the slight difference. If you’re worried and or need the absolute strongest bond, don’t use accelerator on it. Otherwise its fine.
RELATED: Worst Condition VIC-20 Brought Back to Life
So that’s it. Just close the case back up, reinstall the screws and you’re good to go.
4.5
This is my new favorite 8-Bit “bro”!!!!!!!!!!!!!!!!!!
this saved my ass. thank you for makin this project. i was able to fix my vic!
Best VIC20 repair out there! thanks for this!
Does this work on the Commodore 64?
Agreed. The super glue method failed me in a week. This is exactly what I needed.
These worked just fine on my C64 breadbin.
I don’t have access to a 3d printer and need clips for my vic 20, is there another alternative or place i can get the clips. Thank You Roy
0.5