fbpx

Most orders for IN STOCK items placed by 12PM CST M-F ship SAME DAY. Orders for custom items and prints may take additional time to process.

Setting up a Raspberry Pi Web Server

When people first see the specs on a Raspberry Pi, many assume it wouldn’t make a good web server.  Use case matters, which is often overlooked! The Raspberry Pi makes a great web server for small home and office applications. It’s quite honestly the perfect web server for a home automation controller, small personal web server, tiny blog, a family photo server, and more.  This list goes on!  So in this article we’re going to walk through the simple steps of setting up a Raspberry Pi Web Server!

The Raspberry Pi is capable of being a full LAMP server (Linux, Apache, MySQL, PHP). This means we can run all kinds of environments on our Pi Web Server including WordPress, Drupal, and other CMS systems. This opens some really interesting possibilities when you remember that the Raspberry Pi has GPIO! A web page on WordPress could control something in the physical world, or vice-versa!

I think you might also be surprised just how much traffic a Raspberry Pi web server can handle. I’d venture that most personal blogs on the planet that only get a few hundred visitors a day would run seamless on a Pi. But let’s also be honest, if you’re planning a blog that gets a good amount of traffic this isn’t the solution you’re looking for.

Parts List for this Project:

If you want a quick parts list to build your Raspberry Pi server, I’ve included handy links below:

Setting up a Raspberry Pi Web Server

Let’s move along on our adventure! First thing you need to do is install the Raspbian operating system on your Raspberry Pi.  You can get the official latest version here. One note: Almost every error we see setting up a Raspberry Pi Web Server is related to running an old outdated version of Raspbian. We highly recommend you re-image your Micro-SD card before moving on to the next steps.

Step 1: Boot your Raspberry Pi and open a terminal window. Make sure all of the latest patches are installed and apt is up to date.

sudo apt-get update
sudo apt-get upgrade

Step 2: It’s now time to install the Apache web server software.

sudo apt-get install apache2 -y

Step 3: Although this step is optional we highly recommend you reboot your Raspberry Pi at this point.

sudo reboot

Step 4: Once you Pi has booted back up, on another device or PC browse to the IP address of your Raspberry Pi.  You should be greeted with the Apache default web page.


Hint: if you don’t know your Raspberry Pi‘s IP address run the following command in a terminal window: hostname -I

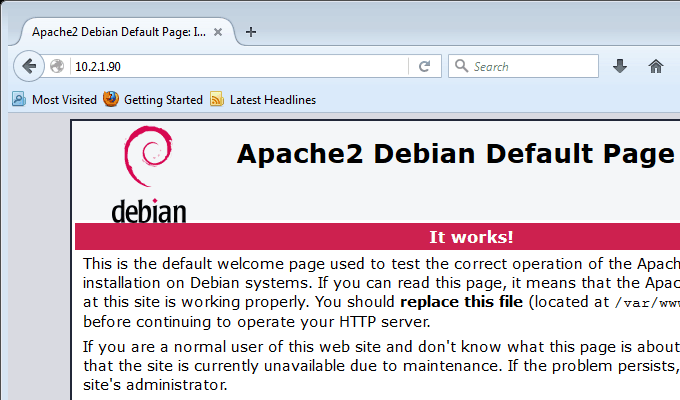
Modifying the Raspberry Pi Web Server Default Page

If you’d to have a little fun and edit the contents of the Raspberry Pi web server’s default page you can do so by running the following command:

sudo nano /var/www/html/index.html

You can also copy this page to another file as follows to create an additional page:

sudo cp /var/www/html/index.html /var/www/html/mypage.html

Installing and using PHP on the Raspberry Pi Web Server

If you want to do anything beyond basic web pages you’ll want install PHP on your Raspberry Pi web server. This will allow you to “execute code” on your web page and build dynamic content.  To install PHP, follow these steps:

Step 1: Open a terminal window and type the following command to install PHP.

sudo apt-get install php7.0 libapache2-mod-php7.0 -y

Step 2: Create a PHP page in the html directory in Nano.

sudo nano /var/www/html/myphppage.php

Step 3: Enter the following code and then save the php file.

<?php phpinfo(); ?>

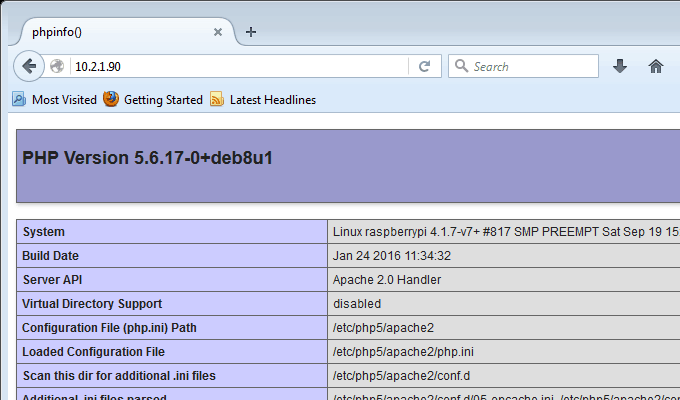
Step 4: In a browser on another computer, browse to the IP address of your Raspberry Pi web server and this page: http://10.2.3.4/myphppage.php

You will be presented with a webpage showing some basic stats and information on your server. The PHP info page.

That’s the basics of installing your Raspberry Pi web server! If you want to install WordPress, see our article on setting up a Raspberry Pi to run WordPress.  Feel free to leave comments below!


Upgrade to Premium

If you like our content maybe consider upgrading to Premium. You’ll get access to

  • Free access to all plans
  • Member only videos
  • Early access to content
  • Ad free Experience
  • Discounts on store merch
  • Direct hotline contact form

Leave a Reply