Blog
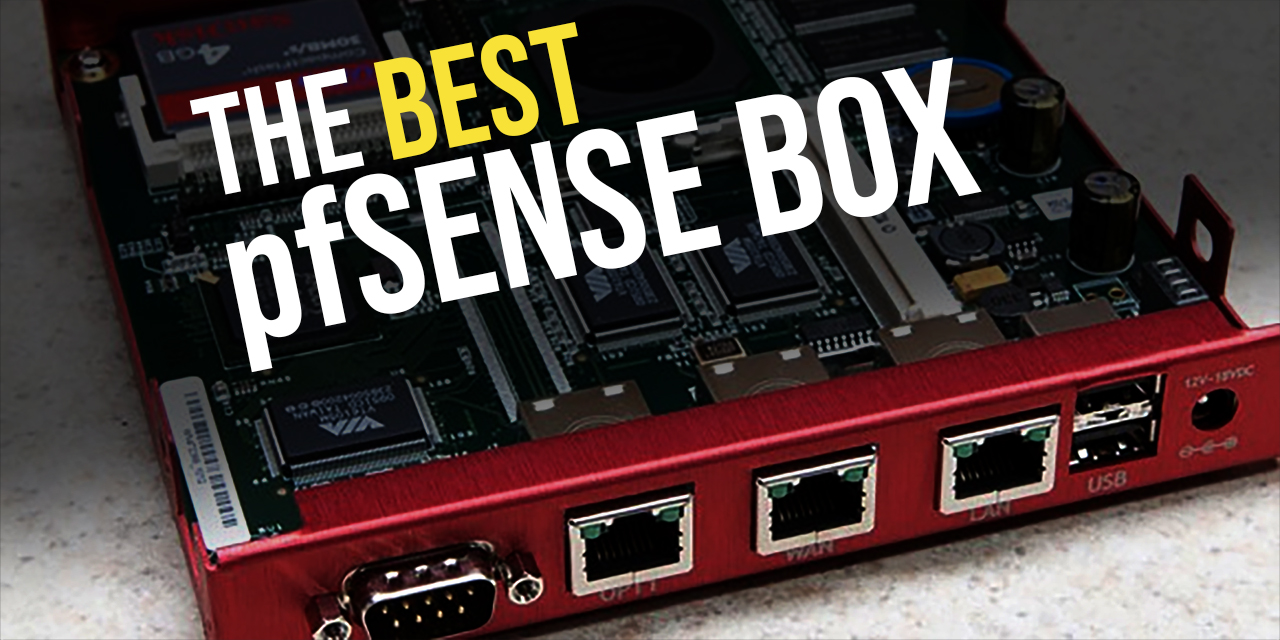
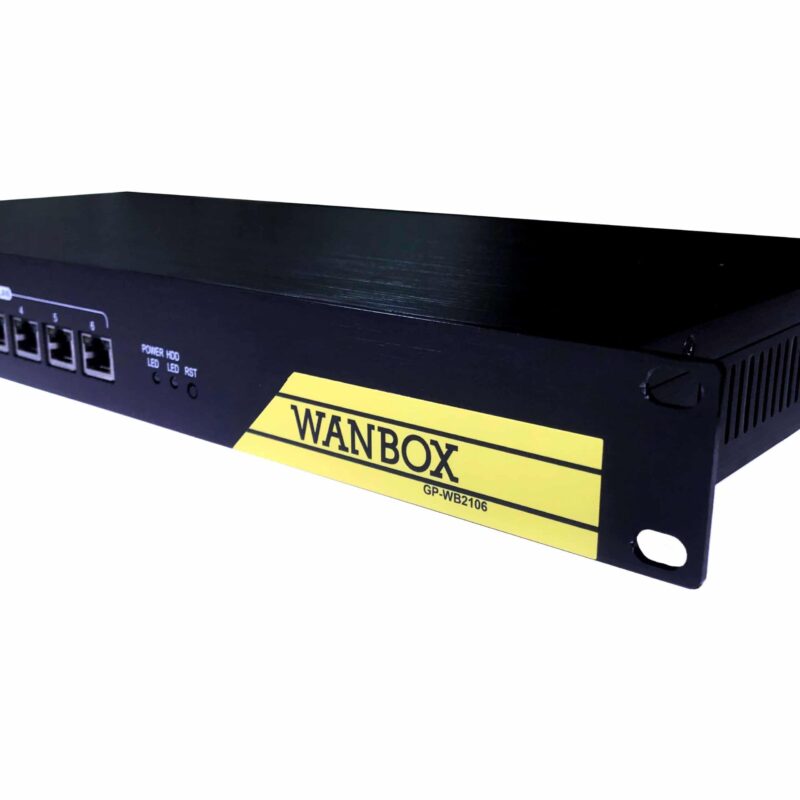
Installing pfSense on the WANBOX
Installing pfSense on the WANBOX is a simple task that can be accomplished in just a few minutes. There are many operating systems that can be installed on The Geek Pub WANBOX. Also supported is OpenSense, RouterOS, m0n0wall, and others. pfSense however is the primary OS our customers install due to it’s ease of use, excellent feature set, high security, and of course its price (free community edition). The pfSense community is very engaged and support can easily be found here on TheGeekPub.com as well as on the pfSense forum and other forums. So let’s get started installing pfSense on the WANBOX.
Preparing for Installing pfSense on the WANBOX
Before installing pfSense on the WANBOX there are few prerequisites you need to do. Make sure you have a blank USB memory stick available that is at least 2GB in size.
Downloading pfSense Community Edition
Head on over to the pfSense.org website and grab a copy of the community edition of pfSense. For the WANBOX follow these steps:
- select the latest version
- select AMD64 (64-bit) architecture
- select USB Memstick Installer
- select VGA console
- and the closest location to you

Download the image and put it in a safe place on your hard drive.
Download in Install Rufus
Now that you have the pfSense installation image you will need to write it to a bootable USB stick. This is where Rufus come into place. Rufus will use the pfSense image, write it to your USB stick, and then create a bootable image that the WANBOX (or other appliance) can read during boot. Download Rufus here.
You’ll make the following selections in Rufus:
- select the memory stick you are using under device (make sure its plugged into a USB port on your PC)
- select MBR partition scheme for BIOS or UEFI
- select Large FAT32 for File System
- select 32K Cluster size
- label the volume pfSense Installer
- make sure Create Bootable Disk Image is checked and DD Image in the dropdown is selected
- click the CD icon and select the .gz file you downloaded at the pfSense.org website
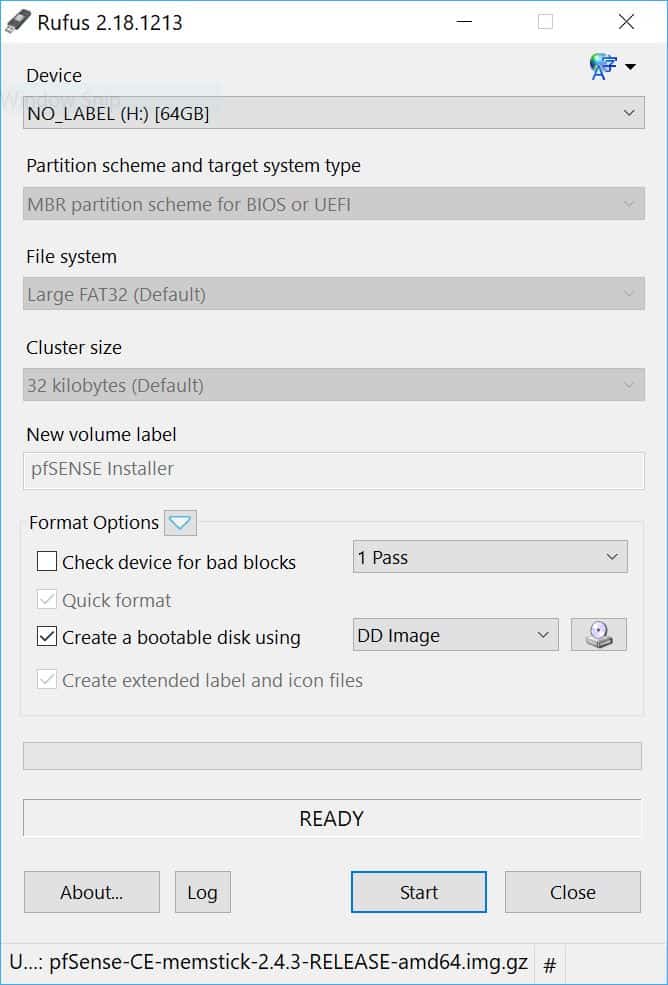
Select Start and your bootable pfSense image will be created.
Installing pfSense on the WANBOX
Now that you have your pfSense USB memory stick installer created it is time to actually do the install. The good news, you’ve mostly completed the hard part! The installer is fast and simple.
Prepare the WANBOX
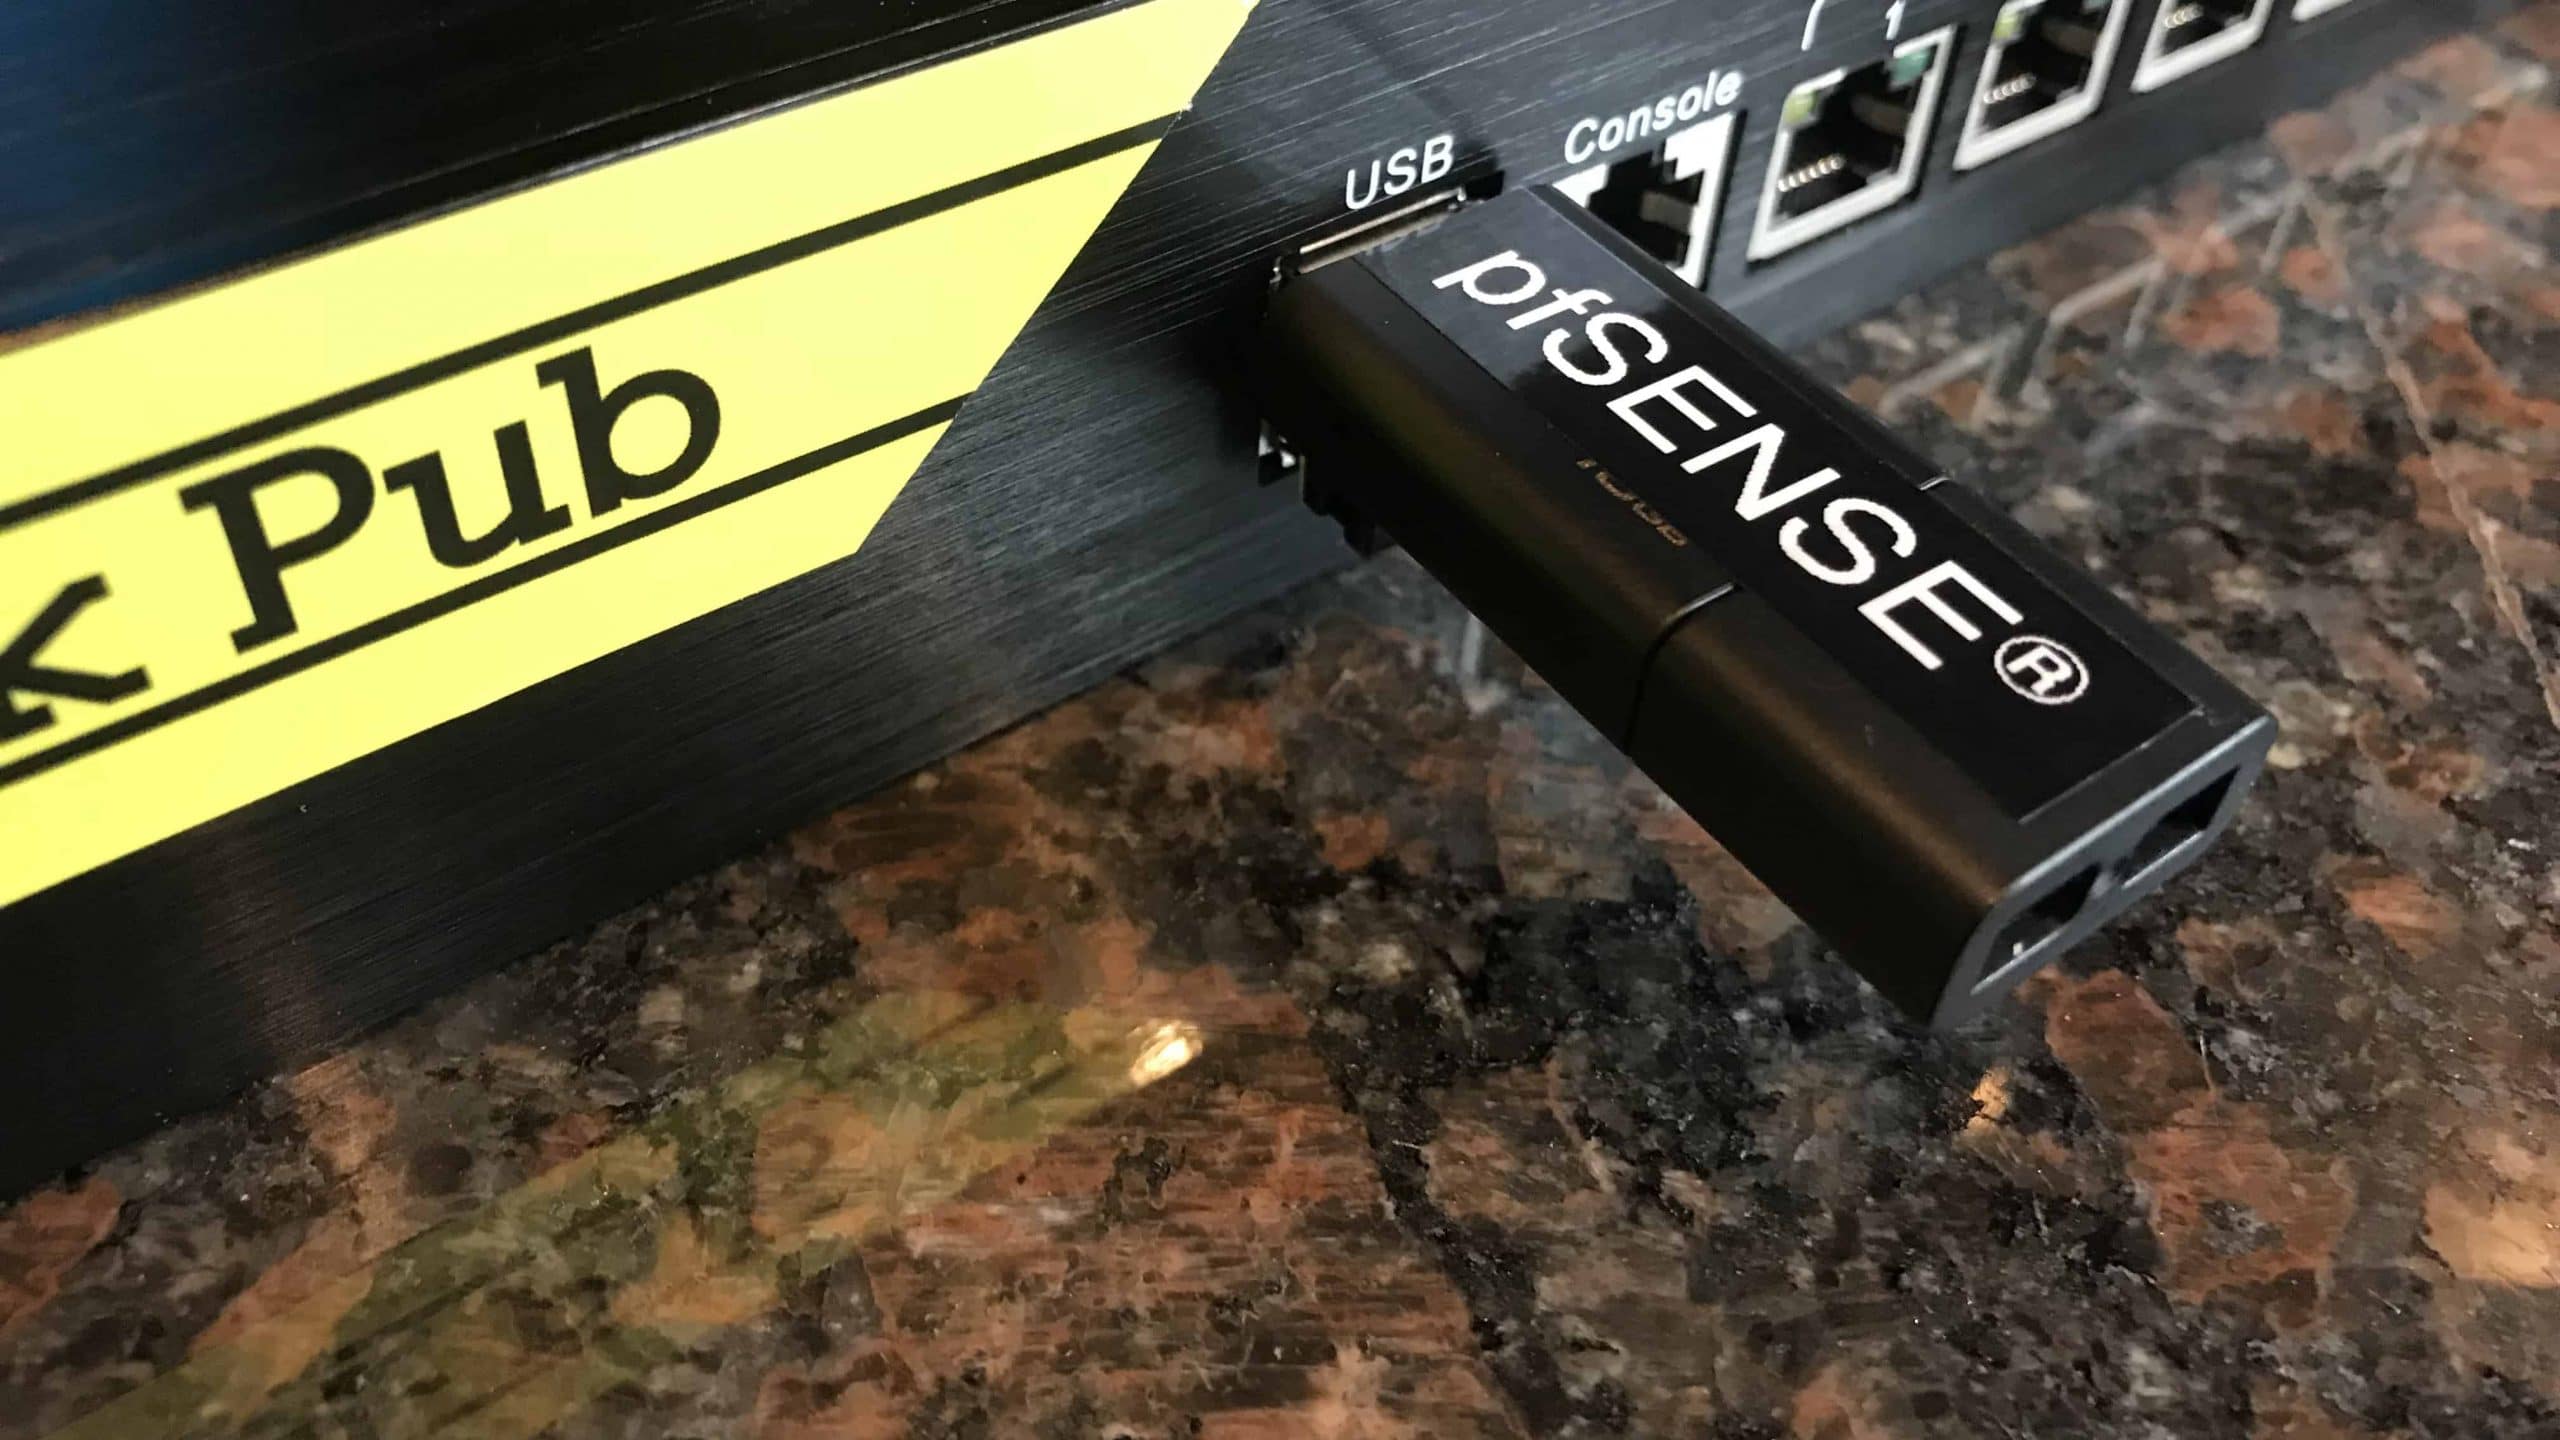
If you’ve not already done so, unpack the WANBOX. Plug the WANBOX into a VGA compatible monitor, and then plug a USB keyboard into one of the front USB ports. Make sure the WANBOX power switch is in the off position and connect the power cord.
With the WANBOX power switch still in the off position, plug your pfSense memory stick installer into the other open USB port on the front of the unit. Finally, flip the power switch to the on position to begin the installation process.
NOTE: Do not make any changes to the BIOS settings on the WANBOX, it is pre-configured from the factory for optimal operation.
The pfSense Install Process
Once you power on The Geek Pub WANBOX the installation will begin. You may see a short flash of the BIOS screen and then the installer will display its boot screen.
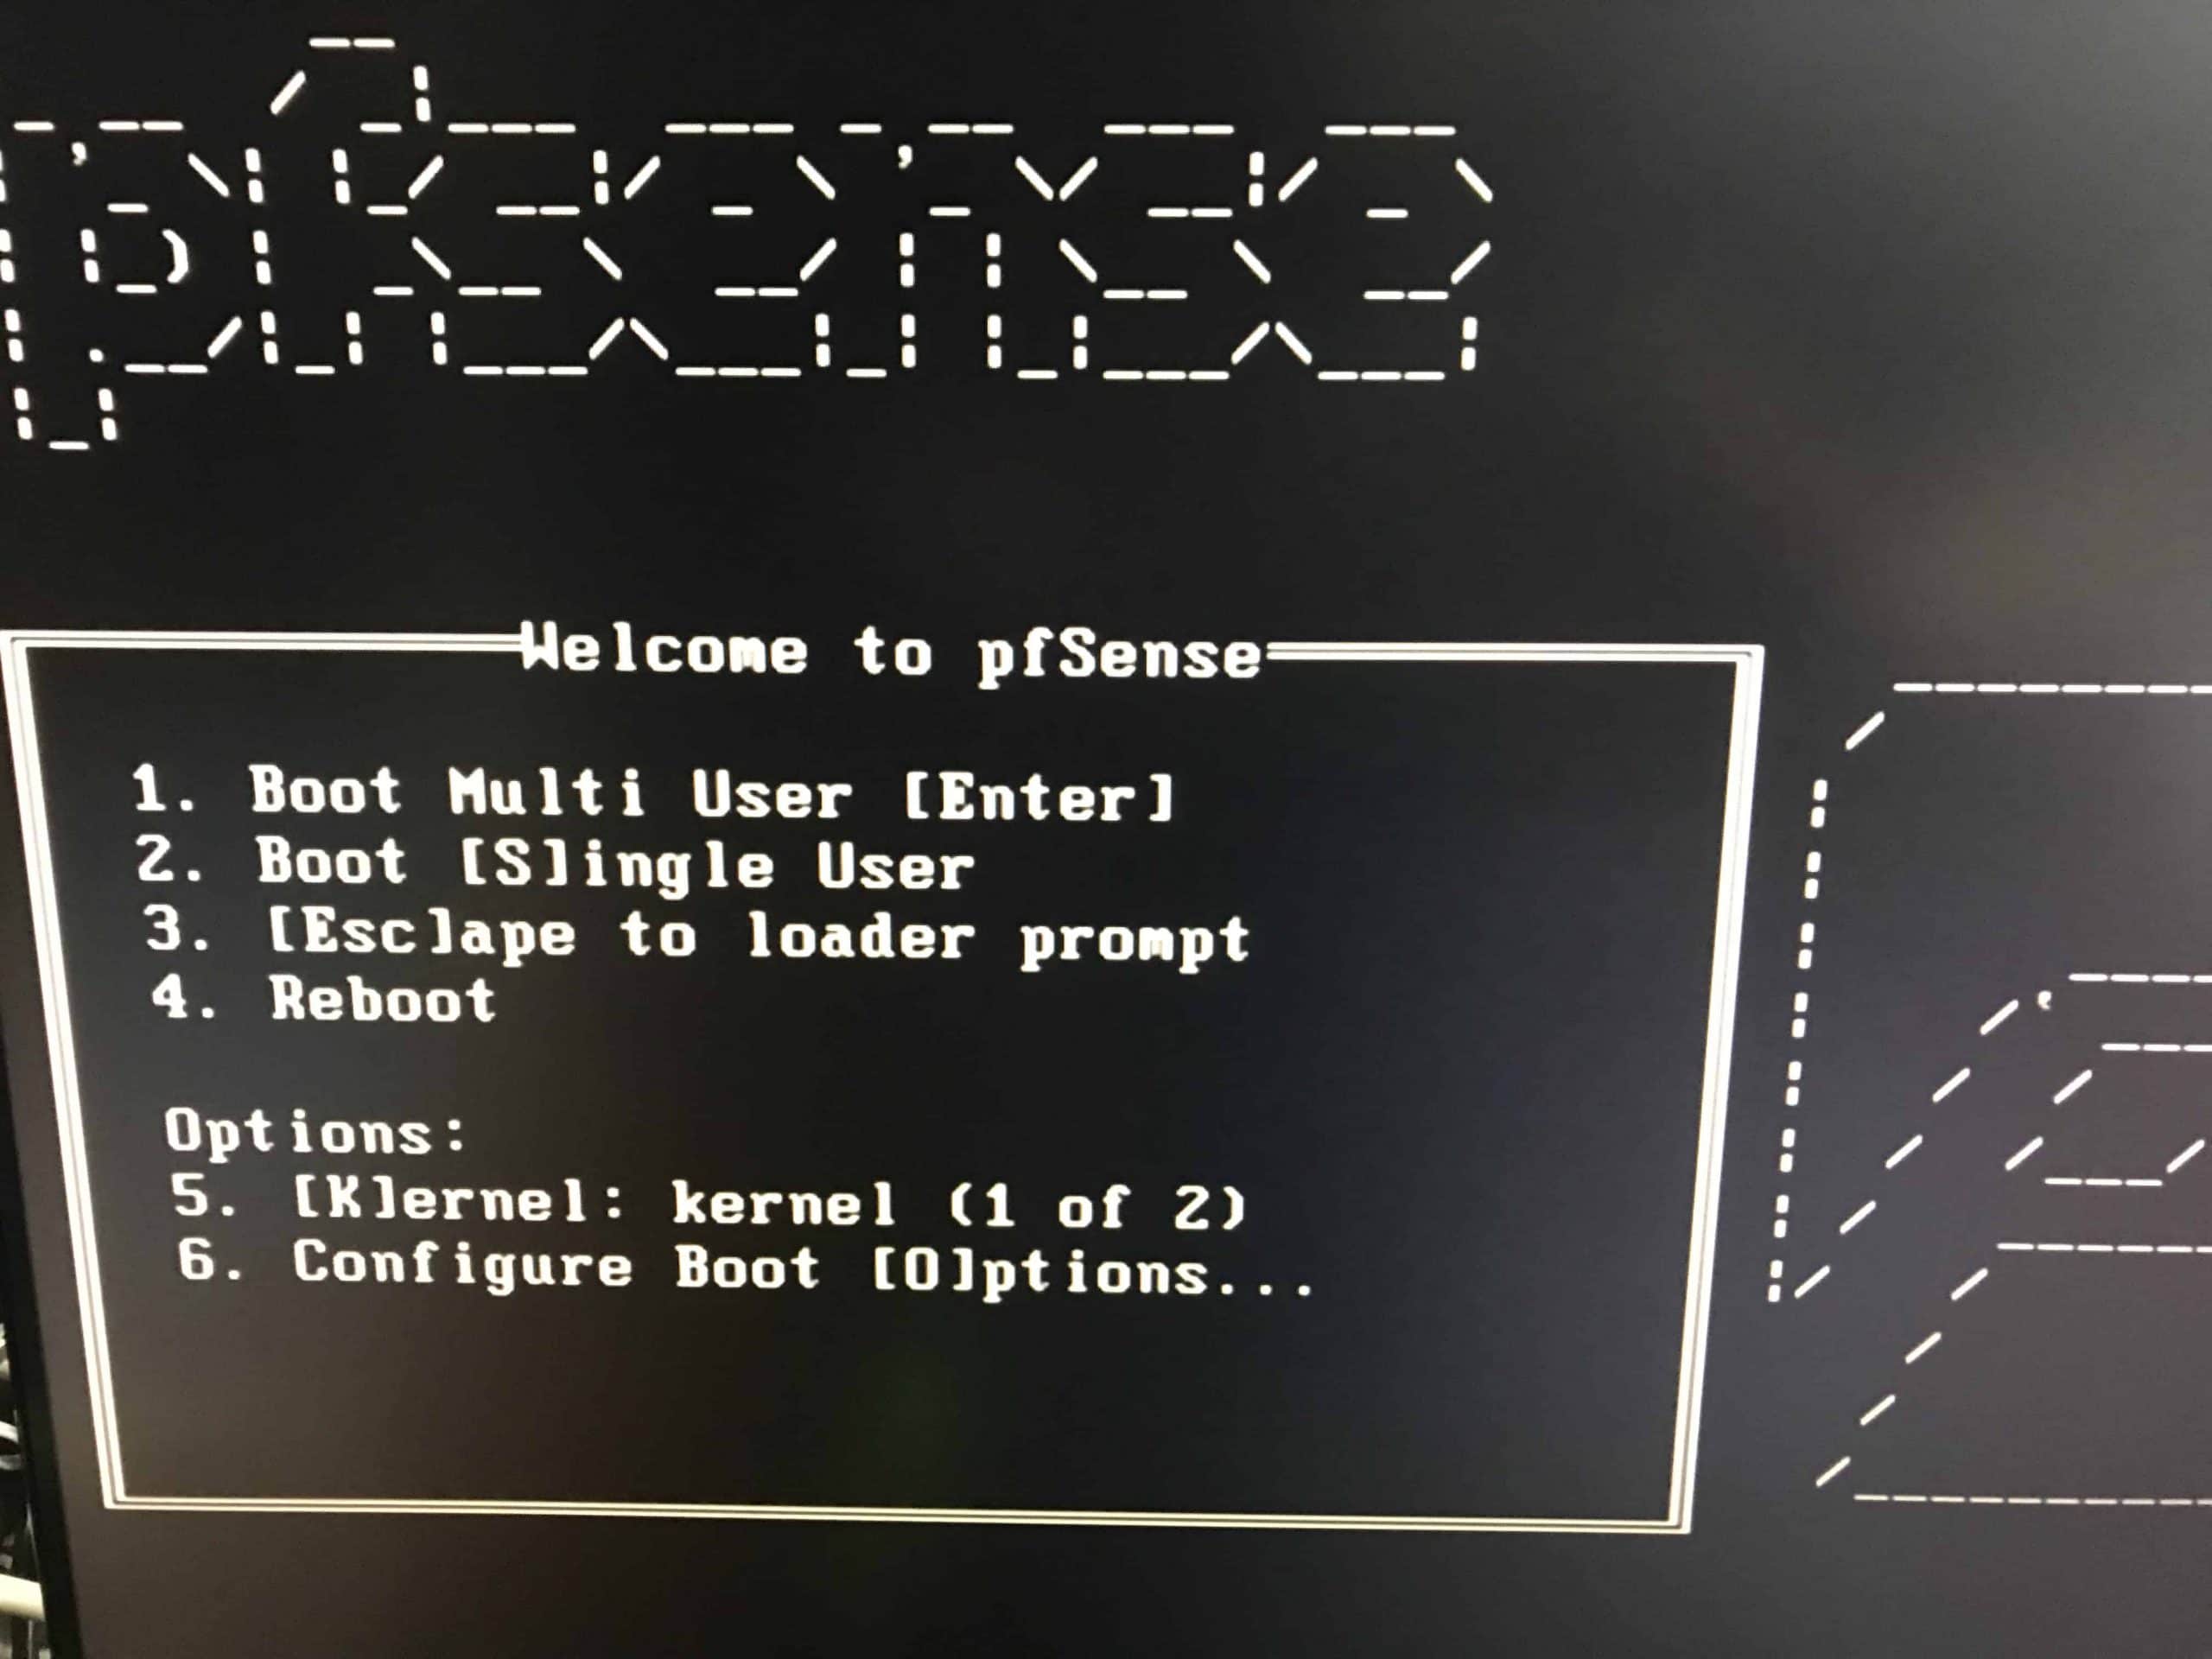
Just wait a few seconds and the process will start automatically. If it doesn’t or if you accidentally stopped the process, just press ENTER to continue. The installer will boot.
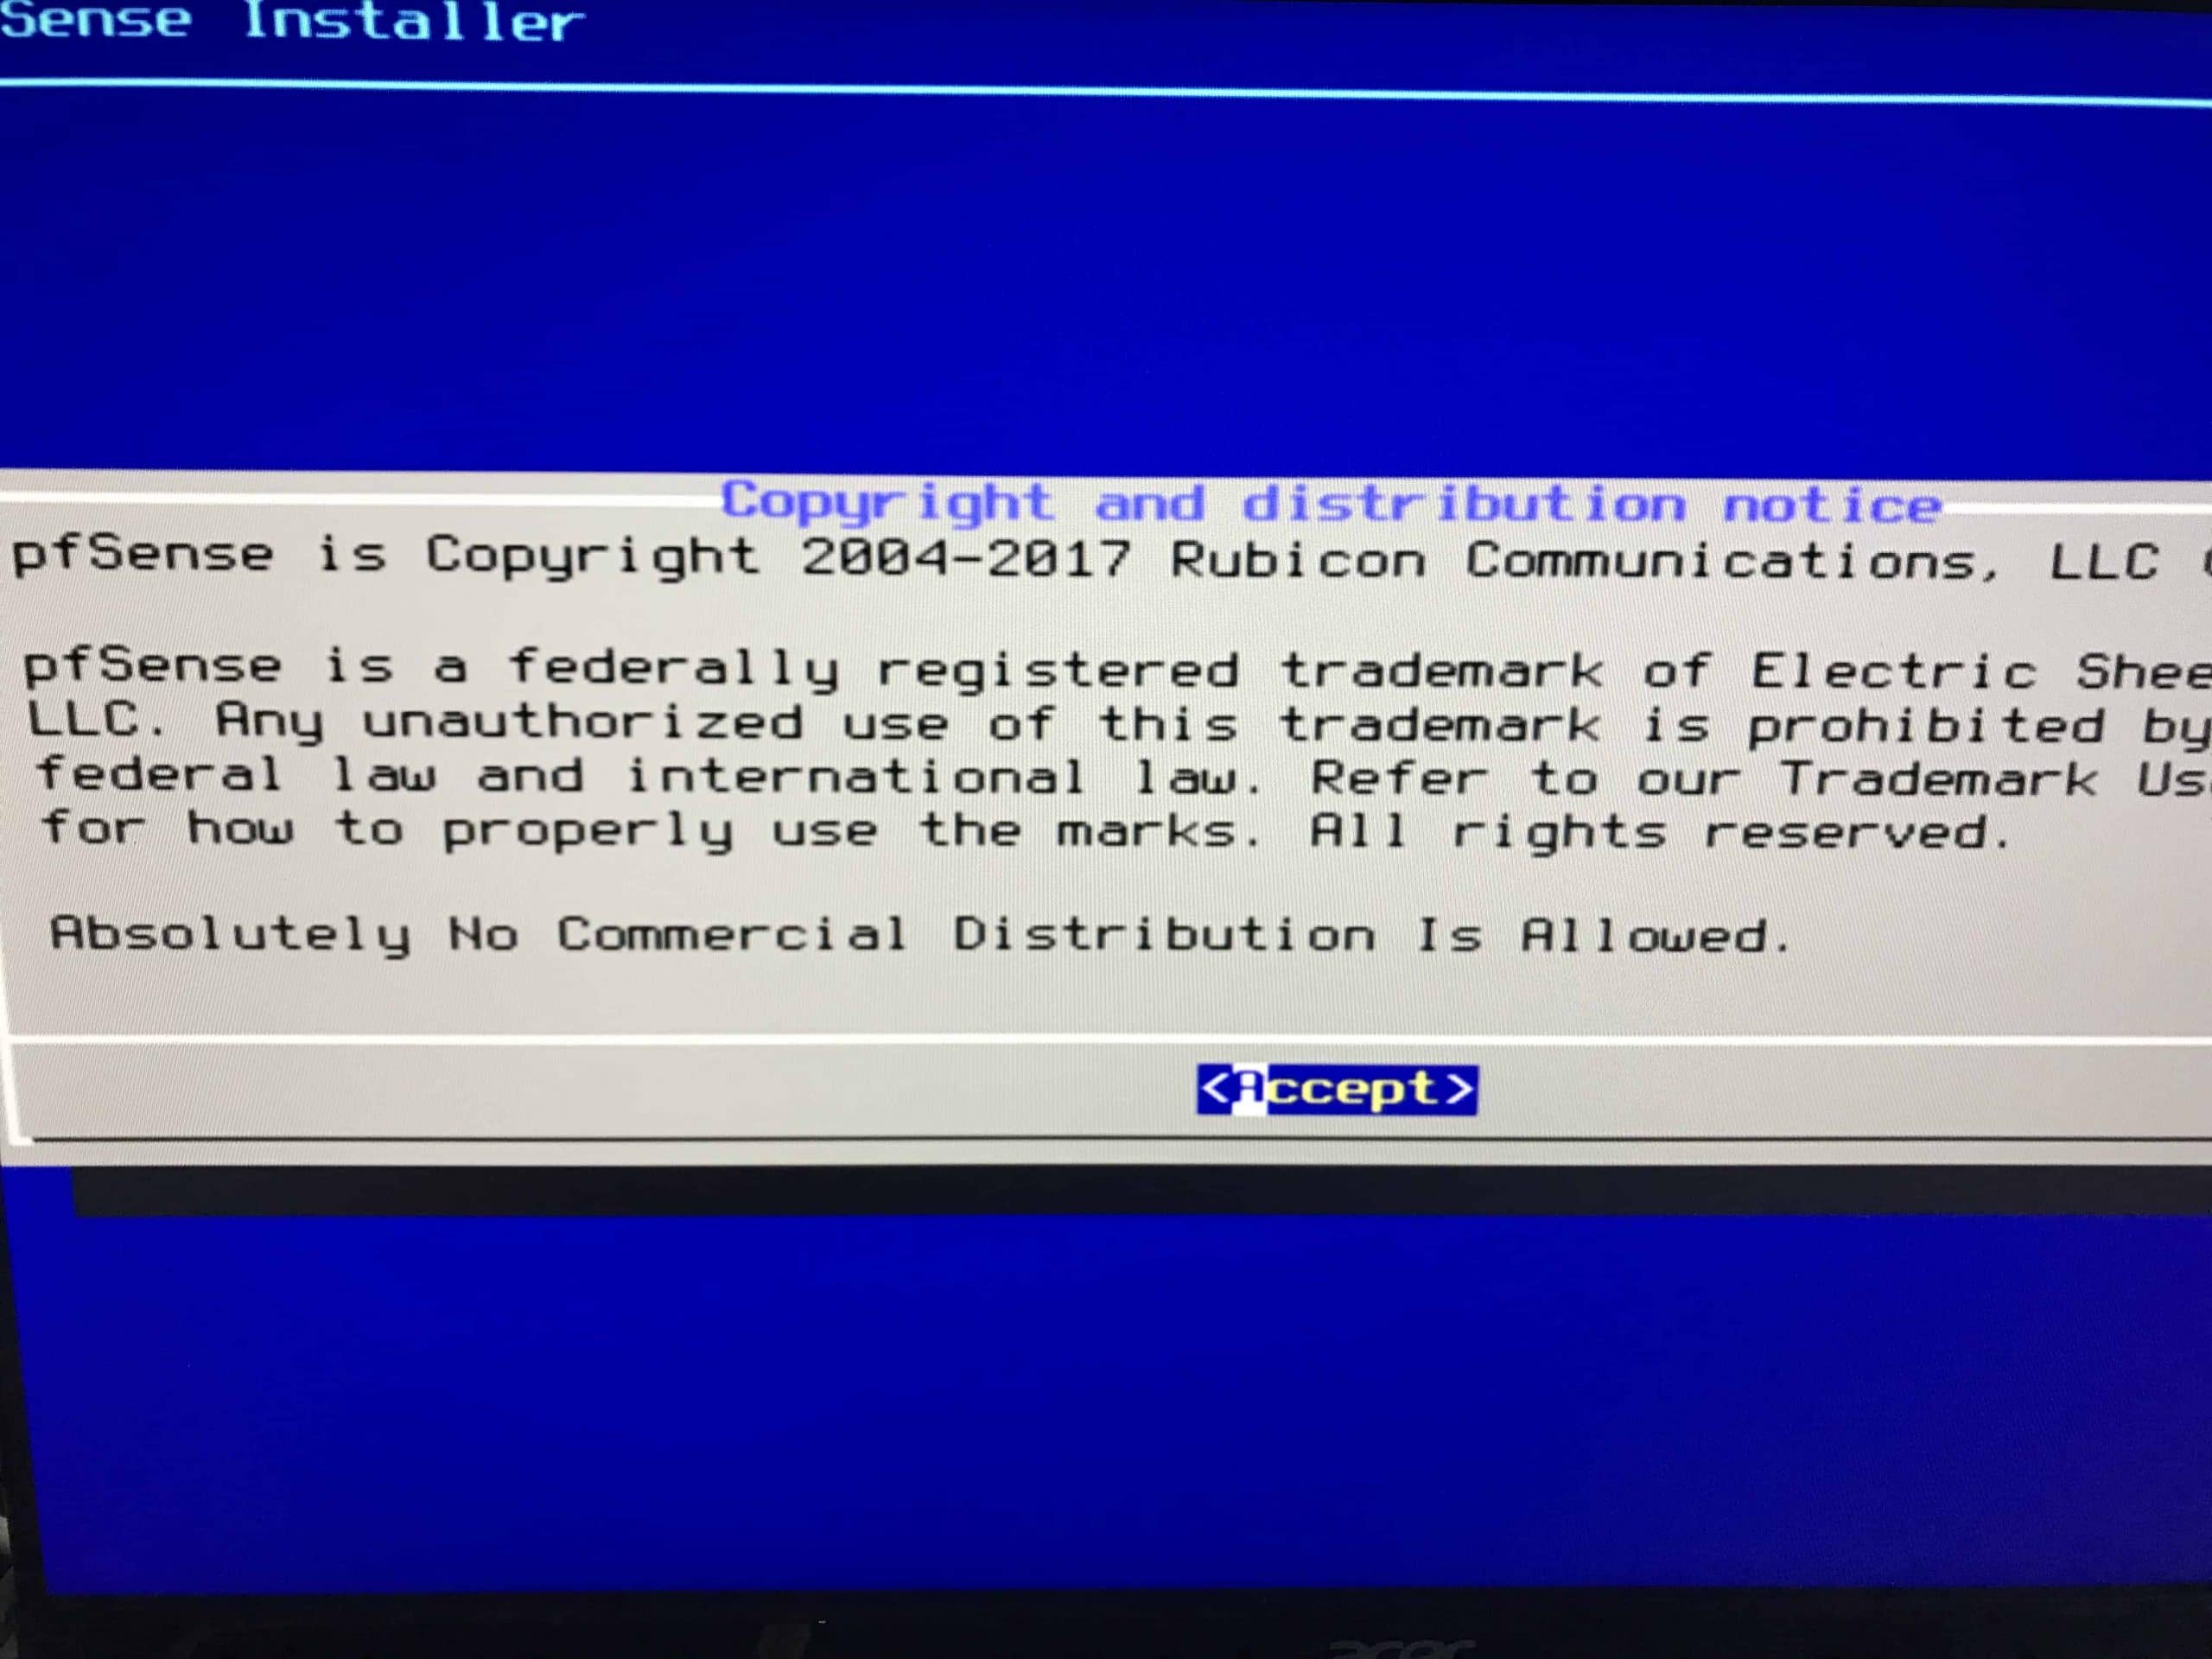
Press ENTER to accept the licensing agreement.
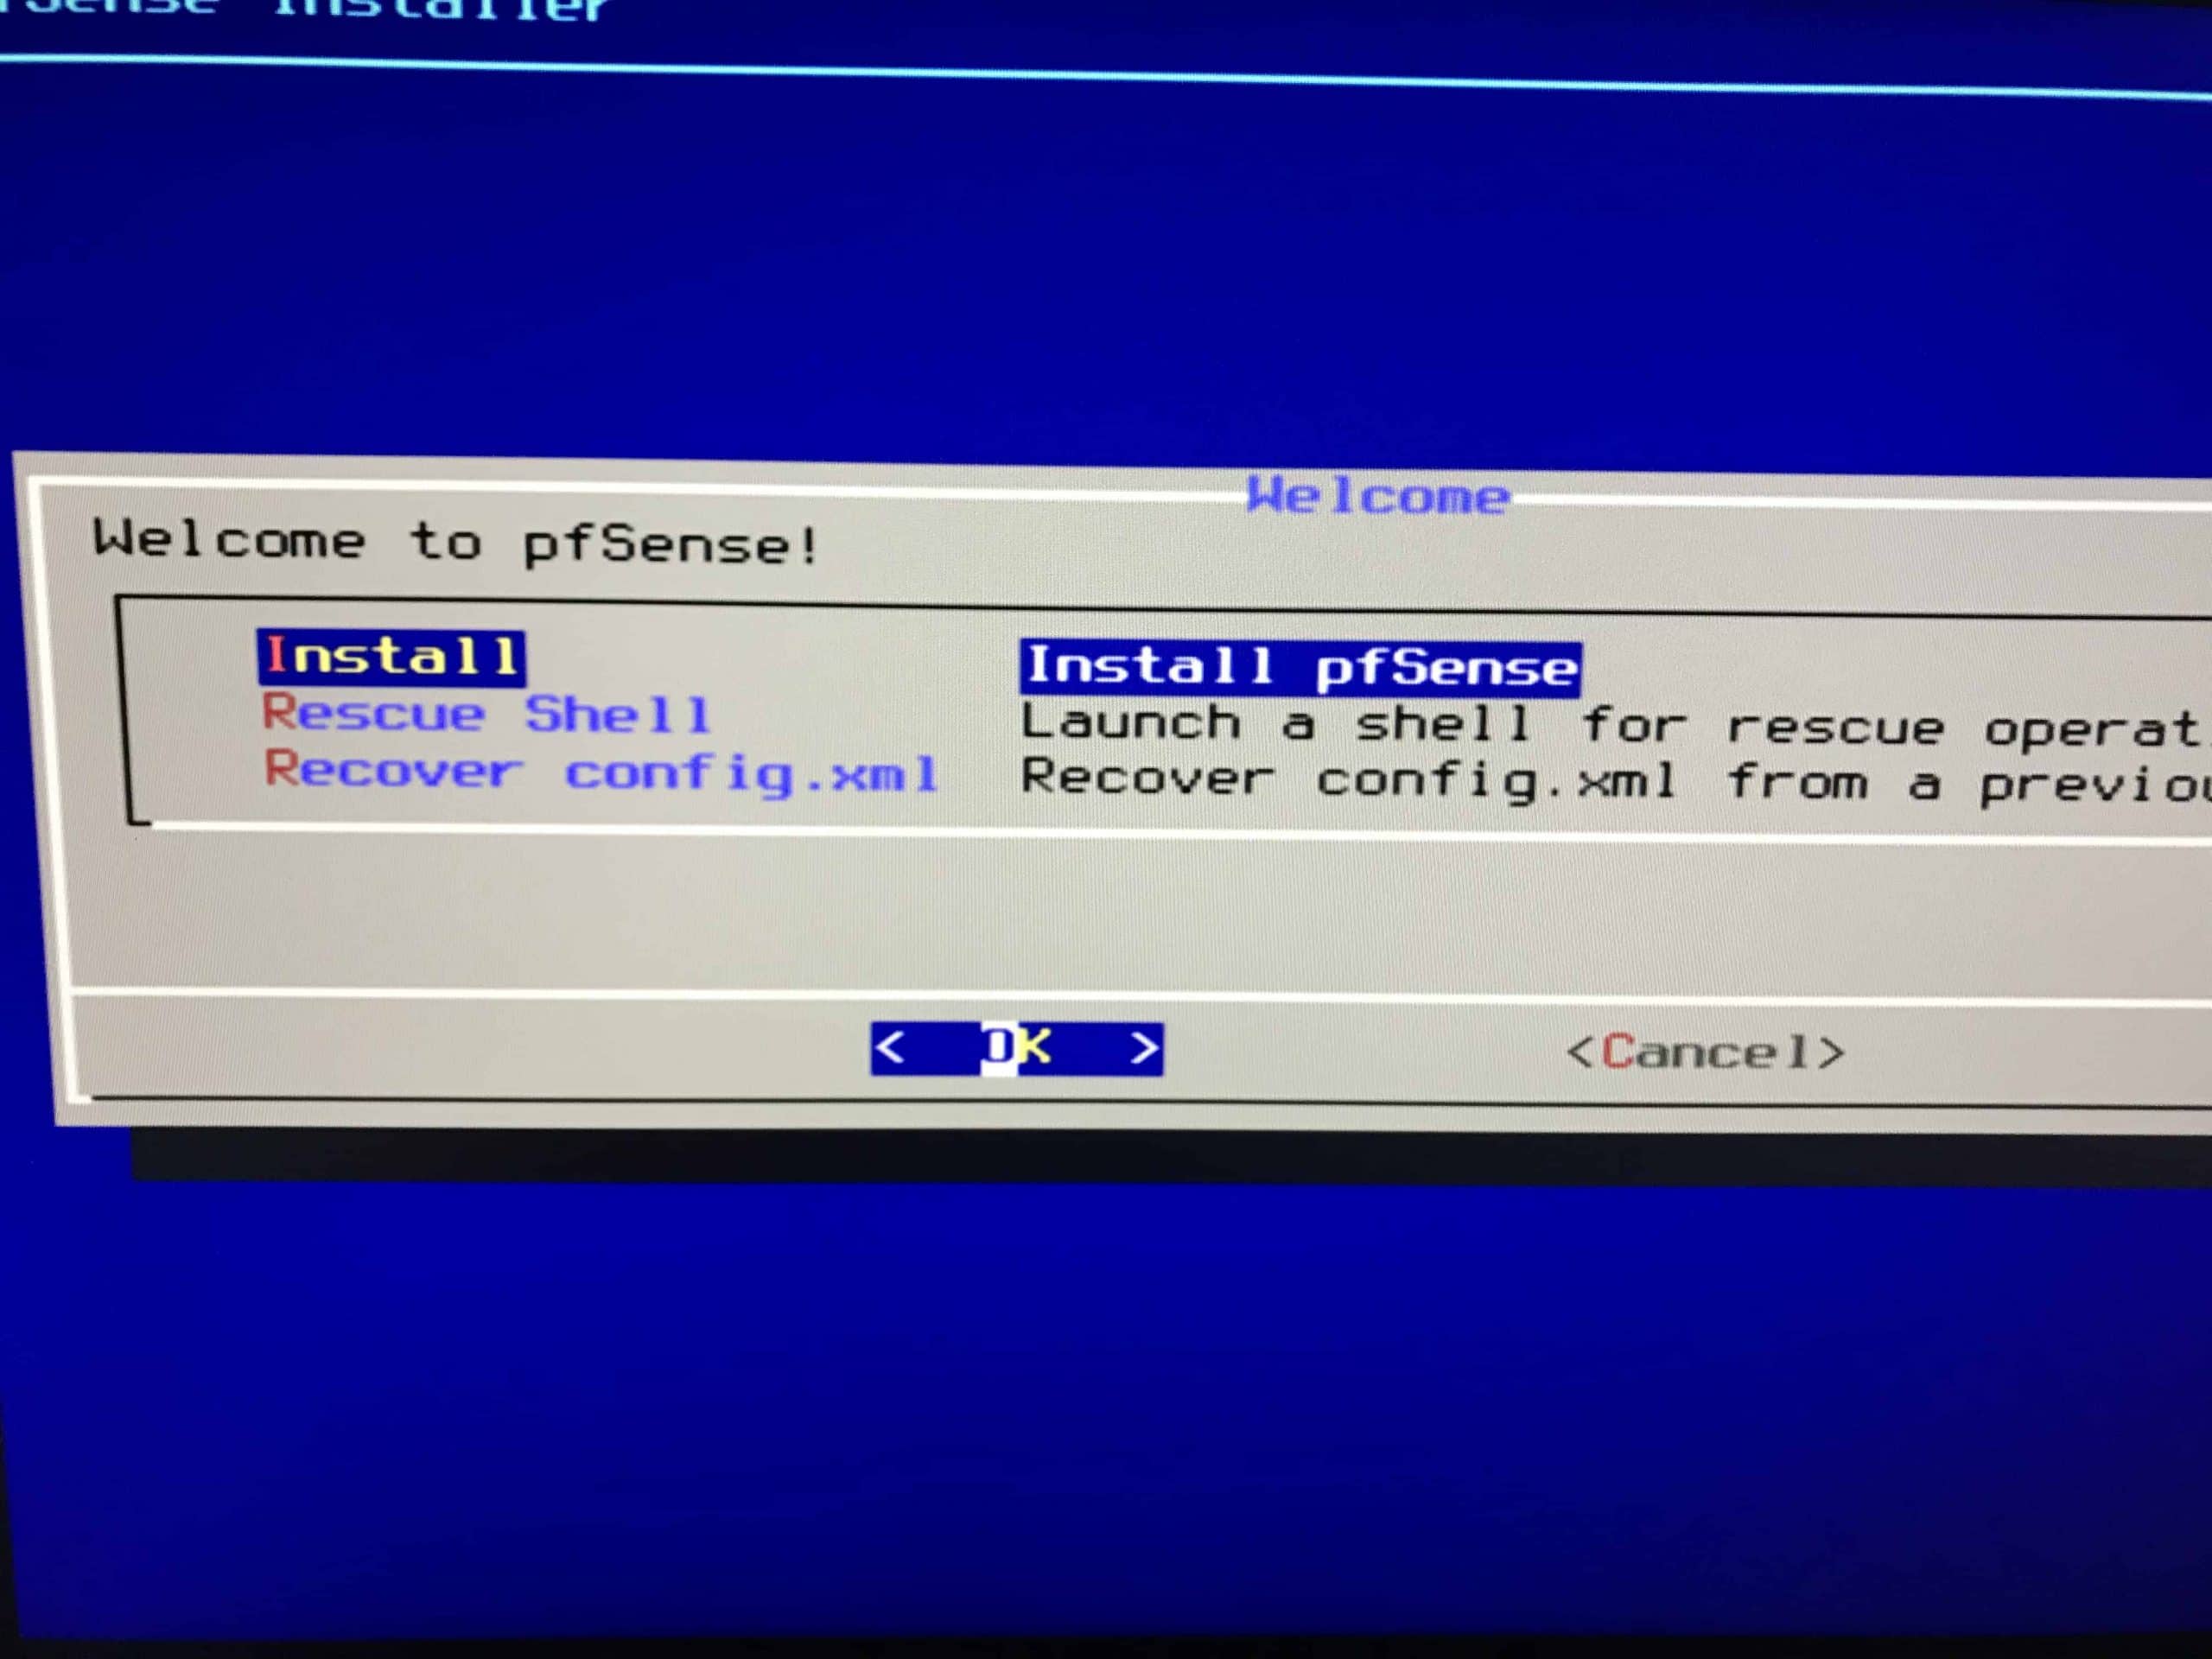
Select Install pfSense to begin.
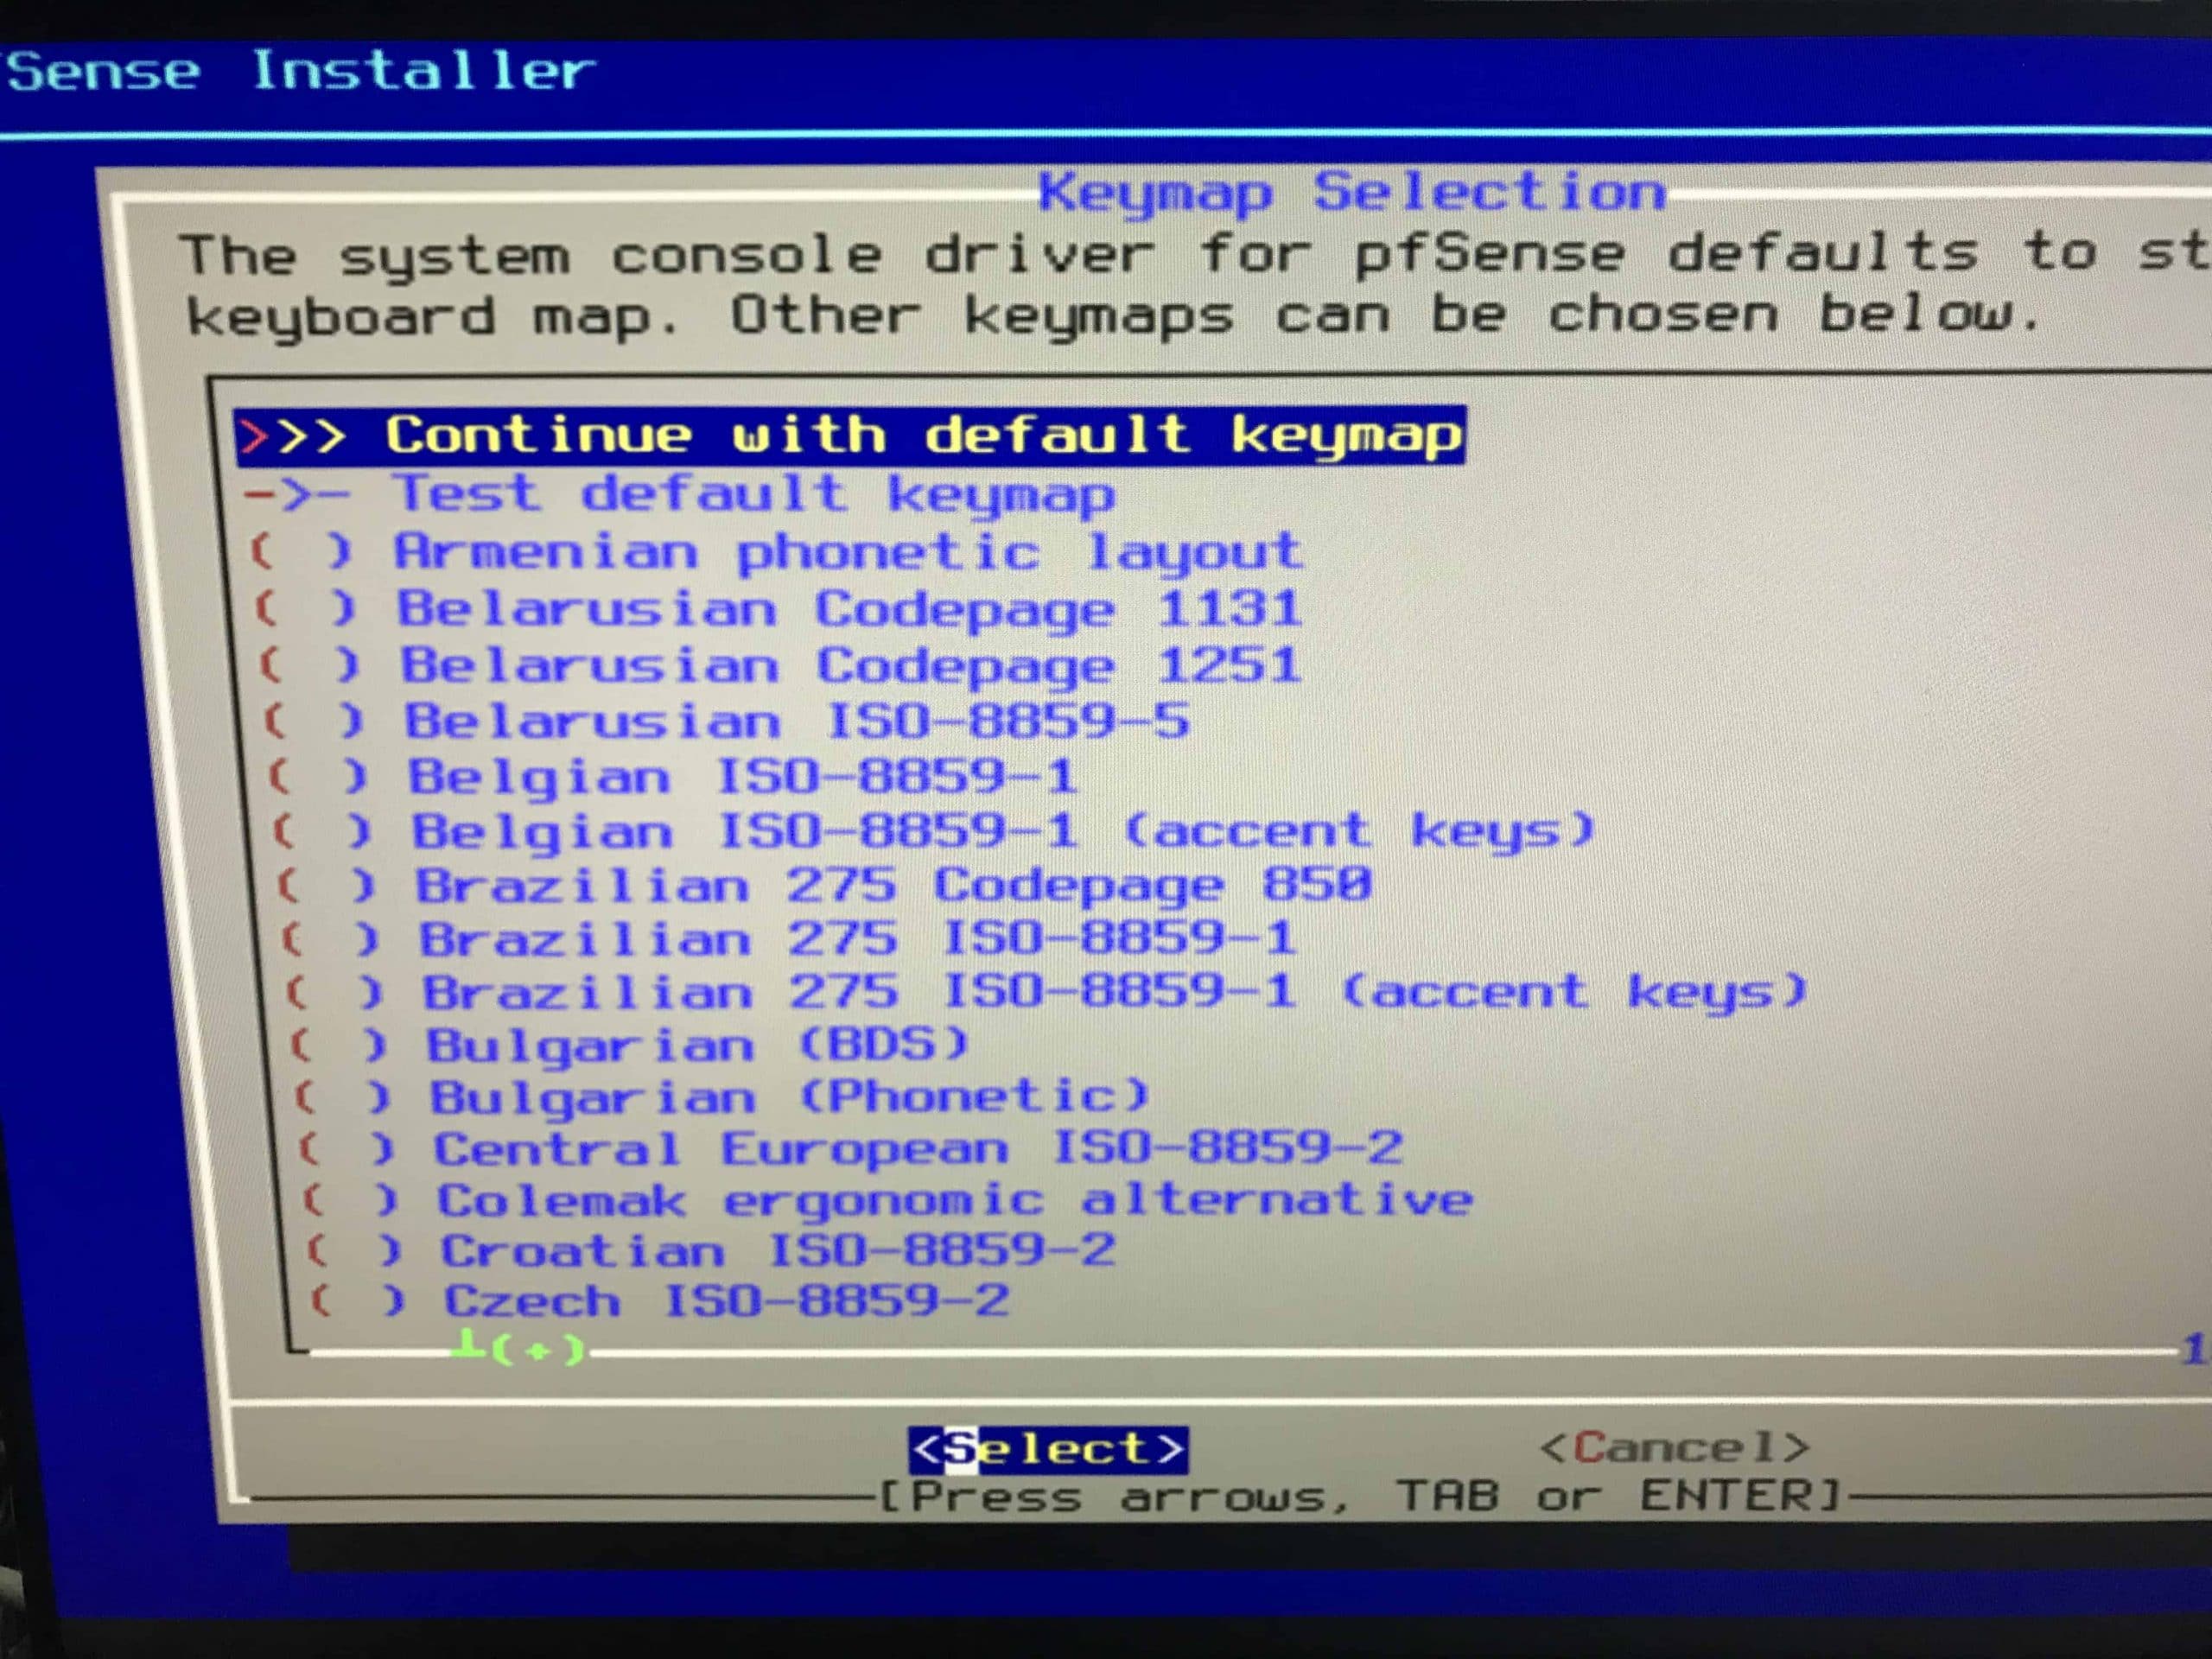
Unless you have a special keyboard (foreign language), just press ENTER to continue on the keymap screen.
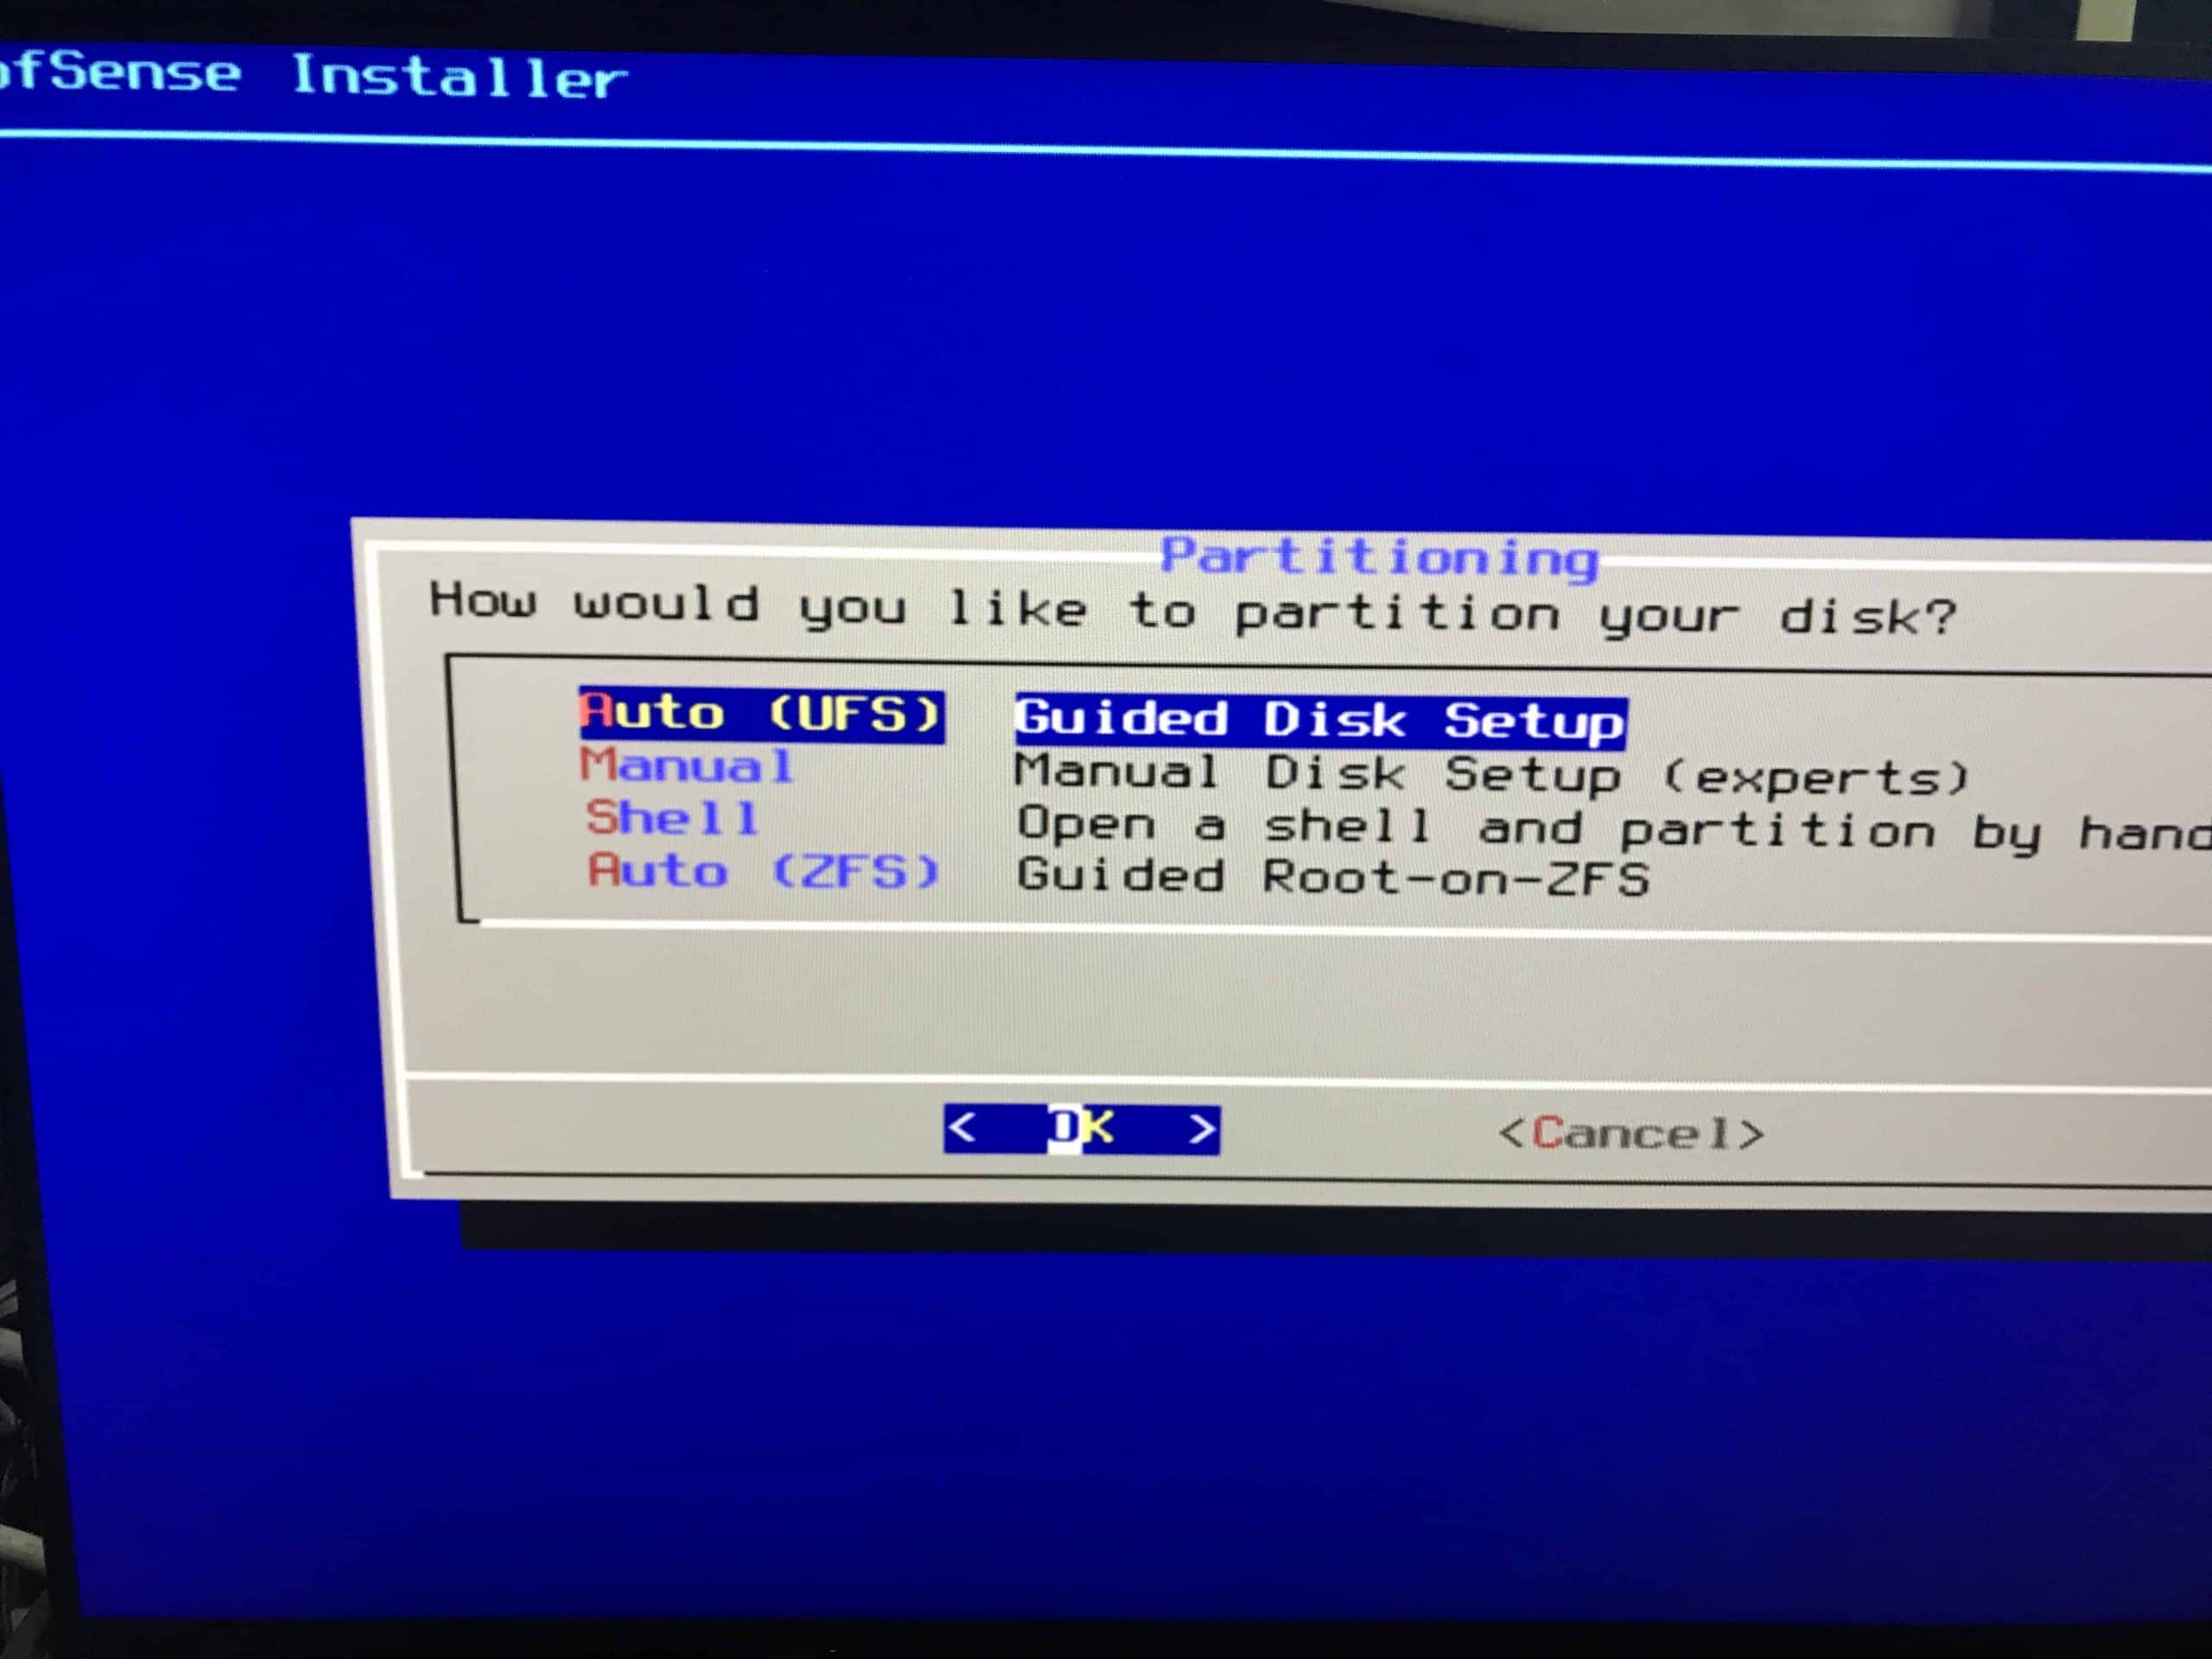
Select Guided Disk Setup (Auto UFS) to partition the installed mSATA SSD.
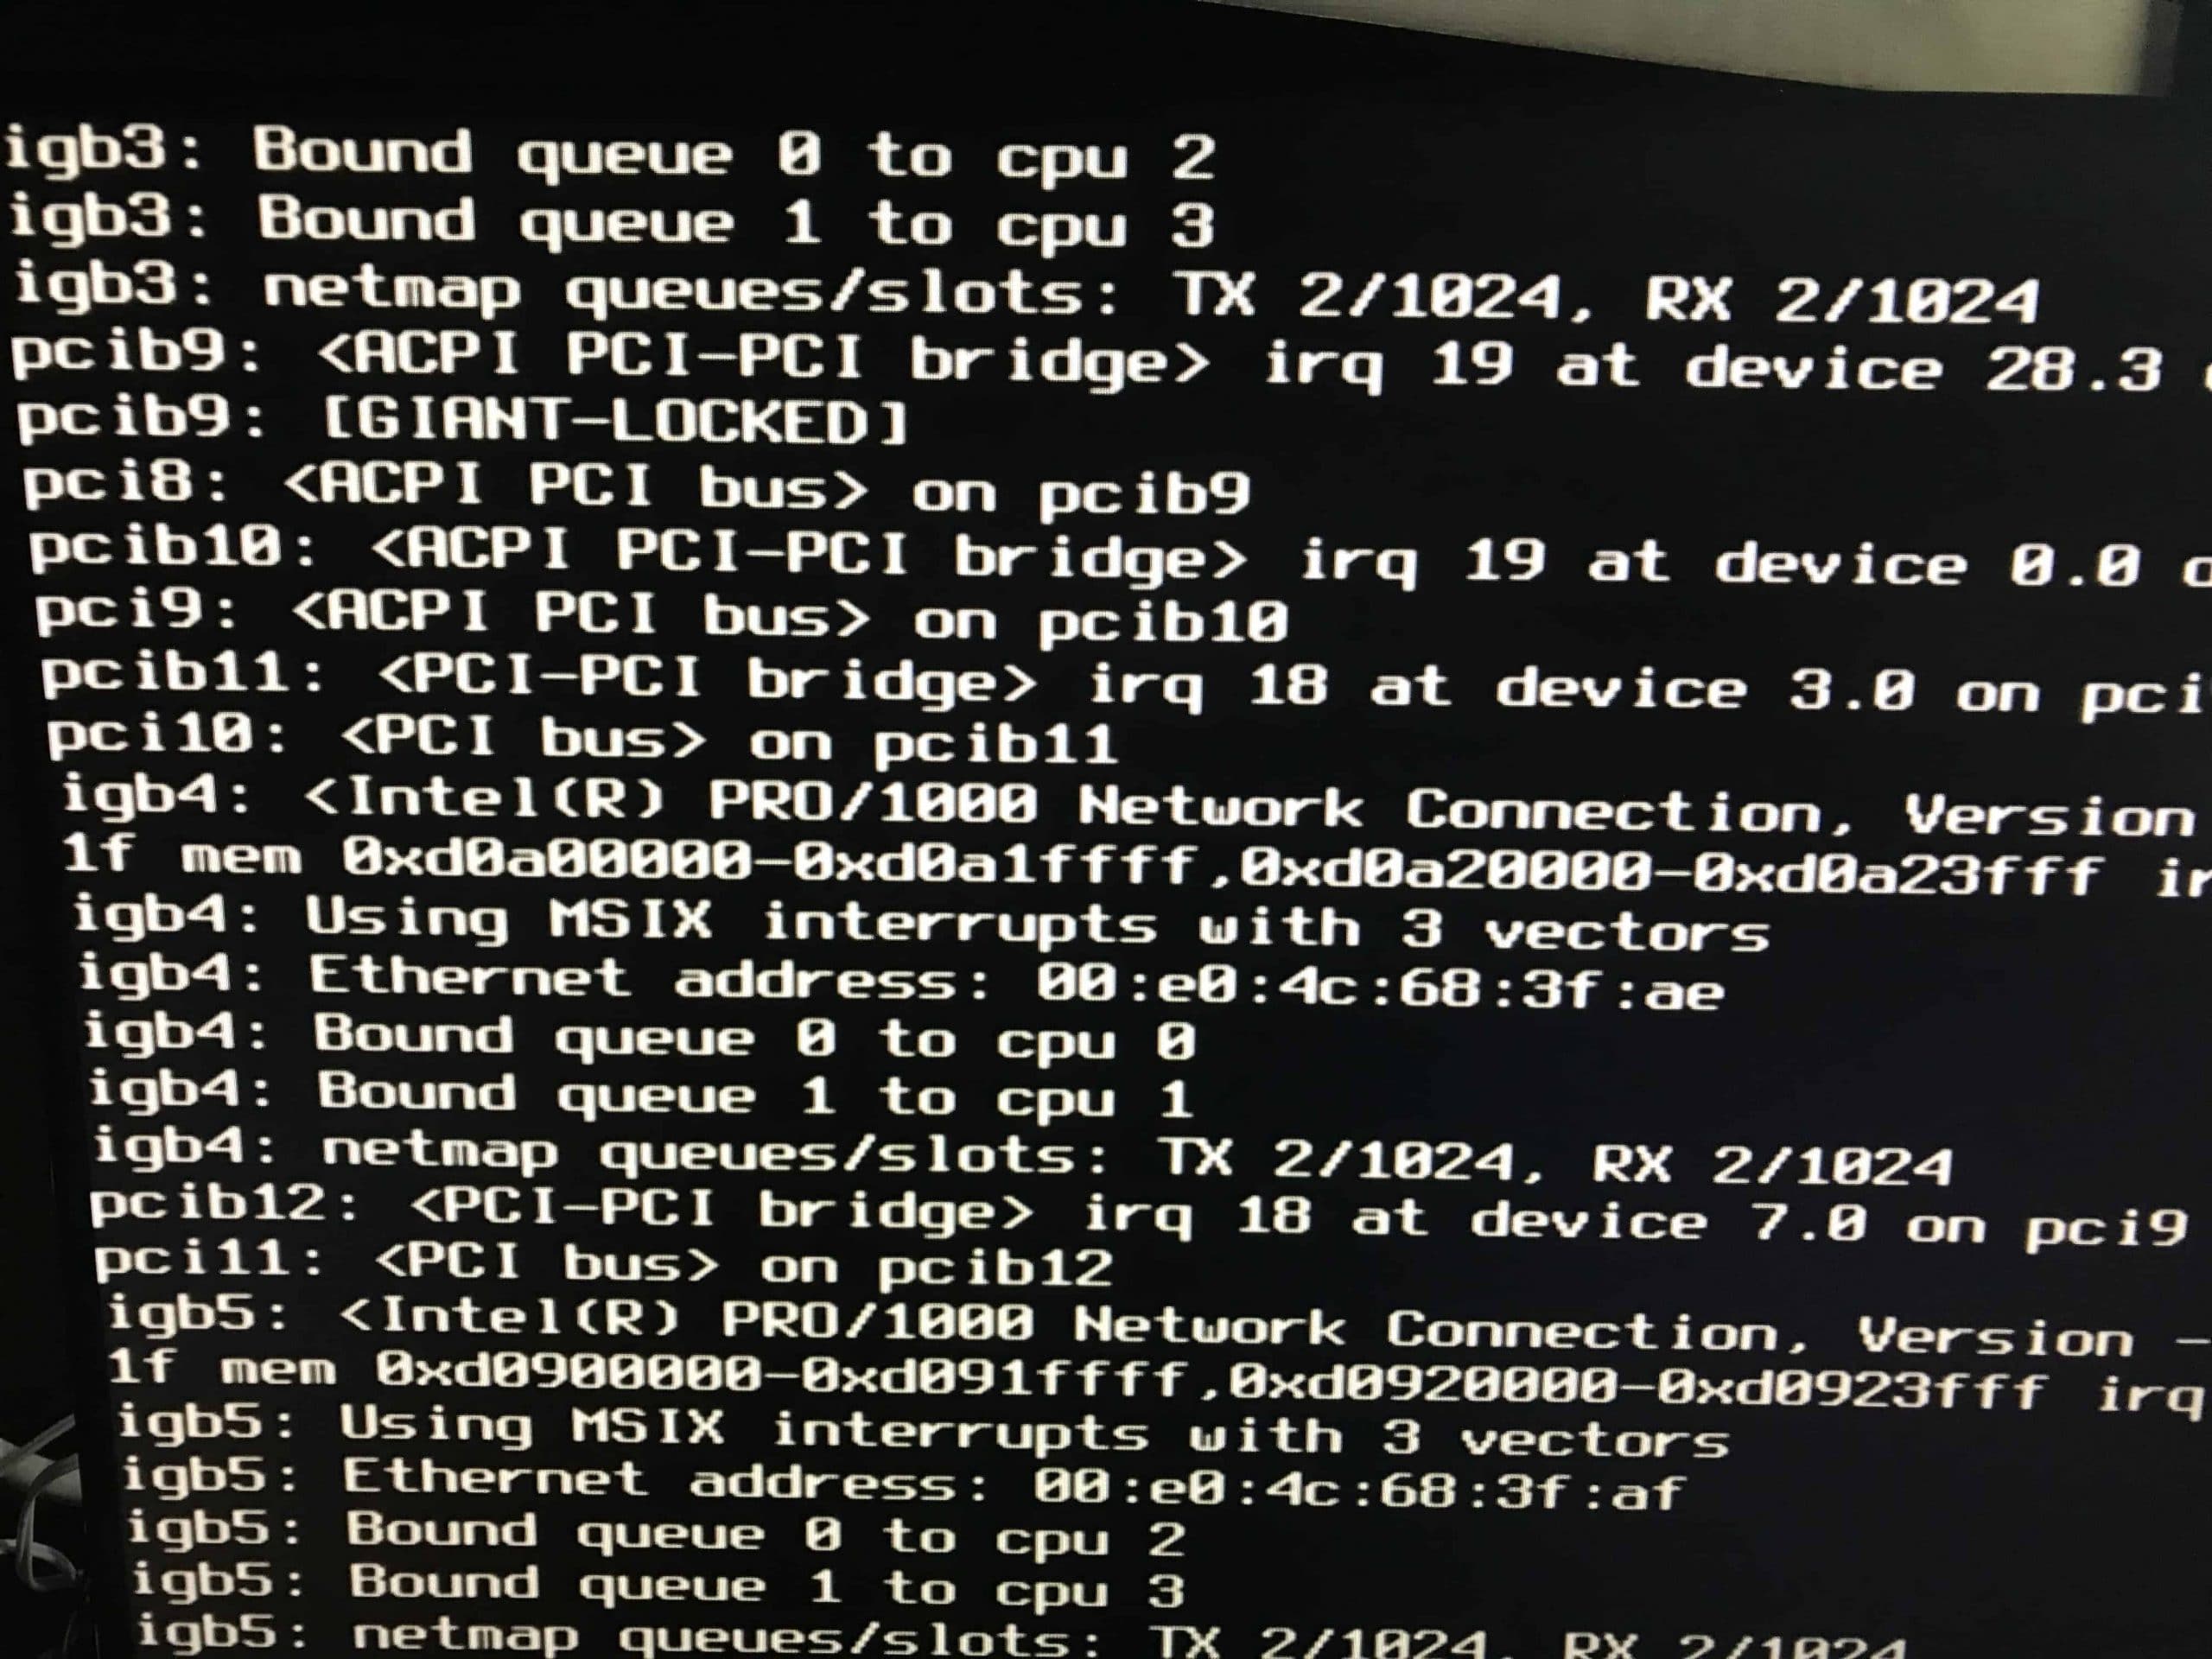
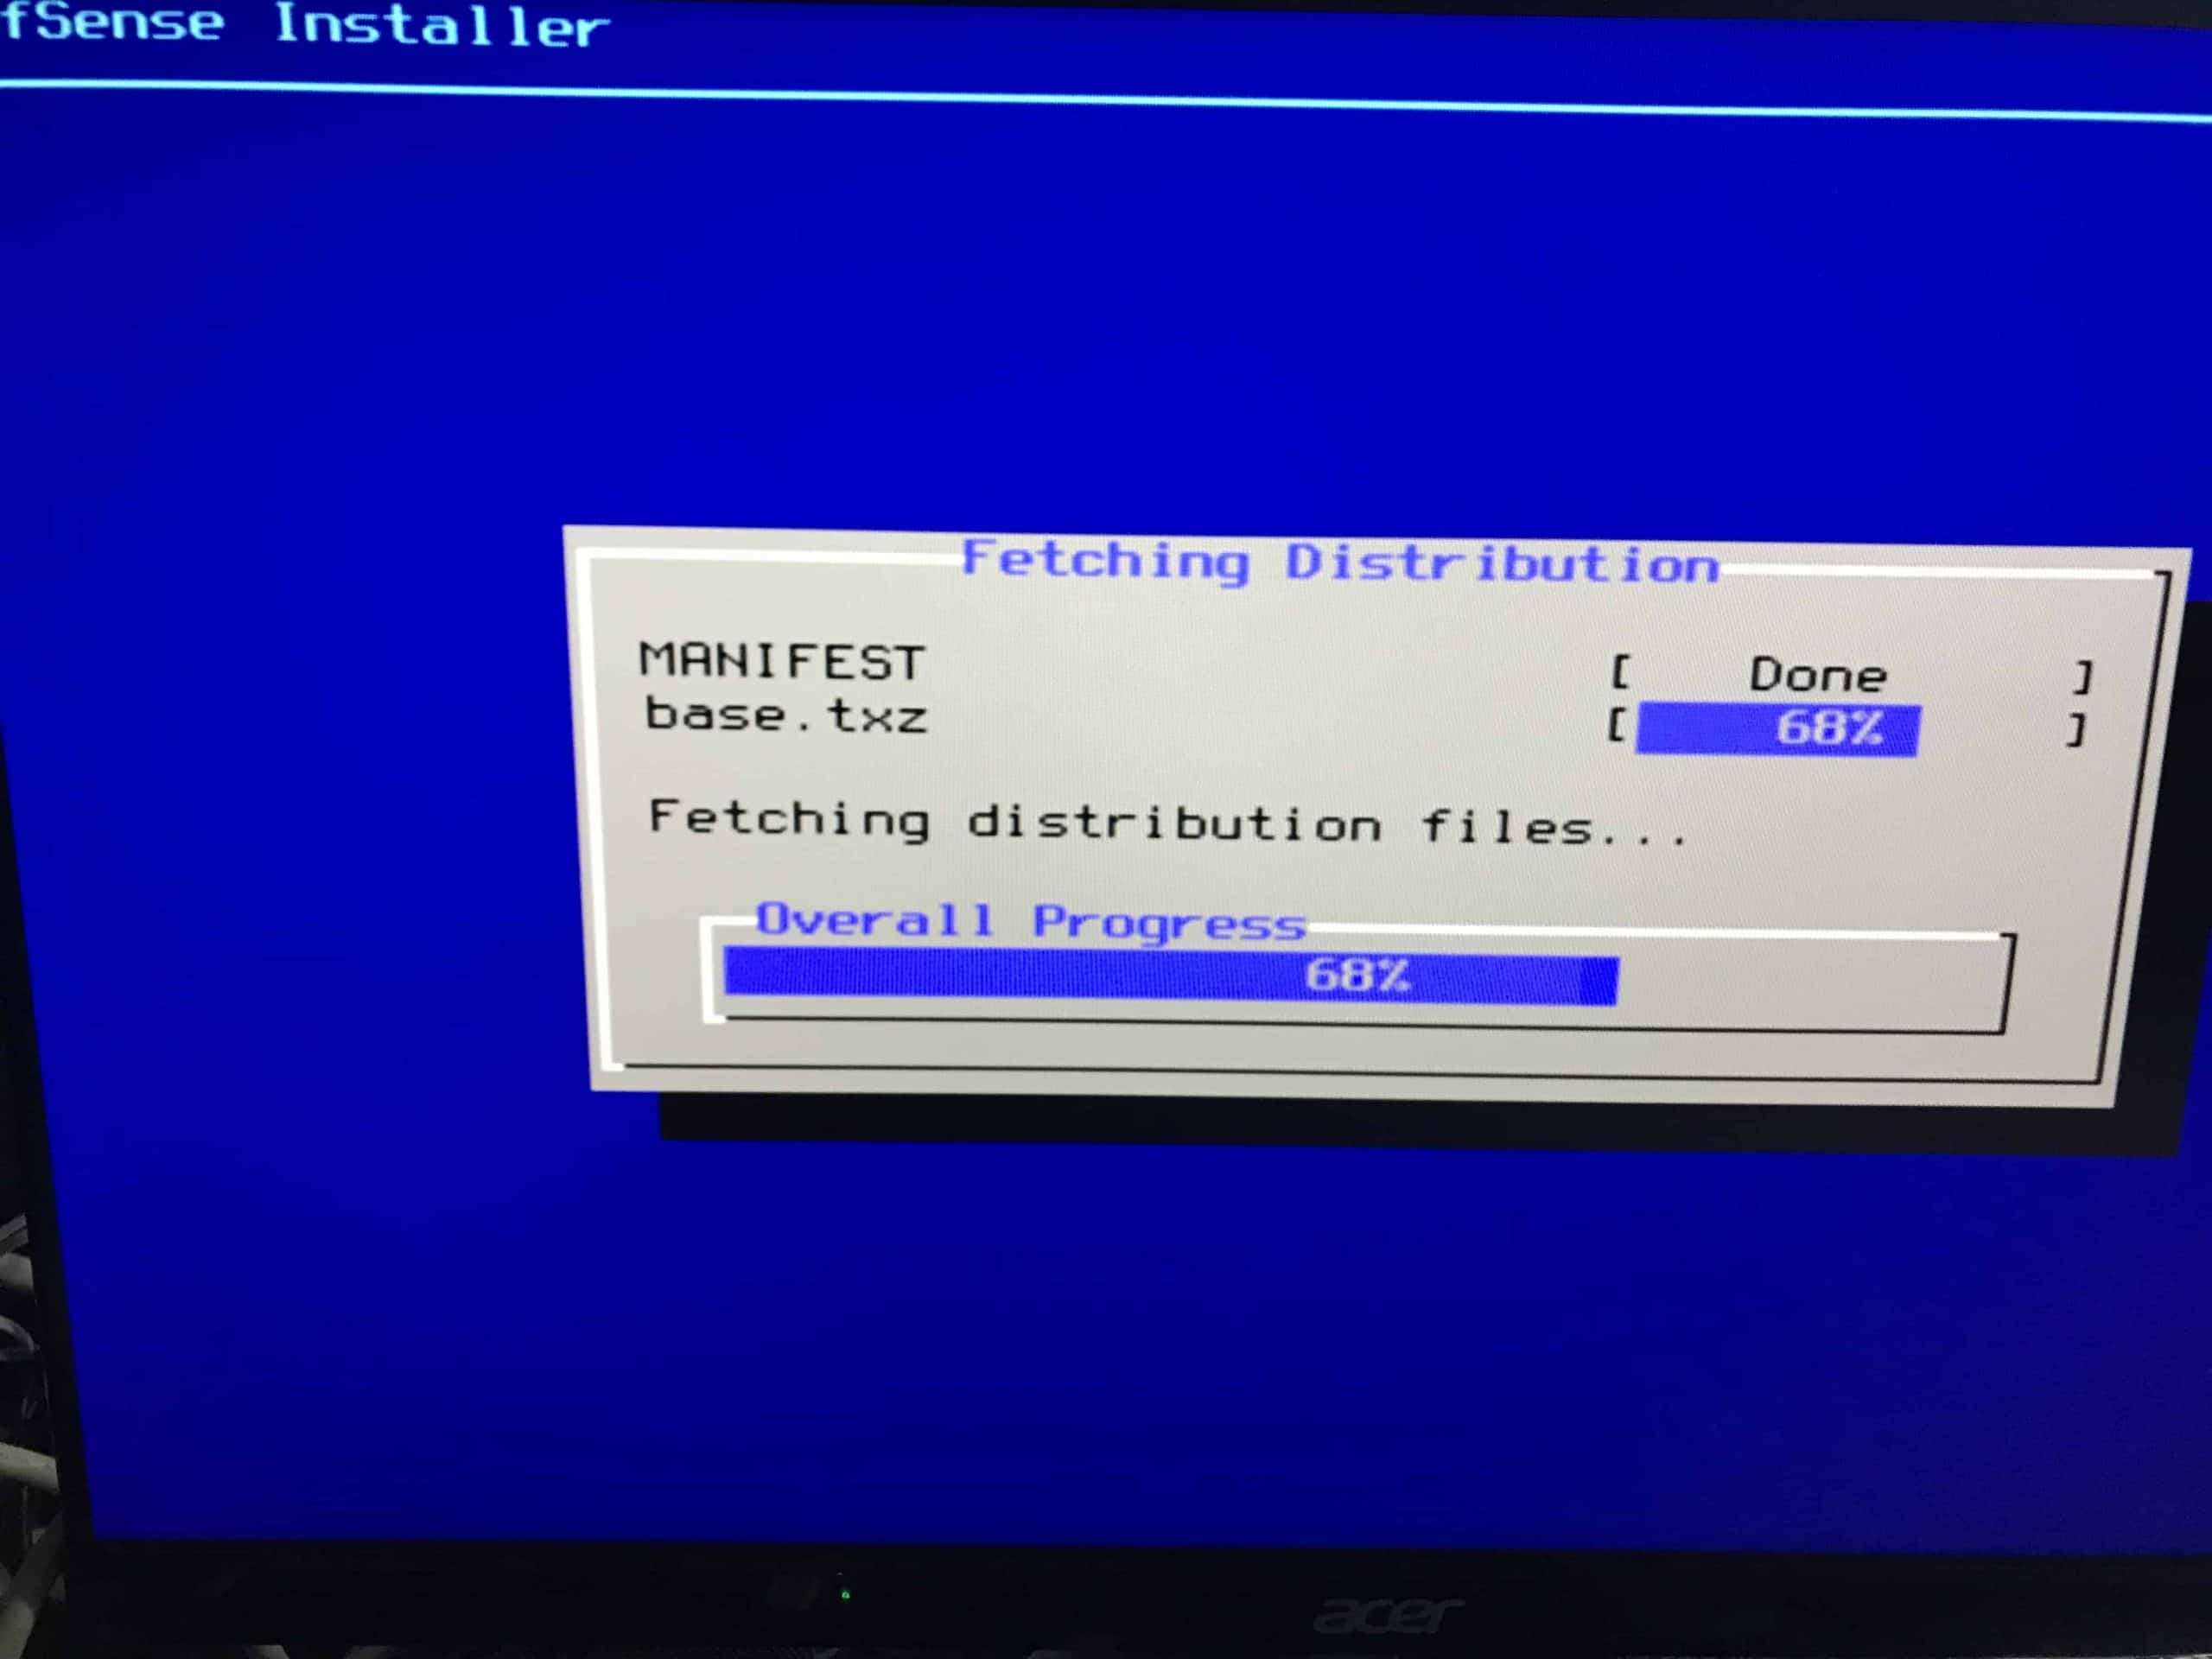
The installation process is 100% automated. Just allow it to complete.
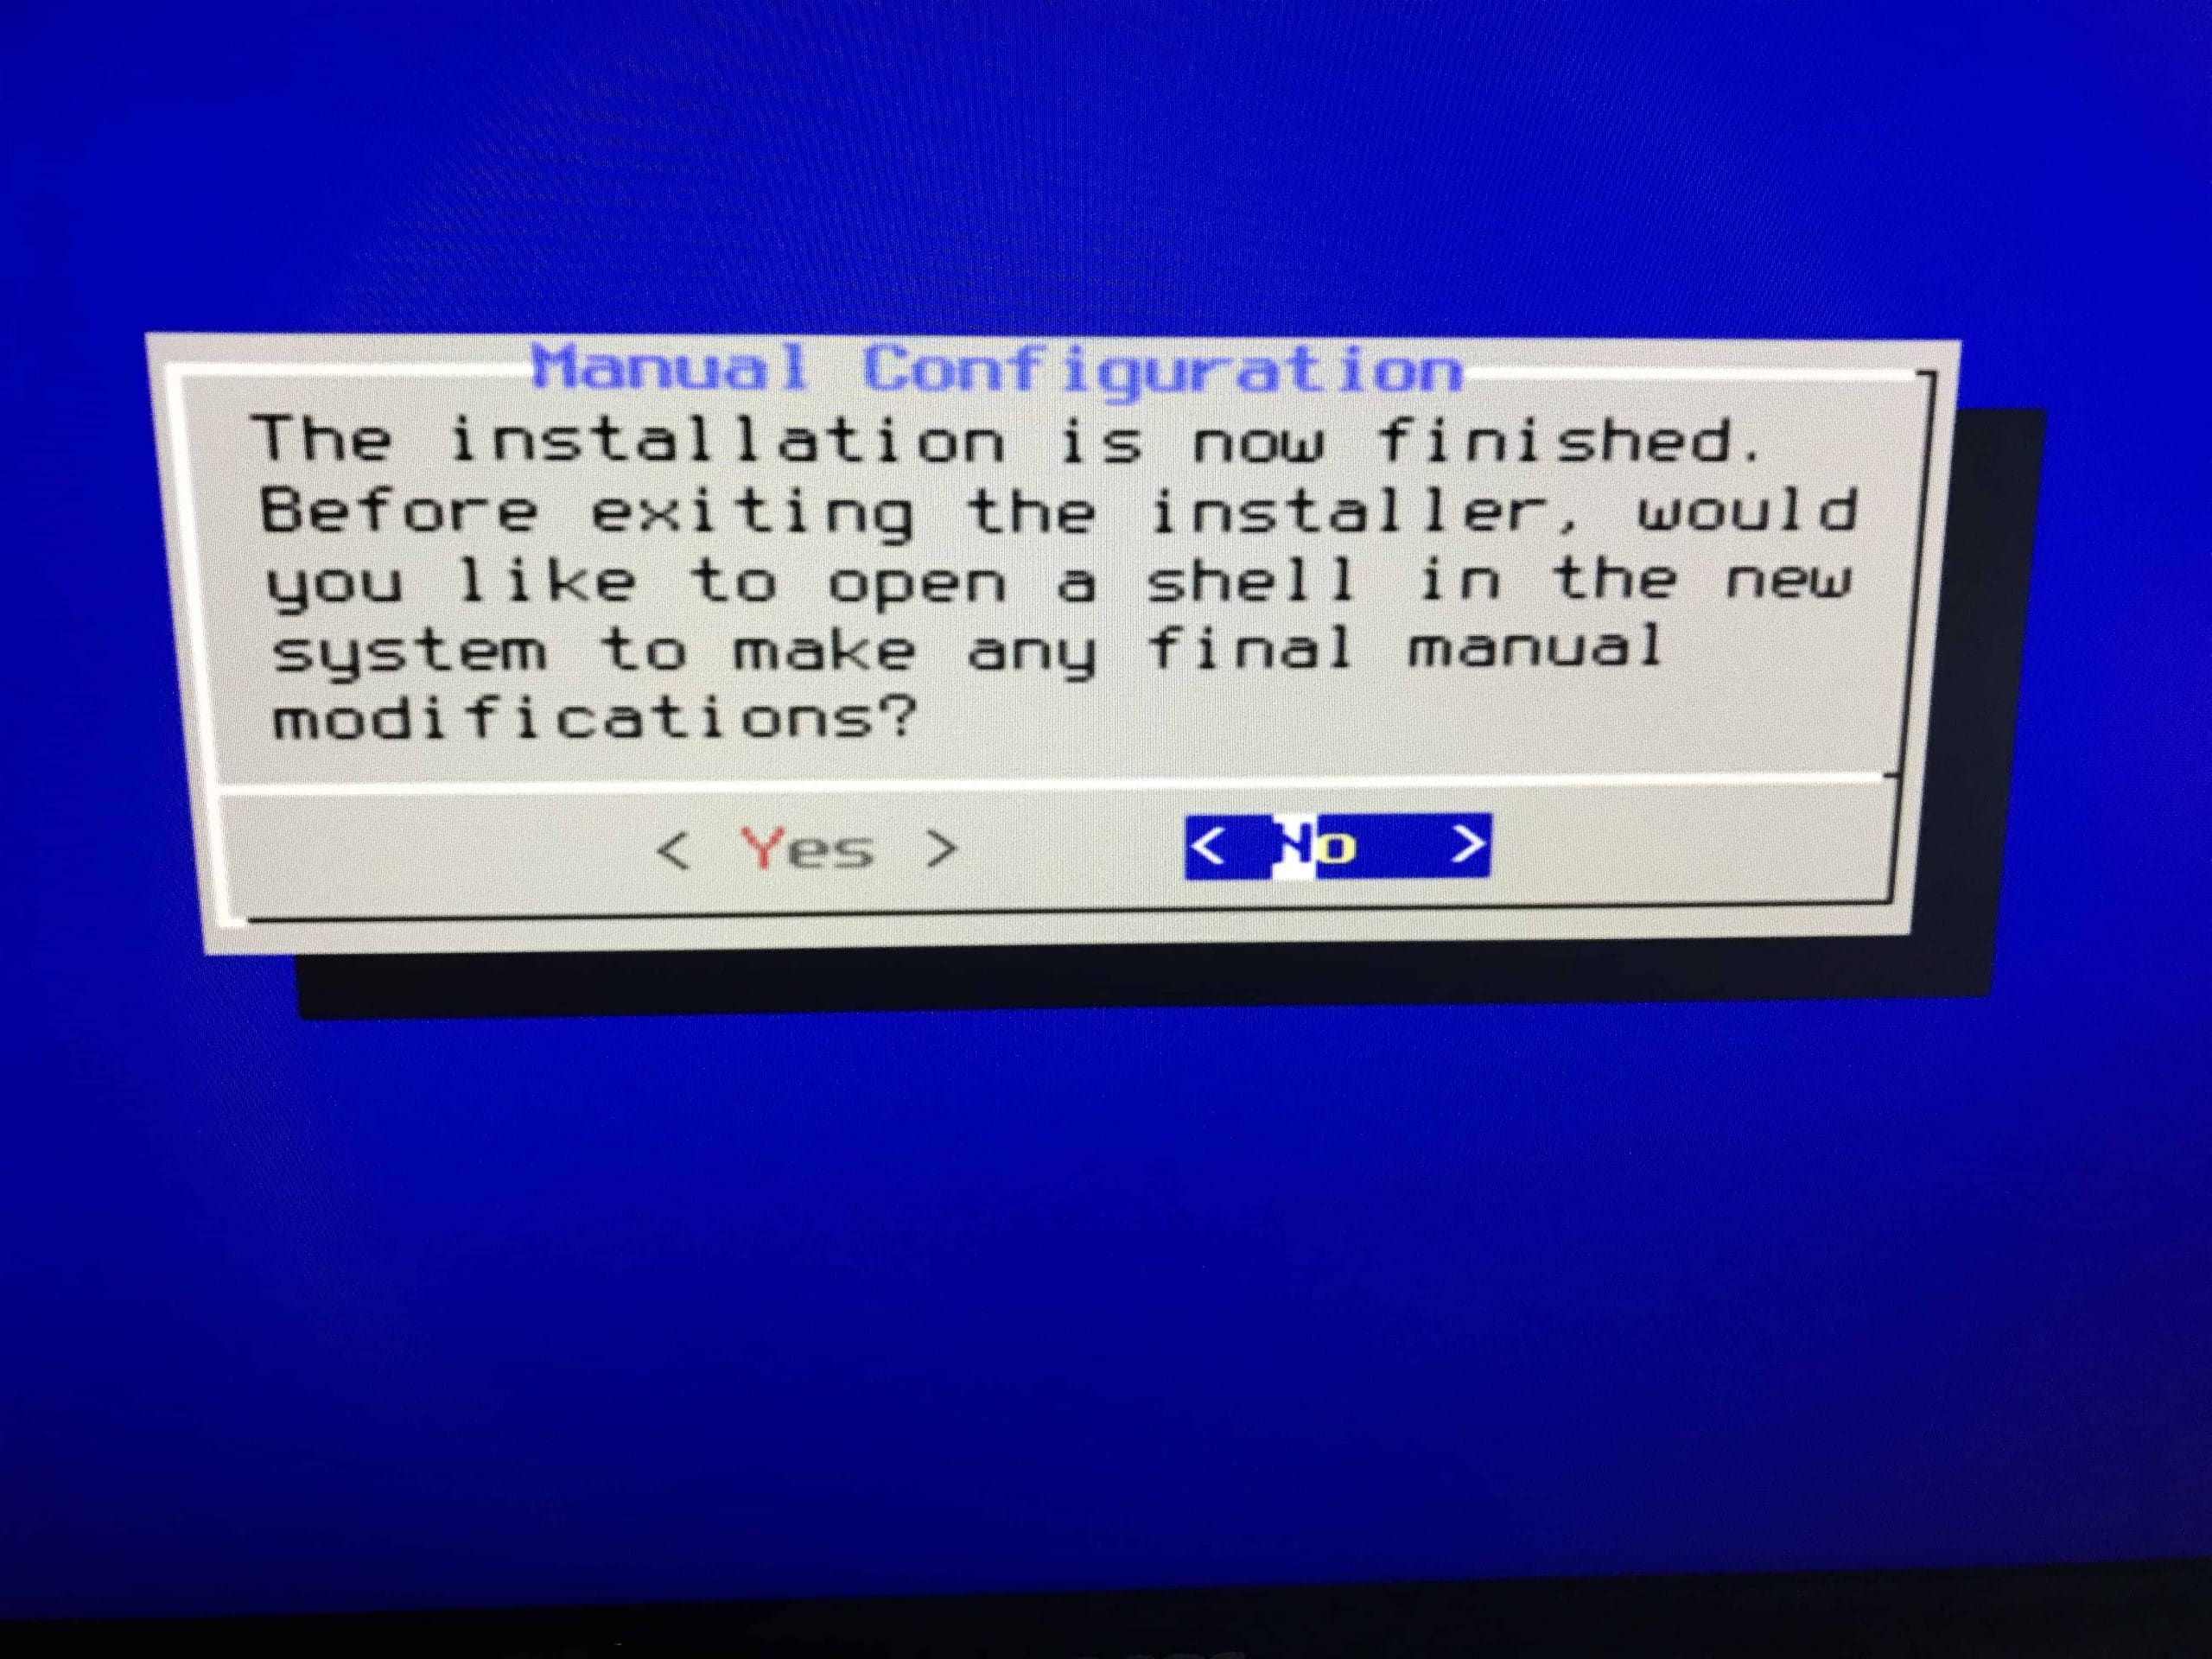
Select NO when asked if you would like a shell. This is for advance installs only.
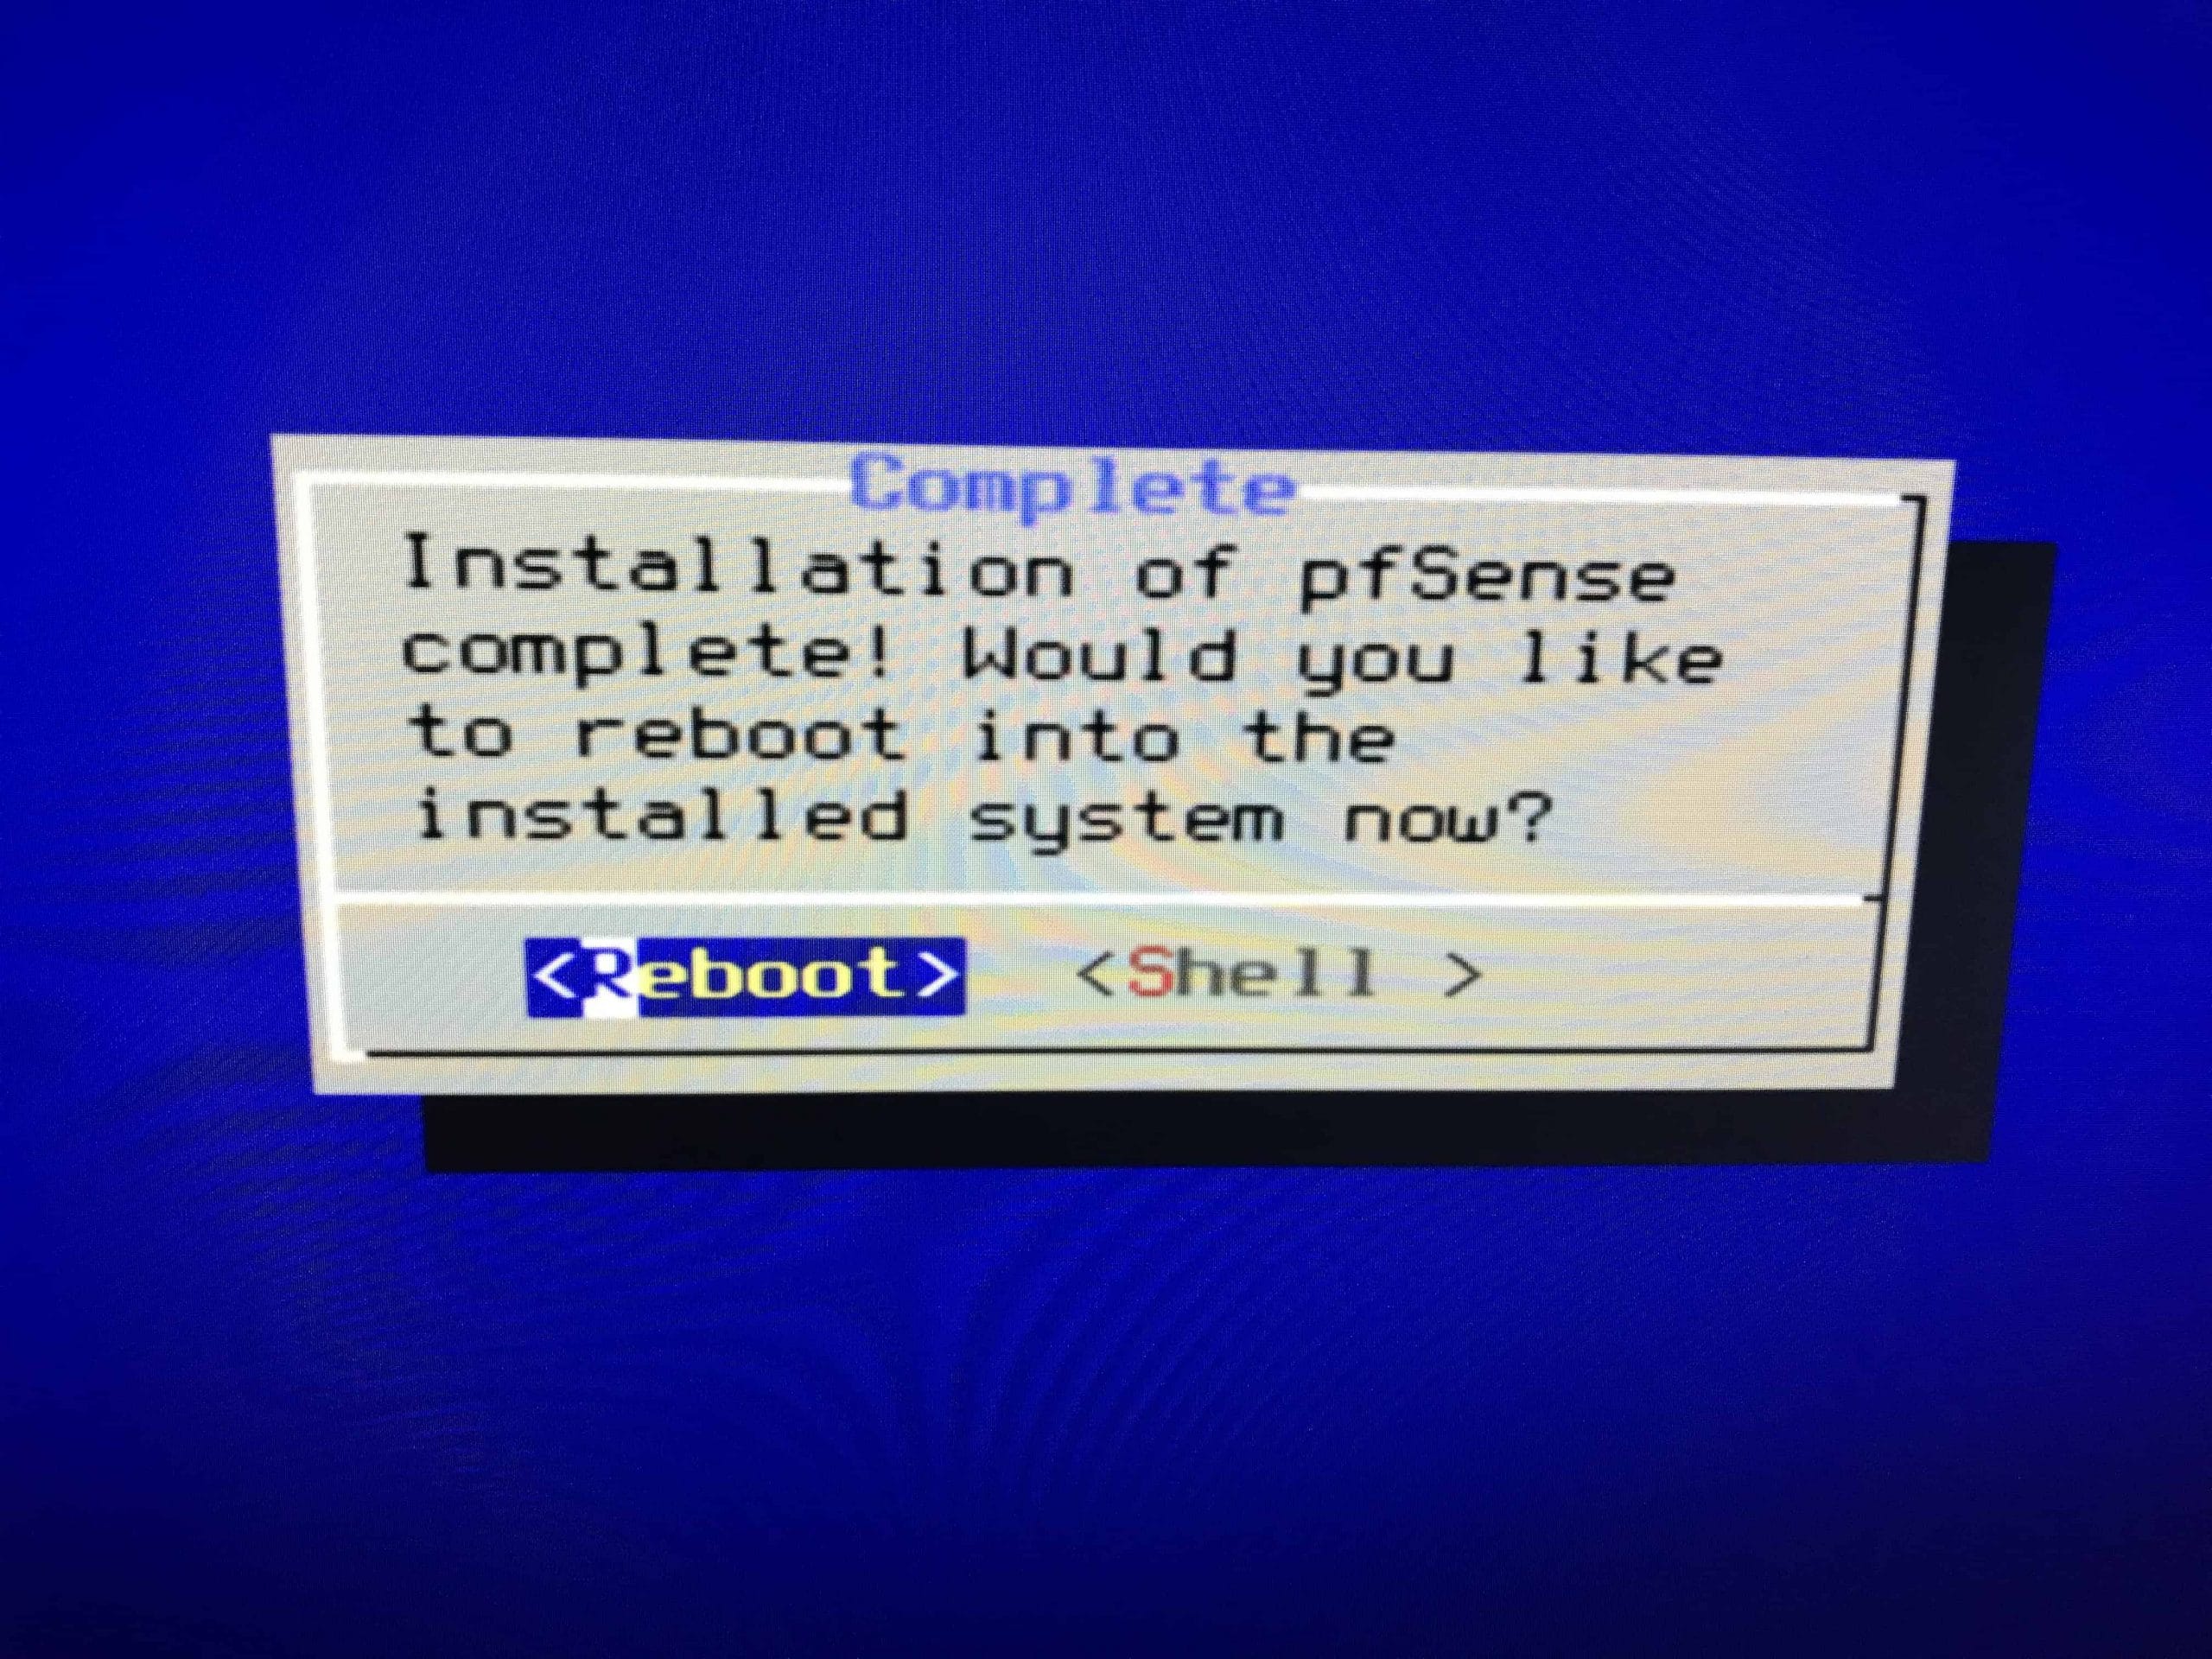
Finally, press ENTER to reboot the WANBOX.
When the WANBOX finishes shutting down, turn off the power. Remove the USB memory stick installer from the front of the unit and then power it back on. The system will boot to the initial configuration screen.
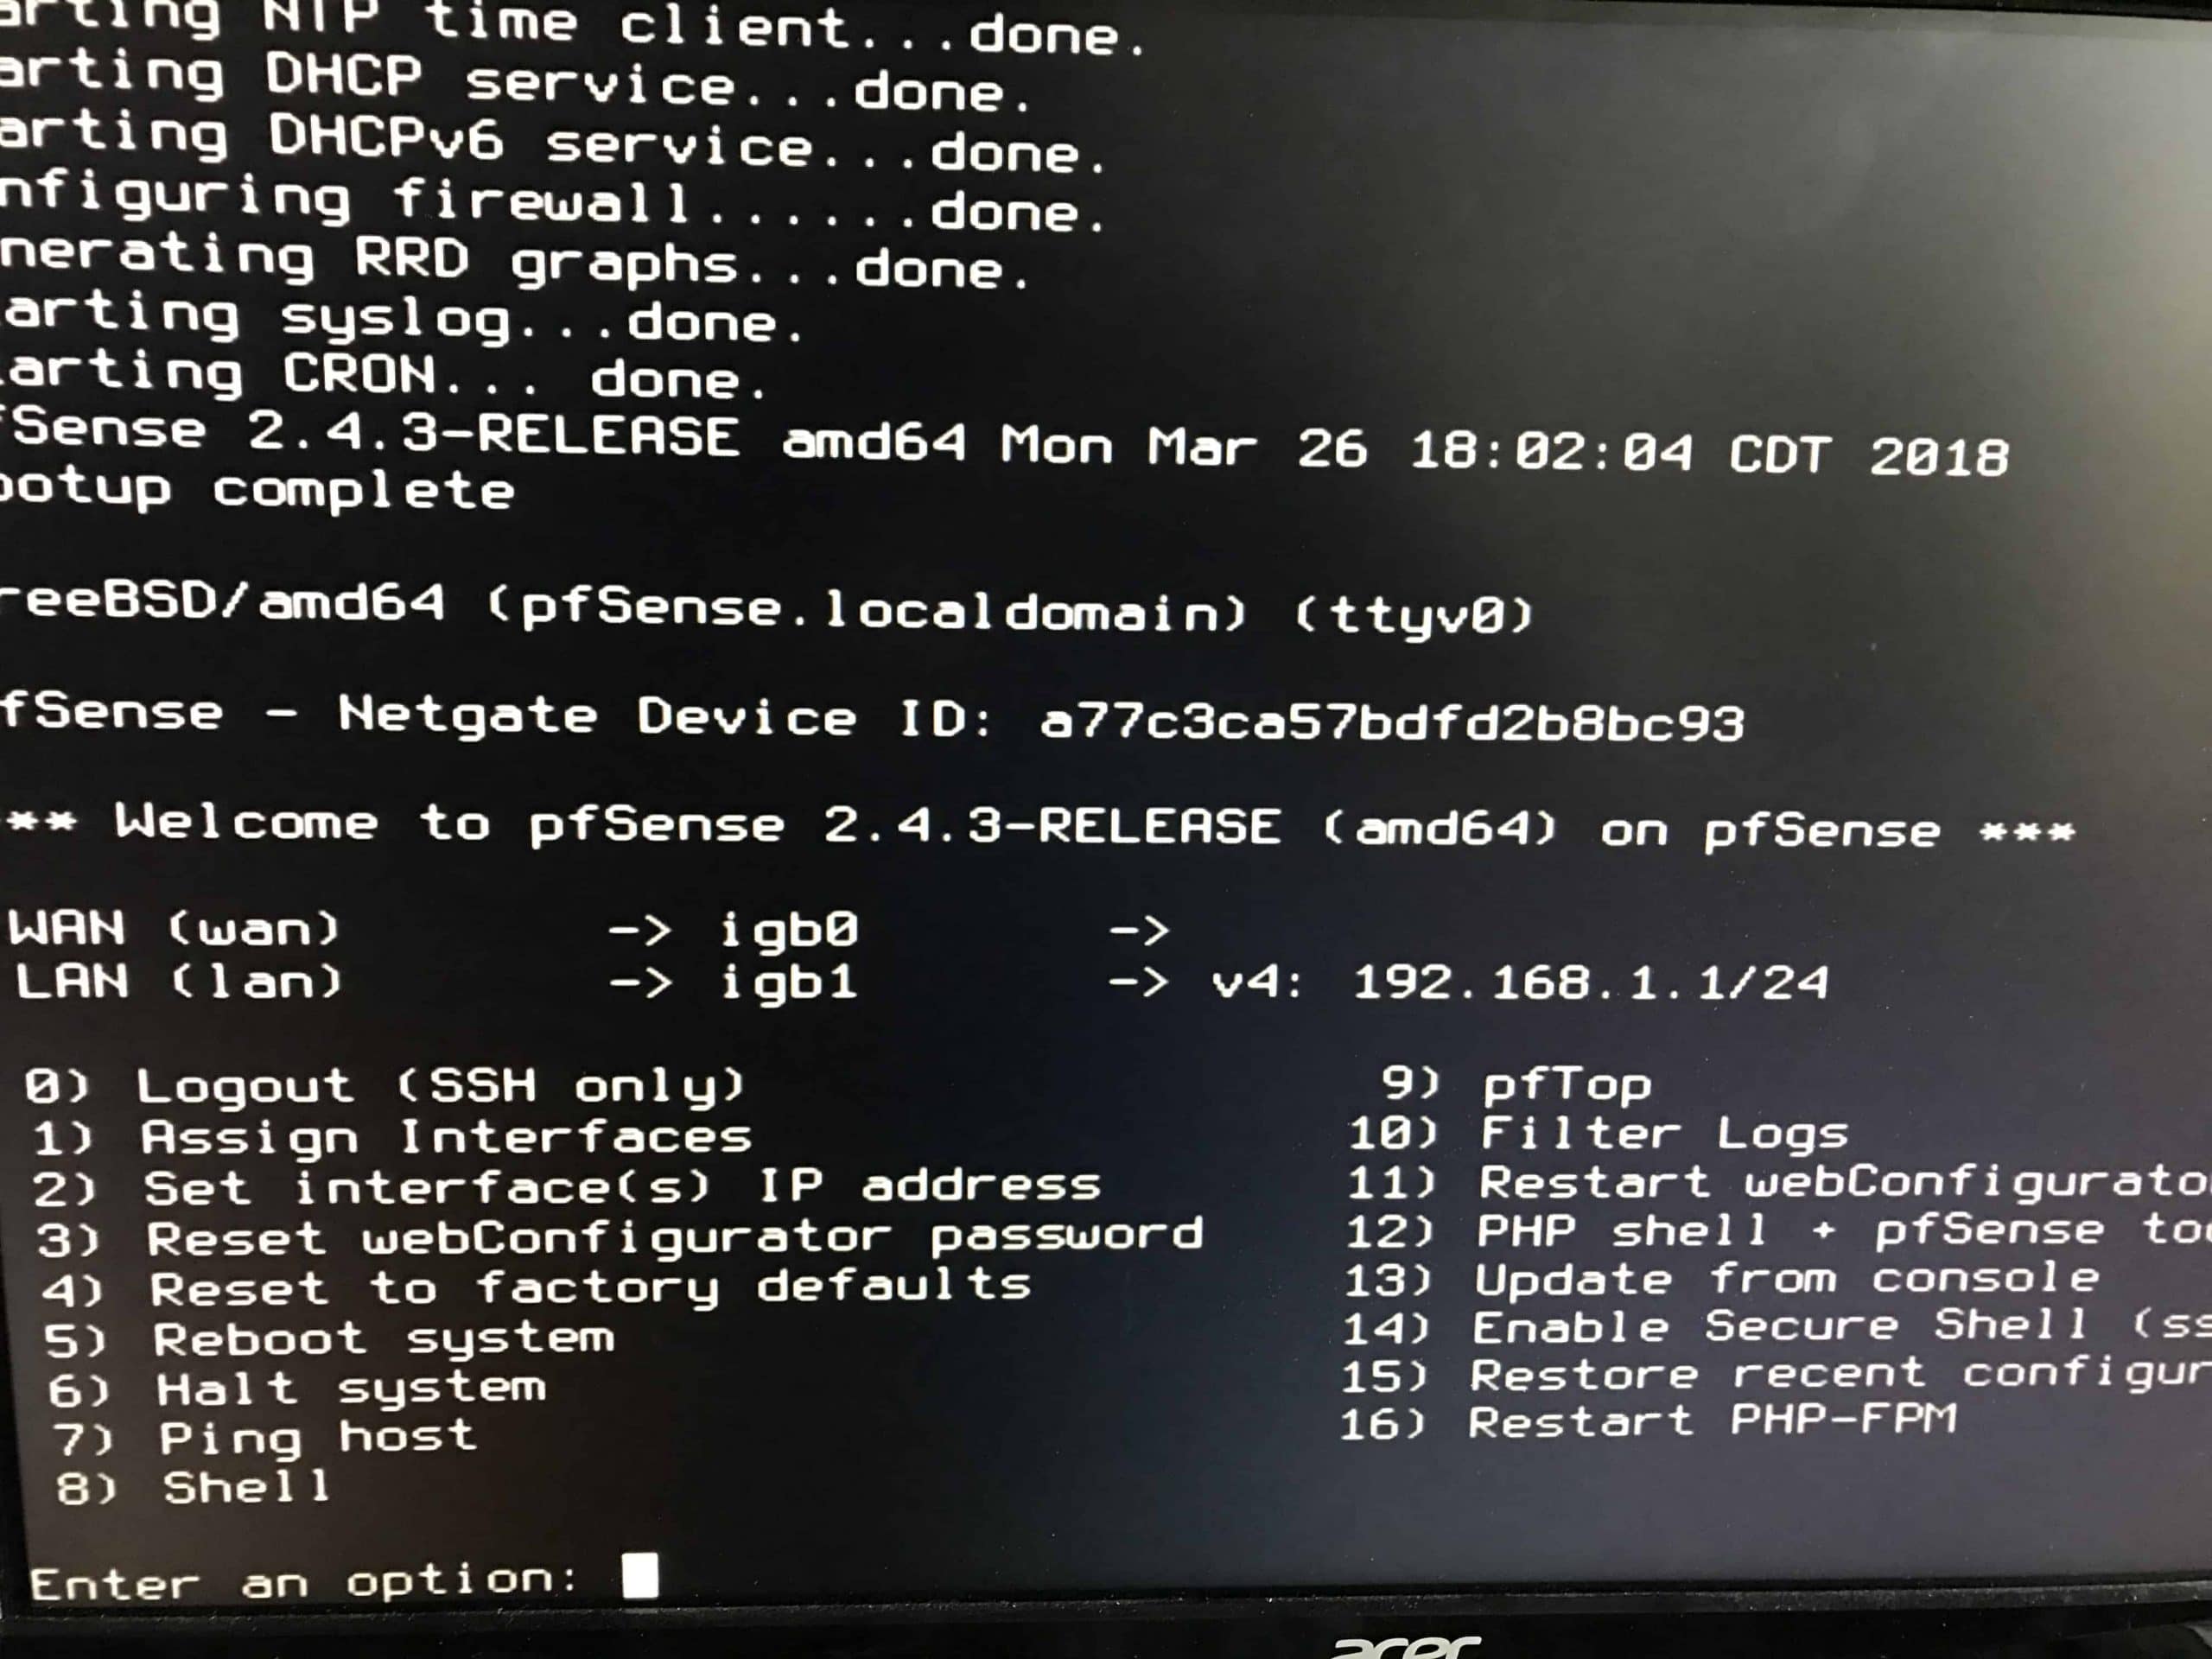
Configuring pfSense
Start by selecting you WAN and LAN interfaces by selecting option #1 Assign Interfaces. Port 1 on the front of the device is generally represented in pfSense as “igb0”. Port 2, is generally represented as “igb3”. These may be presented differently depending on the version of pfSense. If you have trouble, you can use the auto-detection process to help guide you.
From this point forward you should follow the install guide on the pfSense.org website.
Frequently Asked Questions
Q. I’ve installed pfSense, but my WAN port seems to be faulty.
A. Make sure you are not plugging into the Console port. The console port is for serial communications and does not support a network connection.
Q. Does the WANBOX support AES-NI for cryptography?
A. Yes! The WANBOX runs an Intel E3845 Quad Core that fully supports AES-NI. You just need to enable it on the Advanced Settings menu in pfSense.
Q. Why don’t you just install pfSense before you ship the WANBOX?
A. That is a violation of the pfSense terms and conditions.
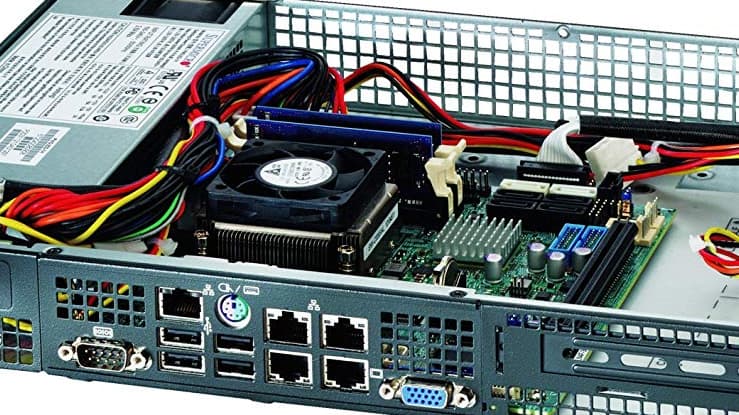

Is it possible to add another HDD inside the box?
Yes. There is an unused SATA port on board.
I’m looking to get that no name box (the quadcore one) from amazon to run a vpn through for my home. Will this set up tut be basically the same thing?