Blog
Setting Up a Miter Saw
Most workshops have a miter saw. A miter saw is one of the go to tools for many operations. They can be used for cutting wood, plastic, PVC, and even non-ferrous metals like aluminum and brass. If your new to miter saws, or even if you’ve been using one for decades this article will be a great refresher on how to get the best cuts from the trusty miter saw in your shop. So let’s take a refresher on setting up a miter saw!
The most important thing your saw can be is safe. The correct blade guards and safety mechanics working in tip top shape. After safety, the next most important thing your miter saw can be is accurate. There are a few videos on the internet that suggest using a square against the fence/table and blade to check the alignment while the saw is not running. This isn’t bad advice, but if you want true accuracy you need to go one step further. You want to know that the blade is 90 degrees to the table and fence while a cut operation is in progress. If you’re only using a square and your blade is warped, you would only know it if the warped portion was in the exact right position when you measured it.
Watch the Miter Saw Alignment Preview Video
[fvplayer id=”15″]

Items Used in this Video
- 10″ DeWalt Compound Miter Saw
- Freud Diablo 10″ Blade
- 12″ DeWalt Sliding Compound Miter Saw
- Freud Diablo 12″ 100 Tooth Blade
Set up a Test Cut
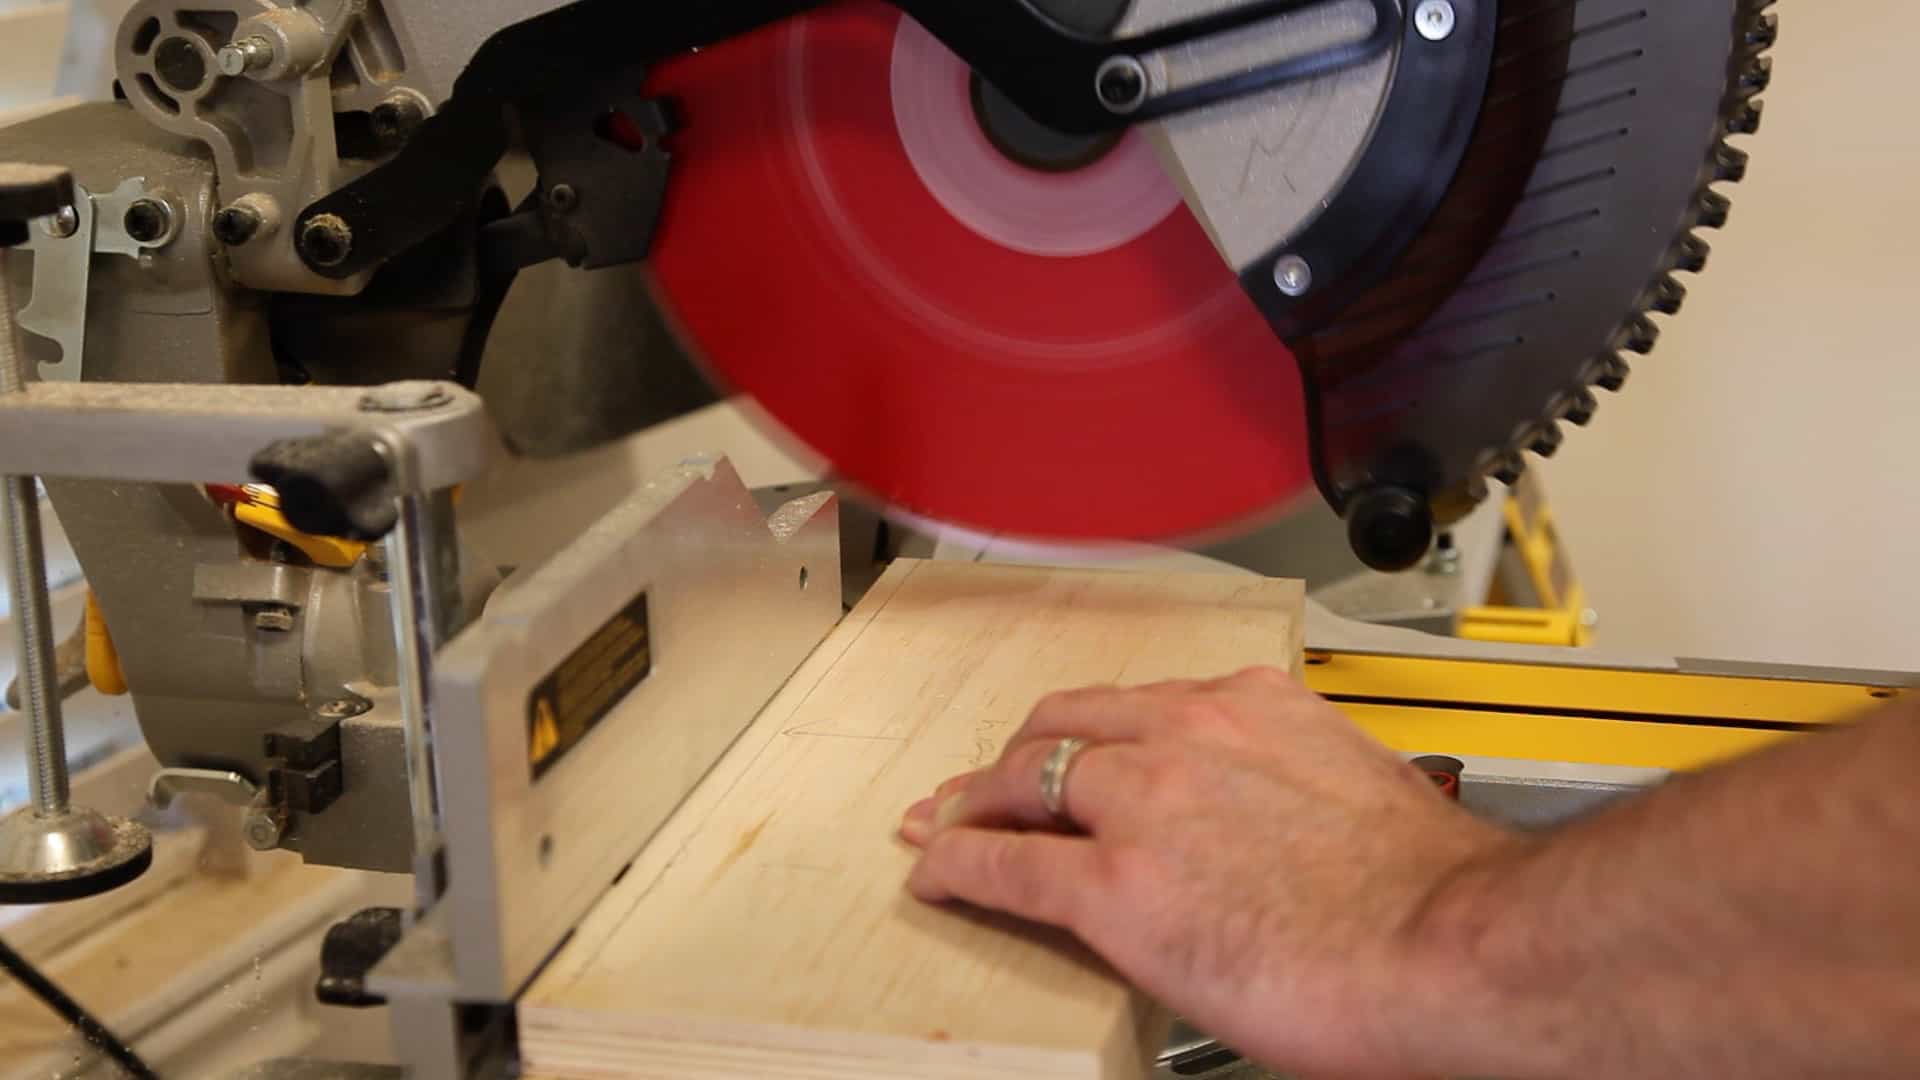
When setting up a miter saw for accuracy, the first thing you’ll want to do is stage a test cut. You need to start with two known square and flat sections of material. The best way to do this would be of course to joint the boards and square them on a known correctly calibrated saw, such as your table saw. You’ll want to use boards that are just slightly smaller than the maximum cutting capacity of your saw. Using smaller boards will make the test lest accurate. I highly recommend marking the jointed edges to make sure you know which ones they are.
Run the Test Cut
Stack the two boards on top of each other, making sure the known flat and square faces are against the fence. Cut off at least 1/2 inch of material from the boards. It is important that your saw blade have material on both sides of it. When setting up a miter saw, do not skim the edge of the material. This could deflect the blade slightly away from the material and give us inaccurate test results.
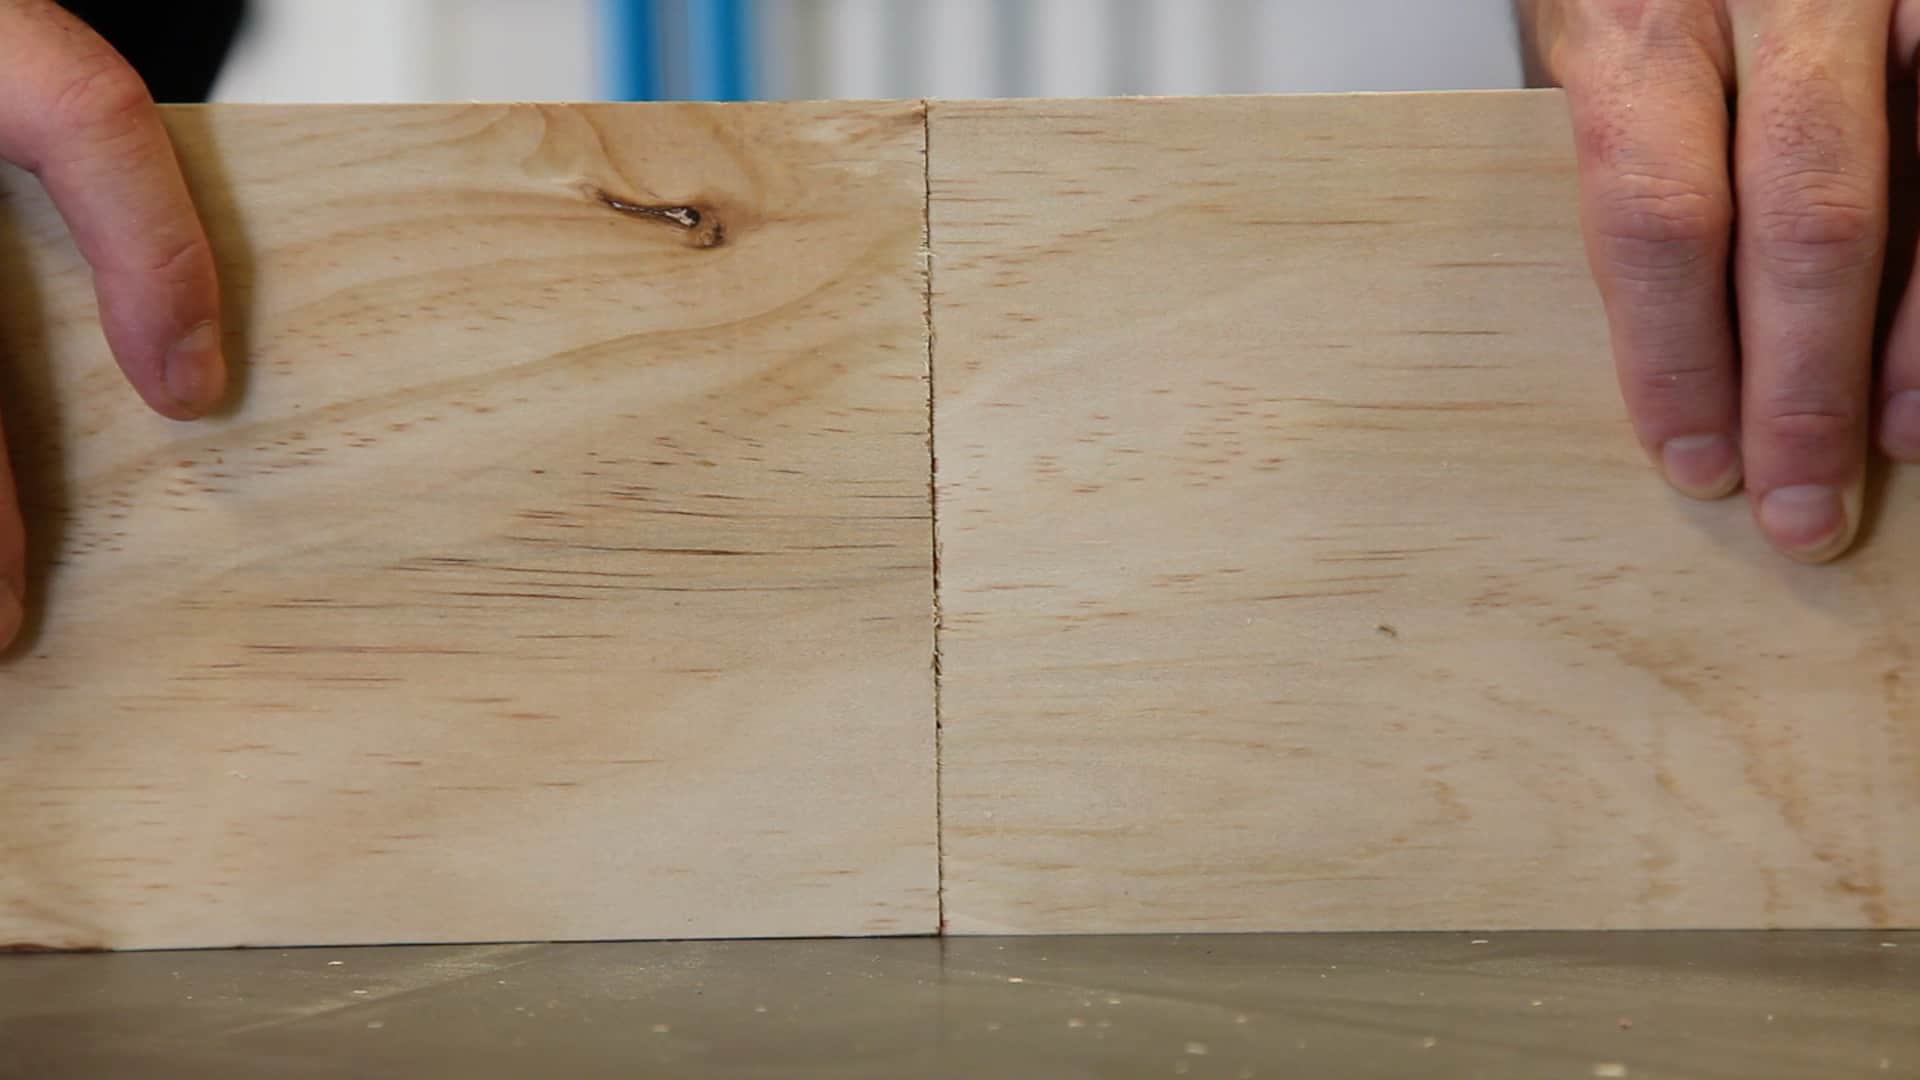
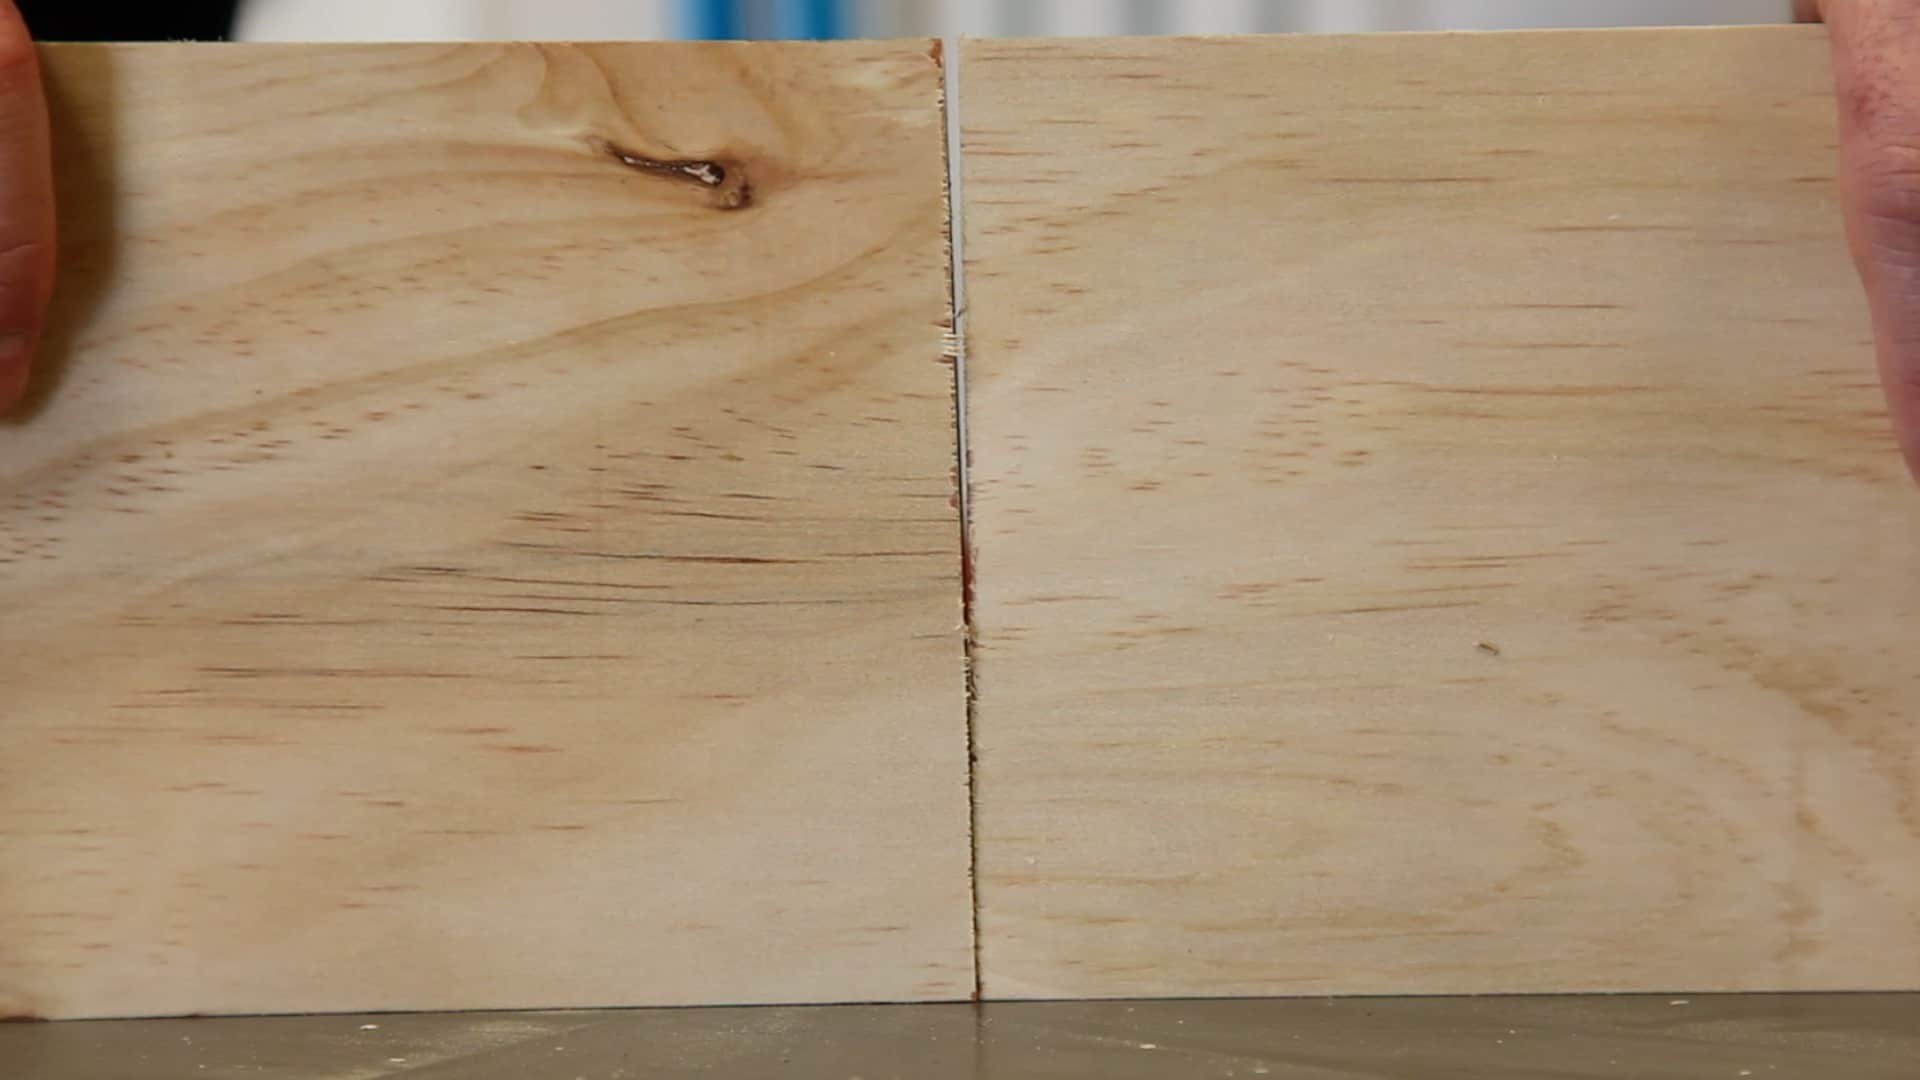
Check the Test Cut
We’re ready to move on the to next step of setting up a miter saw. Checking the cut. Place the known flat edges against a known flat surface, such as the table of the miter saw, or your table saw top. and position the two cut ends where they touch each other (in other words, flip one board over). If they have a gap at either end, the saw is not correctly aligned. A correctly aligned saw, cutting at exactly 90 degrees would not have any gaps when butted together. This method really works well, because it you’re effectively compounding any error in your saw by 2X on the visual inspection. If your saw is off by 1 degree, the test cut will visually show us 2 degrees making it easier to inspect and correct.
If your test cut came out with any errors, check your users manual for your specific saw and make a miner adjustment. This is usually done with a set screw on the stops. Once you’ve made the adjustment, cut another 1/2 inch of material off the boards and check them again. Repeat this process until your boards have no gaps in them.

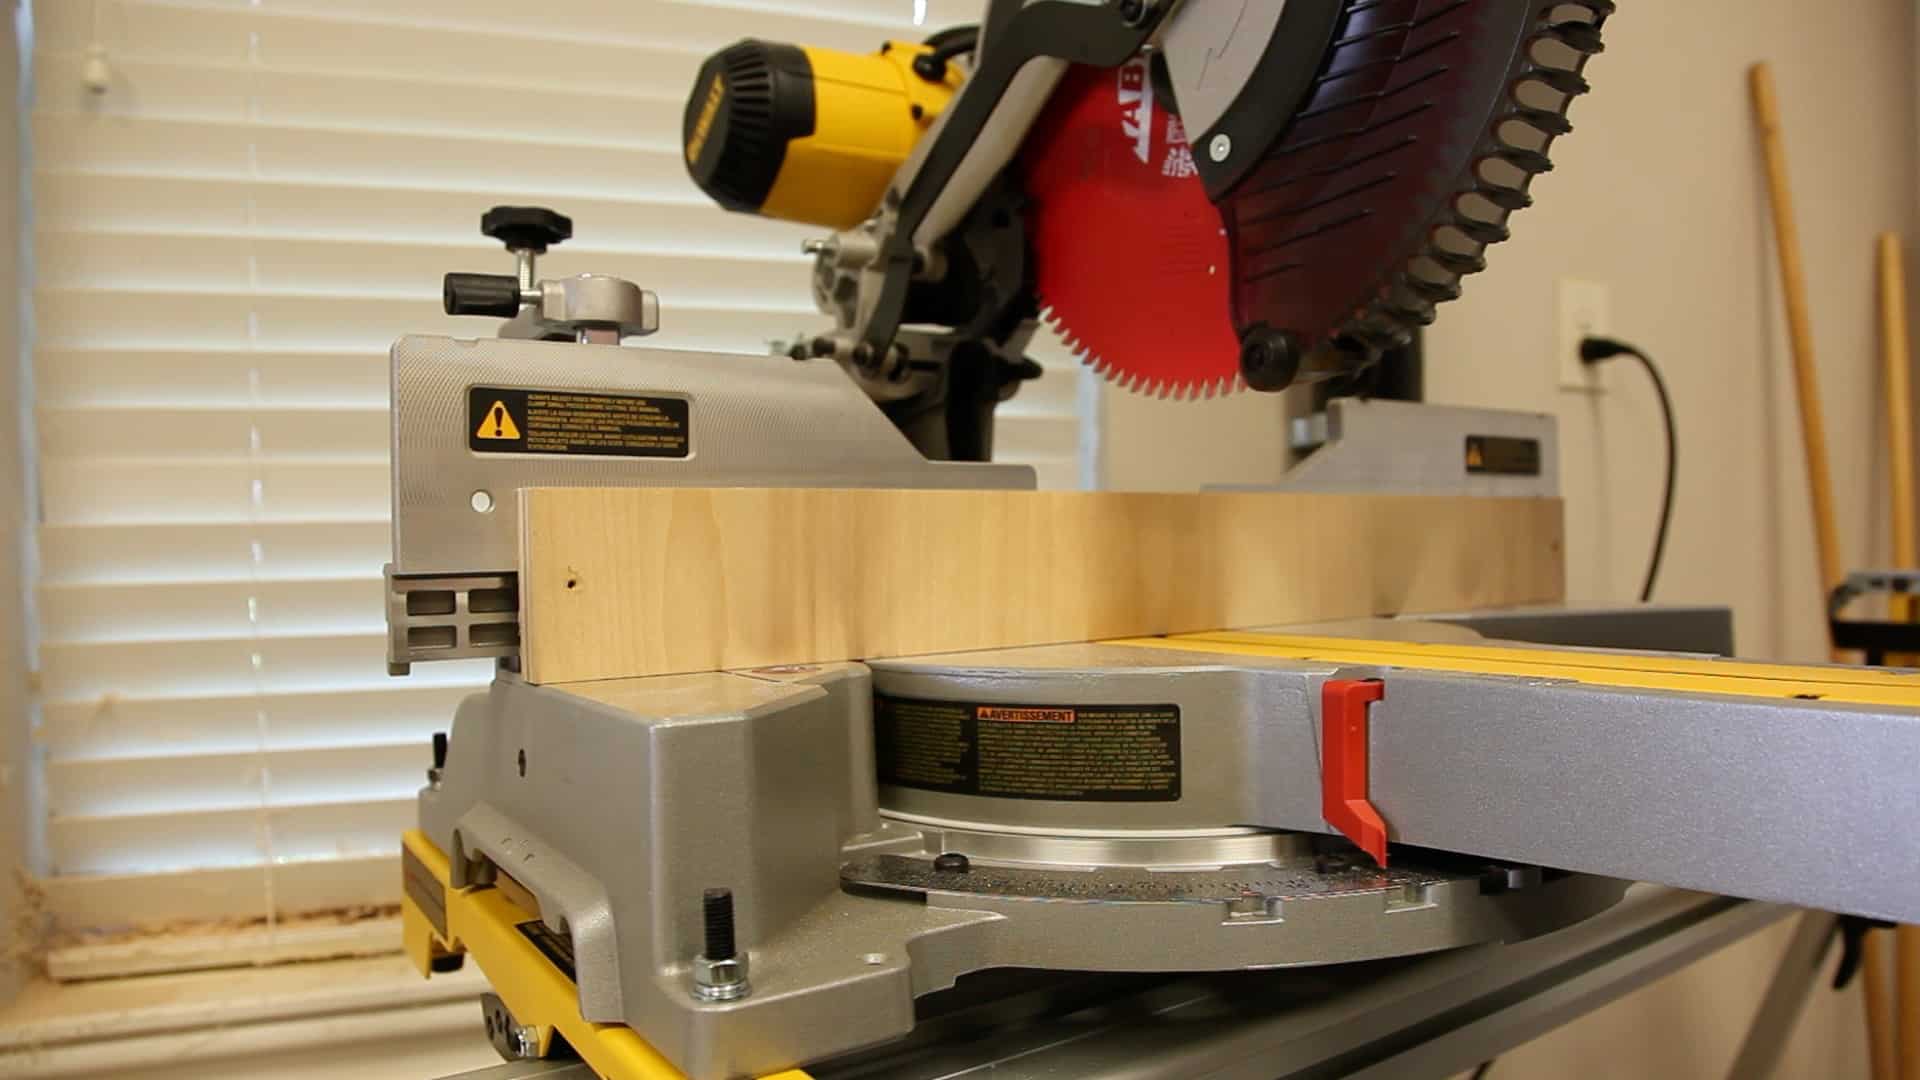
Check the Bevel of Perfect Miters
When setting up a miter saw, in addition to making sure the blade is cutting 90 degrees to the fence, you want also make sure it is cutting 90 degrees to the table. Repeat the same test we performed earlier, only this time set the known flat and square section of the board against the table of the saw, rather than the fence and repeat the process again.
Setting up a Miter Saw: Final Thoughts
Your saw will be making the perfect cuts in no time! One thing I would suggest before doing any of these adjustments is to make sure your miter saw is clean from dust and other debris. Sometimes your saw is not misaligned, but rather there is dust or other debris interfering with the stops. Wood shavings between the bevel stop for example could keep your saw from turning to a full 45 degrees when cutting miters. A clean saw is also a safer saw. Happy mitering!
[cbtabs][cbtab title=”Recap”]
- Make sure the two section of wood have a dead flat side
- Place the flat side agains the fence
- Cut both pieces together
- Flip on piece and but them together, if there is a gap your saw is misaligned
[/cbtab]
[/cbtabs]