Blog
Circular Saw Basics

Everyone should know their circular saw basics. Circular saws are incredibly handy shop tools. In many workshops, the circular is used more than any other tool, and they are generally the go-to tool for cutting down sheet goods into manageable sizes, before moving to the table saw for the precision cuts. In this article we’re going to cover some pro tips to help you learn how to use your circular saw safely and efficiently. This is even a great refresher for those who use a circular saw every day!
Watch the Circular Saw Basics Preview Video
[fvplayer id=”17″]

Items Used in this Video
Circular Saw Basics: Proper Blade Depth
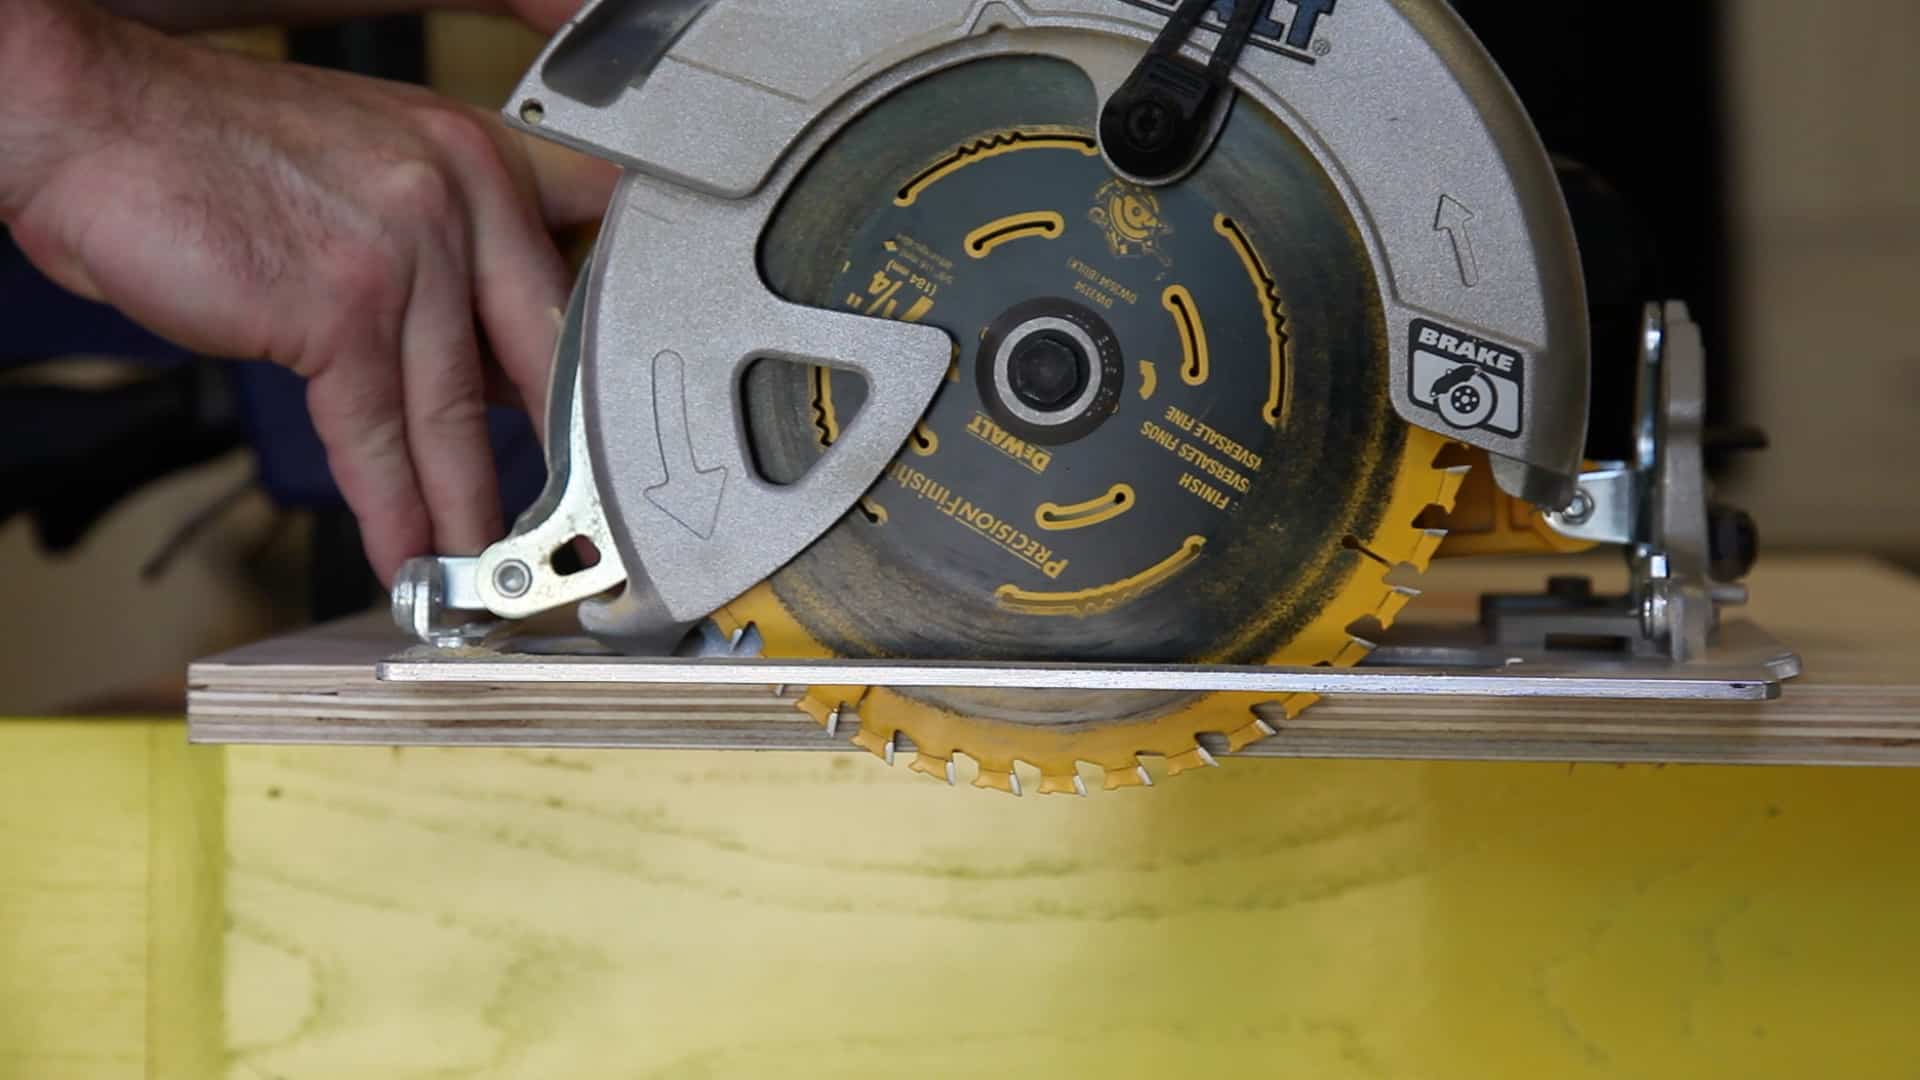
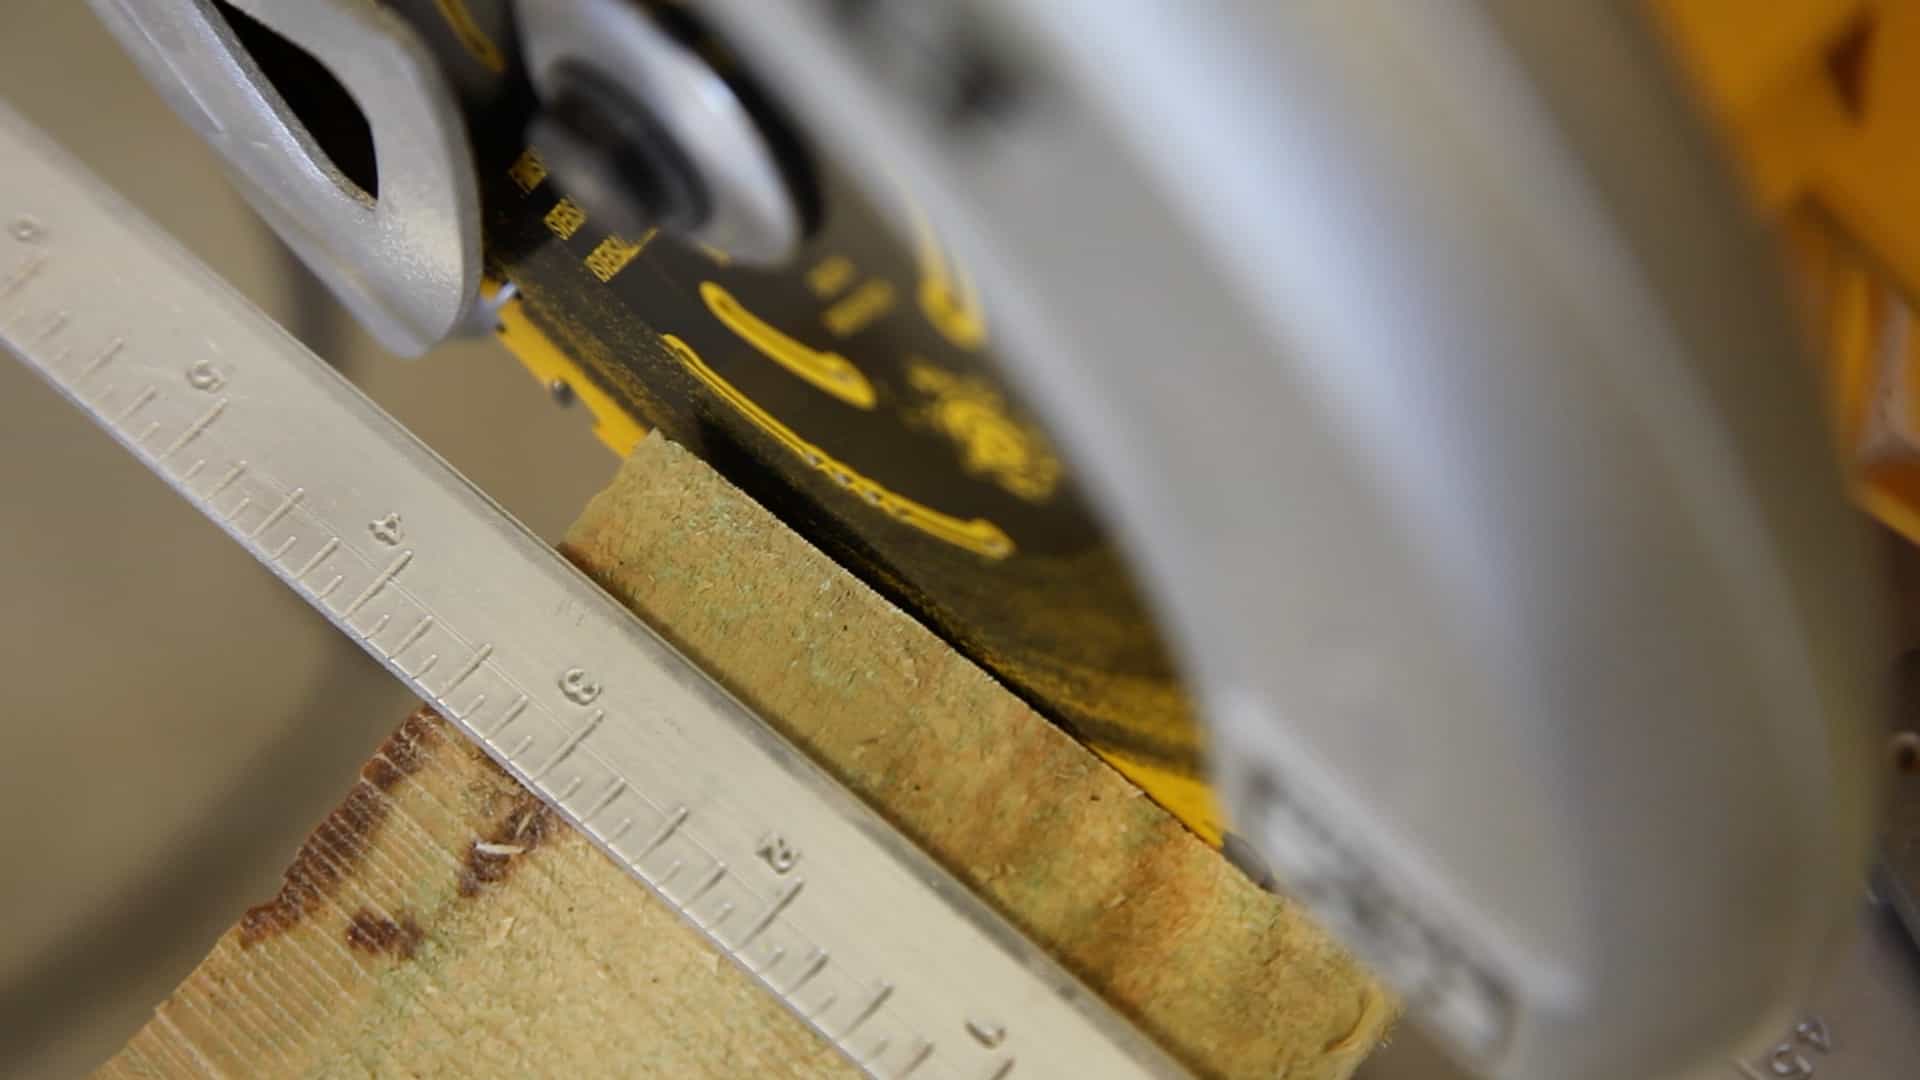
One of the most common mistakes that regular users and new users a like make with the circular saw is to set the blade depth too deep. This is serious safety issue, much like with a table saw. The blade should just pass through the material, and not much further. When the blade hangs open below the material it is incredible easy to cut yourself. It also makes it more likely to cut through another object that you didn’t intend to. Worse yet, you could impact some material that will damage or destroy your blade, such as concrete or a metal sawhorse. When the blade passes too far through the material it is more likely to bind. Beyond safety, a blade that just passes through the material is going to cut more efficient and leave a cleaner finished product.
Set the Blade Depth Before Each Cut
Set the blade depth before each cut. With the saw off and unplugged, use your material as a guide. Set the blade to pass through the material by 1/4 inch to 1/2 inch, and no more.
Circular Saw Basics: Avoid Binding
A common mistake when using a circular saw is to restrict the movement of the off-cut of the board being cut. This can be through clamping, or through a helper holding the board. This causes the board to become a clamp against the blade of the saw, slowing down by braking it (apply pressure to it from both sides). This will cause the saw to bind, overheat, and possibly result in dangerous kickbacks. For most operations, the off-cut section (the part you’re not going to use) should be left to freely fall from the saw.
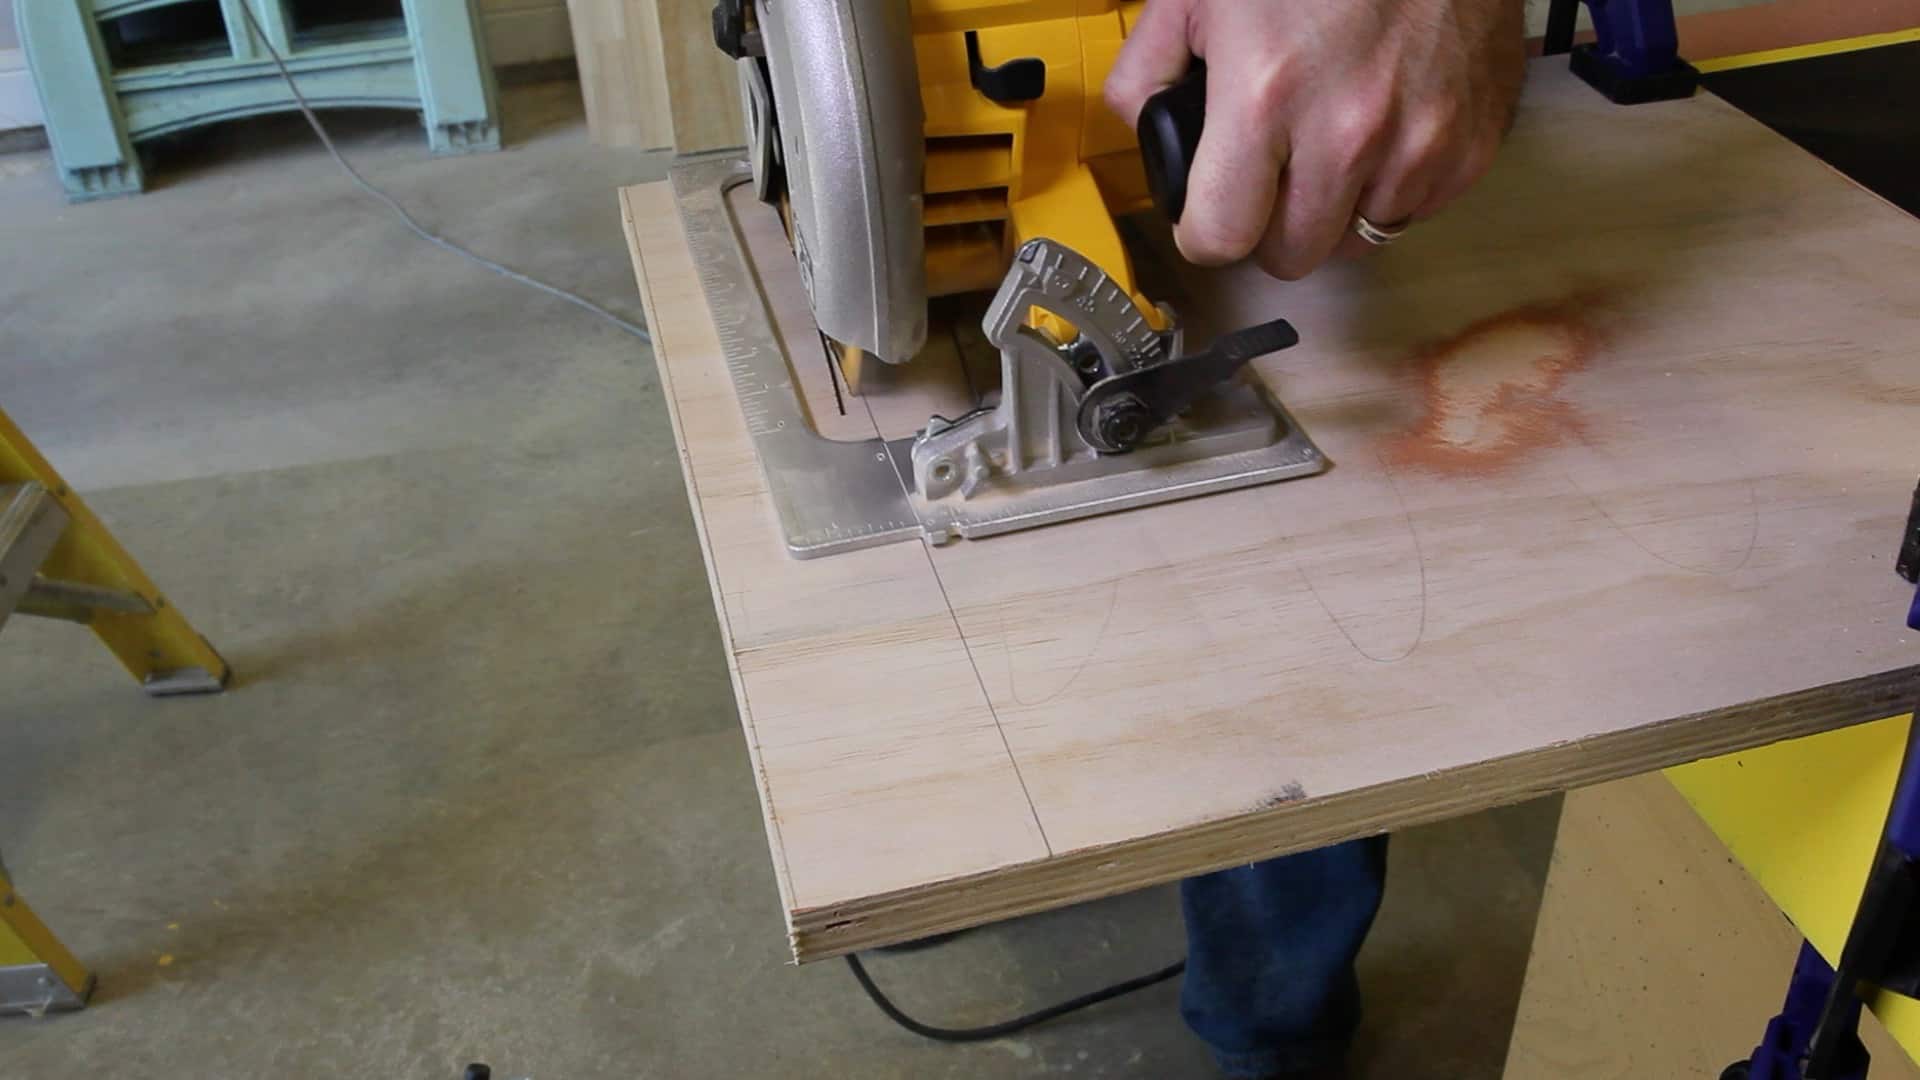
Cutting Plywood and Sheet Goods
The exception to this rule is when cutting sheet goods. Sheet goods, such as plywood, should have a table or sawhorse of equal height for it to rest on, but it should not be held or clamped in place.
Circular Saw Basics: Rip Cutting
If you have a table saw, it is the ideal tool to use for rip cutting. Unfortunately, most contractors can’t carry a table saw to every job site. Even if they do it is not always practical to unpack it out for a single cut. There are a couple of tricks you can use to make rip cutting with a circular saw more effective.
The best way to rip with the circular saw is to fasten the board to a part of saw horses. If the board is wide enough, use a clamp at each end. An alternative to clamping is to use a nail. Don’t drive it all the way flush so that it is easy to pull out (or use a duplex nail, which is designed to be removed, or screws).
Circular Saw Basics: Gracefully Recover from Mistakes
If you’re making a cut down a straight line, and you accidentally let the saw wander away from the line, don’t attempt to guide the saw back to the line. It’s difficult to recover from this mistake and you might over shoot your line the opposite direction. Additionally, its a dangerous operation that can very easily cause the saw blade to bind, and result in a kickback. Stop the saw, back up to where the wander began, and start over with the cut. Using this trick will also save you clean up work after the cut.
[cbtabs]
[cbtab title=”Recap”]
- The blade should only pass through the material by about 1/4″
- Don’t support off-cuts as this will bind the saw
- Use clamps or nails when rip cutting
- Don’t try to steer the saw to fix a mistake, just stop the saw, back up and start again
[/cbtab]
[/cbtabs]
4
0.5