Blog
Cutting a Log on a Band Saw
[adinserter name=”TopOfPost”]I recently created a project for my mother and father that involved turning a fallen tree branch (struck by lightning) into a Cheese Tray and Coaster set. This spawned a lot of questions from my audience about what is required to actually turn a log into usable material for a wood shop project. It’s not as simple as cutting the tree down or branch off and cutting it up. Additional steps must be taken for the wood to turn out usable and to make sure it is done safely!
Trust me when I say there are a lot of varying opinions on what is the right way (or wrong way) to mill logs into dimensional lumber. In this article I hope to address some of those ideas and concerns and make you a little more informed so that you can decide what’s the right way for the material and the tools that you have available in your shop.
Making Dimensional Lumber from a Log or Branch
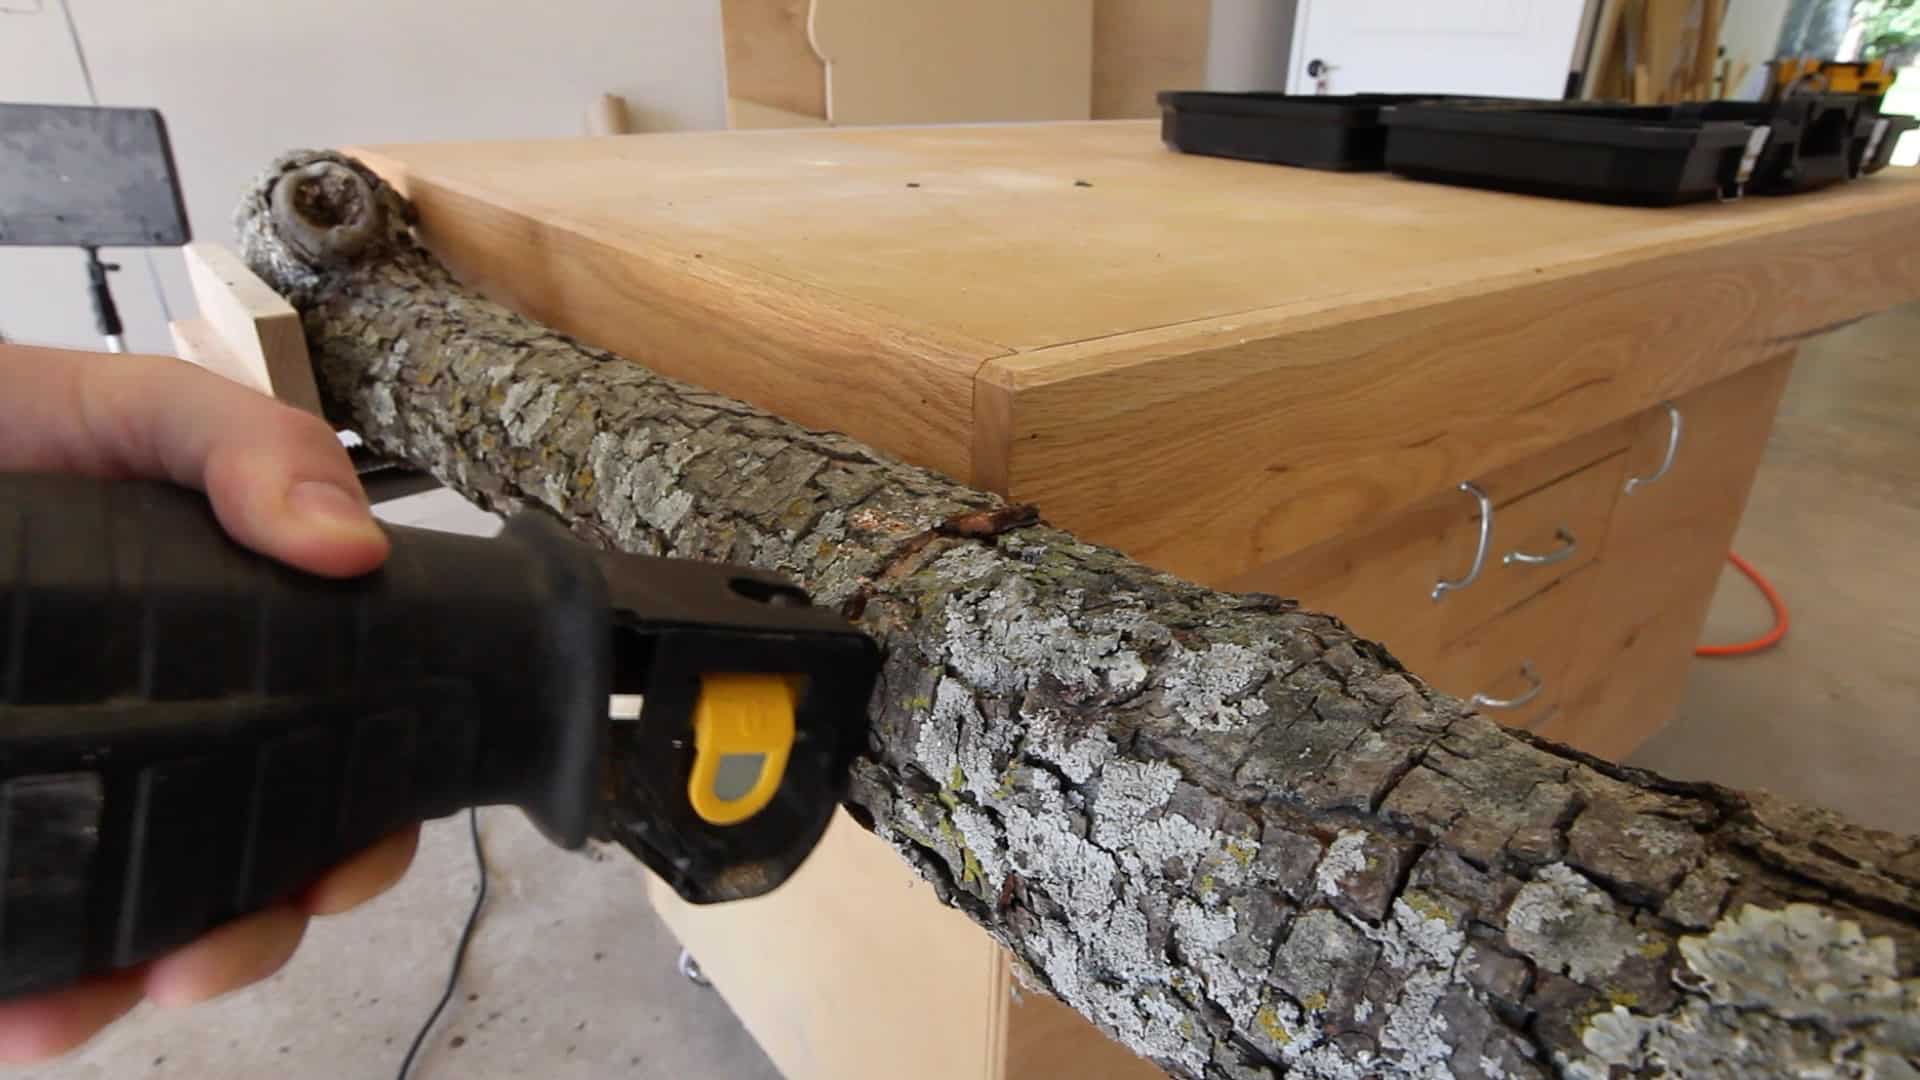 The first thing you need of course, is a log or tree branch. If the tree is still alive and growing, or has just recently been fell, this wood will most certainly still be green and wet. It will not be usable in this state. If it’s been laying in the yard or forest (or Grandpa’s back 40) for years it might be too rotted and cracked to be usable. Wood needs to go from wet to dry before you can use it and there are multiple ways to get it to this dry state In this article I am not going to discuss the correct moisture content for dried lumber. It varies from climate to climate and wood type to wood type. There’s an extensive article at Wikipedia on just this topic alone.
Dry the Wood Before Use
Before you use your wood on your project it needs to be dry. The most common way to do this is to simply let it sit for a long period of time. In the case of my Cheese Tray and Coasters project I let that log dry for approximately 14 months. A larger log would have take even longer. To make the dry time go faster you can use a chainsaw mill and slice the logs in large planks and store them with slats between them to keep air flowing between each individual plank. Matt Cremona has a great set of YouTube videos on this process.
You can also dry wood faster using a kiln, your home oven, or even a microwave. However, those topics are complicated and beyond the scope of this article. Regardless of how you decide to dry your wood, it remains the most important step in the process. Failure to dry the wood is going to result in major warping, , splitting and cracking, failure of glue joints, and of course the gumming up of your saws and tools with sap and water.
I suggest purchasing a moisture meter from Amazon or your local woodworking store like Rockler.
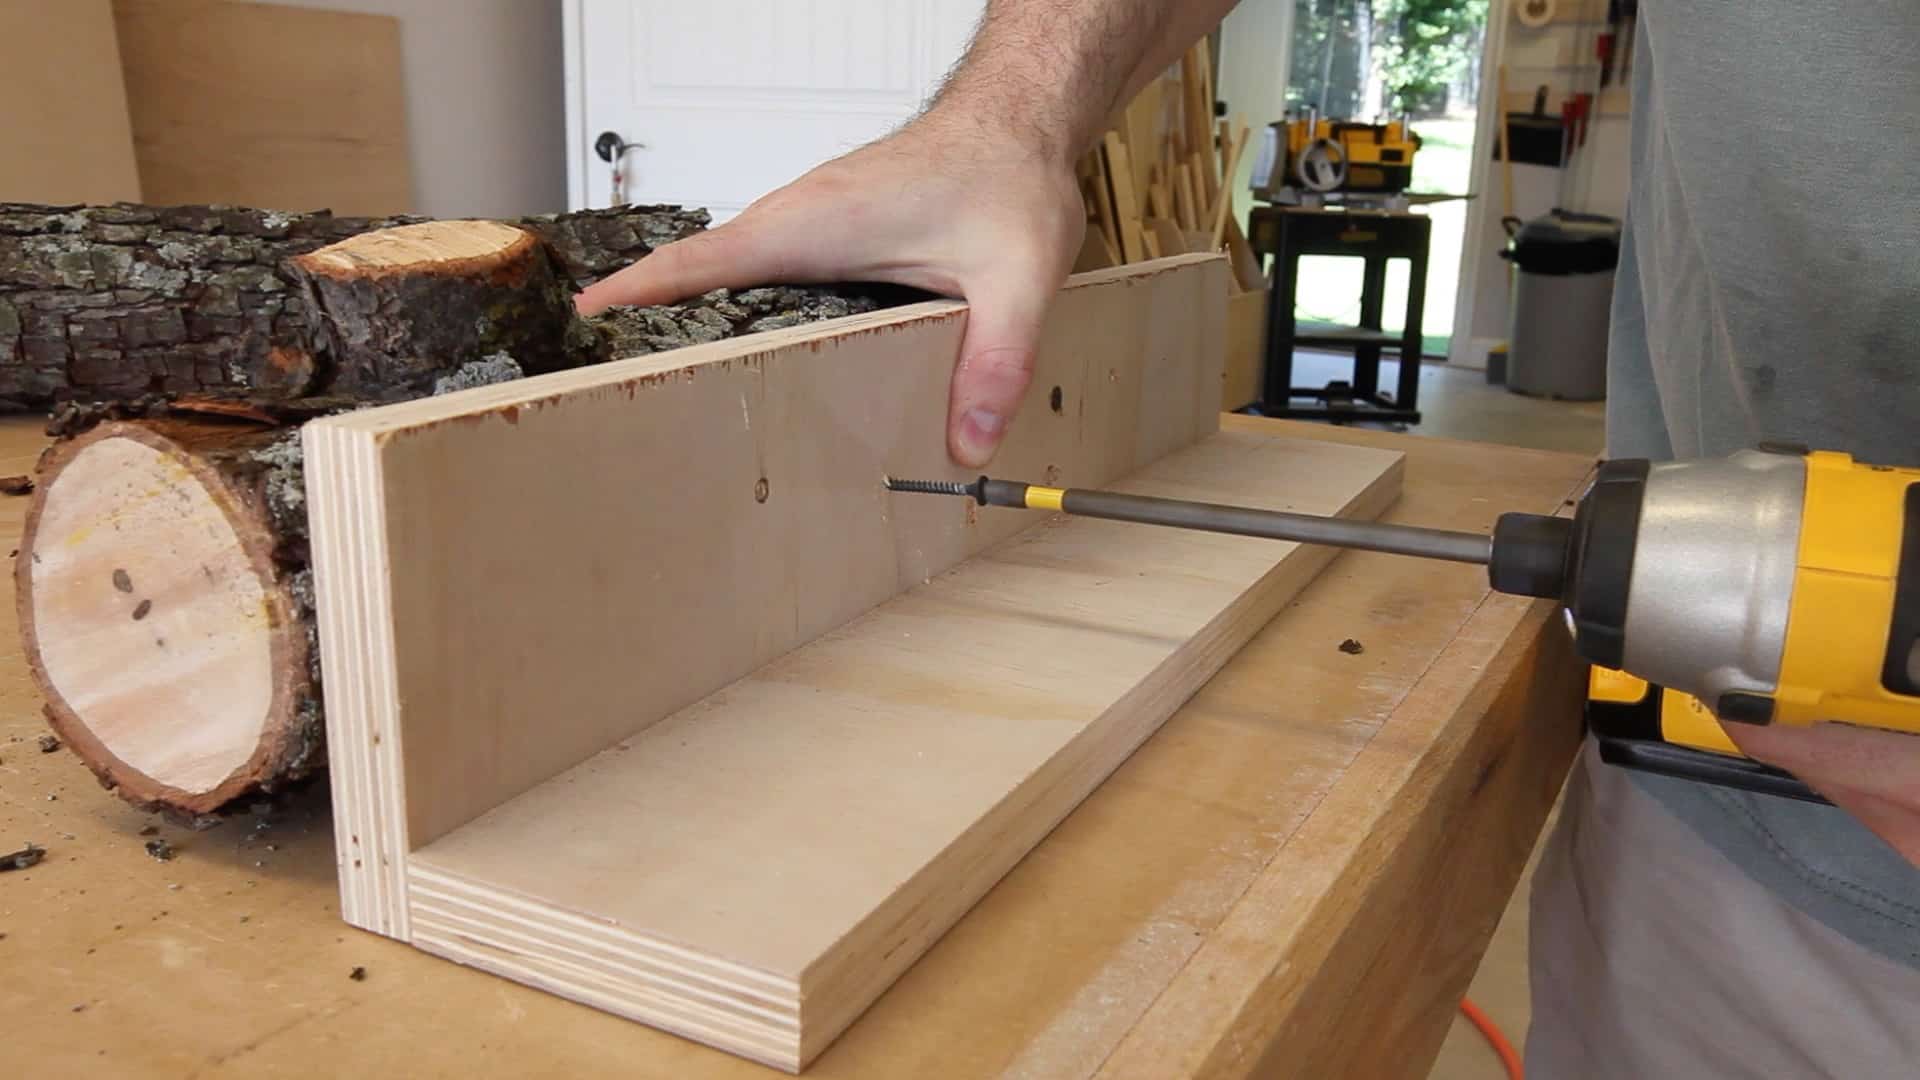
Create a Band Saw Milling Jig
To safely mill your log into dimensional lumber you’re going to need a milling jig. There are many variations of these jigs, but the simplest one is simply two sections of plywood connected together to form a 90 degree angle. A milling jig then either clamps or screws to the log. This will keep the log from rolling, rocking, or otherwise moving as it passes through the saw. Just as importantly it provides two flat surfaces to run along the the table and the fence of your band saw (or even table saw). This will allow you create two flat sides on the log. Plywood is a great choice because it has plies of alternating grains is most likely to stay flat and warp free.
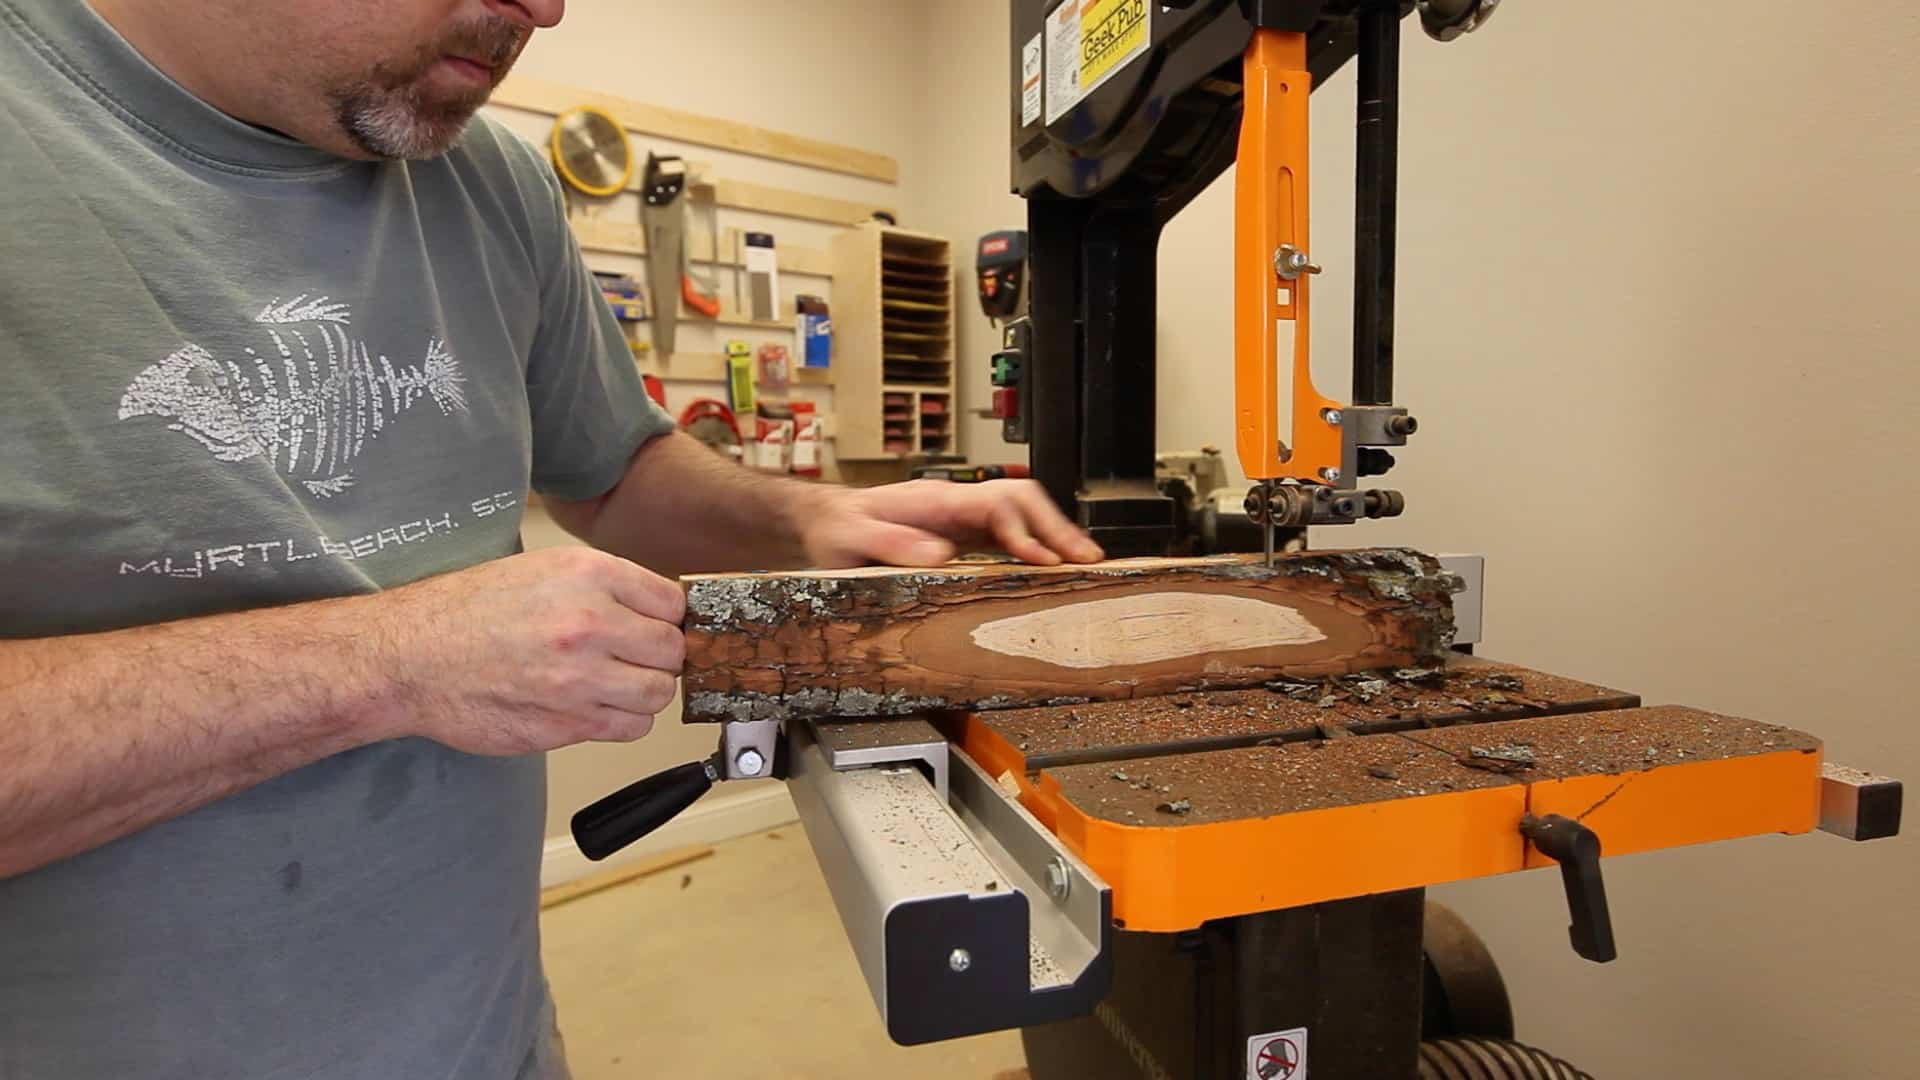
Slicing the Log into Lumber
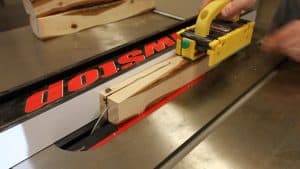 Once you have two sides cut, forming a 90 degree angle you can remove the jig and begin to slice your material into usable lumber. Depending on the thickness of the log you do this process on your band saw, or move to your table saw. The band saw will slice larger logs and leave a smaller kerf, while the table saw will leave a smoother finish.
Storing the Lumber
If you’re not planning on using the lumber immediately, it’s a good idea to store it laying flat and to number it. This will allow you to take advantage of the book matching pieces if you get the opportunity to join the sections for a larger project.