Blog
Adding Wi-Fi at the Boat Dock
My wife bought this cool house on the lake. And we really love it. But it has one problem that drives us nuts: The cell phone coverage in the area is terrible! When we’re in the backyard, or on our dock there is generally no cell phone coverage and therefore no data. Now I get for some people this may be a dream come true, but for us it is a real pain. So to fix this problem we’re going to be installing Wi-Fi at the boat dock!
To do this we’re going to install Ubiquiti NanoBeams at the house and dock to create a point-to-point wireless bridge between them. In addition to having Wi-Fi at the boat dock this will give us the ability to install some security cameras down there!
Watch the Wi-Fi at the Boat Dock Video
Parts List for This Project
If You’d like to do this project too, here’s a handy parts list to get you started. Some of these may be affiliate links. They cost you nothing, but pay us a small commission so that we can continue to create great content like this.
| QTY | PART/LINK | ||
|---|---|---|---|
| 1X | [icon name=”box” prefix=”fas”] | Electronics Box | [icon name=”cart-plus” prefix=”fas”] |
| 1X | [icon name=”ethernet” prefix=”fas”] | CAT6 Ethernet Cable | [icon name=”cart-plus” prefix=”fas”] |
| 2X | [icon name=”circle” prefix=”fas”] | Ubiquiti NanoBeam | [icon name=”cart-plus” prefix=”fas”] |
| 1X | [icon name=”dot-circle” prefix=”fas”] | Ubiquiti AC-PRO Access Point | [icon name=”cart-plus” prefix=”fas”] |
| 1X | [icon name=”network-wired” prefix=”fas”] | Ubiquiti US-8-60W Switch | [icon name=”cart-plus” prefix=”fas”] |
| 1X | [icon name=”server” prefix=”fas”] | Synology DS1621+ | [icon name=”cart-plus” prefix=”fas”] |
| 3X | [icon name=”hdd” prefix=”fas”] | 10TB IronWolf Pro Drive | [icon name=”cart-plus” prefix=”fas”] |
| 1X | [icon name=”video” prefix=”fas”] | AXIS M2025-LE Camera | [icon name=”cart-plus” prefix=”fas”] |
Why do I need Wi-Fi at the dock?
I know that for many not having Wi-Fi at the boat dock is probably a big pro, rather an a con! Some of you dream of a place where people can’t find you or bother you on your devices. A place of silence and solitude!
I find the best way to achieve that is simply to put my device on silent and pay attention to those I am with, the book I am reading, or any other task at hand, Then I can have access to data when I need it. But in this case I don’t have that choice. With little to no signal in our back yard and at the dock I could miss an important or even emergency call. That’s not acceptable.
Beyond that, I want to bring data capabilities to allow for other (and frankly more important) abilities. The main one being I want the option to install security cameras!
Installing the Dock Electronics Waterproof Housing
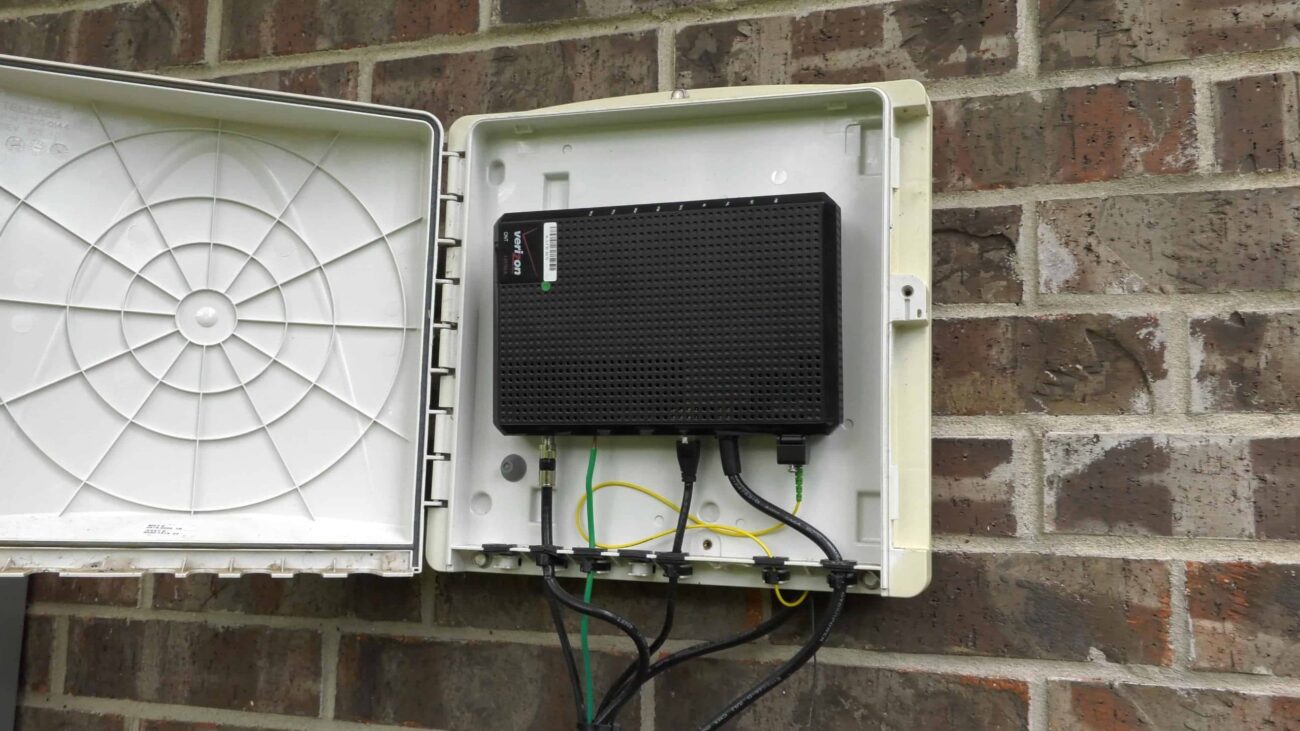
Before we can have Wi-Fi at the boat dock, we have to have a box to keep all of our moisture sensitive gear protected, and we have to get power to it!
I found this awesome outdoor enclosure on Amazon that has a neat feature. In the bottom (or back) of it there is a plastic mesh full of holes that can be used for mounting gear. This makes it perfect to permanently secure all of my gear!
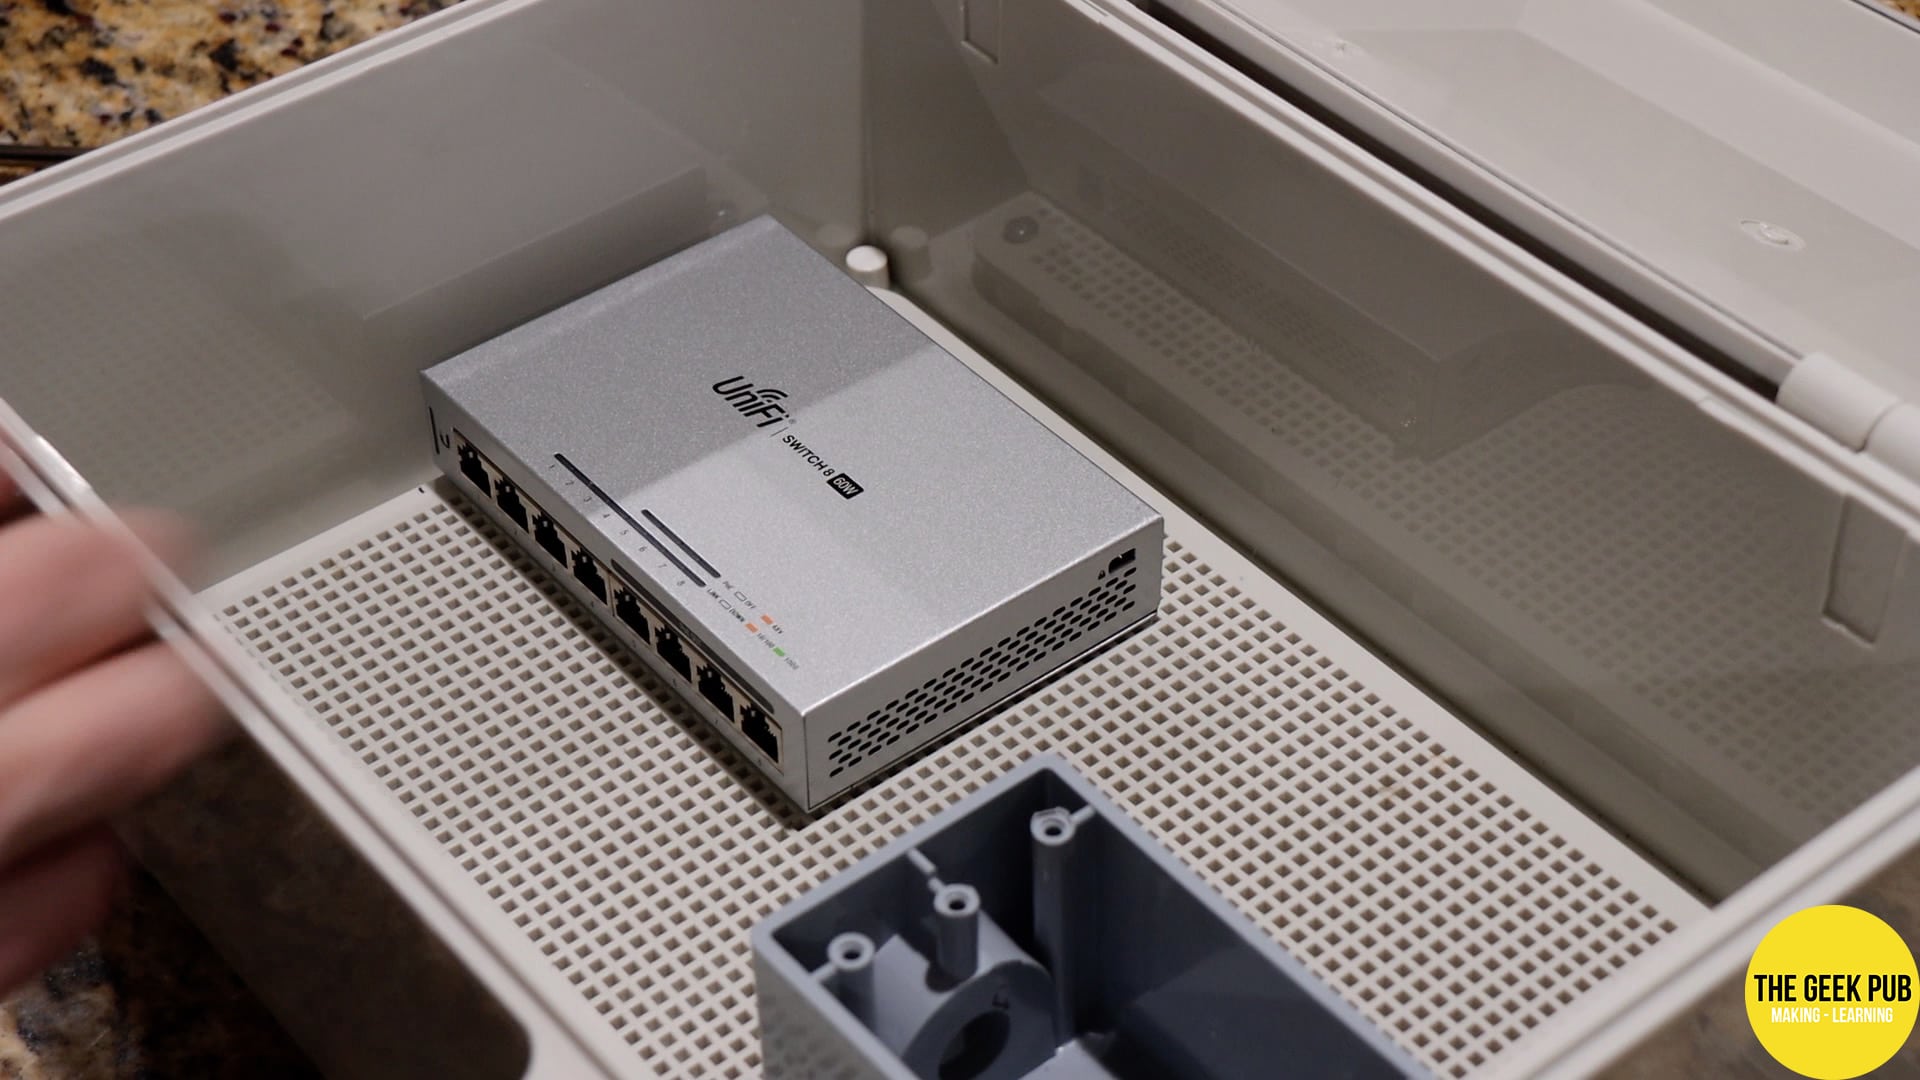
Since we’re going to have things in this box that need power, I need to mount an electrical box for 120v and add a hole in the side of the box for the flexible waterproof conduit to pass through. I drilled the hole using a 7/8″ hole saw attached to my drill.


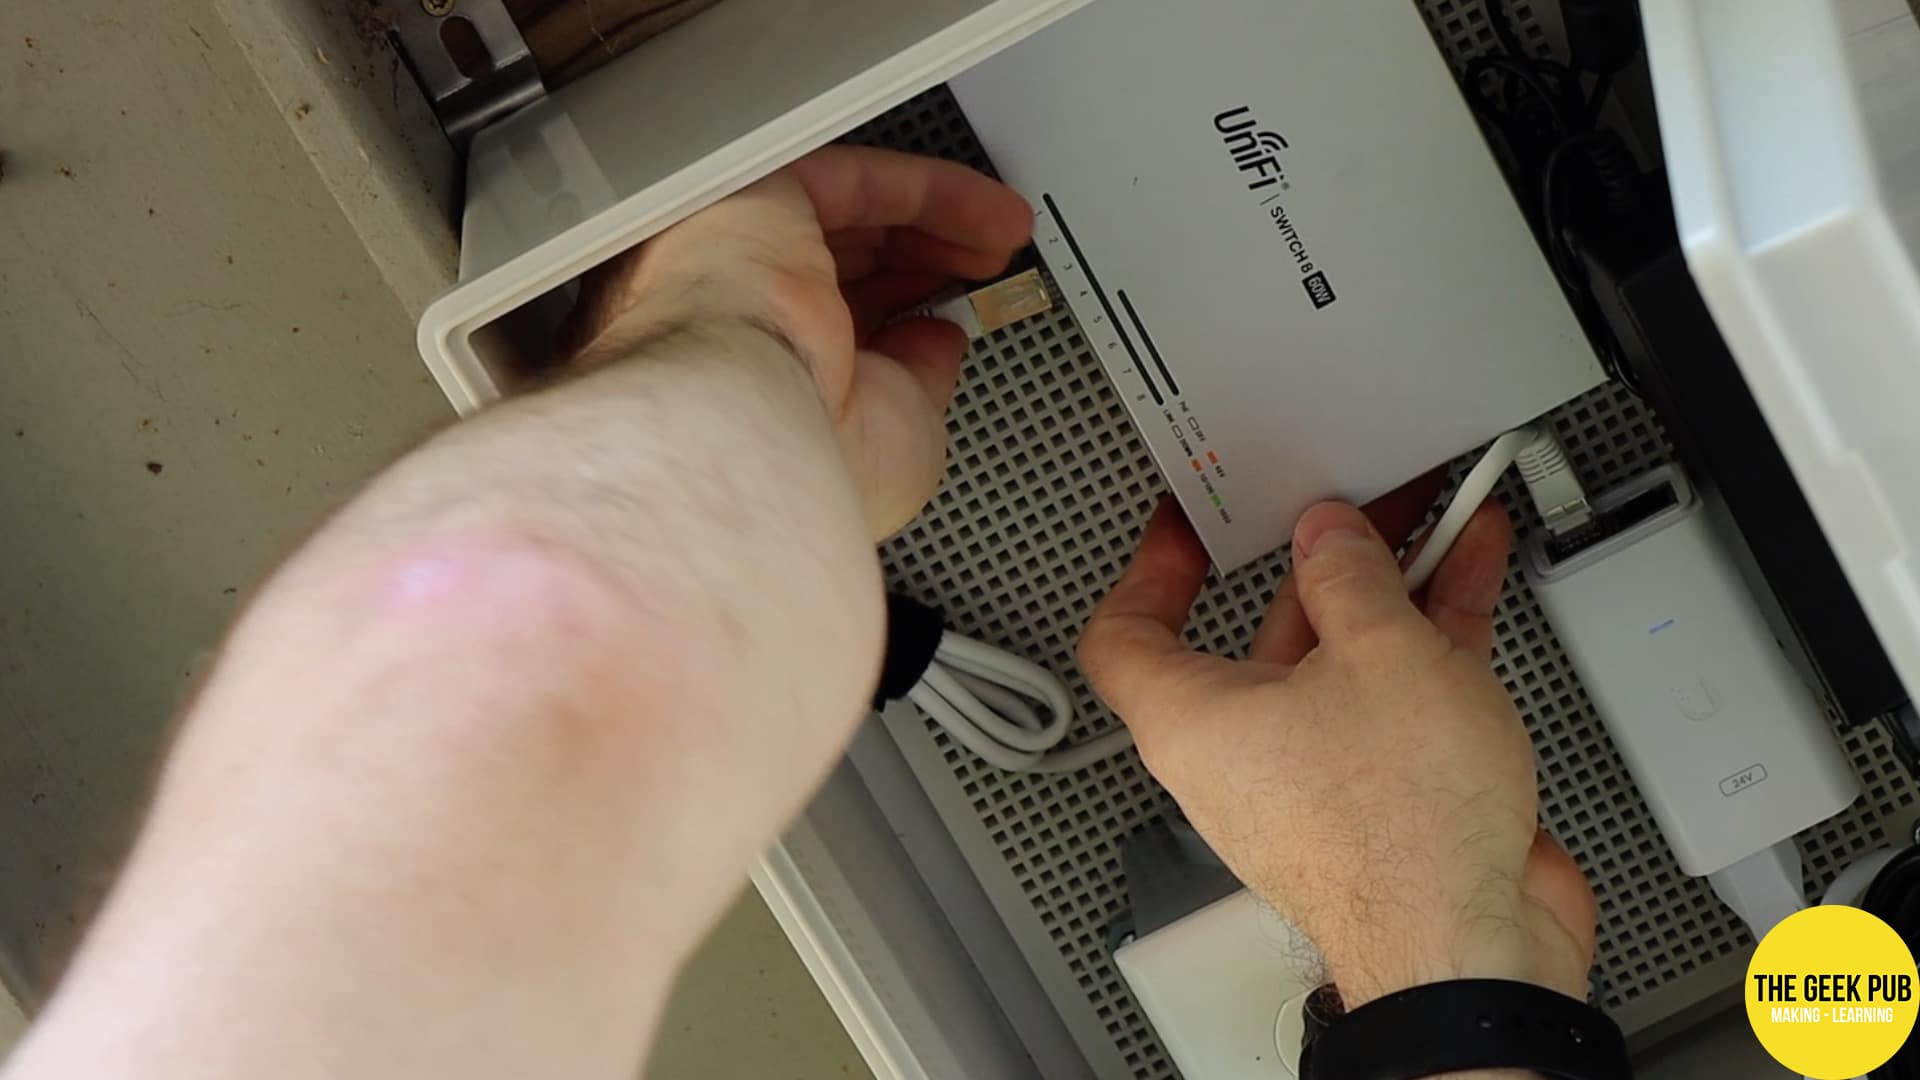
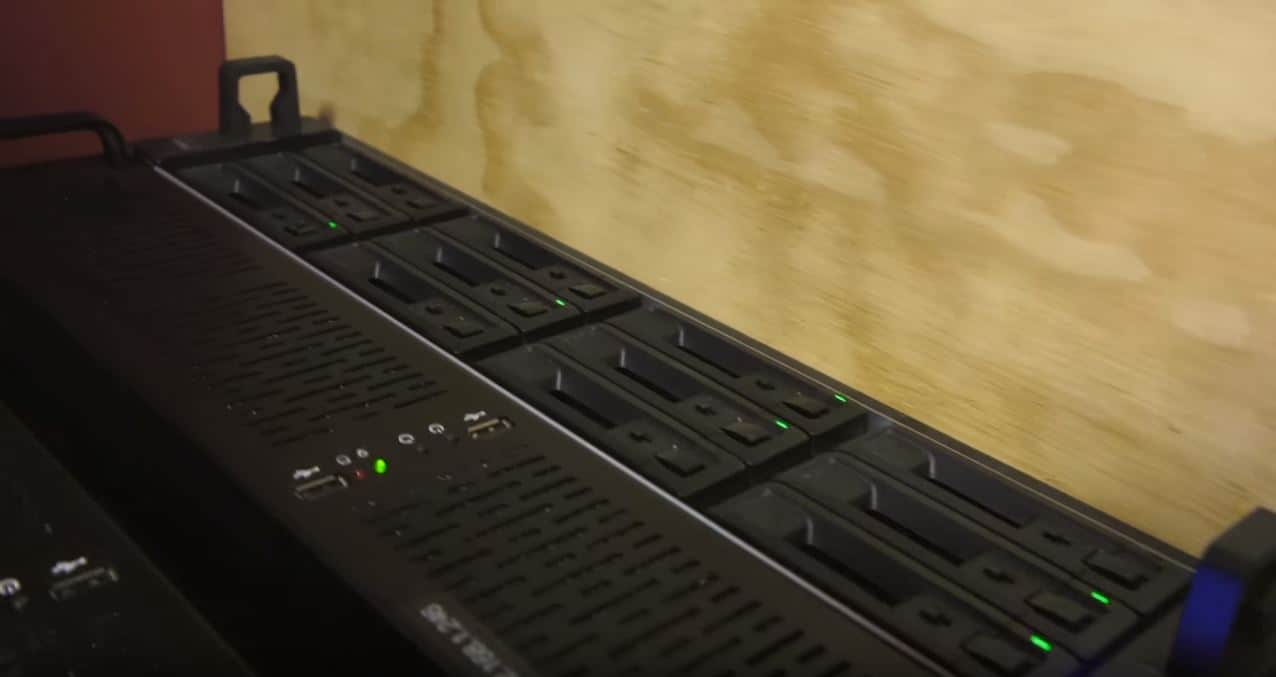
I installed a Ubiquiti Unifi US-8-60W PoE switch in the box to provide PoE to a wireless access point and to two security cameras.
Mounting the Waterproof Enclosure
I chose a spot under the dock that would make for a secure location. Not so much against theft, but against people or equipment banging into it. Wi-Fi at the boat dock would be no good it someone smashed a wakeboard or jet ski into it!
The waterproof enclosure provides these handy corner mounting brackets for easy mounting!


Power to the Wi-Fi
Now that our housing is mounted, we’ve got to get power over to it. I found an existing electrical box that supplied power to the lights and outlets on the docks. As a bonus it has a GFCI breaker! I ran waterproof flexible conduit from this box over to the waterproof electronics enclosure. I used glue and waterproof sealer at both ends.


Mounting the Ubiquiti NanoBeams
The main tool we need to getting Wi-Fi at the boat dock are Ubiquiti’s NanoBeams. NanoBeams form a point-to-point wireless connection between two locations. These locations can be up to 5 kilometers (~3 miles) apart. The capacity of the NanoBeam is up to 450 megabit in a point to multi-point configuration.
The NanoBeams simply mount to any structure with a single screw and a mount that functions as a ball joint for aiming the antenna.
I first mounted the NanoBeam at the boat dock on the upper decks, lower railing. It was the perfect spot for it. I ran the Ethernet cable behind the lower deck to keep things looking clean.


I then mounted the other NanoBeam at the house on the rear gable.


The NanoBeams don’t use standard PoE, instead opting for 24v passive PoE. With that in mind I added a 24V PoE injector into the waterproof housing and connected it to any of the non-PoE ports on the switch.
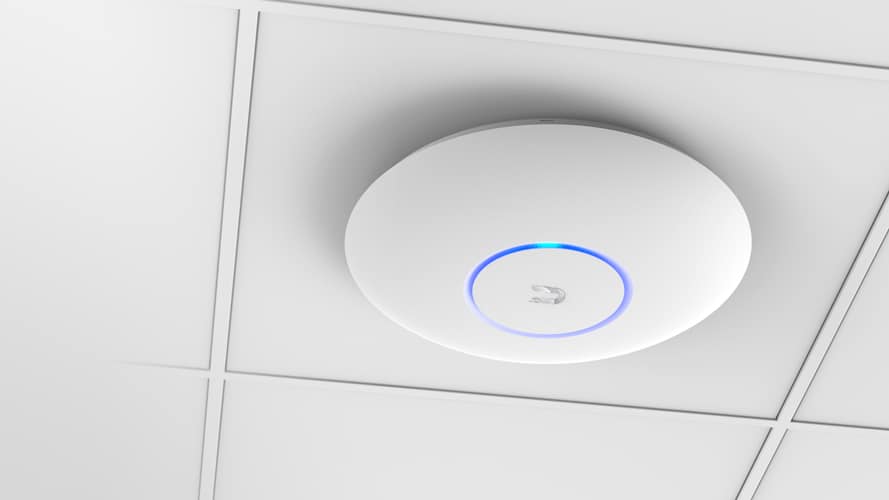
Installing the Wi-Fi Access Point
The NanoBeams themselves don’t provide Wi-Fi (technically they can. Sort of.). The NanoBeams rather bring signal to the dock for other things to take advantage of. In order to get Wi-Fi to our phones, tablets, laptops, and other devices we need to install an actual wireless access point. I chose the Unifi AC-PRO. It’s got an incredible signal quality and just works.
I decided to mount the AC-PRO directly to the lid of the waterproof enclosure. This is the perfect location. It’s already central to the area we wanted to get signal too, and this means no extra cables to run and super easy future maintenance!


And this is the moment that Wi-Fi at the boat dock became a reality. All of my devices got full 5 bars of signal and we were in business. Checking our signal strength and capacity it looks like the NanoBeams are giving us a solid 300 megabit in both directions! We have the Wi-Fi’s!!

Installing the Axis Security Cameras
Part of installing Wi-Fi at the boat dock was to give us the ability to add security cameras. Technically these cameras won’t use the Wi-Fi, but will rather be hardwired. They will get their transport back to the house (and hence the Synology NVR) over the NanoBeams.
The AXIS cameras were installed using self tapping screws into the red iron of the dock.


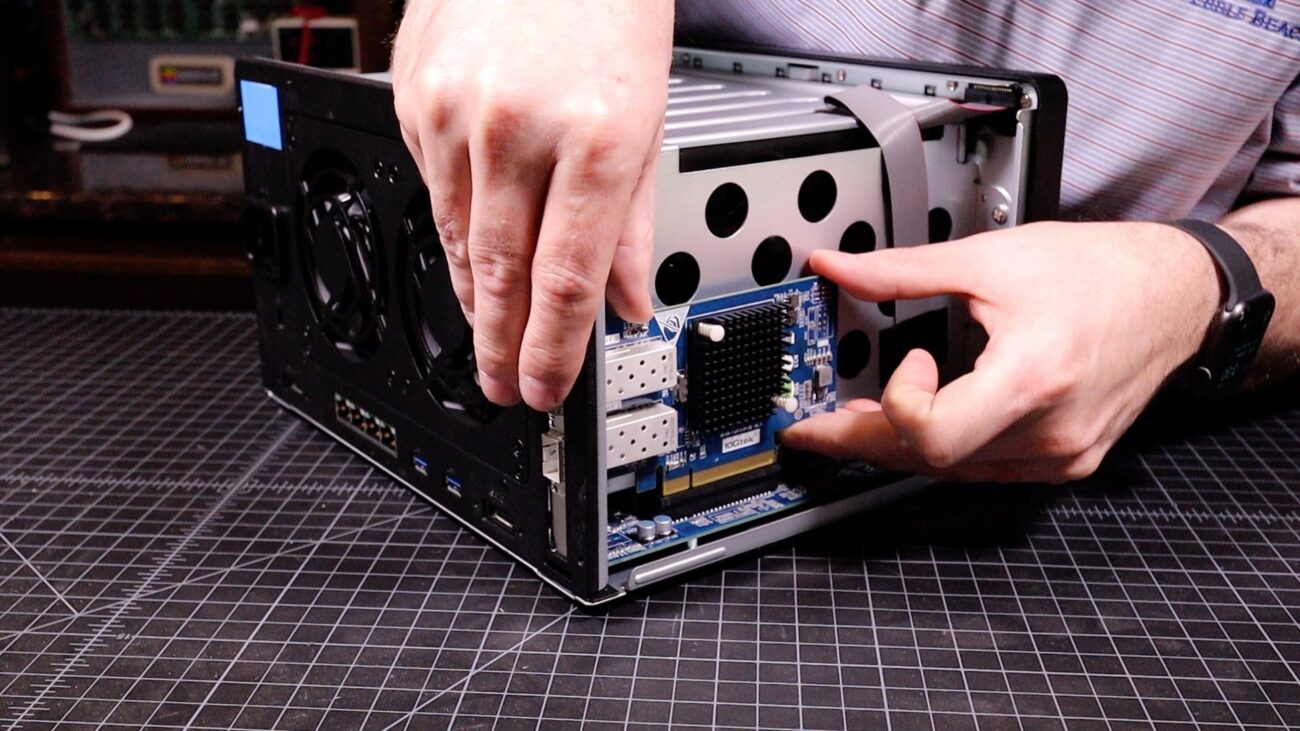
Installing the Synology NAS for Surveillance Station
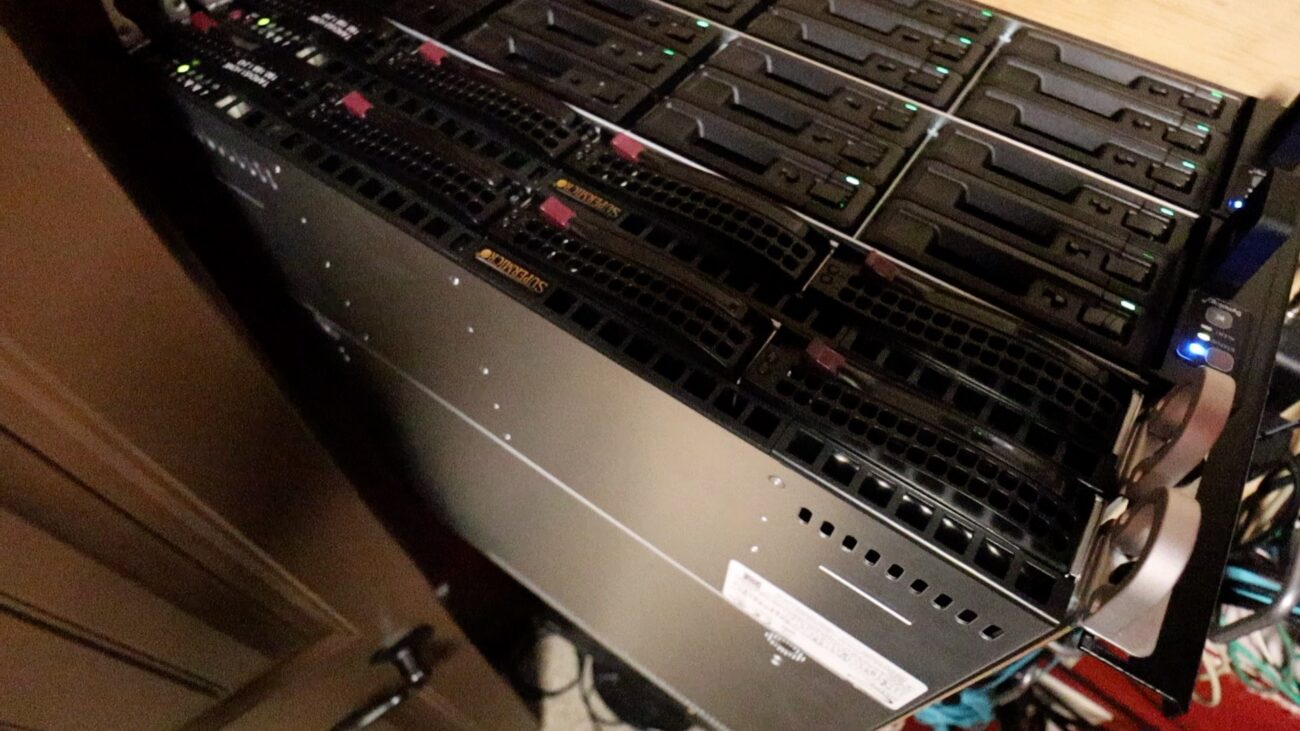
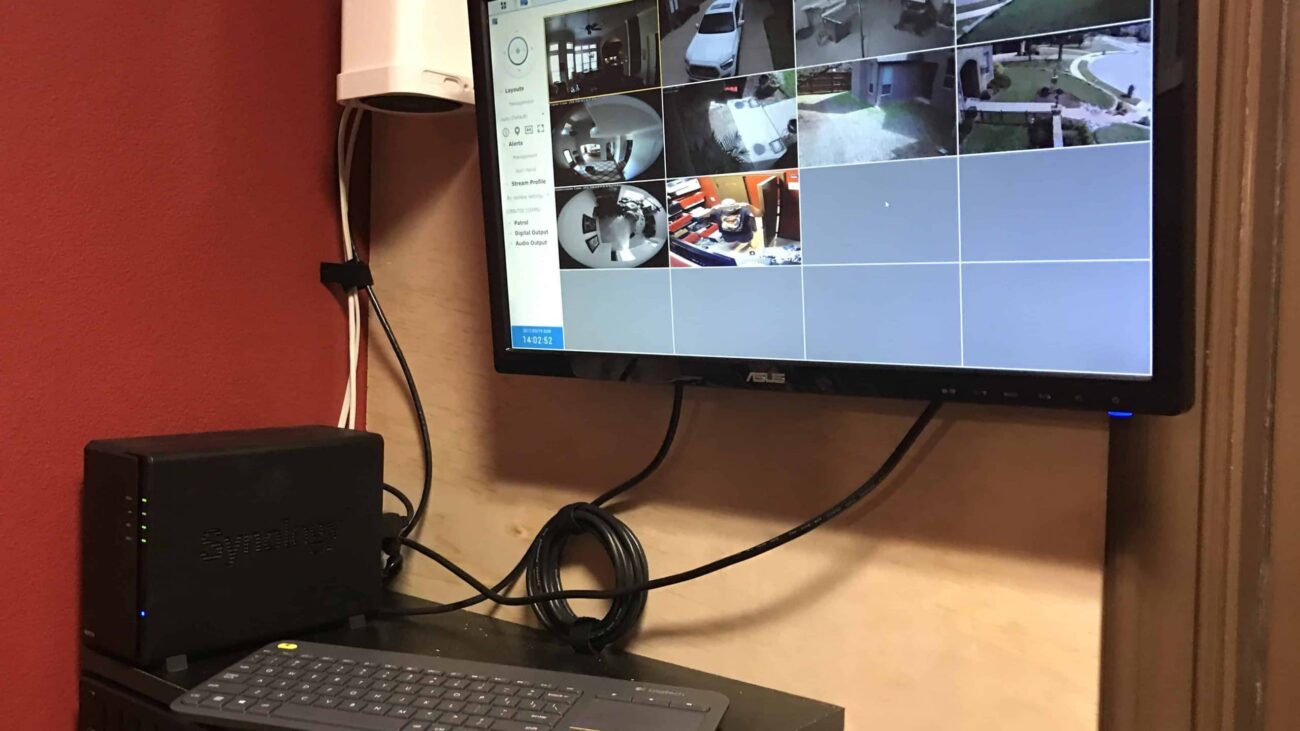
To record the video from our cameras we needed an NVR. We chose the Synology DS1621 loaded with 10TB Seagate IronWolf Pro drives.
This will provide us with plenty of room for storing camera footage, but will also allow us to keep some offsite backups at this location of our important data!


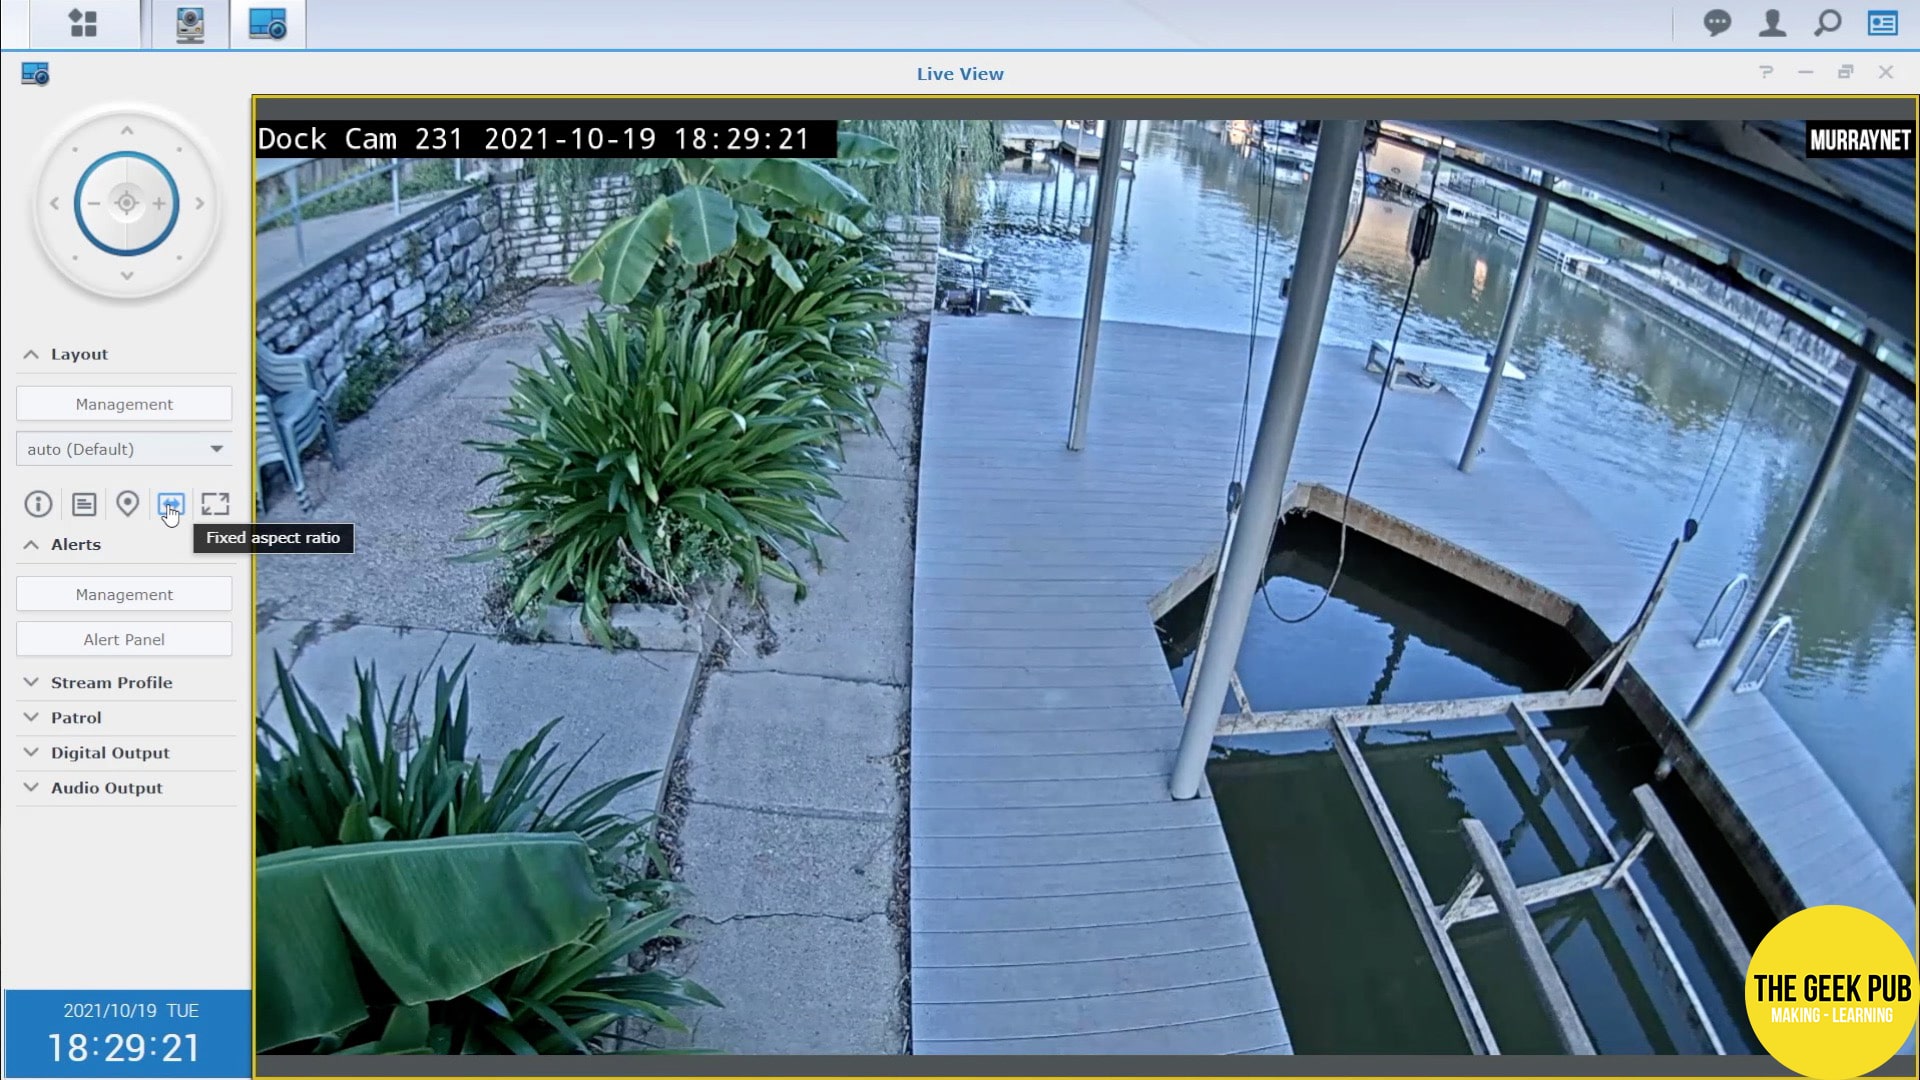
And with the Synology running Surveillance Station you can see the first video from the security camera we installed!
Wi-Fi at the Boat Dock Follow-Ups
Unfortunately, our Wi-Fi at the boat dock journey is not complete. We originally planned to have 5 cameras around the house and two at dock. Unfortunately the cameras have been on backorder for over two months and I just can’t wait any longer to finish this project.
Look for a part two of this project where we cover the install of the additional cameras and talk more about Surveillance Station and all of its awesome capabilities.
In addition, we have some other things that we’re going to use this new connectivity for! We want to automate the lighting and equipment at the dock. To do this we will add another Hubitat in mesh mode to bridge our Z-Wave and Zigbee network to the dock!
In addition, we also want to add a Rachio sprinkler controller. Since our yard is watered with lake water, we have a lake pump at the dock for siphoning water. This also means the sprinkler controller is down at the dock! Now that we have Wi-Fi down here, we can have a Wi-Fi sprinkler controller!


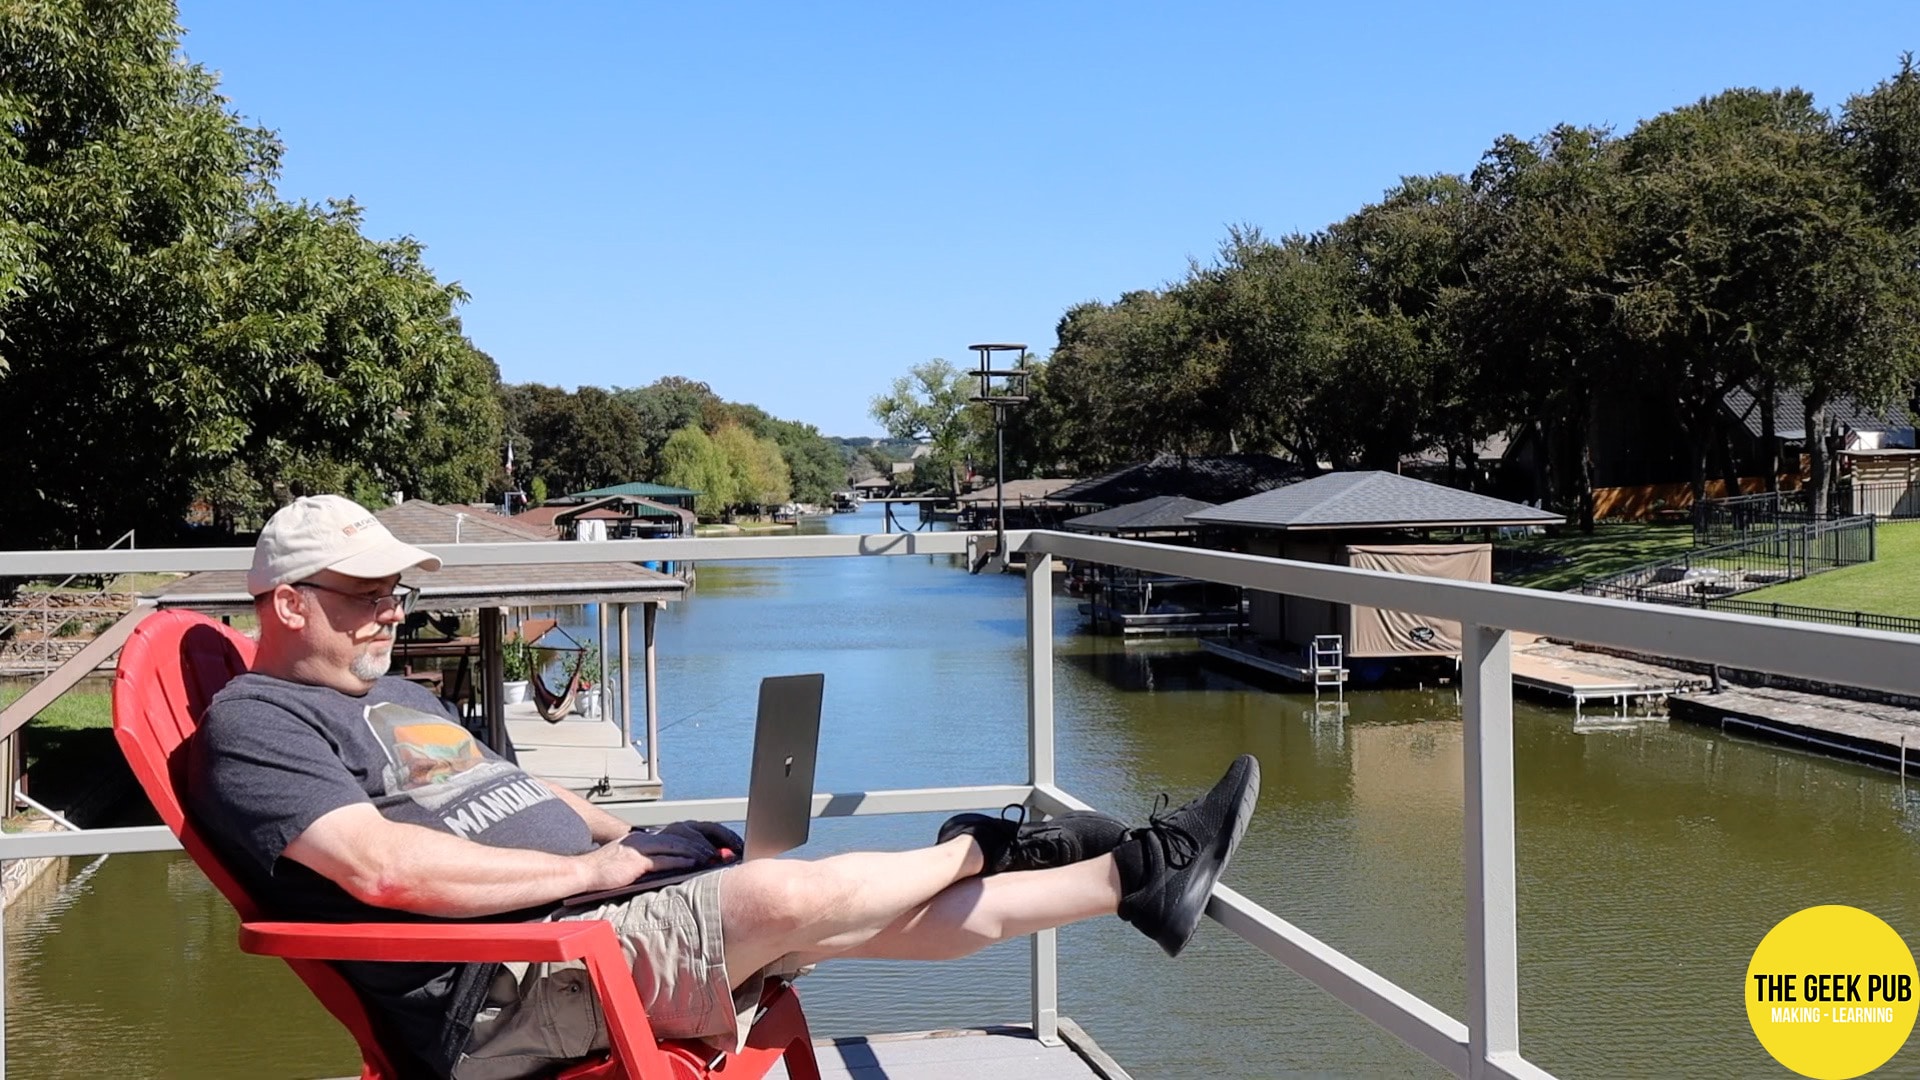
Enjoying Wi-Fi at the Boat Dock
Thanks for following along on this fun project. I’m off to the dock to enjoy some Wi-Fi on my MacBook.


Nice work! I came here to see what you did about getting the cat5/cat6 into the waterproof box and I see you did the terminations yourself. Do you have a special technique for it? I gave up on making my own cables after so many mis-terminations but this always is a problem for running cables through things like these weatherproof glands that these boxes use.
I want to do something similar on my RV but I haven’t yet and I’m more inclined to use a pre-made cable from Monoprice or somewhere else, make a hole large enough for the connector and boot to go through and then use enough sealant to close the hole back around the cable. I need to have some RF traverse through the skin of the RV and for that I certainly don’t make my own cables and have to do strange acts.
Love the channel. I too am a child of the same era, not sure if I share your love of t-molding but we’ll see. I think this is your first project I’ve seen where you haven’t used it.
In my earlier 20s I was a cabling tech. I probably terminated 1000 of those a week. I can do them in my sleep.
They do make RJ45 weatherproof boots just for what you want though: https://amzn.to/2ZAwSIp
I made dozens, most of which worked for quite a while but which led in the long run to intermittent failures as my network demands increased until I ended up having what I would guess to be a 30-40% aggregate failure rate. Since they often worked, I’m guessing that either I messed up pairs (seems an odd error to make) or the actual terminations were poor. Now I either have actual punchdown blocks which I feel like I can trust the termination, factory made cables which rarely have caused me issues, and the RJ45s at terminations in rooms. I just am very careful when I do those.
I have to look into your point-to-point system. I spent a fair amount on their other point-to-point system thinking I could use it at RV campgrounds and it turned out that I was going to have a controller running at the upstream end. I have been successful getting small RV campgrounds to let me plug unusual devices into their routers in the hopes that things like powerline or something might work (RV campground WiFi is usually abysmal and internet withdrawl is very hard on my wife and kids which is funny since I’m the techhie) but bringing a whole set of components into place that need care and feeding might be more than they would stand.
It’s too bad you have to do anything with this at all. We live by a lake also (Maine) but our AC-Pro covers down to the shore just fine.