Blog
How to Make a Silverware Organizer
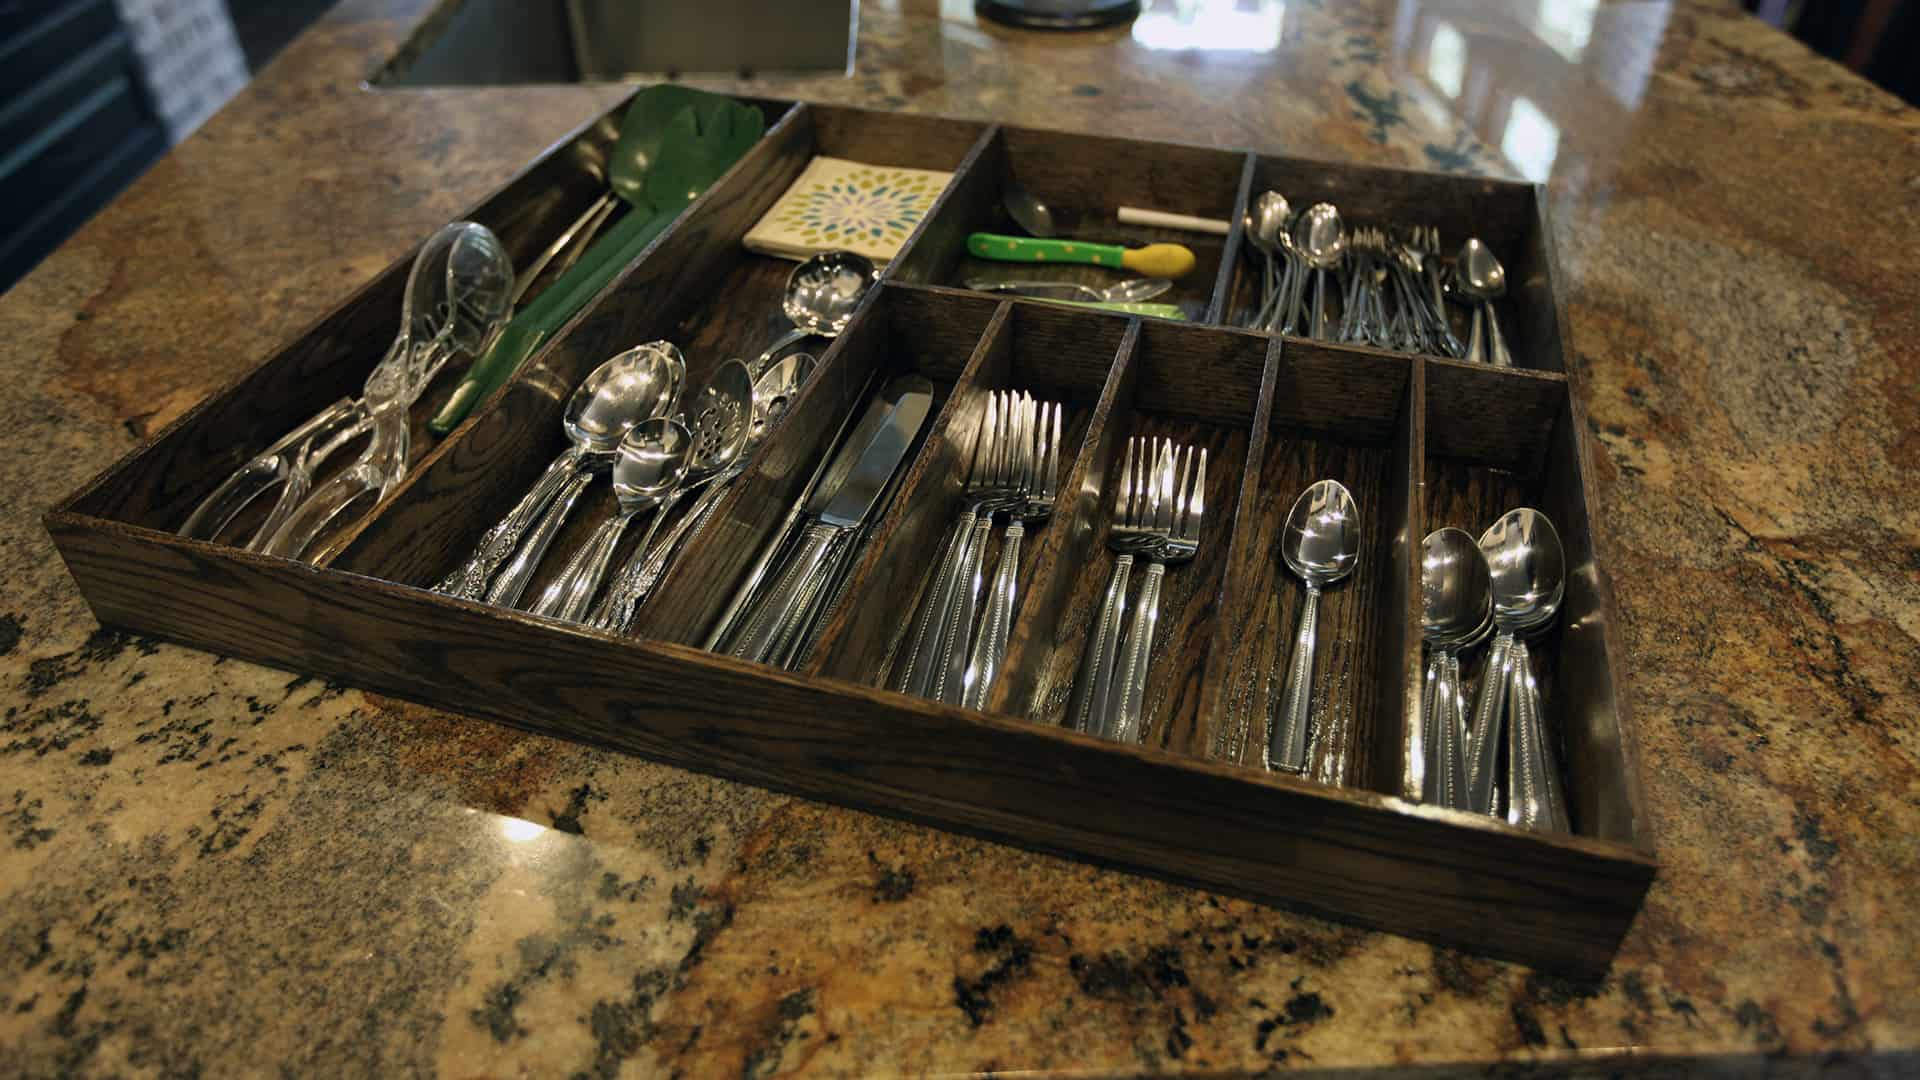
How to make a Silverware Organizer
[adinserter name=”TopOfPost”]A silverware storage organizer is one of the most handy items you can have for your kitchen drawers. Without a silverware organizer all of your utensils will wind up mixed together and all through your kitchen drawers. This is a mess and makes getting ready for dinner a pain in the ass!
It’s also important to know when items are missing and with a silverware organizer you always know how many of each item you have, as they are all stored together. So in this project we’re going to make a silverware organizer custom fitted to the drawer. None of that plastic stuff made it China at the local big box store. A solid oak silverware organizer stained in Jacobean! The plans are of course available for download here!
[button link=”https://www.thegeekpub.com/product/silverware-storage-organizer-plans/” type=”big”] Download the Silverware Organizer Plans Here[/button]
 I decided to make my silverware organizer out of solid oak (except for the bottom, which was oak veneer plywood) rather a laminate material. It will be more durable and last longer. Plus it will look really nice, and that’s always a plus! You can use lots of different woods, or even other materials like PVC to make your silverware storage organizer. I really like the ones made from Curly Maple and and Purple Heart. Unfortunately those don’t really match my drawers and cabinets. My floors are made of oak, and my cabinets are made of clear alder. Both stained with DuraSeal Coffee Bean. So I want to get close to those wood grains and colors. Doesn’t need to be perfect though, just close.
Milling the Stock Down to Size
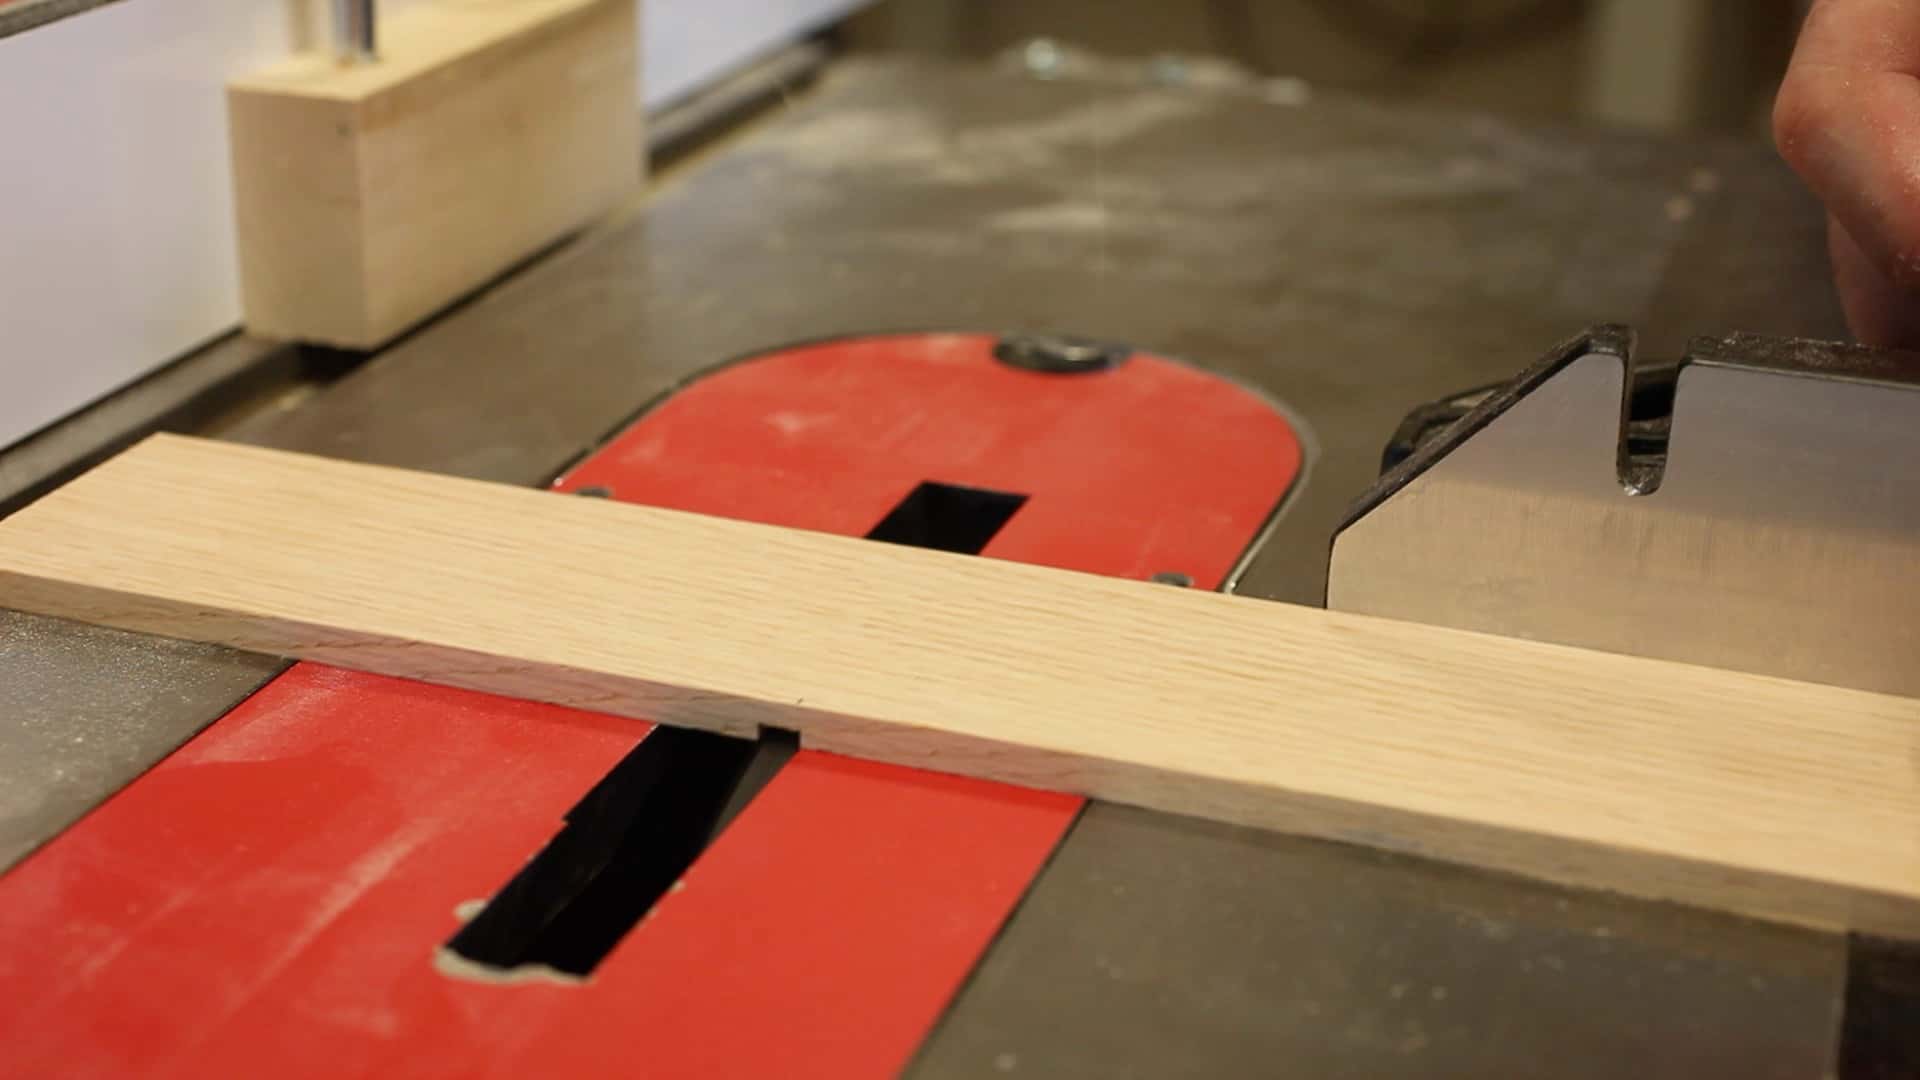
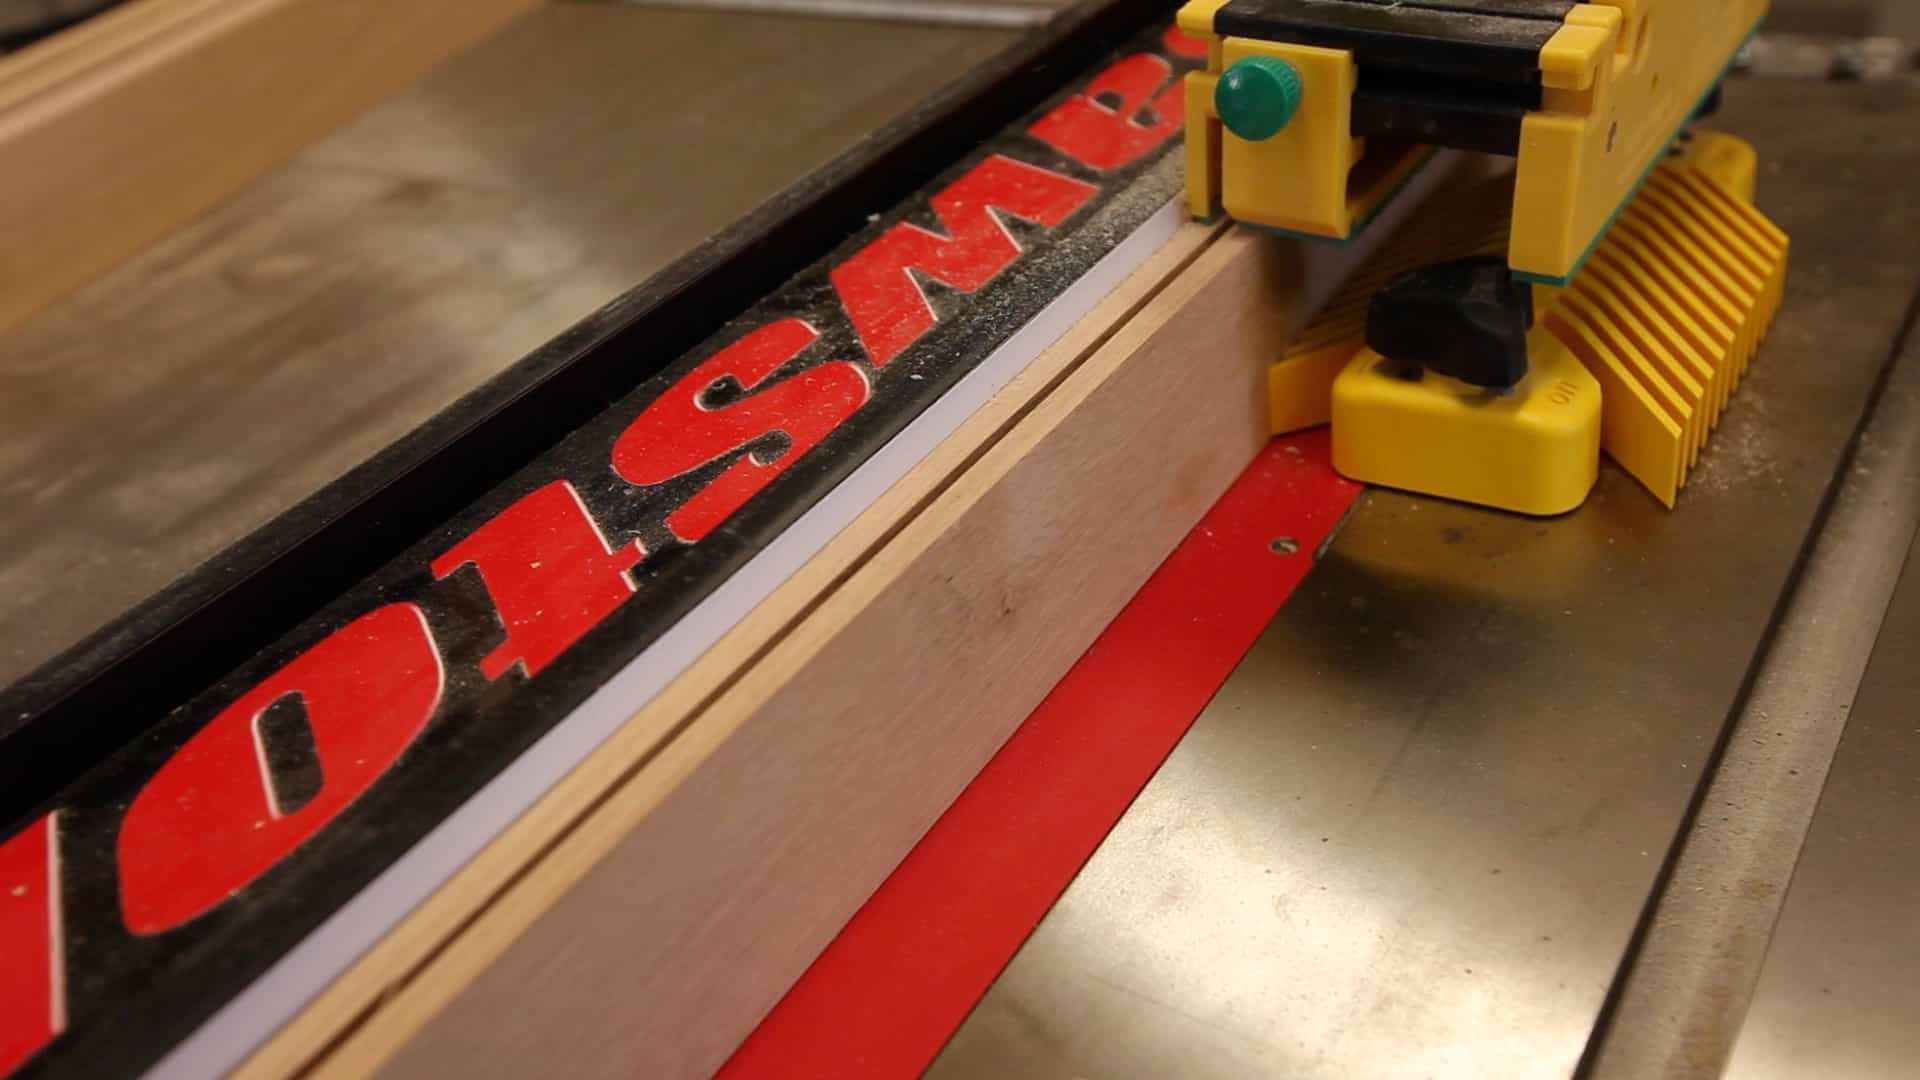 Whatever material you use, you’re most likely going to have to re-saw it to get it down to the right thickness. Generally when re-sawing material you’d use a bandsaw because that’s the kind of work it’s designed for. In my case, I went ahead and used the table saw because I knew I could do the cuts faster, and I wasn’t really worried about wasting too much material since I was only cutting my stock in half. When re-sawing material on the table saw it is extremely important to use a feather-board and something like a Micro-Jig or other safety tool to keep your hands safe. This is one of those operations that is most likely to cause kick-back, and these tools will keep you safe!
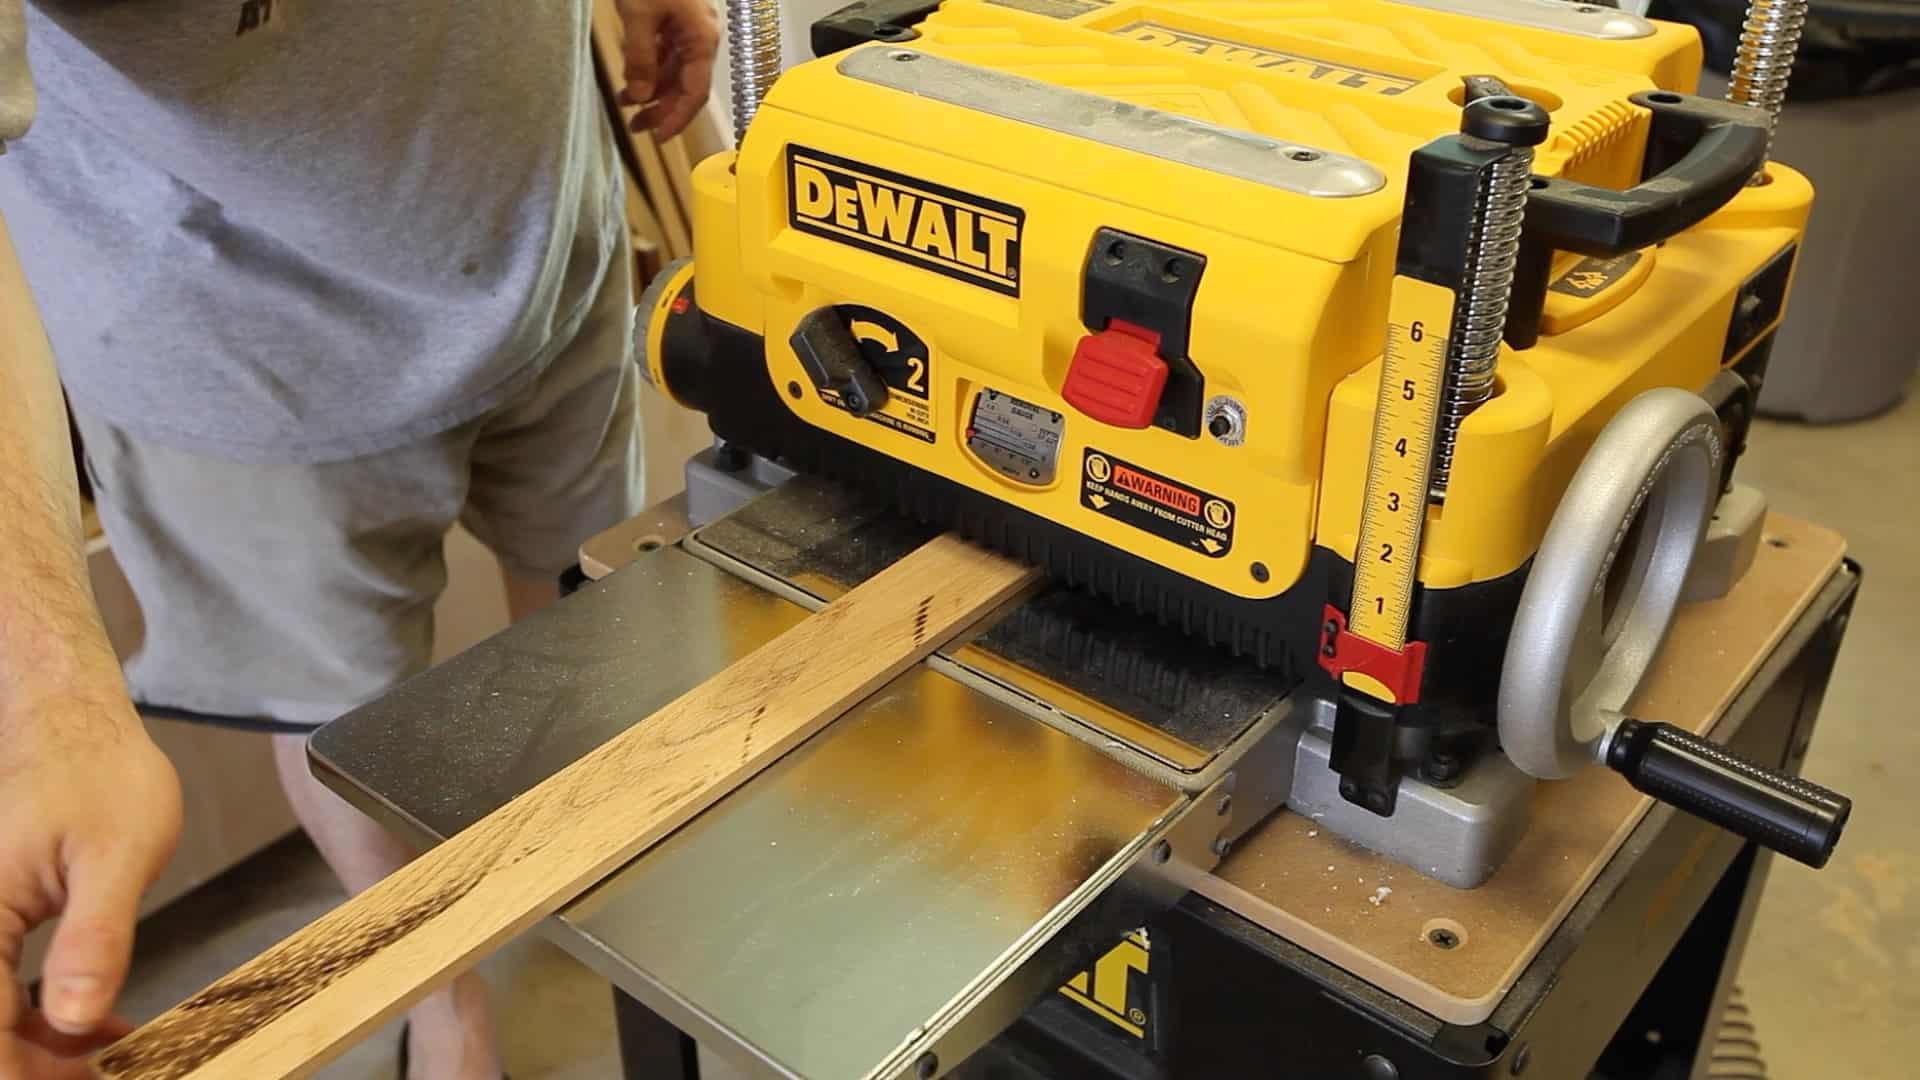 There is another problem with re-sawing on the table saw: burn marks on the wood. I knew they were likely, and since I only needed 1/4″ stock at its finished dimension I would have plenty of material left over. I cut mine from 3/4″ stock with a 1/8″ blade kerf. This left me with 1/16″ excess on each board. To solve this problem I just ran the boards for a couple of 1/32″ passes on the planer to wind up with a perfect 1/4″ thick piece of stock and no burn marks! Win-Win! The truth is, I left about 1/128th on each board to leave me room for sanding with 220 grit sandpaper. I wanted to make sure that the final dimension would be a tight fit in the 1/4″ dado cuts we’re about to make.
 Speaking of dad cuts. I decided to make all of the joints in this project either a rabbet or a dado. This stock is quite small at 1/4″. Any little extra glue surface we can get will help make this a stronger finished project. The dado cuts also help to line everything up and make for a tight fit during assembly. Without them, assembly would be much, much more difficult. And with this thin of material brad nails are pretty much out of the question. Thin wood like this is highly prone to splitting. That being the case, I stuck with glue and a little patience.
When cutting dados and rabbets on the table saw, be sure to use a stop block and your miter gauge to make the cuts. This will prevent getting your material stuck between the blade and the fence. Something will likely ruin your work piece.
Glueing Up the Silverware Organizer
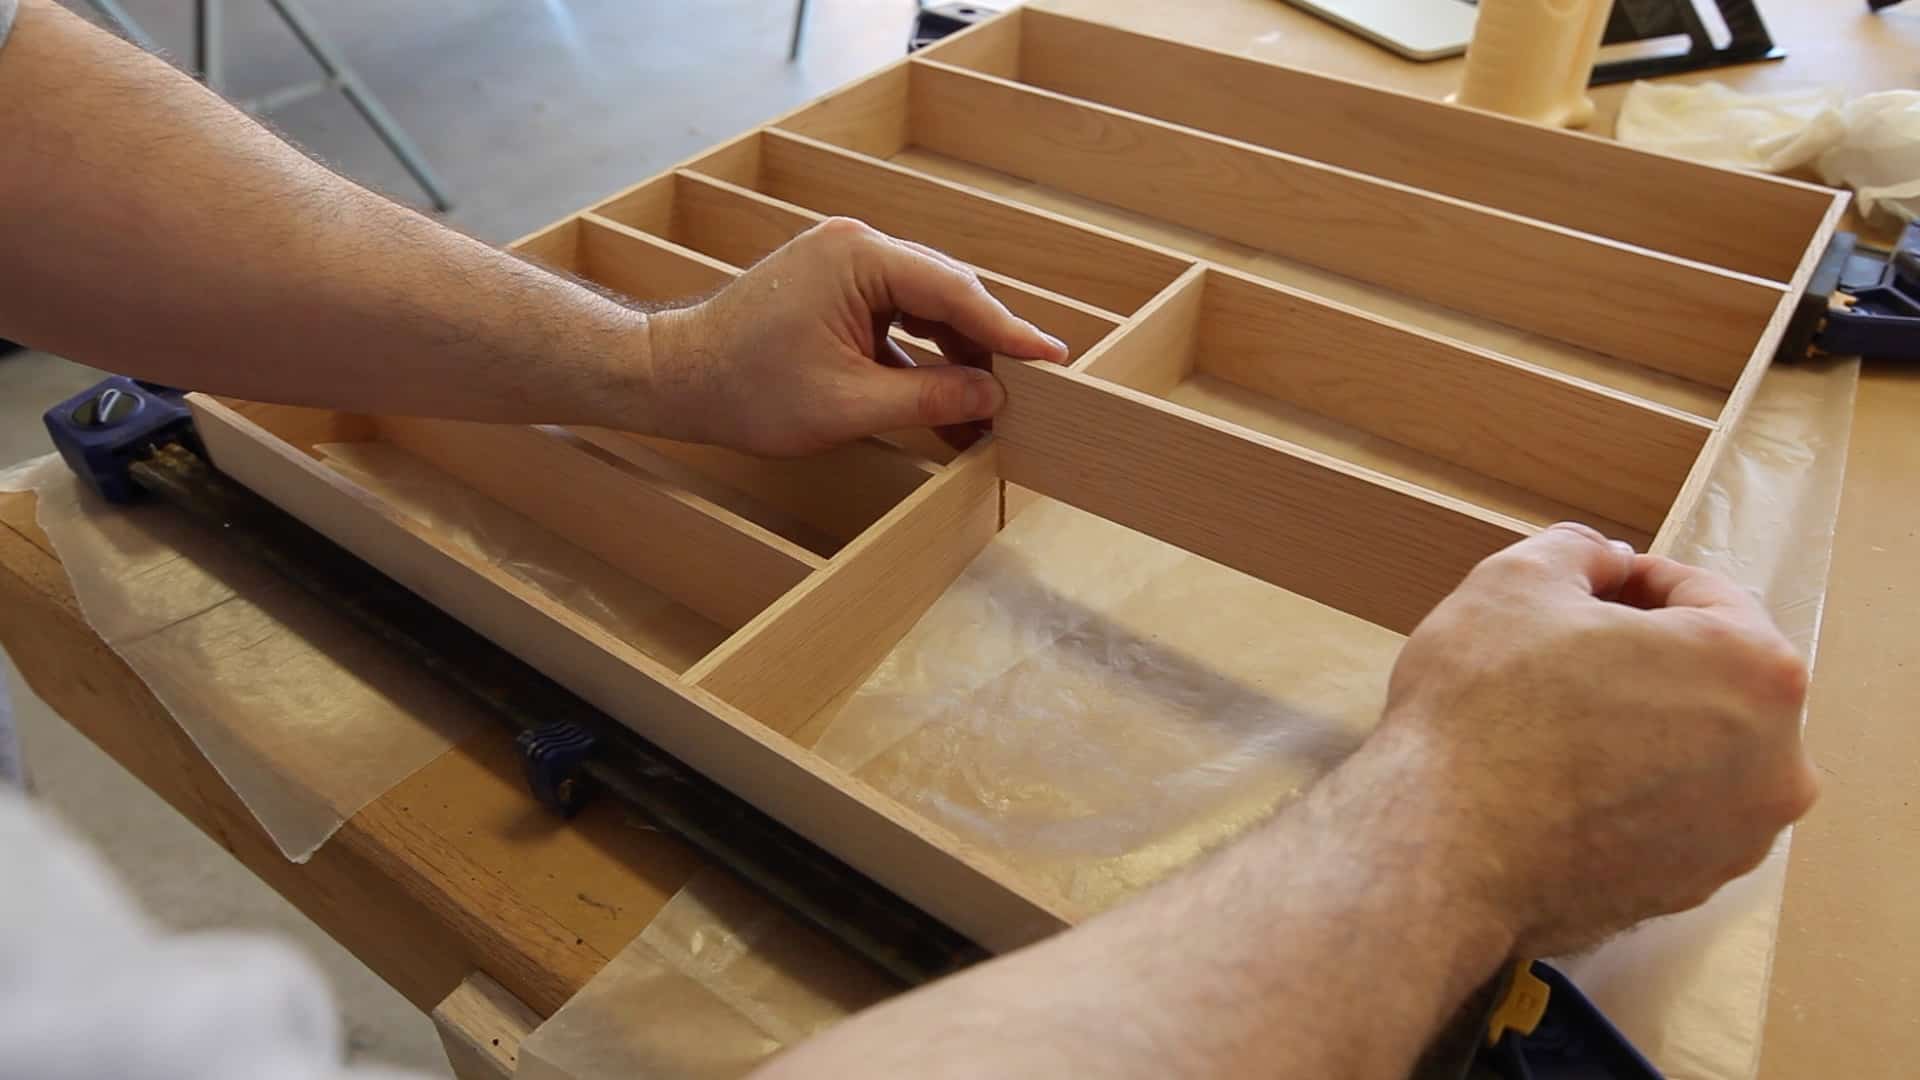 Even with the rabbets and dados the glue-up is going to be a slow and tricky process. You’ll need to use clamps to keep the pieces together, but you can only put a slight amount of pressure or the material will warp on you. You’ve also got to spend a lot of time making sure everything stays square. I used a speed square and just kept checking it and correcting it as I went. In order to buy me some glue-up time, I also sat the entire piece on some wax paper. This allowed me to finish the glue-up without wondering if it was sticking to the table below. When I was finished with the glue-up, I just turned the piece over, removed the wax paper, and wiped everything down with a wet rag to remove all of the squeeze out. After the glue dried, I added a bead of glue to the bottom of all the boards and then flipped it over onto a sheet of 3/16″ oak veneer plywood to be the base of the silverware organizer.
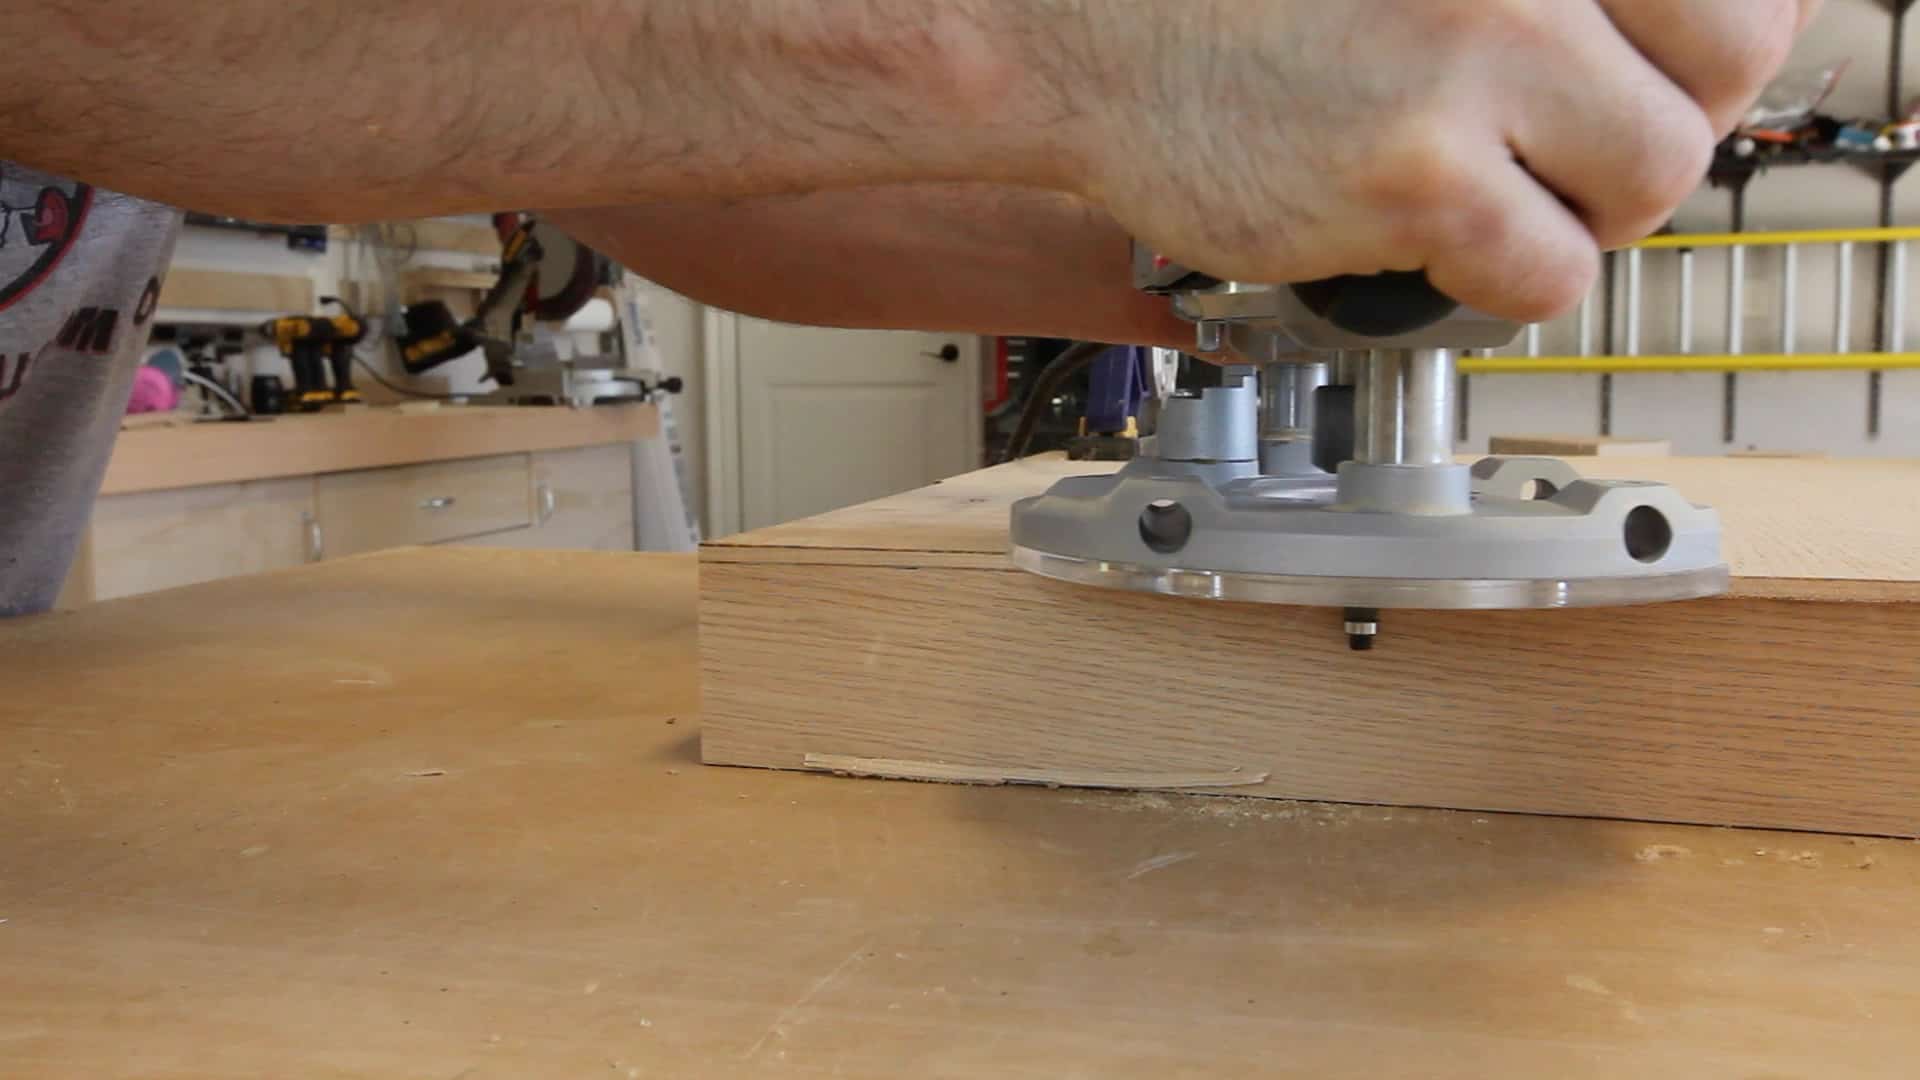 I cut my plywood about 1/2″ too big in both directions, leaving a 1/4″ gap around the entire base of excess material. Then using my flush trim bit and a router, I brought it down to its final dimensions. Now I hear it already. “Why didn’t you just cut the board to the right size in the first place?” Well let me tell you why. When making something like this, using thin stock, it is damn near impossible to get everything to be 100% perfect and straight. During the glue up process some board somewhere is going to move 1/16″ to 1/32″. It just happens. Thin stock like this is prone to warping. Using the flush trim bit allows me to compensate for any imperfections after the fact. To the naked eye it will look perfect.
Finishing the Silverware Organizer
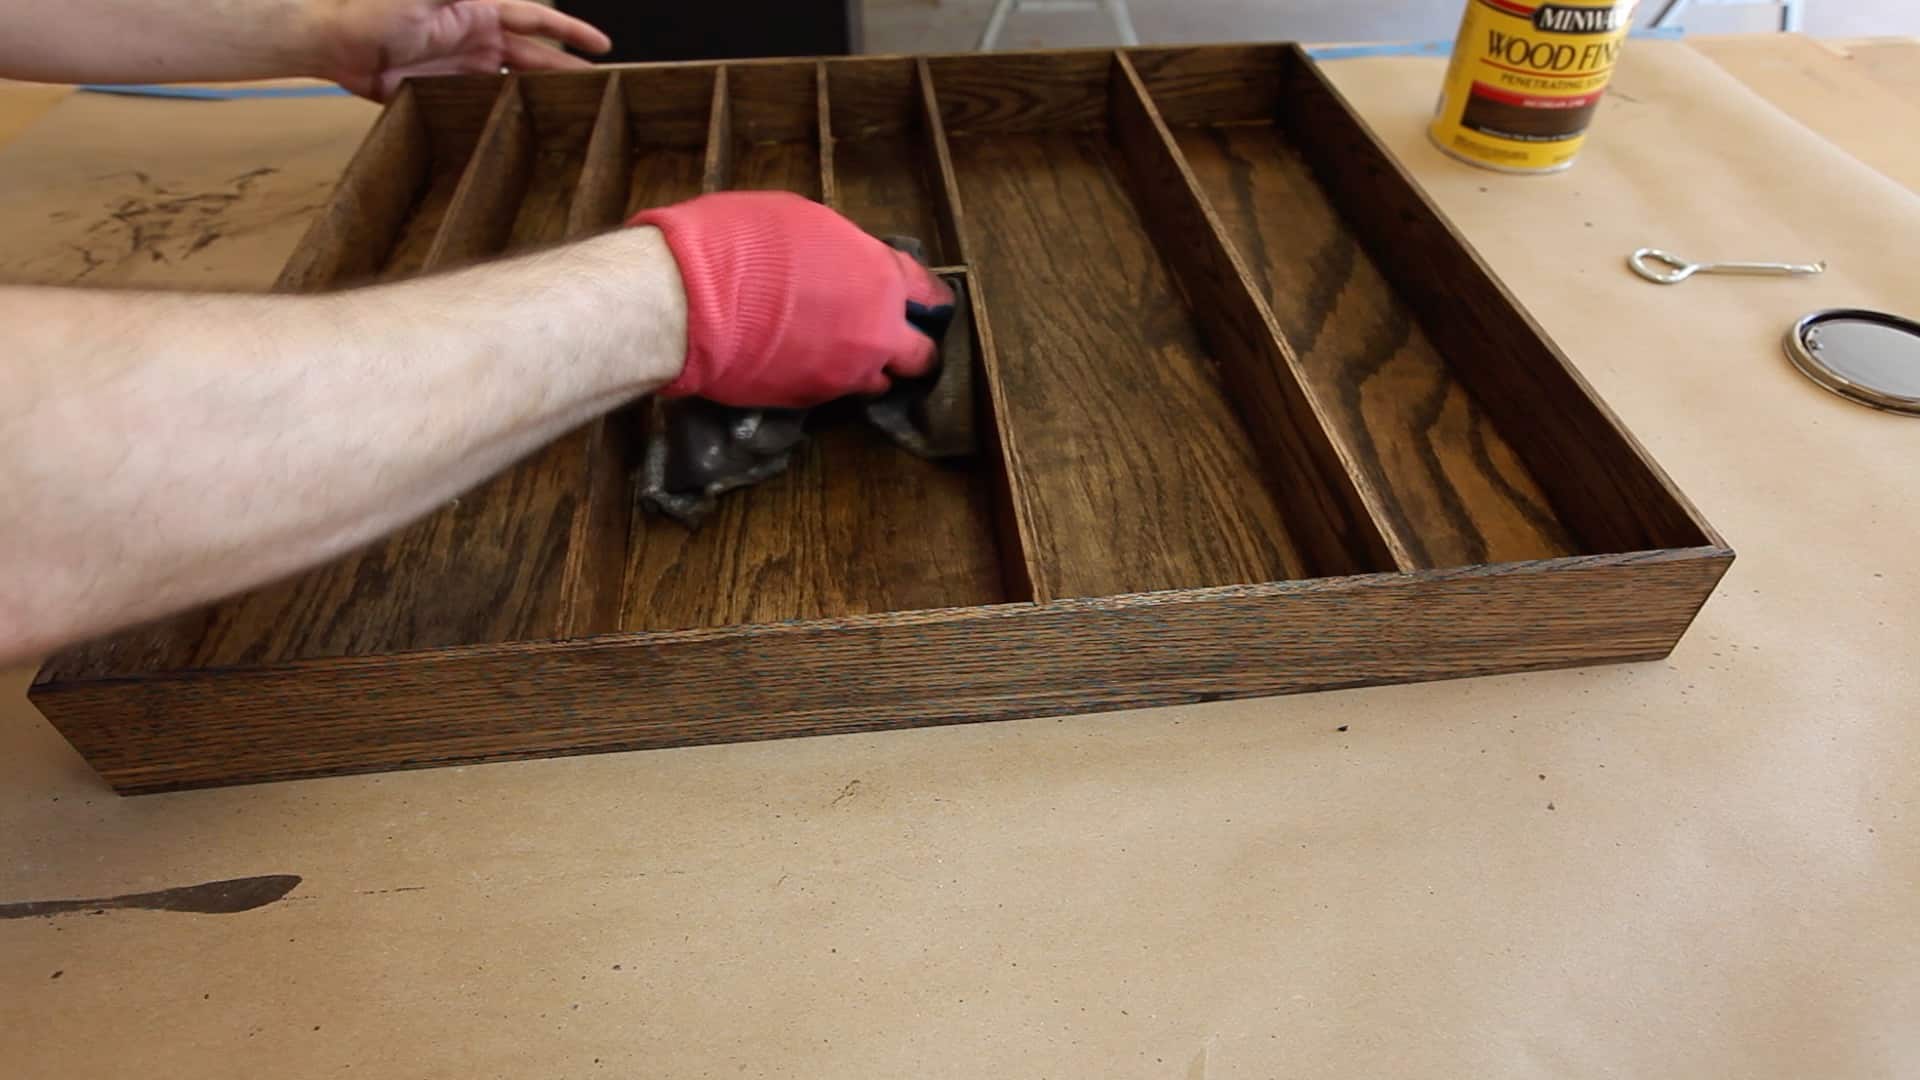
I decided to stain my silverware organizer. As I mentioned before, it didn’t need to be perfect, but I wanted it to be close. The closest stain I could buy quickly to Duraseal’s Coffee Brown was Jacobean by Minwax. I honestly can’t tell the difference. It’s incredibly close. I just used a brush to get into the cracks, and wiped it on with a rag. The process goes fairly quick. The longer you let it set, the darker the stain will be. I wanted mine to be a little lighter so I only let the stain soak in for about 30 seconds. This gave a very warm color, but not too dark. It looks a lot like the color and finish of the wood floors in my house that are made of an oak variety. A lot of people prefer non-stained wood, and this project would have turned out fantastic unstained too. So do what suits your style and decor!
And finally in the words of my favorite Woodworker Steve Ramsey, “I just finished it with some spray lacquer!”
And that’s all there is to making the silverware storage tray! Just place it into your favorite kitchen drawer and enjoy it for years to come! The Red Oak is a great and durable hardwood and with the help of the spray lacquer it should be a long time resident in your kitchen cabinetry!
[button link=”https://www.thegeekpub.com/product/silverware-storage-organizer-plans/” type=”big”] Download the Silverware Organizer Plans Here[/button]
Video Transcript
Hey Guys! It’s Mike from The Geek Pub, and on this episode I’m going to show you how to make this awesome silverware organizer. And we’re going to do it from a single piece of wood.
So I’ve got this old silverware storage organizer and its made out of bamboo and its all busted up and broken and it looks like its been through world war 3. As a matter of fact its been through a couple of moves and I am surprised it made it through the first one. So today, we’re going to make a new one!
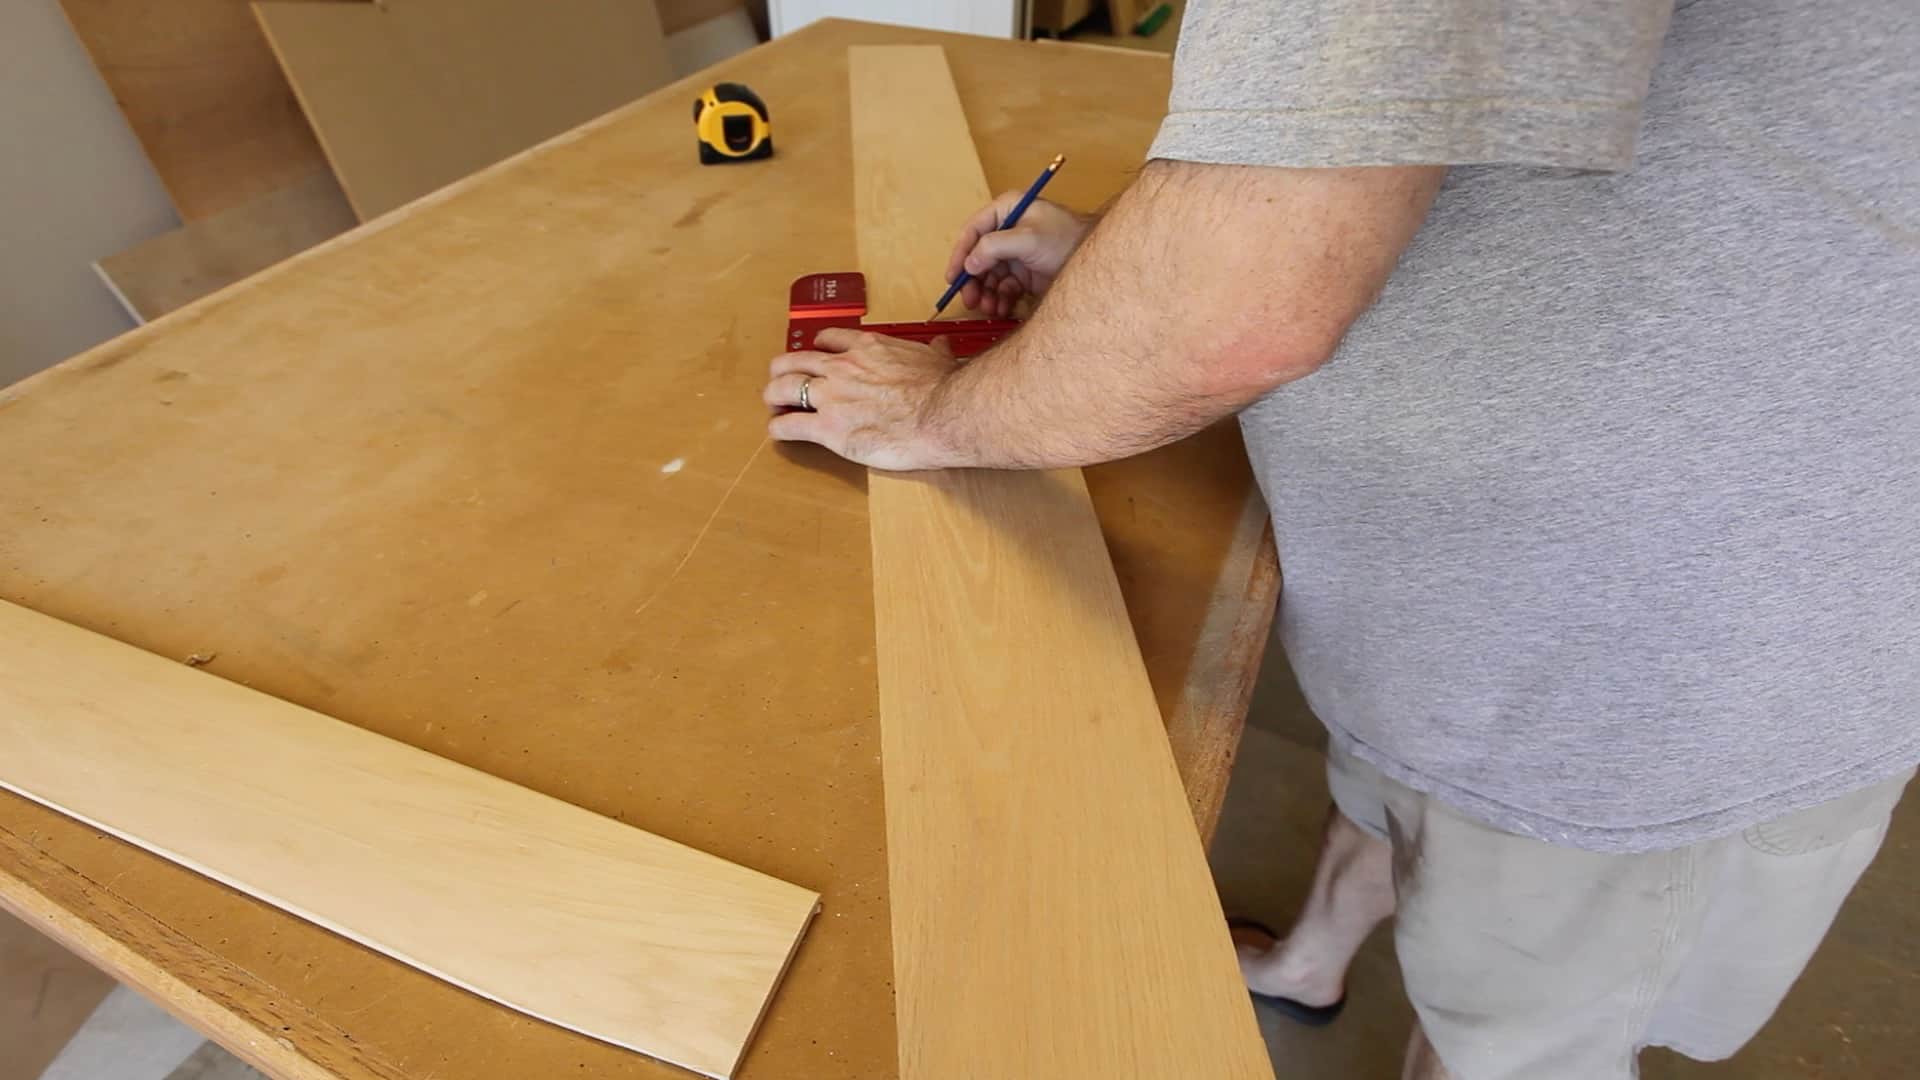
So I am going to use this piece of three-quarter by five and a half inch red oak and I will just rip it down to the size I need on the table saw.
I’m going to make all of my two and one-quarter inch cuts at the same time. That way I only have to move my fence once, and that way know all of my cuts will line up when I am finished.
S0 ultimately all of these need to be one-quarter of an inch thick. In order to that I’m going to re-saw them on the table saw and then I’ll bring them to their final dimension on the planer.
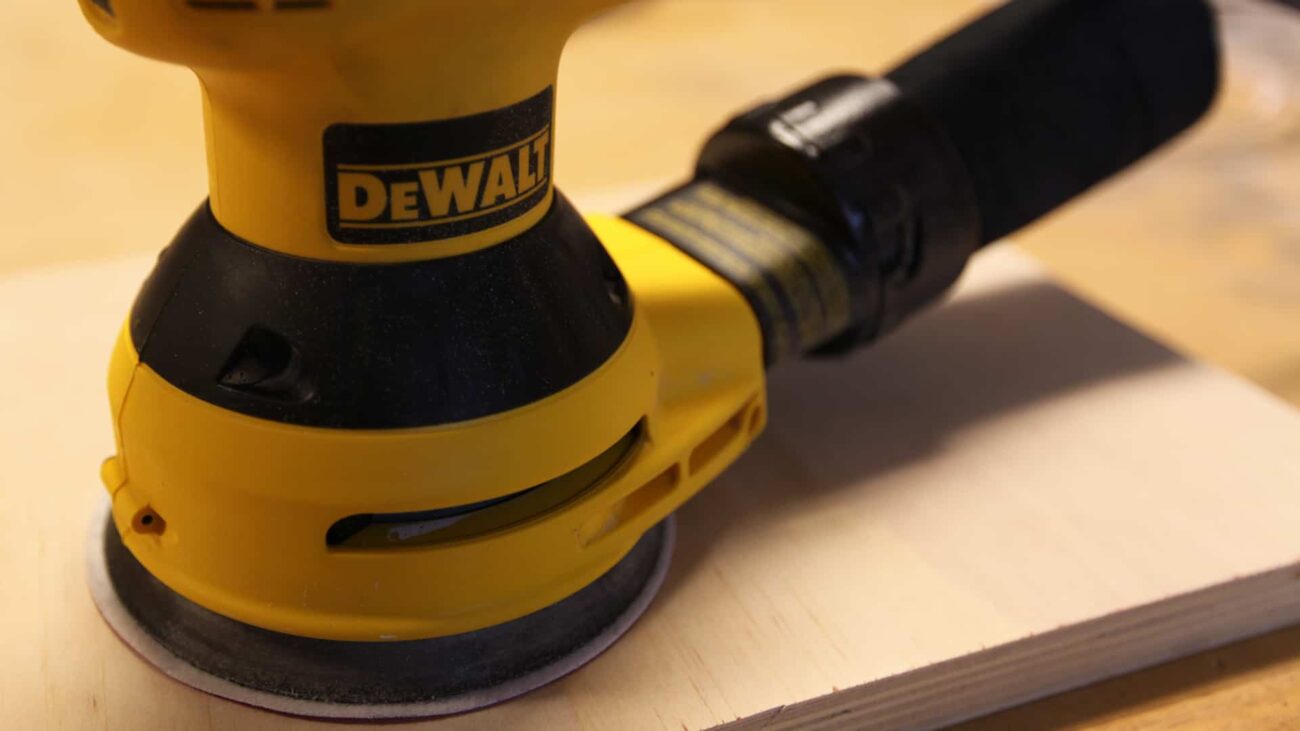
So I’m just going to go ahead and sand everything down lightly and I want to make sure I break over all of these edges so that their not sharp to the touch.
OK. With my dado stack installed and using a stop block I’m going to cut all of the dados and the rabbets.
I’m going to go ahead and glue it all up before I make the base. That way I can make the base a little bit oversized and then route it flush with a flush tim bit. So all I need to do now is start glueing it up.
So I cut out this oversized piece of three-sixteenths oak veneer plywood and I am just going to glue the bottom of the tray and flip it over.
OK. So all that’s left to do now is take a router and trim off all of the excess. So some of you are probably asking me “So why didn’t you cut it to the right size the first time you bone head?” The problem is with material this thin it is very likely to warp during the glue up process. Maybe as much as a sixteenth of an inch, and using the flush trim bit allows me to get it perfect even with those imperfections.
I’d like to match our cabinets and our floors fairly close. In order to do that I’ve got this Minwax Jacobean stain that’s very, very close to what we already have. I’m just going to wipe that on with a rag.
And I’m just going to finish it off with a little spray lacquer.
Well that’s all it takes to make the silverware organizer. If you liked this video, be sure to subscribe to my channel on YouTube. As always you can download the plans and Sketchup files for this project and others at TheGeekPub.com!