Blog
How to Setup a Raspberry Pi Ad Blocker

Ads: who needs ’em? Well, this website needs them to keep the lights on. But you don’t need them, right? That’s why ad blockers, usually in the form of browser extensions, are so popular. The problem with browser extensions, though, is that they only work with certain browsers or on certain devices. What if you wanted to block ads from your desktop, laptop, smartphone, and tablet simultaneously? And what if you could do that in one fell swoop using a simple
I’ve got some good news for you! As you might have guessed, all of this is possible, and your step-by-step guide to making your own
How your Raspberry Pi ad blocker will work
Before we get into the nitty-gritty, though, let’s do a quick overview. This is not a particularly tough project, and that’s all thanks to the software that it uses: Pi-hole. Pi-hole bills itself as a “black hole” for ads, and it works by running an ad blocker in a DNS service (DNS stands for domain name system, but knowing that isn’t too important to this project). All we have to do is install Pi-hole on a
Parts List for Pi-Hole
If you don’t already have everything you need, here’s a quick parts list for this project:
Set-up
We’ll be installing Pi-hole in Step 1, but in order to do that we’ll need to have a
And that’s a tricky thing, because these older version of Raspbian won’t work on the newest
This isn’t totally surprising, as the
Step 1: Install Pi-hole
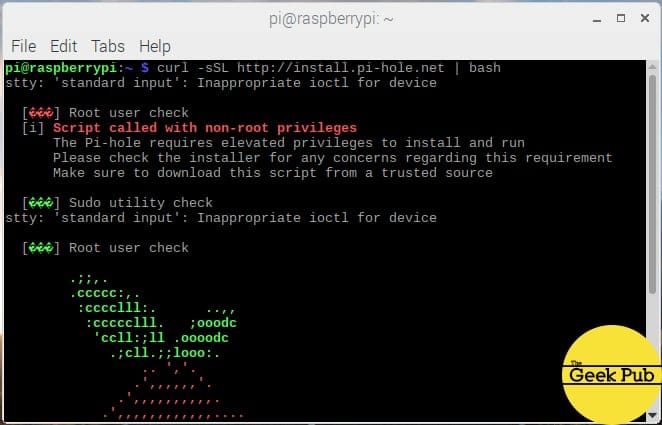
There are a few different ways that you can go about installing Pi-hole, but by far the easiest is to fire up your
[code language=”bash”]
curl -sSL https://install.Pi-hole.net | bash
[/code]
That will get you started, but you’ll have some questions to answer and settings to confirm before the process is complete.
Step 2: Keep right on installing Pi-hole (by confirming a few questions)
The command you just entered should kick things off with Pi-hole’s installation wizard. Now it’s time to okay a few settings for your new server program. There’s a lot to consider, but the good news is that casual
After introducing itself and explaining that Pi-hole needs a static IP address, Pi-hole may ask you to choose an interface. Choose Eth0.
Pi-hole will ask you to select a DNS provider. Google is the default choice, but feel free to pick whichever one you’d like.
Next, you can select if you want to block ads over IPv4, IPv6, or both. If you hate ads no matter what, you can just keep both.
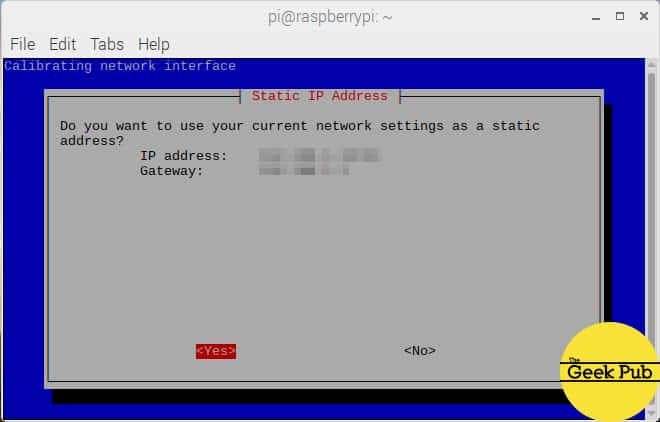
The most important question Pi-hole asks is the next one: What IP address should it use? If you want to ensure that you don’t give Pi-hole an IP address that your router might later assign to one of your connected devices, you can tell Pi-hole that, <no>, you don’t want to use your current network settings, and then input an IP that is outside of the range that your DHCP service (which assigns IP addresses to the devices on your network) would use. But a decent router will probably not make this mistake, and you can always go back and fix things if you hit <yes> and it doesn’t work out.
Pi-hole next asks to install the web admin interface, which you should probably agree to do.
Next is the web server, which you should agree to install.
Then there’s query logs, which Pi-hole recommends you leave on.
Next is a privacy setting, which is up to you.
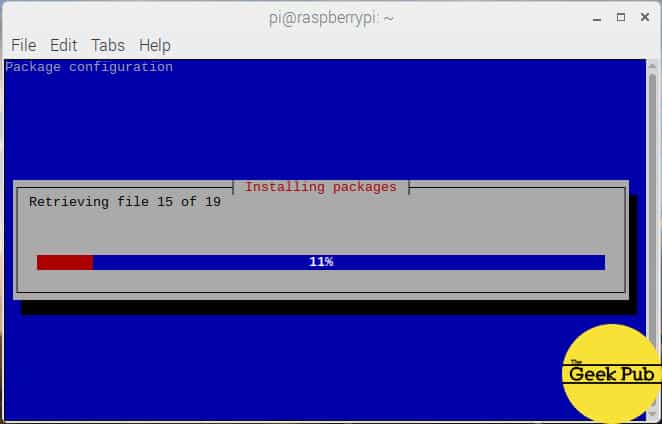
When you’ve answered everything, Pi-hole will install. When it’s all done, you’ll be greeted with a confirmation screen. Don’t hit okay just yet, though!
Step 3: Record that IP address!
With the installation complete, you now have a
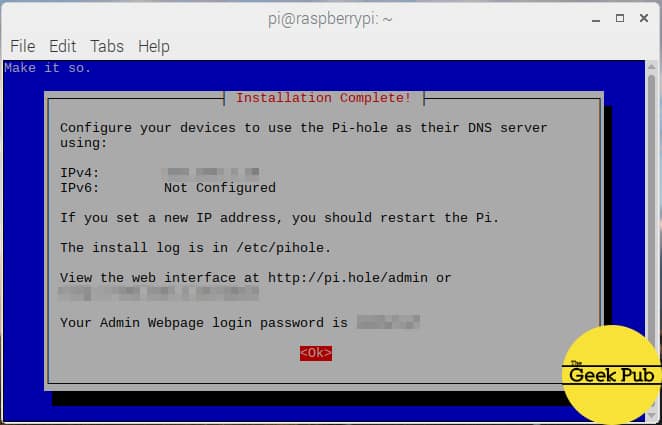
I have tastefully blurred out the IP on my own screen, but you can see where it is. Take note of the web interface address and admin login password, too. Jot everything down or take a photo of this screen before moving on.
Step 4: Route your traffic through the right DNS server
There are actually two ways to get all of your internet traffic running through the ad-blocking DNS server. One option is to let Pi-hole take over DHCP, which is the protocol used to assign IP addresses within your network, from your router. But the simpler option is to just change the IP address of the DNS server in your router’s settings to match the one you chose with Pi-hole earlier on. That’s the method I’ll use below.
The first thing you’ll need to do here is log into your router. To do this, just hop into a browser and enter your browser’s IP address in the address bar (it’s usually, but not always, going to be 192.168.1.1 — check for stickers on your router or Google your router’s manufacturer for more information).
You’ll have to use your intuition a bit here, since not every router’s admin interface is set up the same way. What you need to do is find the settings for your DNS server and change both the primary and secondary DNS server IP addresses to your Pi-hole IP address — the one that you jotted down back in Step 3.
Save the new setting, and then reboot your connected devices. Your internet traffic should now be routed through Pi-hole, effectively eliminating ads all across your home network!
RELATED: More Great Raspberry Pi Projects!
Other important stuff
You can more or less forget about your ad blocker now, if you so desire. But it’s worth covering a couple of other things here.
The web admin interface
Pi-hole doesn’t require its users to hop back on their
Log in with your URL, and you’ll find records of the queries your DNS server has been handling. You can check out the query log and fine-tune your ad blocker by blacklisting sites — or whitelisting them, which we’ll talk a bit more about in a second.
Whitelisting sites
By default, your Pi-hole
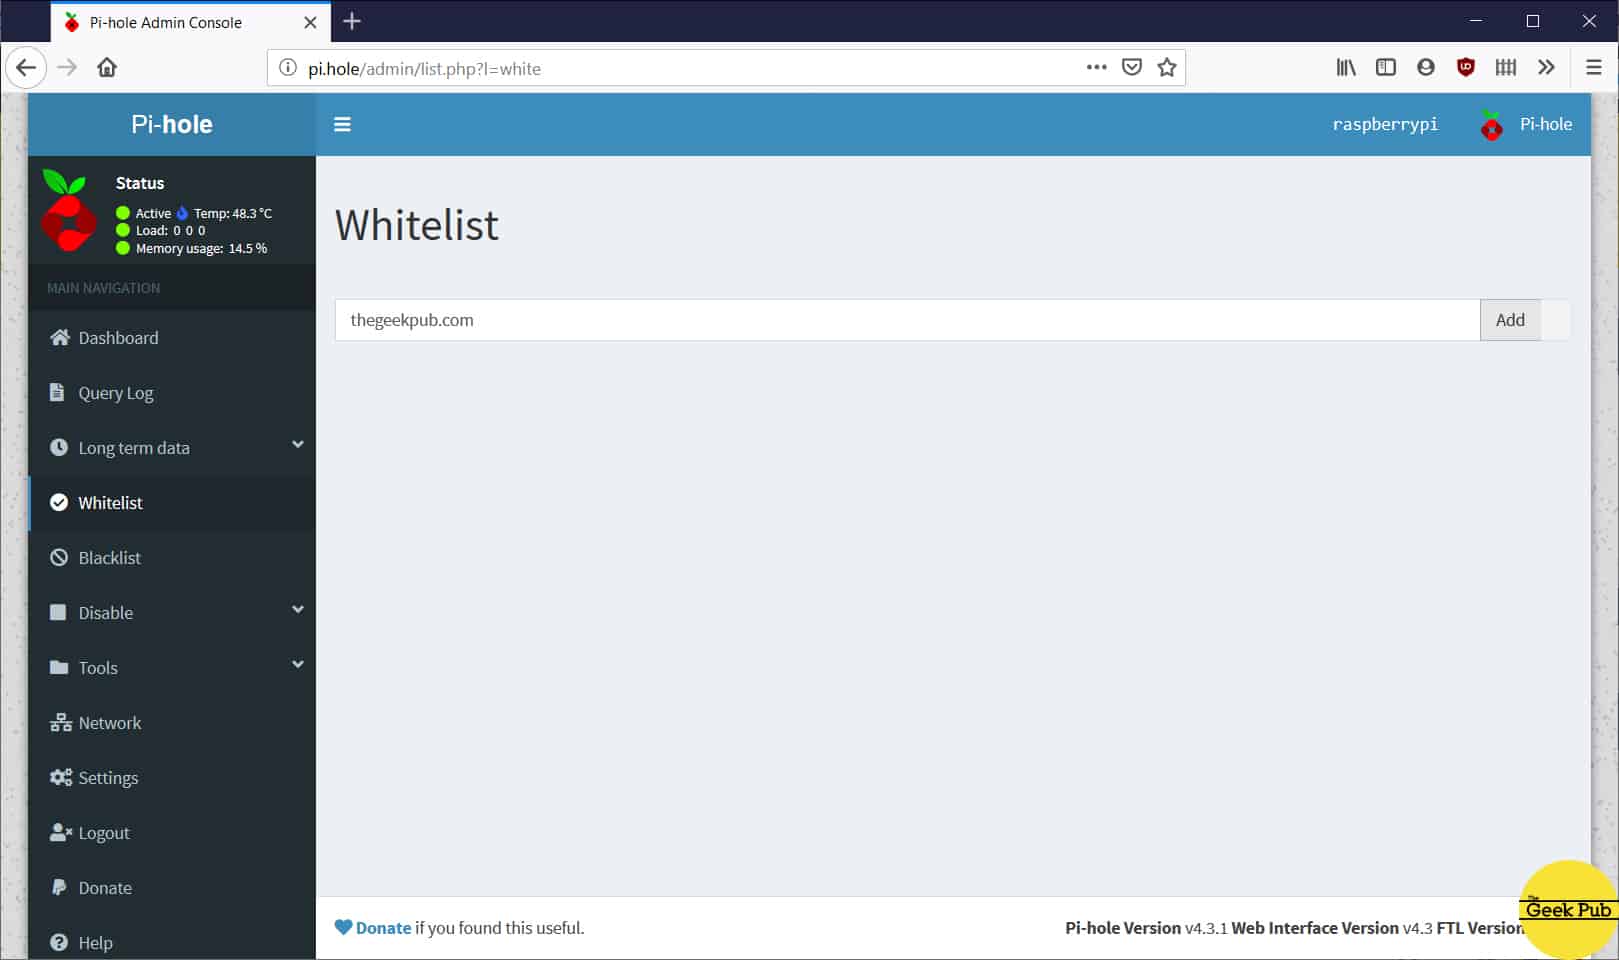
Start by logging into the web admin interface as explained above. Then, click “Whitelist” on the left-hand navigation menu. To whitelist a domain, just enter it into the text box and hit “add.” Make sure you’re using the top-level domain if you want to whitelist the whole site.


4.5
I did this about a year ago. It works wonders! The web is so much faster without ads!
You can have my ad revenue ! Really enjoy your work
You are indeed too kind! Thank you!
I would pay someone money to set this up for me! I just don’t have the skills required to do it. Ads are evil.
4
I love Pi-hole and how it filters anything I add to the blacklist as well. I have YouTube blacklisted, but want to allow certain videos for K-12 education purposes on my kids’ iPads. Is that possible? All YouTube except a few select ones blocked?