Blog
Make an iMac Cat House
[adinserter name=”TopOfPost”]Every kitty cat needs a place to lay and snuggle. They need a place to call their very own. And they need a place to scratch their claws on so that they don’t get too long, and so they don’t scratch on your leather couch!
Well the iBookGuy took things into his own hands when it came to his kitties and made something truly unique. Of course, being that the iBookGuy is an Apple fan, he had to build something that would do his kitties justice.
Now we’ll be the first to admit that this project is quirky and definitely not mainstream, but sometime you just have to blaze your own trail and that’s exactly what David at the iBookGuy did!
Building the iMac Cat House
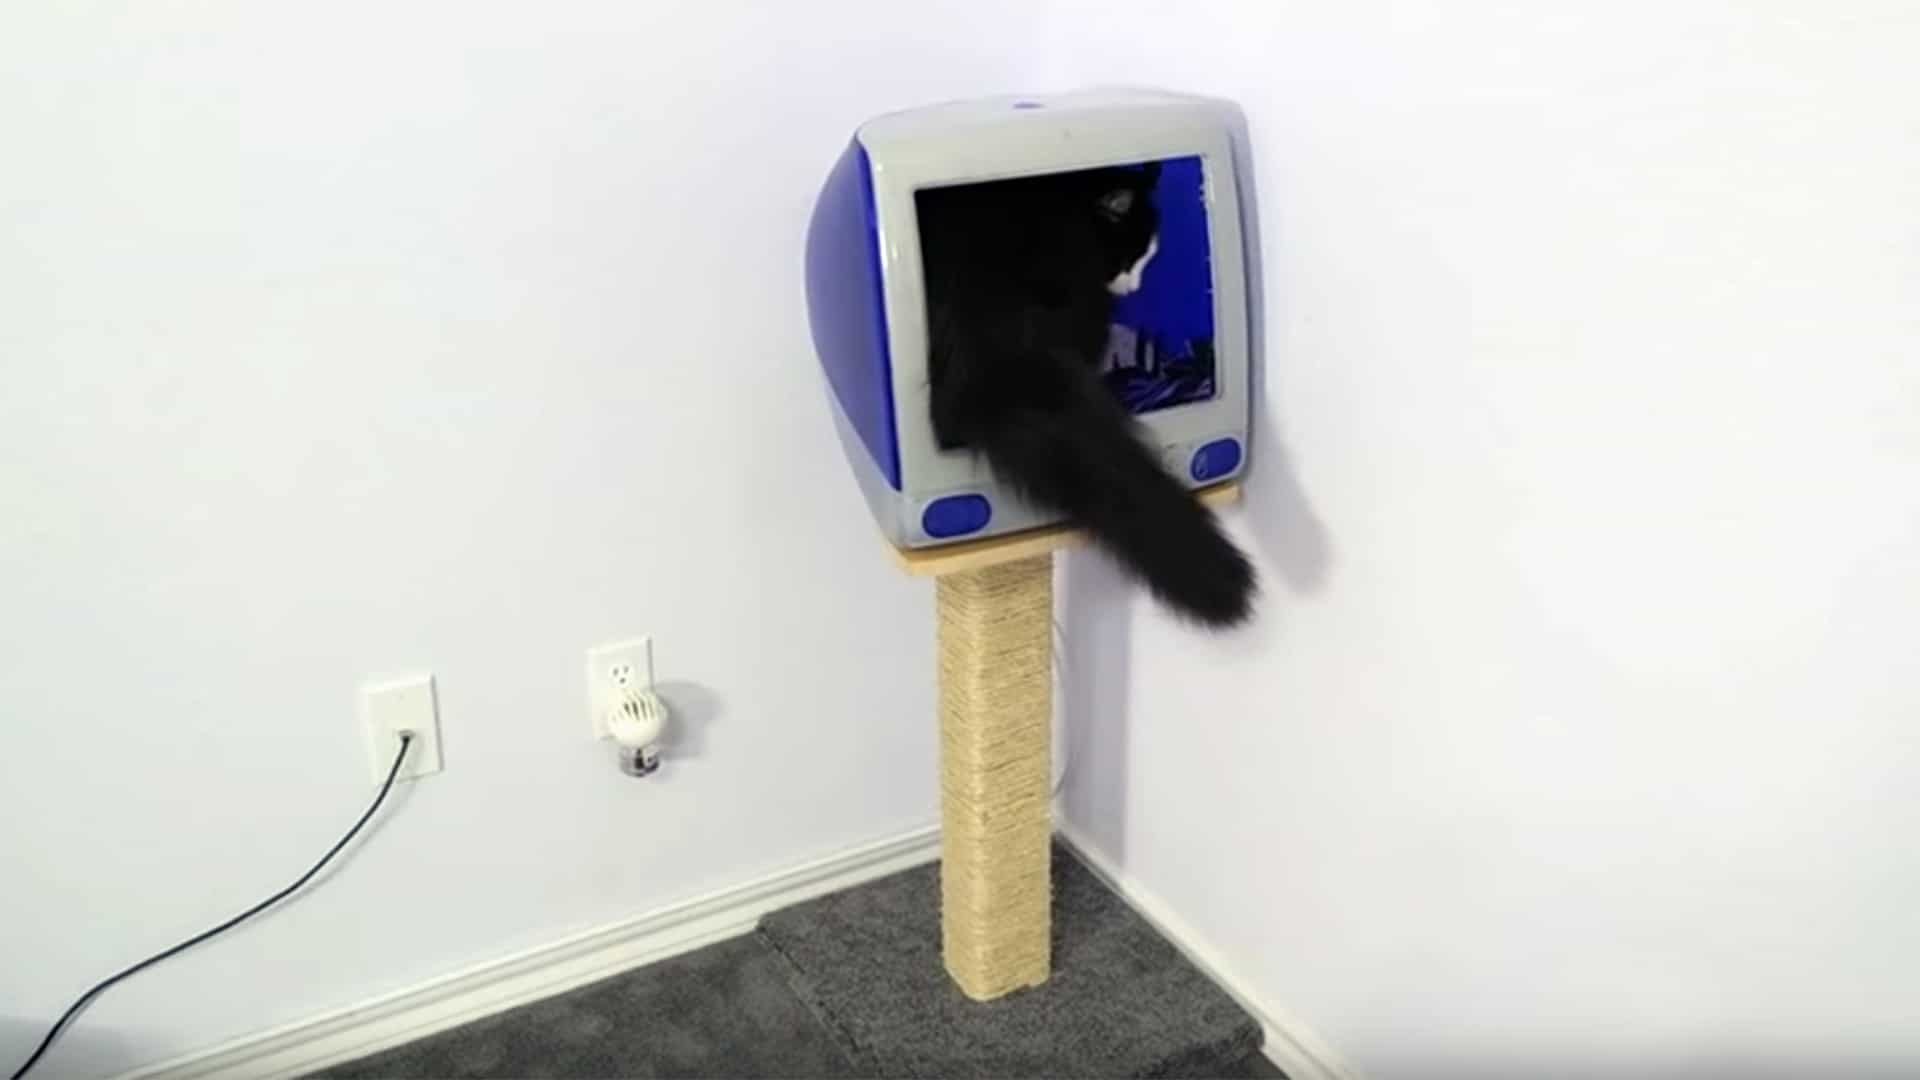
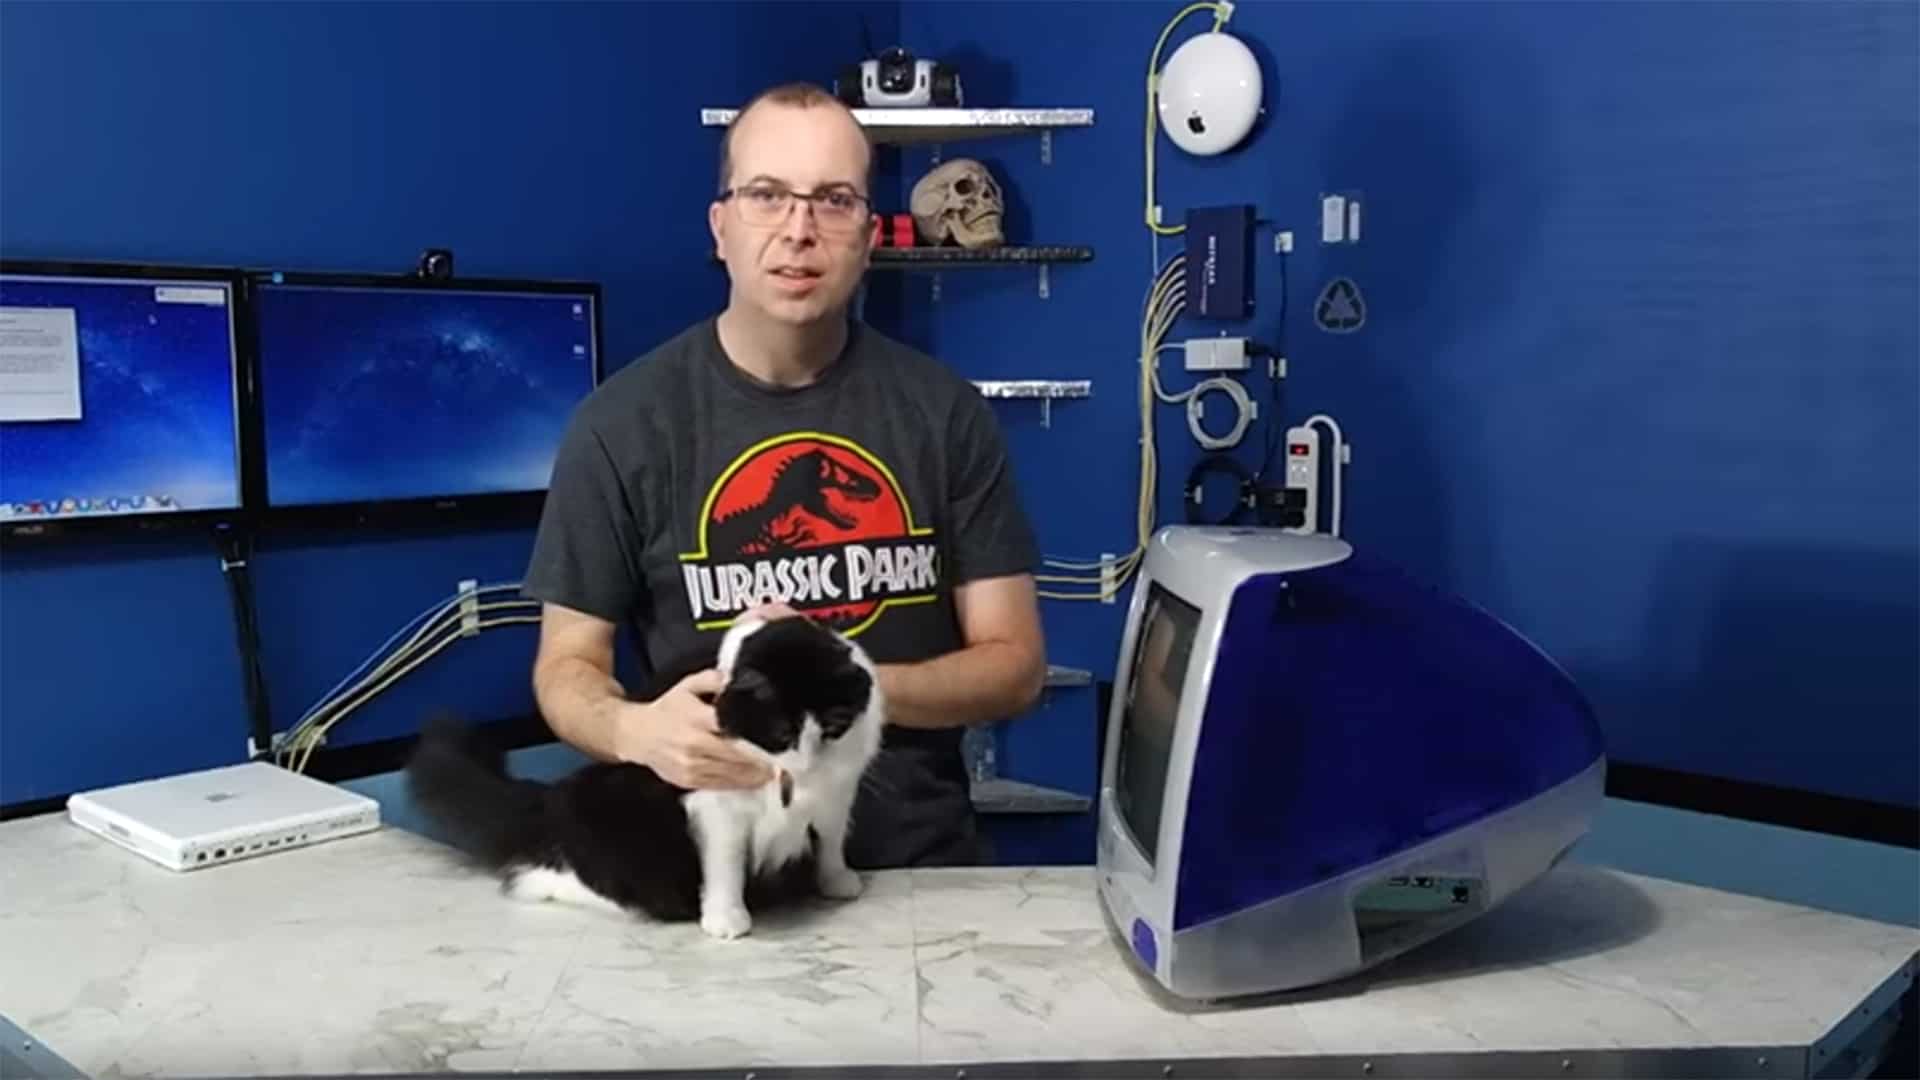 Being the iBookGuy of course he has all kinds of Apple computers around his house! But the one thing he didn’t have on hand was an iMac G3. So he went out and purchased one for this project. You can see him here with his kitty cat, otherwise known as “Bitey”. She’s so excited to try her new home!
As with all projects of this nature, this one is completely custom. So if you decide to build one, you’ll likely need to slightly modify the directions below to fit your specific model of iMac. So follow along and let’s make the iMac G3 Cat House!
 Step 1: Acquire the iMac

David says he acquired the iMac for next to nothing. You should be able to do the same because you don’t need to acquire a working one. You might even be able to find one on Craigslist or some other channel for free! Don’t forget to check places like your local “free-cycle” or trader’s locations.
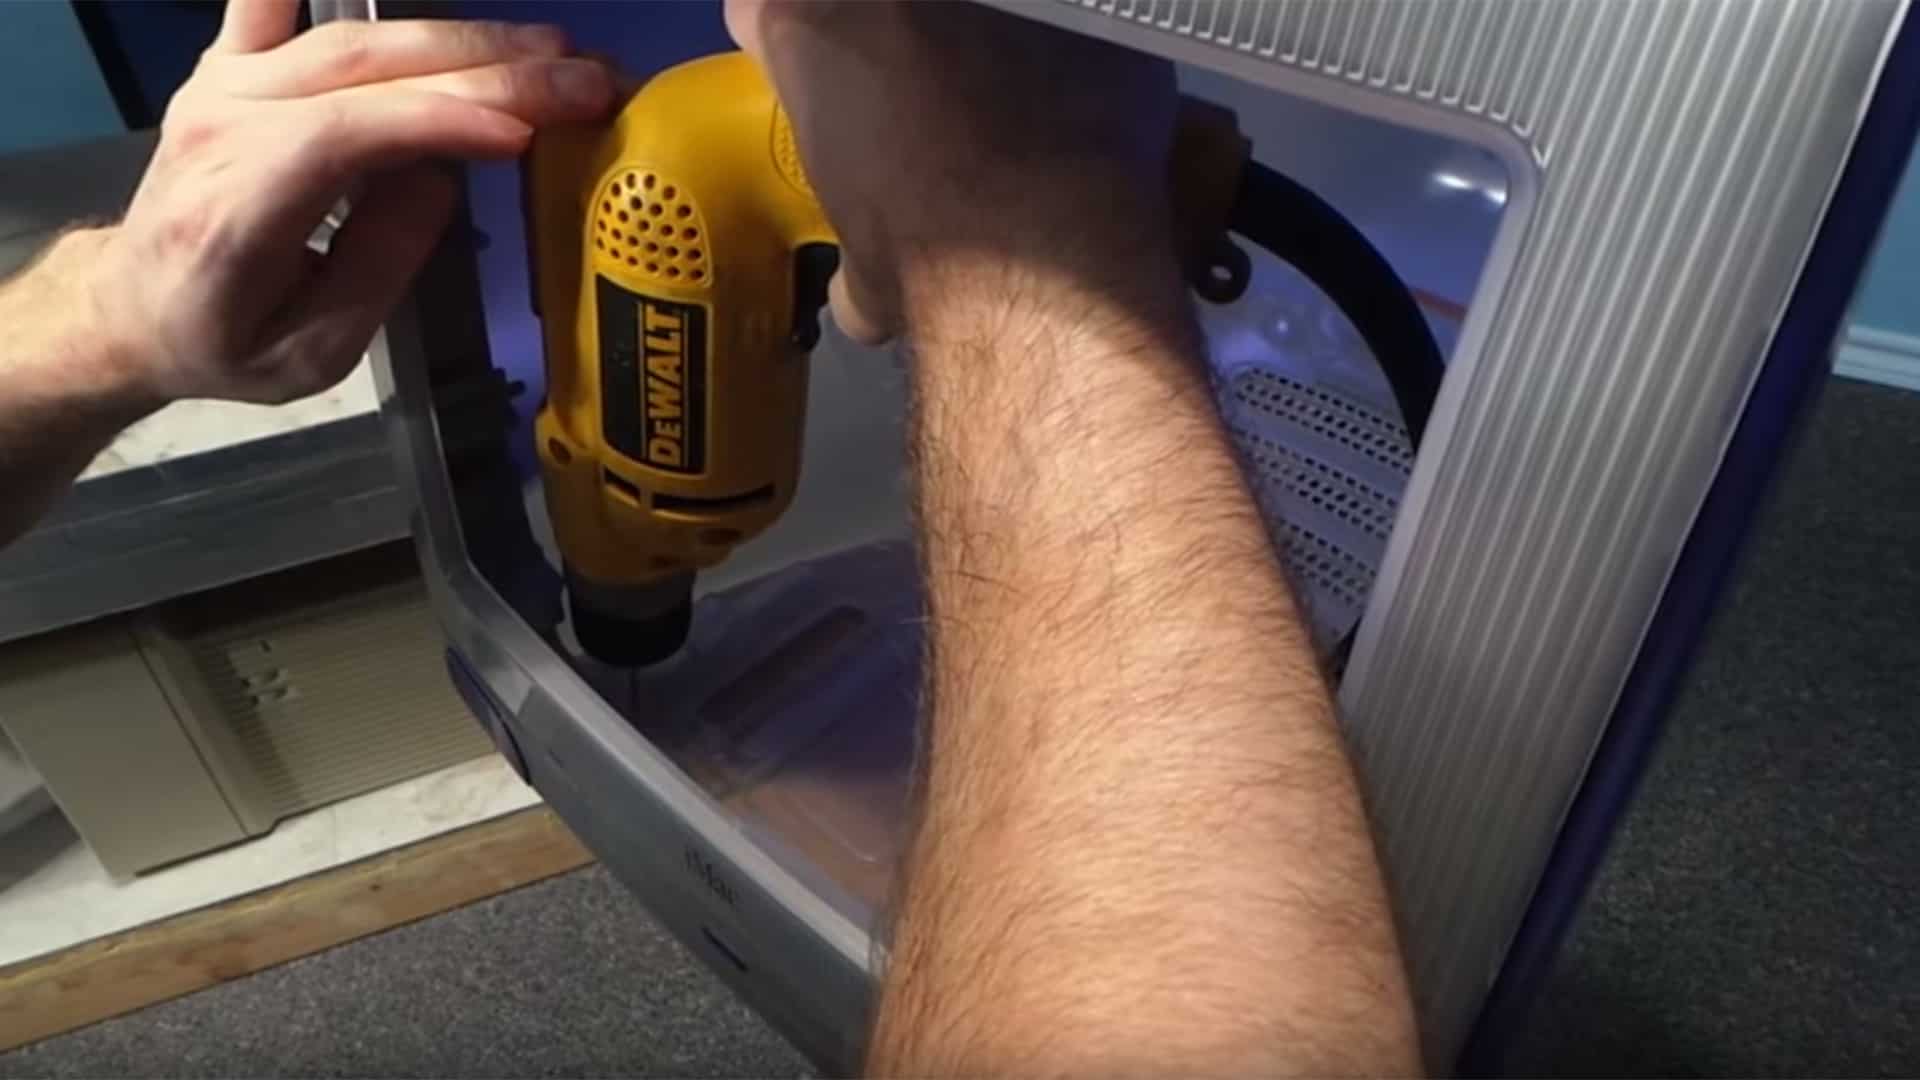
 Step 2: Remove all of the screws
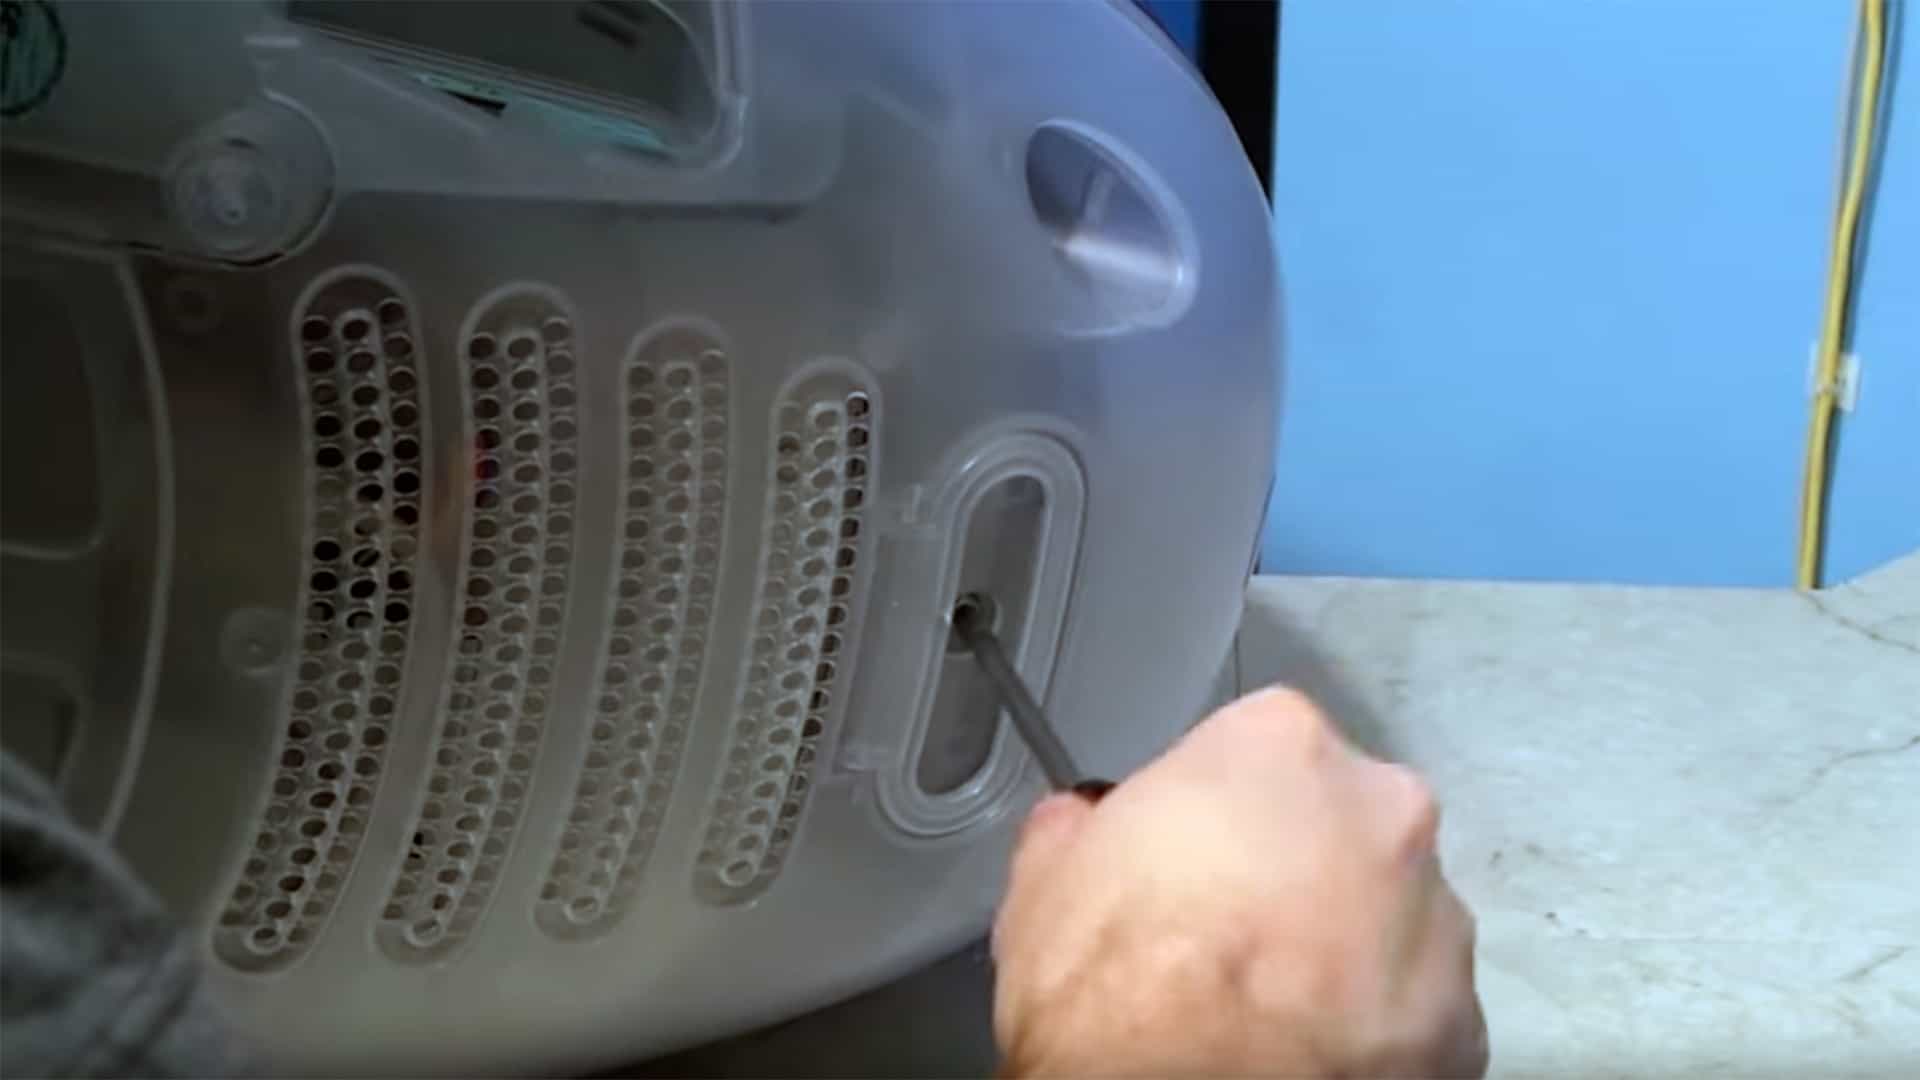
David recommends removing all of the screws from the iMac. Normally you wouldn’t need to go this far, but since you’re gutting the machine and removing all of components it makes sense to do so.
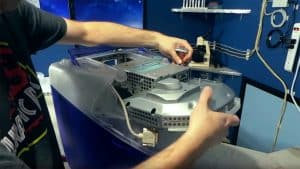 Step 3: Unplug the cables and remove the logic board assembly

Once you remove all of the screws you can remove the back cover. Unplug all of the cables from the back and then slide out the logic board assembly.
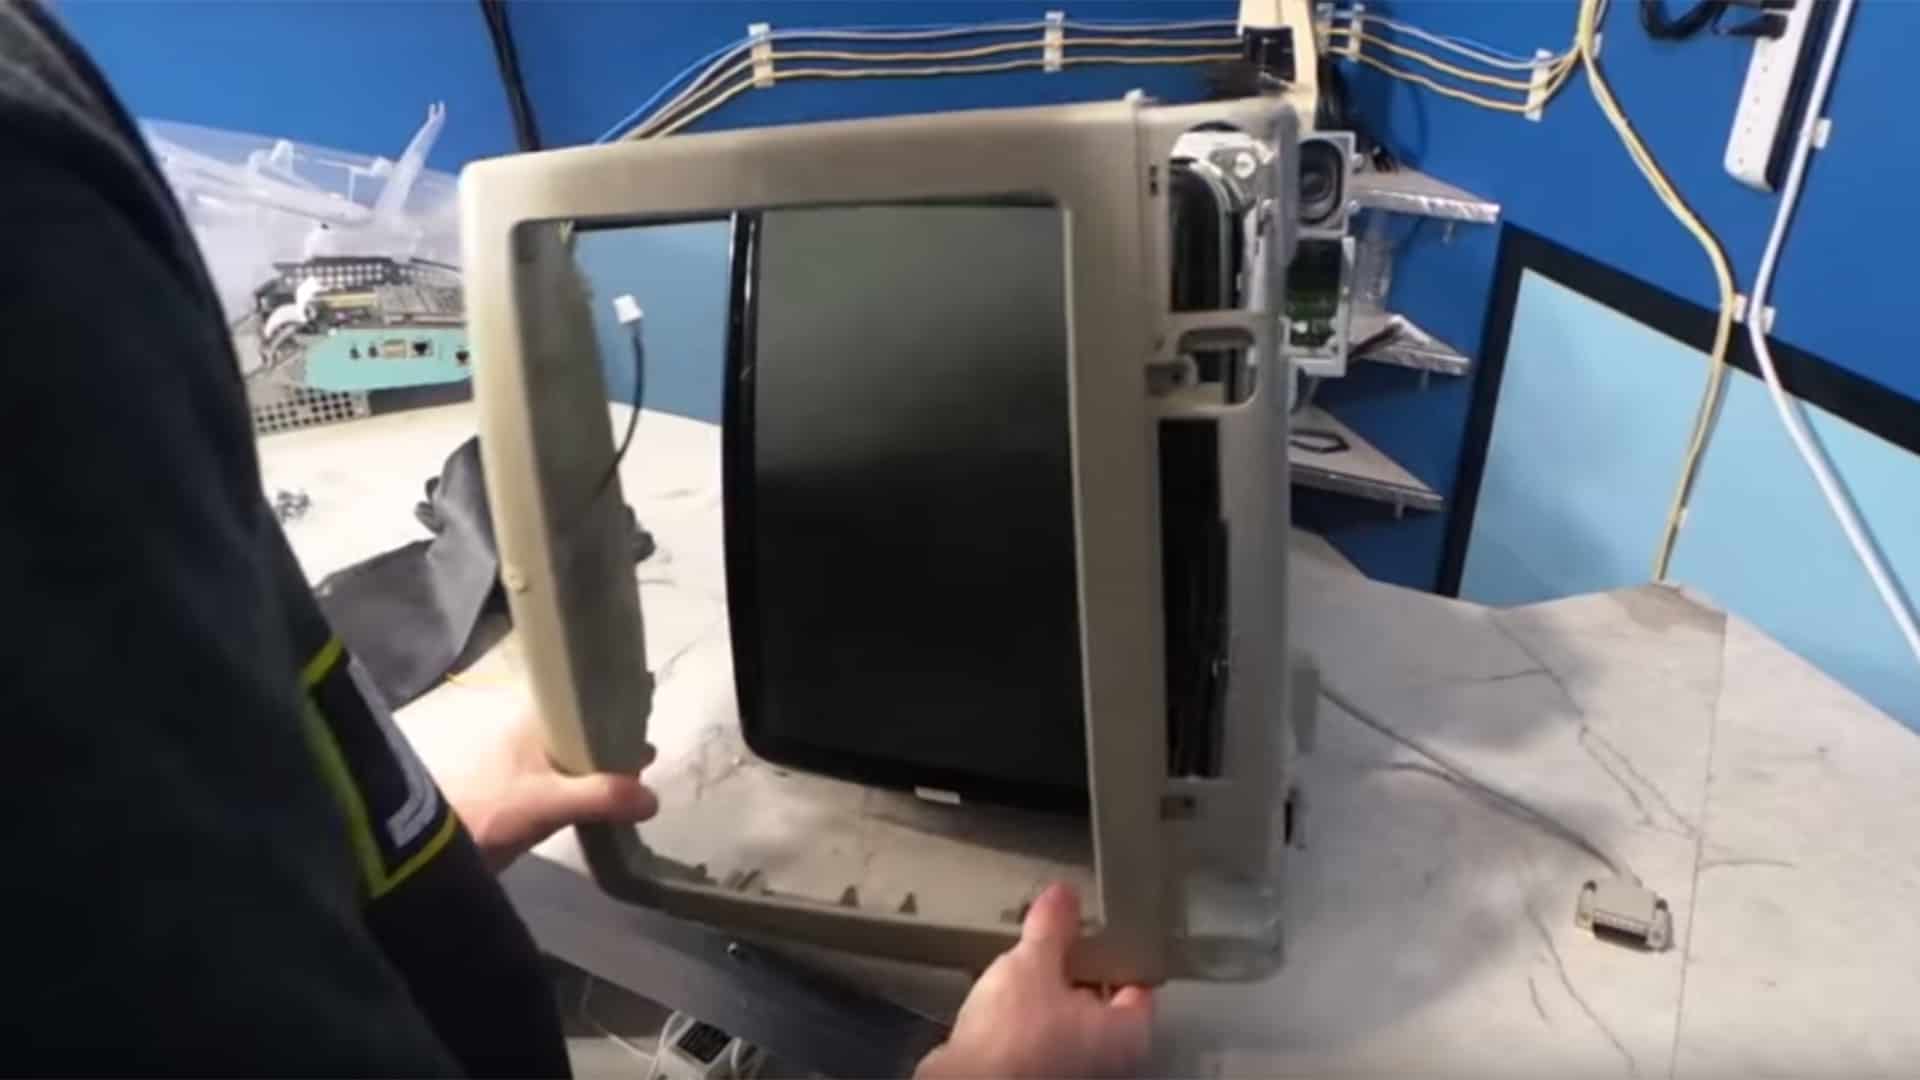
 Step 4: Remove the bezels and the other covers
After removing a few more screws you can finally remove the rest of the covers and the front bezels.
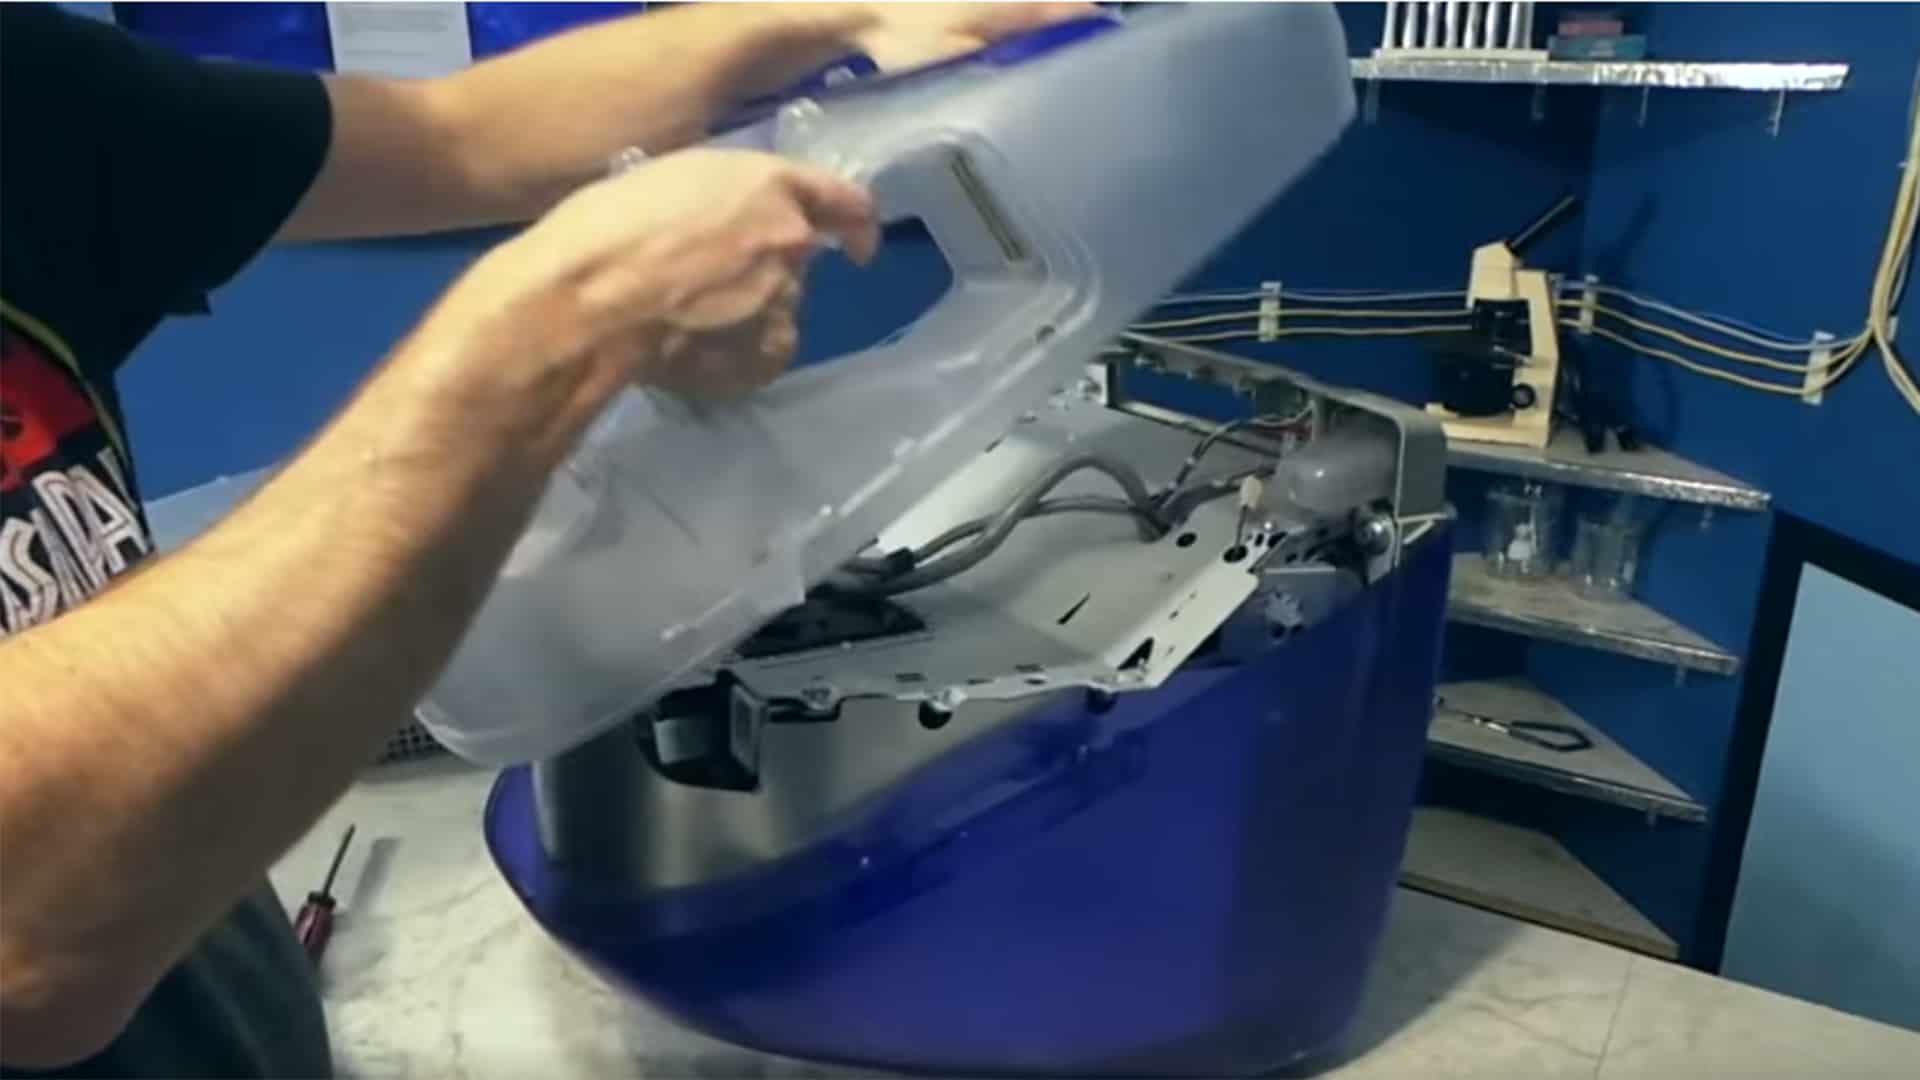
 Step 5: Remove the main plastic cover

Remove the screws holding the CRT assembly to the main plastic cover and then remove the cover from the iMac.
 Step 6: Discharge the CRT
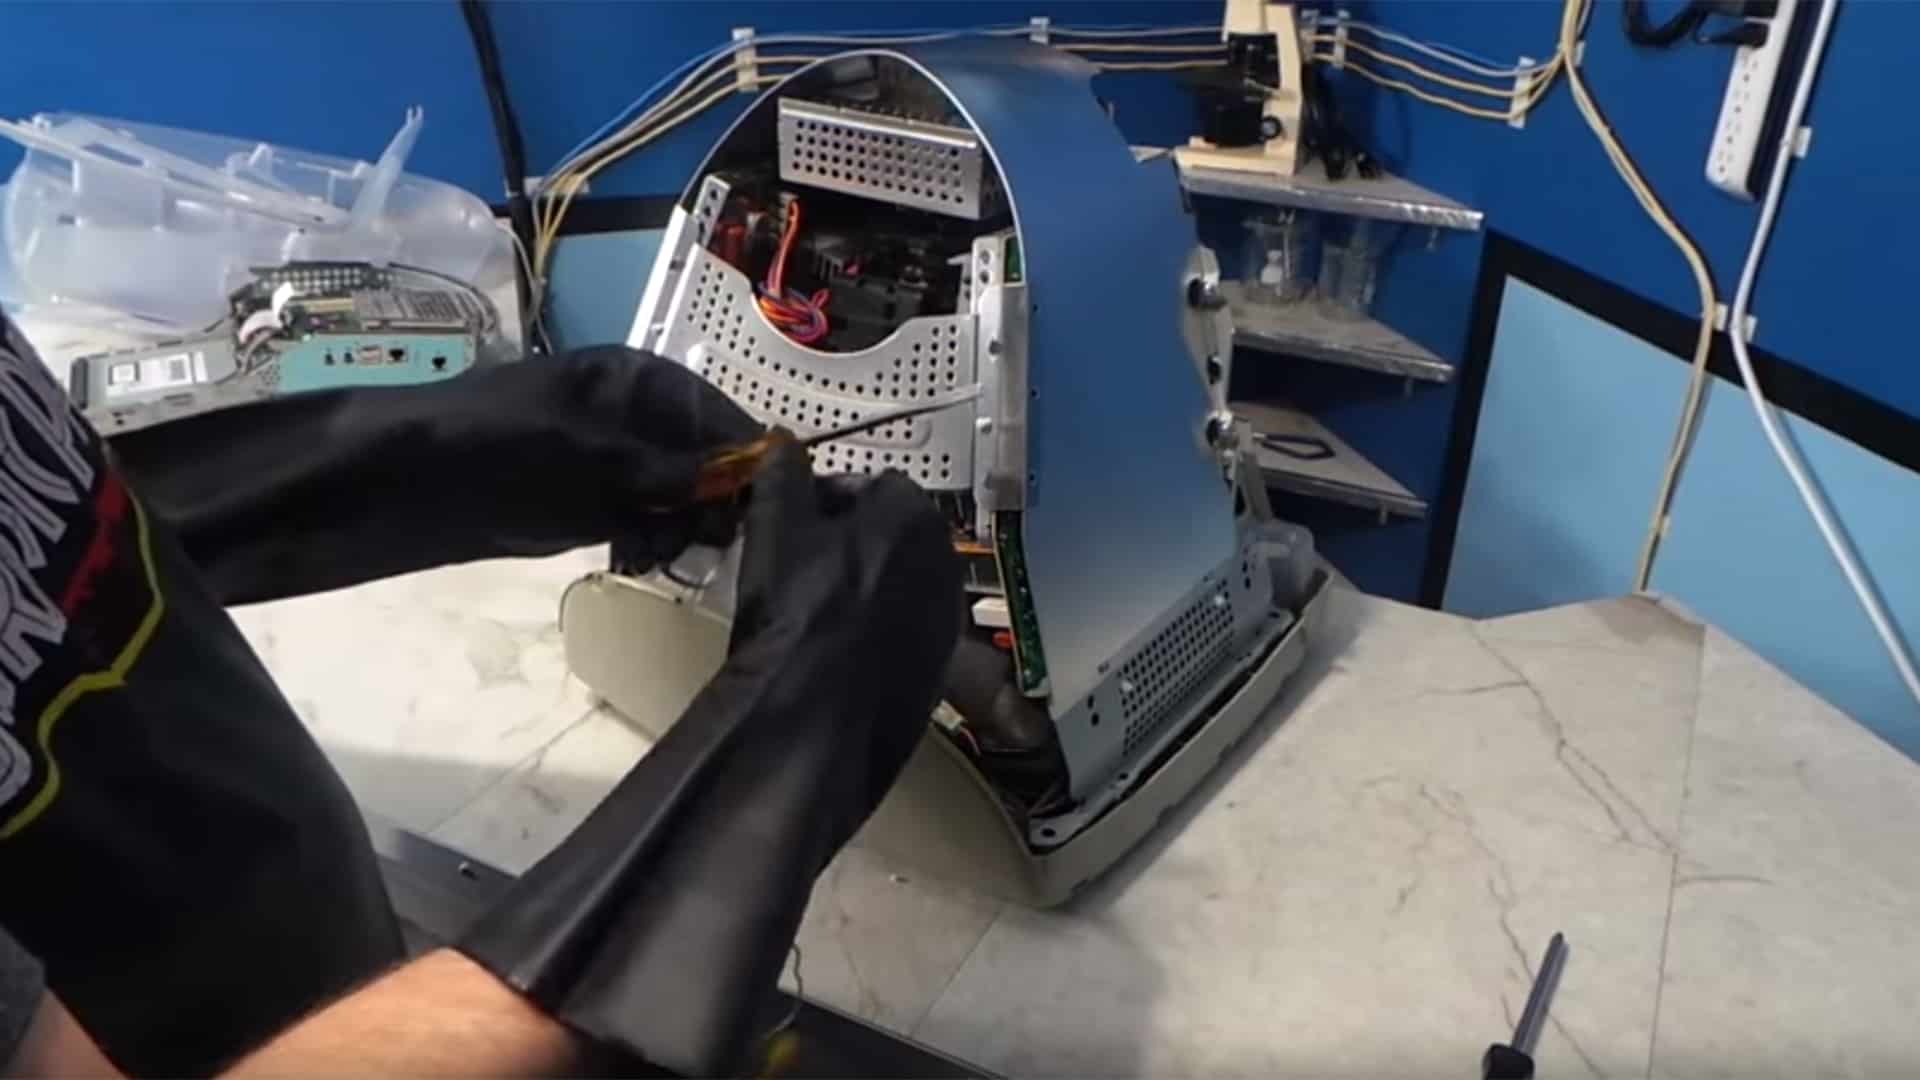
This is a very important safety precaution. You need to discharge the CRT before you handle it. If you’re not comfortable doing this, any TV repair shop should be able to complete this step for you, for a small fee. Connect a test lead to a ground somewhere on the machine, generally any metal component should work. Then touch the other end to the base of the CRT. You should hear a loud pop indicating that the discharge has happened. See the video for more details.
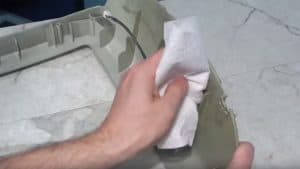
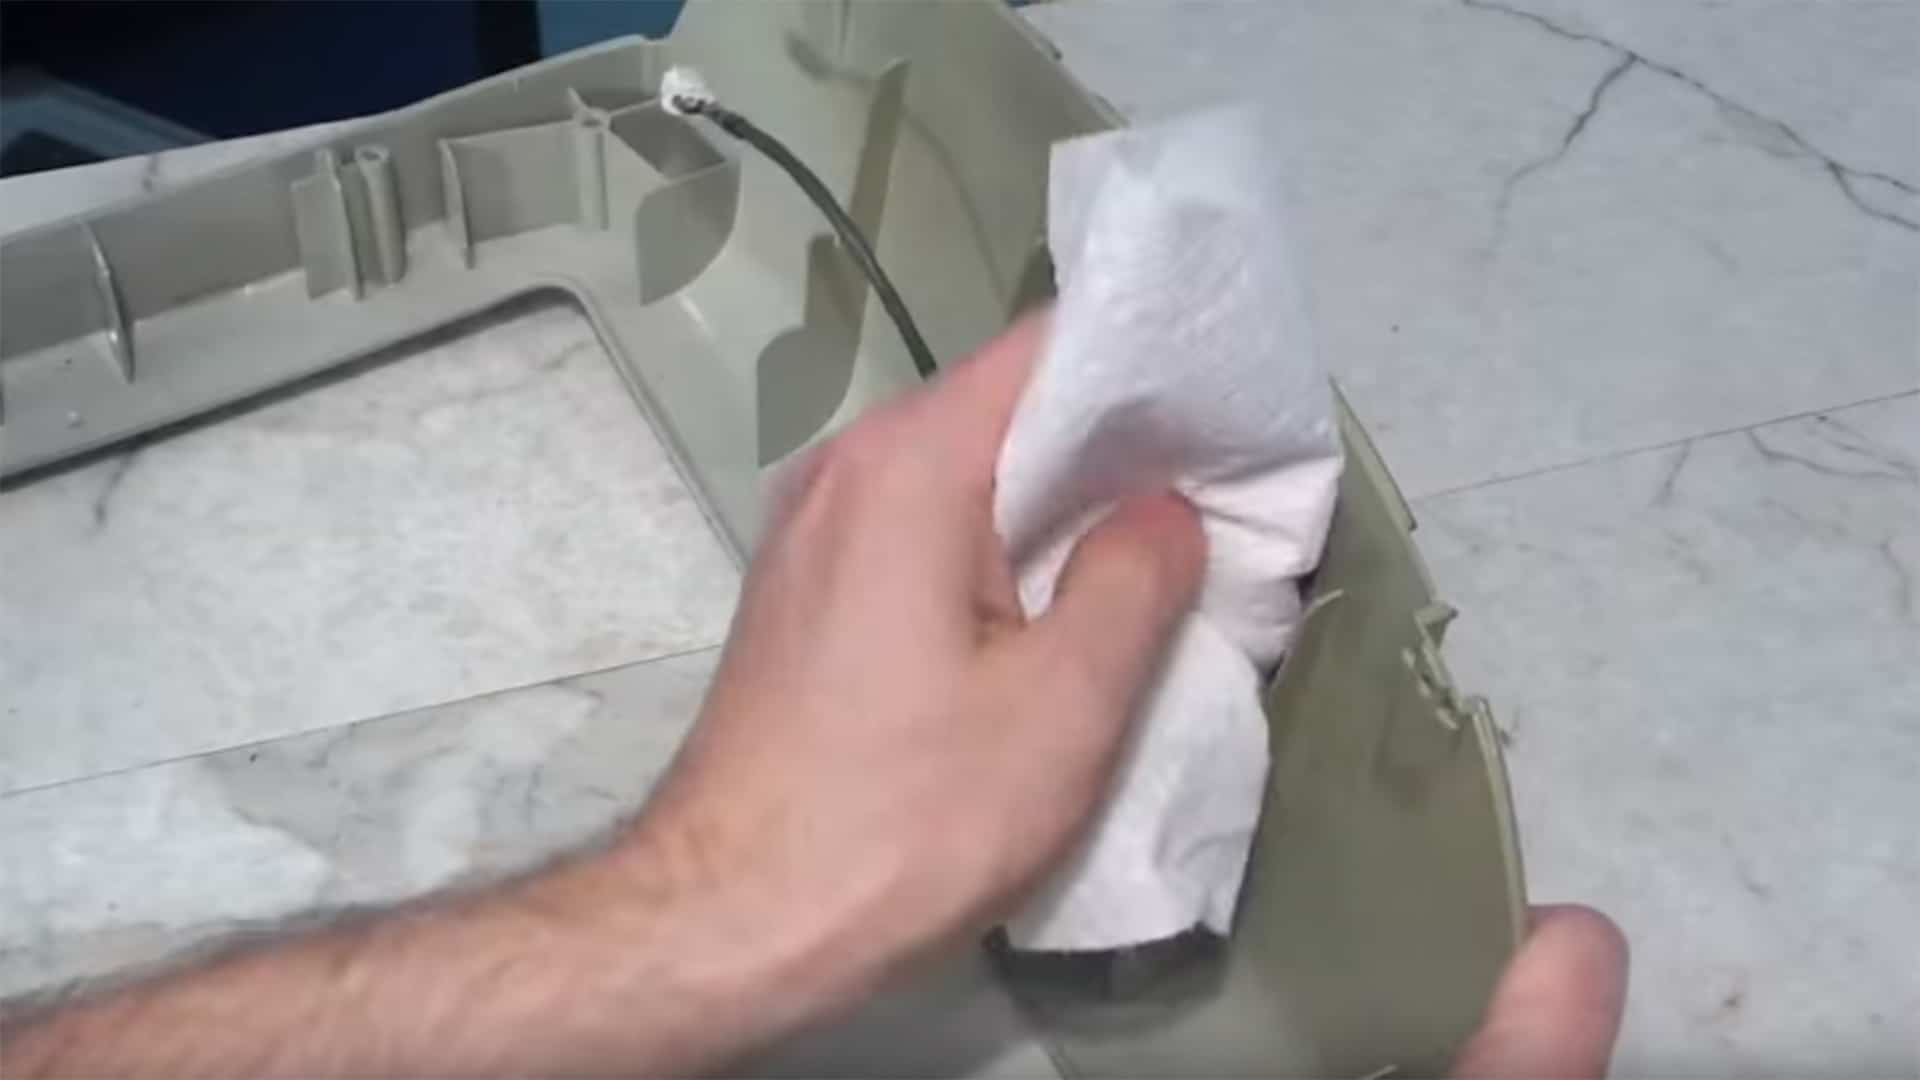
 Step 7: Remove the CRT cover
With the CRT safely discharged you should now be able to remove the remaining screws and cables and then successfully remove the CRT support and cover.
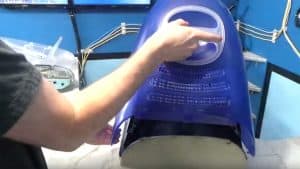
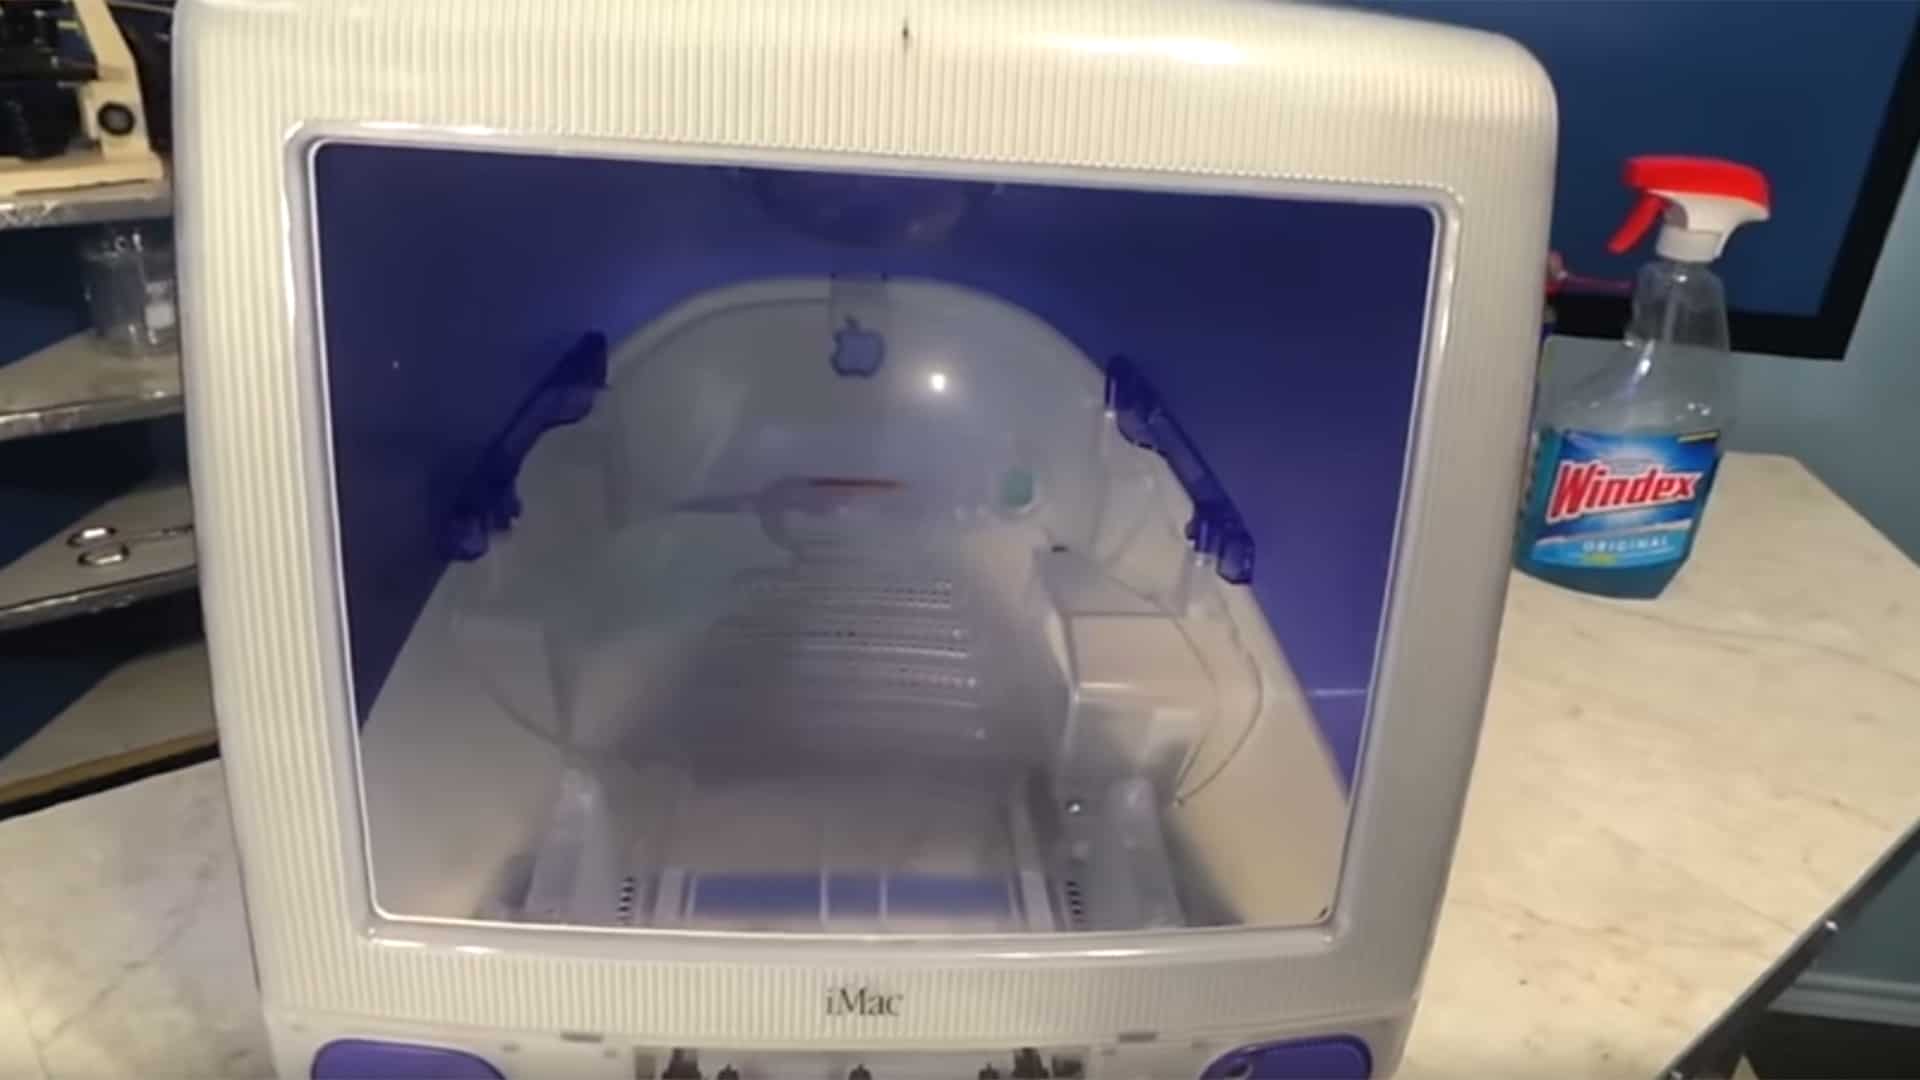
 Step 8: Clean all of the plastic components
Now that all of the electronics are removed its a good time to clean everything. As David say’s since there’s nothing electronic it, feel free to “hose it off with a garden hose or whatever”.
 Step 9: Reassemble all of the plastic components
Reassemble all of the plastic components. When you’re done you should have an iMac G3 without any electronics inside it!
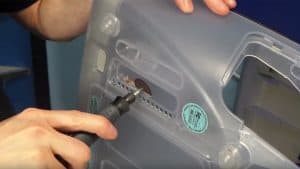 Step 10: Remove the extra plastic parts and supports
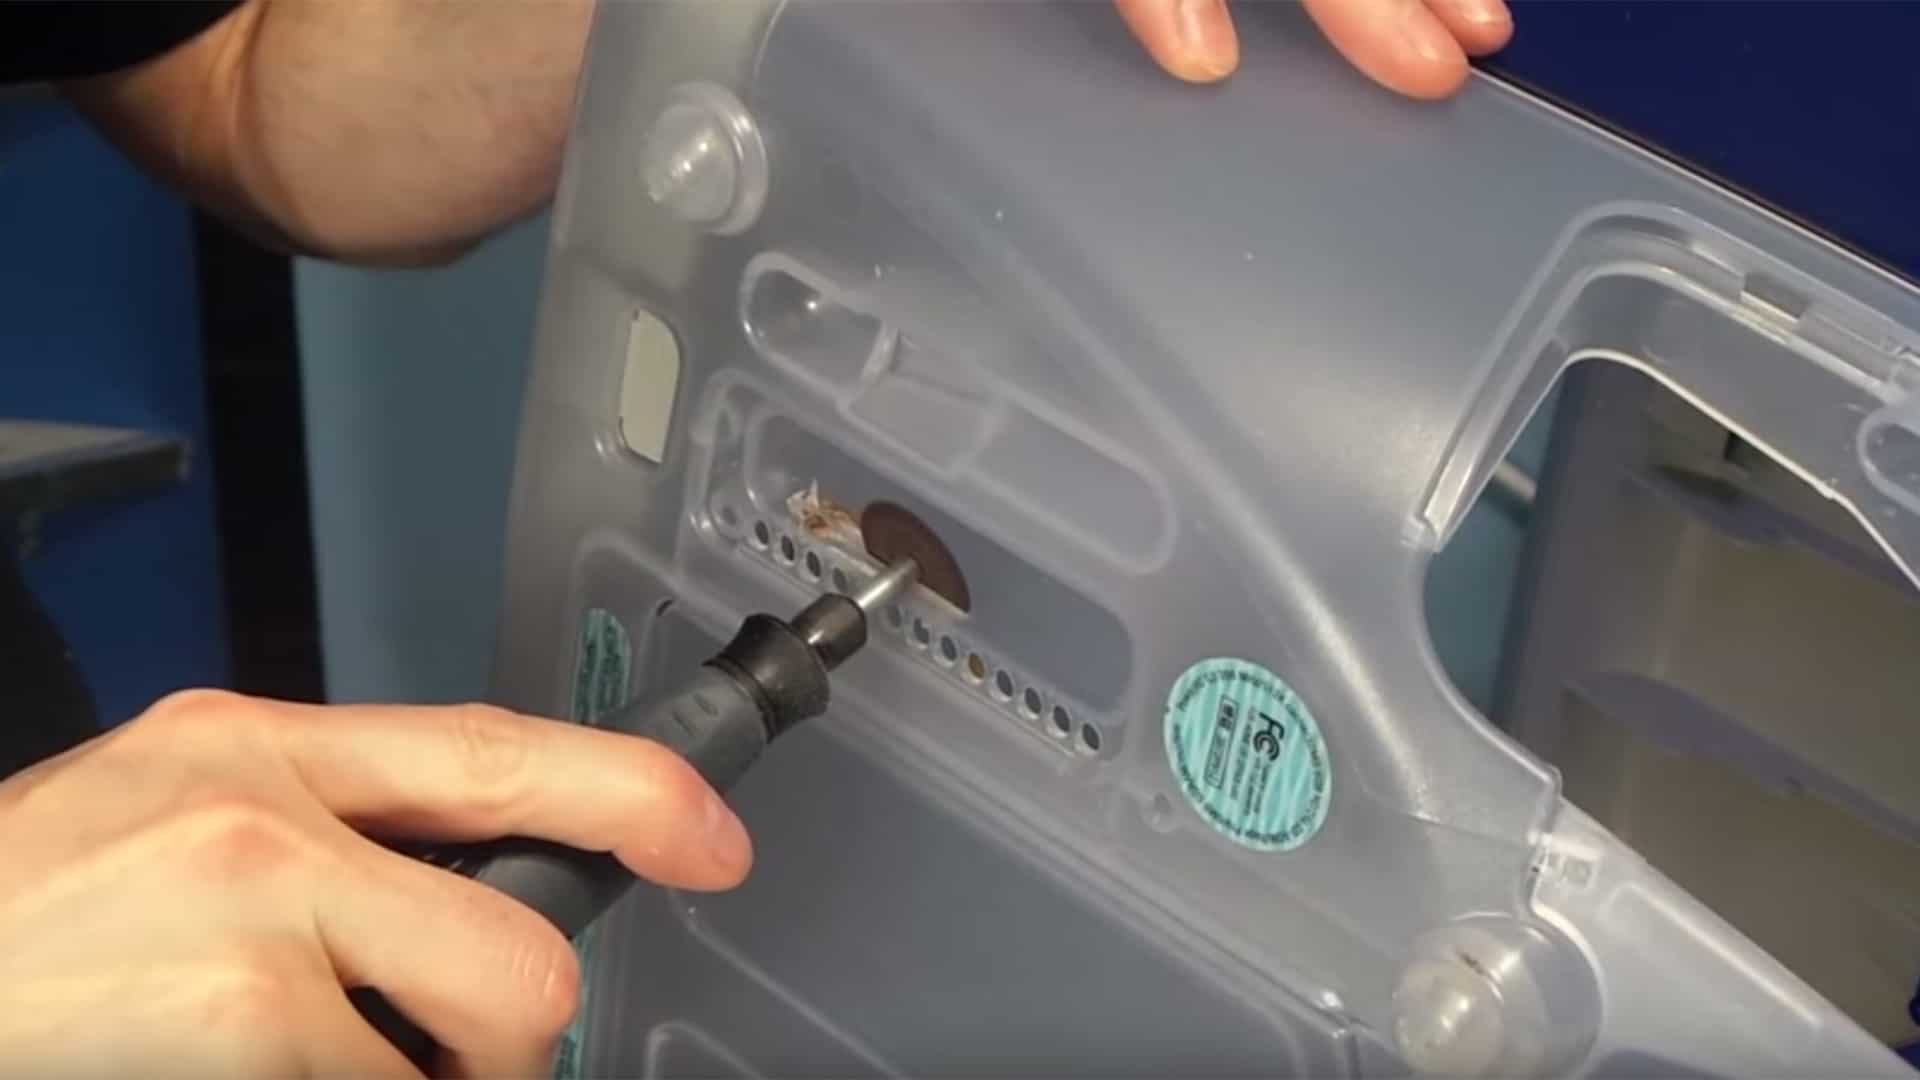
Your kitty is going to want a nice flat place to lay inside the iMac Cat House, so use a cutting wheel on your rotary tool to cut out and remove all of the pieces of plastic that keep the bottom of the inside of the iMac from being flat.
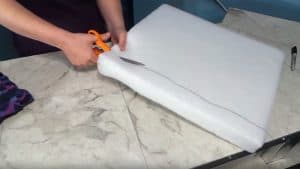 Step 11: Make it soft!

Once you’ve removed all of those jagged and pokey plastic pieces from the inside of the iMac Cat House, you’ll need to put something inside it to make it soft. You can either buy something in the right size from your local home furnishings retailer, or make something to custom fit your iMac. In The iBookGuy’s case he made a custom one (or his wife did, rather).
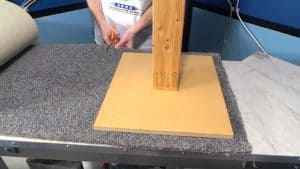
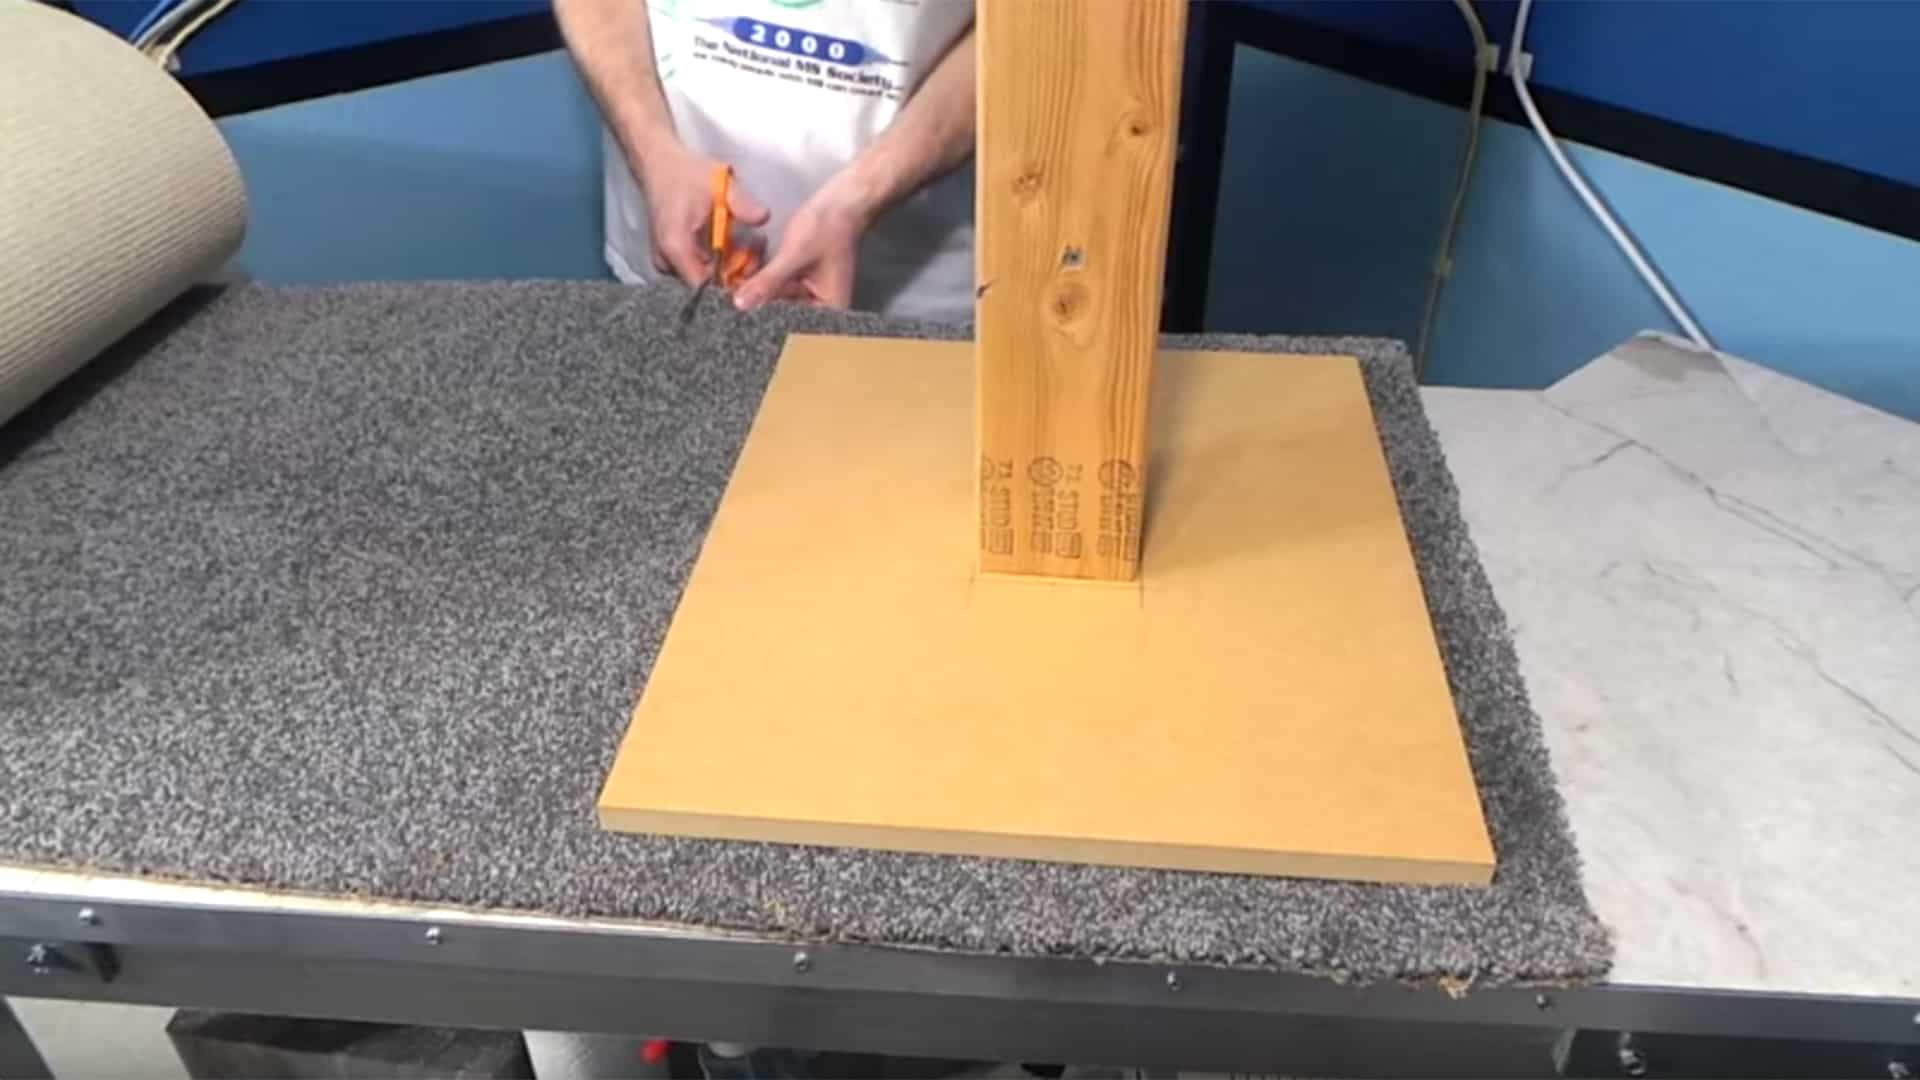
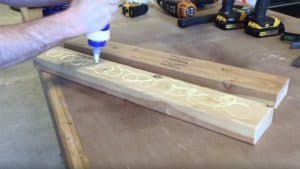 Step 12: Create the support post

You’ll need a pedestal to support your iMac Cat House. The easiest way to make the post is to glue two 24″ lengths of standard 2″ x 4″ pine together using wood glue. You can also just screw them together with wood screws.
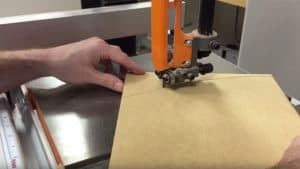 Step 13: Cut out the top and base of the pedestal
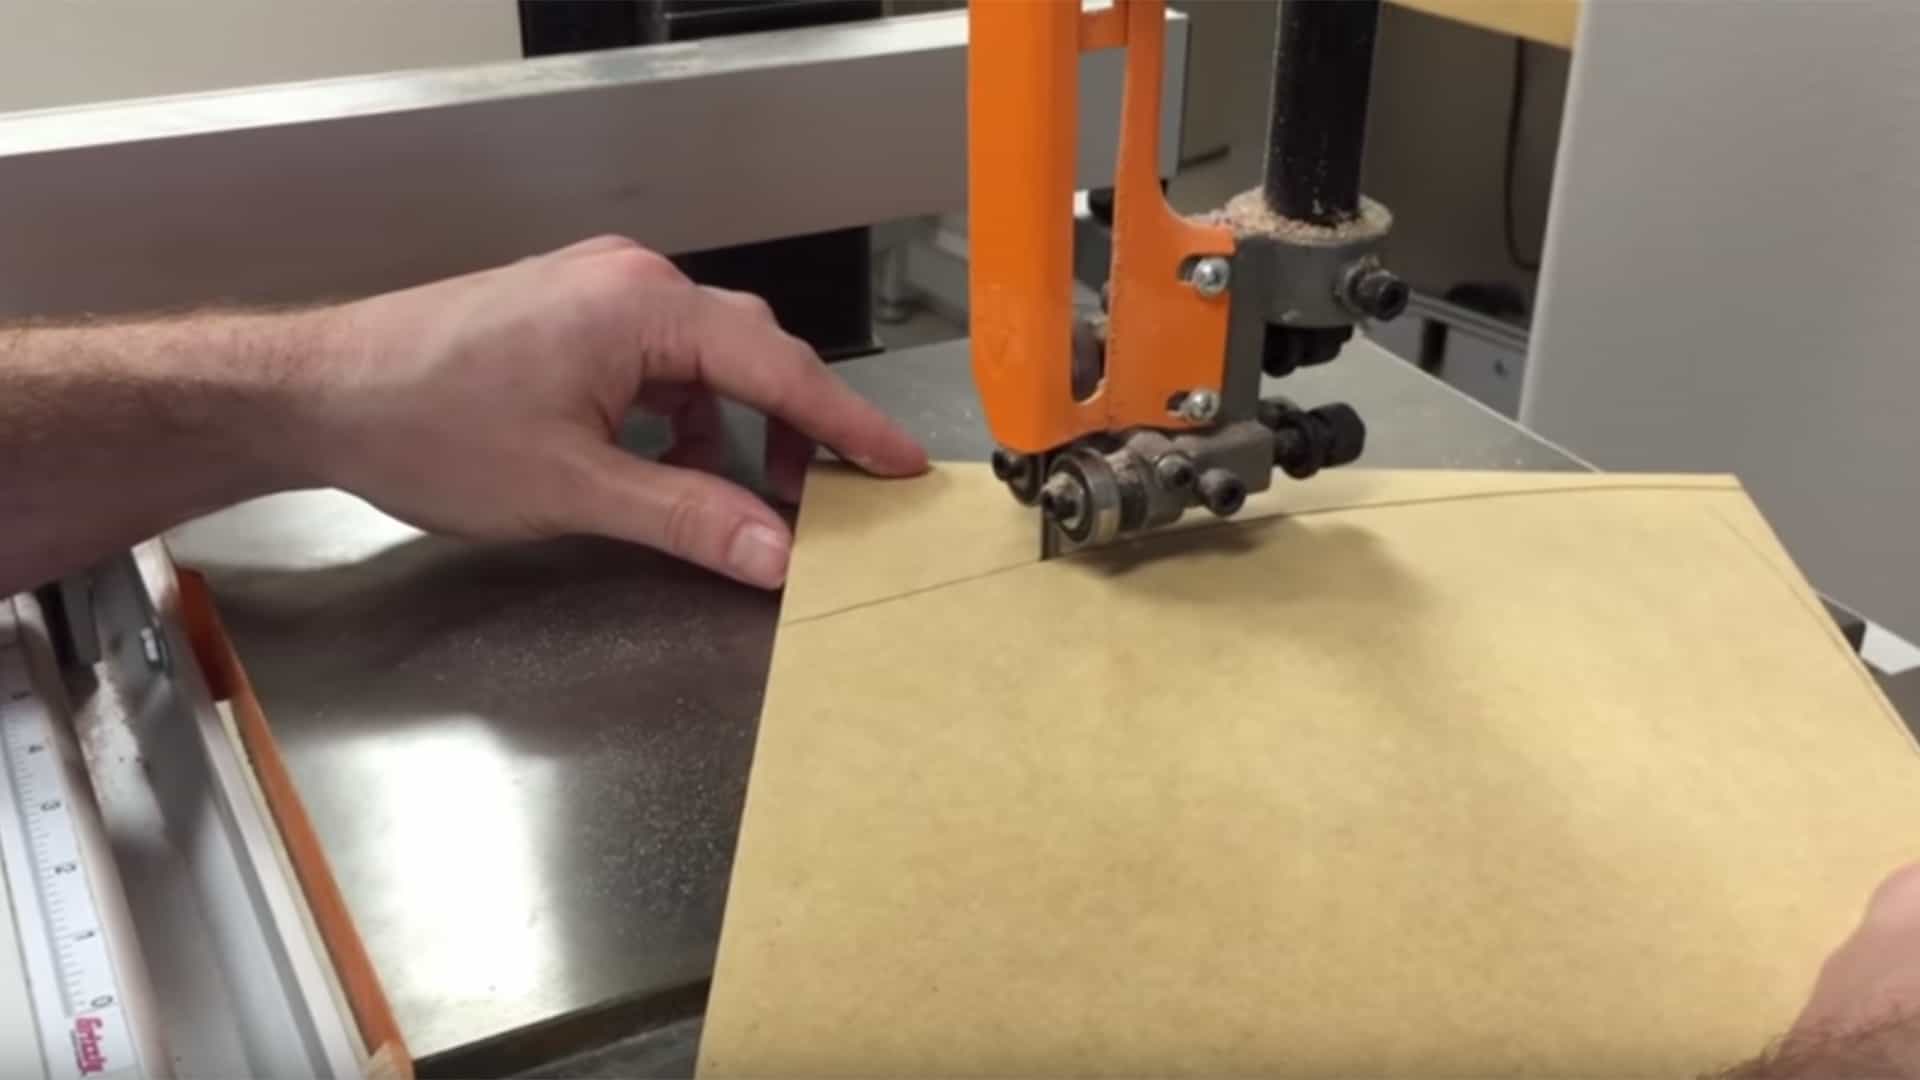
The base and top sections of the pedestal can be made from MDF or similar materials such as plywood. The base should be square and large enough to keep the iMac from tipping over. The taller you make your post, the larger the base needs to be. The top should be shaped in the same general shape as the bottom of the iMac. The iBookGuy visited The Geek Pub to make these parts!
 Step 14: Cover the bottom with carpet
Cover the bottom of the pedestal with carpet. You should be able to get this from just about any home improvement store. They generally have samples, or excess sections left over from other jobs called remnants that you can buy for pennies on the dollar. It’s a good idea to glue it down.
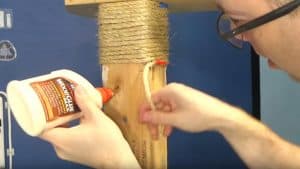 Step 15: Wrap the post with burlap rope
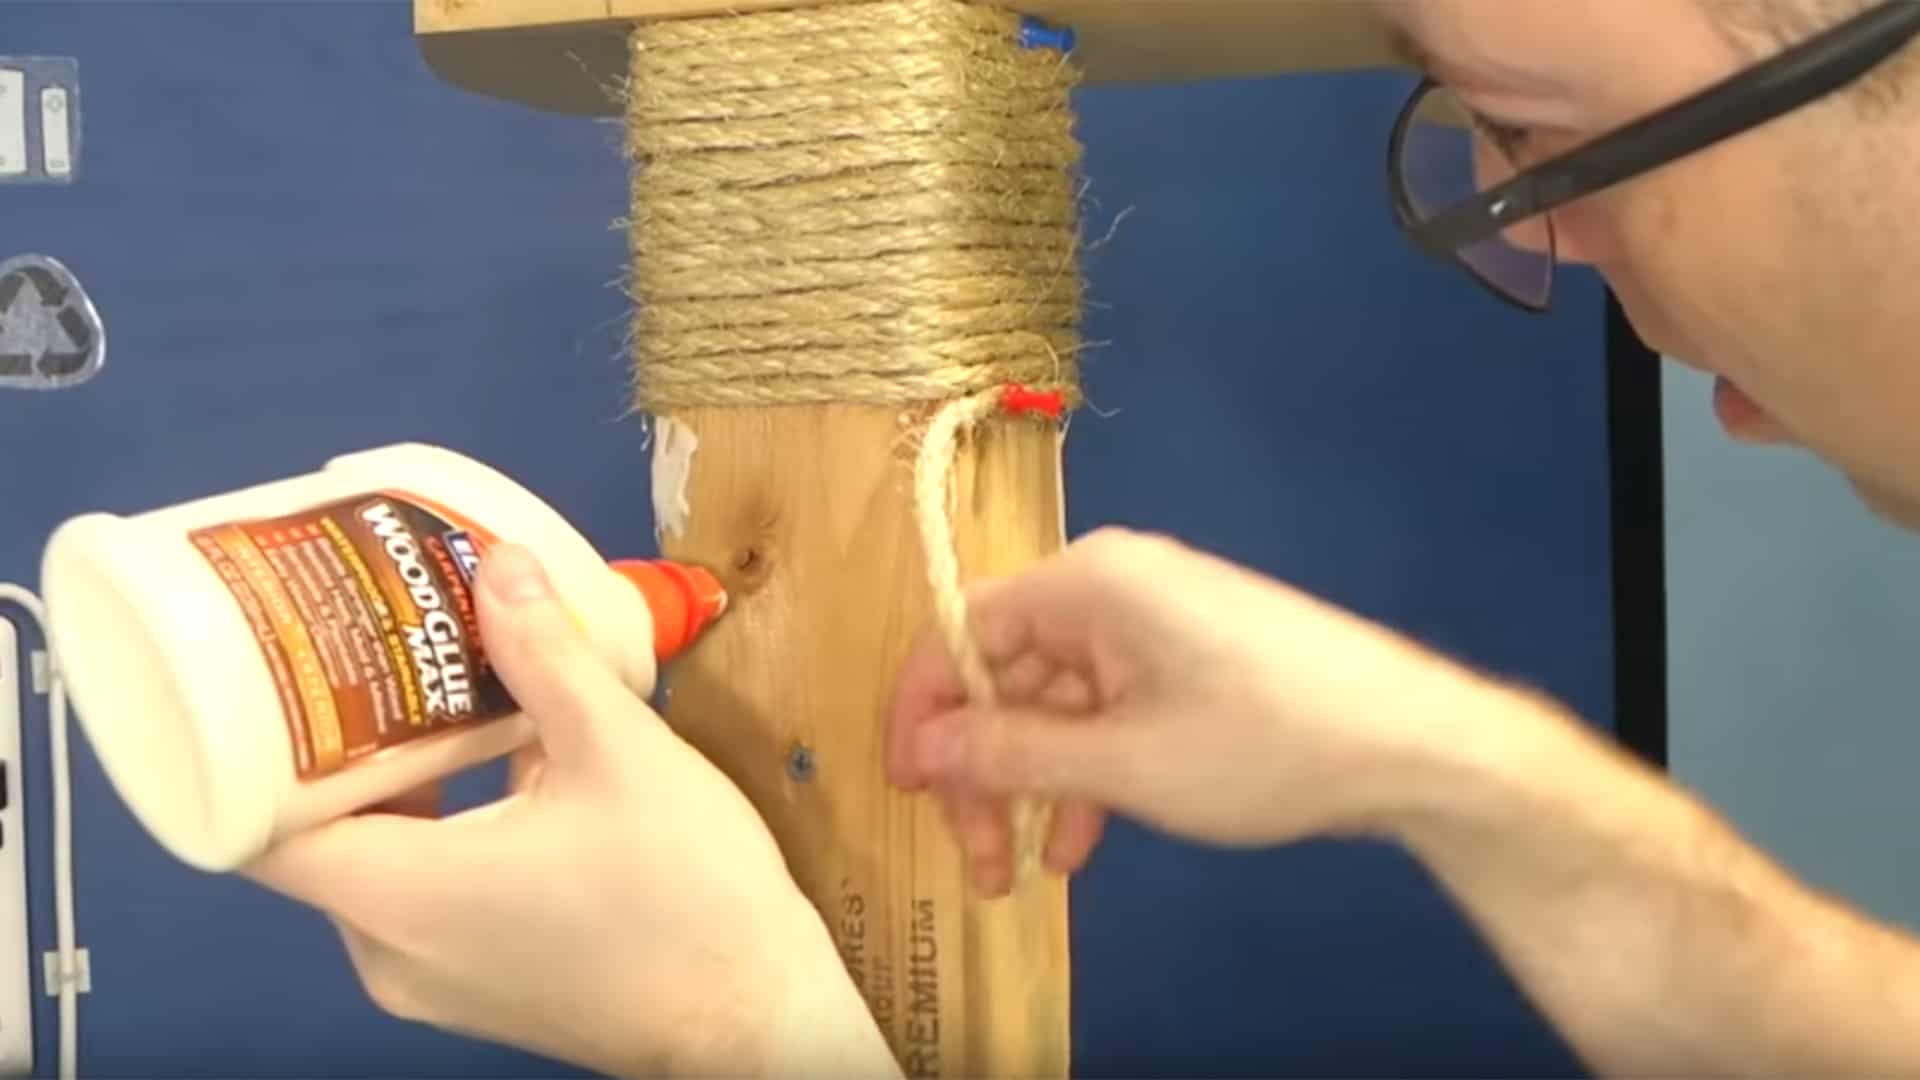
Your sweet kitty needs something to scratch on, so cover the post with glue and then wrap it with burlap rope. Try to keep the tension on the rope to make it as tight as possible. This will make your kitty very happy!
 Step 16: Attach the iMac to the top pedestal
Using some screws, attach the iMac to the top section of the pedestal. Pre-drill pilot holes so that you don’t crack the plastic when running screws through them.
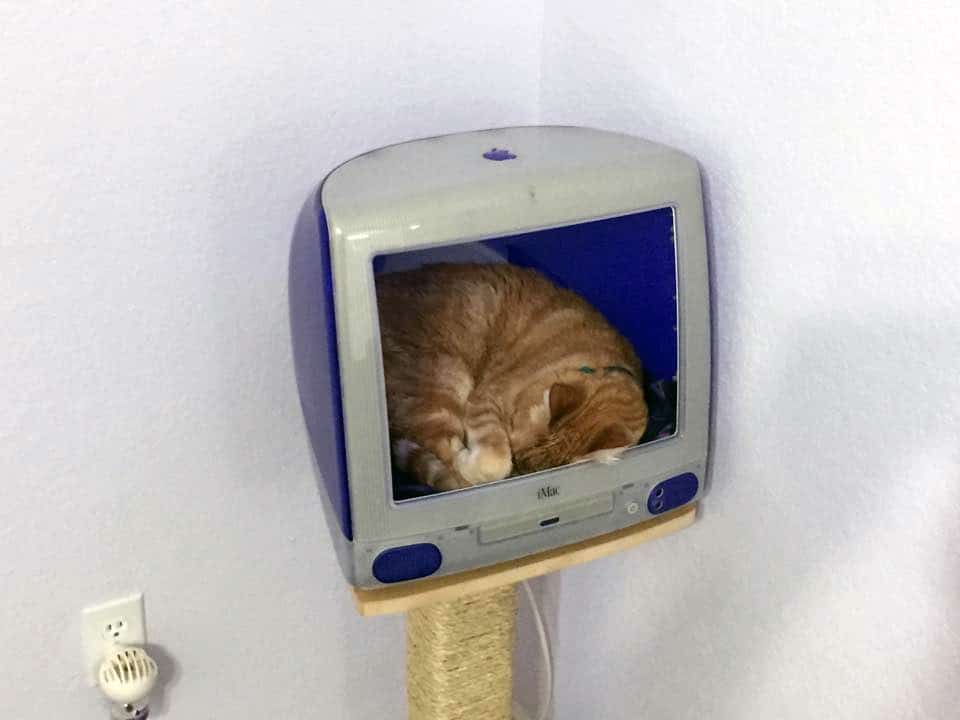
The Completed iMac Cat House
And that’s all there is to making an awesome and wacky iMac Cat House for your kitties to enjoy!