Blog
Make Minion Pumpkins for Halloween
[adinserter name=”TopOfPost”]Whether or not you’re a fan of the Despicable Me series of movies, you’ve got be a fan of the Minions. I mean those things are just down right adorable! With Halloween right around the corner, now is a perfect time to start decorating your house with some Minion Pumpkins!
This project is a great option for families who don’t want to carve a pumpkin for safety reasons. You can cut out the soda cans for your children and place them on after they paint the minion pumpkins. No carve pumpkins will also last a lot longer than traditional carved pumpkins. So grab some pumpkins at the local supermarket and let’s make some Despicable Me Minion Pumpkins!! Otherwise known as a Minion-O-Lantern!
How to Make the Minion Pumpkins
To make the Minion Pumpkins you’re going to need Pumpkins, a few empty soda cans, and some paint of your choosing. I used spray paint to cover the Minions, but I used acrylic paint for the artwork. I also used some paint markers to make painting the teeth and refining the lines a little easier.
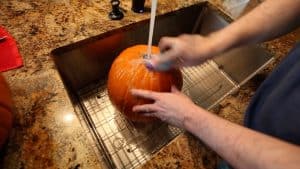 Step 1: Wash the Pumpkins

Before you do anything else, make sure that you wash the Pumpkins! They sat in a farm field for months in the dirt. Paint won’t stick to the Minions if you don’t wash them first!
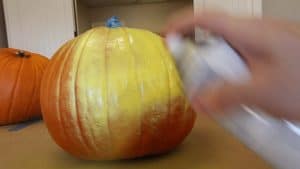 Step 2: Paint the Pumpkins yellow
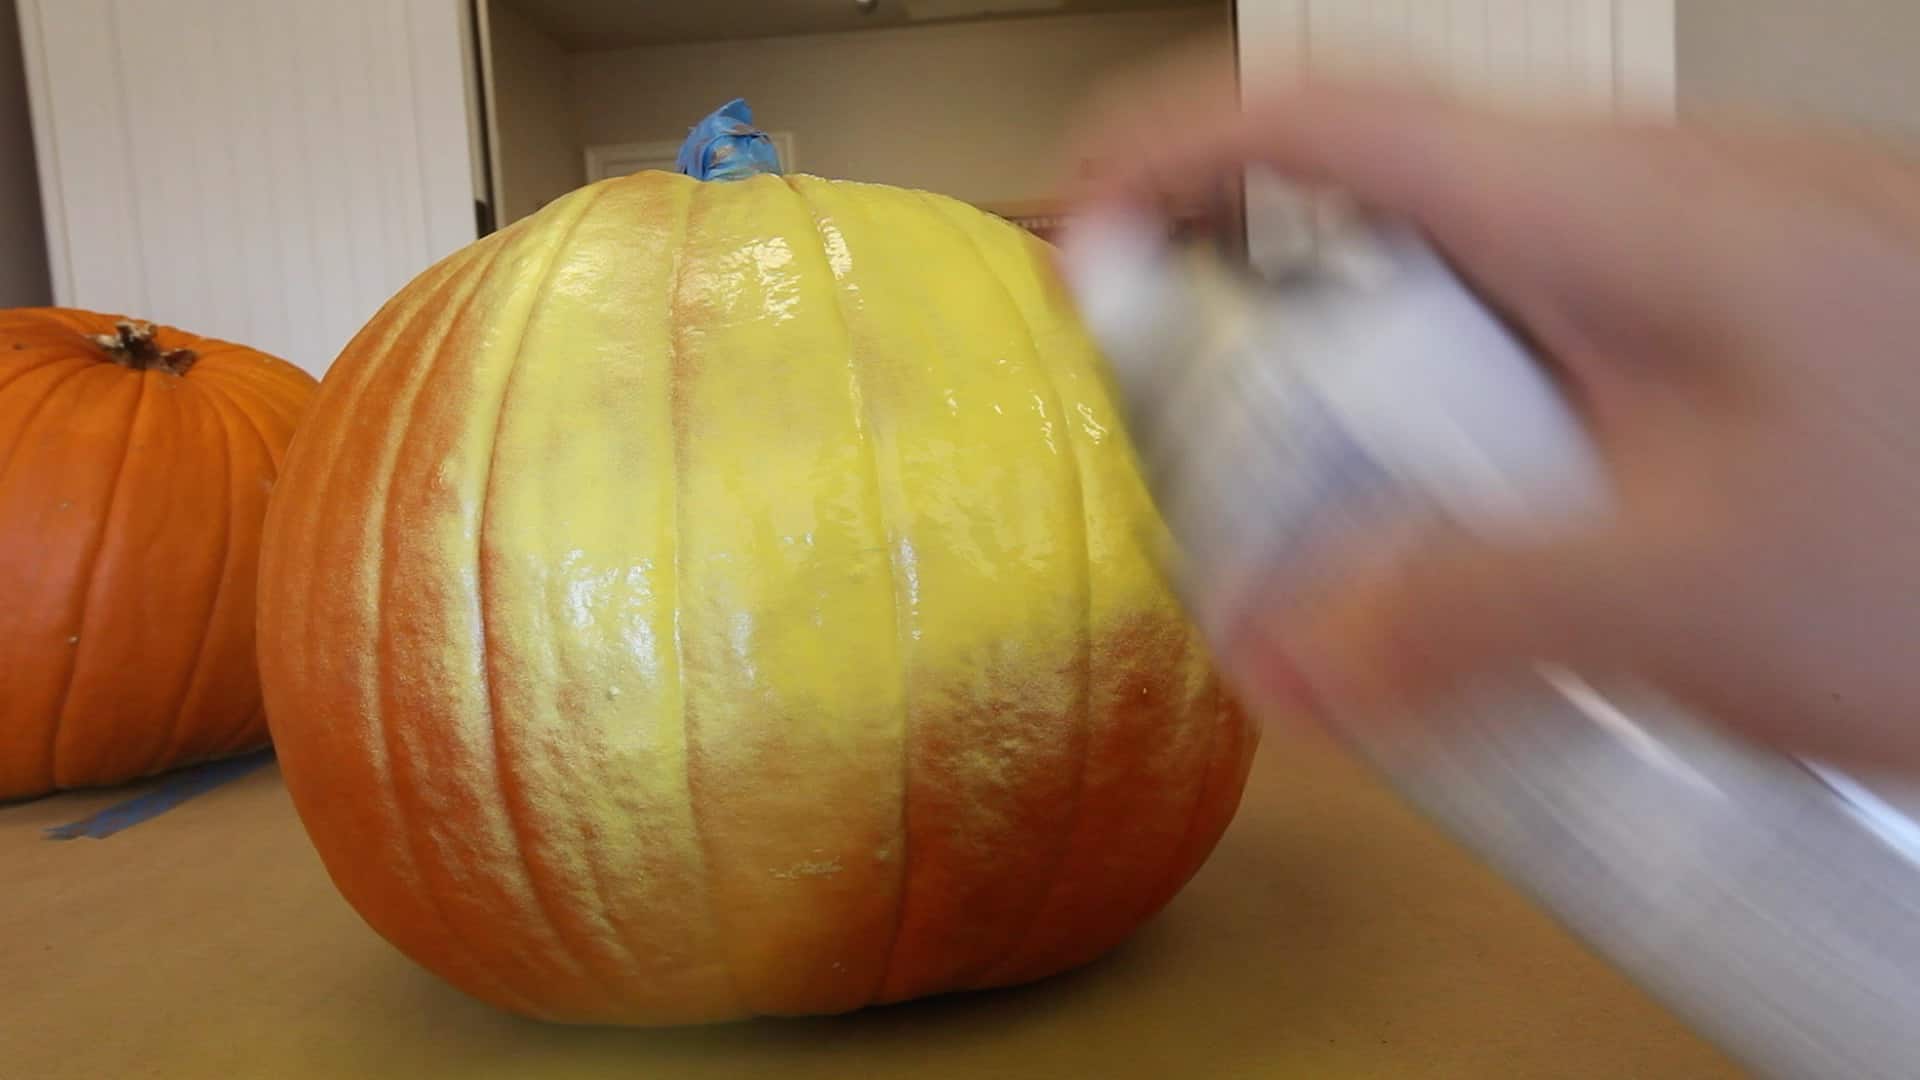
Minions are yellow. Pumpkins are orange. You can paint your minions with a brush using acrylic paint, or you can spray them with spray paint. I chose to use spray paint. You’ll need to let them sit over night to dry.
 Step 3: Trace out the Minion’s clothes

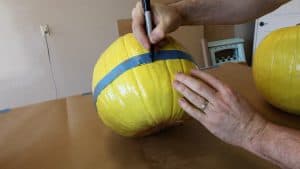
I used some masking tape to make a straight line around the Pumpkin and then use that as a template from drawing his pants.
 Step 4: Paint his pants
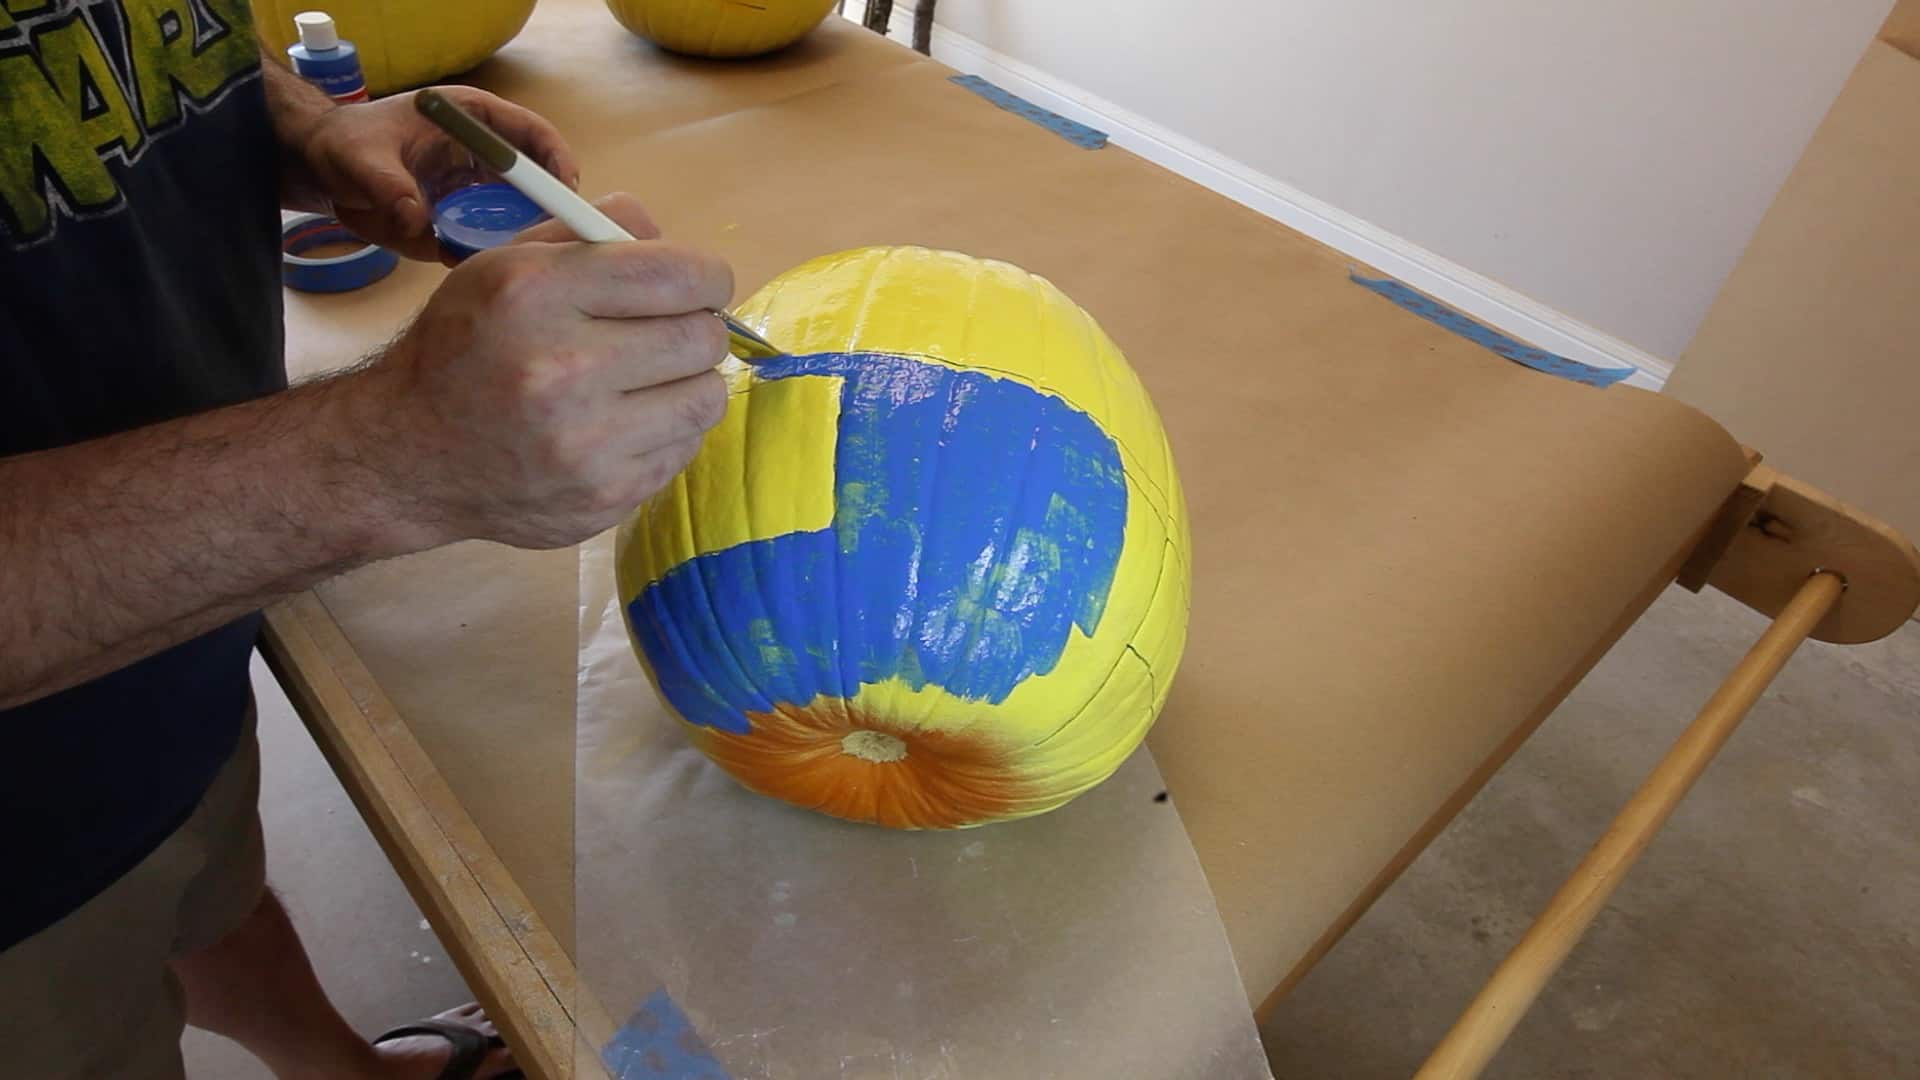
Using blue acrylic paint, paint the Minion’s pants. Try not to go outside of the lines. This is just a first coat, so you don’t need to be perfect here.
 Step 5: Add a mouth
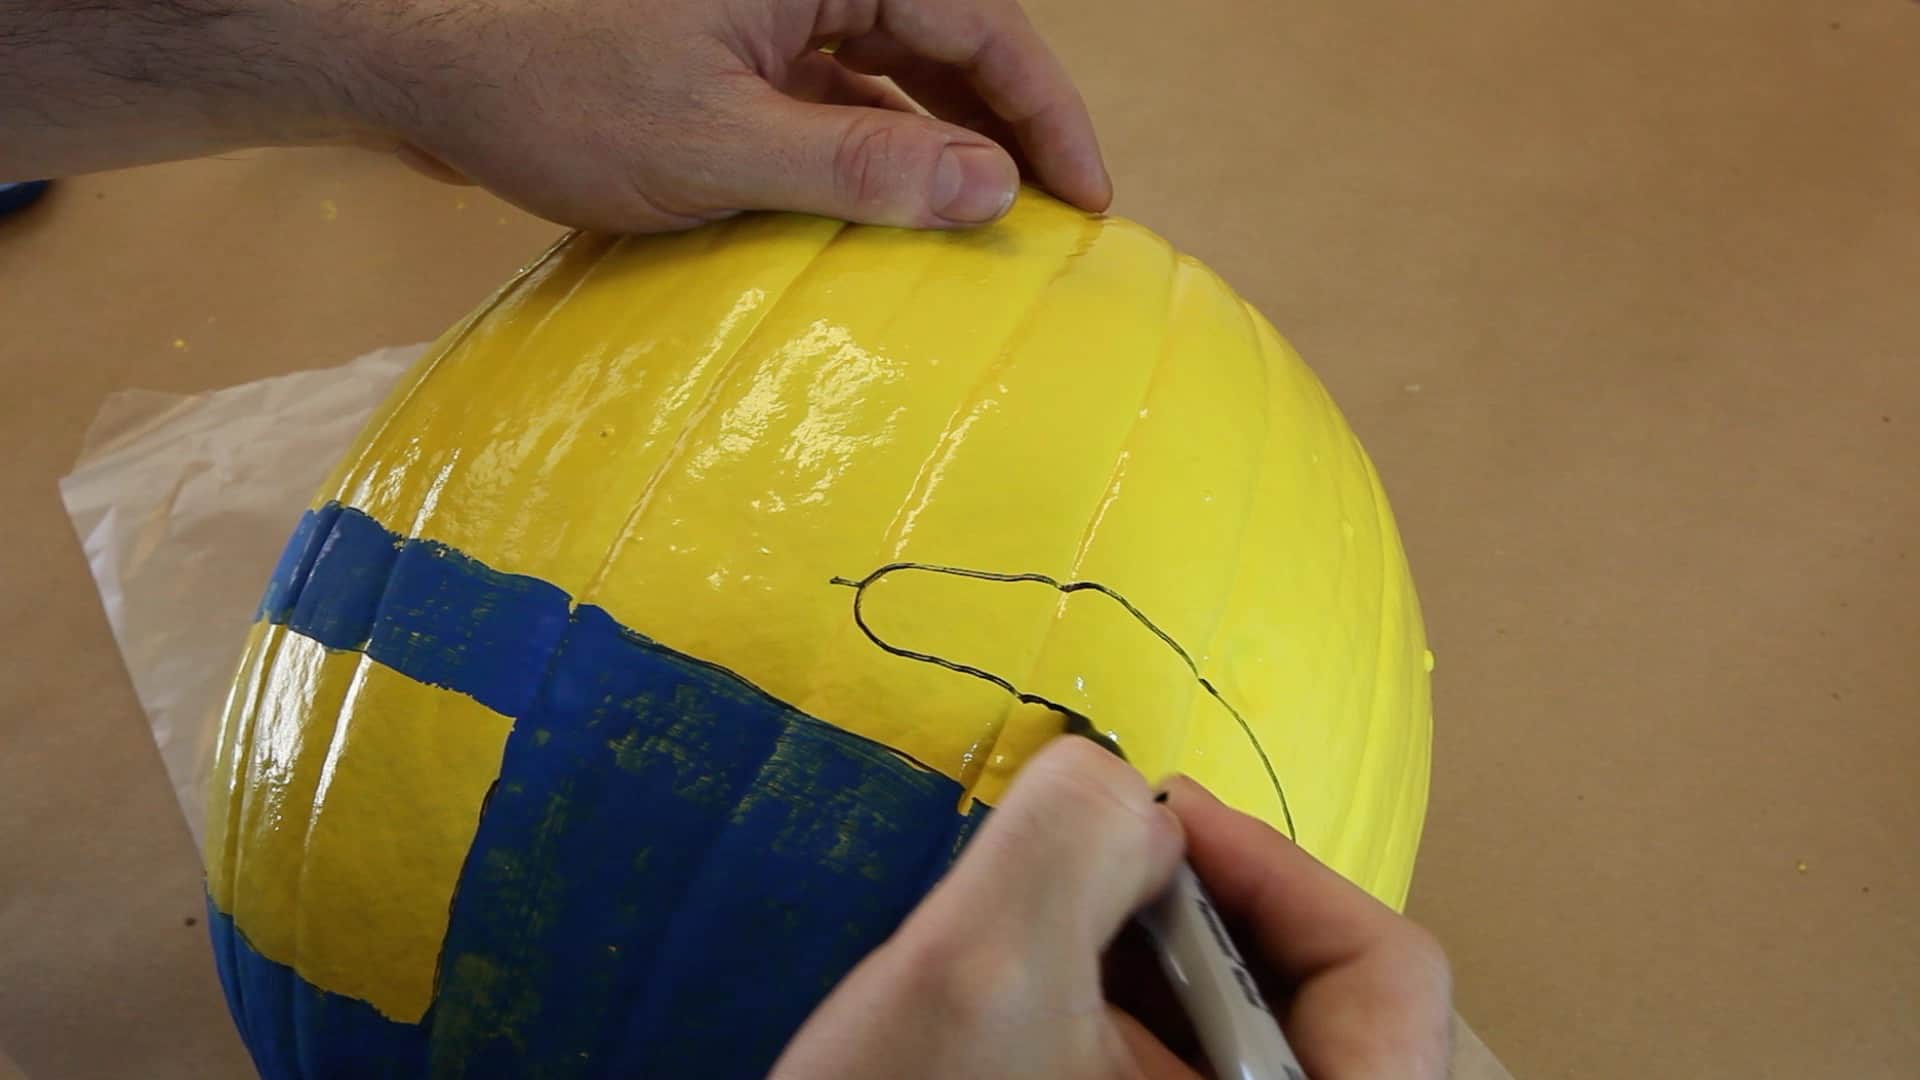
Use your imagination and draw a mouth on the Minion.
 Step 6: Second coat of paint

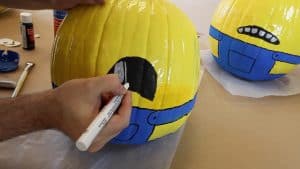
Fill in the Minion’s mouth with acrylic paint and add a second coat of paint to the pants. This time you’ll want to refine the lines and cover the sharpie traces. Once you’re finished, trace all of the pants with a black paint pen or sharpie and draw the buttons and pockets.
 Step 7: Draw the teeth
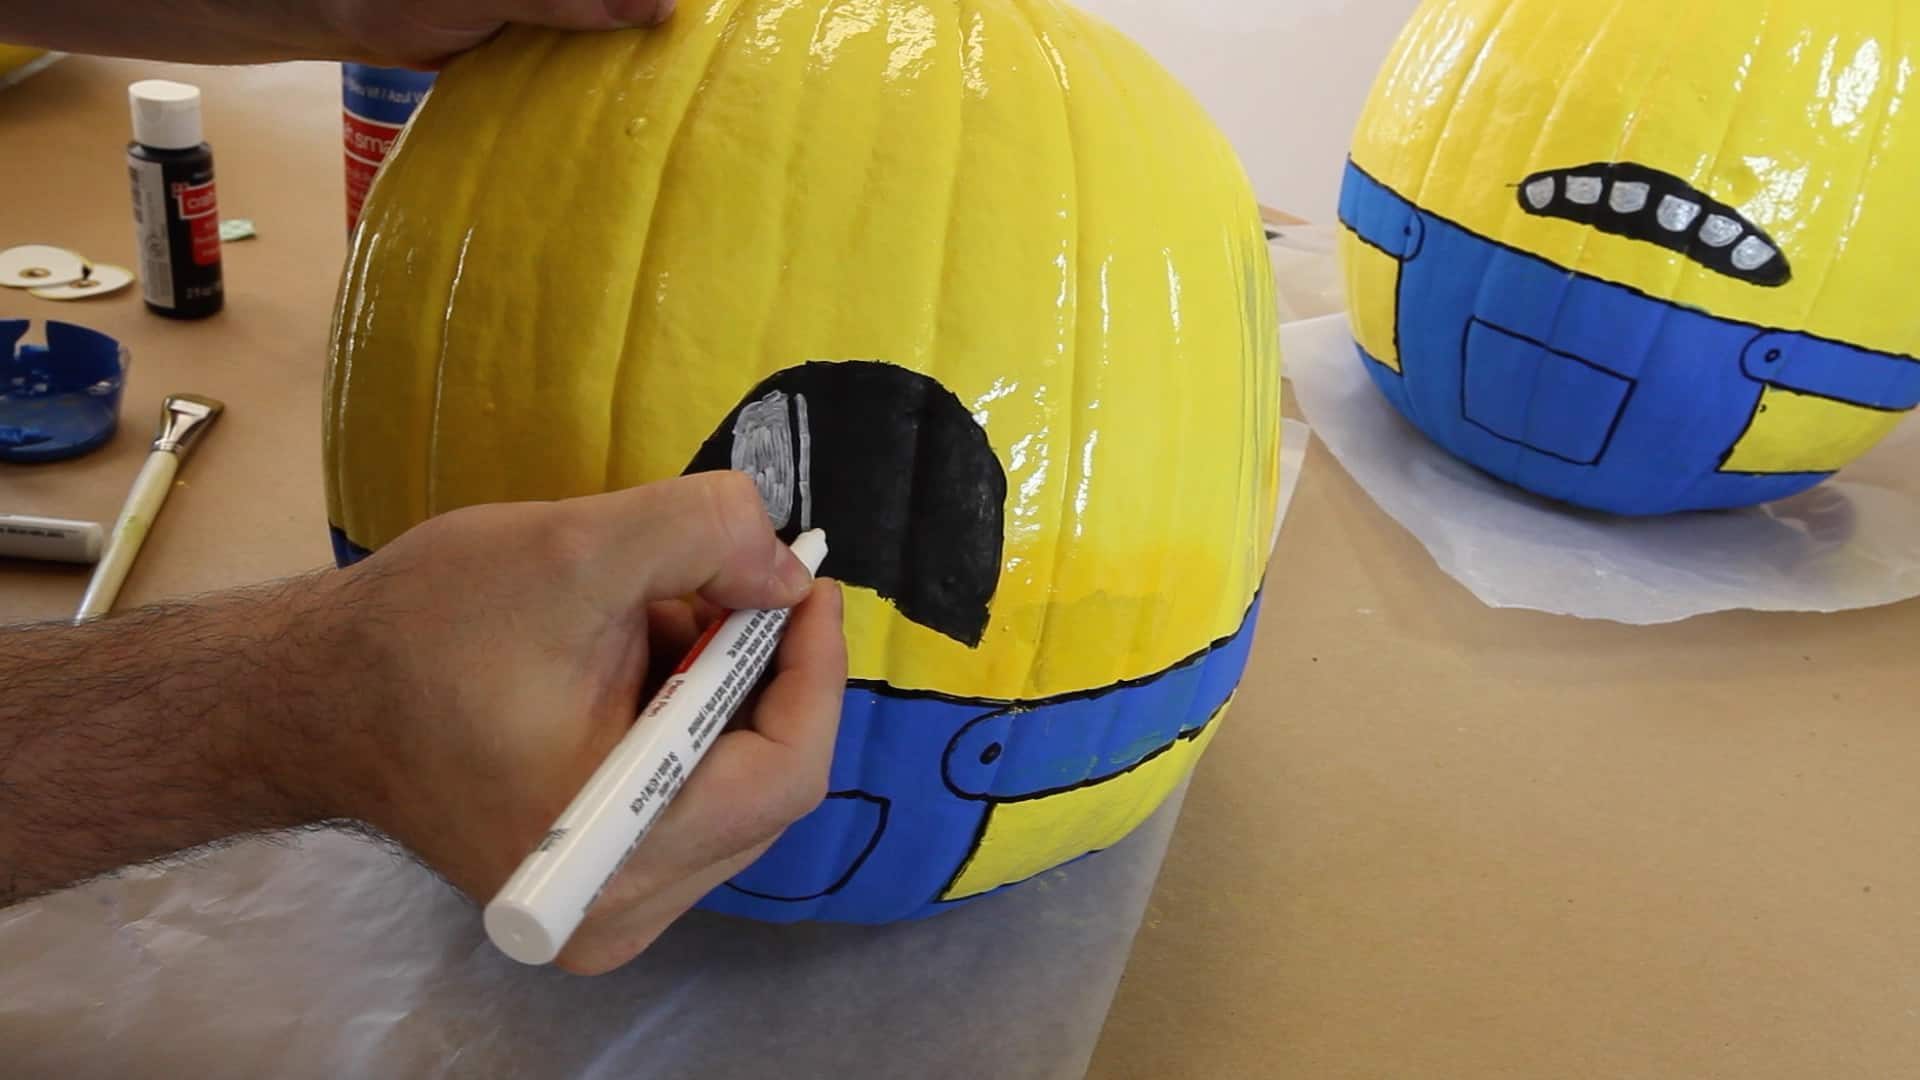
Your Minion-O-Lantern needs some teeth! Use a white paint pen and draw those in. I went for a more traditional Jack-O-Lantern look for mine.
 Step 8: Add his goggle strap
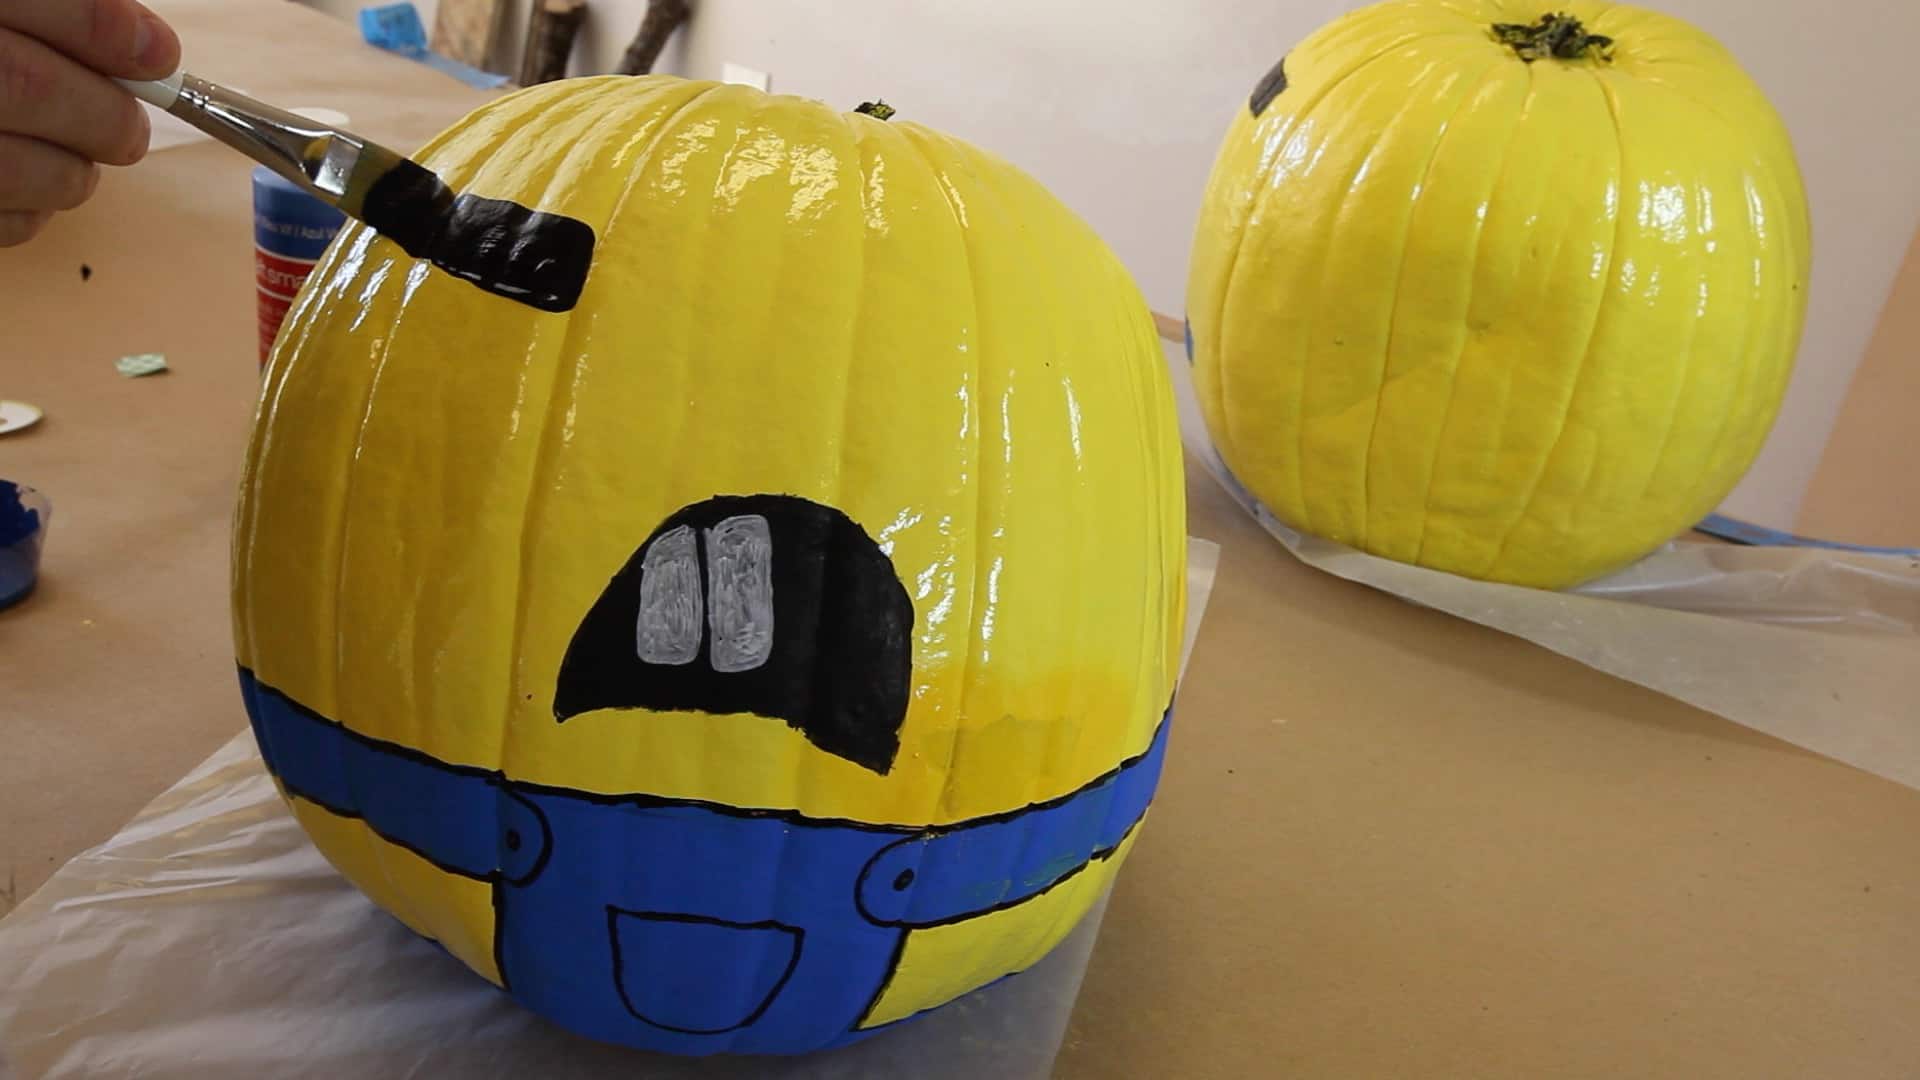
Using a brush and black acrylic paint add a head strap around the Minion’s head. You could also substitute electrical tape for this step.
 Step 9: Grind off the paint from a soda can (OPTIONAL)

For a more authentic look, use a wire wheel on a grinder to remove the paint from a soda can and then cut the bottom off of the can. If you don’t have a grinder, just look for a soda can that is silver in color (like a Diet Coke or Barq’s Root Beer).
 Step 10: Add the eyes
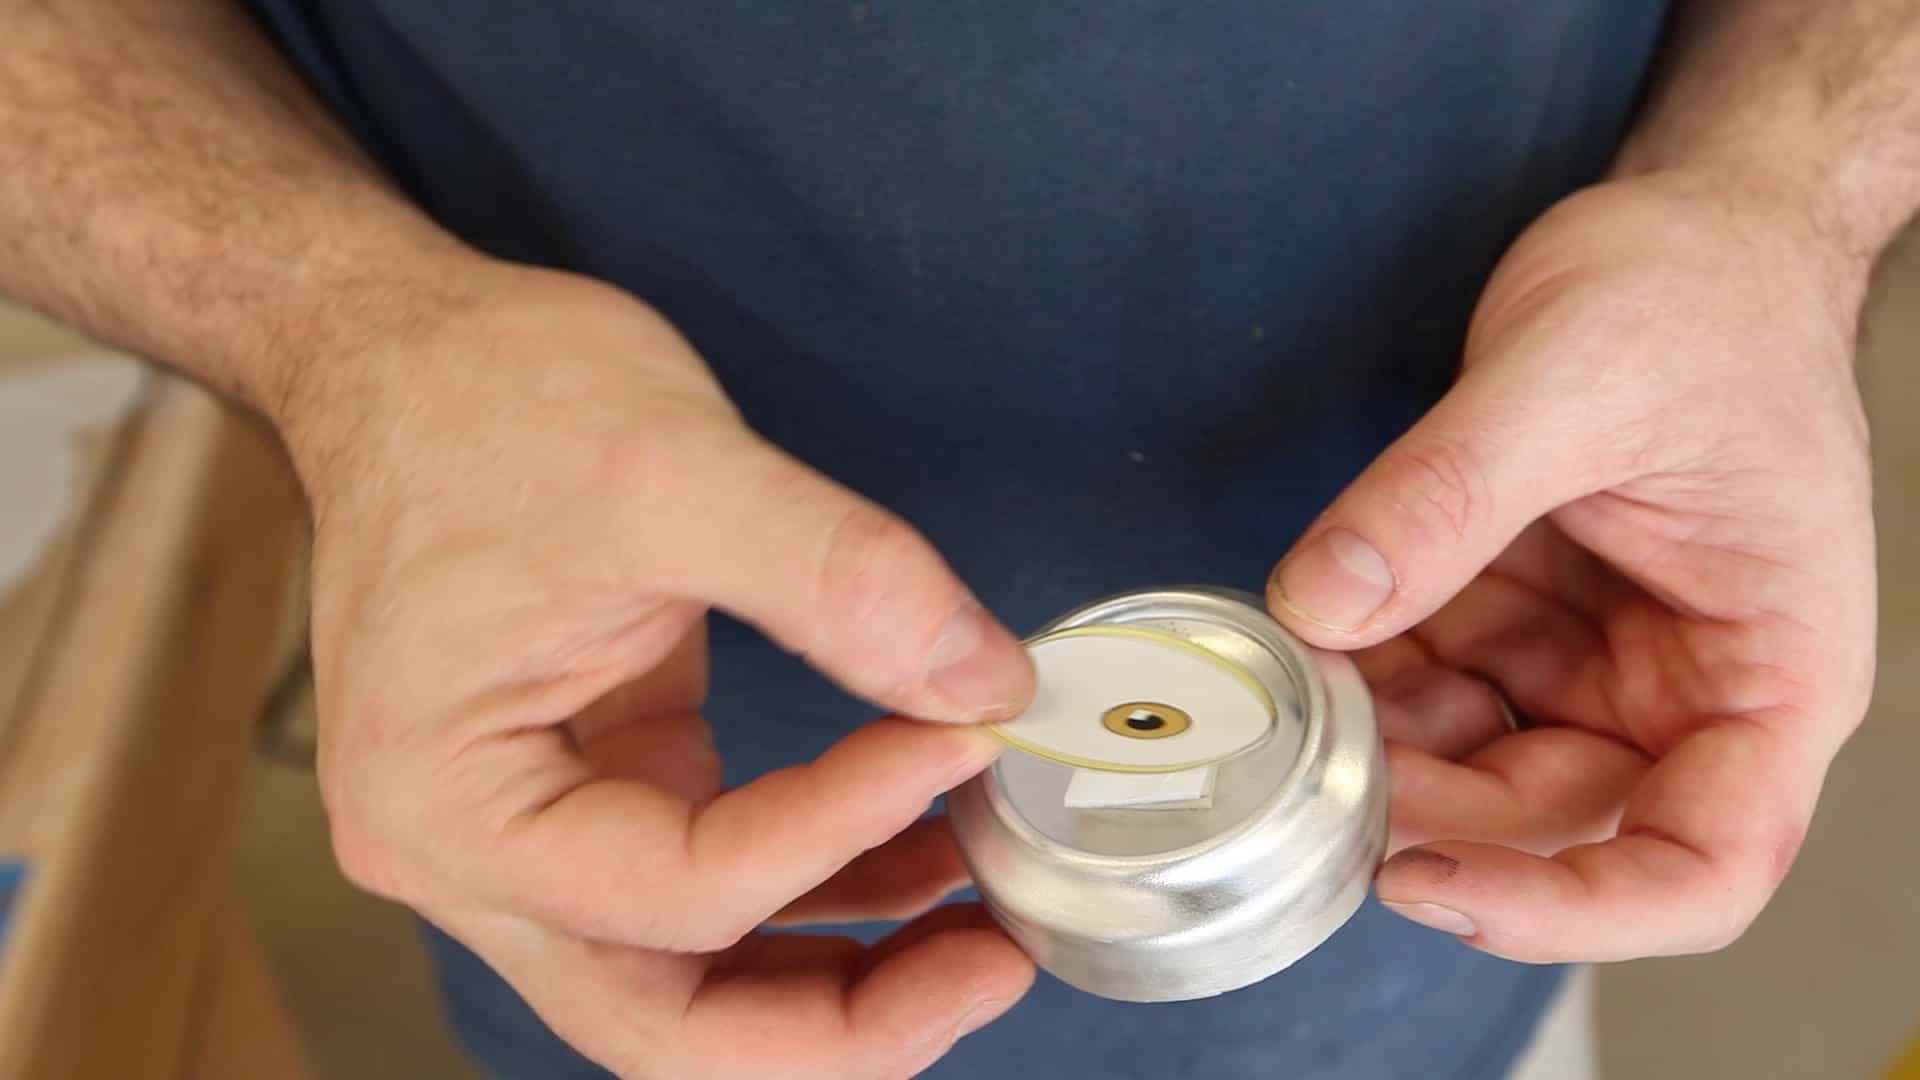
You can download Minion Eye cutouts from the Minion’s website. Just use double sided tape or hot glue to attach them to the center of the soda can.
 Step 11: Hot glue the eyes to the pumpkin

Once you’re soda can eyes are complete, just use some hot glue to attach them to the pumpkins. You could substitute double sided tape if you don’t have a hot glue gun.
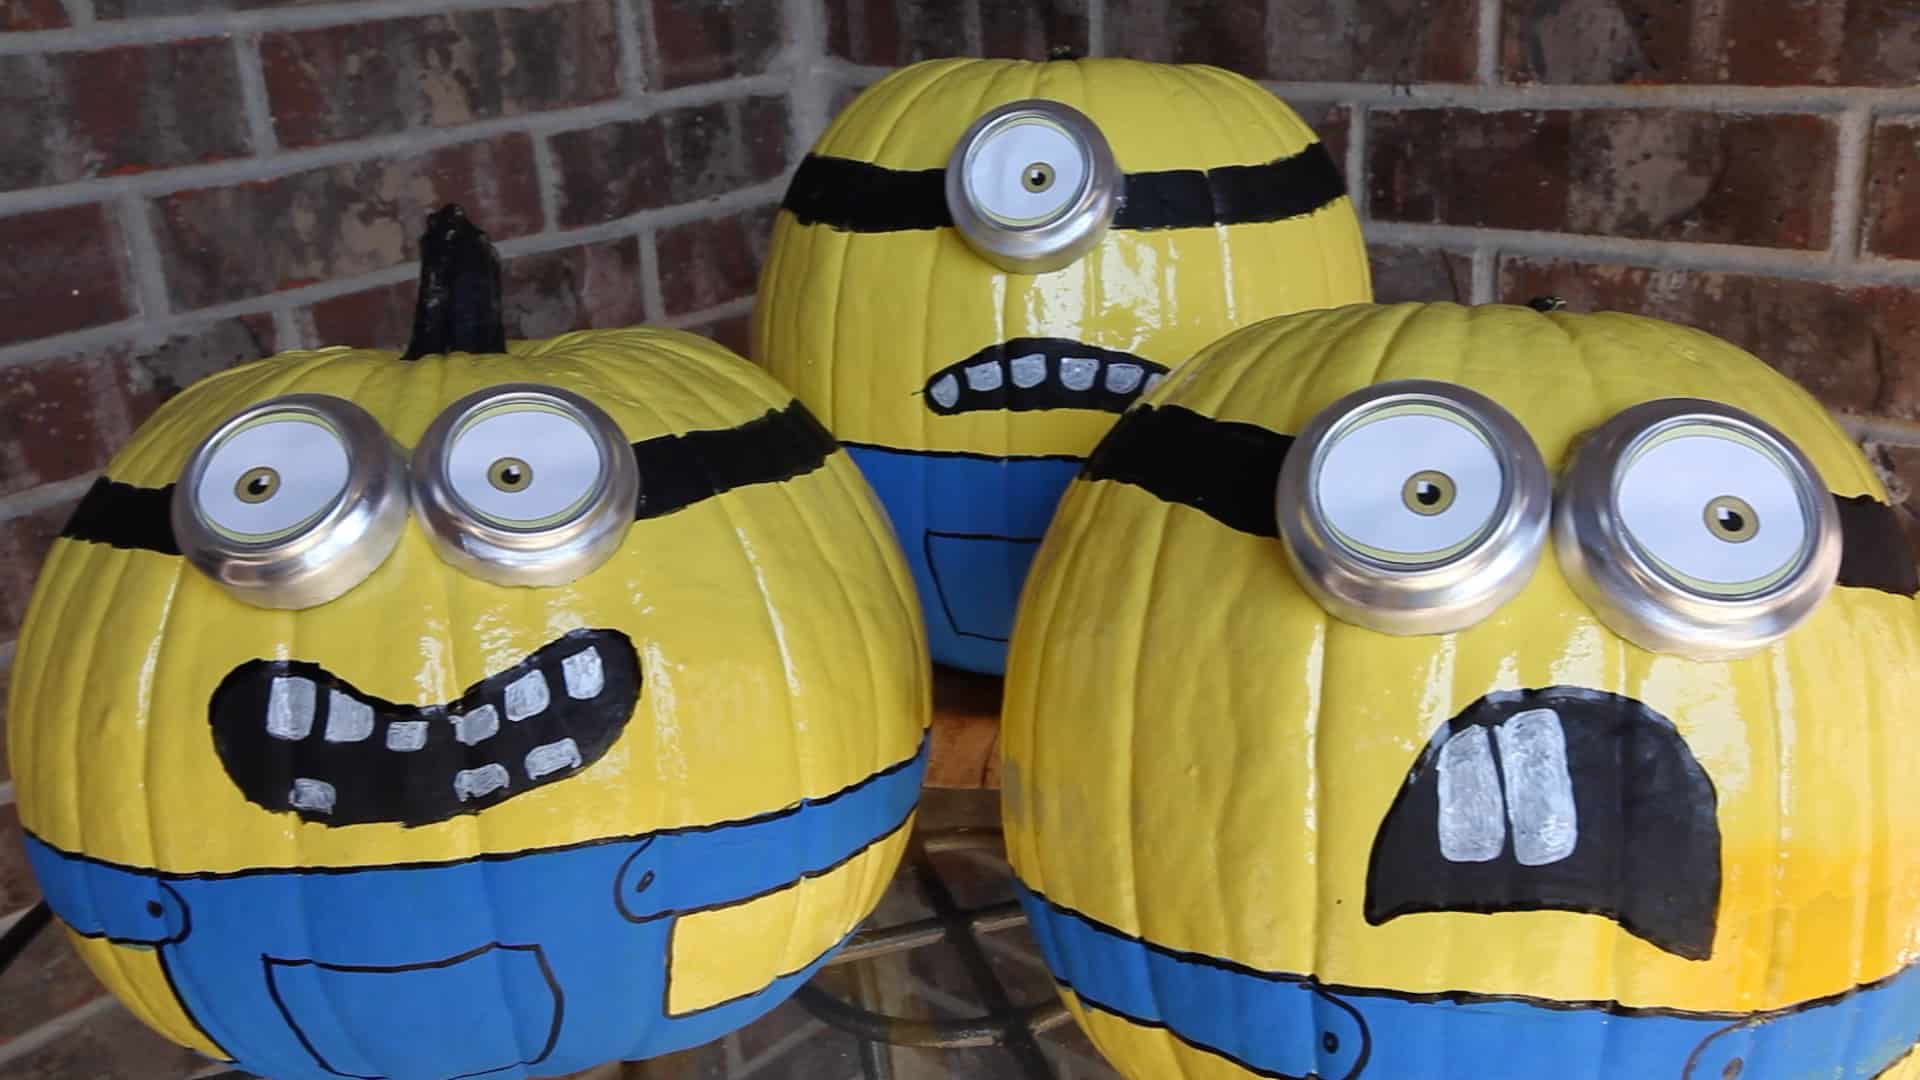
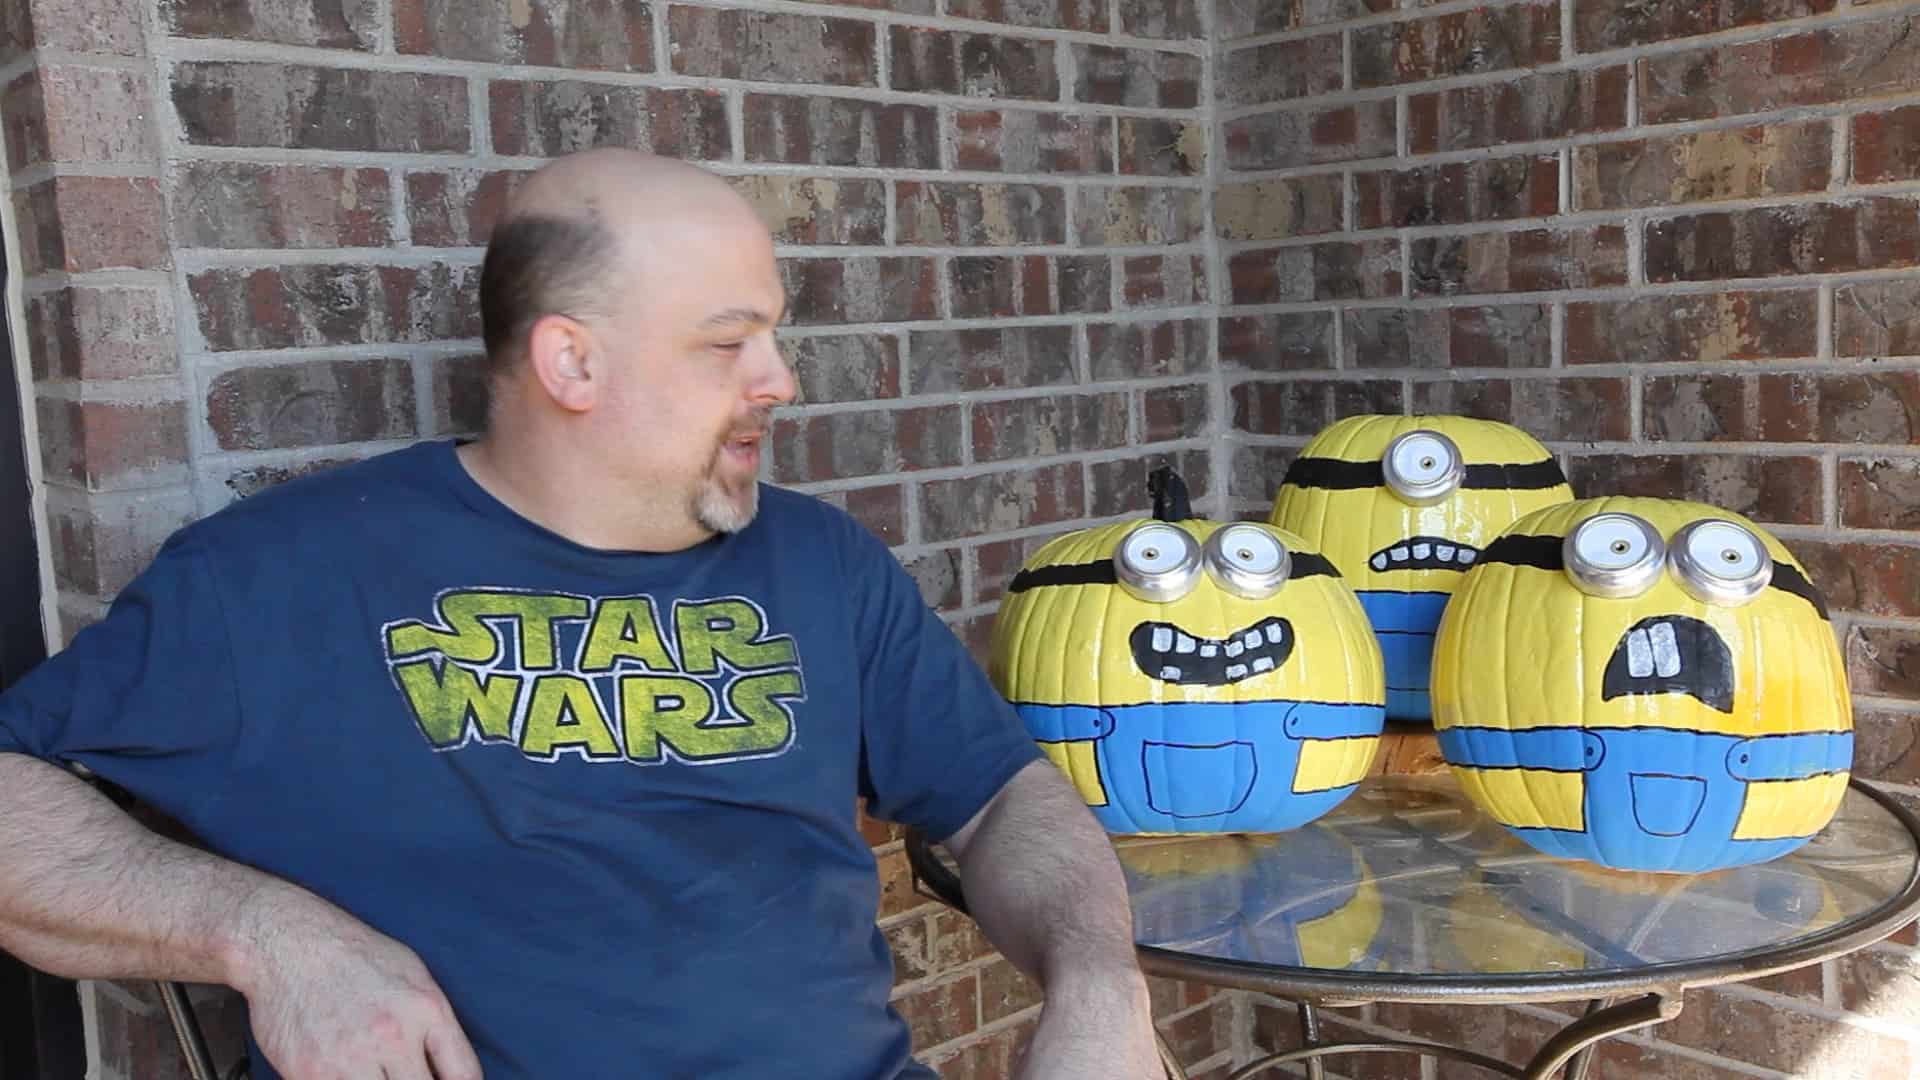
The Finished Minion-O-Lantern
And that’s all there is to making a super cool Minion Pumpkin for your Halloween decorations!
Video Transcript
Hey guys! It’s Mike from The Geek Pub. And on this episode we’re going to make these awesome Minion Pumpkins!
OK. So before we start our Minion Pumpkins we need to make sure that they are really clean. This will ensure that the paint adheres properly.
So as you’re probably aware, Minions are yellow and these pumpkins are orange. So the first thing we’re going to do is make them yellow.
So I am just using the tape a placeholder so that I can use it as a straight edge to draw my lines and this will be for his pants.
So now that I have the basic outline of their pants drawn, I’m just going to use this blue acrylic paint to paint it on.
Of course, he wouldn’t be a very good Minion if he didn’t have a mouth.
Once the first coat dries you’re going to want to come back and add a second coat and really refine your lines.
OK. I’m just going to use a paint pen to trace out his clothes and draw on his belts.
Then we’ll use a white paint pen to paint on his teeth.
And now we just need to paint on his head-strap.
To make the Minion’s eyes I am just going to use the bottom of a soda can and in order to make it look more authentic I’m going to remove the manufacturer’s paint off the sides of the can. I’m just going to use the wire wheel on the grinder to do that.
OK. So I got these little Minion eye ball print outs from the Minion website and those will just stick right into the middle of the cans.
And I’m just going to attach their eyes with a little hot glue.
Well it looks like I found me some new buddies. Well hey this is an awesome project if you are looking for a project that is a no carve pumpkin. You can cut out the tin cans for your children after the project is finished and then just put it on for them. Well hey guys! Please don’t forget to like this video and subscribe.
Great project and thanks for the inspiration. The grandkids love it!
Absolutely! Thanks for being a fan or my work!
Minion Pumpkins rule! These are the best minion pumpkins I have seen yet! Awesome job!
You are so incredibly creative. This is so neat!!!!!
Thanks Jason!