So here you are with the computer you grew up with sitting right in front of you, and all of your disks are dead. So how do transfer files to an Apple II? There’s great news! It’s easier than you could ever imaged!
You’re going to need a few things to make this work properly. As with any project there are few prerequisites! You might already be able to guess what a few of them are! We’re going to be using the tape input port to transfer files to an Apple II from the internet! You’ll need a few accessories to make that happen.
![]() Seriously. Take my advice on this one. Recover what you can from those old floppies that you pulled out of the attic and simple toss them in the garbage. You’ll save yourself a ton of grief down the road when you later realize they aren’t working and you just lost everything you spent all of your time working on. Any disk that’s spent decades in storage is suspect at best and will likely fail imminently!
Seriously. Take my advice on this one. Recover what you can from those old floppies that you pulled out of the attic and simple toss them in the garbage. You’ll save yourself a ton of grief down the road when you later realize they aren’t working and you just lost everything you spent all of your time working on. Any disk that’s spent decades in storage is suspect at best and will likely fail imminently!
Amazon has a great deal on boxes of diskettes. Grab a new box or two. I can’t stress this enough. Do it.
![]() To transfer files to an Apple II, we’re going to do it by connecting a PC, Mac, iPhone/iPad, or Android device to the back of the Apple II using a 3.5mm audio cable. Don’t skimp out.
To transfer files to an Apple II, we’re going to do it by connecting a PC, Mac, iPhone/iPad, or Android device to the back of the Apple II using a 3.5mm audio cable. Don’t skimp out.
Grab this quality 3.5mm audio cable. It’s only 4 bucks and will save you a lot of headache. Additionally, if you are using an iPhone 7, you’ll need to use a lightning to headphone adapter. One should have been included with your iPhone 7, but if you’ve lost it, grab a new one here.
Now that you’ve got everything you need, it’s time to set everything up and plug it in. Start of course by setting your Apple II, Apple II+, or Apple //e up on your desk:
The Apple II connects to a monitor or TV set using a composite connection. A composite connection uses a single RCA connector (many times they are color coded yellow). If your cable has three RCA connectors (yellow, red, and white) just leave the red and white connectors disconnected at both ends.


The Apple II uses several style of disk drives. It either has a ribbon cable or a DSUB style cable. If it is a ribbon style it will connect internally to the Disk II card inside the Apple II. For a DSUB style it will connect to the back of the Apple II in the only open 19-pin DSUB connector. If you have more than one drive they will daisy chain to each other using the 19-pin DSUB on the back of the Apple Disk II unit.


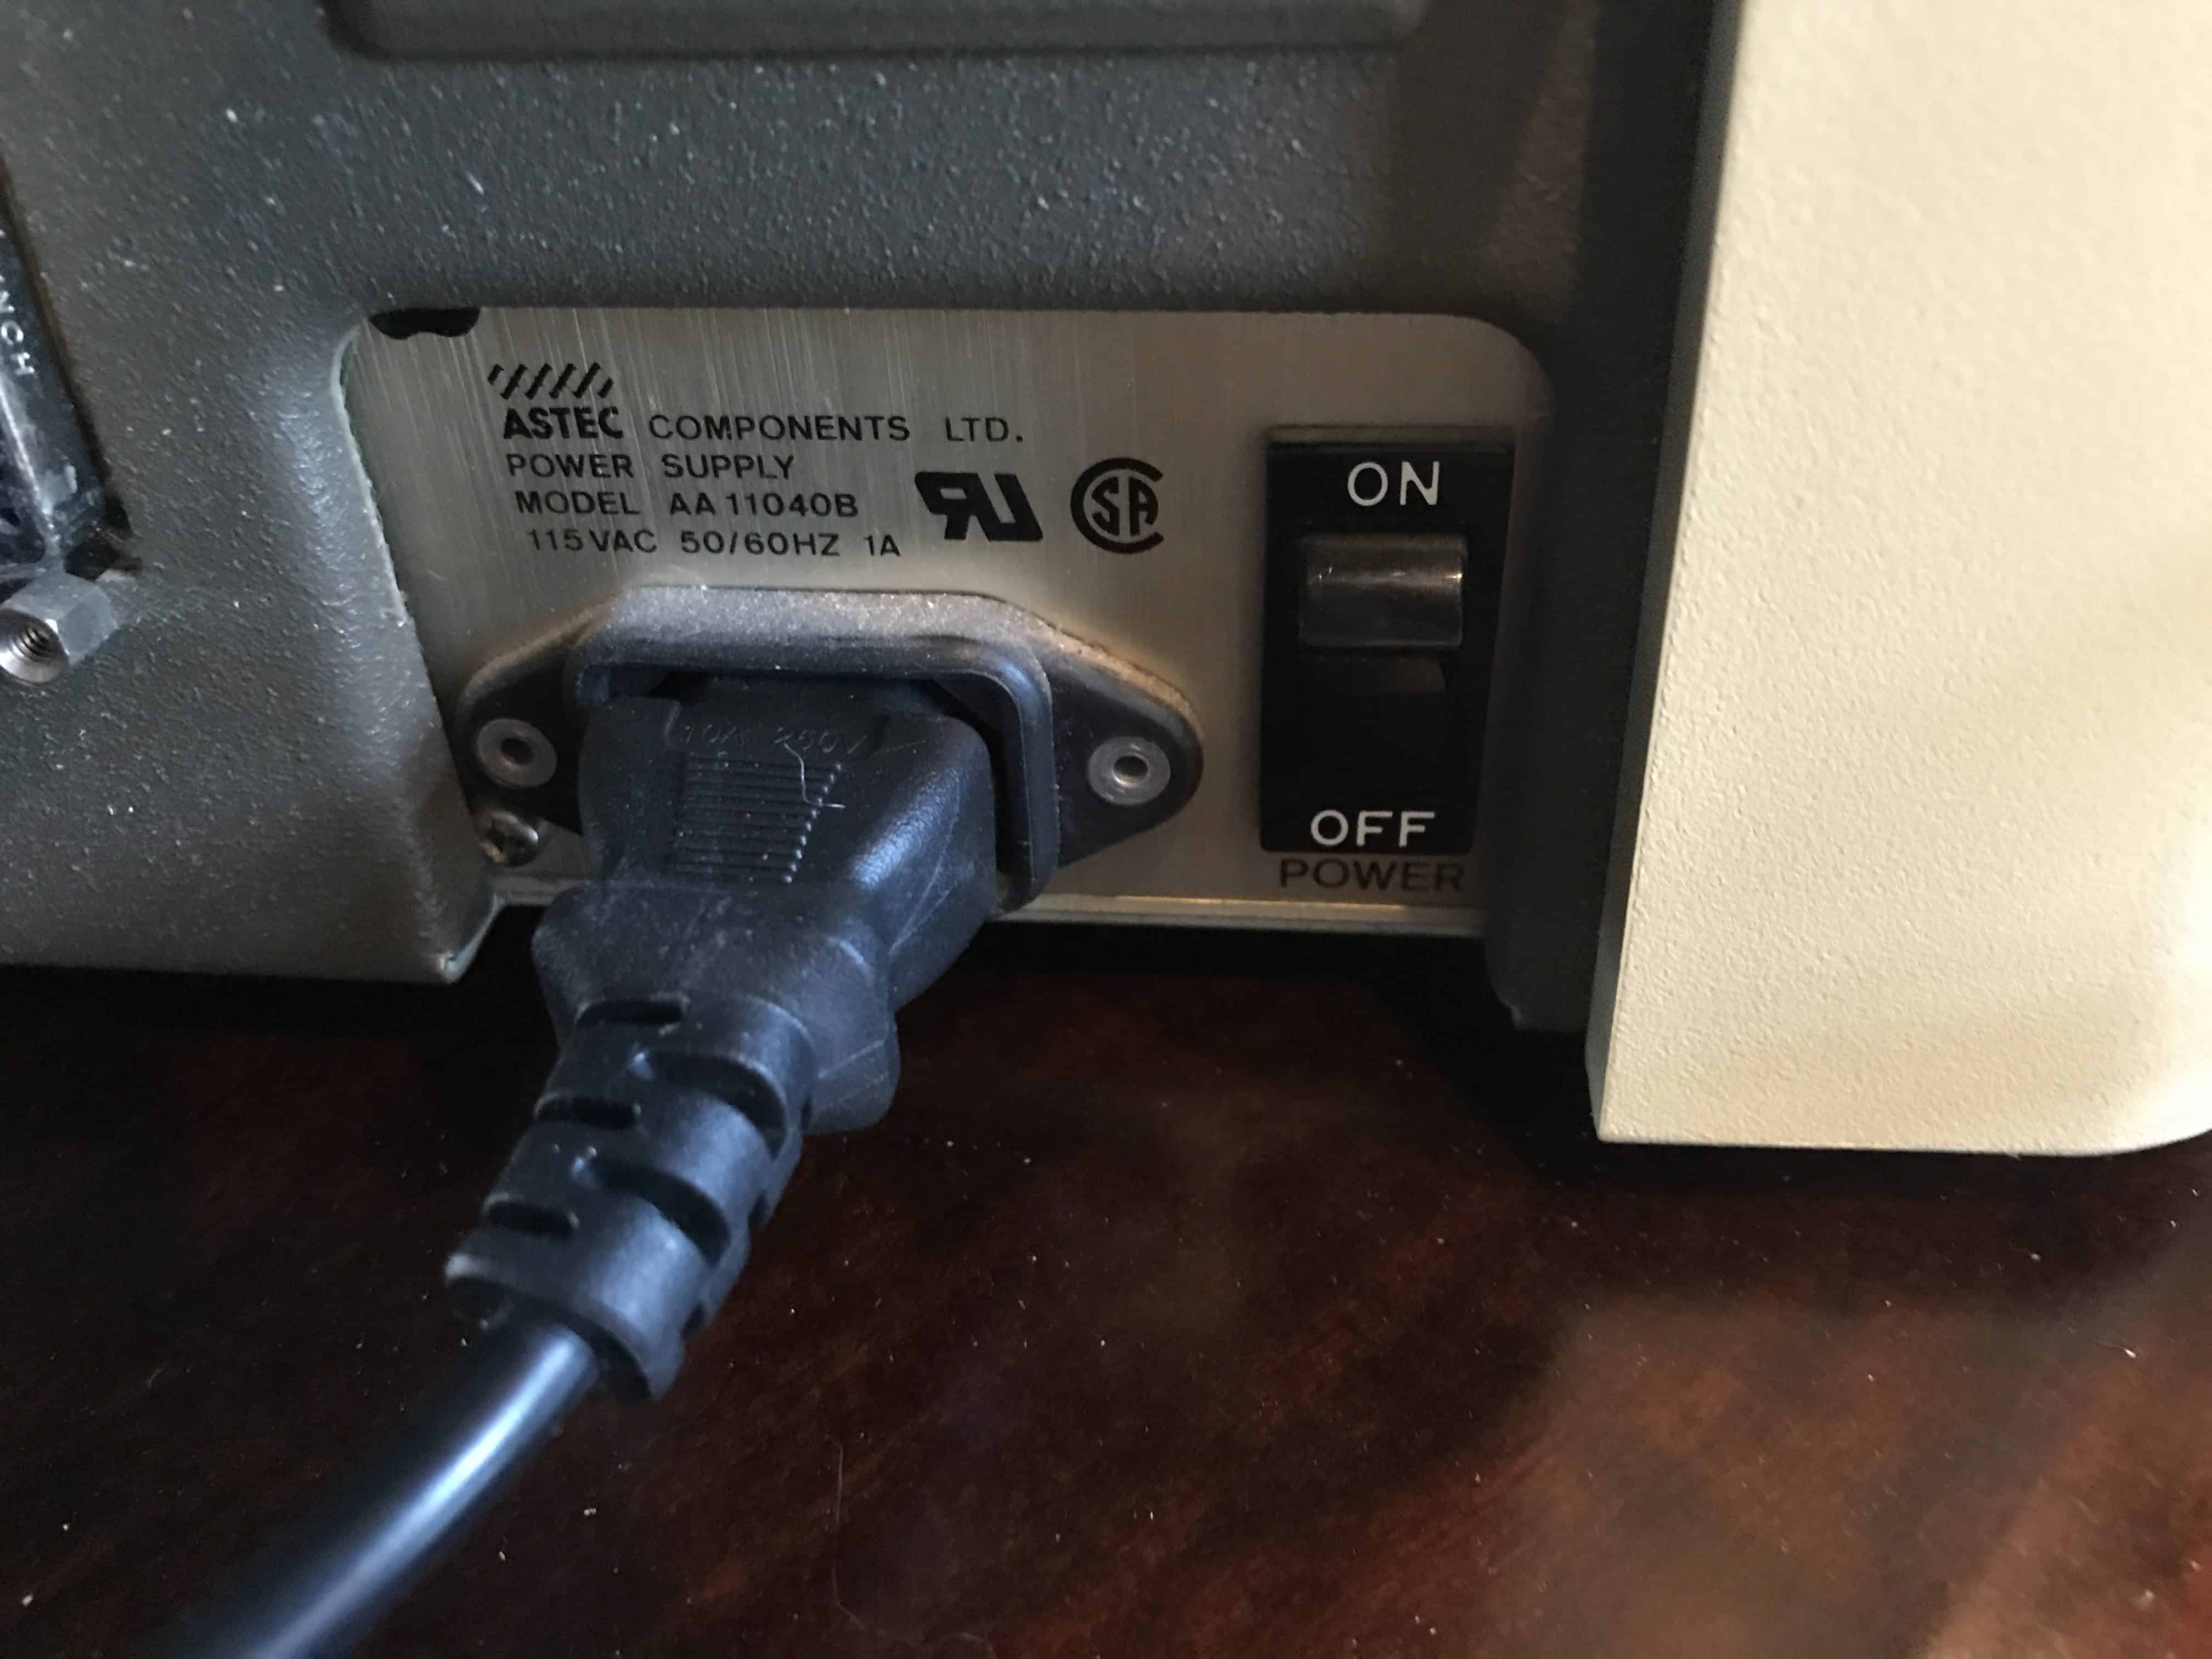
The Apple II uses the same power cables that modern computers use called an IEC-C13. If you can’t find the one that came with your Apple II, and PC power cord should do the job nicely. Don’t forget to make sure the monitor is also plugged into power!
On the back of the Apple II you will find two 3.5mm audio jacks. One has an arrow pointing in, the other has one pointing out. Connect your 3.55 mm audio cable to the jack with the arrow pointing in since we will be transferring data to the Apple II from the internet. Connect the other end of the 3.5mm audio cable to the headphone jack on your PC, Mac, iPhone/iPad or Android device.


Insert a black non-formatted disk into the Apple Disk II Drive.

Now we’re ready to actually make the magic happen. The process to transfer files to an Apple II is is super simple and fun! One note of caution, if you’re using a smartphone for this, you may want to set your device on Do-Not-Disturb mode. Any call, text message, or application alert that happens during the transfer process will cause the transfer to fail and you’ll have to start over. Make sure to turn the volume up (both the master and the audio player). The most common reasons for failure are volume being too low (or too high), and the interruption of audio alerts from your device.
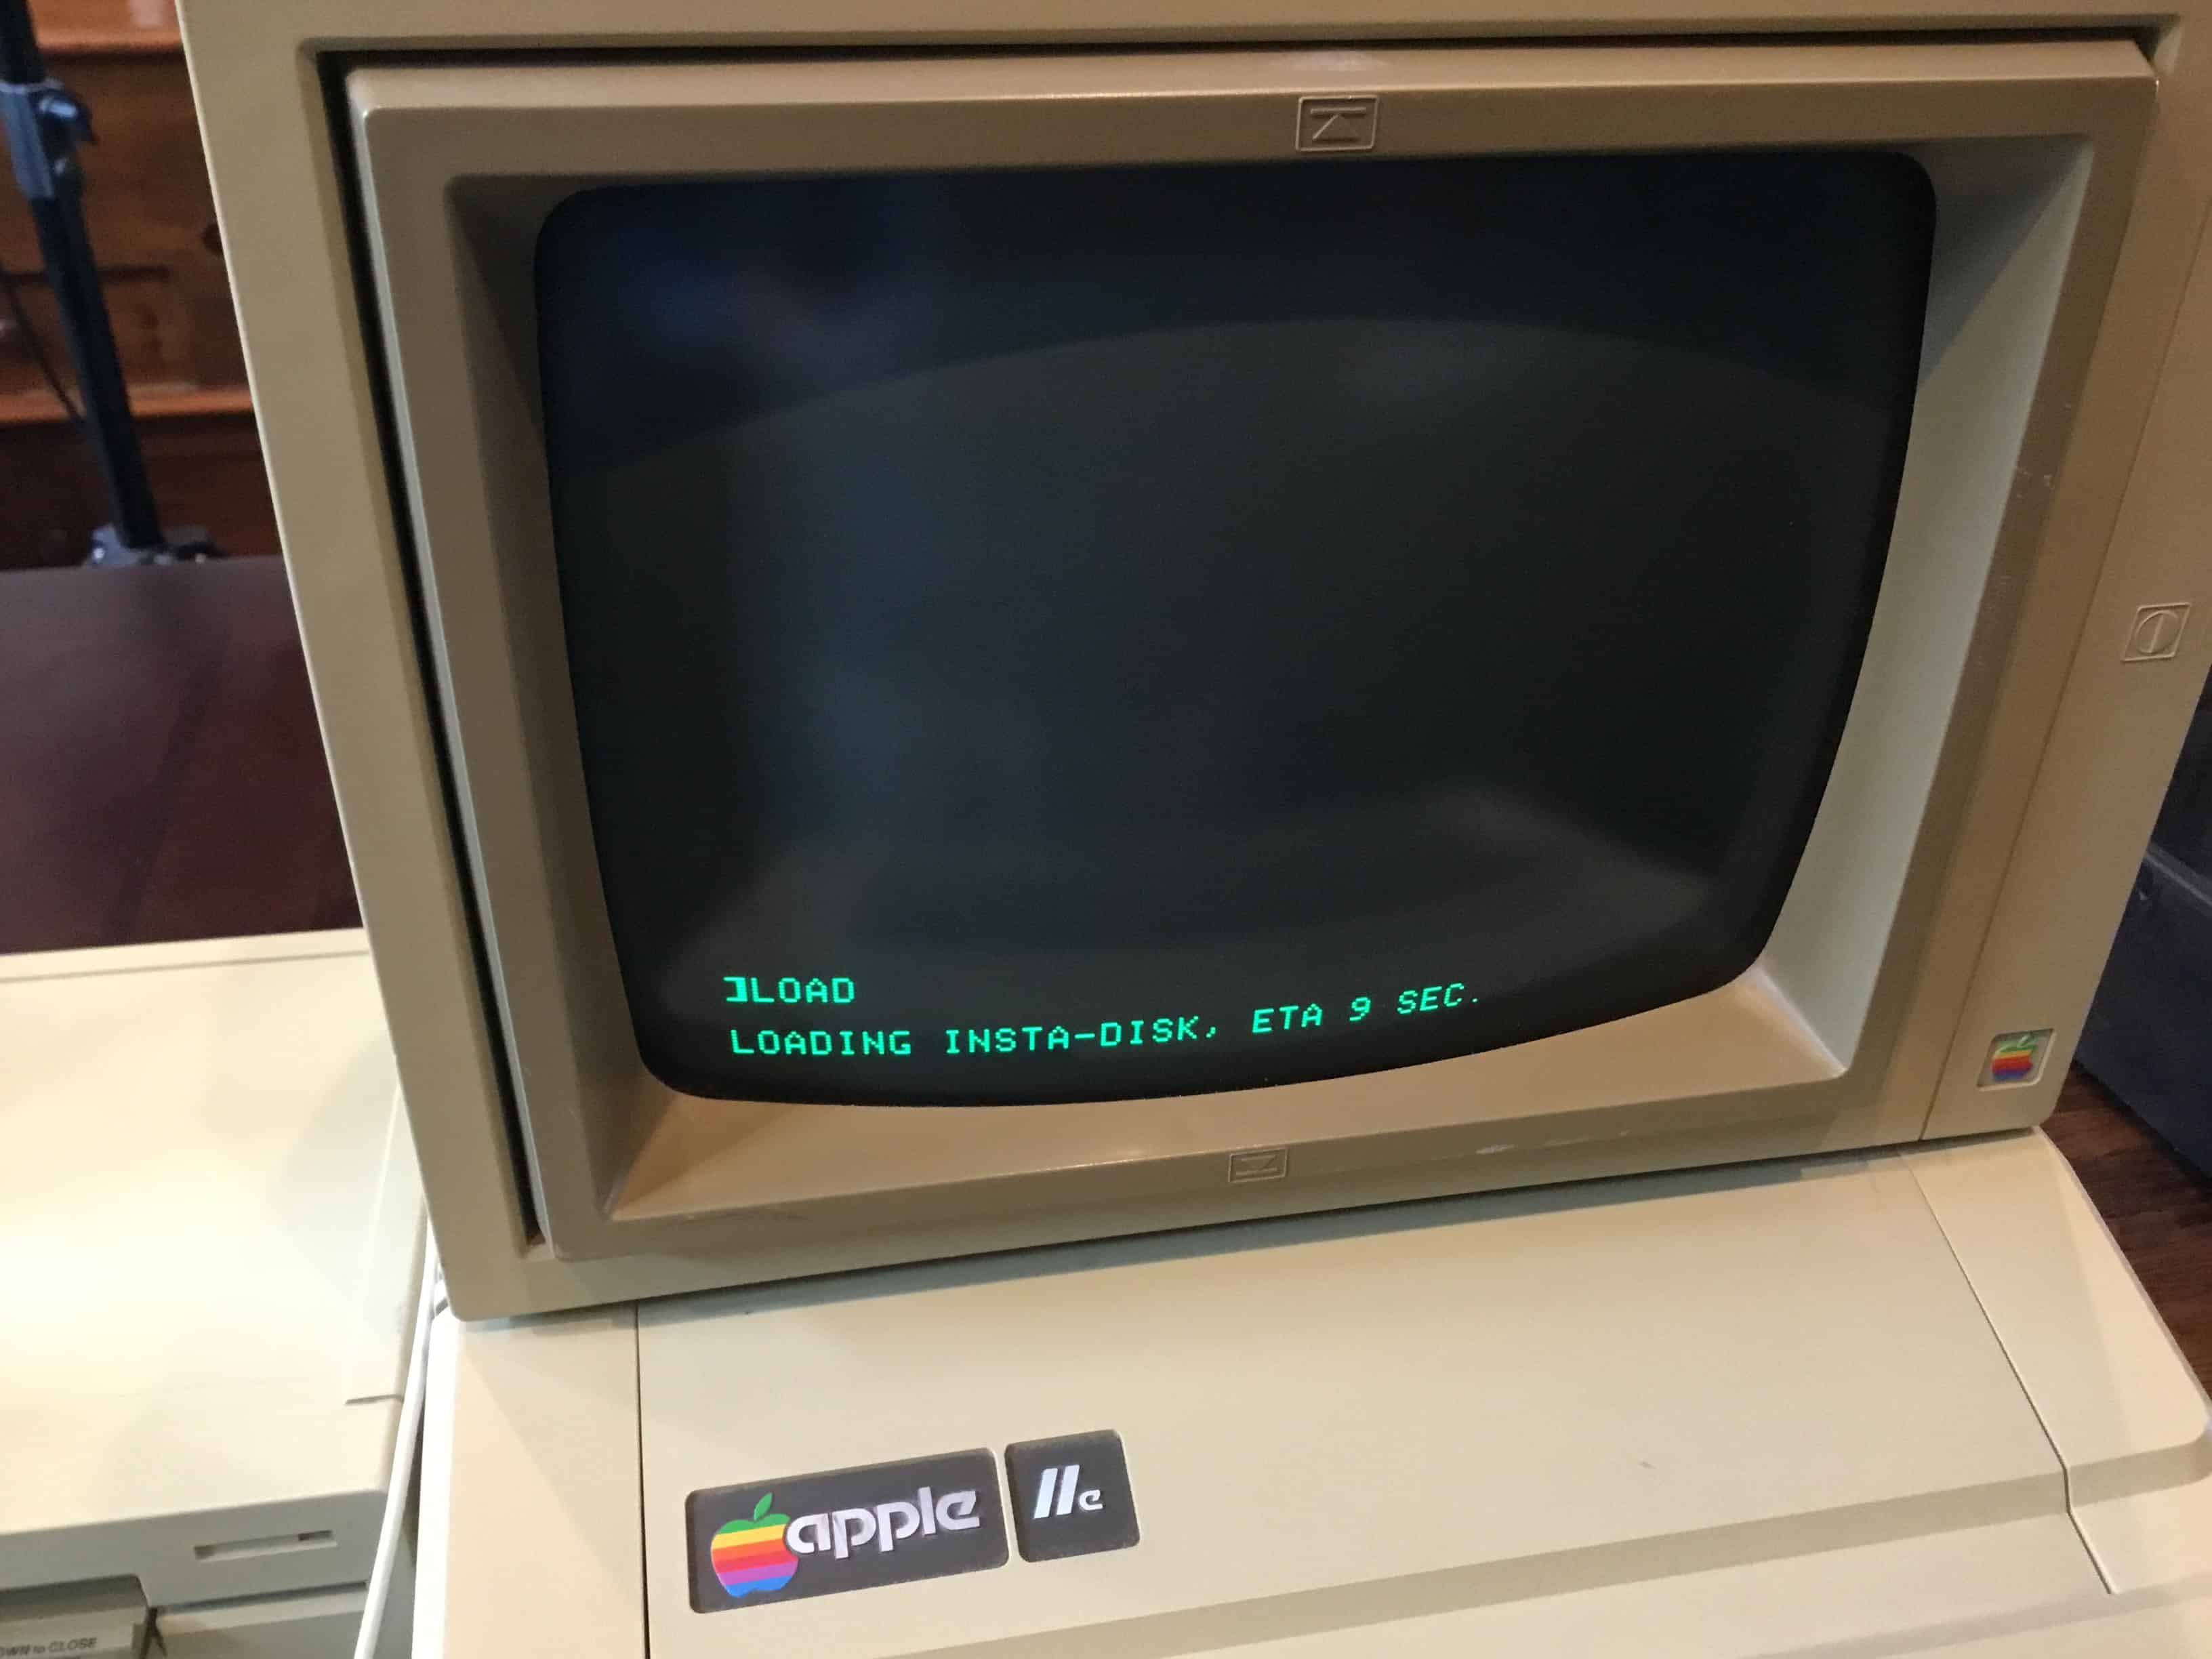
The Apple II will start, but since the disk in the drive is blank and not formatted it will not boot. You should however see the Apple II logo at the top of the screen. Press CONTROL+RESET to stop the Apple II boot process and deliver you to the ] prompt. At the Apple II ] prompt type: LOAD and press enter.
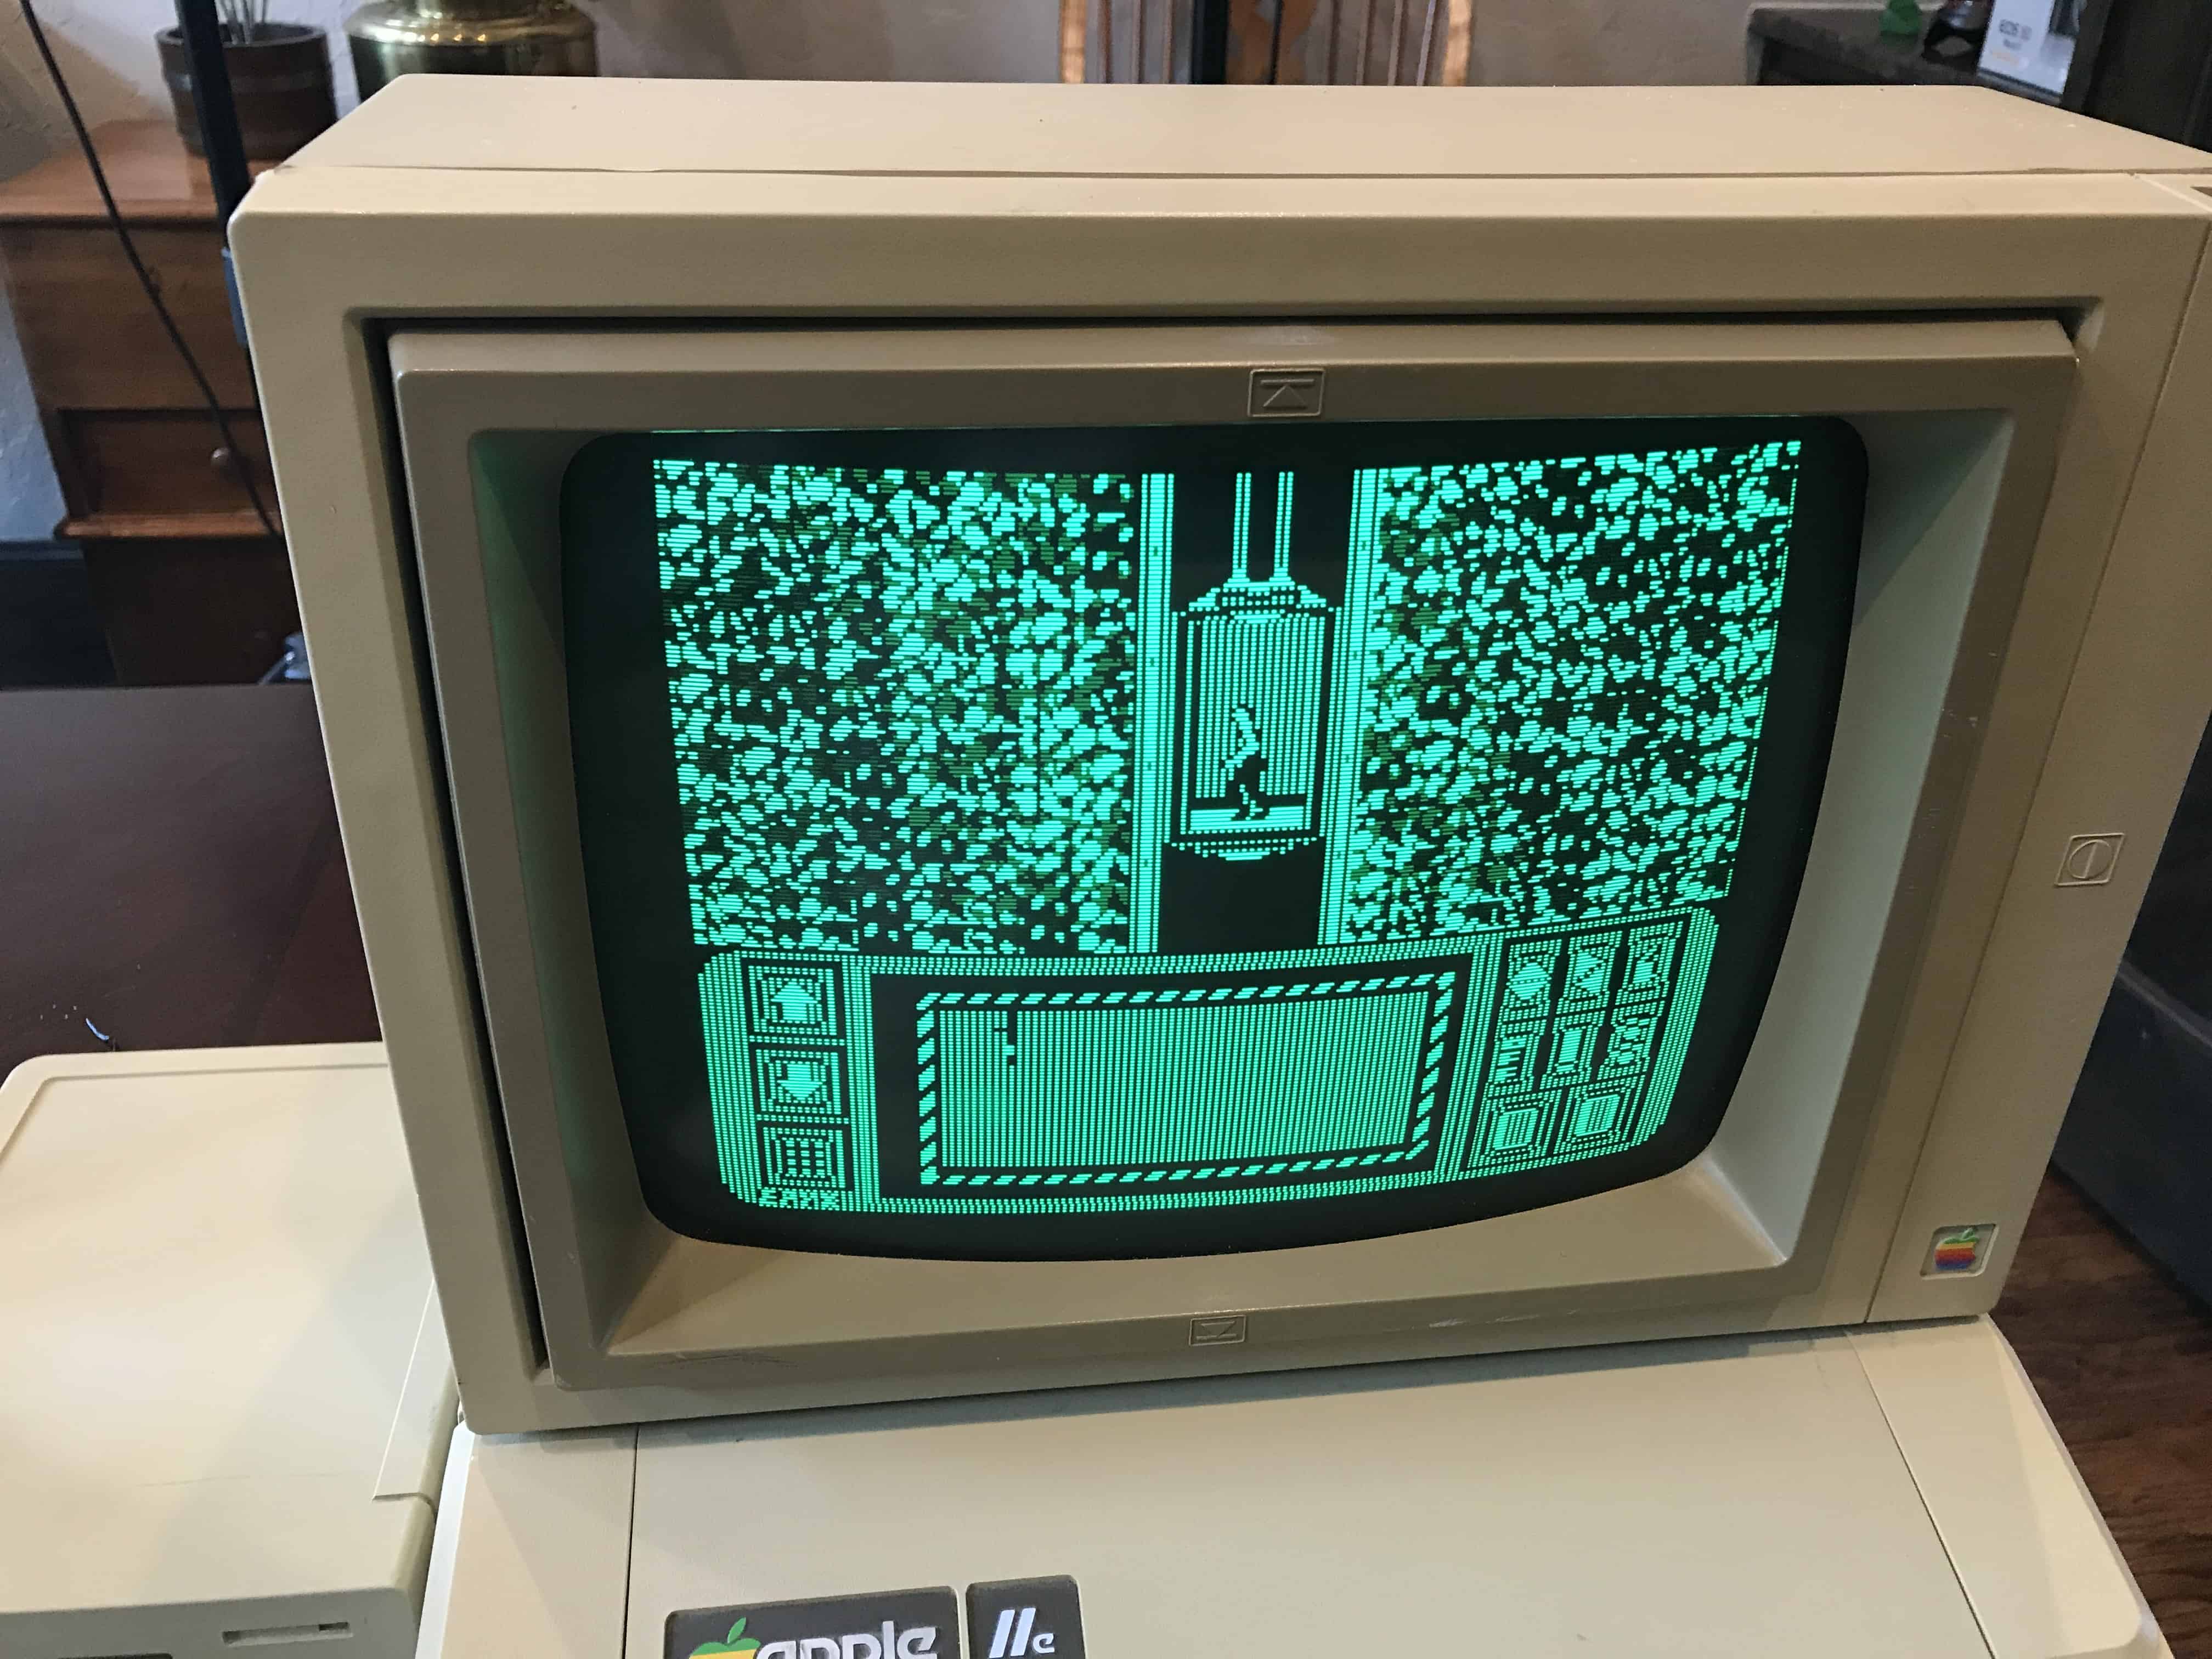
In your browser open the Apple Disk Server website. If you’re on a mobile device click the link for the mobile version. In my example, I will be using my iPhone 7 in the Safari browser. The game disk image I have selected is Impossible Mission. Simply tap impossible mission and you’ll be presented with a screen with four option. Format Disk (HIFI or 8KFI) and Do Not Format Disk (HIFI or 8KFI).
You’ll want to select one of the first two options under Format Disk. HIFI will load the disk images much faster, but isn’t always compatible. If you’ve tried adjusting the volume, and you know everything else is right (an you didn’t get any text messages, or alerts during the transfer) then you’ll need to use 8KFI. HIFI is about twice as fast as 8KFI, but some machines and board revisions just won’t work with it. If all else fails, 8KFI usually works. Basically put your Mac, PC, or Smartphone is emulating a tape drive to transfer files to an Apple II.


If it works the Apple II will beep within 2-3 seconds of pressing play on HIFI or 8KFI. Followed just a 5-6 seconds later by the message:
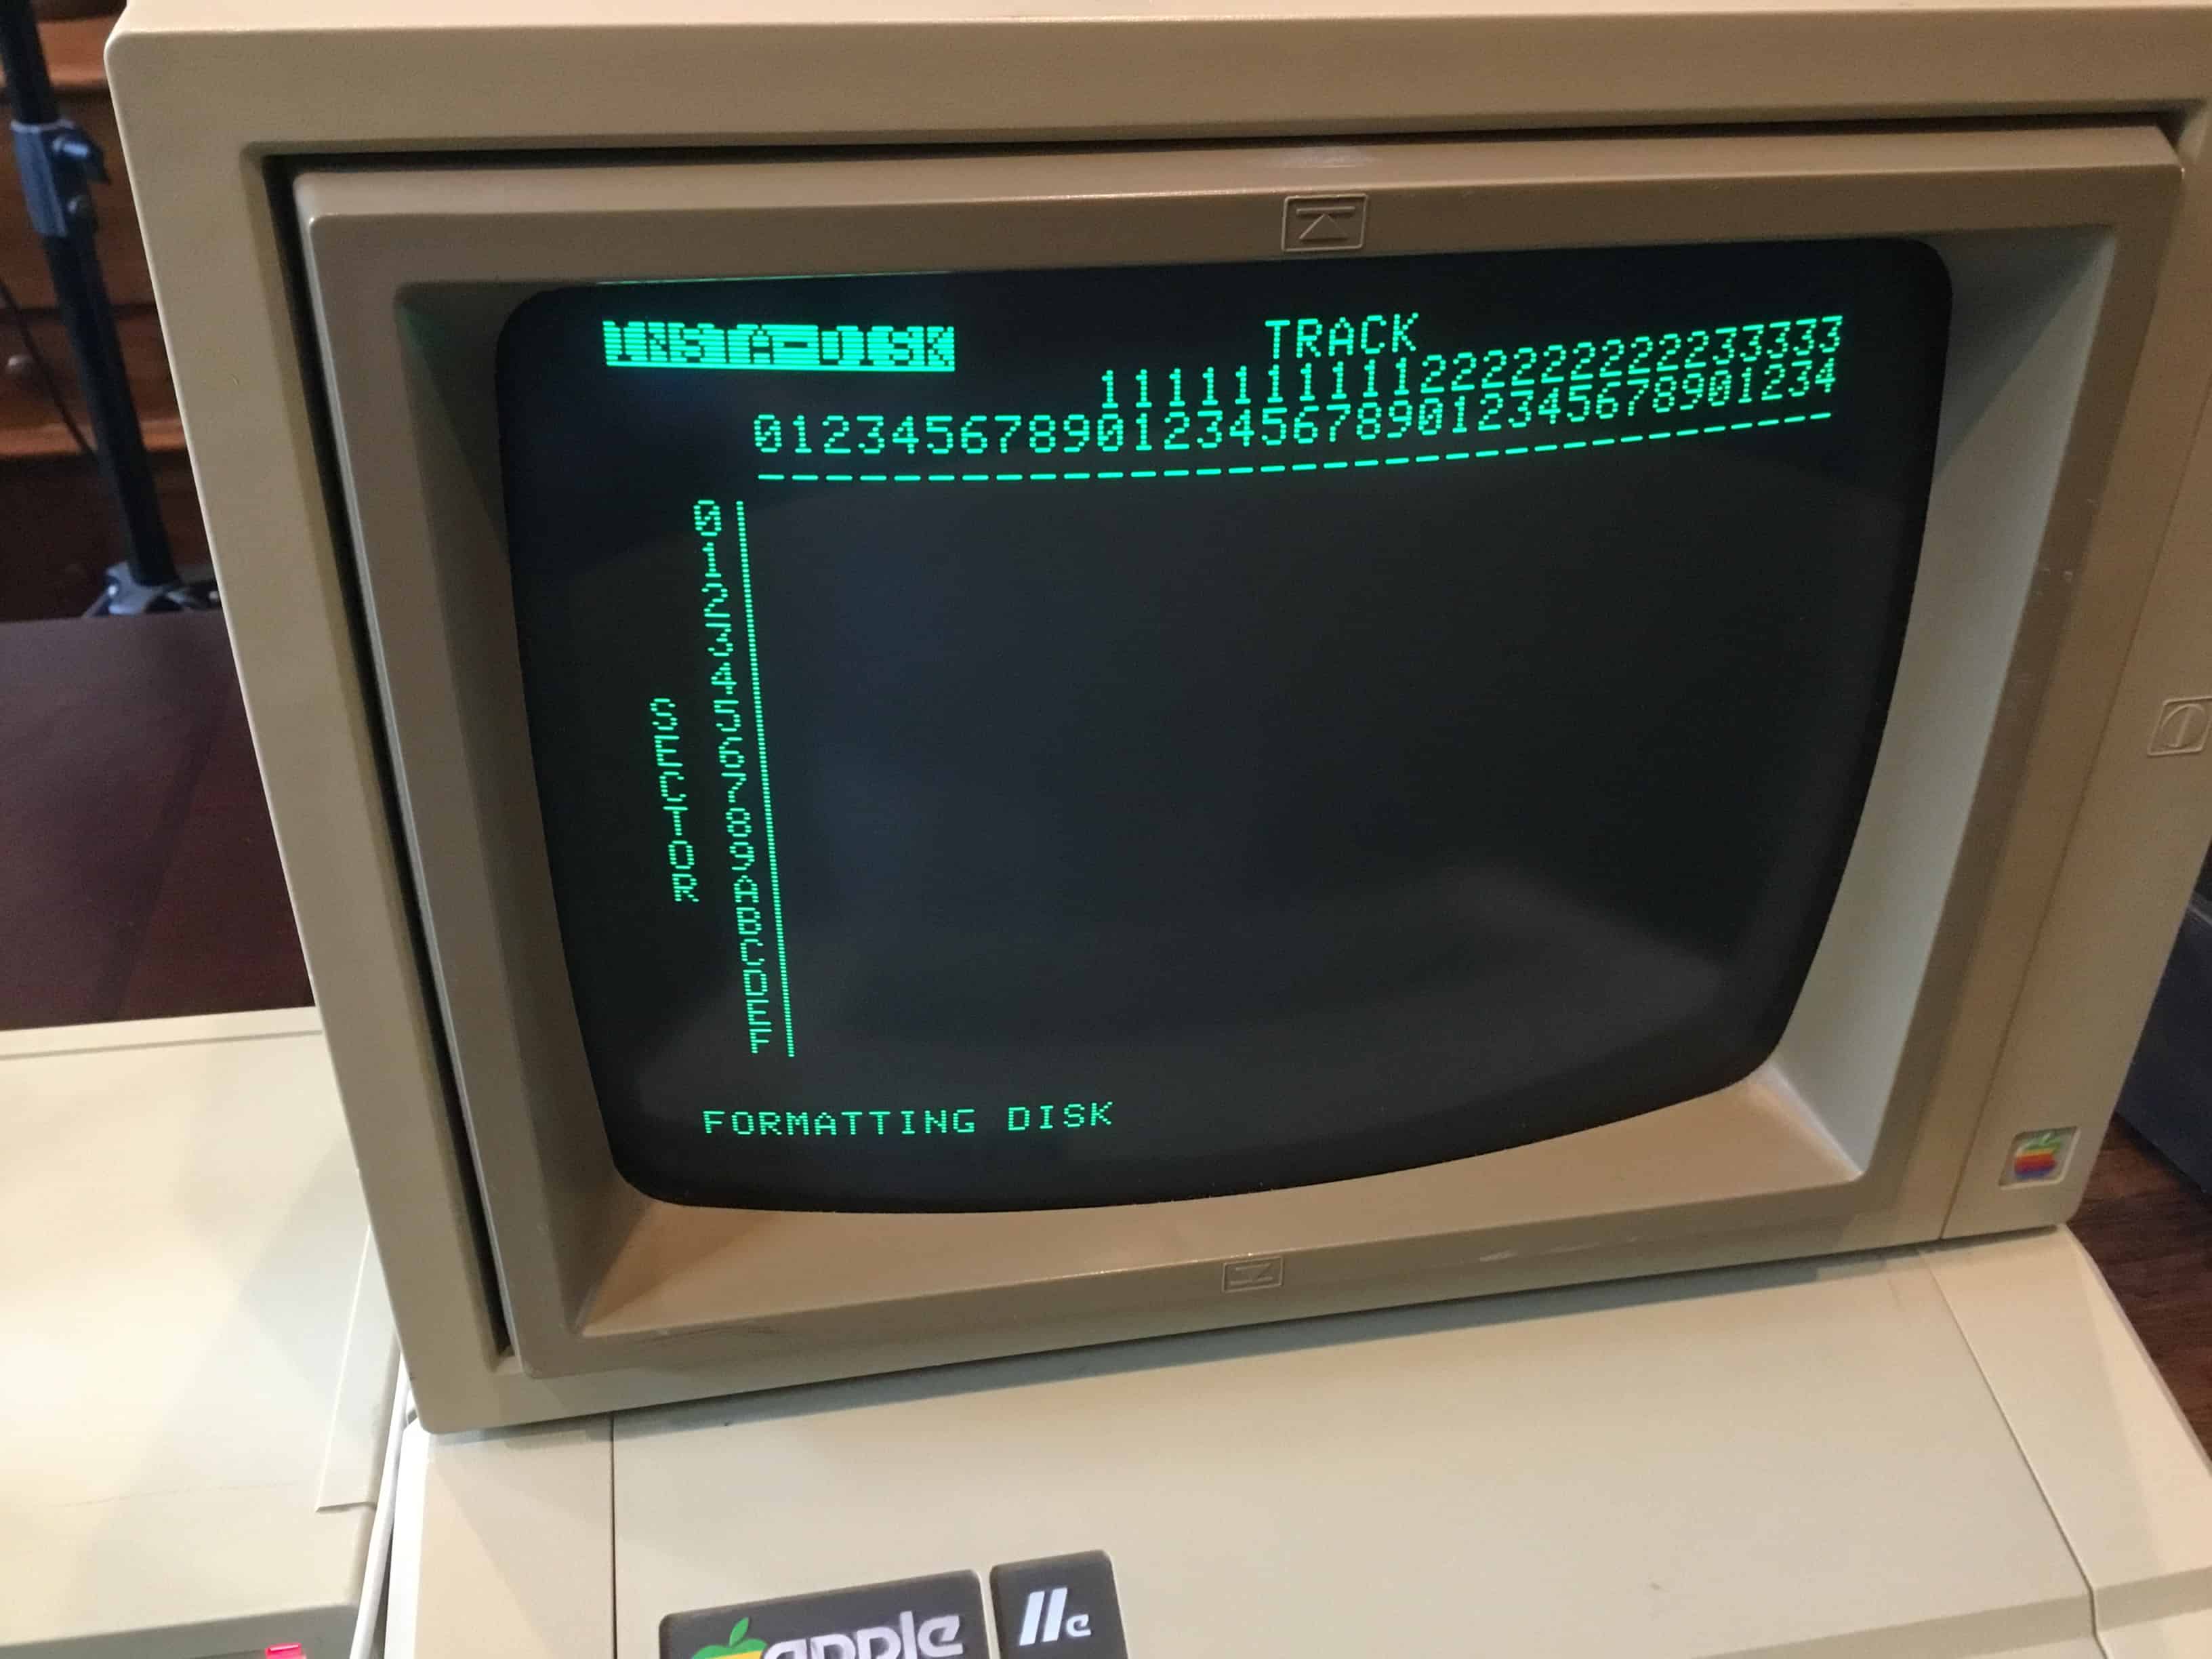
After the initial program load, the disk will be formatted. This will take about 20-30 seconds and will display its progress on the screen.
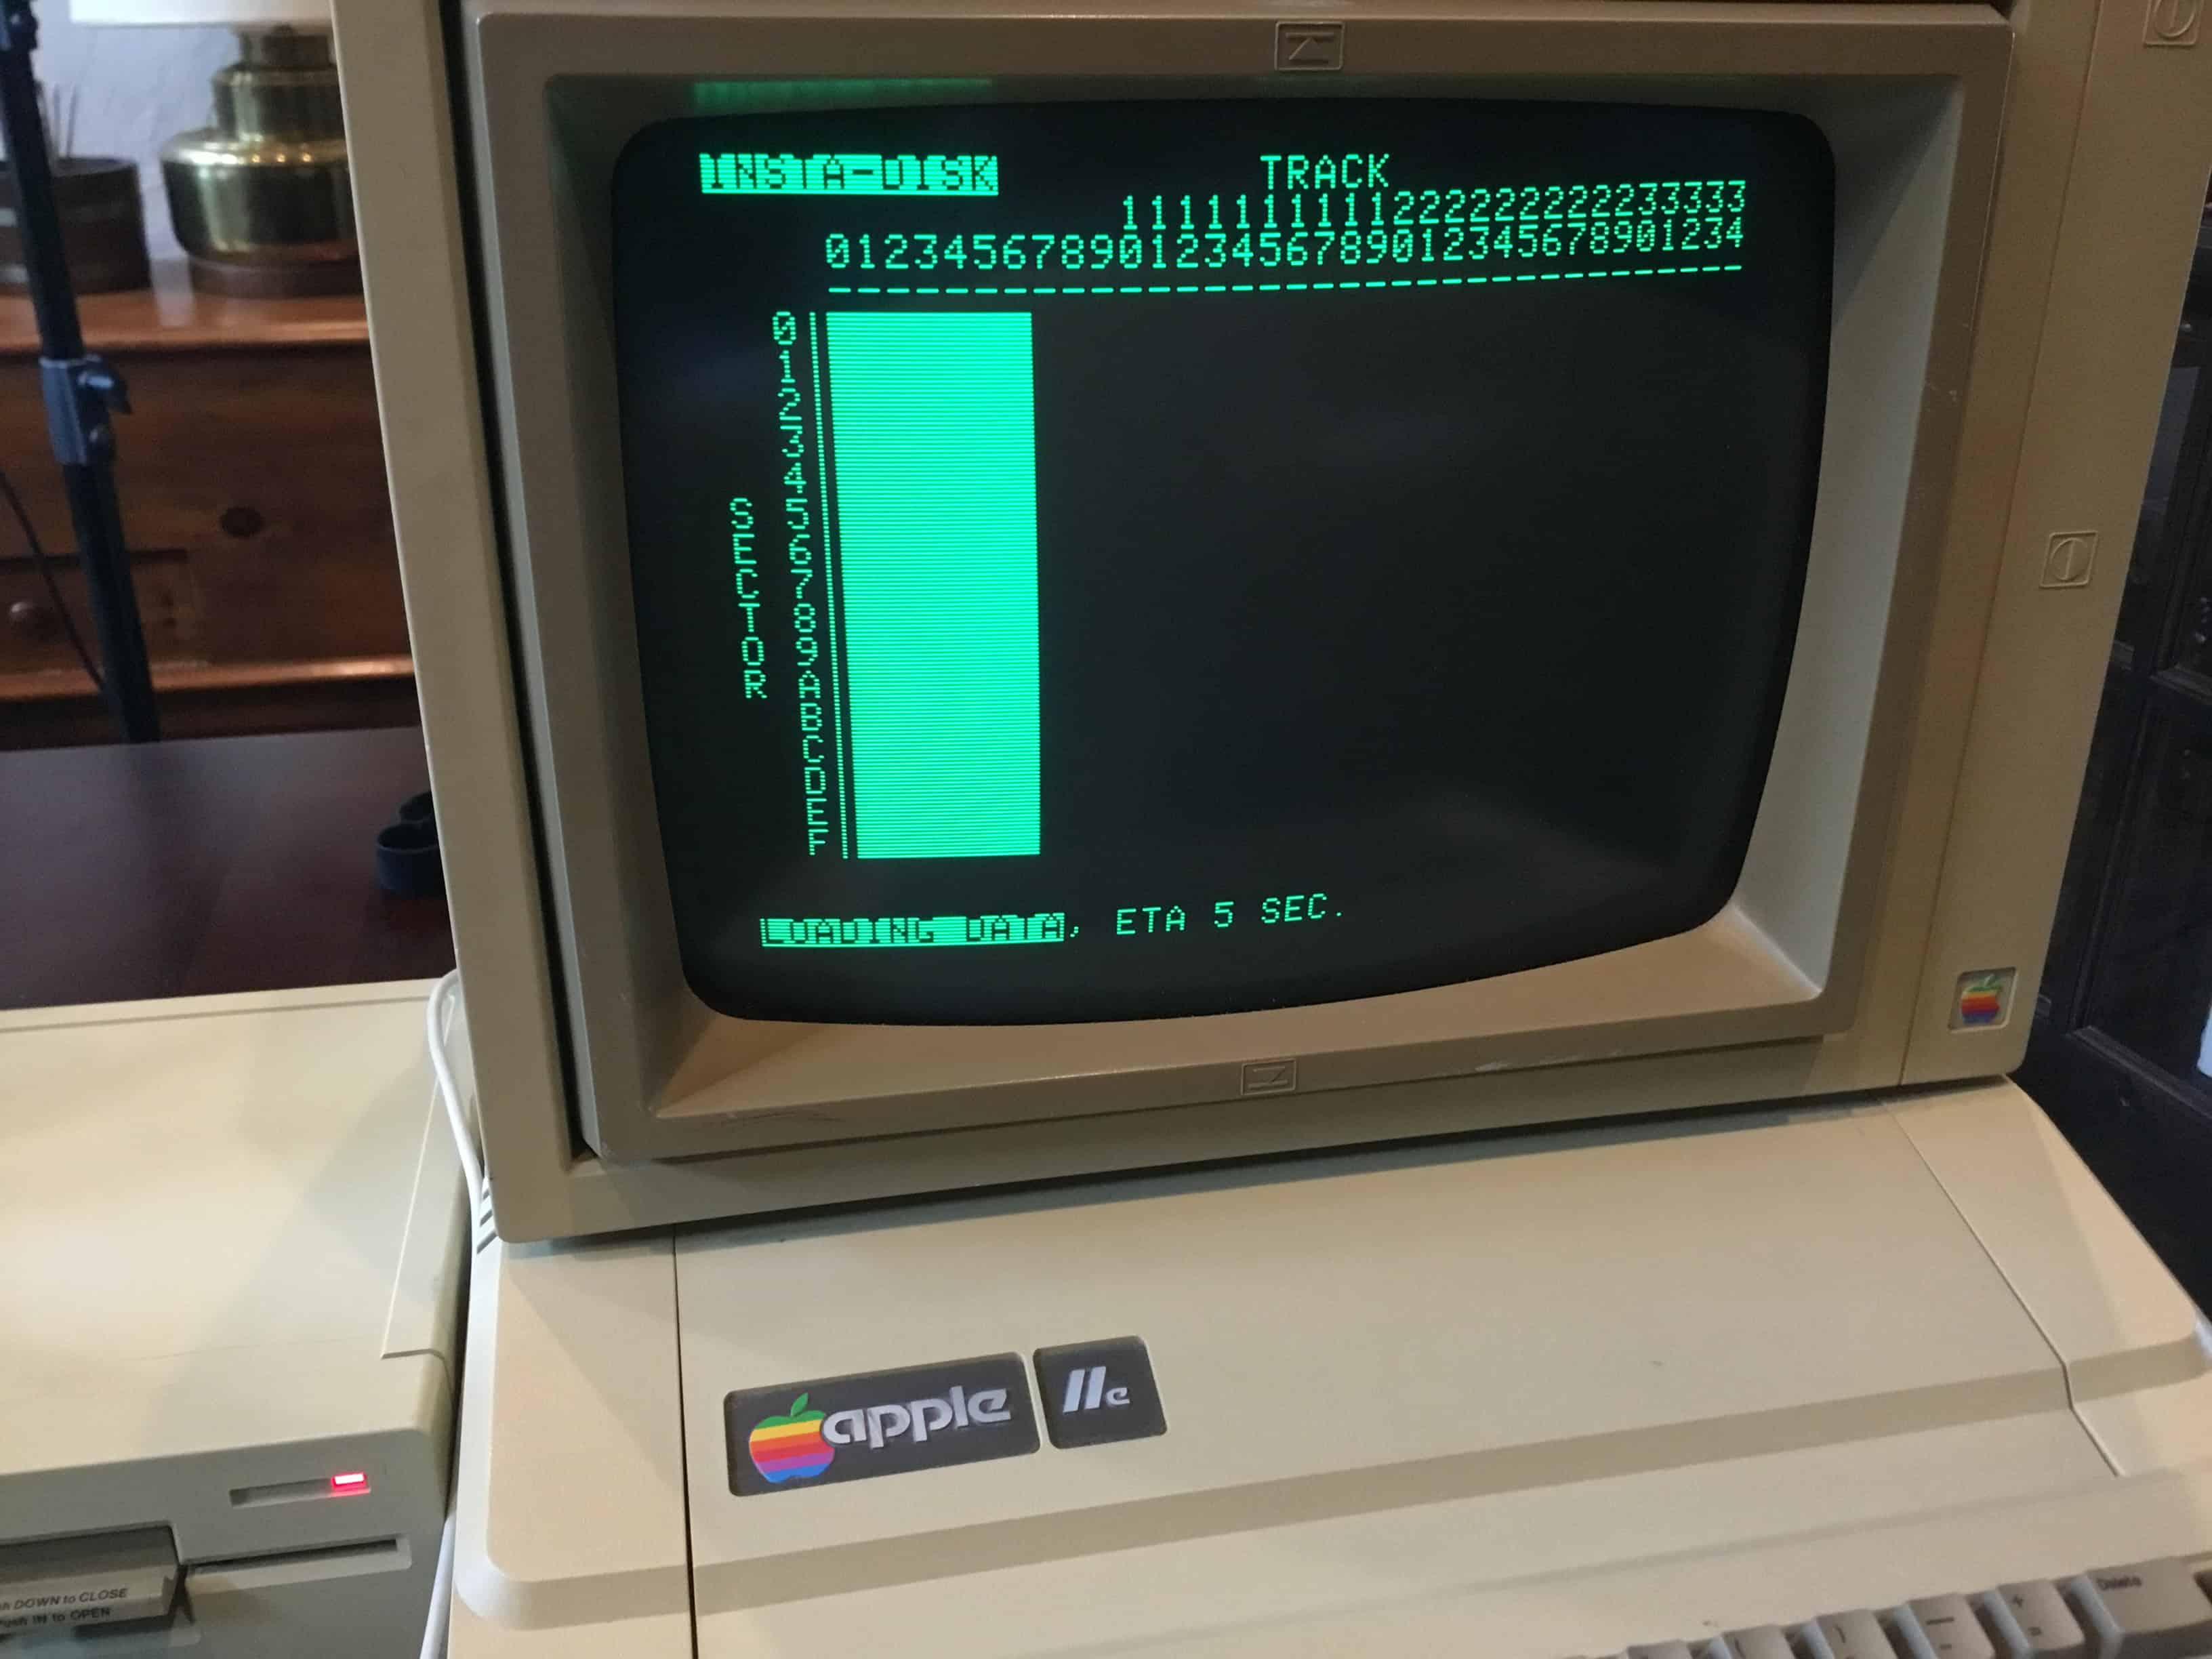
Once the format completes the Insta-Disk app will transfer the disk image from the internet (via the tape-in port) and expand the compressed image to the disk. This will happen in a few short bursts as the tape interface is slower than the floppy interface.
Once the disk image transfer is complete you will be prompted to press return to reboot your PC.
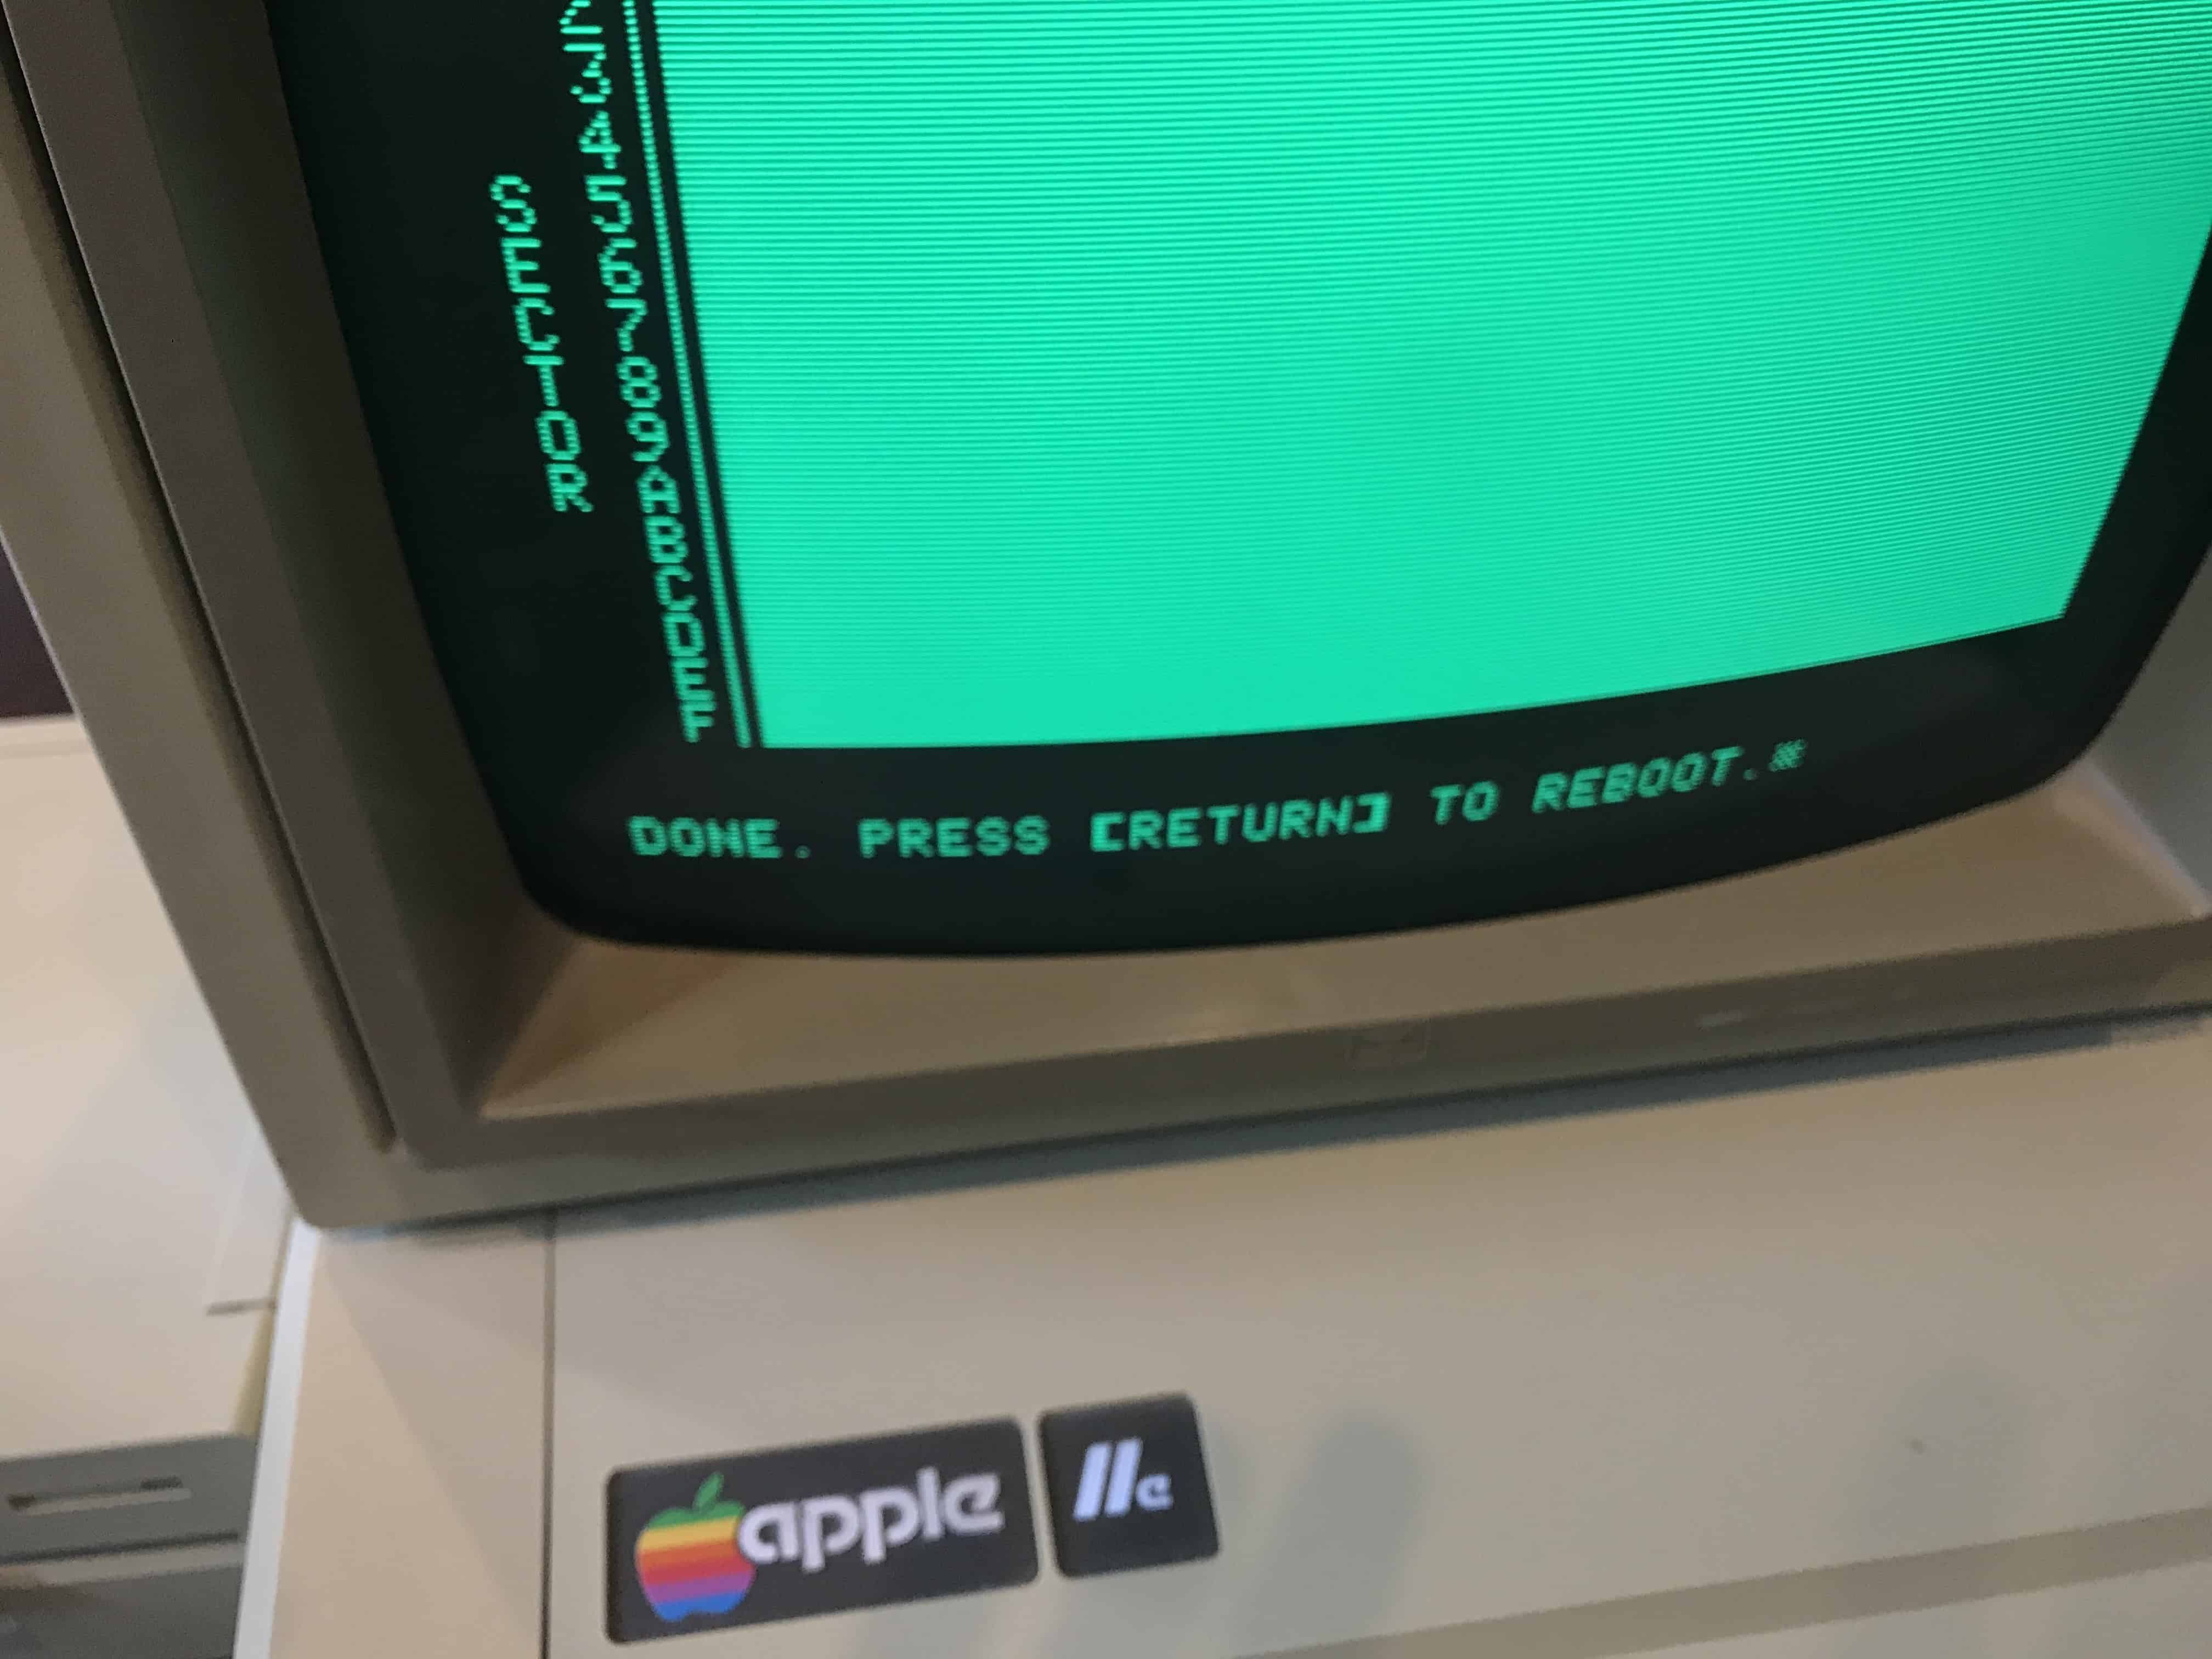
Leave the newly created disk in the Apple Disk II Drive and press return. Occasionally this reboot will fail to work, if that happens, just power the computer off and then on again. If everything worked correctly your game will boot directly from the disk and you’ll be playing your old favorite games again. See its not that difficult to transfer files to an Apple II from your PC, Mac, or smartphone!

12 Responses
Hey there, great article. I have a iic. how would i go about doing something like this without the headphone jack?
Maybe you should look at the pictures again. I don’t have a headphone jack on my phone. 😉
Sorry, my mistake. I meant to say, the apple iic has no tape support. is there a way to do this over the serial port?
Ah! Got it. No. I use this method to create disks on //e, which I then can use on my //c.
You can use ADTPro (http://adtpro.com/) to transfer disk images using a serial (or audio, if available) connection.
Do you know any way to transfer /files/, not disks, from an Apple 2 to a Windows computer?
Look for a program called adtpro. ( Advanced Disk Transfer). It will let you send files between an Apple2 serial port and a PC serial port
Yes, I mentioned as much. And its absolutely terrible. That is if I can even find a PC around with a serial port and get the drivers to work.
I found an excellent program to do so on github: DSKalyzer ( https://github.com/paleotronic/dskalyzer/releases ). It is confusing to start using, because the documentation is fragmentary. IIRC the toughest thing to discover is that there are 3 steps to copying a file: “Ingest” a directory of disk images, then “mount” one of them, then copy / extract a file. Also you may have problems using relative directories depending on your OS.
5
Mike Murray do you have any idea why the Apple IIe cassette I/O transfer using SAVE/LOAD of a large file like “Phone List” to Windows 10 using Audacity App were the same hardware recorded format works, but using the recorded formats from Apple Disk Server Website on Windows 10 or by downloading the Website .WAV file and using Audacity App to transfer to Apple IIe Cassette LOAD fails to work?
I wanted to post a TIP here, because I couldn’t find CONTACT info on asciiexpress.net;
For any users using an accelerator card like the TransWarp for Apple IIe, make sure to DISABLE it (Press ESC while TransWarp logo displays at boot). Otherwise, LOAD will fail every time… ask me how I know!
Does anyone know how I can LOAD to a 3.5″ drive that’s in slot 5, disk 1? I assume you just PR#5 and then the Apple IIe remembers that you’re there?? But does that persist when you press OA-Reset??