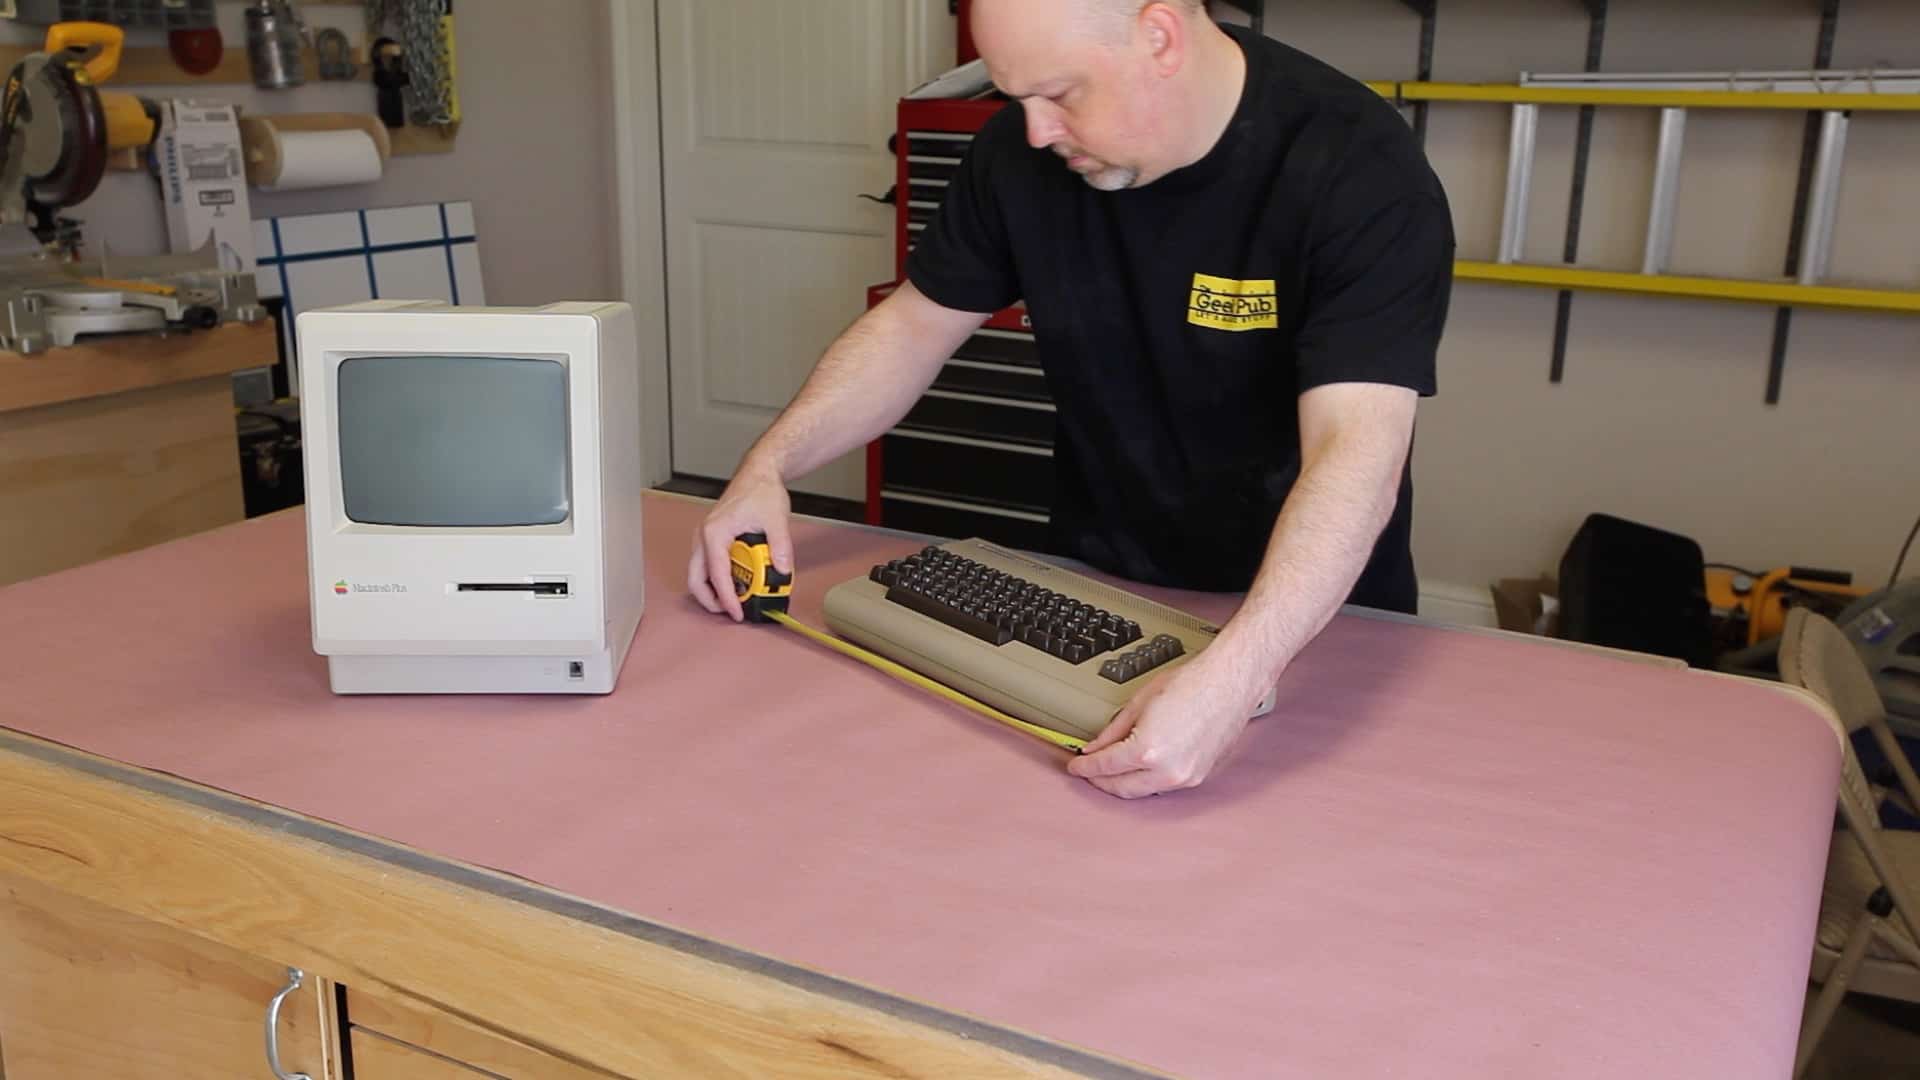
It’s probably not hard for you to understand that these retro computers hold a special place in my heart! So much so that I still own, many of my childhood computers, stored away in the closet and the attic. In fact, I still have a Commodore 64, Commodore 128, Apple IIe, Macintosh Plus, and many of their peripherals such as disk drives (Commodore 1571, Dataset, etc)! So it’s time to get these out of the attic and closet and put them on display for all to see!
 When I started out with my design for the retro computer display stand, I wanted to make something somewhat decorative but not over the top. However, I had some specific goals that needed to be met, regardless of how decorative they were.
The first was that I wanted to be able to see the computers in all of their glory, not just from the side view. A Commodore 64 sitting flat on a bookshelf 6 feet off the ground might not even be discernible as to what it is. In fact, even if someone saw it they might not recognize it for what it is. That means that the computer needs to be tilted forward in such a way that makes the keyboard and logos visible for all to see. This will make the computer much more visually appealing and lend it to more likely being a conversation starter.
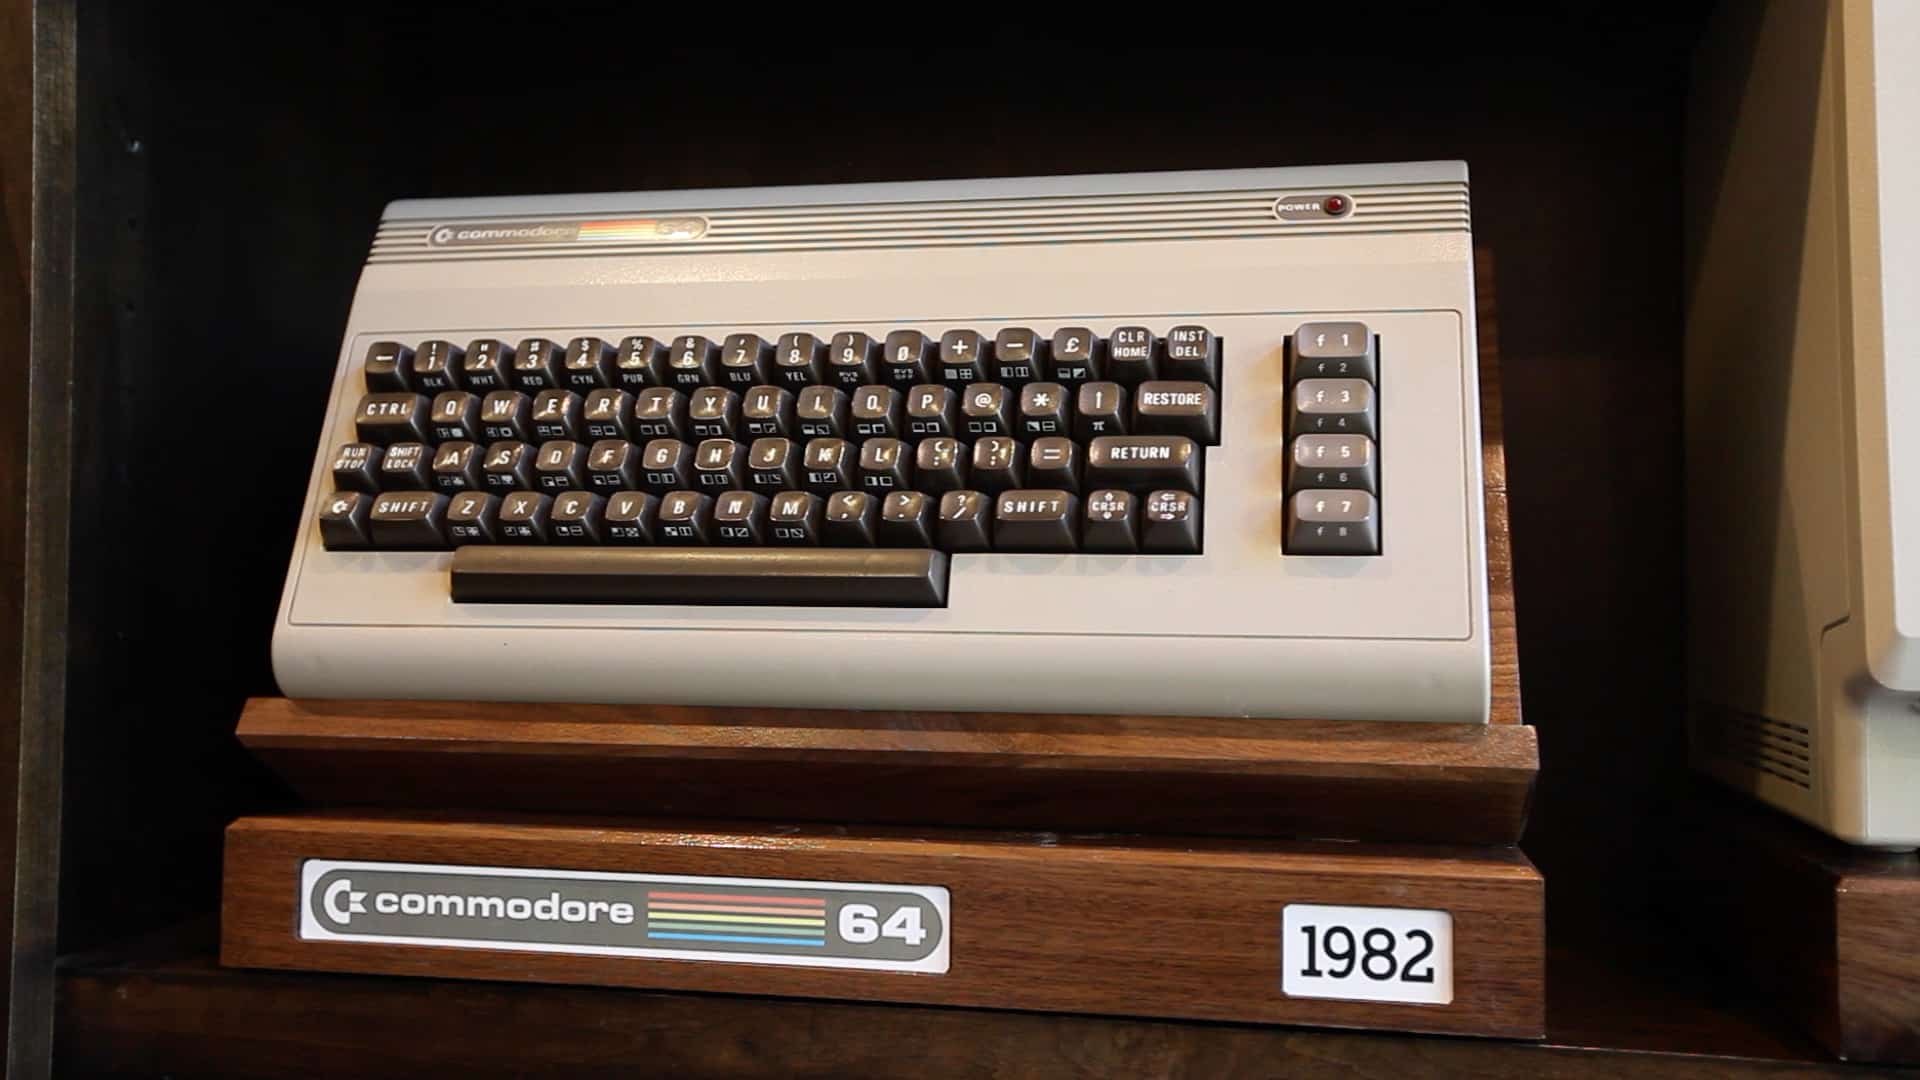
The second thing the retro computer display stand needs to have is some visible information about the unit on it. Think about items on display in a museum! They always have some interesting plaques attached or some logos on them, along with dates. My stands would need two plates or inlay-ed boxes on them. One to show the logo of the computer, and one to show the year it first entered manufacturing.
To make this happen I landed on using the CNC to make two inlay boxes on both of the retro computer display stands. The date box on the left, and a logo box on the right. I designed the logo box to be the same height on all of the stands, but the width is unique for the logo of the computer it is designed for. This will keep all of the display stands looking uniform as I make more of them in the future to hold additional retro computers.
First things first I ran to my local lumber yard and purchased some nice 4/4 Walnut (roughly 5 inch X 8 foot). I picked Walnut because I felt it would blend in very well with the cabinetry in my office which are made from Clear Alder and stained Coffee Brown. Walnut left natural color really pops when sprayed with a clear lacquer. I also felt that since most of the computers on display would be a light grey or a beige color, the contrast of Walnut would look excellent.
[divider]Step 1: Getting the Lumber Ready[/divider]
The first thing I needed to do was to mill the rough sawn lumber down to some usable stock and make it nice and flat. To do that I first cut down two 28 inch sections and two 17 inch sections of the Walnut, and then jointed and planed them to roughly 3/4″ thick.


[divider]Step 2: Making the Blanks[/divider]
The next step is pretty simple. I needed to join the two 28 inch boards and the two 17 inch boards into two separate blanks. The 28 inch blank will get 11 inches cut off after it dries to form the base of the Macintosh Plus Display Stand. The remain two 17 inch sections will for the base and the stand for the Commodore 64 Display Stand, as it needs to be tilted up and forward, unlike the Macintosh display stand.


[divider]Step 3: Making the Base Trim[/divider]
The base of the retro computer display stands will consist of 2 inch X 3/4 inch pieces of Walnut mitered to 45 degrees. This is a pretty simple process. I wound up and used my Kreg miter gauge on the table saw, because my miter saw was covered in stuff from rearranging the shop earlier in the week. For those who prefer to use simpler tools, you could just do a butt joint (with or without dowels). I simply prefer the look of mitered joints for most things.


[divider]Step 4: Making the Front Plate[/divider]
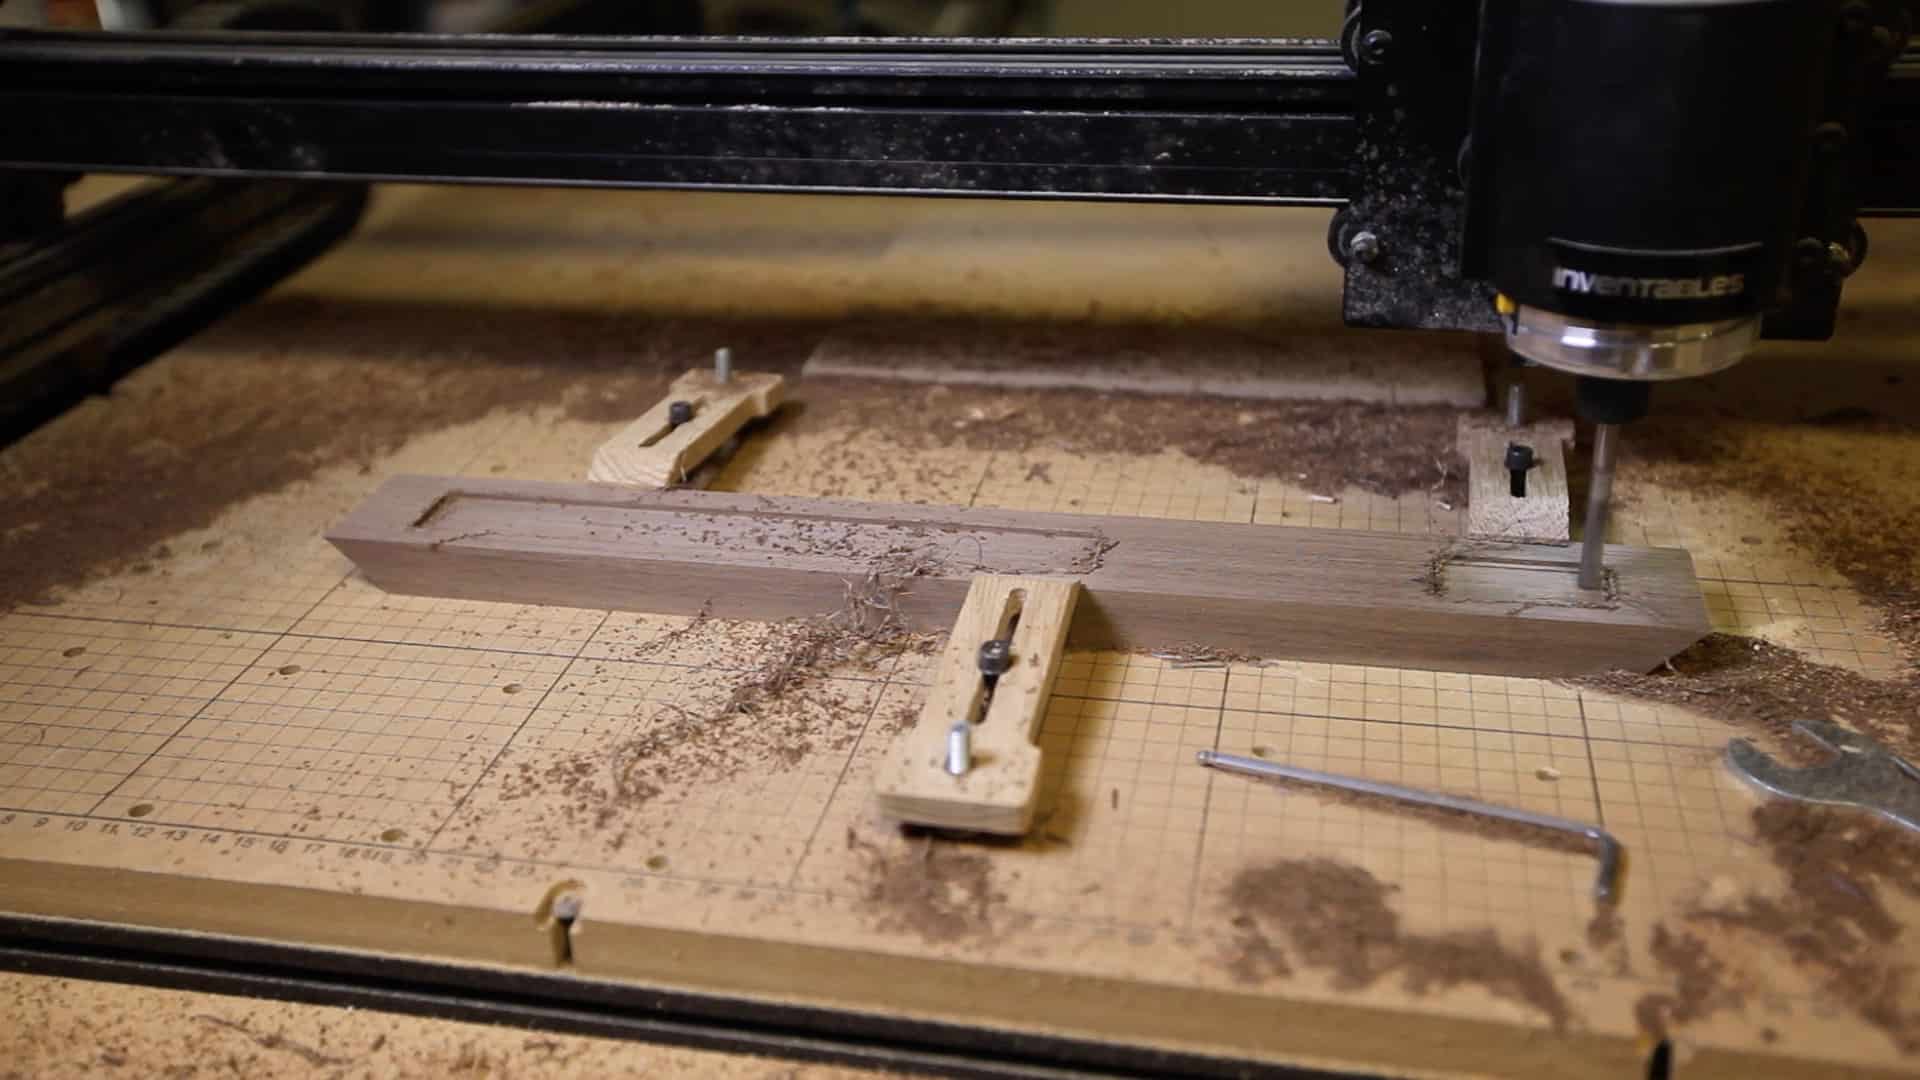
The front plate of the display stand will require some inlays to really make it pop! To do this I used the X-Carve and a 1/4 inch 4 flute end mill to cut two 1/10 inch boxes into the front of the plate. These boxes will hold inlays with the manufacturer’s logo, and original date manufacturing started. This needs to be cut before assembly as there is no way to put the completed retro computer display stand into the X-Carve. A little sanding with 220 grit will remove any burrs left over from this process.
[divider]Step 5: Sand Everything[/divider]
It is much easier to sand everything down at this point than to wait until after finally assembly. Be sure to fill any holes or cracks with putty and then go head and work through the grits now. Start with 100, then go to 150. Follow up 150 with 220. If you’re looking for an even smoother finish, feel free to include 120 and 180 in your sanding process. I sometimes get asked if 220 is really necessary on items like this. The answer is, if you are using lacquer, absolutely yes. If you are painting it, not really. After a coat of primer and paint, most all imperfections will be hidden. With lacquer, you most definitely want to sand to 220 to keep the scratch marks from being visible.
[divider]Step 6: Assemble Almost Everything[/divider]
Using glue and brad nails, assemble all of the major components and clamp it up, but don’t attach the top of the stand to the bottom of the stand. It we’ll do this at the very end so that it will be much easier to lacquer. After everything dries be sure to fill any nail holes with putty.


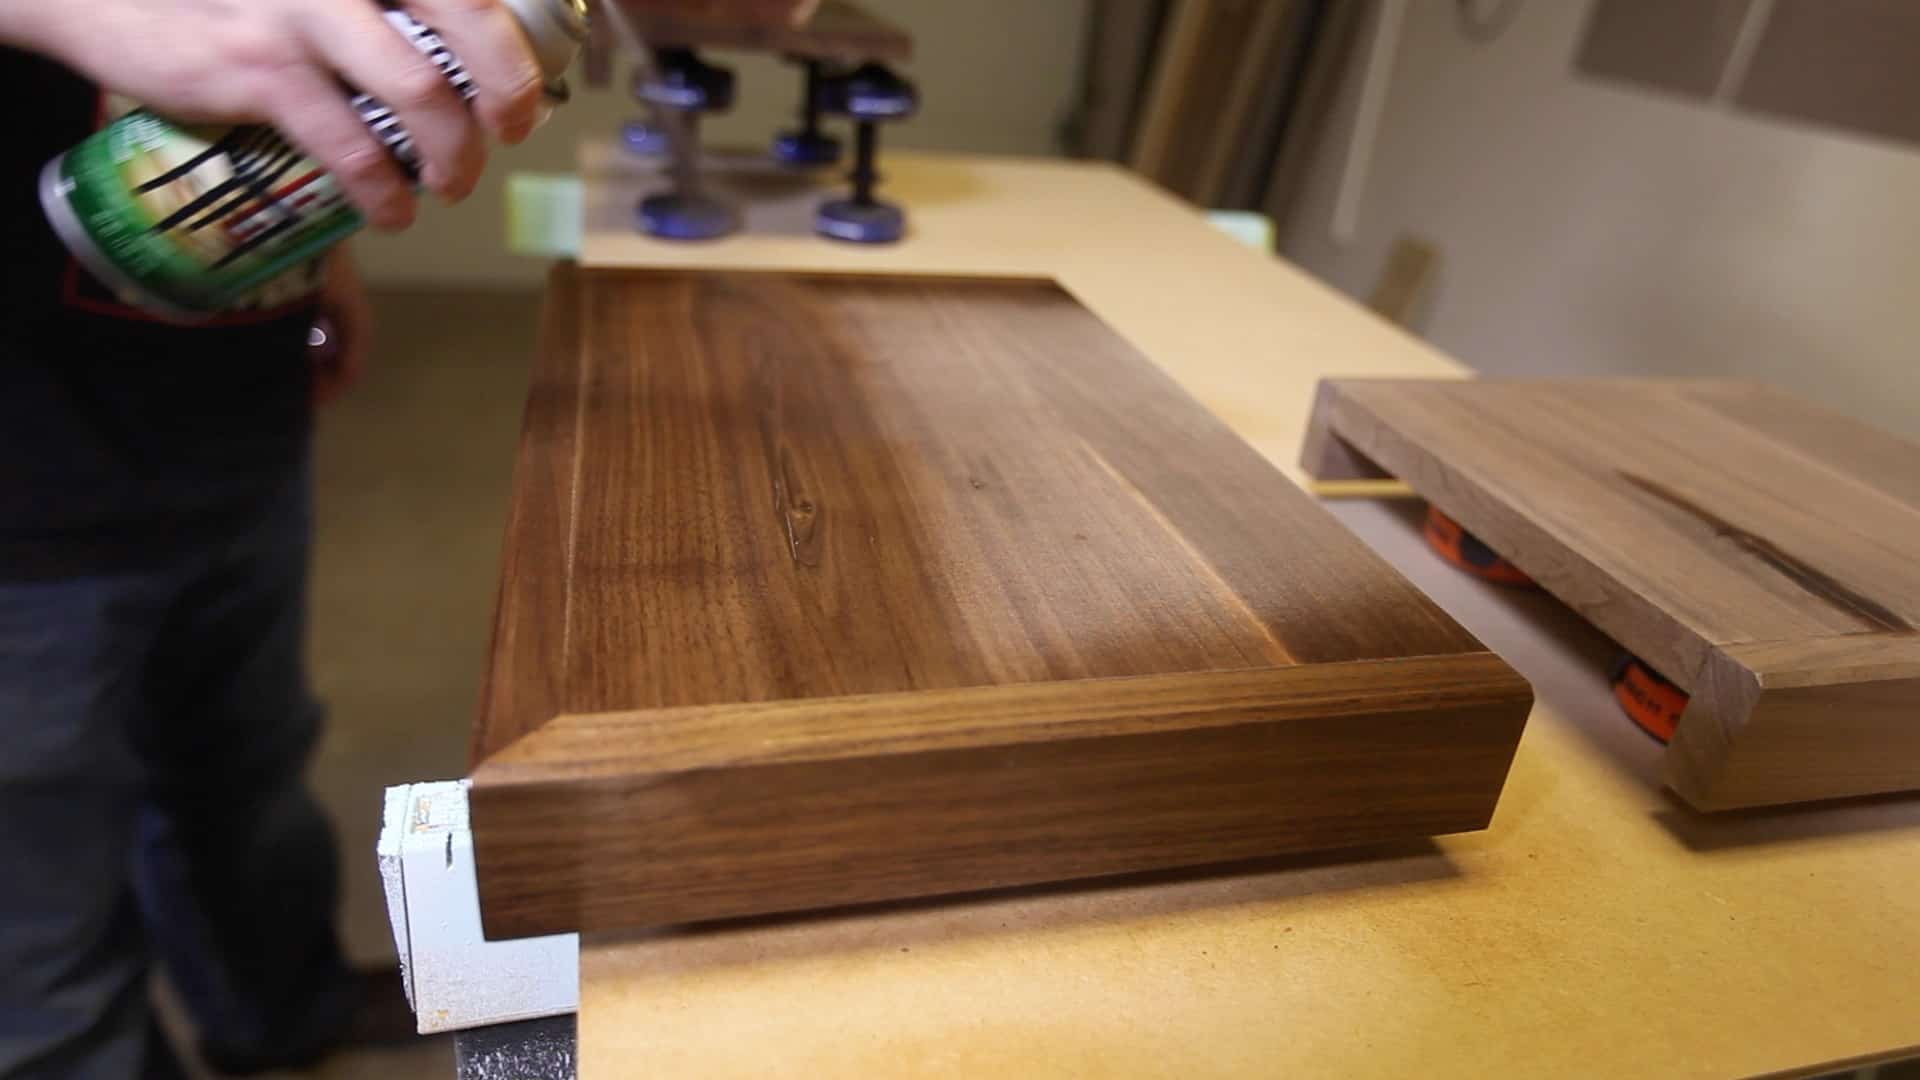
[divider]Step 7: Spray with Clear Lacquer[/divider]
Spray the two separate sections with clear lacquer for an incredibly beautiful finish. Of course, as mentioned before you could certainly paint the stand if you wanted to. If I were going to paint it however, I would make it out of cheaper lumber such as Poplar or Pine.
[divider]Step 8: Add the Inlays[/divider]
To make the logo and year inlays, I simply printed them out on my color laser printer and covered them in a high quality clear packaging tape. Cut them to size and then use 3M Super 77 spray adhesive to hold them in place permanently.
These retro computer stands will make awesome displays for my office for many, many years to come. You can be certain as I grow my collection I will need to make additional display stands and I will follow the same pattern as these to make them so that everything matches.

2 Responses
4.5
0.5