I remember growing up that Ninja Stars were illegal where I lived. You could only get them on the black market. By the time I was a young adult they had made them legal again and I was no longer interested in them.
Skip forward to my mid 40s and damn it! It’s time for me to have one! But now, I ‘m going to make on myself, The Geek Pub style! So follow along and I’ll show you how!
[button link=”http://www.thegeekpub.com/product/throwing-star-templates/” type=”big”] Download the Throwing Star Template Here[/button]
I had an old saw blade laying around the shop. It’s made out of carbide steel. I’d seen a lot of people over the years make a knife from a saw blade, so I suspected that its just about the perfect metal to make a throwing star out of! So Let’s make it!
Notice: Be sure to make sure that owning a throwing star or throwing knife is legal in your area! There are still many backwards counties across the US where these are illegal.
 Step 1: Download the SketchUp template
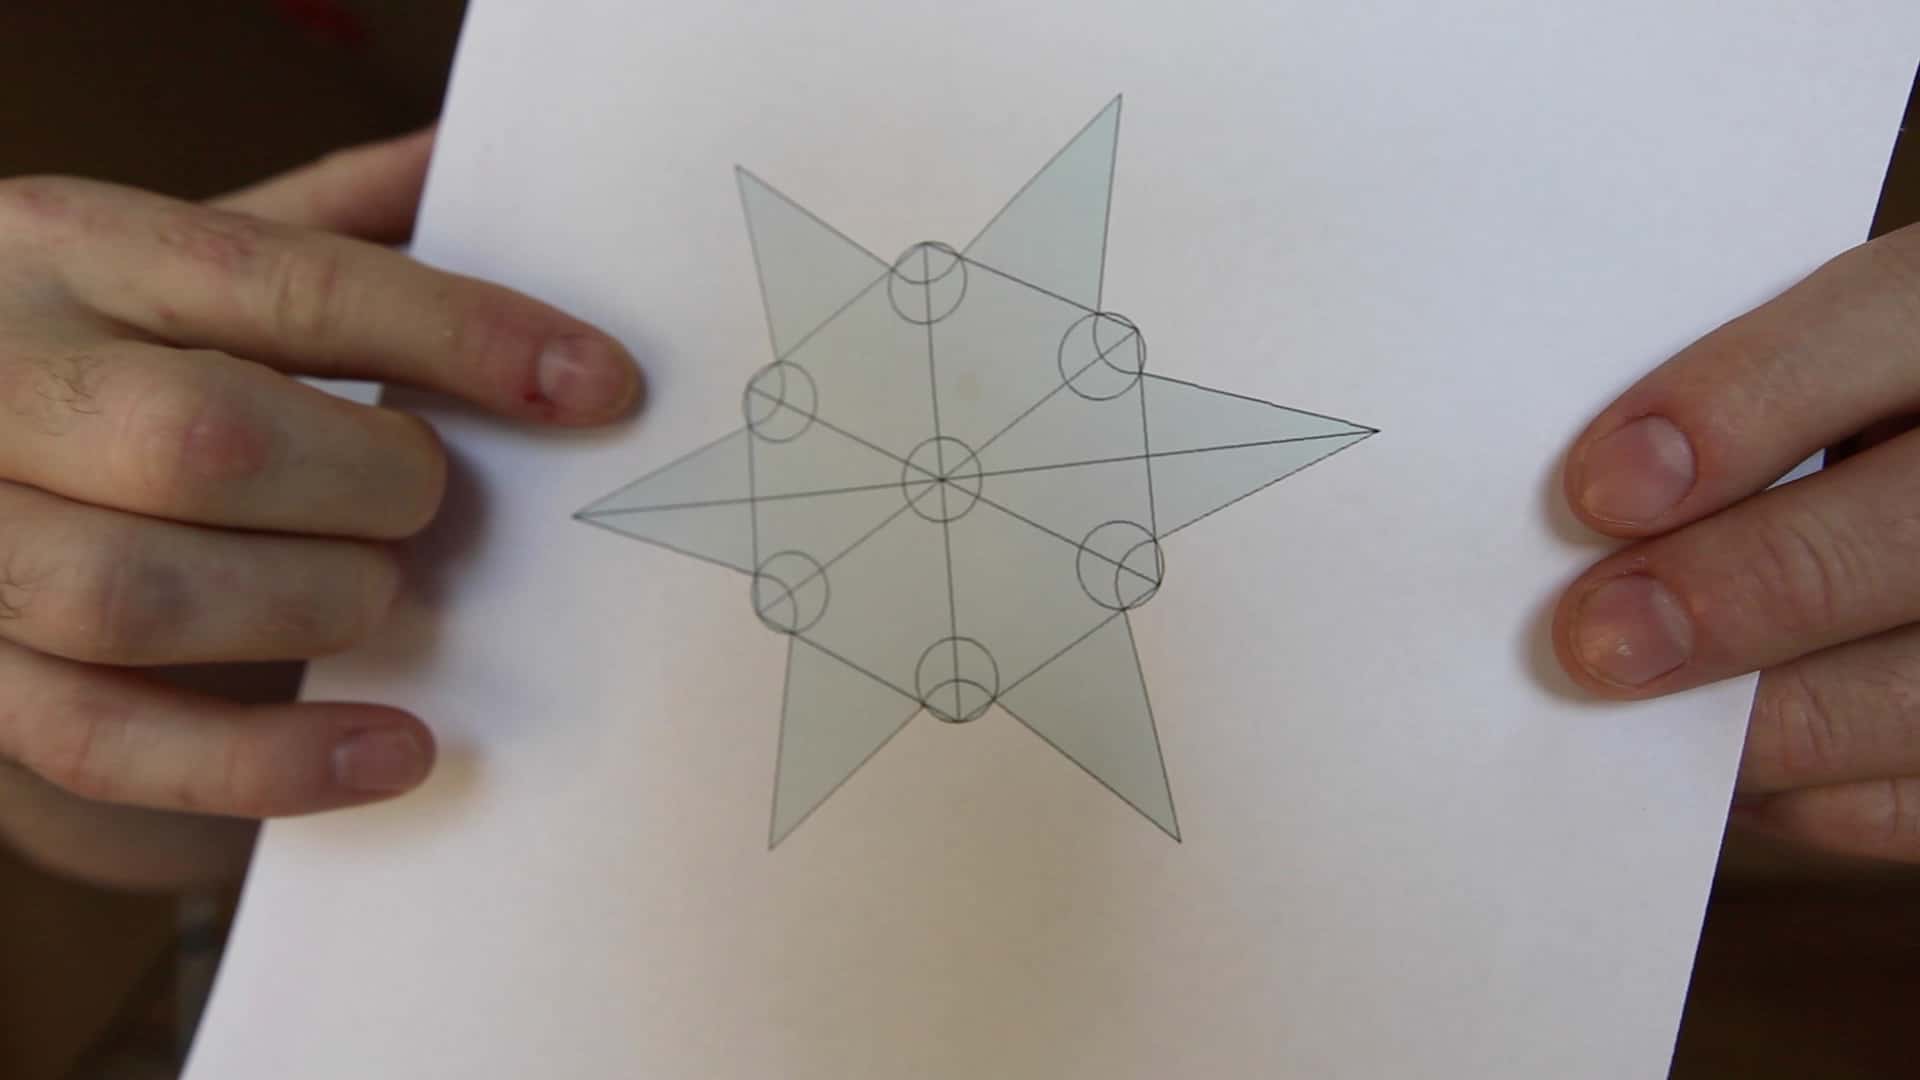
Download the SketchUp template from above. Or if you prefer you can design and print your own template.
 Step 2: Spray it with adhesive
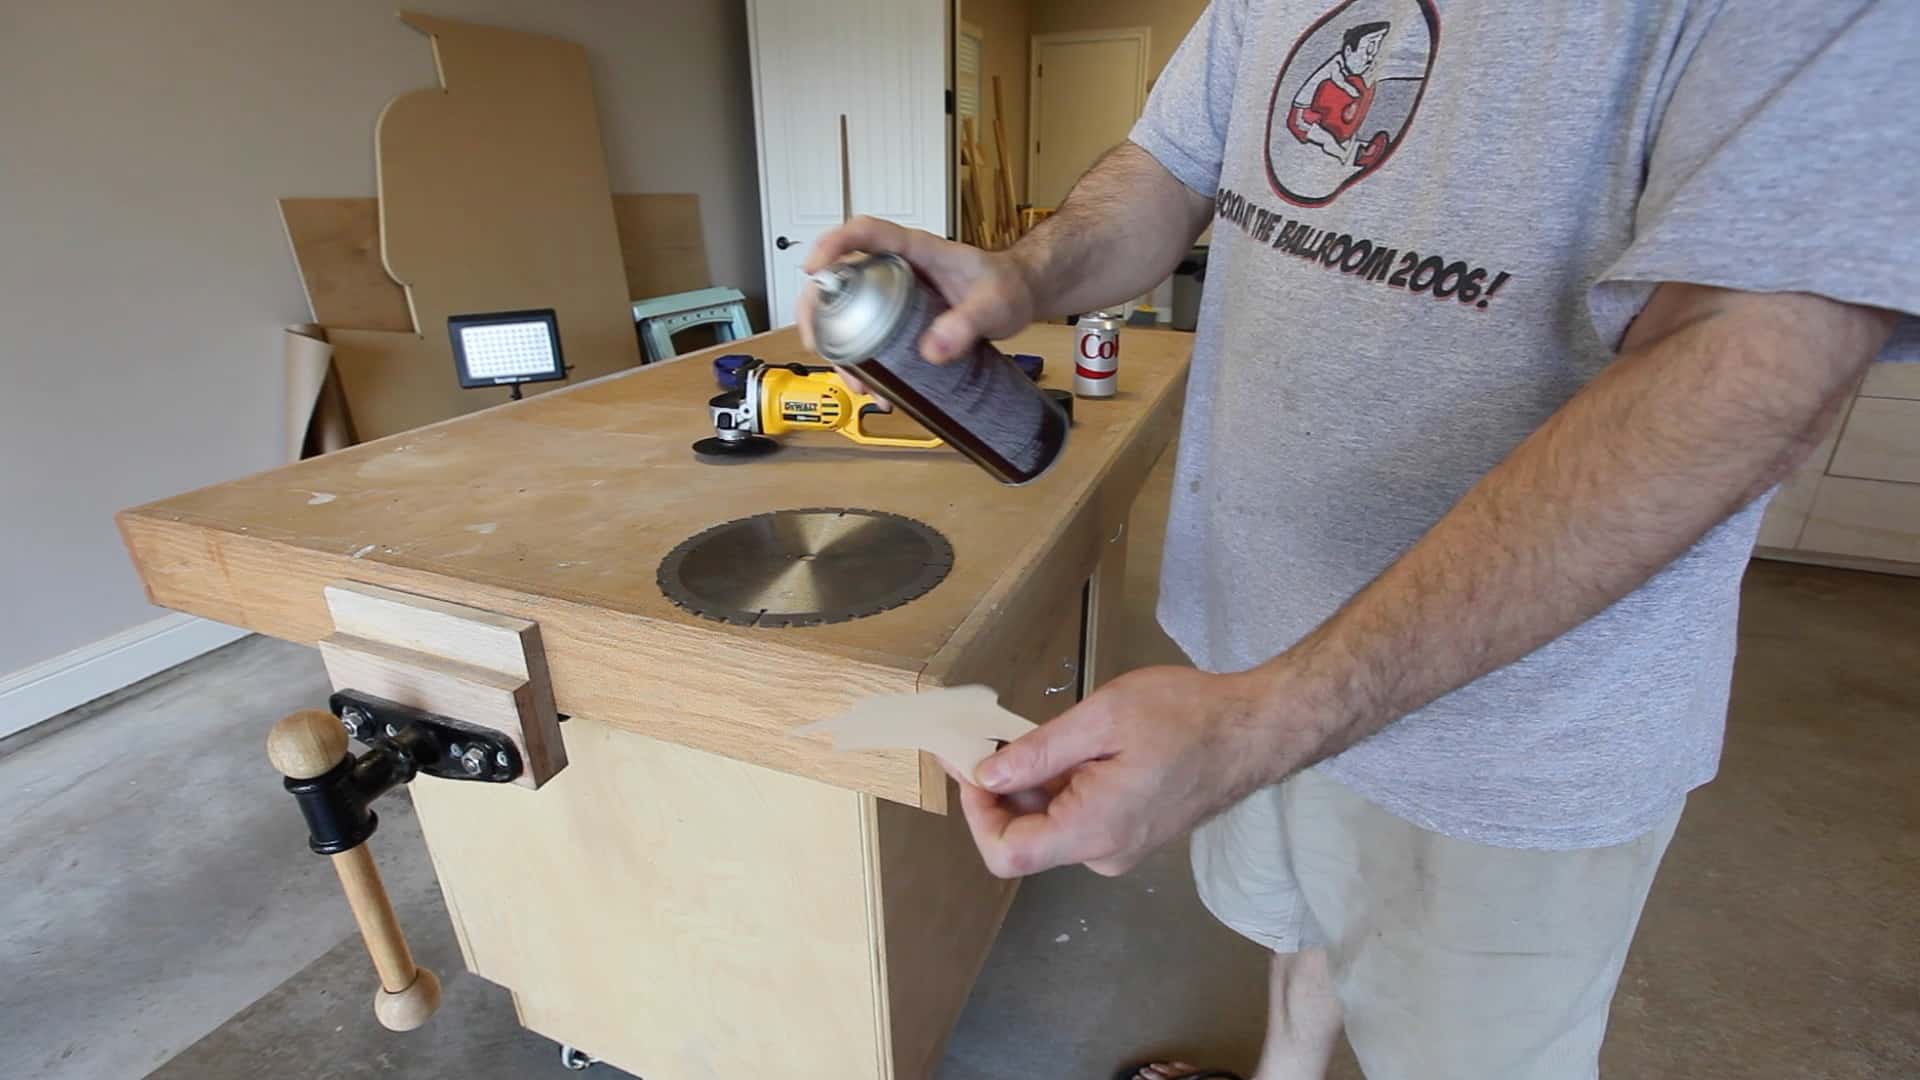
Spray the back of the template with adhesive. It doesn’t really matter much what kind, but it needs to be strong enough to survive all of the heat during the cutting and grinding process.
 Step 3: Attach it to the saw blade
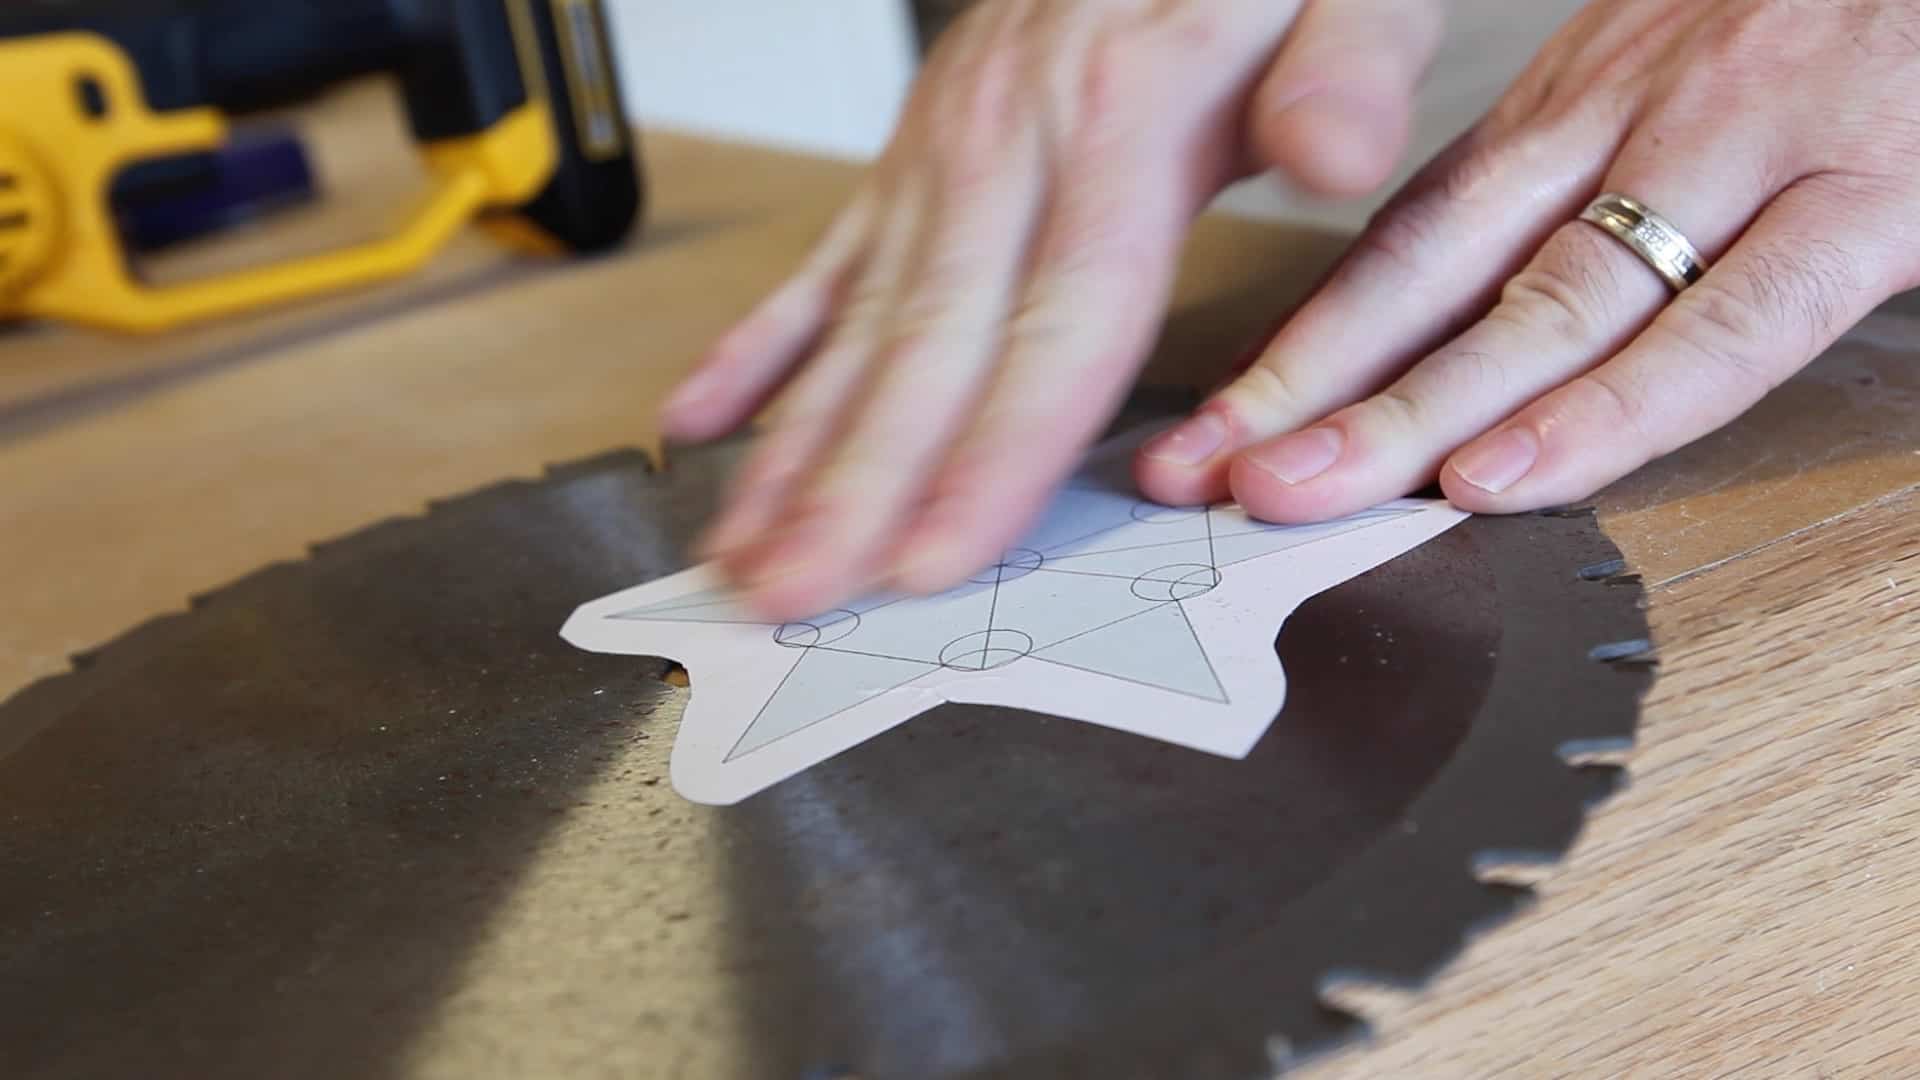
Attach the template to the saw blade and rub it gently to make sure it is firmly affixed. If you don’t have a saw blade some 1/8″ steel plate should be fine, and can be obtained at the local big box hardware store.
 Step 4: Drill the template
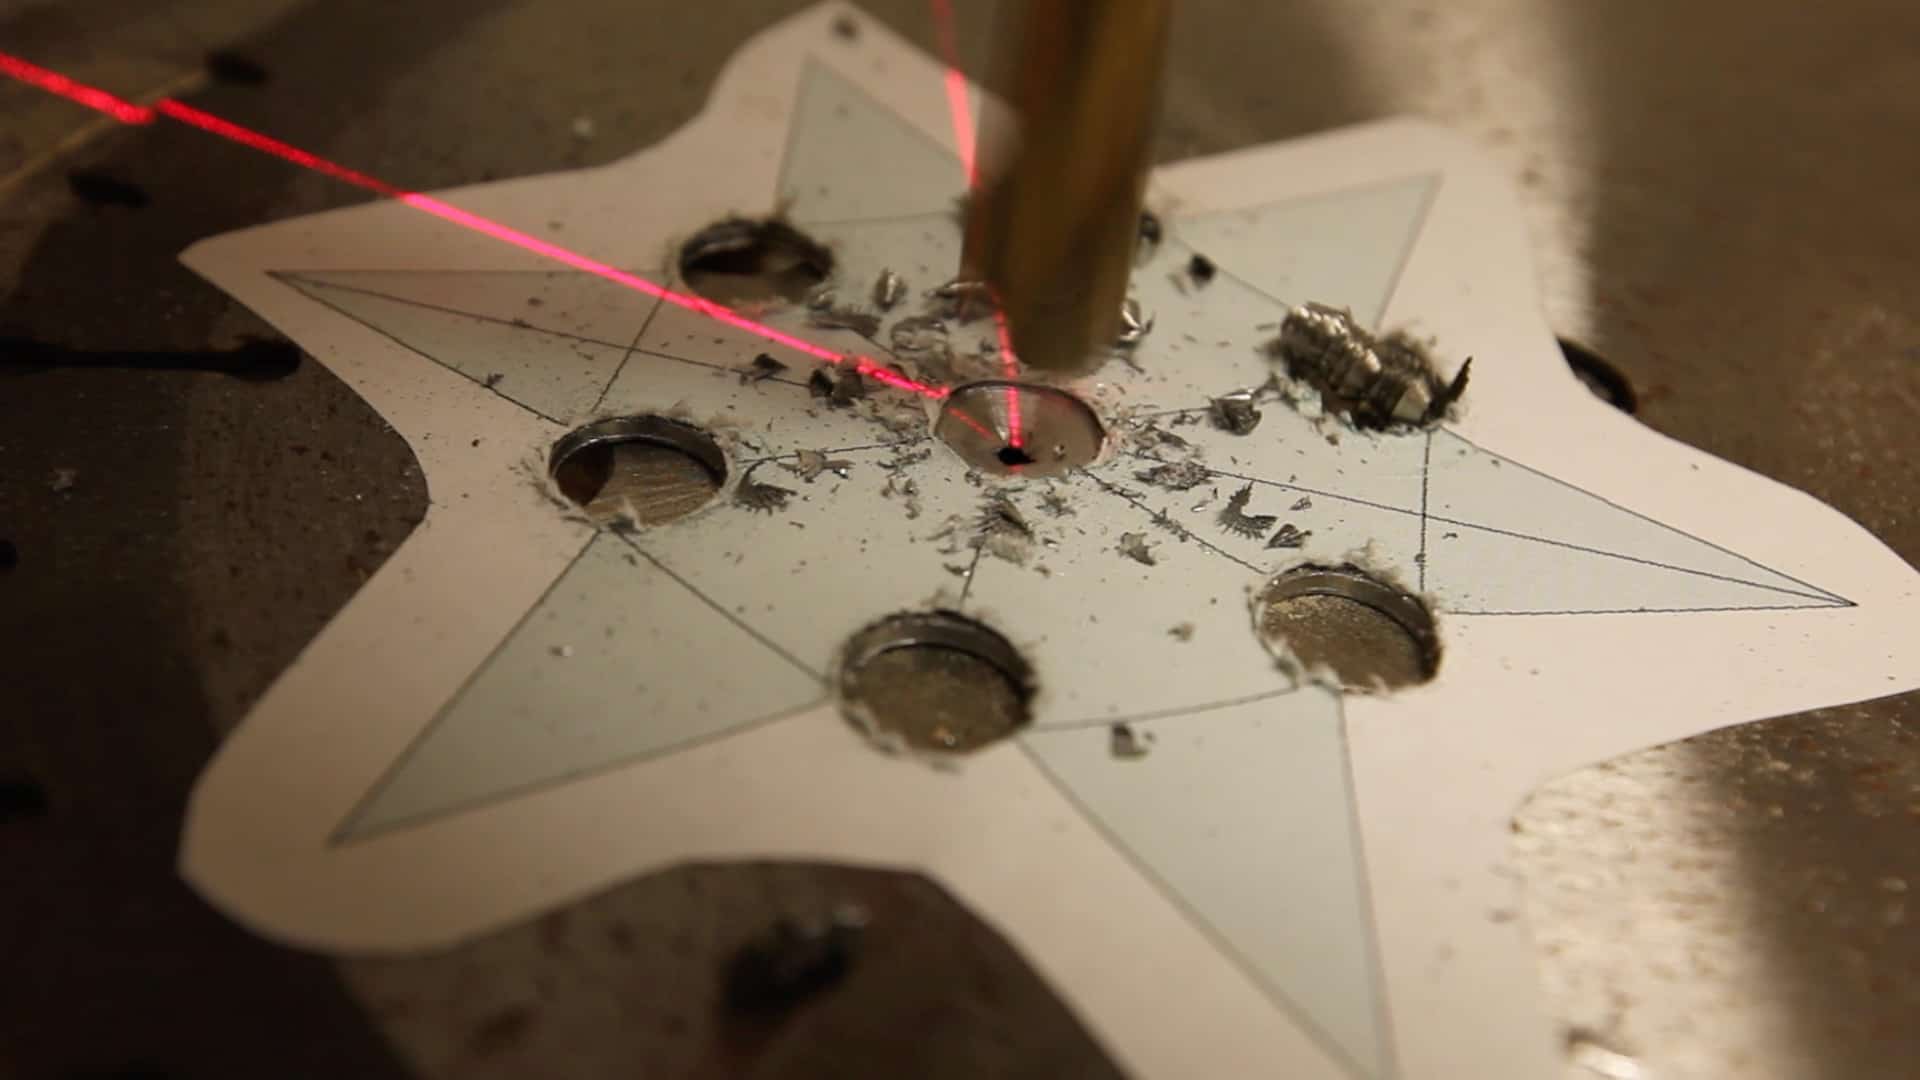
If the design you settled on requires holes to be drilled (like the one I made), then drill those first. Not only will it be easier to do first, it will make the cutting process much simpler too.
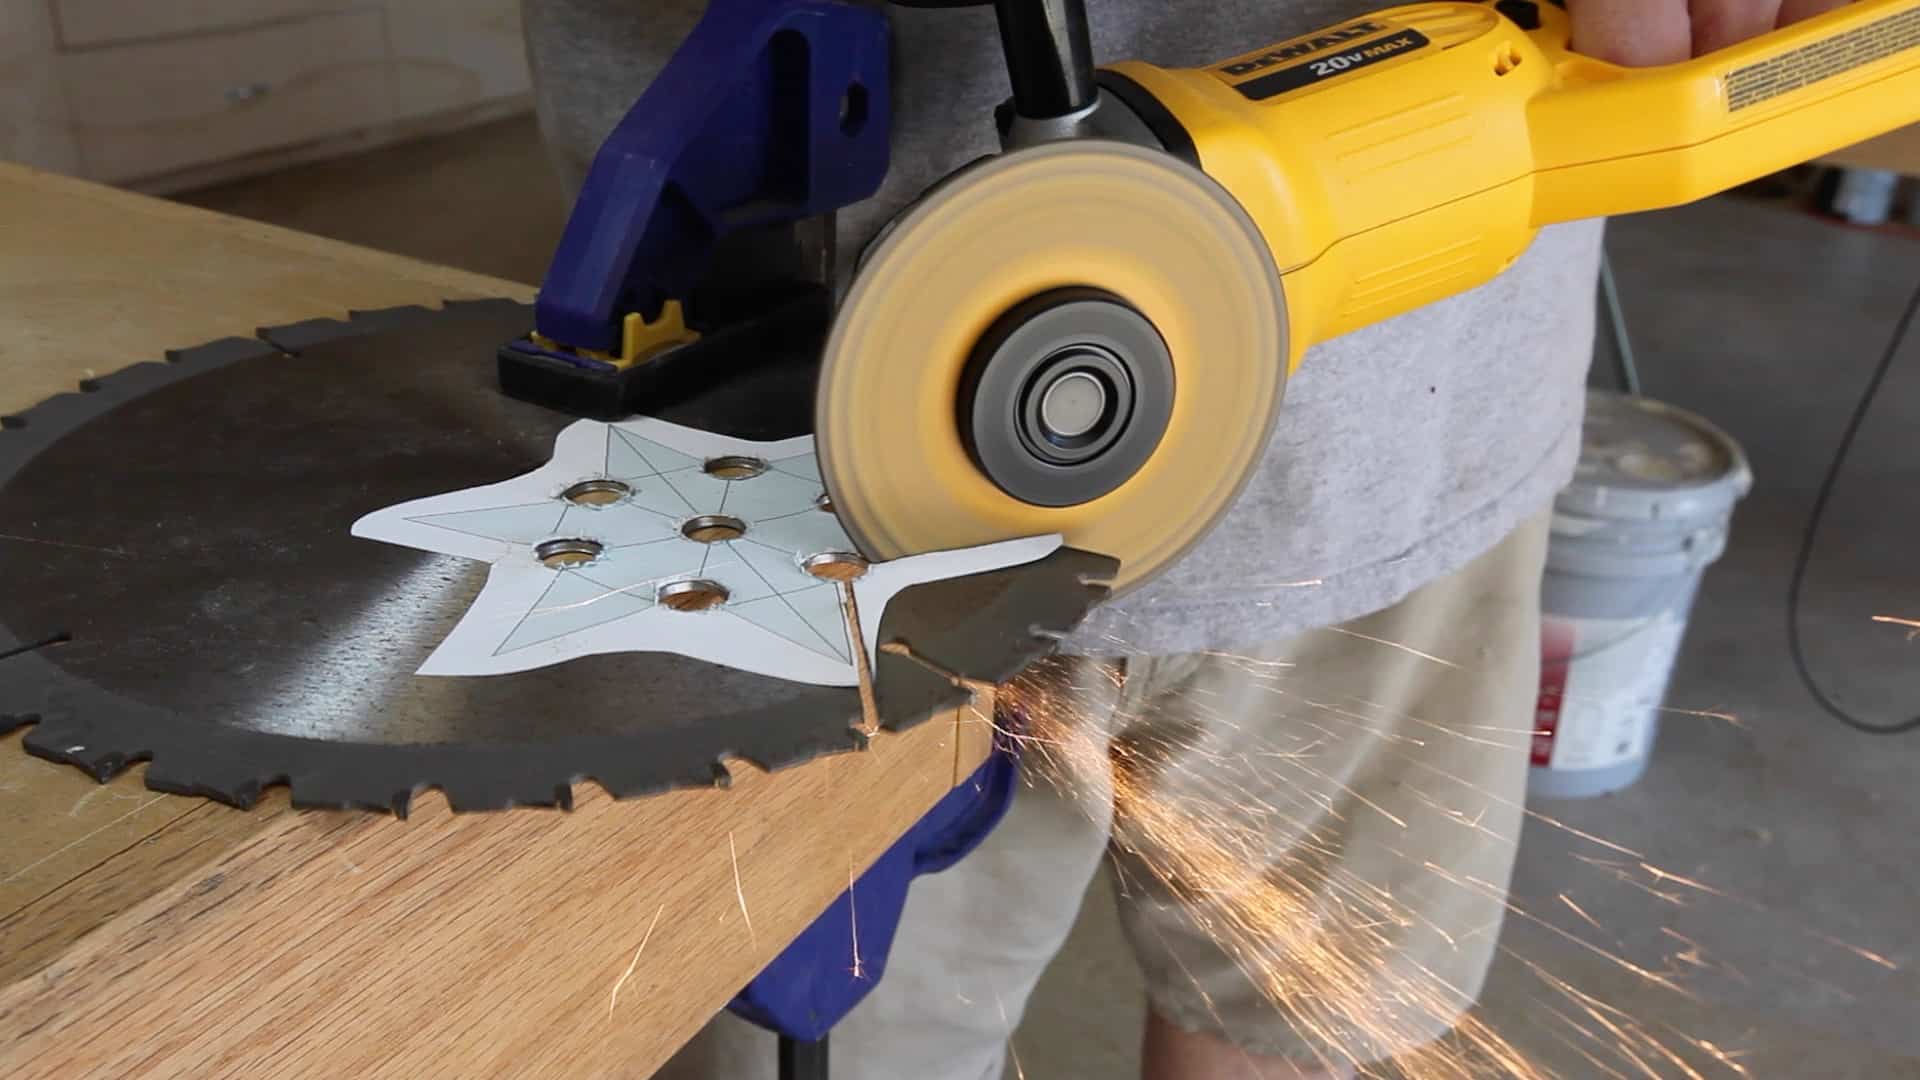 Step 5: Cut out the throwing star
Use a handheld grinder to cut out the throwing star. You could also use a jig saw, or a metal cutting bandsaw, or a metalworking CNC if you’re lucky enough to have one. If your using a grinding wheel, cut about 1/32″ to 1/16″ outside of the line.
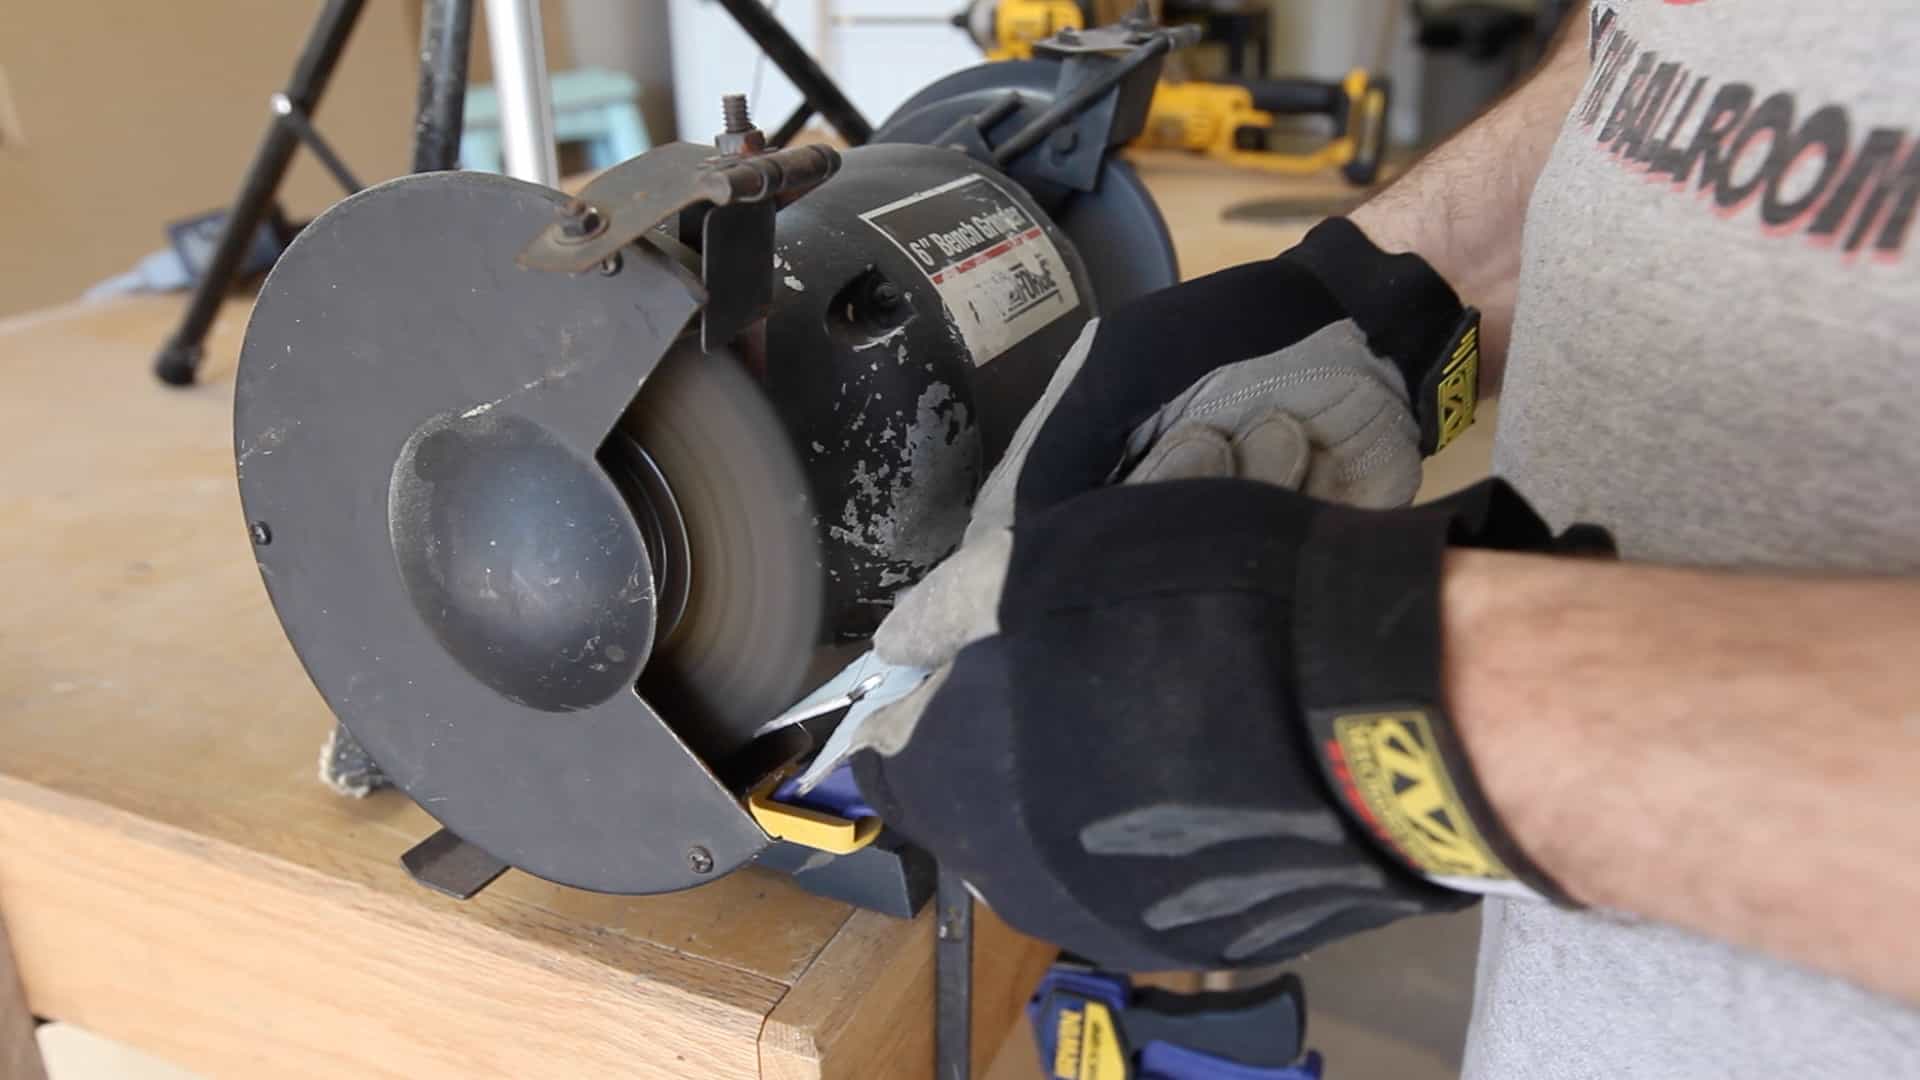
 Step 6: Grind it flush
Using a bench grinder or other grinding wheel, grind your cuts down flush with the lines on the template. This will make for a perfect finish to your cuts.
 Step 7: De-bur the throwing star
When you’re finished grinding it flush use the wire wheel on the bench top grinder to remove the burs from the metal, as well as any paint from the manufacturer, and the rest of the paper template as we’re done with it.
 Step 8: Buff the metal to a shine
Using a buffing wheel with buffing compound, buff all of the areas of the throwing star to a shine. You can take this as far as you want. Or skip this step if you prefer to paint yours.
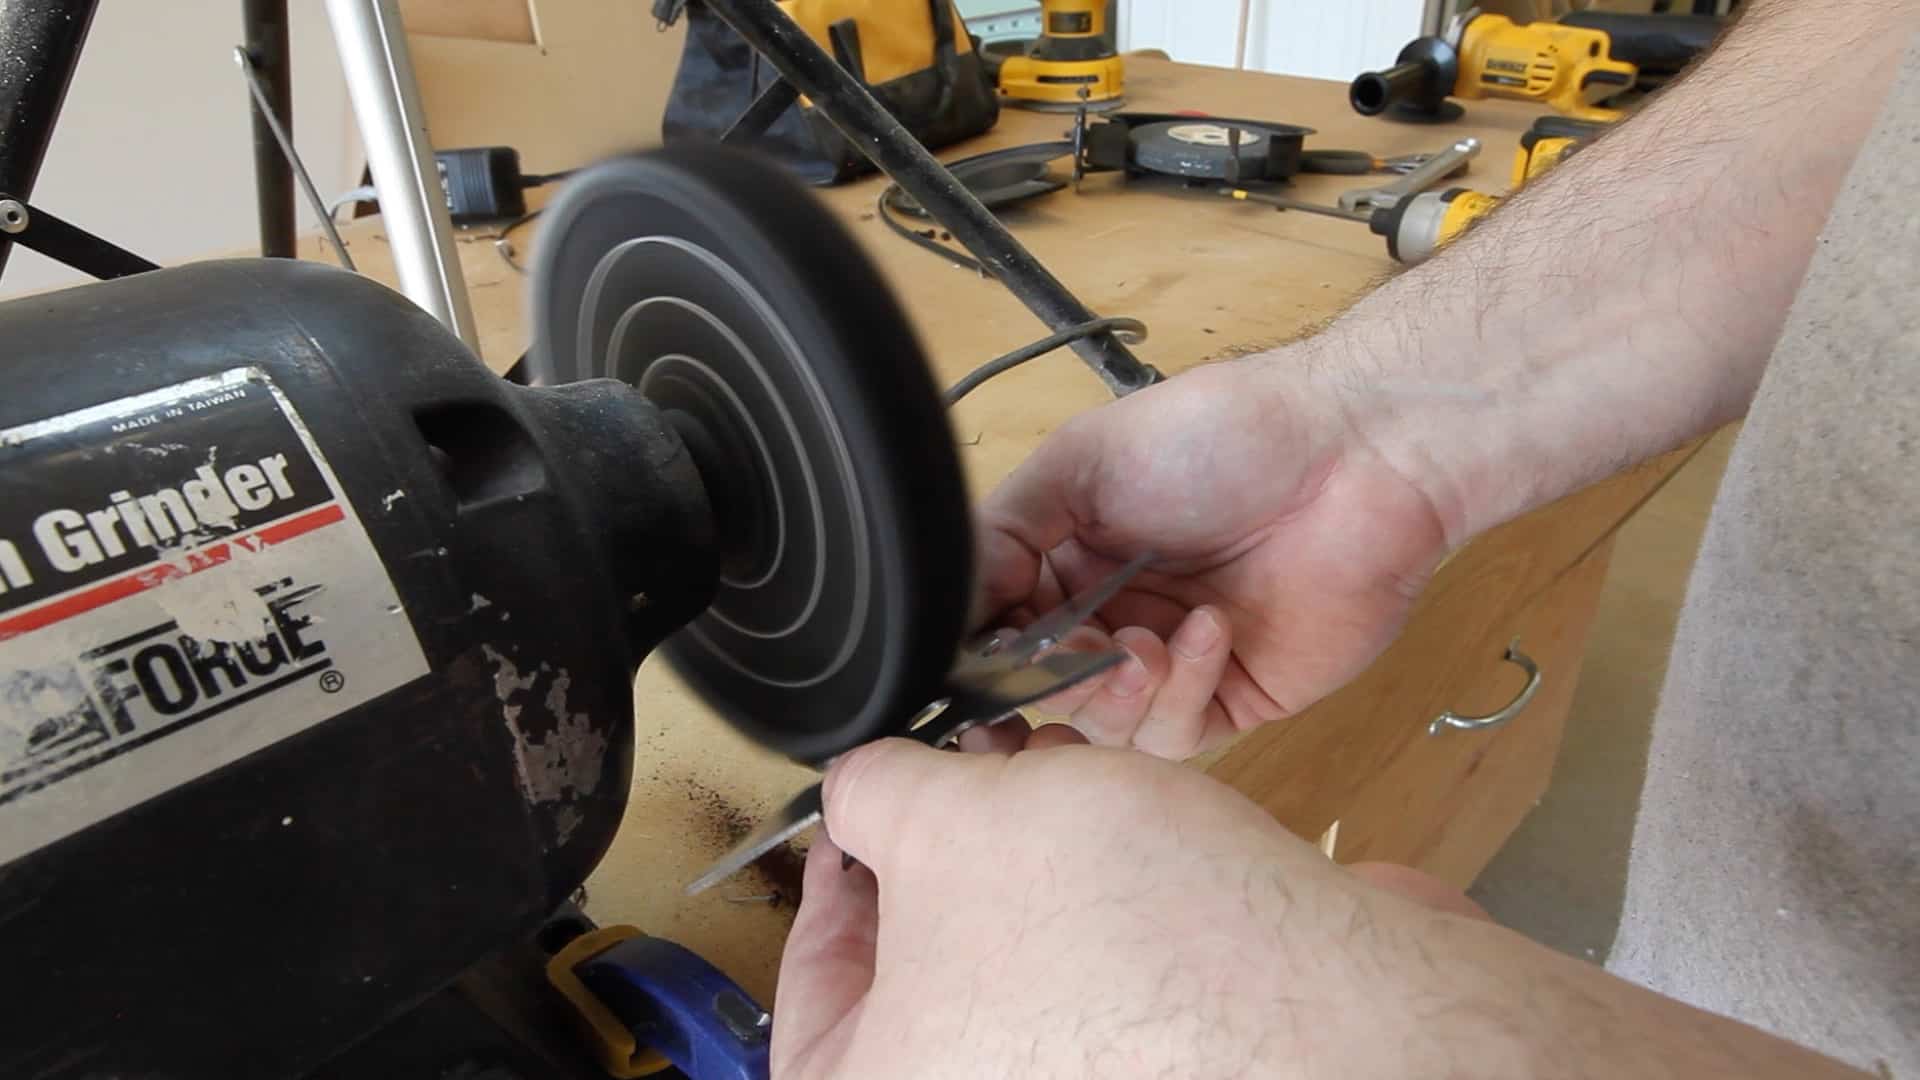
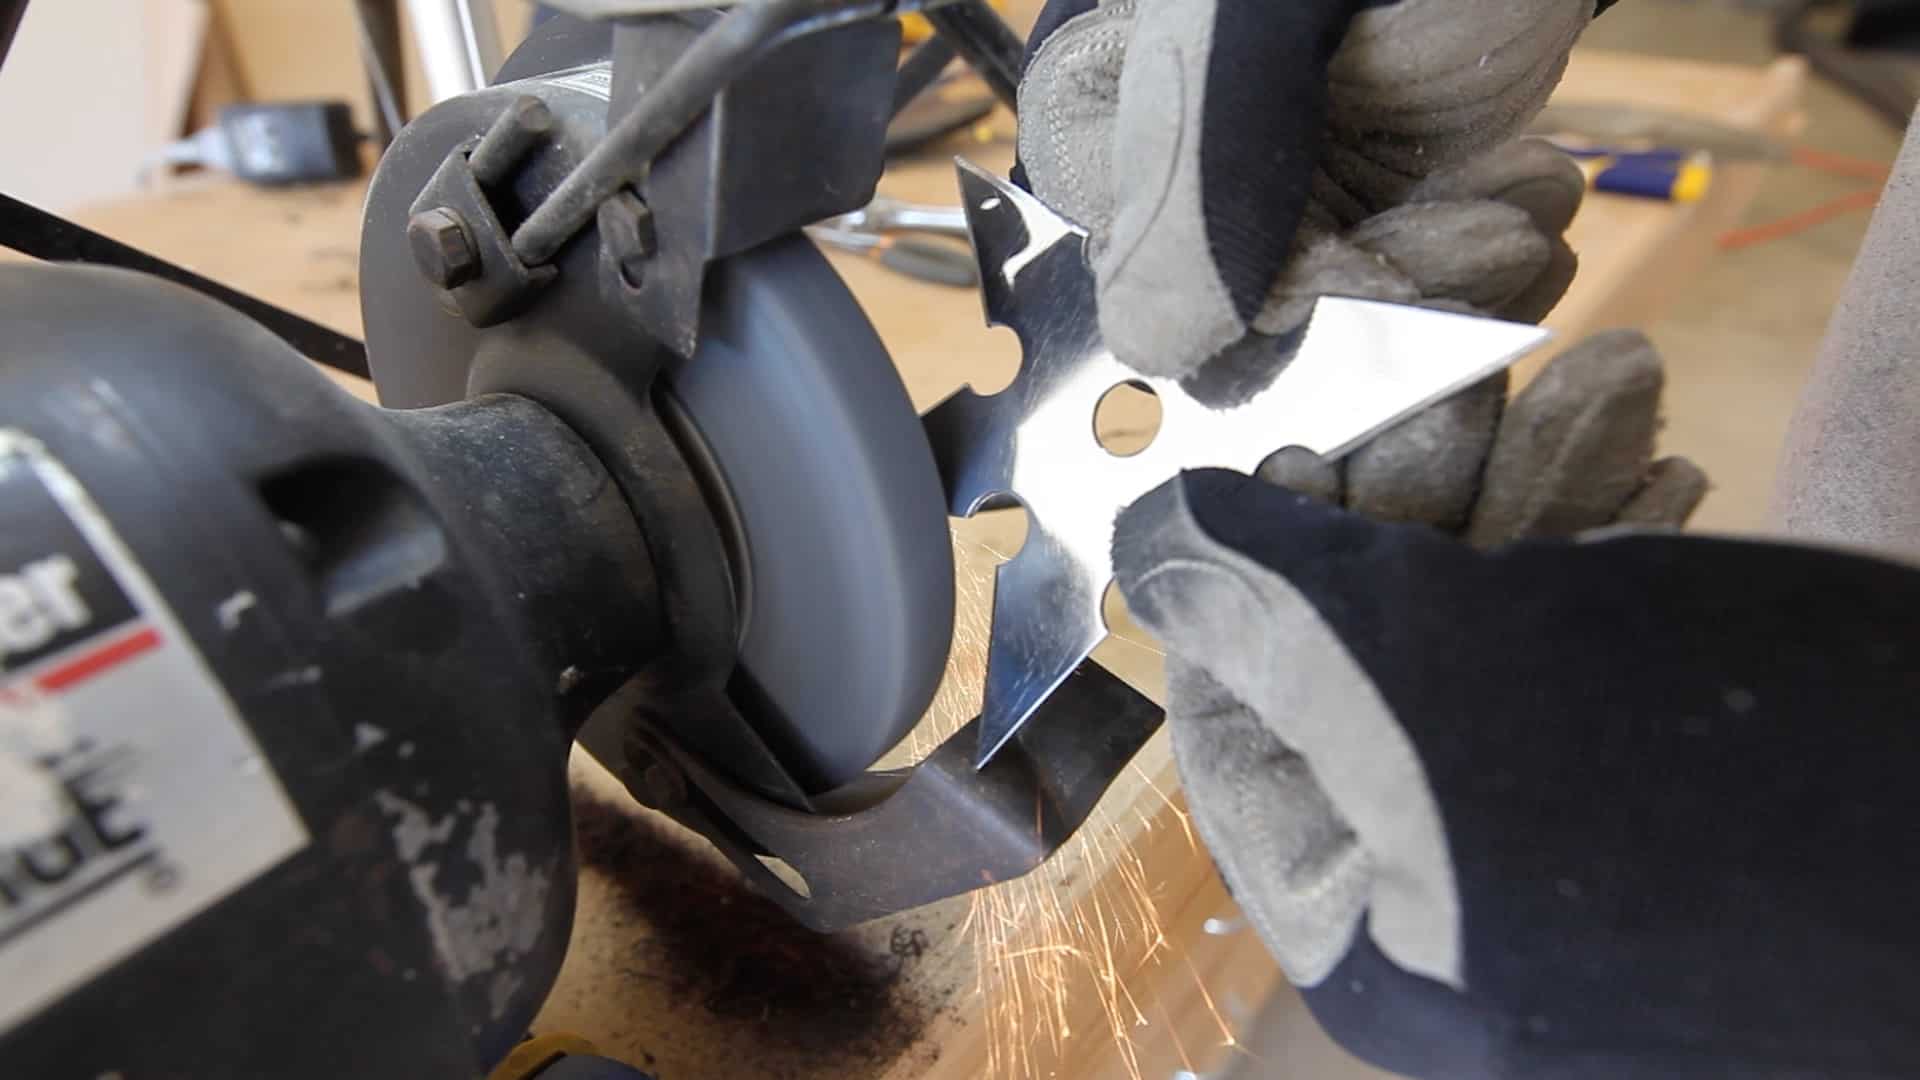 Step 9: Sharpen the throwing star (OPTIONAL)
Using a high grit stone sharpen the blades of the throwing star on all sides. I honestly do not recommend that most people do this step. The star will stick in wood easily at the end of step 8. This step should only be done by adults who understand the consequences of owning something like this and are prepared to store it in a safe place. After sharpening you’ll want to give it one final buffing.
And there you have the completed throwing star. In a future video, we’ll make the display case for this guy!

[button link=”http://www.thegeekpub.com/product/throwing-star-templates/” type=”big”] Download the Throwing Star Template Here[/button]
Hey Guys! It’s Mike from The Geek Pub. And on this episode we’re going to turn one of these, into one of these!
OK. So the first thing I did was I just went into Sketchup and I just drew this little template of something you know I thought would look like a cool star. And then I’ve got this old saw blade. It’s a ten inch saw blade that’s been laying around the shop for probably ten years and its uh, it probably just needed to be thrown away but I knew that someday I would have a project for it. And I am just going to connect these two together with some spray adhesive. And this template will be available on my website if you want to download it.
Part of the design I made has holes in it and I am going to drill those holes before I cut it out. In fact it will actually make it easier to cut out.
Alright, I’m just going to clamp it to the table now, and then I’m going to use my grinder with an .045 wheel on it to cut it out.
OK. So when I cut it out on the angle grinder, I didn’t cut everything down to the line. And I am just going to use my el cheapo bench grinder, and I mean el cheapo, I think its 20 years old, to go ahead and grind everything down to the lines.
I’m just going to use the wire wheel and I’m going to remove all of the burs and try to remove this manufacturer’s paint, and the template, and all of that.
And there you go! It’s kind of hard to believe that that was a saw blade just a few minutes ago.
Alright! So I have removed the grinding wheel and I have replaced it with this denim buffing wheel and I am just going to charge that with some red grit compound and then we’re going to polish this thing!
OK. I have reinstalled the grinding wheel and I am going to go ahead and sharpen all of the blades. I actually recommend that you do no do this step because it makes it extremely dangerous. And the only reason I am going to do this is because I am going to keep mine in a sealed, locked display case so it will be fairly safe. But, I recommend you don’t do this step and just leave it like this.
OK. And now this it’s sharp I’m just going to run it up against the buffing wheel one more time.
Just a couple of notes. I made this thing with one of these handheld grinders and I did that on purpose because I’ve got a lot of comments over the last few videos saying “Well you can make anything, you have one of those CNC machines.” and I just wanted to prove that with nothing but $100 worth of hand tools that you can get at Home Depot, you can pretty much make anything if you put your mind to it. And I just kind of wanted to show that to you guys.
Another note. This thing is pretty damn dangerous. Don’t make one. I made one so that you don’t have to. I’m going to keep this thing in a locked up display case so that nobody can get to it, and it will be fun to look at. But I don’t plan on actually using it.
Well if you enjoyed this video, Like! And Subscribe to my channel on YouTube!