Many of you probably saw my Star Trek Communicator Badge How-To last weekend. That was a really fun project. It was also very annoying. It was supposed to go down completely different. First of all the badges were supposed to be made from aluminum and brass, not wood. Second of all, even though they turned out OK, they did not turn out awesome. I had some issues, but I just had to go with it because I was running out of time and needed to move on to the next project and a lot of “honey-do’s.” And to top it off, I still haven’t finished all the shutters for our new house. I need to take a vacation!
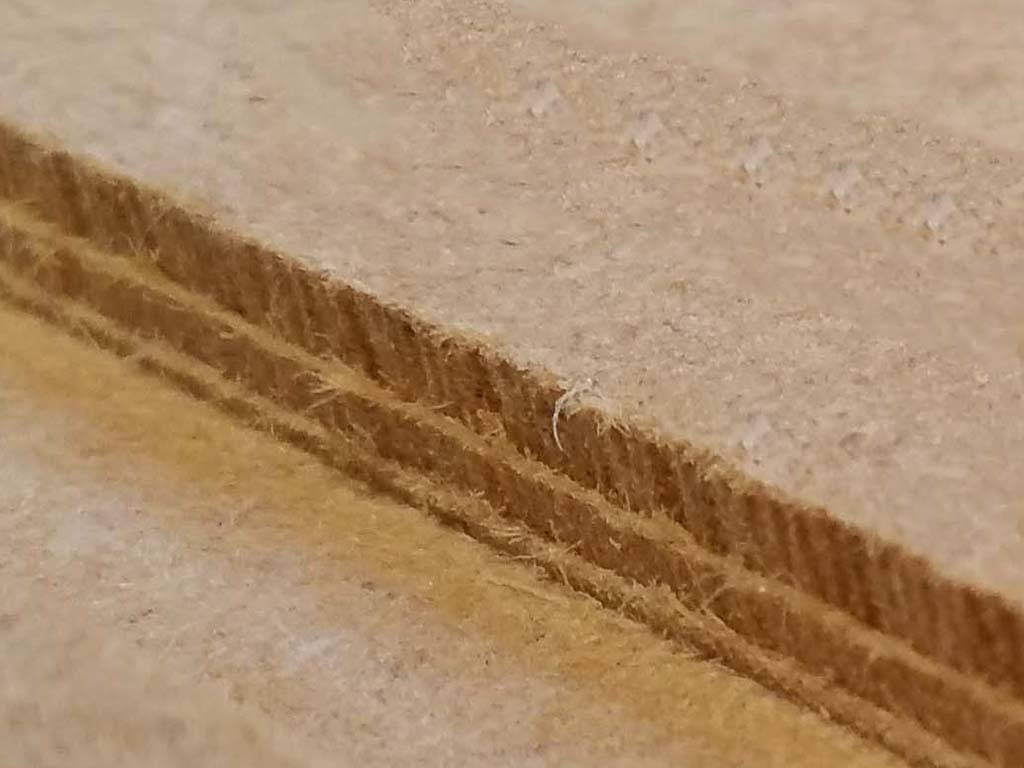 The main problem I have been having with the X-Carve this week is a depth problem. It seems no matter what I did the first pass of the bit was always too deep; basically about double what I had set in Easel. I wasn’t sure if whatever was causing it was responsible for a “stair step” pattern being left in my finished work, but I suspected it might be. I figured out if I zeroed the Z-Axis of the X-Carve and then loosened the collet and raised the bit just a hair (1/64″ to 1/32″) the results were much better (although still not perfect). This initially led me to believe that something was wrong with the G-Shield and that it was simply being programmed to plunge too deep on the first cut. However, I re-flashed the Arduino to the latest updates and nothing changed. This frustrated me. And even though raising the bit manually seemed to fix my depth issue, I was still getting a stair step pattern on my finished products (as seen in the Star Trek Communicator Badges if you look close in the video).
 I was determined to fix this problem. If the depth was being sent correctly to the X-Carve steppers from the Arduino, the either the steppers we’re not following the instructions correctly, or something on the X-Carve was moving. That was honestly the only two things it could be. Slowly but surely I started tracing all of my assembly steps backwards. I checked the G-Shield potentiometers to make sure they were set to output the correct voltage. I went ahead and upped them a just a tick to make sure they were getting enough power.
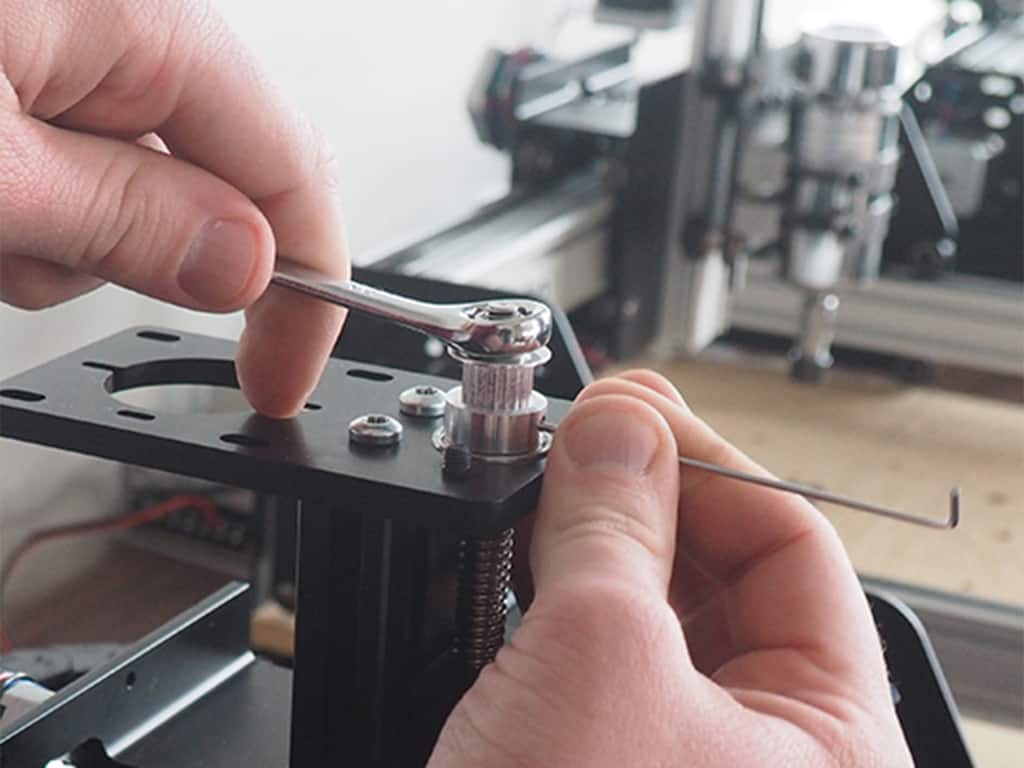
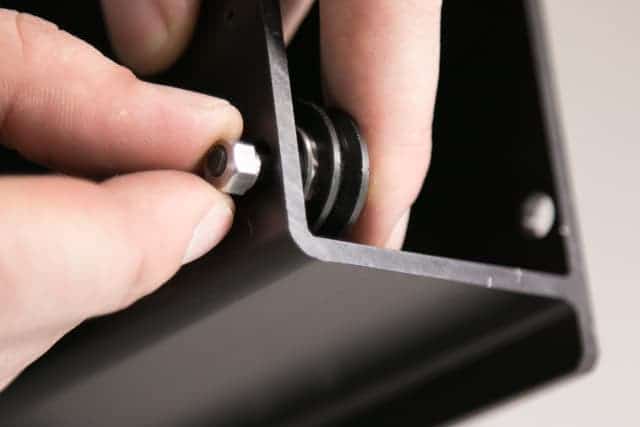
A went back and started rechecking all of the nuts and cam bolts. And then I found The nut on the top of the ACME lead screw was slightly proud of the top of the Z-Axis pulley. I reached under the base of the 24v spindle and pulled up on it. Sure enough, the entire spindle moved up and down about 1/64″ to 1/32″!!! This was it! I had found the problem. I loosened the pulley, reset it and re-tightened then the top ACME lead screw nut.
 This completely resolved the depth issue. The X-Carve was performing masterfully! Well. Except that damn stair step issue was still there! So I continued to go back over my steps and check all of the nuts and bolts.
It was at this time that I re-read the instructions on the v-wheel adjustment. I then went back and tested the v-wheels as per the instructions. Sure enough, the top v-wheel was not making contact with maker slide, it was spinning completely freewheel! This was allowing the bit to wobble during the cutting process! I adjusted than can ad the stair step issue was completely resolved! I couldn’t have had a bigger smile on my face.
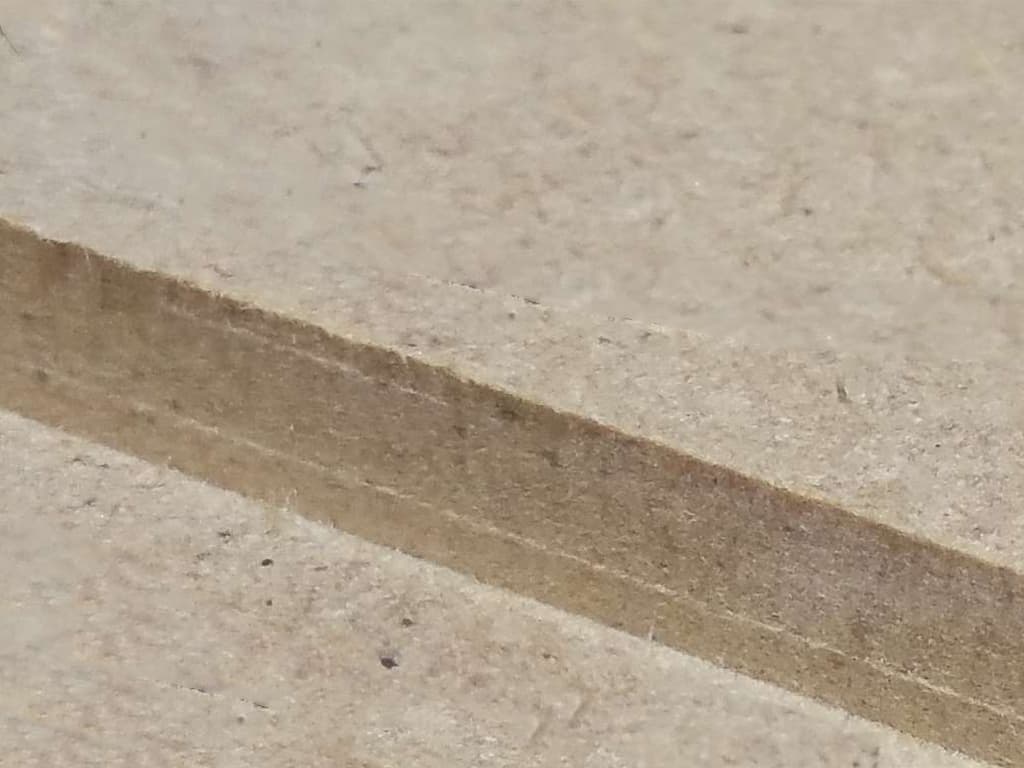 Well. Mostly. I still have a slight stair step pattern in my finished work. But it is so insignificant for my uses that its not worth bothering to fix. One swipe of sandpaper will remove it.
As mentioned before I have tried several times to mill aluminum with almost no luck at all. Now that I have fixed this issue, its on my list to try again. Between these fixes and my new bits, I suspect it may well work. We’re about to find out, and I’ll be sure to let you know!
If it works, I may actually re-make my Star Trek Comm Badge video using aluminum components rather than wood! Check back soon!

2 Responses
4.5
This was my exact issue! Thank you Mike!