CNC stands for Computer Numerical Control. But that probably doesn’t help much either. If you’ve ever used a woodworking router you know it can cut and carve wood in numerous different ways. You can cut slots, dadoes, rabbets, etc. You can add decorative edges to wood. You can even use it to just drill simple holes using a guide. It wasn’t too long after routers hit the market that people realized you could make a template from thin wood and use that template to carve intricate designs into wood. You could cut out circles easily, or make a free-form bowl.
 The CNC moves the template from a piece of wood, to a graphical template on your computer! Now rather than setup the router and template, you lay the stock on the bed of the CNC and then execute a routine to programmatically cut out your design! Welcome to the future of 3D printing and carving. Now it is true that there are many woodworkers who are screaming at the top of their lungs that this isn’t real woodworking. But people also screamed that drill presses and table saws weren’t real woodworking. They’ll get over it too.
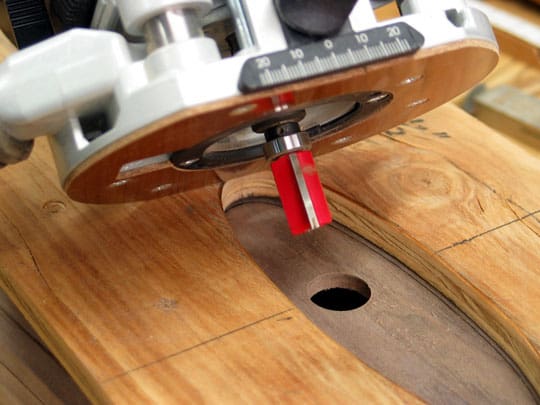
Beyond wood, the X-Carve is capable of cutting metals, plastics, and other materials. One of my first projects will actually be milling expanded PVC.
 The X-Carve comes completely disassembled. Don’t be fooled. This is a complex job that’s going to take some time, some patience, and some elbow grease. And it will come with some level of frustration as the instructions for assembly are not perfect. Add to that the facts that the X-Carve has two different sizes, numerous options, and at least a couple of revisions, the instructions can be down right frustrating at times. That’s where the patience comes in. With a little diligence most things you can figure out quickly just by looking at the components. When that doesn’t work there’s a sprawling forum to go to for help. Trust me. Someone has already had your problem and and someone else has answered the question.
At first you might be thinking that I am not happy with the experience, but that’s not the case at all. The X-Carve is an open source machine based on off-the-shelf components. And it is advertised as such. Inventables is very clear with what they have designed and what you are buying. I’m telling you this because you need to be ready to spend hours (six or more) putting it together. The assembly itself is a project. Think of it like any other shop project you do. One of my friends compared it to hobby RC cars. You don’t buy the car, you buy the pieces, you build the car. The X-Carve is very much the same.
 The great thing about that concept is that the machine can be changed and modified till your hearts content. The kit comes off the shelf in two sizes, with hundreds of options. But there’s nothing to keep you from ordering longer maker slides, or cutting your slides down to any size you want. You want a 800MM X-Carve? Cut 200MM off our maker slides and put it together. You want use a different router motor/spindle? Go for it. You want to put some custom code on the Arduino? Help yourself.
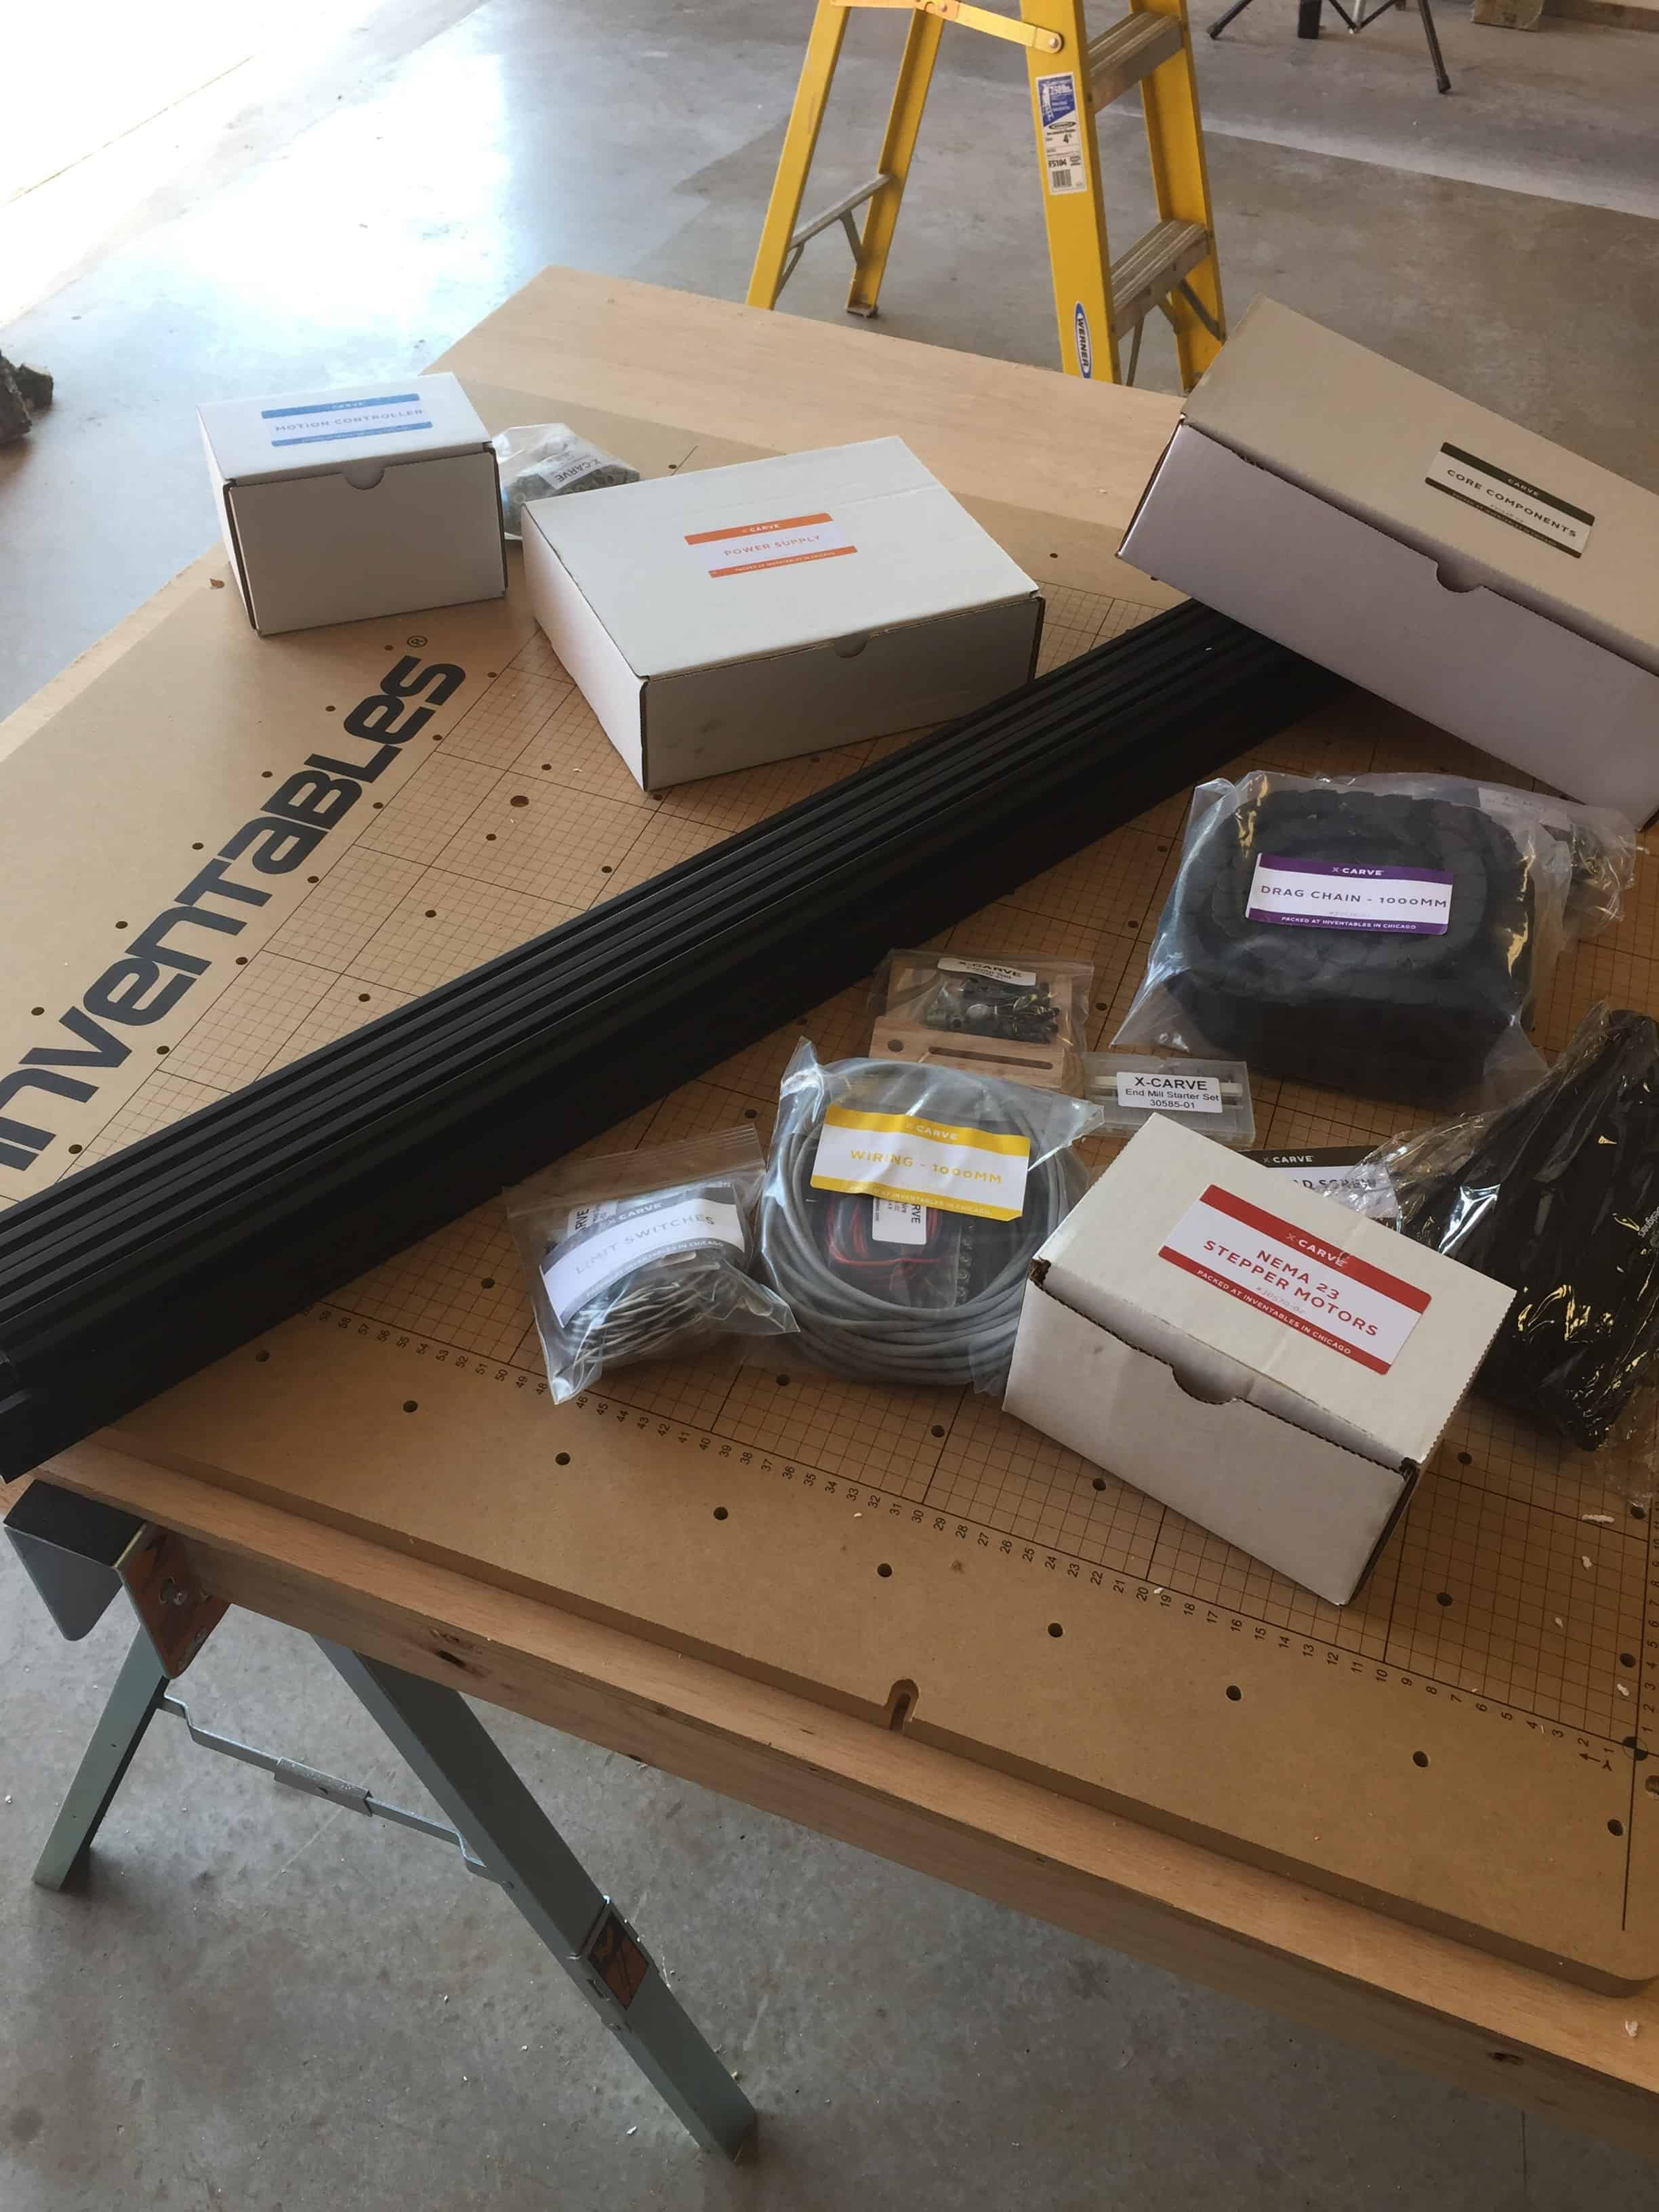
The X-Carve arrives in multiple boxes. In my case I received five boxes over several days consisting of 1) the wasteboard, 2) the maker slides, 3) the spindle, 4) some material and bits, and 5) the core components and electronics. There are no instructions in the box, only a packing list, and a sheet of paper with the URL of the online assembly and set-up instructions. I assembled mine reading the instructions my iPad (mainly because the battery lasts forever).
There’s a lot of detailed work and very small components to work with. Find yourself a large table to assemble this thing on. If you bought the limit switch option you’re going to also need to break out your soldering iron. I also broke out my helping hands with a magnifier installed to make sure I could see the tiny soldering locations on the gSheild and micro-switch leads.
Be prepared to make a few mistakes and have to take things apart. It is going to happen. Sometimes the instructions just aren’t clear, but sometimes you’ll just make a mistake. More than once I assembled ahead thinking I already knew the next step only to find out I was wrong.
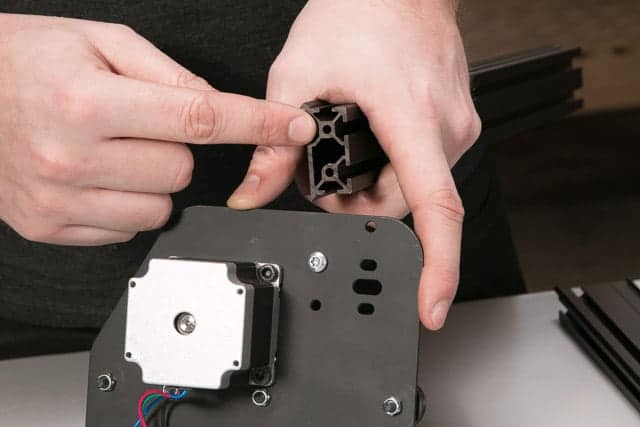 Screwing together the makerslide was the one thing in the assembly process I got frustrated with. The makerslide has holes in the end of them designed to accept screws. However, the makerslide is not threaded. You read that right. NOT threaded. The kit comes with what it claims to be thread forming screws. However, there is nothing about these screws that has any kind of thread cutting ability, except that they are made out of a material harder than the aluminum your about to run them into. I think they called them forming no purpose, because they literally just brute force push threads into the makerslide. Get ready to wear yourself out running the screw in and out slowly cutting the threads into the makerslide.
If I had had time, I would have ordered a tap from Amazon with the correct thread pattern and tapped these holes the right way first. Too bad I didn’t know about this ahead of time. Since you’re probably already in the same boat there is one thing that will make a dramatic difference: WD40. Cover the threads of the screw with penetrating lubricant before running them in. This will cut your effort in half. Make no mistake, its still a huge pain. My advice to Inventables would be to either actually include thread cutting screws, or to tap these holes at the factory. Anyway, it does work as shipped, just not without making my wrist sore for two days.
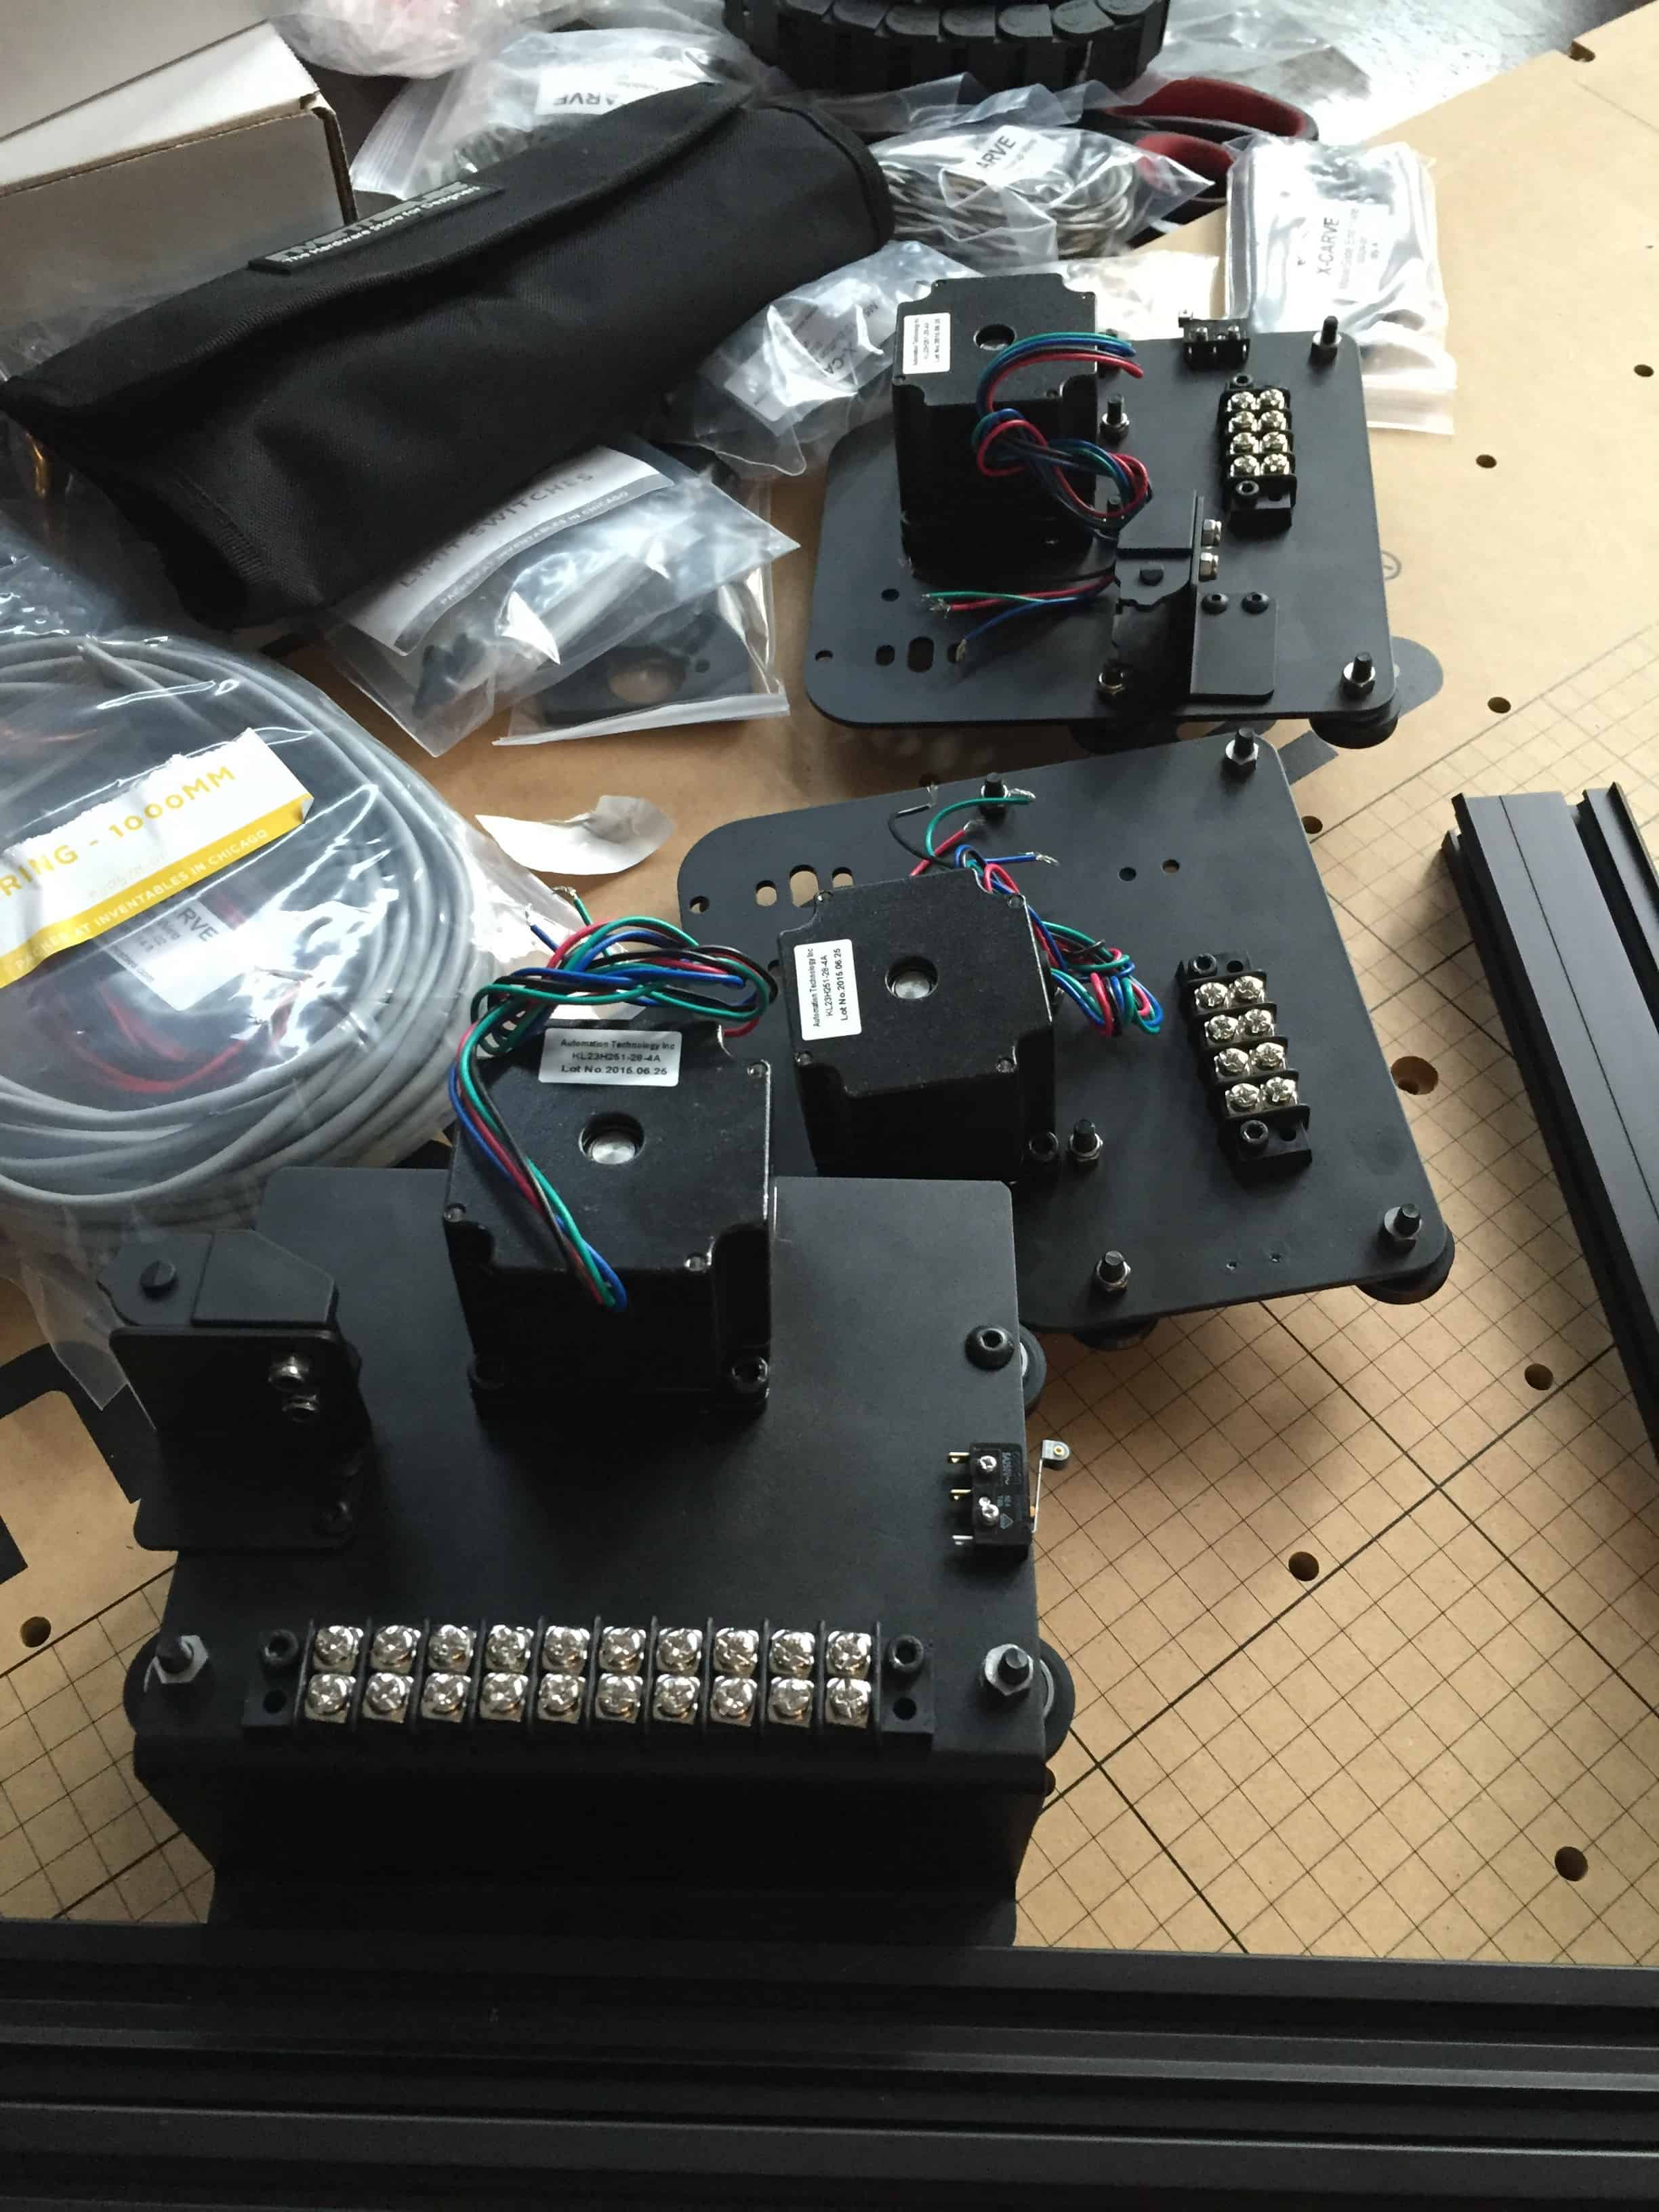
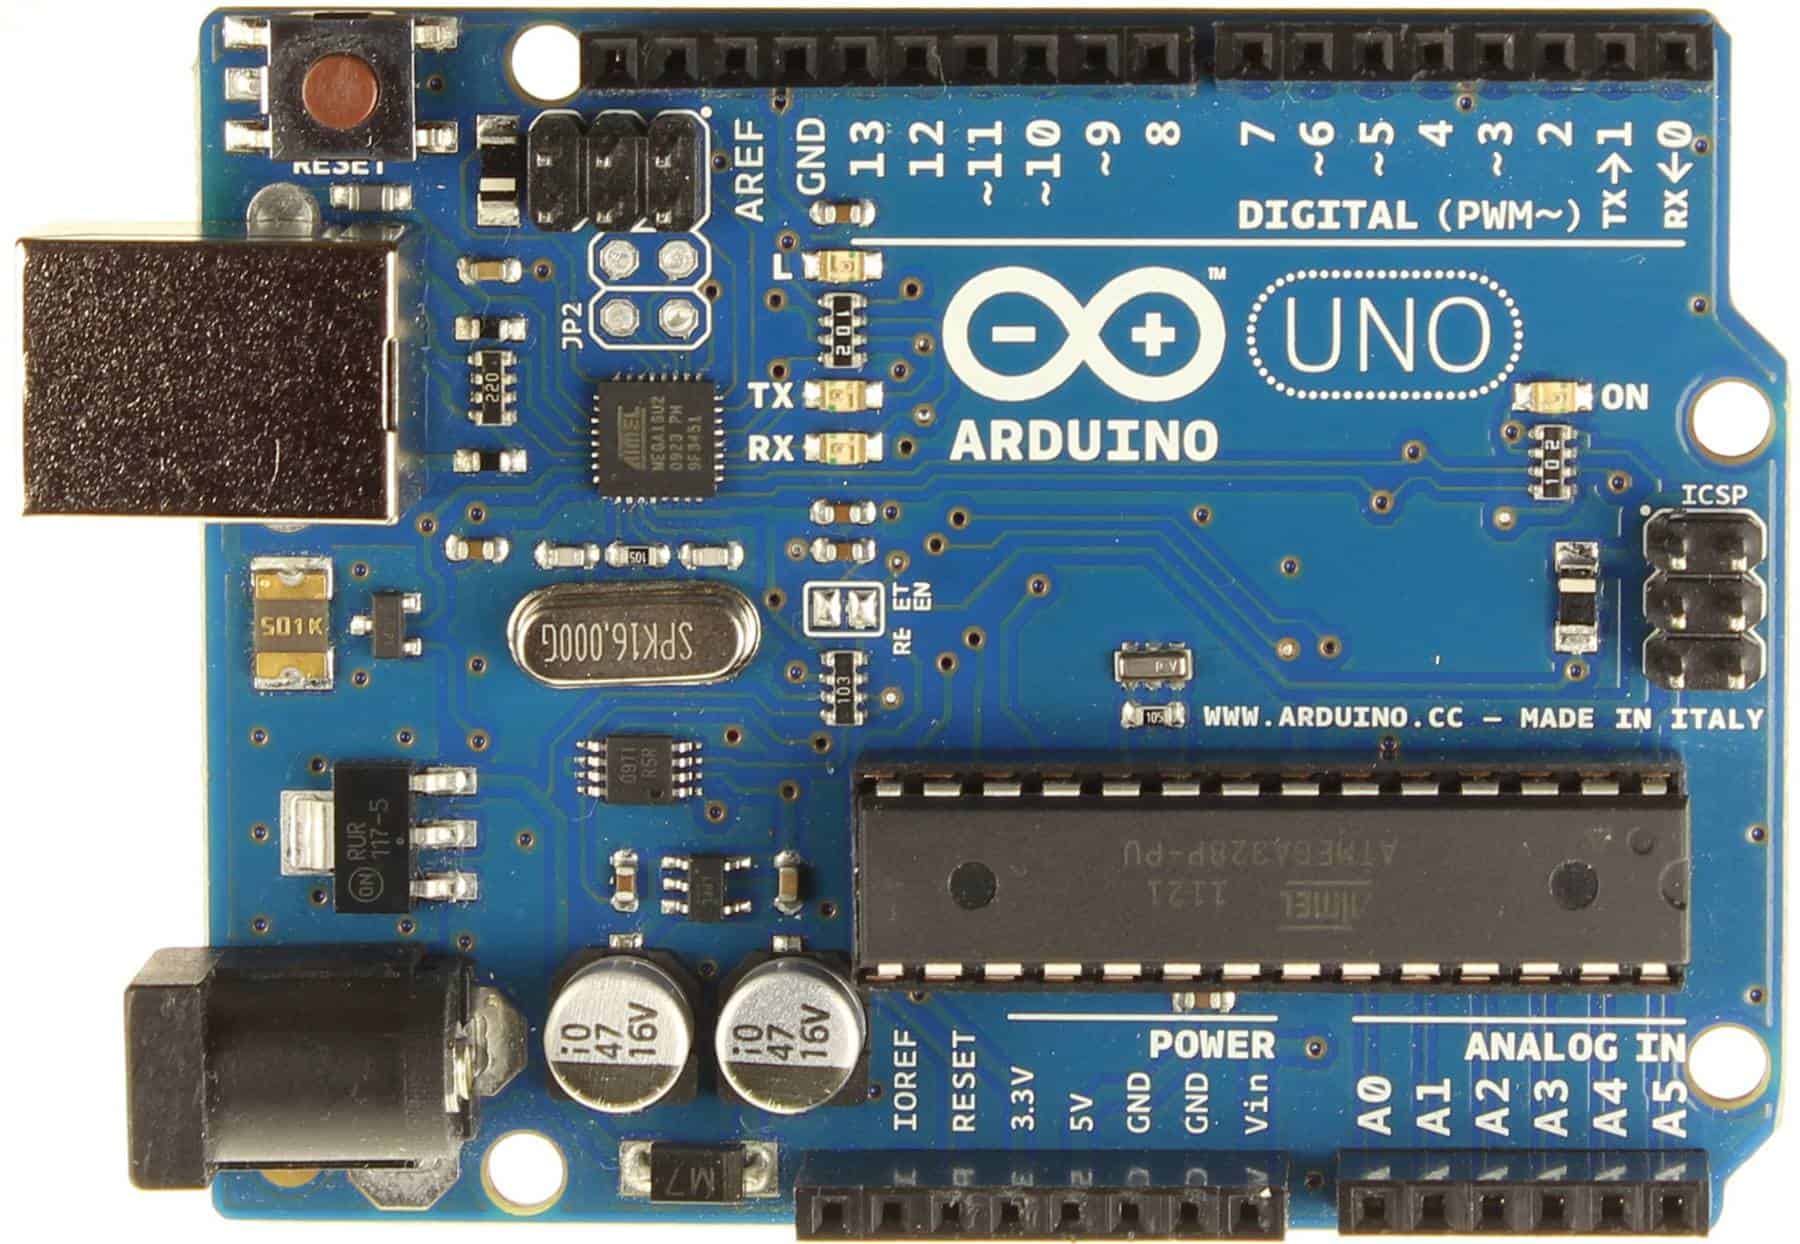 The electronics come all in one box, and the power supply comes in an additional box. The power supply is an off the shelf unit, all you need to do is install the correct adapter for country (included) and set the switch the correct input voltage. On top of the powersupply you will mount a small box that holds the Arduino, gShield, and the connection point for all of the spindle motors.
This wraps up into a nice little package that simply sits next to the X-Carve. I did add rubber feet to the bottom of the power supply to help it stay still when the surface is vibrating.
Well that’s all for this update. More to come in next weeks blog post!
You can follow along with my X-Carve build (and other projects) on Facebook and Instagram. I post new pictures daily.