I had sandpaper all over my shop. Some orbital sander and sheet goods hanging on my french cleat system. I had a tool box drawer full to the top of random grits of 9×11 sanding sheets. It was time to get this all under control. So I set out this weekend to make a sanding storage station.
[button link=”http://www.thegeekpub.com/product/sandpaper-storage-station-plans/” type=”big”] Download the Sandpaper Storage Station Plans Here[/button]
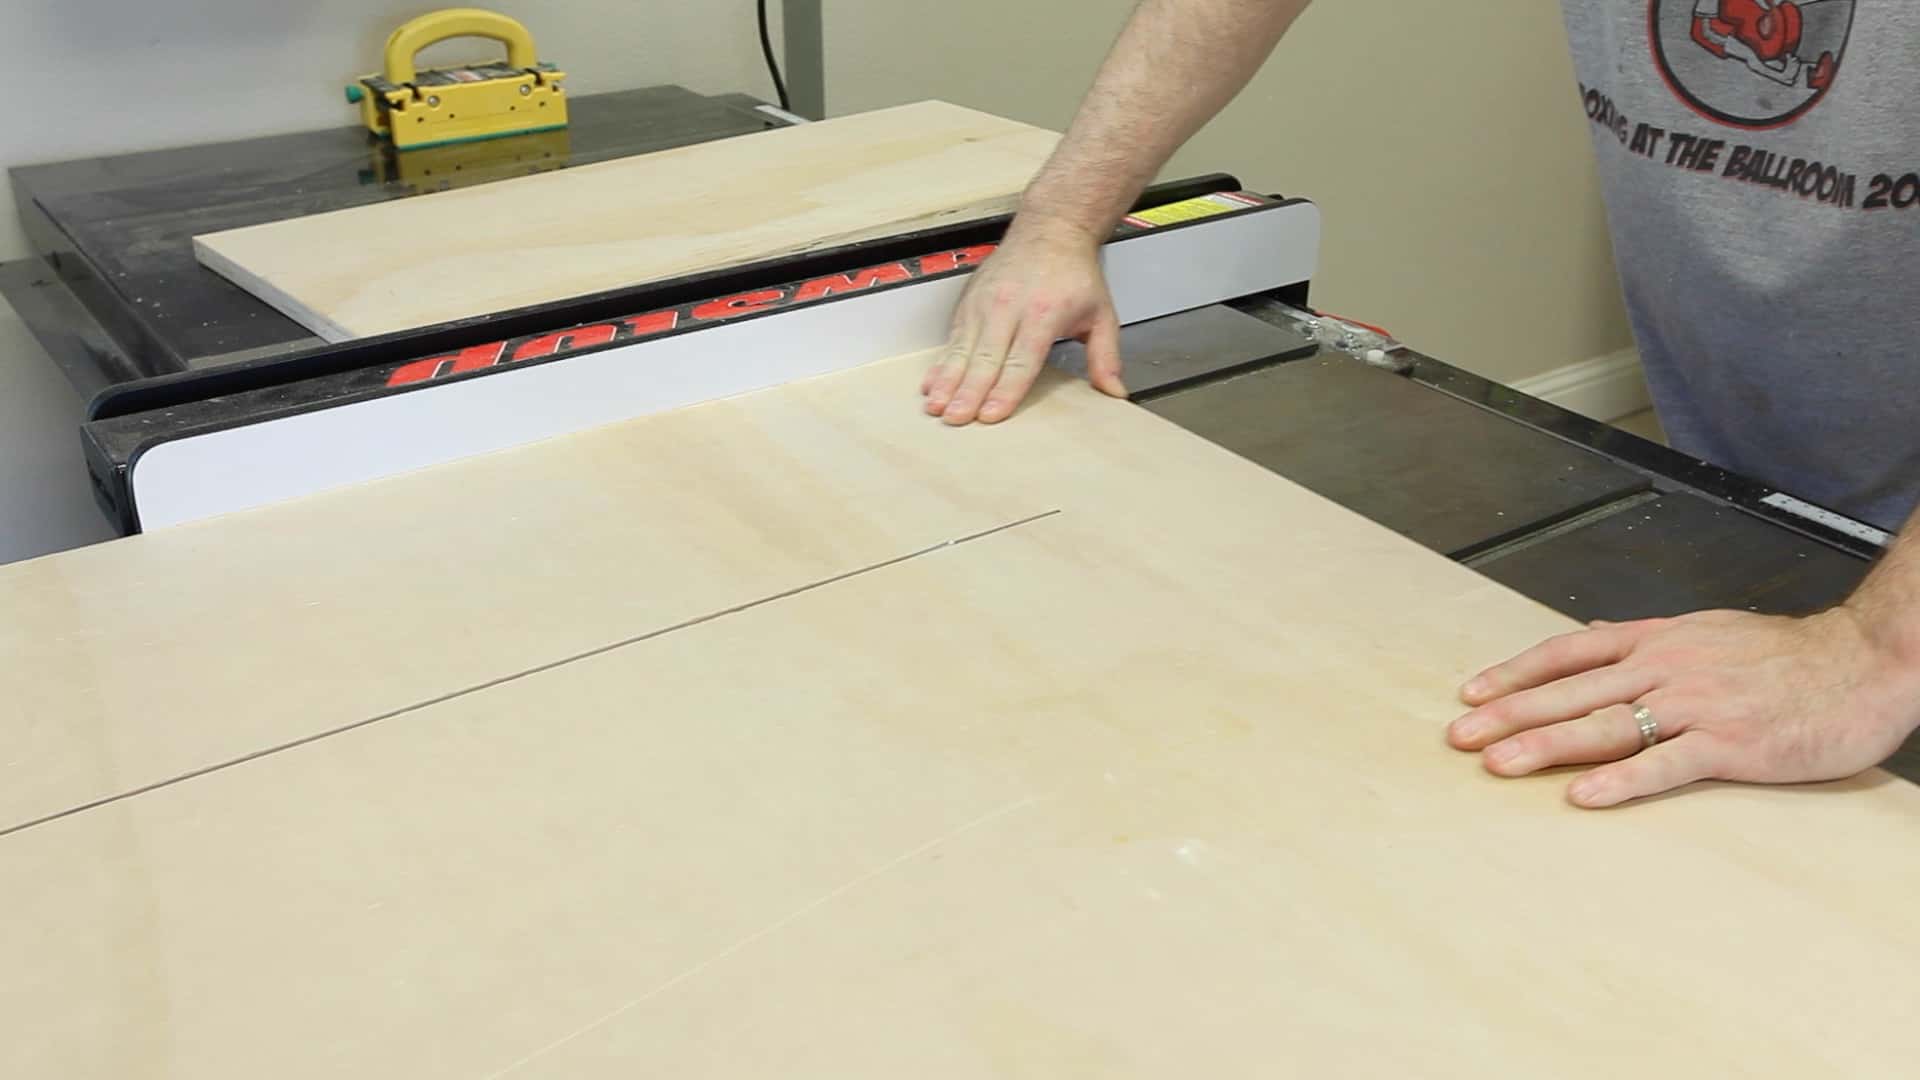 The first step is to cut the sheet goods down to their final dimensions. (You can download the plan file attached to this article for a detailed parts list, cut list, and set of dimensions.) You’ll probably want to use some cabinet grade plywood and some material of your choosing to use as shelves. Since this is just shop furniture I chose cabinet grade pine and hardy board from the local big box home improvement center. You could certainly use solid wood for this if you desire. Or you could use iron-on edge-banding if the plywood plies showing bother you.
 Follow that up by cutting rabbets. We will need to cut one each along the top and bottom of the back and sides. In addition, make a rabbet on one side of each side panel. Since most dado stacks do not go down to less than 1/4″ inch in width, use your regular blade and cut dados every 1″ down the entire length of the side and back panels. This will be for your shelves. You’ll probably want to make them a little loose to allow the shelves to slide in and out a little easier. You can do this by recutting each slot at the 1 1/32 inch mark (giving you a 5/32 dado cut.
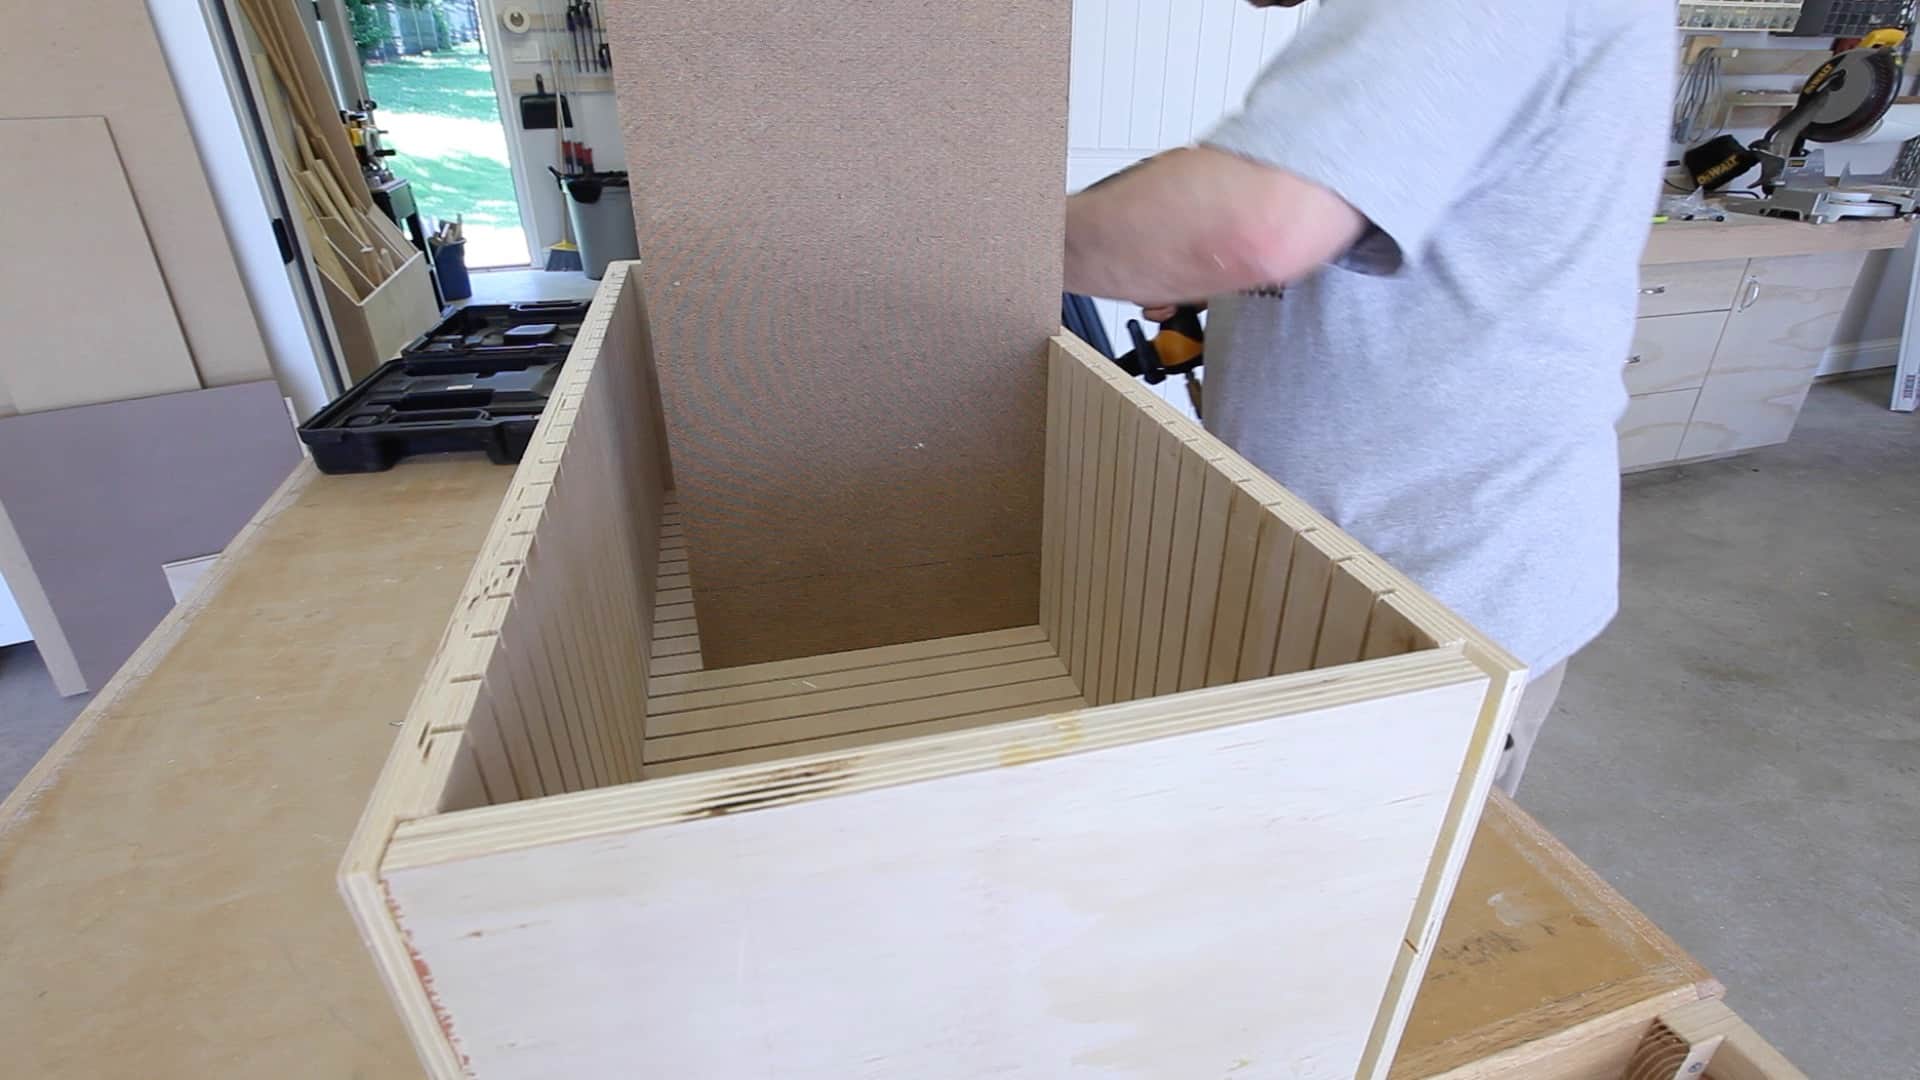 Assemble it using wood glue and brad nails. I get asked a lot about why I don’t just use screws or use brad nails only. There’s this thought out there that somehow those items are stronger than wood glue. The truth is wood glue is incredibly strong. In fact, in most cases its stronger than the wood you are gluing together. Brad nails will pull out over time. I use brad nails to hold everything together while the glue dries. This allows me to move on to the next step without clamping and waiting for the glue to dry. This isn’t ideal in every situation, but in cabinets making for the shop it is more than satisfactory. But the bottom line is that brad nails alone would fail very quickly.
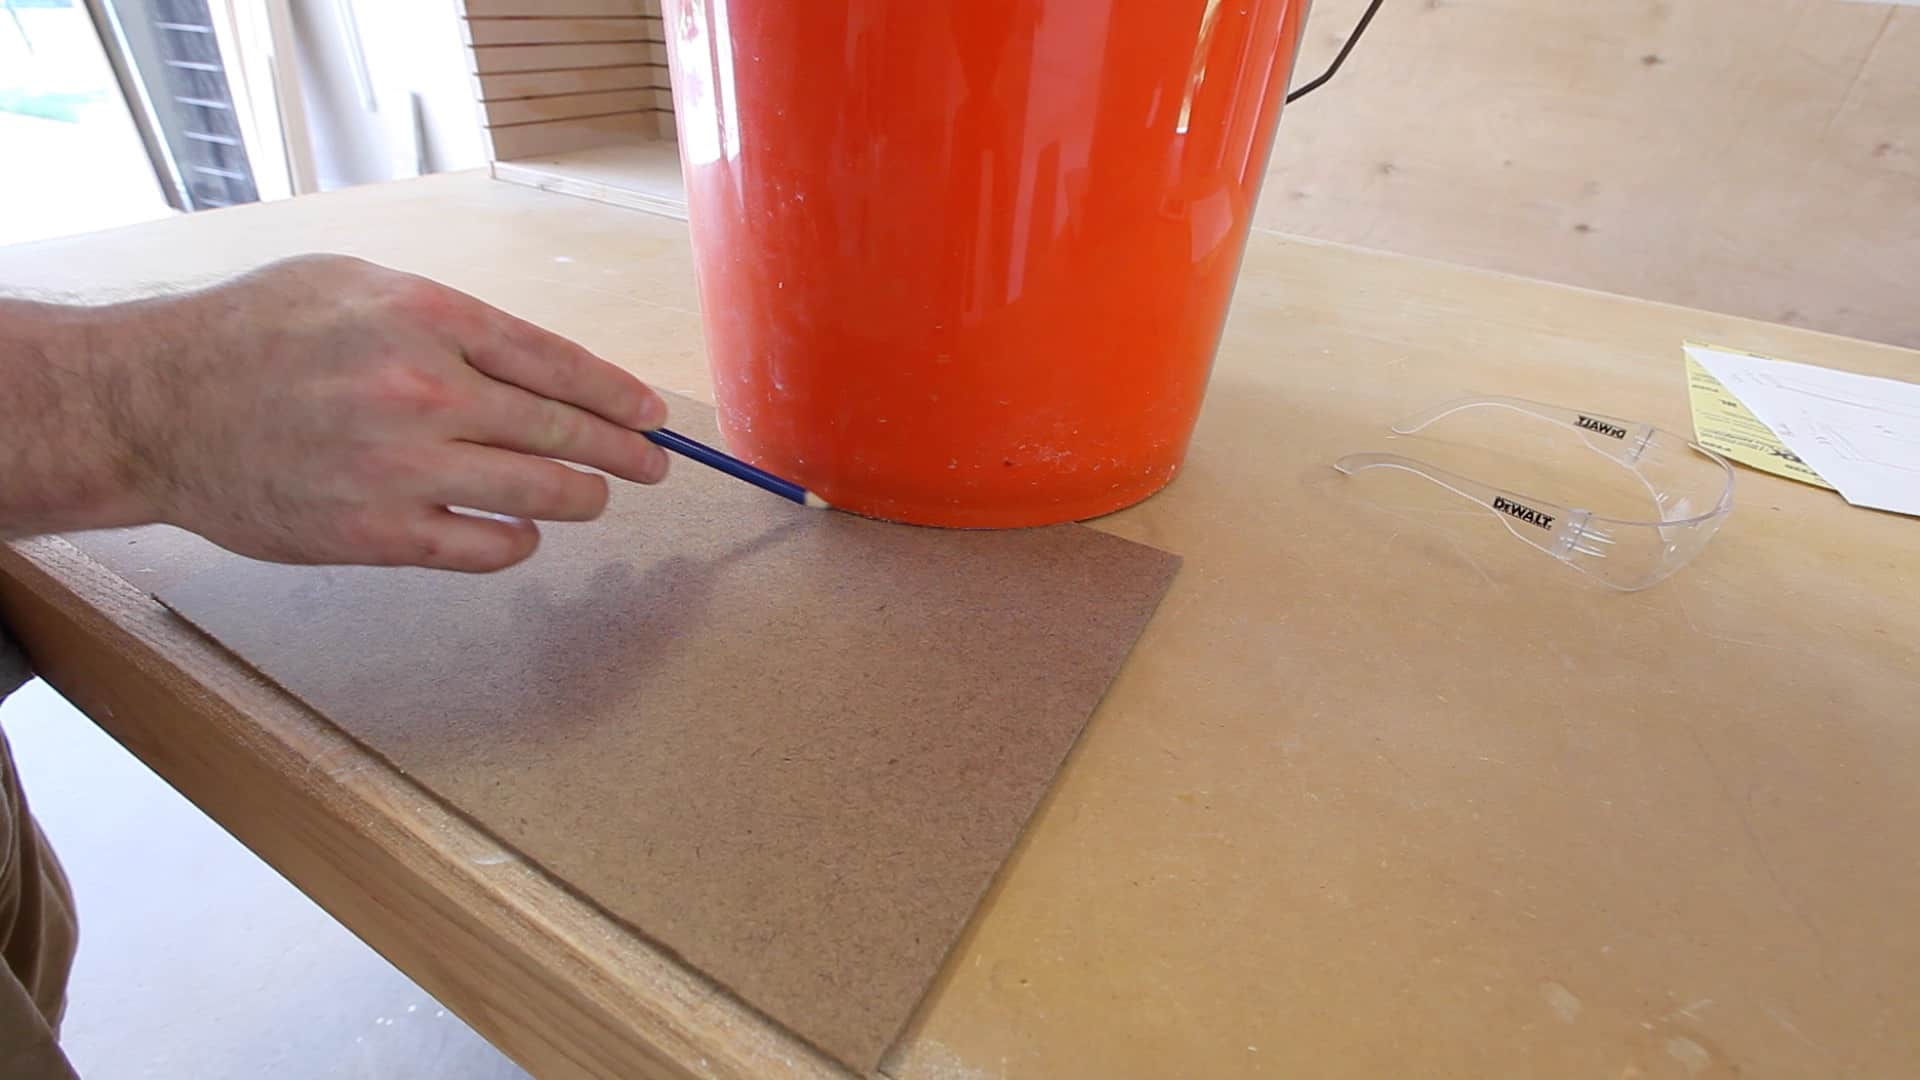 I used a simple Home Depot bucket as a template to mark slight curves out of the hardy board shelves. After cutting them out, this will make it easier to grab the sandpaper out of the shelves when the unit is hanging on the wall or french cleat. Of course, you could use a compass to do this if you have one. Even a string and a pencil will work. I cut it out using the bandsaw and then removed the scuff marks on the edge of the belt sander (you could easily do this by hand with a sheet of paper or on a spindle sander). Hardy board sands quickly. Be sure to wear that dust mask though!! That stuff is terrible for your lungs.
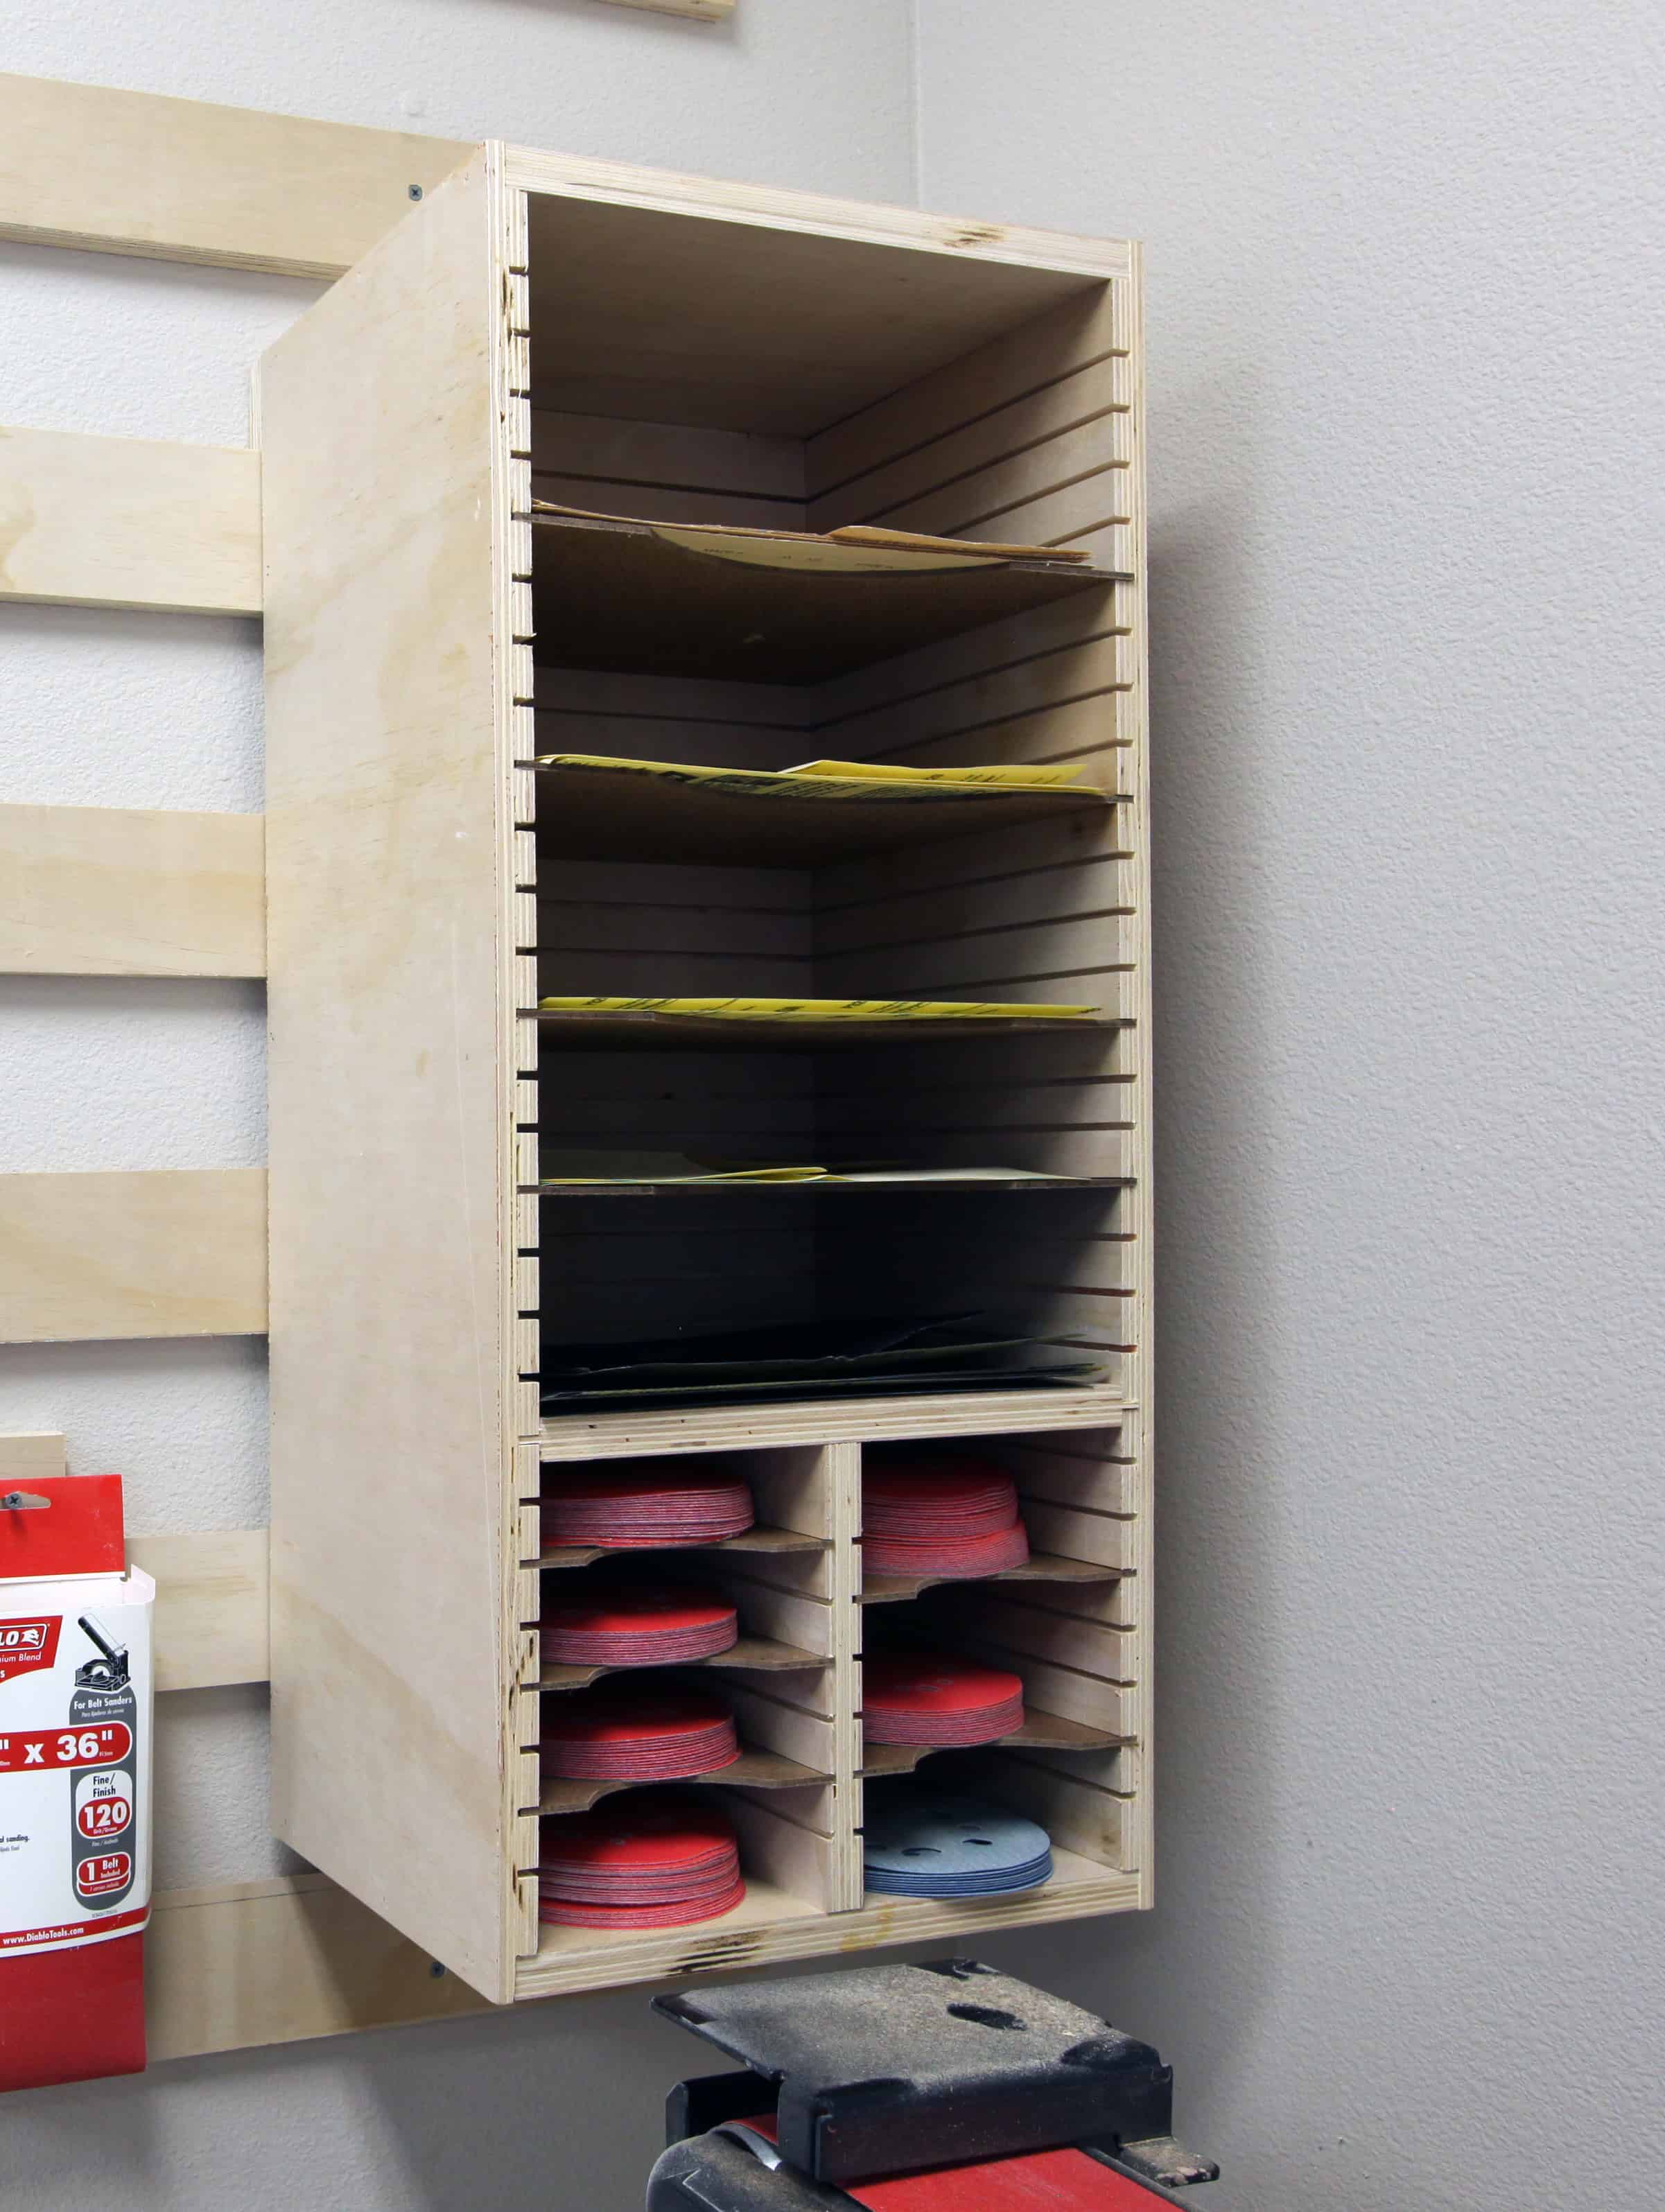
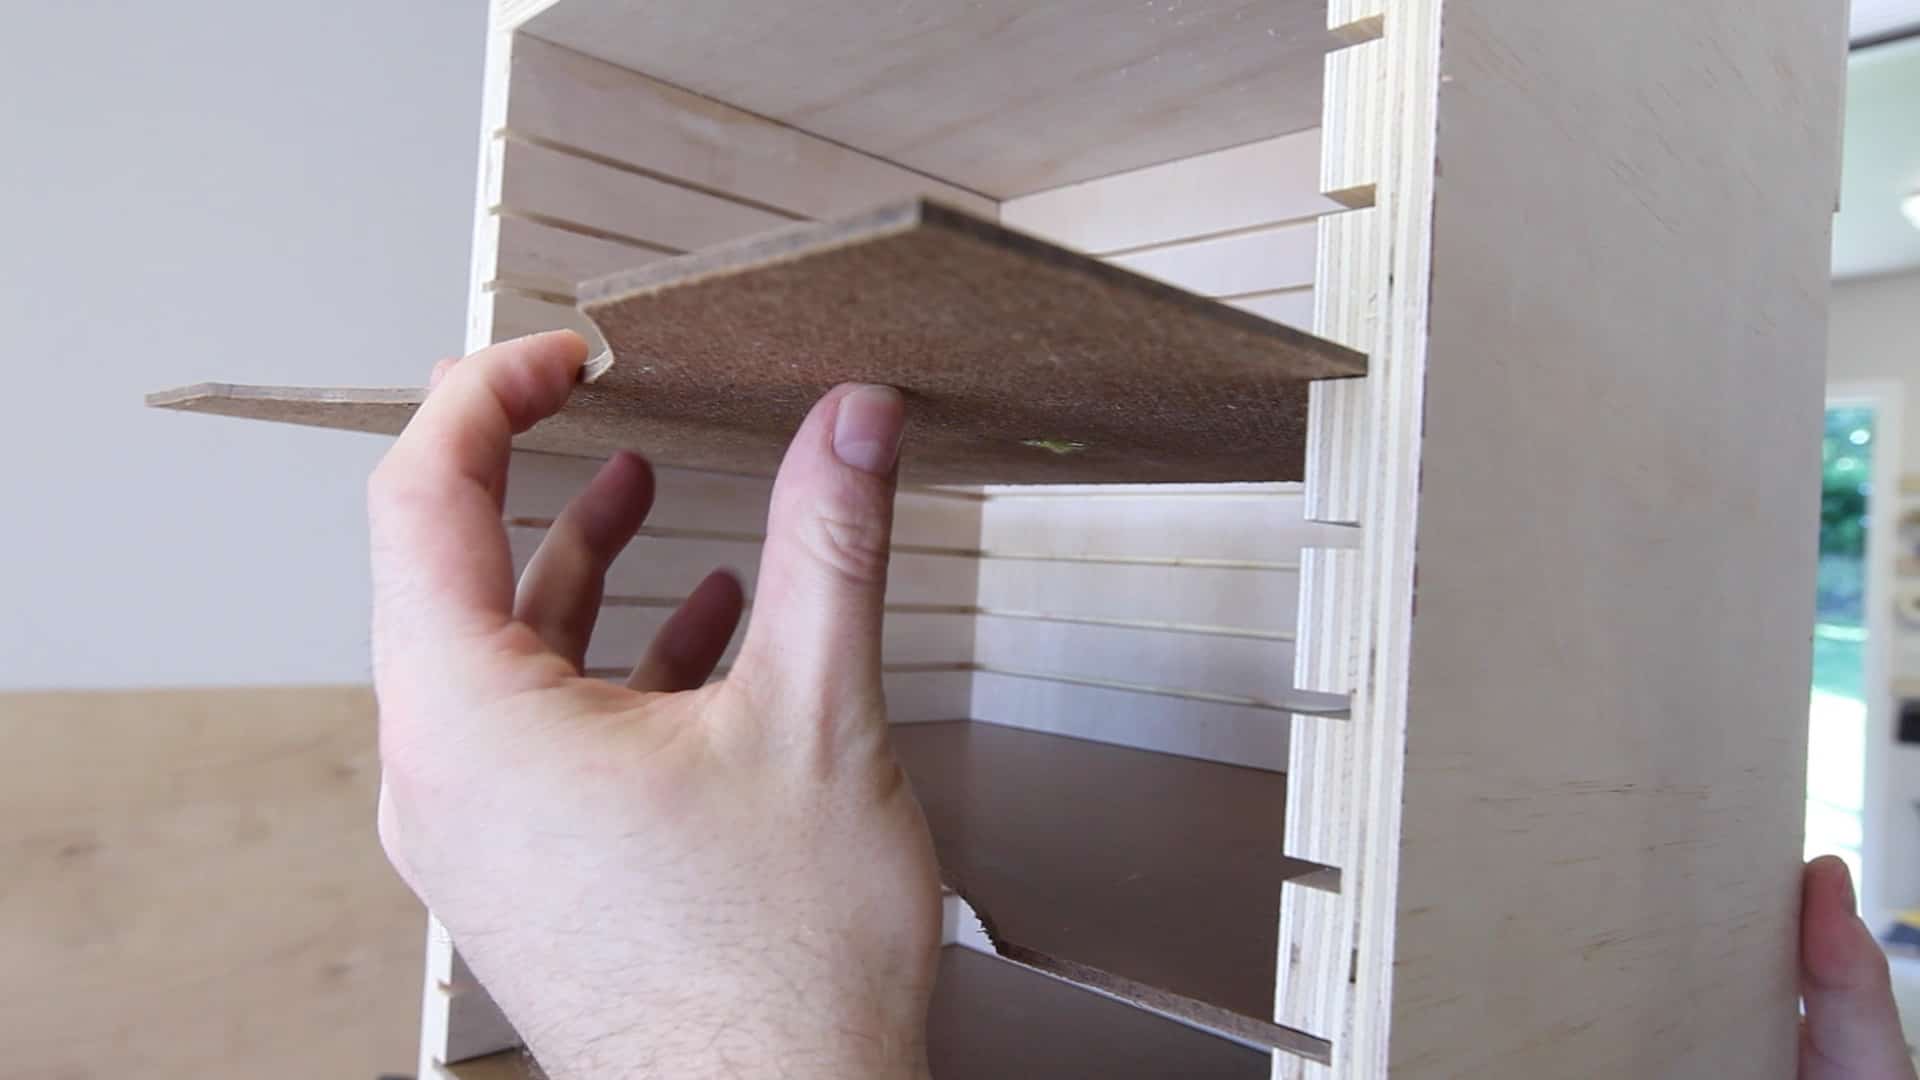 Using the dados we cut earlier at every one inch along the sides and backs of the unit, you can adjust the shelf heights to whatever suits you. You could put a shelf in every inch if you like. This also gives you plenty of room to expand in the future should you purchase a new grit of sandpaper you don’t normally keep. All you would need to do is make another shelf.
 And that’s all there is to it. This project is super simple to make, but incredibly useful to have around the shop.
After shooting the video, I decided to go ahead and make a T-Shelf (included in the plan files) to allow me to better store my orbital sander discs. This is just another couple pieces of scrap plywood and some halved hardy board shelves.
I hope you make and enjoy this project! Be sure to send me a picture on my Facebook page. I love seeing those! It makes my day!
[button link=”http://www.thegeekpub.com/product/sandpaper-storage-station-plans/” type=”big”] Download the Sandpaper Storage Station Plans Here[/button]
Hey guys! It’s Mike from The Geek Pub. And on this episode I’m going to show you how to make this sanding storage station, inspired by the one Nick Ferry built.
So I have all of my sandpaper hanging on the wall on a French cleat, and I have bunch of it shoved in the drawers of my toolbox and my workbenches and today it’s time to make something that’s a little bit more organized and takes up a whole lot less space.
So I am going to start by cutting the sides and the back and I am going to cut them from this single sheet.
And now using the Dado stack I’m going to cut rabbets on all three sides of the side pieces.
So I’ve decided rather than using the Dad stack I’m just going to use my regular blade and I’m going to cut two slots. Once at every inch increment and one at every inch and one thirty-second increment. That will give me a little bit of slack to let these parts slide through.
So I am going to put everything together with glue and brand nails. I get asked a lot in the comments section why I don’t just use brad nails and the truth is the opposite is actually true. The glue does all the work. In fact the glue is stronger than wood. The brad nails are just there in order to hold it together long enough for the glue to dry and it allows me to move on to the next step.
So just to make sure that all of these slots line up I’m going to use a piece of the hardy board that will be the shelves when we’re done.
So as I mentioned before I am just going to use hardy board for the shelves.. It’s cheap and it will last a long time.
So I’m just going to use this paint bucket to draw a curved line. This will allow me to better grab the sandpaper when I want to remove it. And with all of them held together using carpet tape, I’m just going to cut them out on the bandsaw.
So all that’s left is to just insert these into the tracks.
Alright so that is all there is to it. So originally I was only going to have these large shelves, but after making the video and seeing it in action I really realized I needed to double my space for my orbital sander disks. So I went ahead and built this little “T” shelf. If you like this project you can find the plans on my website at www.TheGeekPub.com. And if you haven’t been over to Facebook go over to Facebook.com/TheGeekPub and hit that like button.
Thanks for watching!

One Response
My sandpaper is all over the shop, some in the decorating box, some with the sander, some on the shelf. Having a single place to locate it would be a great idea but I’m not sure I’ve enough space for such an elaborate solution but perhaps something smaller could work for me.