This simple problem spawned my idea of turning the CO2 cartridges into actual ammunition! I’d heard other’s stories about fun things to do with empty CO2 cartridges, but they haven’t seen anything yet! Now I can blow holes in 3/4″ plywood like its cardboard, and the ammo is basically free!
[button link=”http://www.thegeekpub.com/product/co2-cartridge-rifle-plans/” type=”big”] Download the C02 Cartridge Rifle Plans Here[/button]
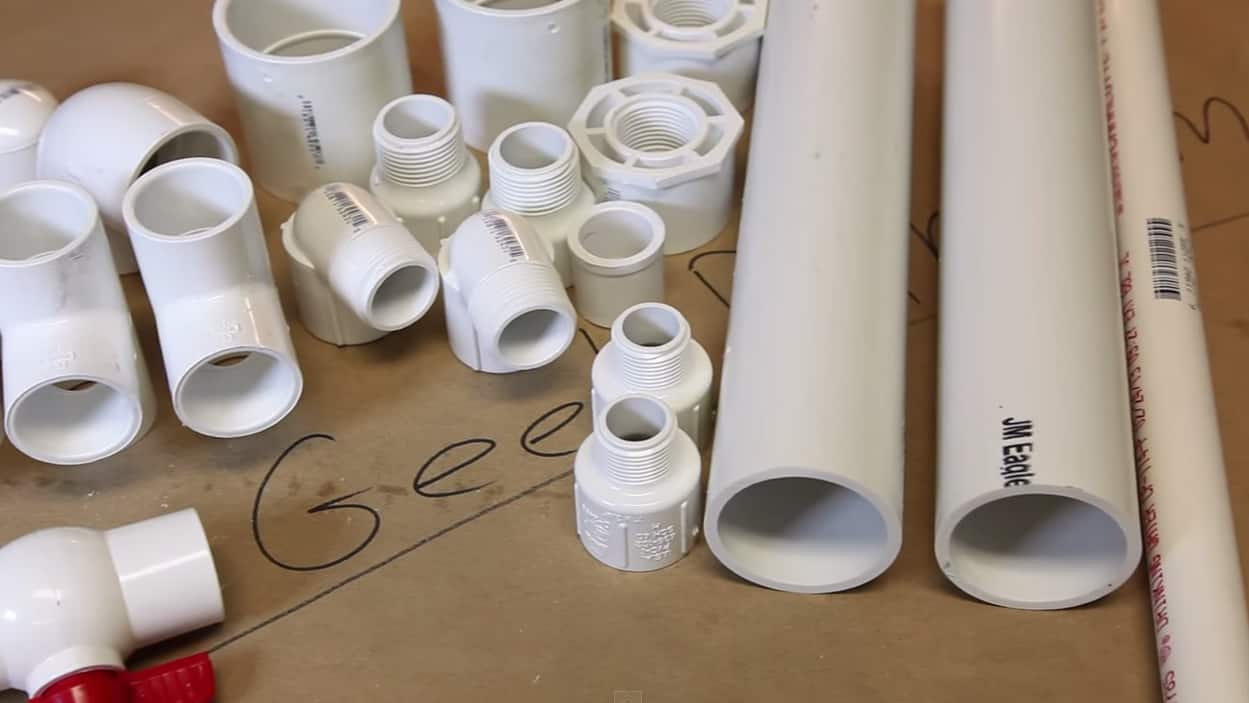 Building the CO2 Cartridge rifle was quite the fun little project. This design is based off the my Air Powered Water Balloon Canon. So if you plan to build this, you should watch both videos. I cover much of the build in more detail in the Water Balloon Canon video. You can acquire all of the parts to build this project at your local home improvement store. One point I make over and over is that you need to purchase Schedule 40 PVC or better. Schedule 20 will rupture and could seriously injure you or someone else. The complete parts list is available in the PDF plan file.
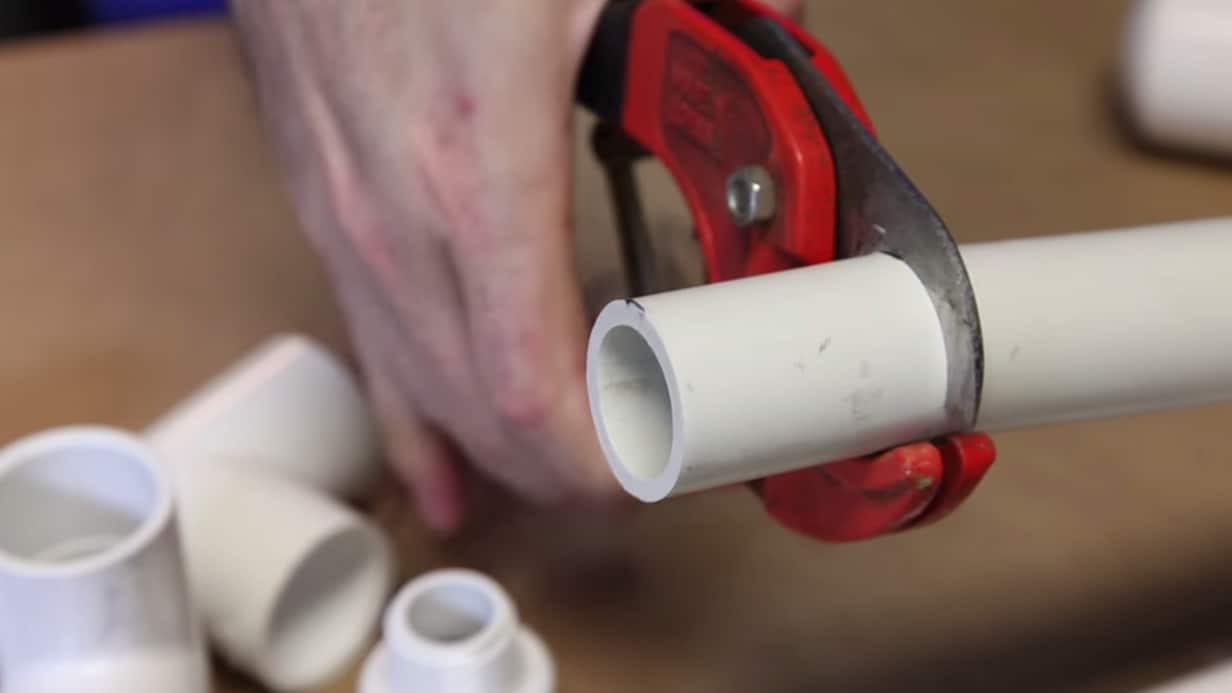 I will either use my compound miter saw with a crosscut blade installed (do NOT use a ripping blade. This can cause dangerous kickbacks!) or a standard PVC pipe cutter when cutting PVC pipe. My pipe cutter only goes up to 1″.
In a pinch you could also use just about any handsaw or even a hacksaw. So if you don’t have any power tools you can still do this project!
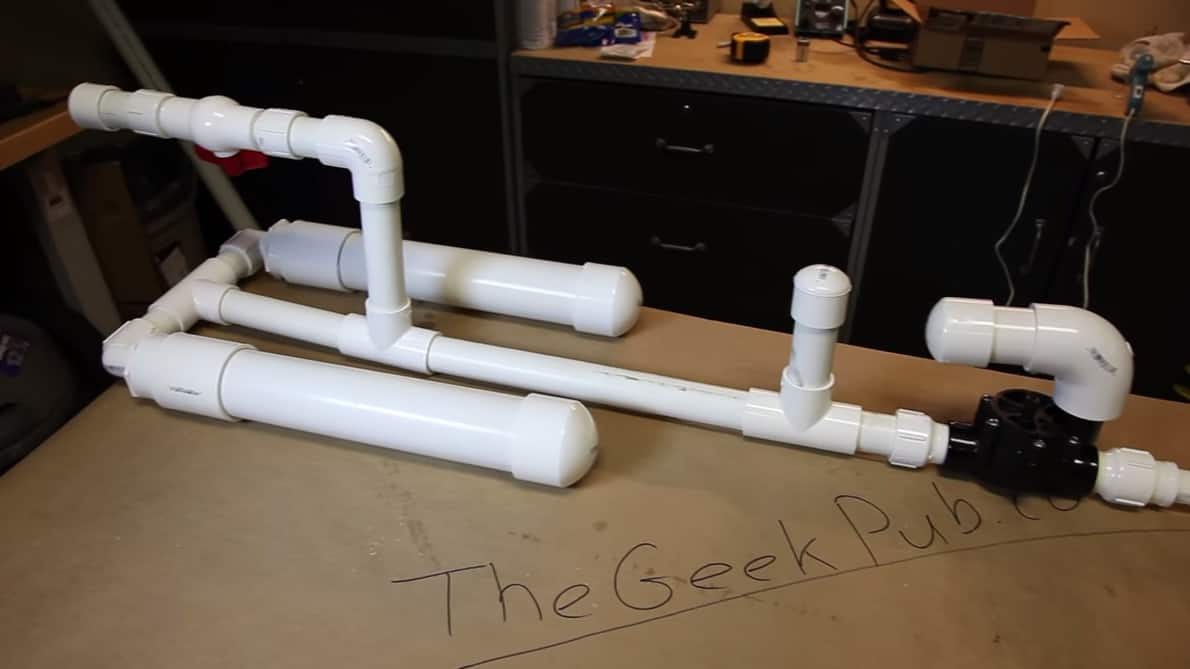 I highly recommend that you test fit all of the pieces together before you glue them up. This will insure you didn’t miss any parts or cut anything to the wrong length. This is especially important if you are not following the plans exactly and making your own design. This is also a great time to use a section of 100 grit sandpaper and remove any burs from the cutting process. Your pipe should be smooth before glue-up. It’s also important to use PVC primer before glue-up.
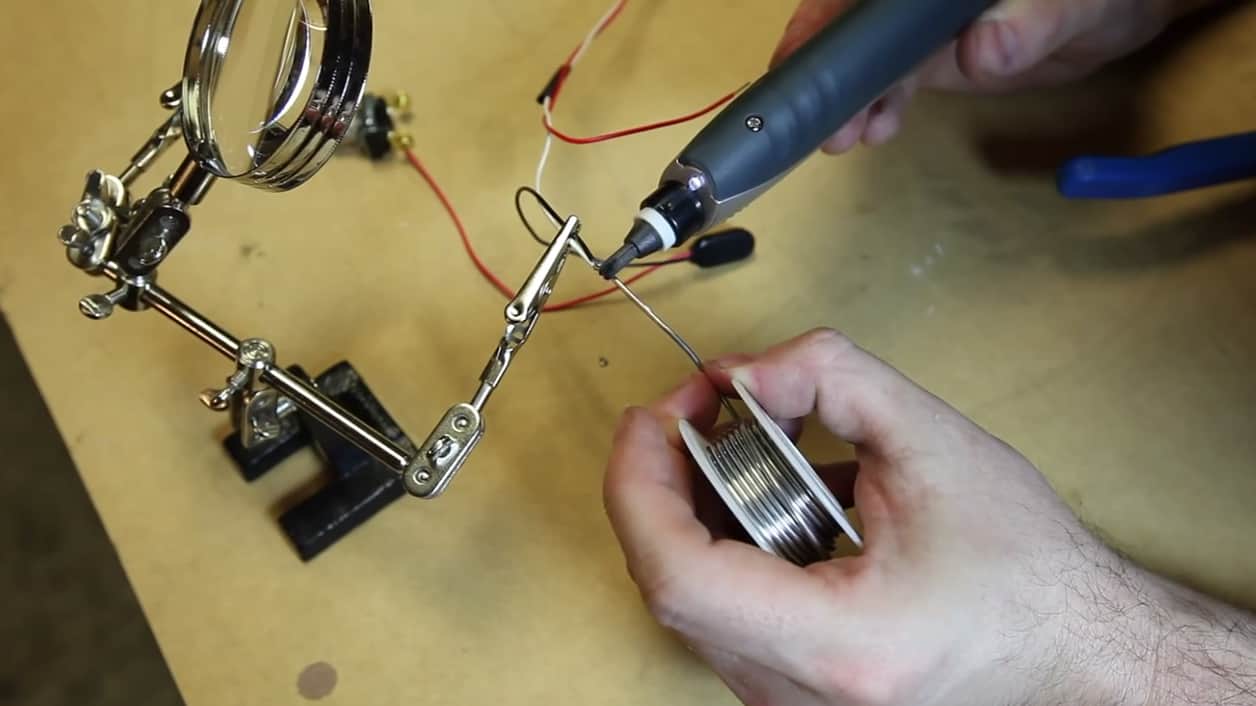 This is one of the simpler wiring projects of the ones we’ve done. As always I highly recommend that you solder your connections together and use heat shrink tubing to cover your joints. This will result in a superior, long-lasting connection. However, I know that you don’t all have soldering abilities. You can simply wrap the wire around the terminals and use electrical tape to wrap the connections. A complete wiring diagram is available in the PDF Plans.
I might even recommend putting some foam into the compartment to keep the battery from rattling around, but that’s certainly optional.
 The firing trigger on the CO2 Cartridge Rifle is kinda cool. It’s a momentary switch mounted into the top of 1-1/2″ PVC cap, but it has to be drilled and contoured to fit the handle correctly. You’ll want to attach it to a scrap piece of PVC pipe and drill a hole through the side of it to make it concave. This will allow you to hot glue it to the side of the handle.
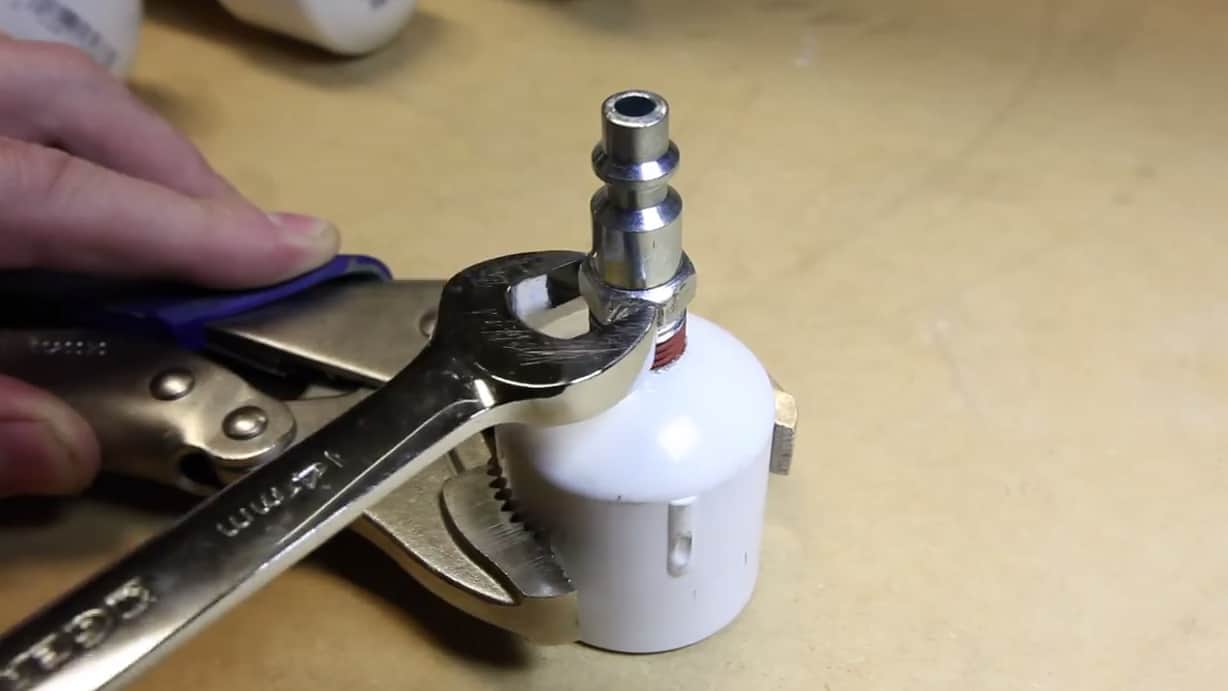 You’ll also need to drill a 1/4″ hole into the end of another PVC cap to use for filling the tanks of the rifle. You will mount a male air compressor quick disconnect fitting into this hole. Be sure to use pipe thread tape on this fitting to prevent air leaks. Screwing the fitting into the hole will thread the PVC cap. There’s no need to use a special thread tap to make the threads.
 I’ve said it at least 100 times here and in the forum posts. THIS RIFLE IS NOT A TOY. And it may NOT BE LEGAL in your area. Check your local laws to be sure! I blew holes into 1/2″ wafer board the size of my hand. This rifle can kill people. You assume all risks for building it and using it. Don’t point it at anyone or any animal (or anything you don’t want to destroy!!). You have been warned!
Firing the rifle is as simple as adding compressed air to the chamber and pulling the trigger. Depending on the barrel dimensions you picked and the brand of CO2 cartridges you have you may need to wrap some duct tape around the empty cartridge (your projectile) to make it fit more snuggly. Always be sure to lubricate the barrel with a little vegetable oil before each use.
[button link=”http://www.thegeekpub.com/product/co2-cartridge-rifle-plans/” type=”big”] Download the C02 Cartridge Rifle Plans Here[/button]
So I have this little Umarex CP99 pistol. It looks like a Walther .22, but its really just a CO2 powered BB pistol. I spend a lot of time shooting it at tin cans in my back yard and its a lot of fun, but I end up with a lot of these. And that got me thinking, “Could I shoot these?”
Be sure to checkout TheGeekPub.com for the parts list for this project. As with the water balloon cannon, I again used my miter saw to cut the PVC, using a segmented blade for safety reasons. However, for the smaller diameter pipe I used a s PVC pipe cutter. If you want to see more details on the construction, checkout my water balloon cannon video, as this design is very similar.
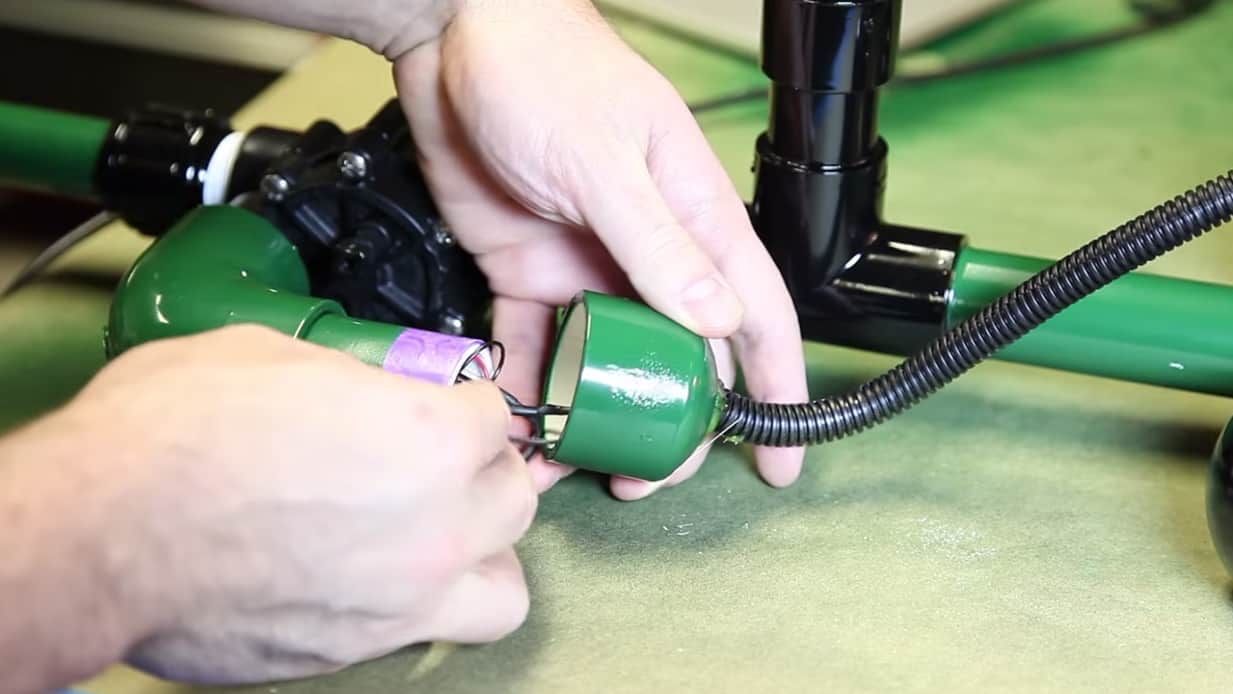
Again, I used a water sprinkler valve for the firing mechanism. And once you’ve cut all your pipe and test fit it, this is what it should look like. In future videos I’ll show you how to replace the barrel to shoot other projectiles. Now that we’re happy with the fit, its time to disassemble it and make it all permanent. Be sure to use the correct PVC primer and glue for pressurized pipes.
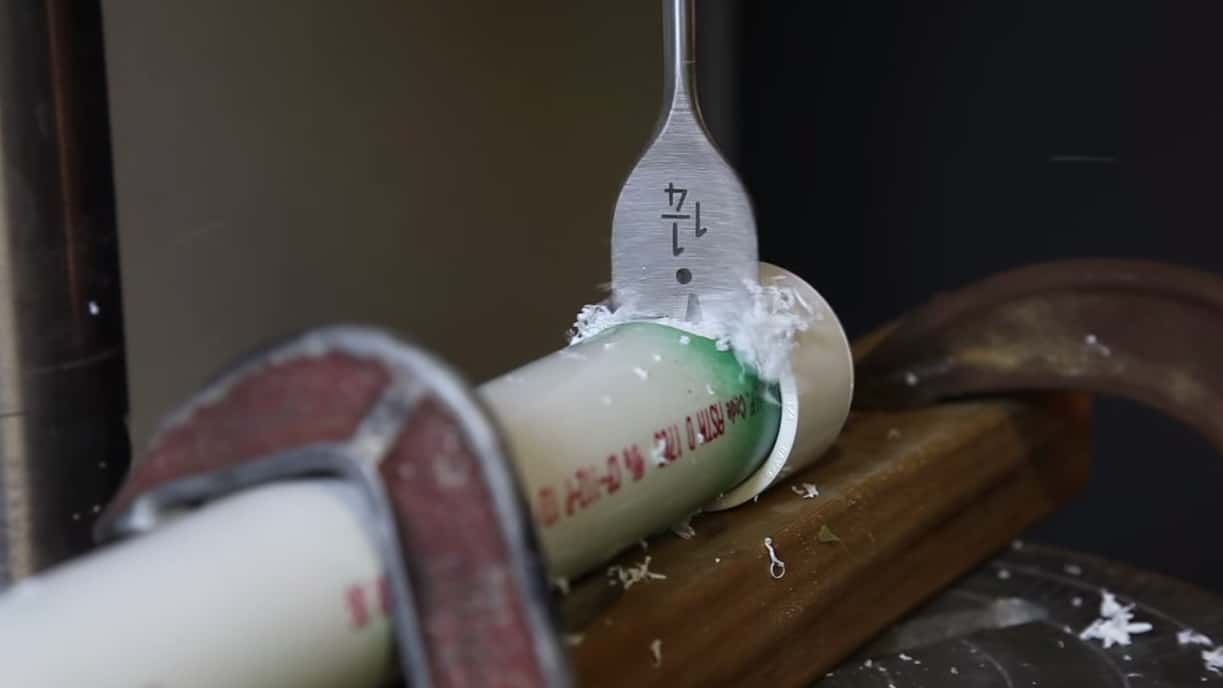
Since this rifle has a trigger rather than a detonator, we’ll need to take a 1 1/4″ cap and drill it out on the drill press to look like this. Then drill two holes in it to accept the momentary switch.
And now I want this rifle to look awesome, so its time for a slick paint job! And since I’m doing two colors (green and black), I’ll have to paint the green first, tape it off and then paint the black. Feel free to go crazy with your paint scheme, just be sure to let it dry 24 hours between coats. And once the final coat is dry, carefully remove the masking tape from all the parts. Now we’ll need to go ahead and add PVC pipe tape to all of the threaded components.
Since we don’t have detonator, I made this little cover to hide our battery and cables. Speaking of cables, its now time to cut and strip our wire. We’ll need to attach the momentary switch to a 20″ section of doorbell wire. Now solder the other end to the 9V battery snaps and sprinkler valve. Then thread the doorbell wire through the hole on the bottom of the cap and pull it all the way through. We can then install the momentary switch into the top of the cap, and screw it on tightly with the provided knurled nut.
To attach the battery housing and trigger housing I used hot glue. Just hold it in place for about 30 seconds while the glue dries. Now just insert the battery and close the cap. Also, I covered the doorbell wire with this plastic flex tube to clean up the look. To test it for leaks before firing, attach it to an air compressor and close the valve.
And that’s it, our air rifle is now complete! But we need some ammo! Take an empty CO2 cartridge and wrap it one time with a piece of duct tape. This will ensure a tight seal between our cartridge and the inside of the rifle barrel. Add some vegetable oil to the barrel and slip in the CO2 cartridge.
Now guys, use extreme caution and fire your first shot. I was easily able to blow a two inch hole through this piece of OSB decking. You can see on my second shot with the camera a little closer. This thing is made for carnage and easily left a hole as big as my hand. And remember those soda cans I like to shoot? Yeah their no match for this thing either, as I blew them halfway across my yard. Take a look at the difference between this can I shot with BBs and the can I shot with the cartridge rifle. There’s literally no comparison!
I even invited David from Awesome Airguns over to take a shot. We’ll guys, I’m not kidding when I say to be careful with this project. Adult supervision is required and you assume all risks. Thanks for watching, and if you enjoyed this project, please like and subscribe to my channel on YouTube.

5 Responses
Hey I love your videos but I never now where to buy everything I live in the uk where can I buy all of the stuff you need
Because me and my dad really want to do this weekend project together
Please reply
I bought all this stuff from home depot, i dont have a blade thing you have so i just used a pvc cutter and it worked perfect.
Do you have any blueprints to help with assembly. This project is awesome and would love to do this project with my kids.
Actually, I am in the process of making blueprints for all of my projects. And this one will be coming soon! Leave this comment on my facebook page and I’ll notify you when they’re done!
The blue prints are now available for this project.